Community Brag Posts

My Simple Outdoor Sink

Submitted by kmatt55 on Sun, 08/14/2011 - 16:46

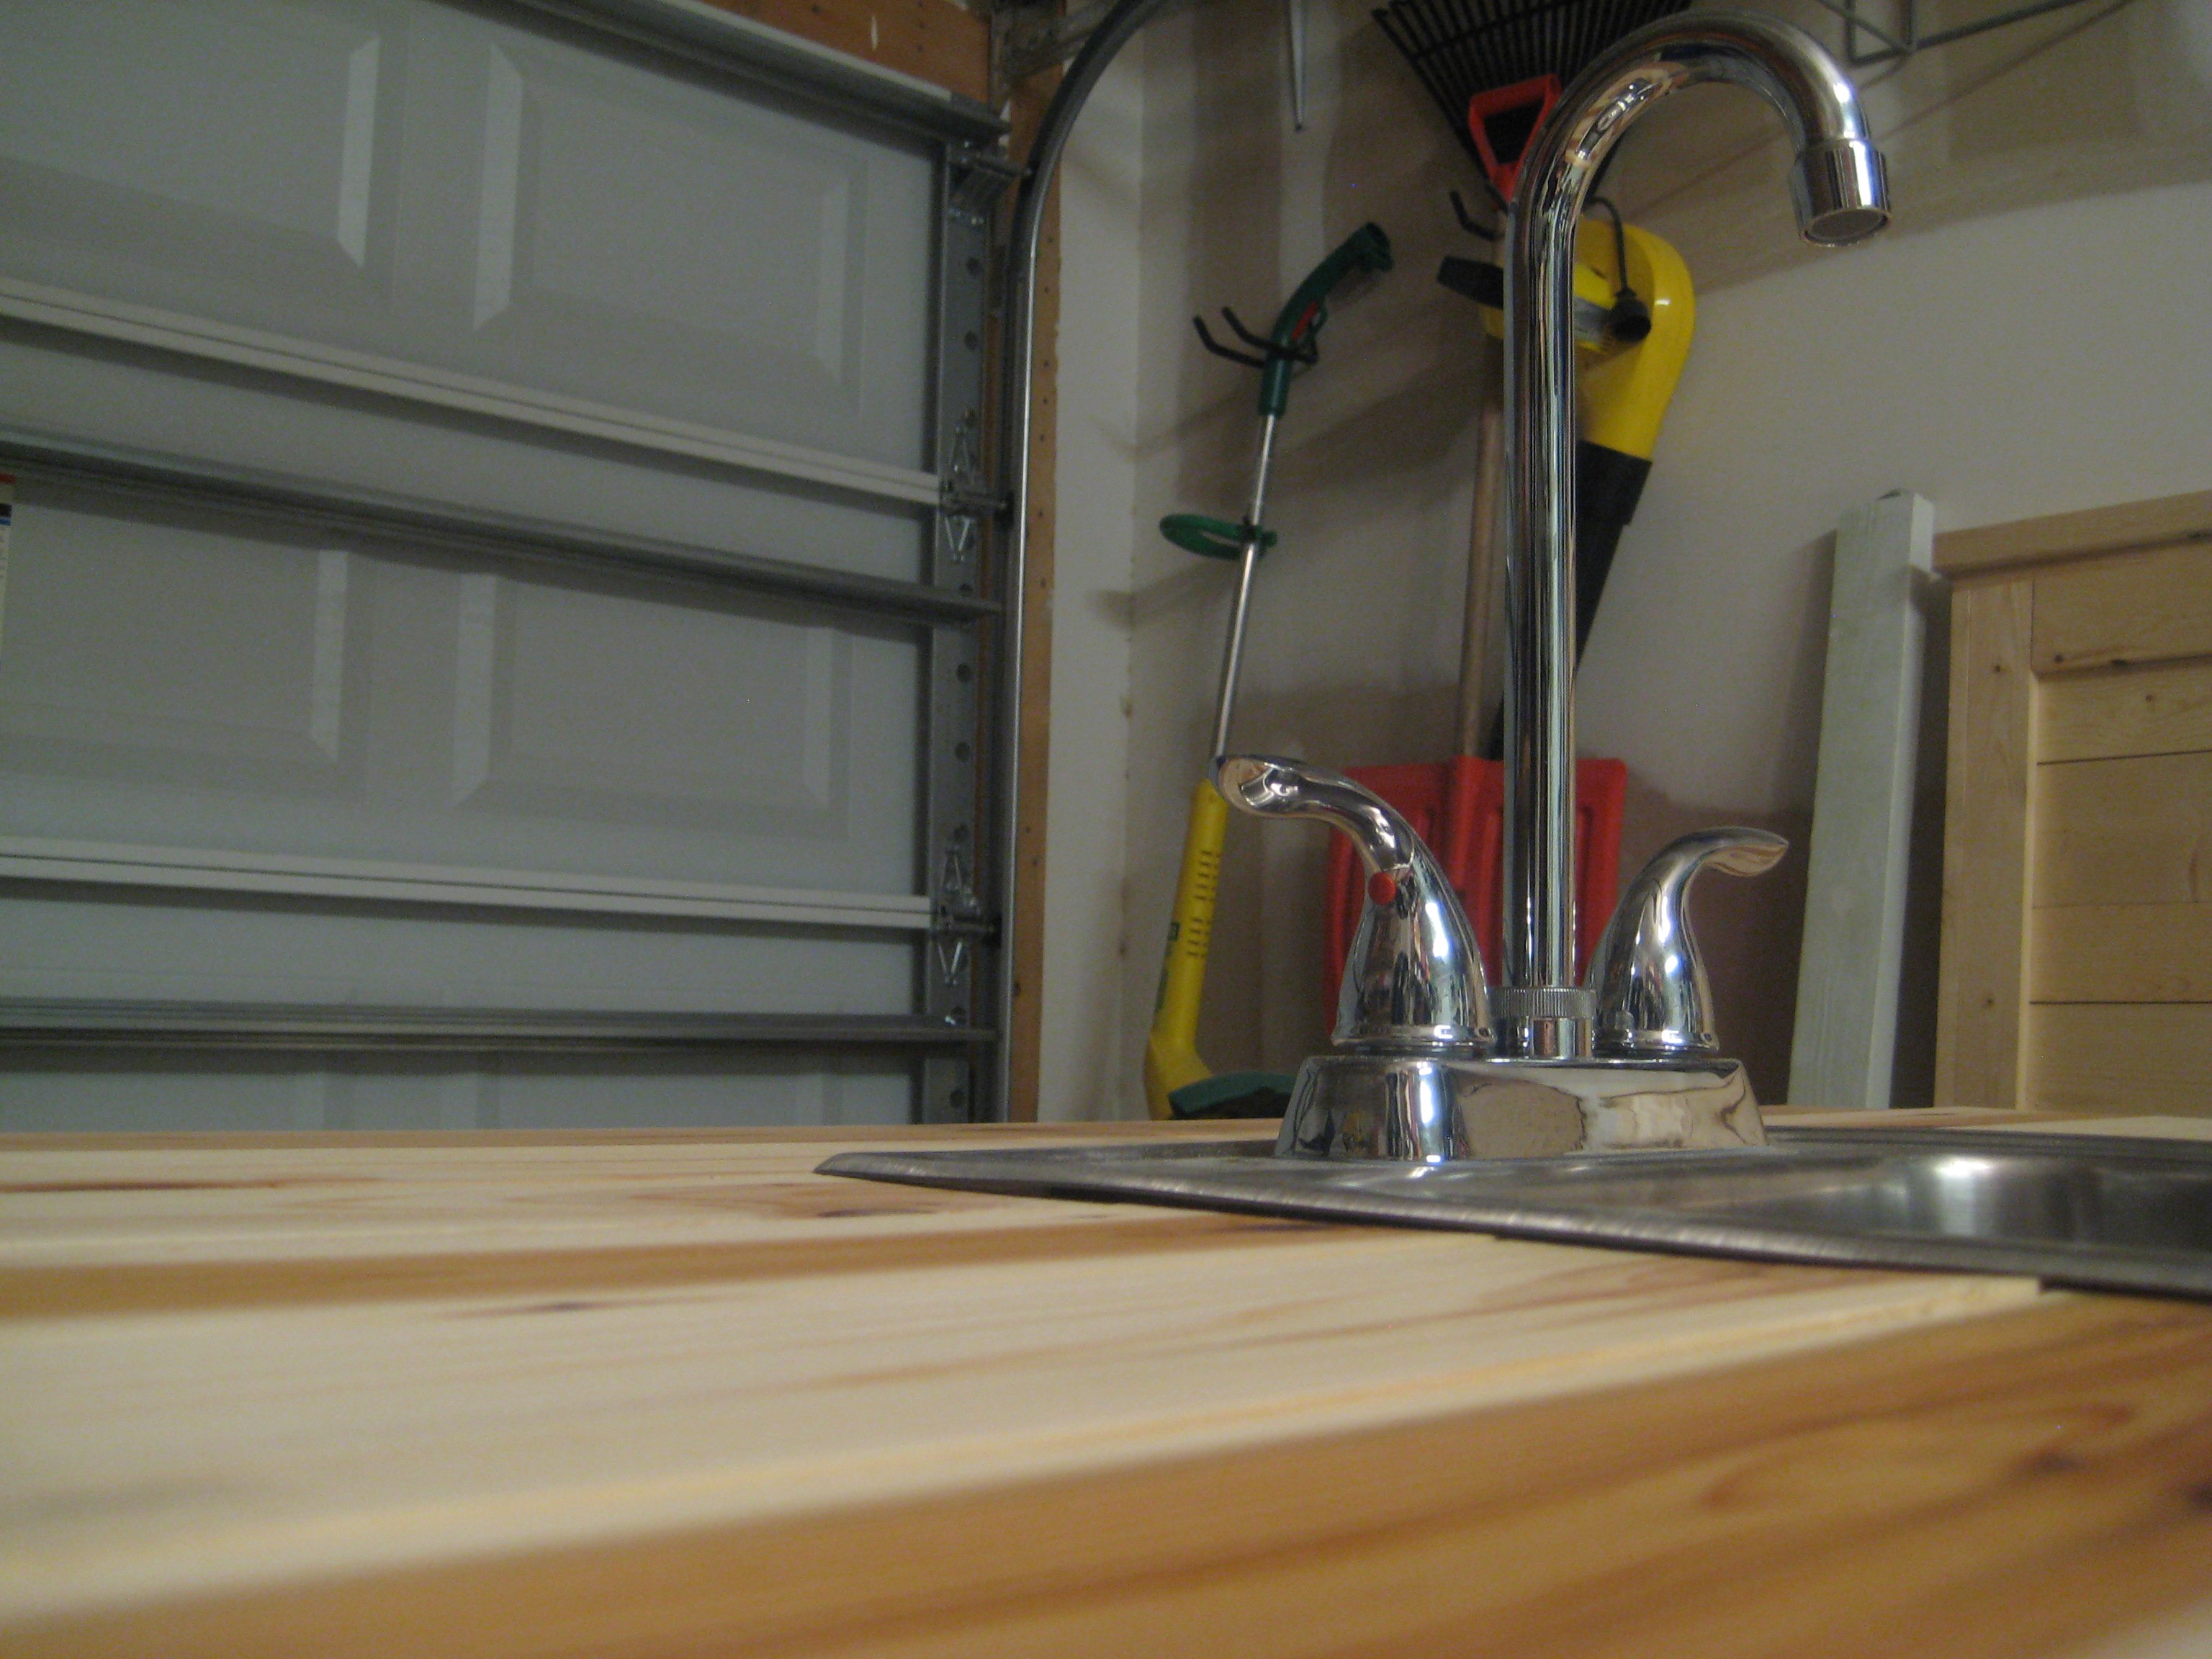
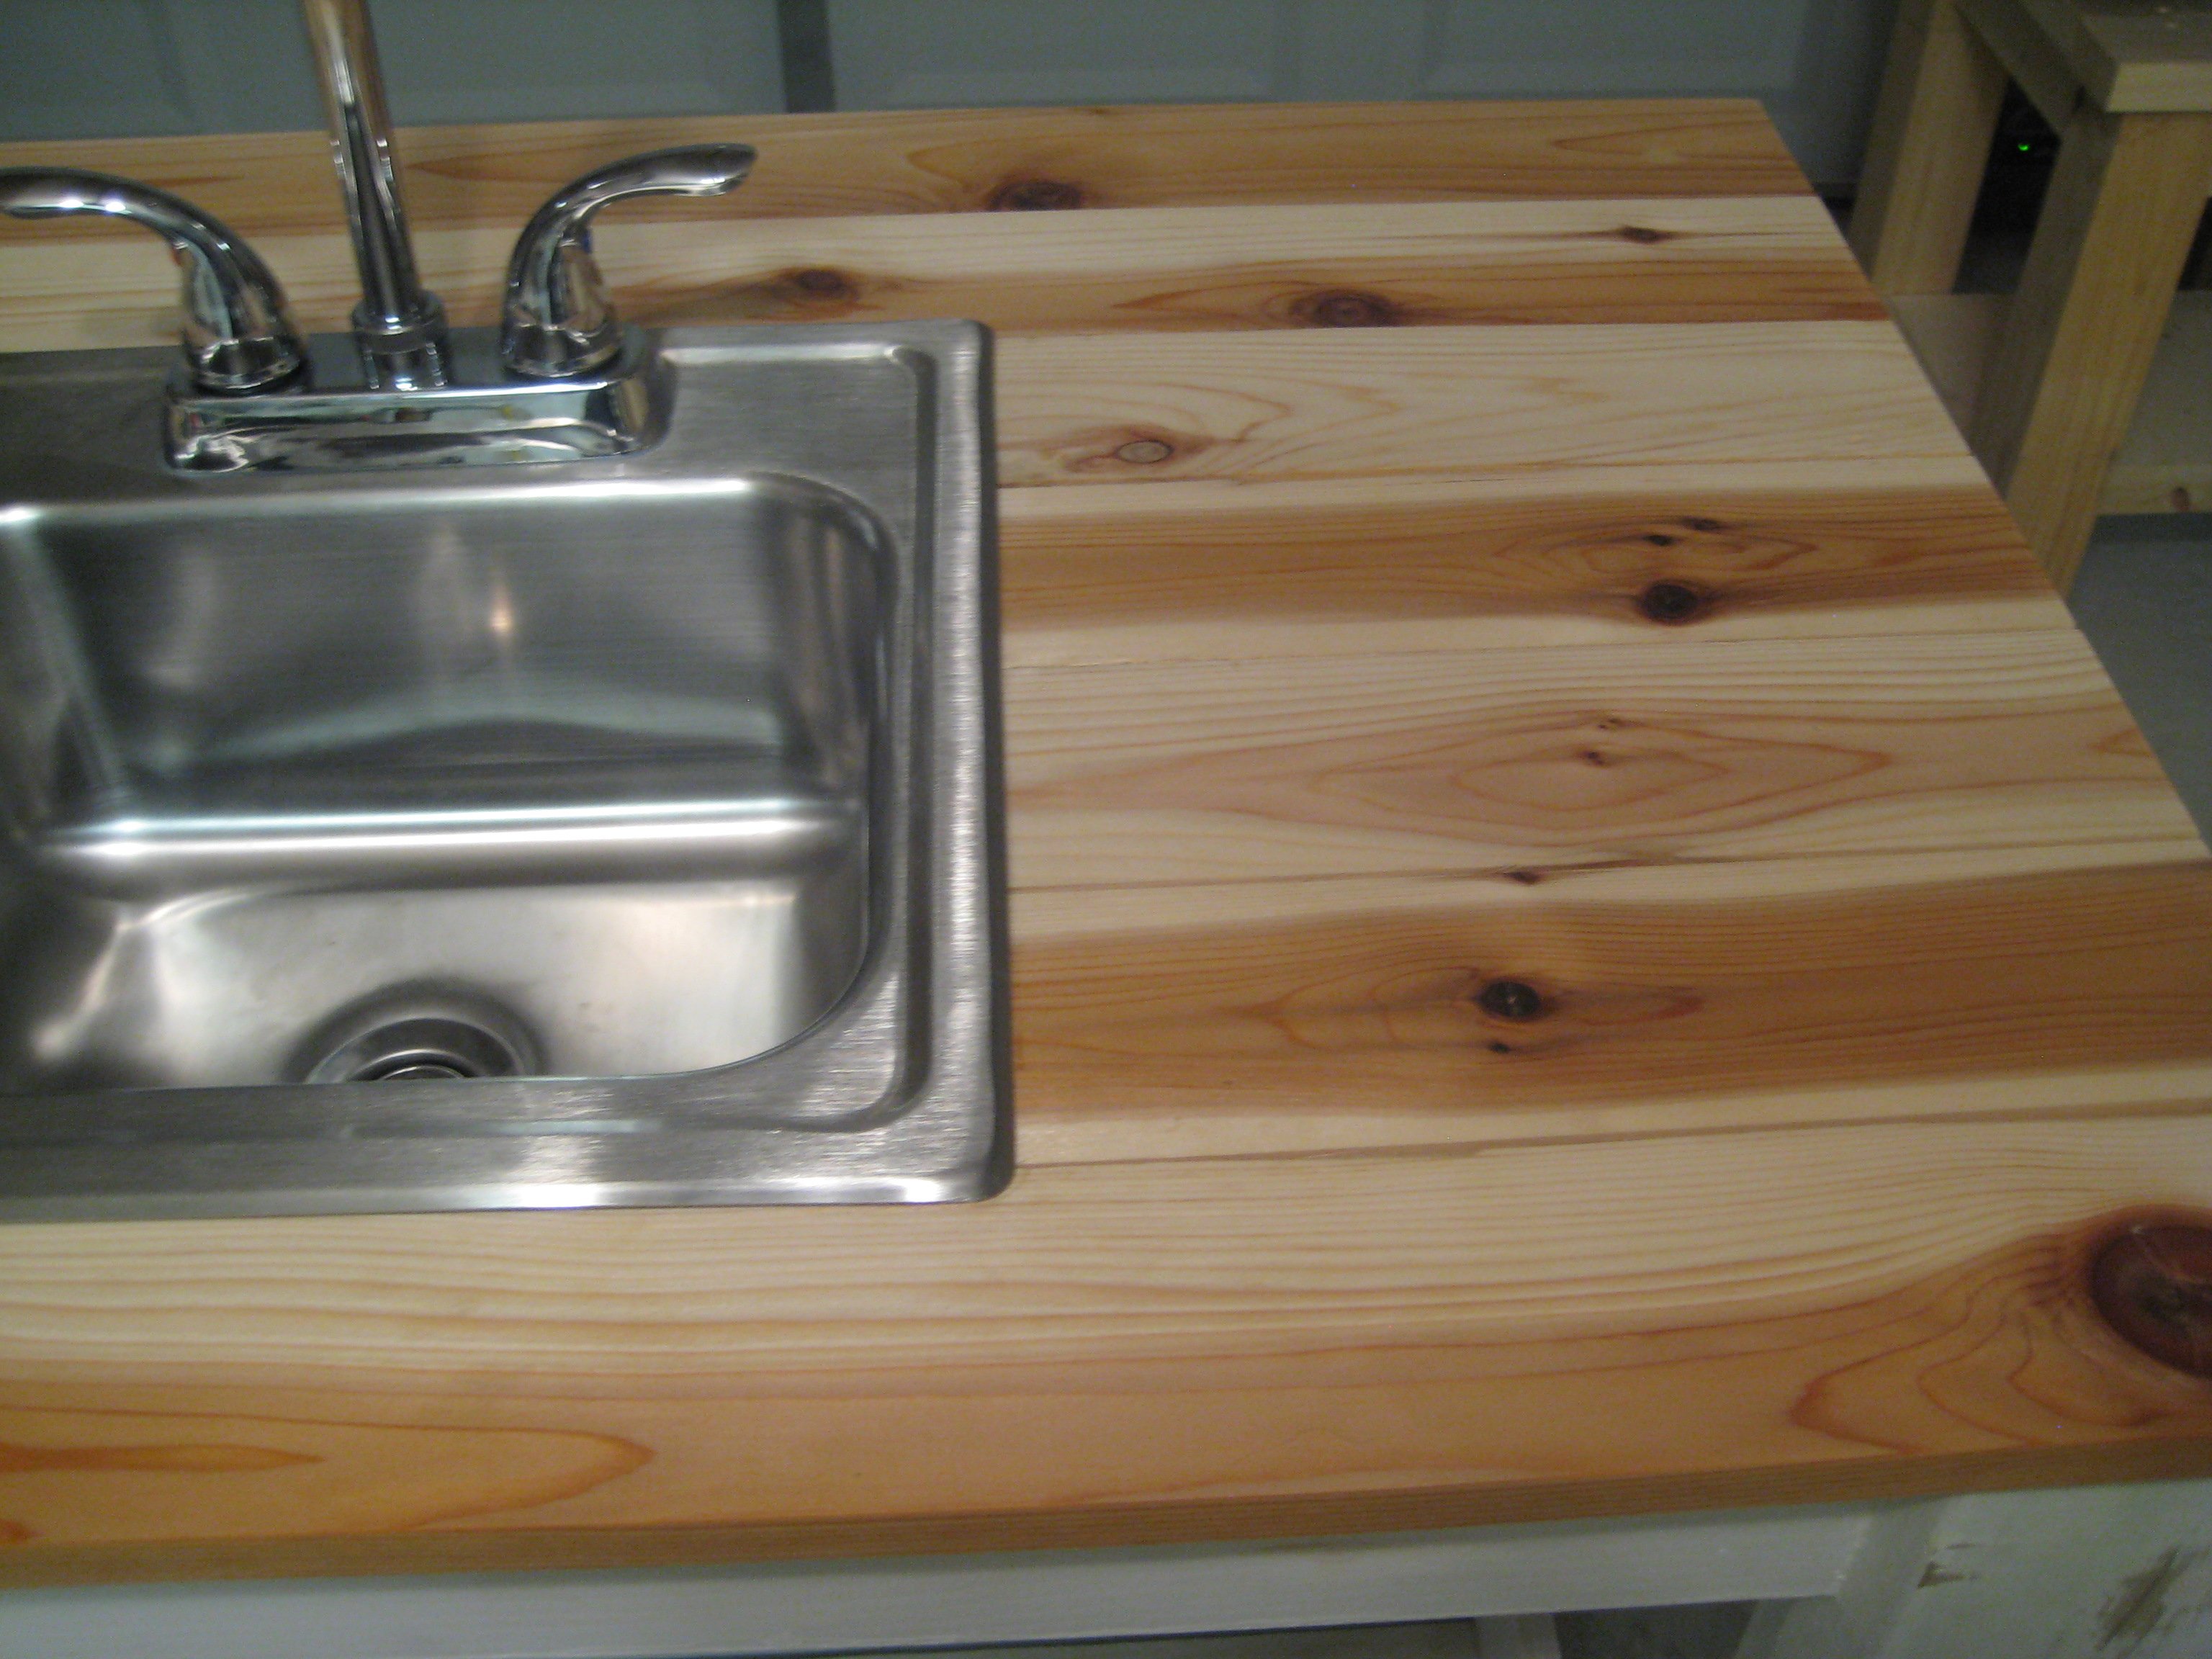
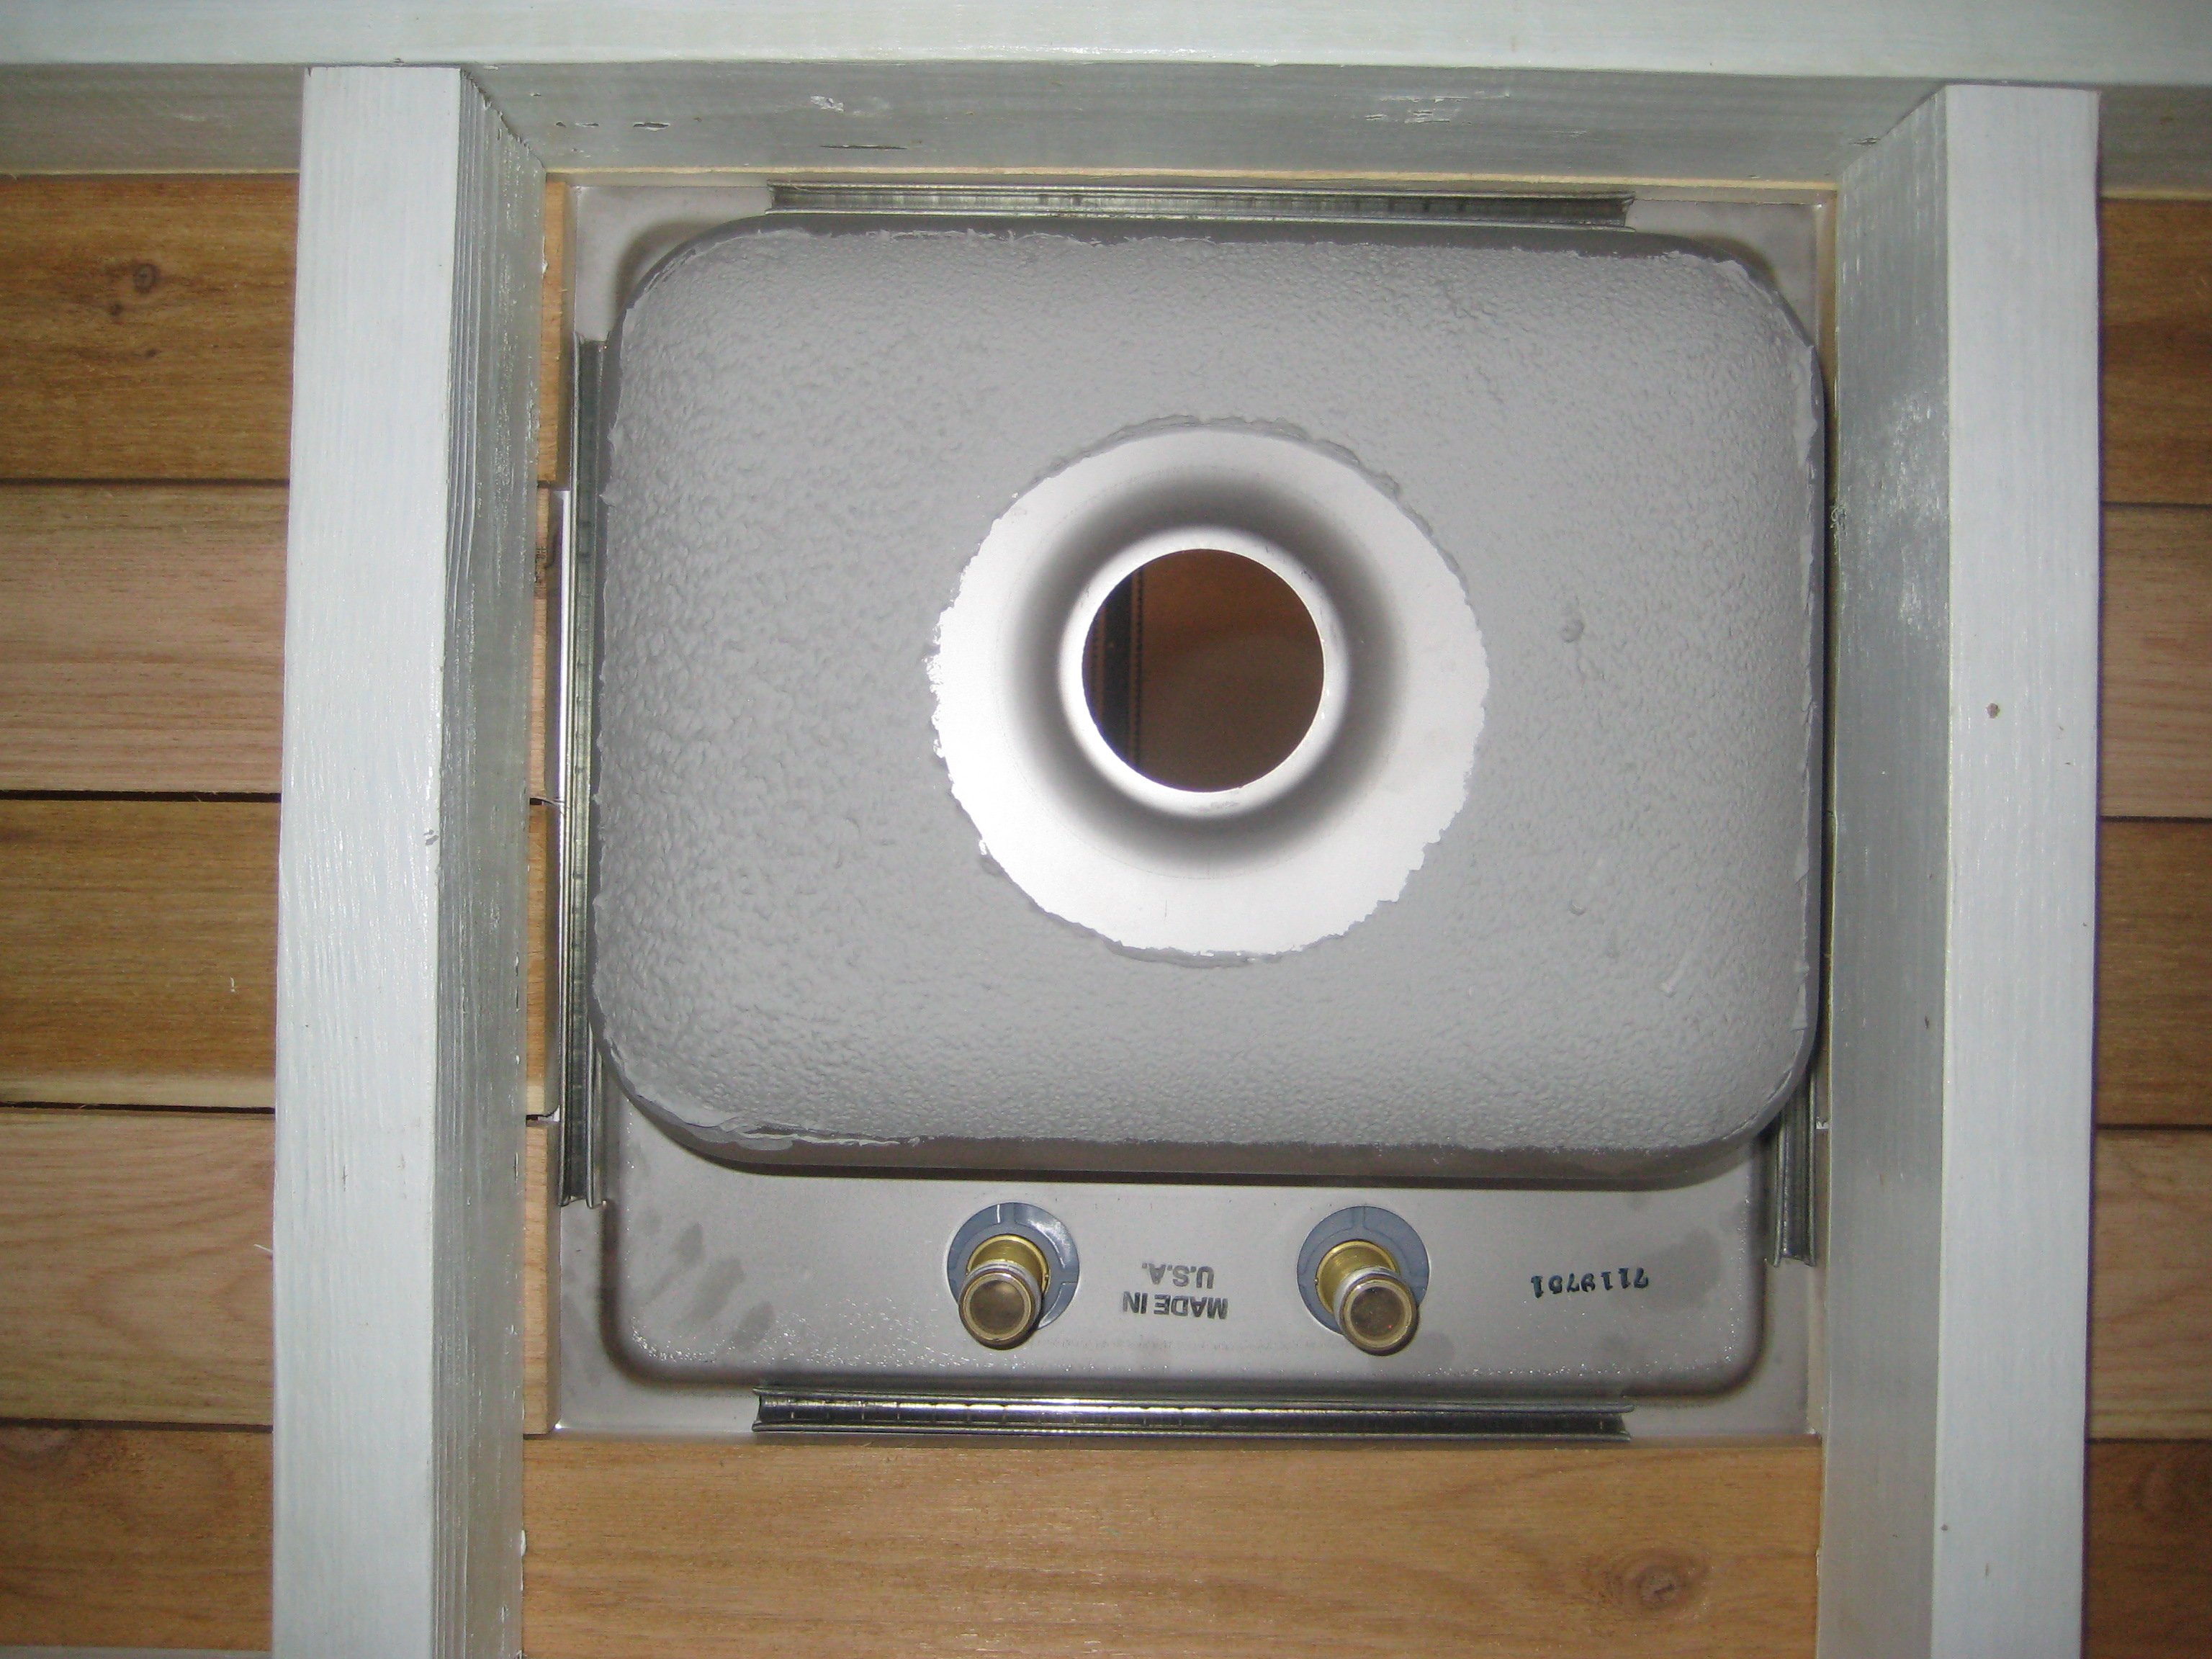
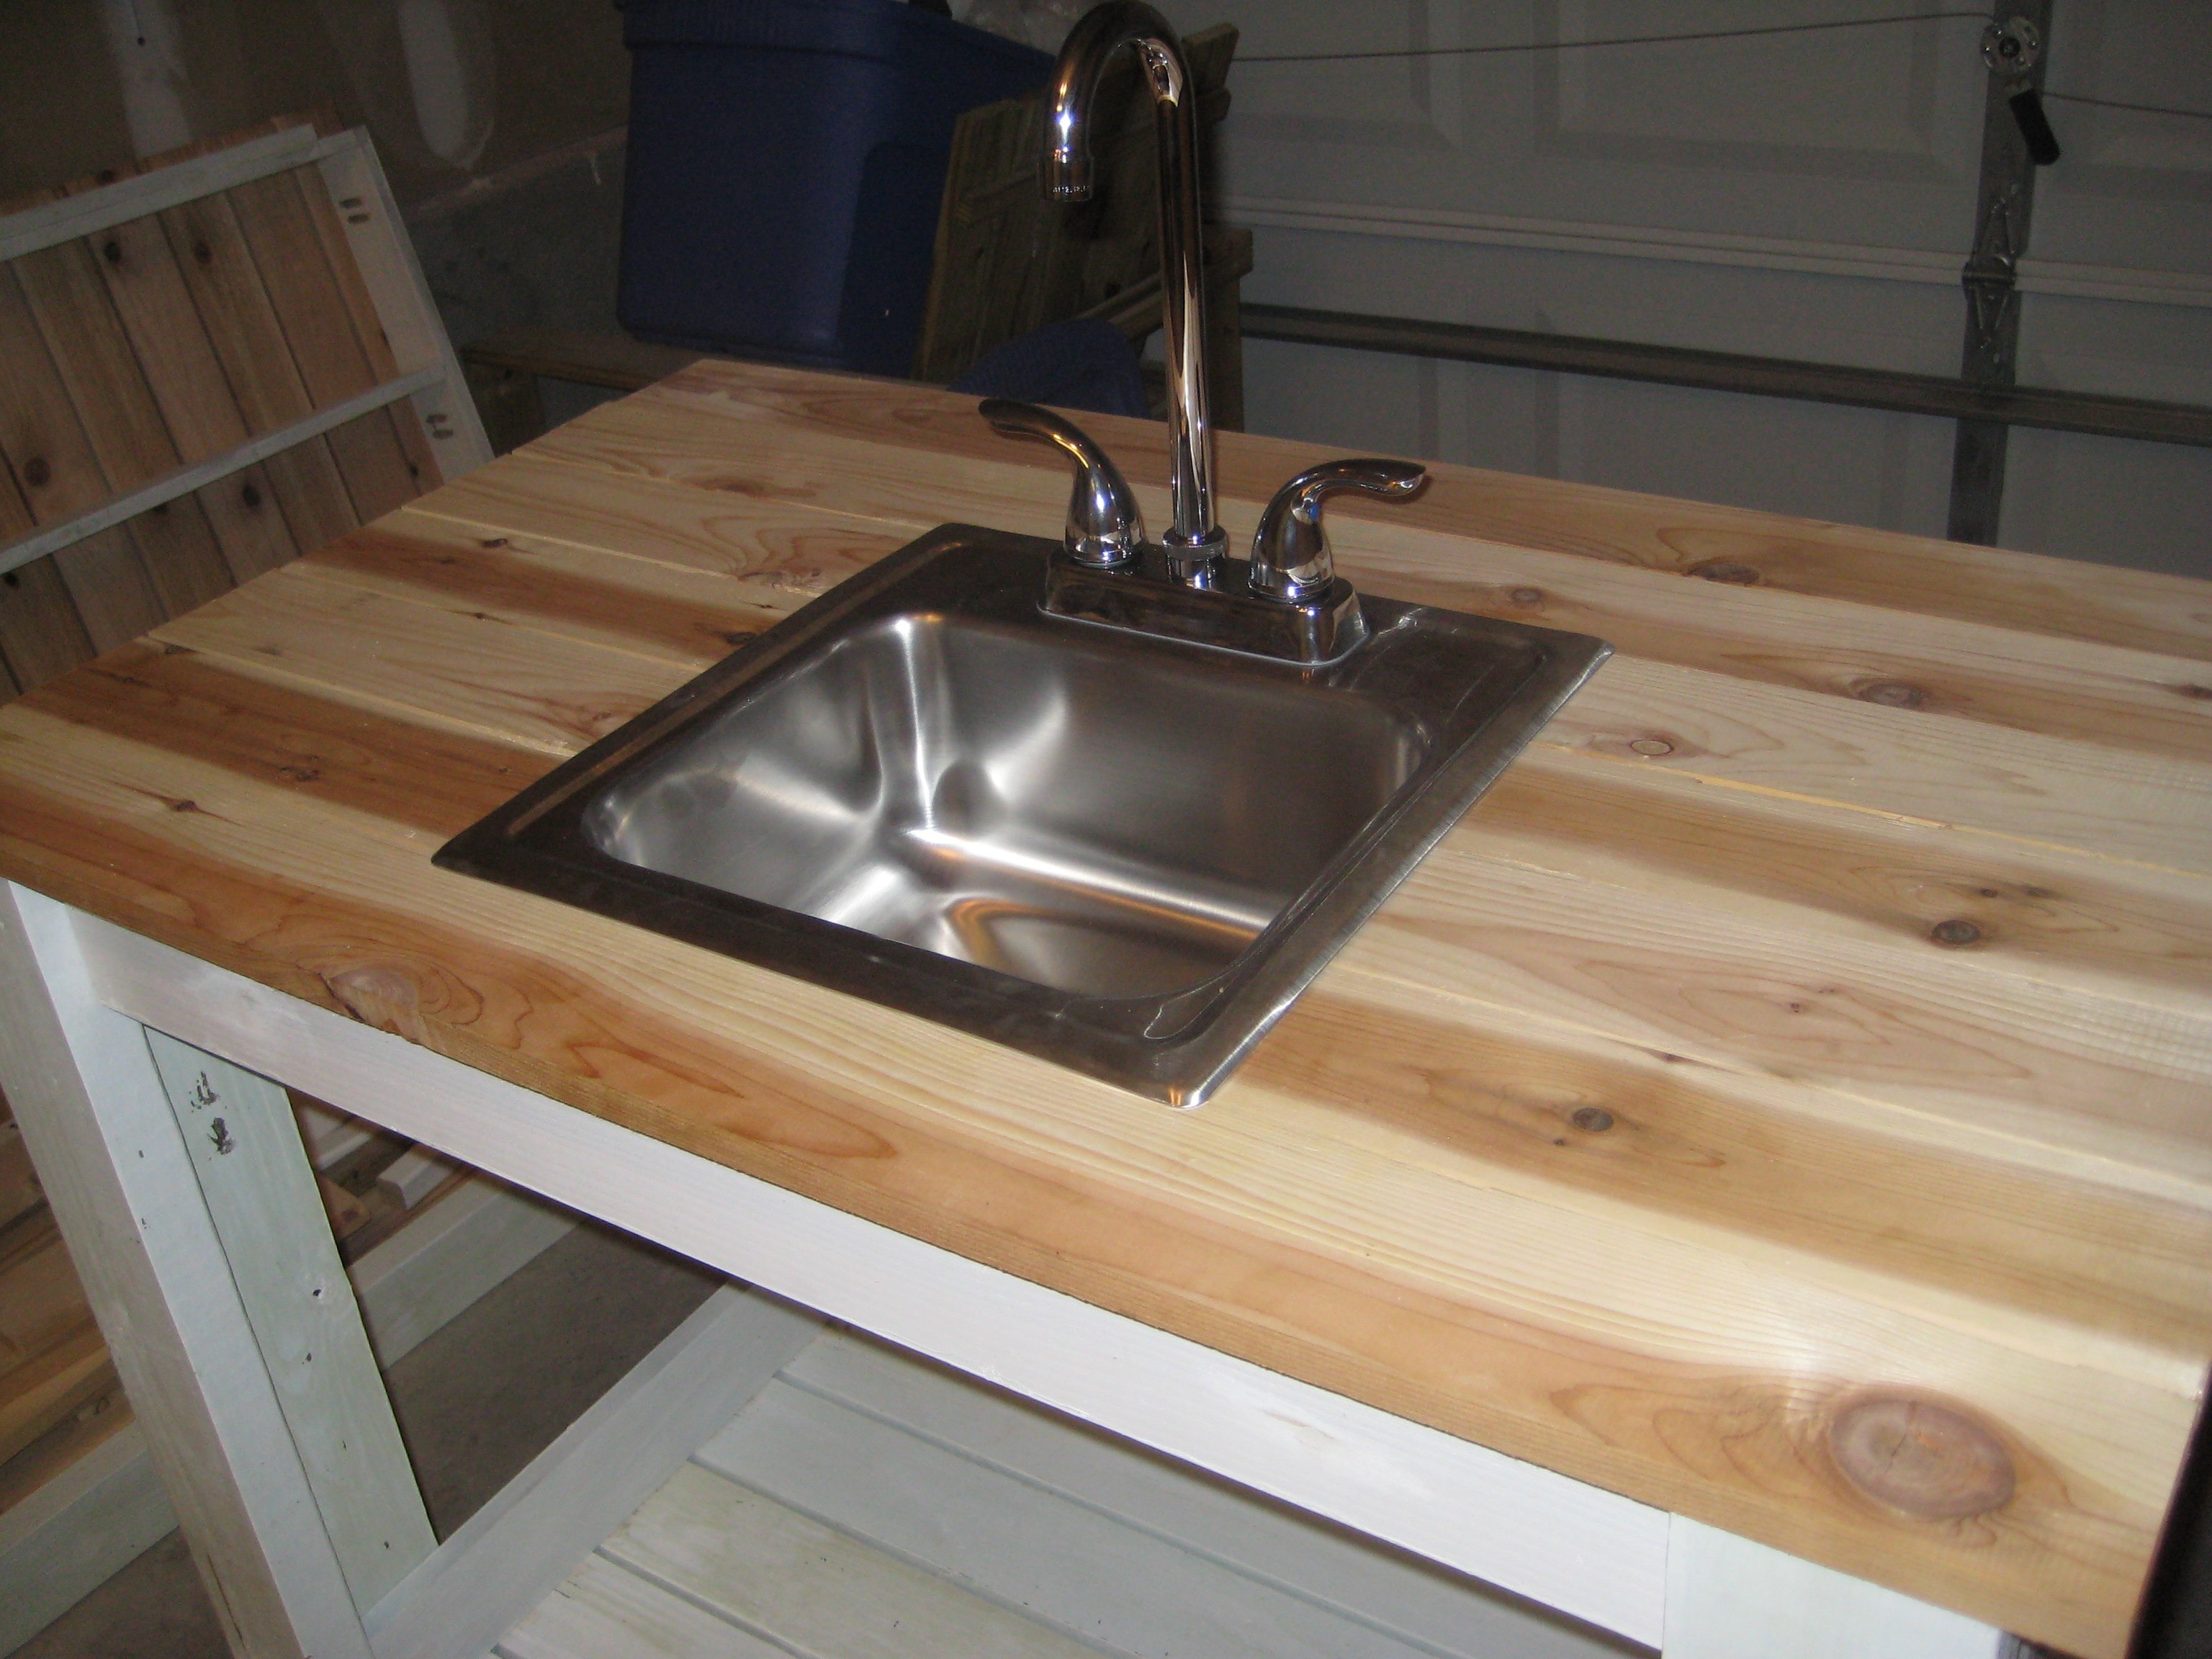
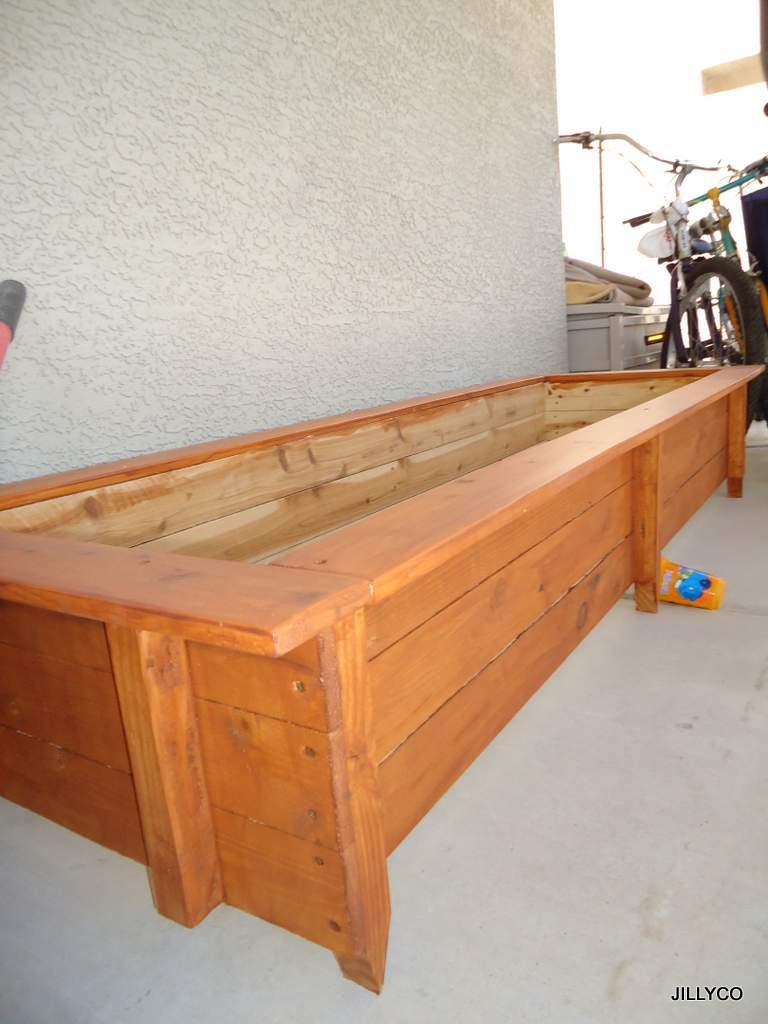
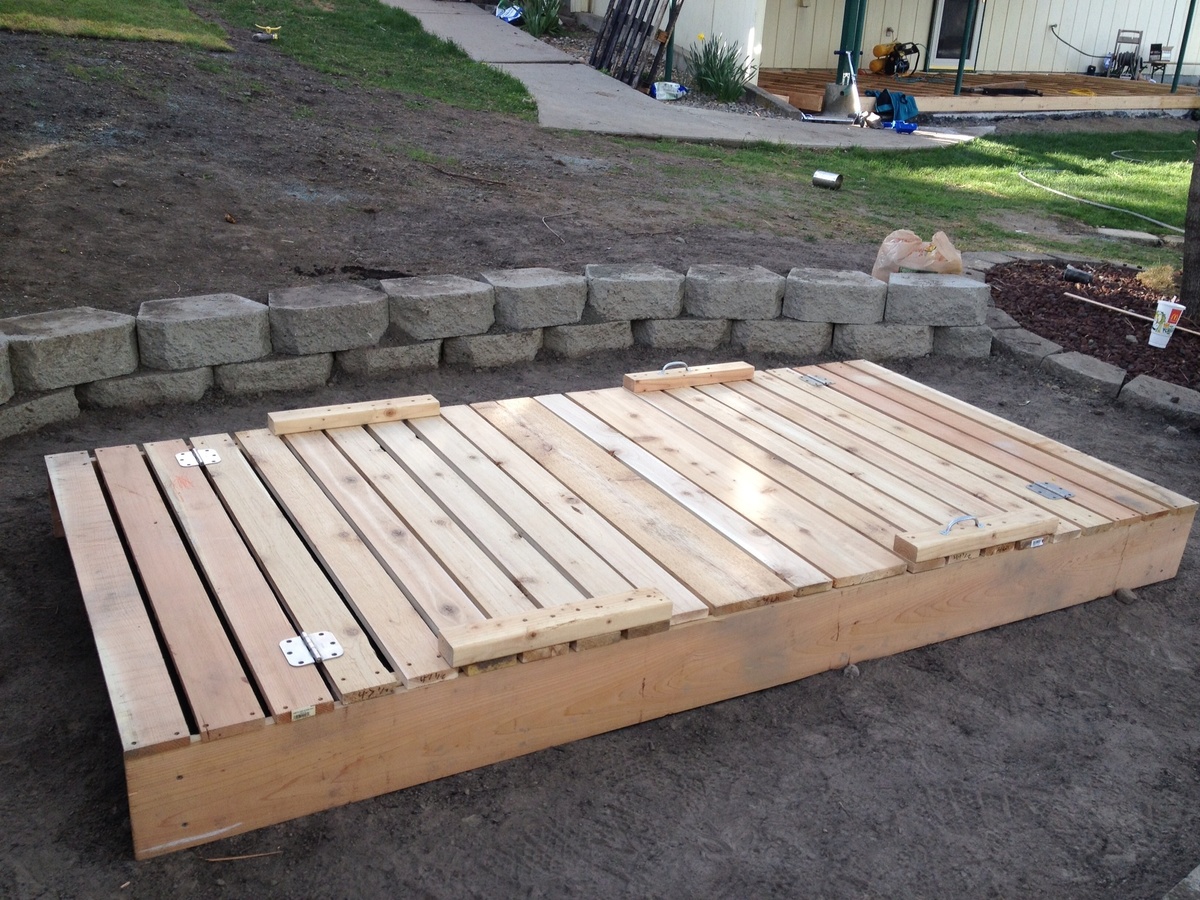
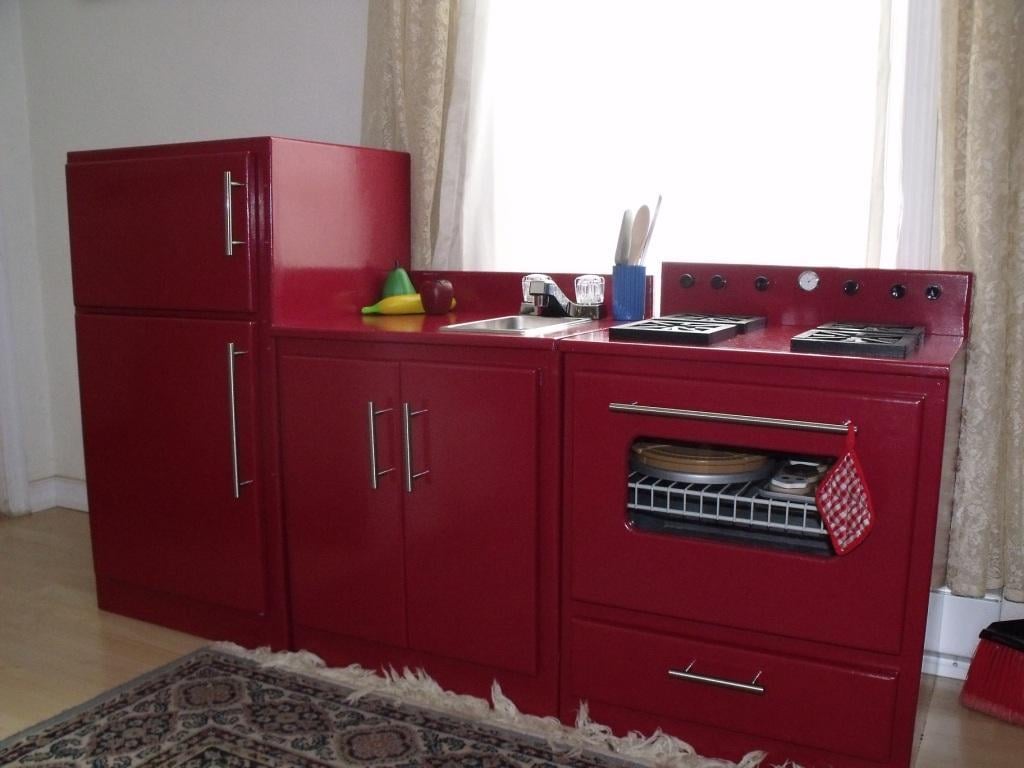
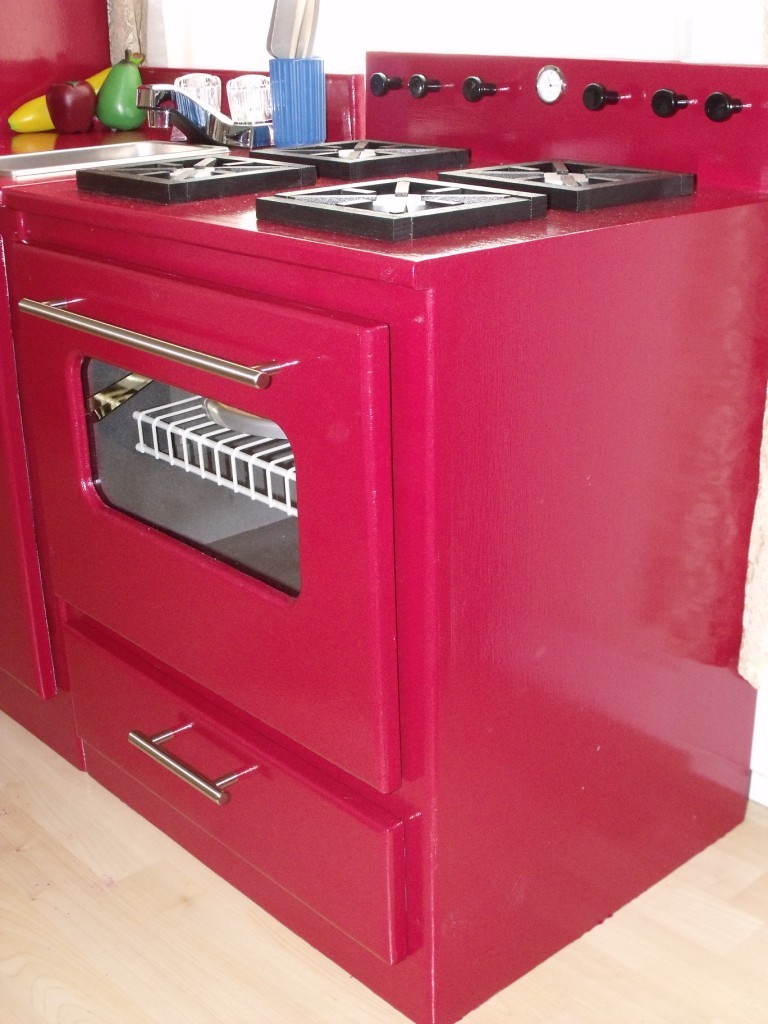
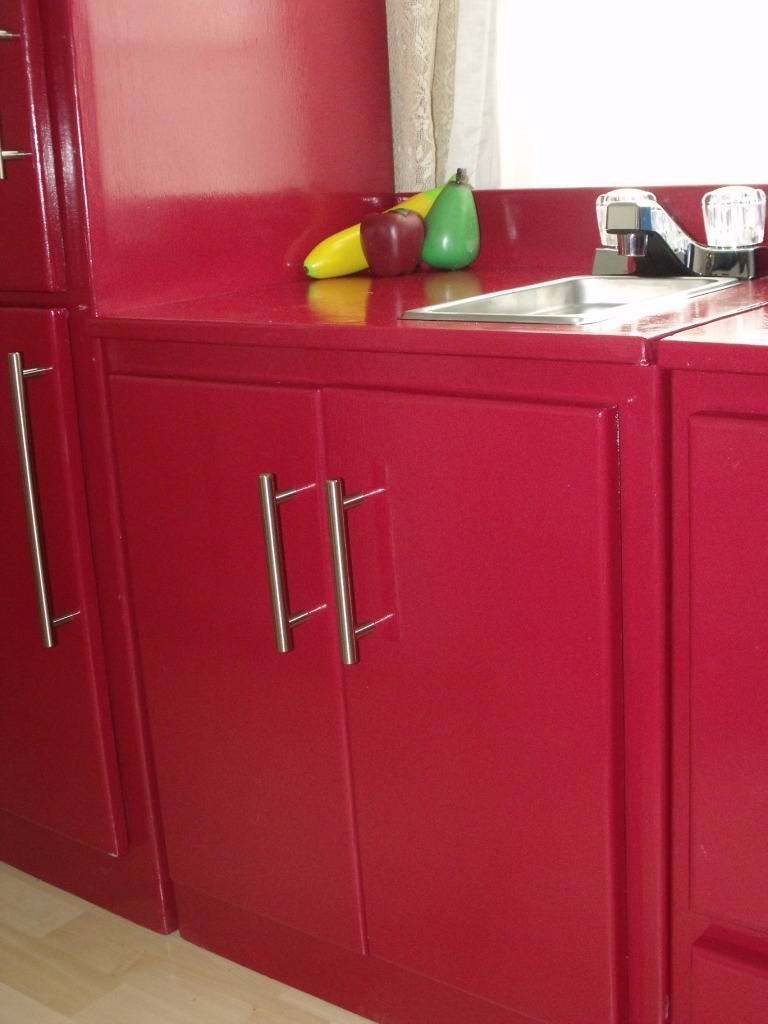
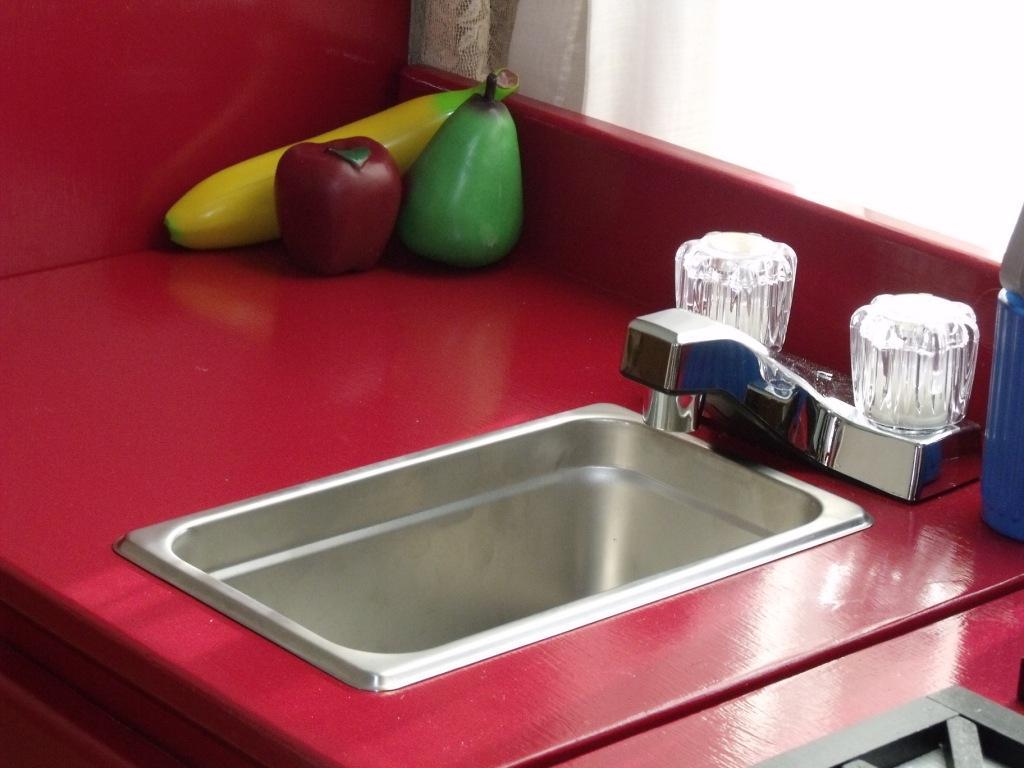
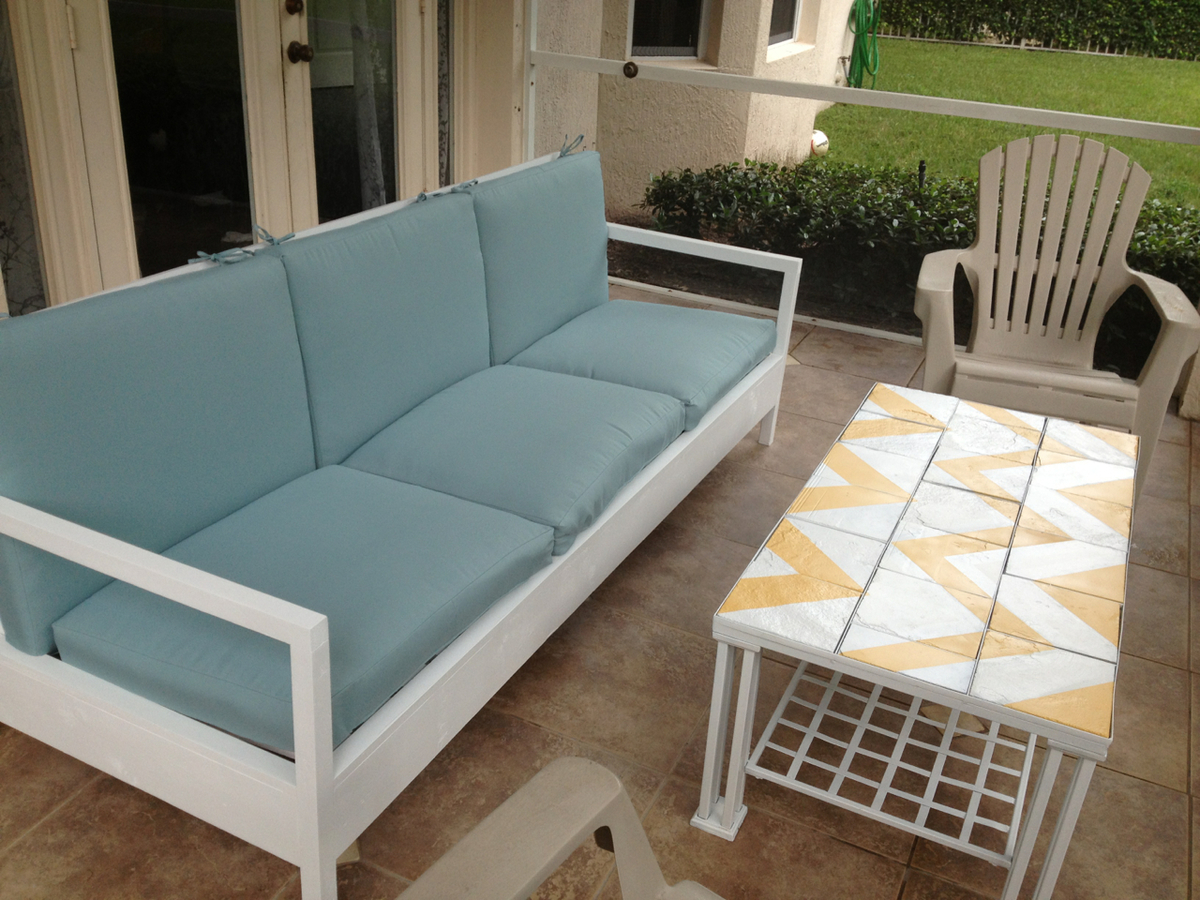
I finally completed the last piece to my customized simple two-toned outdoor collection...an outdoor kitchen sink!!! It still needs a couple of touch ups... but more on that later. This is by far my favorite and easiest project to date. We plan on using this as a grill caddie/garden station. This will eventually go onto a 24x12 deck up against our kitchen window (The indoor and outdoor sink will be against each others backs). I decided to go with the Sturdy Workbench plans for the base mainly because of the weight. We wanted something that's going to be difficult to move since it will be hooked up to outdoor plumbing. I used treated 2x4's for the base, cedar 1x4's for the top. I bought the bar sink for about $70. I also used a Kreg Jig to screw in the cedar slats from underneath so the screws won't be visible from the top. FYI - Wait a couple of weeks before you paint soaking wet treated wood. The green chemical from the 2x4 is starting to leak through my white paint. I'll have to go and prime/paint it again when it finally dries. Other than that, it came out 10 times better than I could ever imagine.

Built from Plan(s)
Estimated Cost
$120 ($70 for sink and hardware)
Estimated Time Investment
Weekend Project (10-20 Hours)
Finish Used
Thompson's Water Sealer, semi-gloss exterior white paint.
Recommended Skill Level
Beginner

Comments

Vegasboiz

Sun, 09/29/2013 - 08:16

I love the sink table a lot. I have been looking for one for a long time. Can you tell me what is the length, width, and height for this table. Thank you very much. Jimmy

DIY Outdoor Sofa, Chairs and Coffee Table

Submitted by Anonymous (not verified) on Thu, 07/27/2023 - 13:22

I decided to build my patio furniture and built a couch, with cushions, coffee table, 2 Adirondack adult chairs and one child’s Adirondack chair. It was so much fun to plan and build all of the furniture and so enjoy going out there on cool days! Thanks to Ana White for all of the plans! This is my 20th Ana White project! On to my next project! Plans were outdoor modern sofa, modern Adirondack chair, kids Adirondack chair, 2x4 outdoor coffee table.

JoAnne

Seasonal And Holiday

Raised Cedar Beds

THANK YOU Ana's your plans are a life saver and pocket book saver as well. You make your plans so easy to follow and use. For my project I used the cedar fence pickets and redwood 2" x 2" stakes that where on sale at the orange box store for "6 pack bundle" for only $.50 each. All I can say is SCORE! ;') Since we live in Arizona I treated all the lumber with a outdoor weather proofing wood finish (Cedar Color), lined all the interior beds (only the Wood Sides) with 4 mil plastic to keep the cedar from absorbing all the water and wired mesh on the bottom of the garden prior to adding dirt. This keeps my local rabbits/other creatures from eating my roots from the bottom up. And I have my dog from the top side. We are already a 100 degrees here and we needed to get our seedlings in a garden asap. Thanks Again for the Plans, Ana! I will be making more of these garden boxes to come.

Estimated Cost
$15
Estimated Time Investment
An Hour or Two (0-2 Hours)
Finish Used
Behr Premium Transparent Weather Proofing Wood Finish (Cedar Color)
Recommended Skill Level
Starter Project

Comments

Mariel

Thu, 08/08/2013 - 09:39

Love this! We are new to Phoenix - originally from the Midwest - and I really would like to add some raised beds to our backyard. I appreciate your comments on how you adapted these for the desert! May I ask what side of your house they are on? I'm thinking to put mine on the east side so they get morning sun, but not the scorching afternoon rays. Thanks for your AZ advice!

Seasonal And Holiday

Middle School Class Builds Picnic Tables for School Grounds

Submitted by Anonymous (not verified) on Sat, 11/18/2023 - 12:59

Ana,

Thanks so much for your octagon picnic tables plans. I teach a Life Skills Class at Russell Christian Academy for middle school. This class of 18 students completed the build of 4 of these tables (with a little assistance from me) and are now being used as an outside dining area for all grades K-12. It was a great experience for the kids and I have received many positive comments about these tables.

Thanks again…


Dewayne Knight of Meridian, Mississippi

Comments

Ultimate Workbench for me

Submitted by ianr on Mon, 06/22/2020 - 15:13

I altered the original plans in the following ways:

  • Only built one rolling cart because I already had a multi-drawer tool chest that fit right under the workbench.
  • Built the right half of the workbench as a separate piece from the miter table because attic access is right above it and we need to move the workbench to get to it.
  • Built a half cart for the table saw because the Dewalt contractor saw extends too far to the sides to have it boxed in.
  • I'm going to add a sliding plate that locks down for my miter saw so I can pull it away from the wall without dragging or lifting it.
  • I used a nail gun with two inch nails instead of staples since I don't own a staple gun that holds staples that long.

I'm not that experienced with projects so here are a couple of things I learned:

  • Attach the castors far enough under the cart so that the wheel never extends beyond the sides.
  • Watch what grade sandpaper you use on the plywood. It's easy to strip off a layer.
  • This was not a one-person project for me. Even with clamps, I still needed help bracing parts and rotating pieces.

Thanks for the great plan! Now I can start on all the other projects on our improvement list.

Estimated Cost
350
Estimated Time Investment
Weekend Project (10-20 Hours)
Recommended Skill Level
Intermediate

Truss coffee table

Submitted by mwoods on Thu, 09/18/2014 - 20:37

The first larger project I've done on my own. I distressed it some before staining it but no other changes were made to the plan. 

Built from Plan(s)
Estimated Cost
$23 for wood
Estimated Time Investment
Day Project (6-9 Hours)
Finish Used
Minwax Red Mahogany
Recommended Skill Level
Beginner

Wall mounted can organizer

Added a backing of thin plywood to prevent the cans marking up the walls. I knew how many types of canned goods I wanted this to fit and adjusted the width to meet our needs. Love how this is going to save space in the pantry and with just a glance I can see what we have on hand.
Thanks Ana for another great plan!

Built from Plan(s)
Estimated Cost
About $150.
Estimated Time Investment
Day Project (6-9 Hours)
Finish Used
Spray paint
Recommended Skill Level
Beginner

Comments

Miter Saw Cart named Dolley

I made the miter saw cart today. It took me about 2.5 hrs, but I was going slow and taking lots of breaks.

Built from Plan(s)
Estimated Time Investment
An Hour or Two (0-2 Hours)
Recommended Skill Level
Starter Project

Comments

Sandbox with lid

This was my first EVER wood working project.

With that being said, it took me more than just an afternoon.
I used cedar, and all the materials on the cut list had to be sanded , since I didn't like the roughness of the cedar.
I also made the box 4x8. I didn't take into account that that would require a minimum of 48 inches for the top planks. So, some of my top planks are shorter.

I also wished I had a little more instruction from which side to screw the screws in. May sound a little needy for some of you, but I never did anything with wood before. The instructions simply read attach top planks to arm rests (or something int that manner) and I wish it would have told me from which side to screw in (or give me a picture). Looking at some of the brag posts helped a lot.

Because its larger size, I decided to make the seats 3 top planks wide (and also the back rest) and made another middle cover piece to bridge the additional gap when both seats are folded down.

Also, the cedar was VERY expensive, and all the screws, hinges, and handles almost cost me as much as the wood.

The sand to fill the box ran us another $80 (for good plays and), but that was because we made it so big.

All in all, a rather pricey sandbox, but worth it because of the large custom sizes, and the cute little seats.

Pictures show the sandbox without sand, and with some of the handles still missing. I also still need to fill the holes.

Will add a picture of finished box filled with sand when it is available.

Built from Plan(s)
Estimated Cost
$250
Estimated Time Investment
Weekend Project (10-20 Hours)
Finish Used
None
Recommended Skill Level
Beginner

Finally!

Submitted by mhob209 on Fri, 09/23/2011 - 15:29

After looking at this for way too long, I finally bit the bullet and built this table. It really wasn't difficult and it's so awesome having a side table on wheels! The stenciling made it a little extra work, but I love the added details.

Estimated Time Investment
Afternoon Project (3-6 Hours)
Recommended Skill Level
Starter Project

Comments

Christmas Kitchen Set

Submitted by Fuchsia on Mon, 12/26/2011 - 10:44

My father in law and I built this kitchen set for my two daughters, ages 3 yrs and 9 months. It was so fun to work with my father in law. I have built a few things before (table, chairs, doll bed, etc.) but nothing of this quality or magnitude. He is a great woodworker and knows how to do all the neat finishing touches that just make the project look really professional. I learned a ton working with him and had a blast!
I was inspired by Ana's kitchen sets and used a combo of then and the Lowes plans and I was very happy with how it turned out. I changed a few things: put two doors under the sink, made "gas" burners instead of "electric", used half the sink cabinet top for the sink and left the other half for counter space, added a clock to the stove, made the oven door open down.
The sink is a food service warming pan 1/4 size and the faucet came from Wal-Mart for $10. I will probably replace it with a nicer one from the ReStore when I get a chance
Break down of costs:
Lumber: $100
Hinges and pulls: $40
Paint and primer: $45
Burners: $20
Sink: $24

Estimated Cost
$230
Estimated Time Investment
Week Long Project (20 Hours or More)
Finish Used
Exterior: Glidden Red Delicious high gloss enamel
Interior: White
Oven: grey stone textured spray paint
Recommended Skill Level
Intermediate

Comments

Cindy from Indiana (not verified)

Mon, 12/26/2011 - 13:09

Holy cow! Fantastic job! You guys really pulled it together and I really love the creative use of hardware, etc.

Fuchsia

Wed, 02/29/2012 - 10:03

Sorry I didn't see your comment sooner - I made the burners with craft wood circles and squares and 1/2 inch pieces of wood. I notched the ends over the circle with a chisel.

First Project Ever

This was the first thing me and the hubby ever built. We had lots of fun and even got the kids involved. Pretty sure we got the building bug now! Thanks Ana for inspiring families to build better lifestyles one board at a time. :)

Built from Plan(s)
Estimated Time Investment
Day Project (6-9 Hours)
Finish Used
American Accents Colonial Red
Recommended Skill Level
Starter Project

OCTAGON PICNIC TABLE

Submitted by BigBry on Sat, 03/01/2014 - 07:36

My son and I had a blast building this table last October. I have been meaning to write and thank you for the great plans. We took the suggestion of staggering the legs for better access and it turned out great. I also used deck boards for the top to help reduce weight and they were already slightly curved on the sides which made sanding easier. Thank you!
My cost includes a nice Kreg Jig set up (approx $100)

Built from Plan(s)
Estimated Cost
$220
Estimated Time Investment
Weekend Project (10-20 Hours)
Recommended Skill Level
Intermediate

2x4 Outdoor Sectional with Matching Ottomans, Chairs & Table

Submitted by cqueiruga on Fri, 06/12/2020 - 21:01

We were looking for outdoor furniture for our deck, and for the size and amount we needed it would have cost us at least $2000. We really like the idea of having an outdoor sectional that we can also use for dining, and we had trouble finding a set we liked. We found Ana's plans for the 2x4 Outdoor Sectional, and i loved the look. After seeing what others have done with the plans, I thought I would be able to modify it to get everything we needed for much less cost than buying a set.

We ended up extending the size of the 2x4 outdoor sofa by one 24" section, for a total length of 96". I then used the same design to make two outdoor chairs, just reduced the length to 24". I modified the 2x4 outdoor coffee table plans to create two ottoman's that can be moved around to make the seating more lounge style Finally, I modified the coffee table plans to make a 5 foot outdoor dining table. All in all, it took about a week and I couldn't be happier with how it turned out!

Estimated Cost
$800 ($200 for wood, $600 for cushions)
Estimated Time Investment
Week Long Project (20 Hours or More)
Finish Used
Valspar Semi-Transparent Antique Oak Stain
Recommended Skill Level
Beginner

Comments

jwood4

Mon, 08/02/2021 - 09:44

Looks amazing! What method did you use (pocket holes, dowels, deck screws, etc) to join the visible portions like the arms?

John Deere Green Barn Shelf

Submitted by Veronica P on Wed, 07/30/2014 - 22:08

After finishing my boys' new John Deere room and tractor bunk bed (also posted), I saw this plan and thought it would be the perfect thing for some extra toy storage.

Yes, I know, barns are supposed to be red. Everything else in the room is John Deere green and I had paint leftover, which is not cheap. So green it is! I used my new paint sprayer for the first time on this project and am thrilled with it. I would recommend it to anyone who dislikes painting as much as I do. I bought the Wagner Flexio 590 which comes with a detail sprayer as well as the full size and I'm very happy with both.

Thanks to Ana for the well laid out, easy to follow plan and also for helping me create a big boy room that my boys love!

Built from Plan(s)
Estimated Cost
$60.00
Estimated Time Investment
Weekend Project (10-20 Hours)
Finish Used
John Deere green paint plus primer, black & white paints, white paint marker for the shingle detail and satin polyurethane.
Recommended Skill Level
Starter Project

Comments

Veronica P

Thu, 07/31/2014 - 09:38

Thanks so much for your comments. It's so nice to hear positive feedback since I'm very new to this! My 3yr old is quite particular about everything being in its place, I'll pass along that you liked his animal placement. Lol :)

Hall tree

Submitted by Anonymous (not verified) on Sat, 07/01/2017 - 09:11

Great Plans! Thank you so much. My first go at a piece of "fine" furniture and I couldn't be happier with how it turned out.

Built from Plan(s)
Estimated Cost
About $150-175 I used poplar and a slightly more expensive stain though
Estimated Time Investment
Weekend Project (10-20 Hours)
Finish Used
General finishes Gel stain (the best) new pine color
Recommended Skill Level
Beginner

My first Easy Build Headboard, King Size

Submitted by andreak on Thu, 05/12/2011 - 16:15

This was my first project and it come out beautifully. I did learn a valuable lesson - if you are going to build something in the basement, make sure it fits up the stairs. Not sure if you can tell from the picture but this ended up 6 inches shorter than the plans. Can wait to find my next project!

Estimated Cost
$150
Estimated Time Investment
Day Project (6-9 Hours)
Finish Used
MinWax Wood Finish Red Mahogany 25 - Minwax Polyurethane
Recommended Skill Level
Beginner

Kitchen Cabinets

Submitted by Anonymous (not verified) on Wed, 10/02/2019 - 21:30

I followed the kitchen cabinet building plans to build all new upper cabinets up to my ceiling. I built all new drawers with soft close drawer slides also and built the refrigerator enclosure cabinet.I did the entire remodel myself including the new doors out of MdF.

Finish Used
Emerald urethane paint
BIN Shellac Primer

Comments

Ana White

Tue, 11/05/2019 - 10:41

We are so thrilled to let you know your entry WON the Best Brag contest!  There were many amazing entries, and it was tough to choose.

Look out for an email from us shortly!

Simple White Patio Sofa

This was one of my favorite DIY projects. It's so much more affordable than buying patio furniture, and the building instructions make it sturdy as ever.

I built this with my fiance, who you'll see in the image of the in-progress bench. It was a snap for us, since we have a fair amount of experience building our own furniture. With the right tools, this project can take only two days, including wait time in between coats of paint and varnish.

We made our sofa to fit the cushions we found, and thus, the sofa is actually 84" wide, instead of 72" wide. By doing this, we also eliminated the need for a love seat, and instead are in the process of making two chairs to match this sofa. All in all, our patio will seat 6, which is what we were aiming for.

TOOLS
The most important part of making this an easy, fun project is having the right tools. I highly recommend you purchase or borrow:
- Compound miter saw
- Kreg jig
- Square head screws (stripping these is nearly impossible)

Estimated Cost
$300 (including cushions)
Estimated Time Investment
Weekend Project (10-20 Hours)
Finish Used
Exterior satin white (stay away from spray paint, since it's less efficient and more costly)
Exterior spar varnish in aerosol can for extra outdoor protection
Recommended Skill Level
Intermediate

Comments

Back