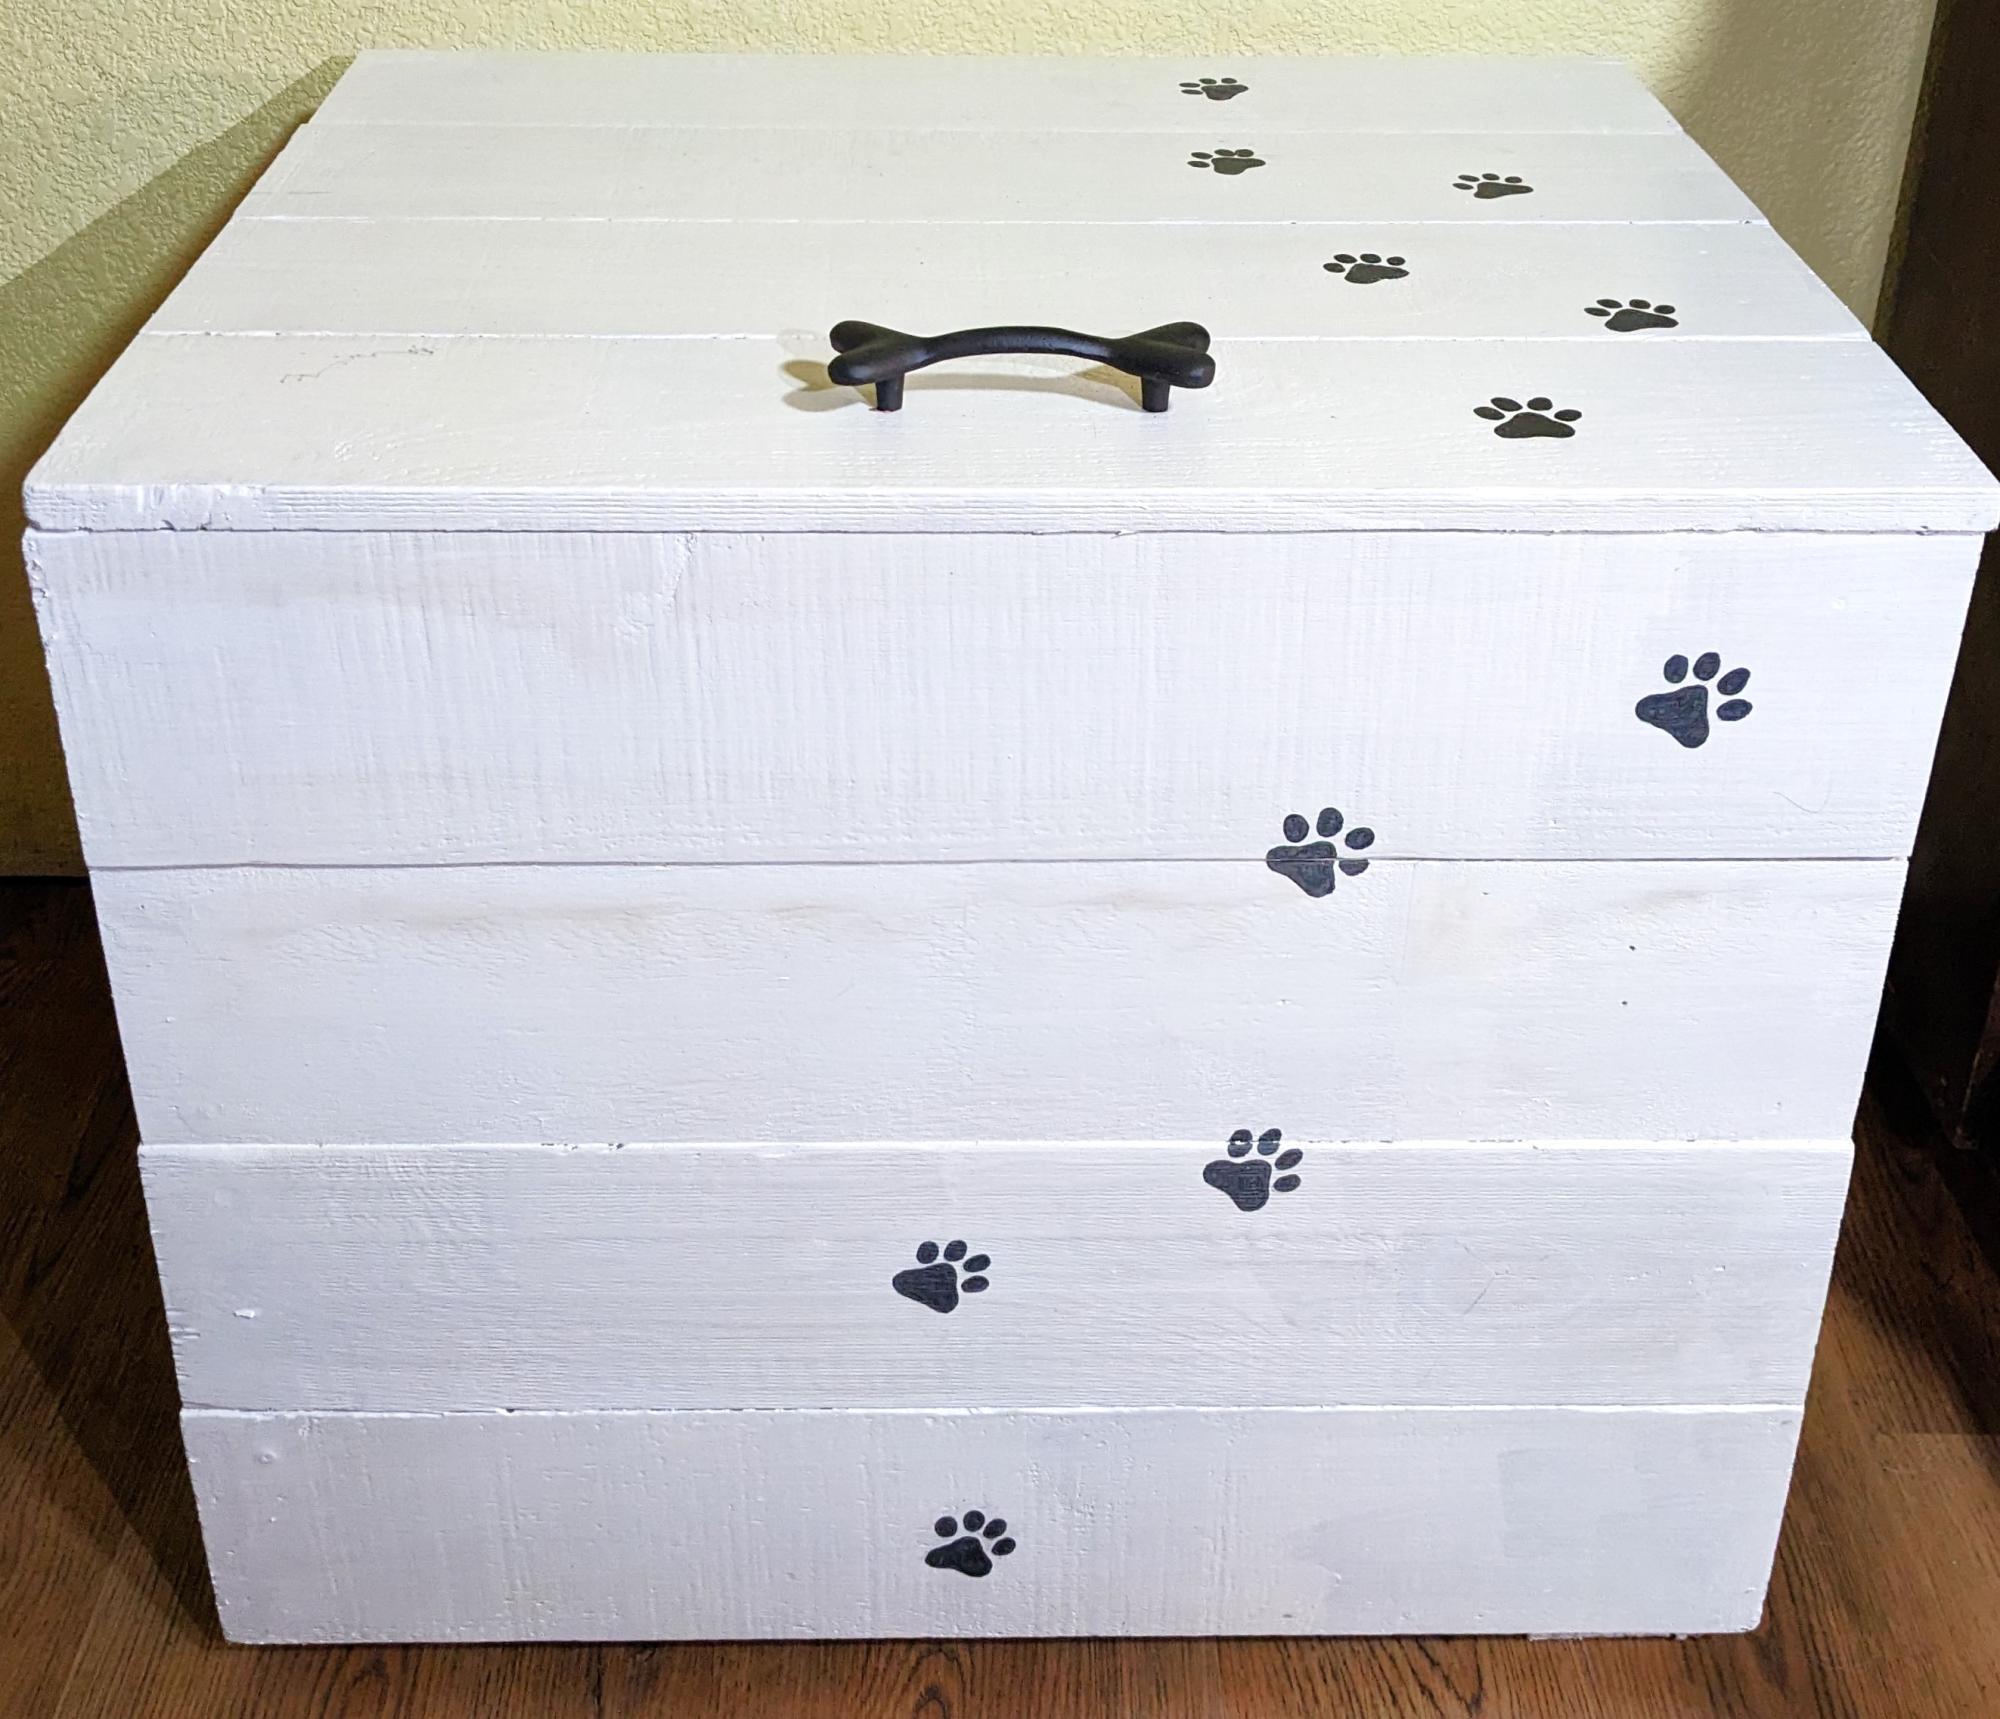
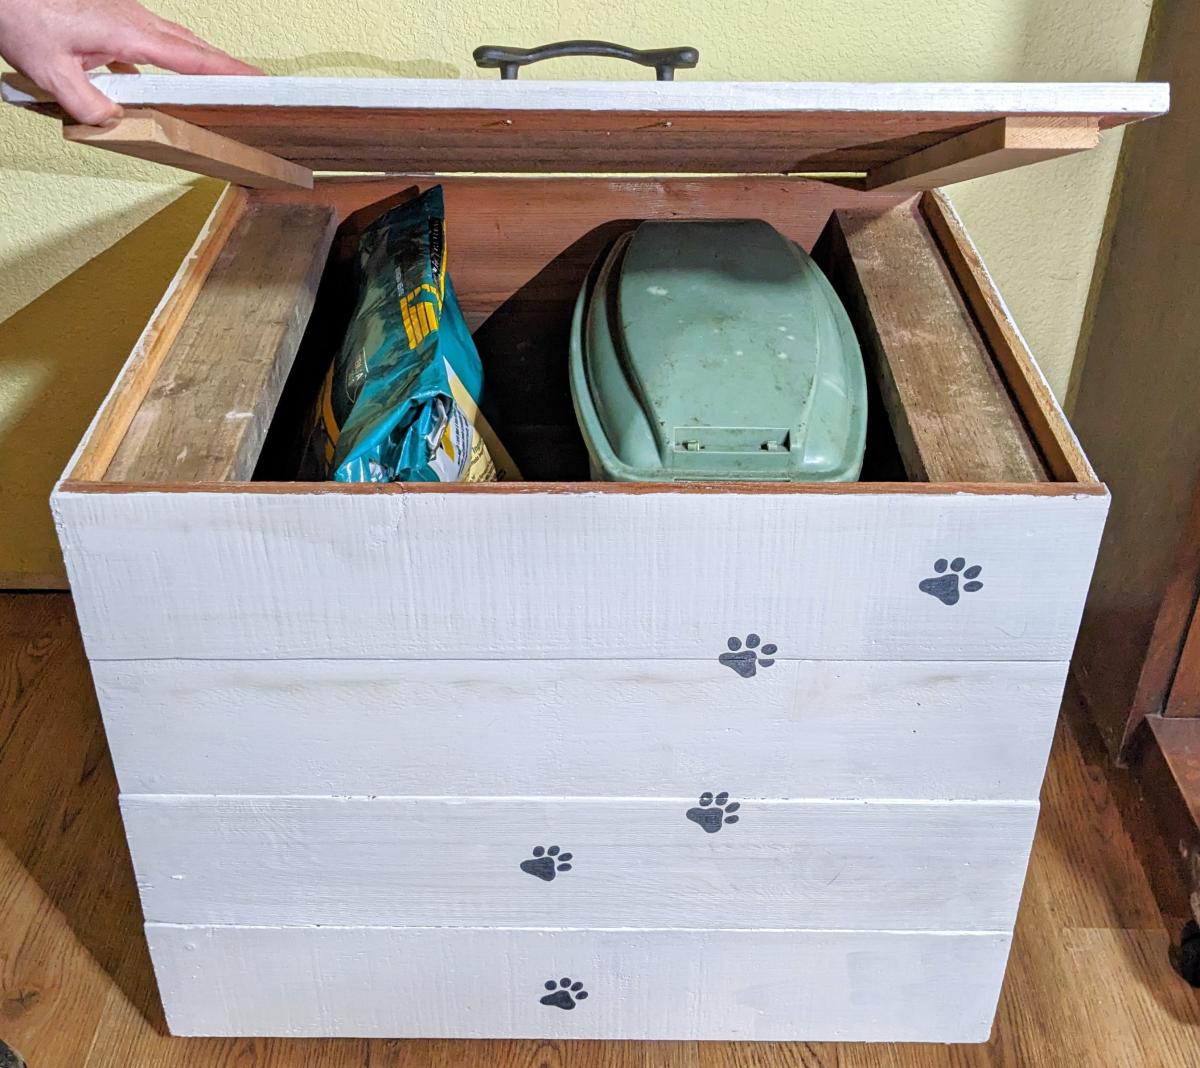
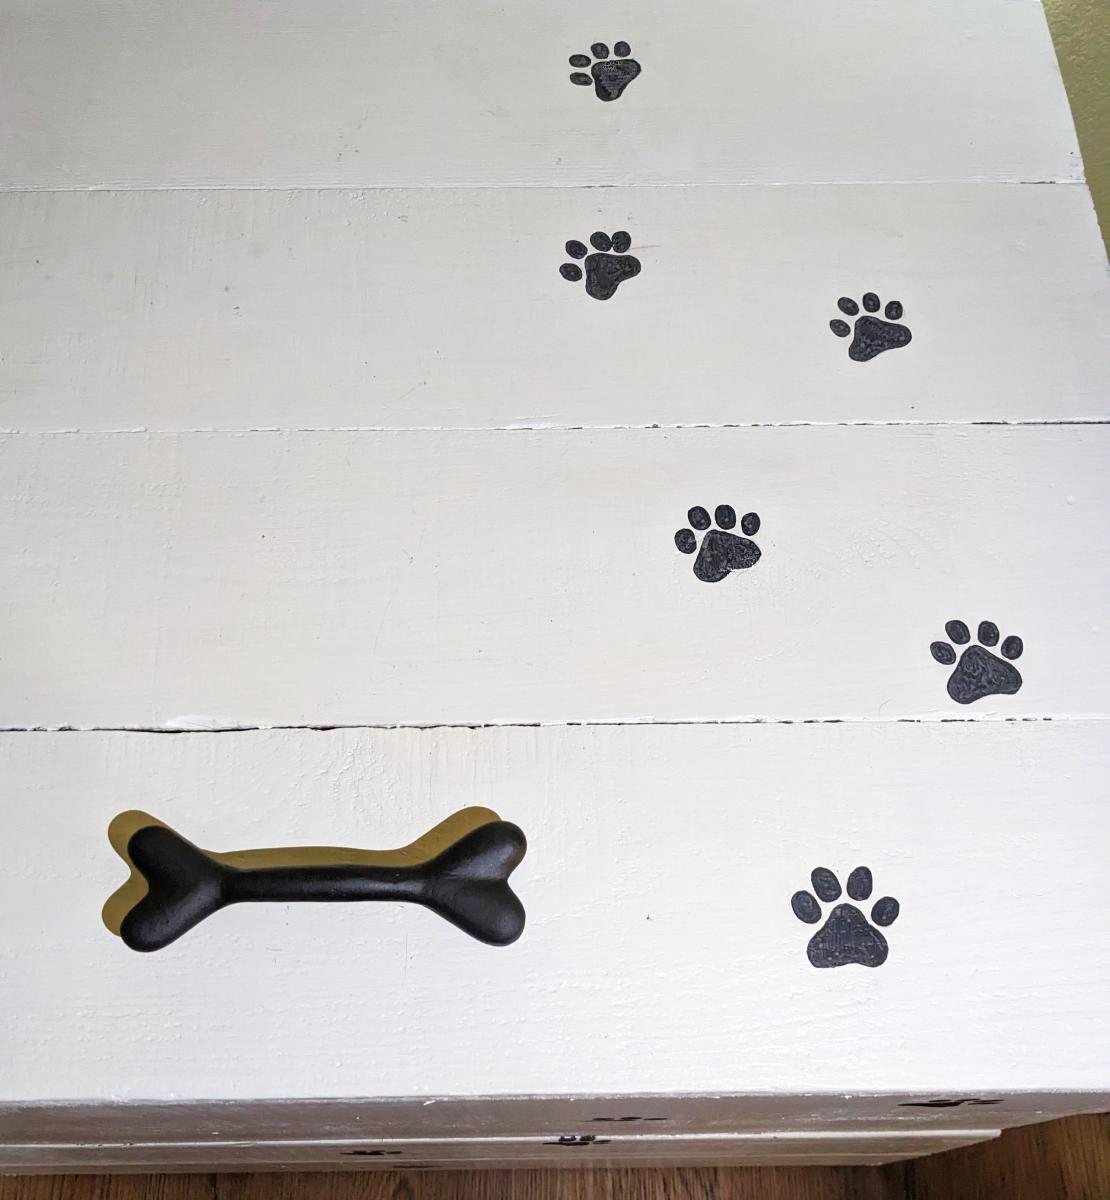
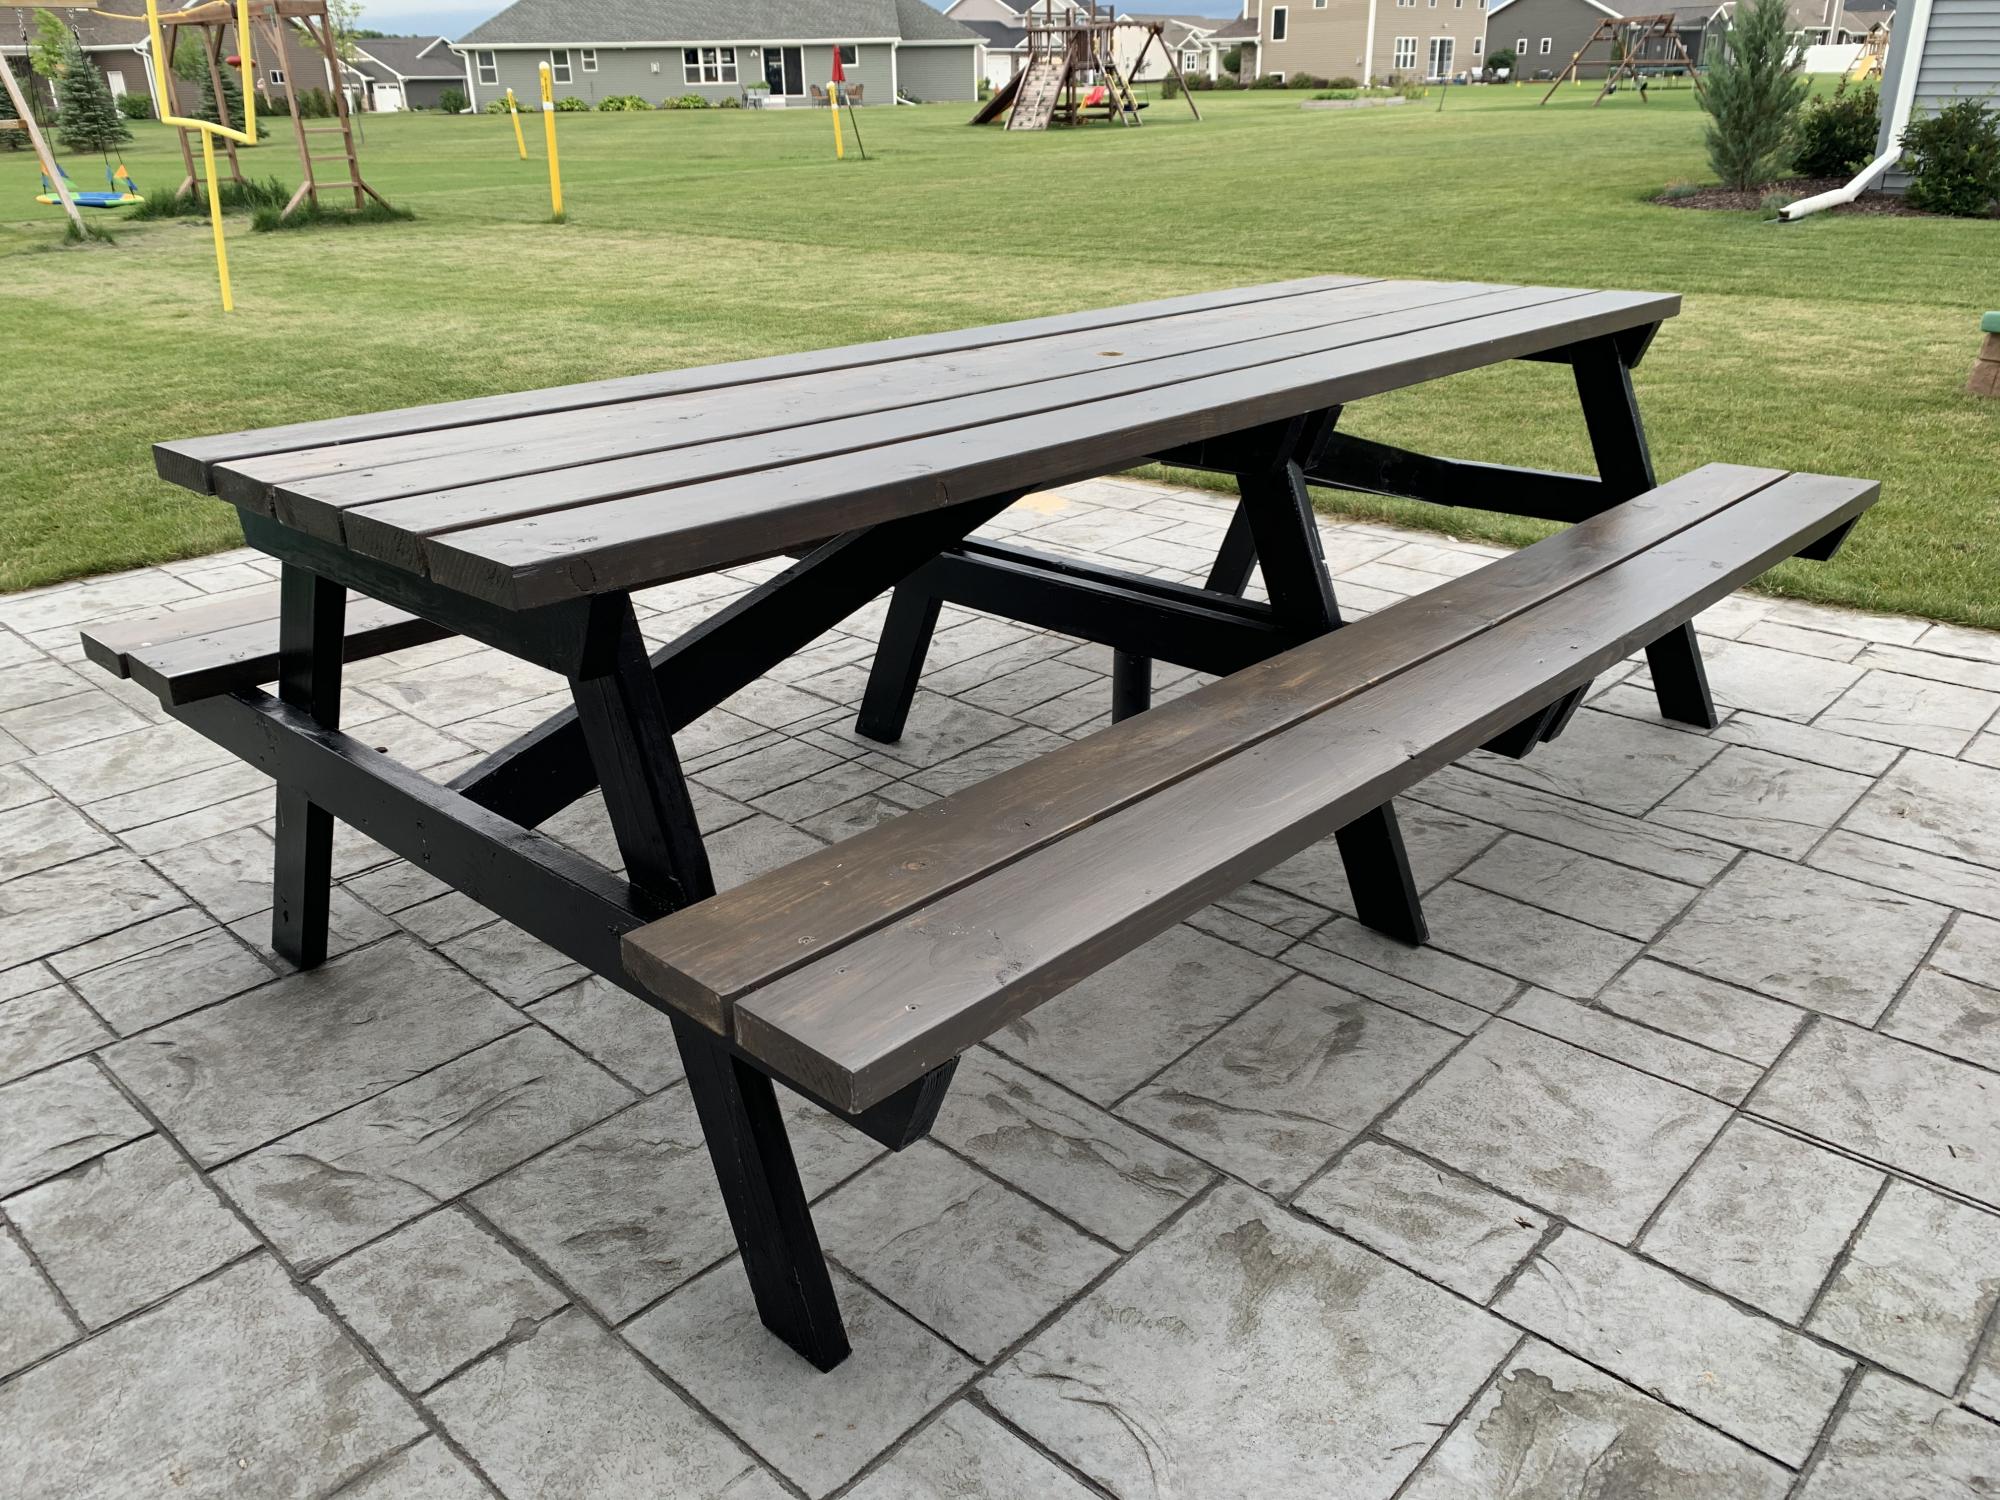
Outdoor Storage Bench/ Coffee Table
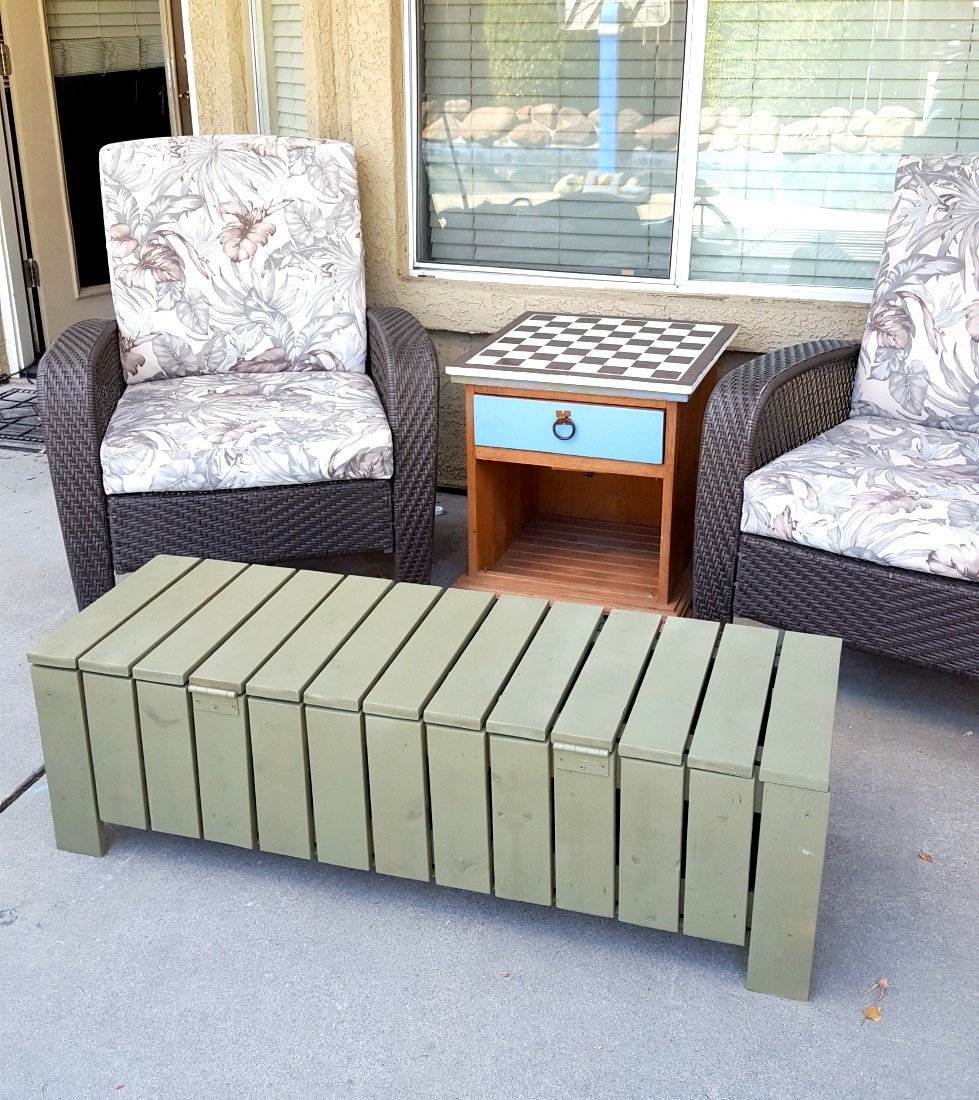
I love this storage bench! I modified the cut sizes to make it a coffee table also. I made it shorter and thinner. Now I can put my feet up on it, put a drink on it, and store some toys or garden tools in it! You can check out modifications by clicking here. Thank you Ana for the great plans!

Built from Plan(s)
Estimated Cost
$45
Estimated Time Investment
Afternoon Project (3-6 Hours)
Finish Used
Spray paint and spar urethane spray
Recommended Skill Level
Beginner