DIY Porch Swing by The Little Homesteader
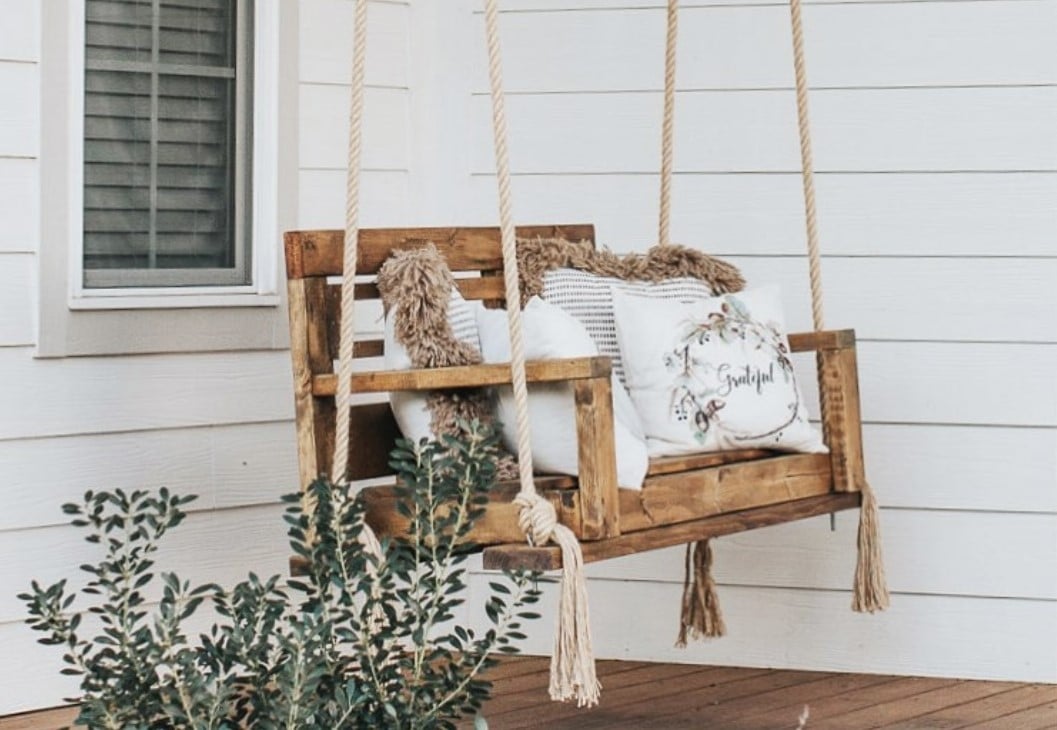
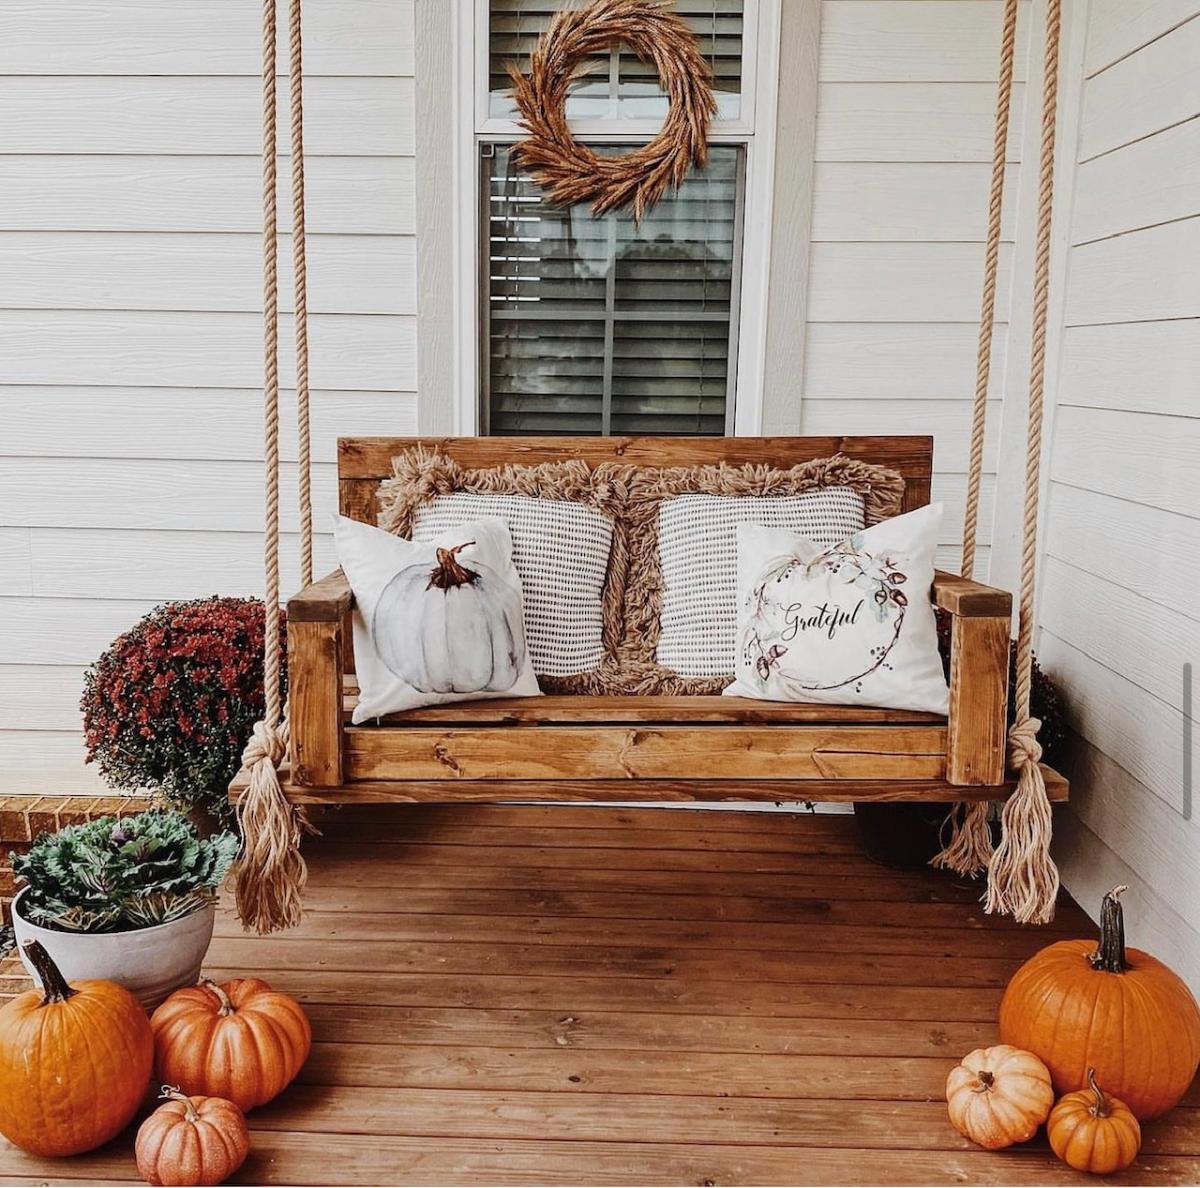
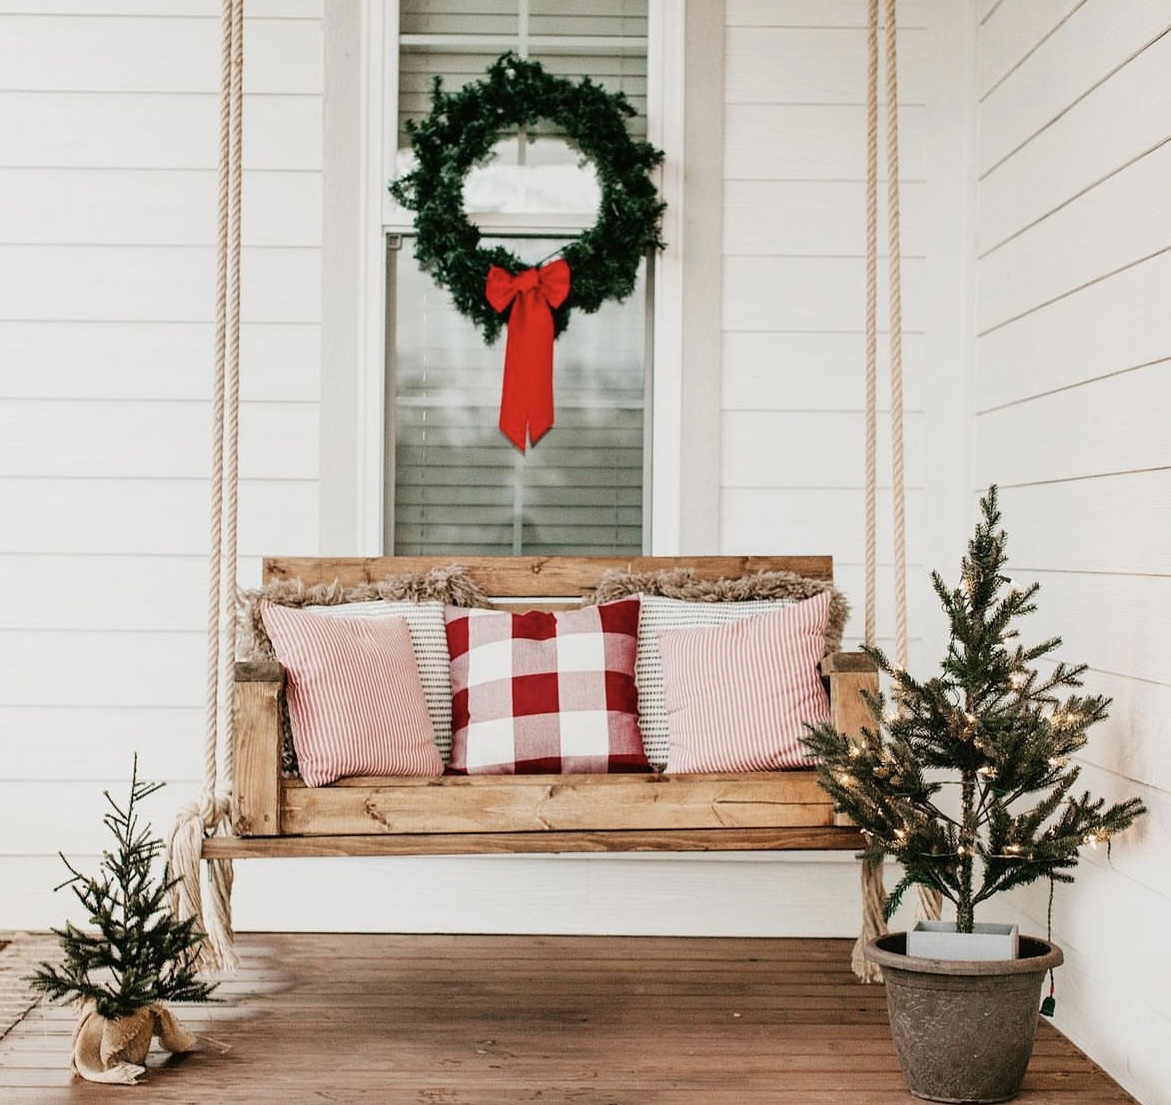
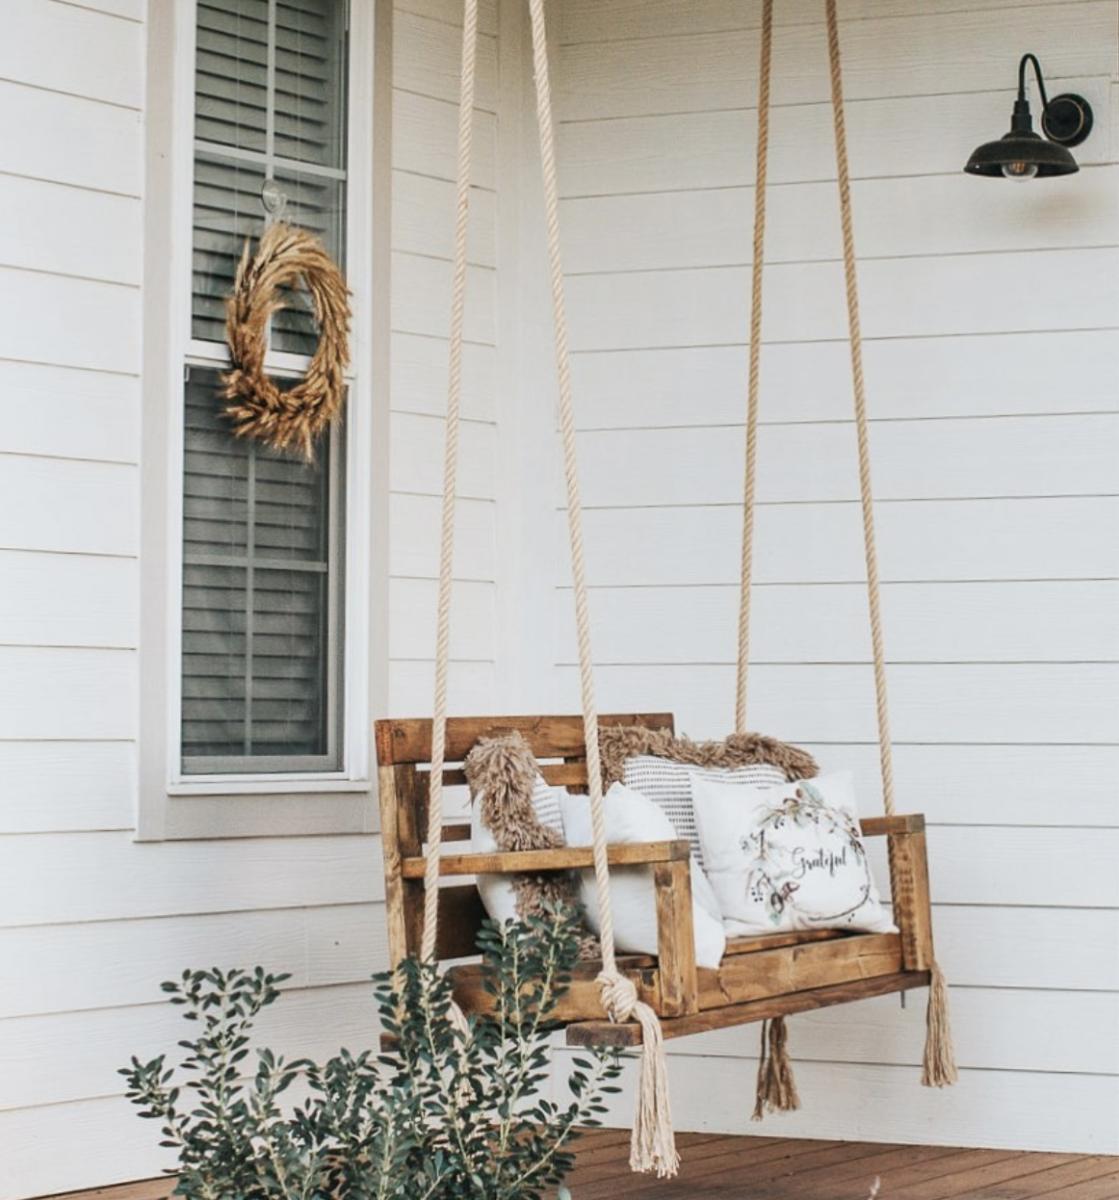
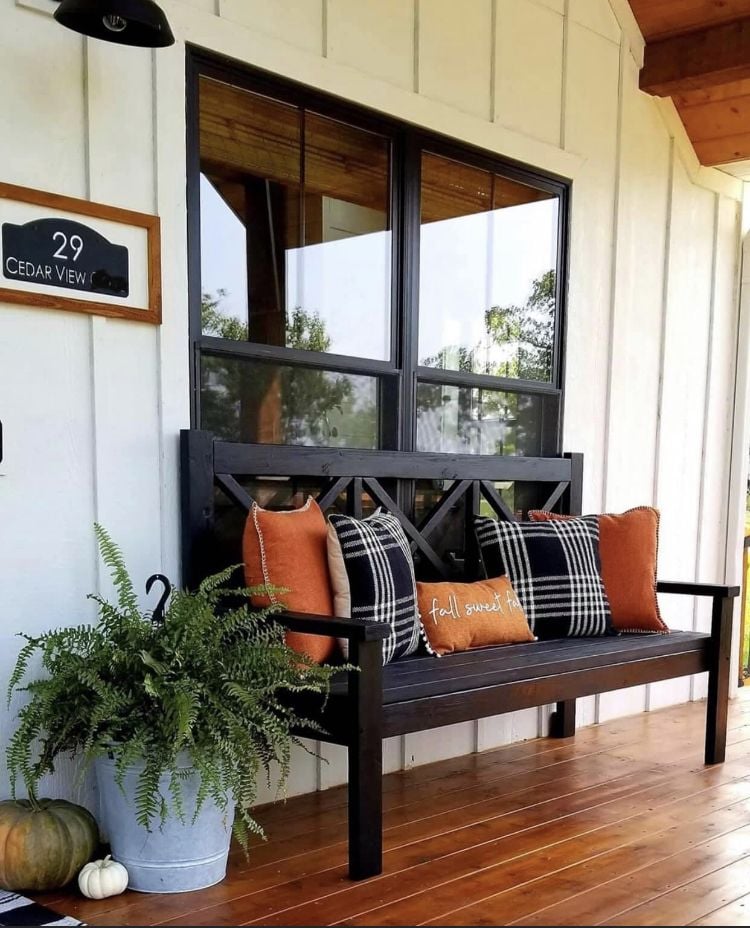
DIY Porch Swing - Perfect for any season!
Built from Plan(s)
DIY Porch Swing - Perfect for any season!

This laundry station is perfect for our new red cedar laundry room. We left the wood natural to match the unstained trim and the light color in the cedar planks. Coated with polyacrylic for a smooth finish. Thank you so much for providing the inspiration and plans for such an amazing laundry room solution!!

Mon, 06/05/2023 - 07:48
Fabulous job, absolutely love the light wood look! Thanks for sharing.

My husbands second build and it turned out AMAZING! Great plans :D

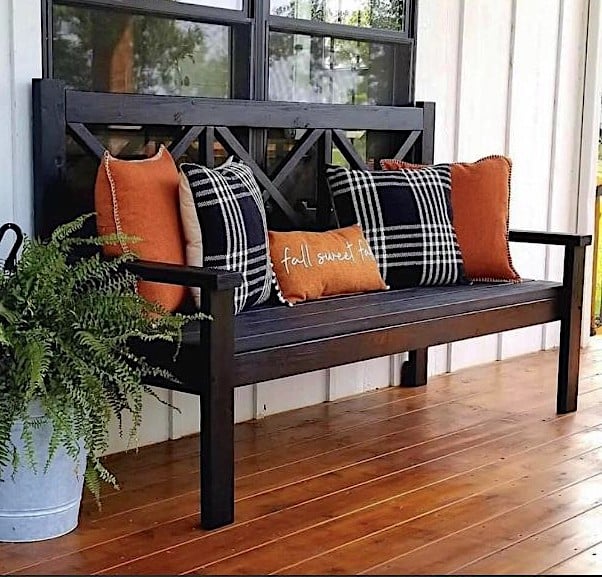
Perfect for porch sitting!

Our old pantry had bi-fold doors and four wire shelves. The pantry was functional enough, but I felt it could be more functional (and prettier) with a facelift. Going into it I knew I wanted white shelves, more storage, a counter for a coffee pot and most importantly, a home for the kegorator. I didn't really know where to start with the base cabinets until I found Ana's plans. I used her plans and modified them to fit what we needed. Thank you for the plans!


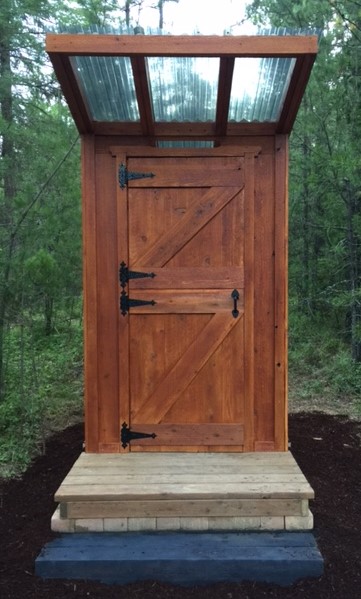
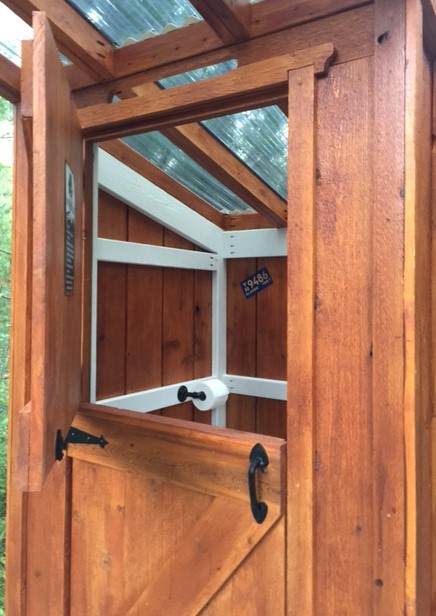
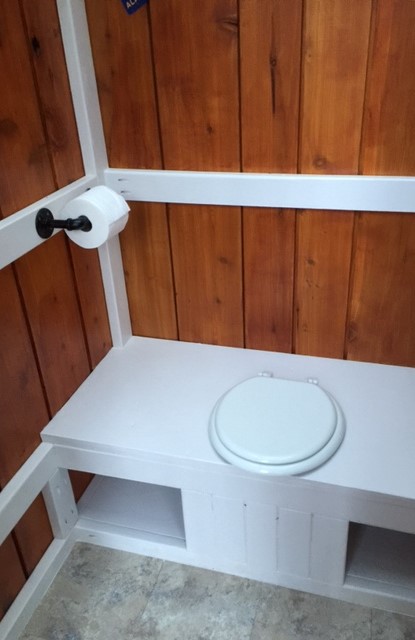
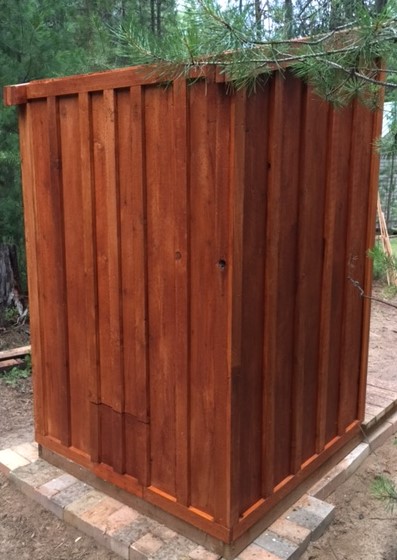
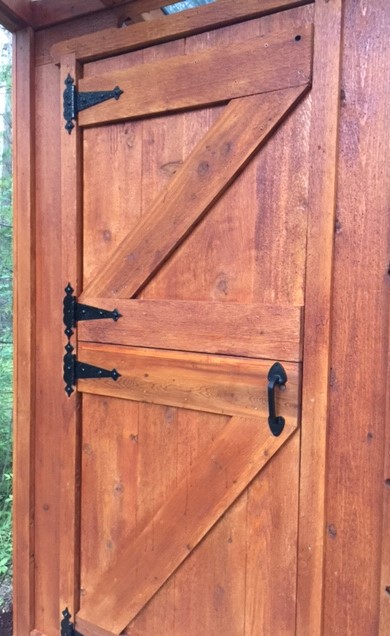
We have a small rustic cabin that needed a clean, functional outhouse. We followed Ana's plans, but with a few modifications to include a Solar gray polycarbonate roof to let in light. We also decided on cedar board & batten for the siding. We look forward to many years of use.

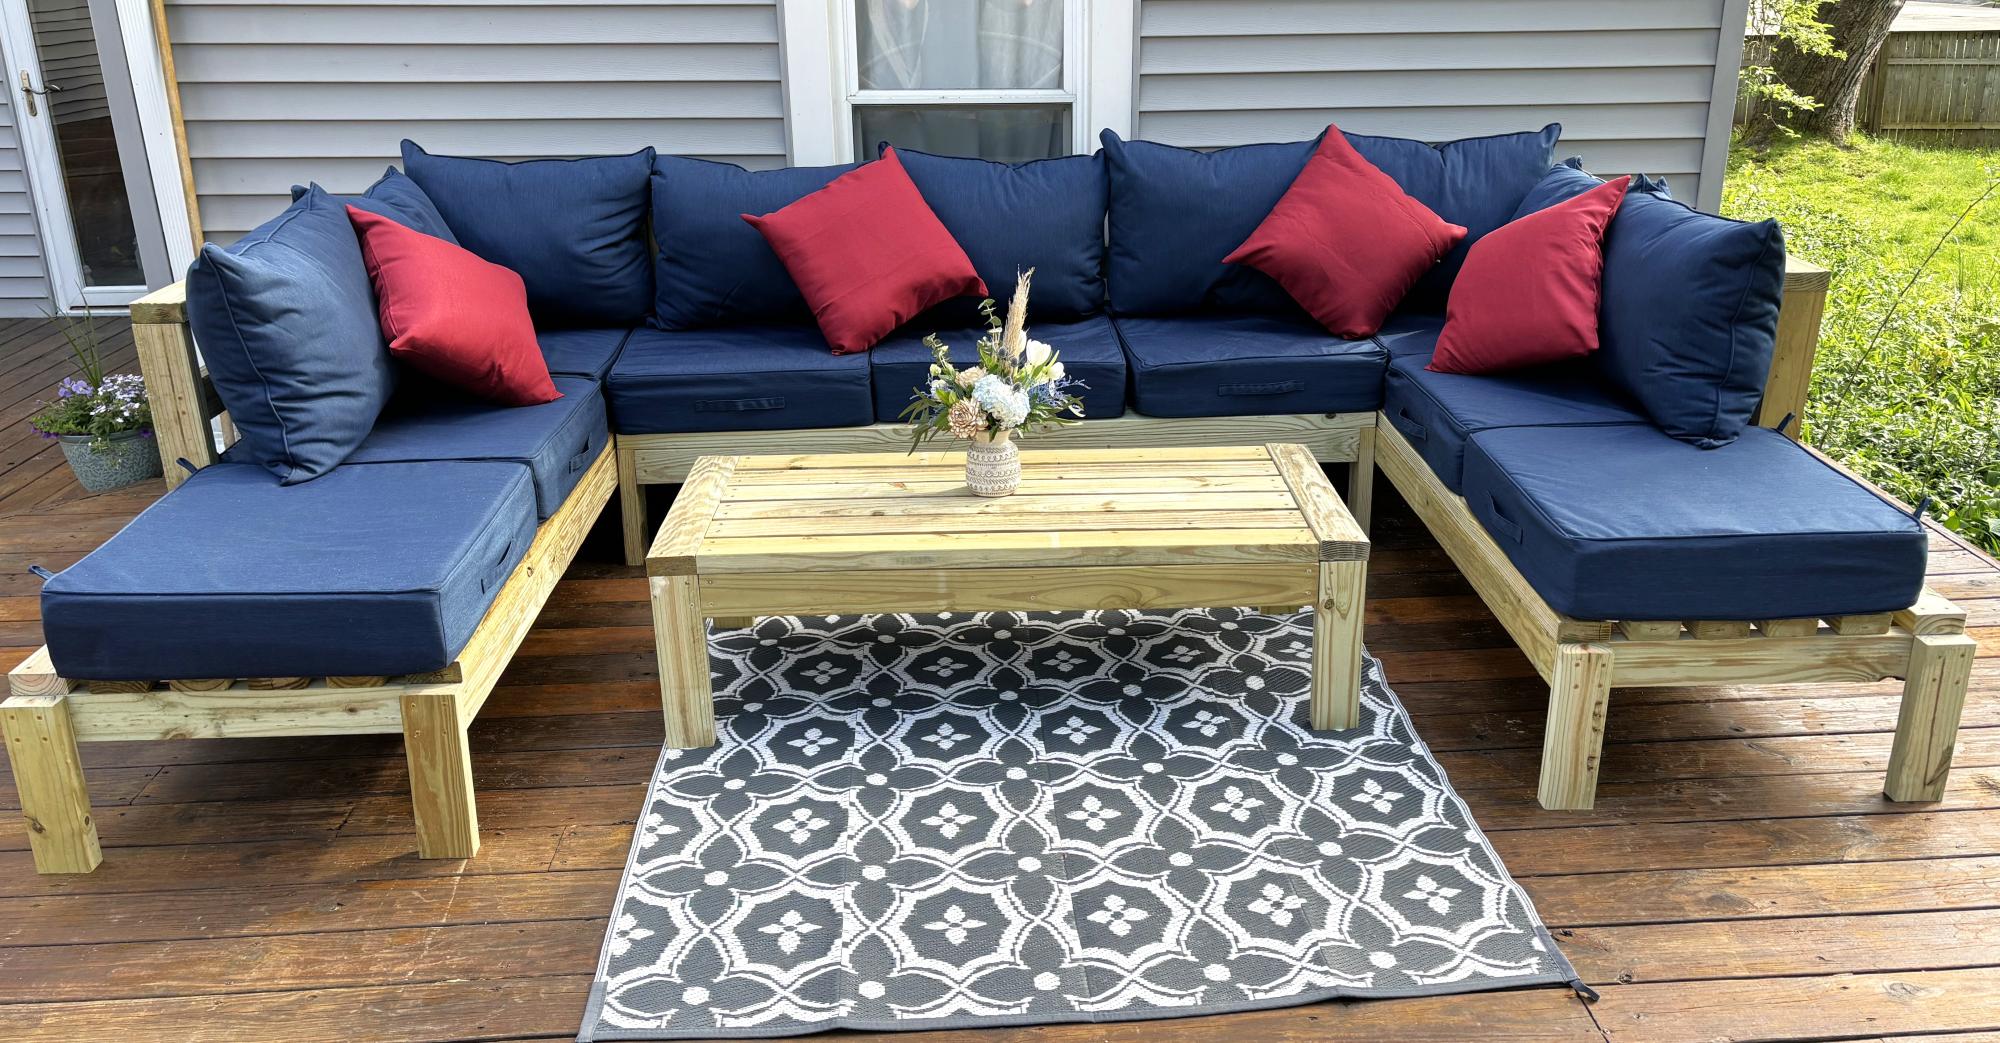
I used the armless chair plan, and altered the one armed plans to make two chaises. Then I increased the size slightly to accommodate the 25x25 pillows I bought. This took about 12 hours with one person working. I am super proud of it! Finished today, and will eventually stain after the wood has dried out a little. Thank you, Ana, for making straightforward plans that gave me the confidence to do my first woodworking project!
Andrea in Michigan

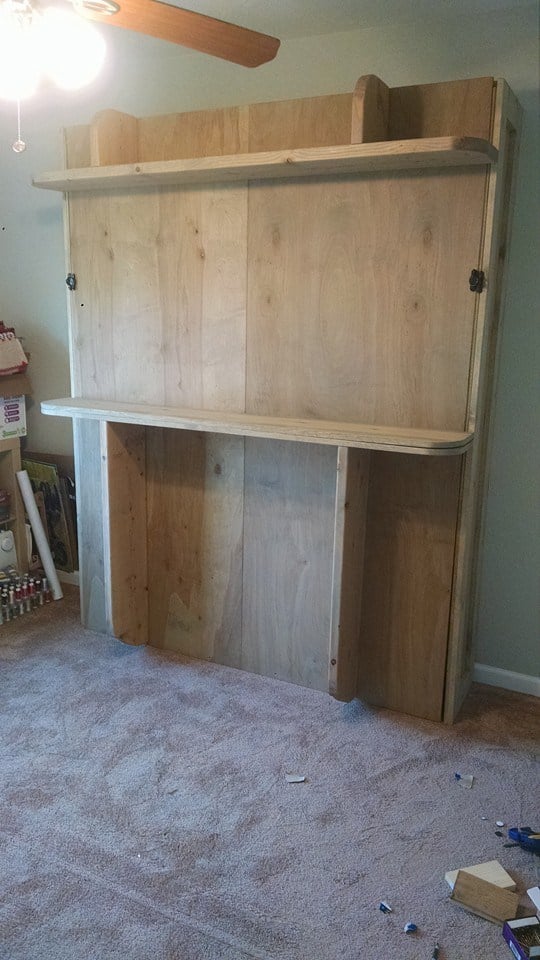
Built this desk/hutch for my 4yr old granddaughter. Combined and adjusted 2 plans to fit a $5 large shelf that I found in the IKEA as-is section. I have the cubby divider cut and painted if they decide to use it. A cork board panel was added to the large hutch space for displaying projects. The best part, the desk can easily be made longer when needed. The bookshelf legs detach from the desktop by removing a few screws. The hutch can also be adjusted with a little more lumber and some creativity.


The corner seating plans i made off plans and my own decking( which i need to finish off).
Jodi

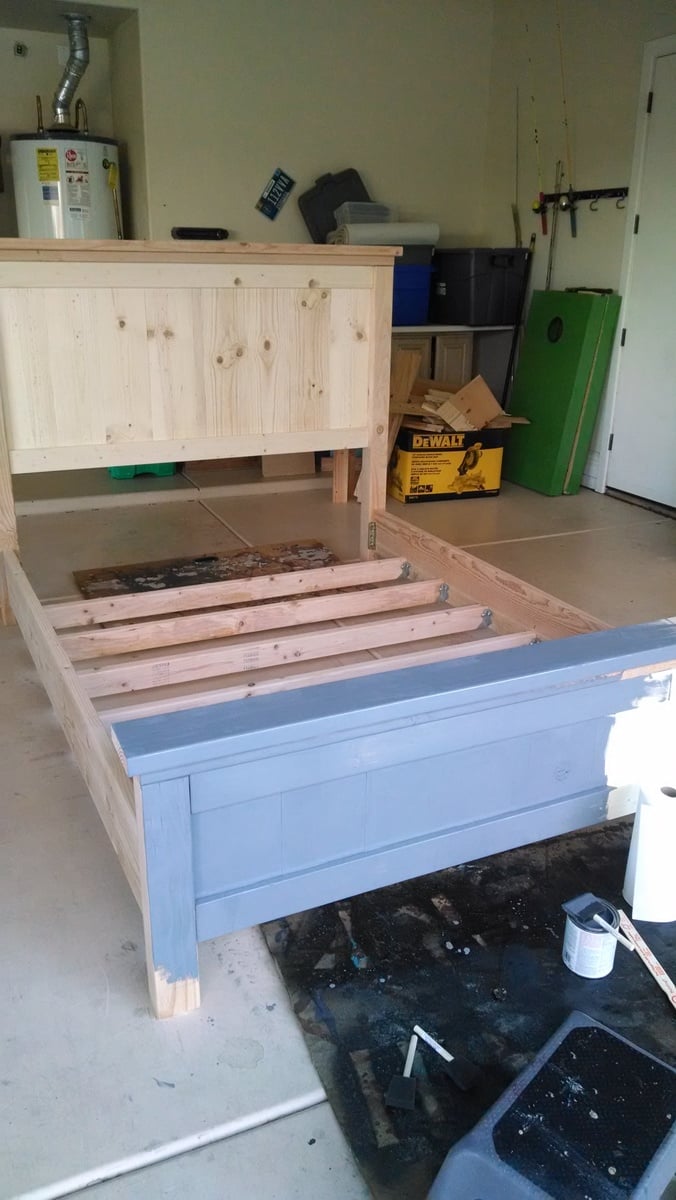
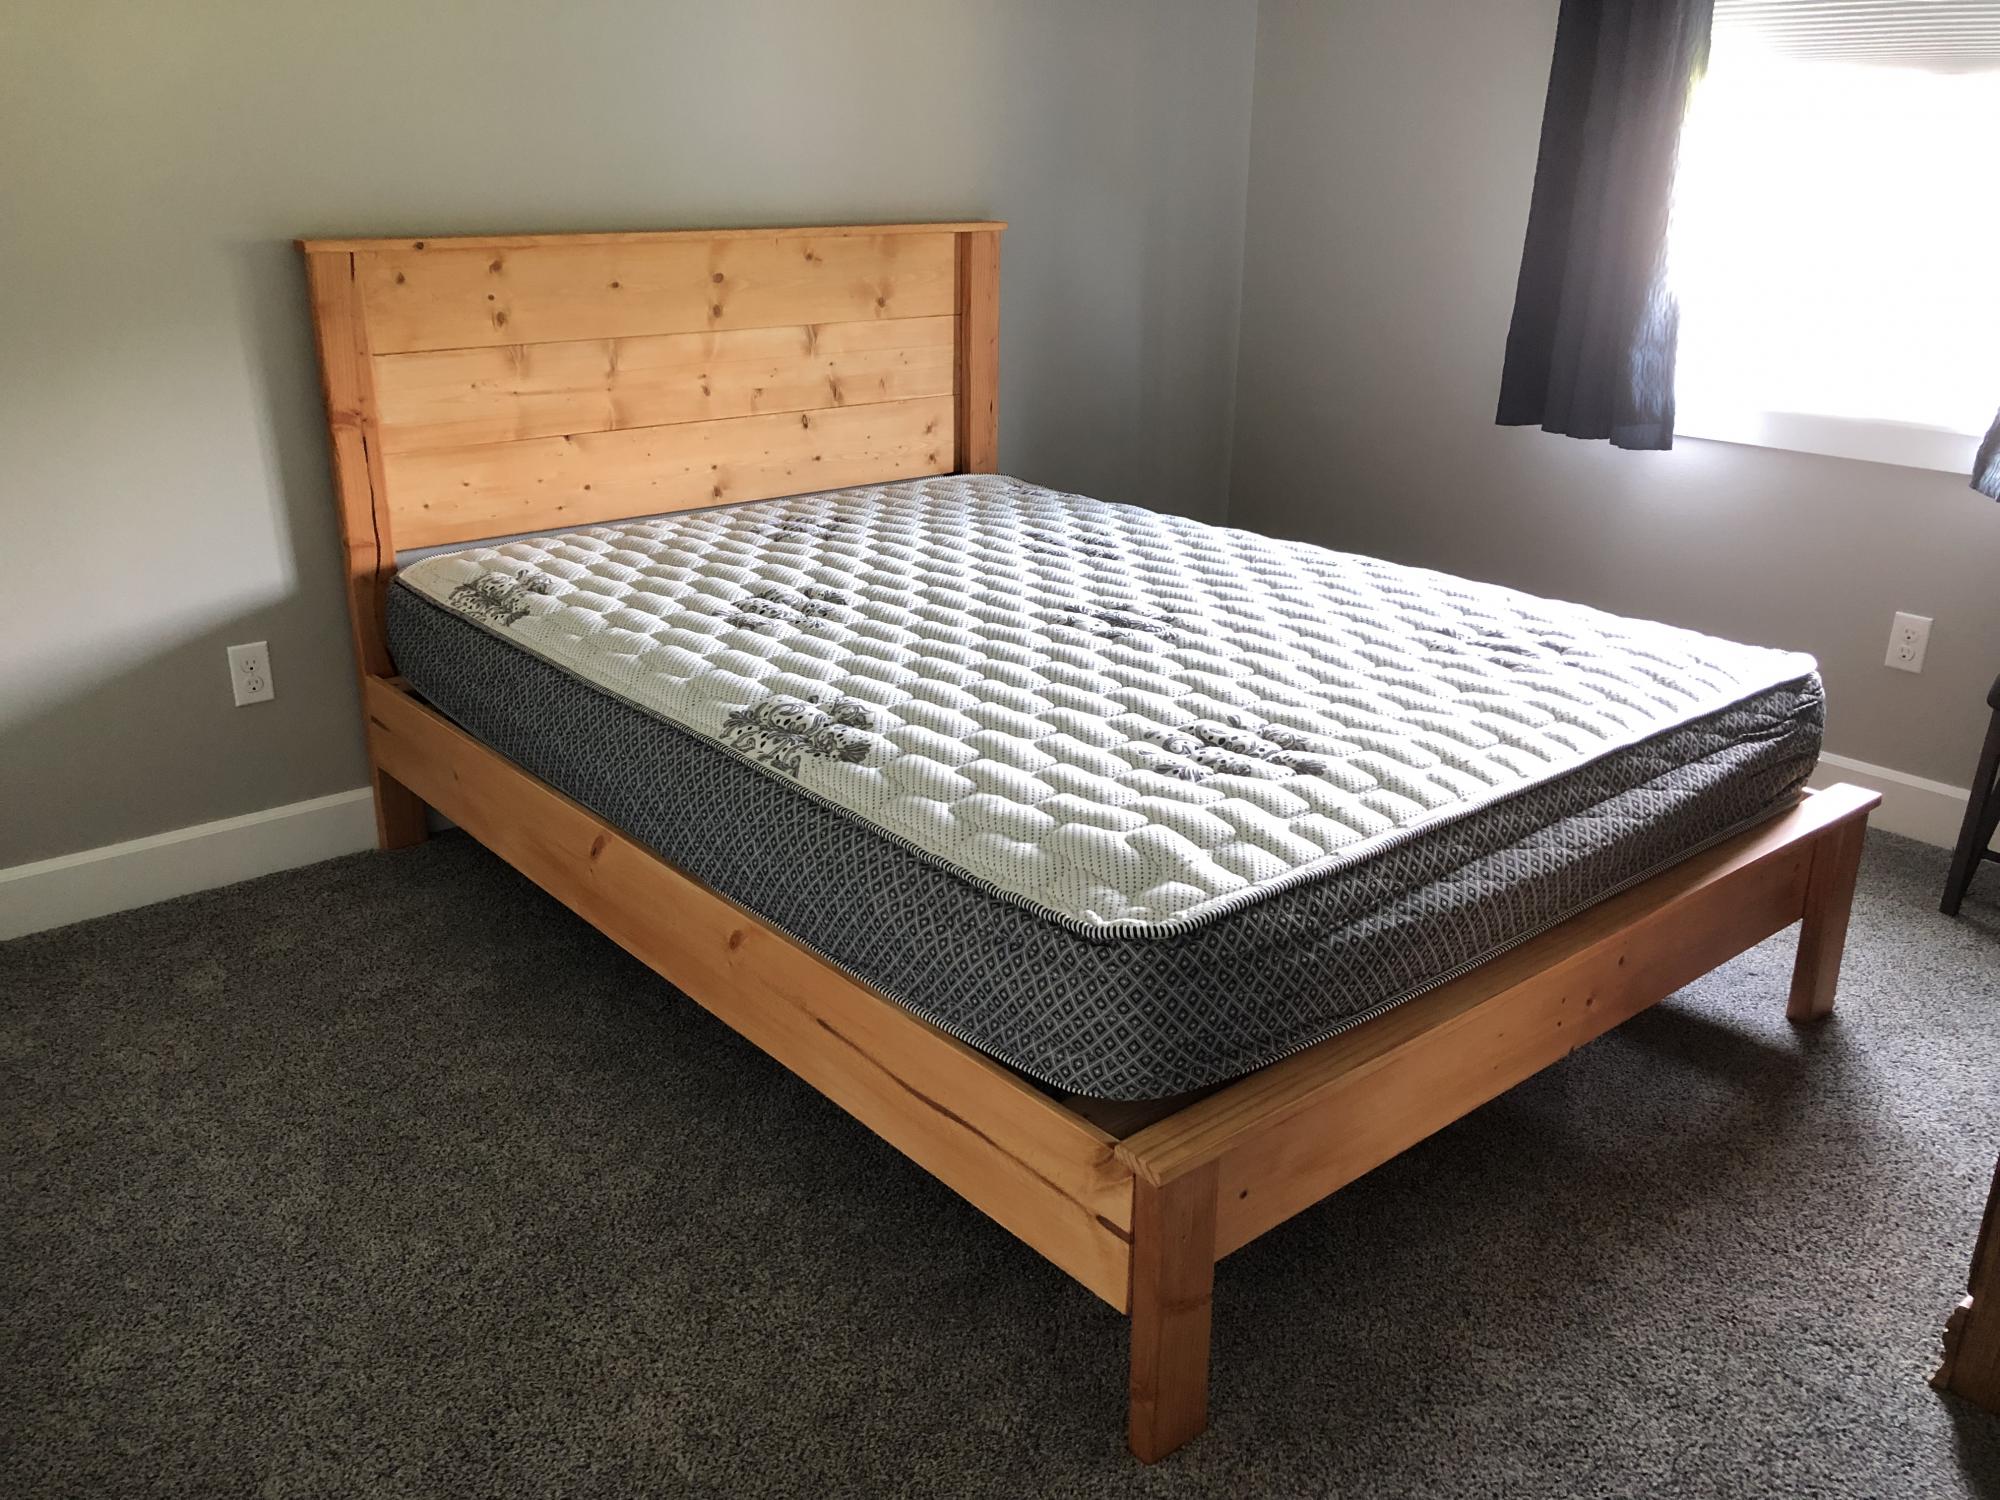
After dreaming about a new bed for ages, I finally built up the nerve to make our own. This was actually pretty easy, but it helped to have hubby there for some parts, just because of the size and weight of this thing.
My 1x8s were 7.25", so to compensate, I just added a single 1x2 in the middle. Perfect fit!
We like to move (!) so we modified the bed to be easily moveable. I purchased some heavy duty bed hardware from Amazon ($25) and deck/joist hangers from Lowes.
I put the deck hangers on the bottom of the 2x10s, and the 2x4s sit vertically and free in the hangers. So, next time we move, we'll just pick up the 2x4s, and unlock the 2x10s from the head & footboards and take off! :)
We lowered the 2x10s so that the total height of the mattress + box spring + vertical 2x4s wouldn't be too high for me to climb on to every night. I have knocked my toe nail on the side rail a couple of times already, so maybe in hindsight I should have raised it a teensy bit.
I did forget to decrease the length of the side rail, since we didn't hang it on the inside like Ana did. That's an easy fix, though.
For the finish I used Weathered Gray stain first....and freaked out because it looked SO gray! But I convinced myself it would turn out, so I kept going. Next I did some heavy sanding, followed up by Special Walnut stain. Finished up with a coat of furniture wax over the layers.
We LOVE our new bed! Thanks, Ana, for the plans and your website! Next up: replacing those 1999-era side tables and dresser! :)


Thu, 02/12/2015 - 00:05
Great job on the bed! I like the rest of your room too!
Thu, 11/05/2015 - 09:57
Love the changes made to the bed. Will definately make it easier to move (or put in the room in the first place.). You mentioned that you had to shorten your side rails. How long did they need to be?
Just finished up my Murphy Bed project. Hope you like.

Mon, 03/09/2020 - 20:30
Amazing. I’ve seen these and have been looking for plans. May just have to dive in and interpret from pictures. You did a really great job, nice work.
Wed, 12/22/2021 - 14:06
The plans are for a different bed than the one in the picture.
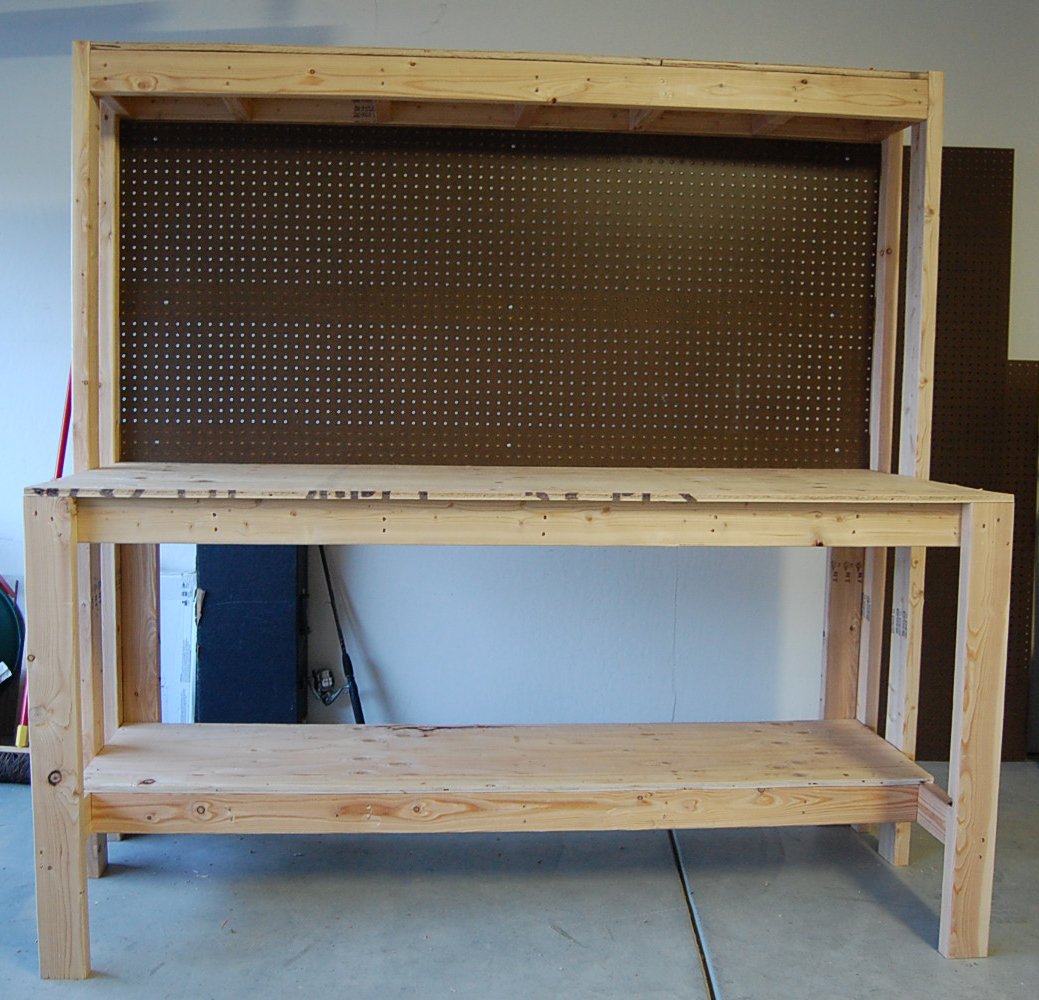
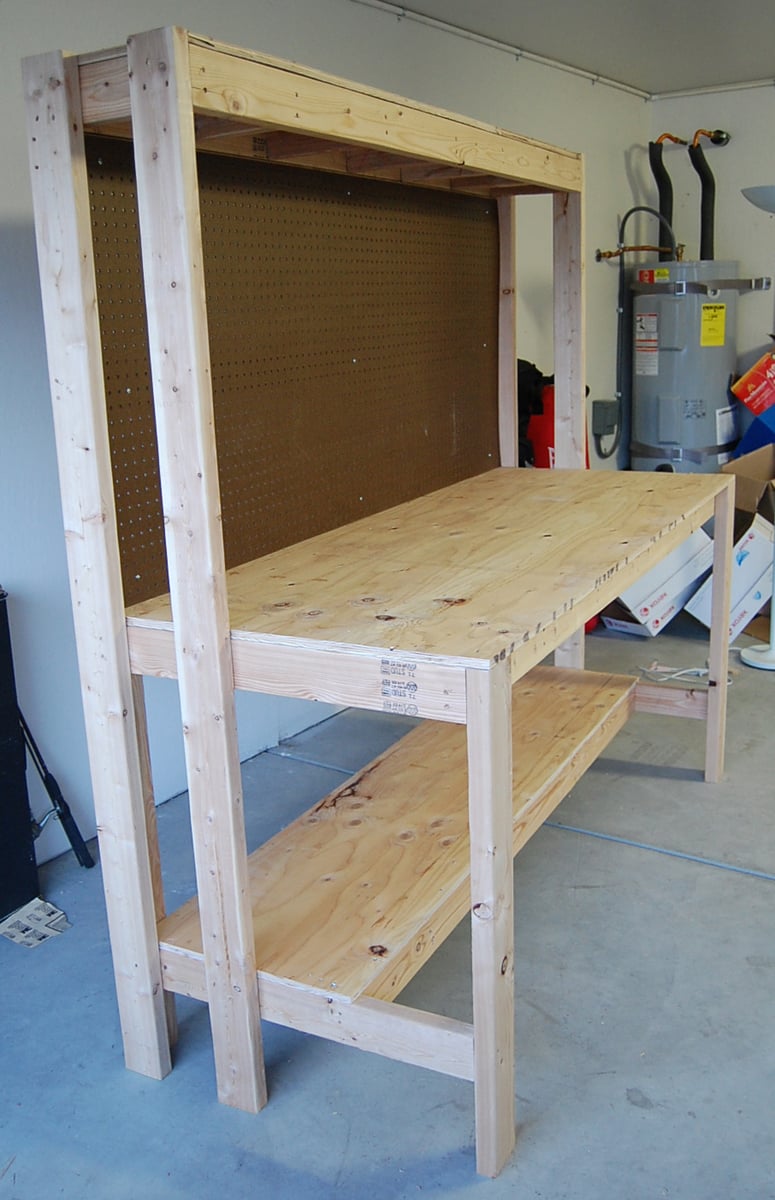
This is our 2nd project - we liked building the bookshelf so much, we decided we're gonna keep going and need a good workbench. Got these plans from the Family Handyman Website (http://www.familyhandyman.com/DIY-Projects/Woodworking/Workbenches/how-…). They claim the cost to be $50, but it was closer to $80 for us - still a GREAT project and easy to put together with the nail gun.
Sat, 04/16/2022 - 07:29
No working link. Cannot find this or the plans.
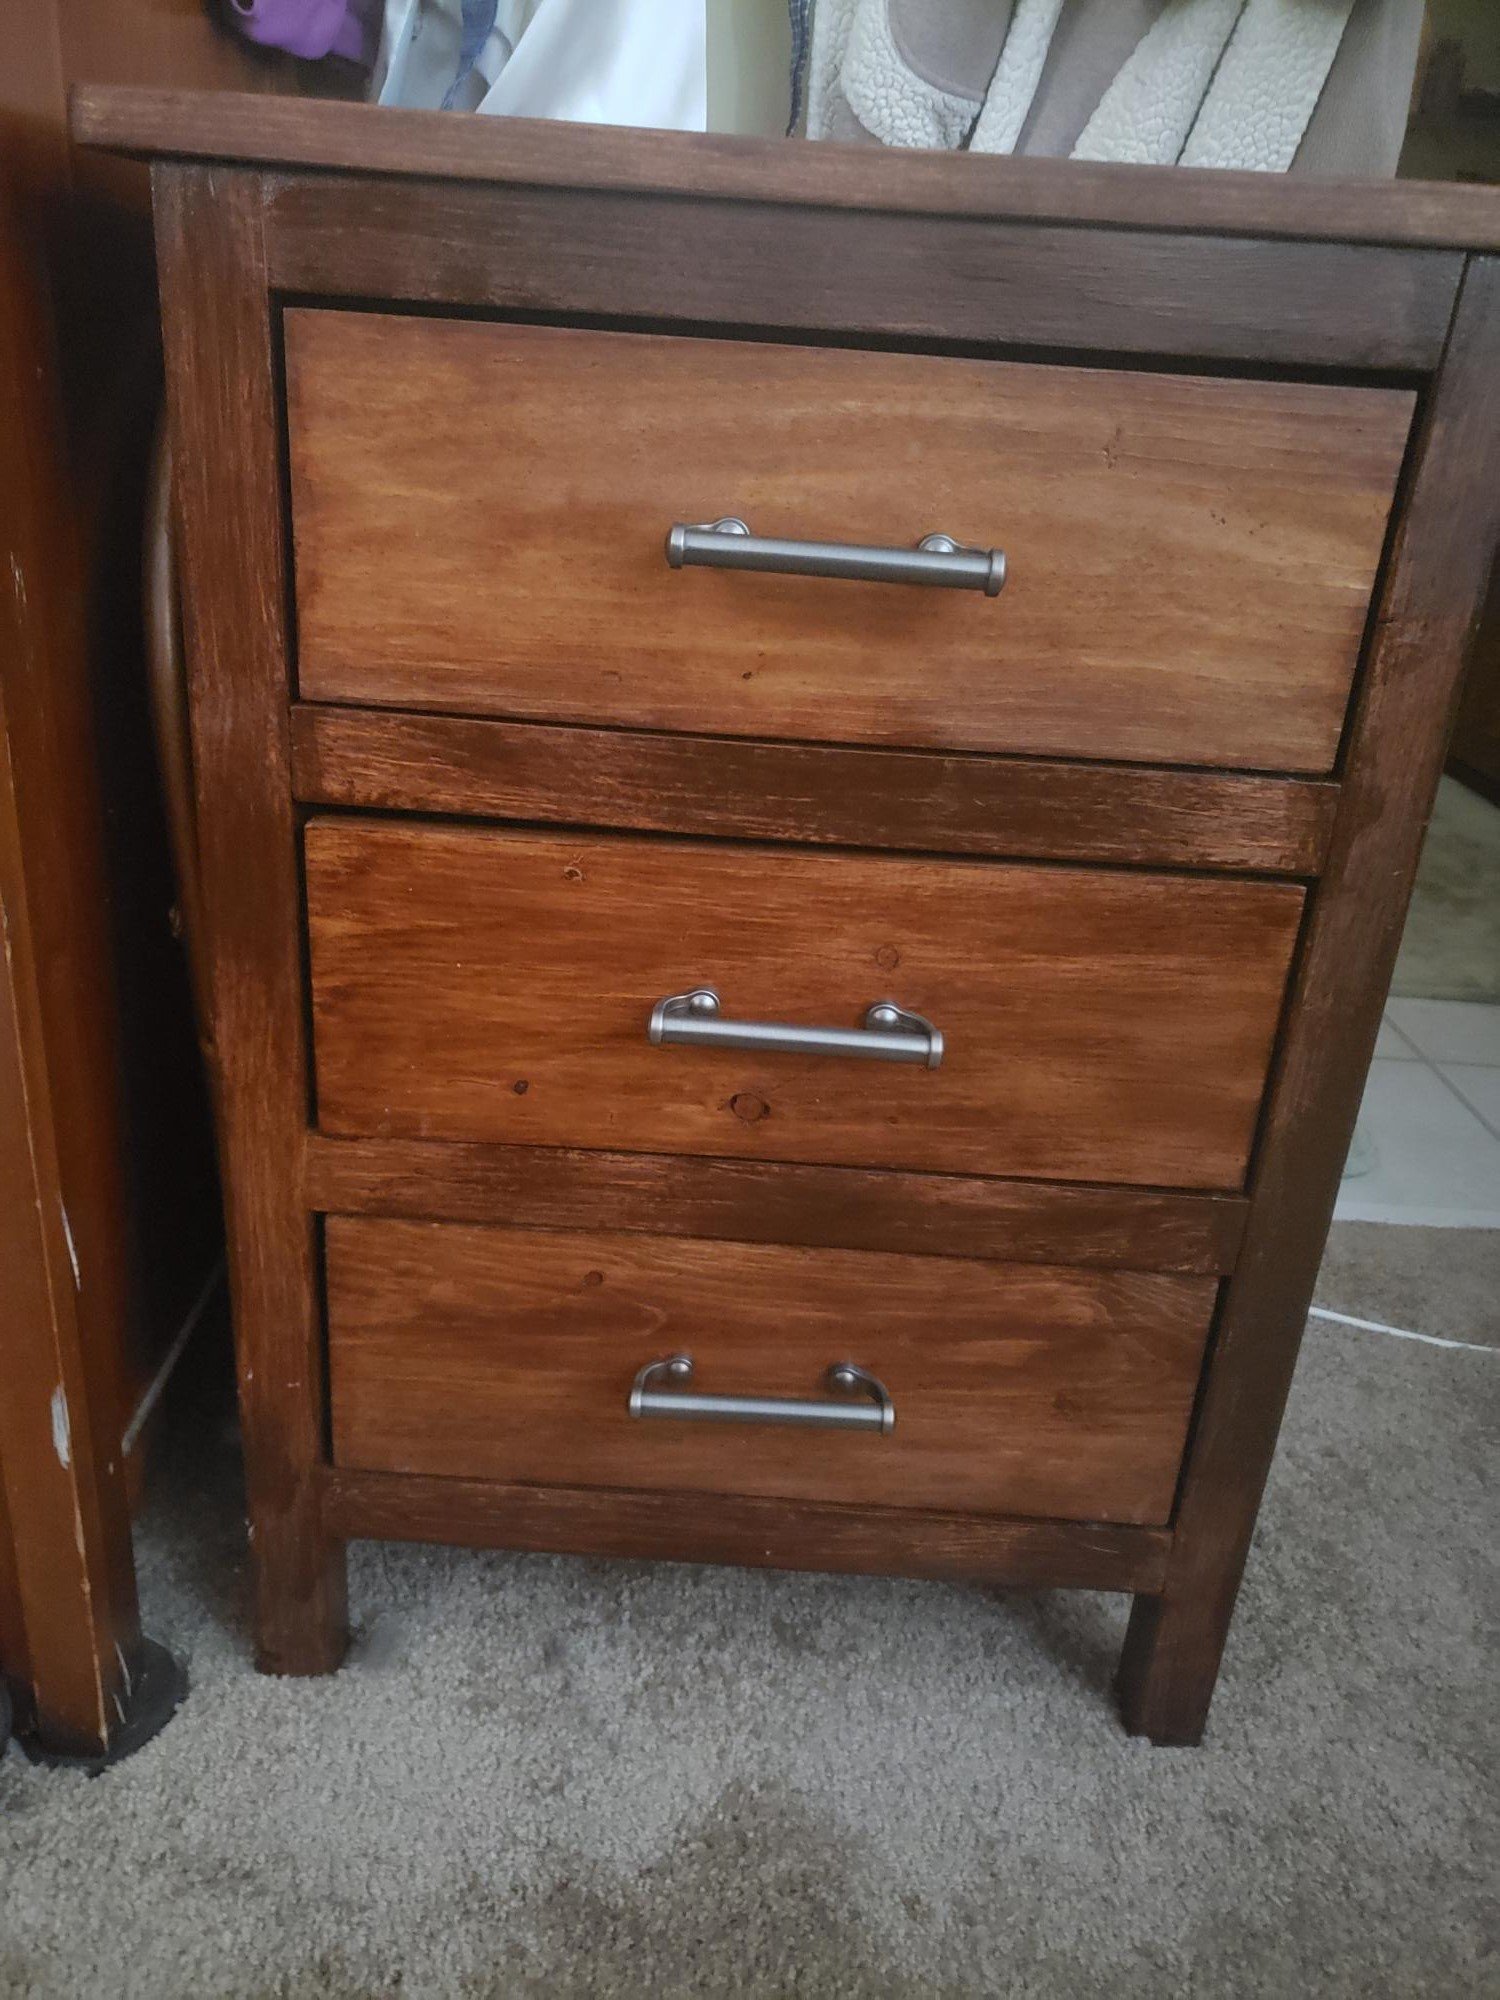
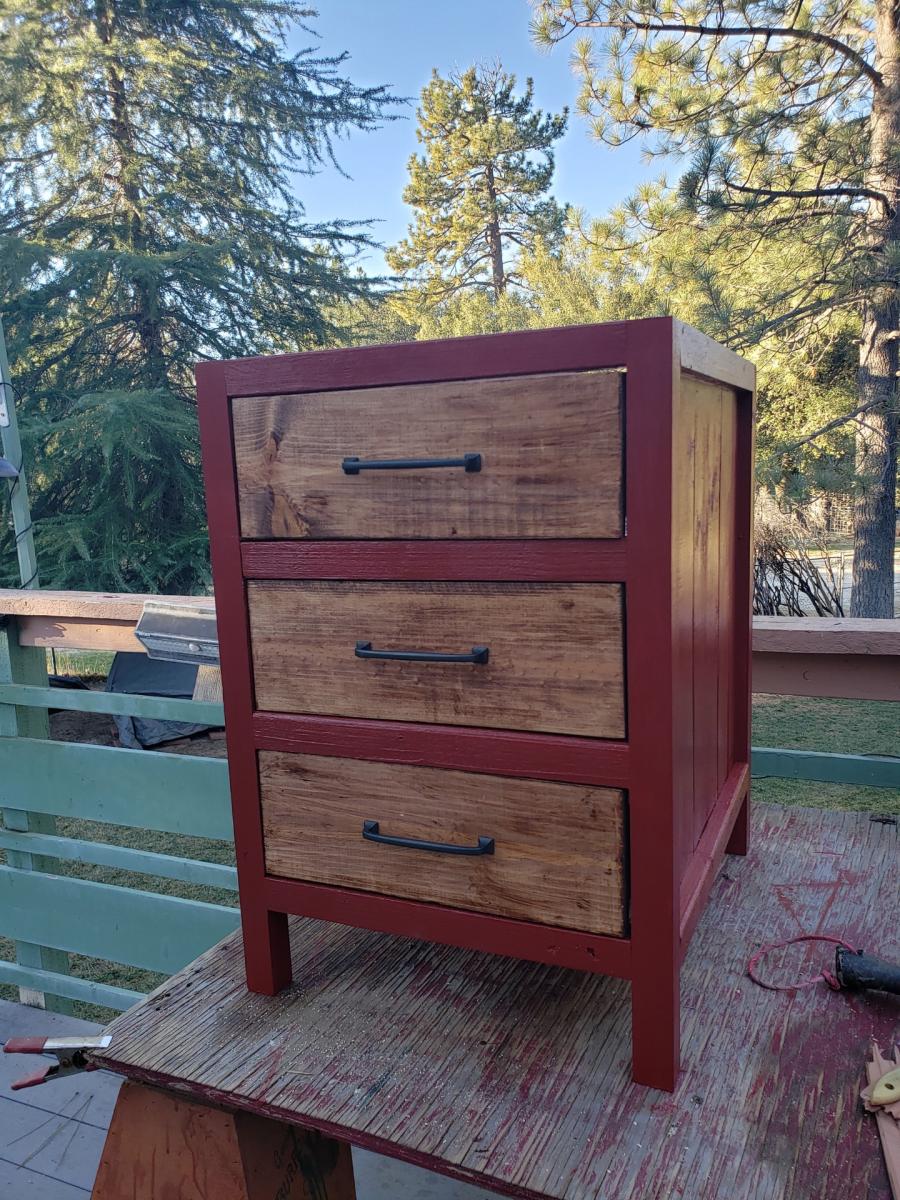
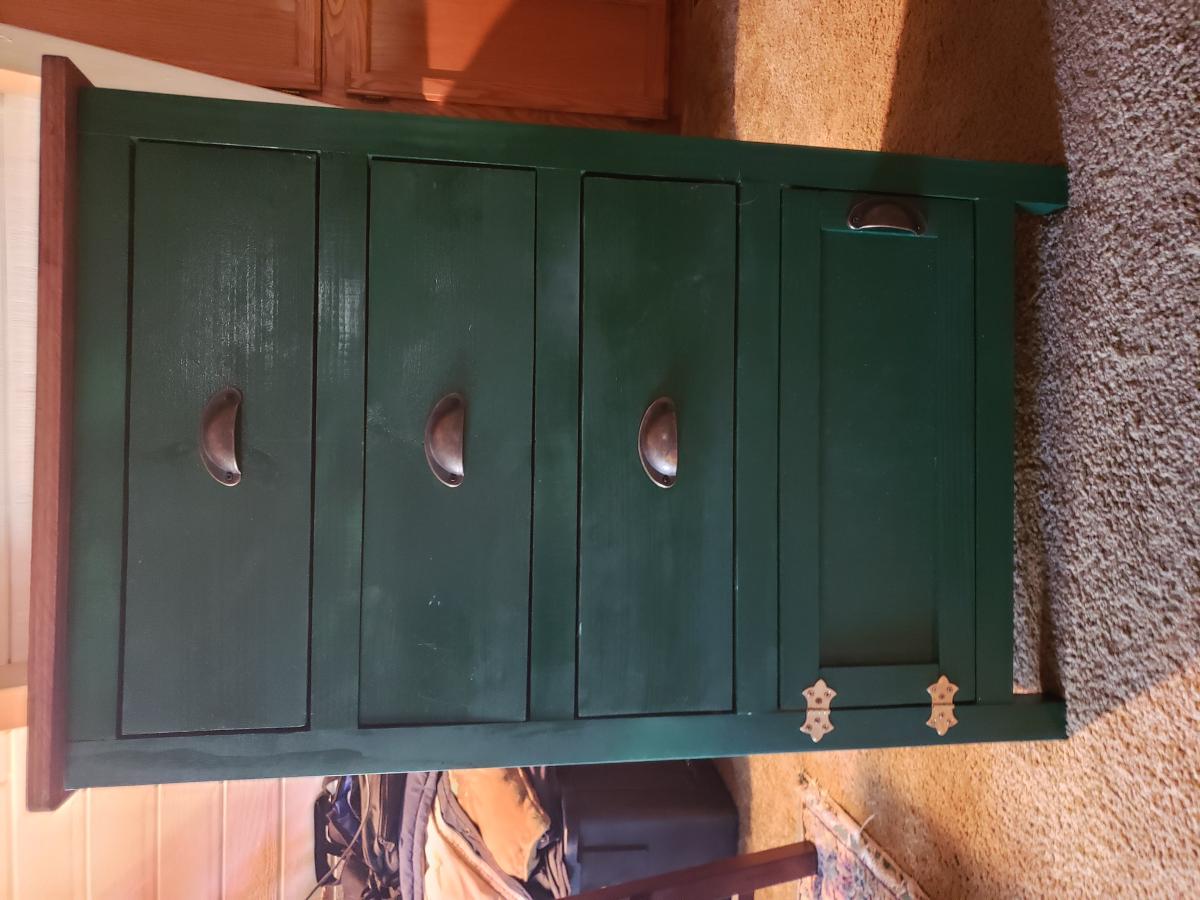
We took this plan and modified it a bit. The first photo is as a nightstand. We resized the red cabinet, made it deeper and a little wider, gave it a contrasting finish of chestnut stain on the drawer fronts and barn red on the body to make my sewing storage/desk (2 cabinets with a hollow core door on top). The green cabinet is higher and wider, with a cabinet at the bottom. This is used in our stained glass shop at a Renaissance Festival in a remote area, which is powered by hidden solar. The drawers house my paperwork and sales tools and a solar inverter in the open back cabinet at the bottom.
I love having this new addition! Freed up space in my small shop and now it’s more functional and organized. I followed the plans with modifications in the leaves using scrap 1x’s (which I may decide later to change to 2x4s but I had 1x’s on hand) instead of the brackets and then the extra 1x’s holding on the leaves so they would fall flat to the sides. Love it!

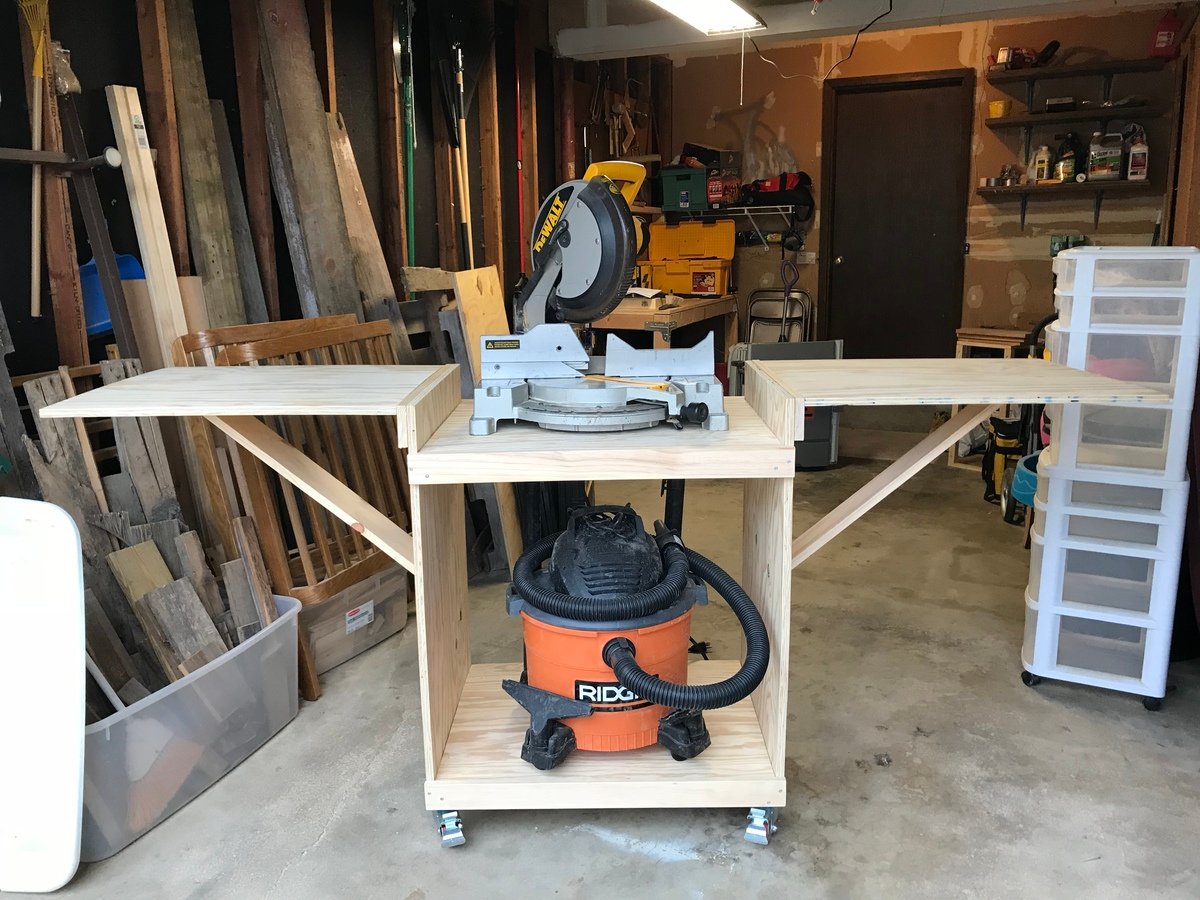
As a complete beginner in wood working (unless you count a year of woodshop over a decade ago), I decided that building a cart for the miter saw I just bought would be a great first project. So what did I do with that brand new miter saw? I left it in the box and made all of the cuts with a circular saw. Not sure what I was thinking there...
I mostly followed the excellent plan provided here but used wooden arms to prop up the wings in order to save on cost. I got the idea from the folding sling chair plan. It took quite a few screw ups and adjustments of the lower support bar before getting one of the wings level but I got it eventually.
Update 8/20/13: The miter saw has been a joy to use with the cart and the big flip up wings provide a ton of really convenient work space in addition to stabilizing 8 ft boards for cutting. I added a sliding drawer and some utility hooks for additional storage.


Thu, 08/01/2013 - 08:10
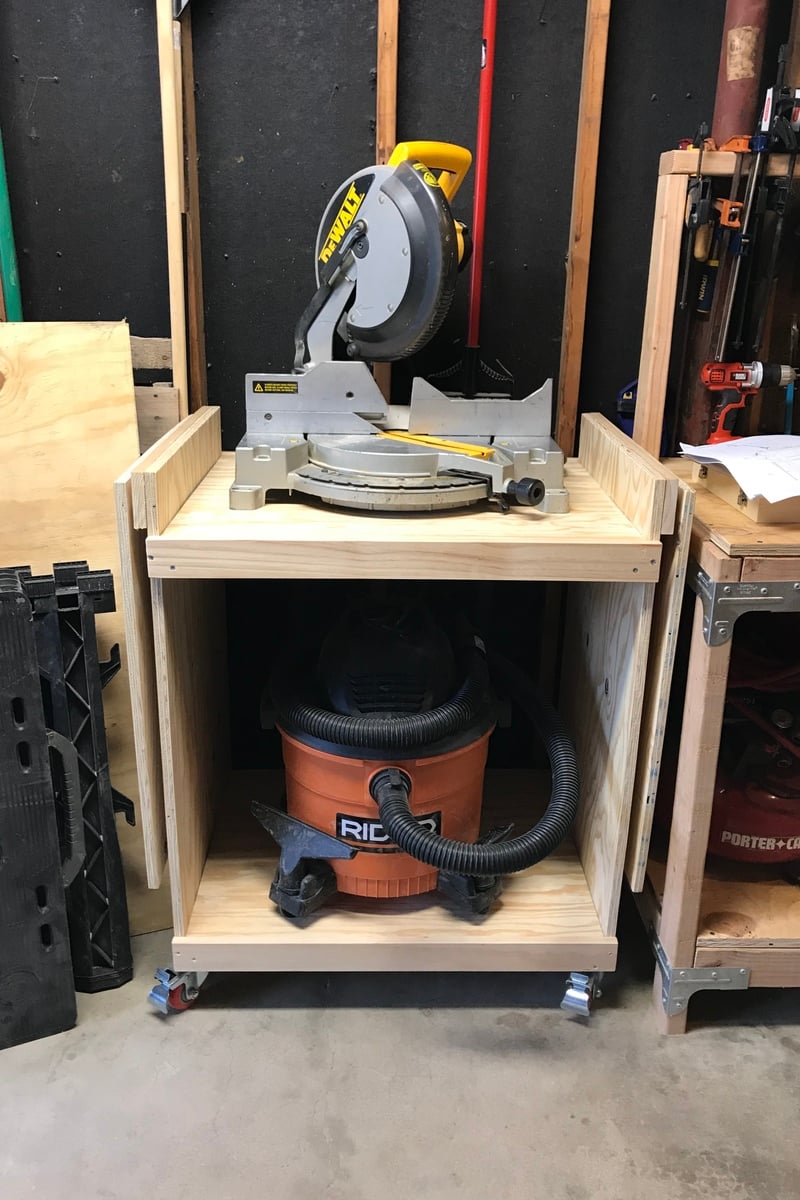
I originally just had a 2x2 and two blocks to hold up the wings on the cart. They kept falling out, so I replaced them with hinged arms, which were a pain to fit and install, but they work well. Your approach has the same advantage of hinging the support arms: the wood can't fall out and it looks way simpler to install than my system.
One hint if you try Nermell's approach: Flip the cart upside down when you fit and install the support arms. I did all kinds of complex sketches and measurements, then realized it was just faster to lean the support bracket at roughly 45 degrees, then I installed the two block (one on the side, one on the wing) to hold the bracket in place. Flip the cart over, and your wing will sit at a perfect 90 degrees to the sides of the miter saw cart.
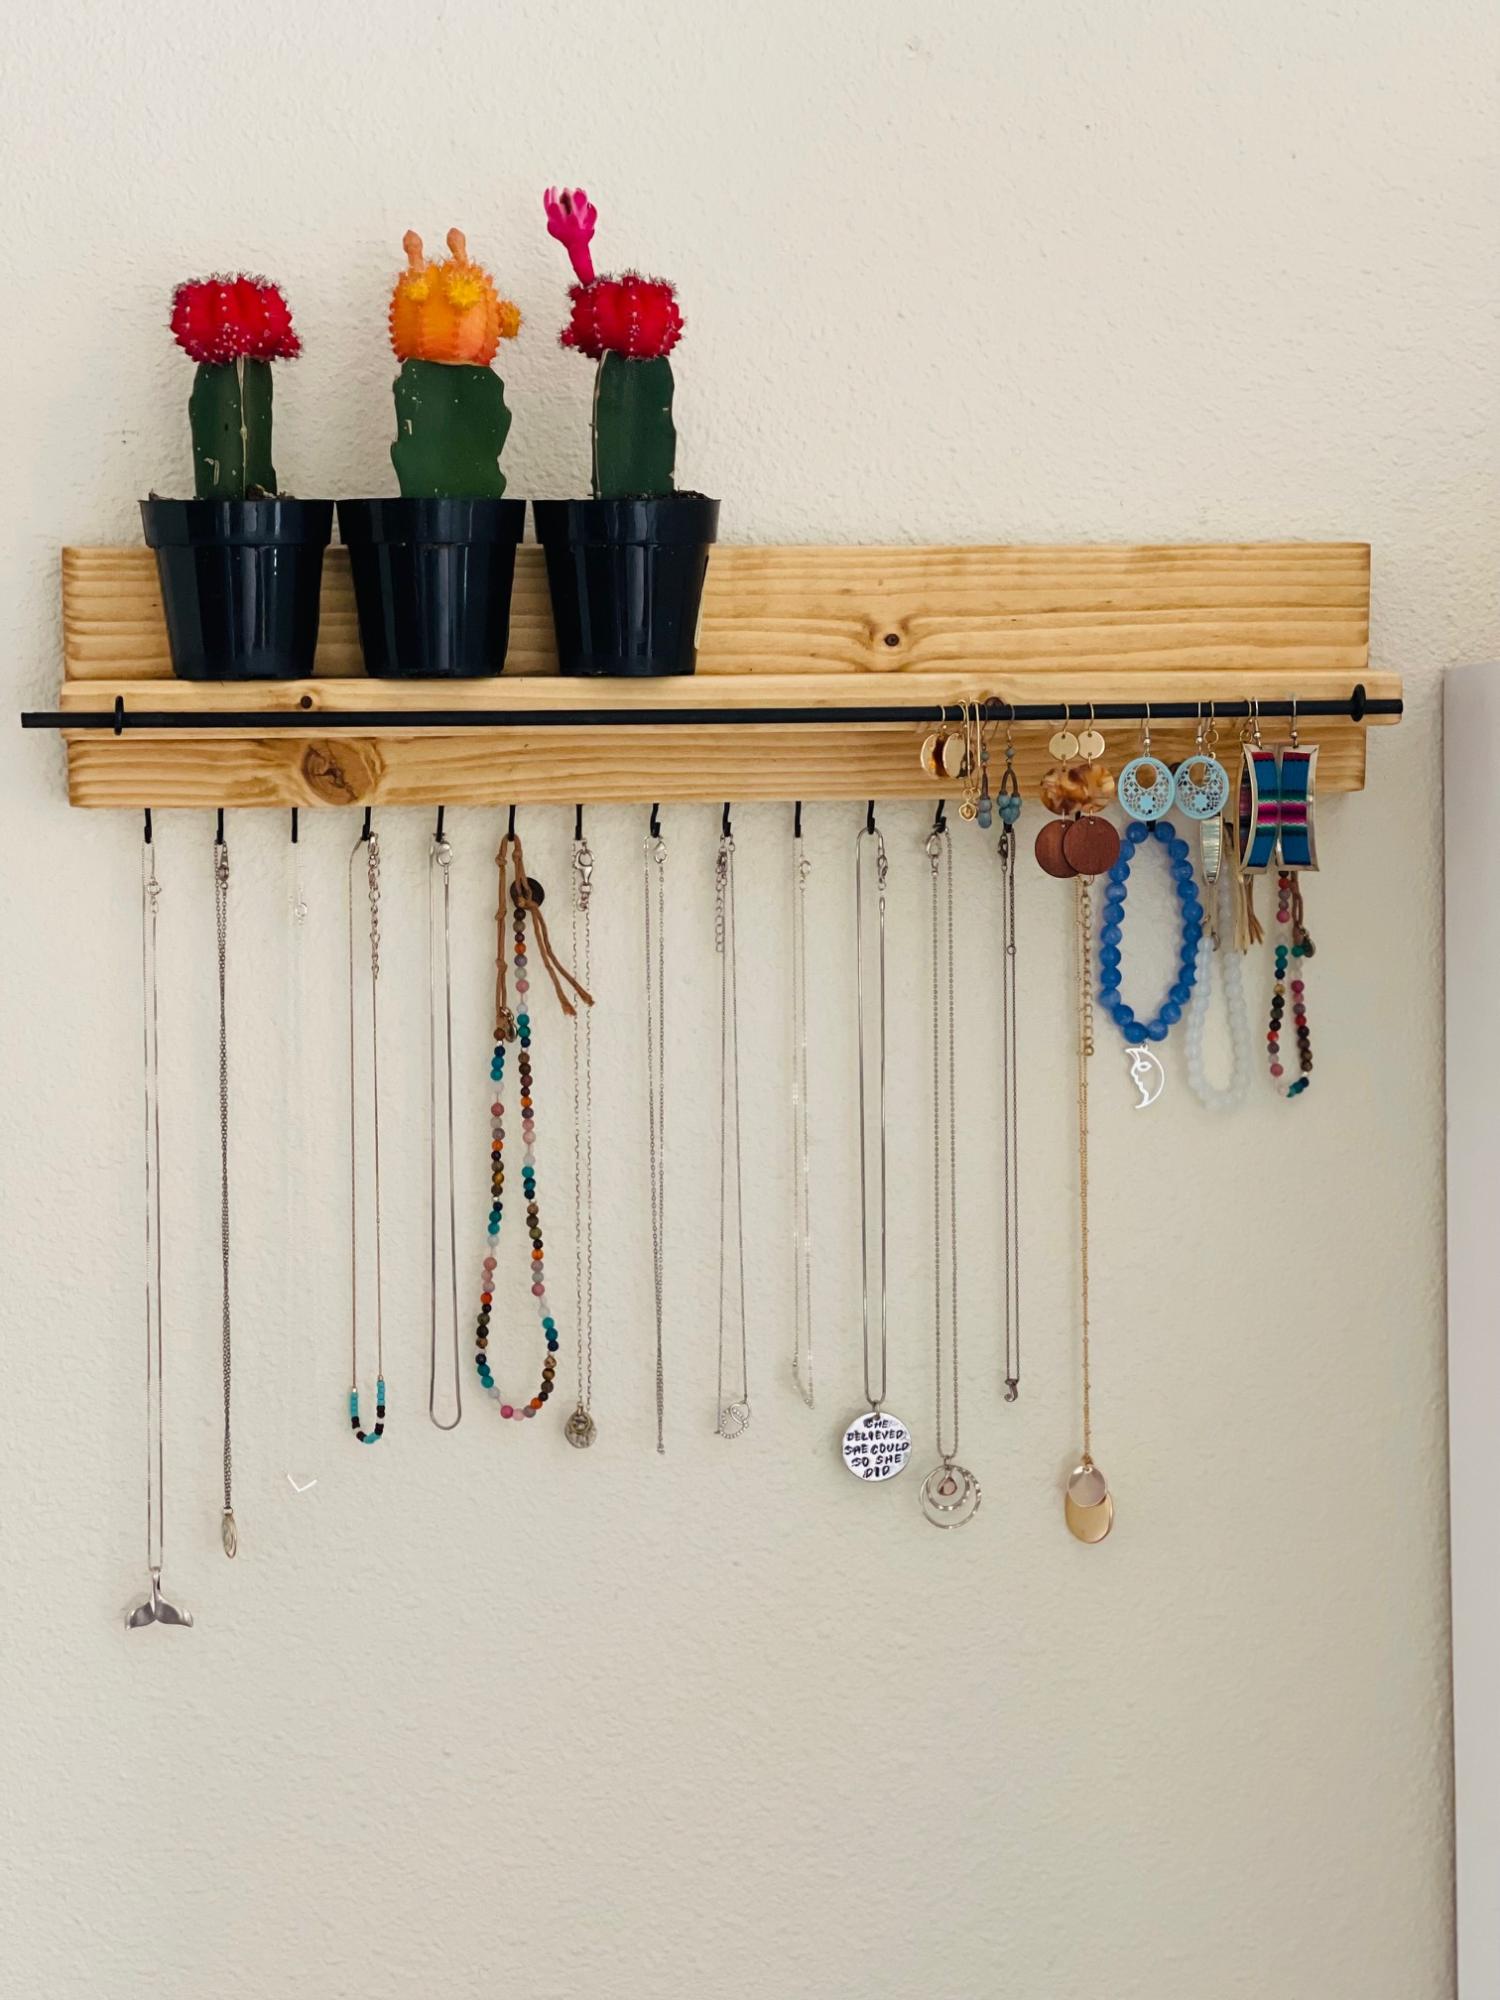
I built this super easy shelf for my earrings, necklaces and bracelets. I love that I can see what I have, before they were stored away in a drawer and not easily accessible for daily wear. I also enjoy that this was super inexpensive and easy to build! Planning to build another one for my daughters.
We looked for a simple plan for a bed and found this one on Ana’s site. Easy to build in a weekend.
Mon, 06/03/2019 - 11:35
Thank you so much for sharing a photo! I've been looking forward to seeing how the bed turns out! Great job!
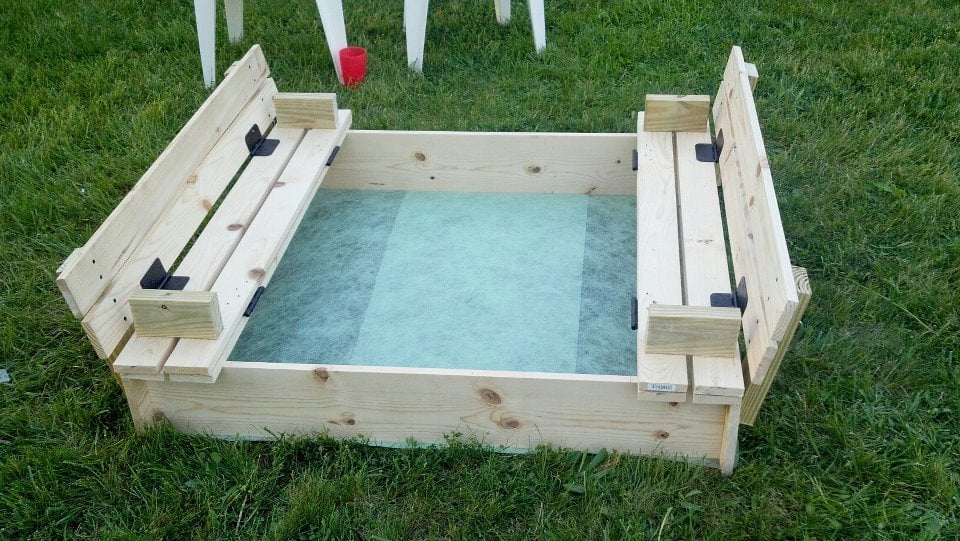
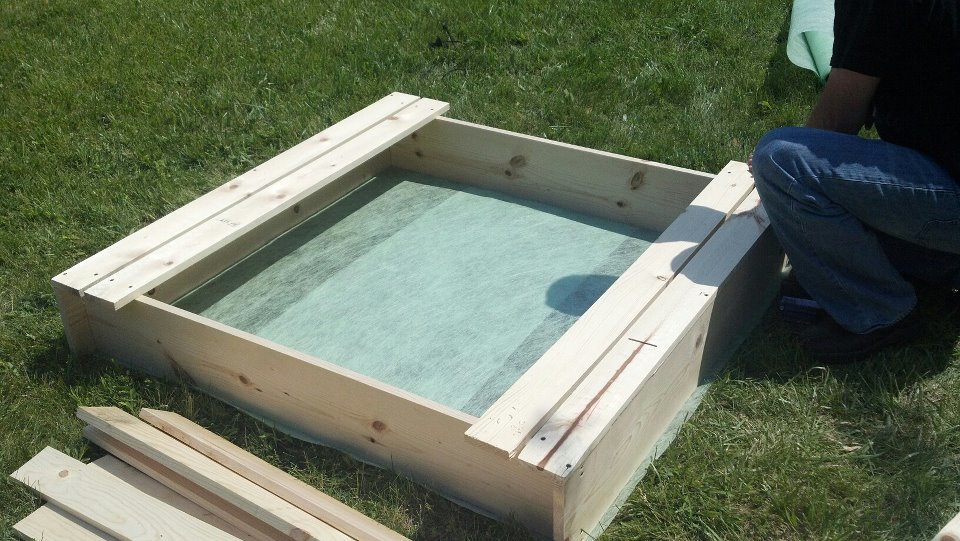
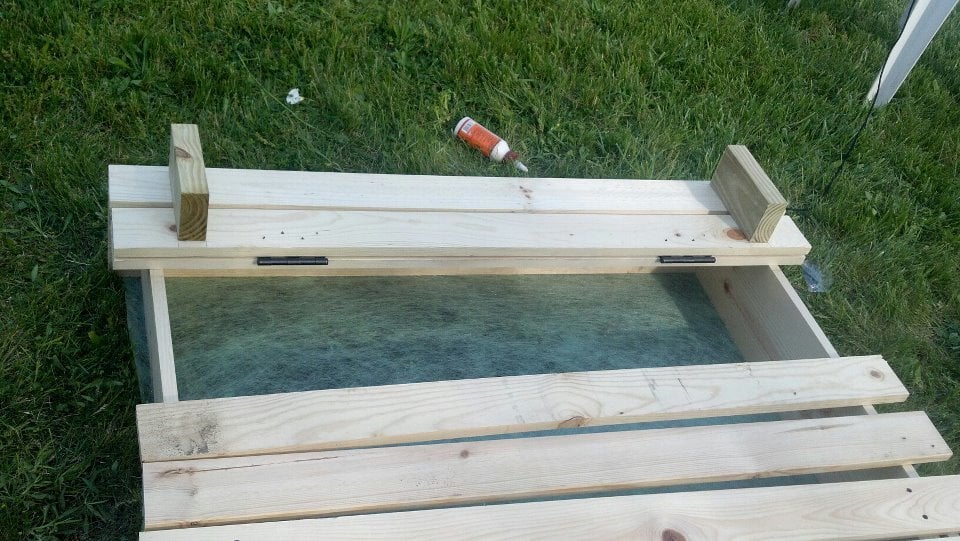
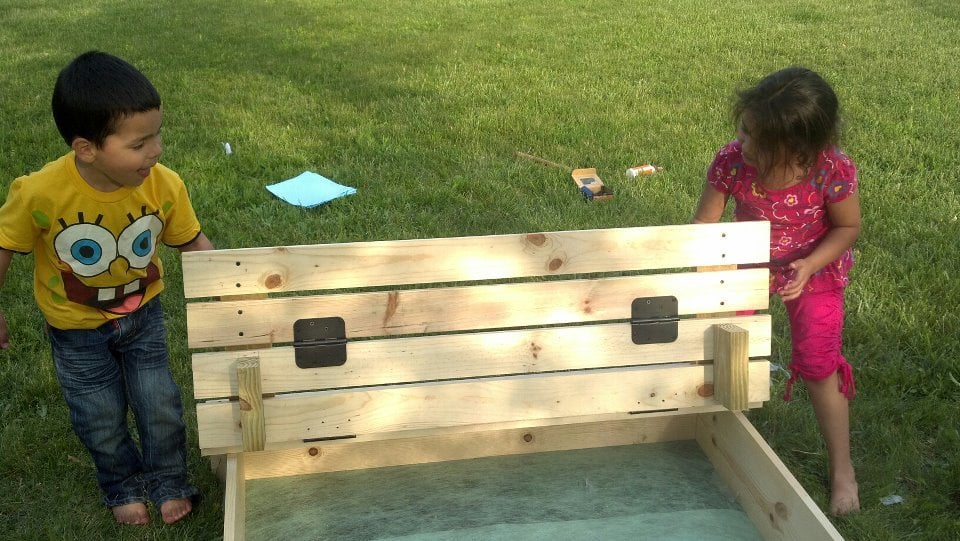
Once we hade the frame of it built, we stapled landscaping fabric and chicken wire to the bottom to keep weeds and moles/gophers from coming up through the bottom.
Other than that... We followed the plans as given.
The kids LOVE it!


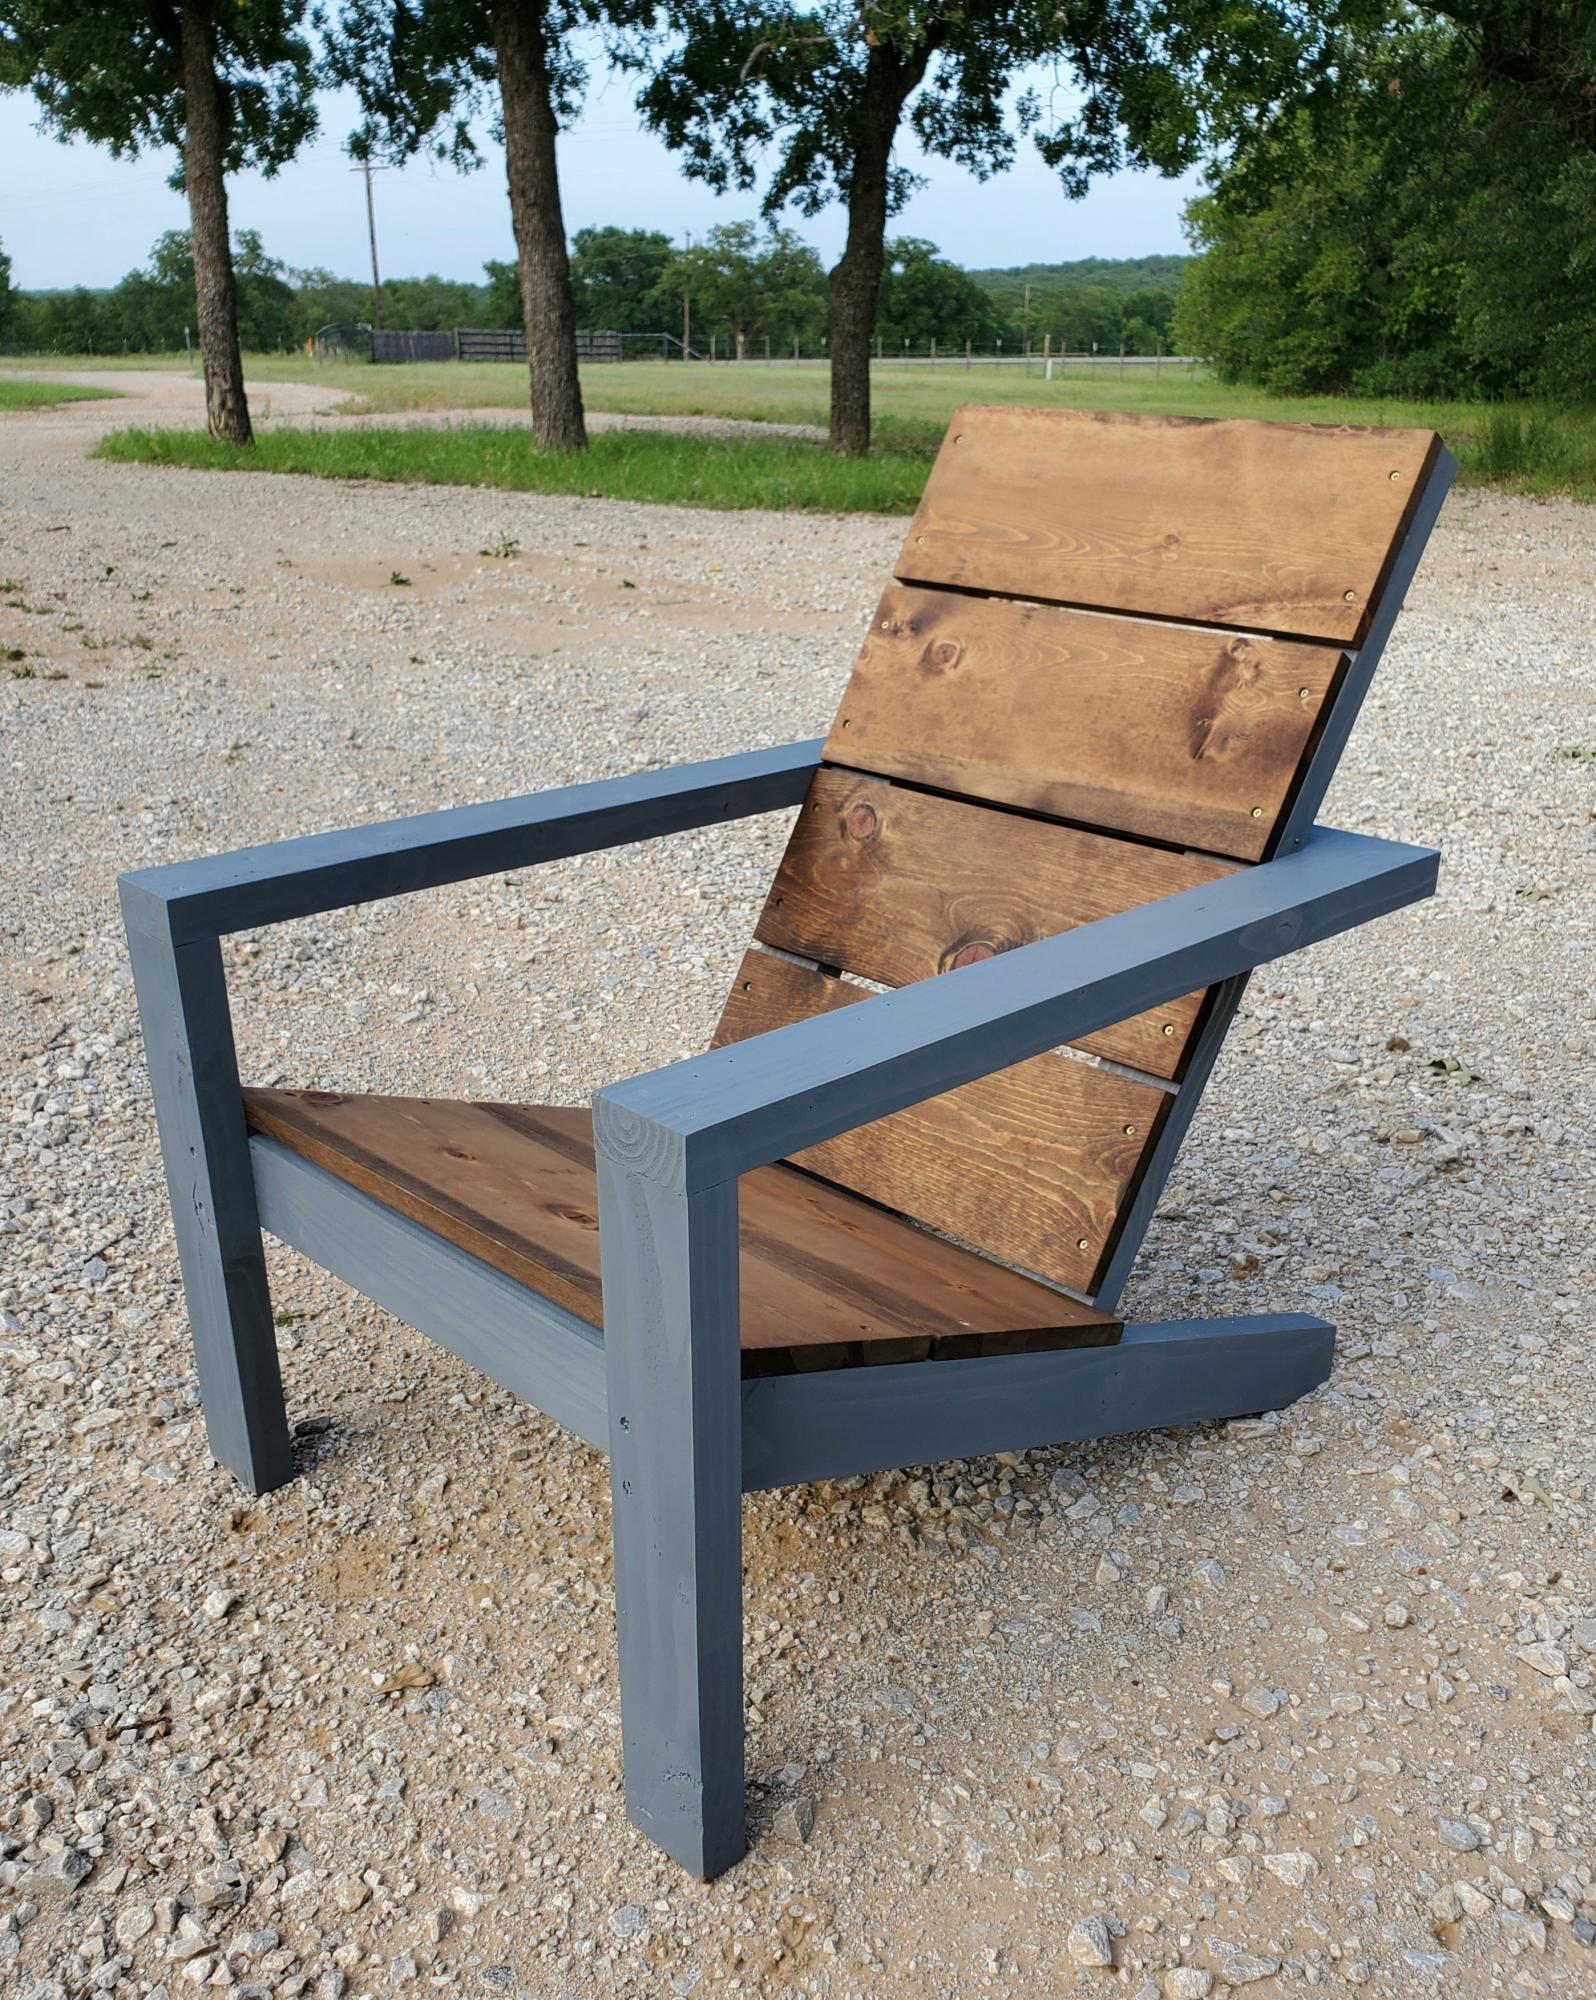
Like this chair! Changed the 3 1x10's on the back to 4 1x8's ripped down to 6 ¹⁵/¹⁶
This was super easy to do. Thank you for the inspiration and sharing the plan.

I showed my wife the Laundry Dresser featured on Ana White's website and she asked if I could make one for her, but not quite so tall. I also turned the orientation to fit our laundry room space. I used primarily oak from recycled pallets to build the Laundry Basket Dresser. She wanted a work space on top, so folded laundry, empty baskets, etc. all have a temporary resting place depending on the day. From start to finish, it took me about 6 hours. She plans to stain the piece at some point, but its already in use, so I'm not 100% sure that will ever happen until we move or something. ;-) Great idea and laundry room organization!


Sat, 09/08/2012 - 17:39
Great job on this!! I love the open sides!! Thanks for sharing. :-)
Mon, 09/10/2012 - 10:22
I love the open sides, plus it makes it much more feasible to build with scraps repurposed wood, which I love. Thanks for the inspriation
Sun, 10/19/2014 - 06:16
I have a pallet sitting against the garage that would be perfect for this
Looks fab, great job.
Fri, 01/09/2015 - 12:27
Hi, I really like this project but was curious what size laundry basket you are using in the project?
Sun, 06/14/2015 - 20:16
Soooo I made this according to the measurements and no laundry basket I find fit. Kind of dissapointed in the fact that this cool thing I just built doesn't have any baskets that will fit it. Any advice on finding a basket that fits?
Fri, 07/10/2015 - 20:14
Same here. No basket fits. Did you ever find one?
Fri, 07/10/2015 - 20:56
I think the idea is to build it to fit the baskets you have or buy some and build around them.