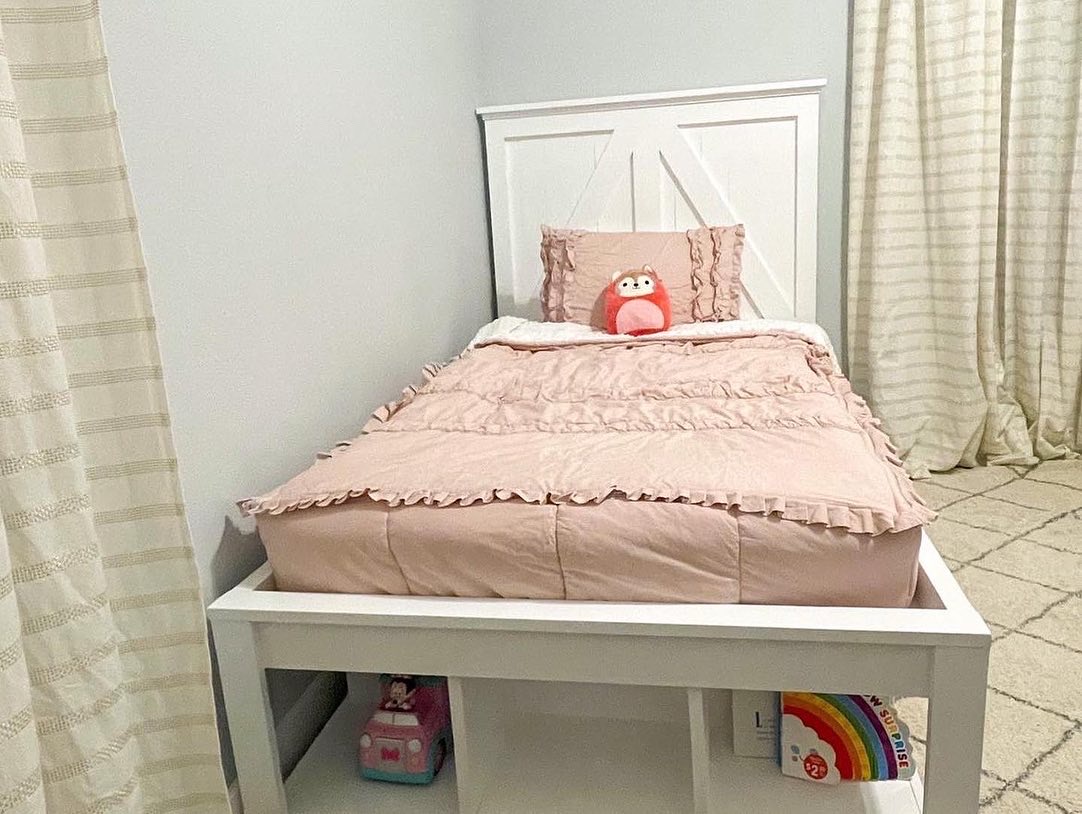
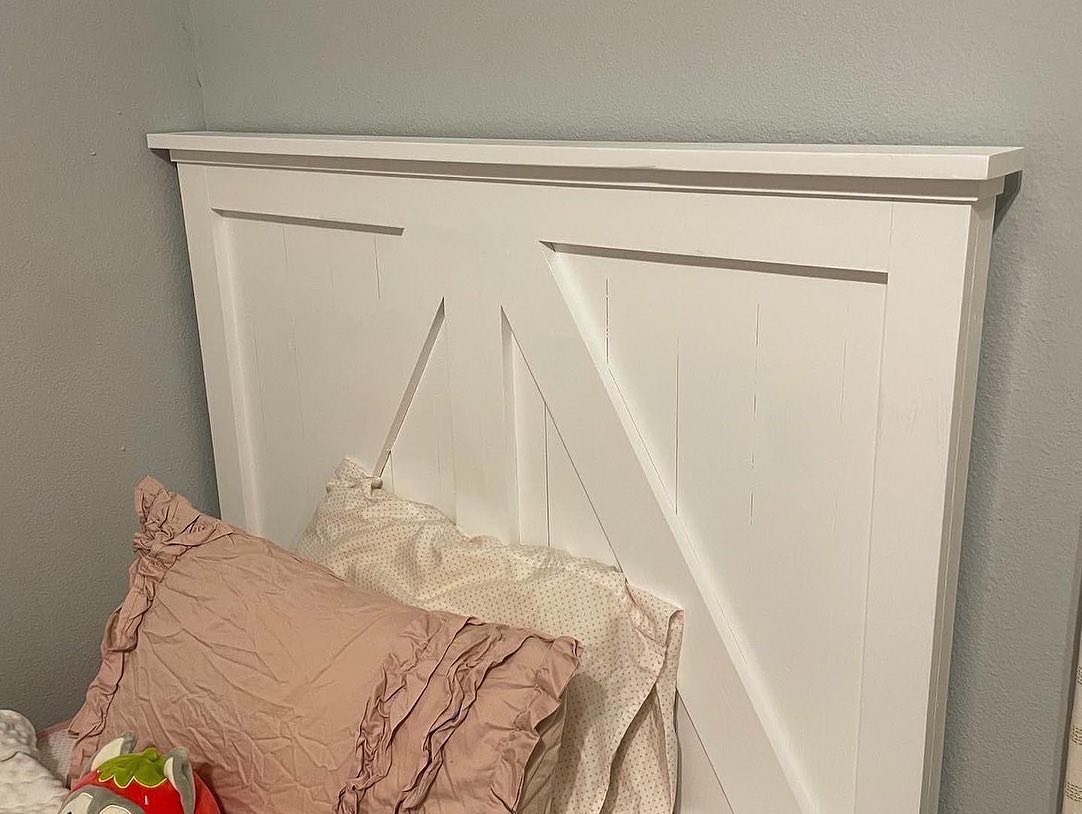
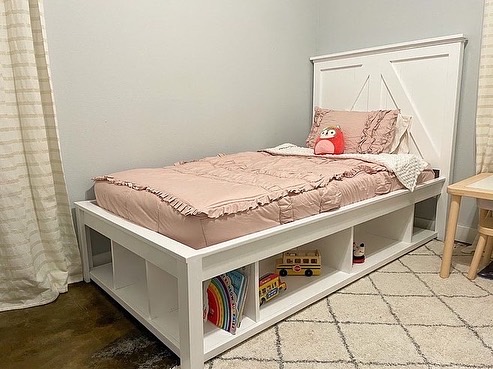
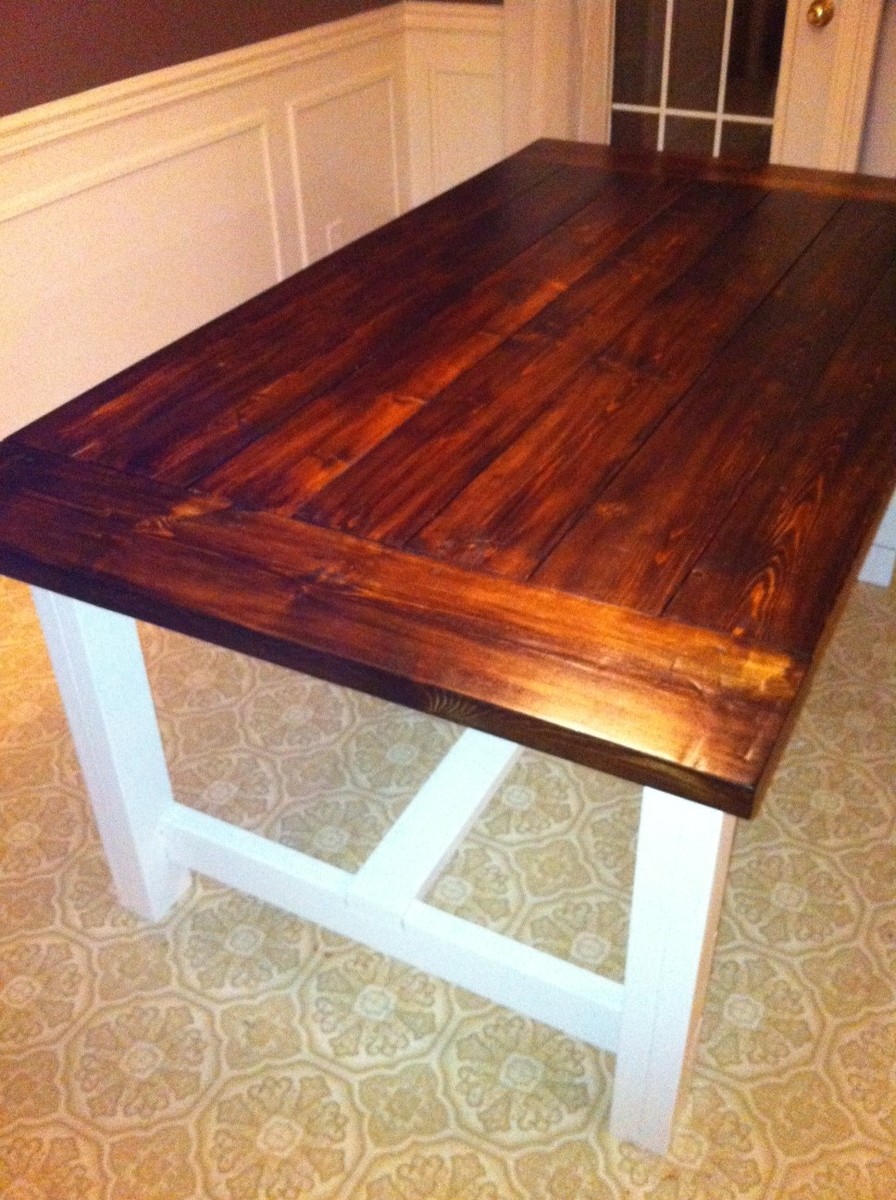
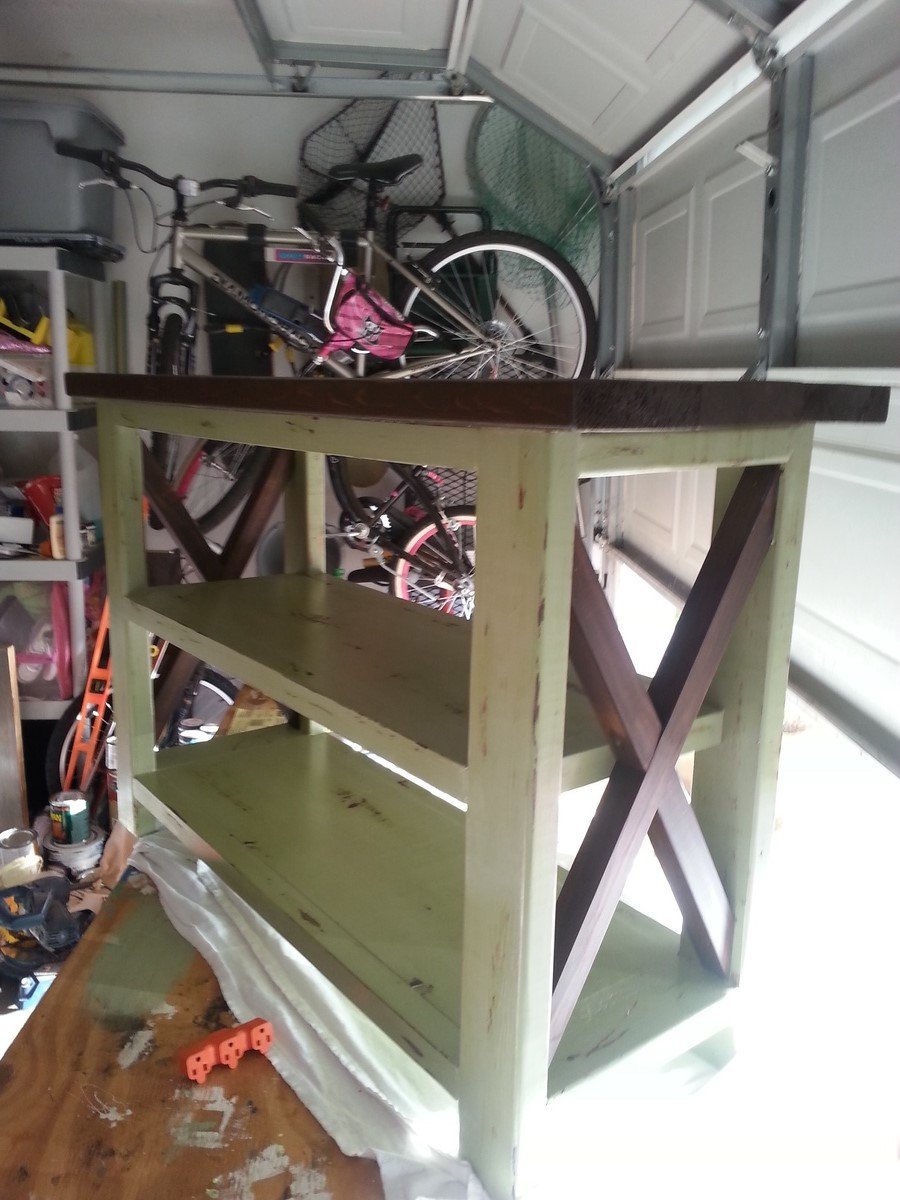
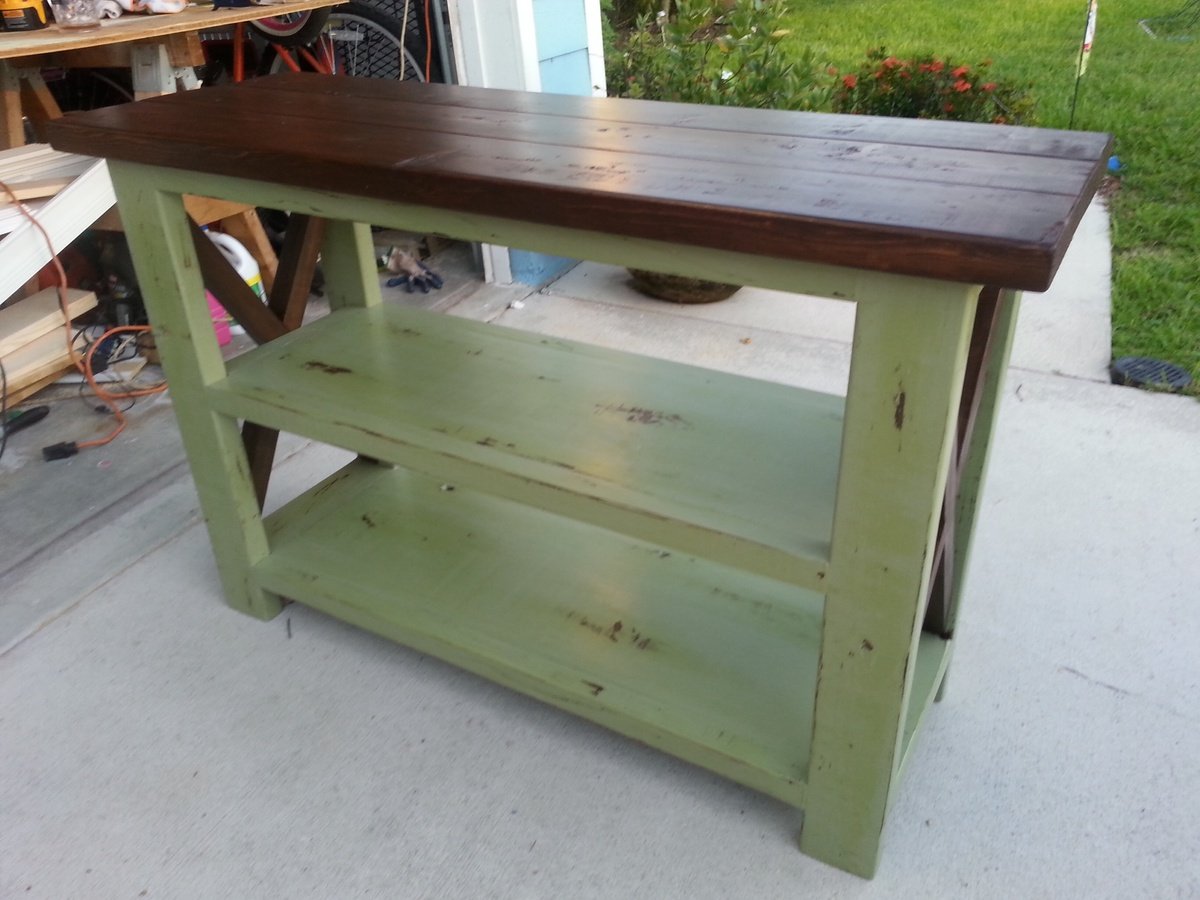
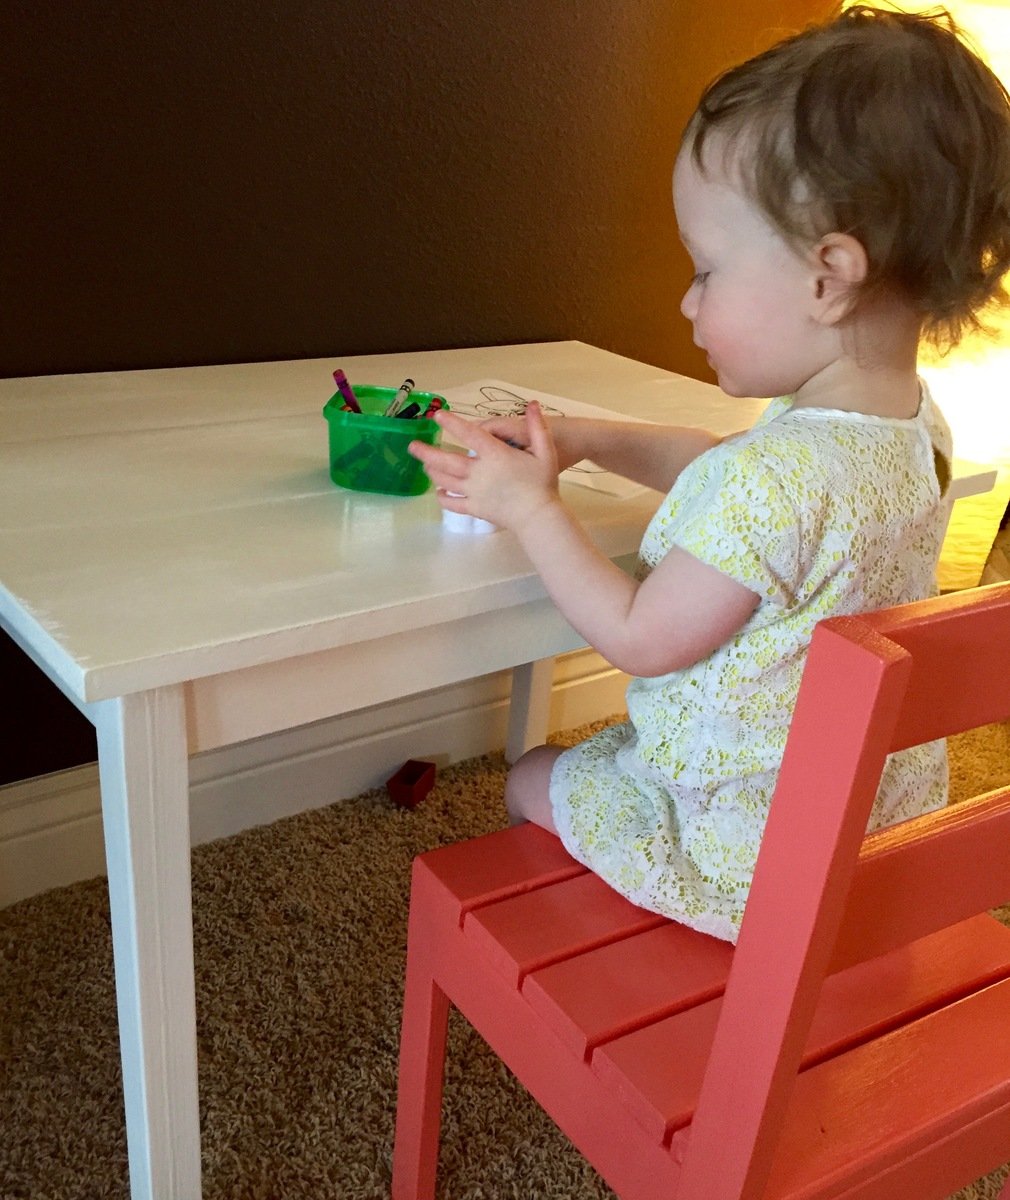
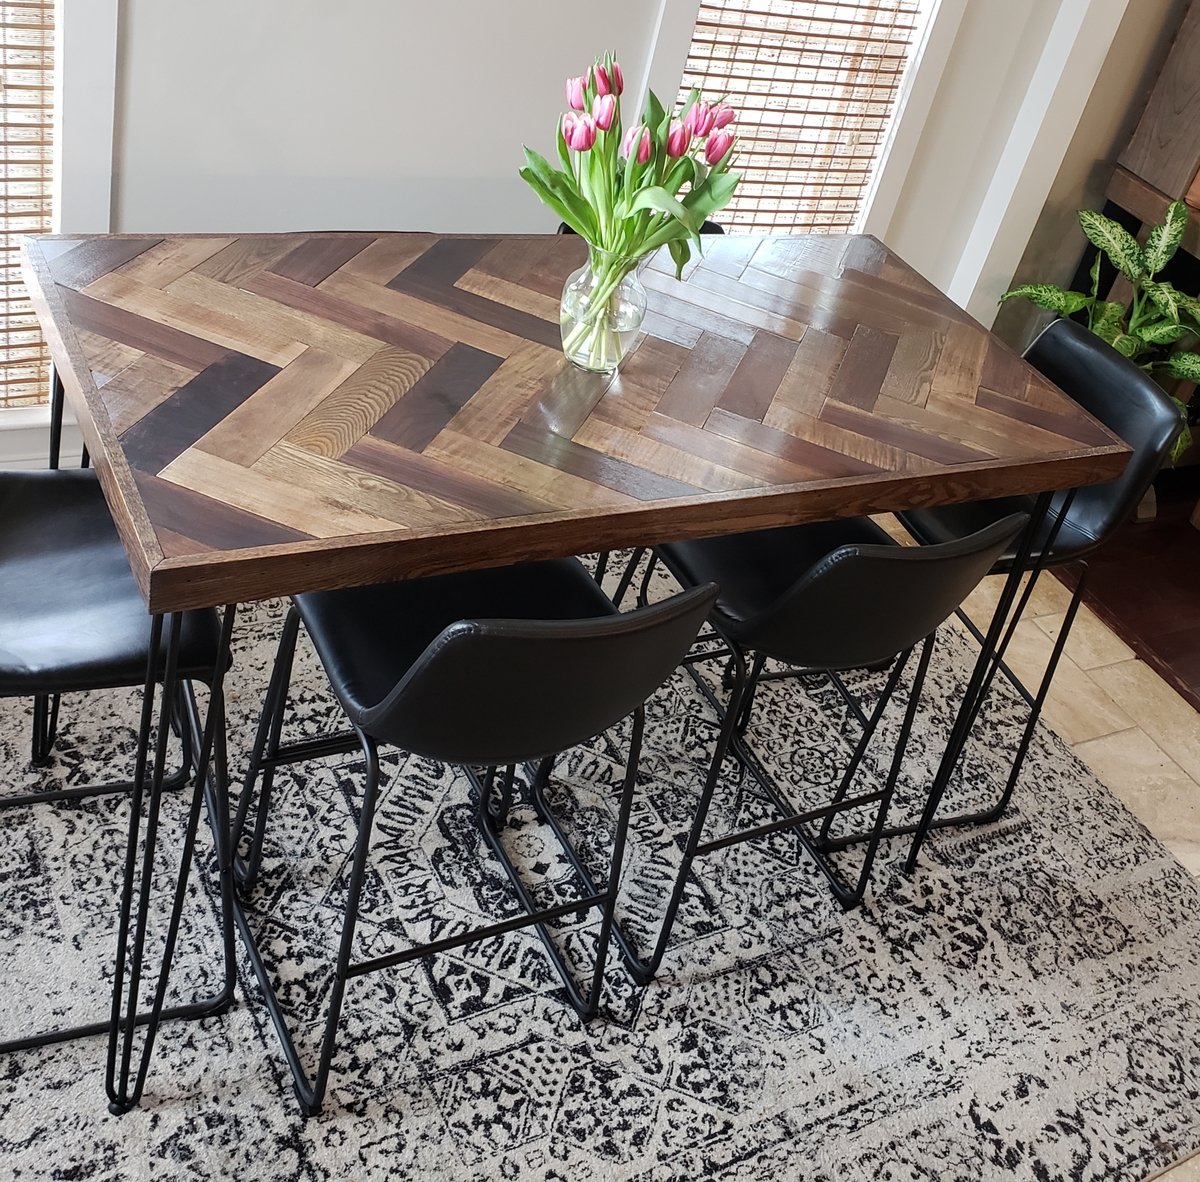
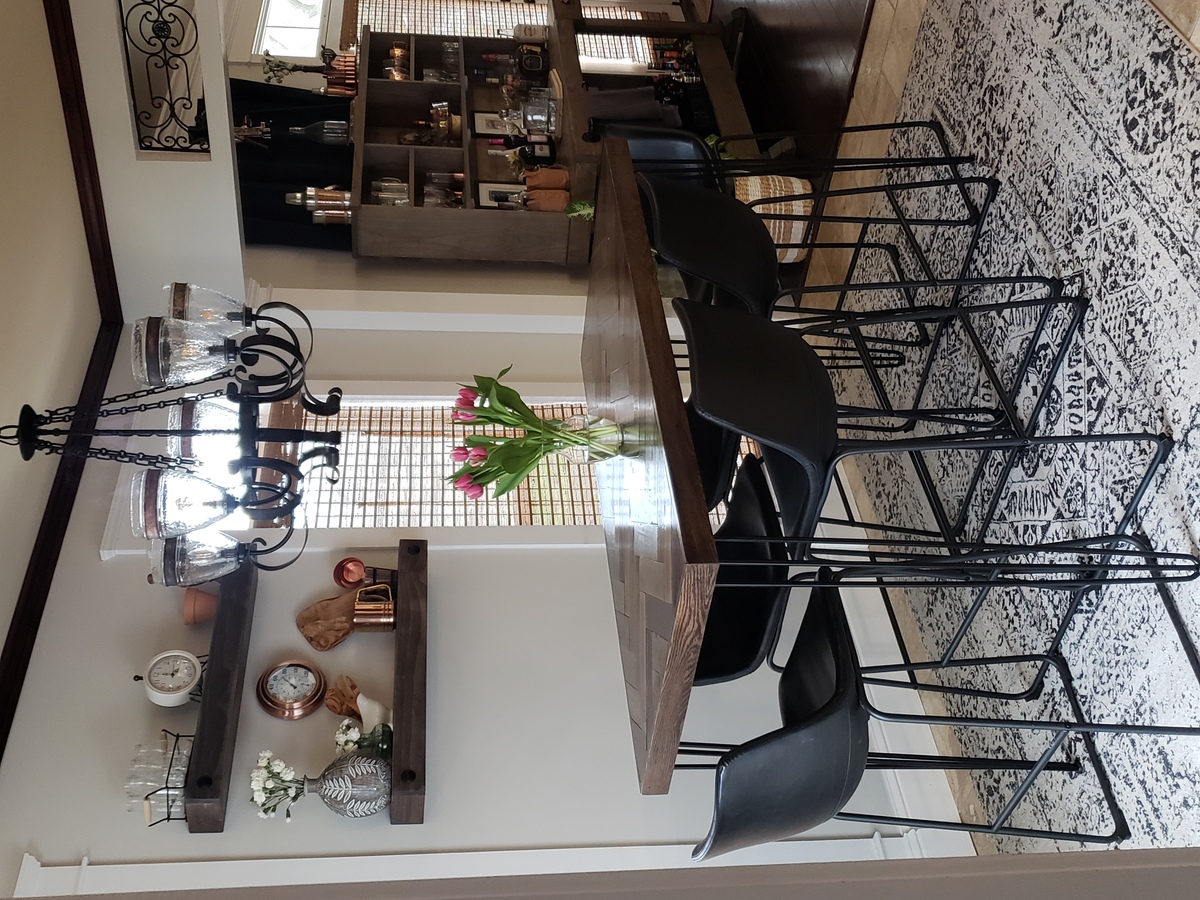
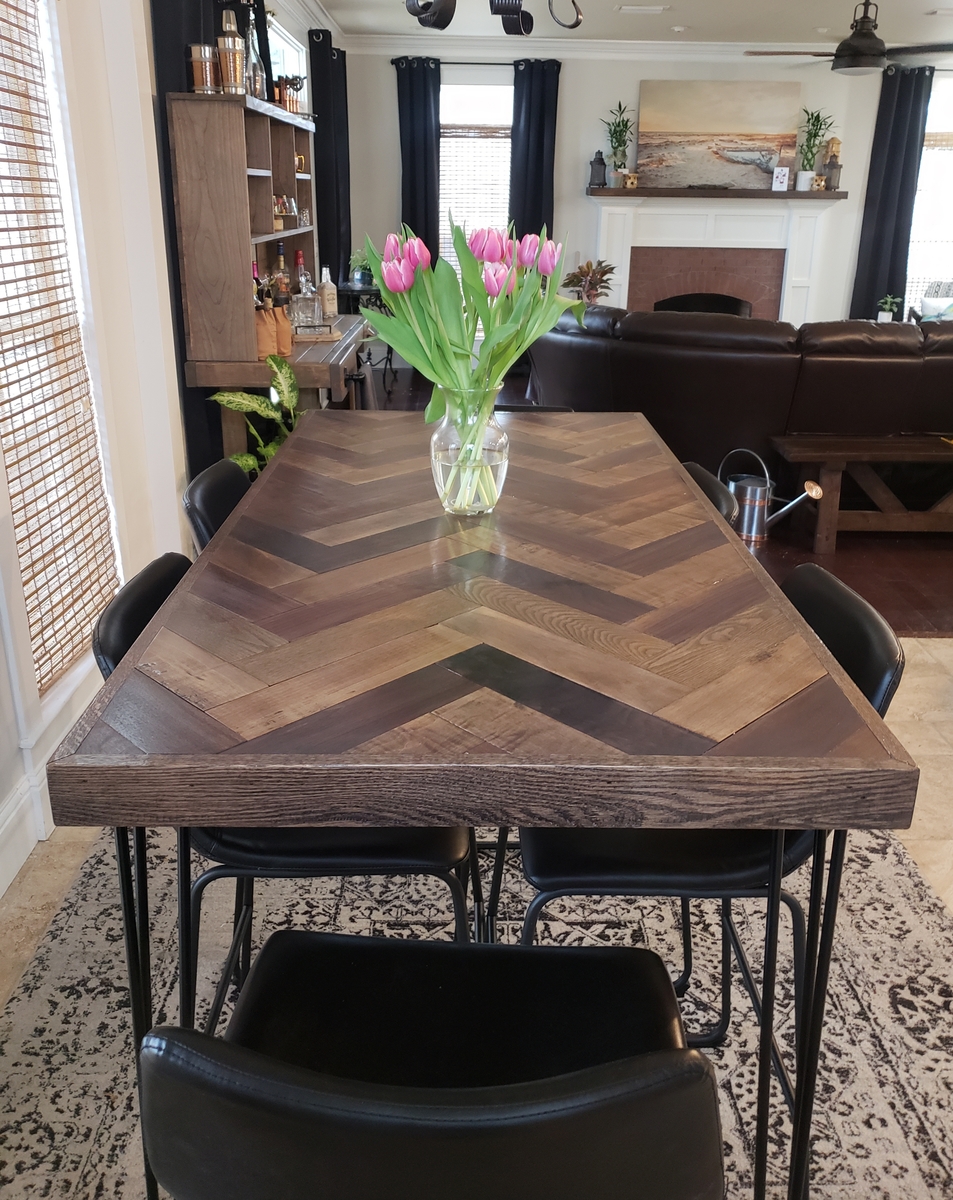
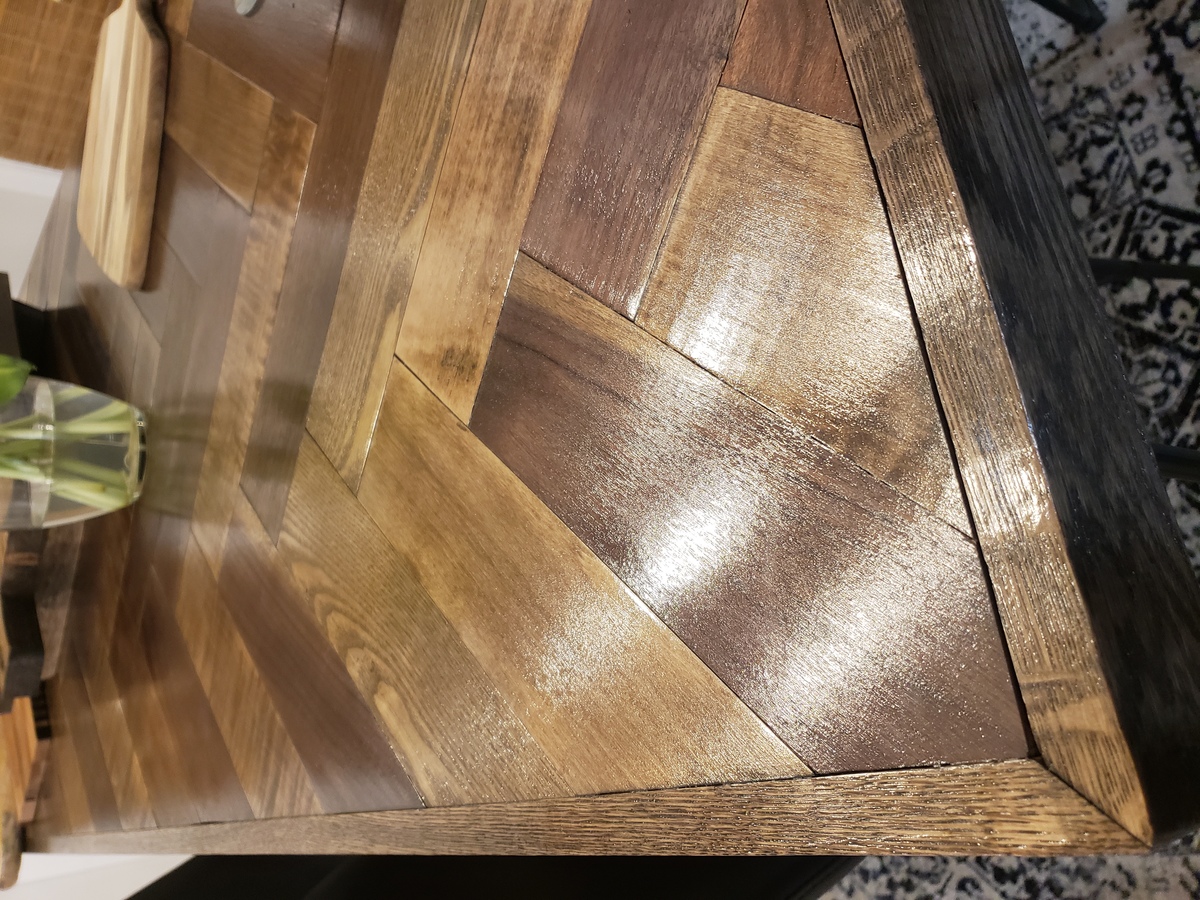
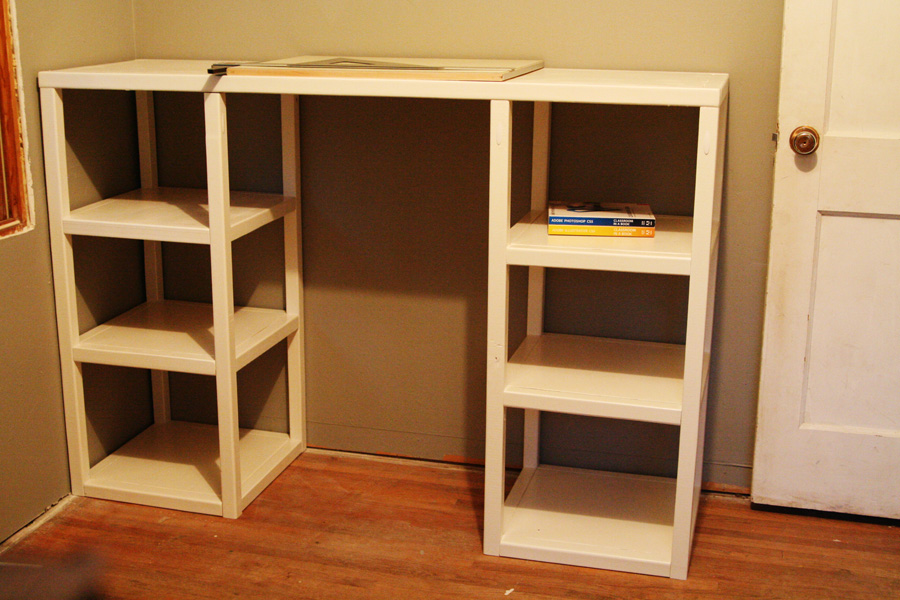
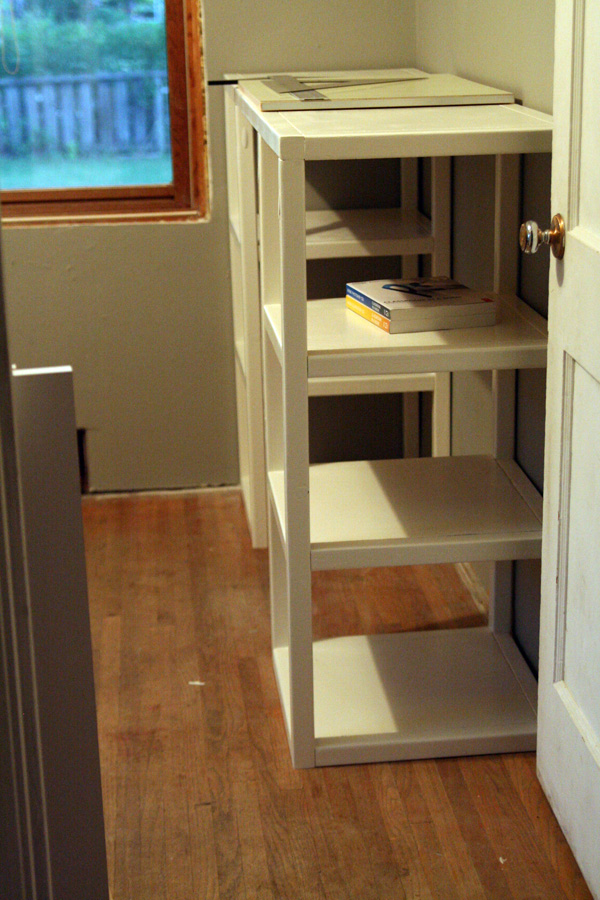
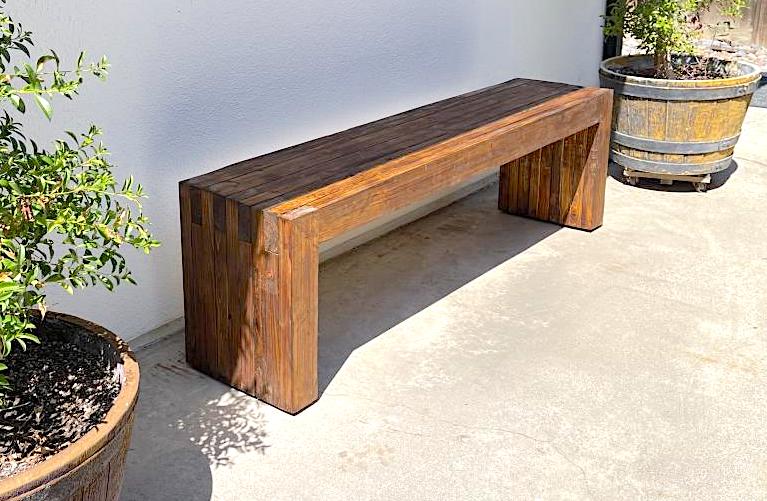
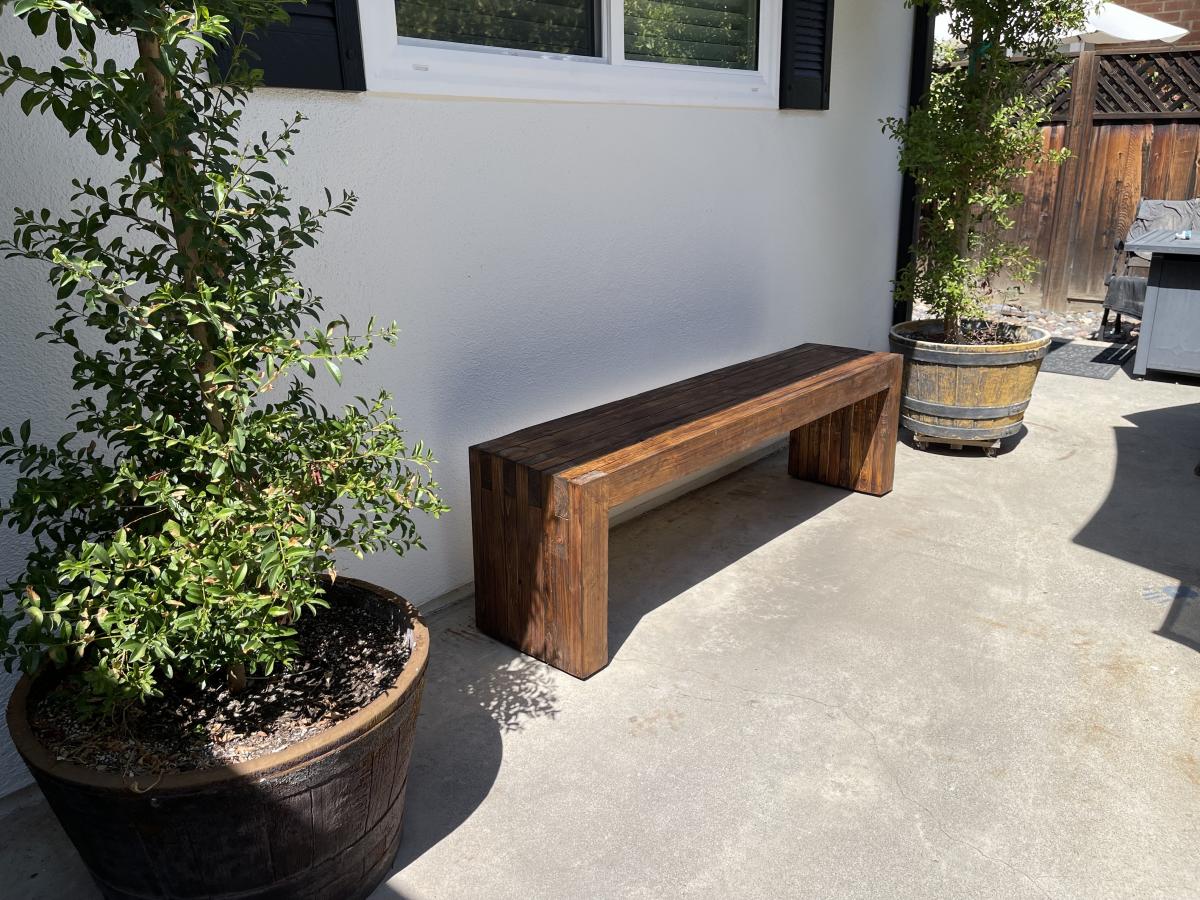
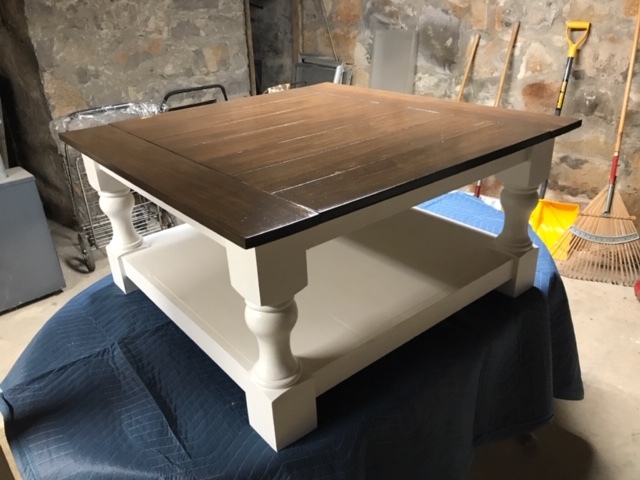
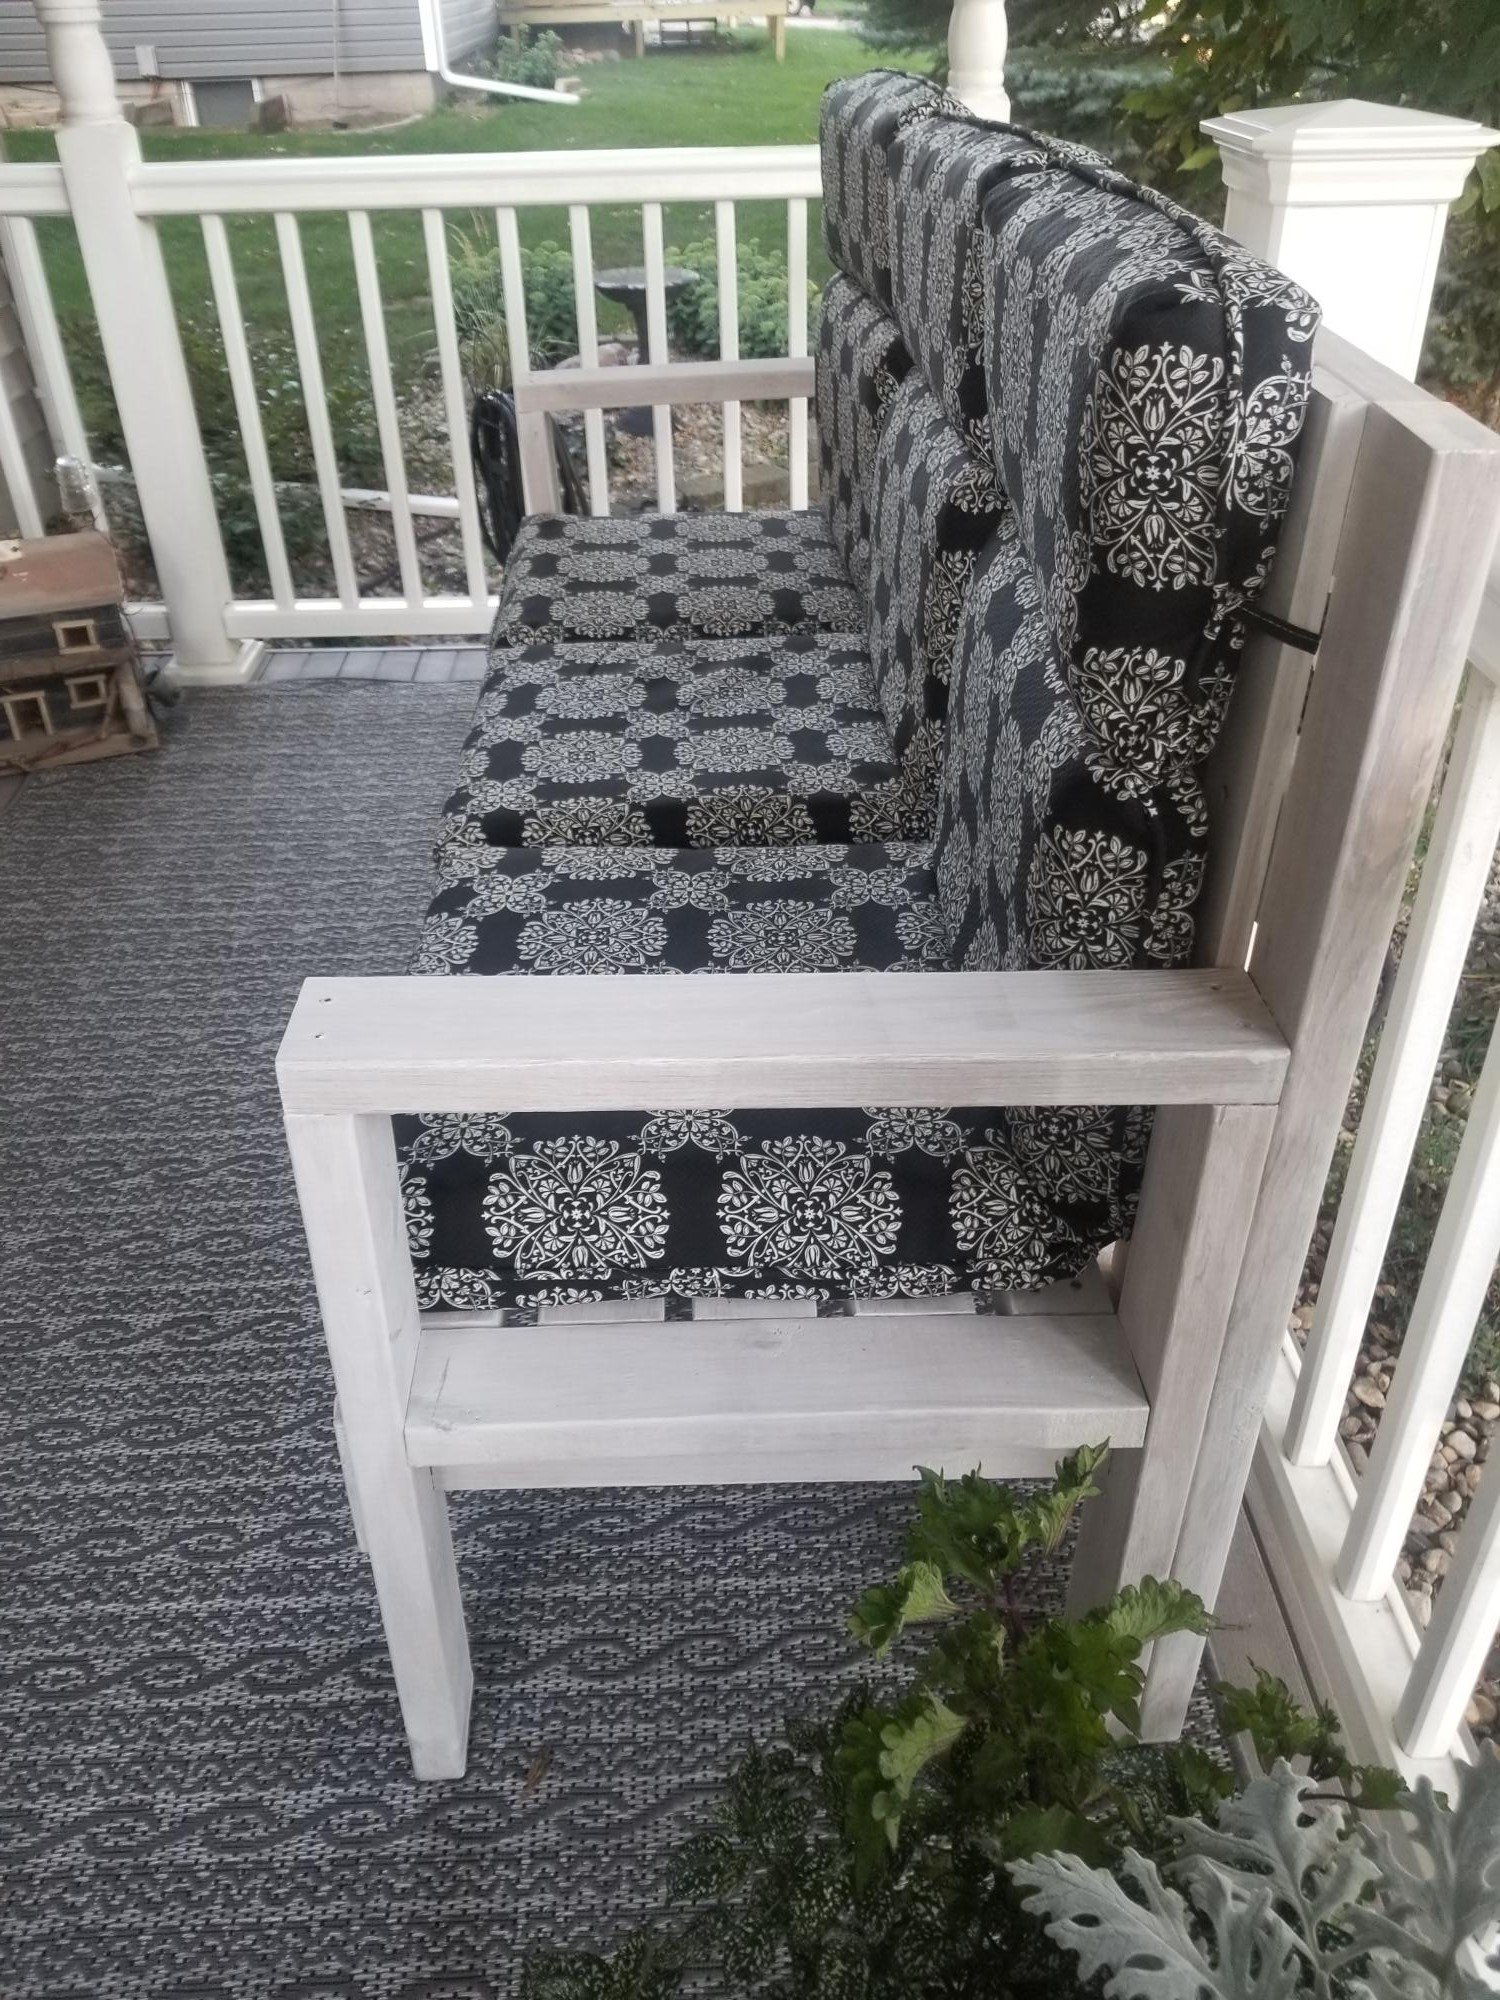
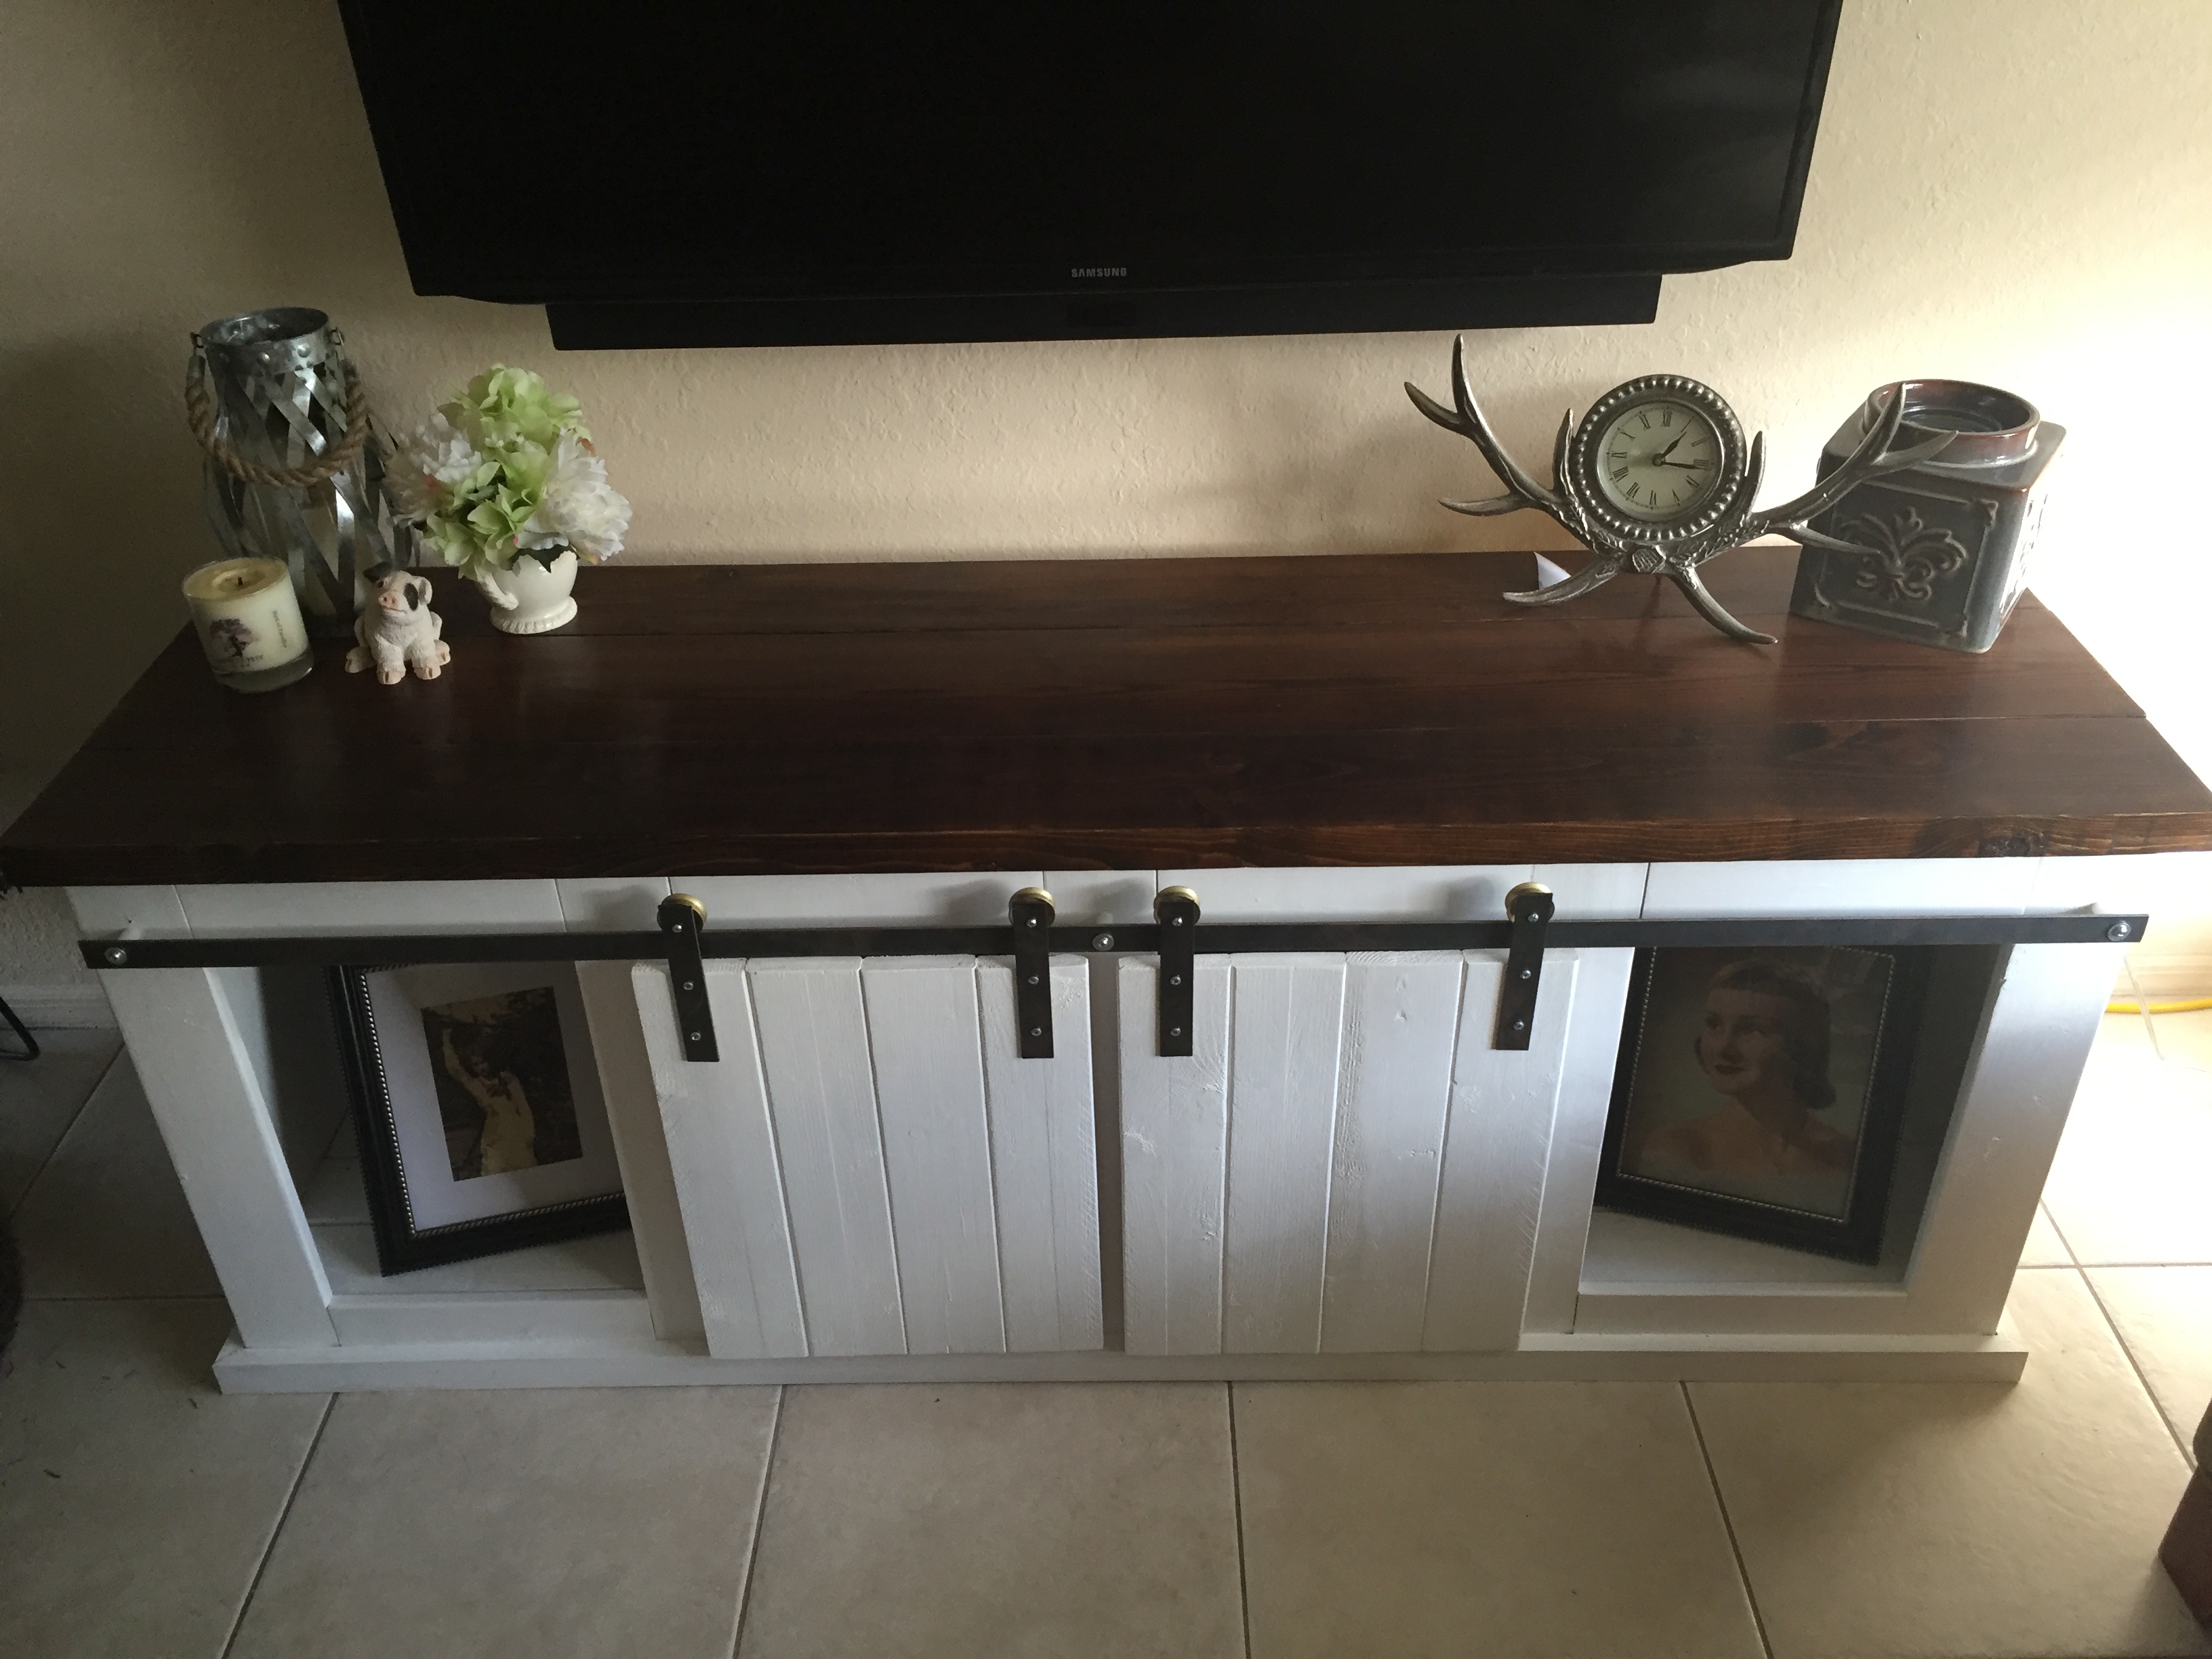
Farm table and puppy version.
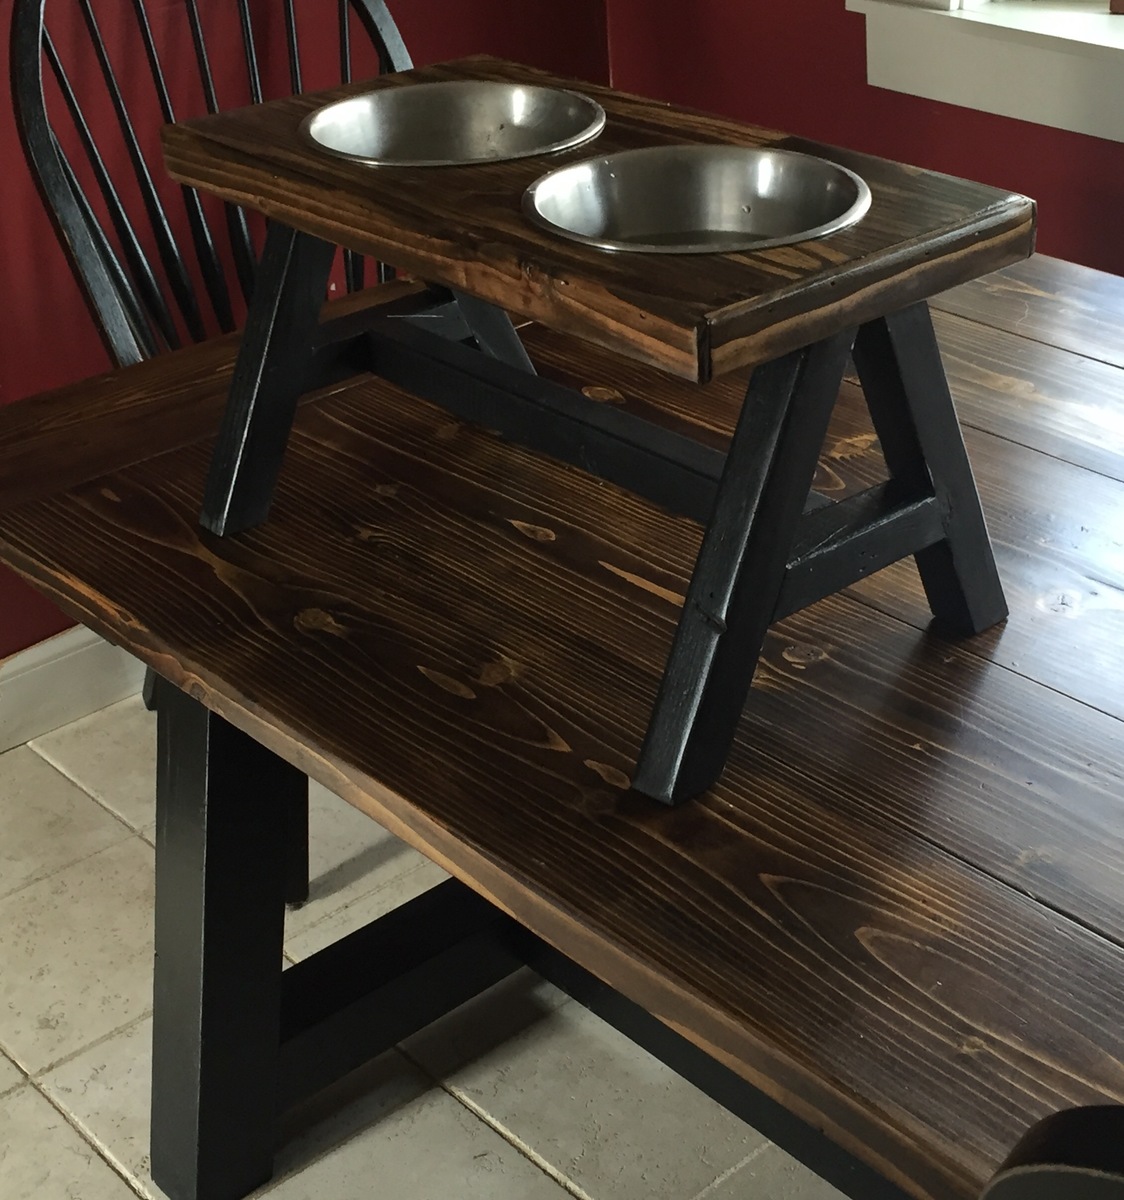
Table I built for my wife. She found it while browsing Ana's site. Loved it so much she wanted one for herself. Came out so nice we decided to make our puppy a version of her own.
LOVE THIS SITE!!!!
Estimated Cost
Dog table - less than $10
Estimated Time Investment
An Hour or Two (0-2 Hours)
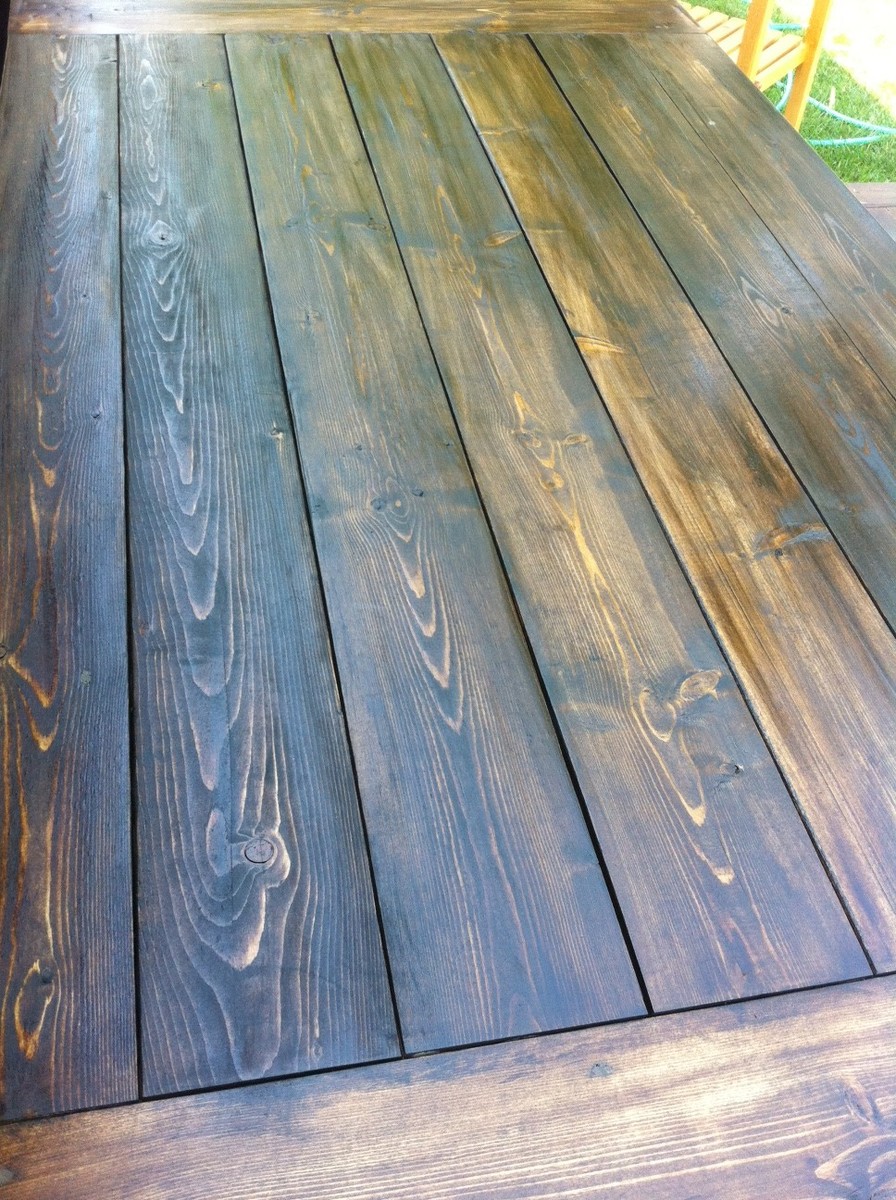
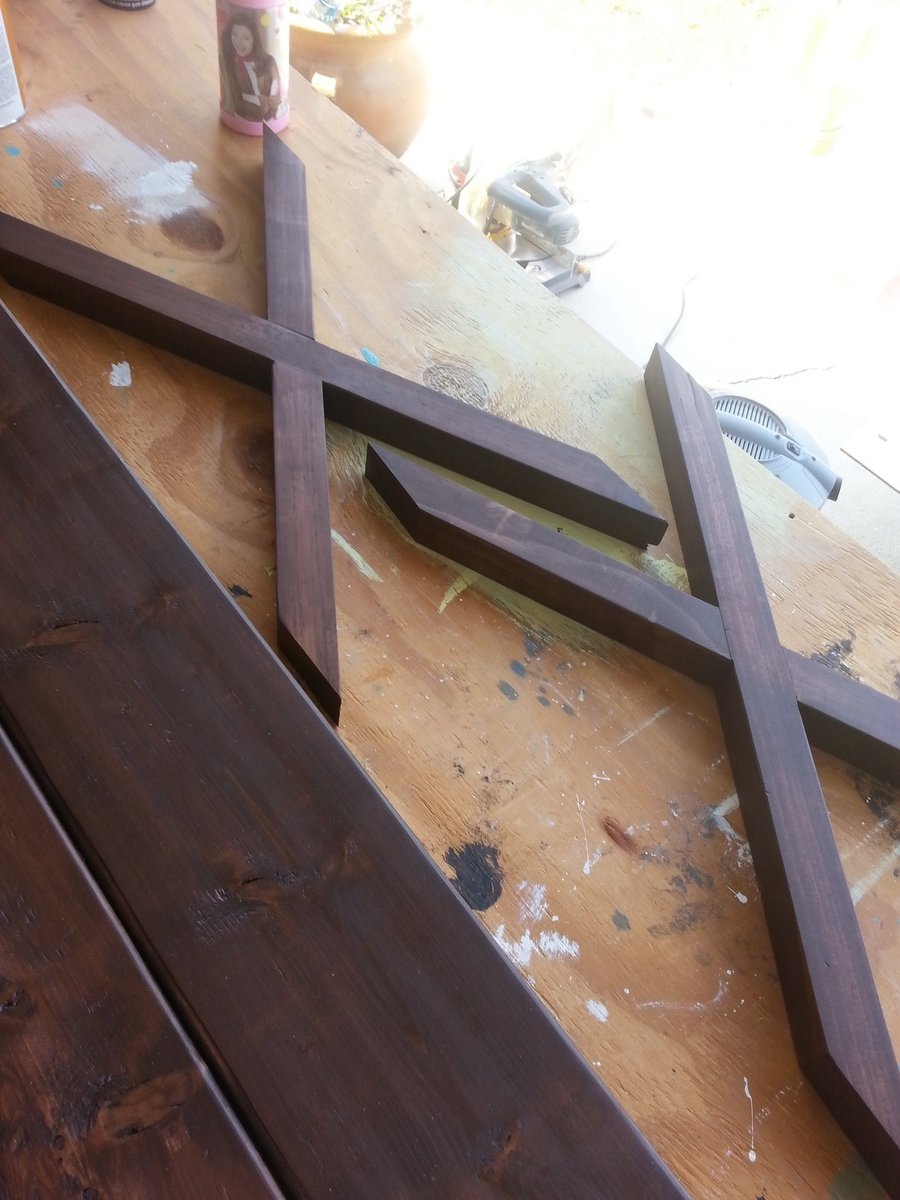
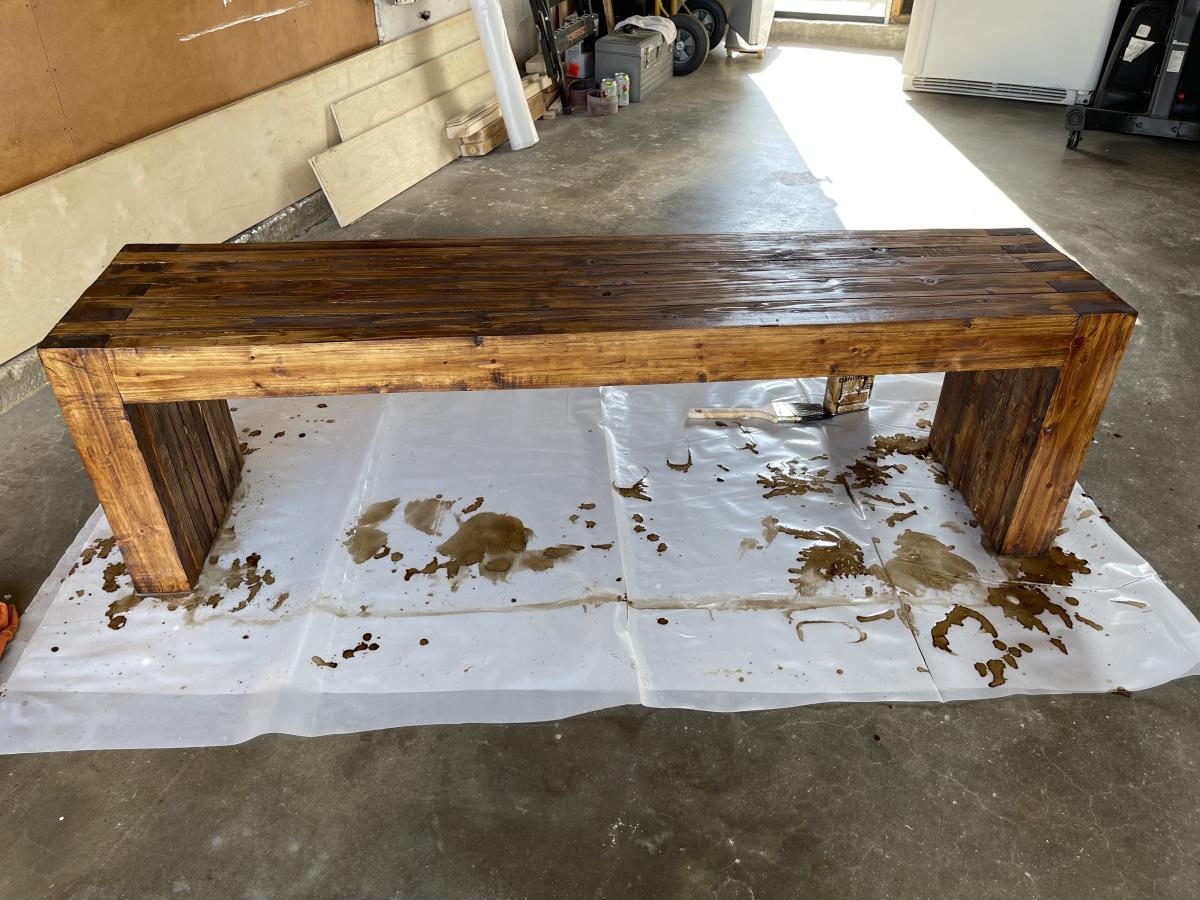
Finish Used
Dark walnut stain and satin poly
Recommended Skill Level
Beginner


Comments
Ana White
Mon, 12/21/2015 - 09:16
This is awesome! Love the
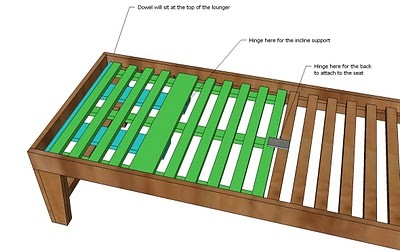
This is awesome! Love the puppy "table" too! A few people have asked for plans for the puppy table so I put this together - please, advise any changes. Thanks! Ana
[[{"type":"media","view_mode":"media_original","fid":"3154914102","attributes":{"alt":"","class":"media-image","style":"width: 960px; height: 834px;","typeof":"foaf:Image"}}]]