Large Fireplace Built-in - Built by Kristy

Entire wall fireplace built-in!


Built from Plan(s)
Entire wall fireplace built-in!
This was the second piece of furniture that my husband and I ever made. We had built a coffee table that had a lift up top so that we could eat dinner on the couch and store all of our board games. Once we tackled that, I thought we could conquer the world (even though the table was pretty basic). So when my now-husband was about to move into his first apartment without a roommate and I saw it as an opportunity to decorate my own place (even though I wasn’t living there). Luckily,he agreed it was time to get rid of his tiny Ikea TV stand that was probably 2ft off the ground and not a great height for a TV, and agreed to build this awesome TV console with me. To this day, it’s still my favorite piece of furniture in our house.
Sat, 11/09/2019 - 14:12
Love this, needing one in my front entry way. How long did it take?
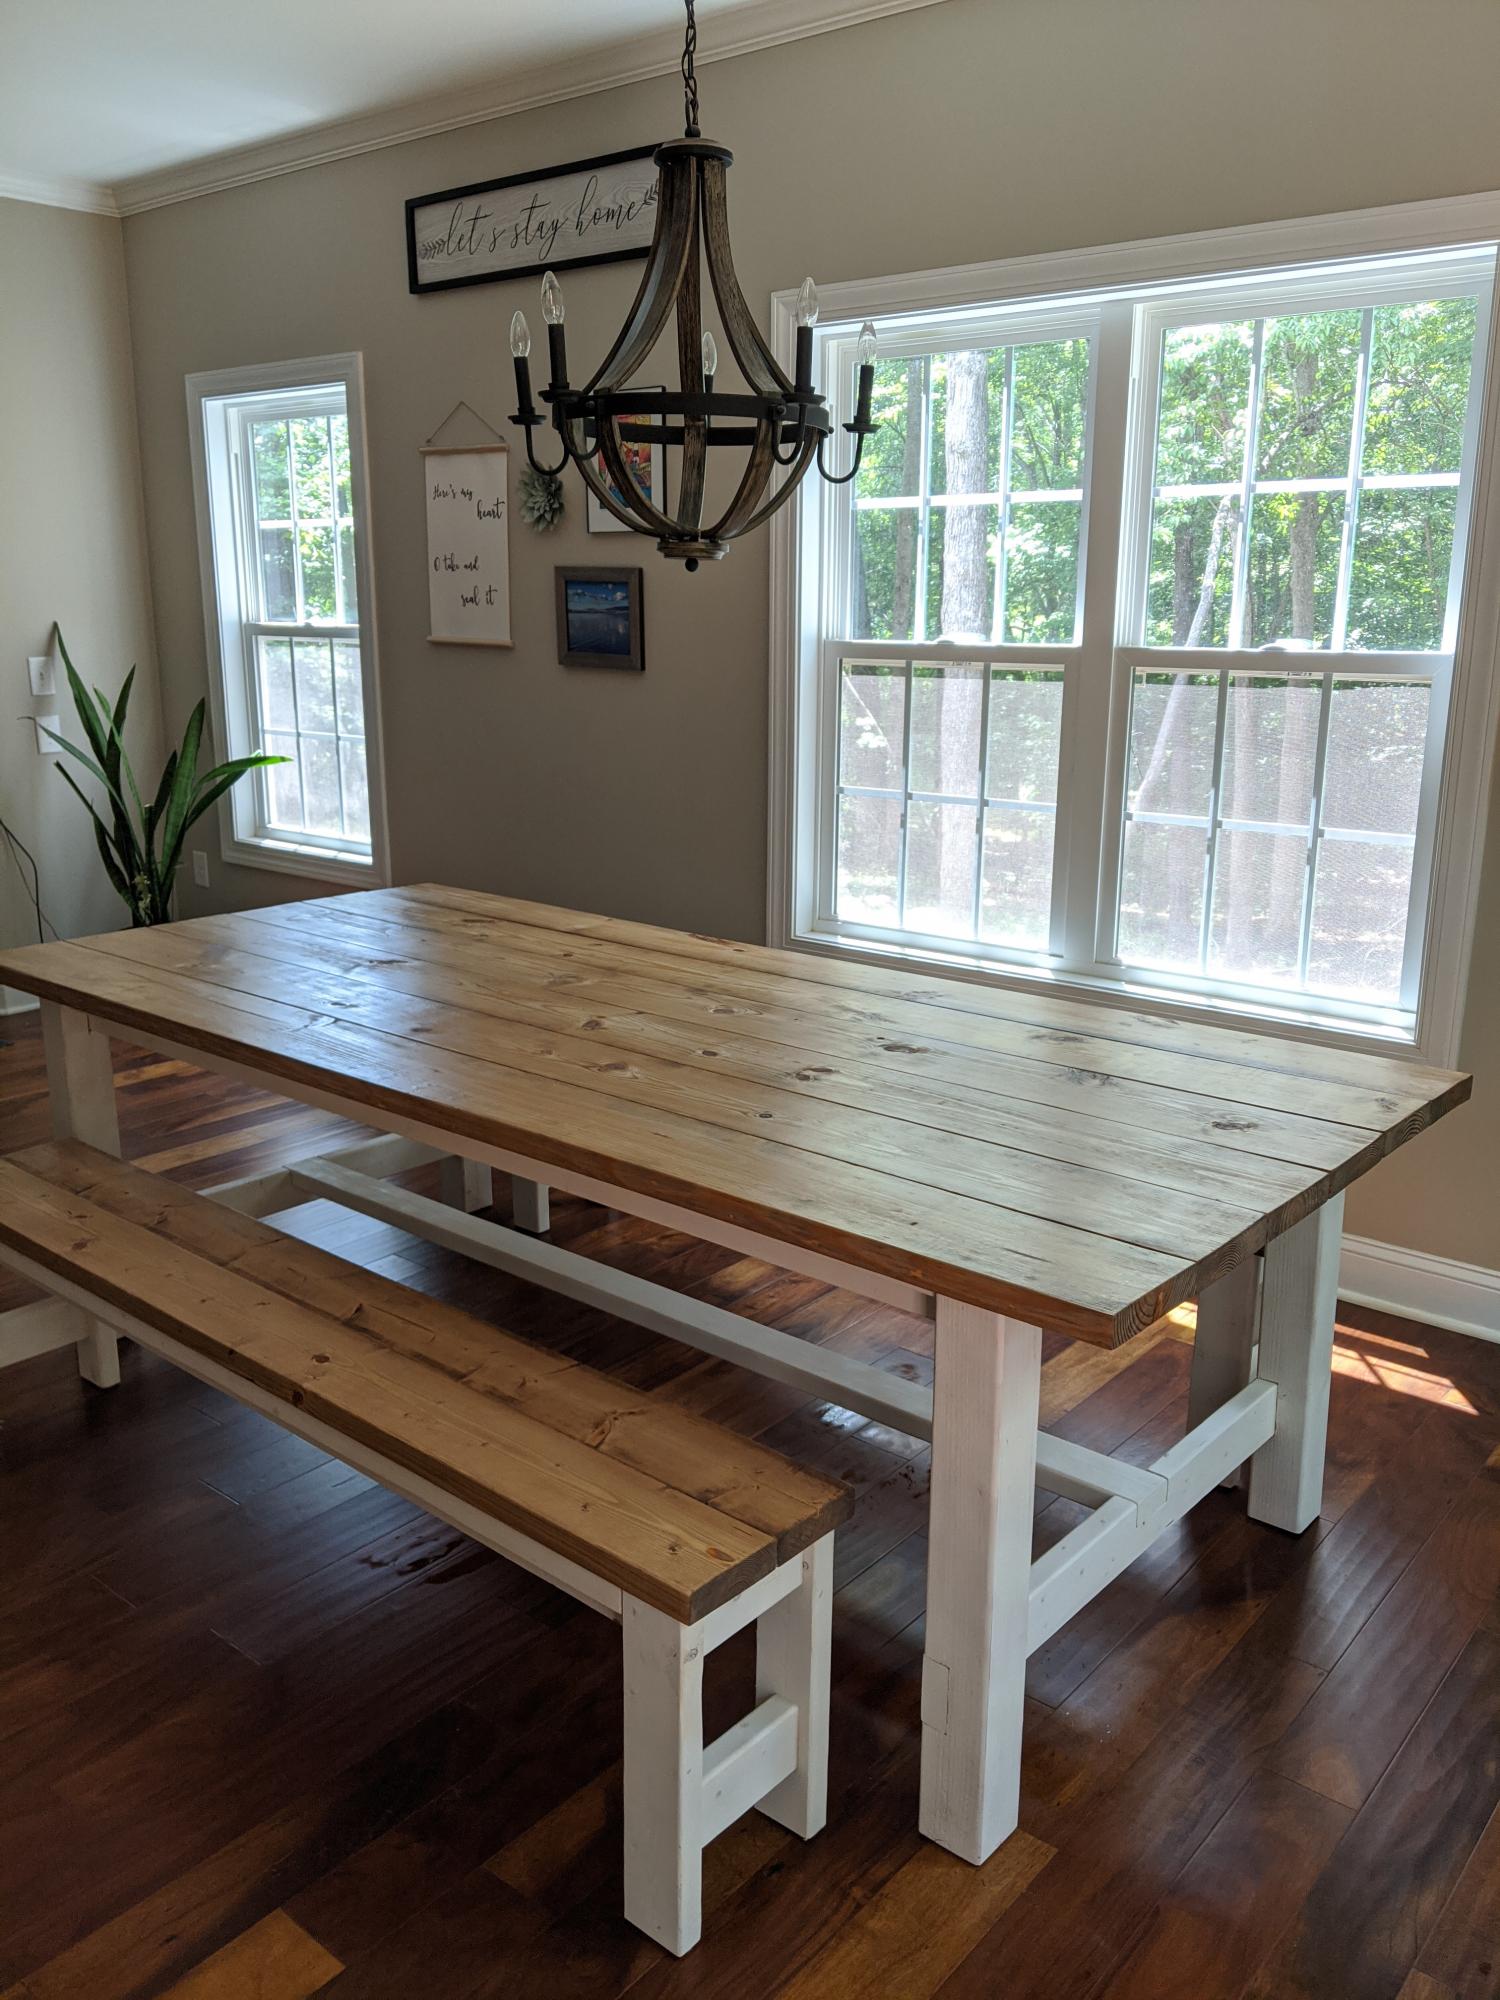
First table build! We modified the plans with no breadboard ends since we live with lots of humidity and wanted to allow the wood movement. We also used 4x4s for the legs. White chalk spray paint legs and custom mix of special walnut and weathered oak stains. We LOVE it!!

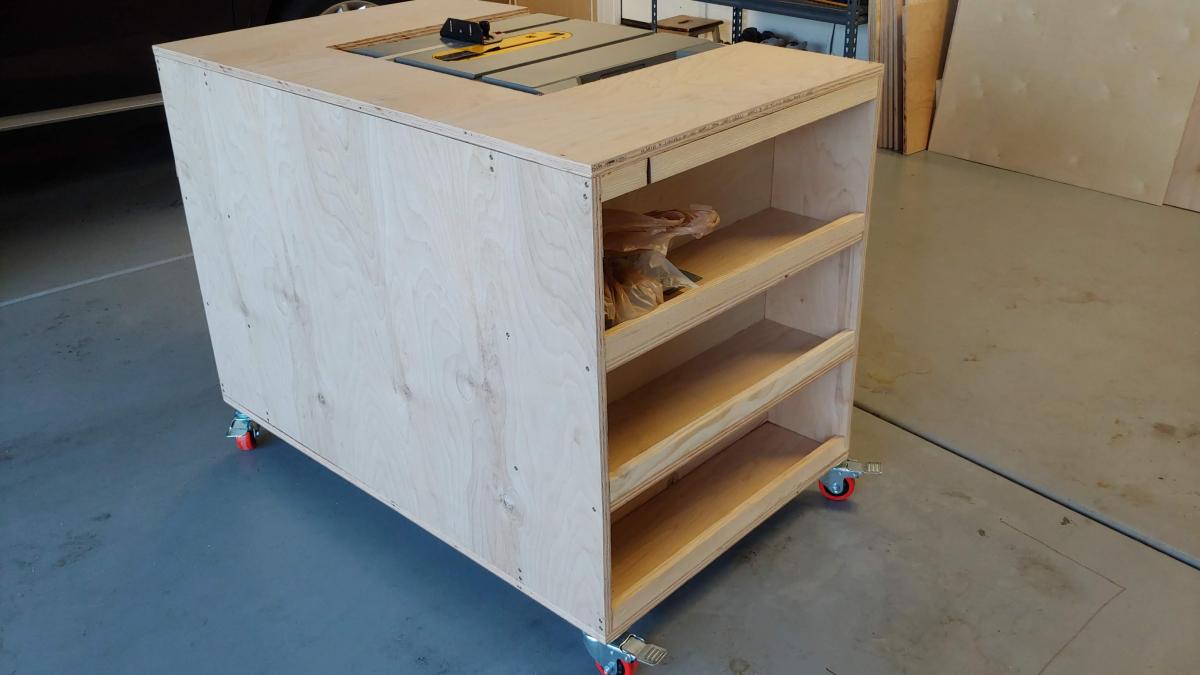
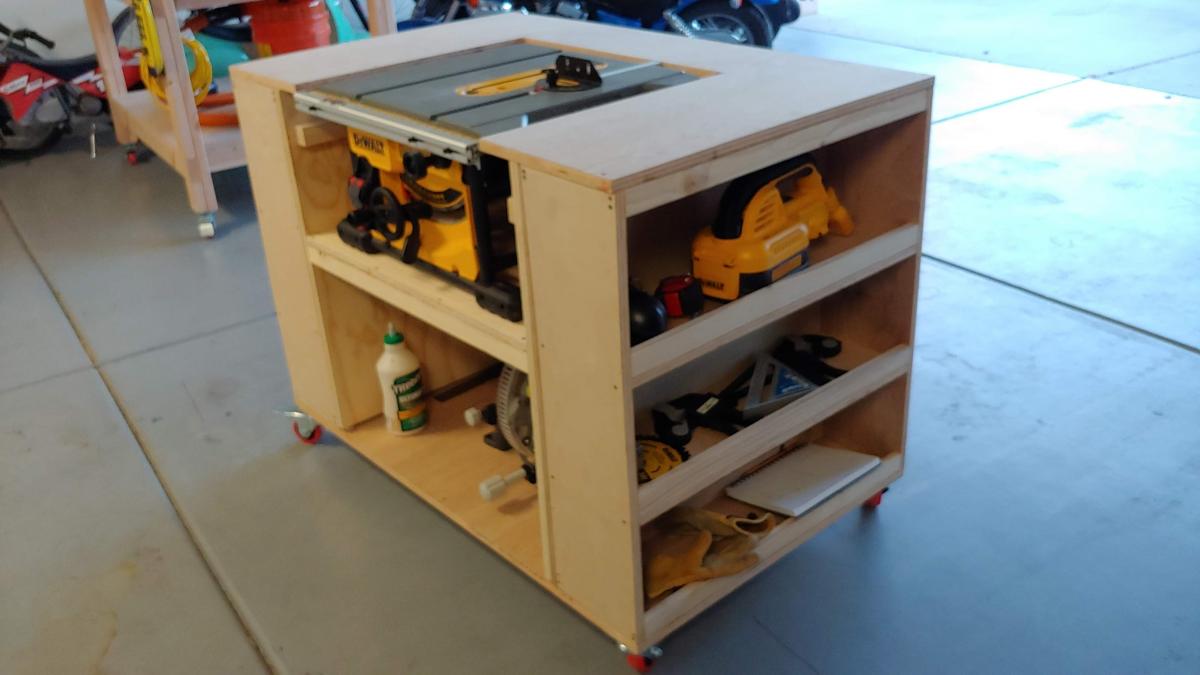
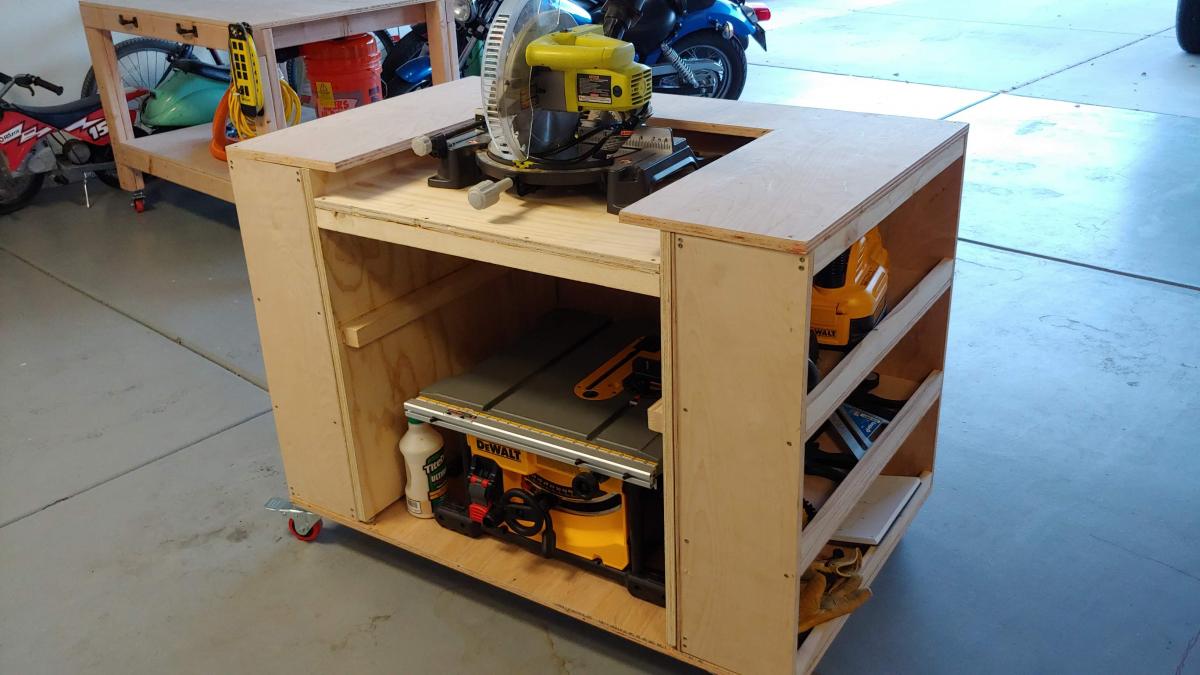
Used part of the Ultimate Roll Away Workbench with Miter Saw Stand to just build one of the roll-away workbenches to work with my miter saw and table saw. I'm very happy with how it turned out.

Hi Ana,
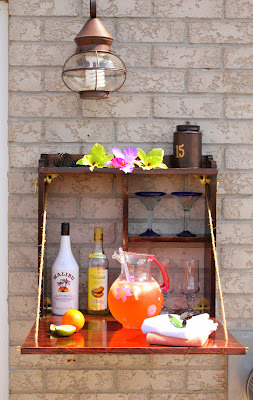
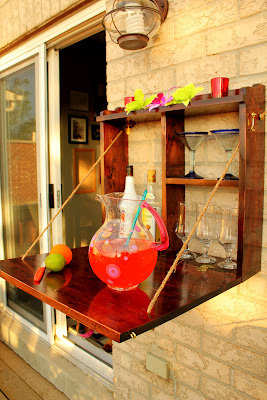
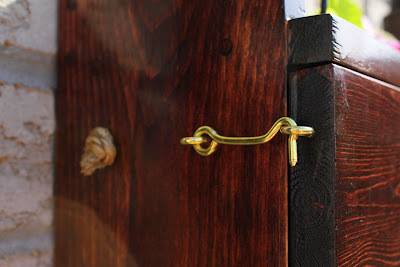
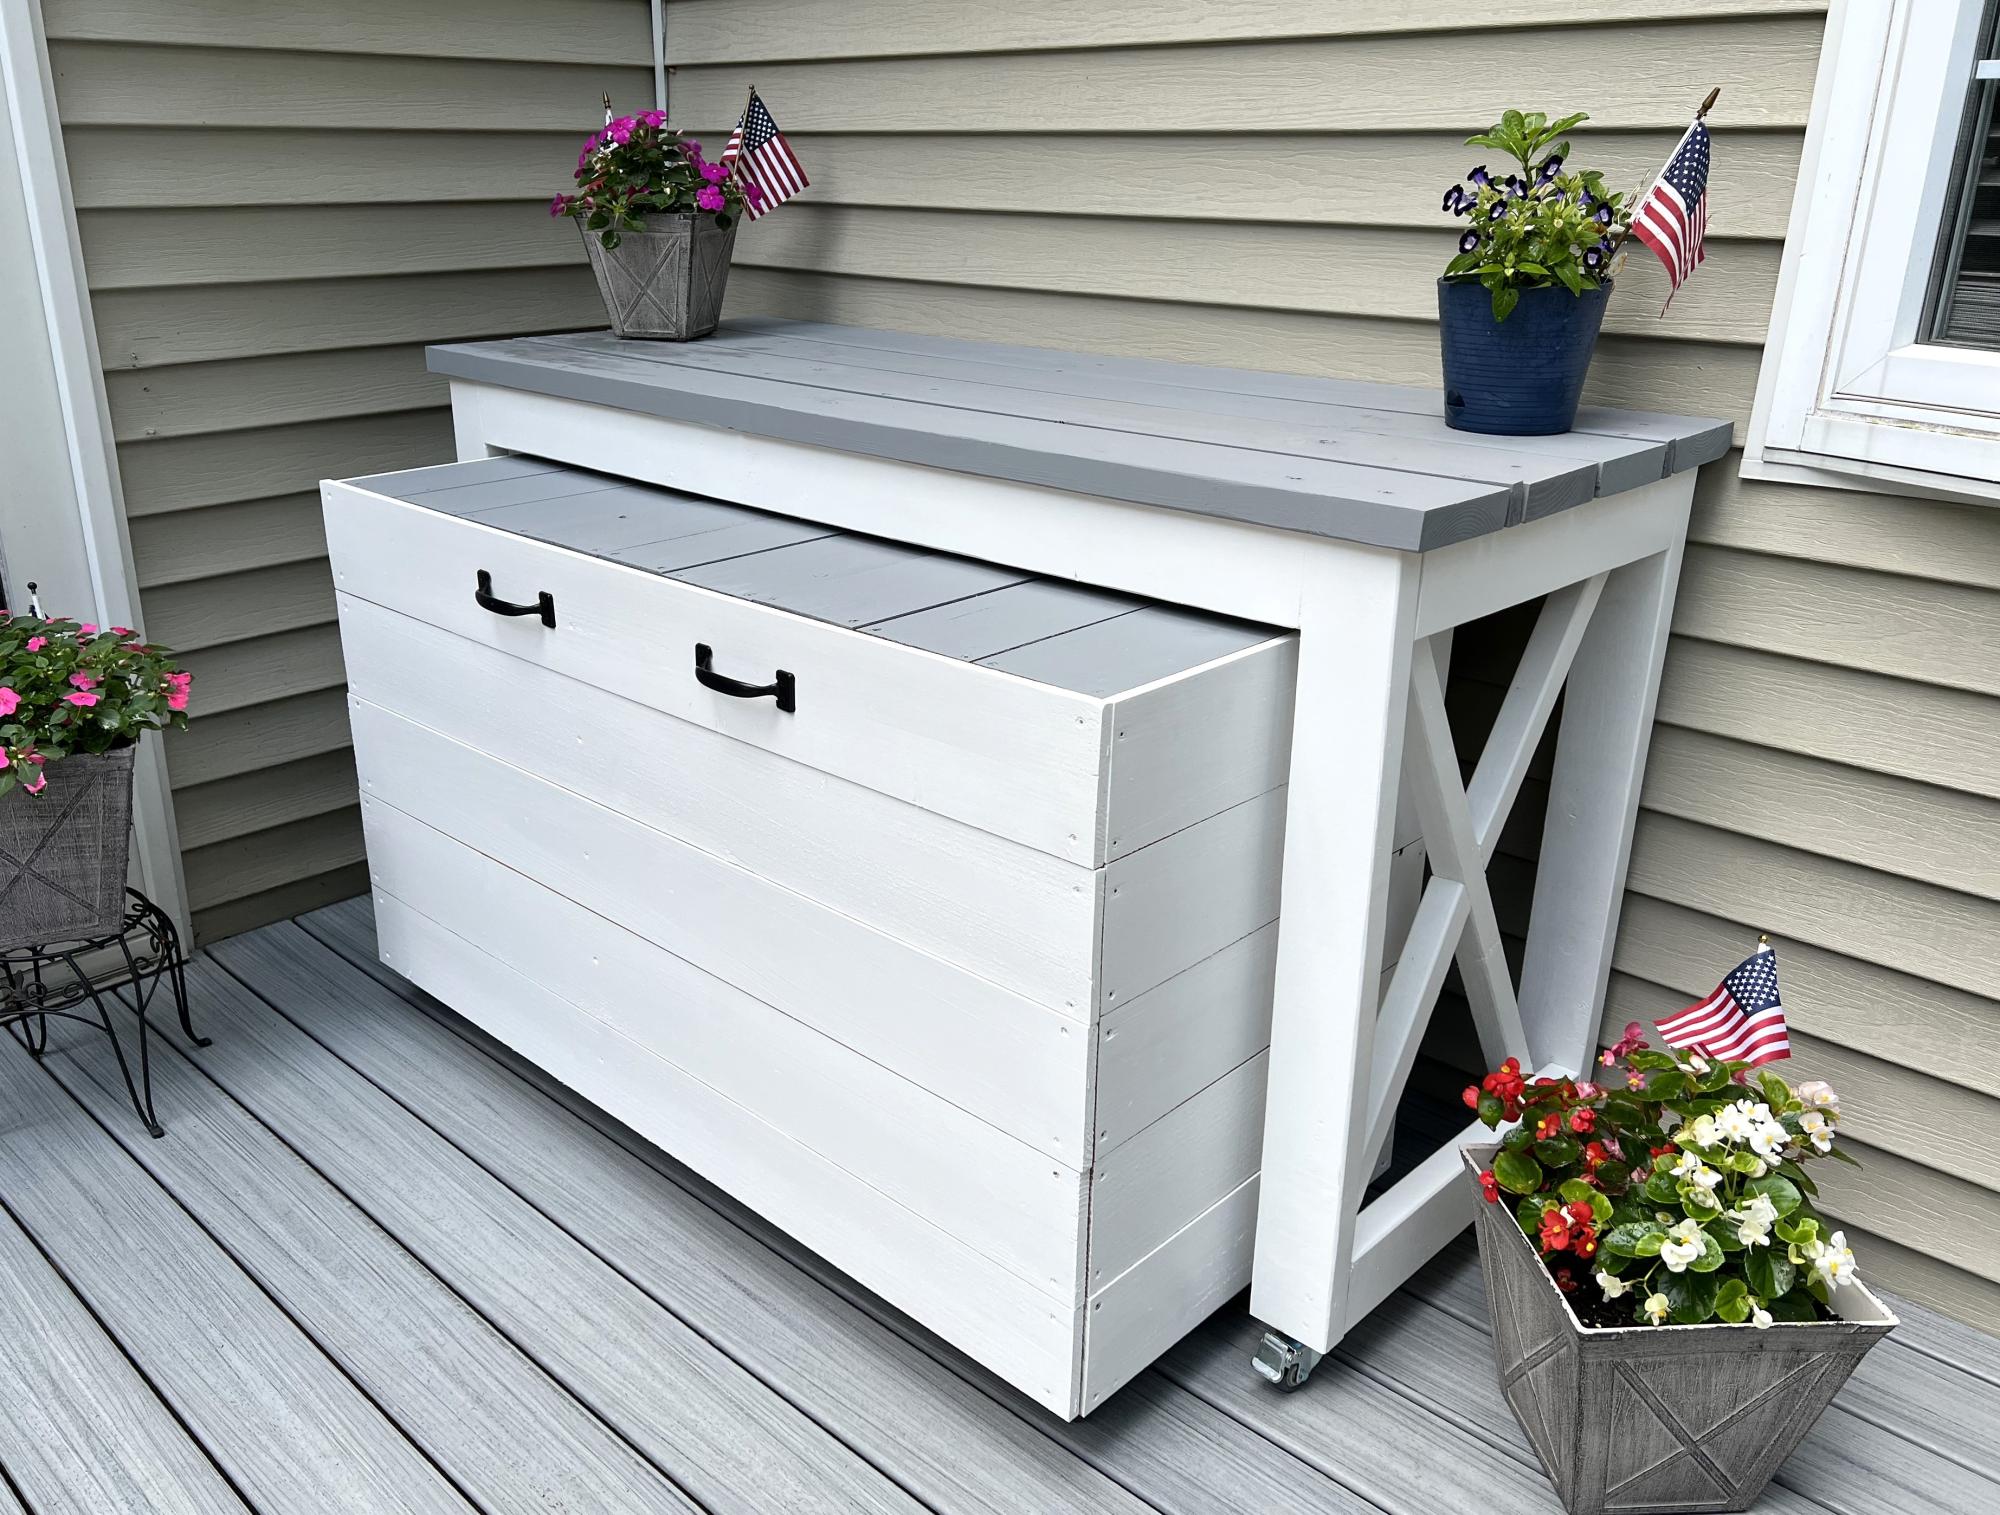
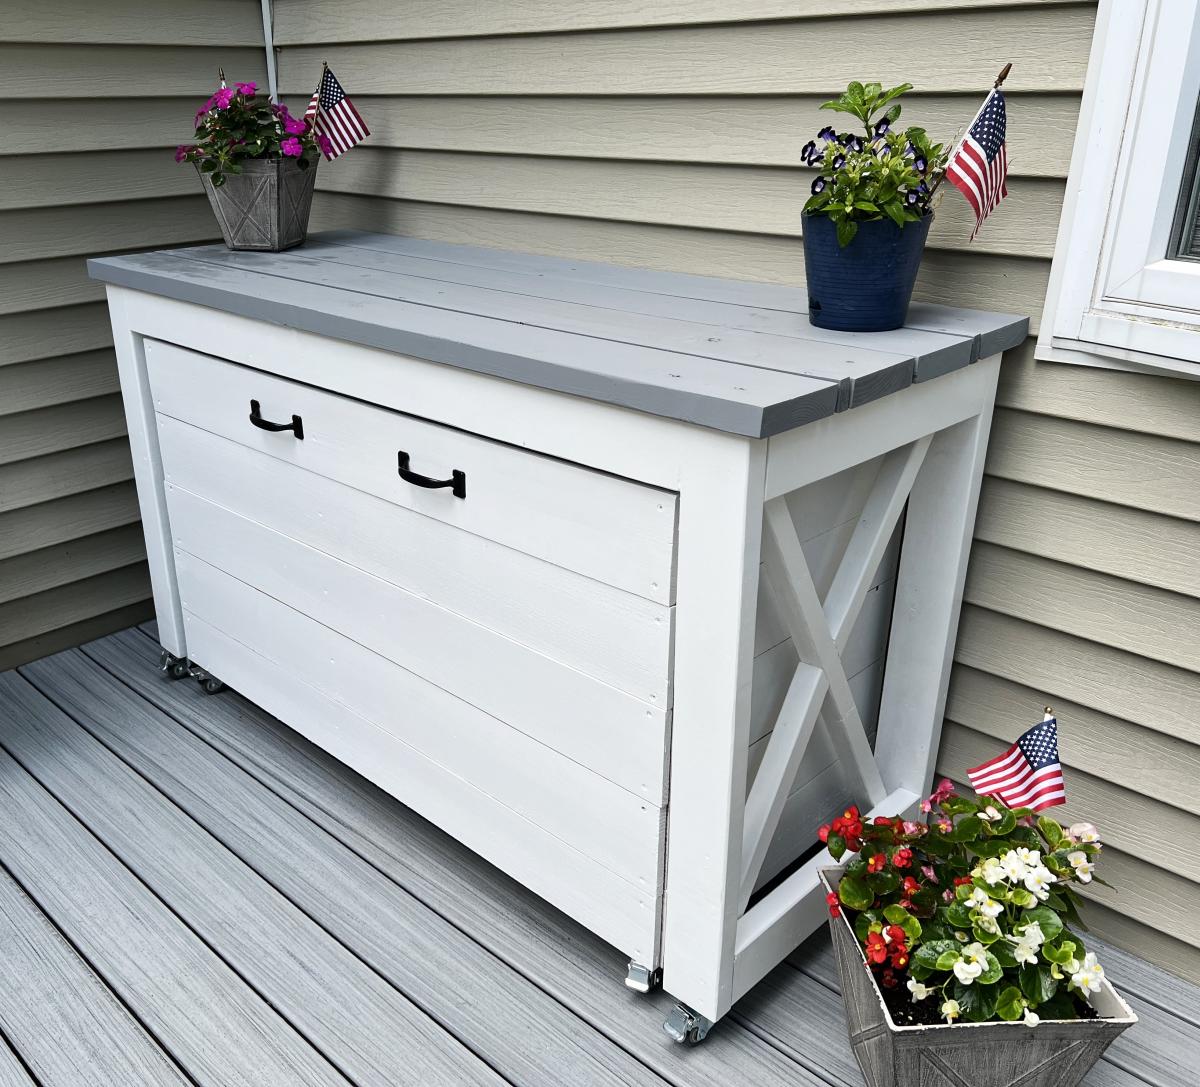
I saw your link on Facebook to the fold-down bar by Home Depot, and I wanted to show you the one we built last year. We're pretty proud of how it turned out! It was easy to build - we just used a reference photo we found on the web and built it to our own specifications. We have a very tiny backyard with absolutely no space to set up a drink area, so this works perfectly. It folds up out of the way when it's not needed (and doesn't have to be packed away for the winter!)
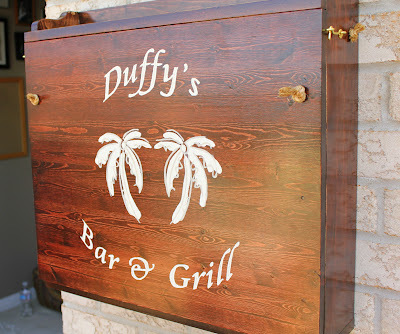
After installing it, I handpainted the back (bottom) with an inside-joke between my husband and his friends. "Duffy's Bar and Grill!" is how they answer the phone whenever one calls the other.
I hope you like it!
Barb Steadman
Newmarket, Ontario, Canada
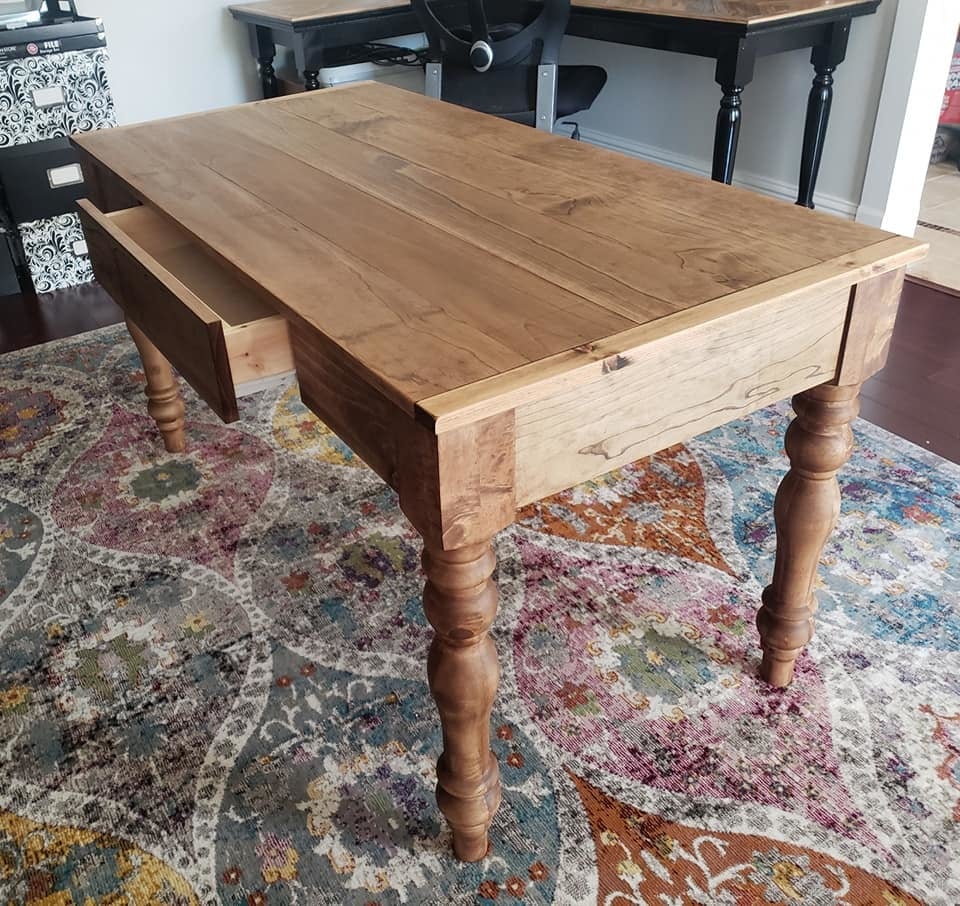
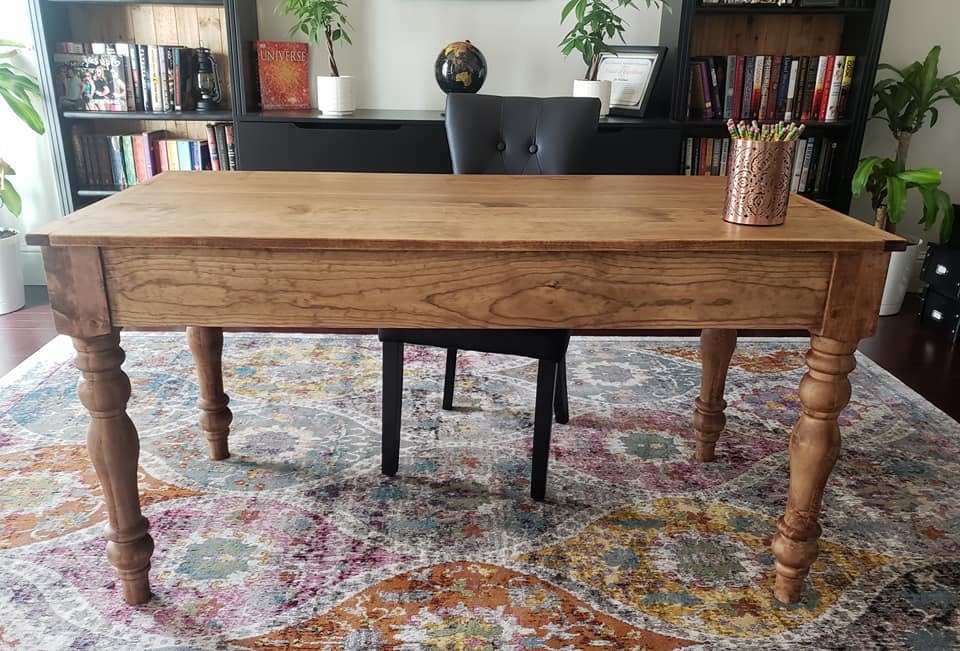
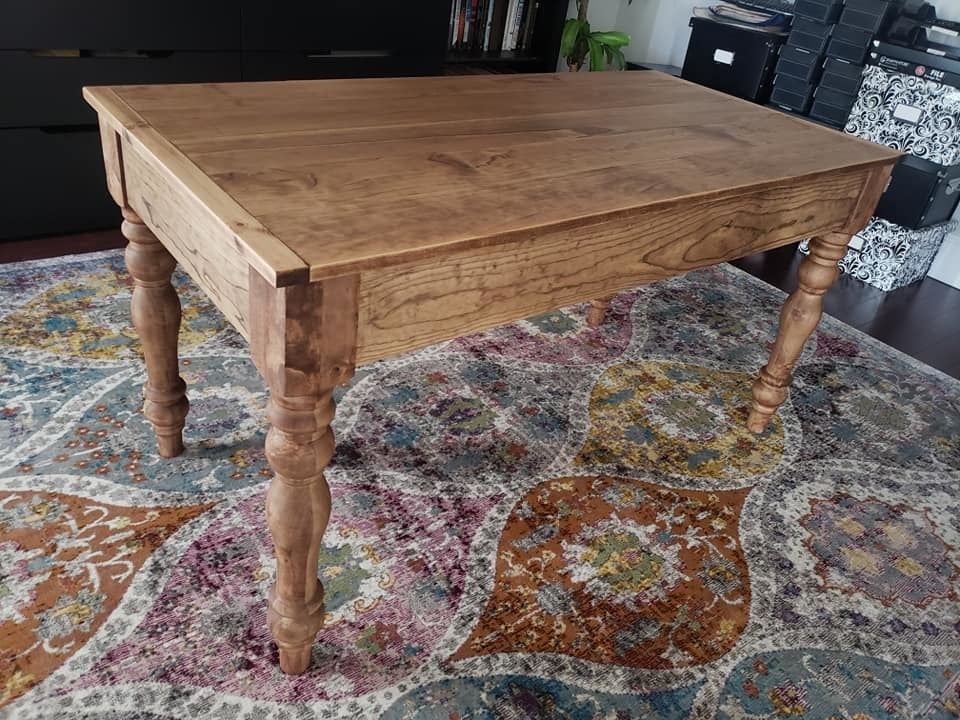
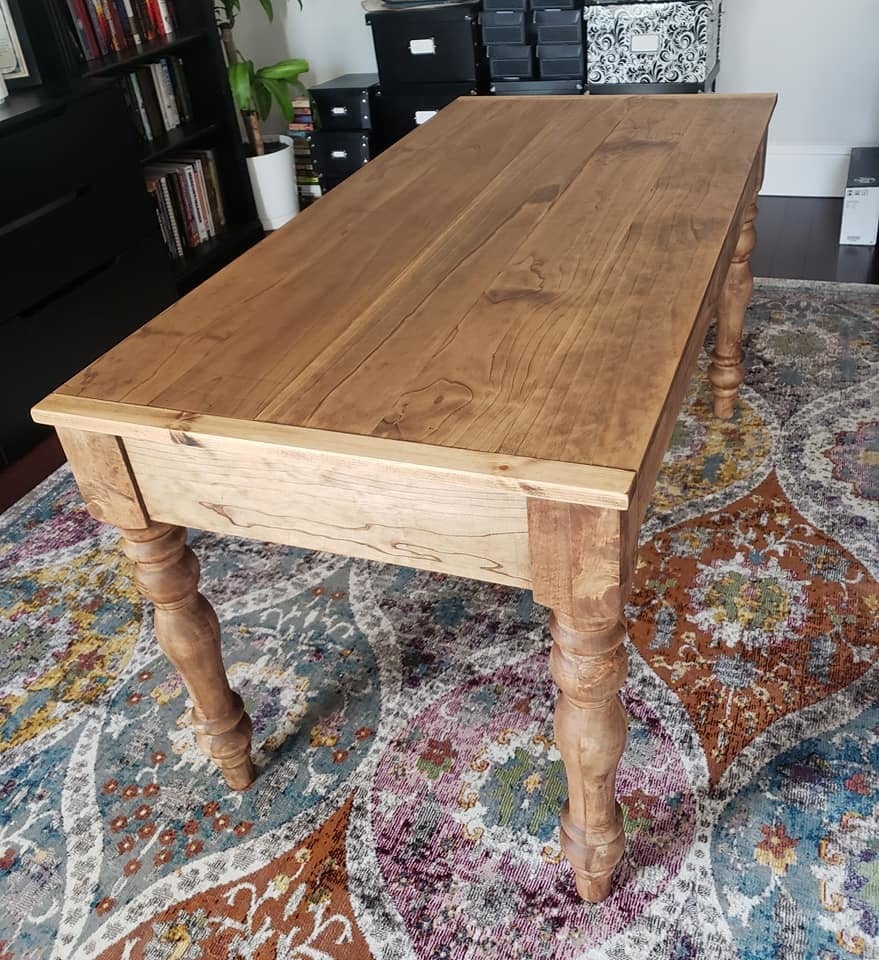
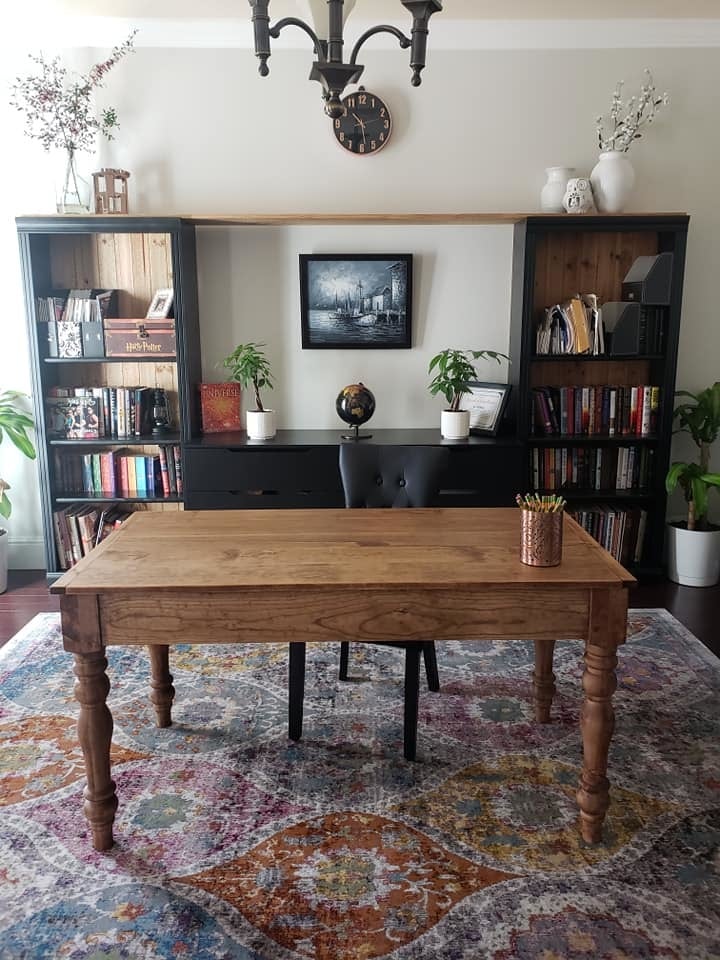
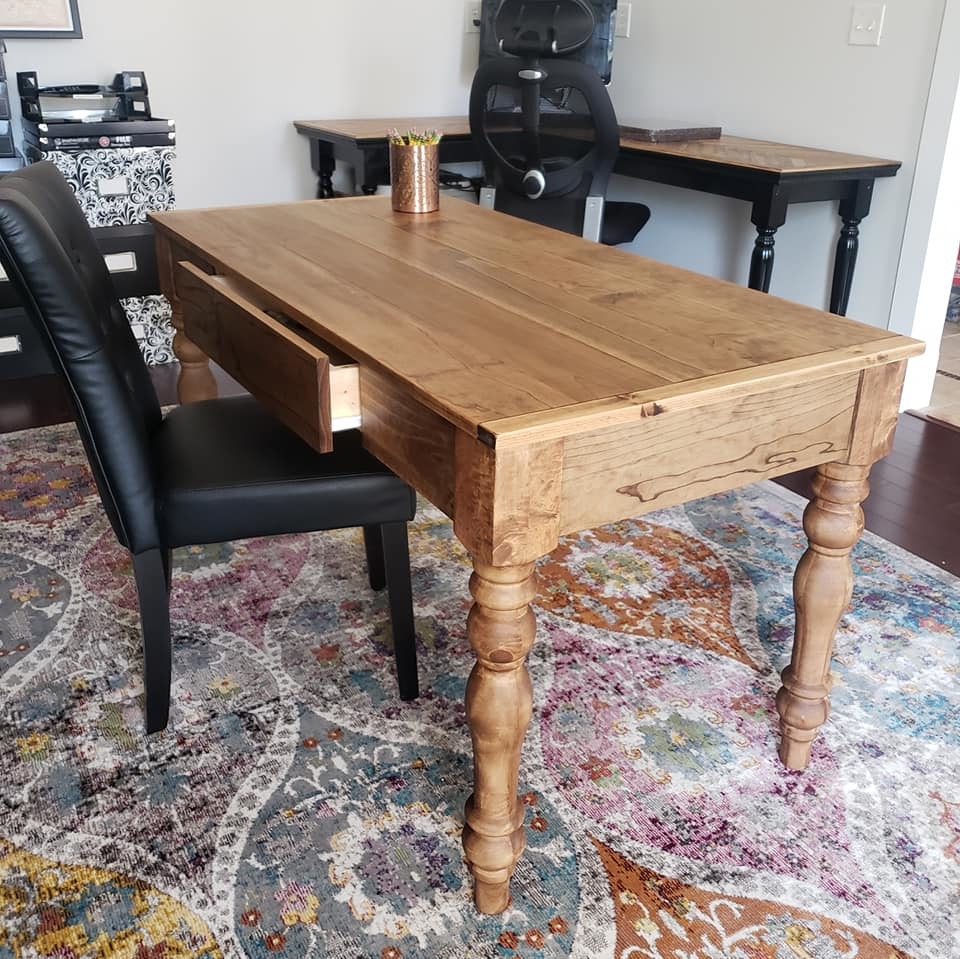
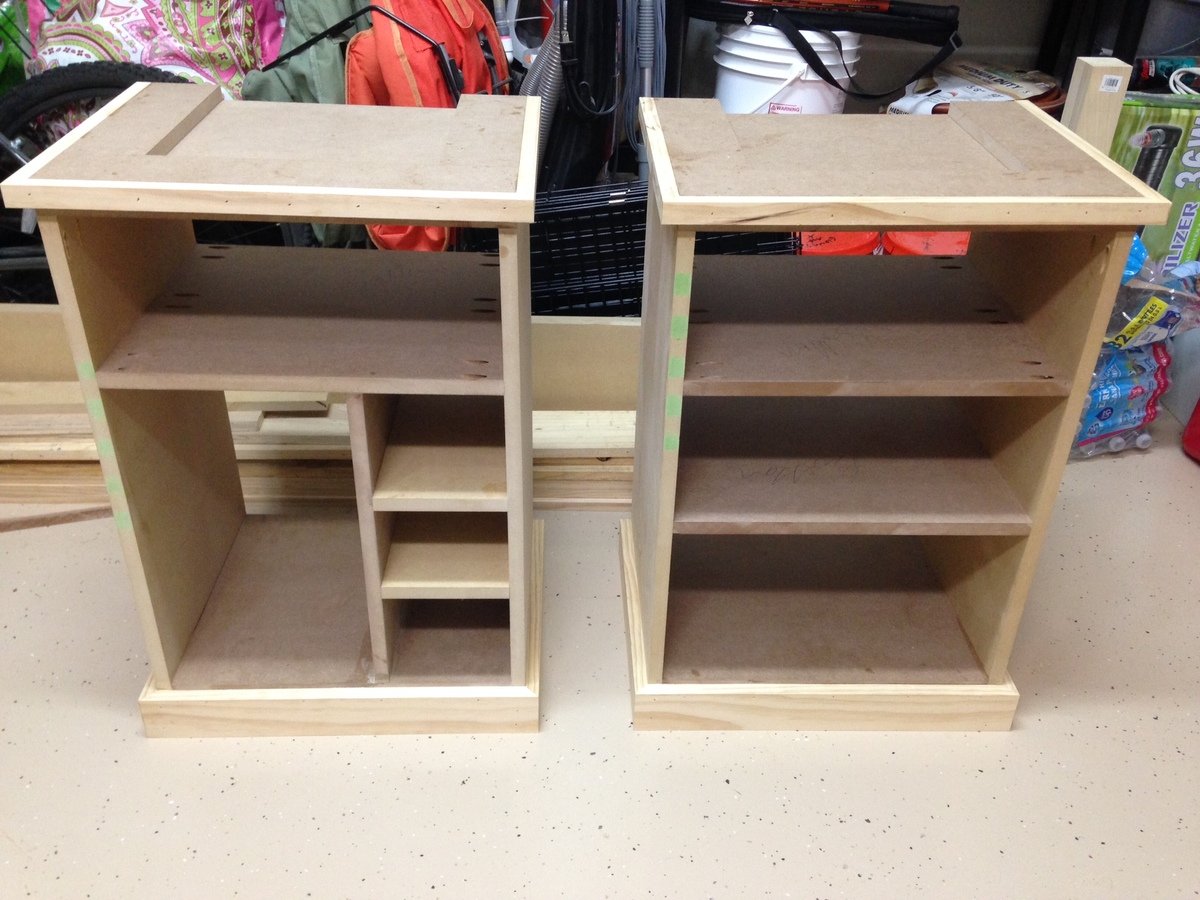
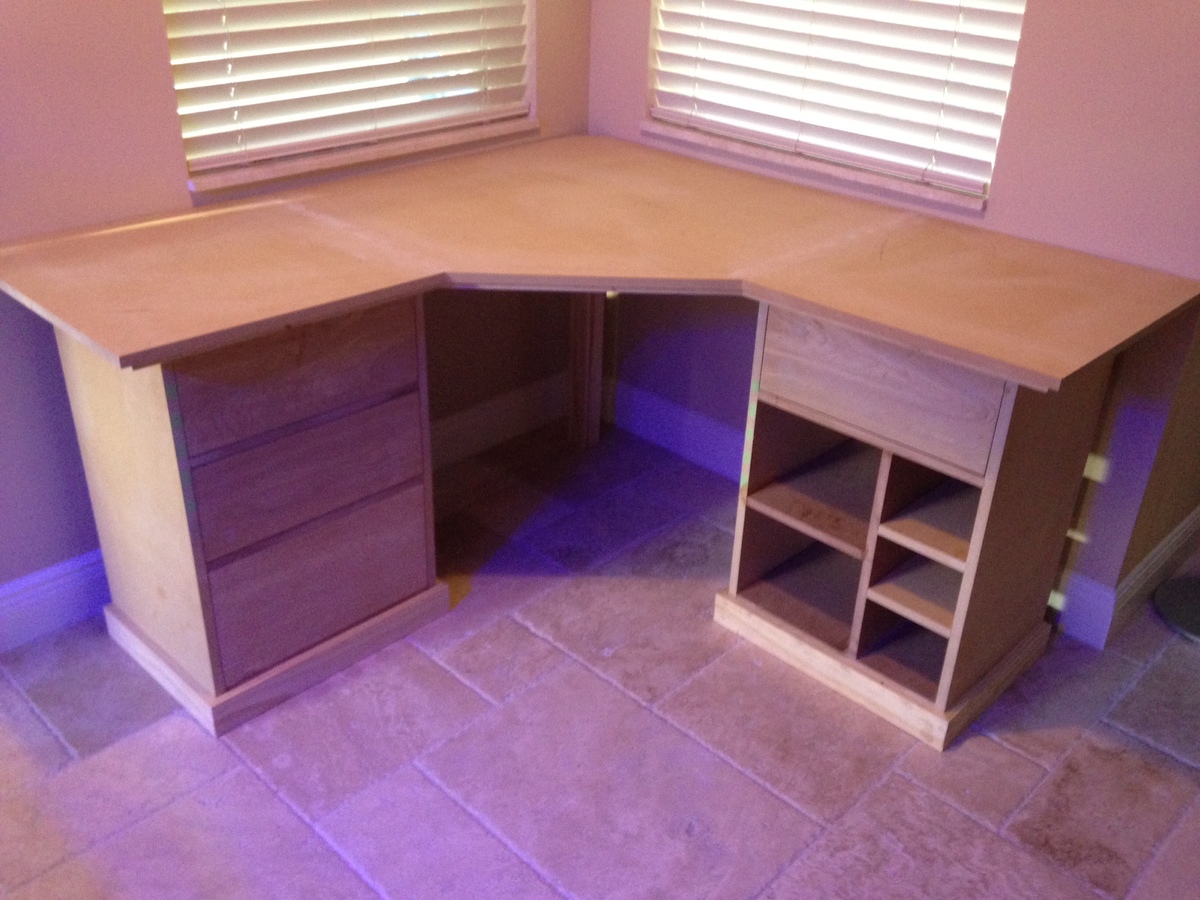
I modified the Small Old English Style Farmhouse Dining Table plan to build a writing desk. I used five 1x6 boards for the top for a width of 27.5 inches. I made my desk 56 inches in length. I put the drawer on the long side like a pencil drawer. I did use the legs that Ana recommended in the plan. I love how it turned out. I used dark walnut danish oil and dark wax for the finish.
Sat, 08/31/2019 - 05:18
Beautiful! What are the brands of oil and wax that you used?
Fri, 10/04/2019 - 21:46
Thank you! I used Watco Danish oil and I used Minwax dark wax. I've tried alot of different wax brands and I always come back to Minwax. It dries the hardest in my opinion.

Made the outdoor sectional. The coffee table was made out of left over pieces!

Wed, 10/02/2019 - 09:54
So smart to make the coffee table out of the spare pieces.
Looks amazing!
Built the nested grill station just in time for the 4th. So much fun building this, thanks Ana so much for the inspiration! Chris
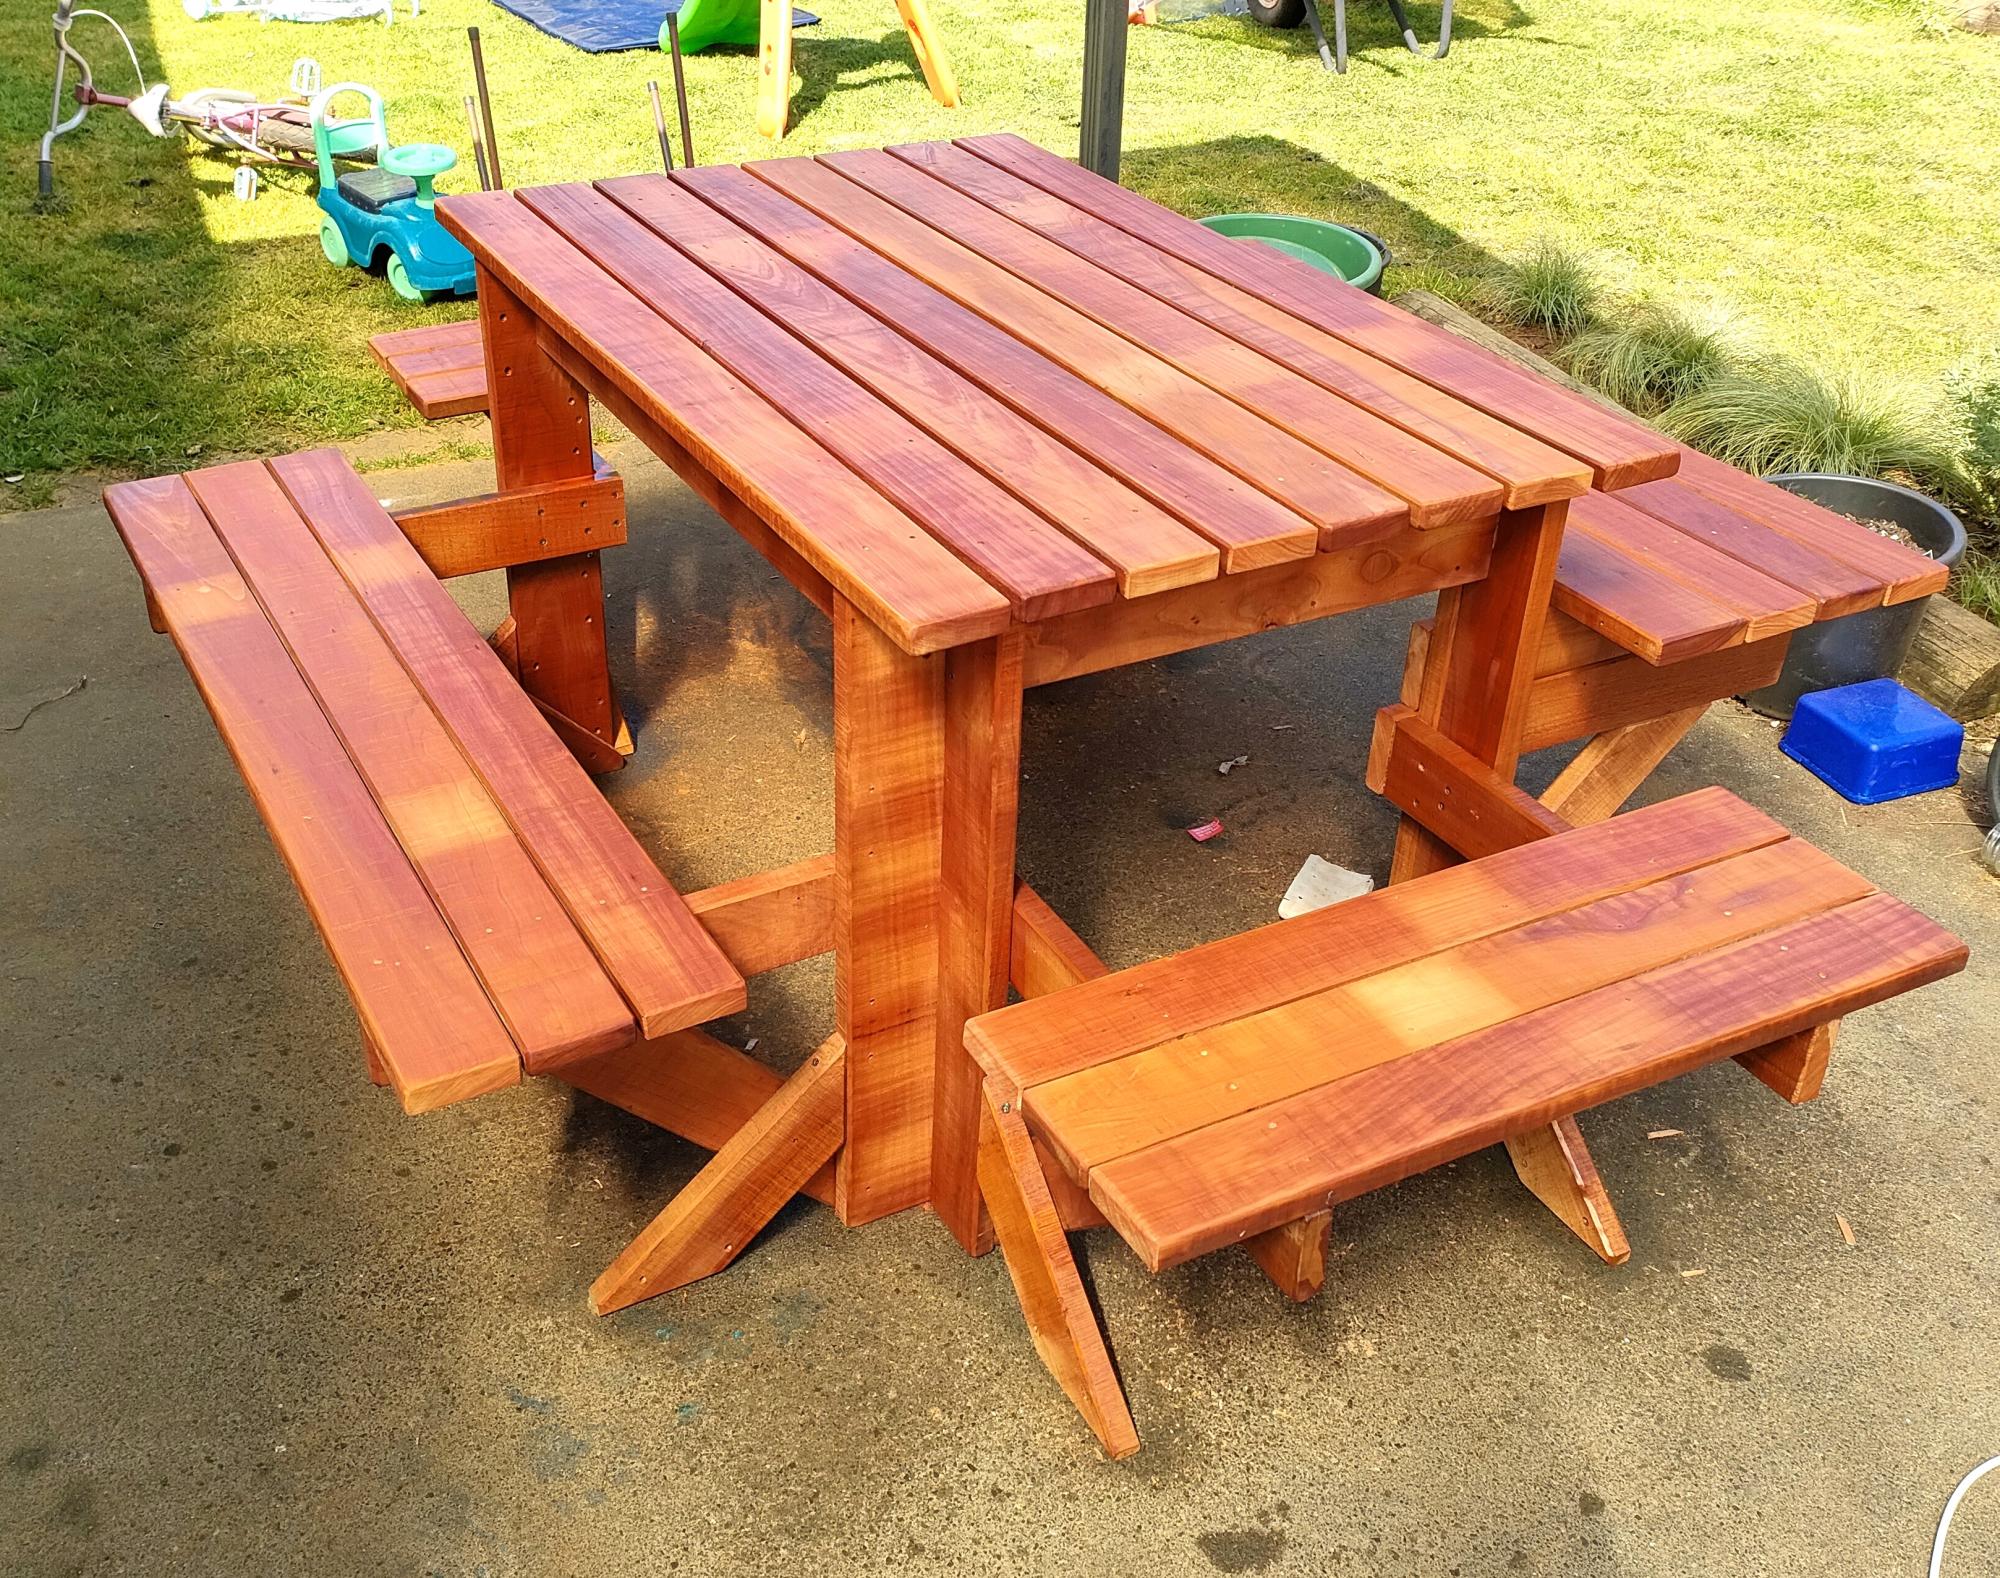
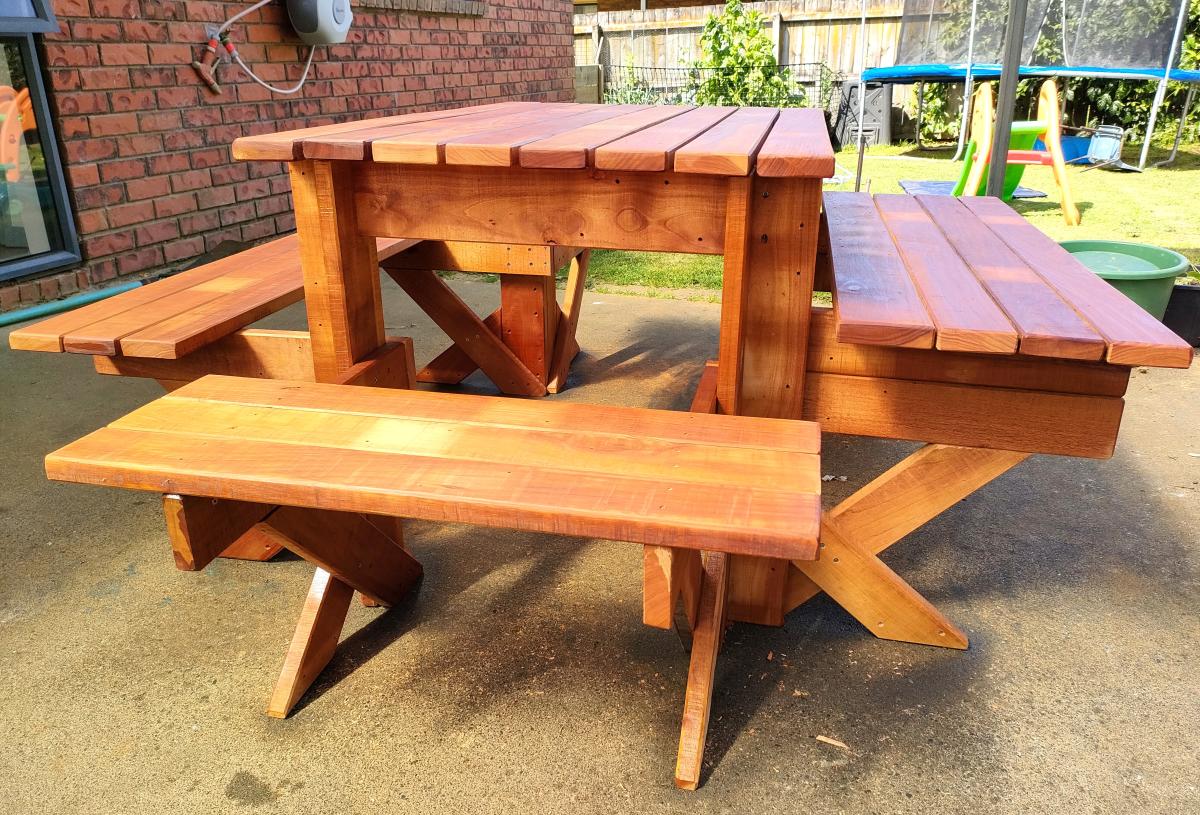
6 seater Recycled Fijian Kauri with extra leg supports, one side higher & closer for kids.
Marty
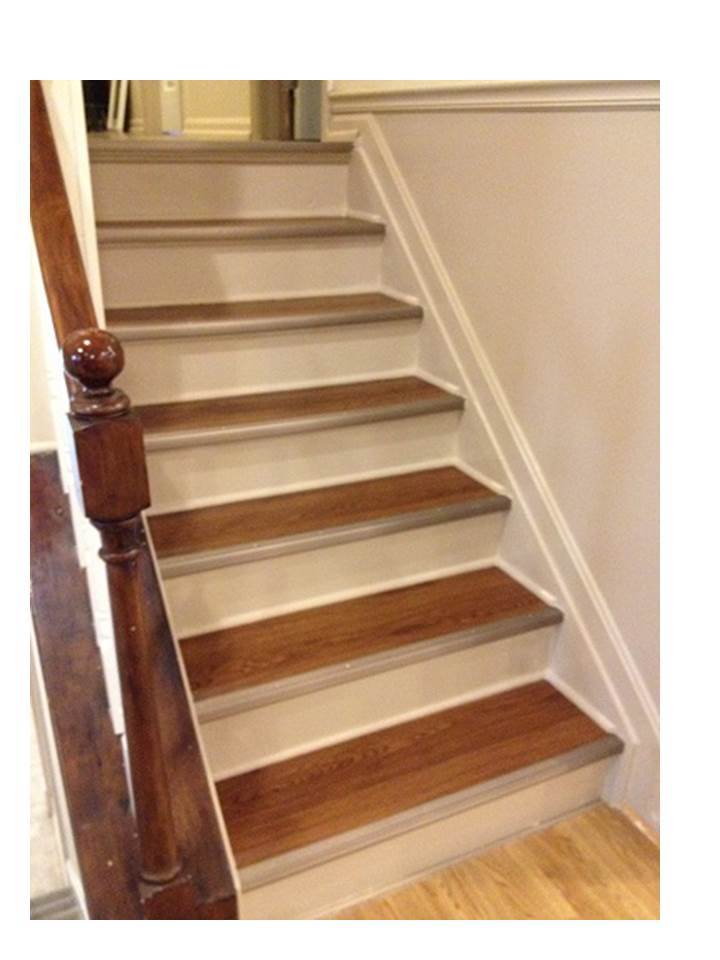
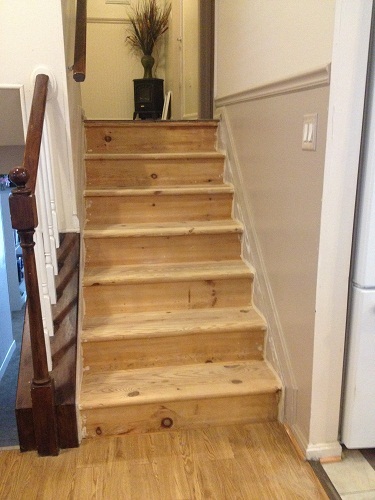
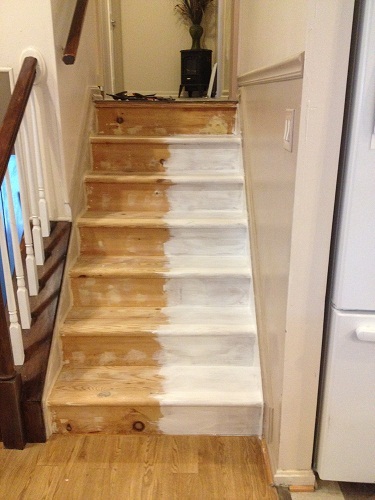
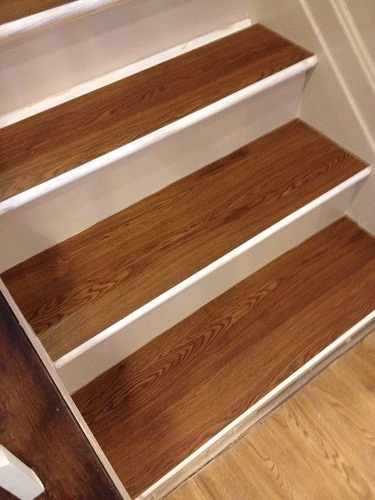
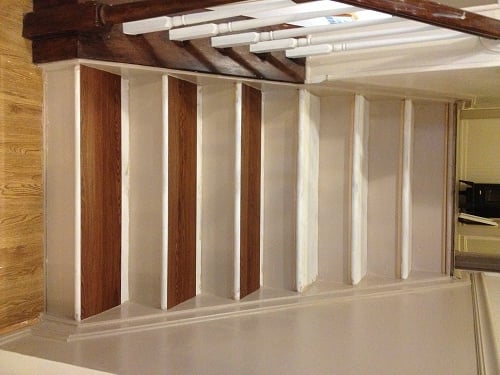
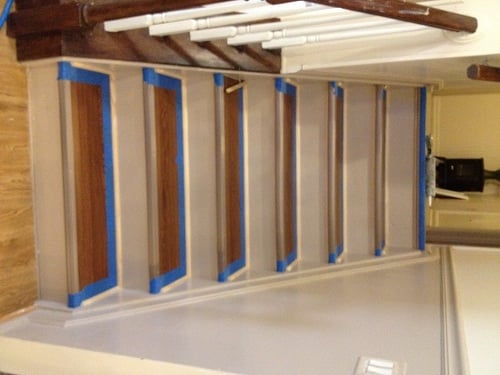
Finally got rid of the yucky worn-out carpet on the stairs. Instead of painting or staining the tread surfaces, I sanded, filled in holes, primed with a high quality primer, and used luxury vinyl flooring planks on the top of the treads, and finished the fronts with pewter stair nose. The risers and skirt boards were sanded, primed, and painted with 2 coats of semi gloss paint. Below the front edges of treads and where the treads meet the risers and skirt boards, added a finishing touch with some trim. This project was time consuming and I had sore muscles all over from crawling up and down those steps, but I think the finished result was worth it. They look much nicer, and we can get dust and dog hair off of the steps with just a Swiffer. Plus, it only cost about $200 to do 2 sets of stairs (6 steps up and 6 steps down).
So, why didn't I stain or paint the tread surfaces? I originally planned to, and did a lot of reading and research on what to use. But, I was worried about slipping on the stairs. Mom (who lives with us) isn't as mobile as she used to be due to a hip replacement and arthritis, and I was worried about her slipping on the smooth tread surfaces. Even if I'd used slip resistant paint, I was still worried about her foot slipping off the round bullnose at the front of the tread (that's happened to me with the carpeted stairs). The vinyl planks have a textured surface. We have these on several of our floors throughout the house and they aren't slippery for her feet. The stair nose has ridges and also is a bit squared, so it doesn't allow your foot to slip off of the front edge.
I know this is non-standard from what most people would expect to see on stairs, and we'll surely have to change it if we ever sell our house, but in the month we've had this project complete, so far it has been great.
Mon, 10/07/2013 - 16:00
How have your stairs held up over the last year? I'm considering doing the same thing. I'm worried about them being too slippery (my planks are not textured) and the fact that the manufactuer says not to use for stairing. Your stairs look great!

Mon, 10/07/2013 - 16:33
Thanks SunnyL! The stairs are holding up great! The stair nose makes it so your foot doesn't slip off the end, and they sweep up beautifully. We have 2 beagles that shed a lot, and it's a cinch to get the dog hair off the stairs ;).
I'm not sure about doing this with a slick surfaced plank, though... One of the reasons I chose to use this particular plank is that it's textured and not slick at all.. These have the adhesive on the back and haven't moved or lifted a bit. This is the one I used, it was a great price and is wearing beautifully.
http://www.lowes.com/pd_33259-84875-WD4011_0__?productId=3032606&Ntt=vi…
Good luck on your project! :)
Joanne
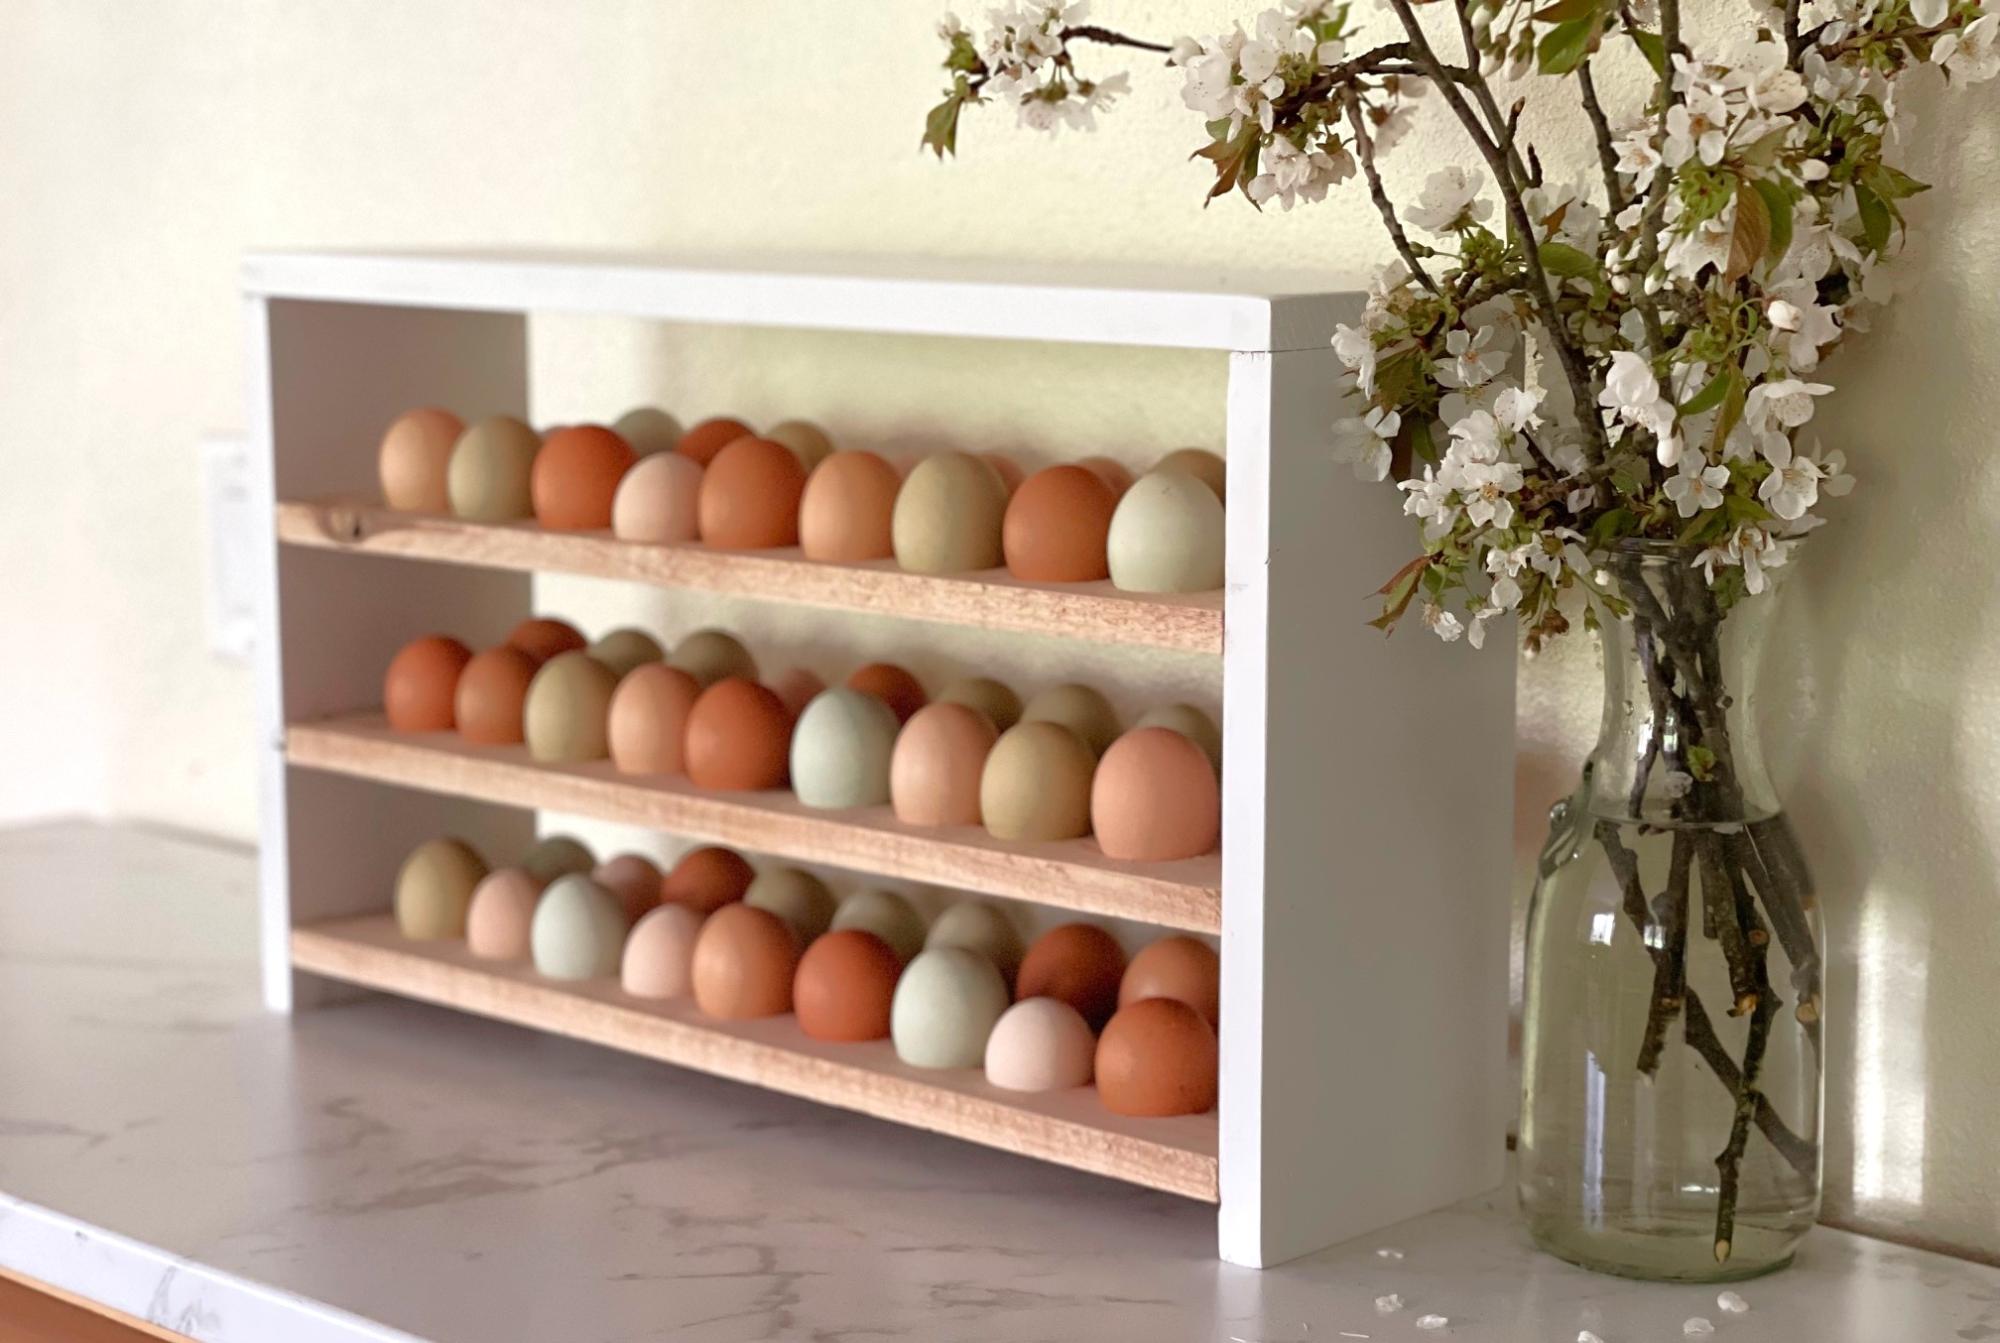
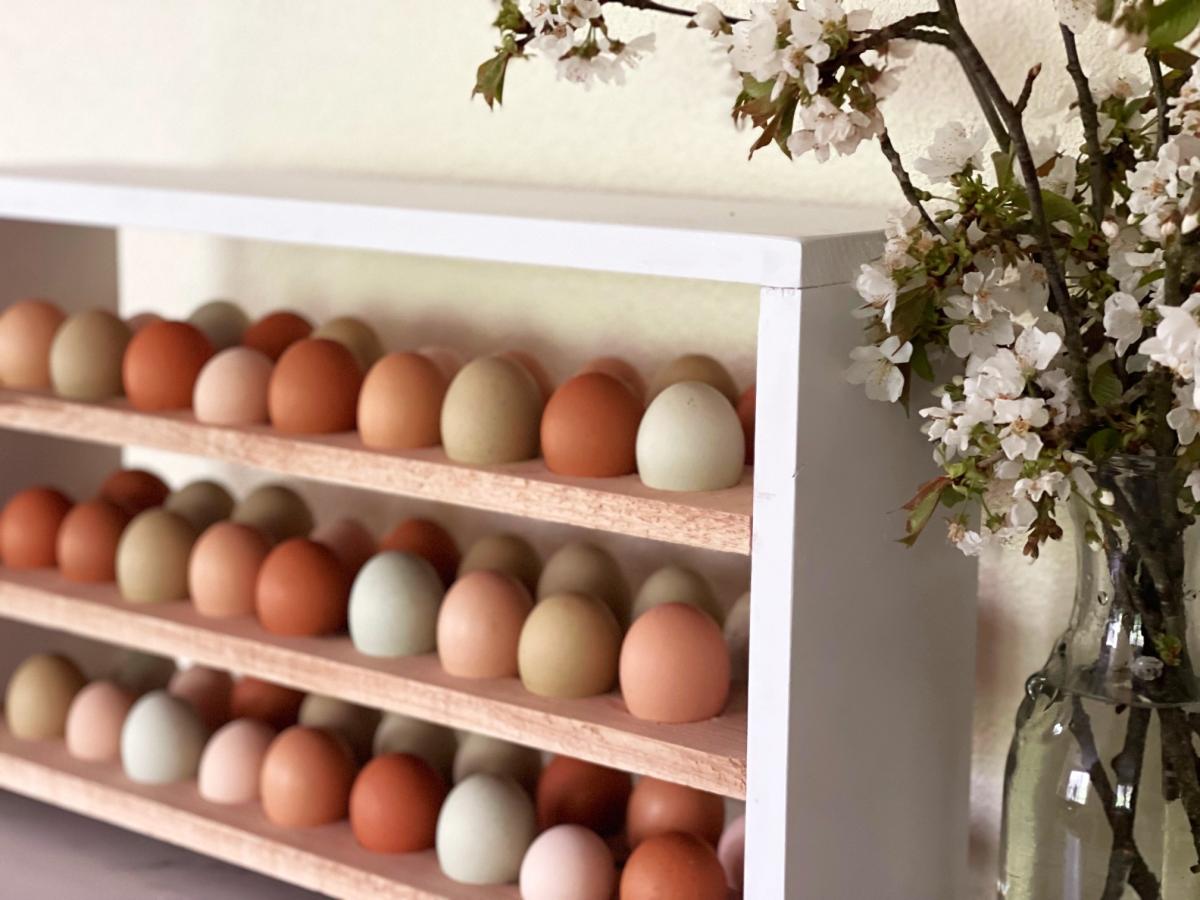
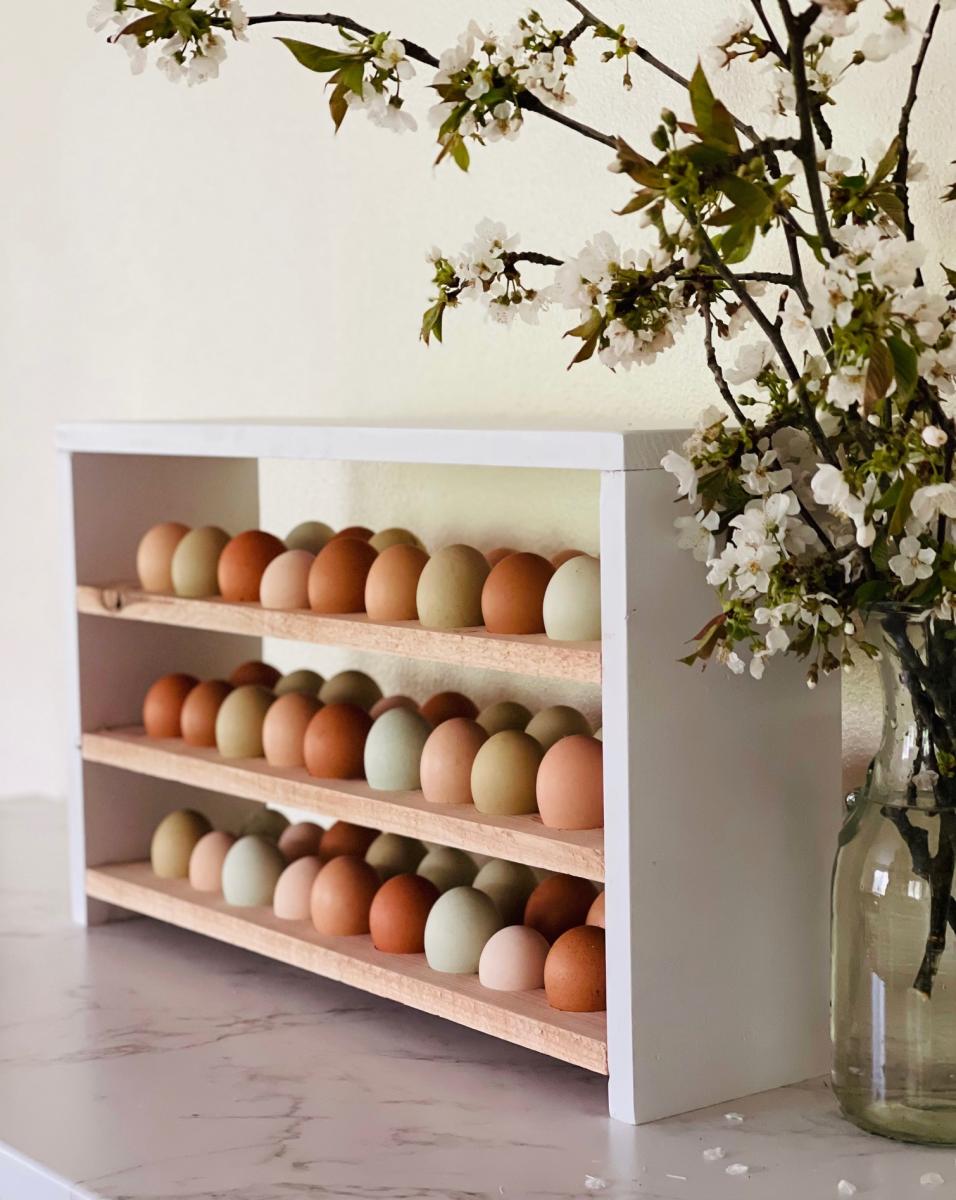
I used Ana's plans with modifications to hold 4 and a half dozen eggs. I love that it can sit on my counter and display those beautiful farm fresh eggs!

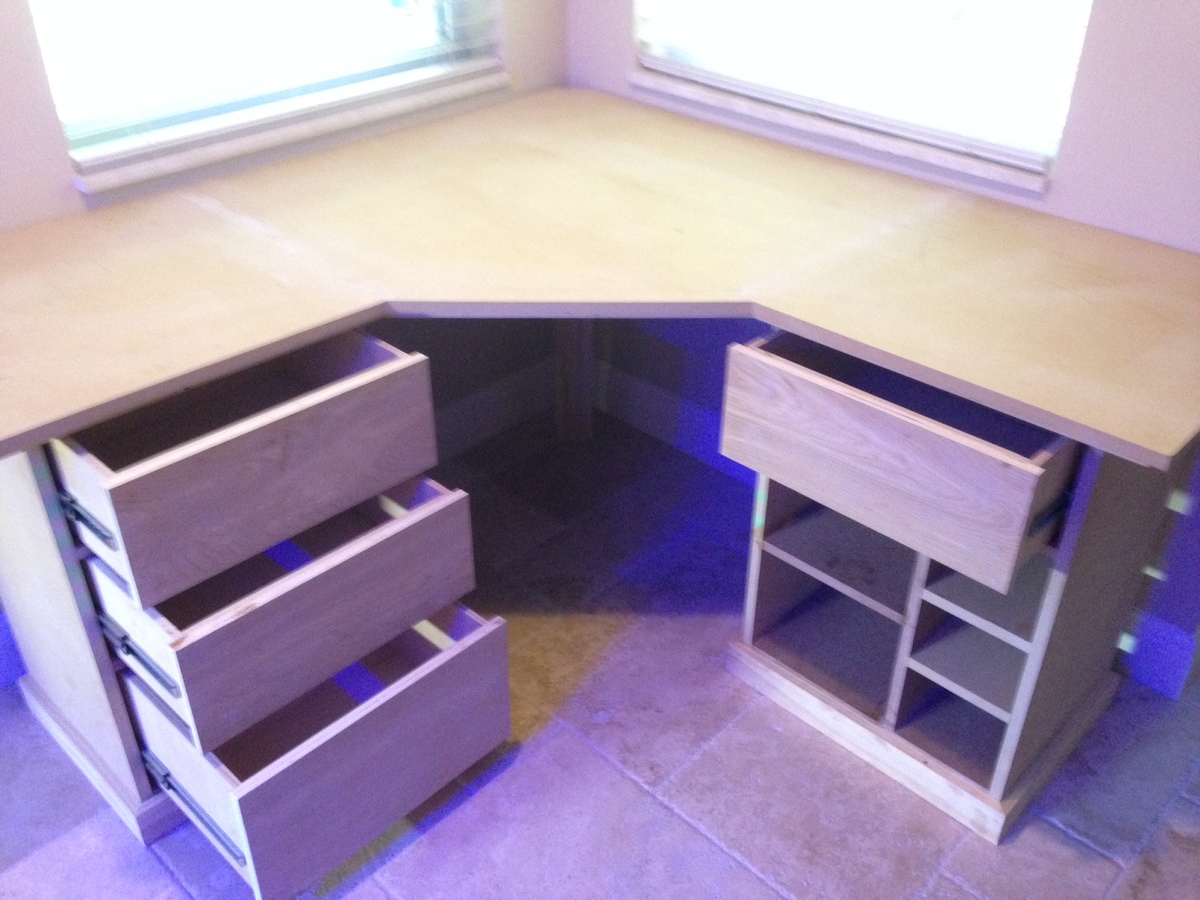
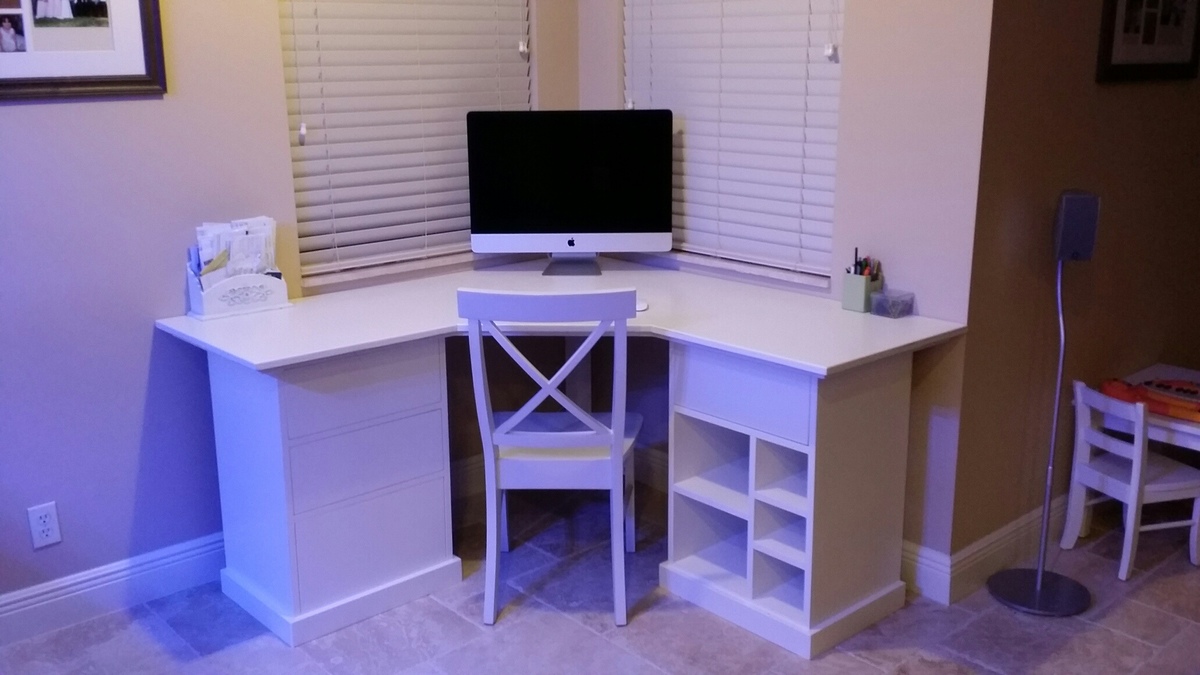
Beautiful Bedford Modular Desk (Pottery Barn)

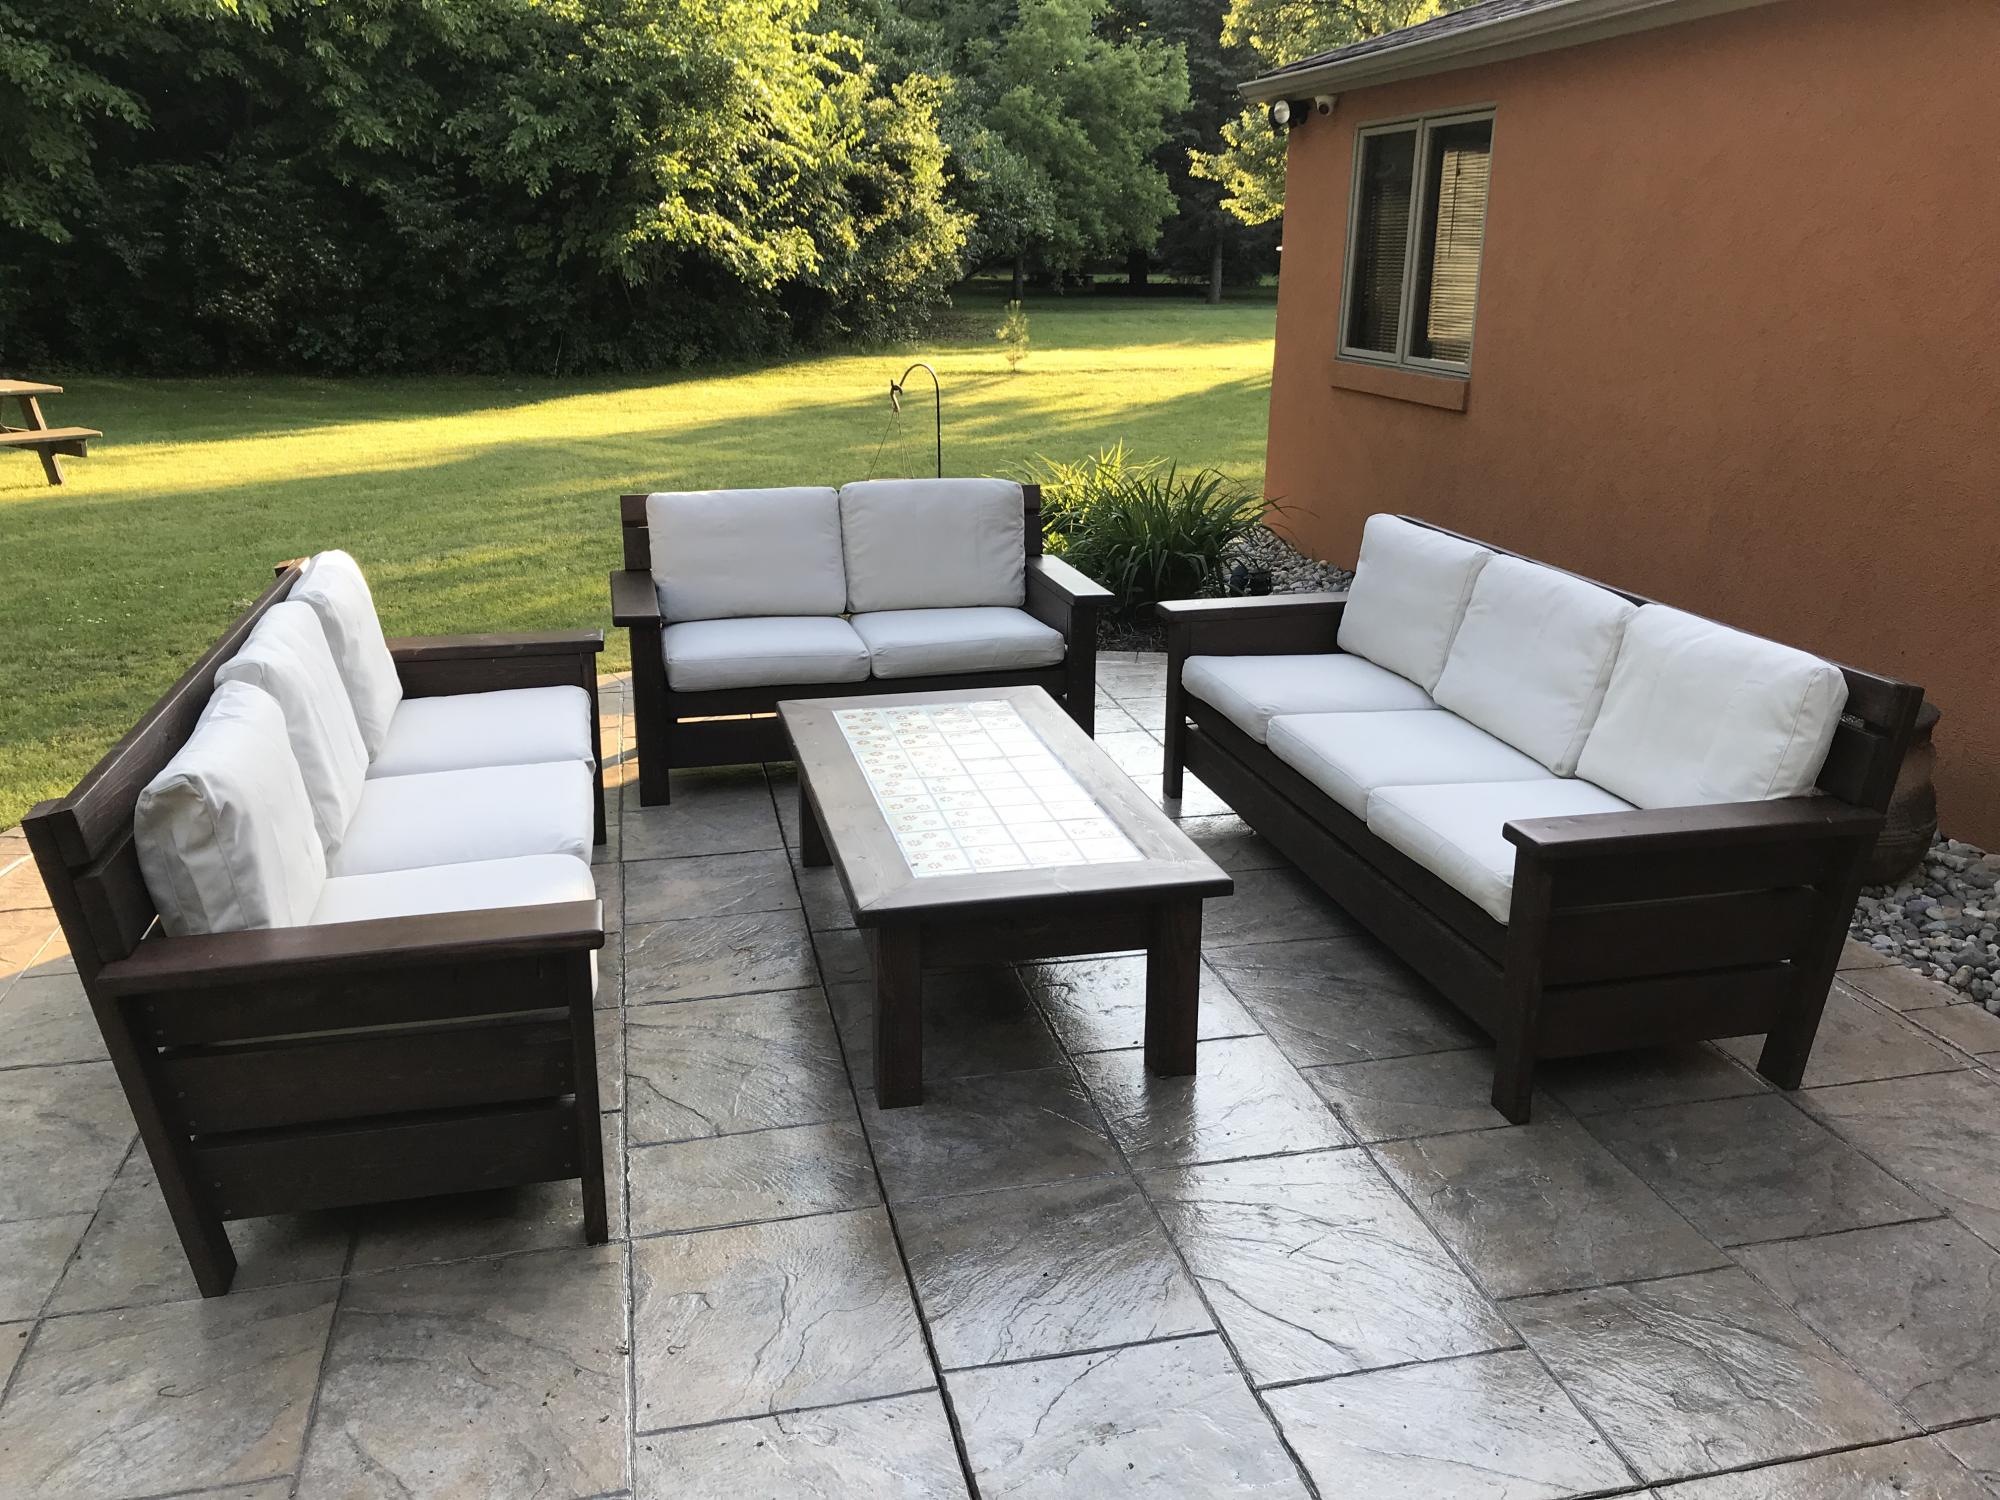
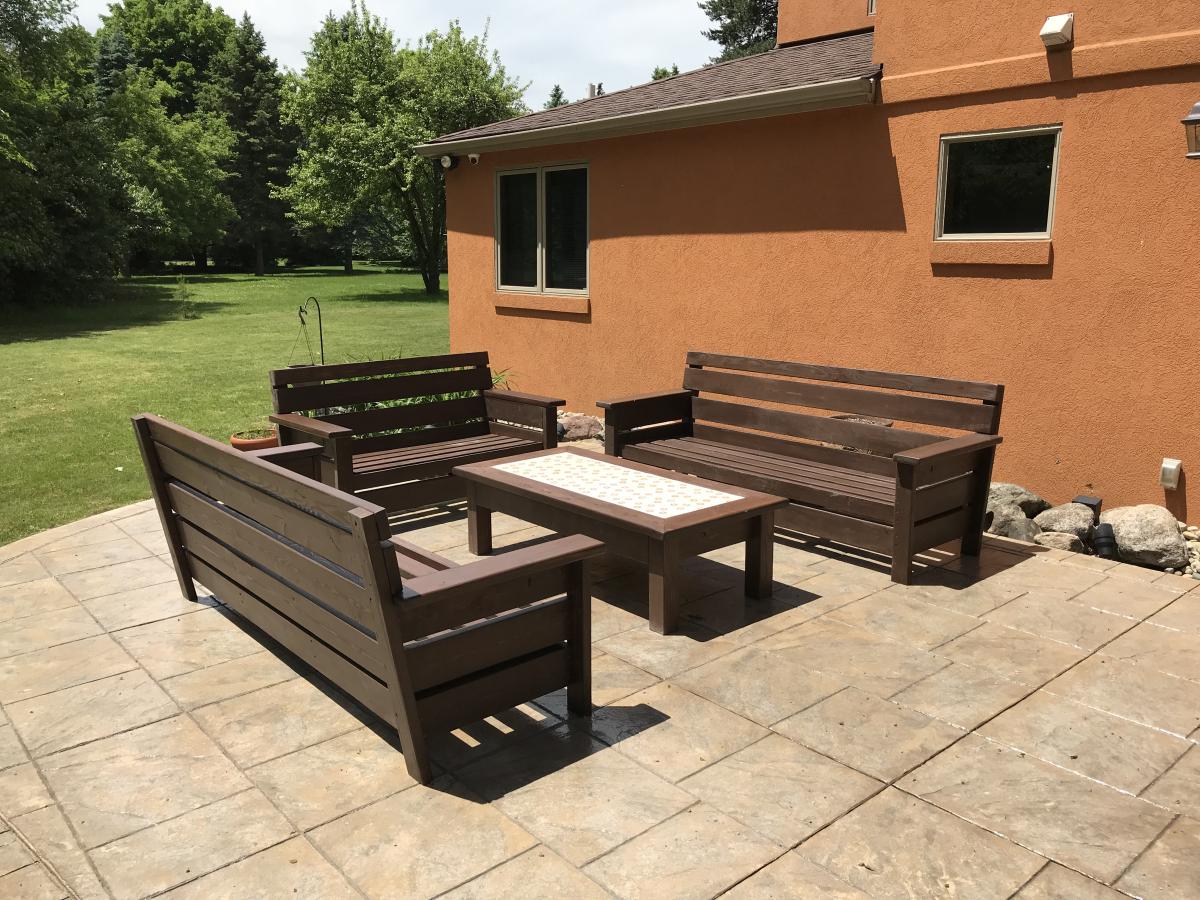
I created two sofas, a love seat and a table by modifying the modern chair. I added a back extension, tipped the back back 10 degrees, and angled the seat platform down a few degrees. Considered doing Adirondack arms, but my wife preferred the rectangular shape. The table is a variation of the 2x4 patio table (base construction similar), but we substituted pine 4x4 legs for the 2x4s, and implemented a 2x6 "picture frame" around Mexican tile on top.
I used pocket screws to attach the arms to the sides, and also to hide screws on the table "picture frame".
All-in-all, I would say this is an elegant-looking patio set that should last quite a while. Very solid, very heavy to move around (my only complaint).
We plan to add some colorful throw pillows.

Wed, 05/13/2020 - 06:38
Like the changes!
What is the angle of the chair/sofa back 110 degrees?
Thanks
In reply to Angle of back? by KeithMatthews
Wed, 05/13/2020 - 06:39
Oops just saw it at the top, sorry.

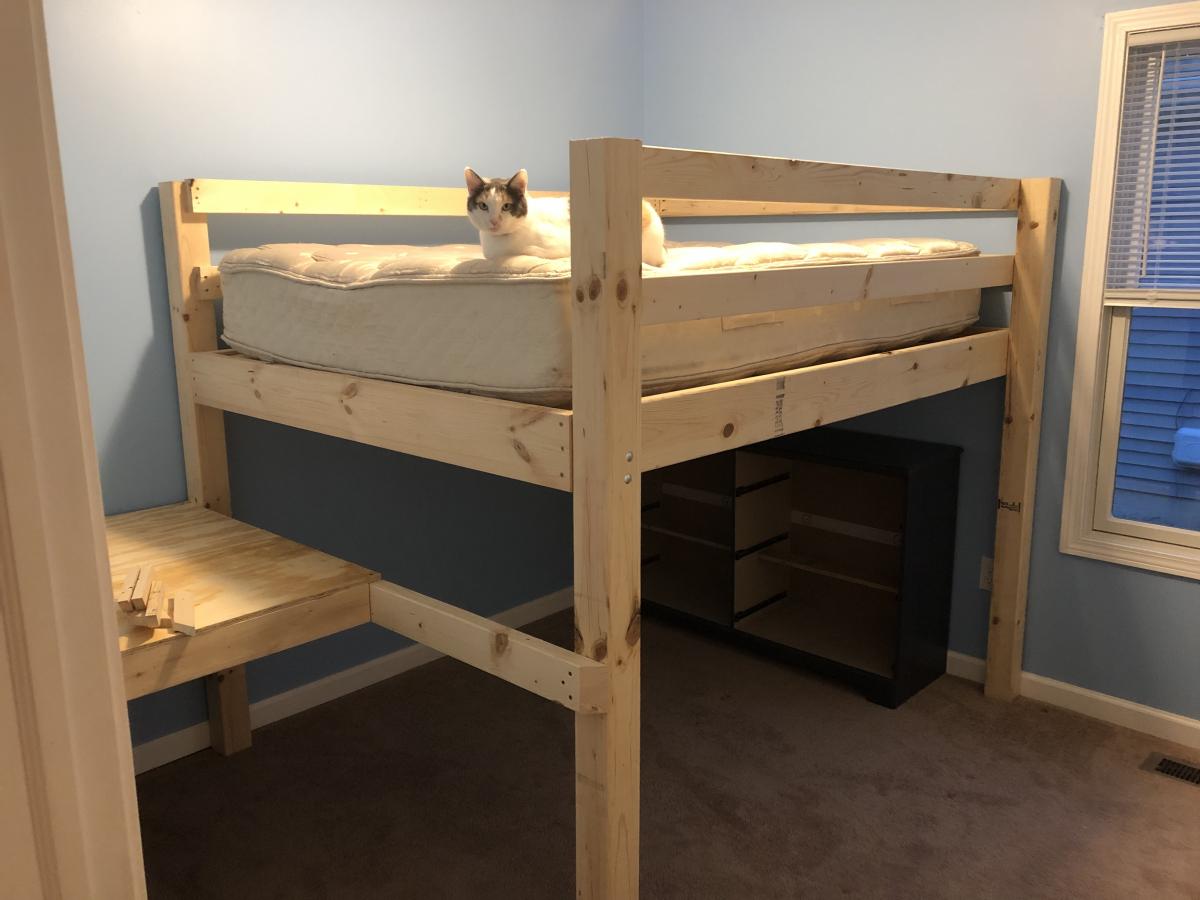
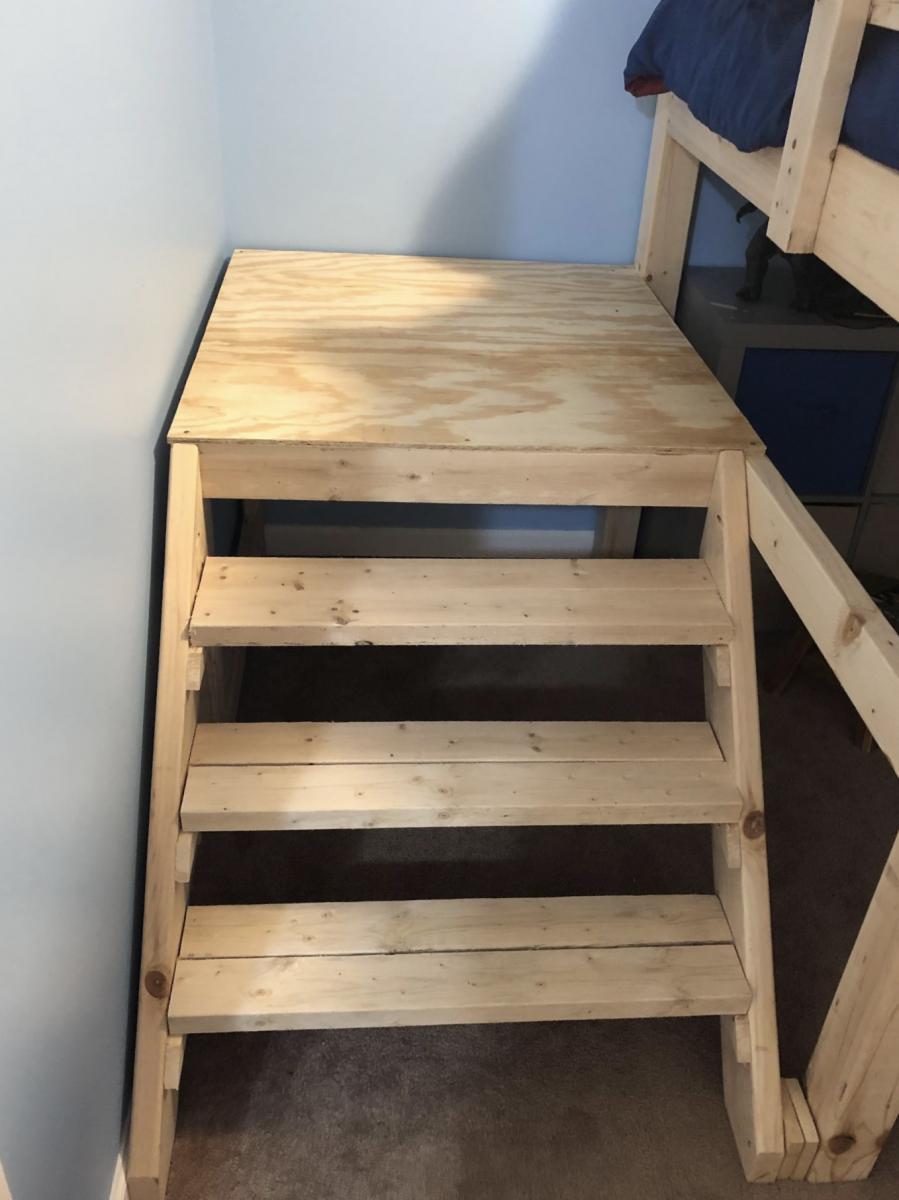
Built a full size loft bed for my kids but wanted something safer than having them climb up and down a ladder so used the Camp Loft Bed plans to add the platform and stairs. It is much easier for the kids. Going to finish by covering the platform and stairs with carpet.
Wed, 10/02/2019 - 09:51
I really like how the platform is only half way so the stairs are inset, this is very smart and good use of space.
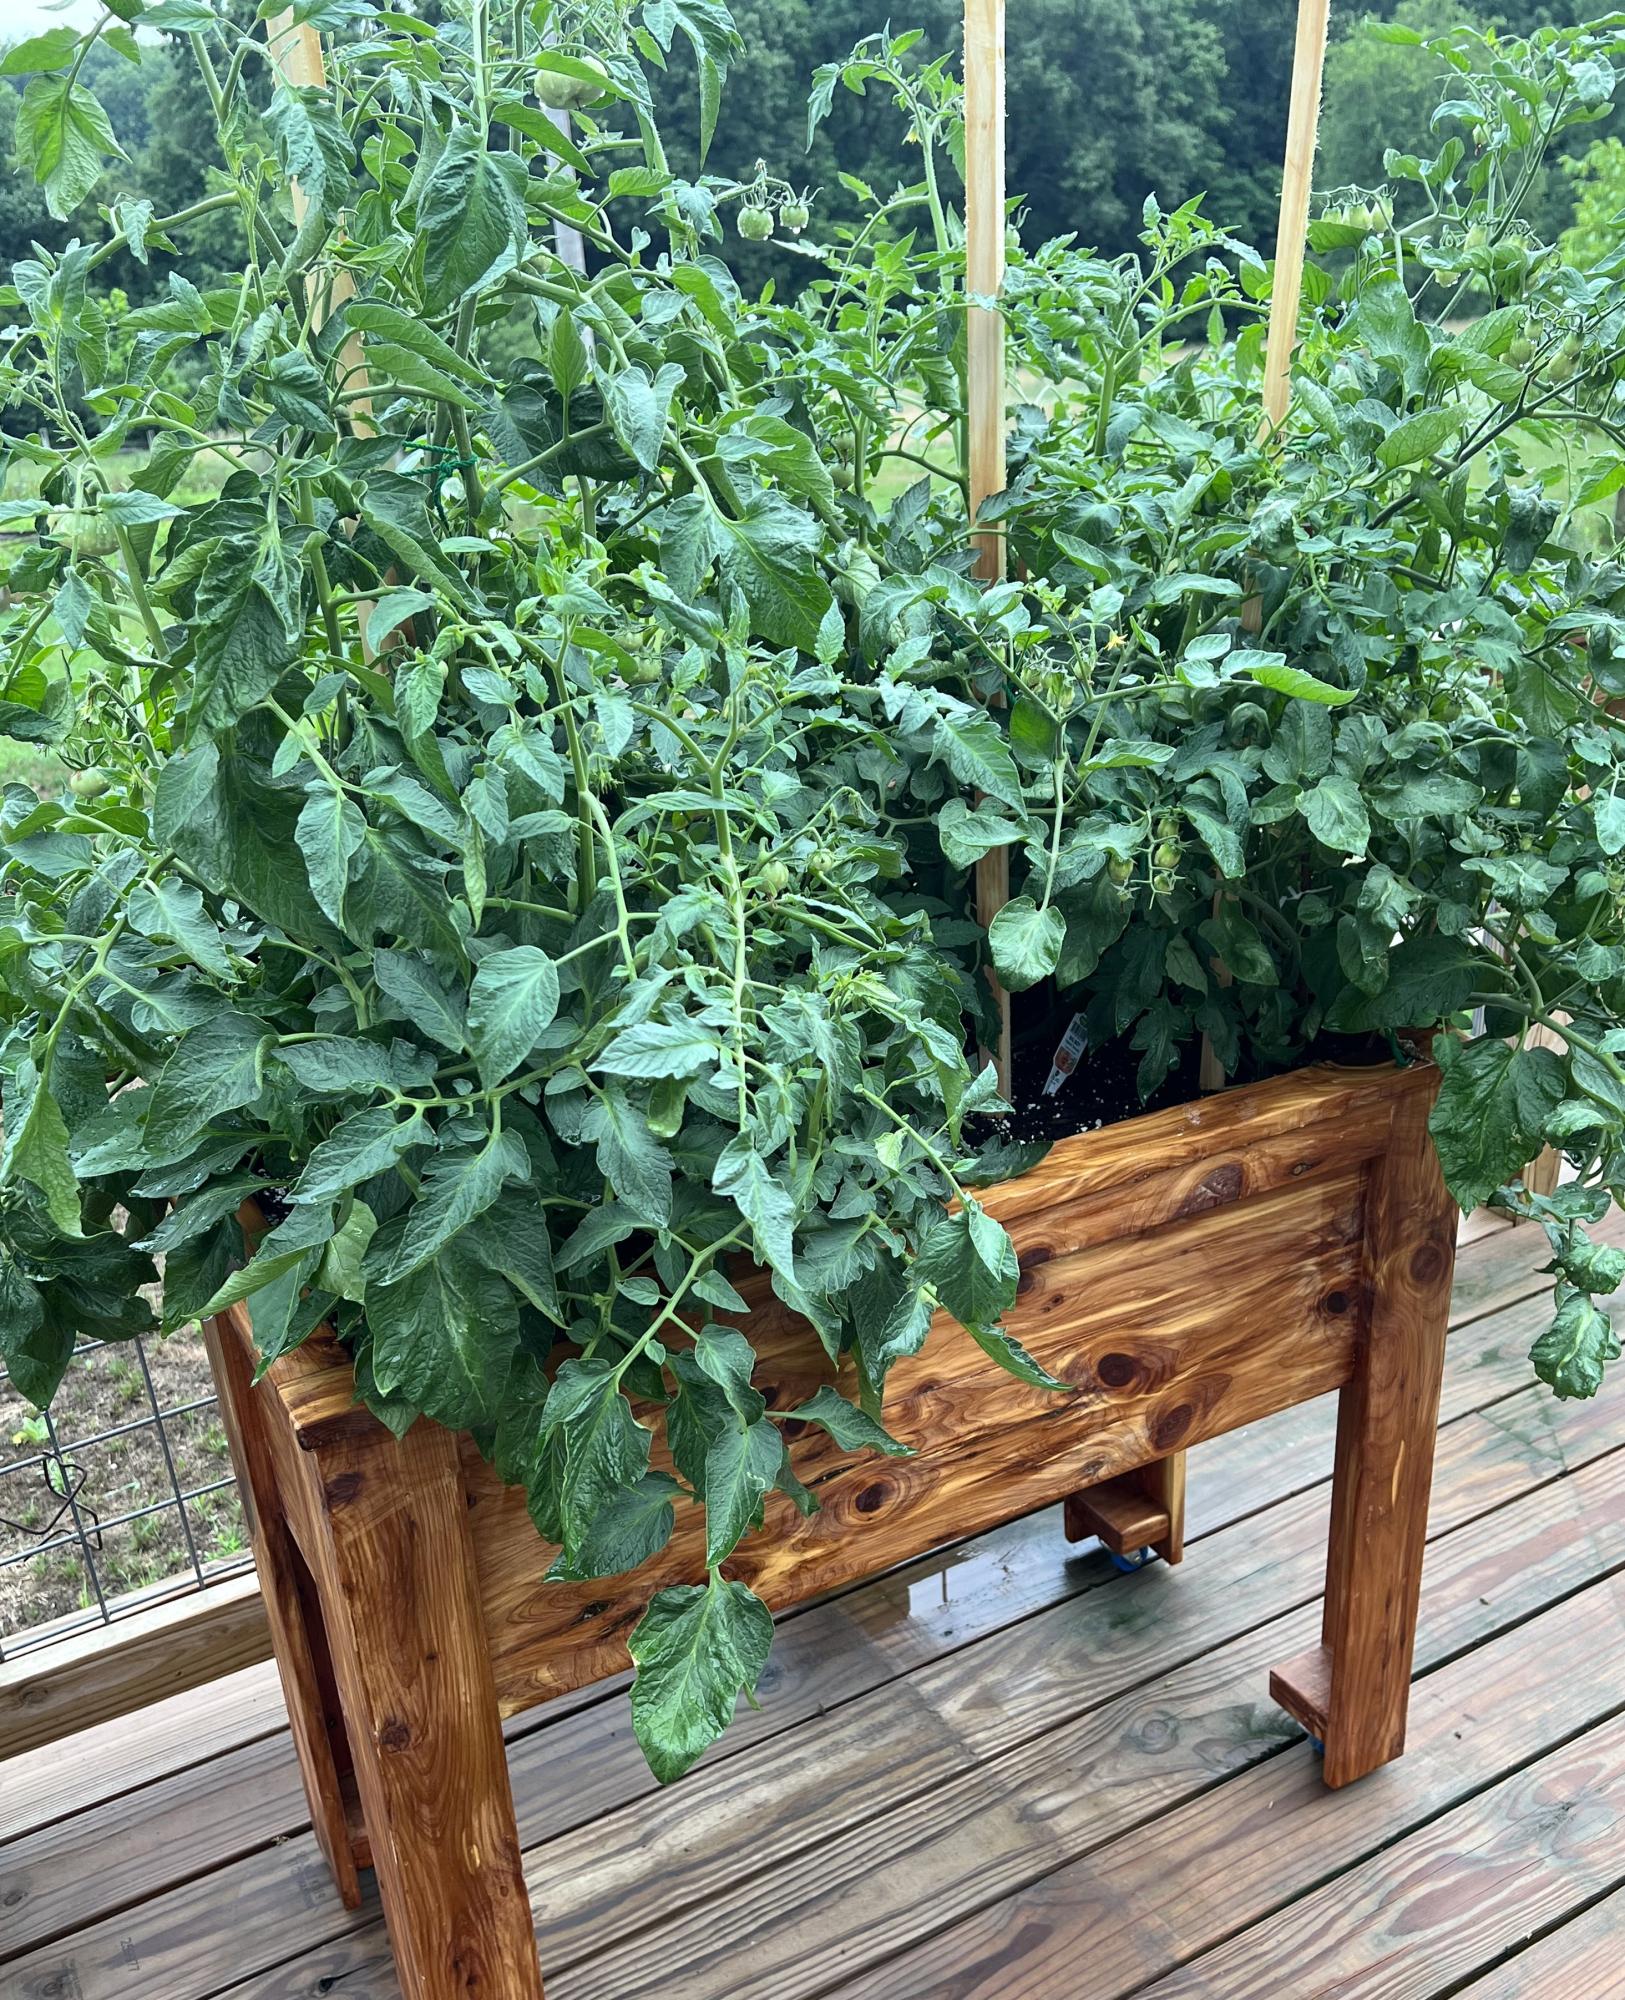
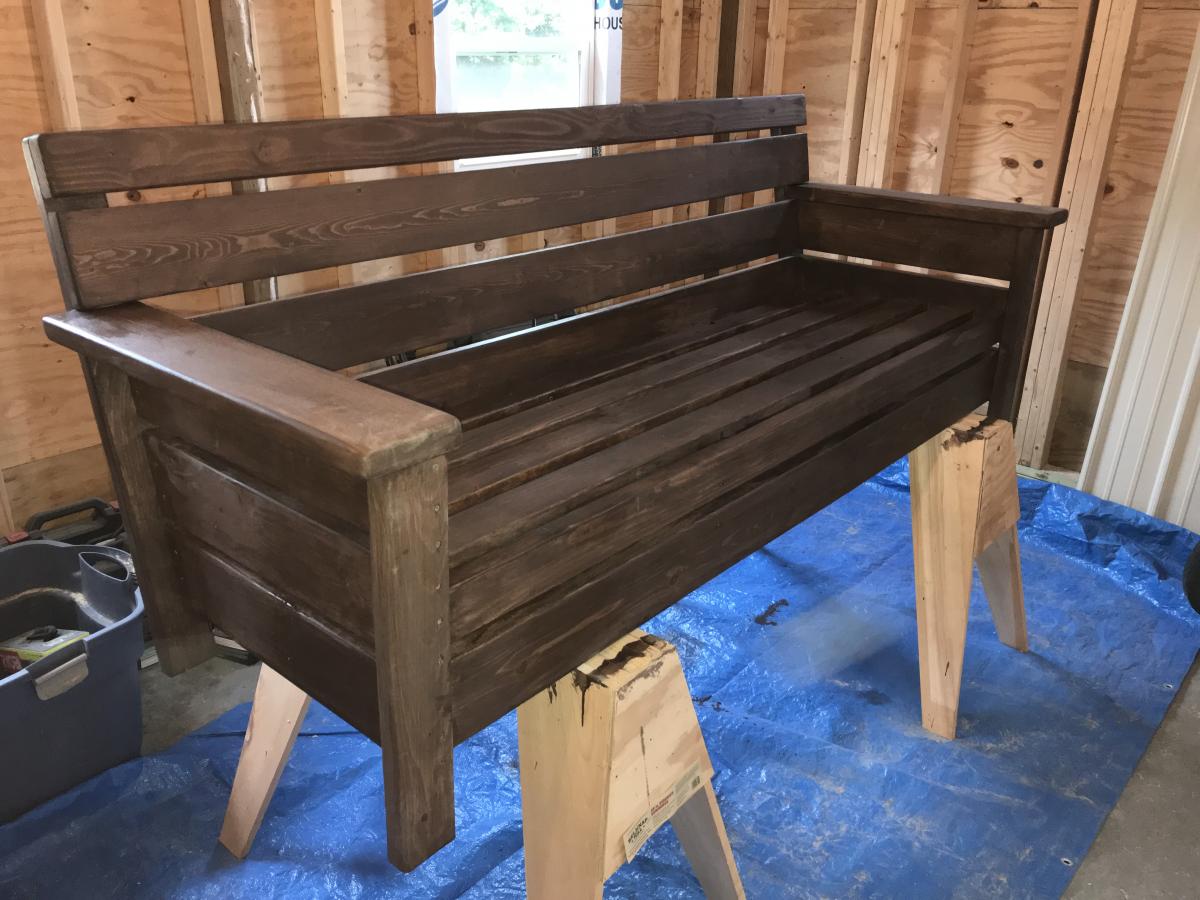
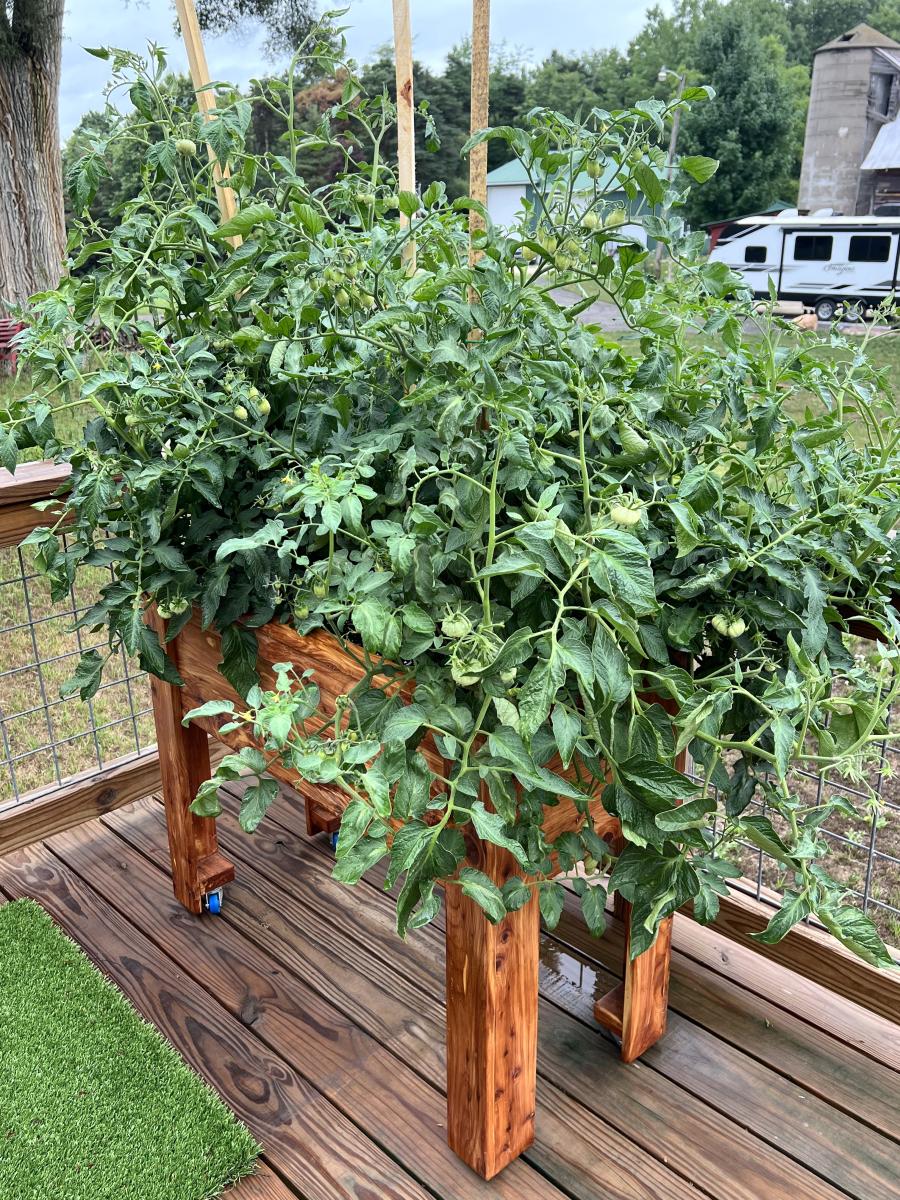
I saw your raised garden box and decided to make it for my wife so she could garden on our deck due to medical problems. She absolutely loved it.
The only thing I did different was I added casters to the legs so it can be moved easily on the deck.
Thank you very much for the idea and plans. We really enjoy them.
John Sterzick
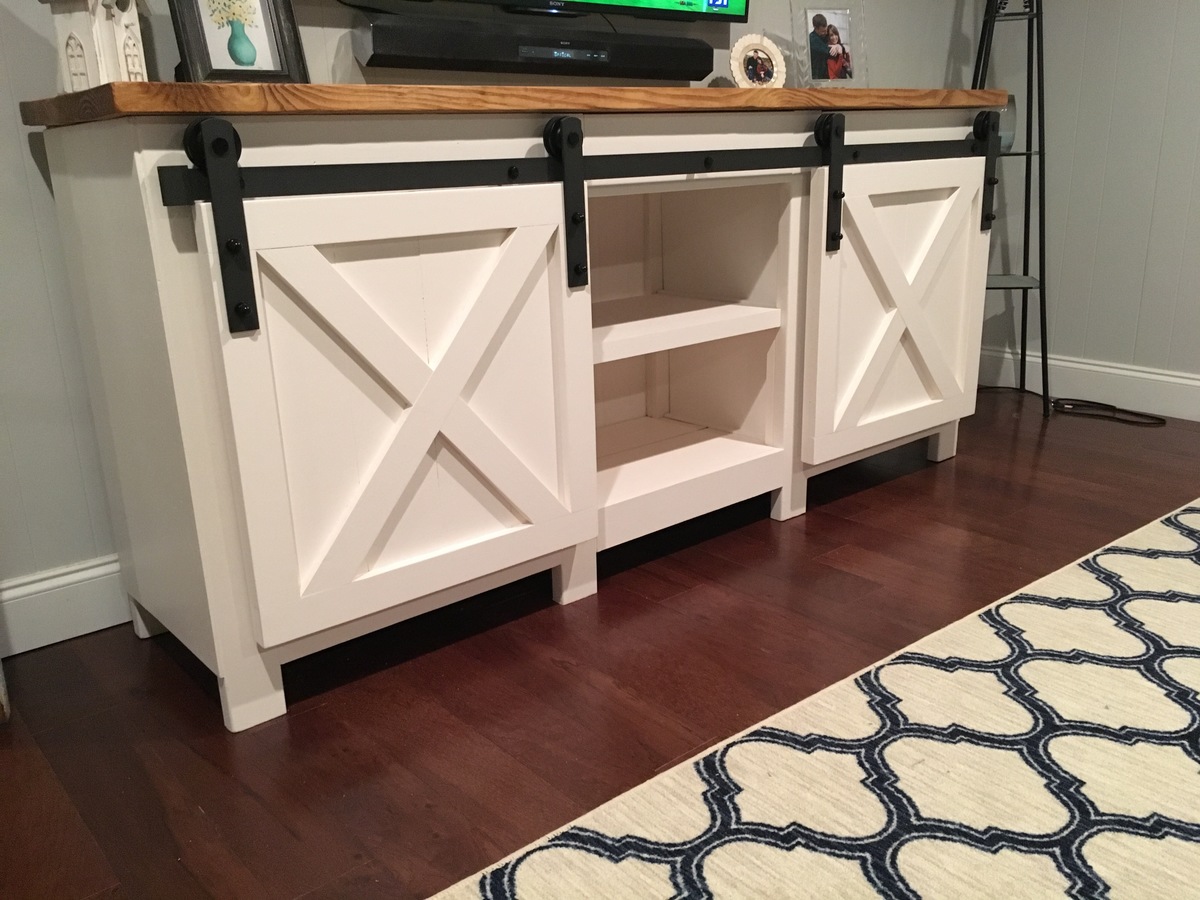
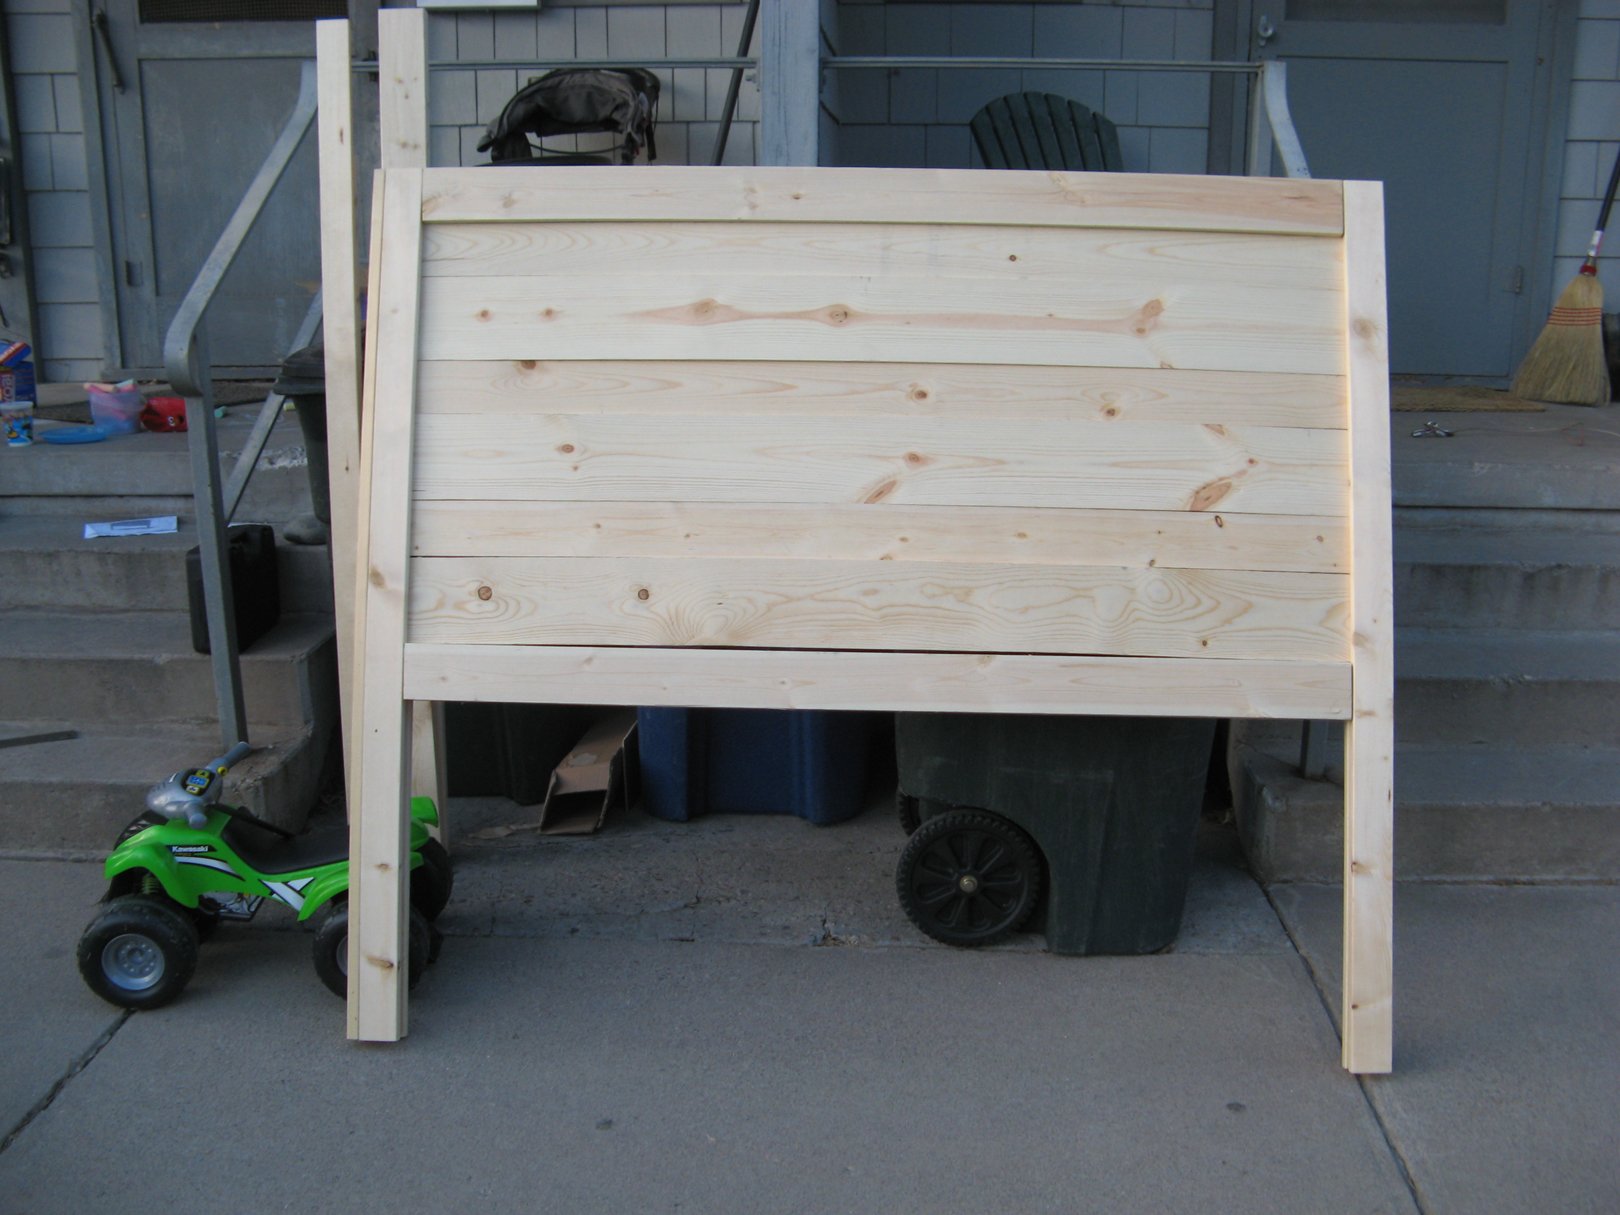
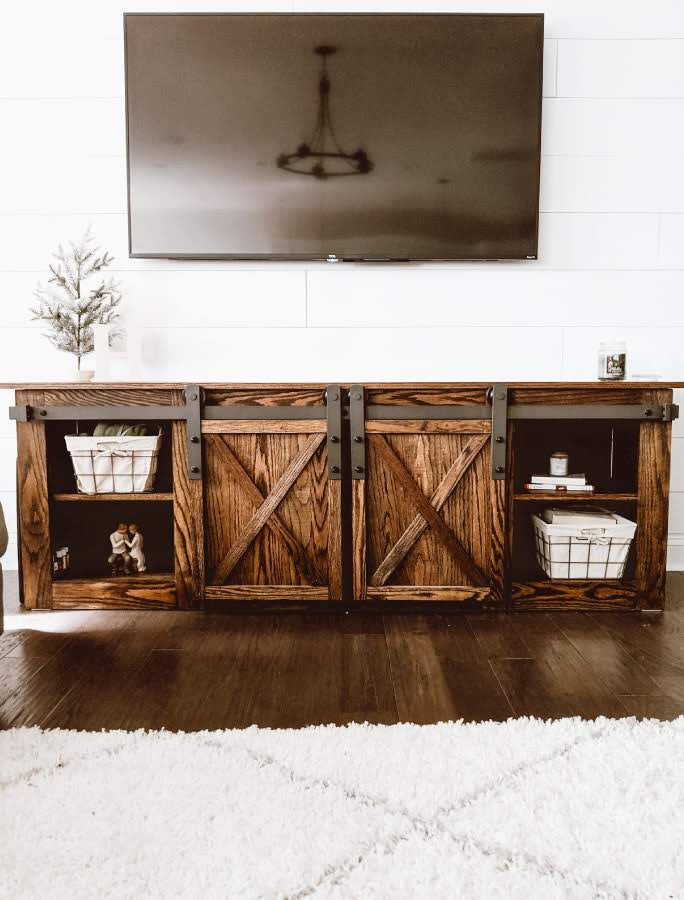
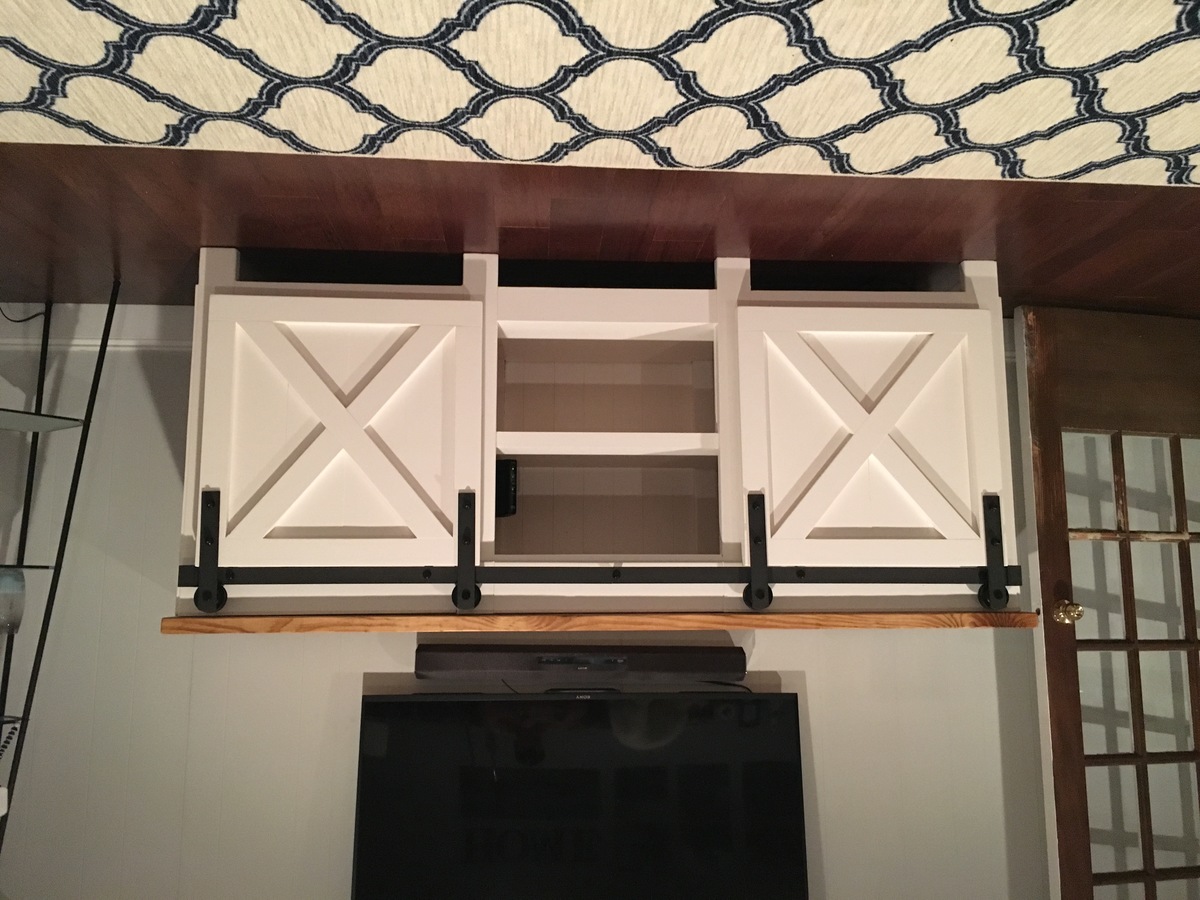
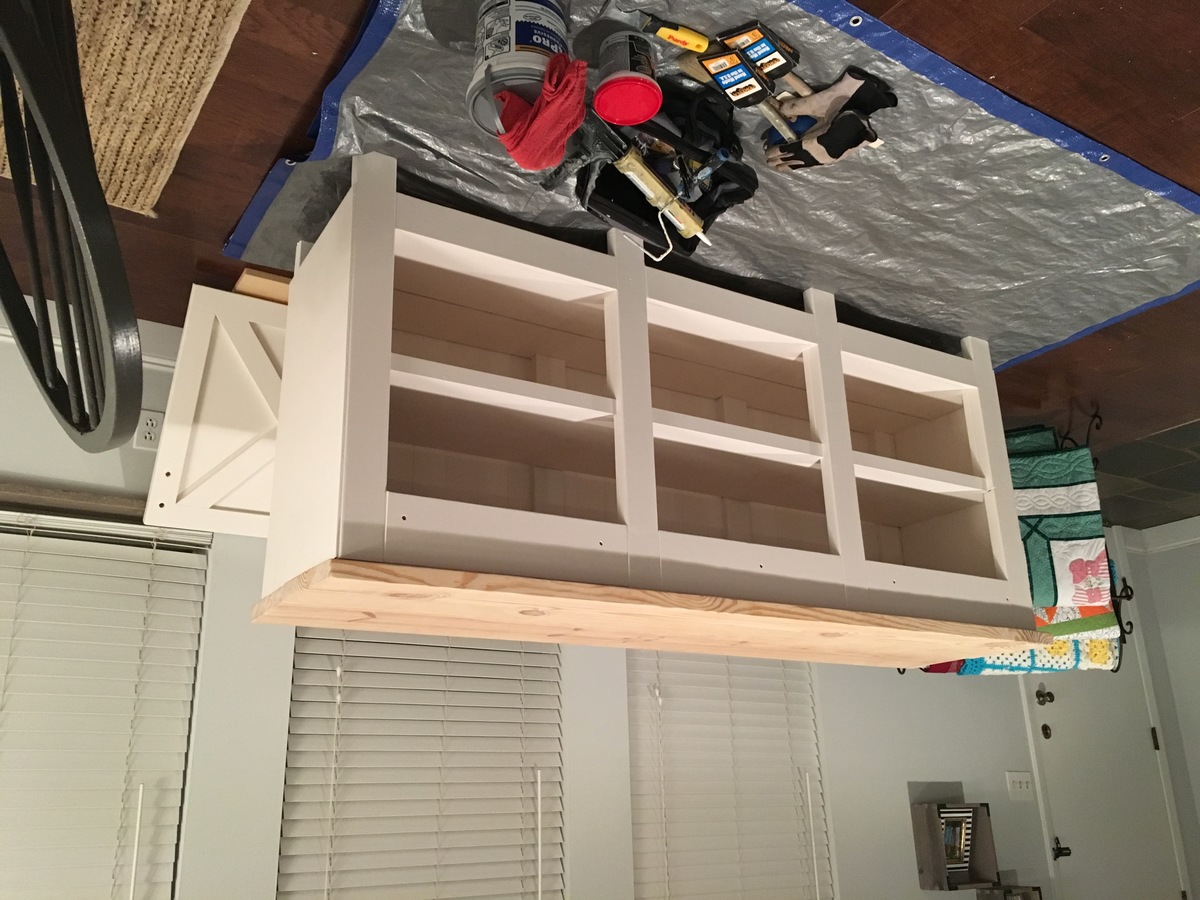
Changed the Grandy design just a little to bring it up off the floor and add legs to it. I notched 2x4 to line up with the 1x4 face pieces. Then I found barndoor hardware on Amazon for $47 a set. Needed two sets for this console since I wanted two doors. Only needed the one rail piece though.
Tue, 06/21/2016 - 14:50
This is my build. I guess I wasn't signed in when I posted this on the board. If you have any questions about it then I'll be glad to answer any. Let me know.

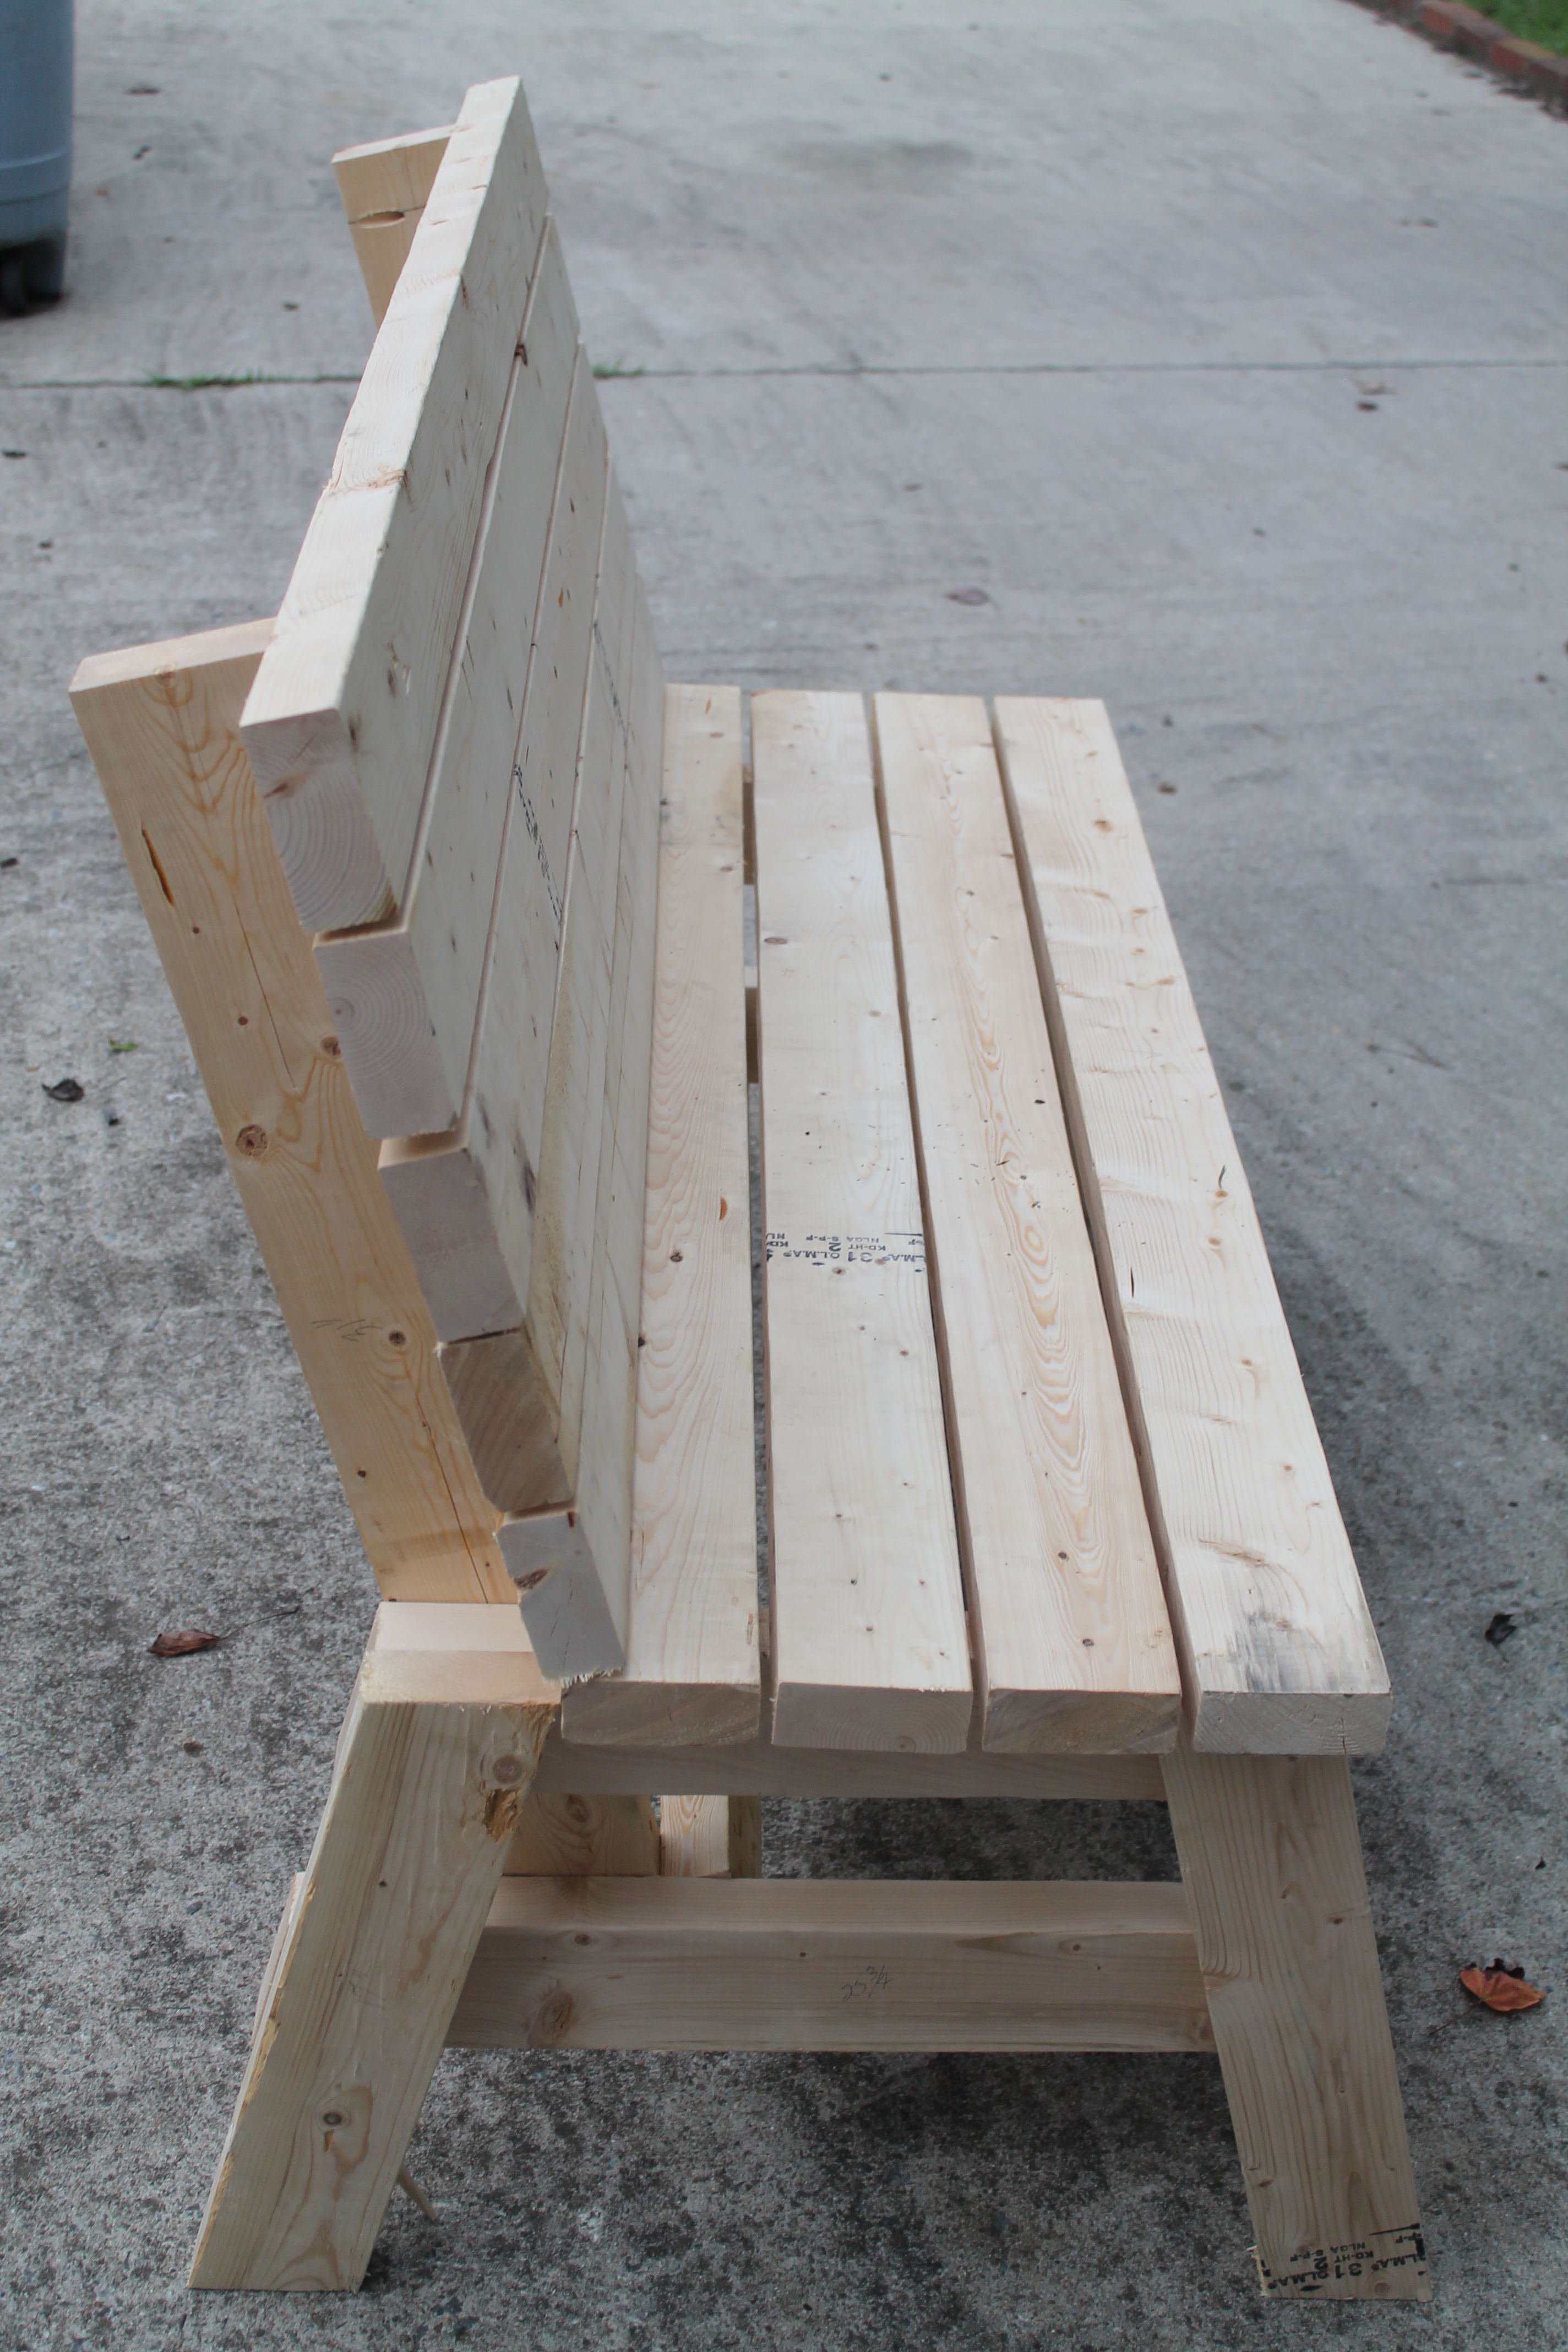
I made this in an afternoon. Loved this project. It is made with 2x4's using a Kregs Jig and mitre saw (plus additional tools like a drill and square). This was my frist time using the Kregs Jig and I am sold!!
The free plans were taken from another website. They are very detailed and there is even a video (I recommend it as he gives a great tip for making sure the back stays equal/level to each other before putting the back on). Even though you can build this by yourself, I did have help for the heavier sides once they were assembled. I plan to build the additional side table soon and finish them both with sanding and staining when the weather seems less iffy for rain.
If you are looking for a good beginner project that doesn't take forever or have complicated steps, this is your project.
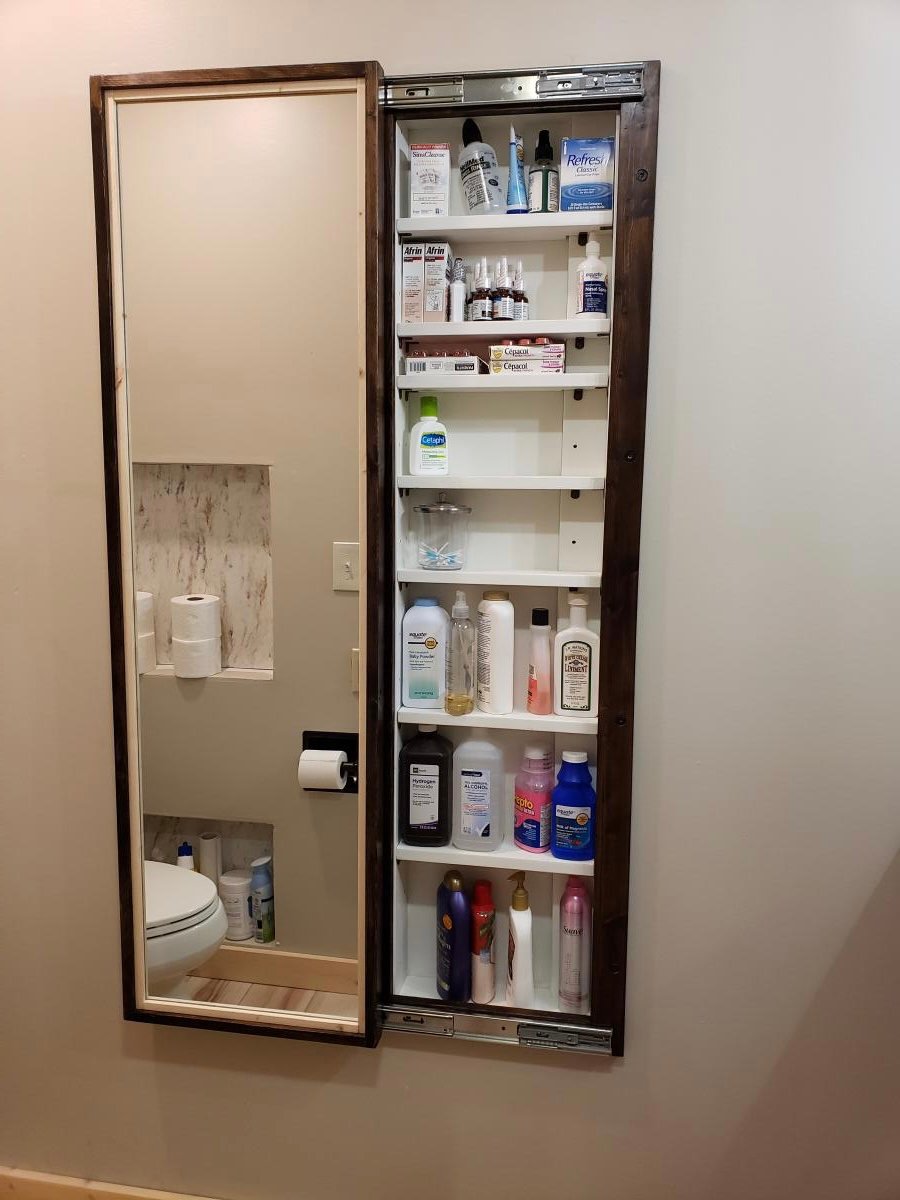
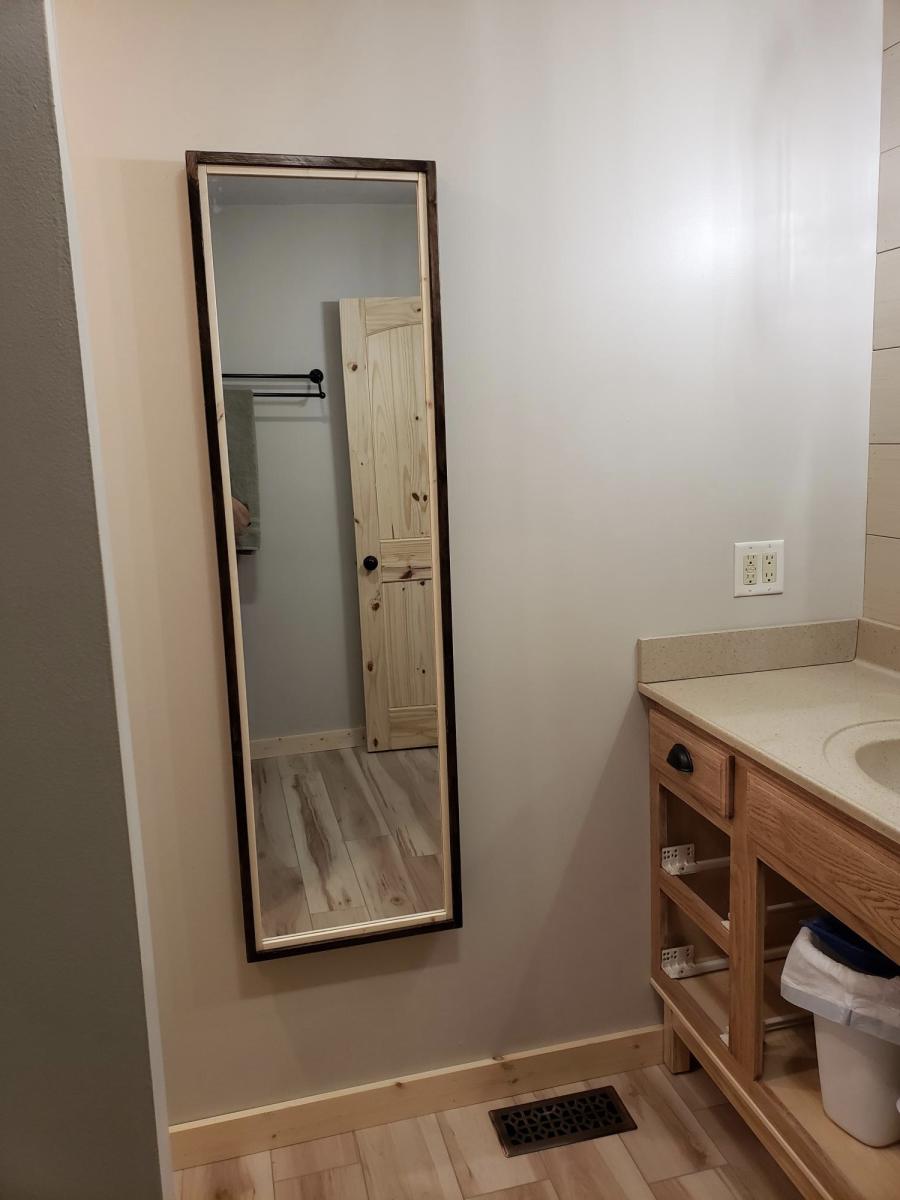
My bathroom has very little storage space. So during our recent remodeling of the room, I decided to add this cabinet. Changed the plan a little to make it recessed in the wall. I love how it turned out!

Sat, 09/03/2022 - 13:28
This looks amazing, love how it's recessed! Thankyou for sharing.
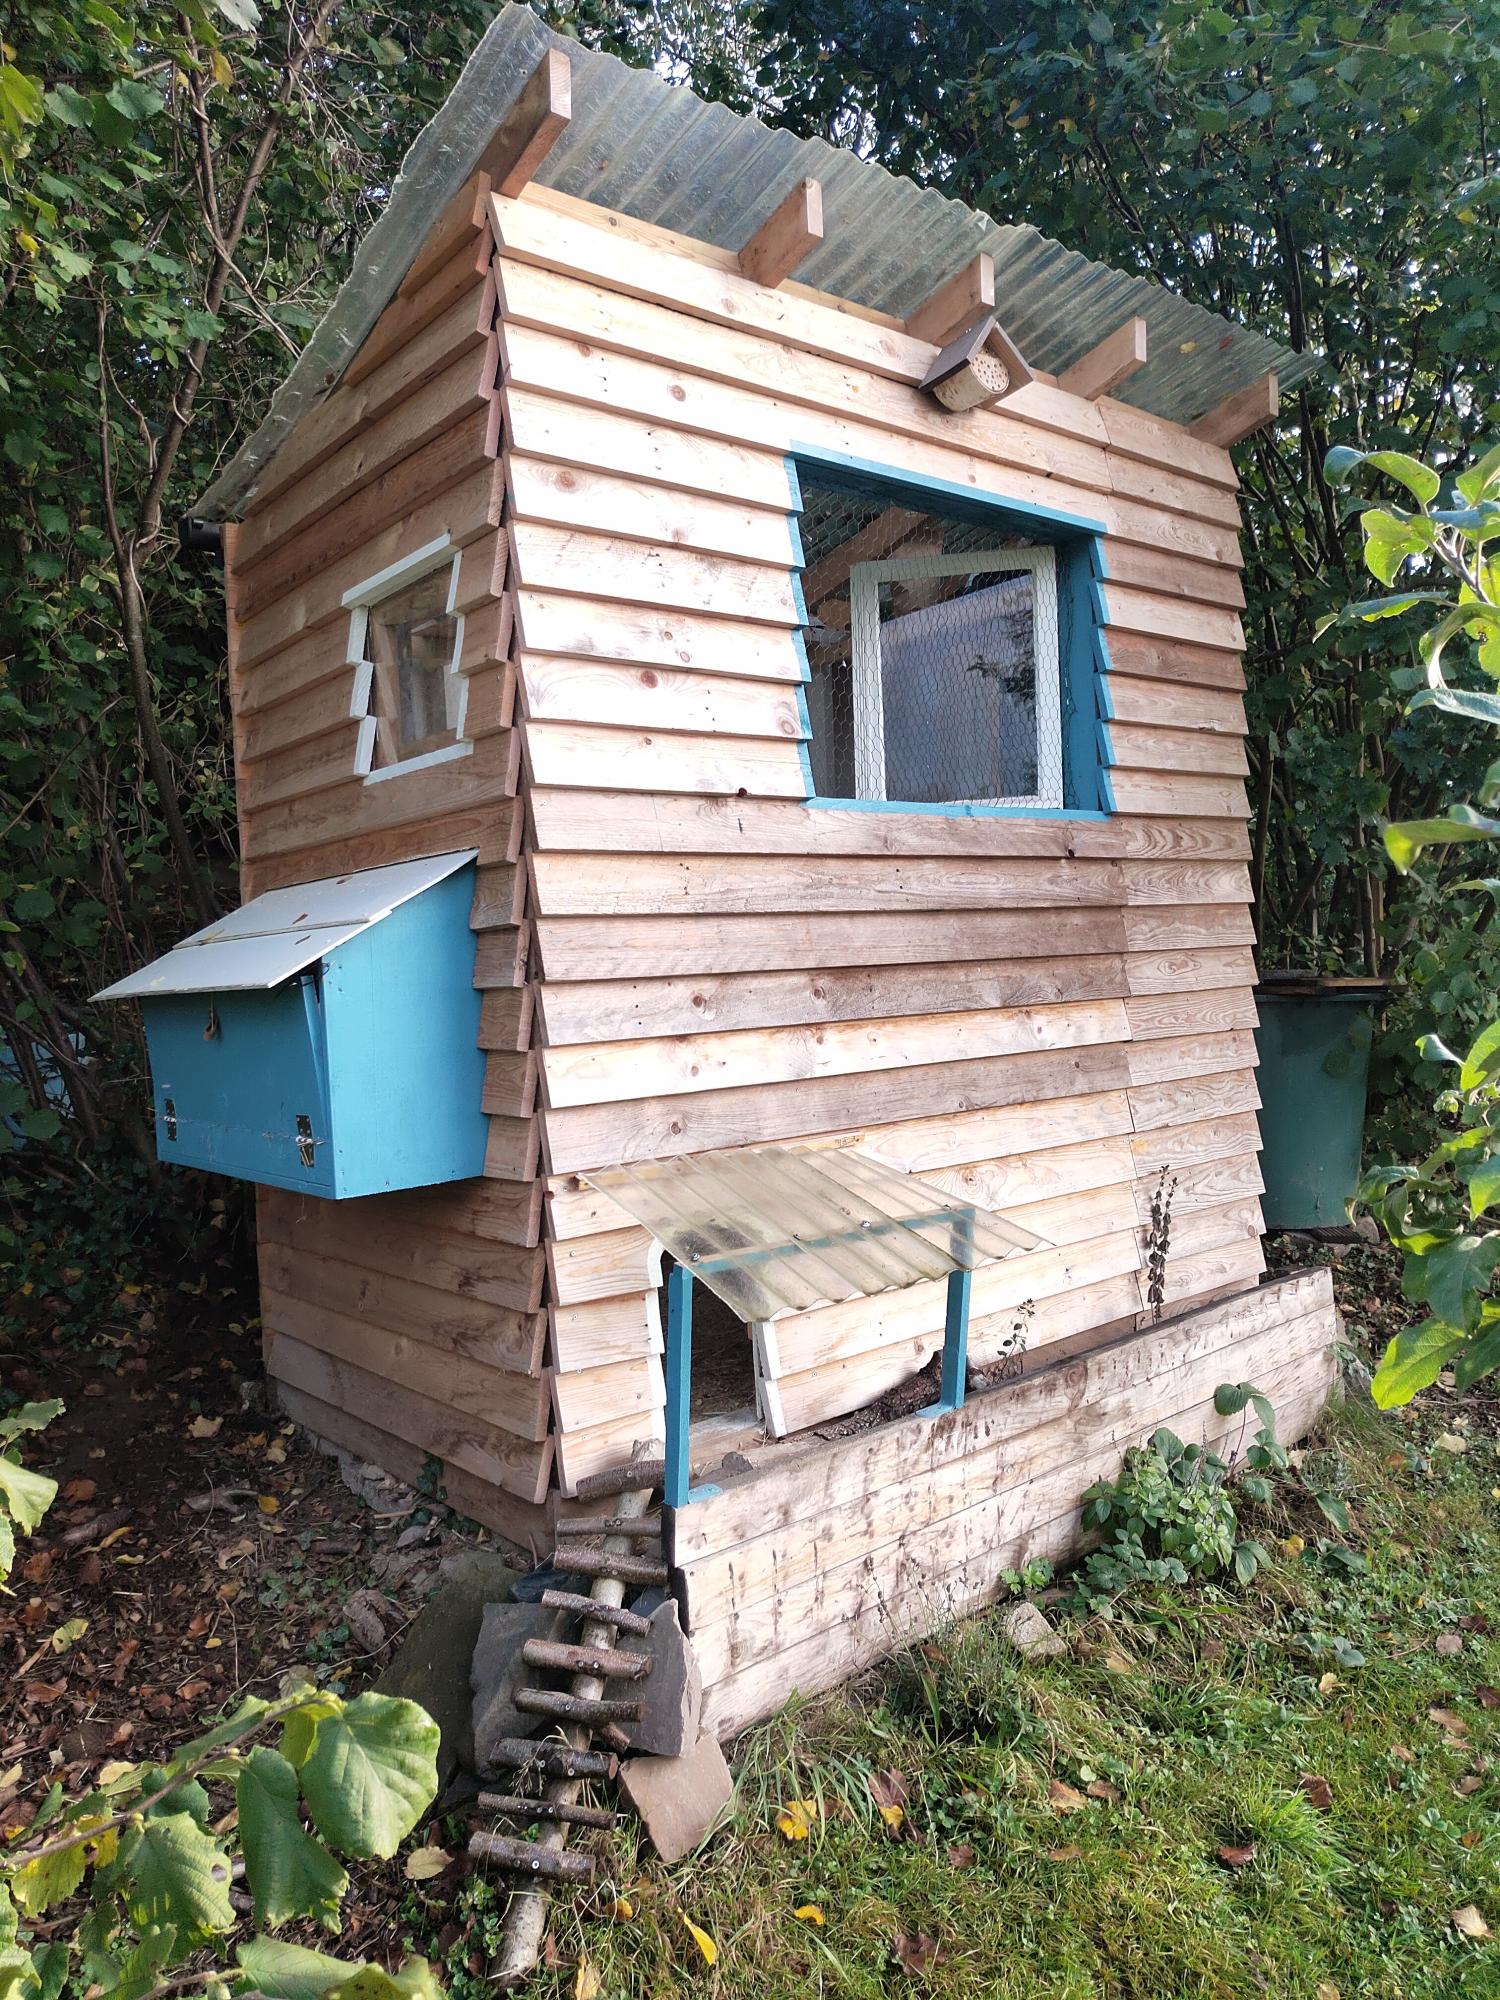
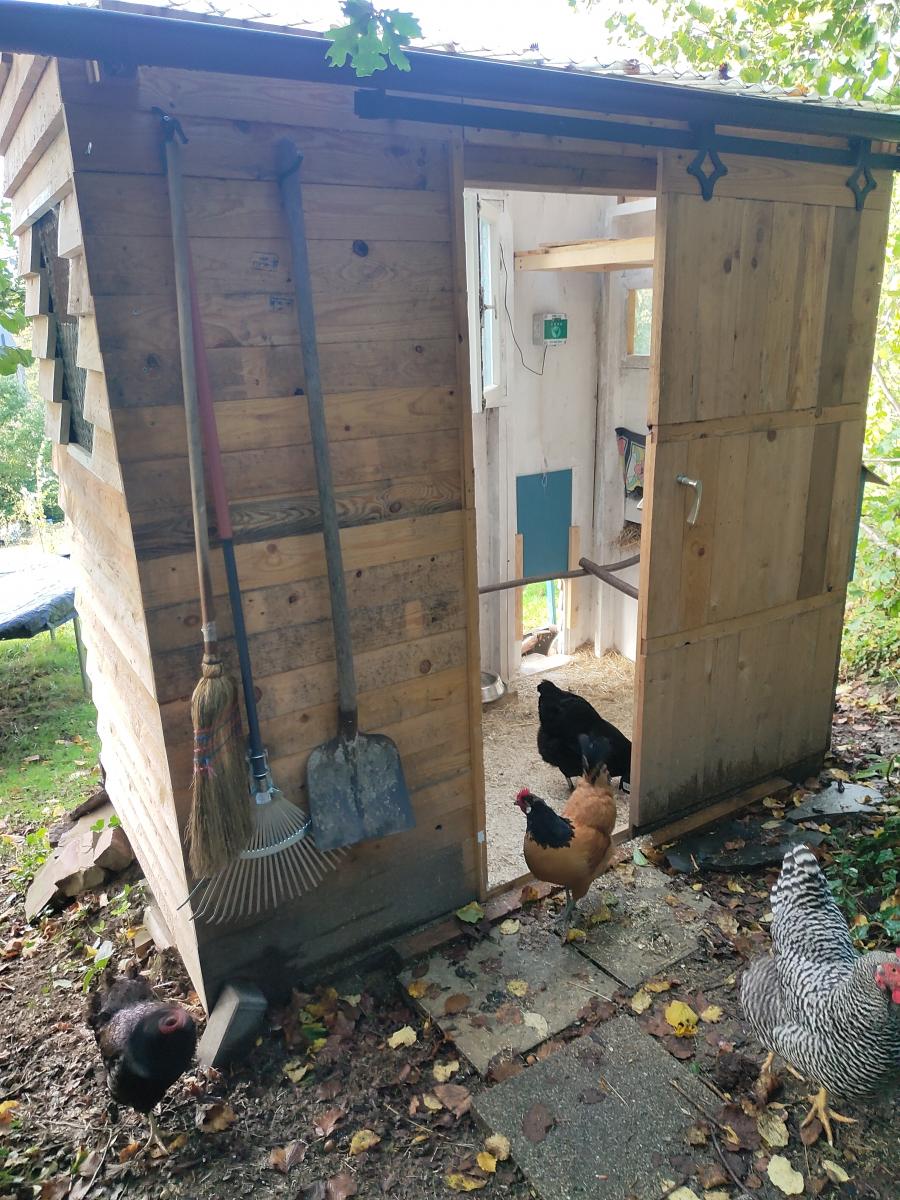
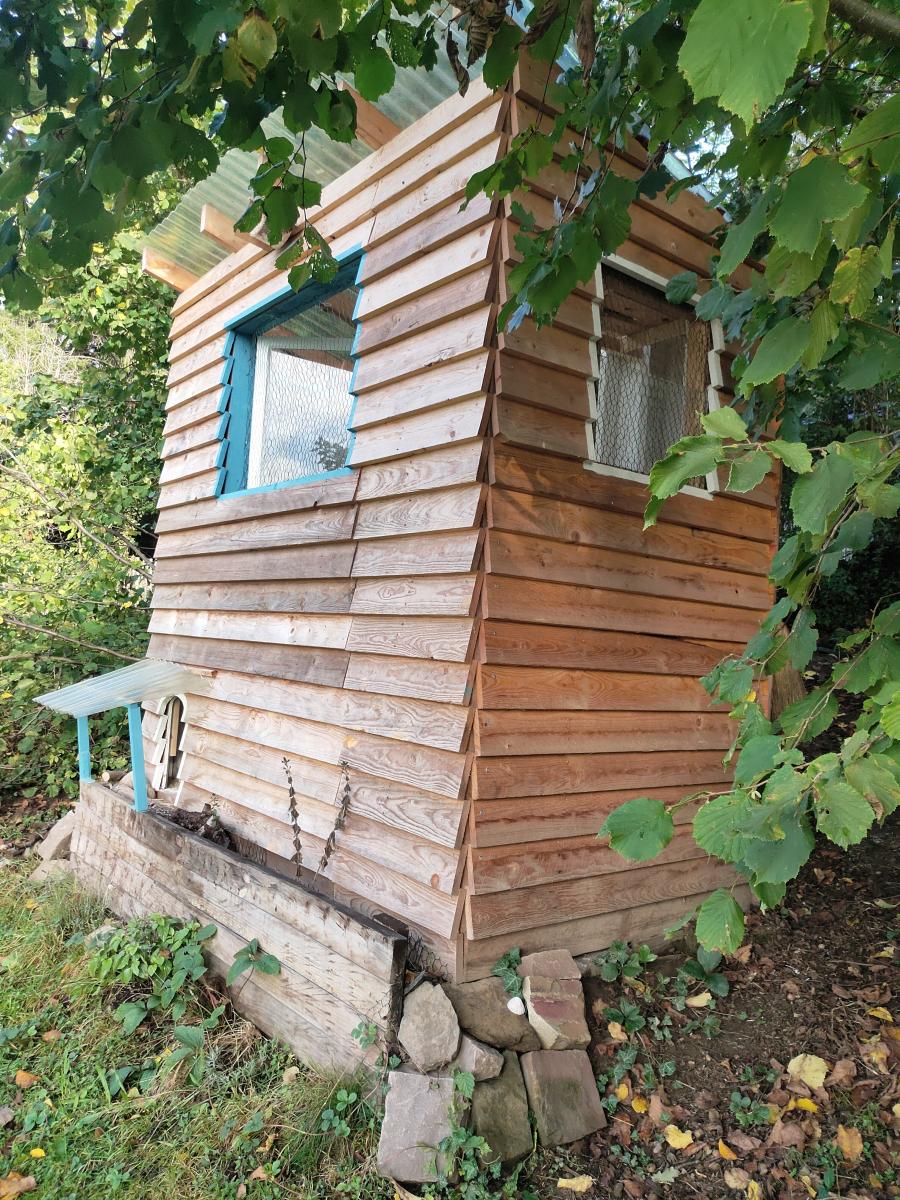
I had started this project last year in September and finished it finally 2020 in March because I get my chicken then.
I did modify the chicken coop a little bit due to the material I got.
The instructions and most of all the cutting list I like best!
Antje
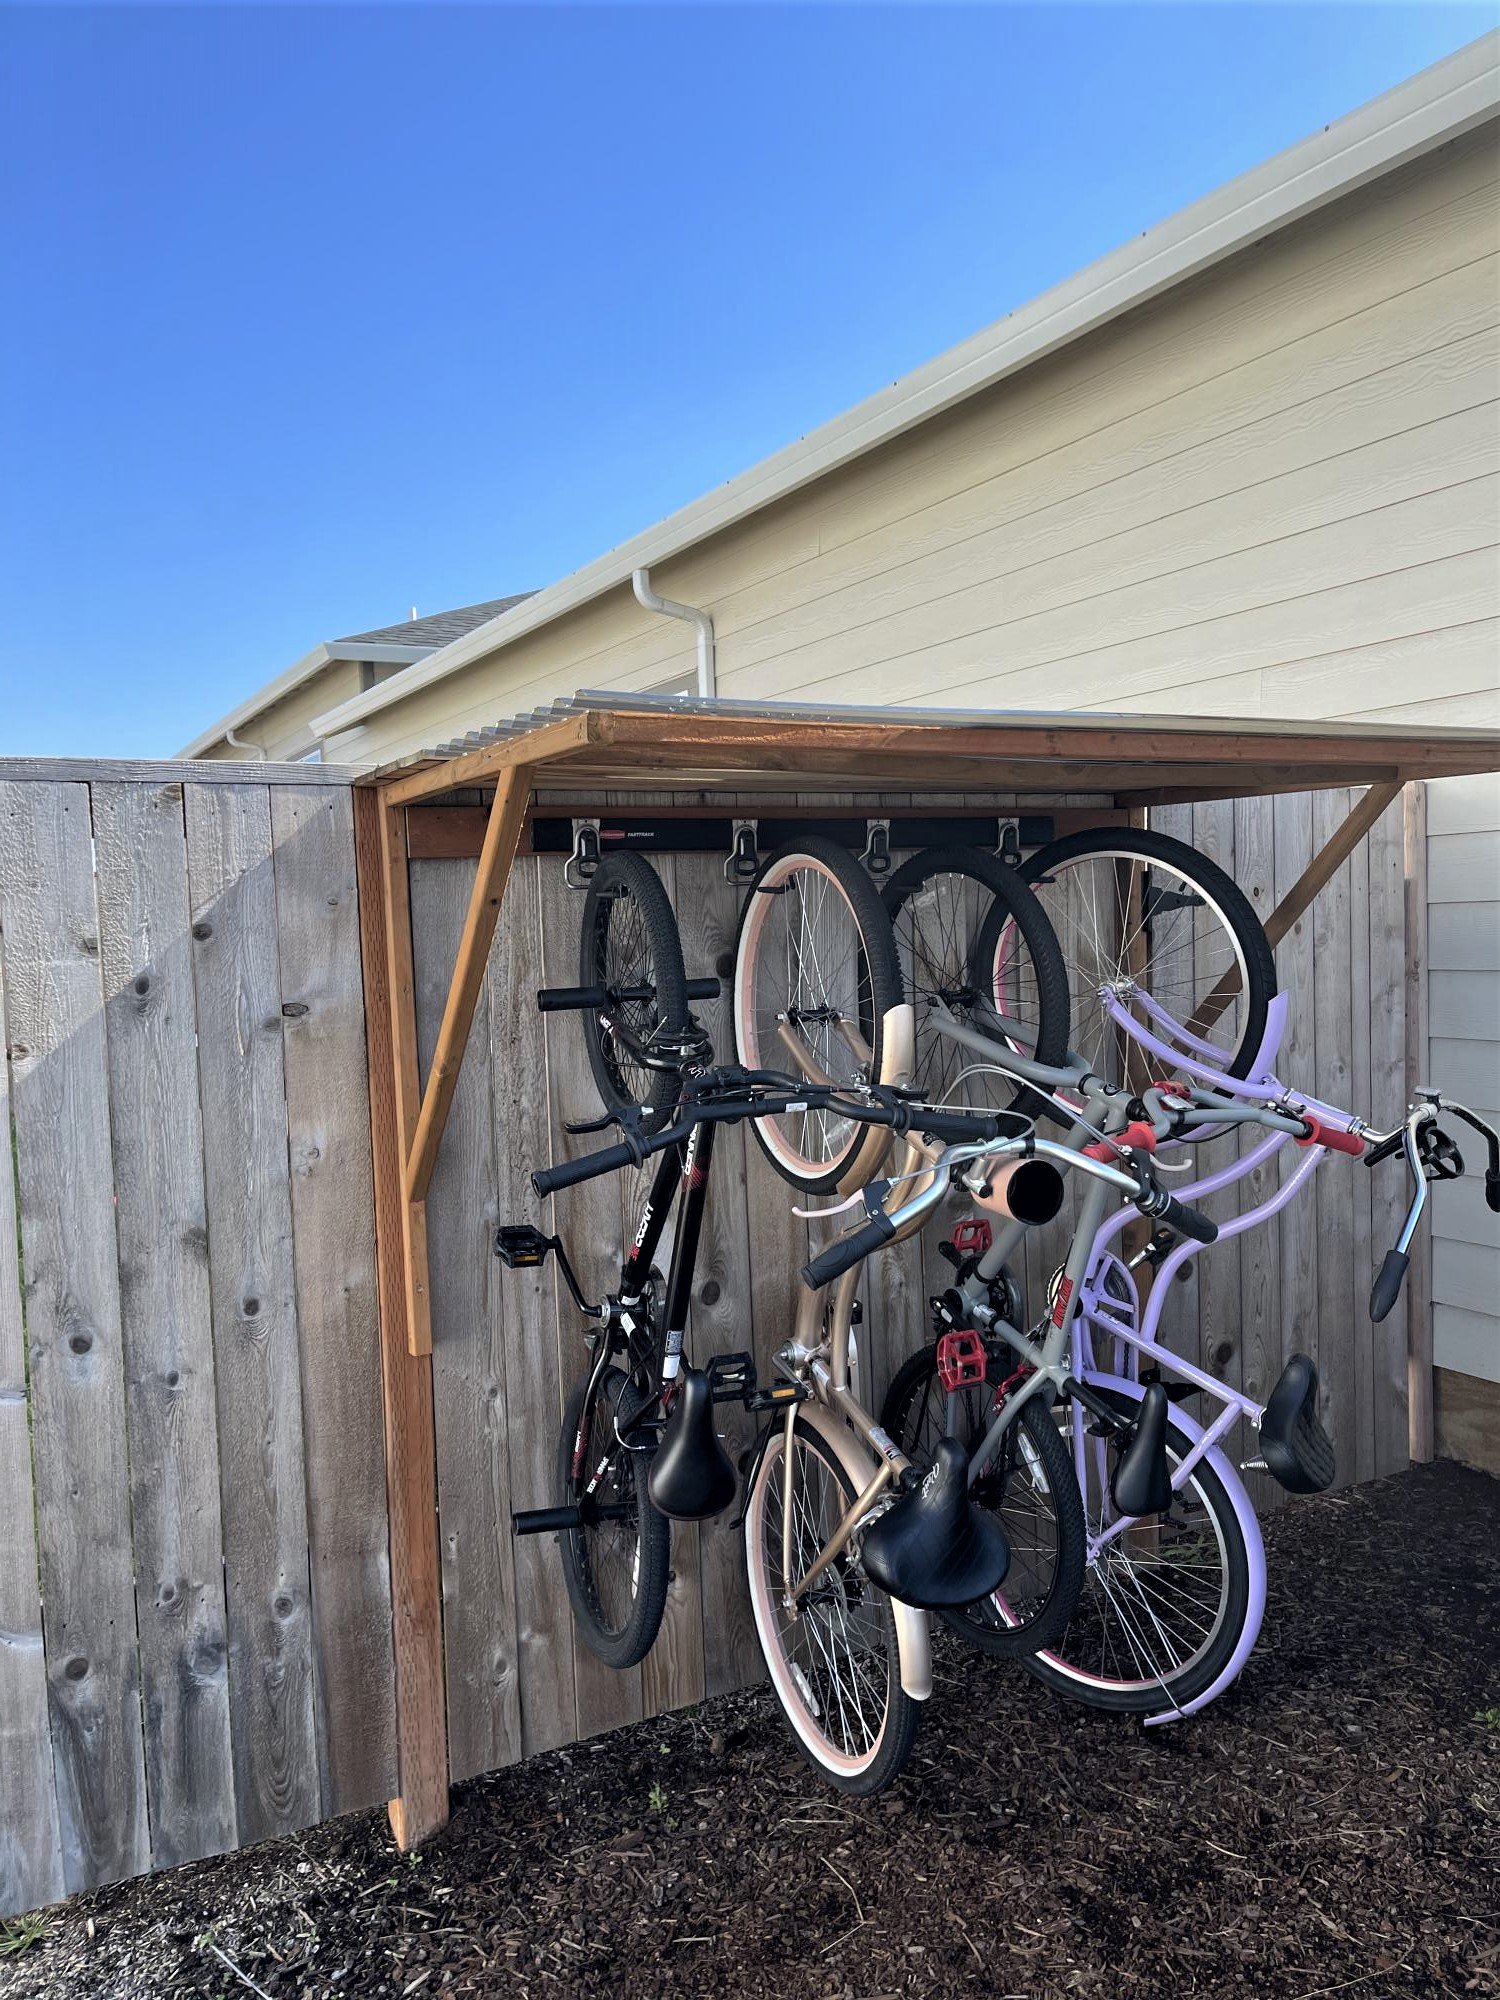
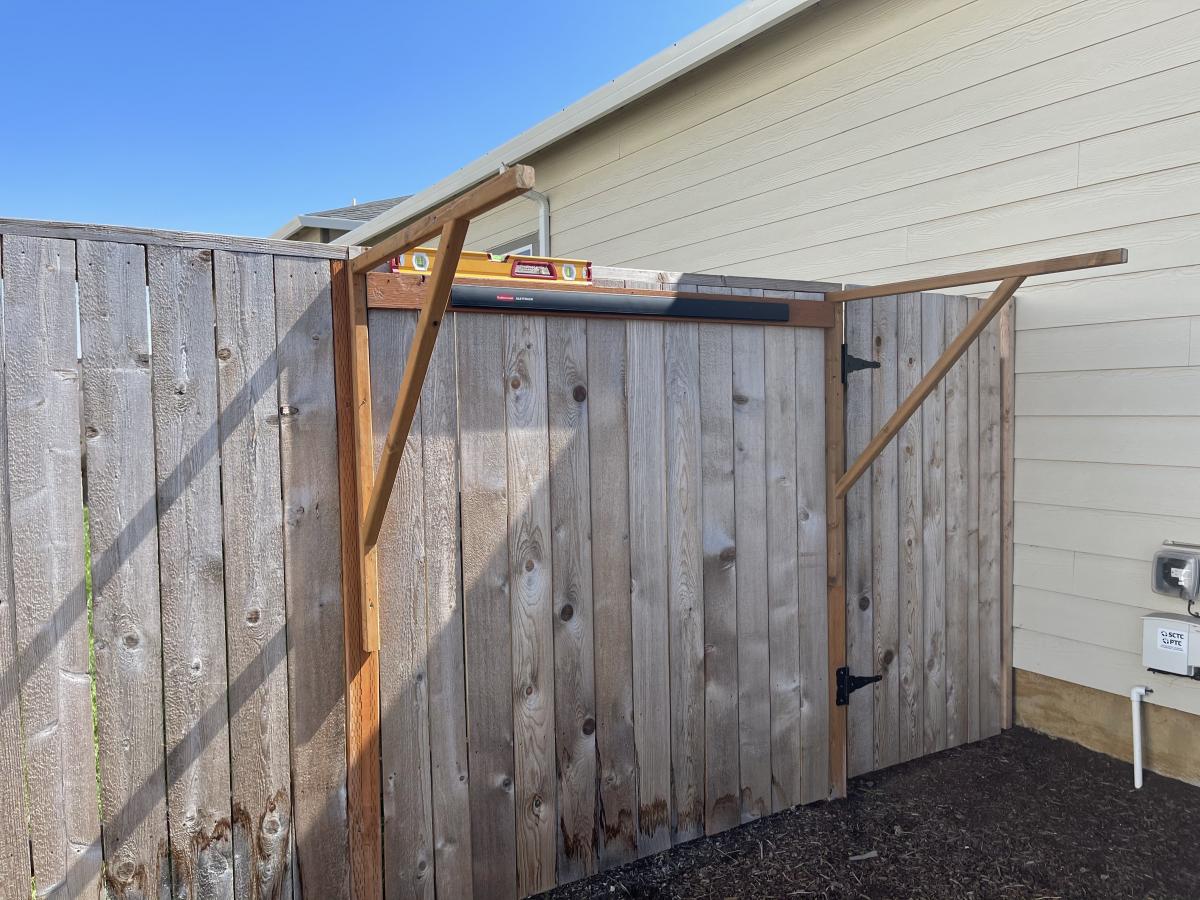
I live in a smaller rental with limited garage space, so I needed a place for my kids bikes. This is what I came up with. It required minimal screw holes in the treated fence posts and I attached a rail system(rubbermaid fasttrak) for the bikes to hang from. I used Ana's easy shelves plan for the upright supports and then just added some corrugated roofing and cedar fence pickets (which I had on hand) to finish off the top.