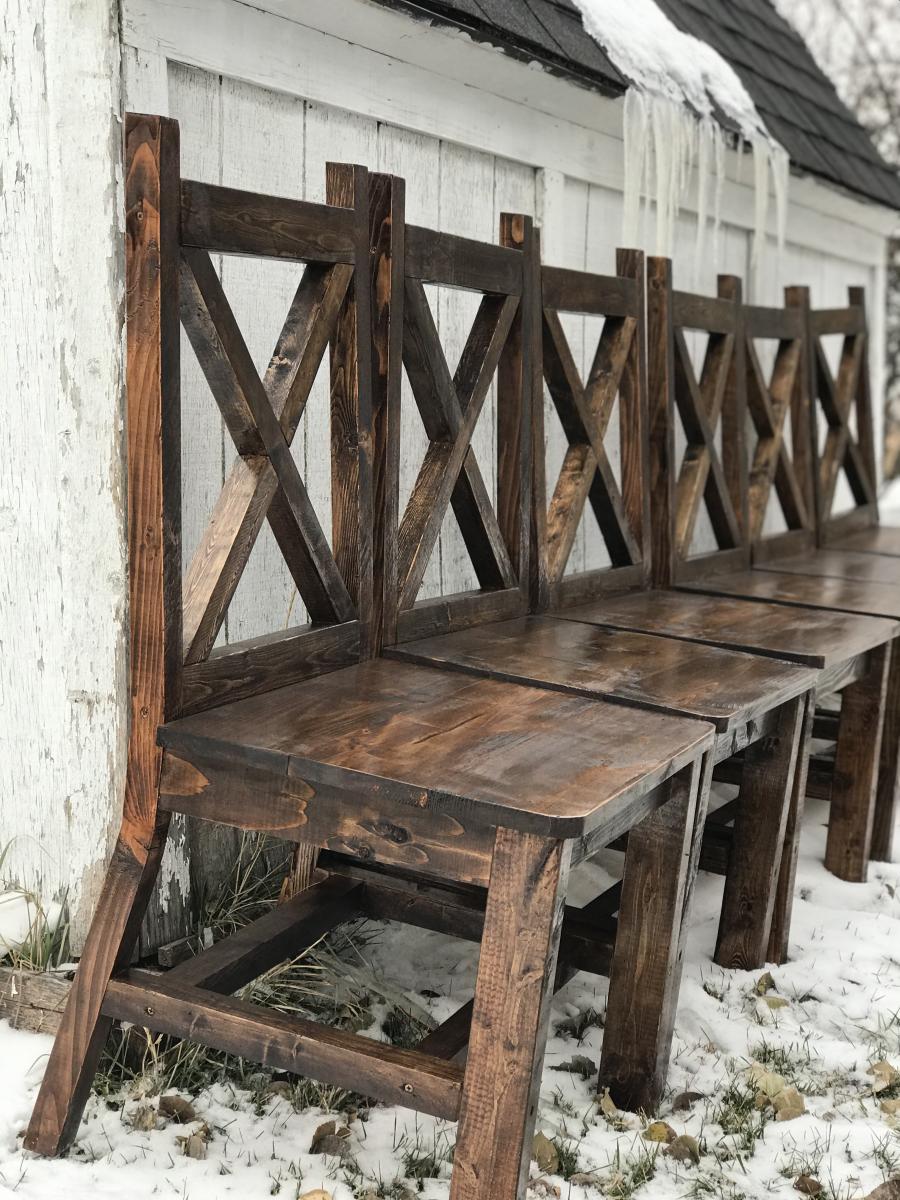
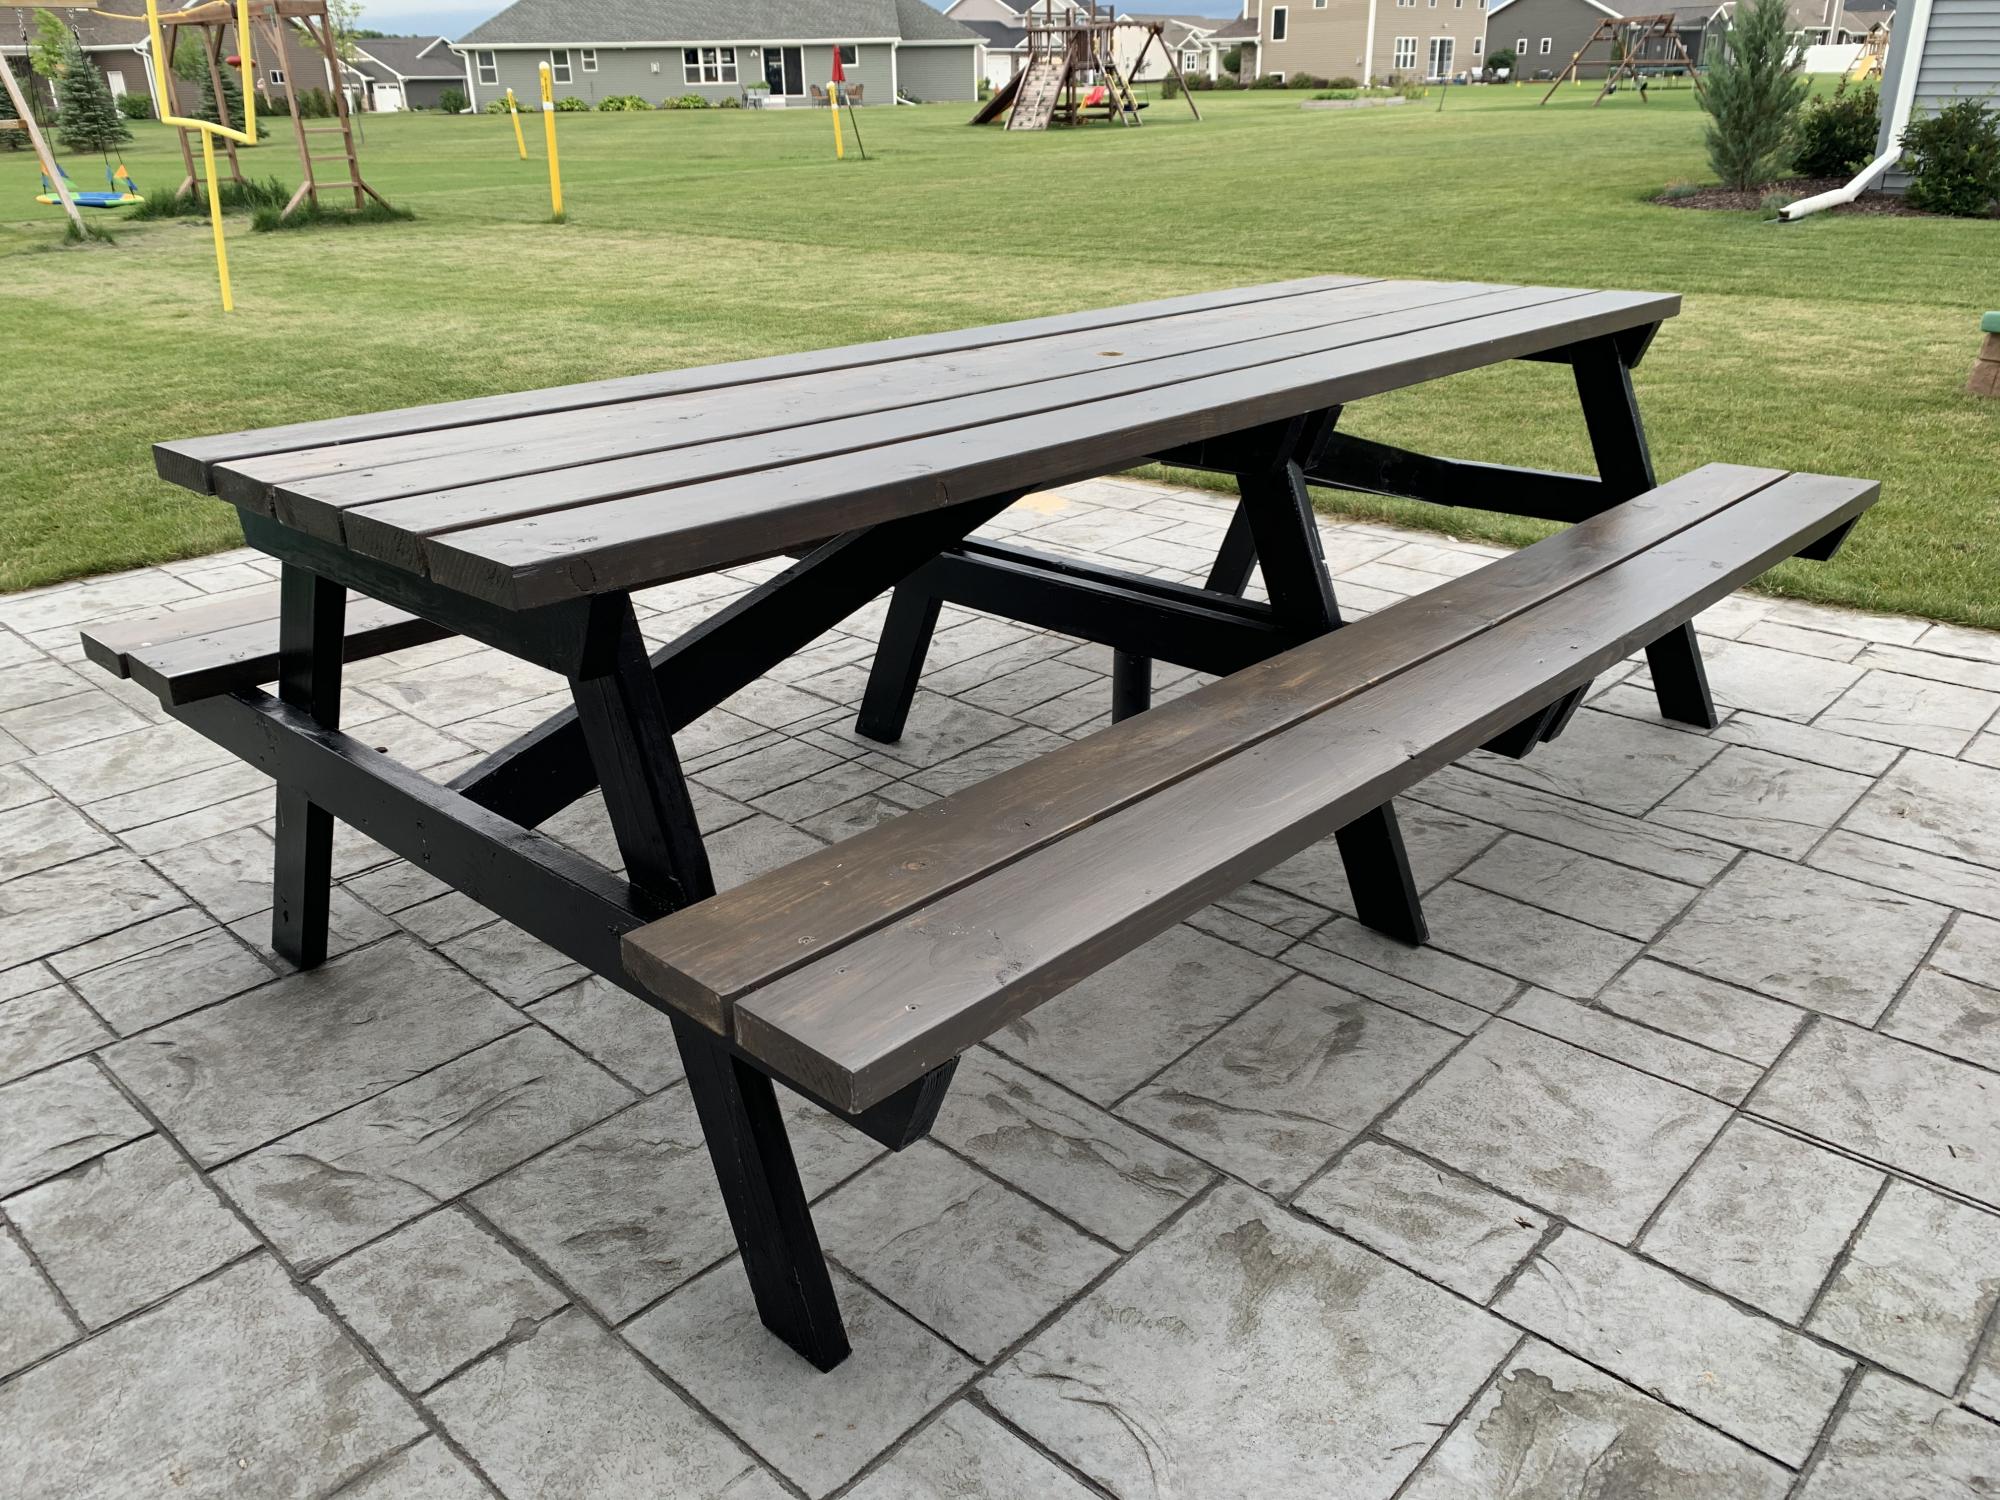
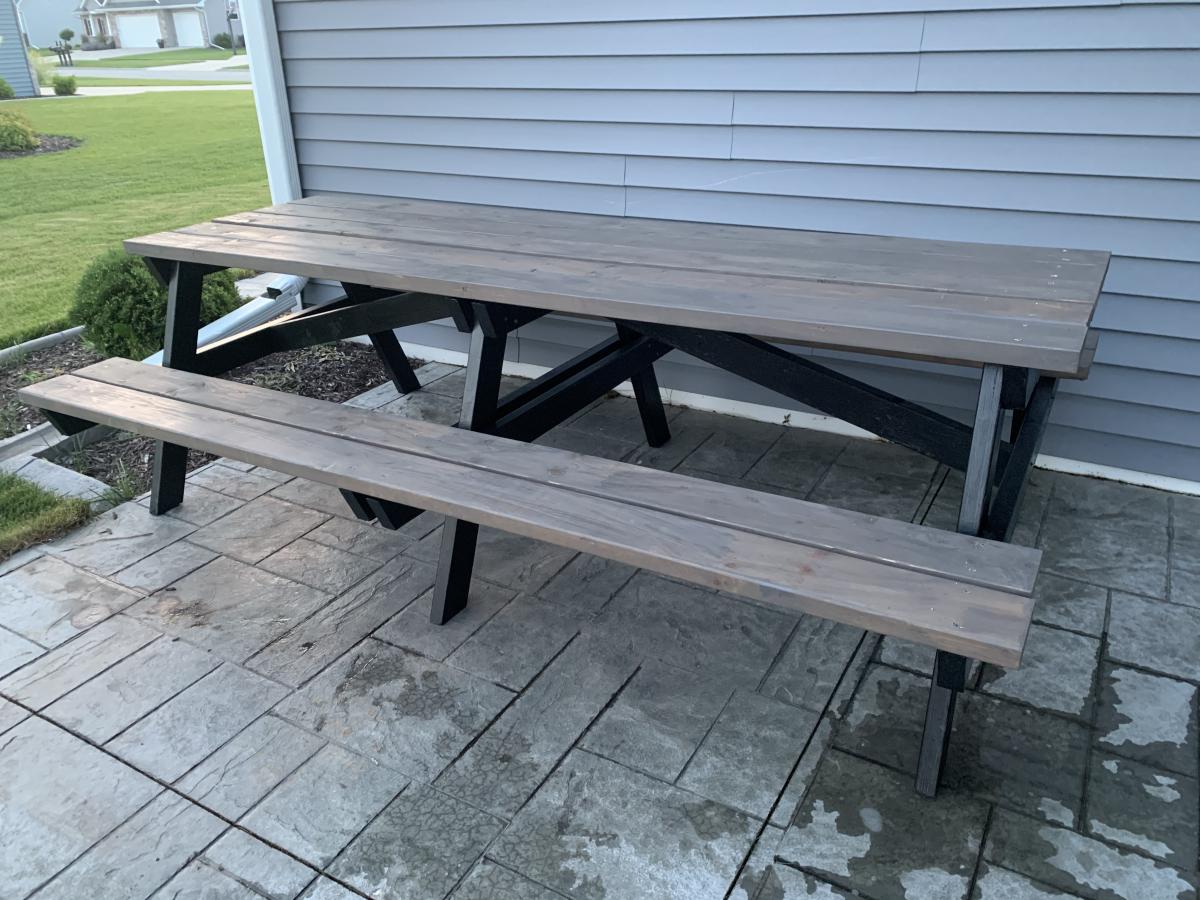
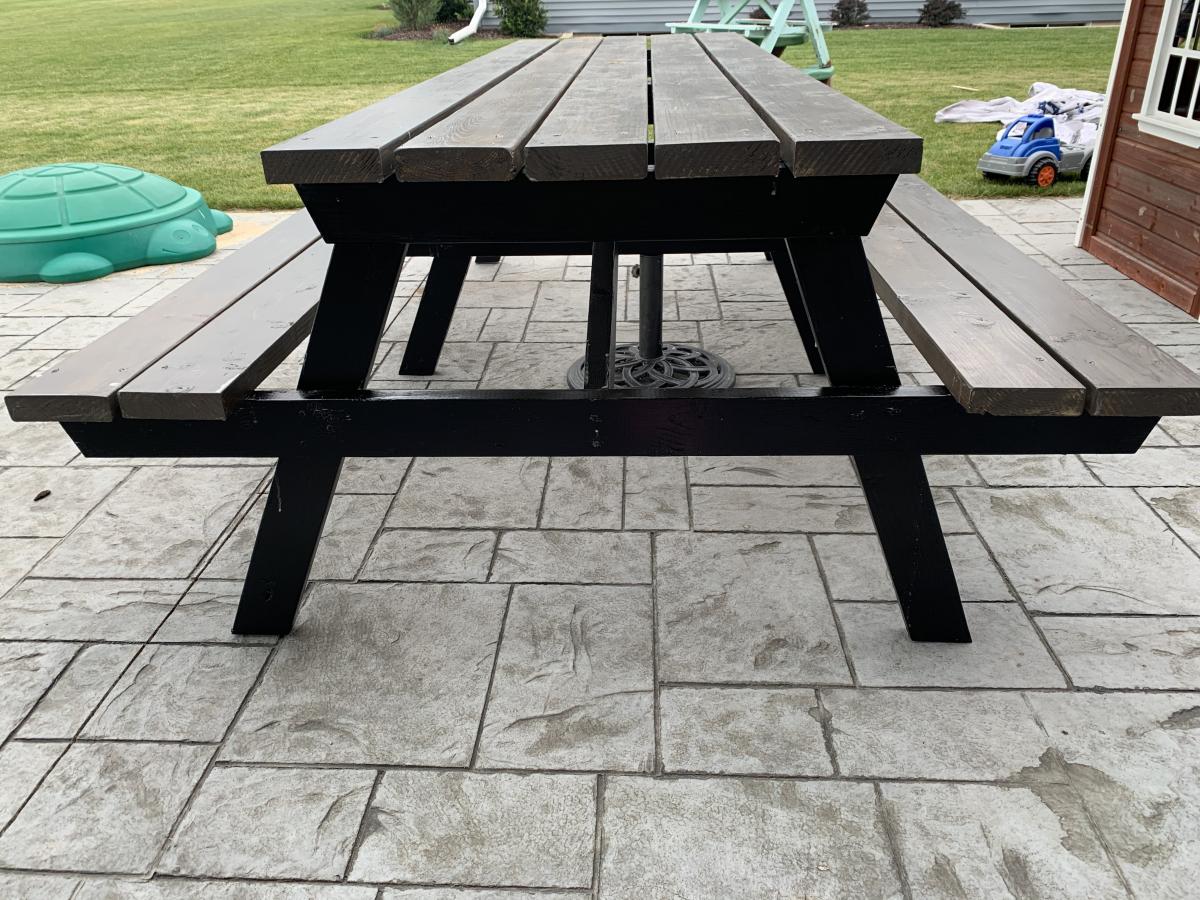
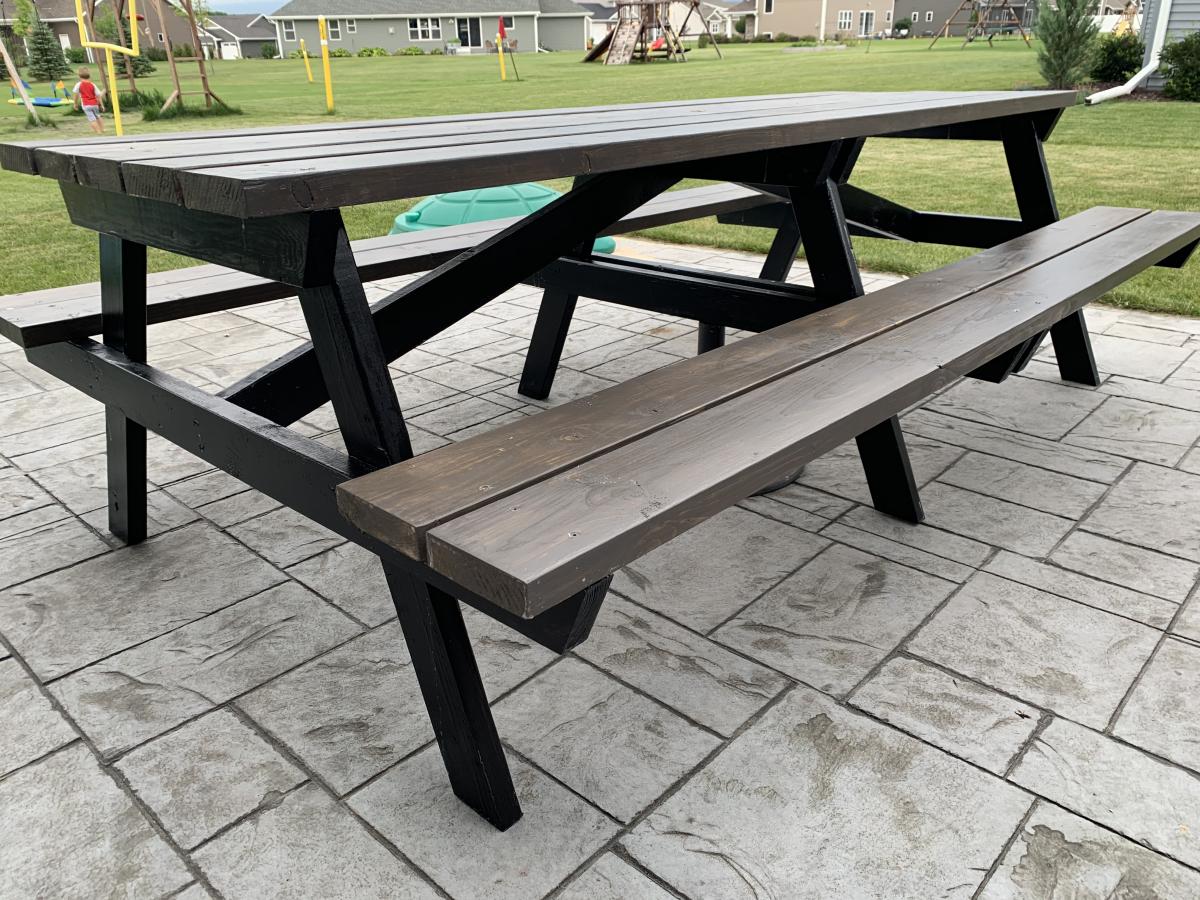
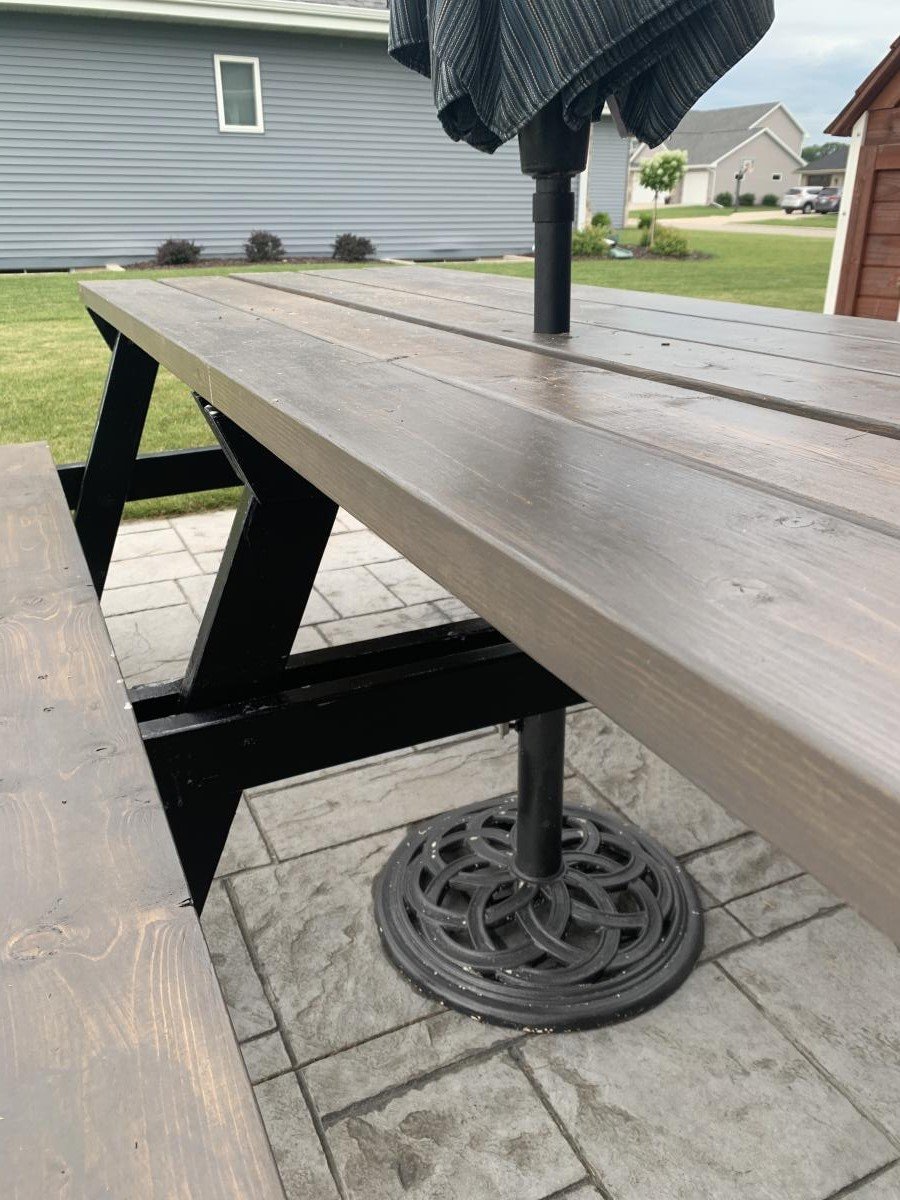
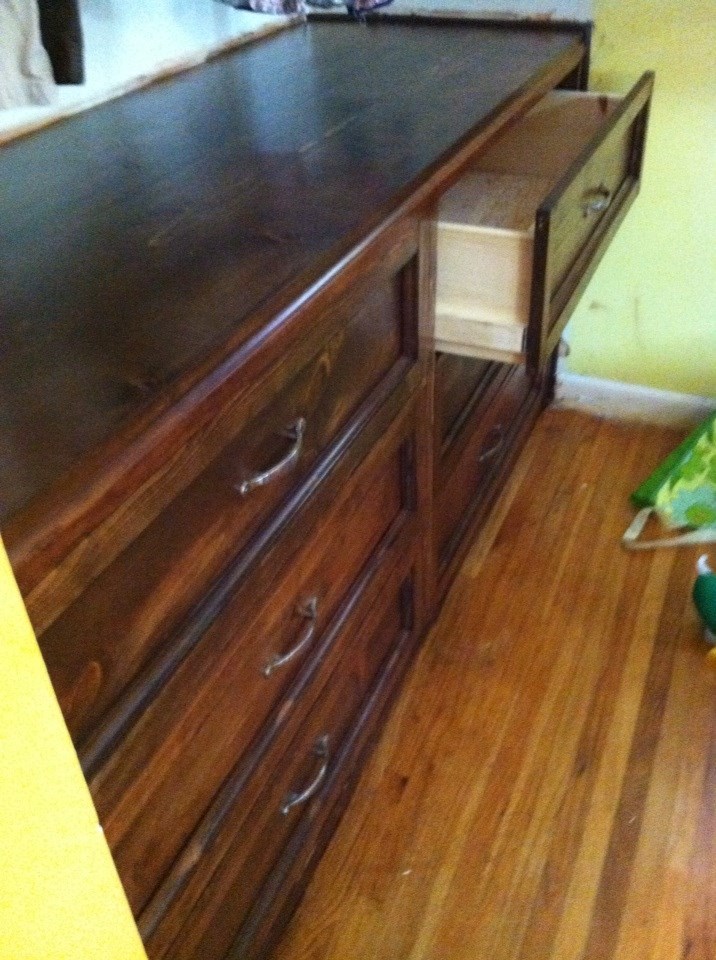
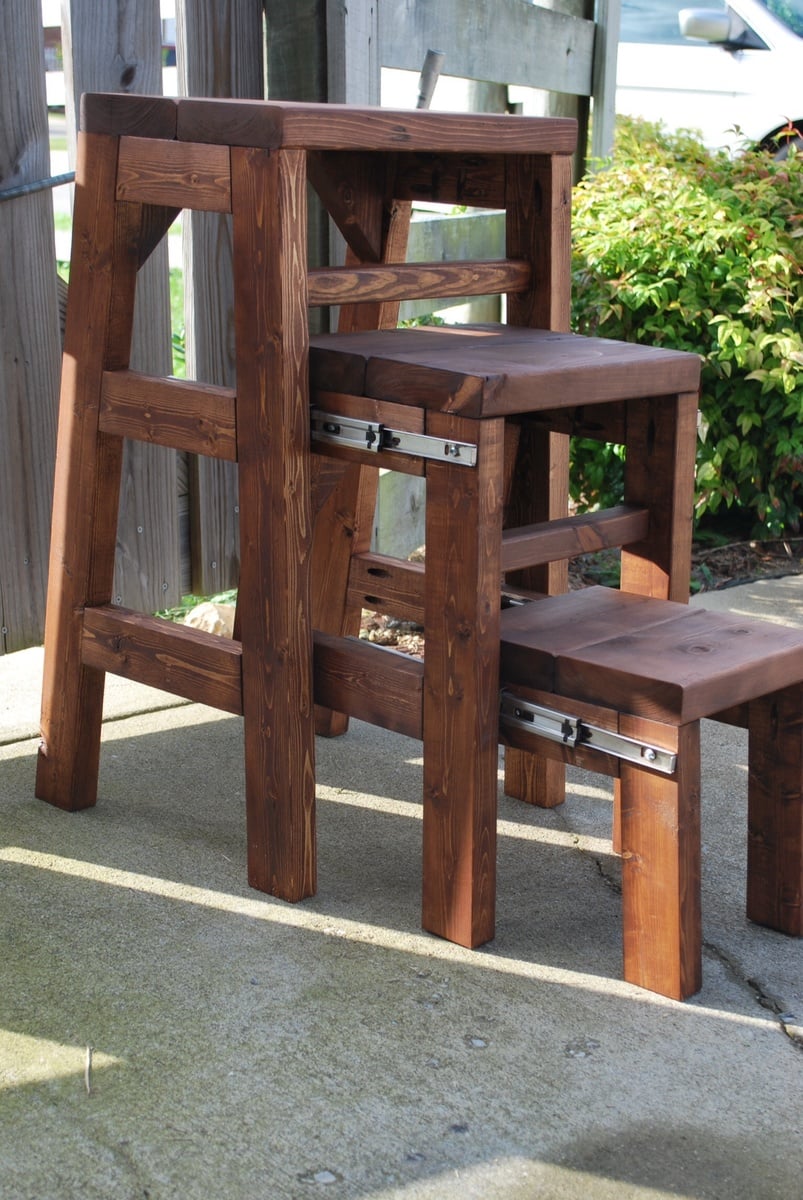
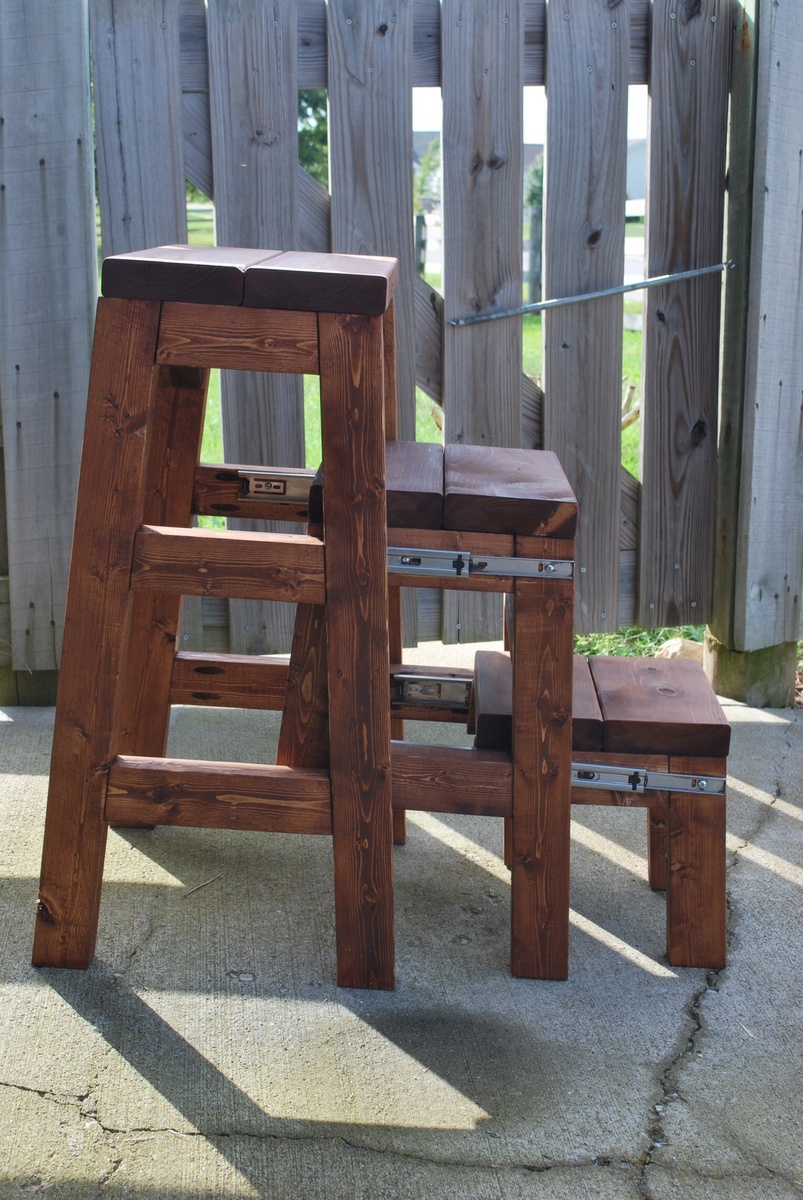
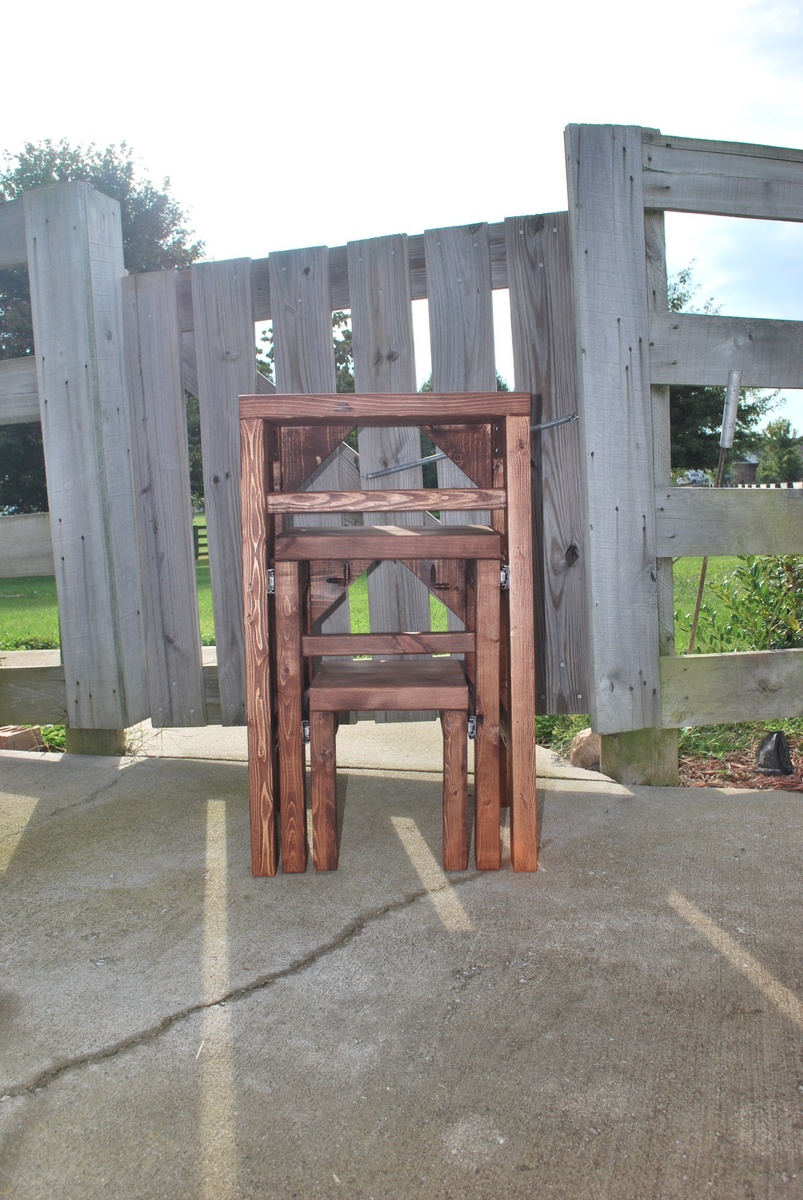
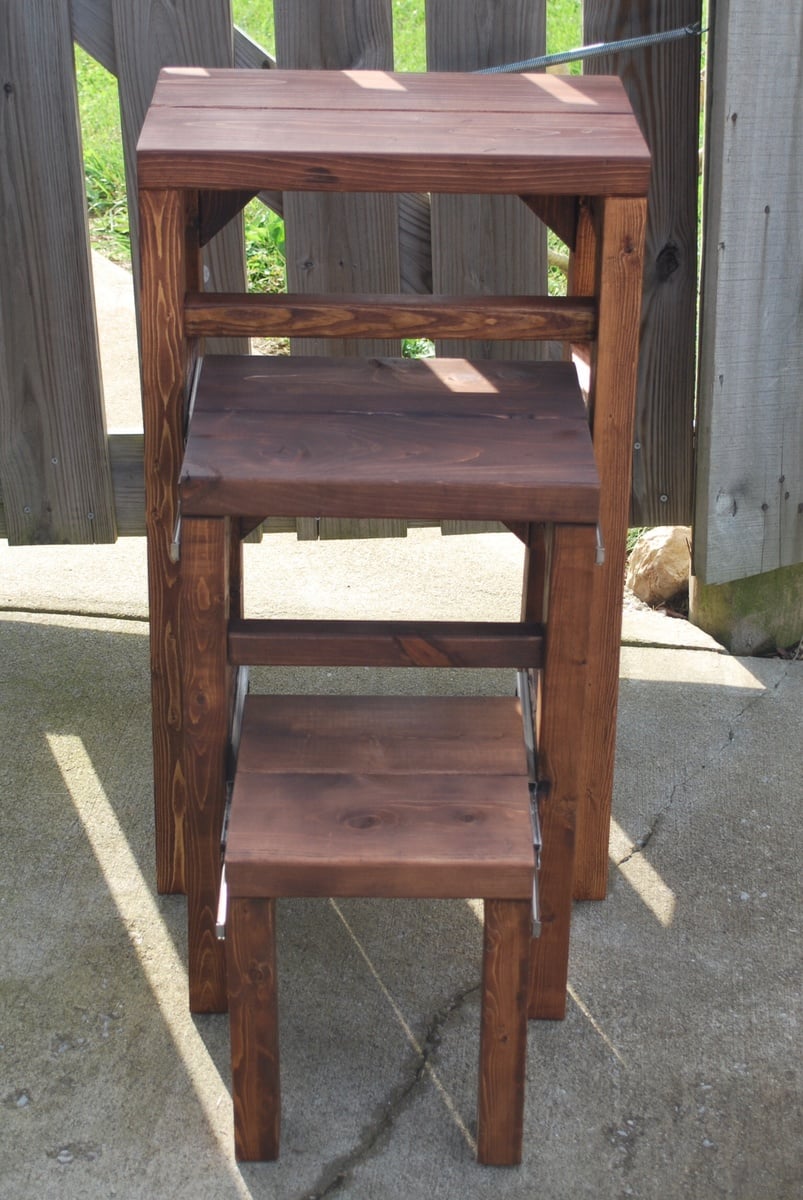
Farmhouse Chairs
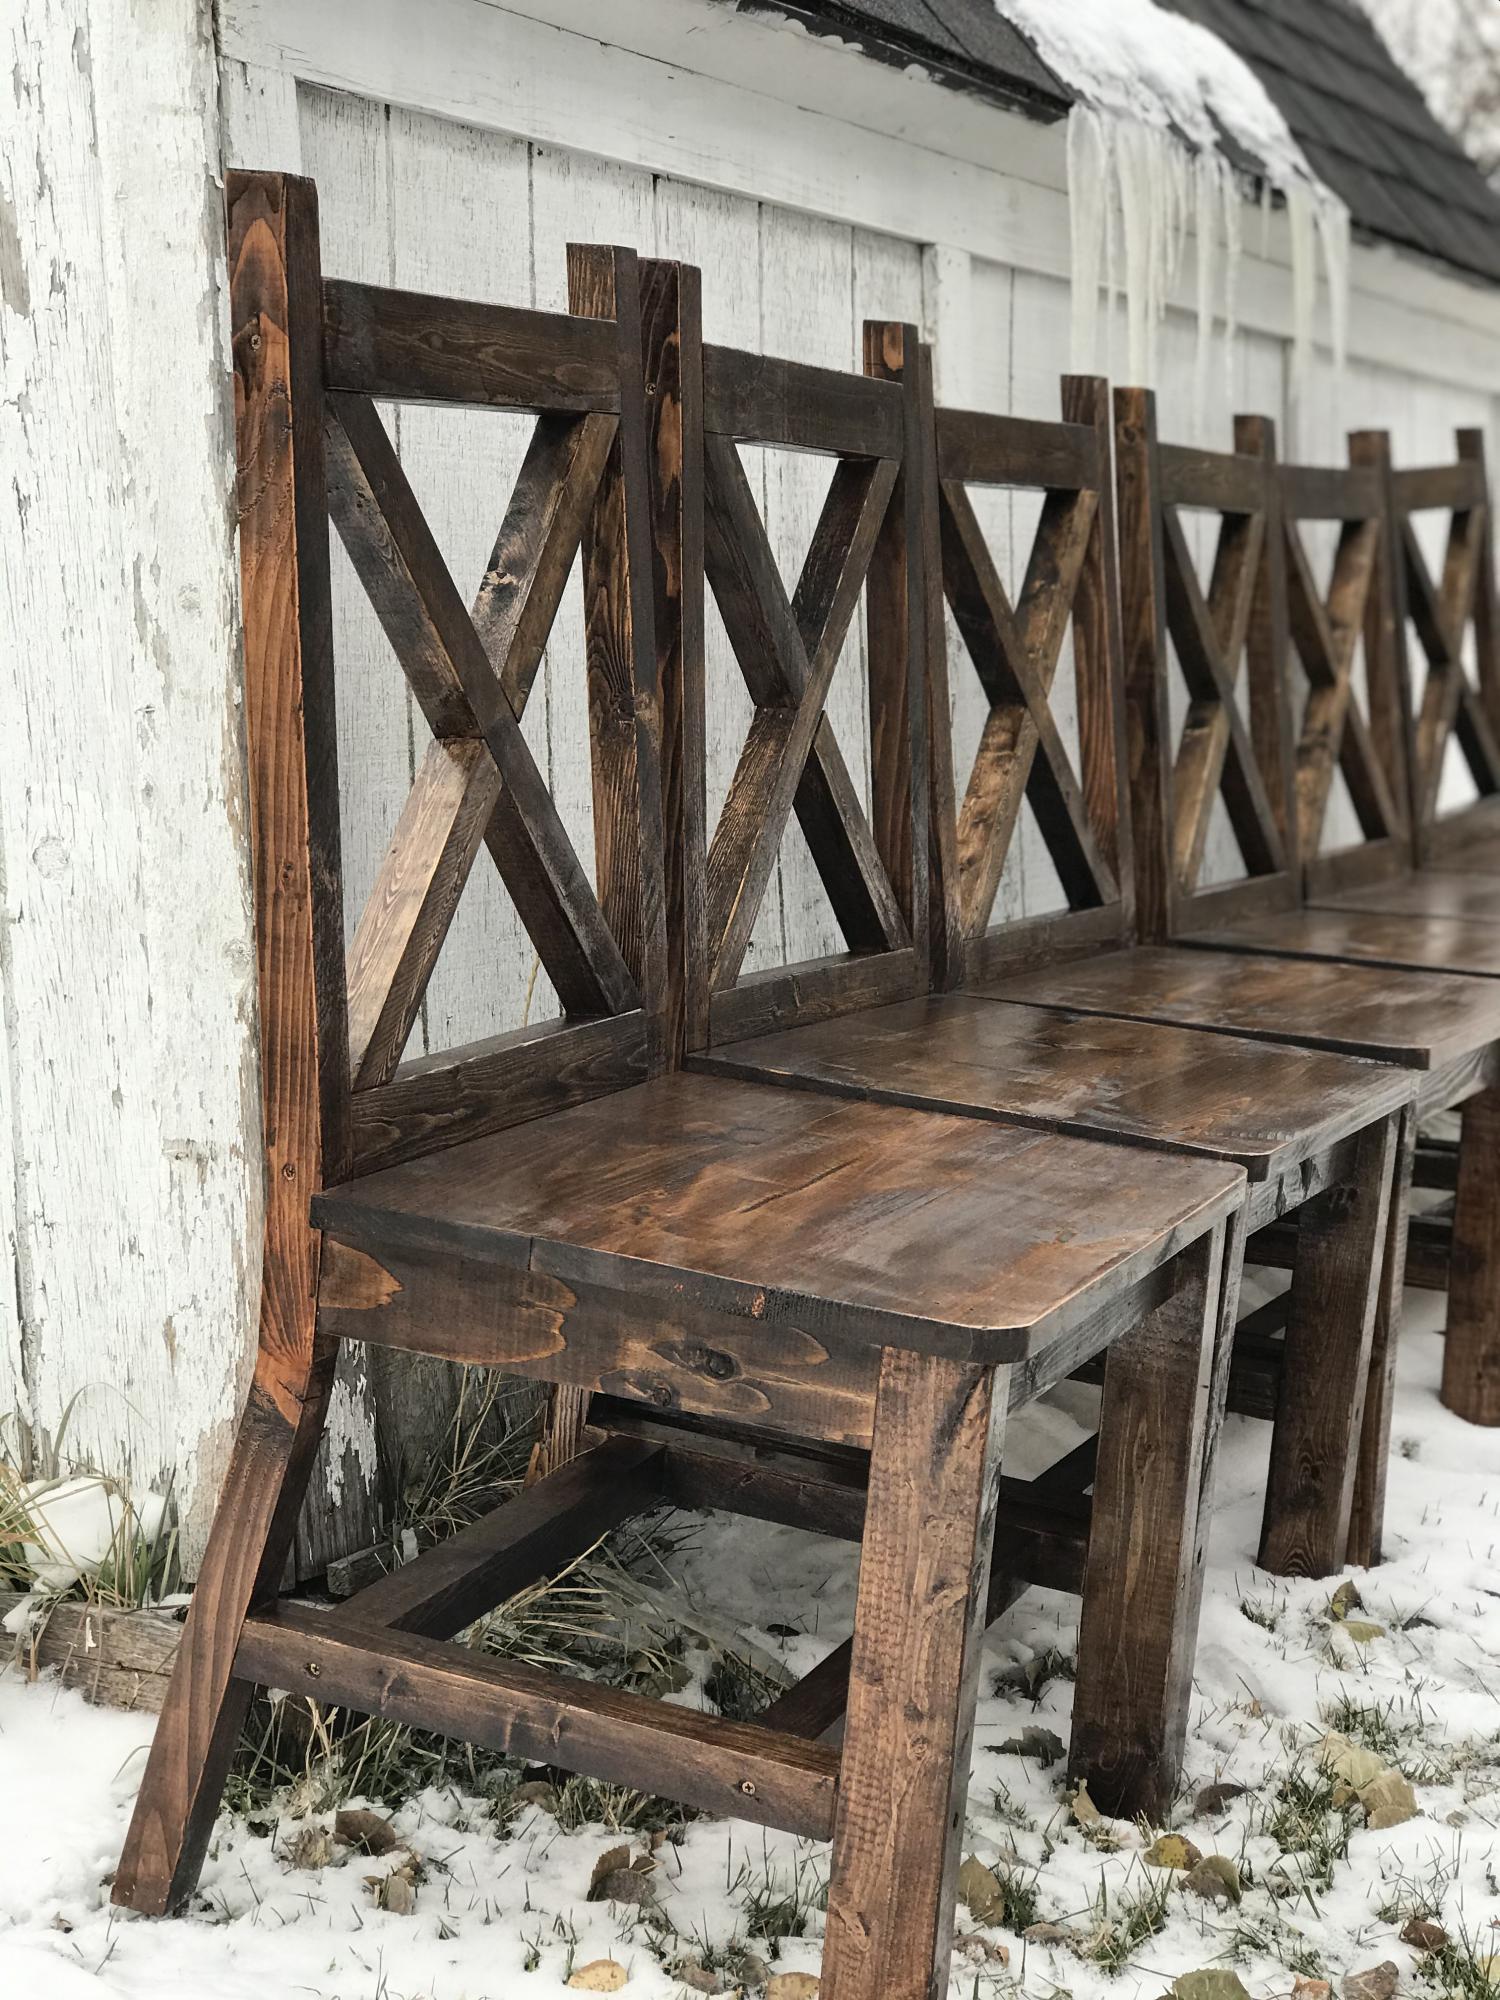
I found a picture of this style of chairs, and I really wanted to make them for my table. I created my own plans and adjusted them until they were perfect. I’ve since made several sets of chairs for other people including this set of 6.
Built from Plan(s)
Estimated Cost
$25
Estimated Time Investment
Afternoon Project (3-6 Hours)
Finish Used
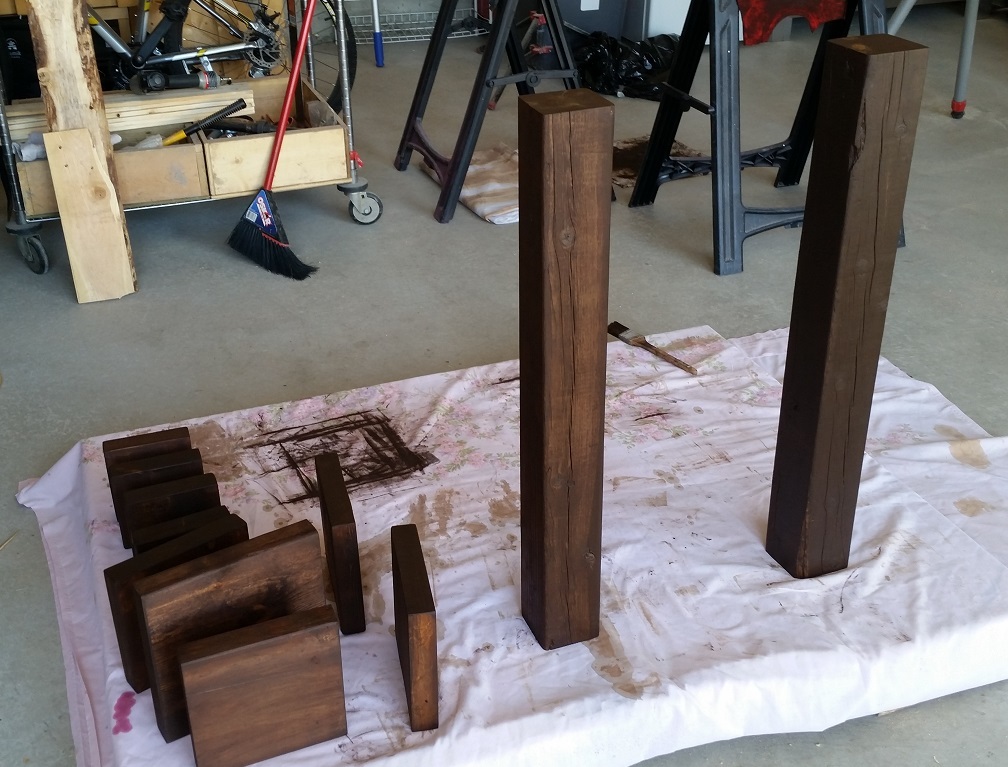
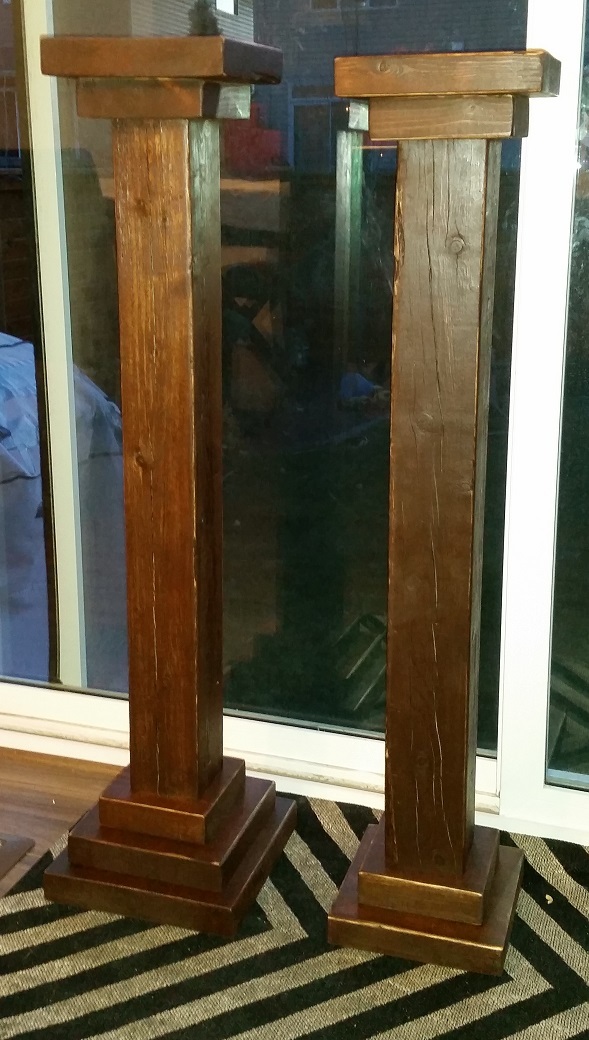
After sanding down the chairs, I apply a coat of Preston by minwax. To get the color I wipe on the stain gunstock by winwax. After letting it dry for about an hour, I then wipe on a coat of espresso stain. For the finish, I apply coats of a gloss polyurethane by Minwax.
Recommended Skill Level
Intermediate


Comments
BrettFeltes
Wed, 12/18/2019 - 07:57
I'd love to make these for…
I'd love to make these for my parents, do you have the plans?
achampion92
Sat, 06/18/2022 - 09:14
Plans
Where are the plans for these?