Entertainment Center

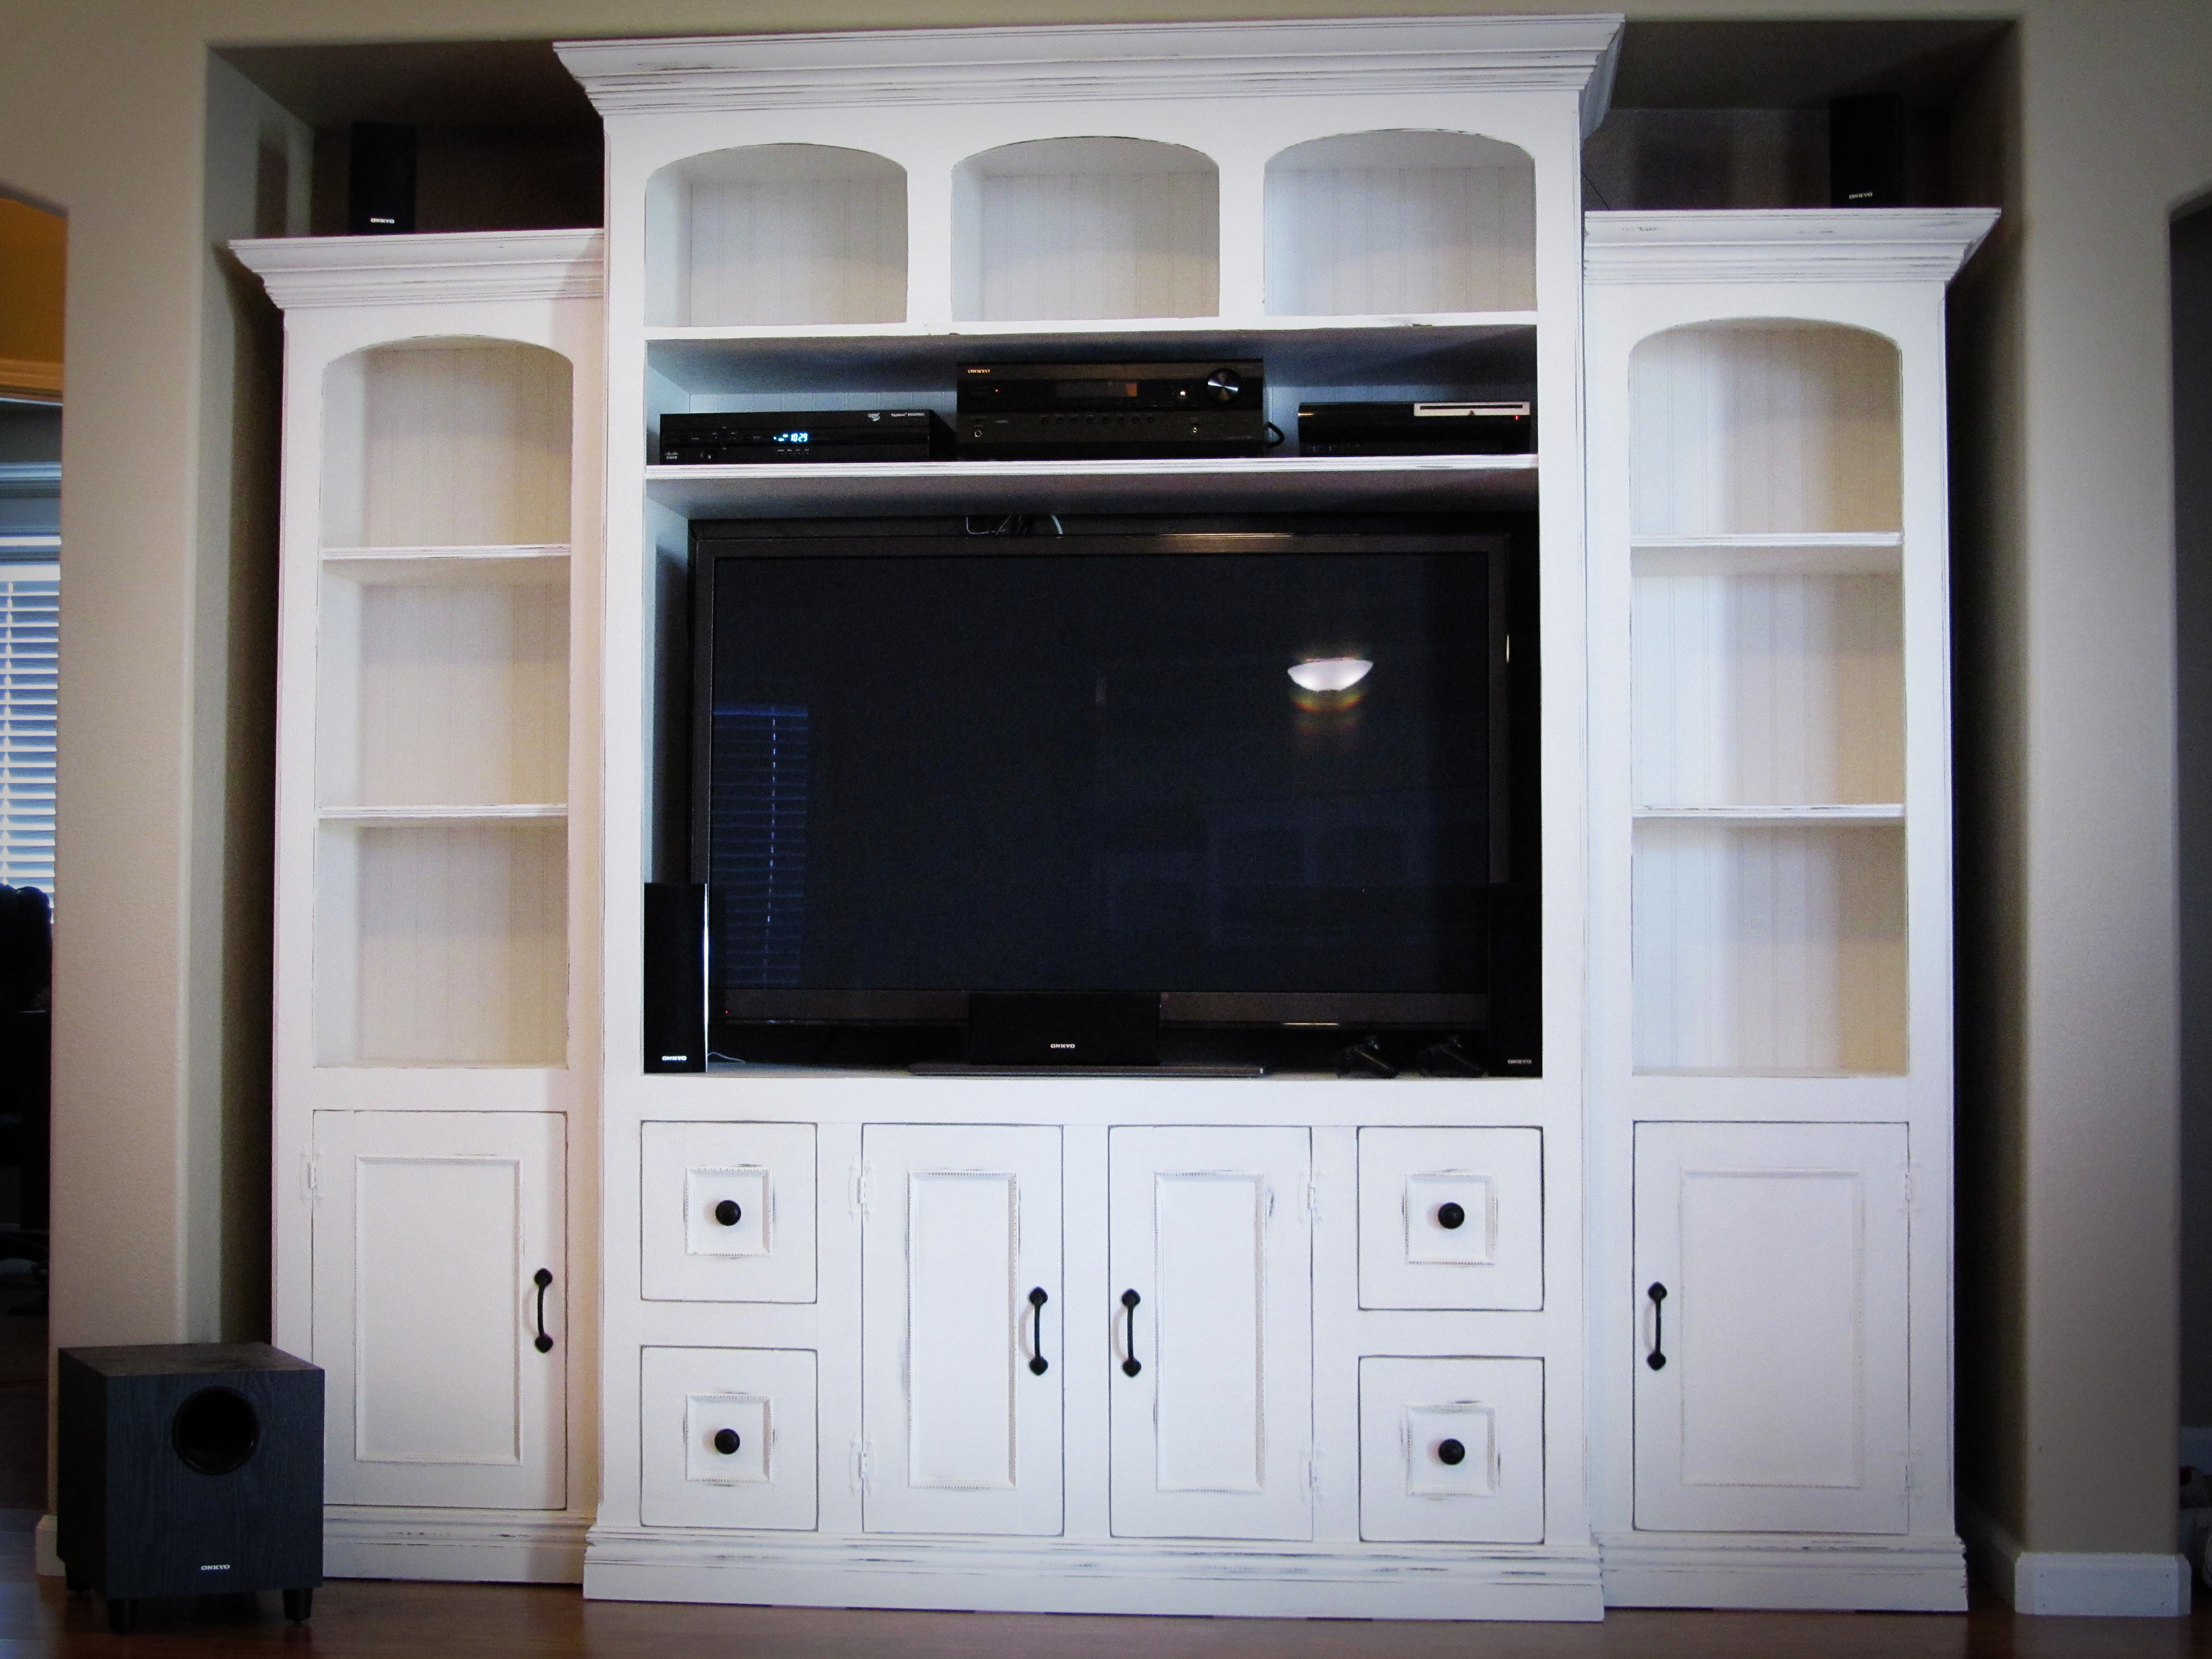
My wife and I decided it was time to give our new TV a home. We began looking on ana-white.com and saw a beautiful black entertainment center. That is where I received my inspiration. It is a very similar design however, I decided to change the color and add inset doorsand drawers.
Everywhere we looked for an entertainment center, it was either too pricey, or the measurements were not right. I decided to come up with a plan for an entertainment center that would fit perfectly into our little niche.

Built from Plan(s)
Estimated Cost
650-700
Estimated Time Investment
Week Long Project (20 Hours or More)
Finish Used
Dark Walnut Stain/White Latex Paint
Recommended Skill Level
Intermediate


Comments
Pam the Goatherd
Mon, 01/09/2012 - 21:10
That turned out beautifully!
That turned out beautifully!
guest (not verified)
Fri, 01/13/2012 - 19:26
Love this!!!
This is beautiful!!! Also exactly what Hubby & I have been talking about building! Awesome, thanks for the inspiration!!
azca33
Tue, 01/17/2012 - 07:50
Thank you!
Thank you both. We love it!
Jana Thomas (not verified)
Mon, 01/23/2012 - 12:28
entertainment center
I LOVE your entertainment center....exactly what we are working on as we speak. Ours will be a little larger (12 foot wide) after adding on two end shelves to hold lots of DVD's!! I know I want the white color, but could you give a little more information on the distressing and finishing? We've never done that before. Thanks!
azca33
Mon, 01/23/2012 - 17:59
Finish
Hey Jana,
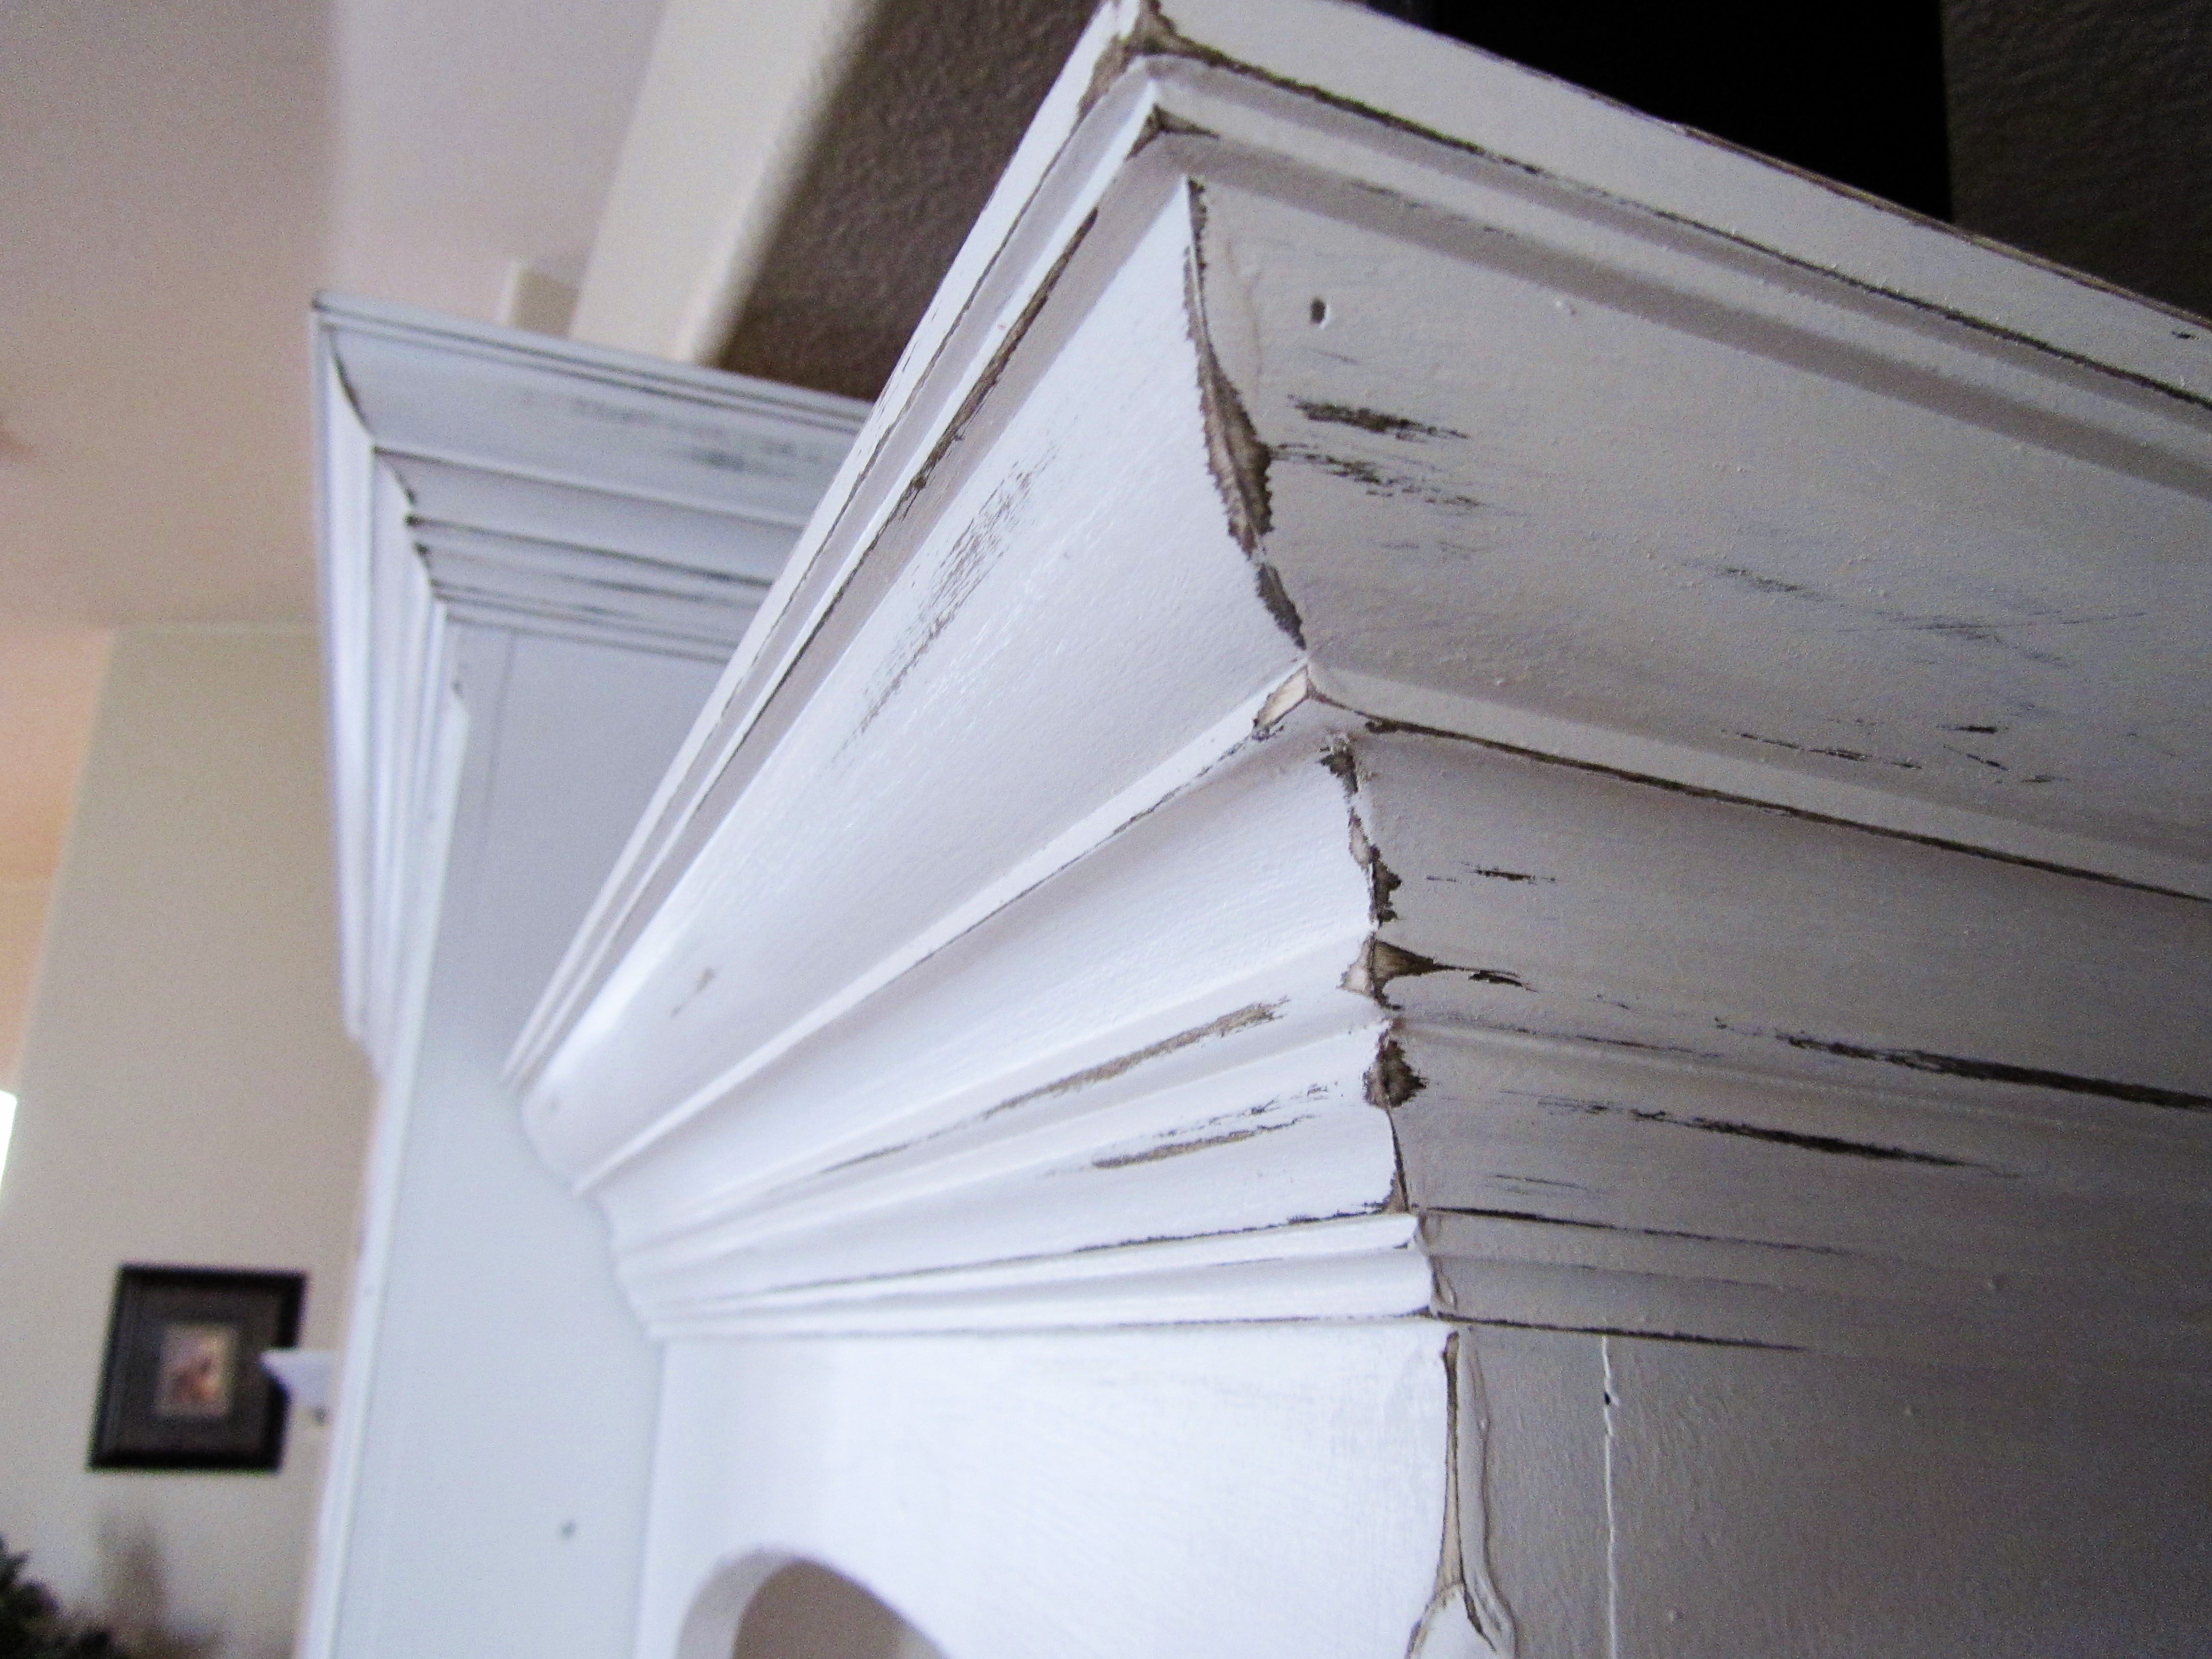
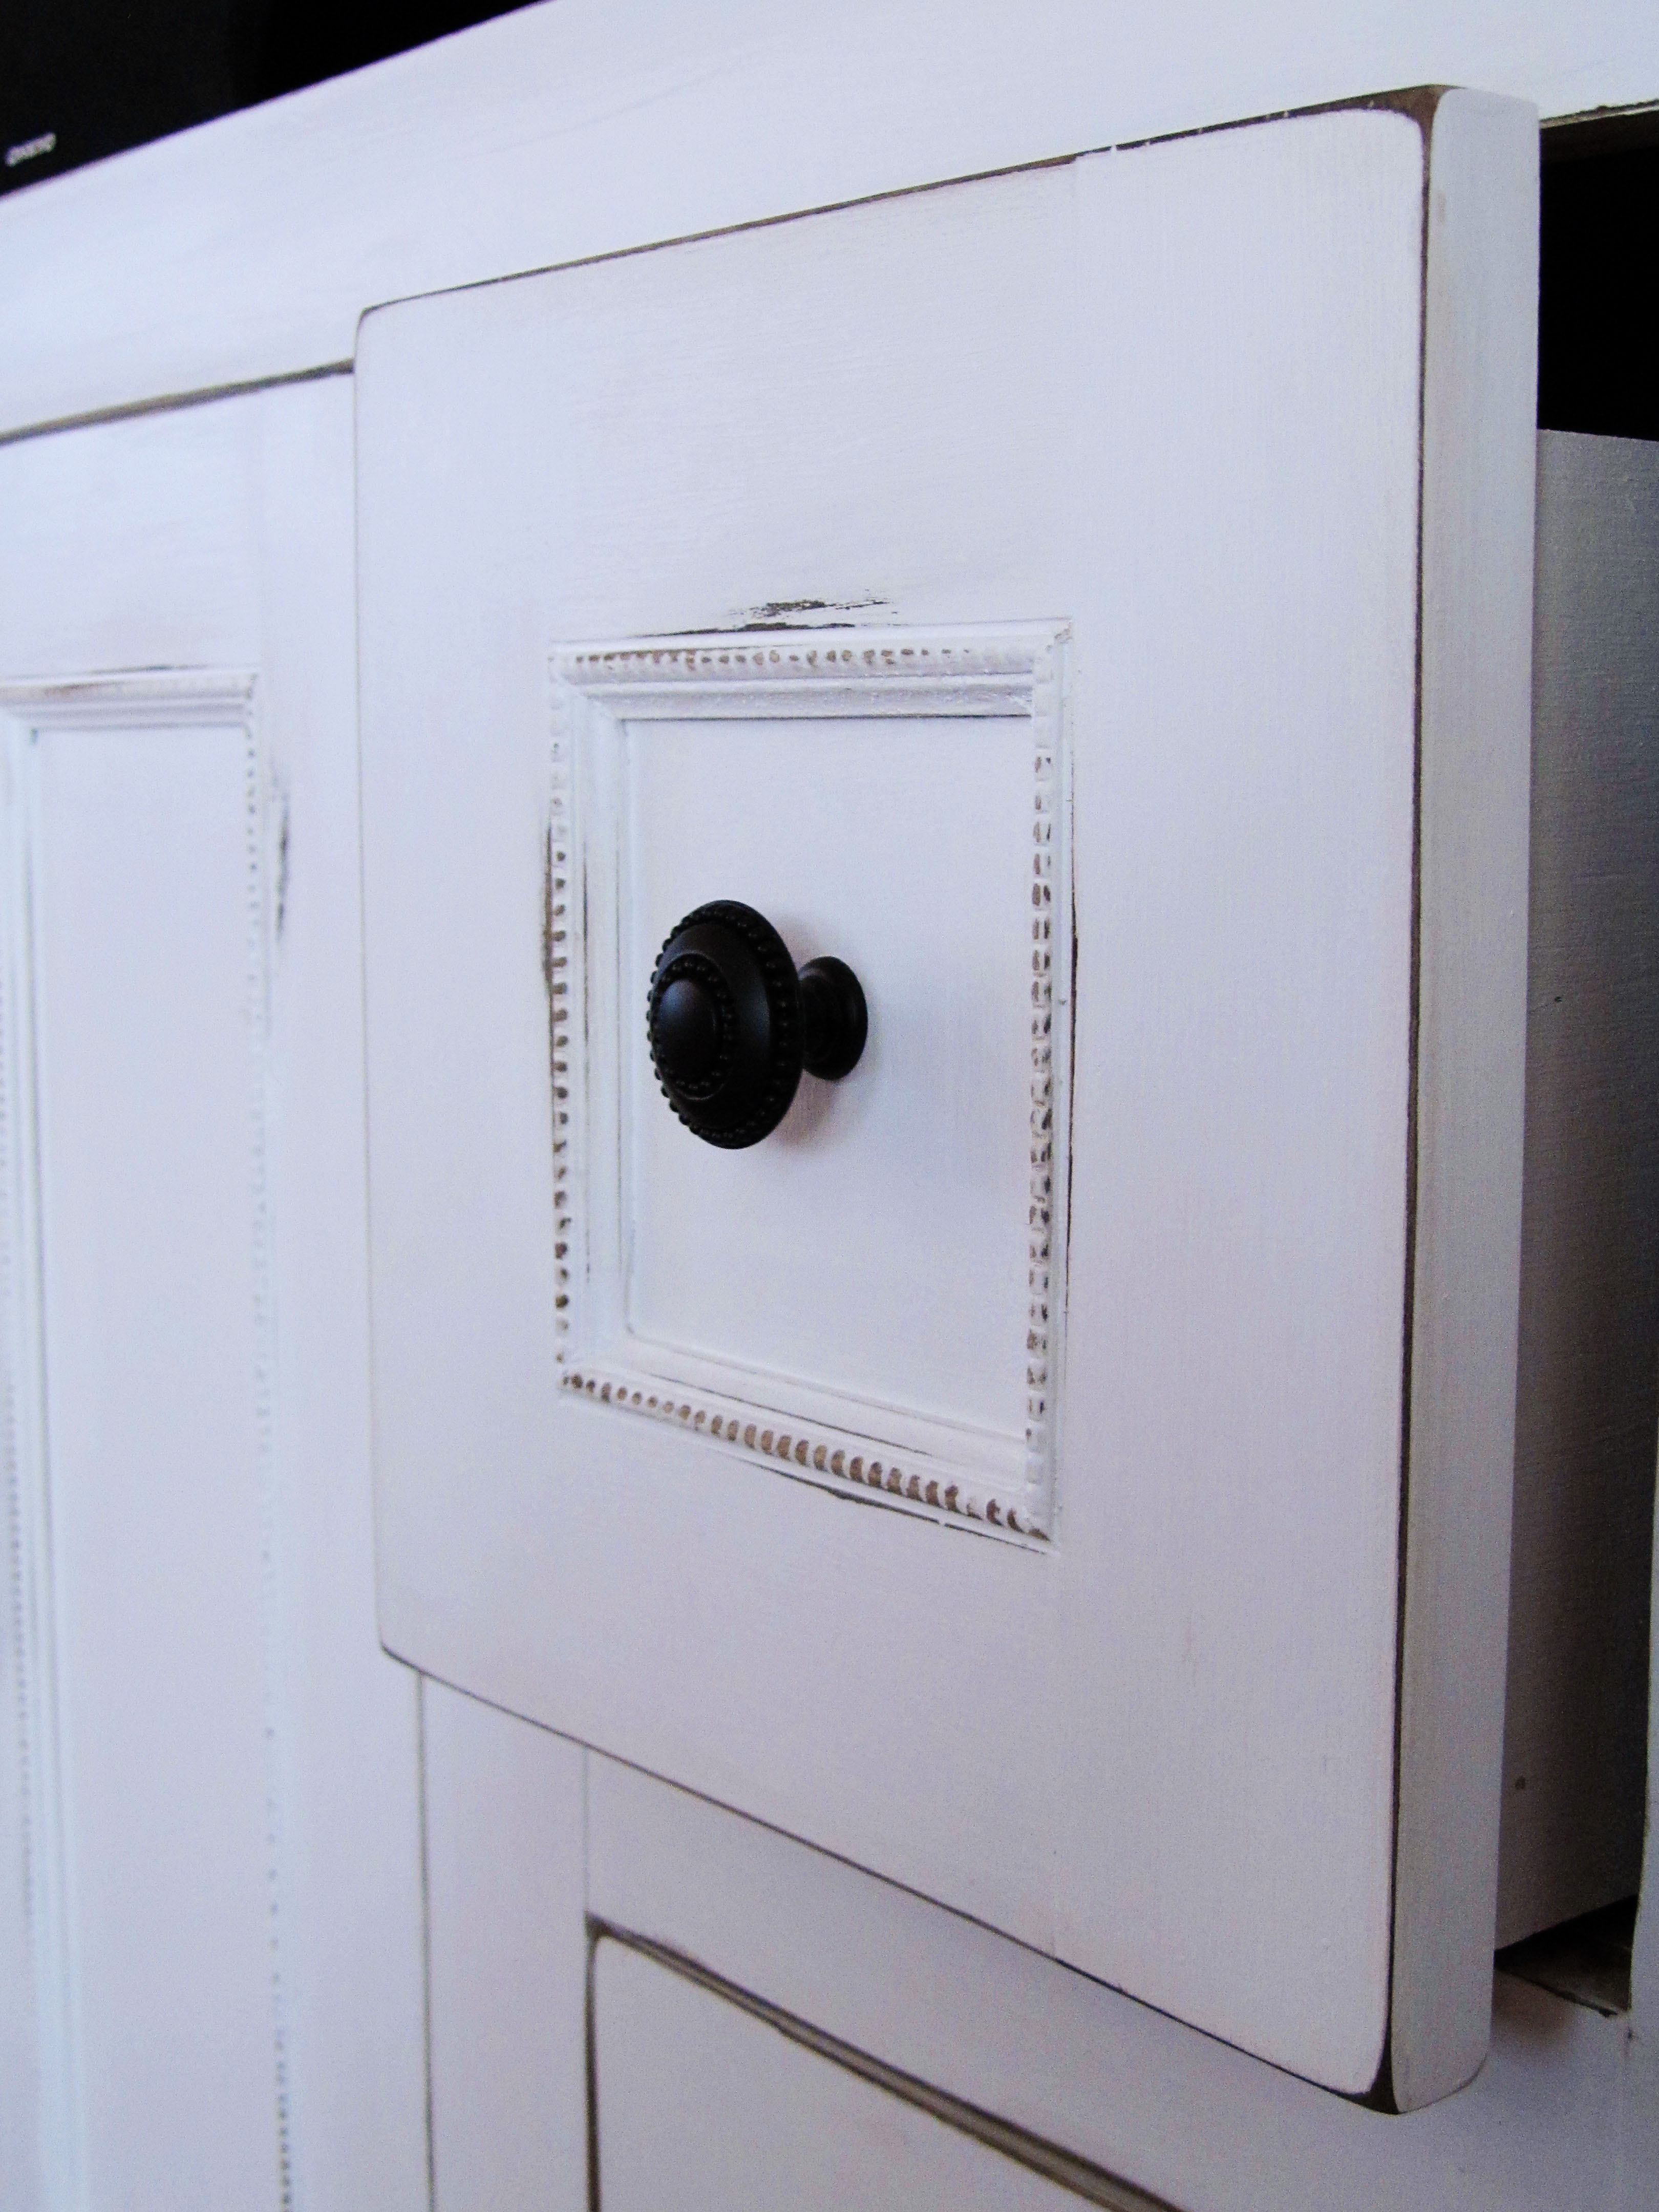
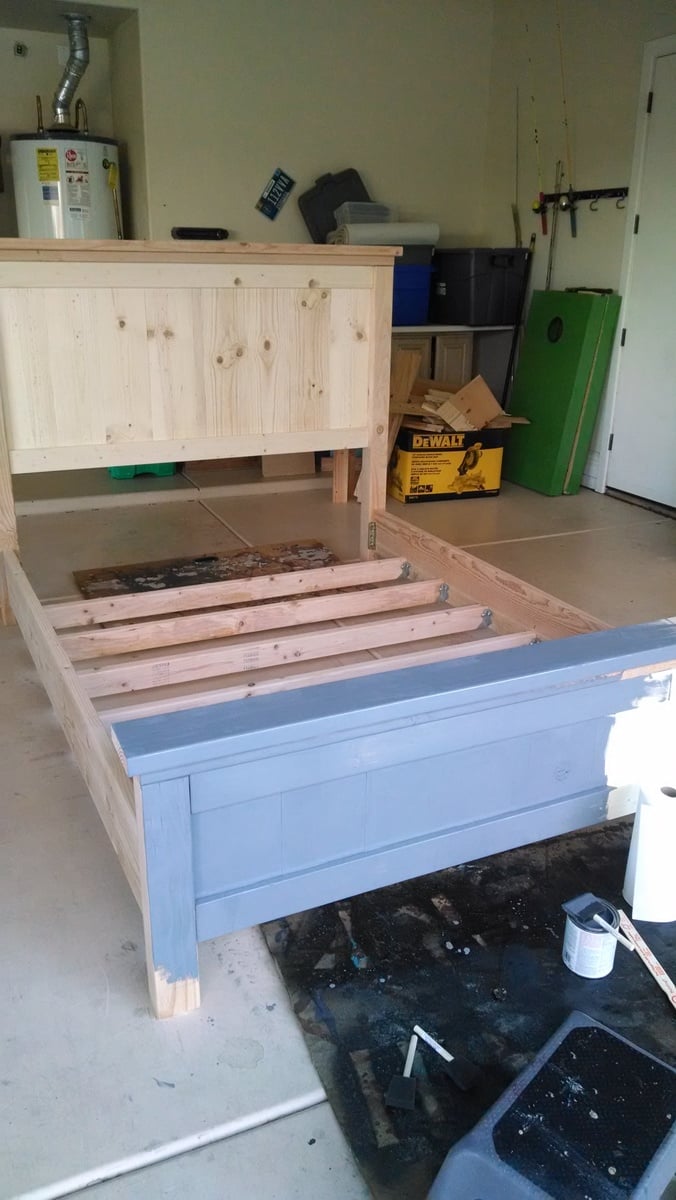
What I did was kind of a pain. To give the entertainment center the distressed looked, I stained all the areas that we were going to distress a dark walnut. After we allowed that to dry, we painted it with white latex paint. Since we were painting over a dark walnut stain, it took about 3 coats to completely cover the color. After 24 hours of drying we sanded it with 100 grit sand paper on all the areas we wanted distressed. You will want to lightly sand it until the dark walnut color comes through. Avoiding sanding too hard as you will sand through the stain.
We still have some distressing that we would like to do on it, but we need to get a wire sponge for that, and just haven't gotten around to it. The sand paper works really well on corners, but not so much on the face of the wood. We haven't sealed it completely since we still have some areas to distress, but will use a water-based sealer.
Let me know if you have any other questions.
davidmac (not verified)
Tue, 01/24/2012 - 14:15
Questions
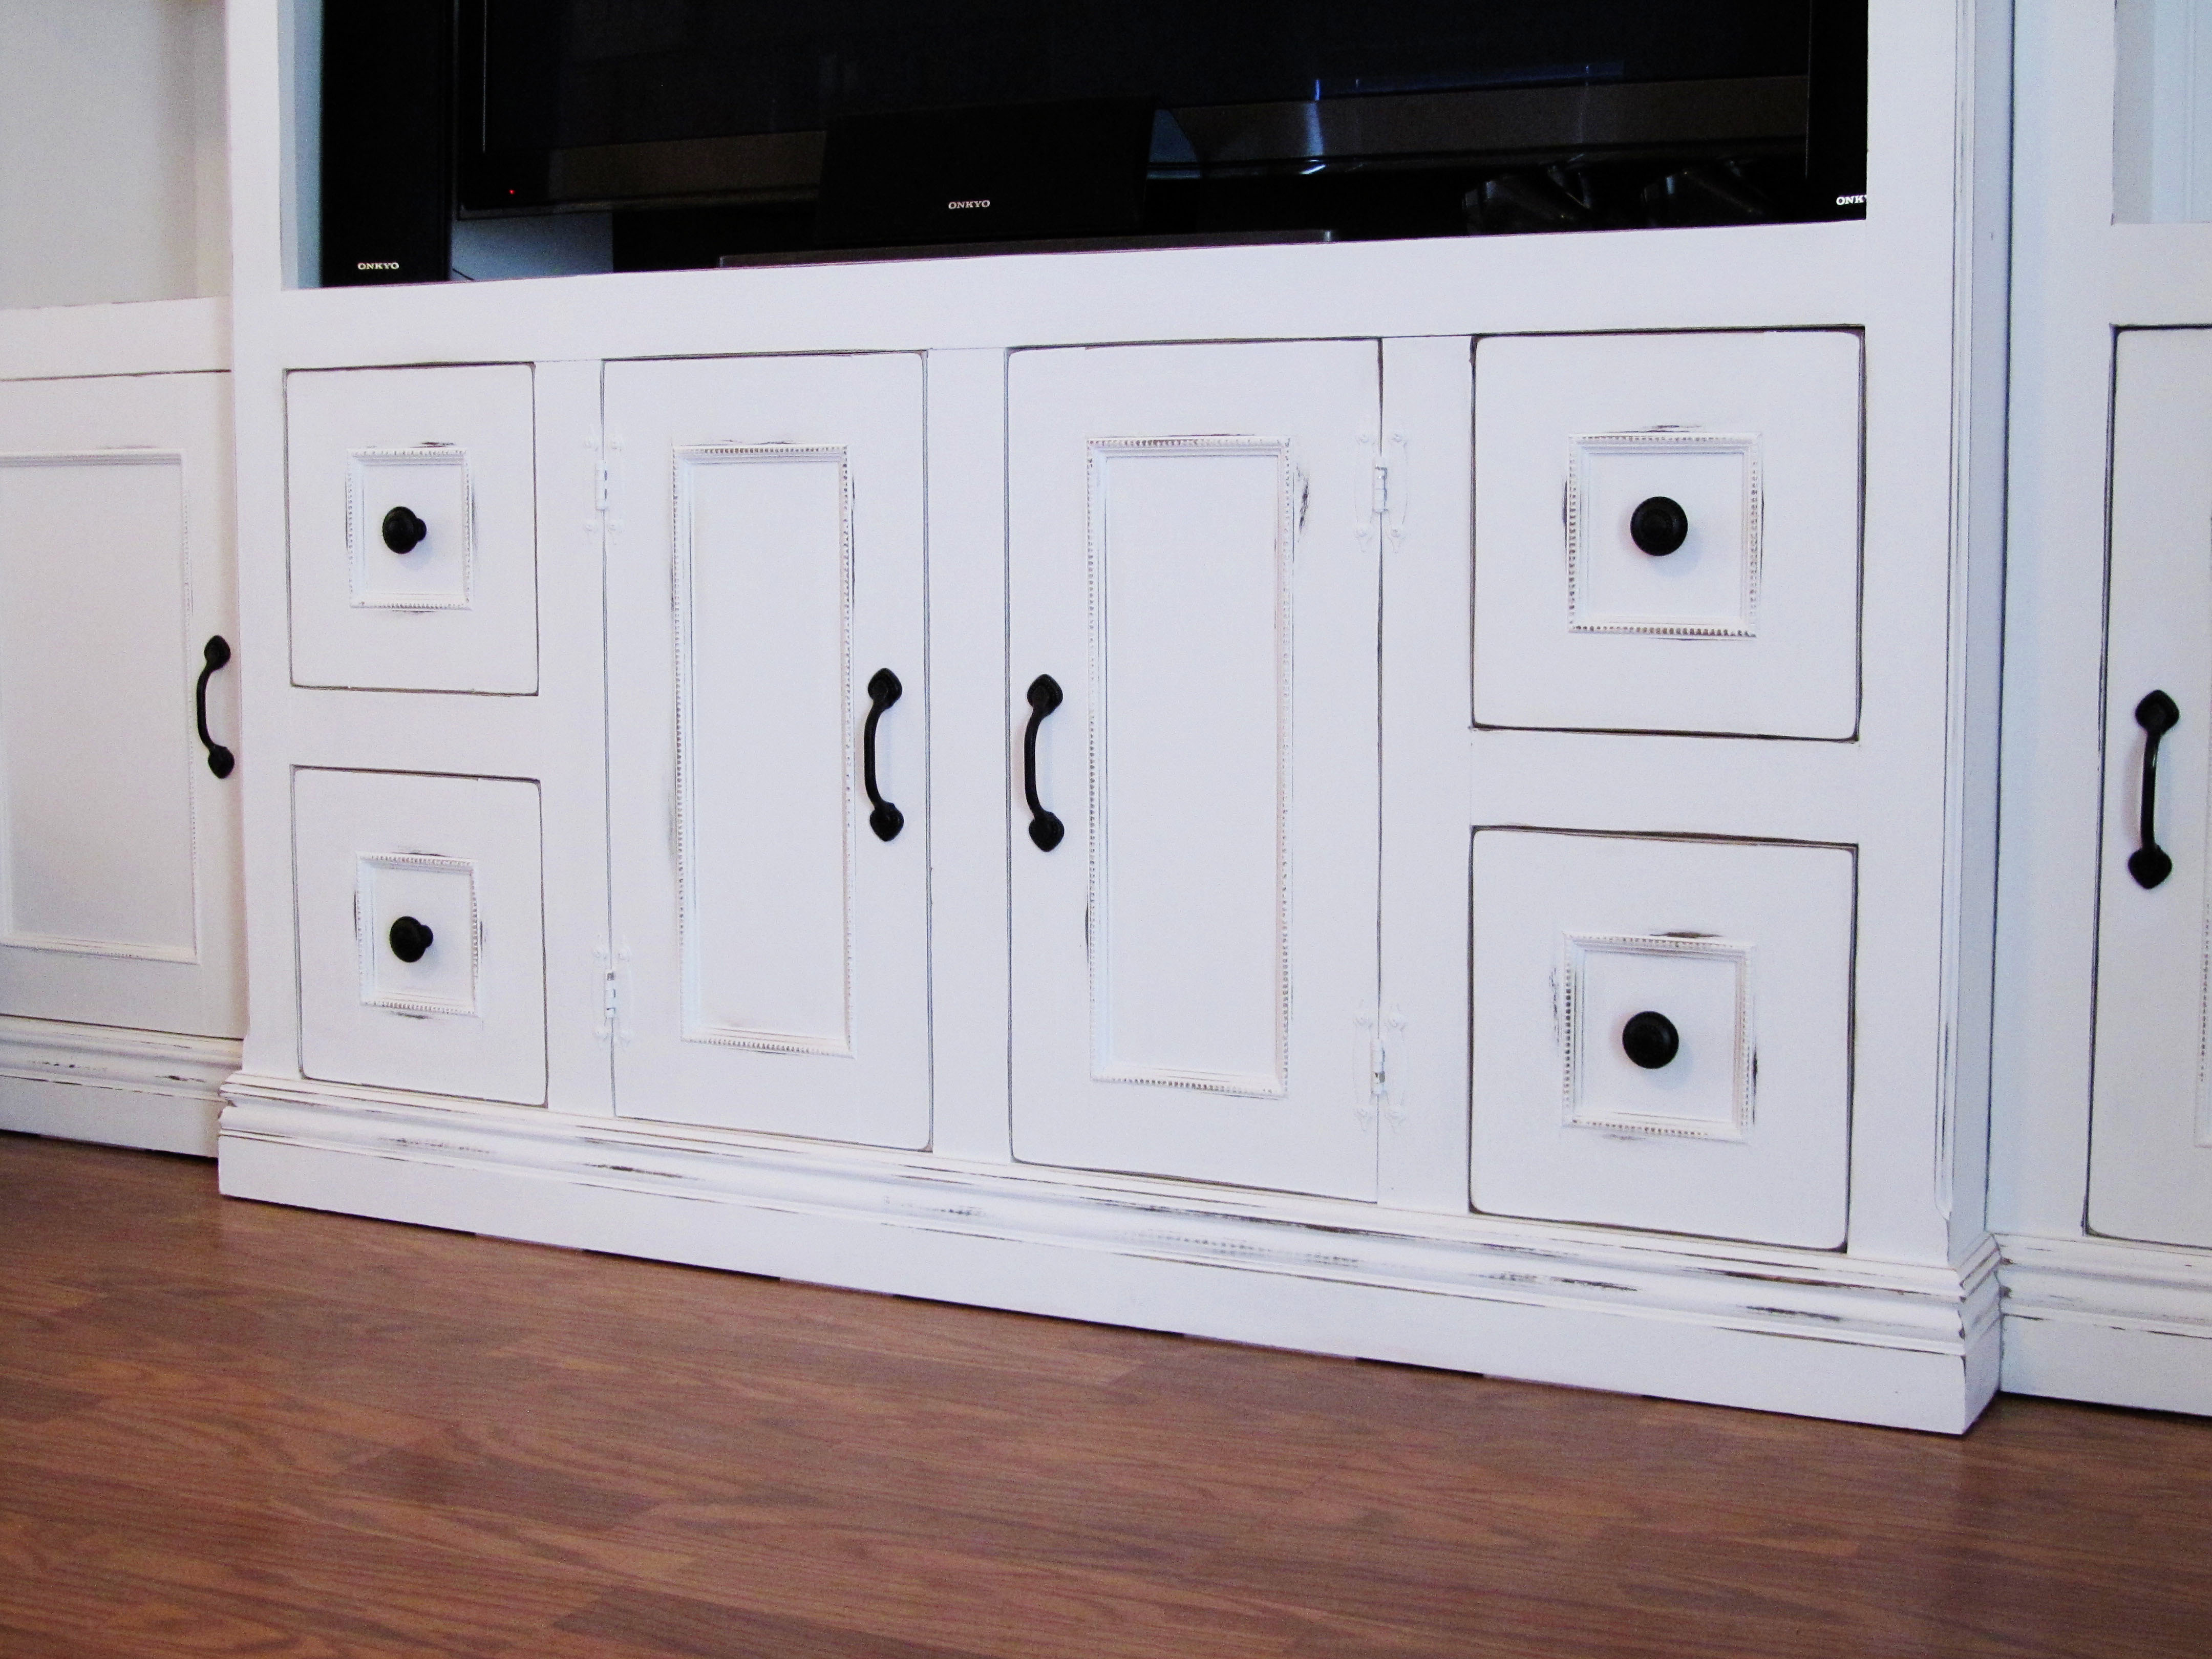
It looks great. How did you attach the side units to the middle unit? Are the drawer fronts just solid 12" x 12" with the decorate trim attached to front? I can't tell if the portion where the handle is attached is recessed or not. And lastly, are those 1" x 3" trim pieces around the drawers?
azca33
Tue, 01/24/2012 - 16:46
Hi
Hey Davidmac,
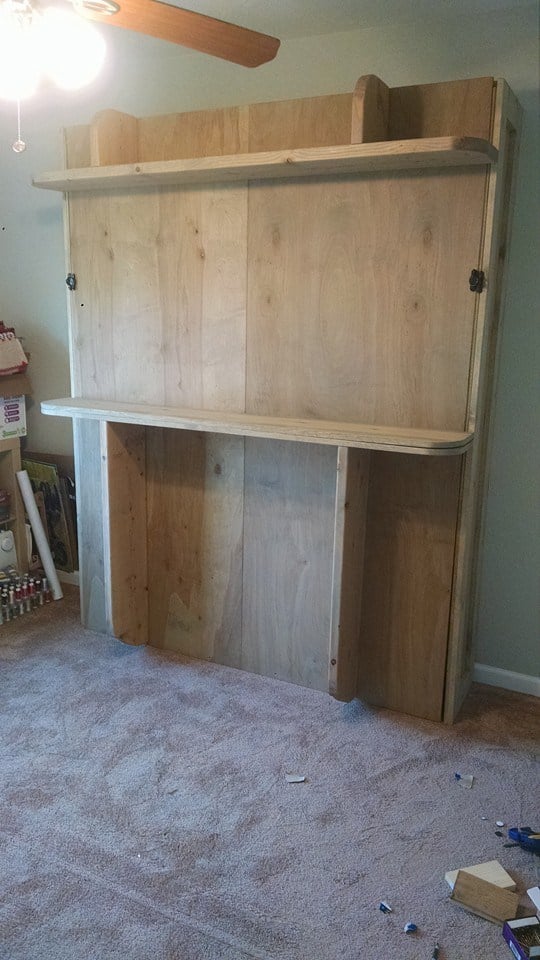
The trim is all 1x3 solid pine, including the trim around the drawers. The drawers measure out to 10x10. I built the drawer faces the same way I built the cabinet doors. I used 1x3 trim and dado'd a 1/4" groove to inset a 1/4" piece of plywood. I then added molding to give the drawers and cabinet doors a more detailed look, so it is recessed where the handle is attached.
The side units are attached by 1 1/4" screws that are hidden behind the trim. Easy access to remove for any future moves.
Jeff (not verified)
Sat, 01/28/2012 - 22:15
Plans
Are there actual plans for this? I just see it in another brag post. but no actual laid out plans.
In reply to Plans by Jeff (not verified)
kristenlotz
Thu, 01/03/2013 - 10:20
Plans
Hi, we built the original entertainment center that everyone got their inspiration from. Since everyone was requesting plans, my husband got to work and drew up some plans. Here's the link:
http://www.jrlwoodworking.com/2012/12/furniture-plans-custom-entertainm…
Good luck! Let us know if you build it!
Guest (not verified)
Sun, 02/19/2012 - 19:22
Plans
Where can I find plans for this. Beautiful.
azca33
Fri, 03/23/2012 - 09:24
Reply
Unfortunately, there isn't a set of plans for this entertainment center on the site. I looked at the Entertainment Center for Kristen Lotz and built my own plans according to her pictures, with a few adjustments. If you have any questions, I will be more than happy to help you out.
In reply to Plans by Guest (not verified)
kristenlotz
Thu, 01/03/2013 - 10:20
Plans
Hi, we built the original entertainment center that everyone got their inspiration from. Since everyone was requesting plans, my husband got to work and drew up some plans. Here's the link:
http://www.jrlwoodworking.com/2012/12/furniture-plans-custom-entertainm…
Good luck! Let us know if you build it!
Kristen Lotz (not verified)
Tue, 05/29/2012 - 17:32
Beautiful!
I just checked in onto this site for the first time in awhile and I saw your entertainment center. I knew you must have gotten inspiration from ours... I love how yours turned out! I love the white, I love the distressing, and I love the inset doors and drawers with all the details. It turned out absolutely beautiful. Good job!
azca33
Mon, 06/11/2012 - 12:21
Thanks!
Thanks Kristen and thank you for the inspiration. When I saw yours on ana-white, I knew that is what I wanted in my living room. I also thought it was genius to put the DVD Player etc... up higher so the kids can't play with it. We are really happy with it.
kristenlotz
Mon, 12/31/2012 - 14:20
Plans
I finally got around to making the plans for our entertainment center (well, actually my husband did it). It is very similar to yours except the inset doors and drawers, the door and drawer trim and the finish colors. Hopefully that helps those looking for plans for this beautiful entertainment center. I love finding brag posts of similar entertainment centers because they are absolutely beautiful at a fraction of the cost of buying one. And we love telling people that we built it!
http://www.jrlwoodworking.com/2012/12/furniture-plans-custom-entertainm…
Andrea Miller (not verified)
Mon, 01/07/2013 - 12:26
Finish
Did you do an under coat or did you just add stain to the sanded areas? Love the look.