Community Brag Posts

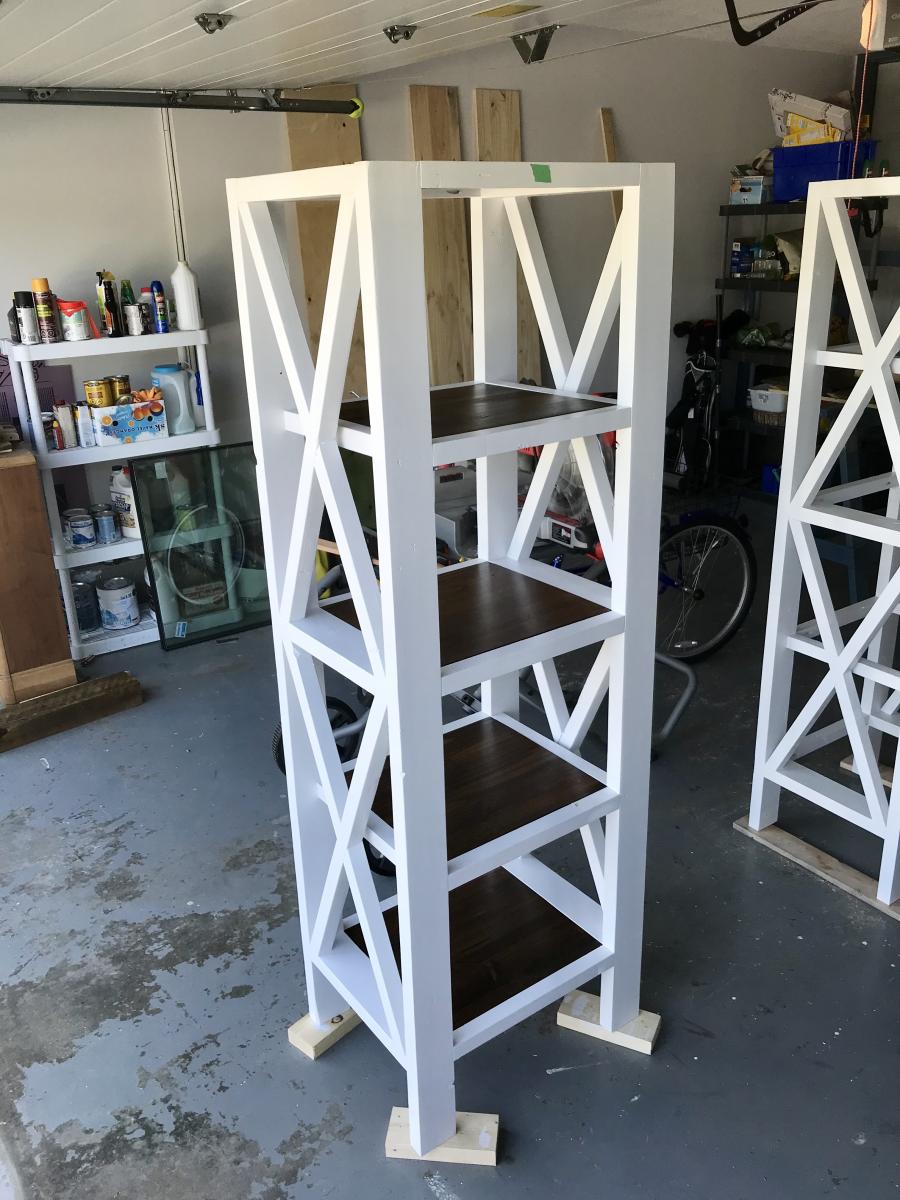
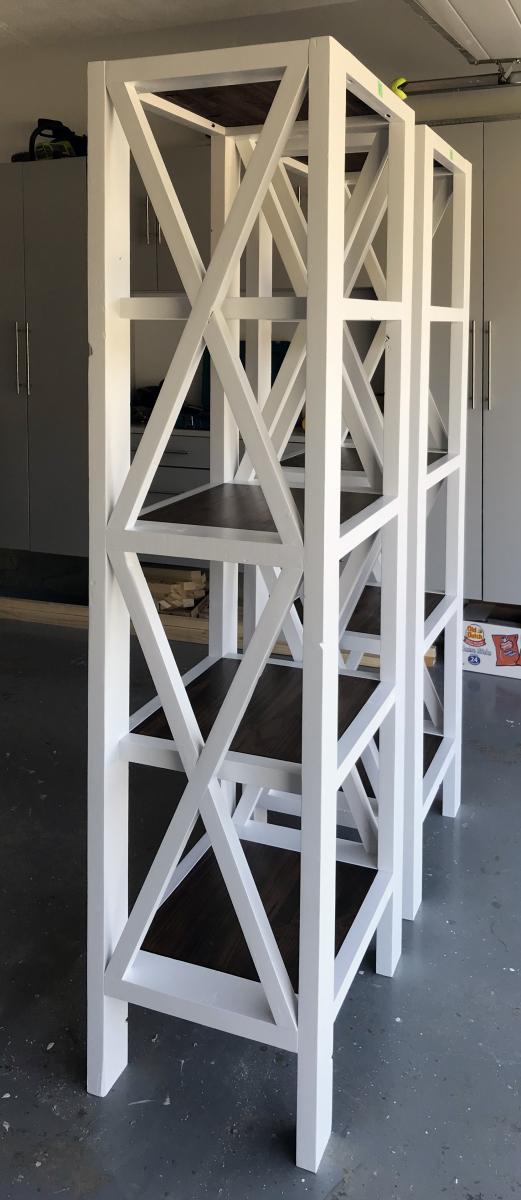
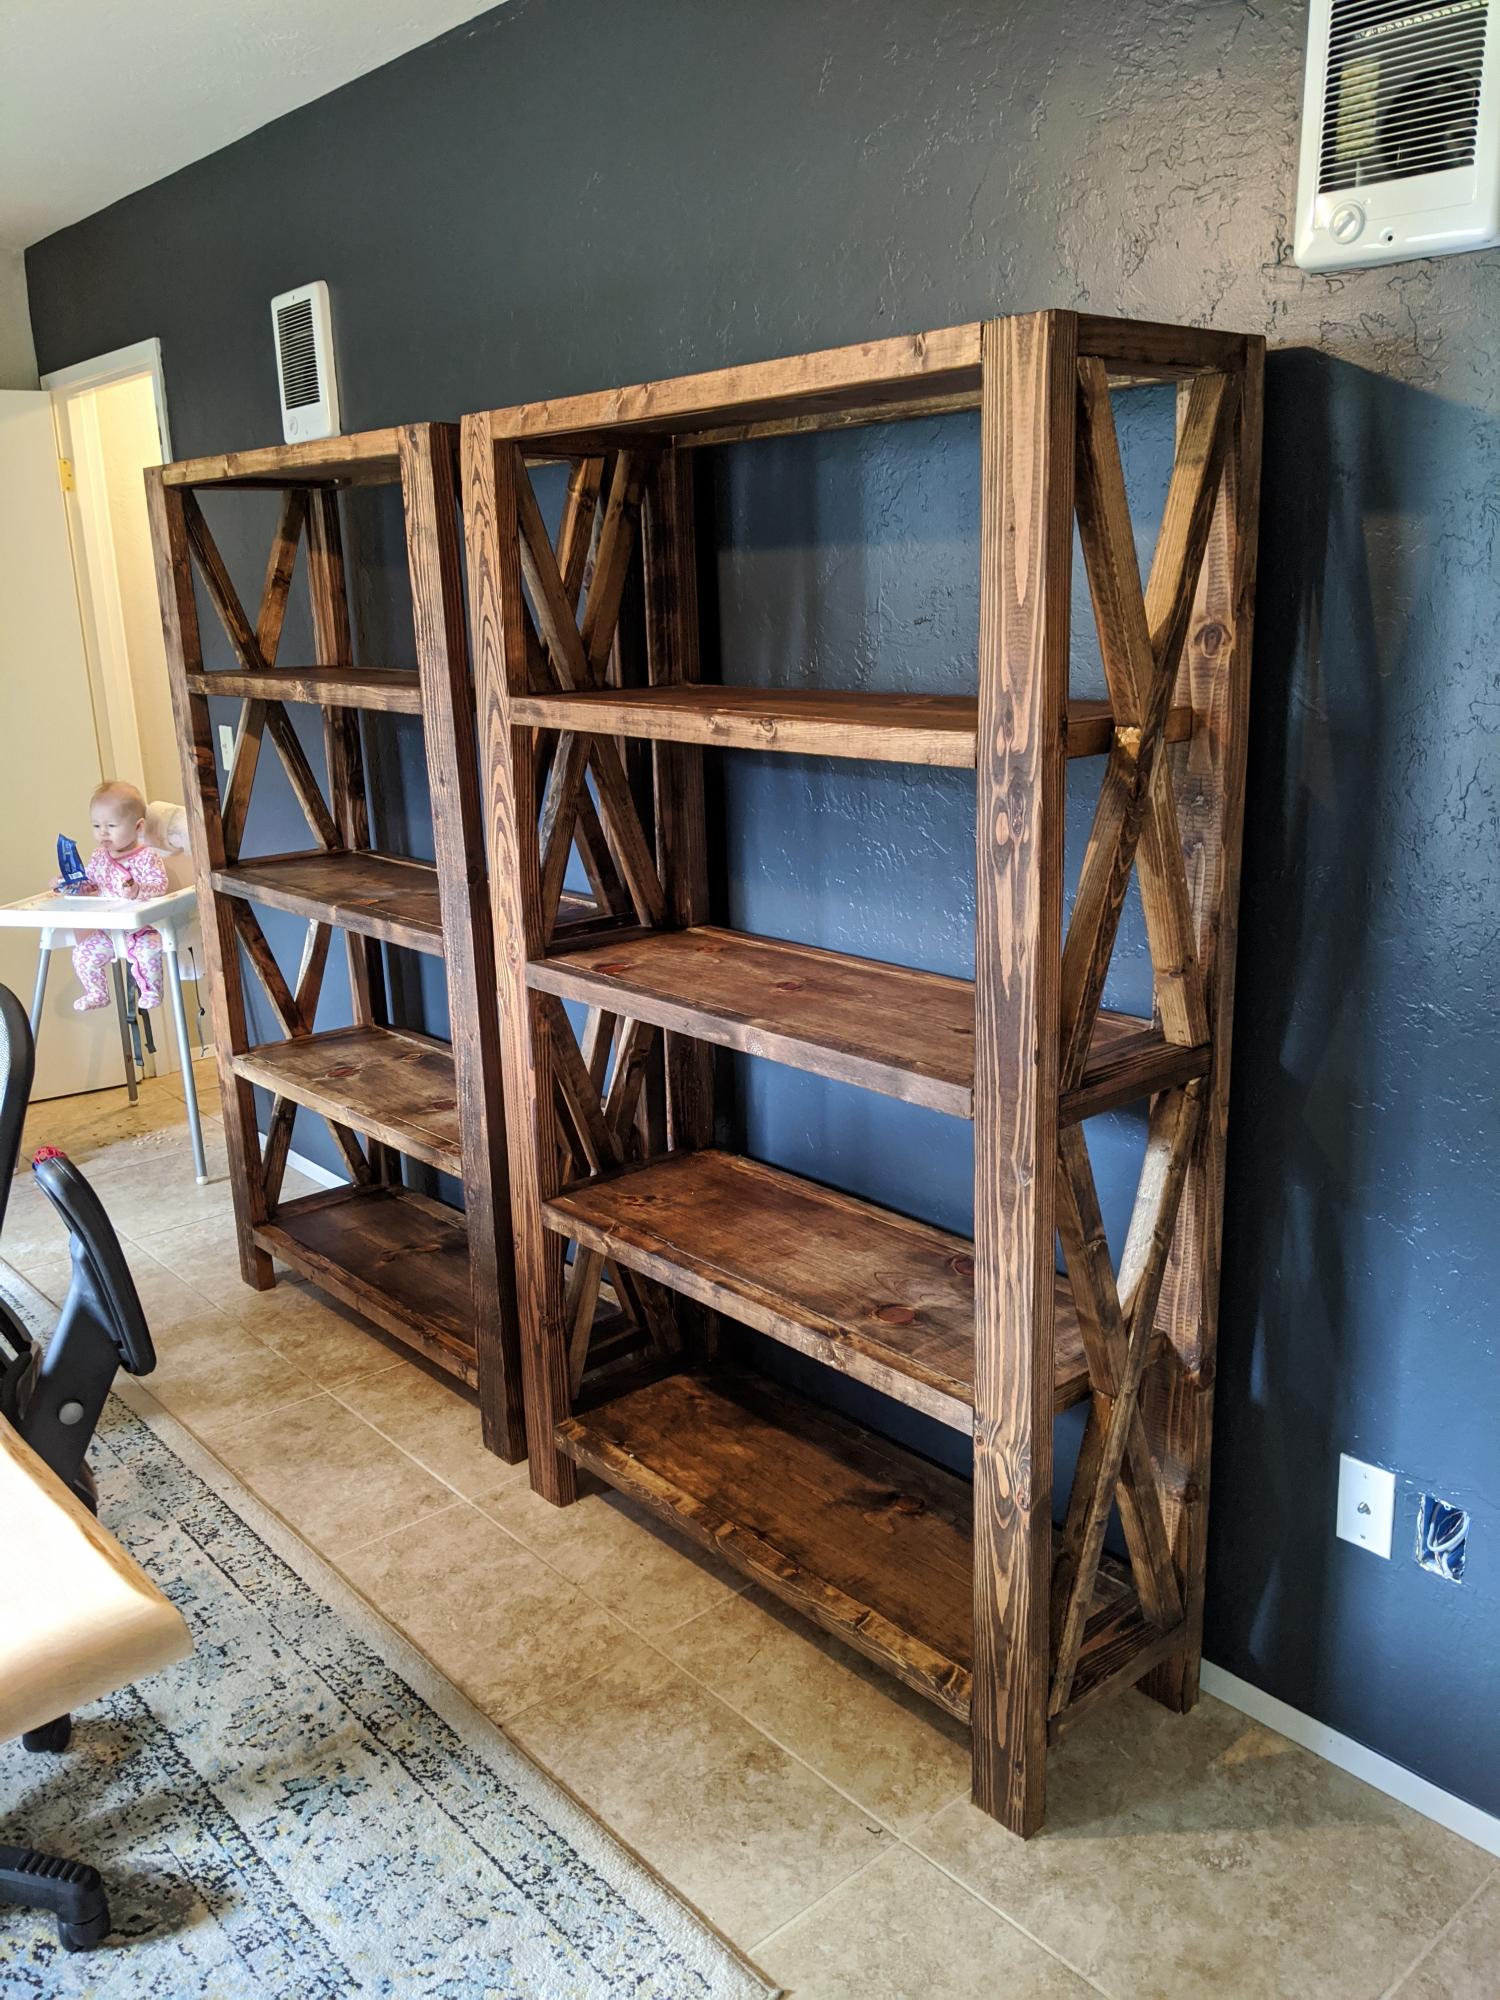
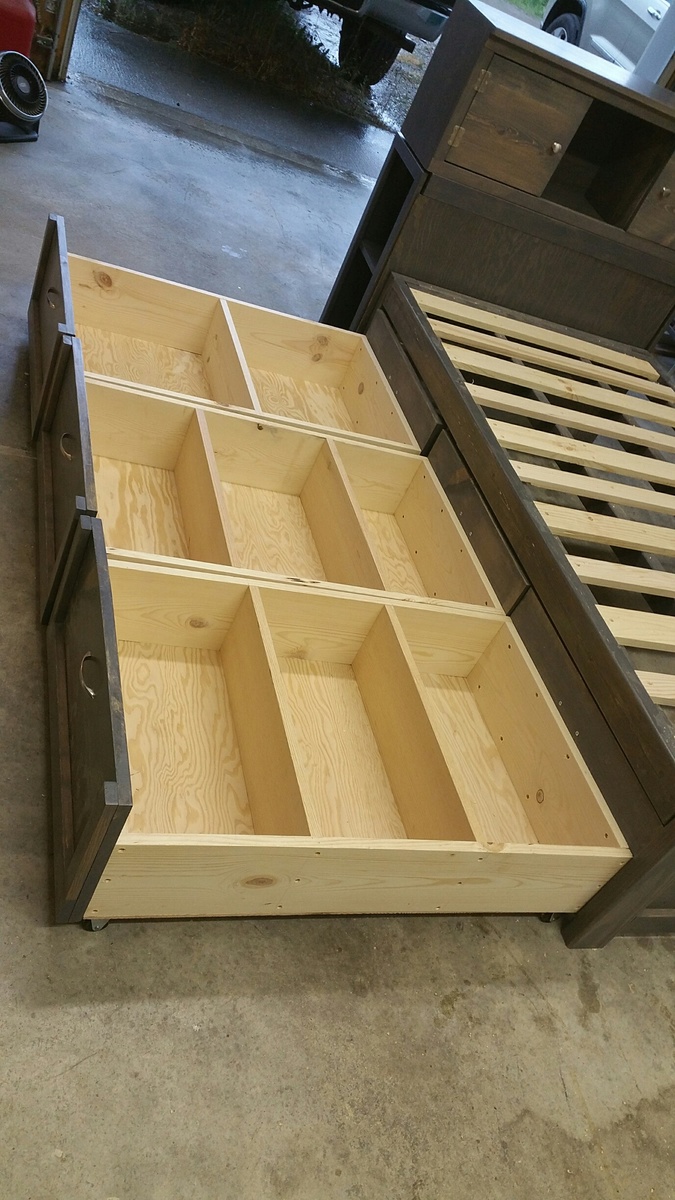
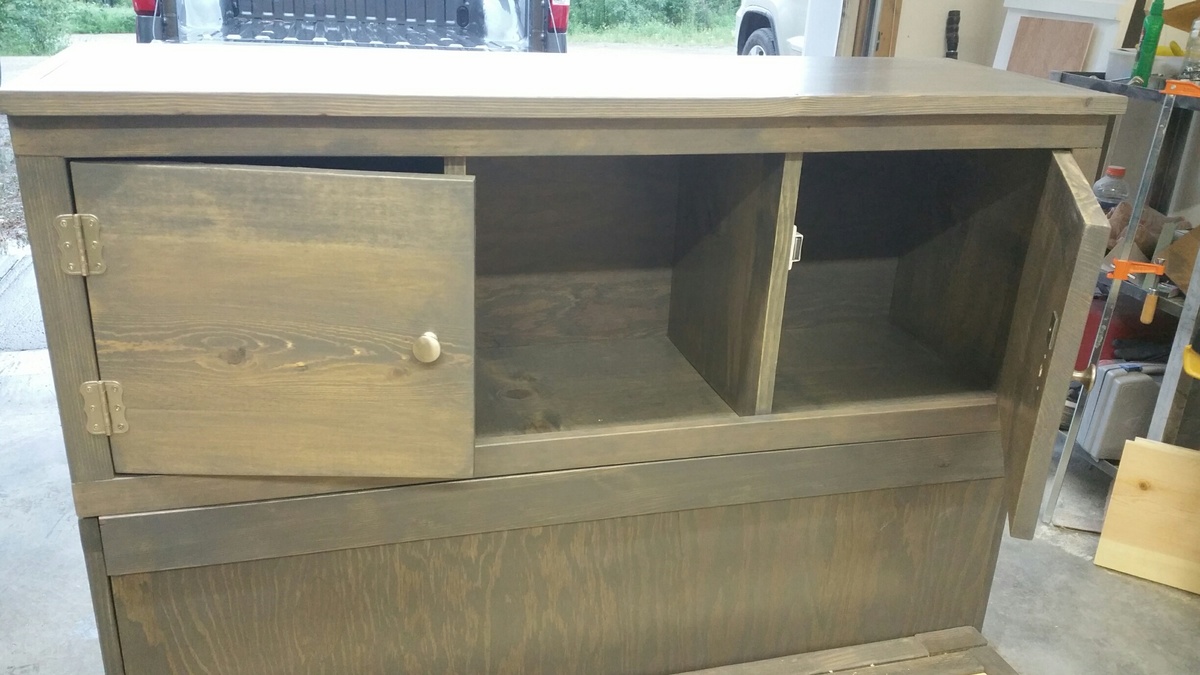
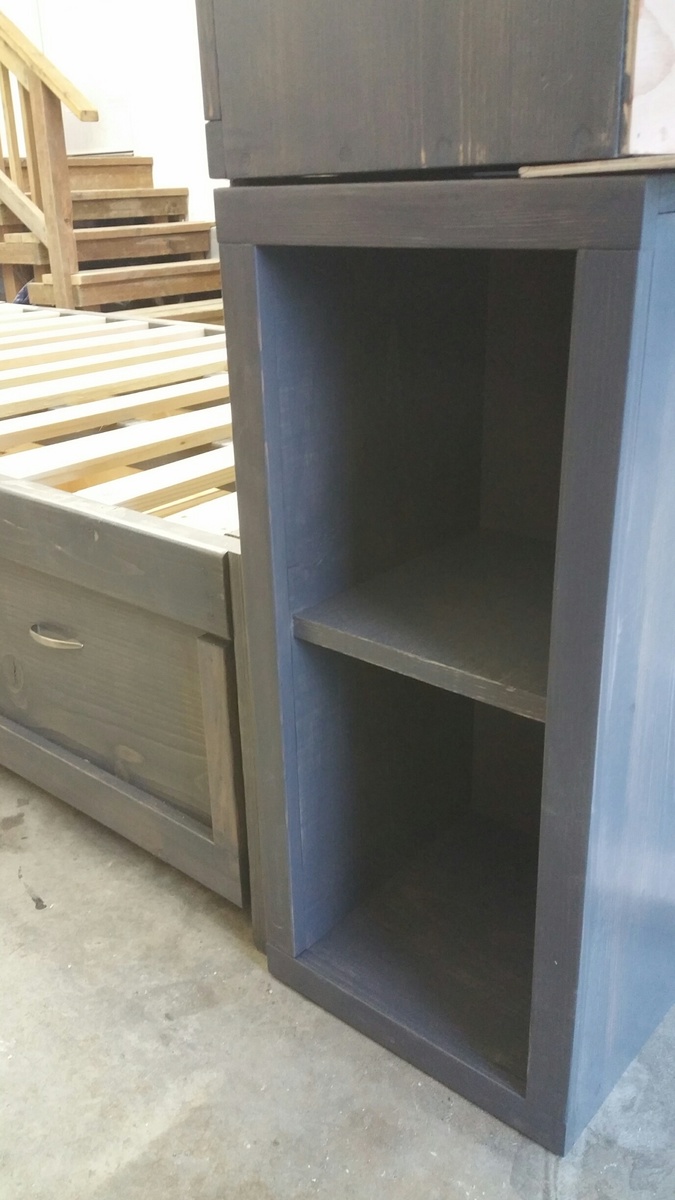
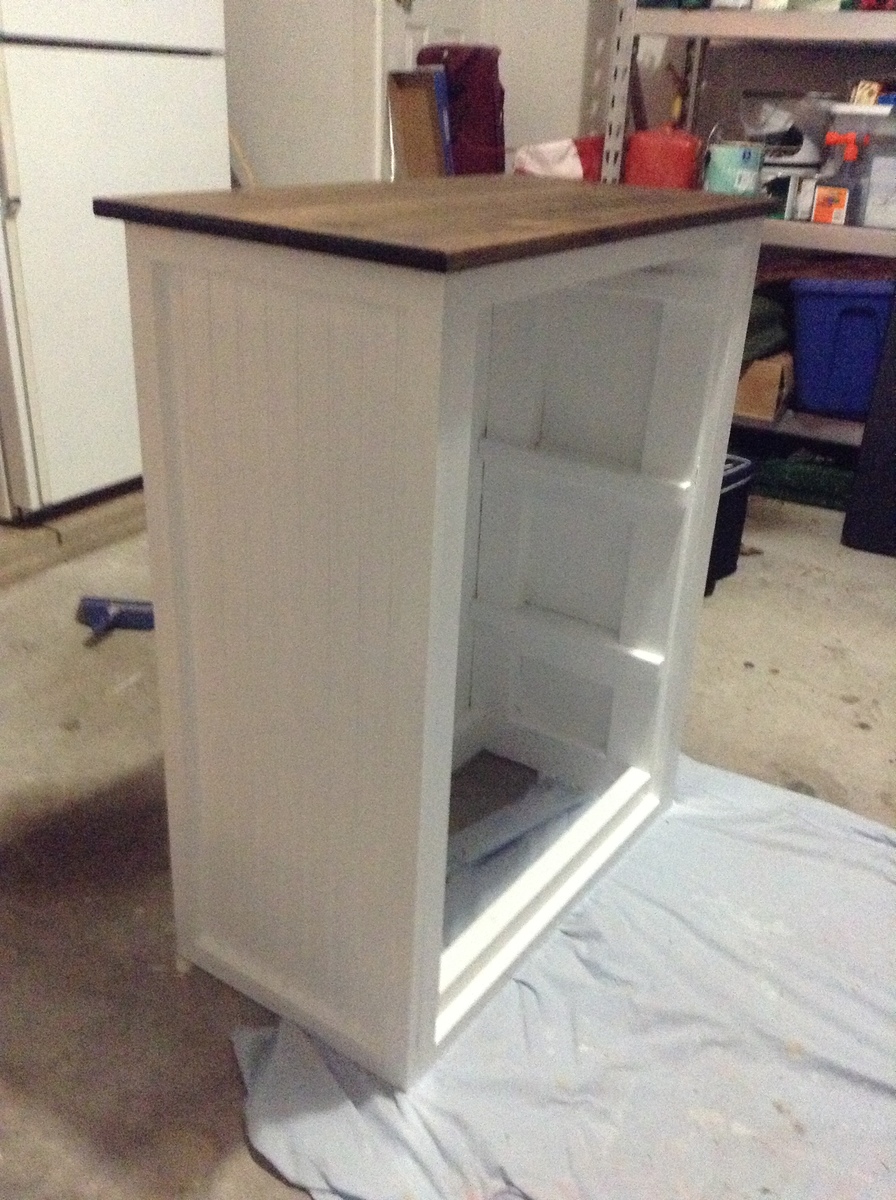
Rustic X Tall Bookshelves

Submitted by frmoody on Wed, 10/02/2019 - 09:23

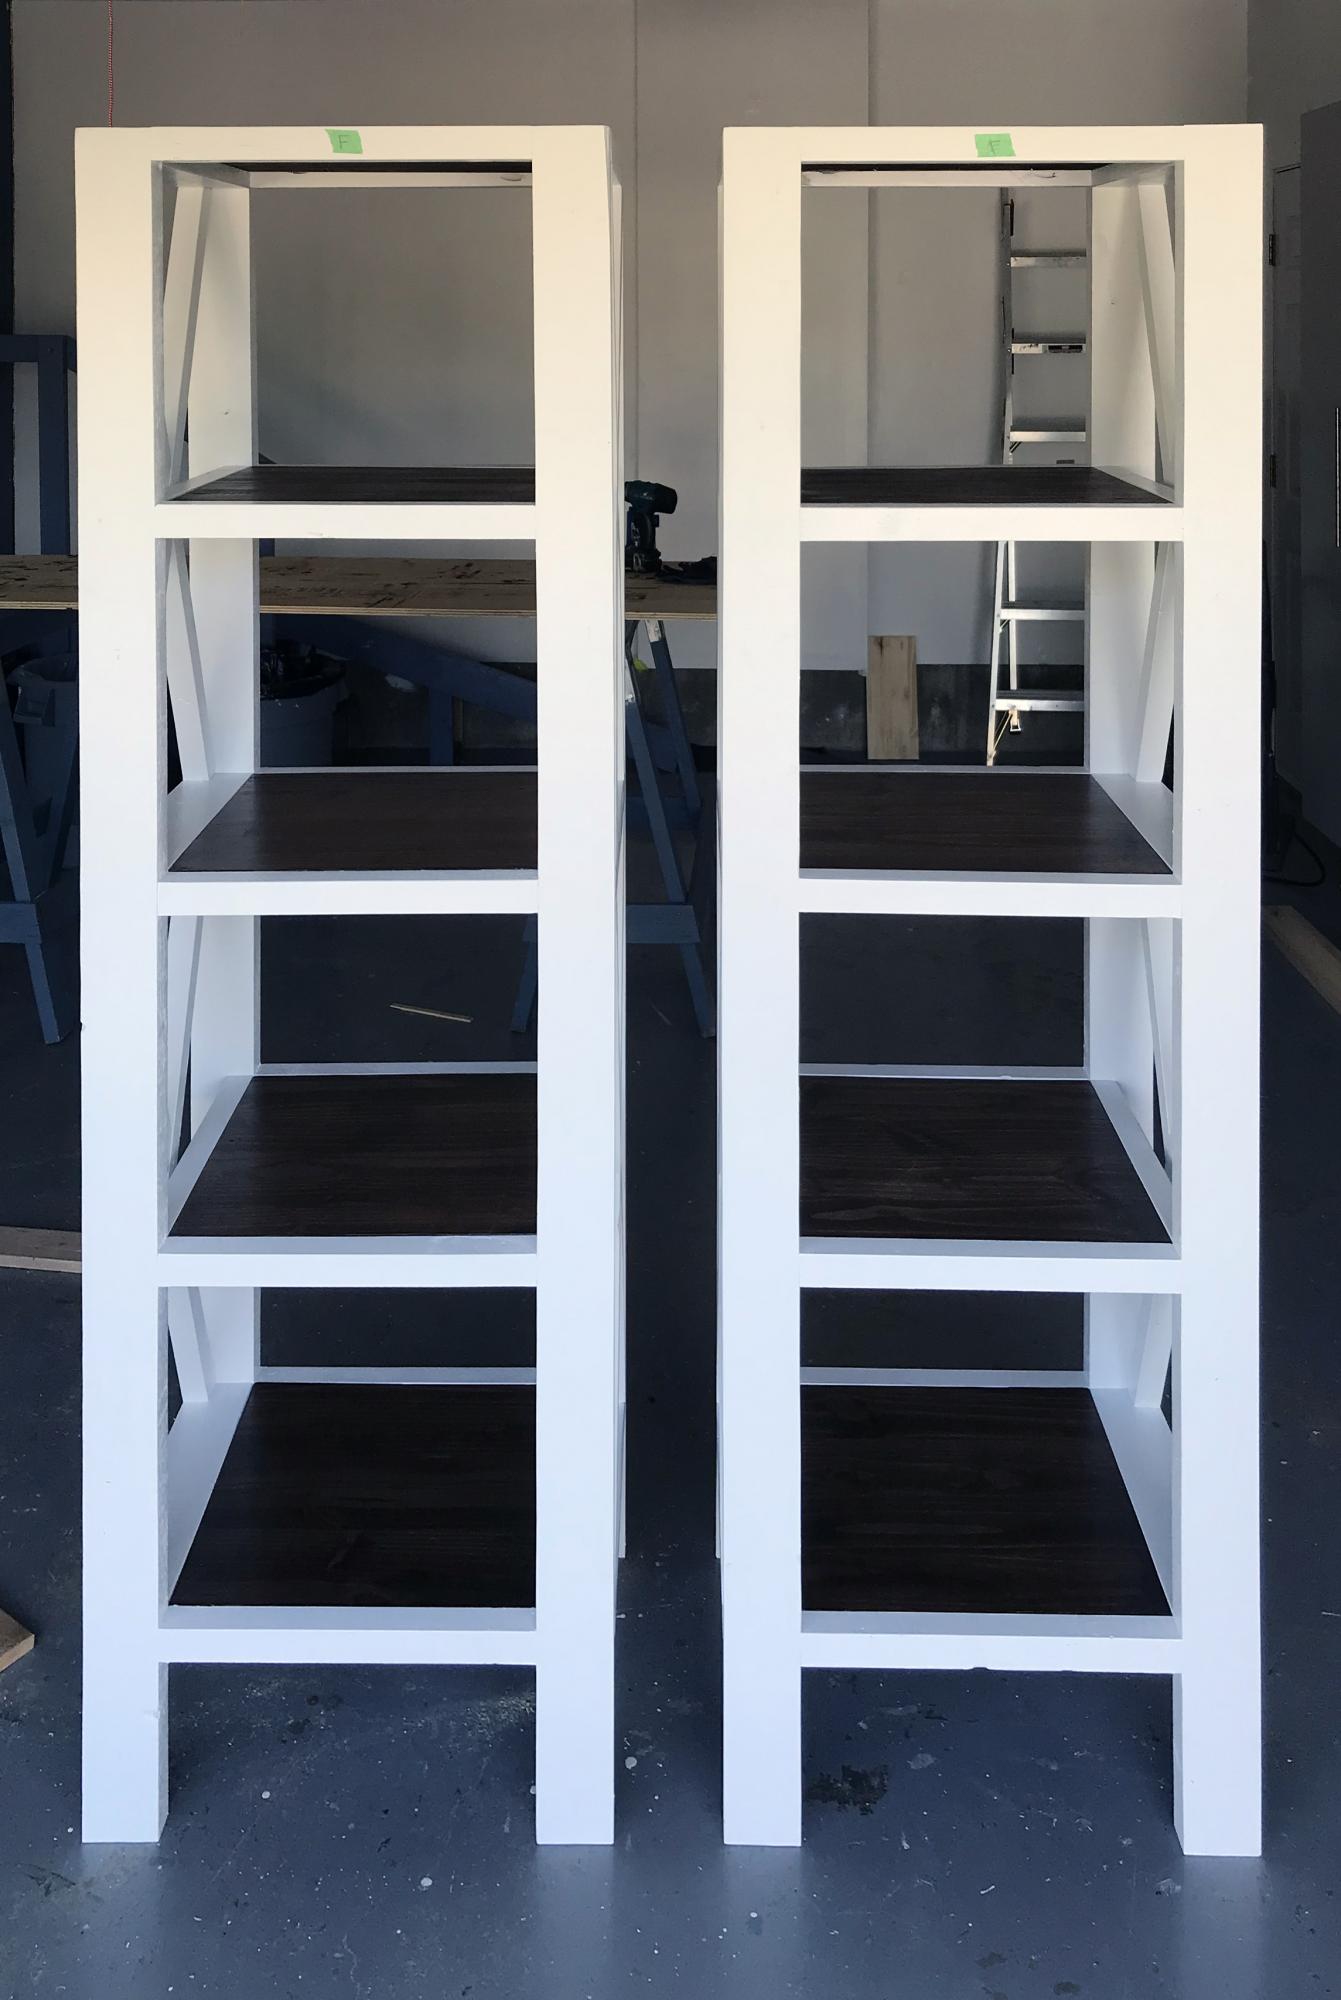
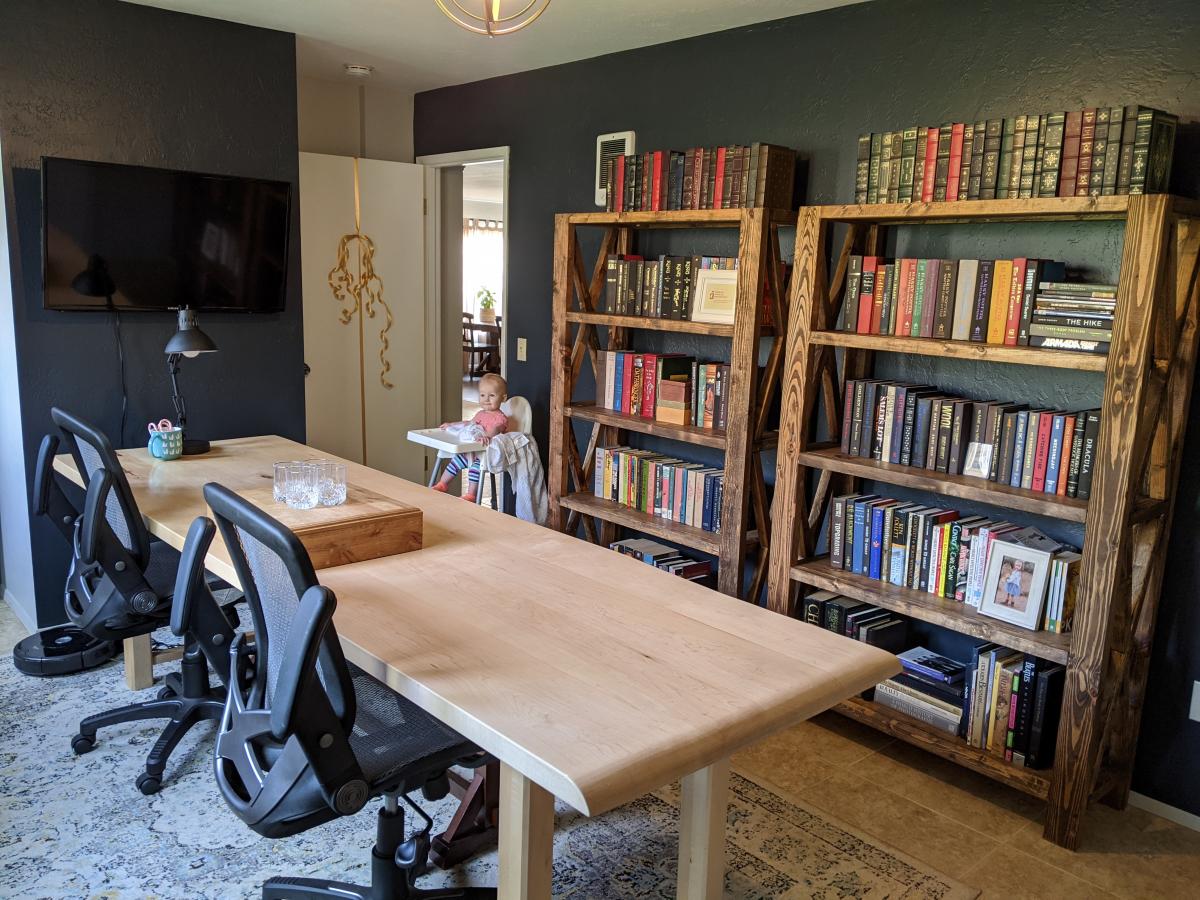
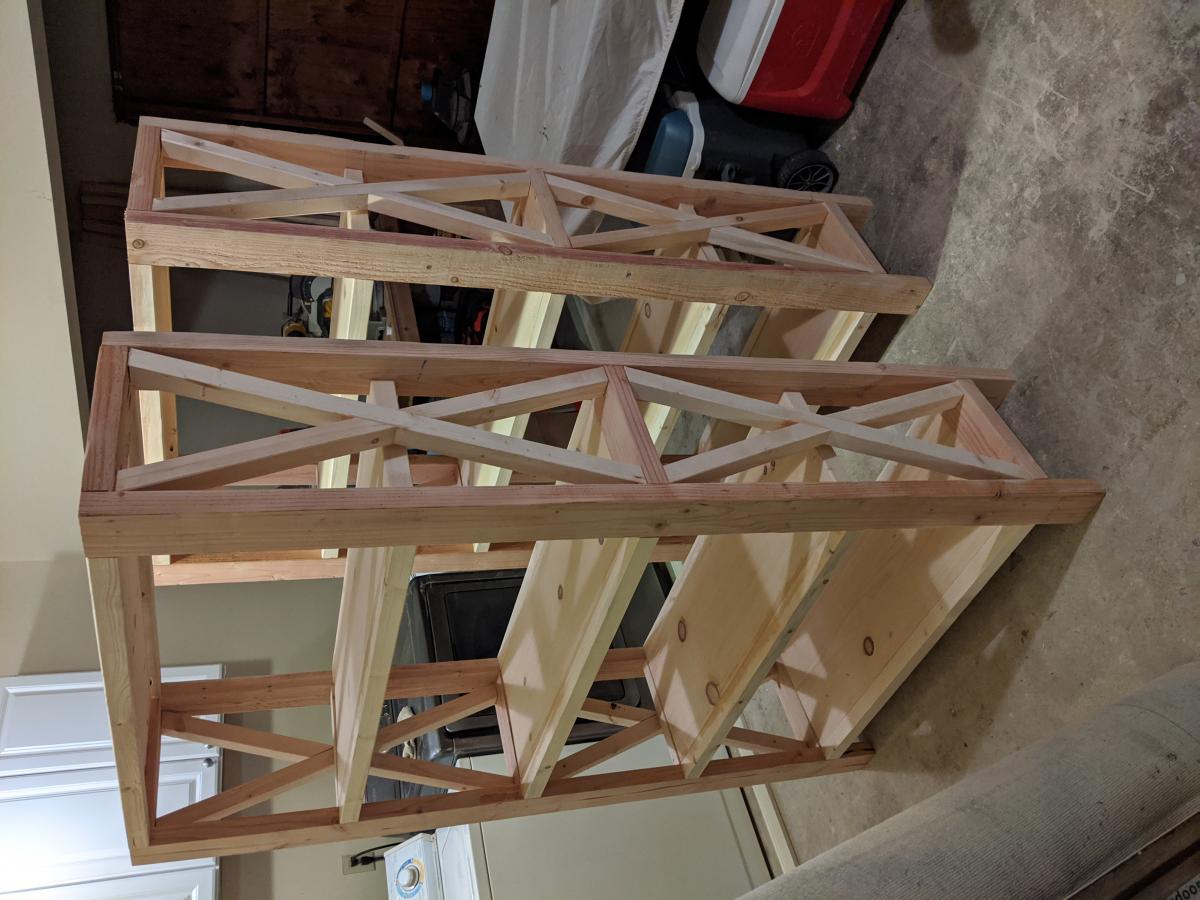
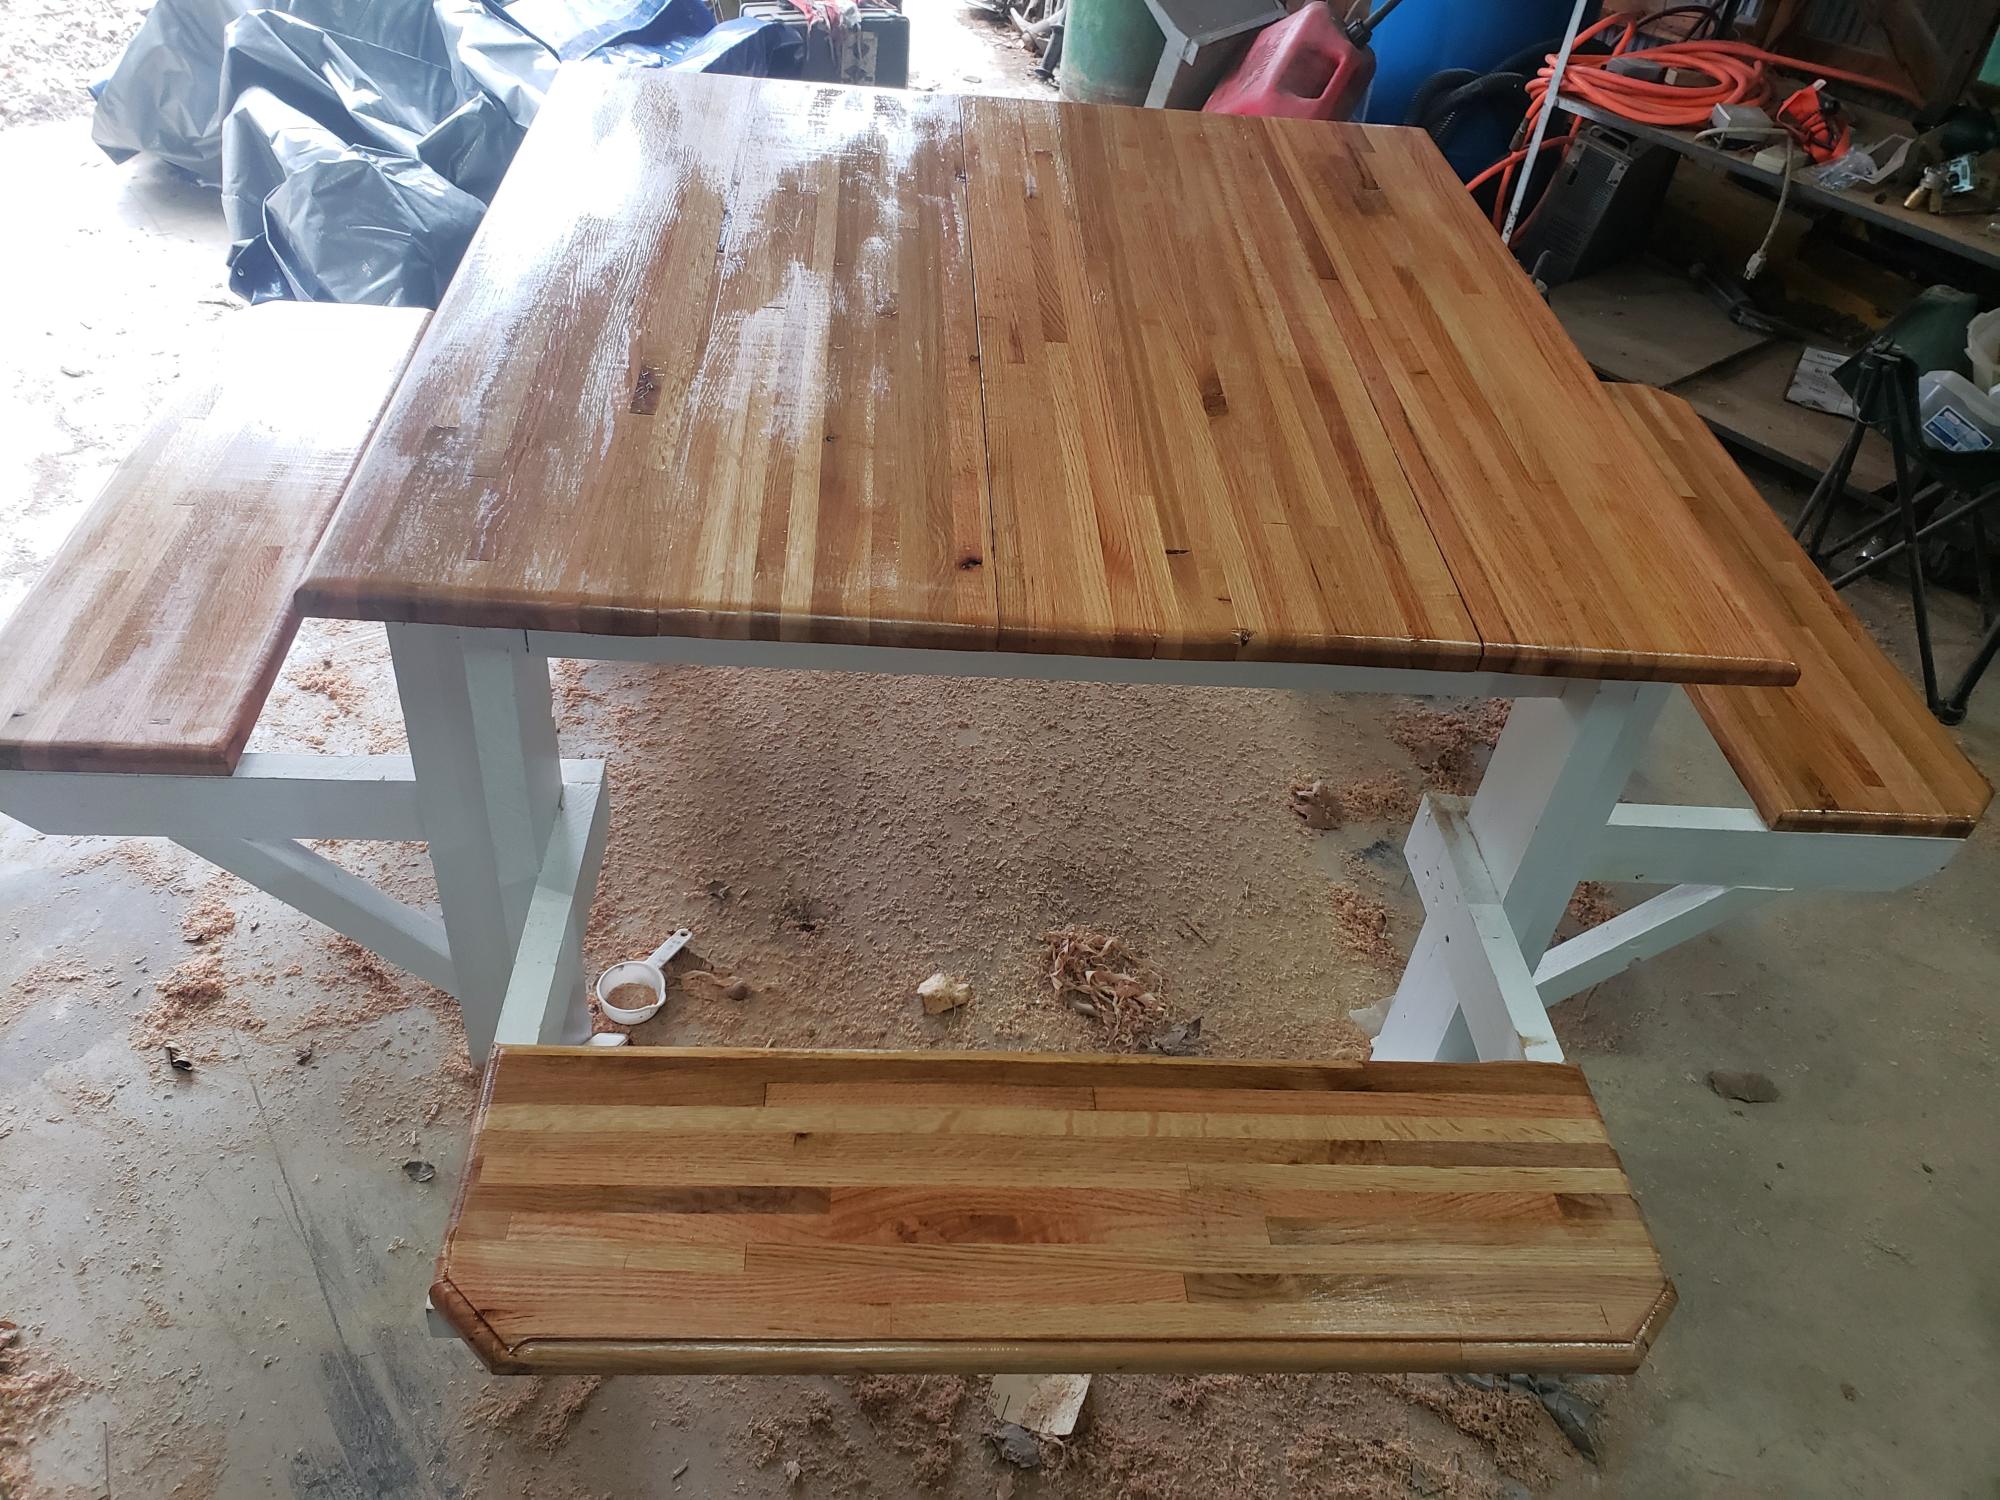
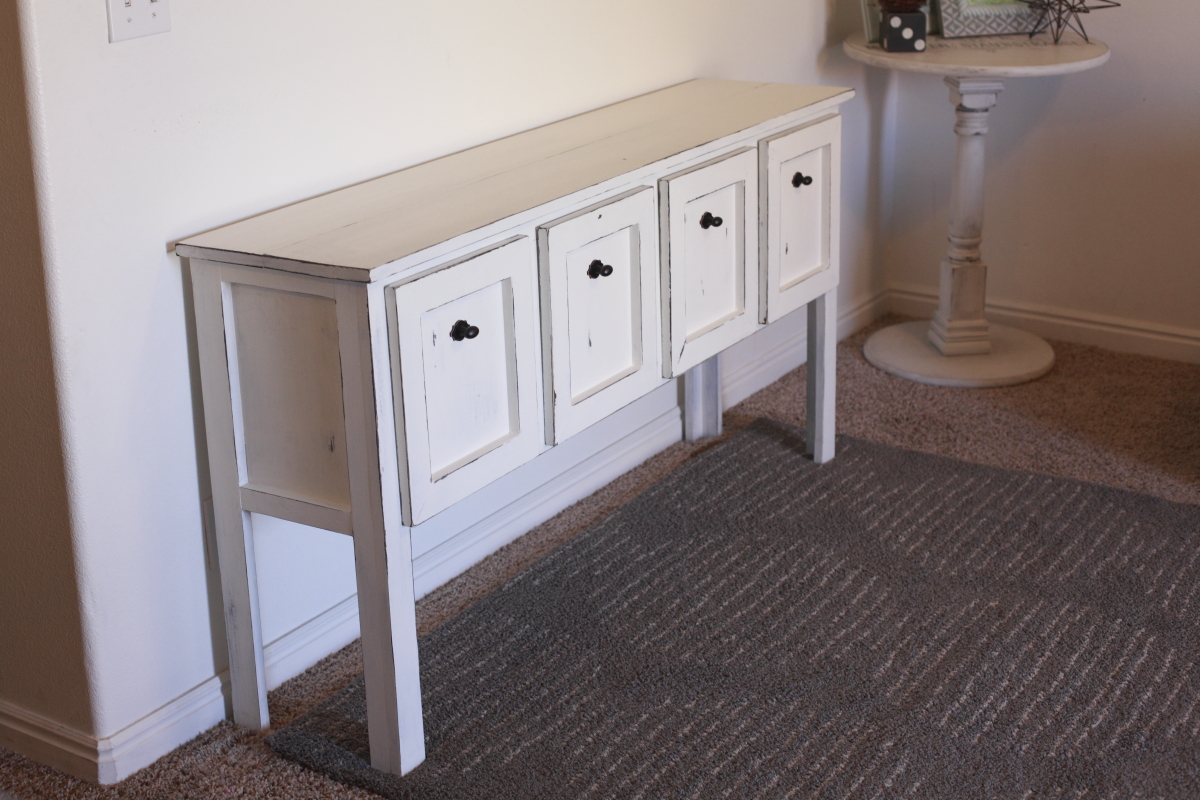
A friend wanted these bookshelves to match the Farmhouse X Desk but she wanted them narrow so they would fit in a small office. This was a very challenging and at times frustrating build getting everything to fit and getting the X's correct but in the end they turned out very well.

Built from Plan(s)
Estimated Cost
$75
Estimated Time Investment
Week Long Project (20 Hours or More)
Finish Used
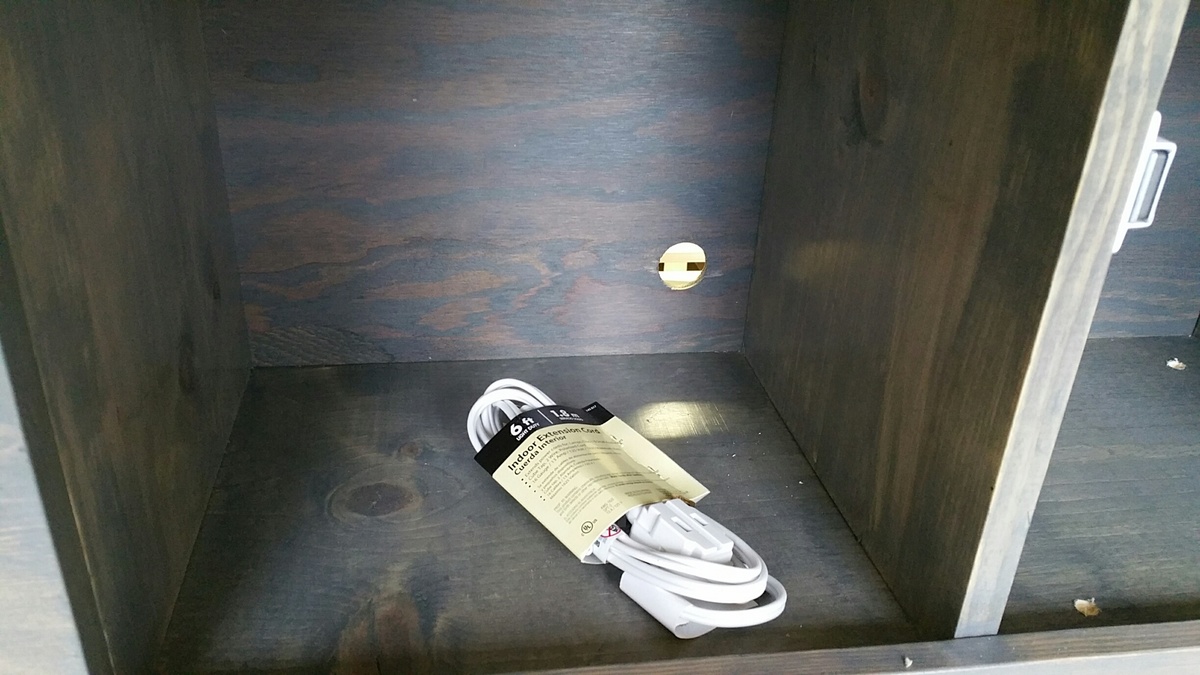
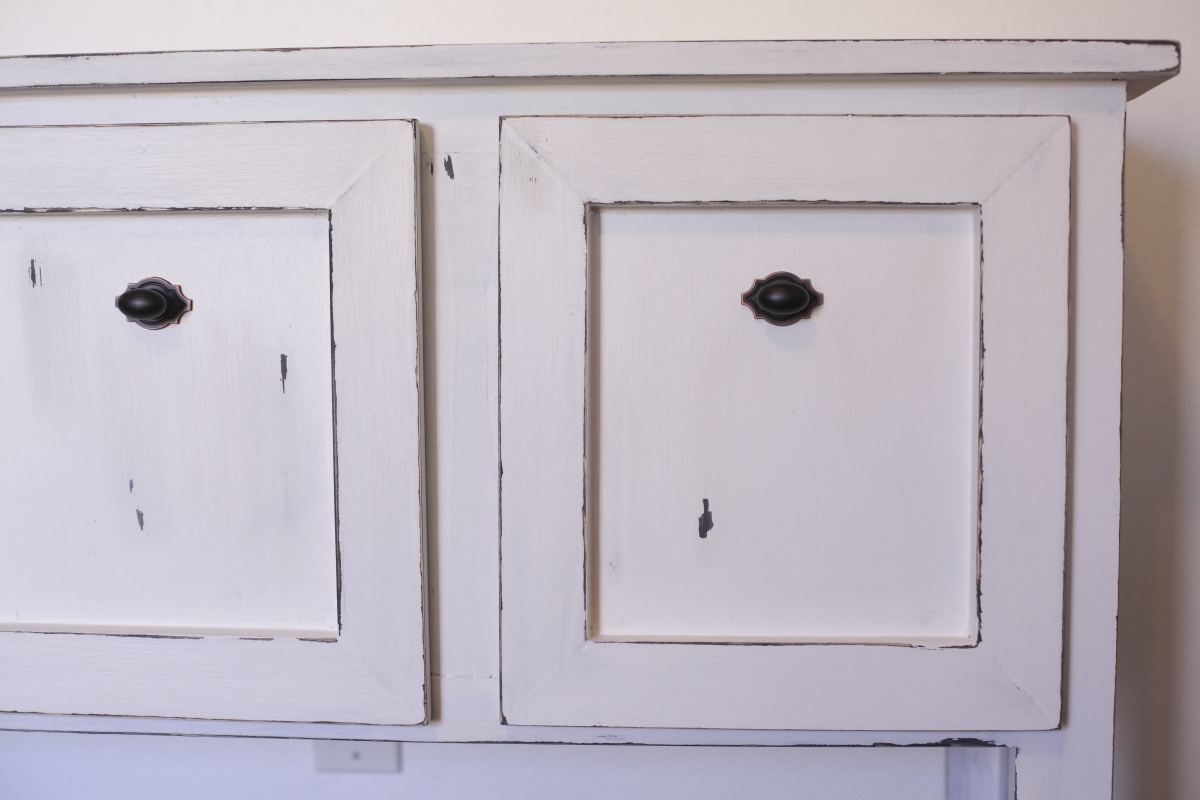
The wood was painted with a white cabinet paint and the shelves were stained with Varathane Kona.
Recommended Skill Level
Intermediate

Comments

Tall Rustic X Bookshelves

I followed the Rustic X Tall Bookshelf plan to make a set of bookshelves for my husband for Christmas! It was my second ever woodworking project. The plan was really easy to follow and so fun to make! I ended up using an additional shelf piece on the very top for a more modern spin on it. I also bought a pocket hole jig to use on this project. I'm happy with how it turned out!

Built from Plan(s)
Estimated Cost
$75 per shelf
Estimated Time Investment
Weekend Project (10-20 Hours)
Finish Used
MinWax English Chesnut Wood Finish and Paste Wax
Recommended Skill Level
Intermediate

Cedar planter for $20

Submitted by aimercruz on Tue, 03/17/2020 - 14:45

This was my first project using my circular saw and Kreg jig, so I wanted to try something that was not too difficult. It probably took me longer than most as I had to read all the directions on my saw and Kreg jig. Both are super fun to use.  Ana’s plans made it super easy! After assembly, I decided to paint it as it needed to be weather/waterproof. I used Behr waterproofing stain &sealer in slate. Love how it turned out! Thanks for the easy to follow plans. 

Estimated Cost
$20
Estimated Time Investment
An Hour or Two (0-2 Hours)
Finish Used
Behr Waterproof & Stain sealer. Color: Slate
Recommended Skill Level
Beginner

Square Picnic Table

Submitted by Anonymous (not verified) on Sat, 11/04/2023 - 14:52

I used the picnic table plans with a minor modification for the top and seats. I used flooring for trailers that were rejects. I made this for my wife for her birthday and she loved it.
 

Alan Welch

Built from Plan(s)

First bird house

Submitted by Snoot357 on Fri, 07/15/2016 - 17:14

First bird house..! 

Built from Plan(s)
Estimated Cost
$3.00 for six foot board.
Estimated Time Investment
An Hour or Two (0-2 Hours)
Finish Used
Boiled linseed oil, on the outside only.
Recommended Skill Level
Beginner

Storage Daybed with Trundle Drawers + Storage Headboard and Hutch

I combined Ana's plans for Daybed with Storage Trundle Drawers and a Storage Headboard with a Small Hutch.

This is my 3rd daybed with storage drawers. It's such an easy build and gives so much extra space. The entire project took about 40 hours. I used Minwax stain in Classic Grey and three coats of polyurethane. For the drawers, I used 1.5" casters. I drilled a hole through the back of the headboard to feed cords through. Then I put the whole thing in the back of my truck and drove 500 miles for the final assembly. :)  In the provided photos, some of the pieces are flush because I hadn't permanently attached them. 

Estimated Cost
$450
Estimated Time Investment
Week Long Project (20 Hours or More)
Finish Used
Minwax Classic Grey
Recommended Skill Level
Intermediate

Fancy X Farmhouse Table

Submitted by shannonls on Thu, 09/13/2012 - 14:11

First build ever and we're thrilled with how it turned out. Definitely took us longer than the 4 hours other users have cited, but not bad for total newbies! Thanks for the plans, we love it.

Built from Plan(s)
Estimated Time Investment
Weekend Project (10-20 Hours)
Finish Used
Behr Semi-Transparent Weatherproofing Wood Stain - Coffee
Recommended Skill Level
Beginner

Comments

Garden Tool Storage

Submitted by meisterx on Sun, 08/30/2020 - 12:20

Super easy and useful project. I made mine 8 ft. long because my studs are on 24 in. centers and I had a lot of tools to hang. It was fun building it and even more fun getting all those tools and things off the floor.

Built from Plan(s)
Estimated Cost
$13.00
Estimated Time Investment
An Hour or Two (0-2 Hours)
Finish Used
None
Recommended Skill Level
Starter Project

Comments

Laundry Basket Organizer

Submitted by mseely02 on Thu, 01/10/2013 - 09:02

We have a laundry problem in our house. It piles up in un-organized piles and takes days to sort through and actually get in the washer. Honestly, we could do laundry every single day of the week and still fall behind. I guess that comes with the territory when you have 3 small boys in the house.

This organinzer is going to be great. We currently use it for whites, colors and "grown-up clothes". This keeps us from accidentally washing some of Mommy's more delicate items in the general colors wash which saves me money when we don't ruin her clothes.

The plans call for the 1 x 16's, but I had extra 2 x 4's laying around so I just built a frame using my kreg jig. The most expensive part was the beadboard for the sides and I used some S4S 1 x 4's for the top. Overall the project tooks me months, but that was more a product of my "shop" time coming after 8 pm and general apathy.

I definitely have the bug and have already starting a new project!

Built from Plan(s)
Estimated Time Investment
Afternoon Project (3-6 Hours)
Finish Used
Semi Gloss Interior White, Minwax Dark Walnut Stain
Recommended Skill Level
Beginner

Comments

DIY Queen Headboard

This is one of the coolest things I've ever built! My husband was so proud of me. :) I recently completed built-in bookcases in our 3rd bedroom/office and those were neat and much more complicated, but I think he likes this better because he sleeps next to it every night. This only took about 2 hours to build, but the staining made for a weekend project by the time it was completed and dry. We've gotten a TON of compliments on this and even had friends ask for me to make them one! Thanks, Ana!

Estimated Cost
$150
Estimated Time Investment
Weekend Project (10-20 Hours)
Finish Used
Medium Walnut Stain - Minwax, even coats, 2 applications, ample dry time between each (6-8 hours).
Recommended Skill Level
Beginner

Balin Console With Some Changes

We made this table from the original Balin Console table plans, but faced out the drawer fronts with some mitered trim and added some drawer stops inside to keep the drawers from falling out when pulled all the way.

The drawers were made with a cabinet grade plywood along with the sides and bottom of the table. We used 1x8s on the console top to get that nice wood look, where all corners and ends would be showing, but for the sides and bottom of the table, since the edges were all trimed out, the plywood worked out nicely. 

The legs seemed plenty sturdy without the extra trim, so we skipped that to get a more simple look.

Drawer handles were found at our local Home Depot.

For the finish, we stained (with Minwax ebony) the edges where we wanted distressing, then wiped on vaseline along edges and painted over in Behr Swiss Coffee (white) in matte. After drying we took sandpaper to the edges to show the dark stain through. Because we used matte paint, after everything was finished, we waxed with a clear wax and buffed for a nice shine and a smooth texture.


Pin For Later! 

Balin Console With Some Changes

Built from Plan(s)
Estimated Cost
$125 for plywood, wood pieces and knobs. We already had paint and stain.
Estimated Time Investment
Day Project (6-9 Hours)
Finish Used
Minwax ebony stain, vaseline where you want distressing, then paint Behr (matte) Swiss Coffee on top. Sand all surfaces to distress and smooth, then wax with clear wax to add shine.
Recommended Skill Level
Intermediate

Full Length Mirror Sliding Beauty Storage Cabinet

Submitted by csihoratio on Tue, 07/20/2021 - 07:30

Great idea being my wife is not a hair person she really loves it.

Estimated Cost
$40
Estimated Time Investment
Afternoon Project (3-6 Hours)
Finish Used
primer and white paint
Recommended Skill Level
Beginner

Comments

Walk mounted can organizer

Submitted by Anonymous (not verified) on Tue, 10/05/2021 - 20:13

Love this! My husband used this project to help boys learn to use power tools and work with wood. They made one and he did the others. THANK YOU!

Built from Plan(s)

Comments

Bookshelf Hidden Doors Over Closet

Submitted by Anonymous (not verified) on Mon, 10/23/2017 - 10:13

Hidden door bookshelves hide a furnace closet.  Built by Kraig Faulkner

Built from Plan(s)
Recommended Skill Level
Advanced

Comments

charkue

Thu, 09/17/2020 - 08:01

I'm currently working on a basement renovation project. I'm probably going to incorporate a feature like this for my mechanicals, too.

One important safety note for anyone who wants to do this: It's recommended that your furnace be a minimum of 30" away from any combustible materials. That includes walls and partitions. The image of this project displayed is right next to the furnace, which is not a good idea.

Sandbox fun

Submitted by rival on Mon, 05/25/2015 - 12:33

3 boys playing in the sand.

I used 2x8's for box base. I ran into spacing trouble, 1x4's must have been really new, they were about 1/16" over 3 1/2". I had to reduce spacing on each gap a hair to be able to close.

Built from Plan(s)
Estimated Time Investment
Afternoon Project (3-6 Hours)
Recommended Skill Level
Beginner

Hidden closet now a mantle

Needed somewhere to put Christmas stockings in my new house. And had to make it high enough so the new puppy couldn’t reach it. This was easy and perfect.

Built from Plan(s)

Comments

Fantastic Garden Beds

These garden beds are fantastic! They were so easy to build and look great in our backyard. We have always found ourselves with a garden covered in weeds or plants out of control. Our garden this year looks wonderful and we have hardly any weeds in the beds. Thanks for the great plans!

Estimated Cost
$15 each
Estimated Time Investment
An Hour or Two (0-2 Hours)
Finish Used
None
Recommended Skill Level
Starter Project

Comments

Seasonal And Holiday

queen headboarad

The plans on this were so easy to follow. Thanks so much for posting!

I ended up using screws instead of nails just because I am more comfortable with a drill than a nail gun. Seems like it is holding up fine :)

Estimated Cost
60.00
Estimated Time Investment
Afternoon Project (3-6 Hours)
Finish Used
MinWax Provincial. I painted it on and immediately wiped it off!
Recommended Skill Level
Beginner
Back