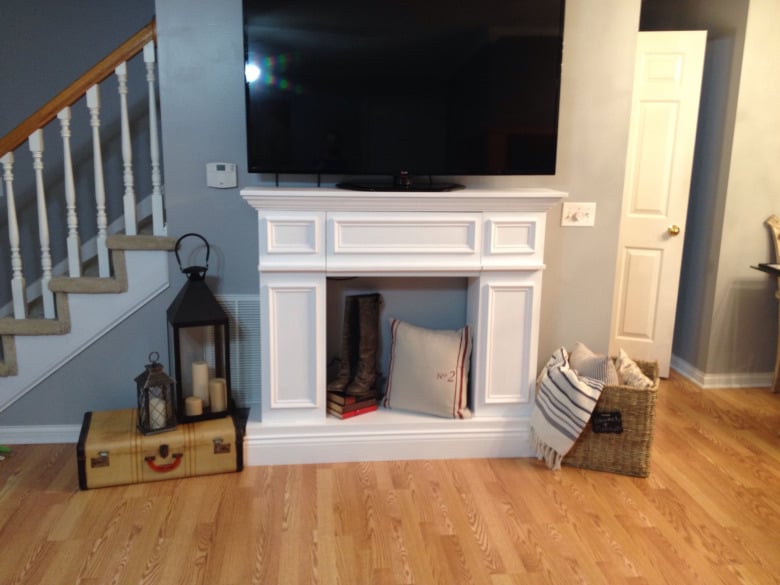
Large Fireplace Built-in - Built by Kristy

Entire wall fireplace built-in!


Built from Plan(s)
Entire wall fireplace built-in!
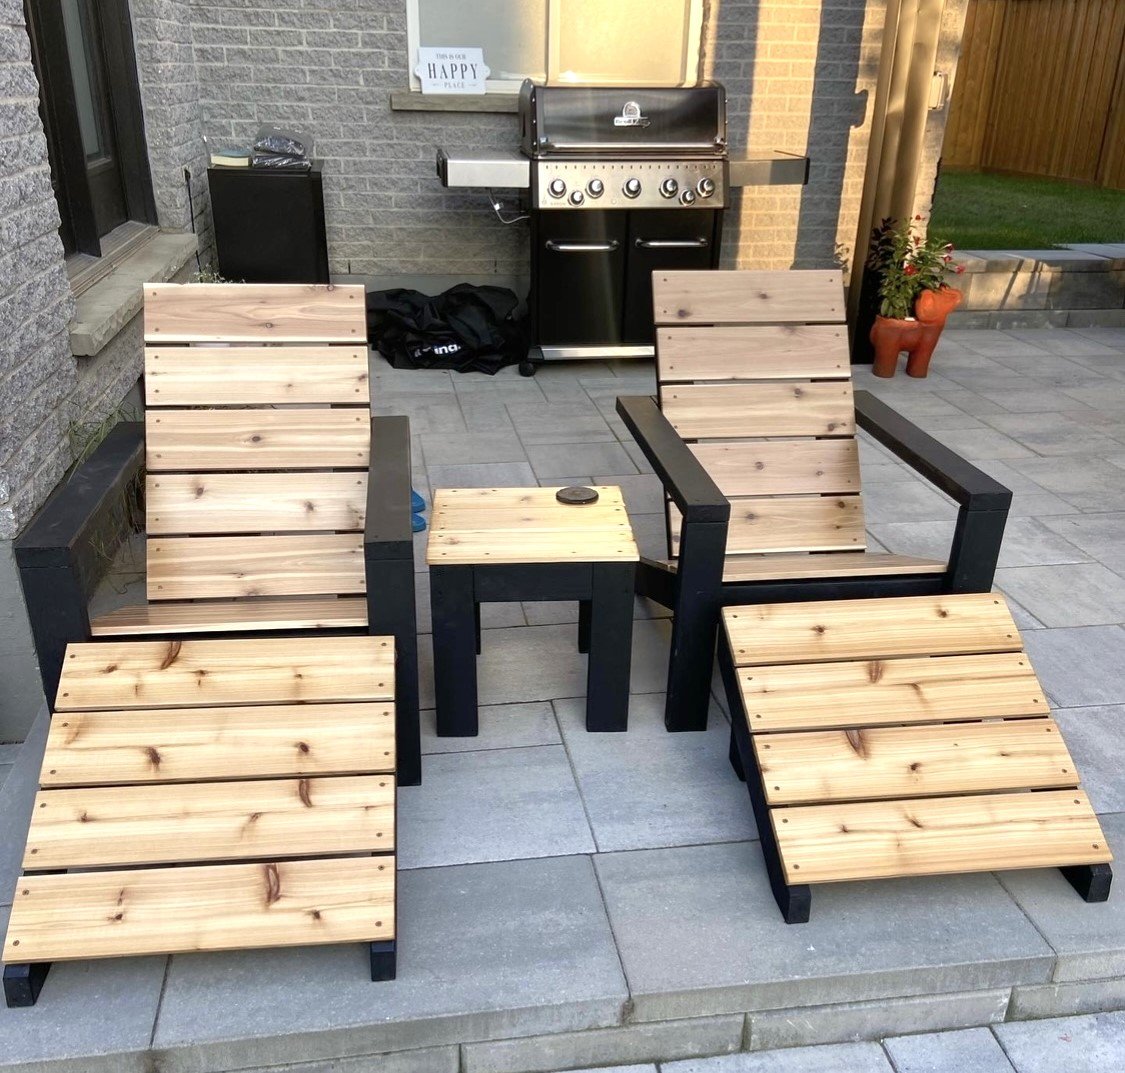
Great set of outdoor chairs with foot rest!
RG Design & Build

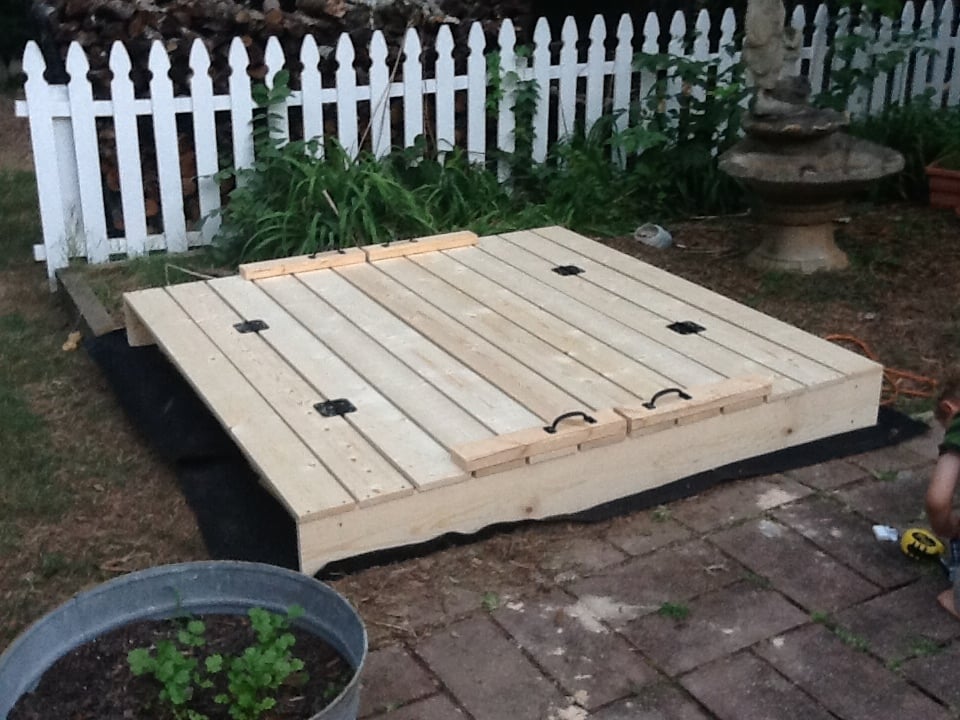
I've been wanting to buy or make a sandbox for my son for a couple of years now. Since seeing this on Ana White I knew I had to make it. My son is 4 yo and I didn't think the 4' square sandbox would be big enough for him, so I made it bigger. Ours is 6' square.
Materials:
4@1x8x6'
12@1x6x6'
2x4 - used leftovers from another project
8 hinges
4 handles
decking screws
Cut lengths:
2@1x8 cut to 71.5 (long sides of the box)
2@1x8 cut to 70.5 (short sides of the box)
did not cut the 1x6 boards (top planks) - actually designed the other boards to fit their length to prevent cutting (saving time) (note that original plan uses 1x4 planks - I used 1x6s so I could use the same number of planks but cover a larger area)
4@2x4 cut to 11.5 (arm rests)
4@2x4 cut to 18.5 (back supports)
followed instructions for assembly otherwise. At my husbands suggestion we put the handles on the sides and can easily open from either side - prevents having to lean over to the middle to open (back saver)
I finished the project in 4 hours including clean up and a couple of small breaks. This is my first Ana White project. It was a lot of fun to build and I hope my son will enjoy it for years to come!
Sat, 09/01/2012 - 20:59
Wow, this is just what I need! I've been wanting to make a sandbox for under the playhouse but the other plan was too small. This would be great for the little guys. Thanks!
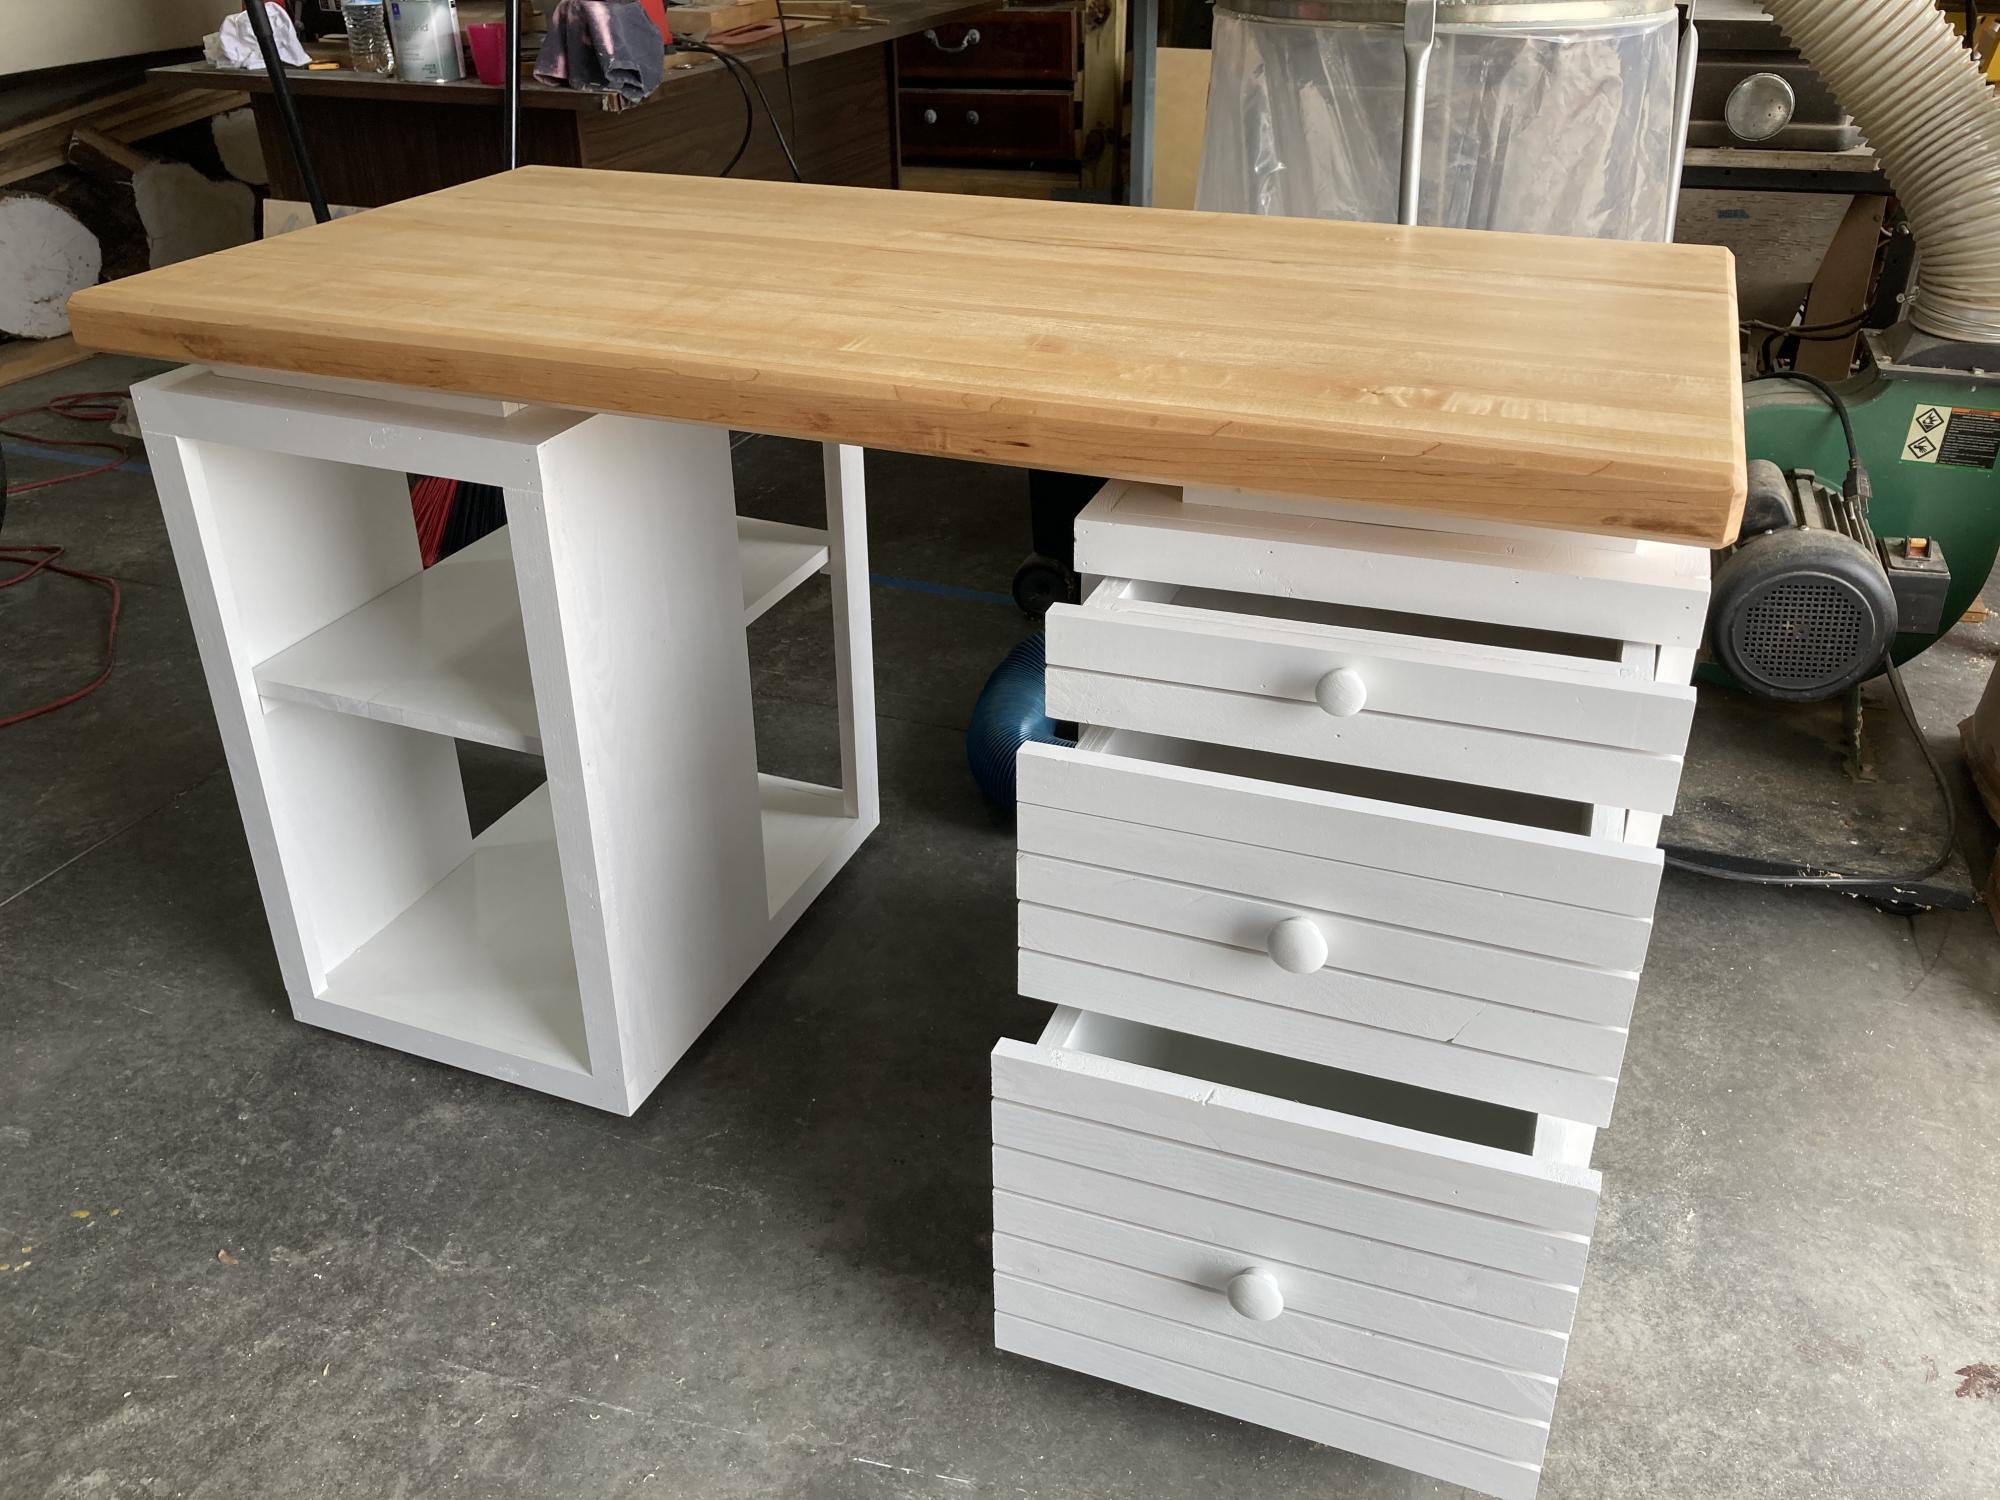
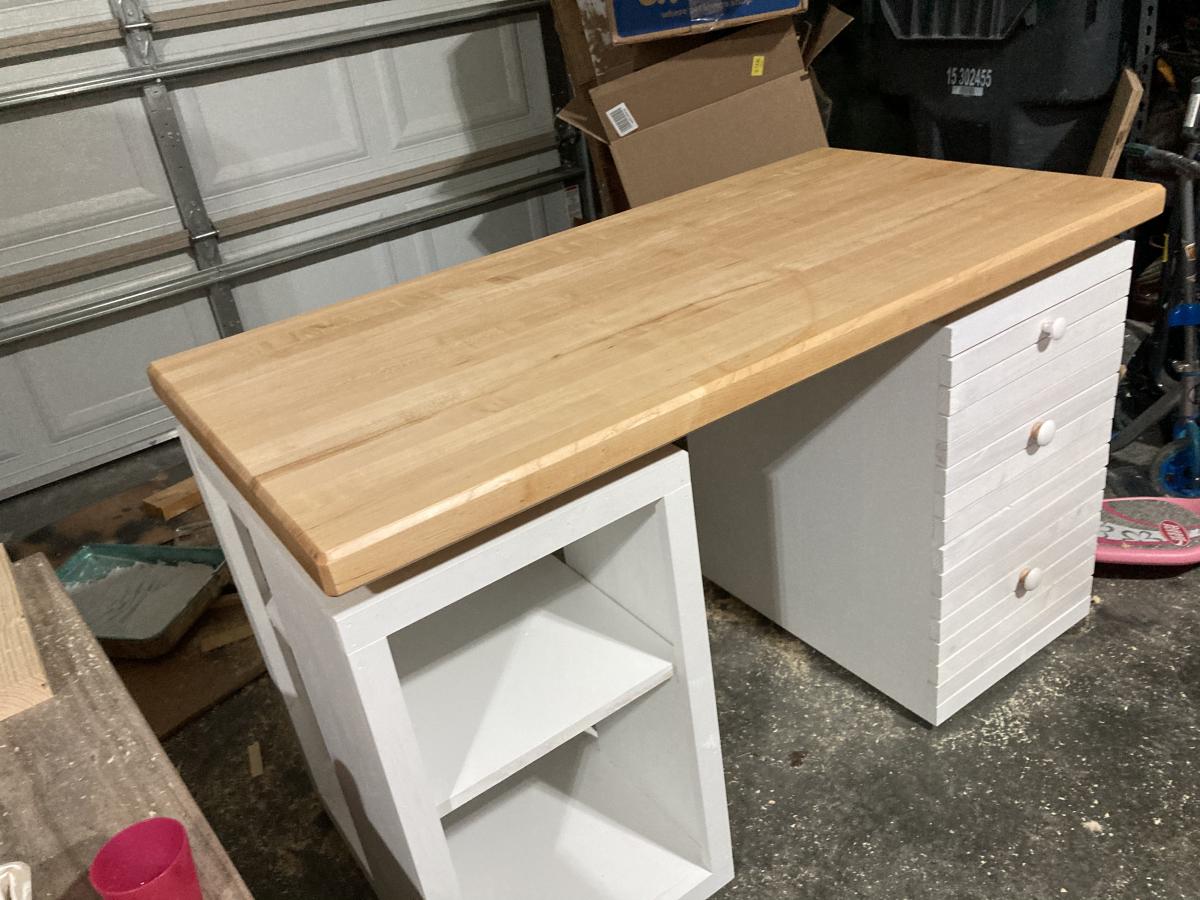
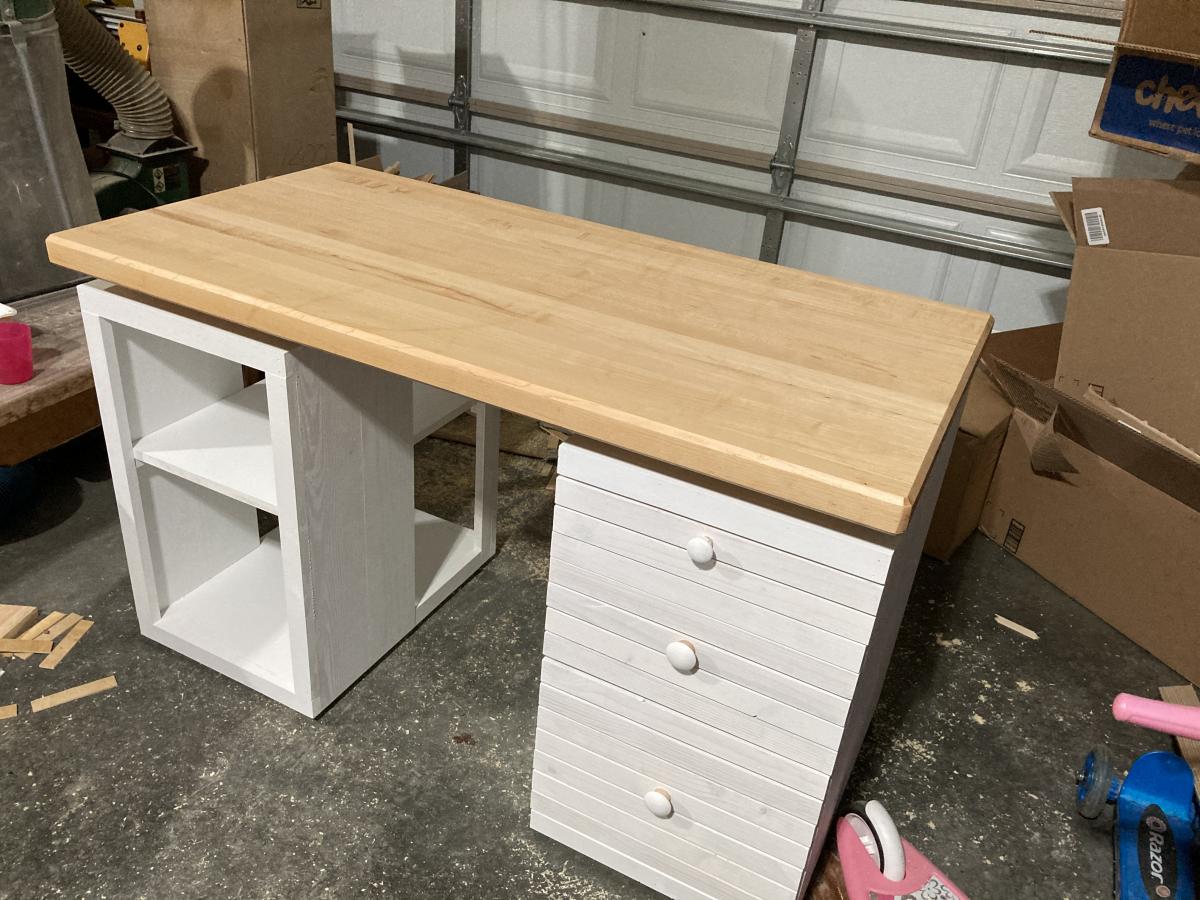
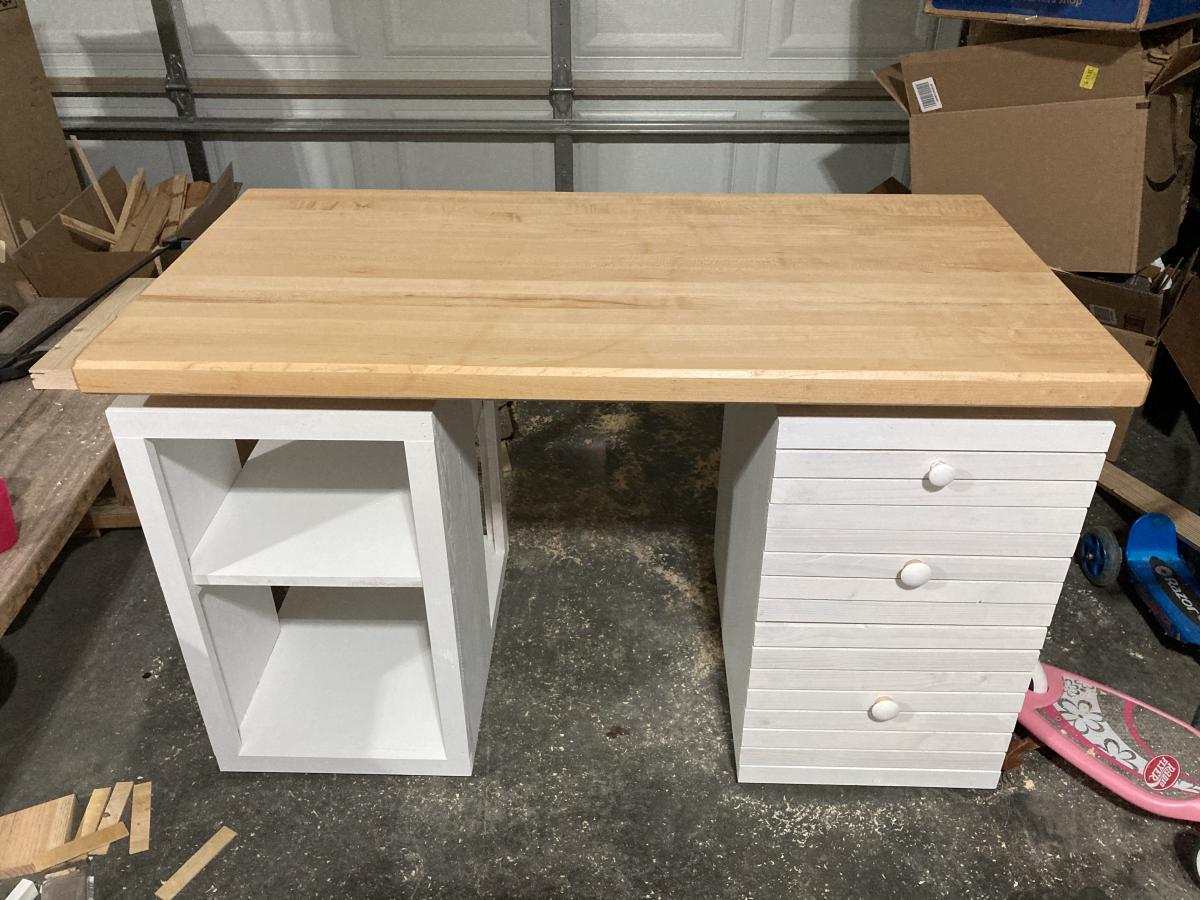
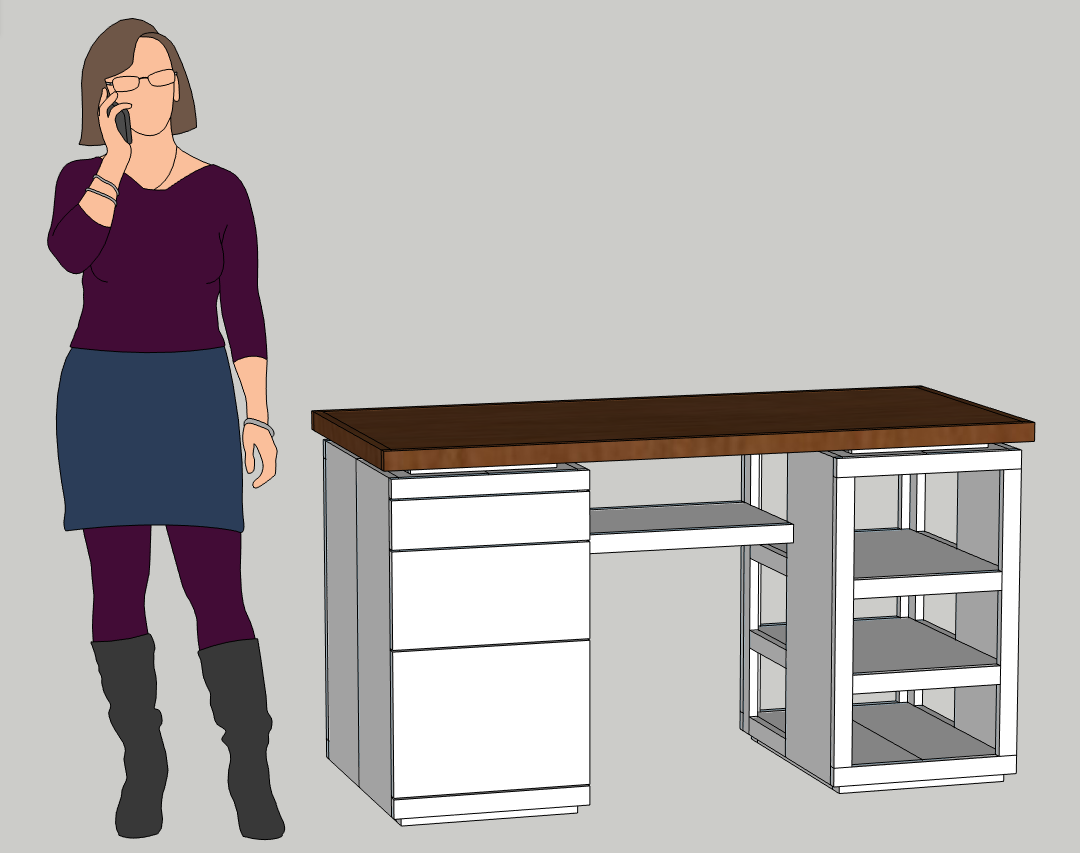
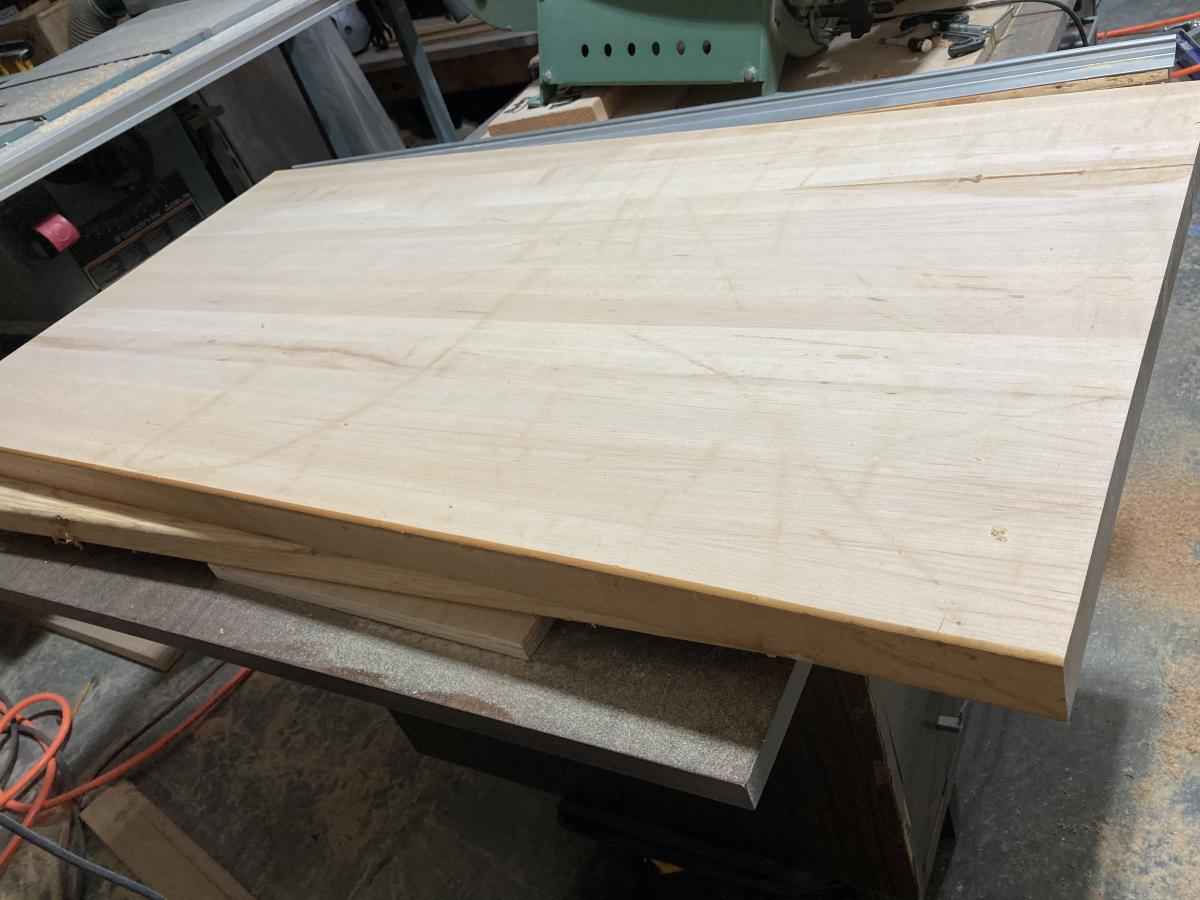
Your craft table was the kicking off point for this desk. Pine cabinets, plywood drawers, maple top.

This is such a cute countertop organizer ! The possibilities for this are endless - maybe a tea / coffee bar or a hot chocolate bar - a breakfast bar or a snack bar ..... I may need to make another one...and definitely one for the bathroom !
.
The shelves slide to change the width or turn one and it becomes a corner piece!


Tue, 09/12/2023 - 12:30
So great to see you made this and it turned out awesome! Thank you so much for taking time to share photos.

Modified from Ana White's Faux Fireplace with Hidden Storage Plan
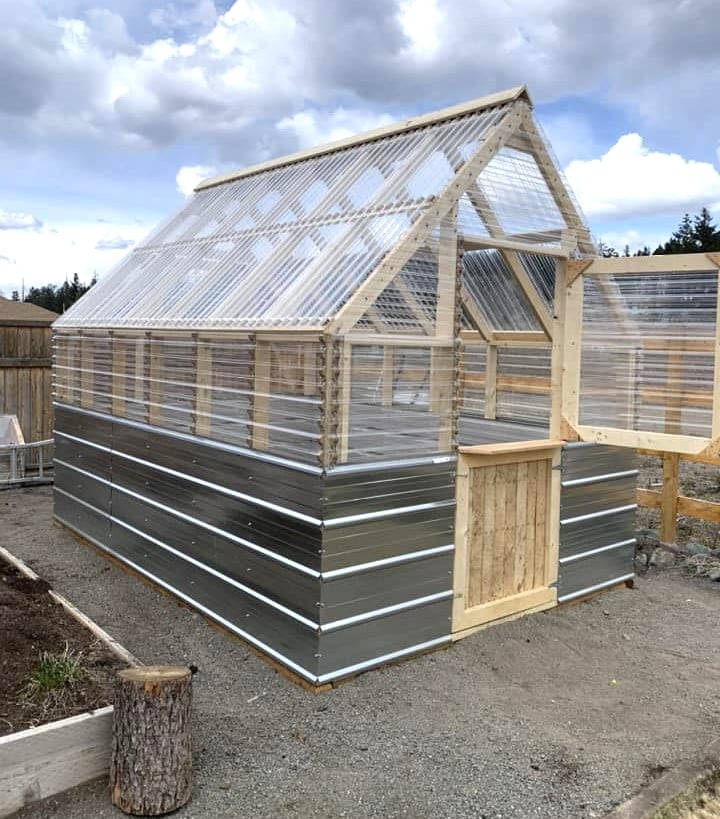
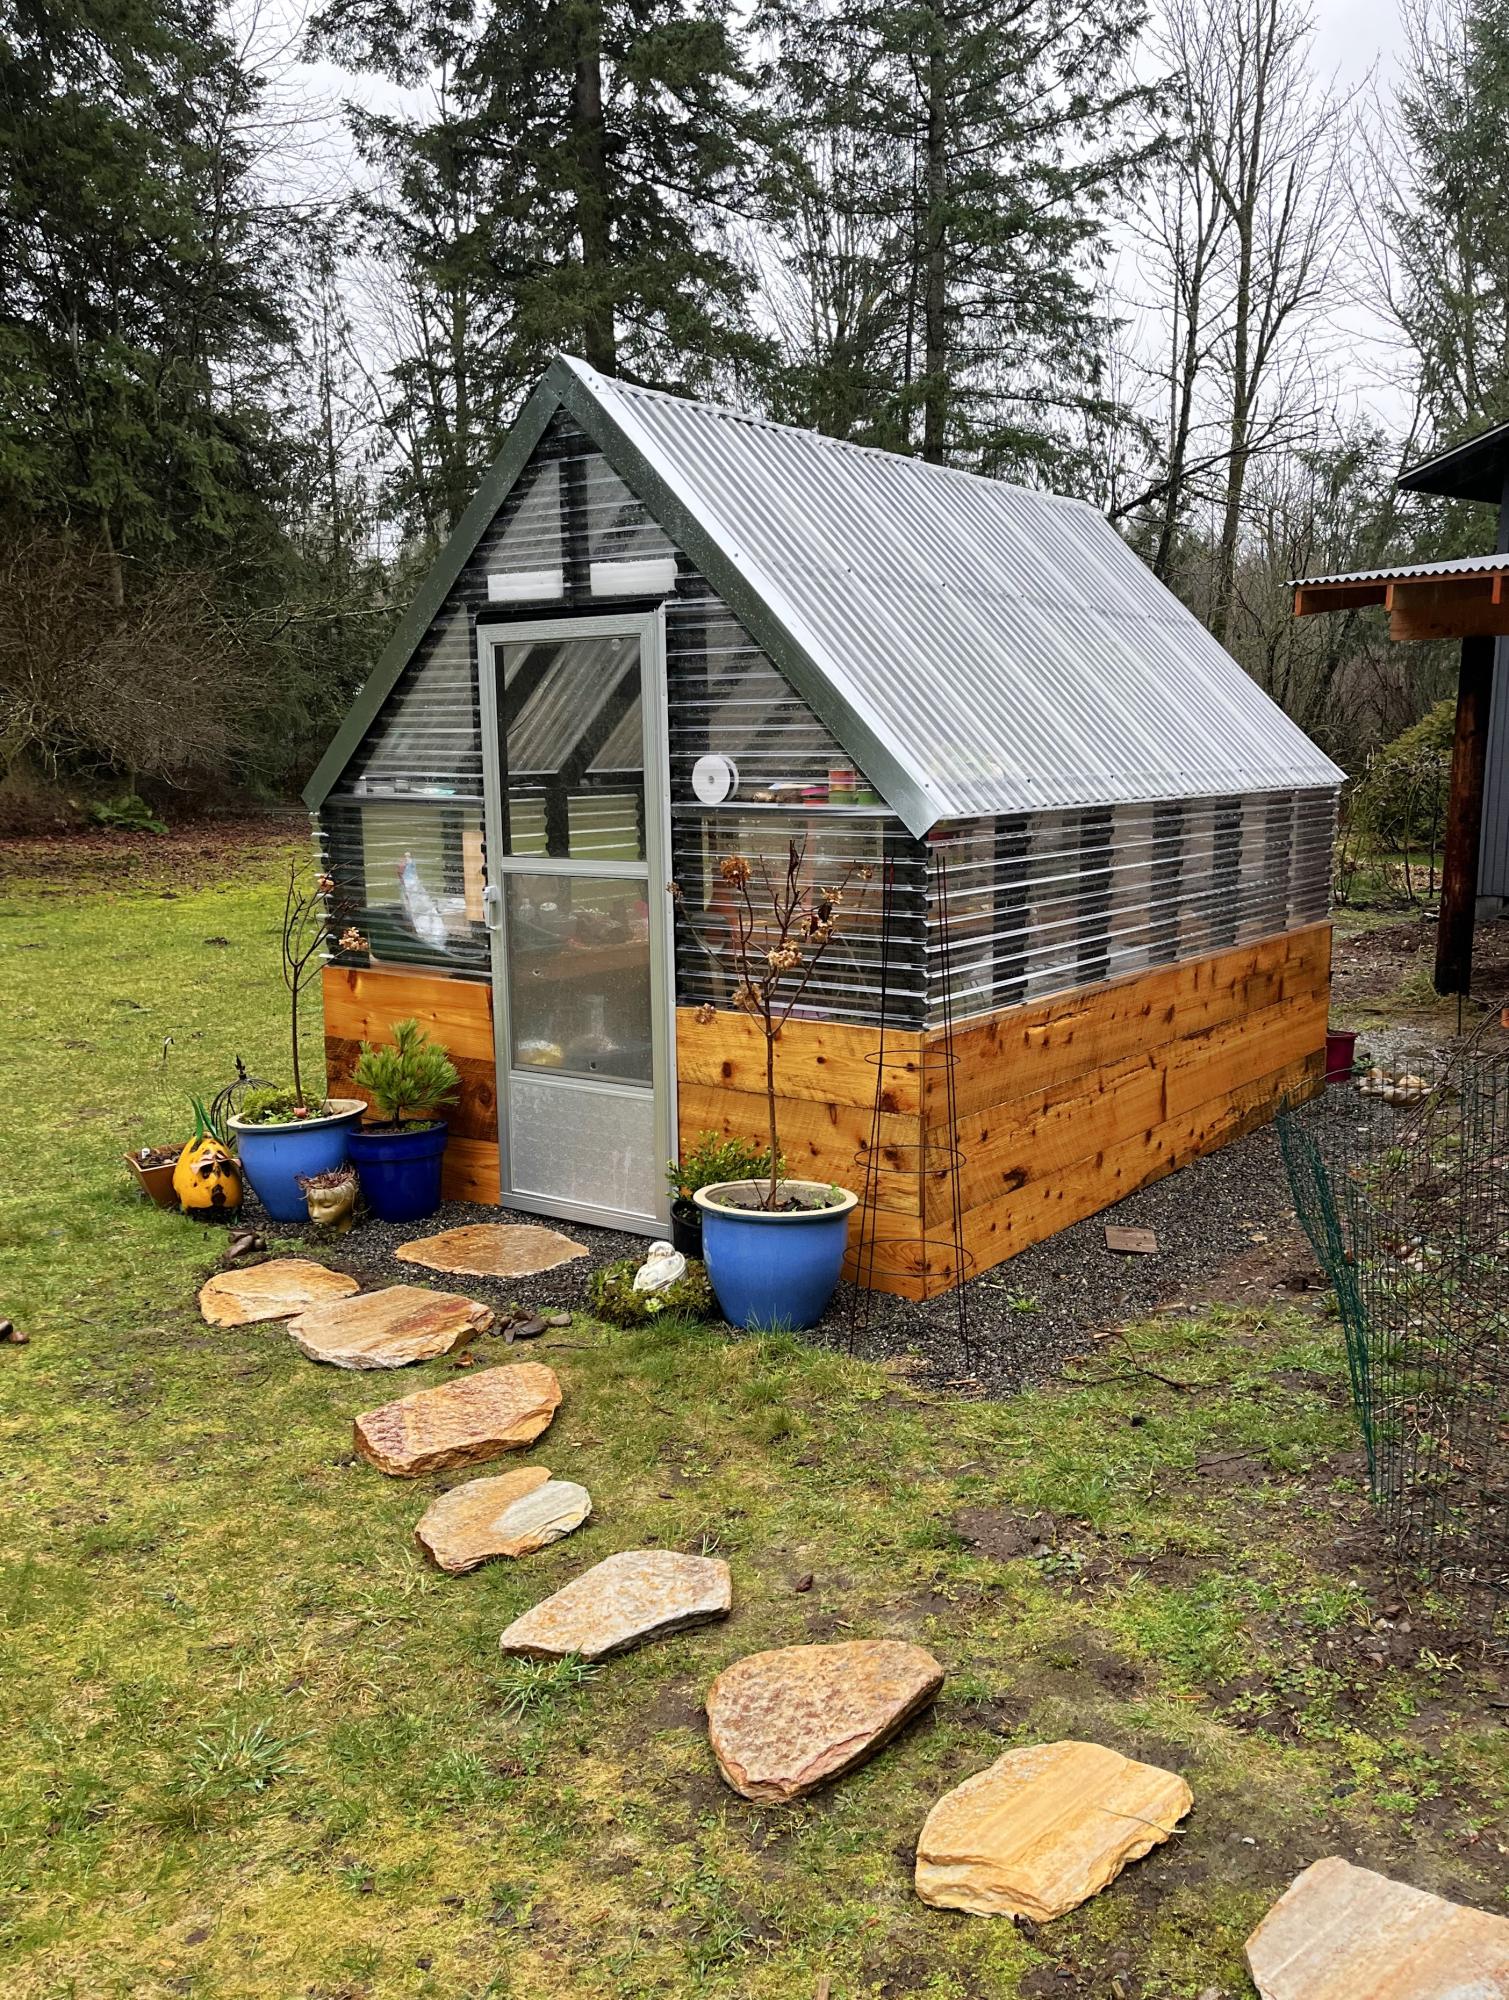
DIY Greenhouse by Trenton Kirby on Facebook!

We went off the Farmhouse table and bench design but had to customize the length of the table and bench so that it fit in our kitchen space. The table was our first ever project and we made a few mistakes but learned from them and built the bench and are hoping to move up to the Farmhouse bed and then the fullstorage bed.

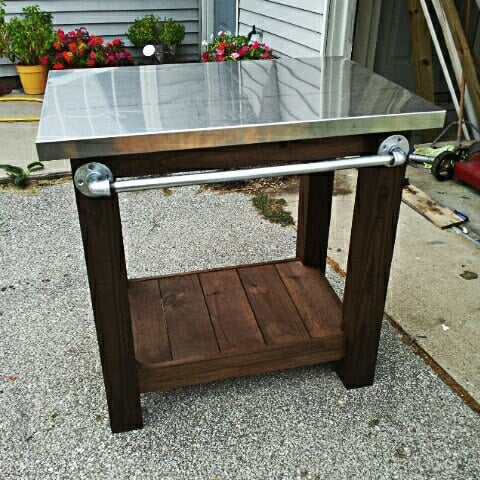
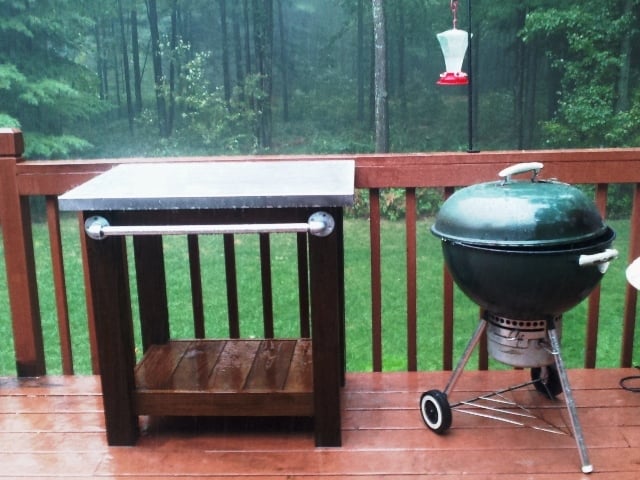
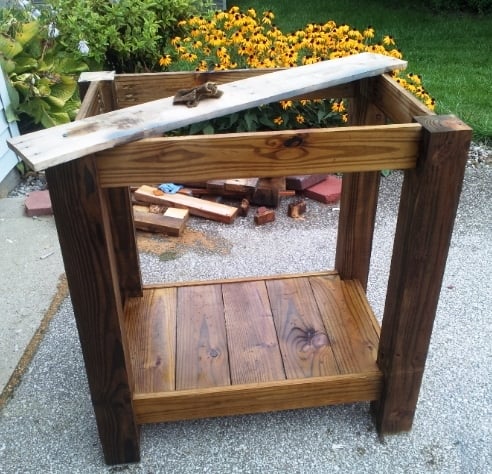
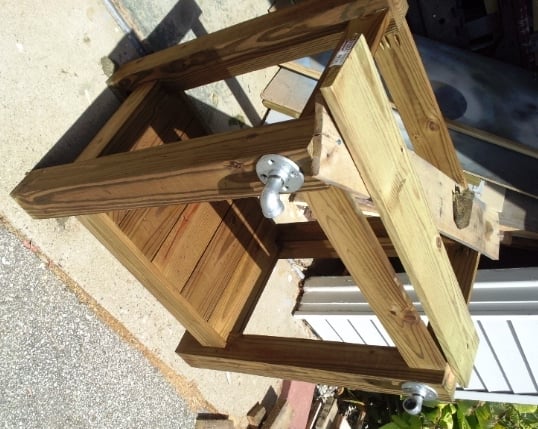
I made this table to go next to an outdoor grill to be used as a food prep area or just a surface for holding ingredients (instead of using the deck railing!). The top is stainless steel which fits tightly over 2 3/4" pieces of plywood laminated together. The bar/handle in front is made out of galvanized pipe. All wood was treated.
Legs - 4x4 posts
Bottom shelf - 1x6's
Sides - 1x4's
Top - 2 pieces of 3/4" plywood laminated together with a stainless steel top (custom fit) over top
Towel bar - galvanized pipe (cut and threaded to size at Lowe's), floor flanges and 90 degree elbows
Thu, 05/15/2014 - 10:33
Sorry about the late reply! Yes, I just gave my dimensions to a local steel supplier and they made the top. I think I have about $40 into the stainless. They didn't weld the corners but I've never had an issue with them.

Sat, 04/26/2014 - 15:41
I too would like to know your source for the sheet metal.

In reply to Stainless steel sheet metal by Pursuit of Handyness
Thu, 05/15/2014 - 10:35
I just found a local steel supplier, told them what I need and they formed the top. It cost me around $40 (without welding of the corners). I took a fine grit sandpaper to it afterward to scuff it up so it didn't look so bright.
Wed, 04/30/2014 - 12:55
I would like to know are there any plans available to make this table? I am very impressed of its design.
In reply to Grill table with stainless steel top by AMR4412
Thu, 05/15/2014 - 10:46
No...I didn't have any plans when I built it but it's a very simple concept. I chose to use all treated wood since I knew it would be sitting outside unprotected. However, my 4x4 posts weren't square so this caused a lot of problems and everything was built to fit. I believe I just used 4x4's, 1X6s (for the bottom shelf) and 1x4s for the sides (top and bottom). For the top, I just laminated 2 pieces of 3/4" plywood together to bulk it up and then had the stainless top built to fit. It fit perfectly so I didn't glue it to the plywood. This makes it easy to remove and clean, if necessary. For the galvanized pipe (towel bar), I bought it at Lowe's and had them cut/thread it to fit my dimensions.
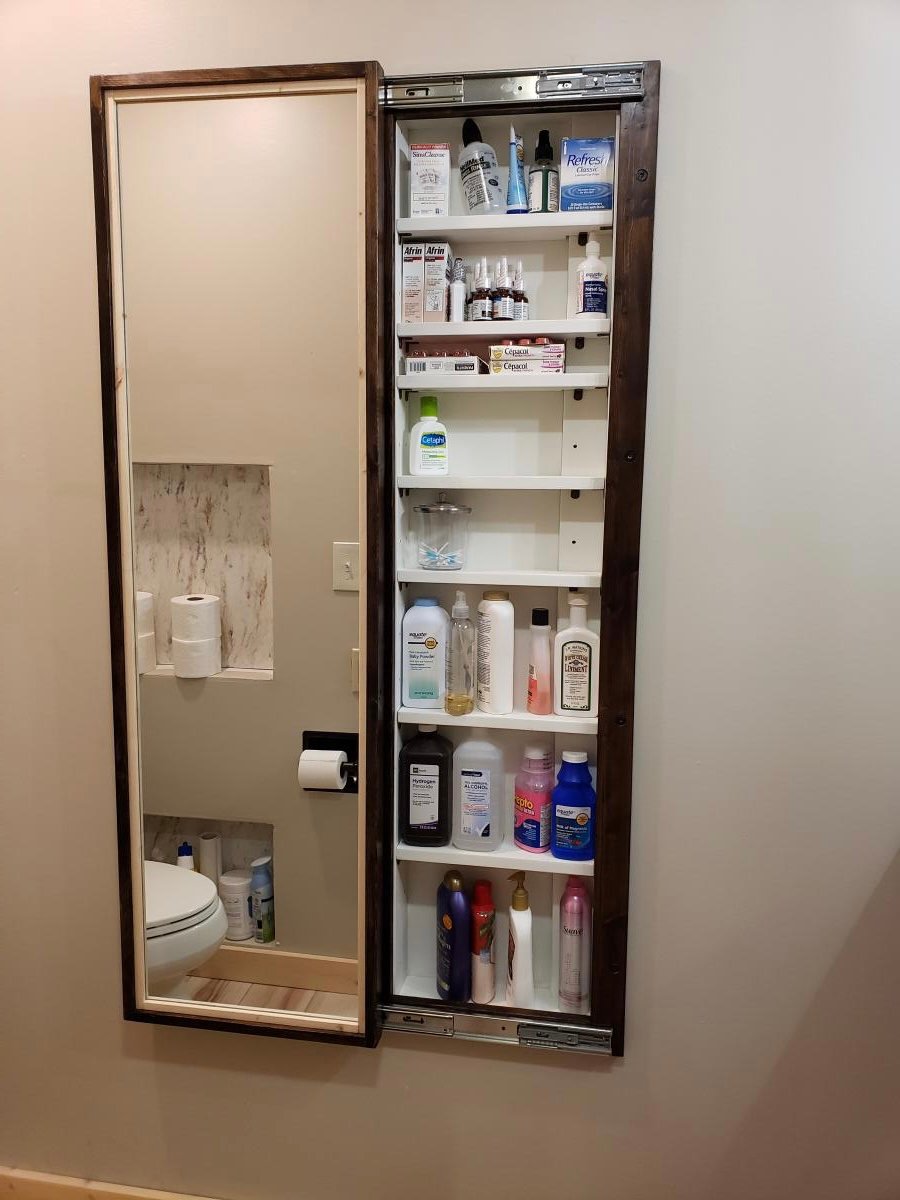
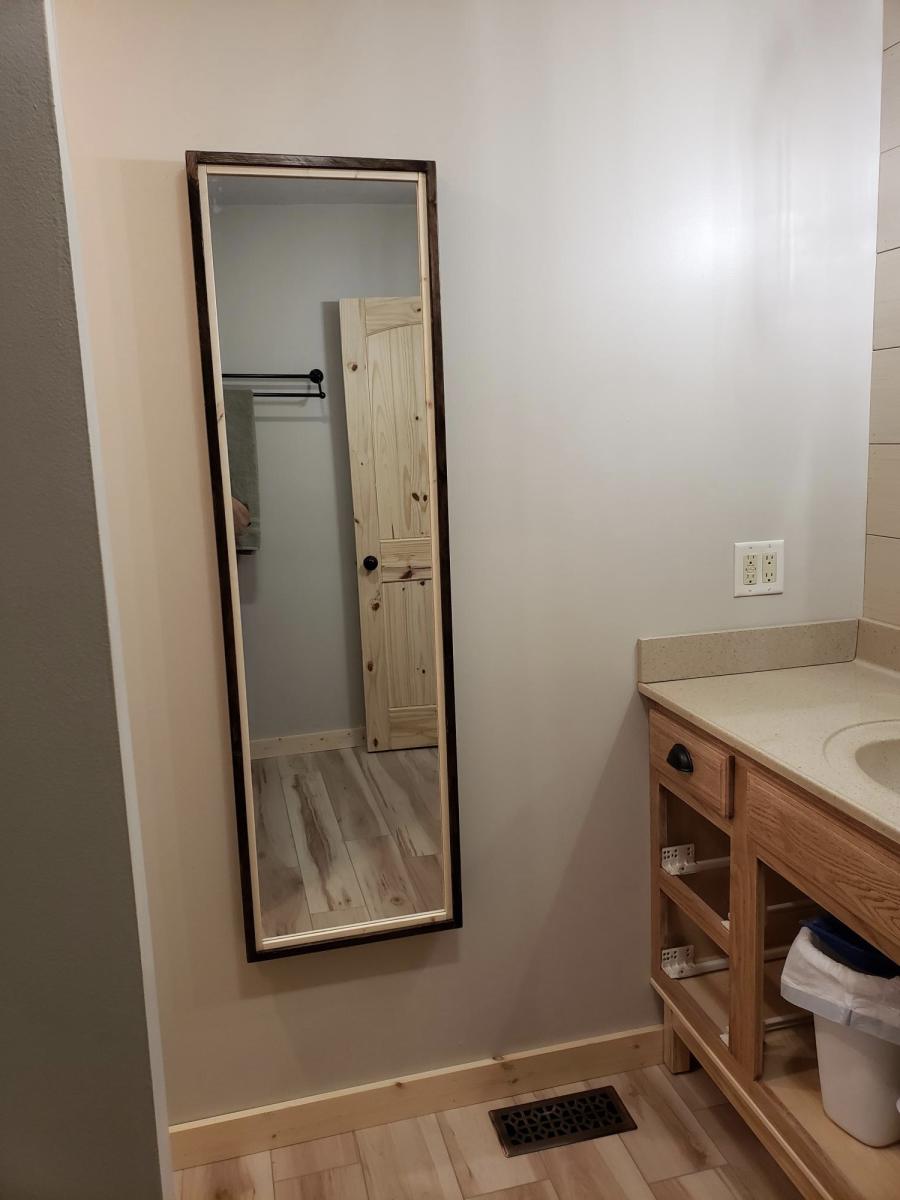
My bathroom has very little storage space. So during our recent remodeling of the room, I decided to add this cabinet. Changed the plan a little to make it recessed in the wall. I love how it turned out!

Sat, 09/03/2022 - 13:28
This looks amazing, love how it's recessed! Thankyou for sharing.
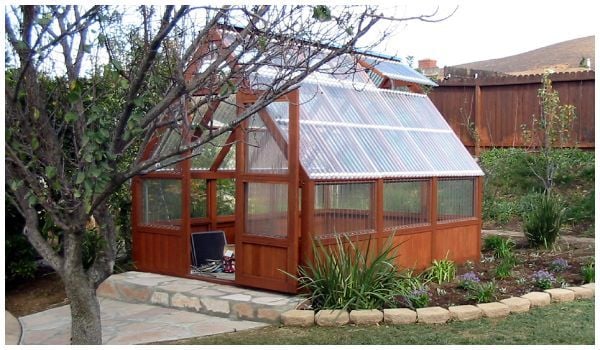
I saw the barn shaped greenhouse plan but preferred a regular roof pitch. I did however incorporate the corrugated polycarbionate as a covering. I find it odd that you guys installed the polycarbonate horizonitally instead of vertically.
Anyway thanks for the info on polycarbonate.
Tue, 09/01/2020 - 17:47
Love this! I really prefer the roofline on your greenhouse. Did you modify Ana's design, or did you get plans from another site? Would love to replicate your design if possible-very elegant.
Loved this build had to make it smaller but wow.
Paula
Best looking greenhouse and great size!
Mary McLachlan
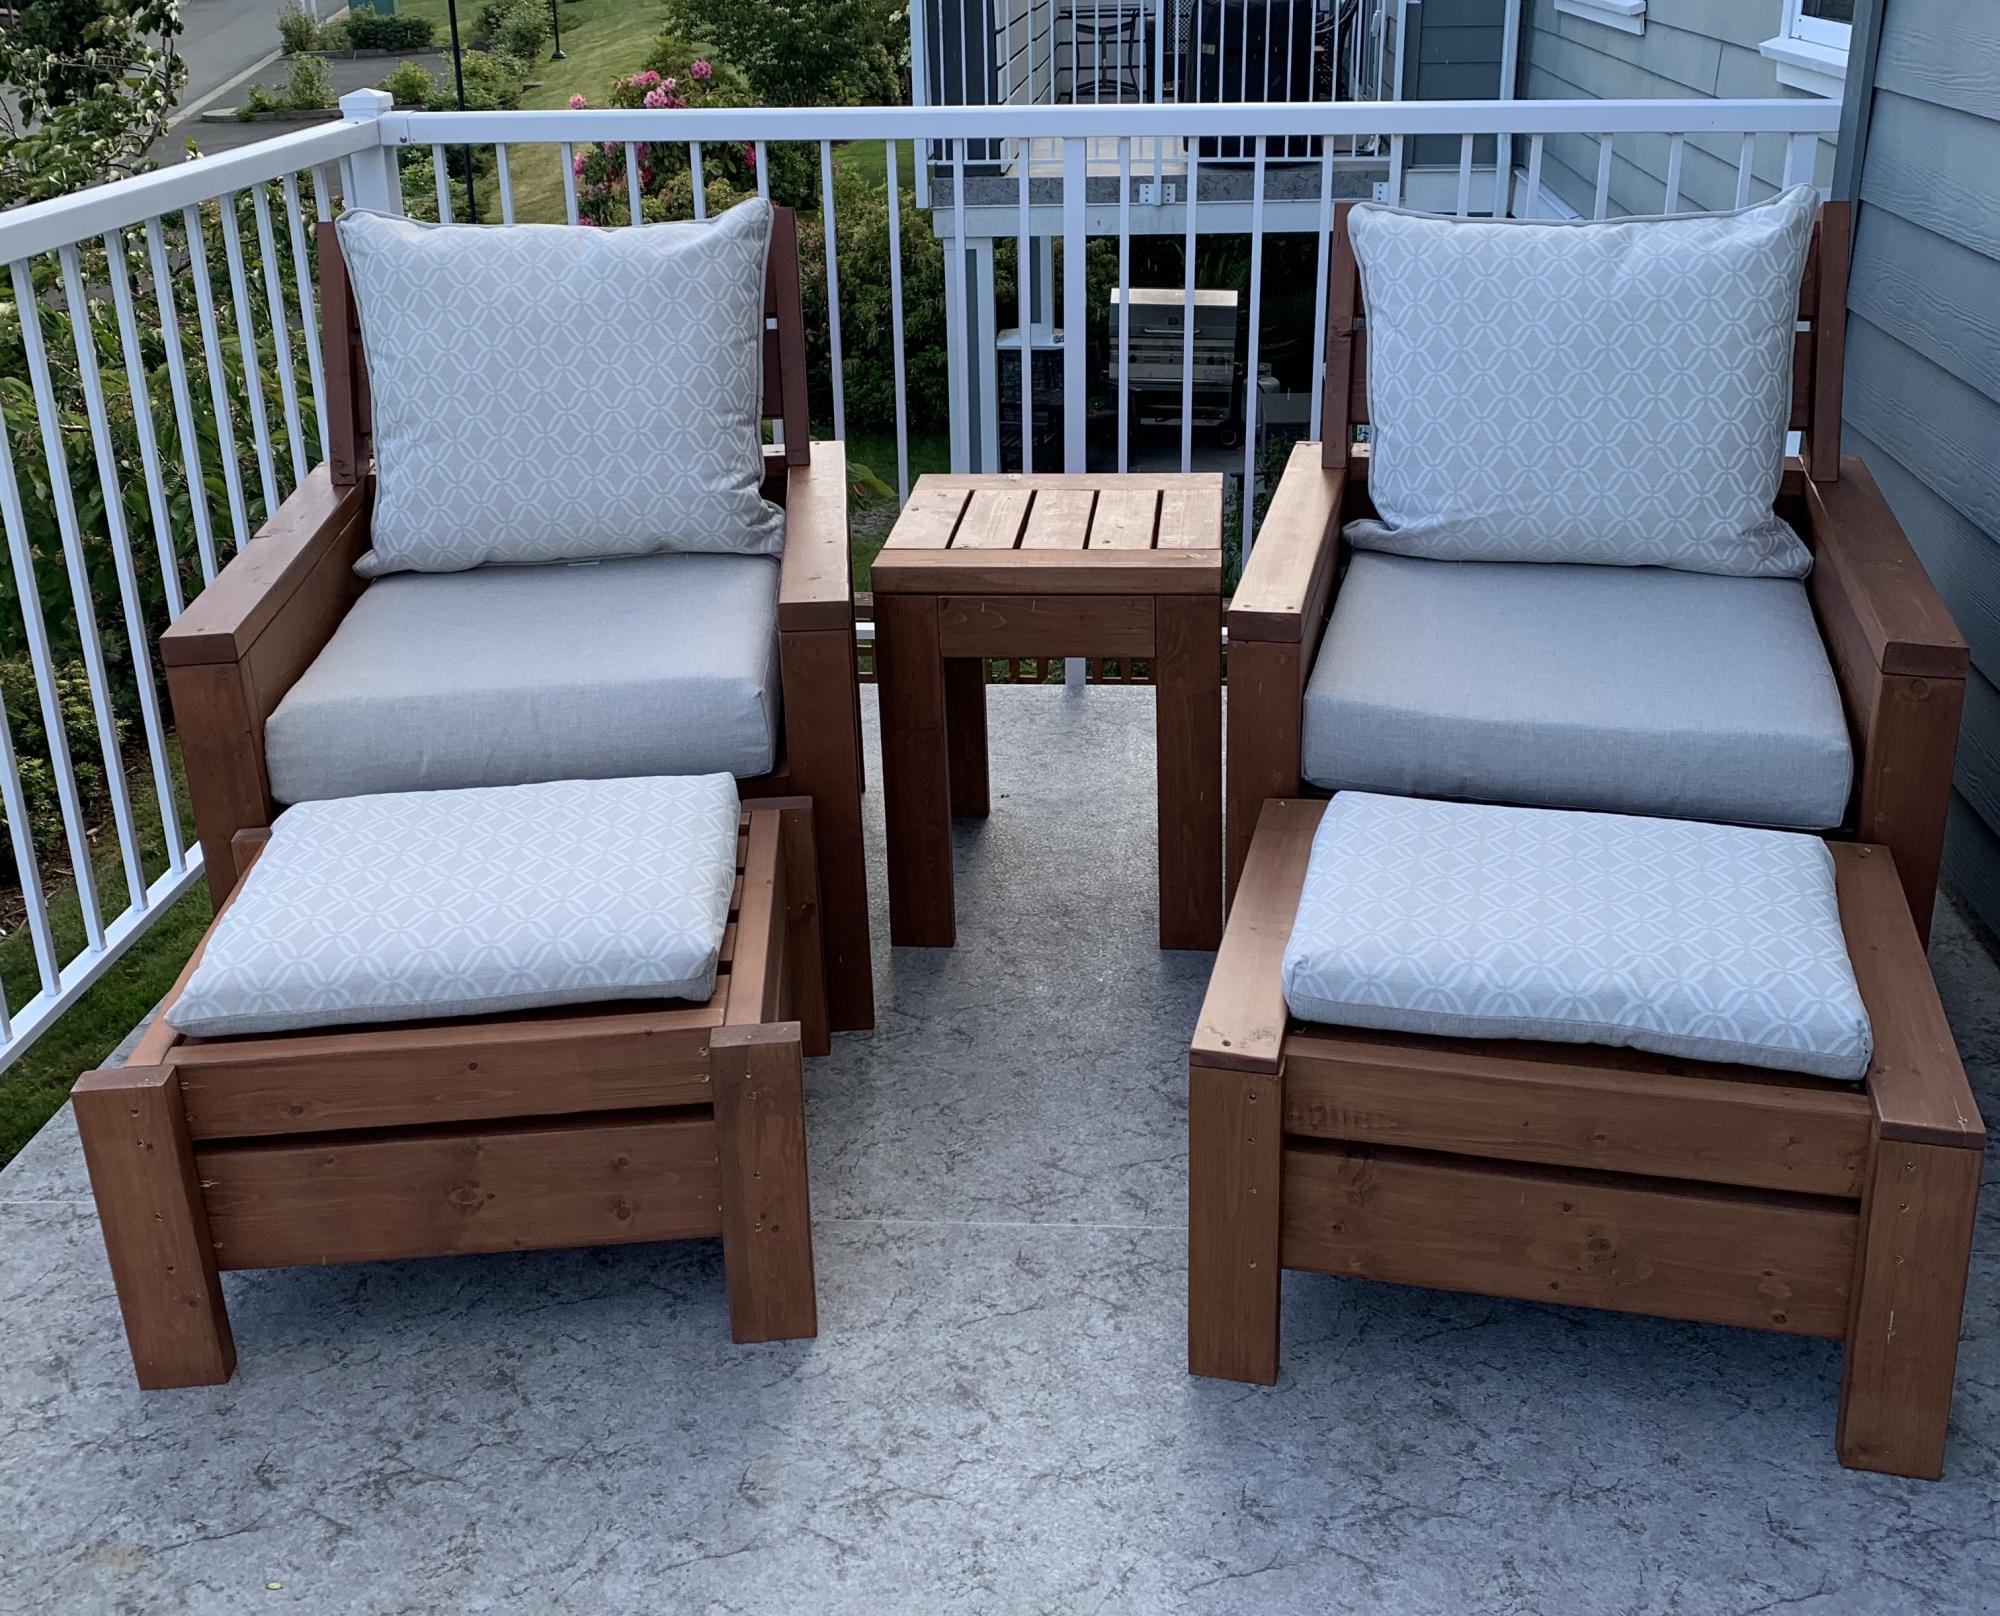
Love these plans! Made a modification and added backs to the chairs. Also, built ottomans to match the chairs which can also be used as additional seating.
Many compliments on the set. Thanks Ana!


I used the basic framing plan for the project, but extended roof overhangs, added engineered siding / trim and cedar shake roofing. I put 2x4 bracing on for the platform.


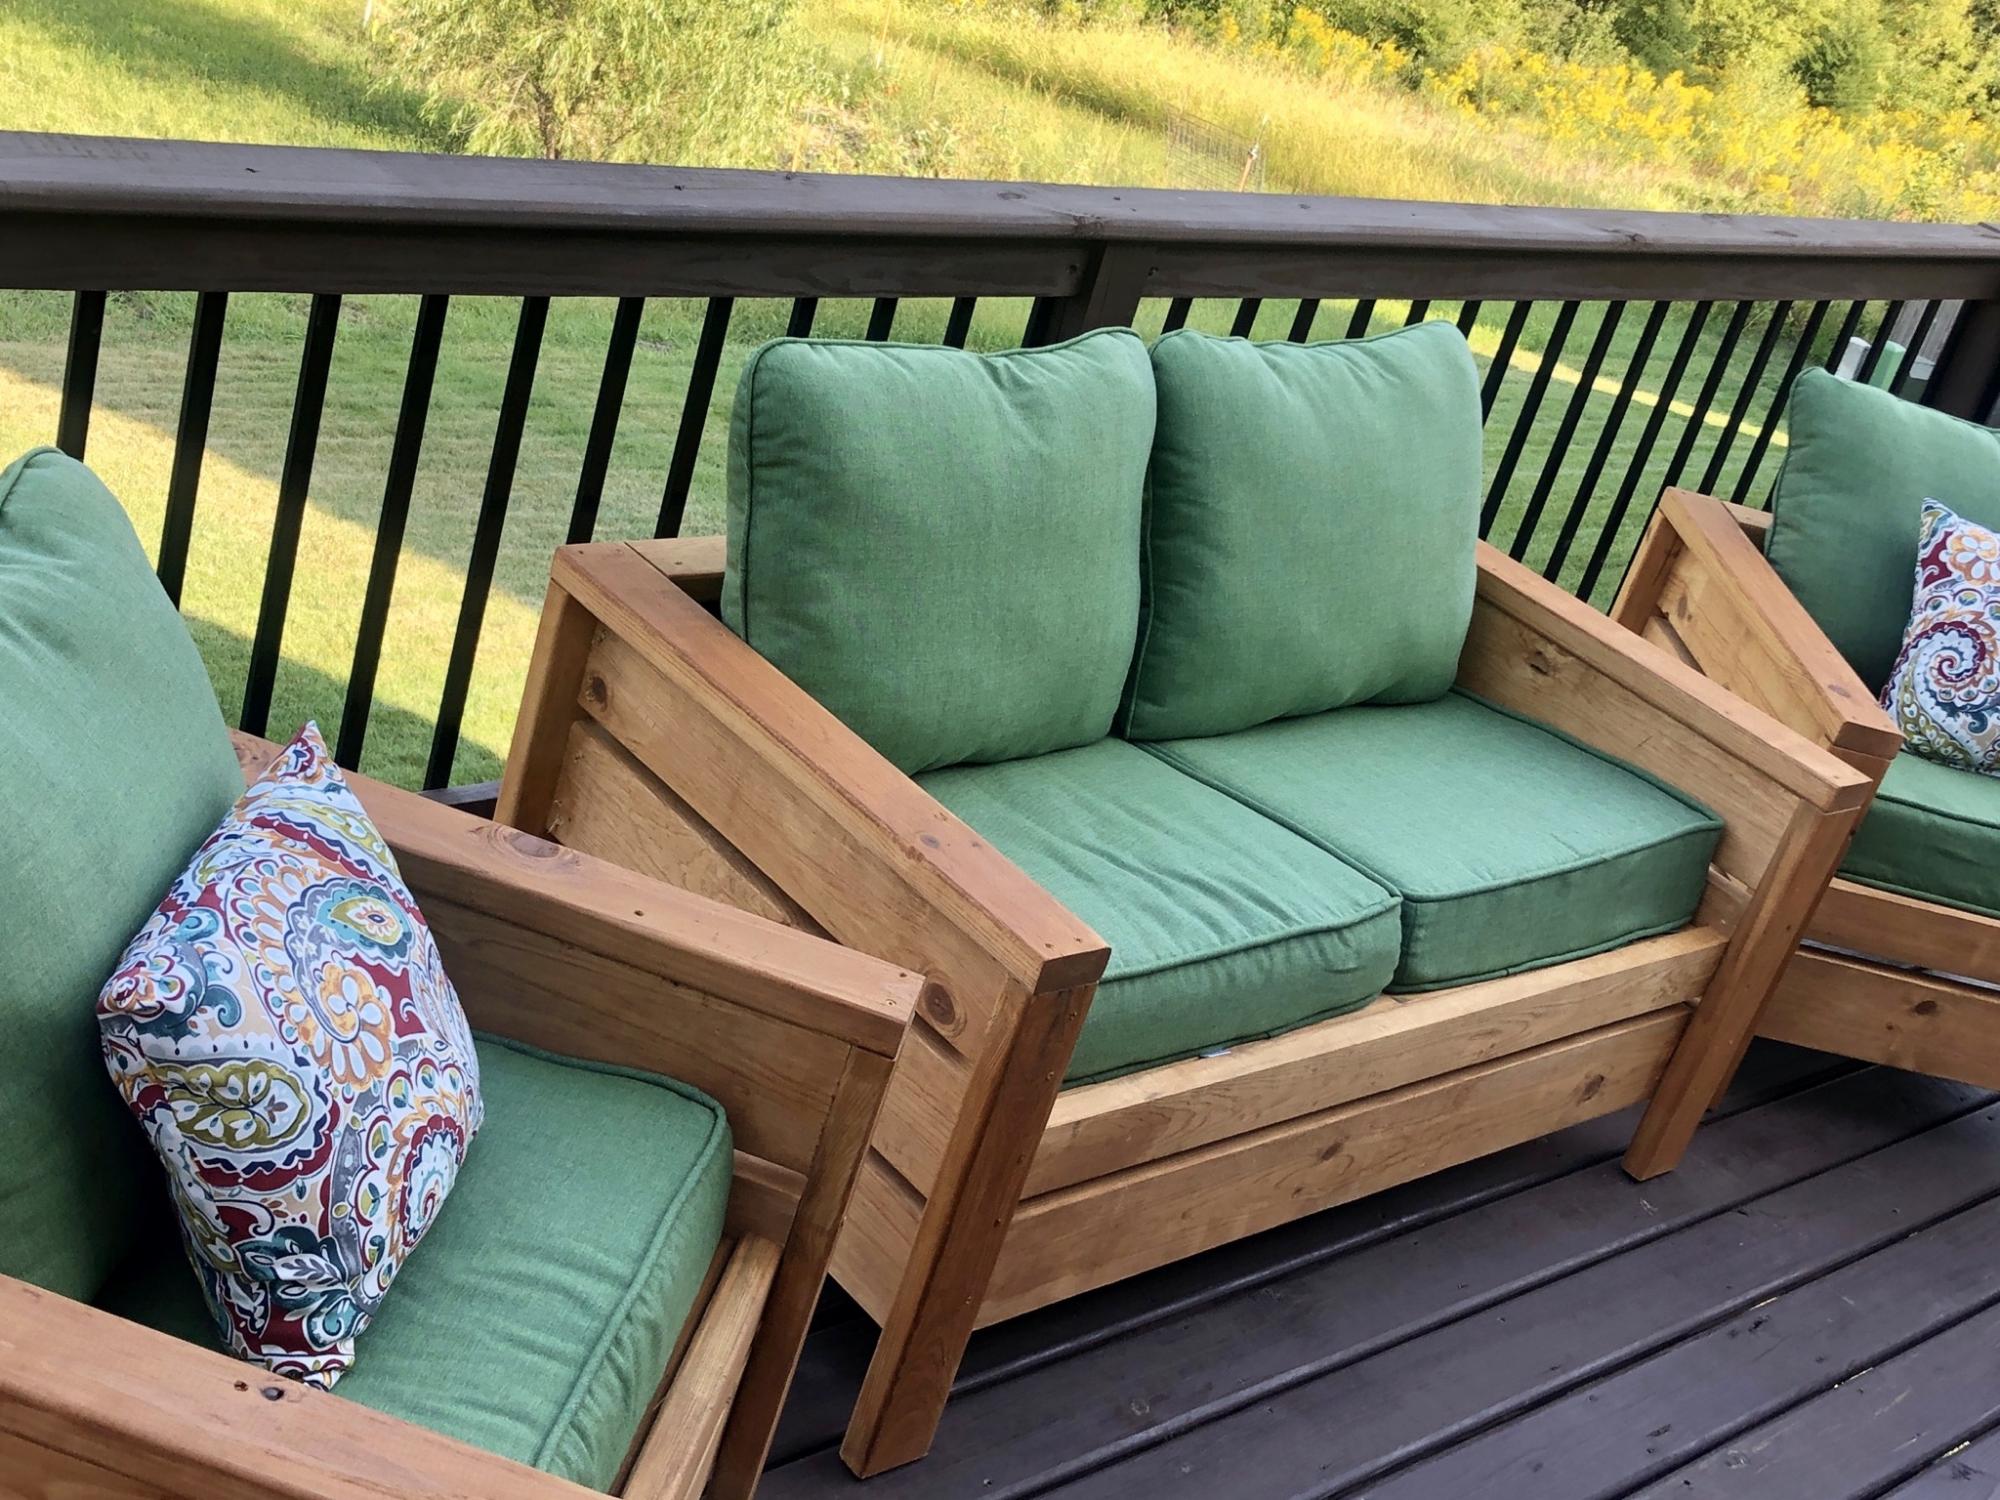
Built this over the weekend for my girlfriends sister. It was a great project and the whole family was able to work together on it, sanding and waterproofing it before assembling. The loveseat plans need a little tweaking. We ran ran the slats the same direction as the chair plans call for so we added a middle support for extra stability. We also pitched the seating down towards the back by 5* to make a more natural sitting position.
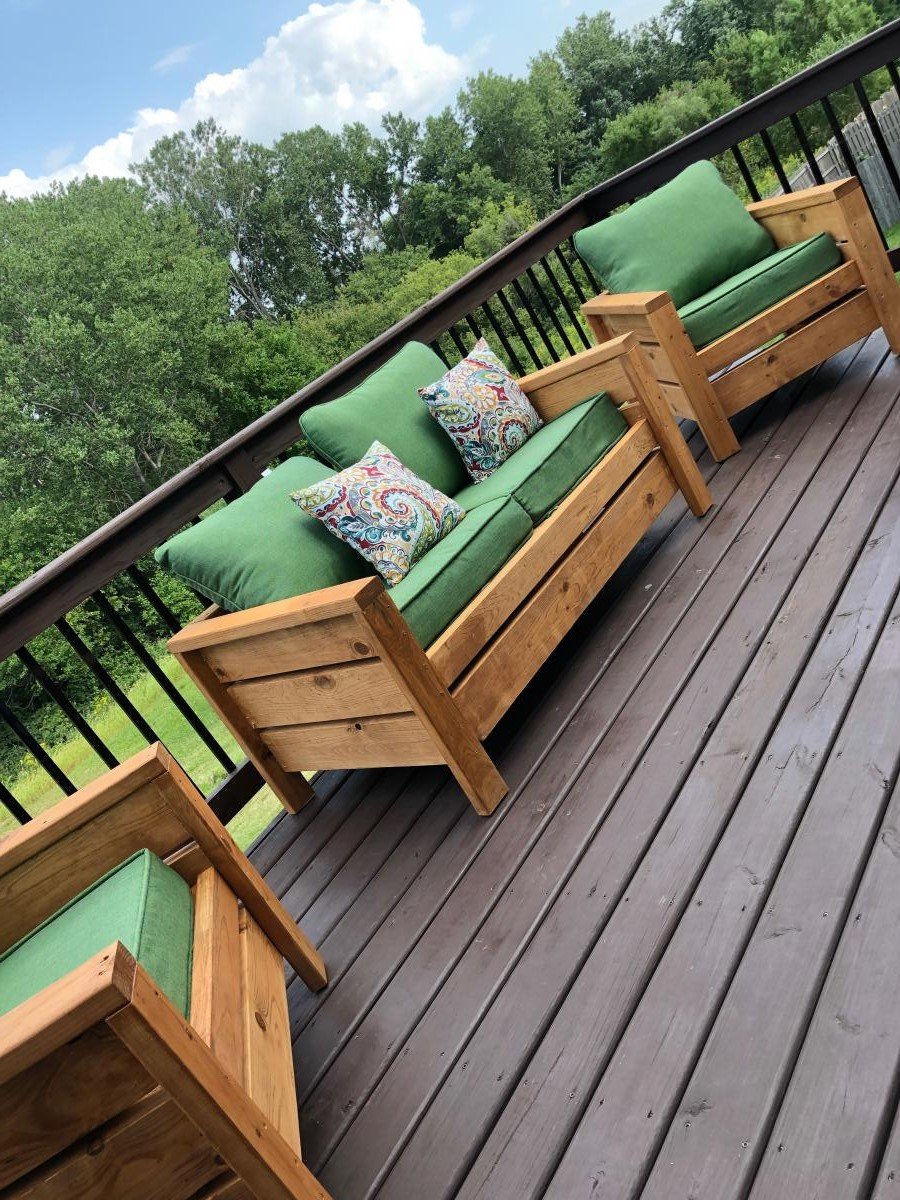
I used pocket holes to hide the screws. I made an ottoman out of the outdoor coffee table plans to my dimensions that can be used as a coffee table when we need it.
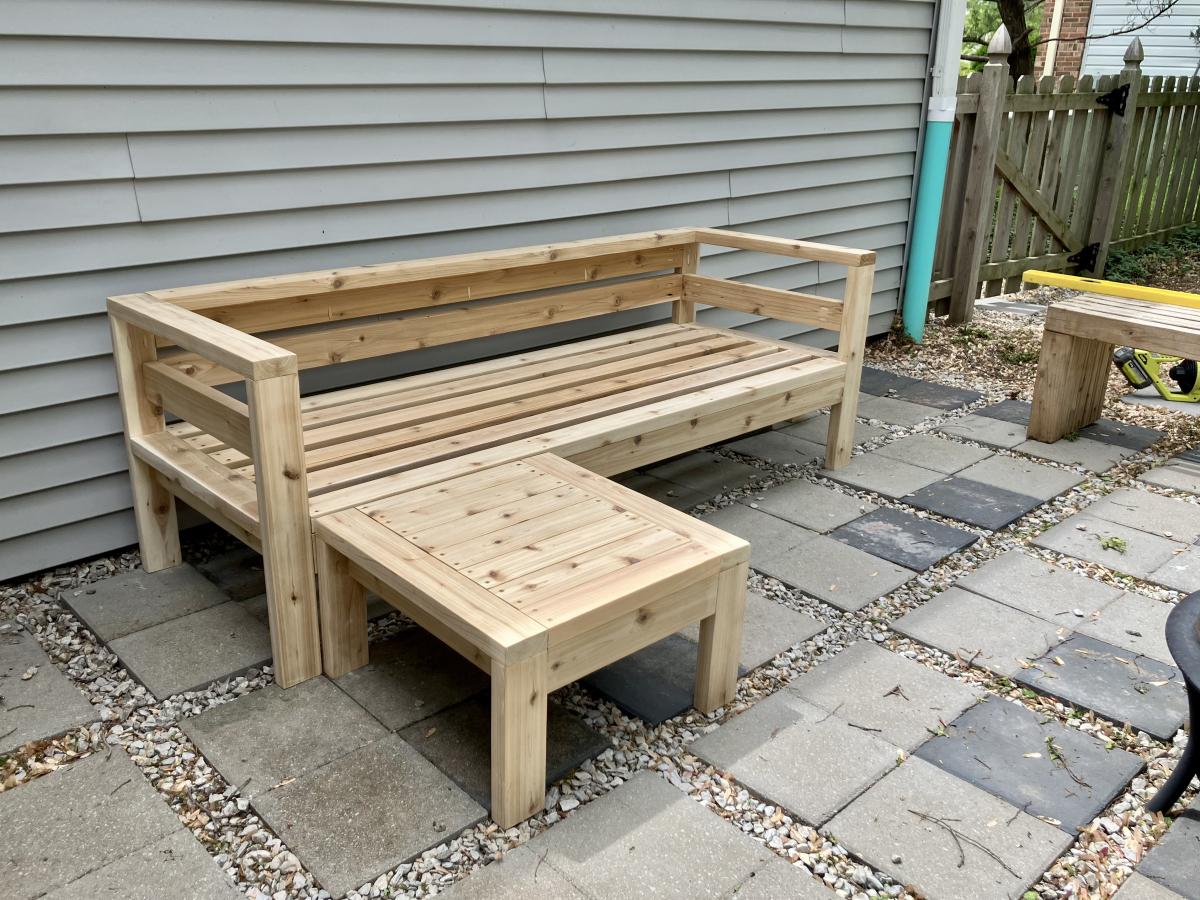
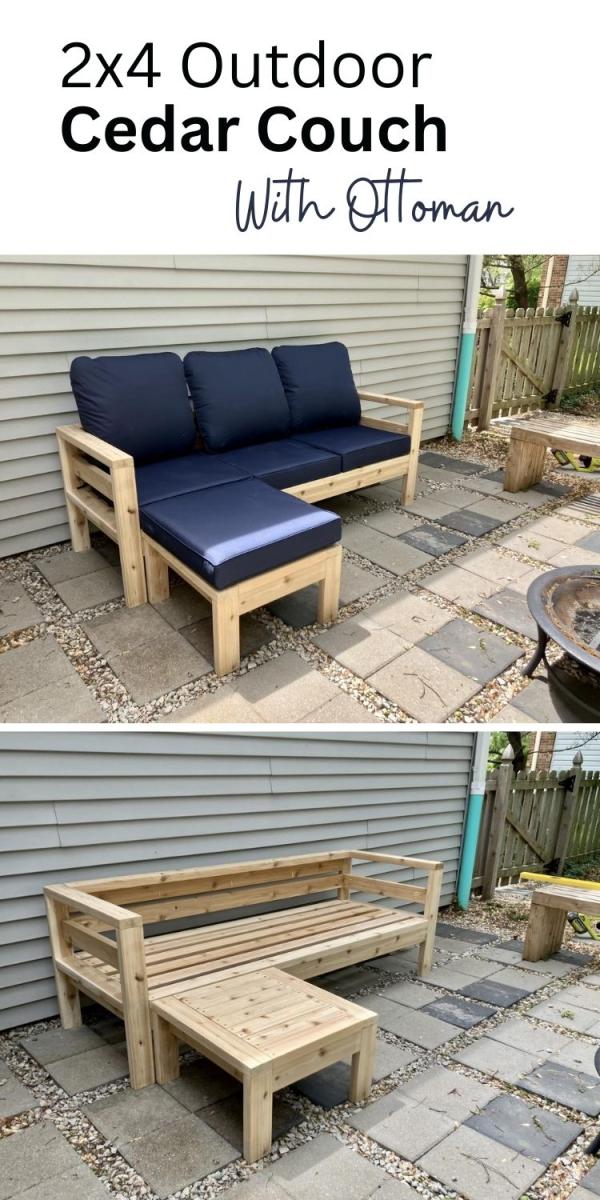

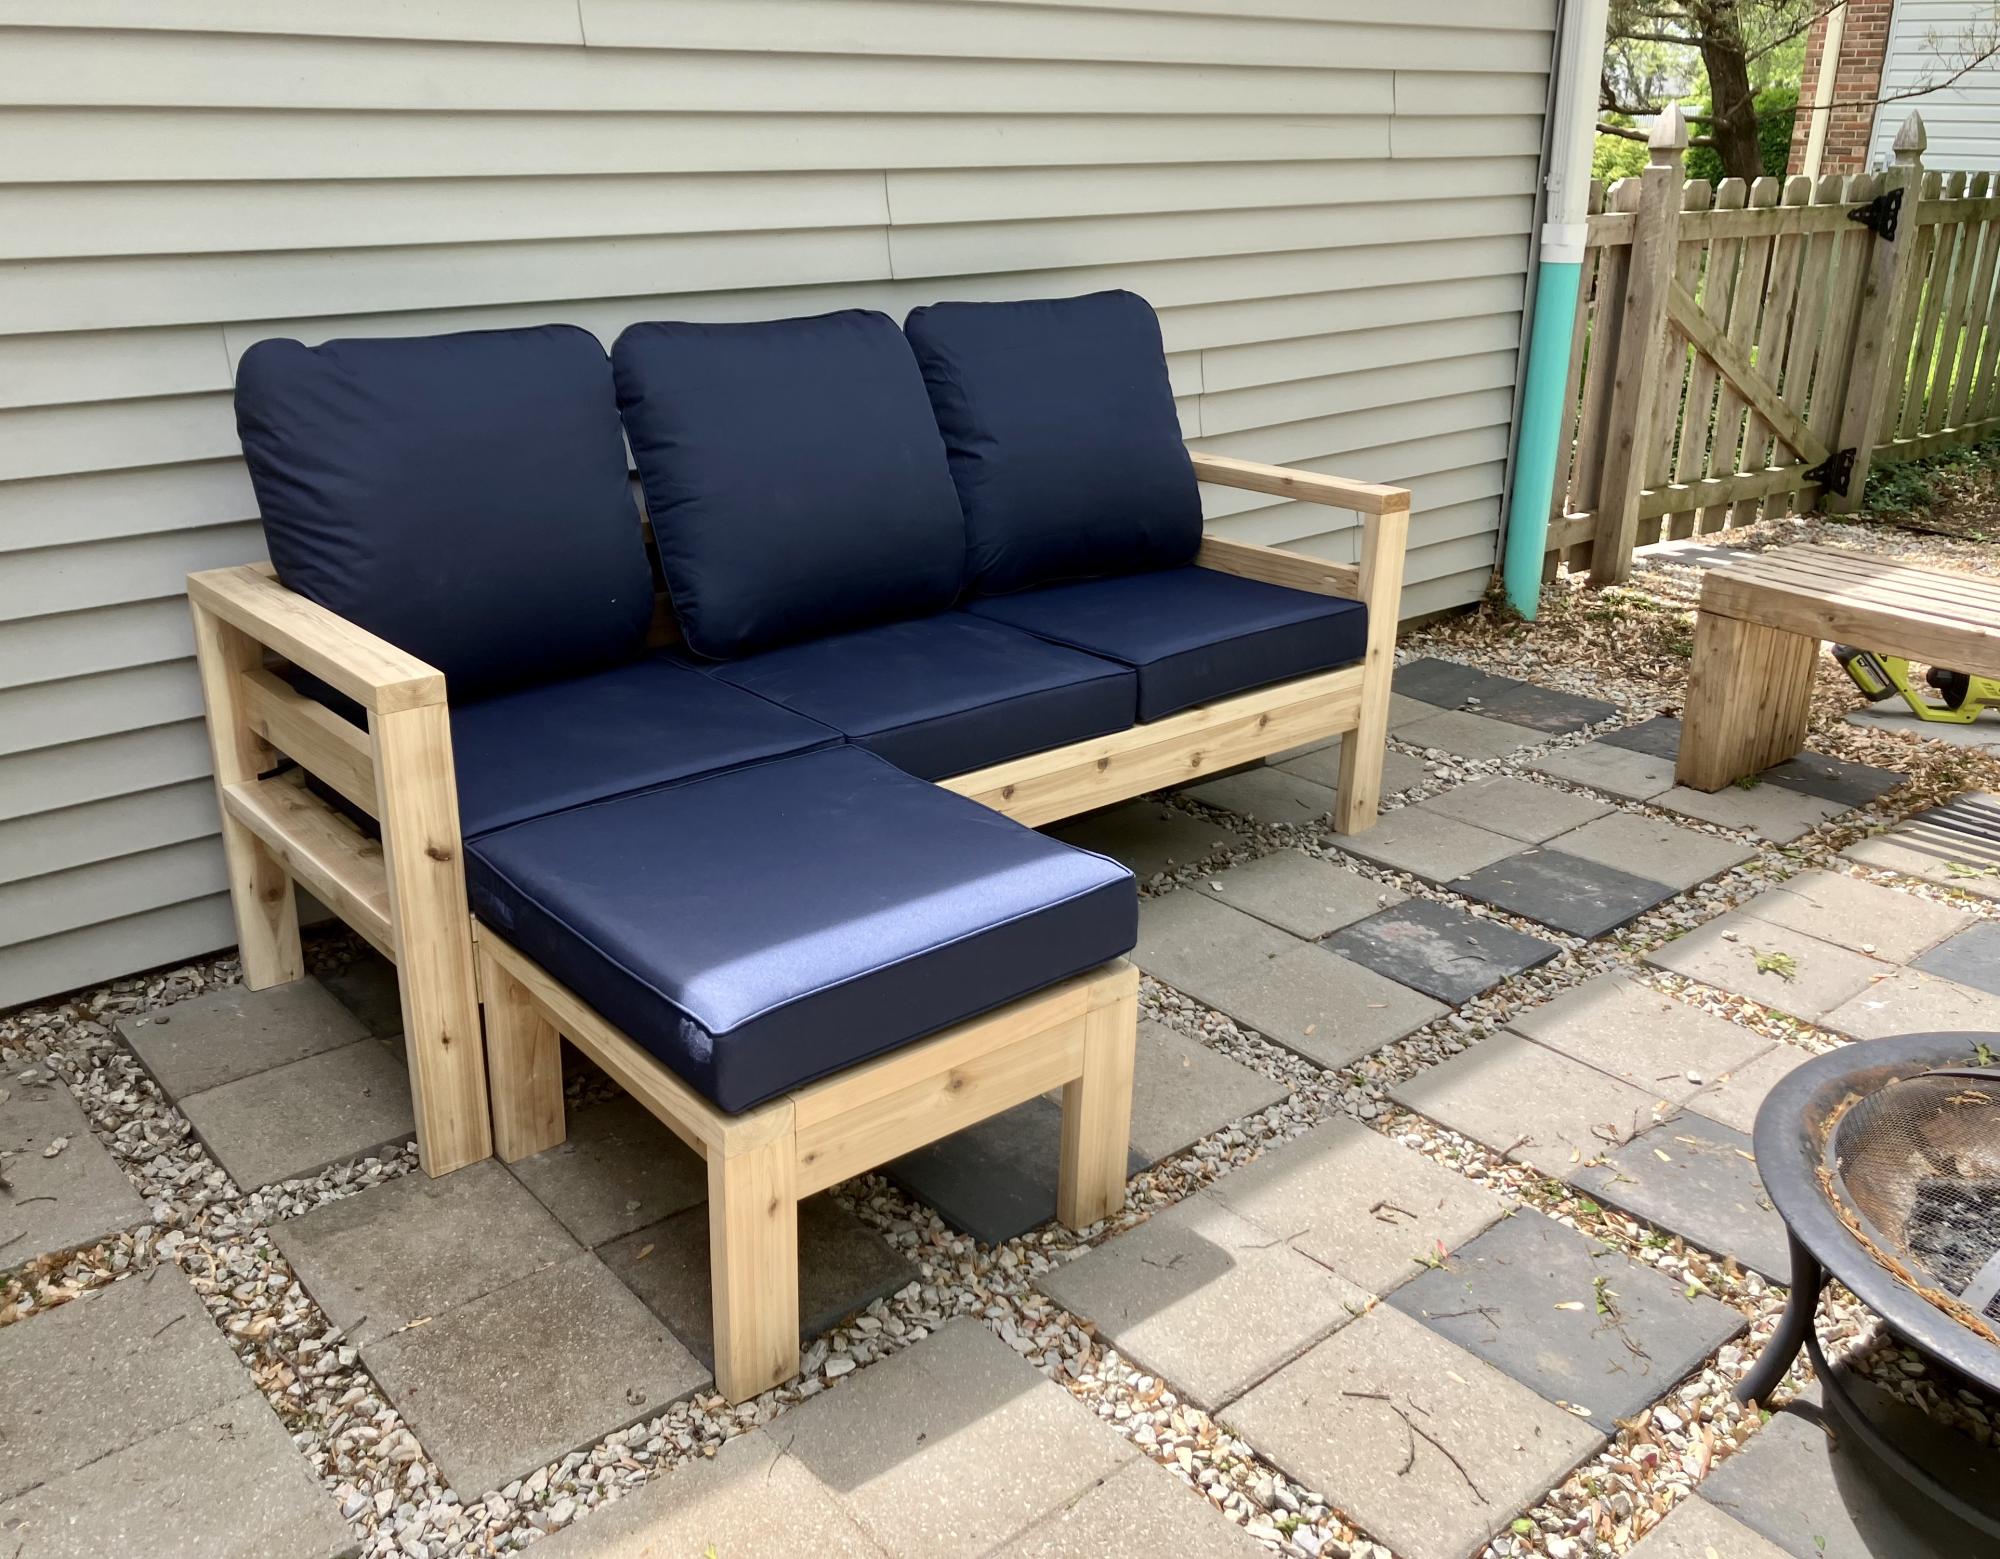
I scaled back the length of the sofa by a few inches and I made the sectional only one seat to fit my space on the deck. This was my first woodworking project that I did by myself. I got the cushions for more than 1/2 off at Ikea so the whole project cost about $150 ($80 for the cushions). It took me about a week to complete but the total time was less than 10 hours to build and stain. I'm pretty happy with how it turned out.


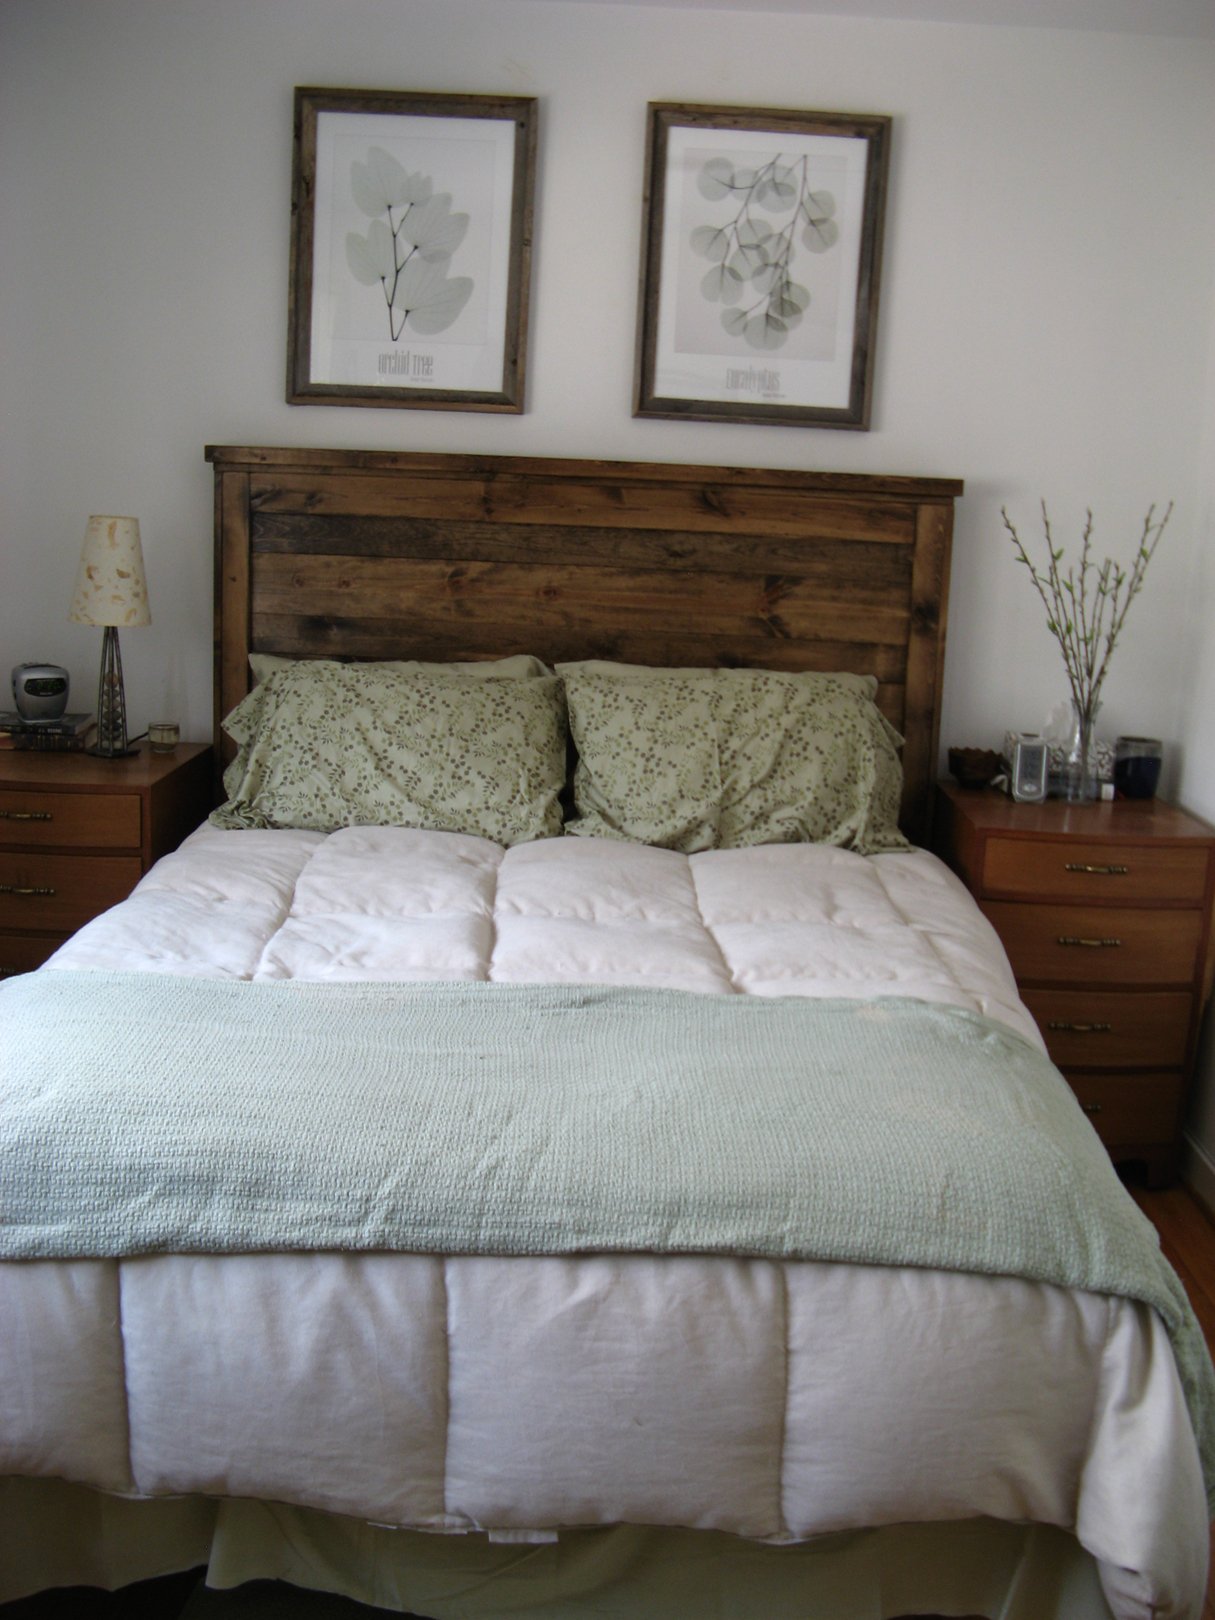
Ana, thanks for these plans! They inspired me to make my first bed build. I also want to thank all of you that added brag posts! They gave me ideas for some of the modifications that I made. I did this build by mixing your Queen Farmhouse and Queen Farmhouse Storage bed plans. I also added a number of modifications to suit my own preferences. The drawer boxes I changed by building a faceplate (I didn't want the plywood ends exposed), and by increasing in depth to maximize some additional storage. Since I increased the drawer sizes, I went with the euro roller bearing slides. I increased the foot-board height to be slightly higher than the mattress. I also designed the footboard to have a removable inner section with hidden latches on the inside. I did this because I wanted to make use of the "dead space" between the drawer boxes. I then used this space to house a hidden drawer, that is approx six feet deep (I couldn't help myself-I love hidden drawers  ). Because I added the hidden drawer, I changed the opptional center support to 4X4 blockes that were pocket screwed under the center of the boxes. I ended up using birch plywood and fir for this build. For my first bed build I'm fairly happy with how it came out. Thanks again!


Thu, 12/11/2014 - 07:41
This is your first build and you did all of those awesome modifications?! Really impressive and it looks perfect! Congrats and welcome to the community!

In reply to Seriously?! by spiceylg
Sun, 12/14/2014 - 06:03
Thanks for the compliments! It was a fun learning experience. Making all the modifications definitely slowed down the build, but also made it more rewarding!
Fri, 12/12/2014 - 13:18
I just started my bed (mostly out of Baltic Birch) and am wondering where you were able to find such nice 4x4s. Your bed is gorgeous! No luck here. I bought redwood, but really wanted fir for the sharper edges. It's my first project, too. I also bought same drawer slides, but the soft close. Didn't want the slam. I figure building it will be the easy part compared to procuring nice 4x4s! Hope you can help!
Sun, 12/14/2014 - 06:01
Thanks! The 4x4s I found at a place called Better Living Building Supply. They had a pretty nice assortment of fir, including the 4x4s, so that is why I chose it for the build. Finding the 4x4s slowed down my start on the build. Our local Lowes only had them in treated pine.
Sat, 09/05/2015 - 20:47
Thank you for the pictures, the bed turned out Awesome. I was wondering about the latching system for the foot of the bed. Do you think a piano hinge on the lower would work too? Also on the center drawer did you use rollers or is it just friction? Can't wait to start the build.
Thanks

Mon, 02/15/2016 - 14:11
This is excellent!!! I really like this, so much in fact that the wife is going to have to get used to it too. lol But really, GREAT work! Any chance you could post a pic and or comment about how you attached that removeable end? i think this is the best part! Cheers!
Wed, 10/24/2018 - 23:21
How can I get / purchase the plans for the construction of the bed ?
Tue, 12/10/2019 - 08:42
Beekeeper, Awesome build!!! Have you posted your altered plans anywhere? I'm very interested in your build, I was wondering about some aspects of it and how you approached it. Plans would clear it up instead of bothering you with all my questions.

Mon, 11/16/2020 - 15:42
Bed turned out awesome. I was wondering if you have the plans for the bed with a list of supplies it took to make this bed. I so want this bed it's just what we are needing
Great job
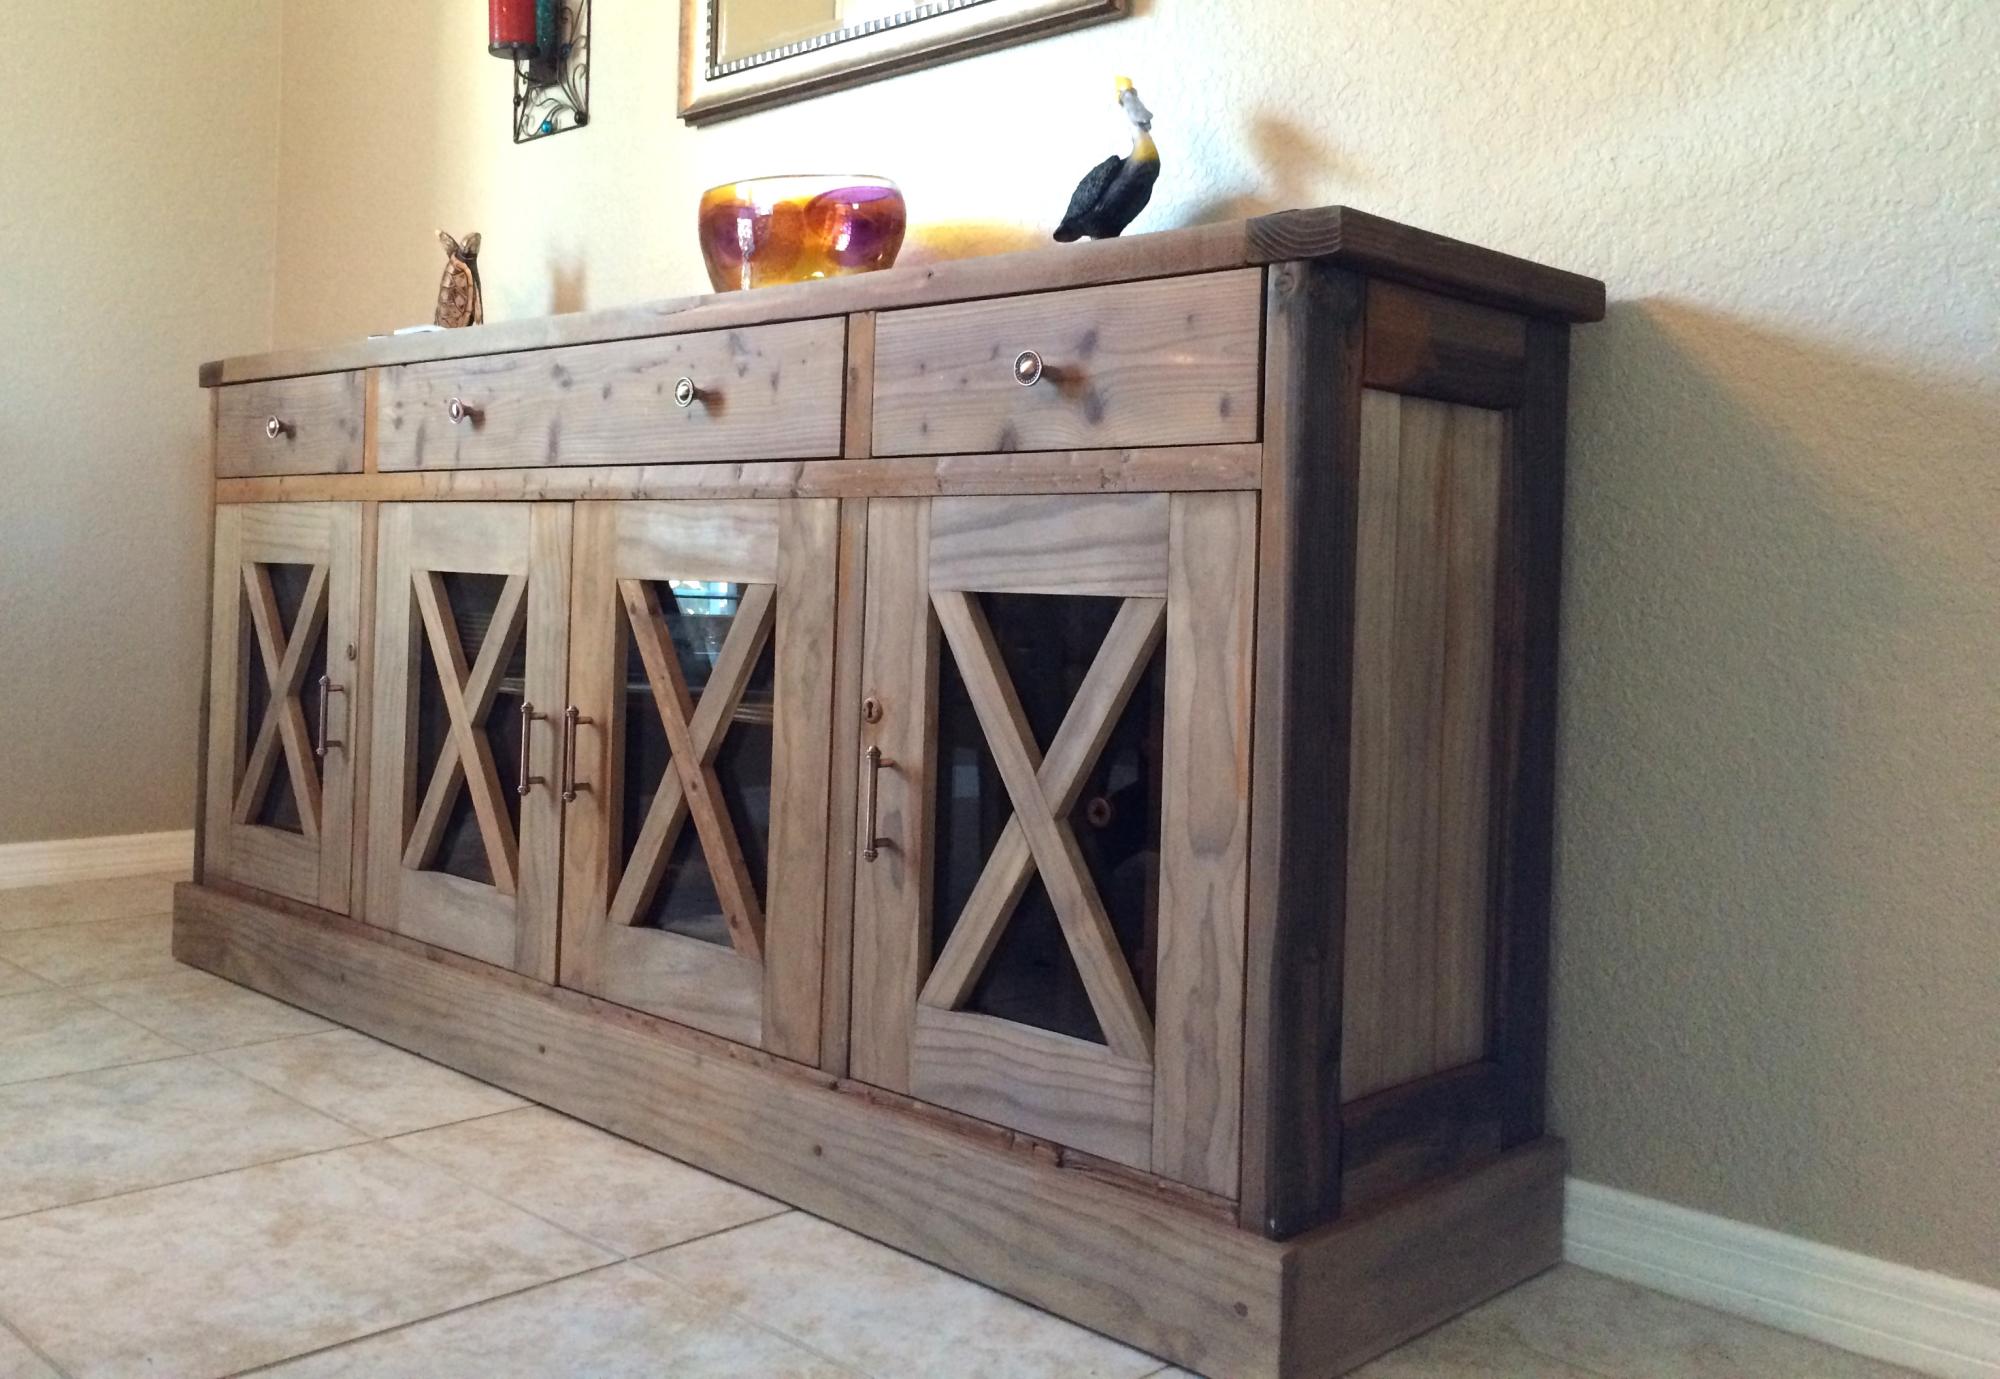
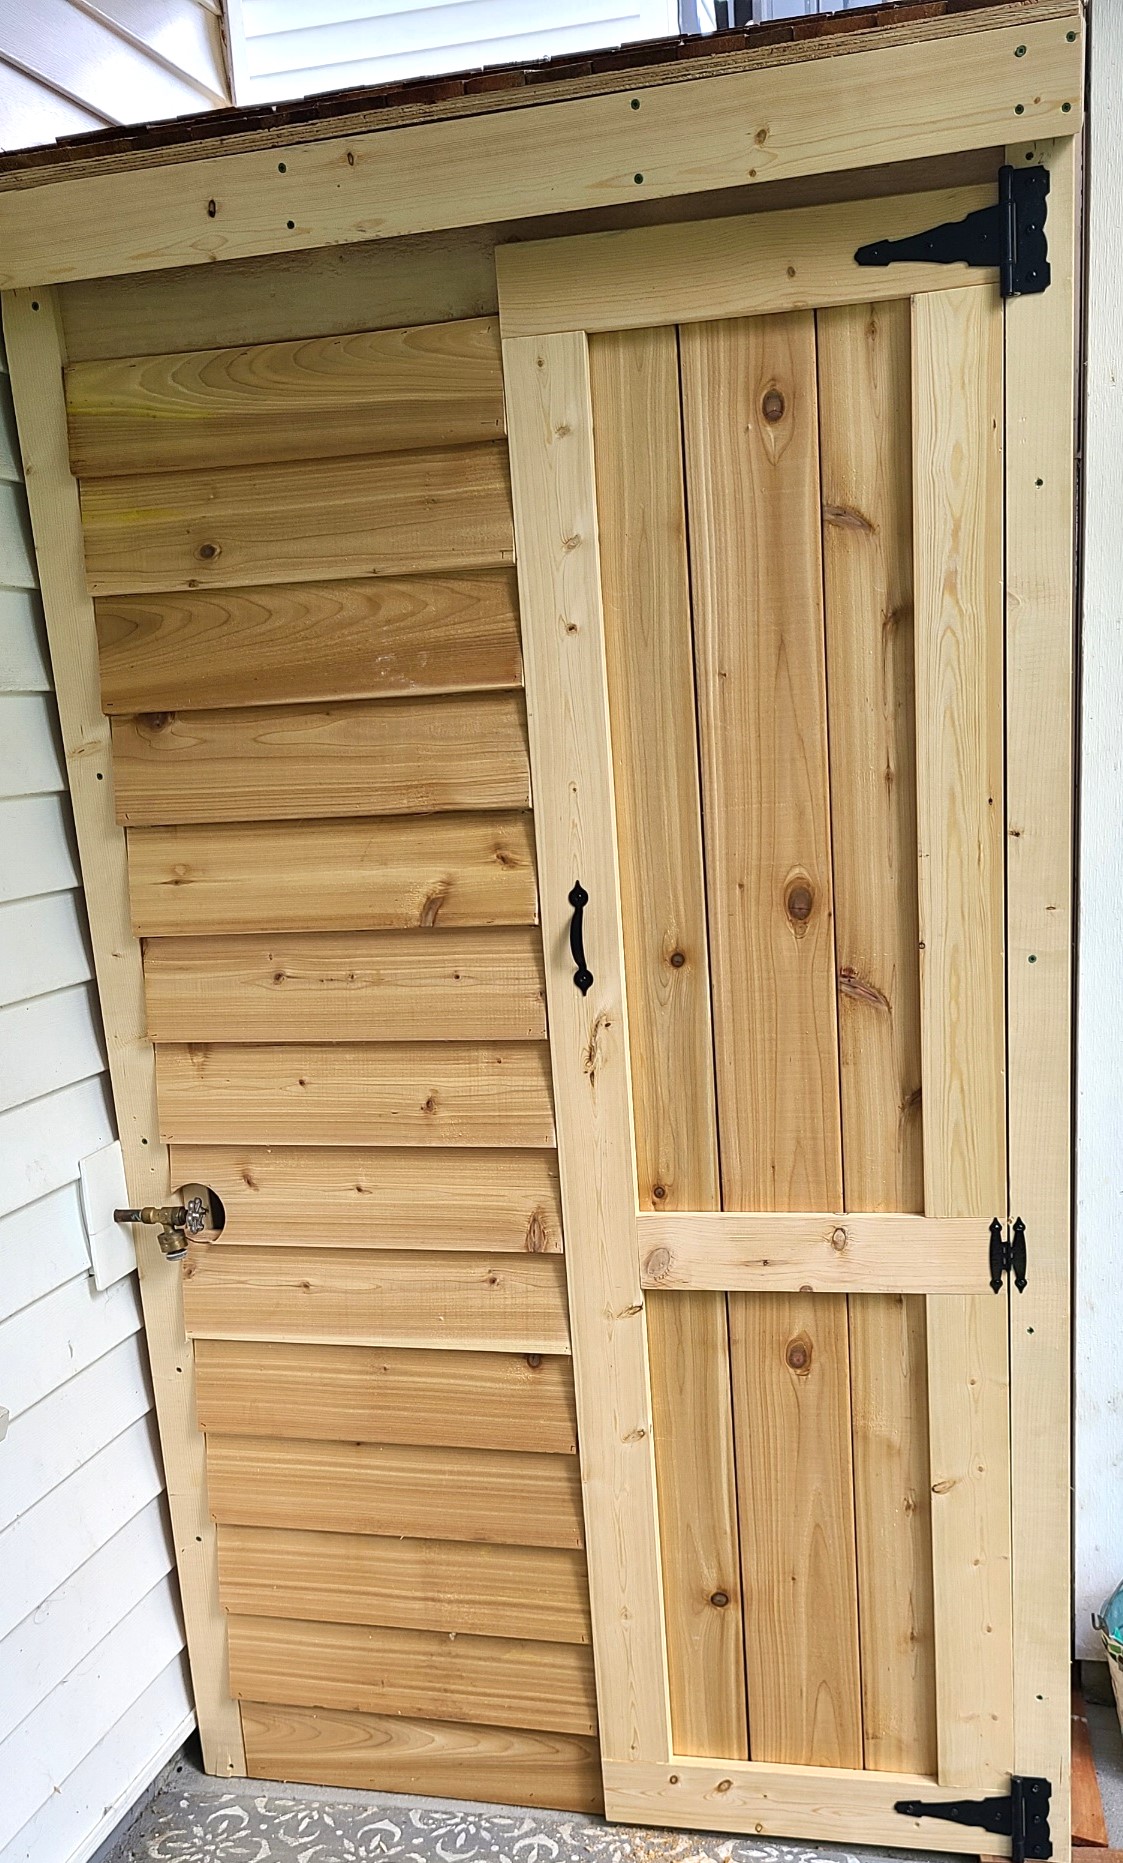
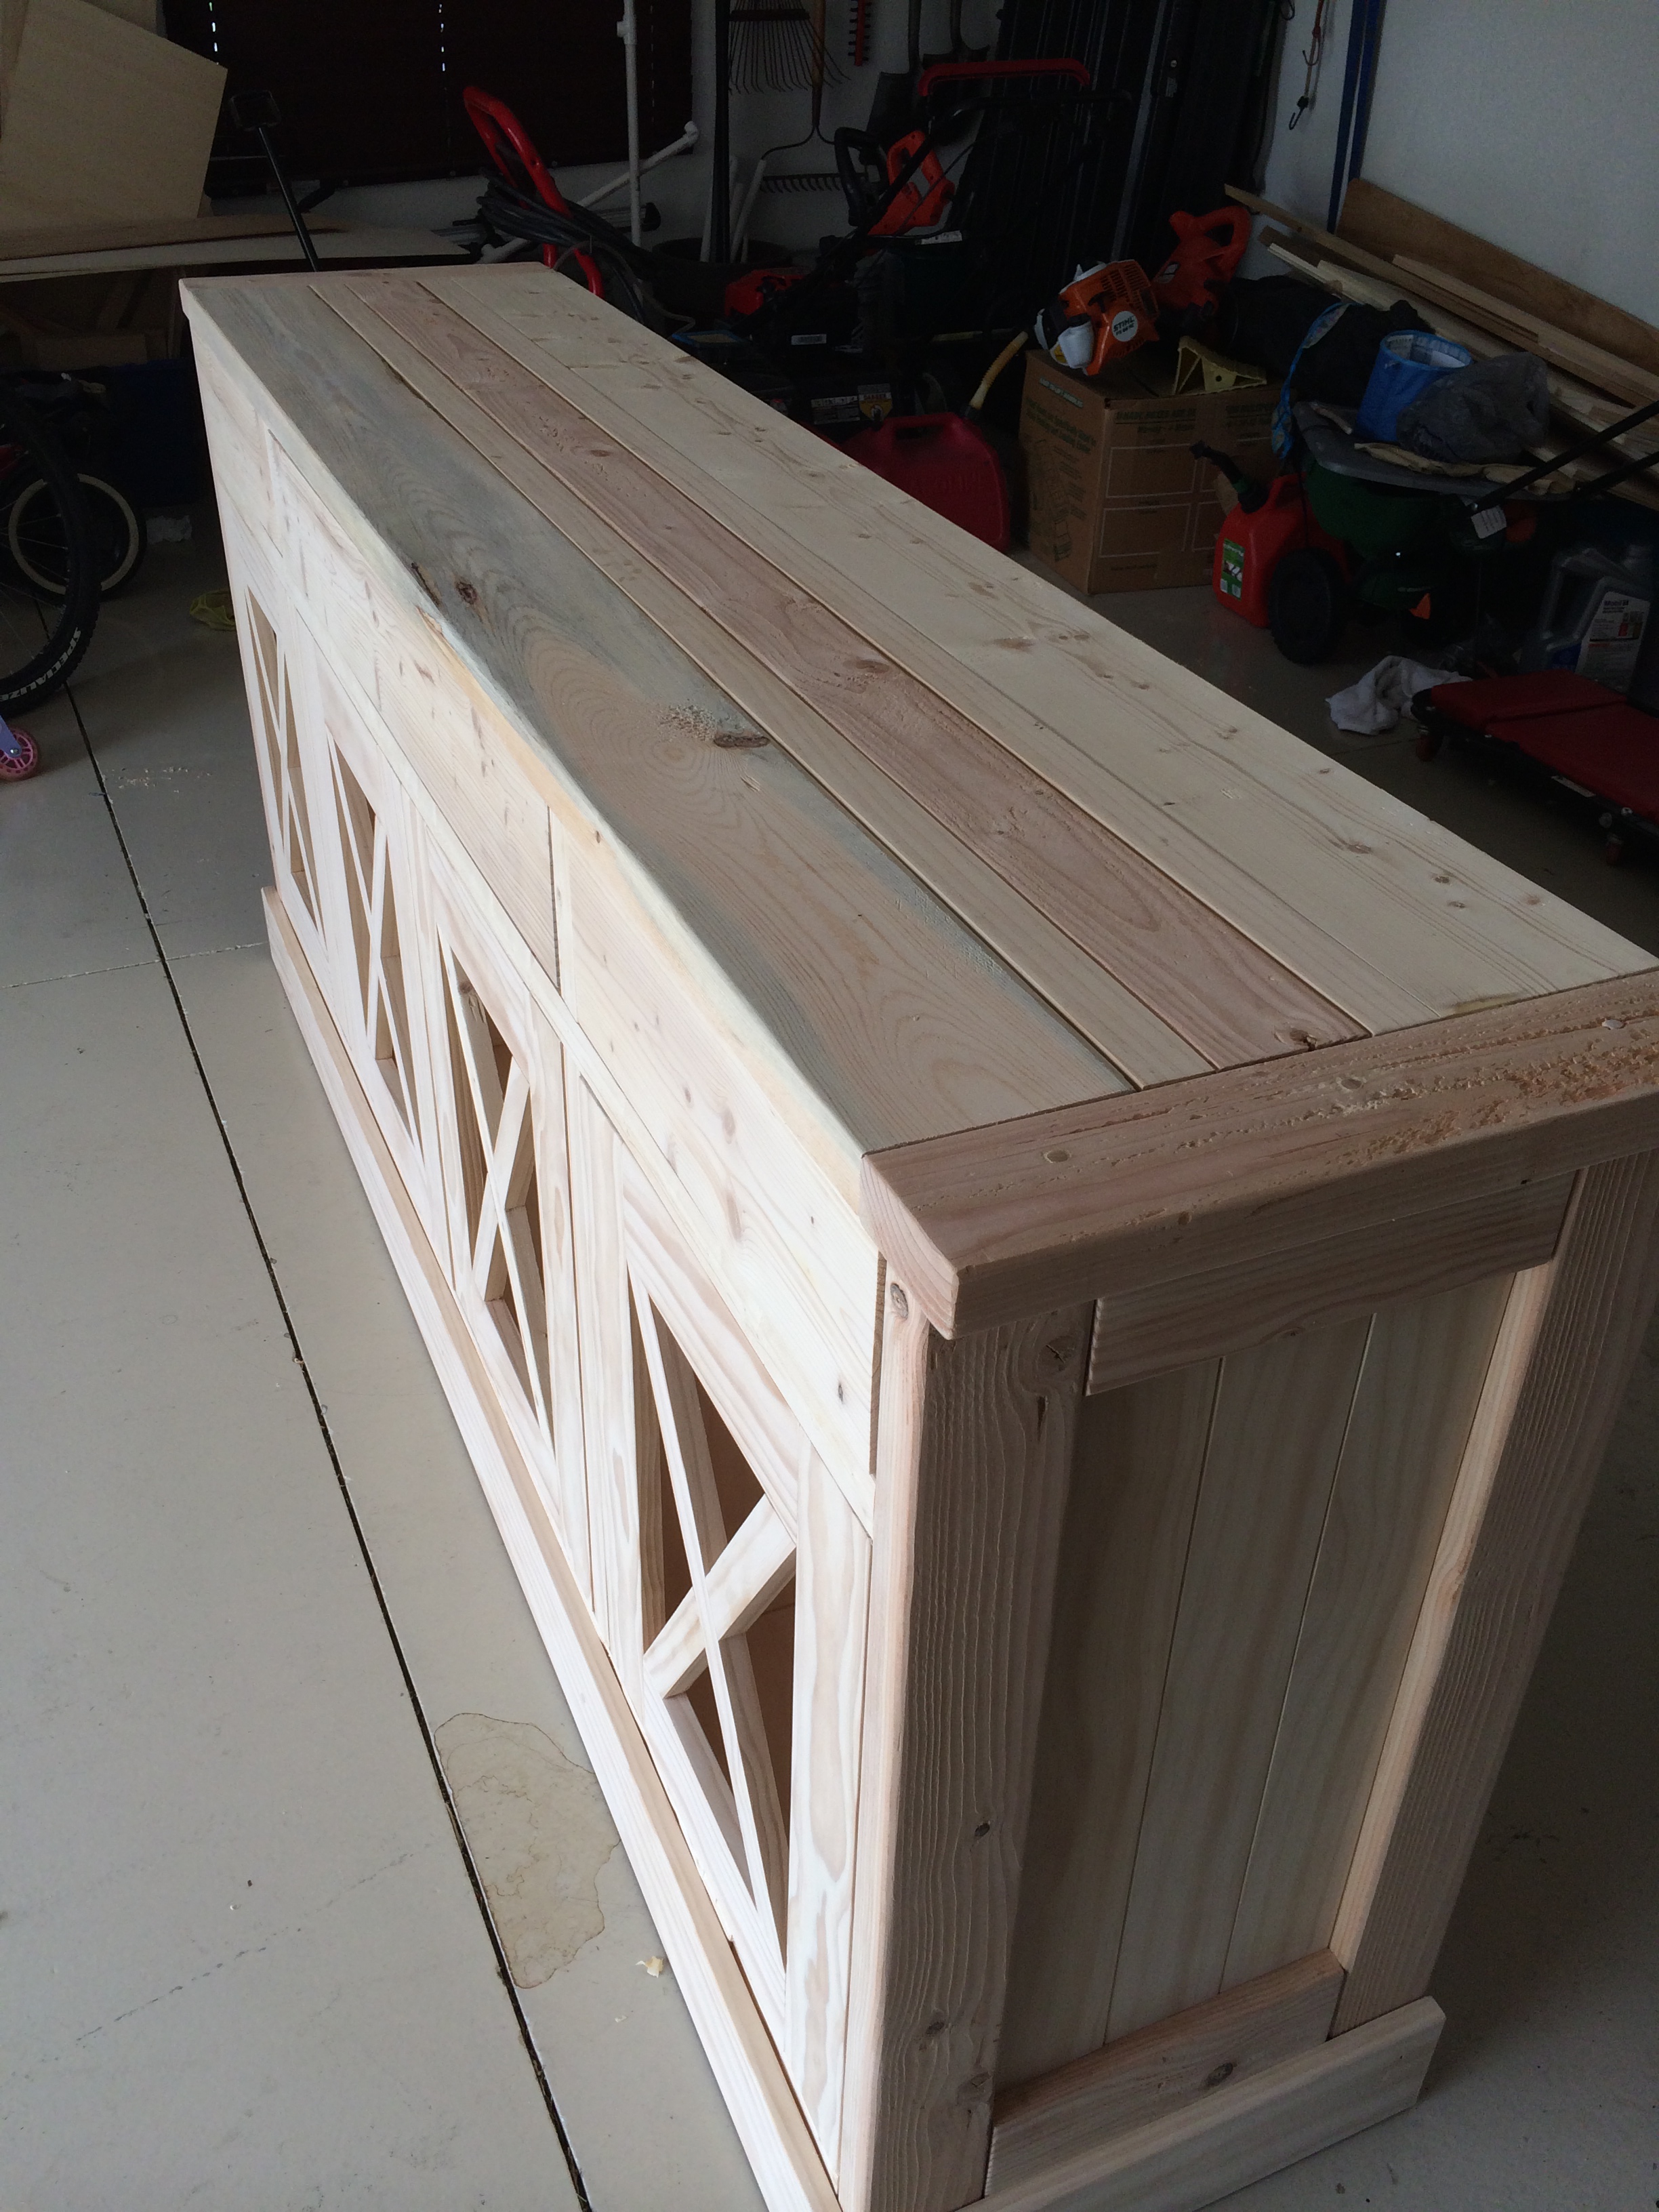
I made a few modifications from the original plans as I wanted to have some visibility into the cabinets. I used natural pine and finished with a tea, vinegar/steel wool solution to give it the reclaimed wood look.


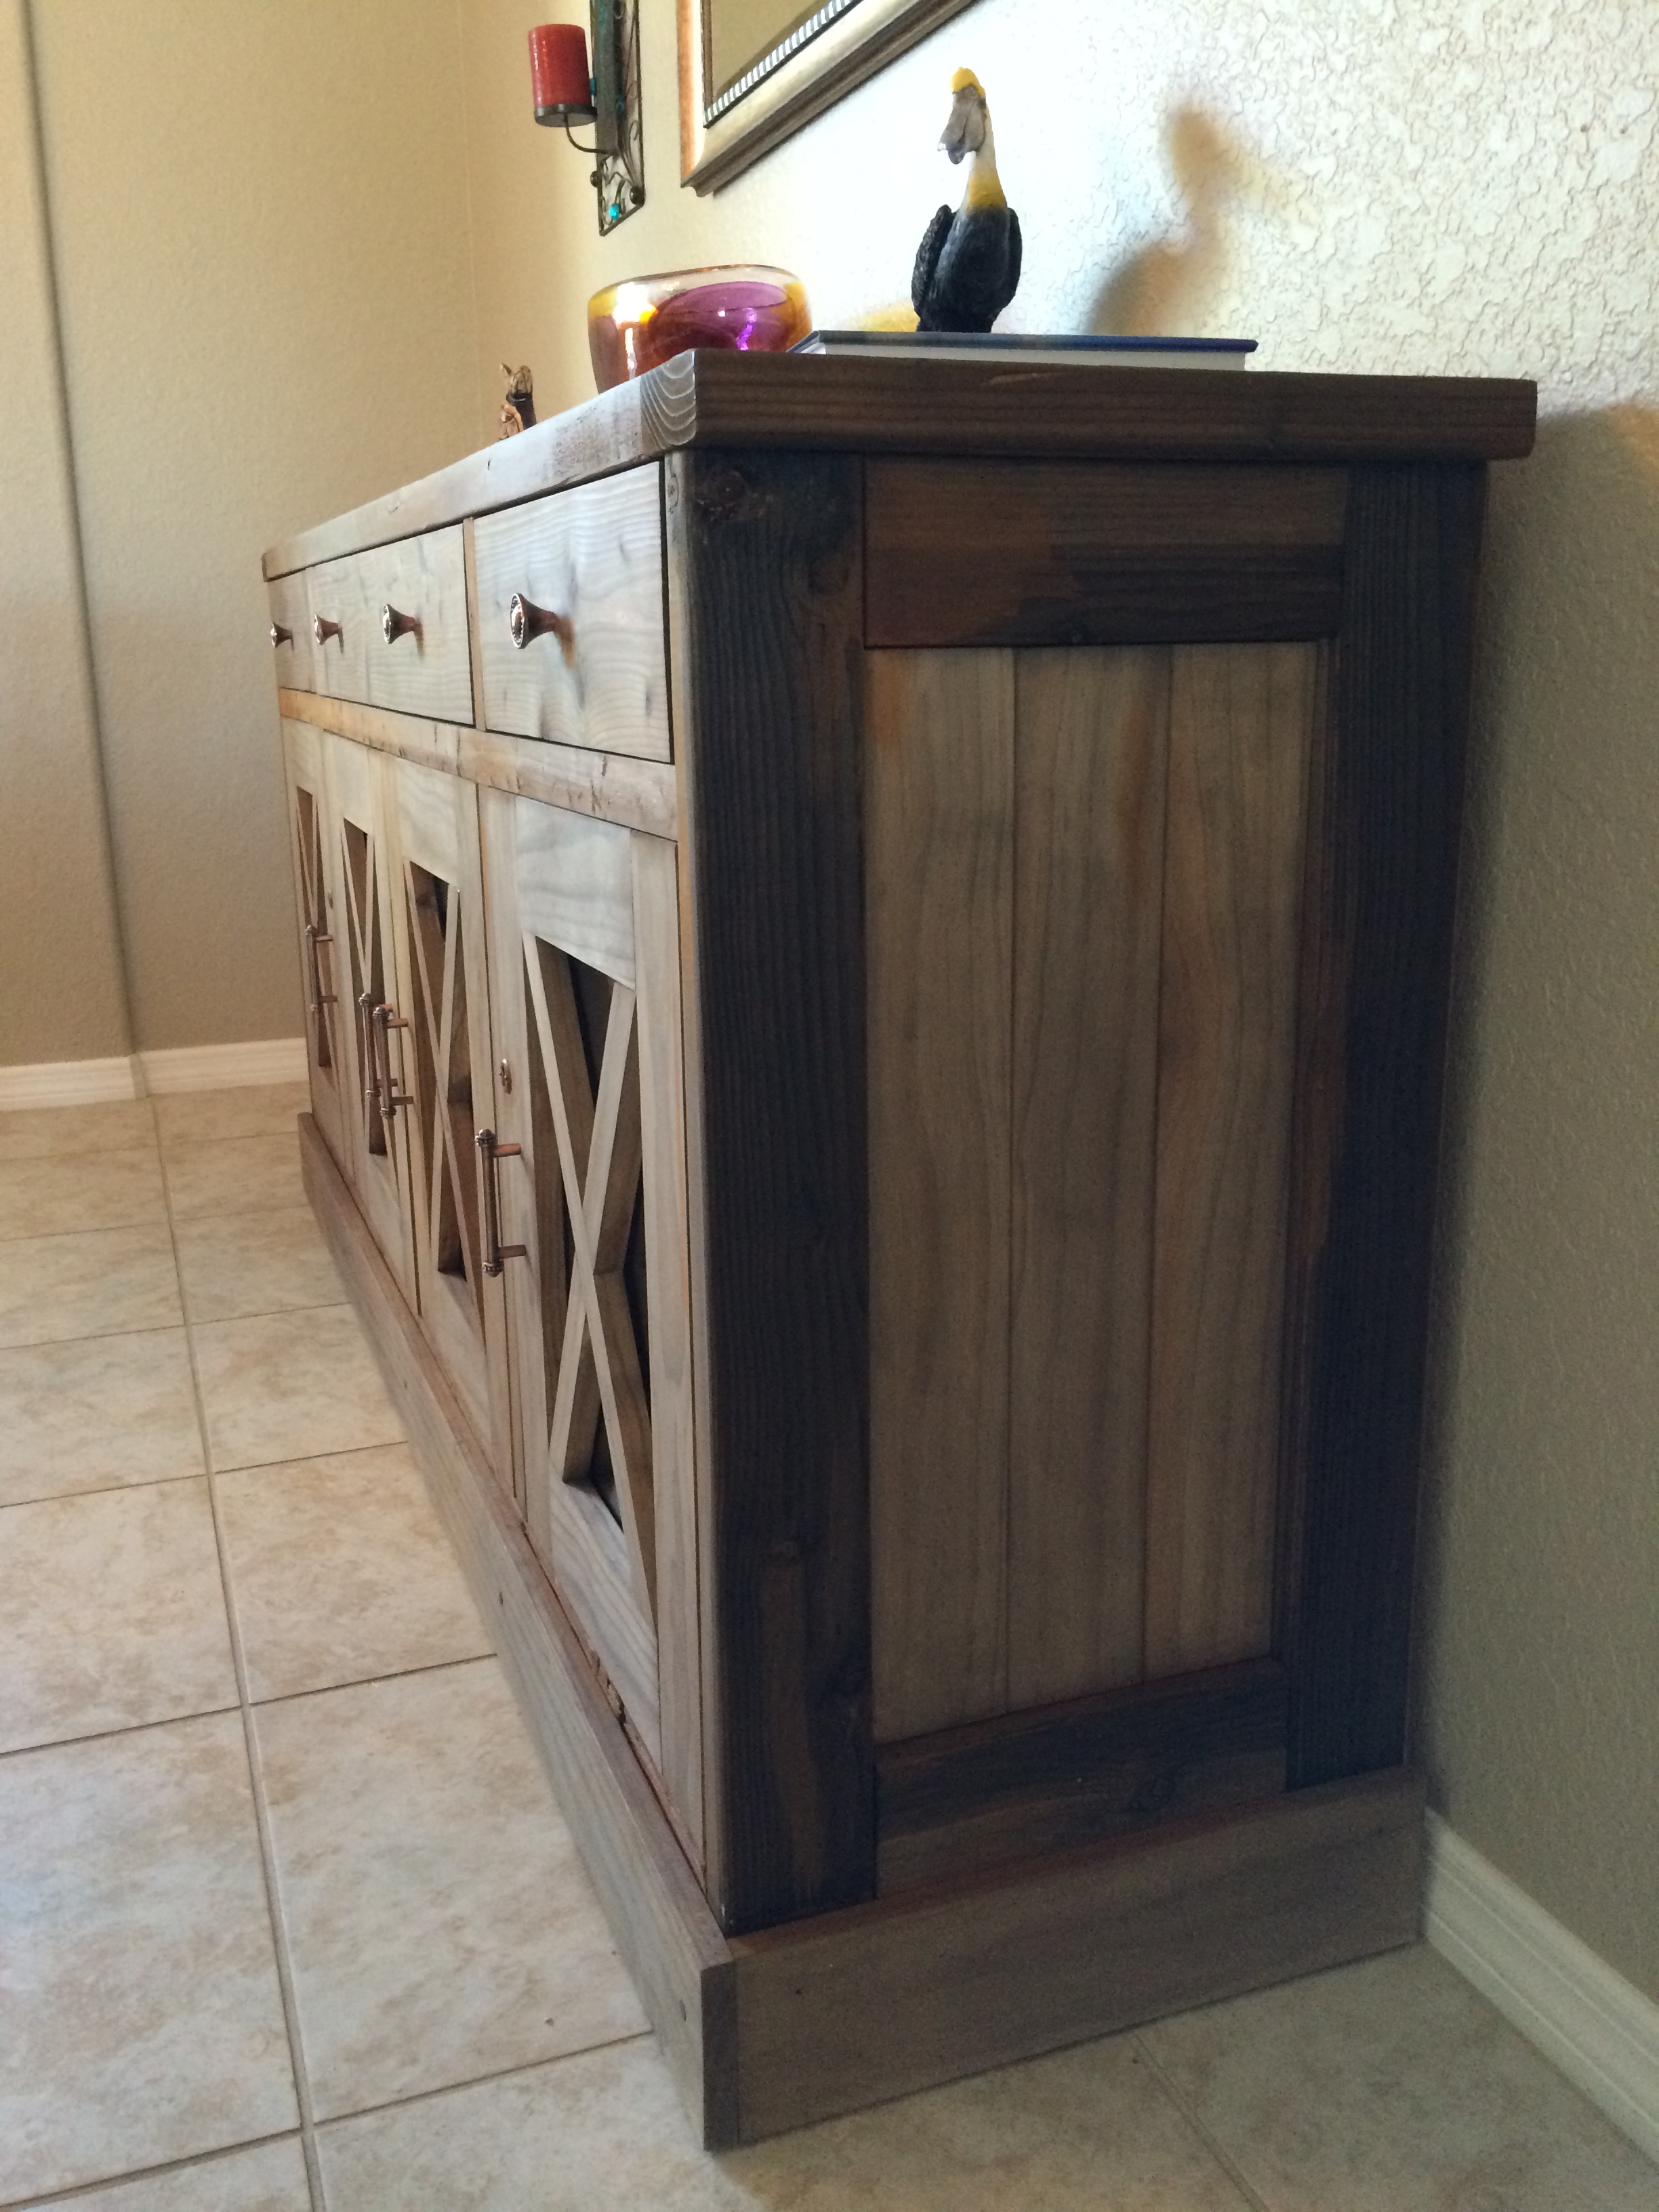
Wed, 08/17/2016 - 23:42
Would you have plans available for the modifications that you made? This is beautiful!!
Mon, 07/22/2019 - 10:52
Do you have plans for the modifications you made on the doors? Thank you