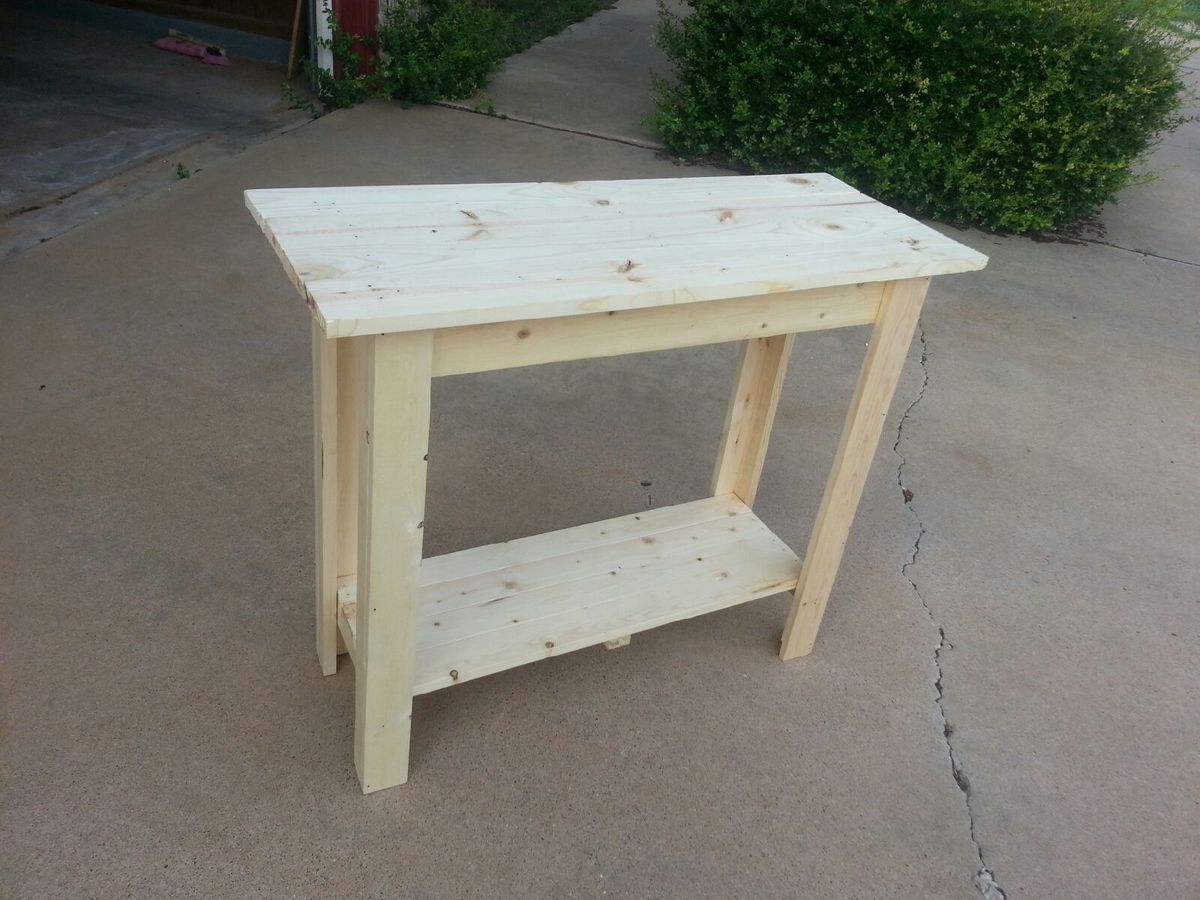
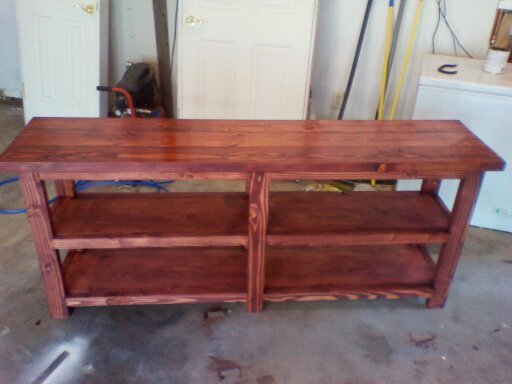
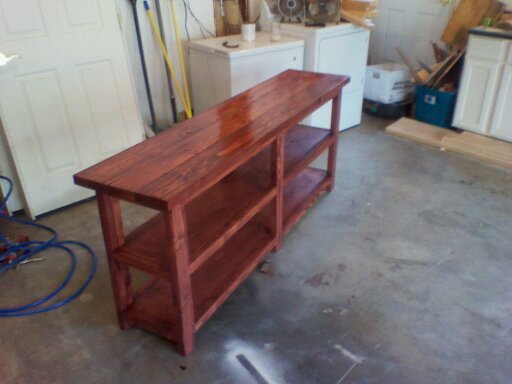
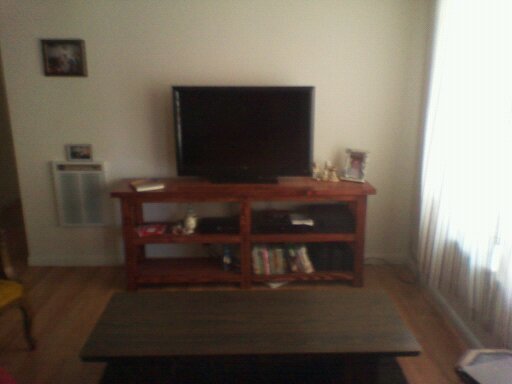
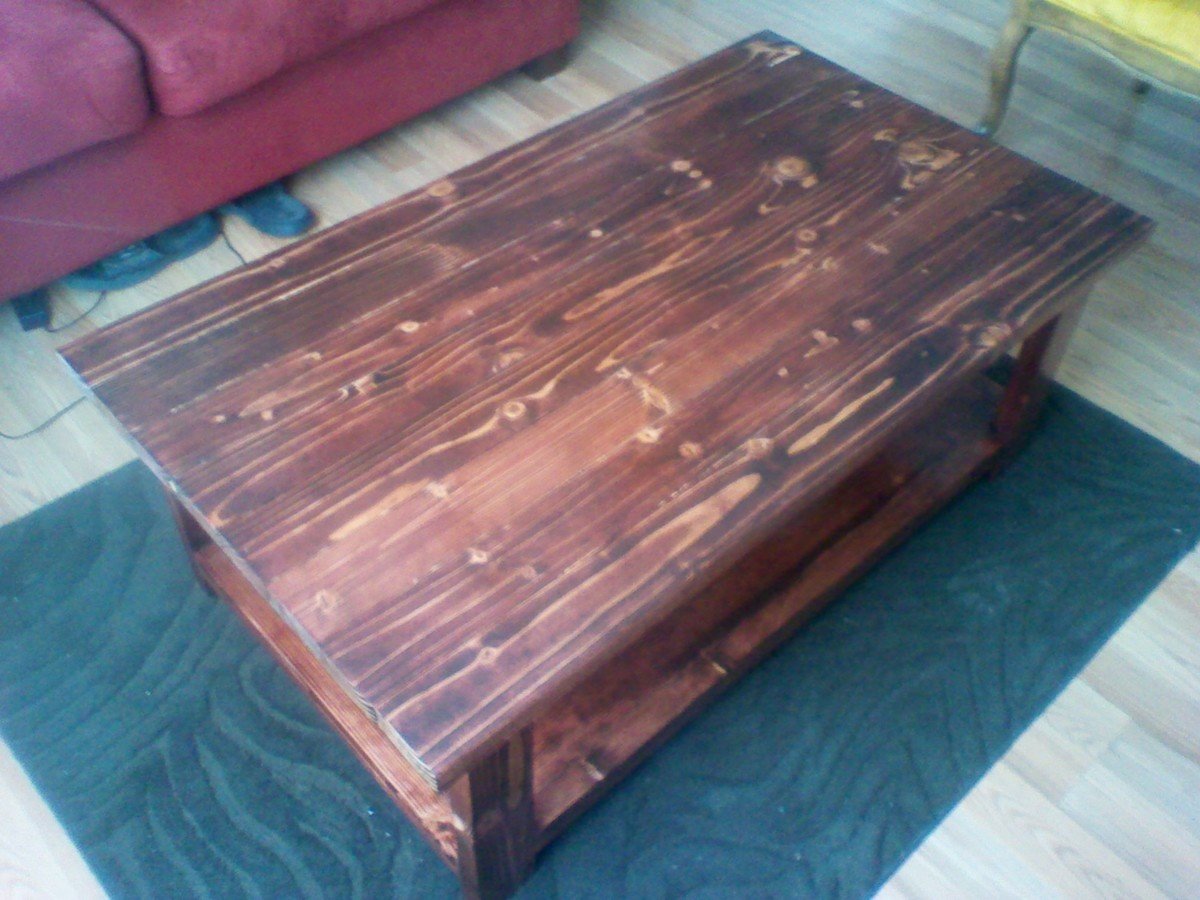
Fully Functional Arcade Cabinet

Didn't use plans for this, so I eyeballed basically everything. Certainly made for a more frustrating build, but I have to say I'm happy with the end result!
Estimated Cost
$300
Estimated Time Investment
Week Long Project (20 Hours or More)
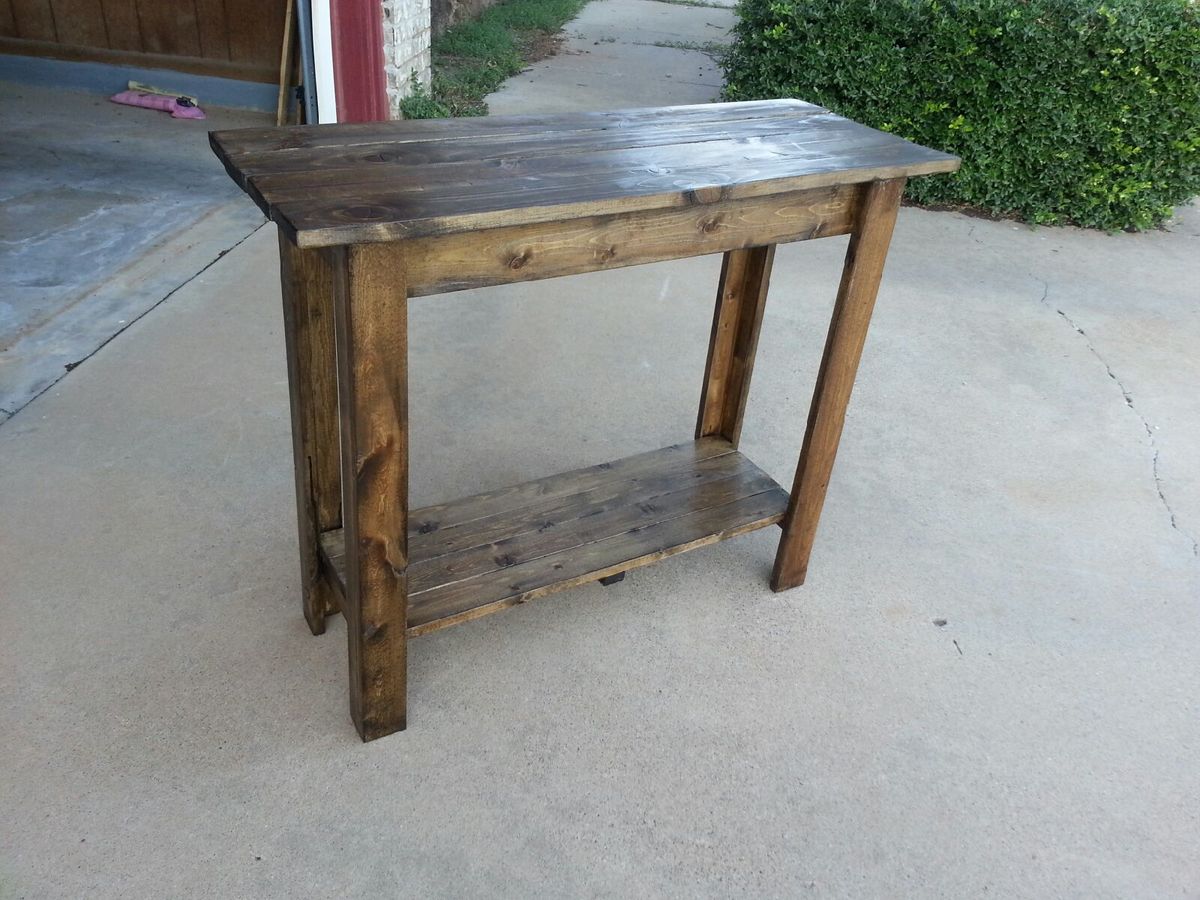
Finish Used
Minwax Walnut
Recommended Skill Level
Intermediate


Comments
Ana White Admin
Sun, 02/28/2021 - 12:50
WHOA!
Super cool build!