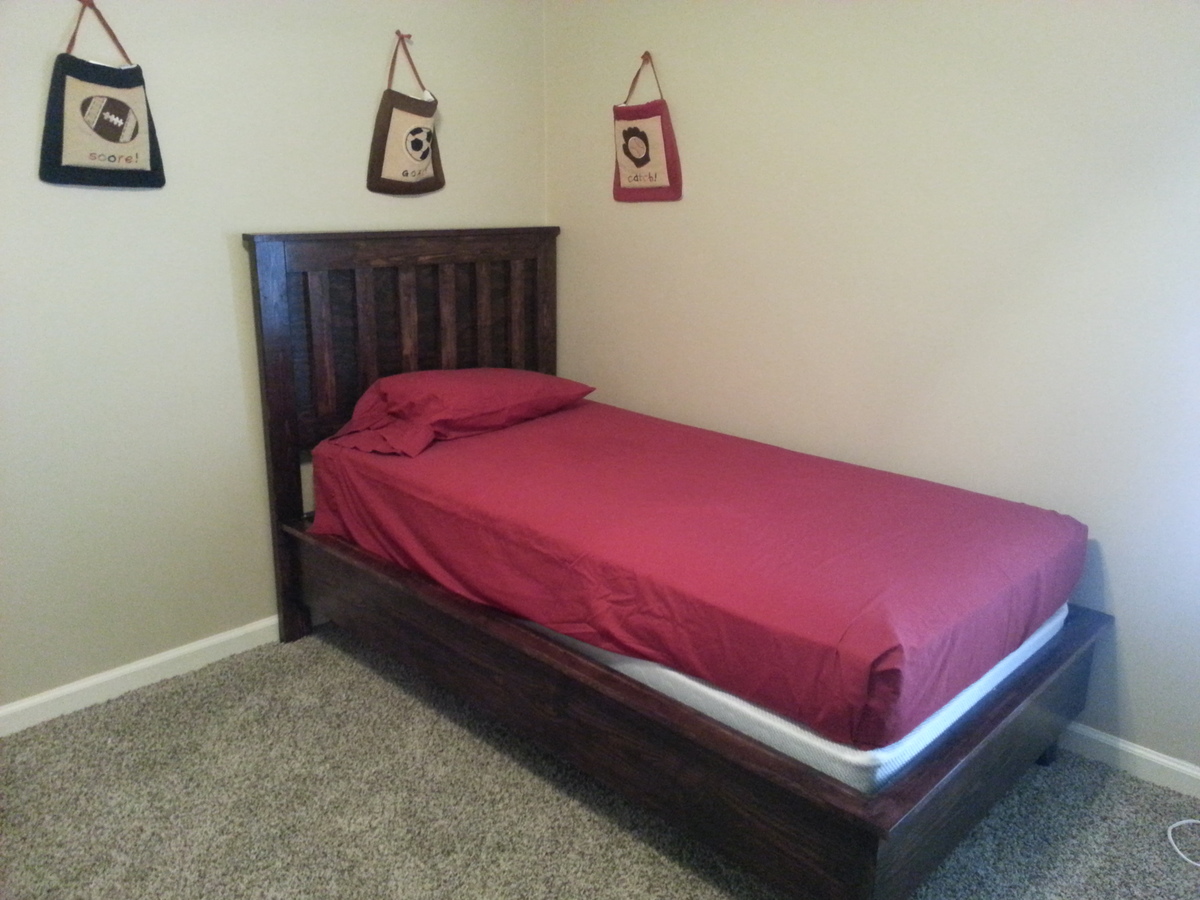
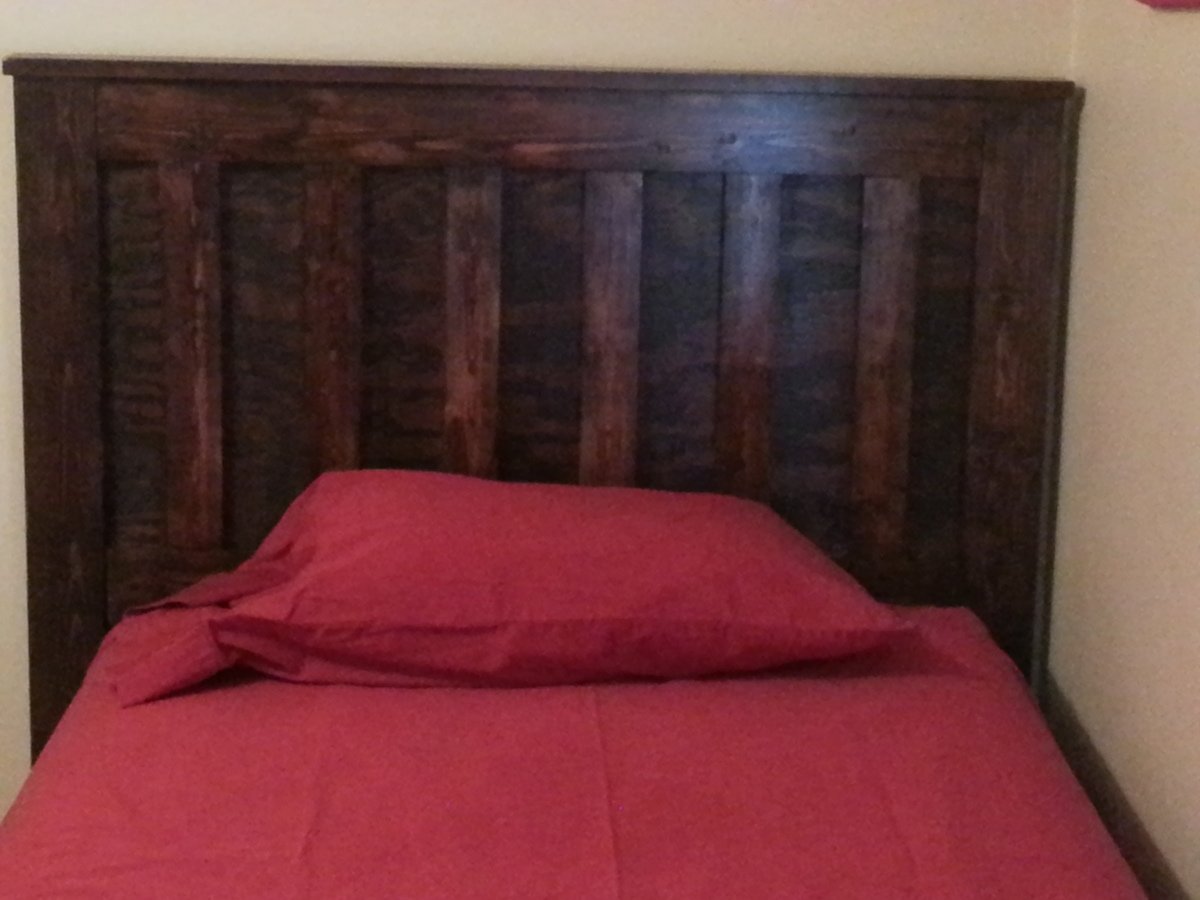
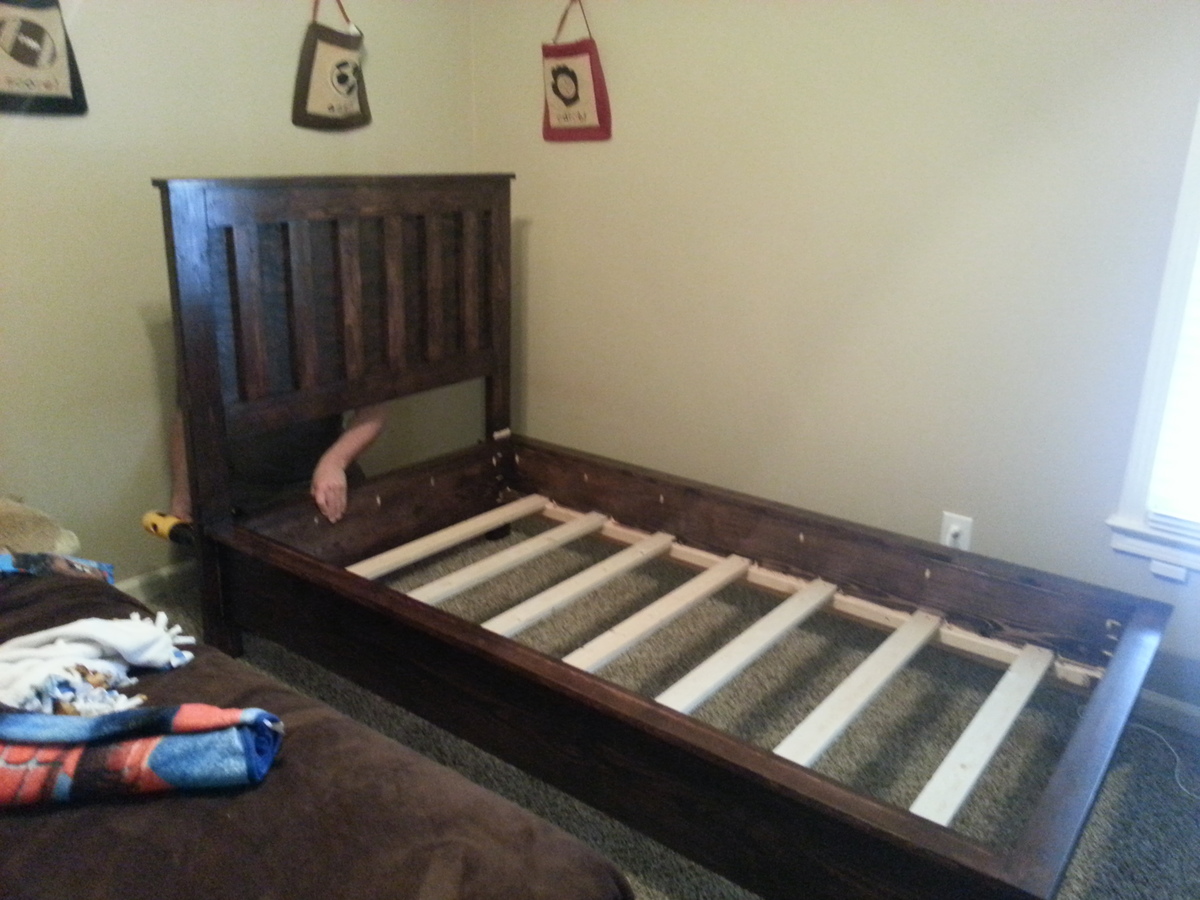
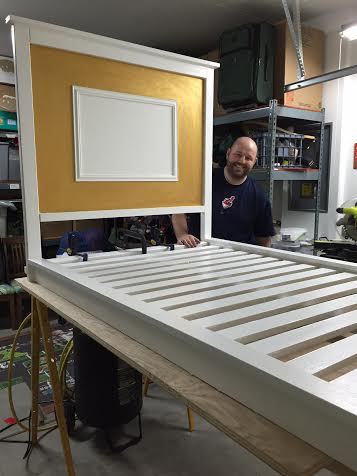
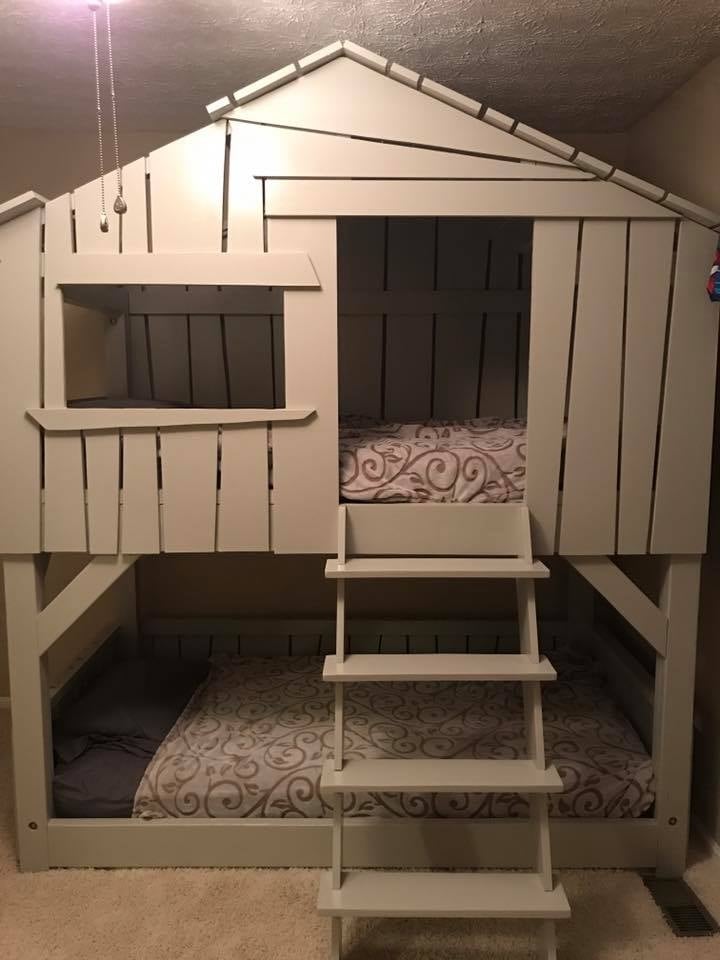
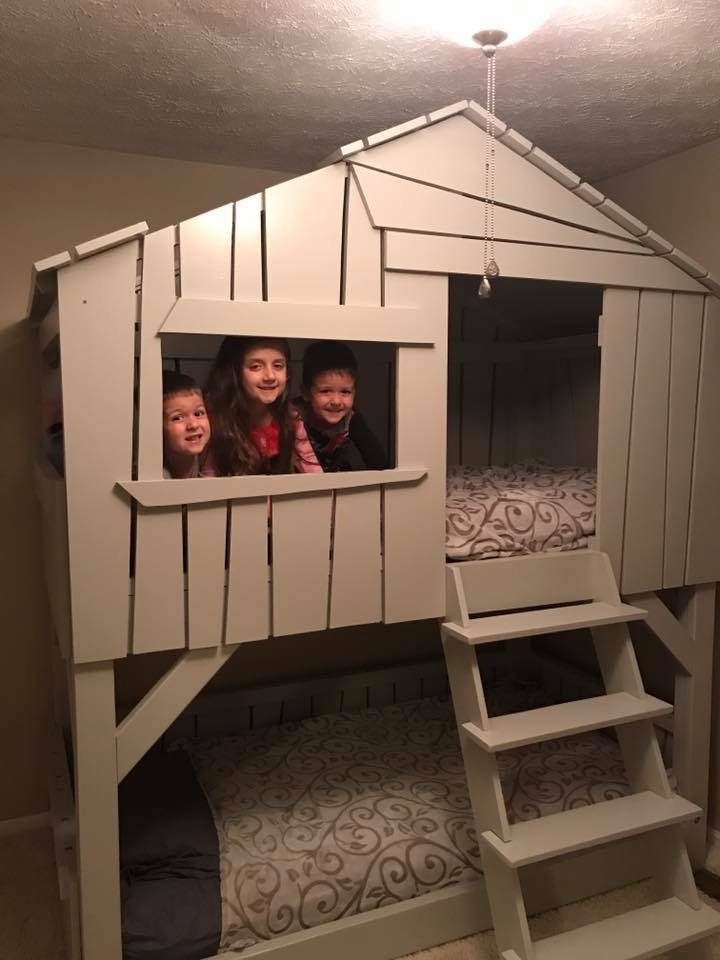
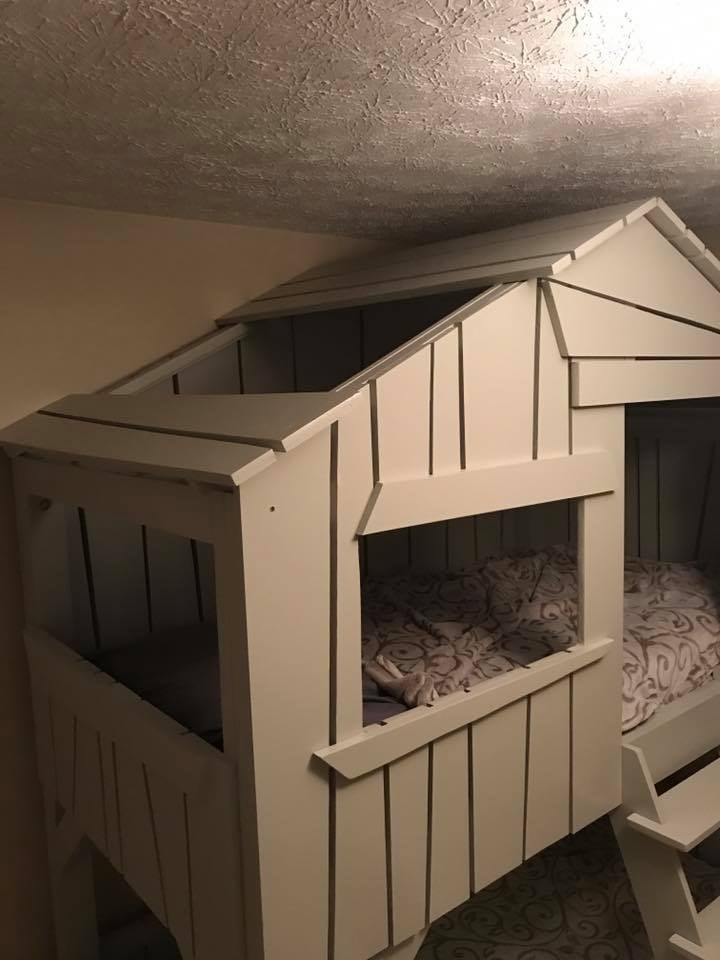
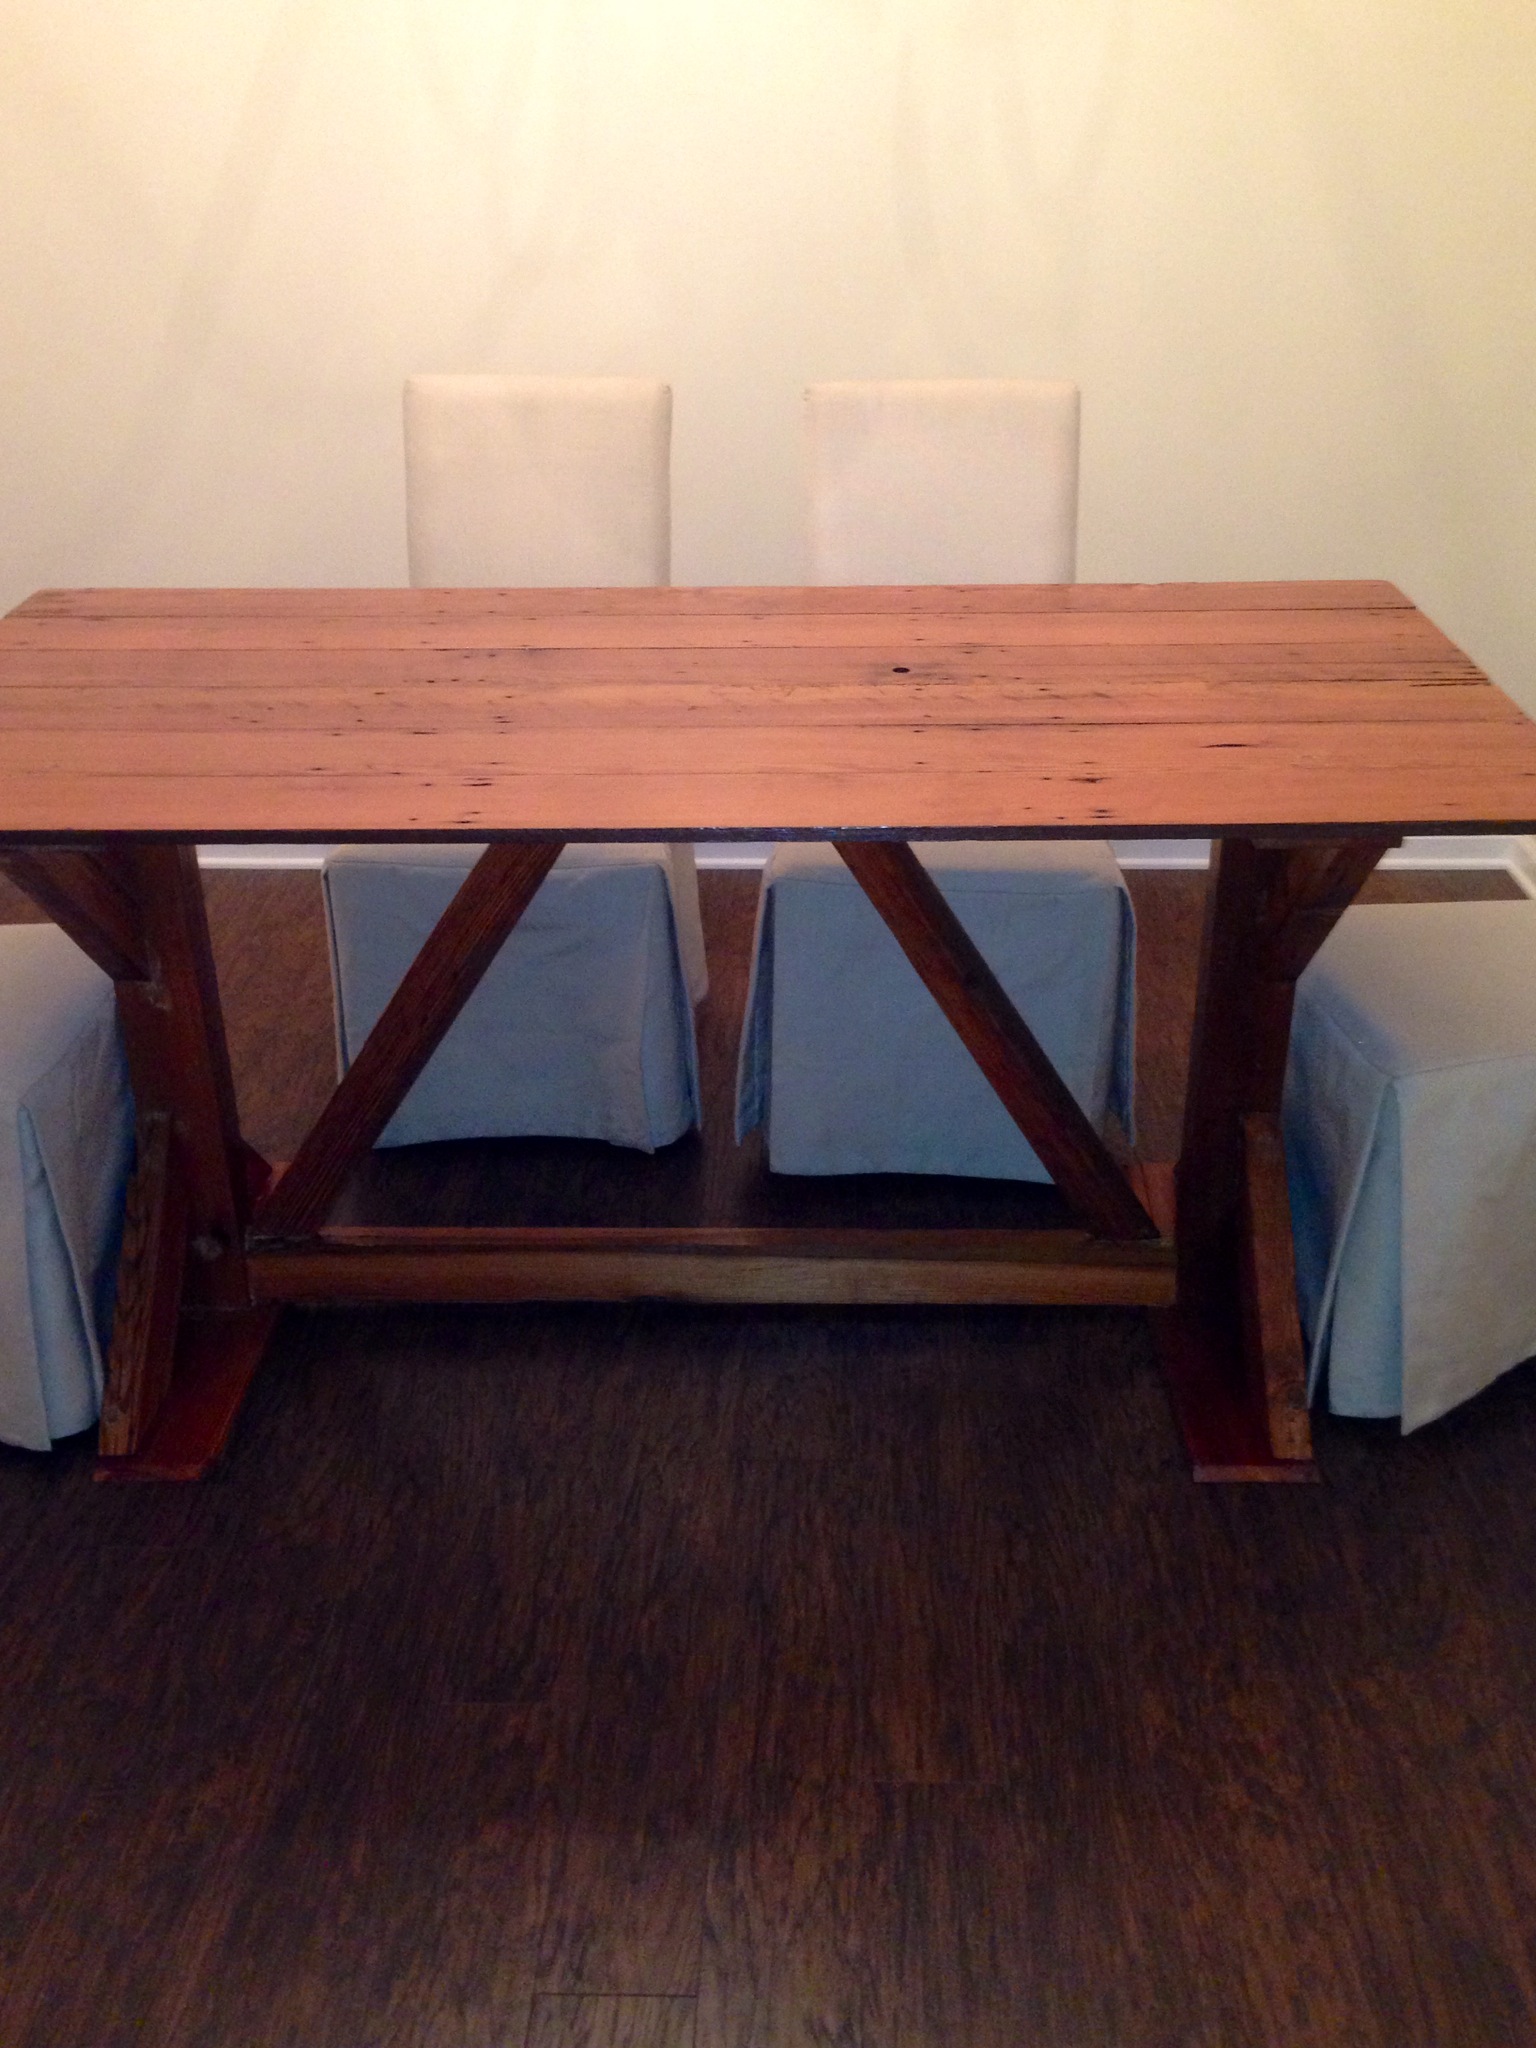
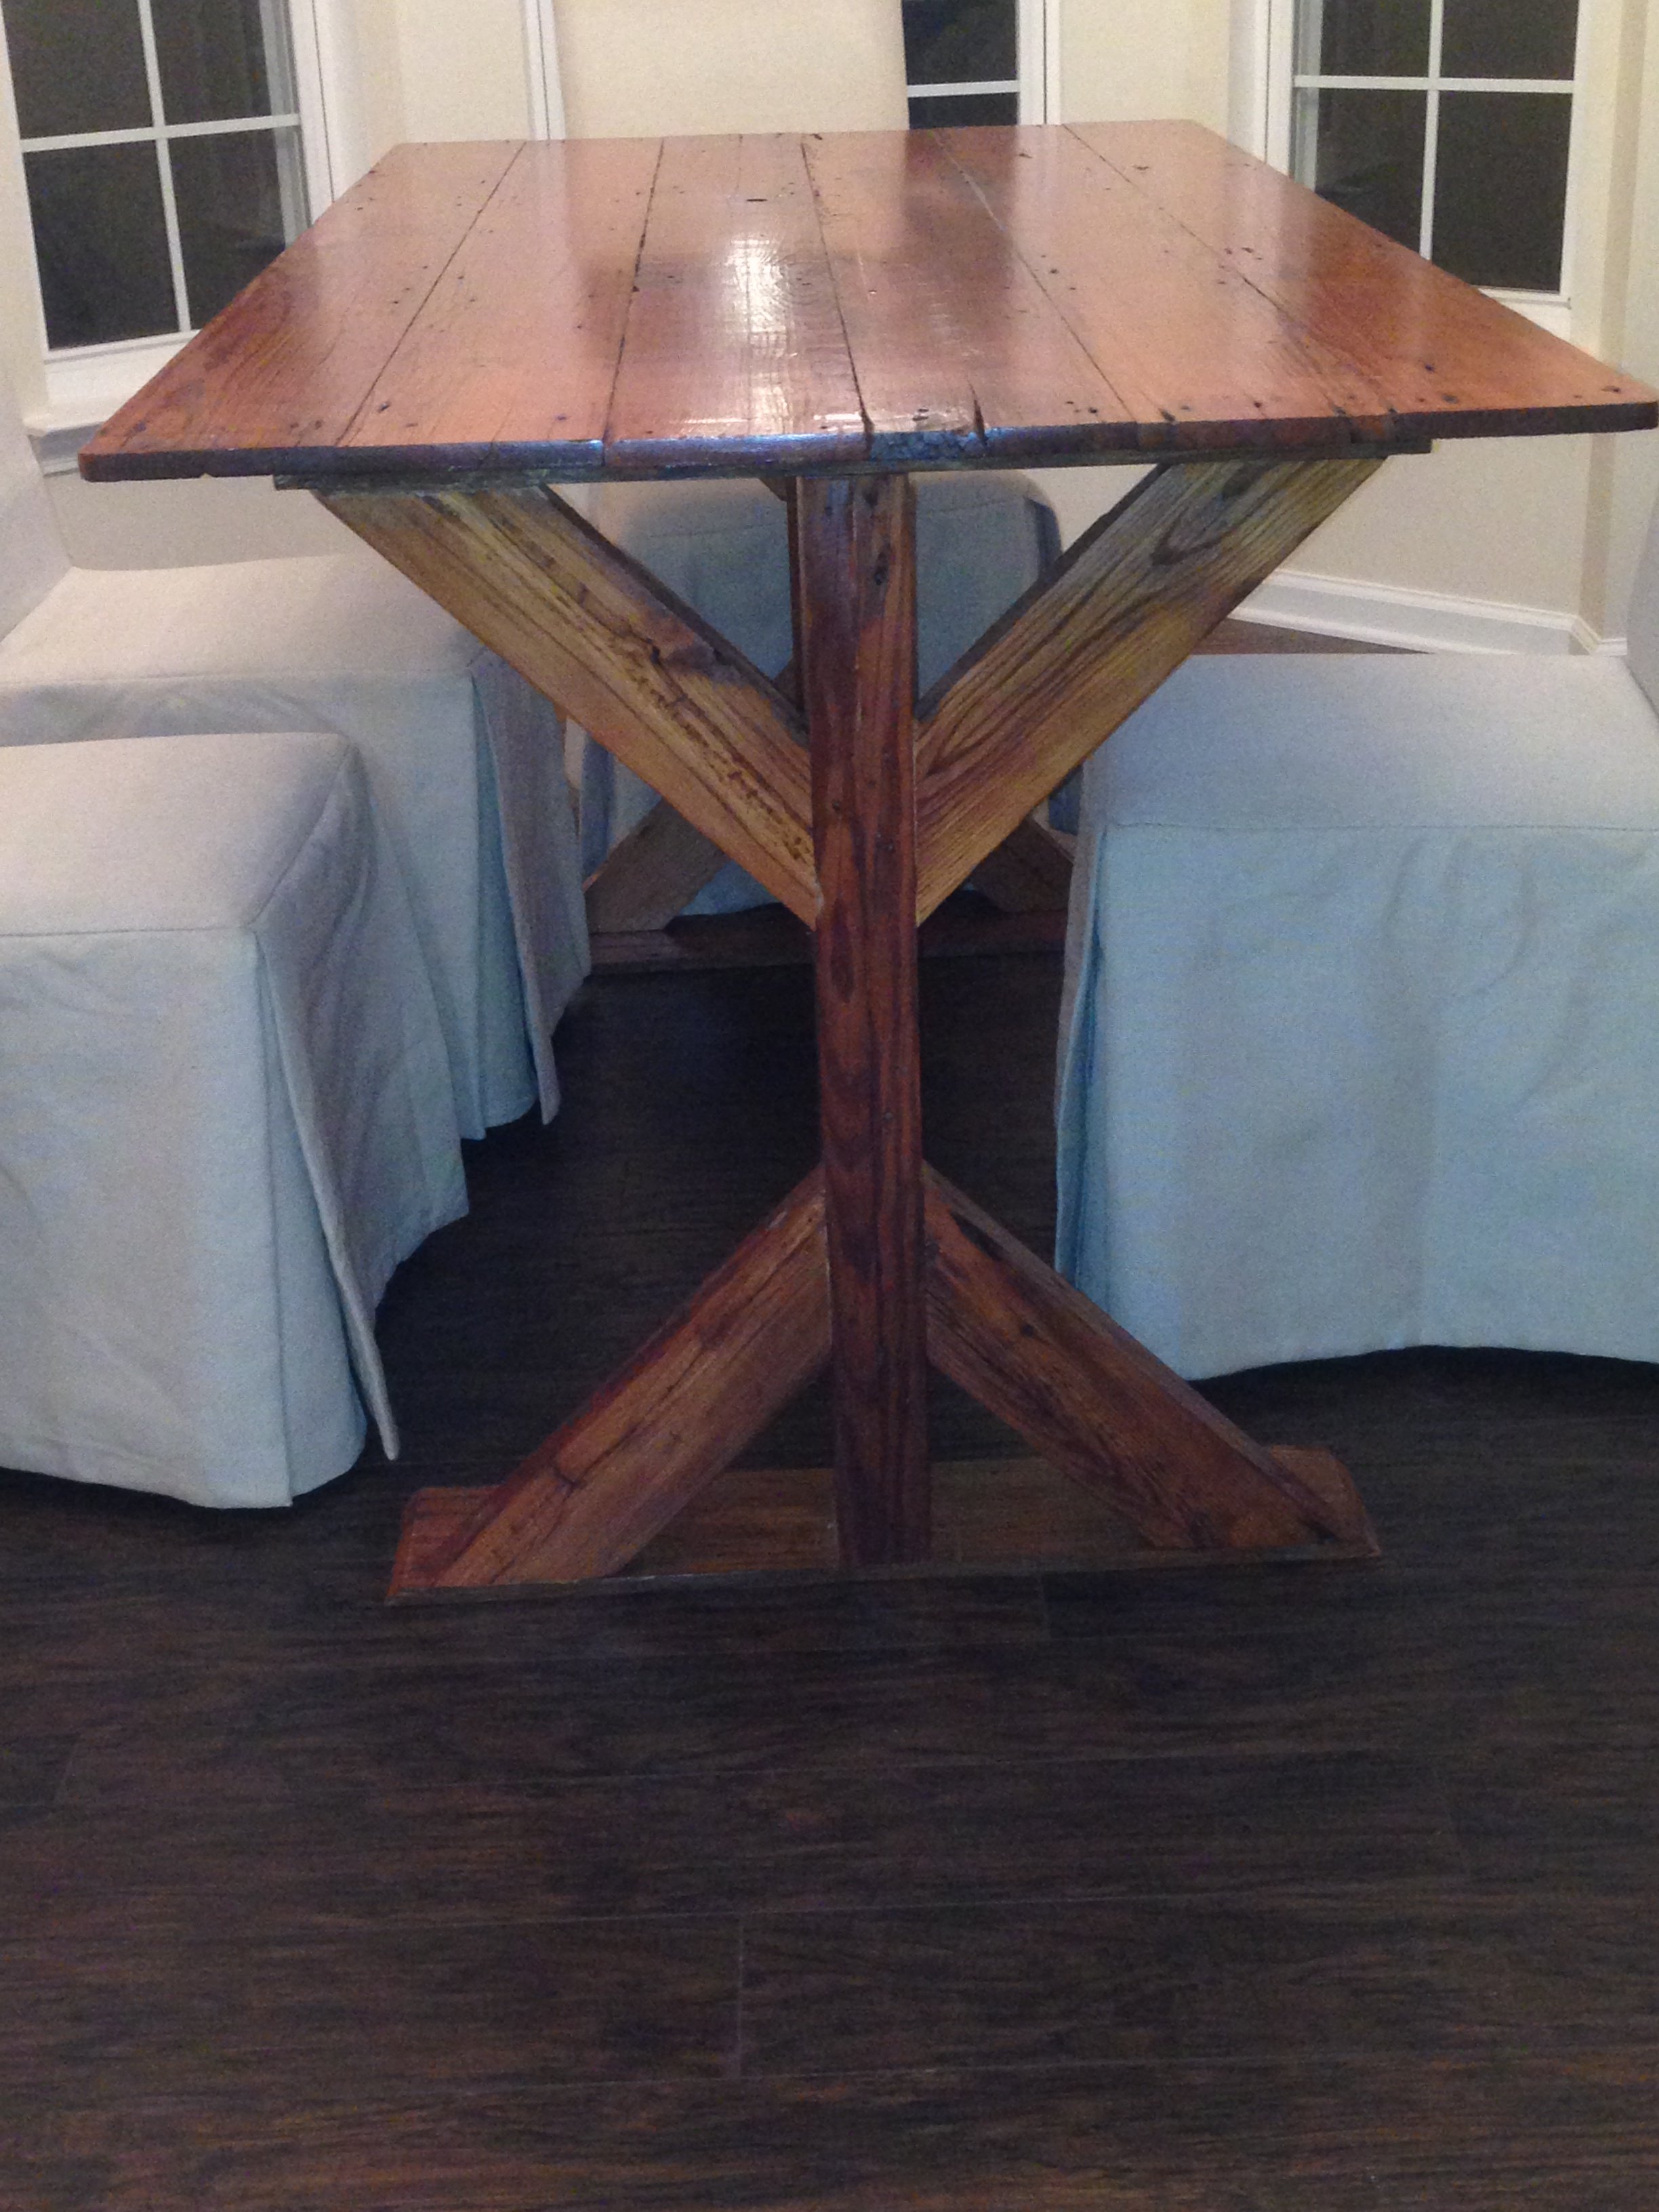
Side Street Bunks Twin Over Full Modification
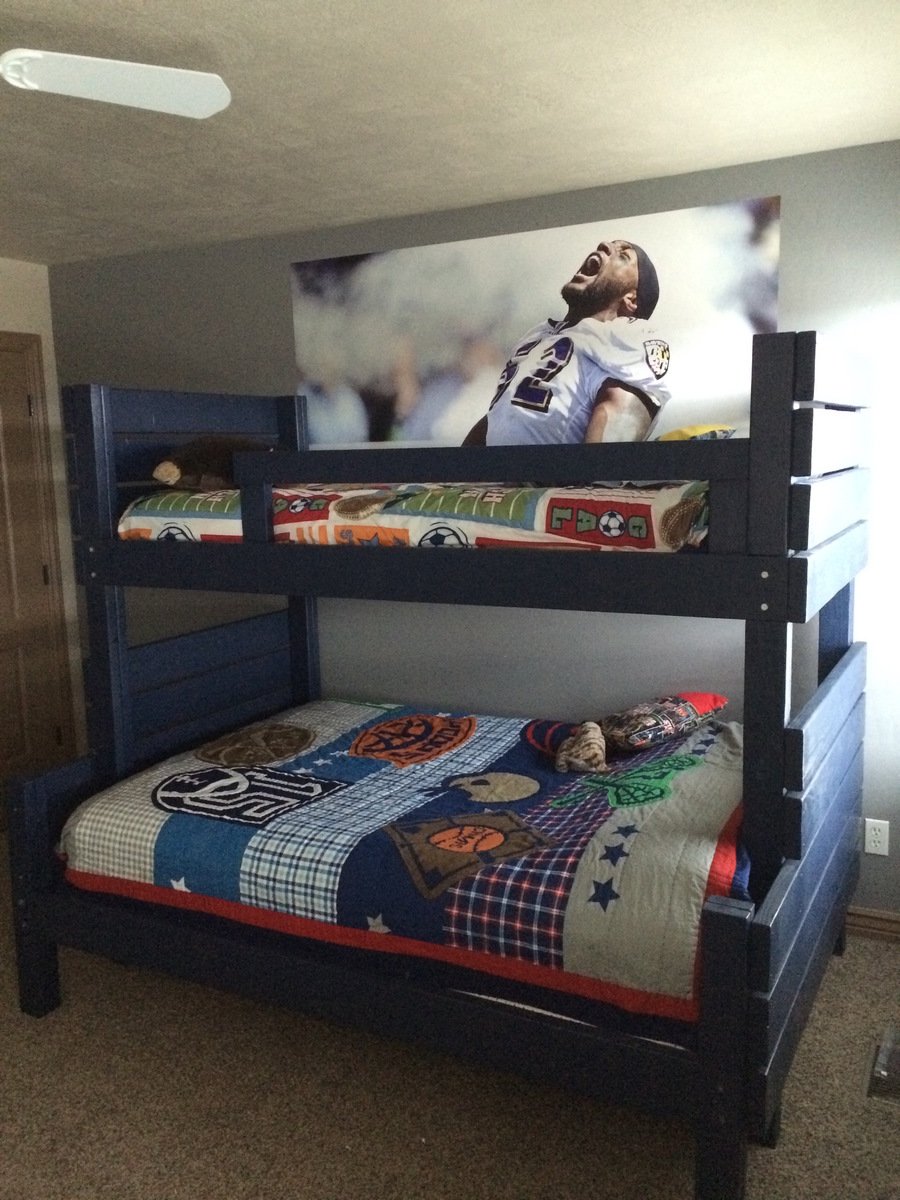
I needed a good sturdy bunk bed for my boys and I didn't want to spend a bunch of money. Every bunk bed I looked at seemed to wobble and cost a fortune so I ventured off to make my own! I came across the Side Street Bunk plans and did a little modifiying to make them work with the mattresses we had. I absolutley LOVE the way they turned out and my boys are so excited to finally have their bunk beds! Thanks Ana!
Built from Plan(s)
Estimated Cost
$165
Estimated Time Investment
Weekend Project (10-20 Hours)
Finish Used
Semi-gloss paint
Recommended Skill Level
Beginner


Comments
Ana White
Fri, 02/27/2015 - 12:20
Nice work! Thanks for
Nice work! Thanks for sharing with us! Fabulous job!
Brookefaulds
Sun, 11/15/2015 - 22:44
Plan
Do you have measurements and plan for this bed ?