Mod Bar
I made it to hold 6 large or small bottles. Glasses can be set on the shelf.
Made this for my granddaughter and worked on it 40+ hours. I borrowed the removable window boxes and shutters off another plan to girlie it up. If I were to make it again, then I would add an extra 2 inches on the sides, front and back to make it easier to make up the bed. It's so adorable and I can't wait for her to see it.
Bench was an experiment. Wanted to see how the style looks in the kitchen. The wife loved it, so onto the farmhouse table.
Small coffee table. Have to admit it and say messed up on this one as cut the sides wrong length and didn't realize until all glued up!!!
Ended up 3 inches wider than was supposed to be which then messed up my plans for the top.
Had to redesign the top and decided to use some 1 by 6 and 1 by 4 offcuts to fill in the middle part which was supposed to be one long 1 by 6 piece. Pretty pleased with how it turned out in the end.
Finished with Varathane Kona and three coats of Varathane Satin Poly.
Drawers were finished in Minwax Special Walnut.
I just want to thank Anna for inspiring me! I would've never thought that I could actually build my daughter a loft bed from scratch if it hadn't been for this website! This loft bed took about 3 weeks to build but the reason why it took me that long is because I did it in my spare time which was a couple of hours each alsmost everyday excluding the weekends, also this was my first time using my husbands table saw and drilling pilot holes but once I got the hang of it everything went smoothly. I wanted to save money so I purchased the Mini Kreg Jig which is about $20 from HD and let me tell you it is a must when your drilling pilot holes. I purchased my lumber from HD as well. It took me about an hour to pick out the wood. I decided to paint the loft bed with DecoArt Enamel craft paint because it's non-toxic, the paint cures into a hard finish, no primer, I didn't have to sand in between coats, or put a protective finish. It also dries fast. I put 3 coats. This paint can get pricey if you pay full price but I just used a coupon everytime I went to Hobby Lobby. I used a tea, vinegar and steel wool mixture for the stairs, again because it's non toxic. I also raised the height of the 2x4 posts 6 inches so my 7 yr old daughter could walk under there without hitting her head. I'm so glad I decided go for it! Thanks again ANNA!
Added a shelf for plants at the top, coat hooks.
I mounted the back panel to the wall so I could remove the supports between the bench and the back panel.
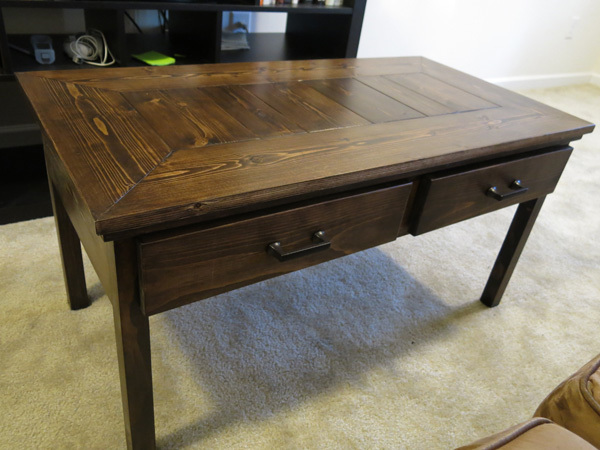
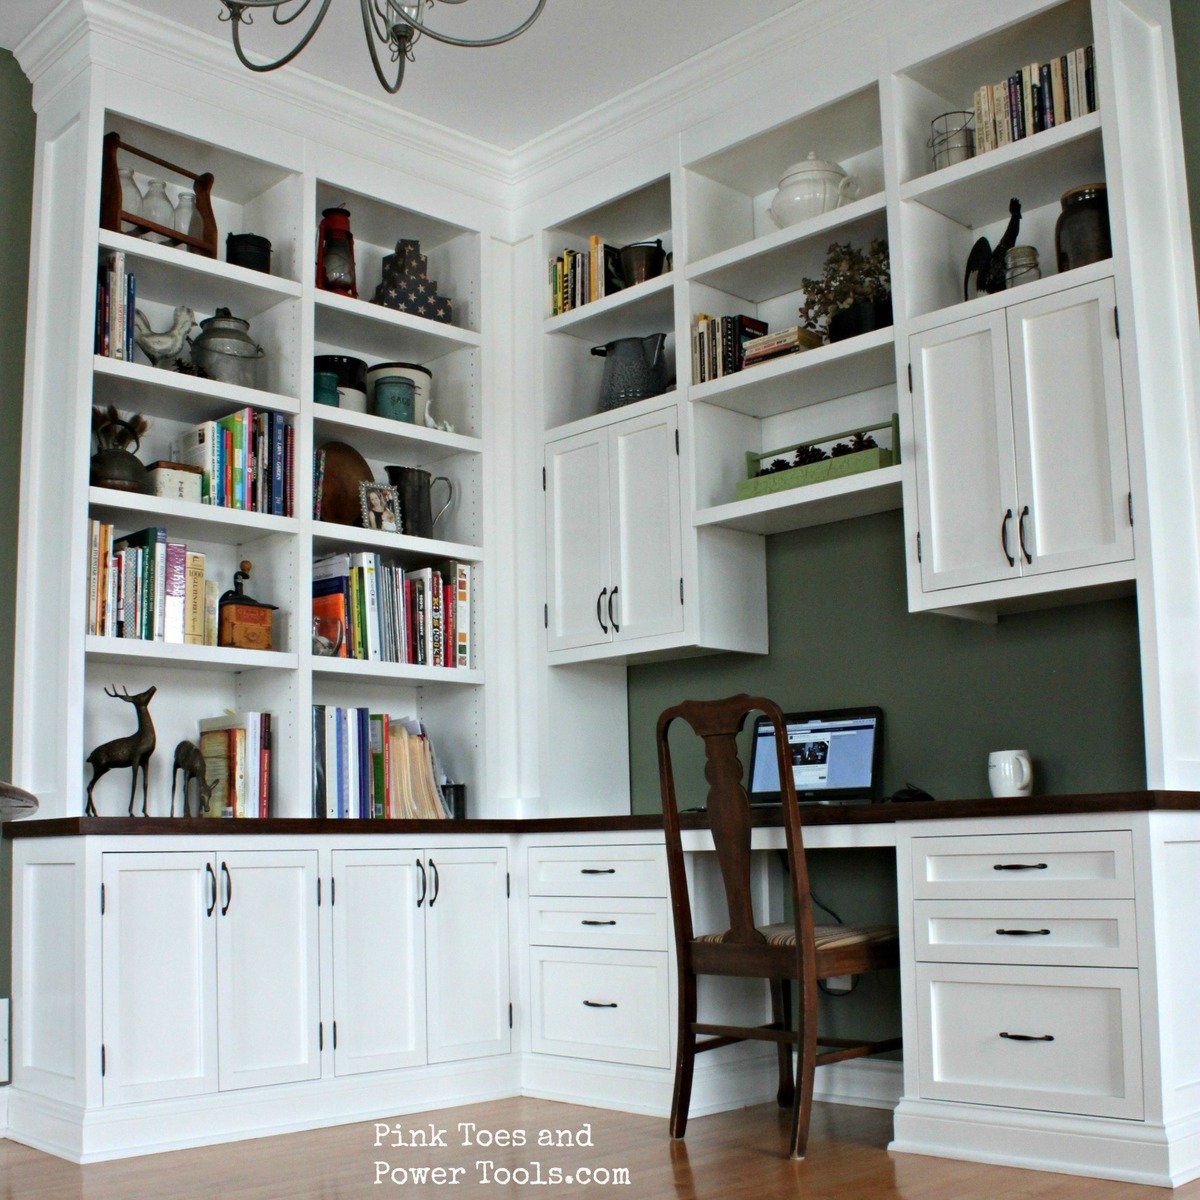
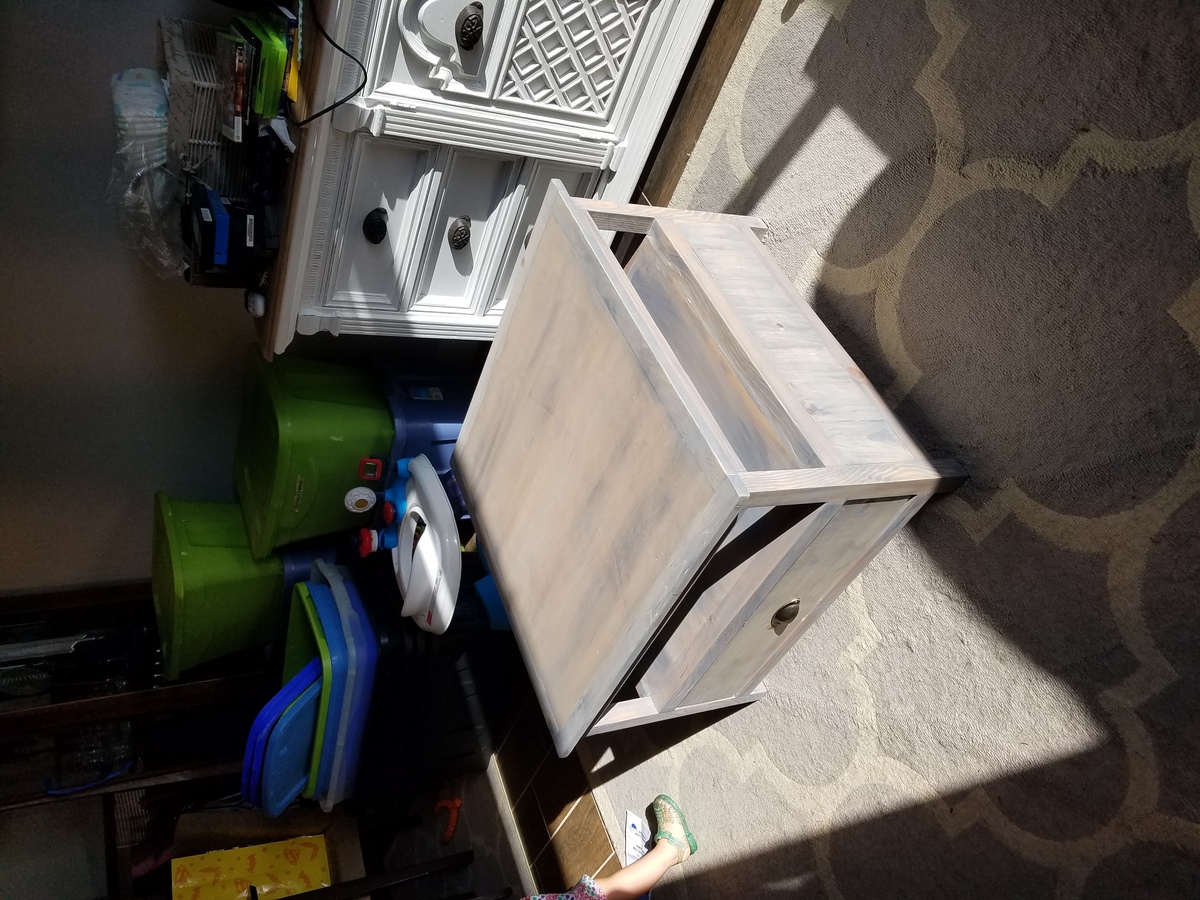
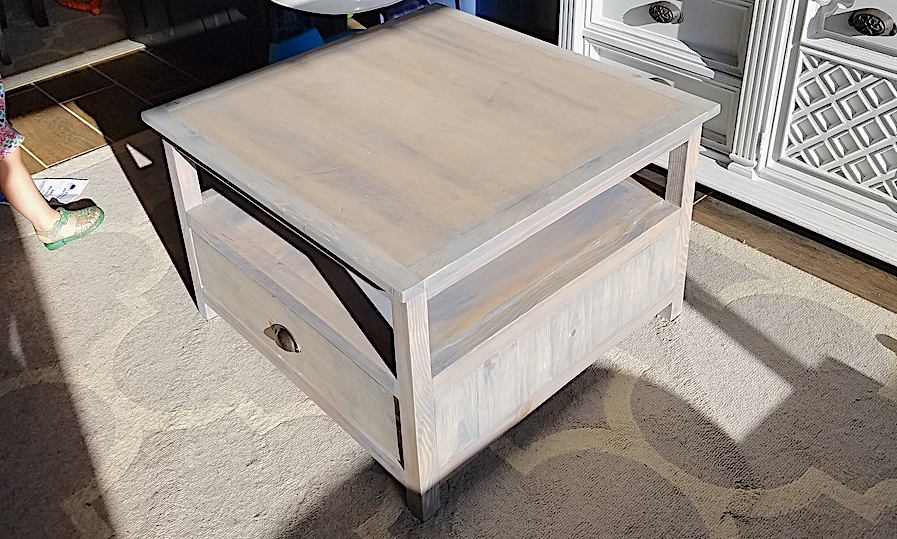
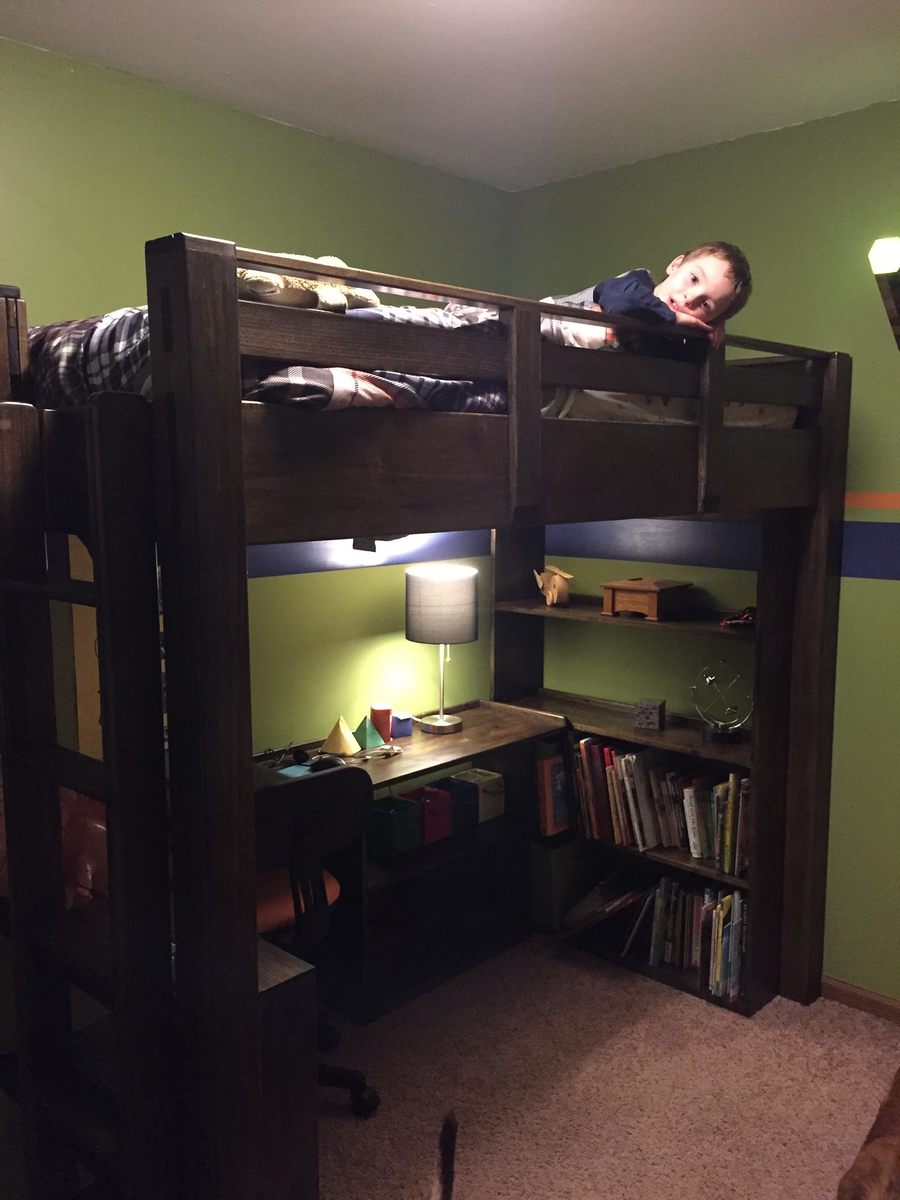
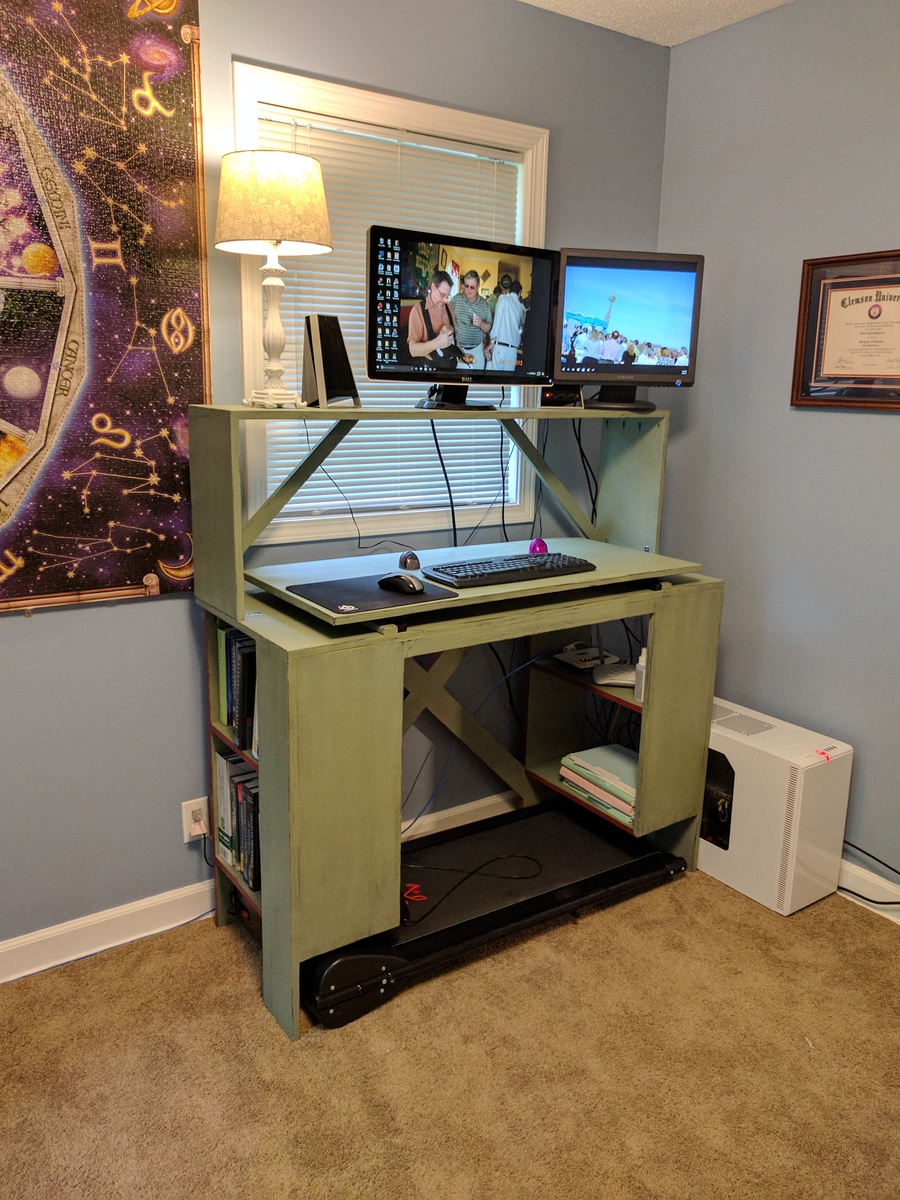
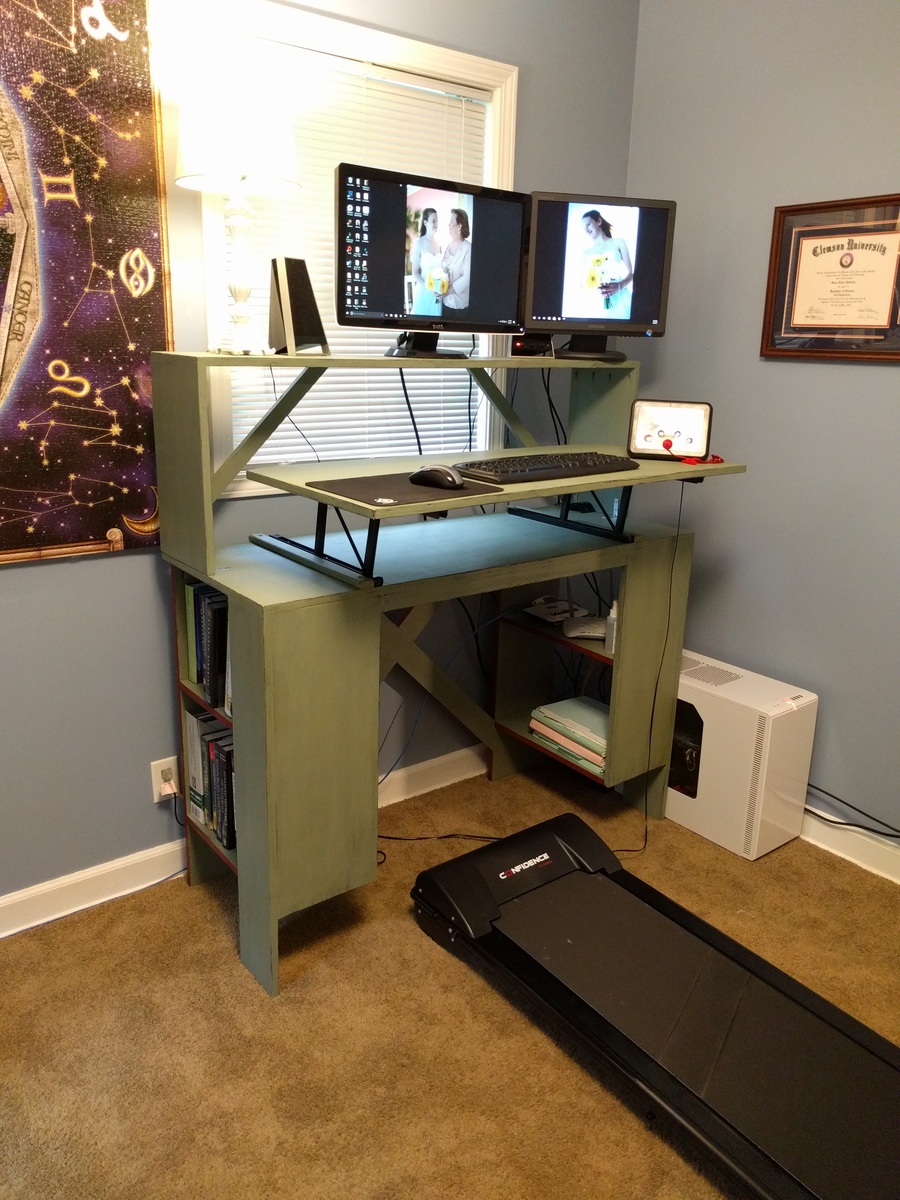
I didn't really follow any specific plan from Ana to build this project (I've become better at creating my own plans after putting together several of Ana's project plans--I owe Ana big time for getting me started in building!), but I did study her kitchen cabinet plans in order to put this together. Up until now I've done mostly stand-alone projects and this was more like a small kitchen plan than anything I've done before. This took a LOT of time to complete, but it has been a fantastic addition to our home for organization and aesthetic appeal.
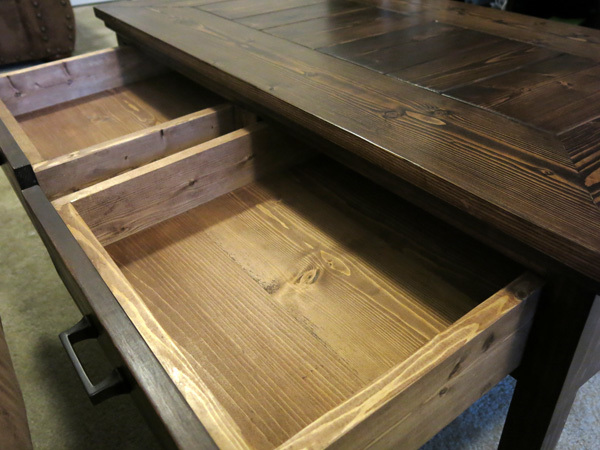
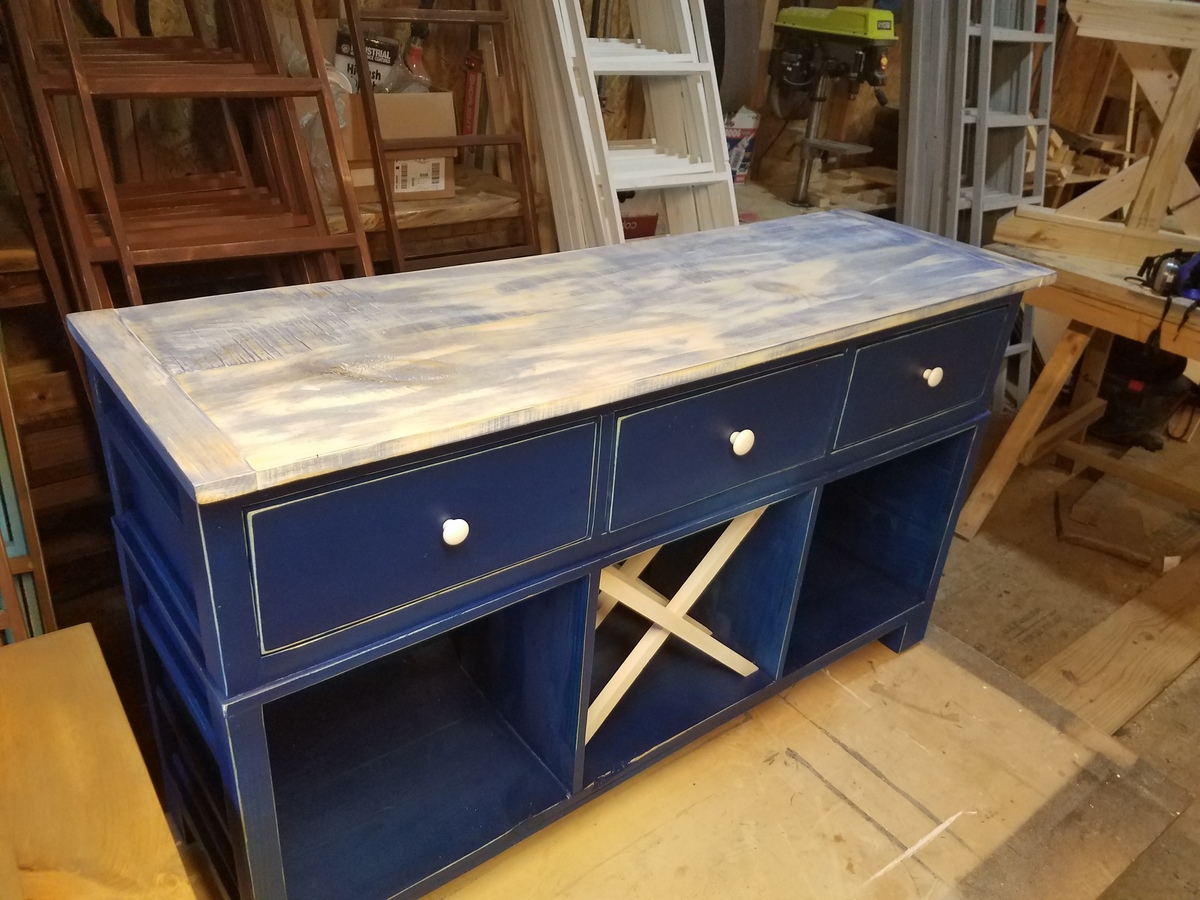
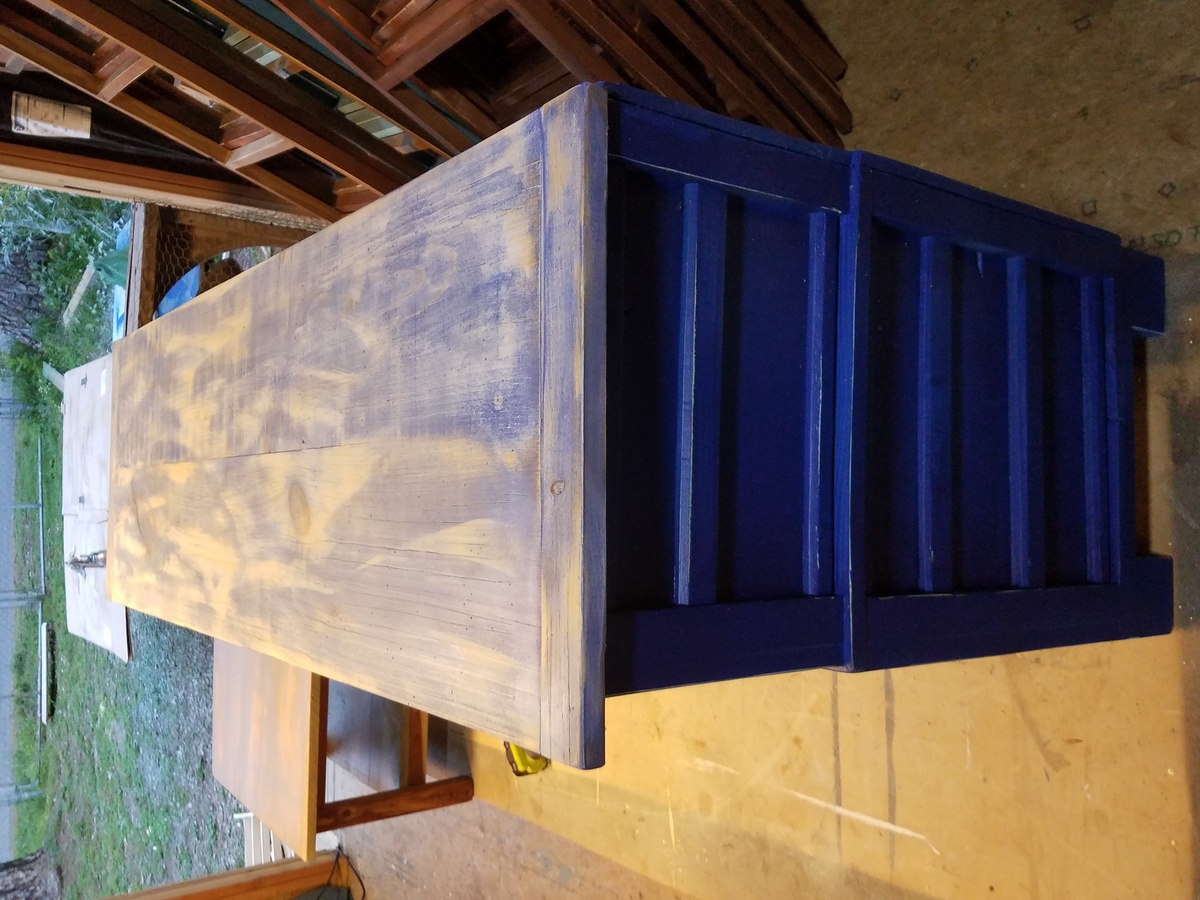
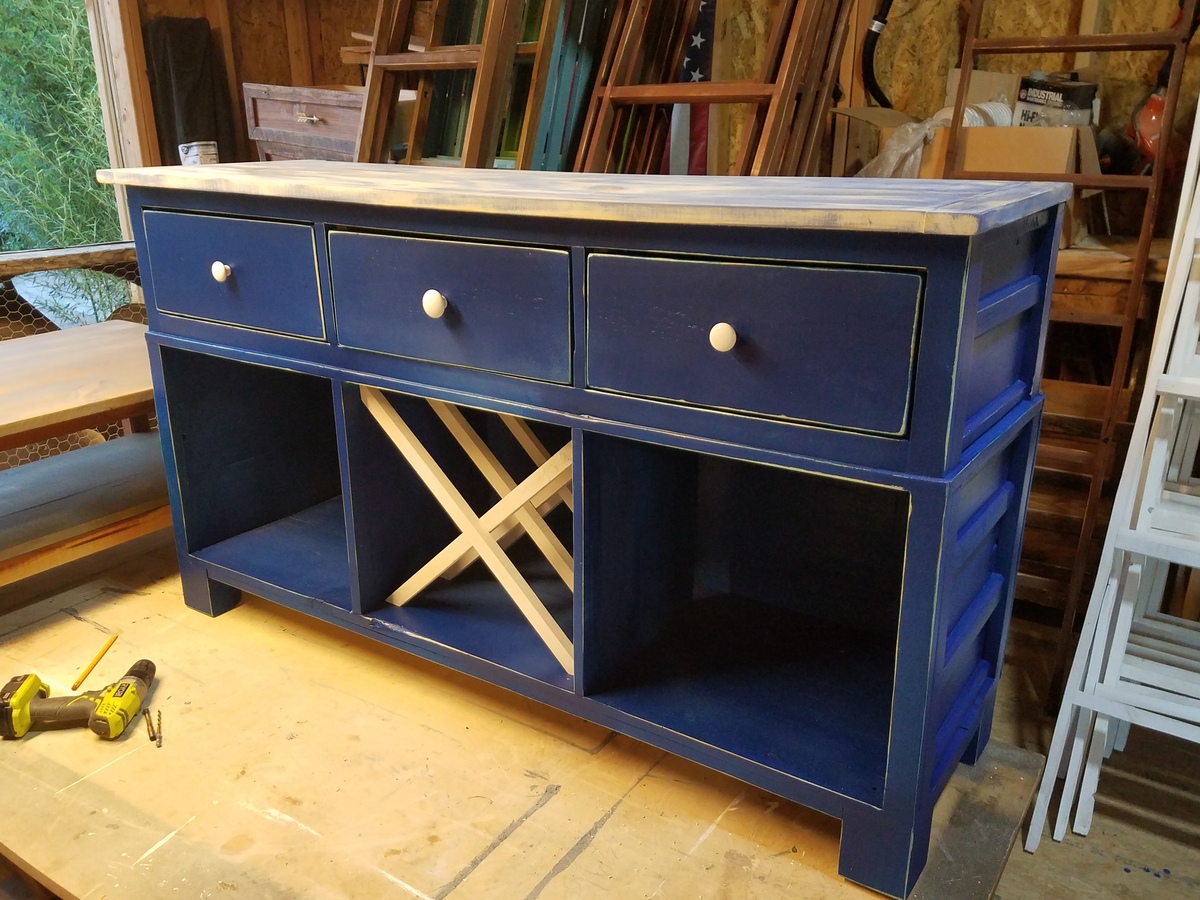
It is constructed of plywood and pine faceframes. I used a Kreg Jig to construct most of it, including the drawer and door fronts. The desktop has a 3/4" plywood base with a pine edge-glued panel on top of that with a pine edging.
The estimated time investment was way more than 20 hours! It took every minute of free time for 2.5 months to complete this. But I was working alone, so you can cut that down significantly with help ;)
The link to my blog about this project contains links to all the posts I wrote up during this build.
Used the $10 ledge plans, to build 2 10' long and 2 5' long 6" deep shelves. Cost $39 each 10' 1x6 red oak; used 6 boards. Stained mission oak satin.
We built these chairs (and foot stools/tables) using Ana’s modern Adirondack chairs plan. Since we used pallet wood (heat treated oak pallets) and not 2x4’s, we did make modifications but her plan was great! The angle is very comfortable! Thank you Ana for the plans!
When we moved to our 3 bedroom apartment from our 4 bedroom townhome we knew having a place for all my daughter's stuff was going to be an issue. Finding this plan was the answer!! We extended the "porch" so we could put her bookcase up there and her tv. It's her pretty purple princess bed. = )
Wed, 07/03/2013 - 12:10
I'm getting ready to build this bed (in a modified taller & for a full size mattress) for my 9 yr old, I've also been considering letting her have a tv in her room but wasn't sure where to place it. This looks like a perfect idea!
Wed, 03/05/2014 - 14:49
I'm thinking about making this for my daughter but I'm curious how much longer the platform is than the original. We have an extra 14 inches from where the bed would bed and the wall so we figured we would extend the platform like you have done. Thanks for the great idea!
We recently moved into our new house and had an empty dining room. Instead of buying tons of furniture, I bought a compound miter saw, a drill, & a Kreg jig. I'm the heavy lifting & my wife is the cosmetics. We couldn't be happier with how the table and bench turned out. We get complements constantly on the set.
Wed, 02/25/2015 - 10:18
Everything looks great ... what grade of wood did you use? My fear is if I use the cheap stuff from Lowes or HD that it will shrink up on me. I know the Kreg Jig will work to alleviate gaps, but I didn't know if you upgraded wood to help as well.
I built this sidebar from a plan I cooked up in my head, using the lesions I learned building the farmhouse table and bench. I sort of built it as I went along. It took me 40 or 50 hours and cost around $400.00 to $450.00 to finish. It matches the table and bench I made. Thank you Ana White for giving me the confidence, with your easy to follow plans, to under take such a project.
Thu, 06/10/2021 - 08:48
Wonderful build that will last a long, long time! Thank you for sharing.
My girls originally wanted a bunk bed but I didn't want to give up the storage that comes with the twin bed (it's an Ikea bed that has a lot of storage underneath the mattress). This loft bed was the perfect solution. I chose not to build a ladder as they use the lower bed and window sill, without any trouble, to get to the top. This was my first build.
This was my first build. I modified the dimensions to fit a full sized bed and used 1x4's as the slats. Overall I am very happy with the outcome and learned a lot from the build. Of note these plans do not accommodate a box spring. This bed fits perfectly in my very small guest room and is very sturdy (and heavy!). I did not glue the corners for easier disasembly when I move.
This project took me a long time as I am a new builder. I would expect a more experienced builder could make the bed in a day.
Fri, 09/16/2016 - 14:01
hey there! I'm interested in building this in a full size. I've never built anything before; would you be able to describe the modifications you used to make this fit a full?
Shrank it down to 28" x 28" to match the size my wife wanted. At that point a single drawer on each end made more sense for them to be practical. This was my first furniture project, so lots of mistakes were made, but I learned a lot. I look forward to many more projects from this site.
This was all made from an old barn. The legs were actually rough cut 4x6 floor joist I used a hand planner to round out.
The chair were from my grandmother old table that I replace the seats with barn board that I had to cut and glue together.
This loft was built with the ladder on the left end with a bookcase at either end and a desk with bookcase under the loft.
Did this build in about 8 hours. Very nice plan getting alot of compliments. Will surely be building some more. Made from white pine. Left the front doors off this one. The color is American Dream from Amy Howard. The top is a base white with a blue tincture stain then distressed to get my desired effect. And finally a matte clear catalyst laquer to finish it off
This was really easy once I finally got the top and handles on the side pieces complete. I still haven’t master my jigsaw yet :( Any tips would be helpful. The tearout I get when I use my jigsaw makes it impossible to follow any lines I draw. But I think the curves came out pretty okay.
Mon, 06/28/2021 - 20:09
It looks awesome, love the color choice! The jig saw just takes practice, but it looks like you did a wonderful job on that aspect as well!
I made this smaller to fit in the space where it's going. I used 2x2 legs, and the table is 39" wide. I added the bottom shelf also. I will finish it in golden oak.
Standing/Walking desk with side bookshelves built in. Desktop folds up and out so keyboard is at correct level for my height while walking on treadmill. When folded down, keyboard is at acceptible level for standing on ground. Desk designed so that the small walking treadmill can slide under and be out of the way when not in use.
Lifting Hinges used are Woodtek Coffee Table Lift Mechanism: https://woodworker.com/coffee-table-top-lift-mechanism-lr-mssu-164-228…