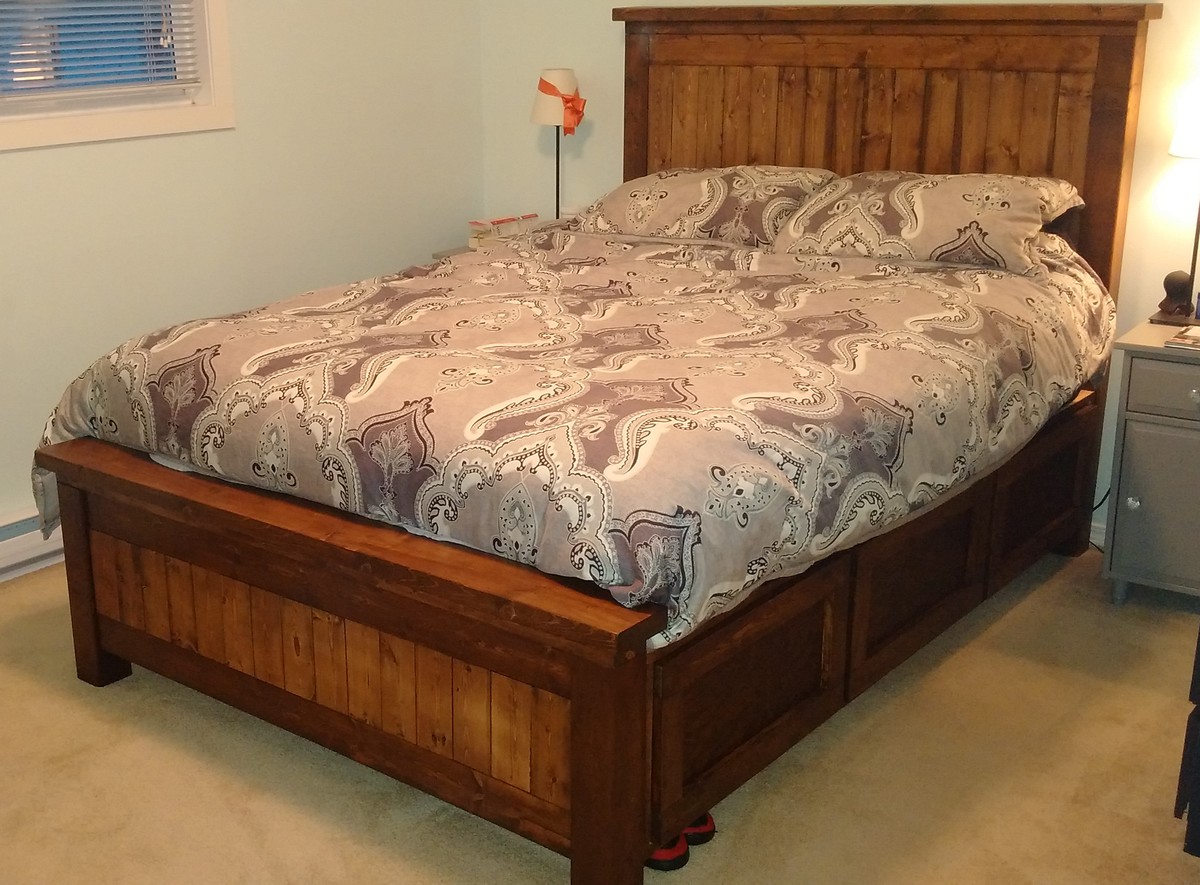
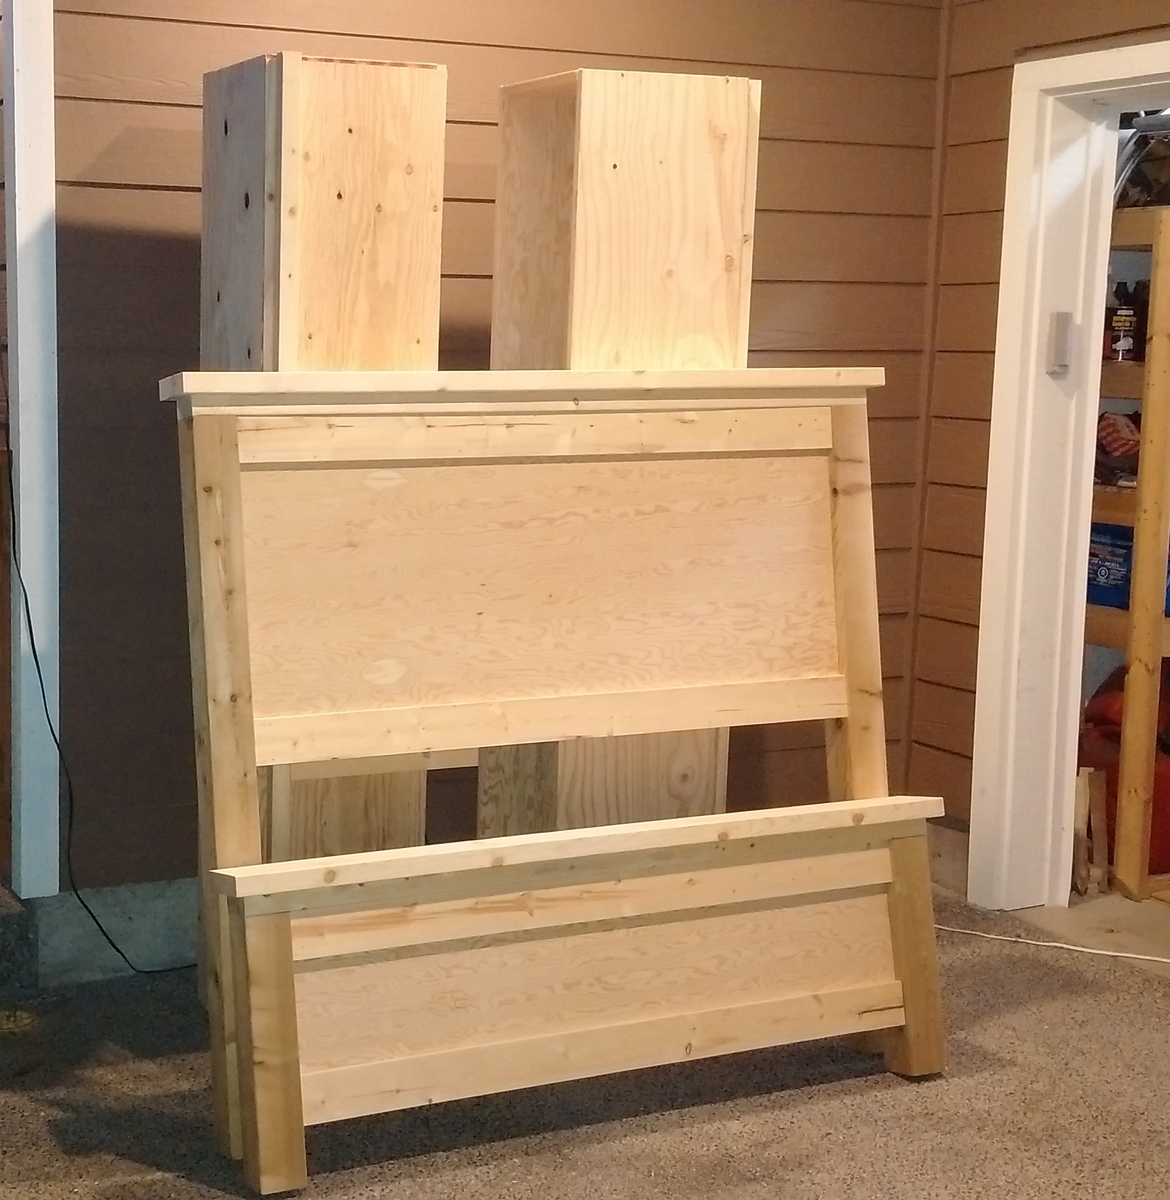
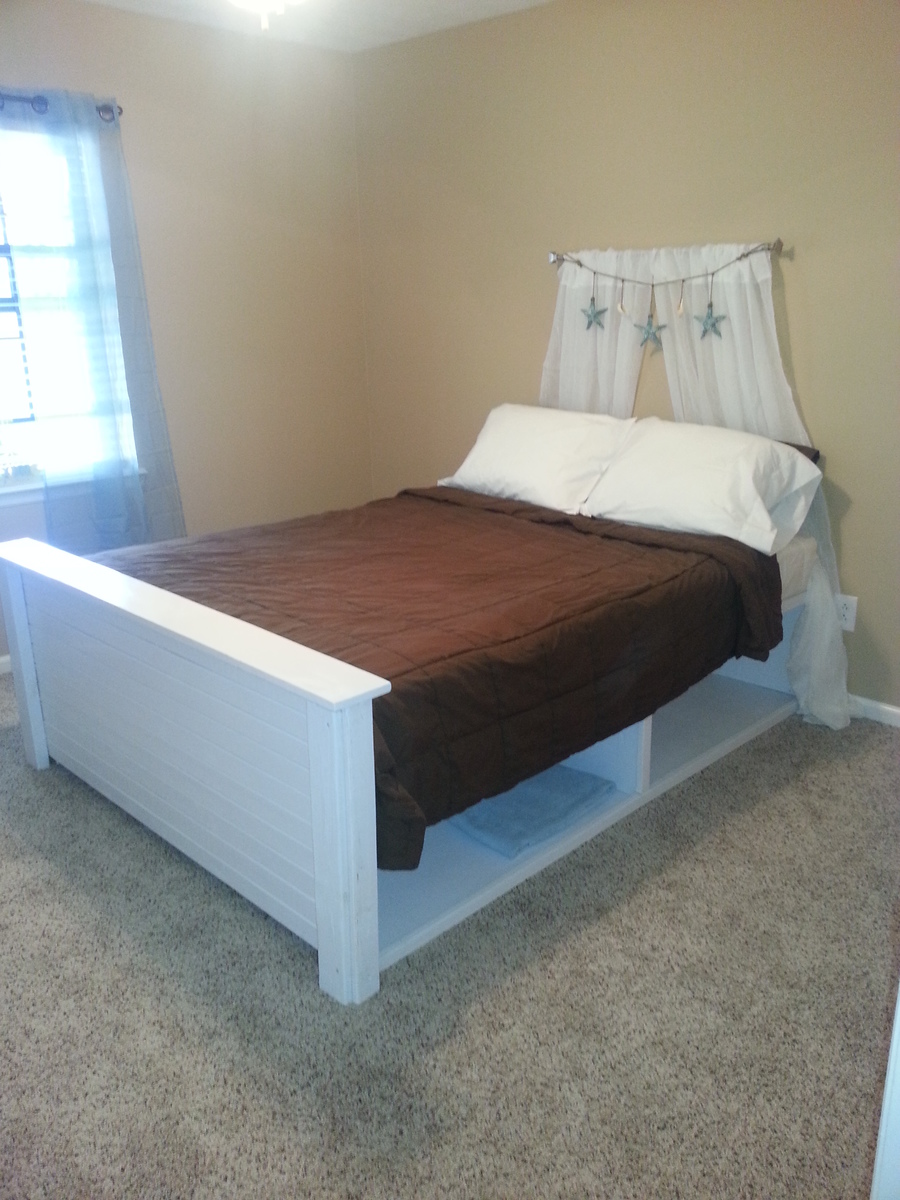
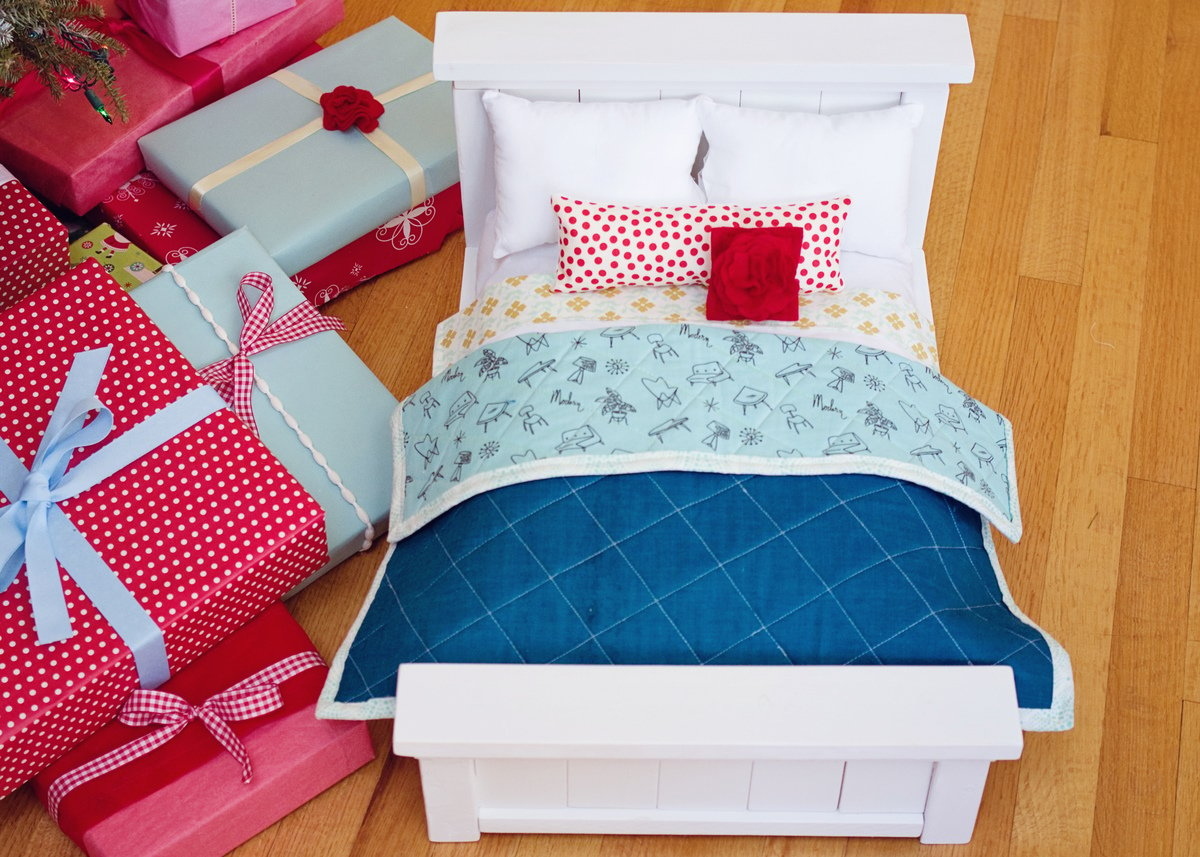
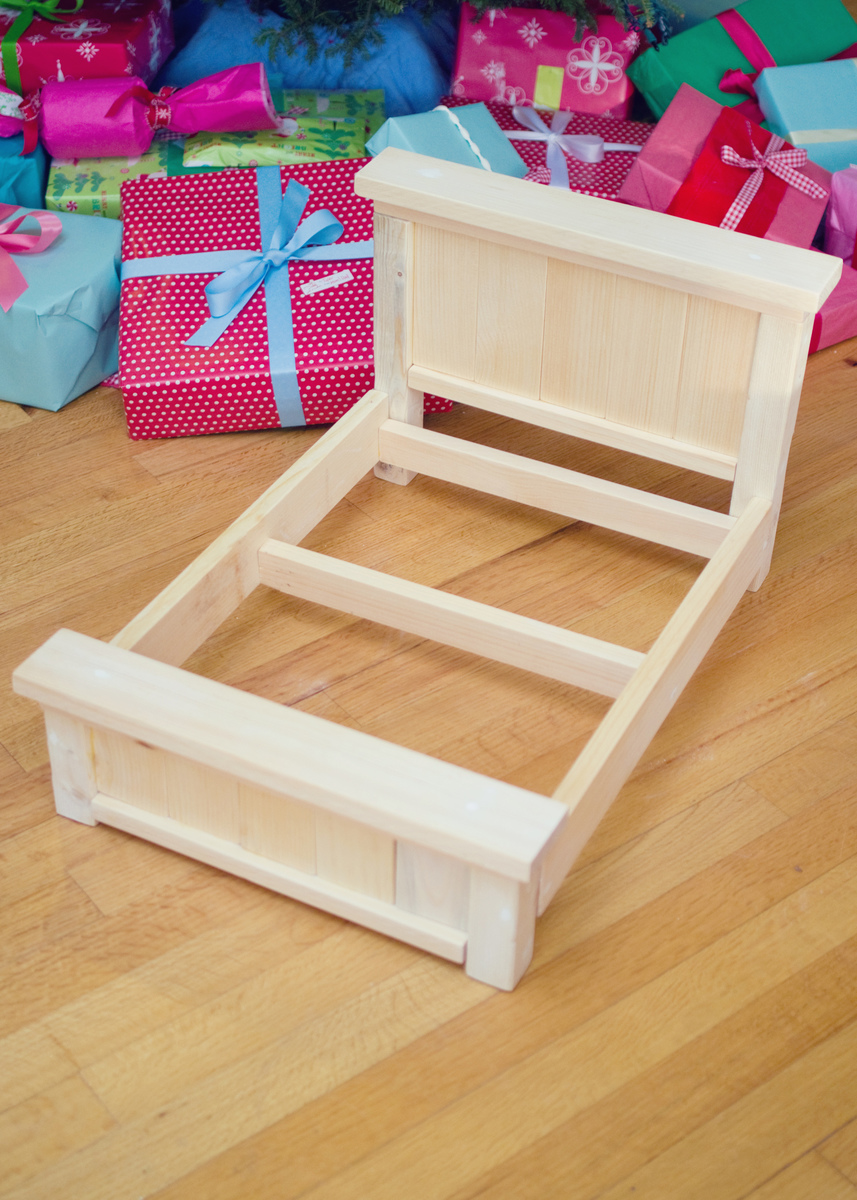
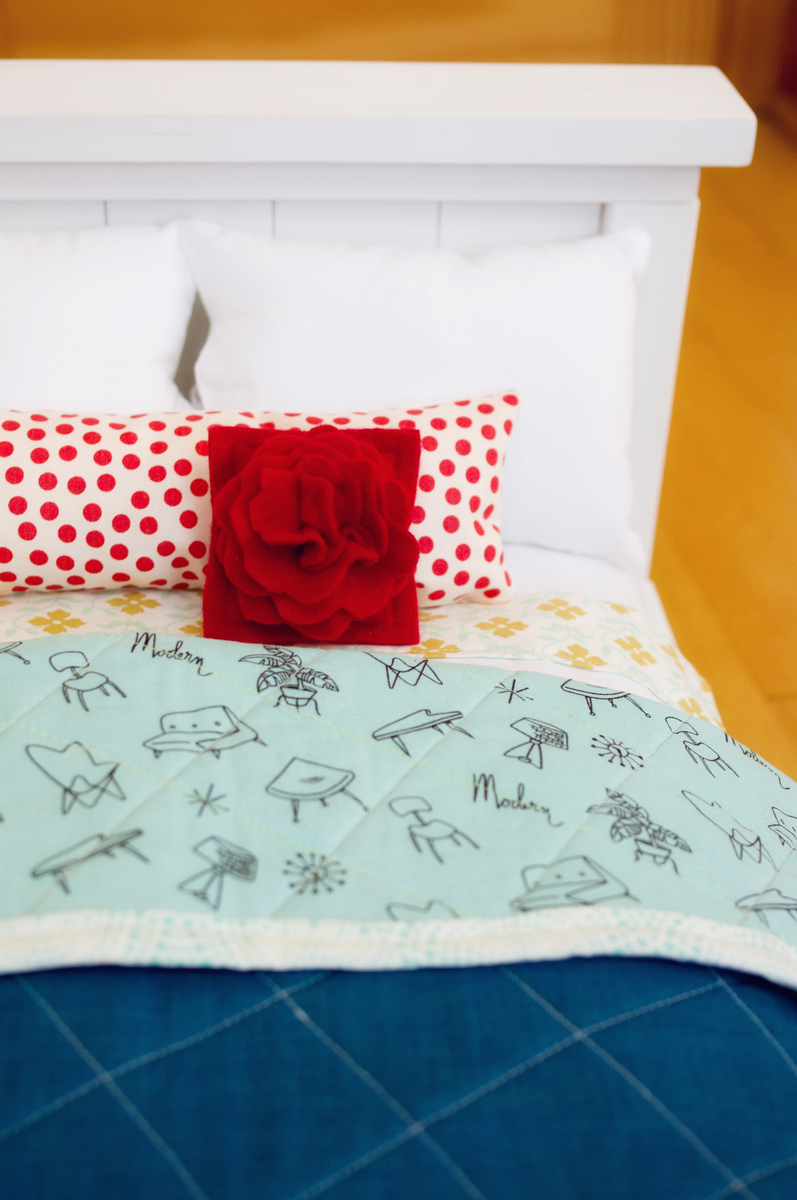
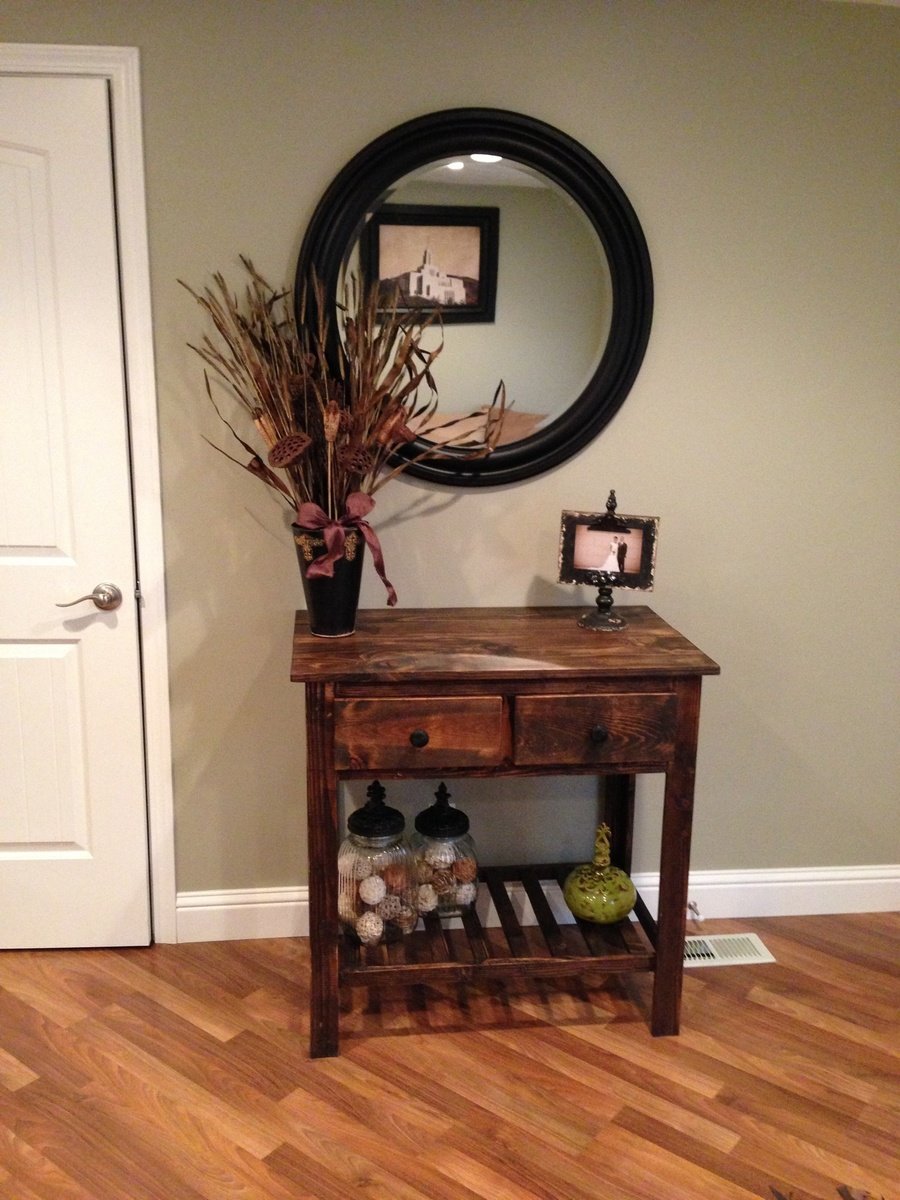
Farmhouse Queen Bed

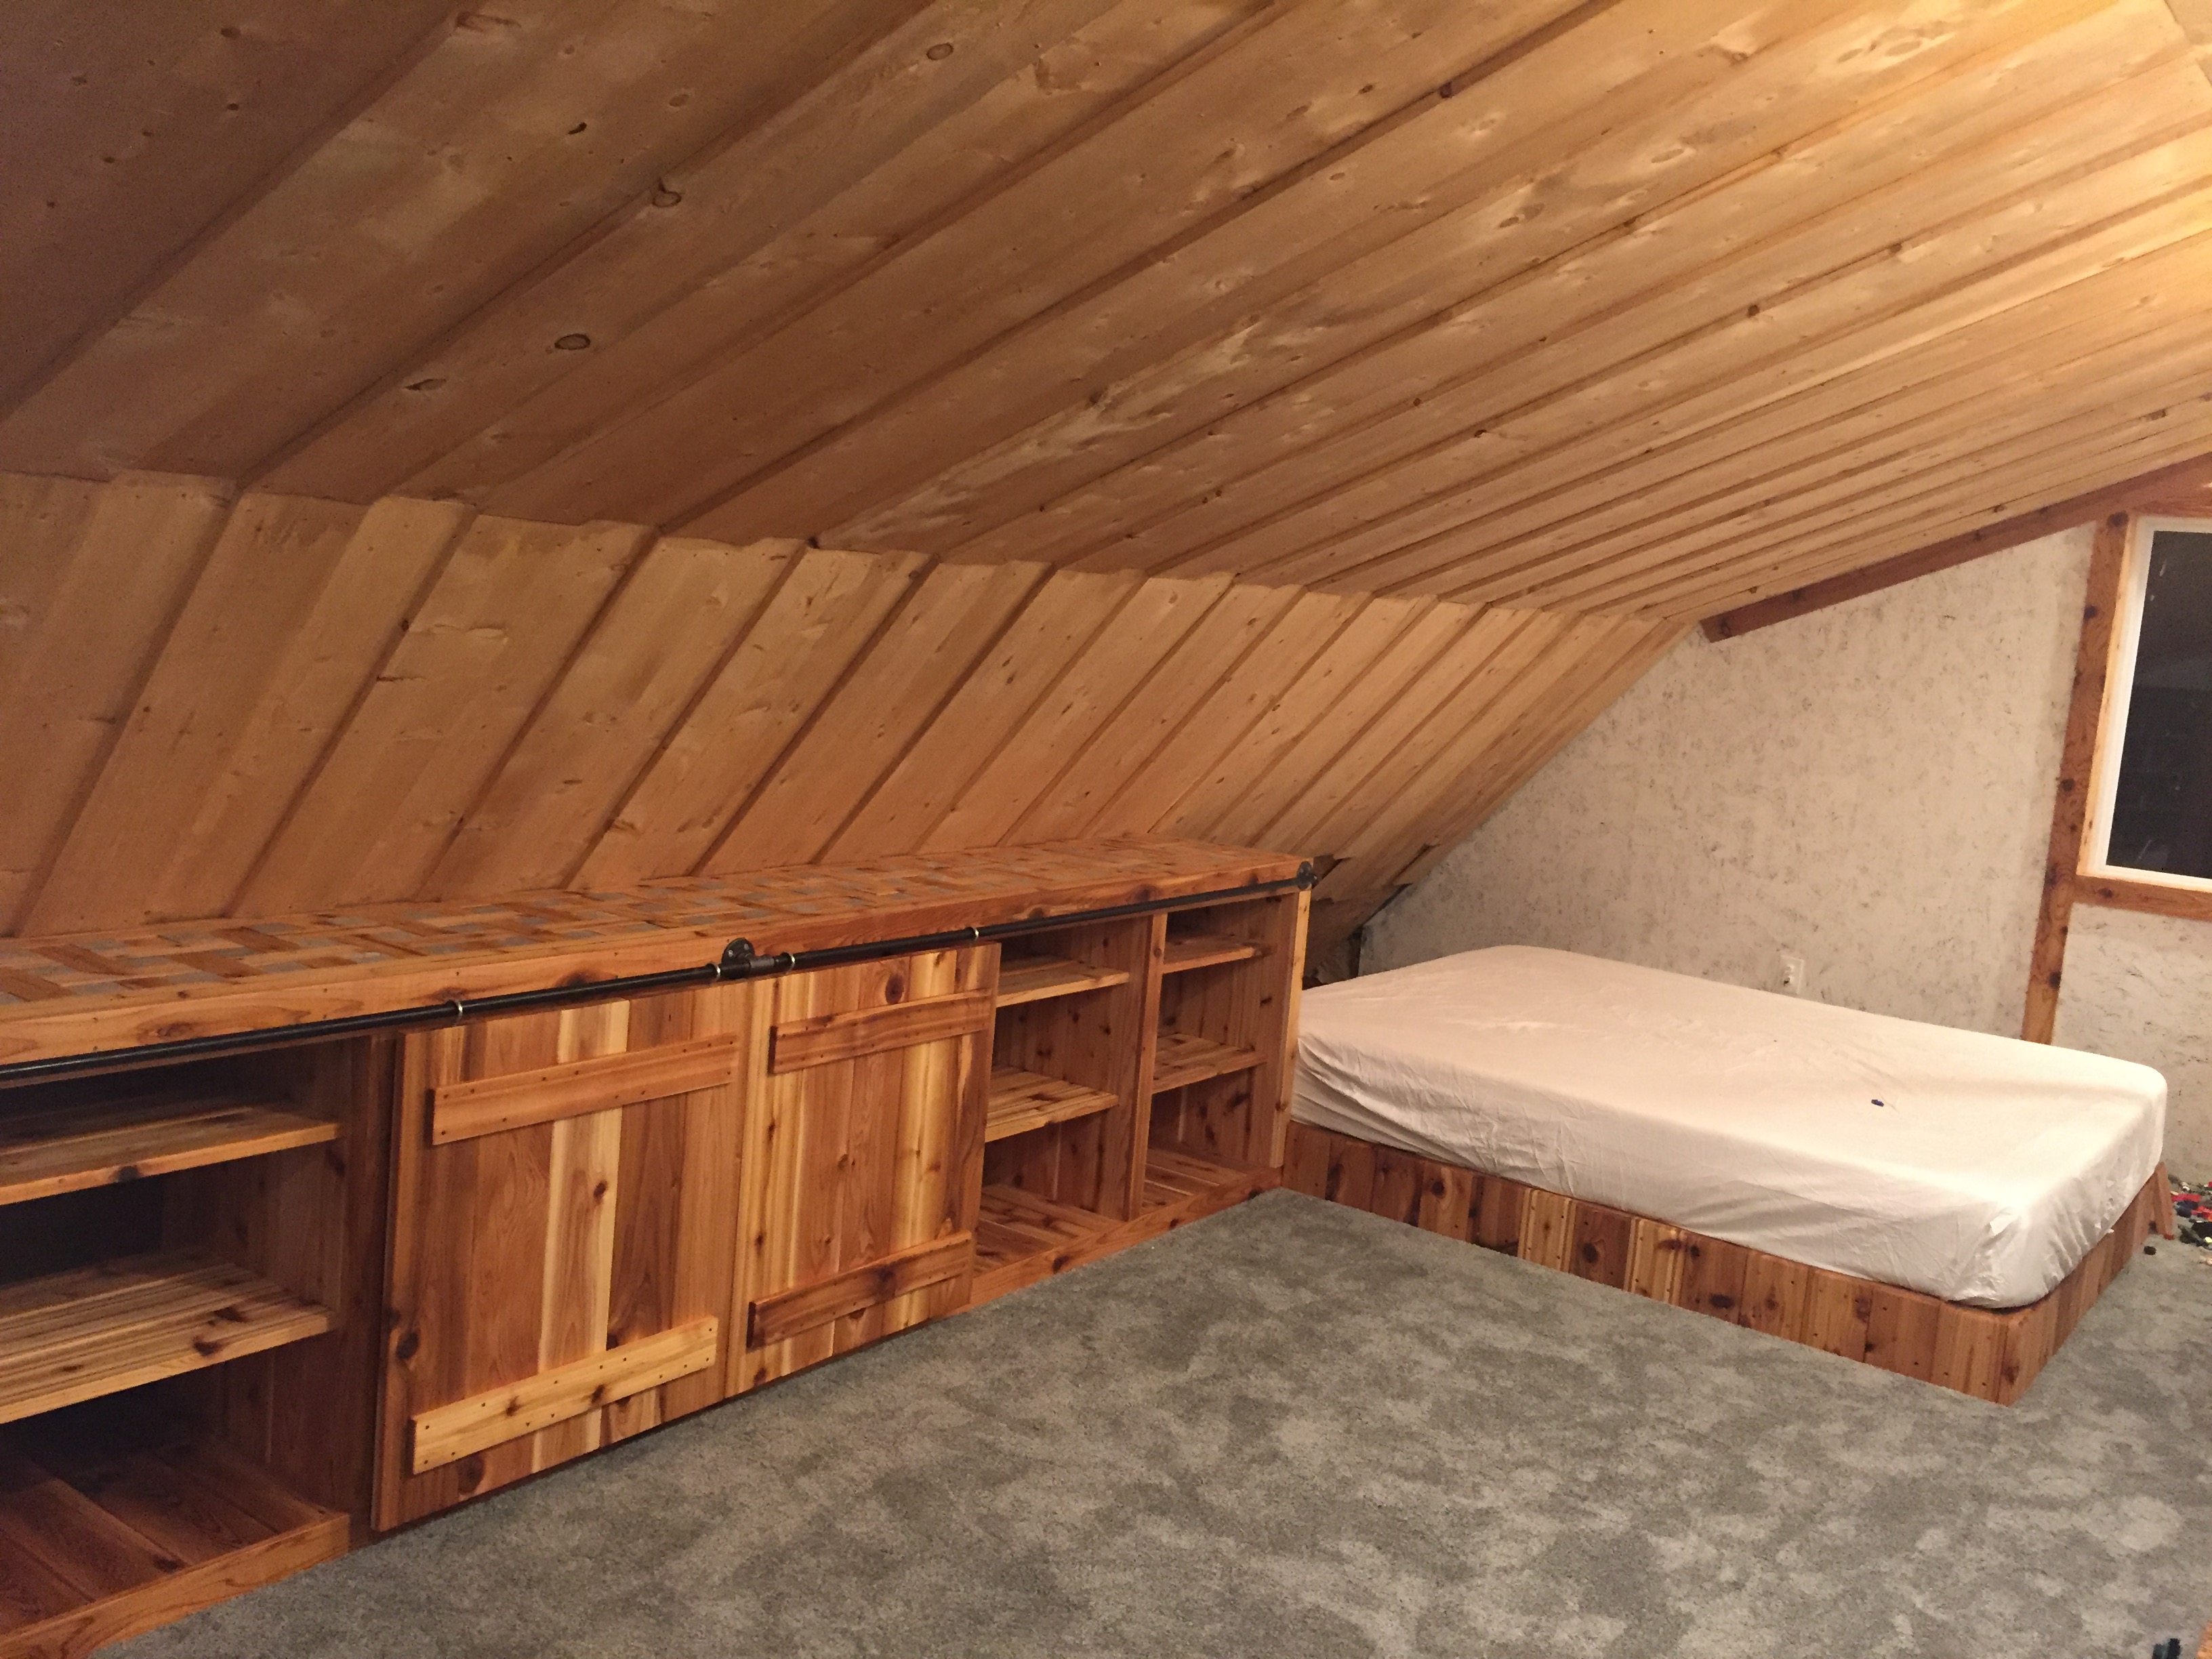
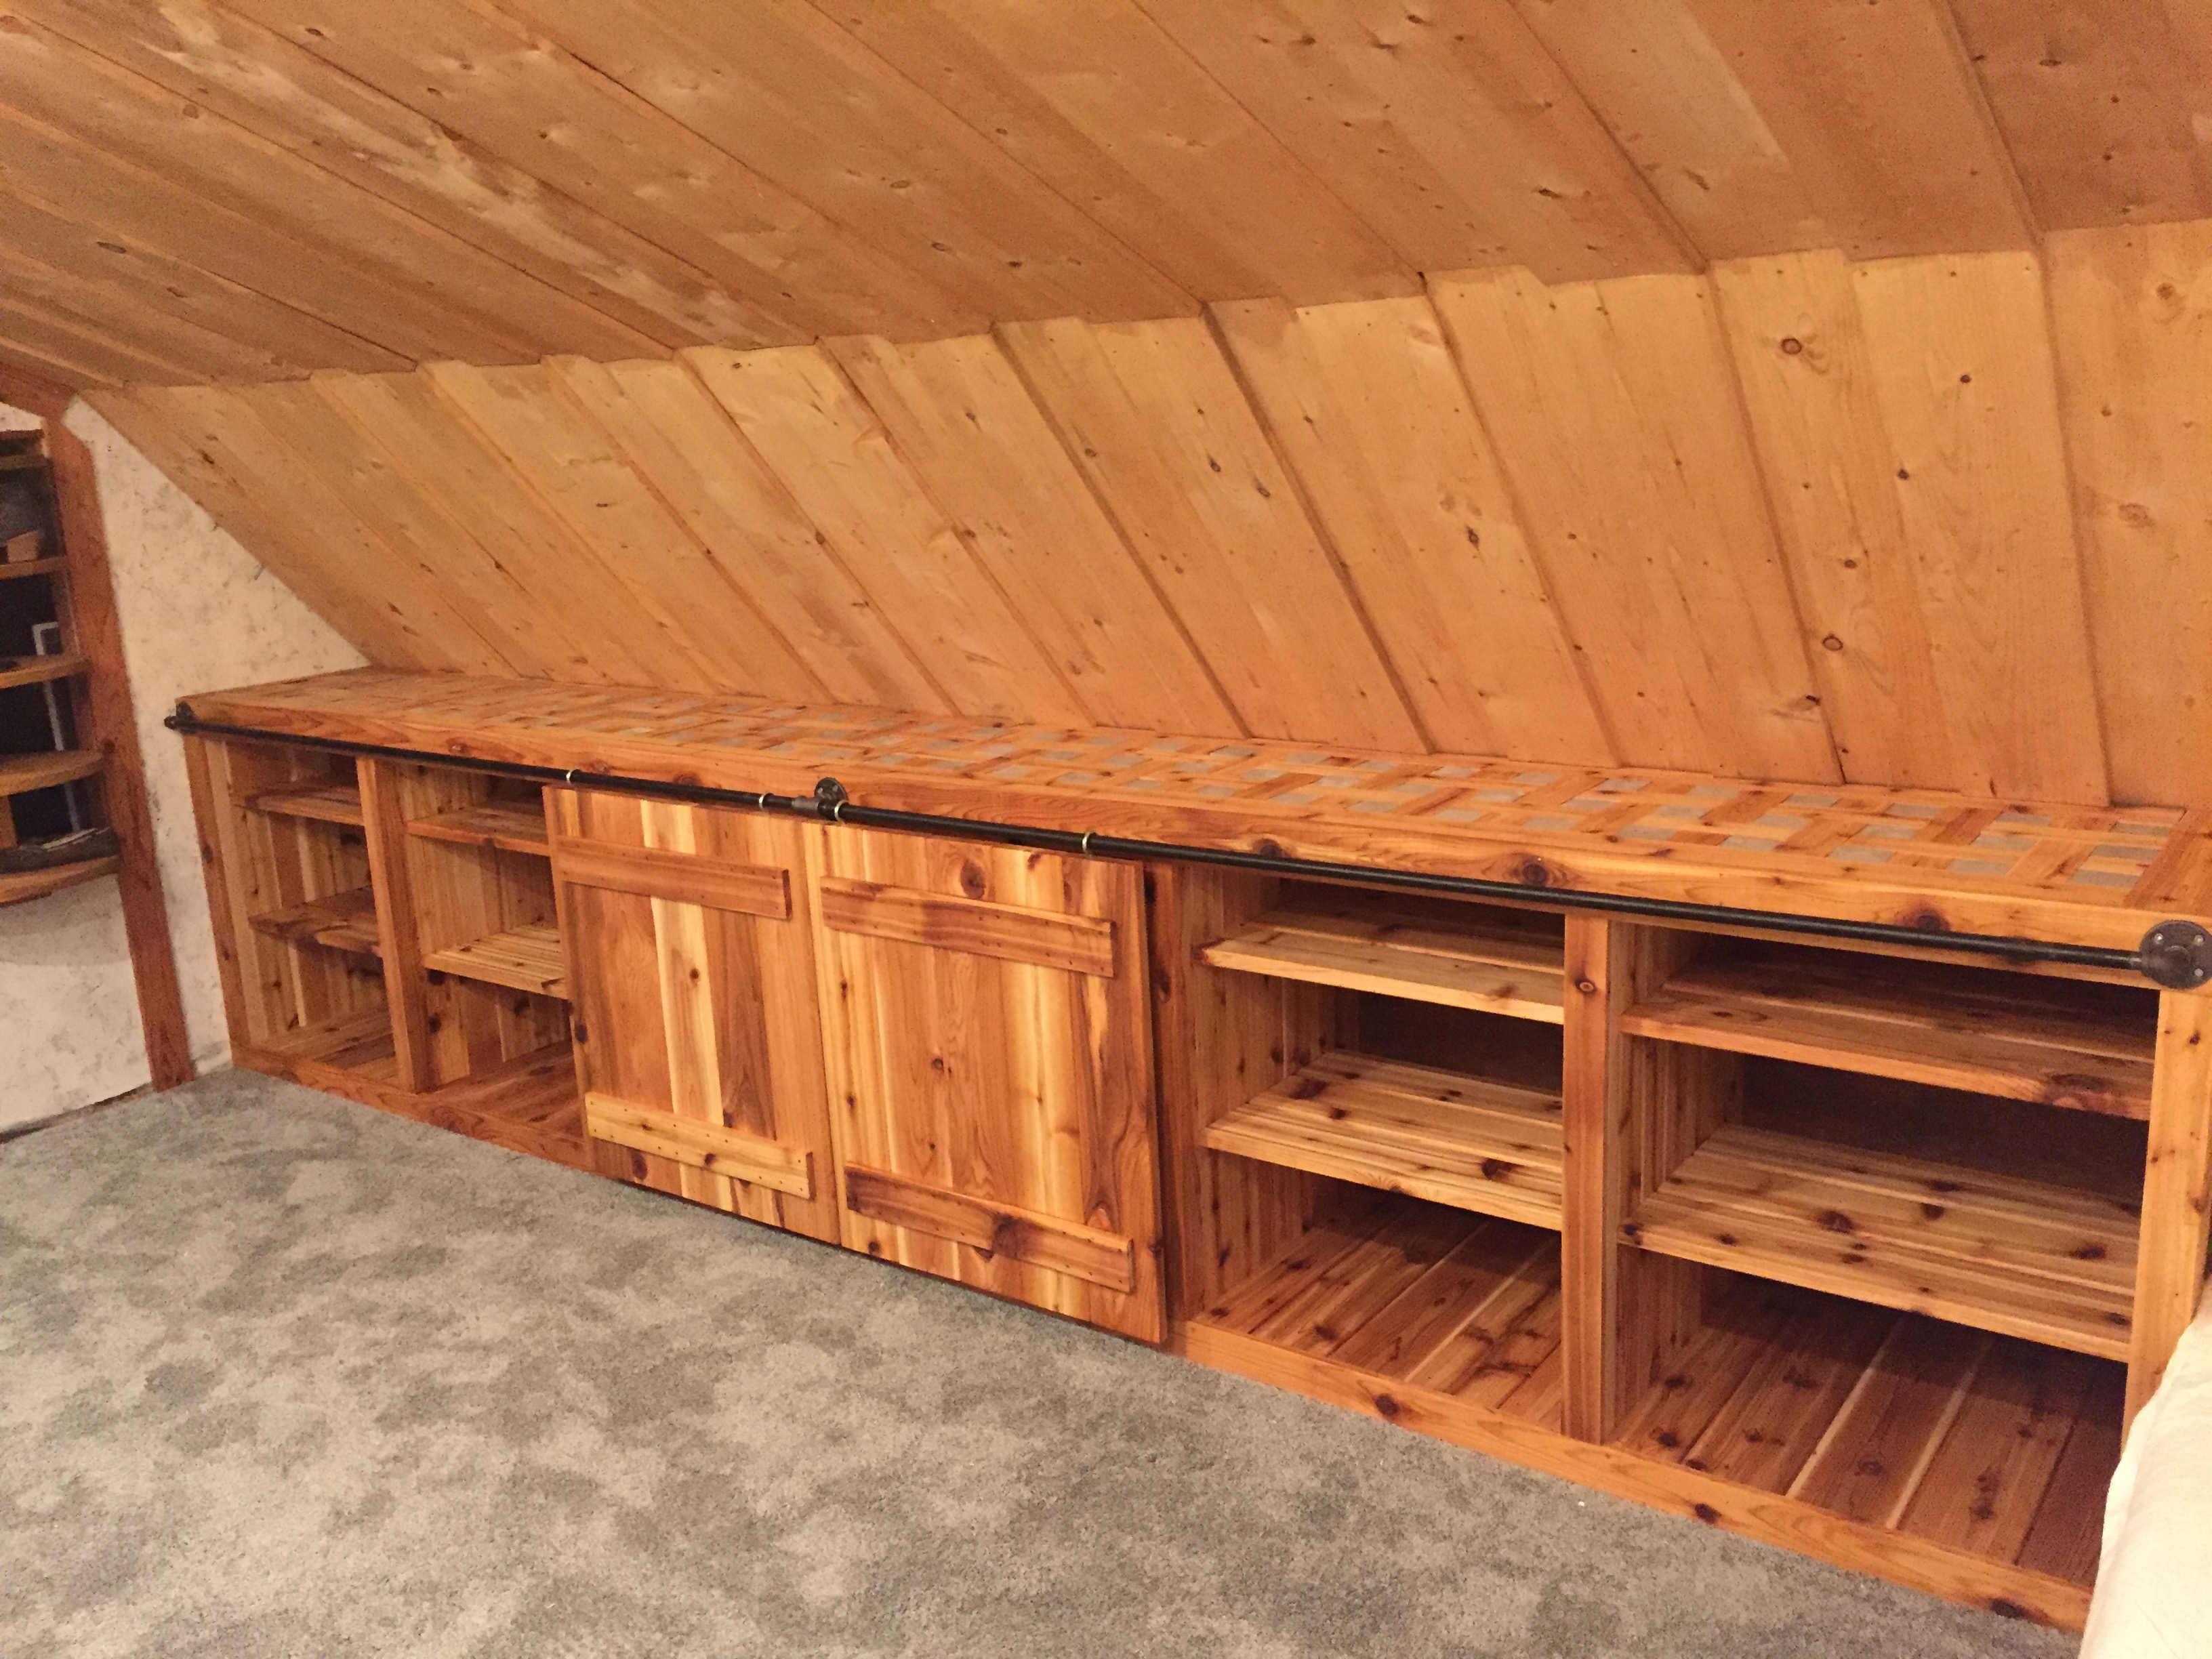
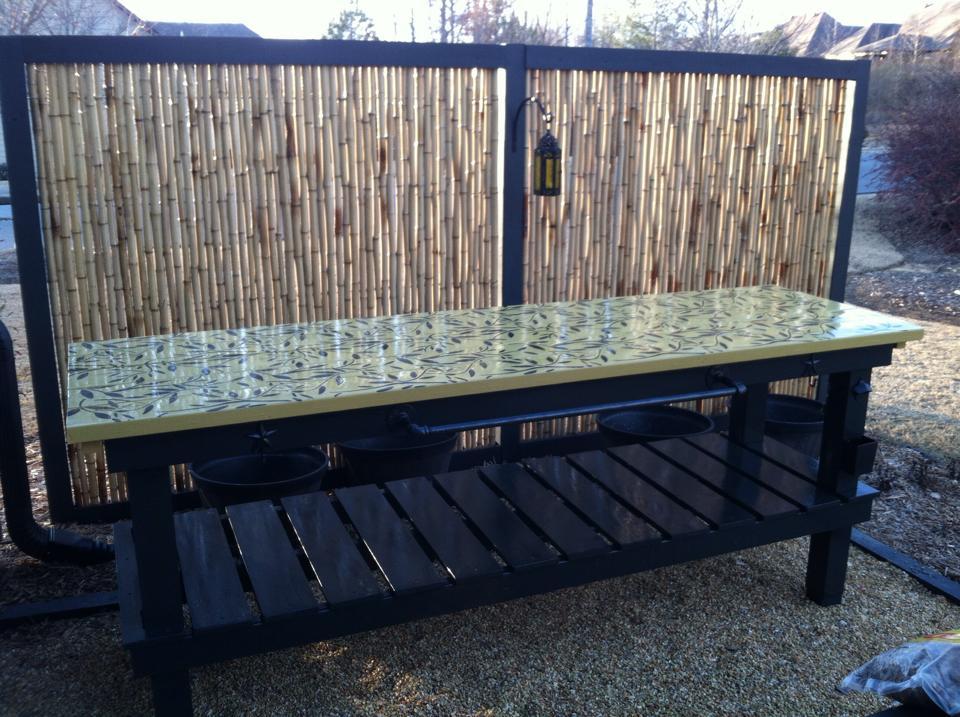
I got this bright idea that we should change the basement into a master suite. However, we could not get a box spring down the stairs. This gave me the perfect opportunity to take on the biggest project of my woodworking life. I absolutely love how this bed frame turned out and it looks so great lined up here next to the fireplace!
Built from Plan(s)
Estimated Cost
180
Estimated Time Investment
Weekend Project (10-20 Hours)
Finish Used
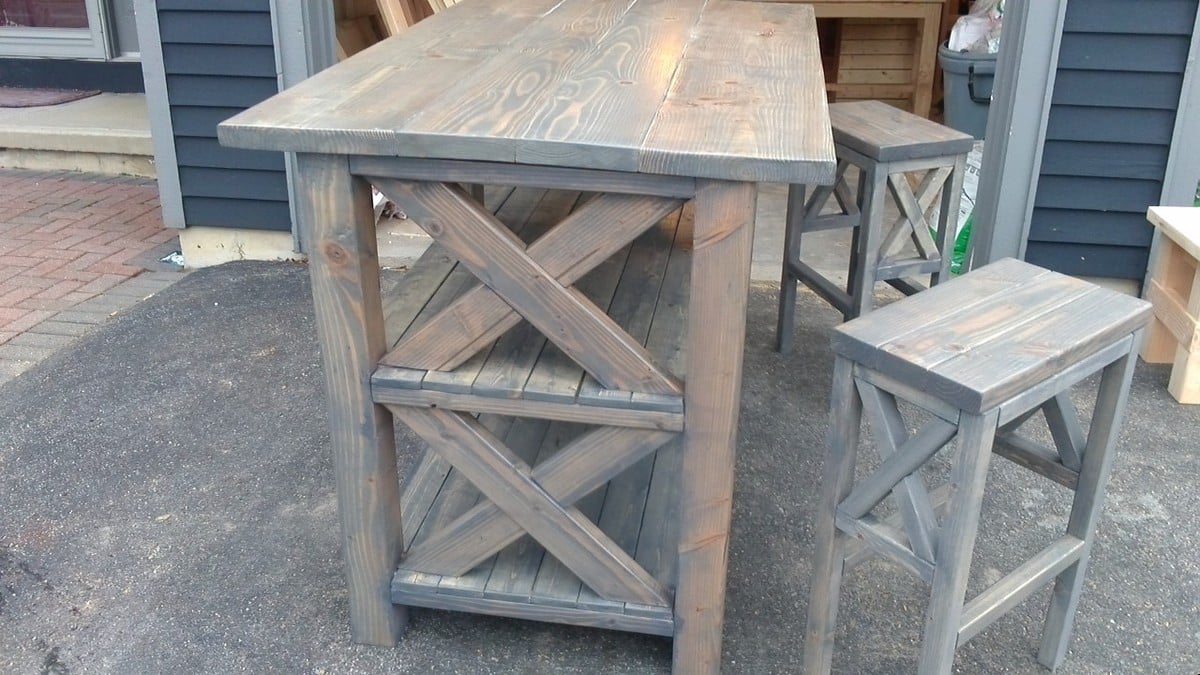
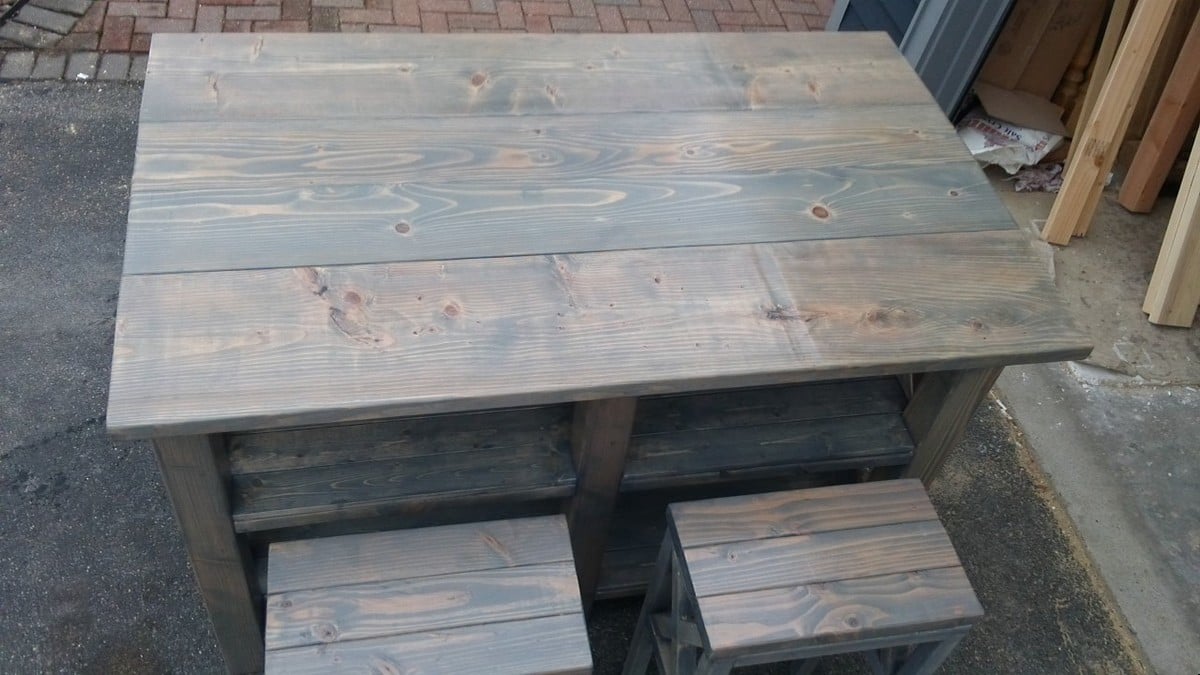
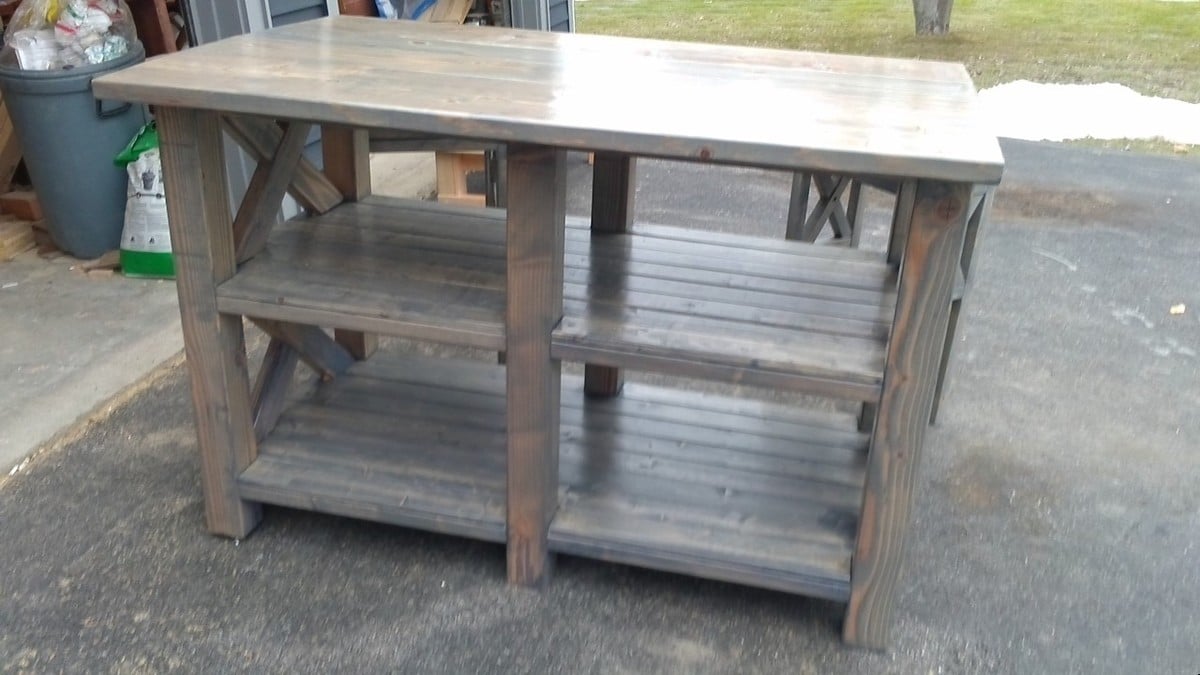
Weathered Grey Thompson's Water Seal

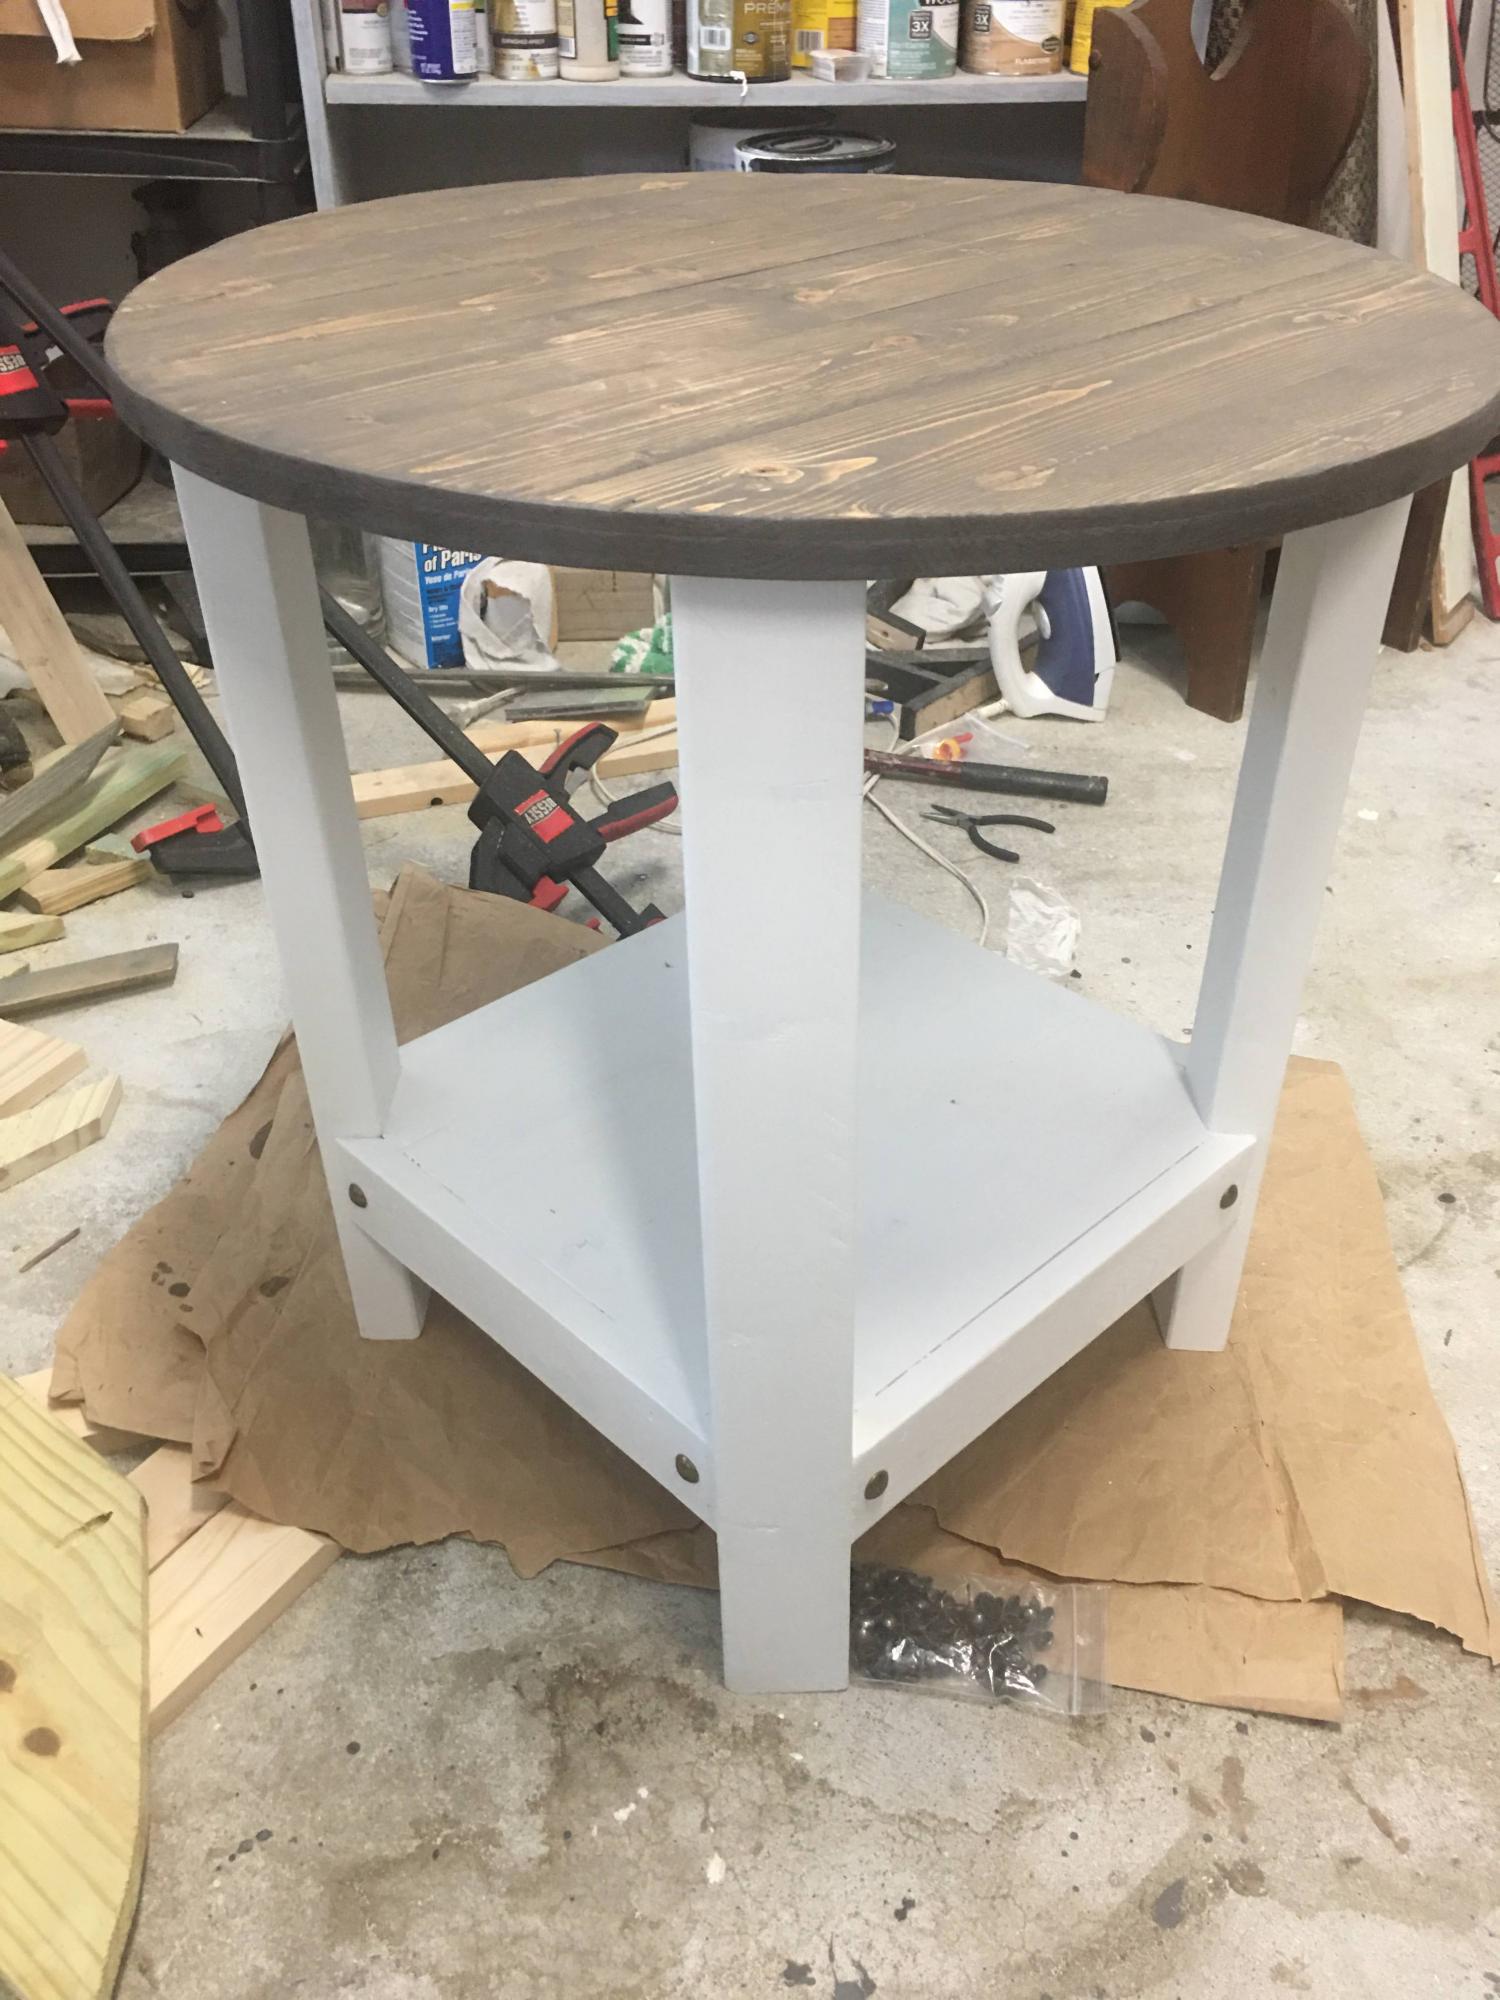
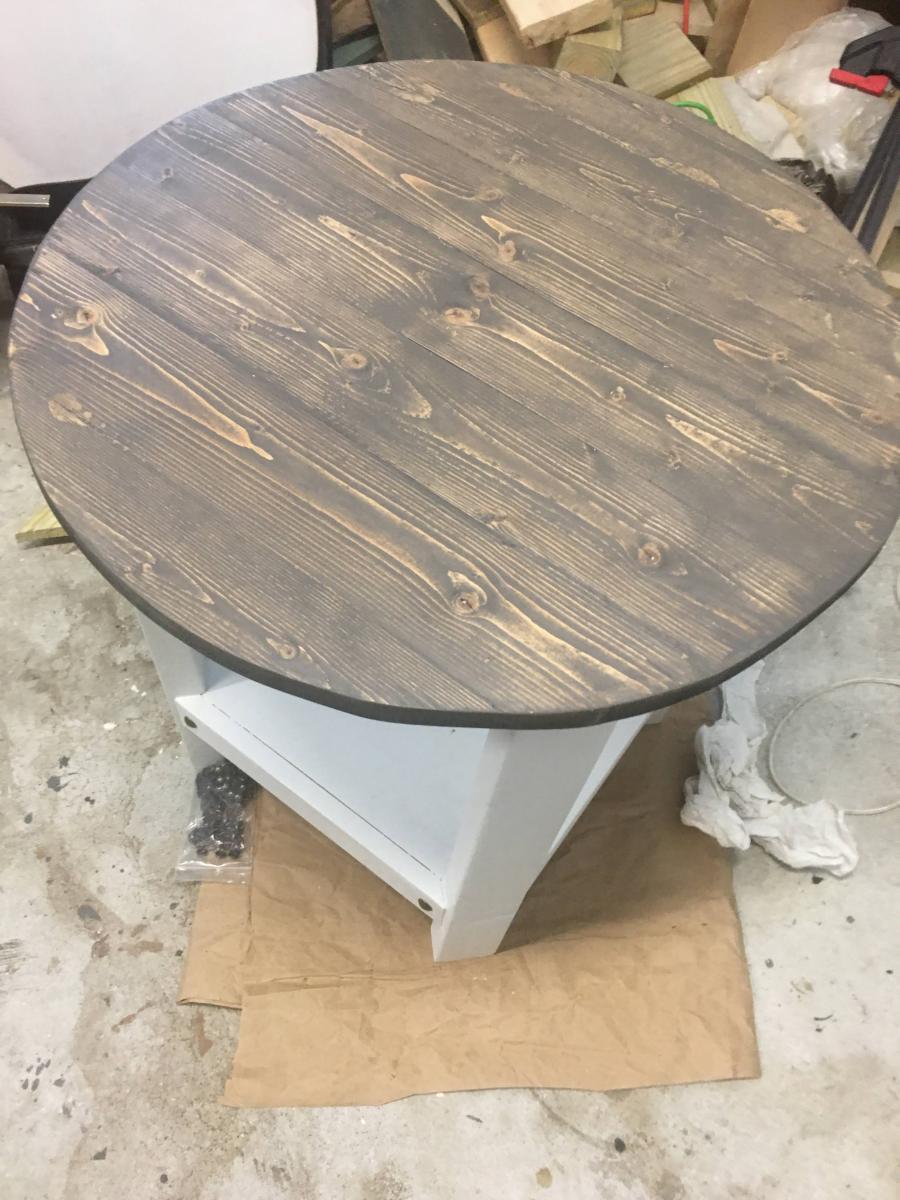

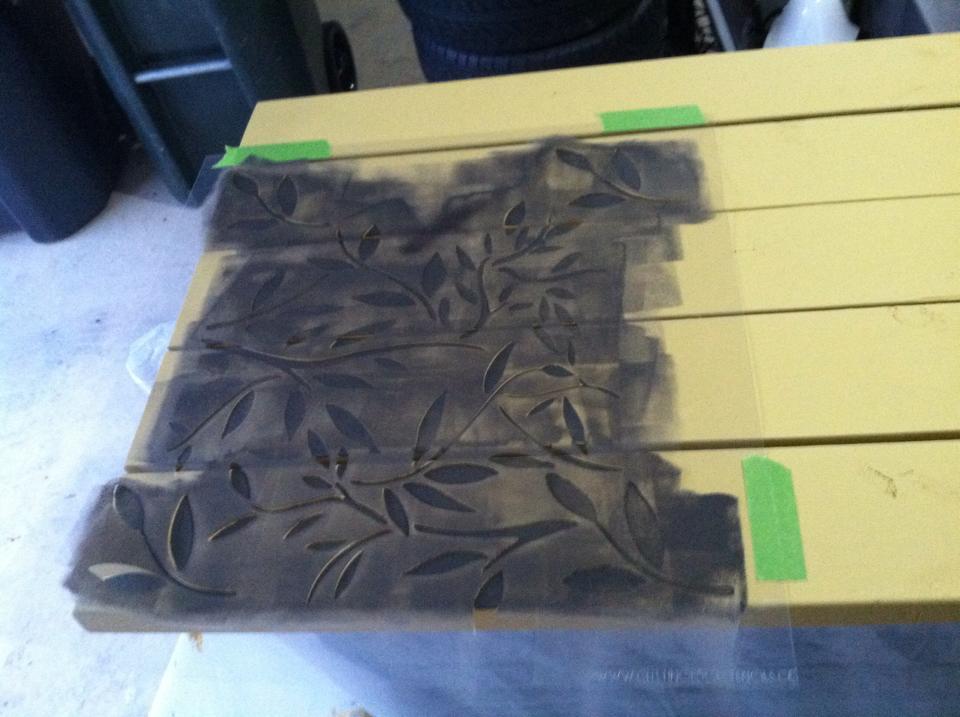
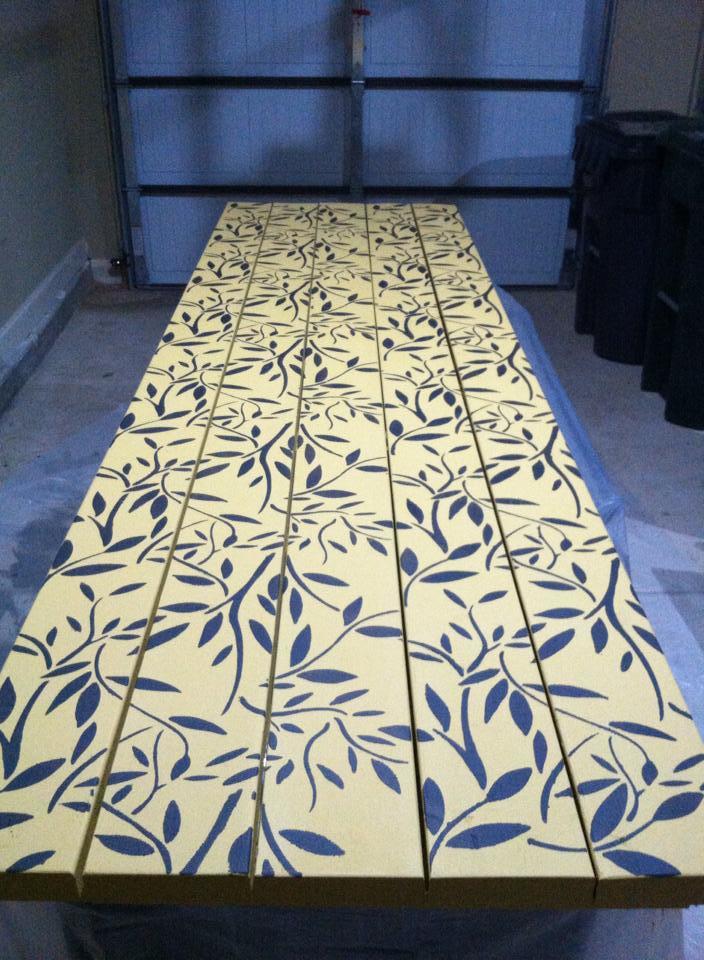
 . You can't see the plywood because I decieded to add slats to the headboard and footboard in the end (wanted to stain the wood, not paint it as planned originally).
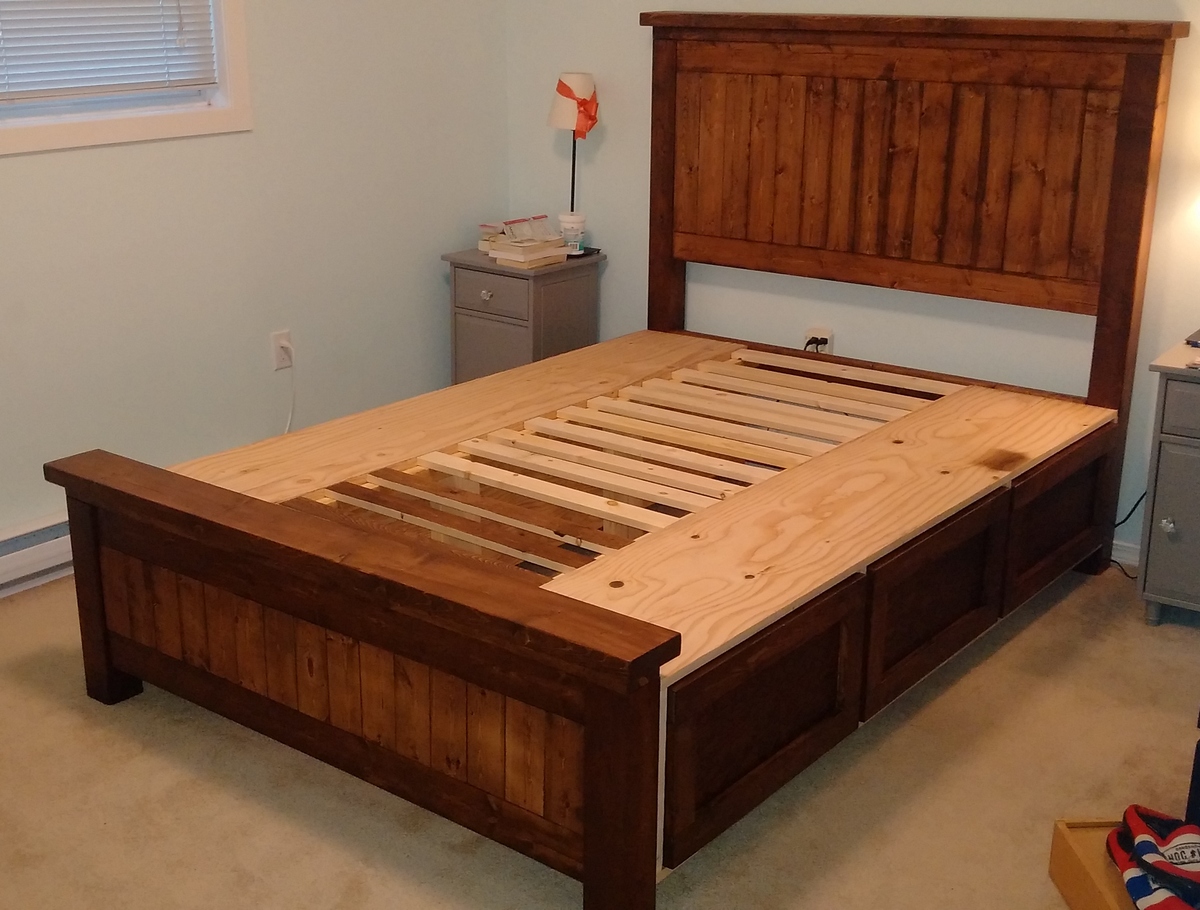


Comments
Ana White Admin
Wed, 03/17/2021 - 09:41
Awesome!
I love when our bright ideas work out, it looks great!
In reply to Awesome! by Ana White Admin
Dudley193
Thu, 03/18/2021 - 11:38
Awww, thanks!!! I do…
Awww, thanks!!! I do absolutely love this site!! You guys rock!!