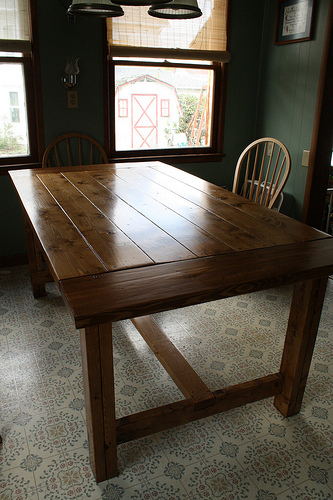
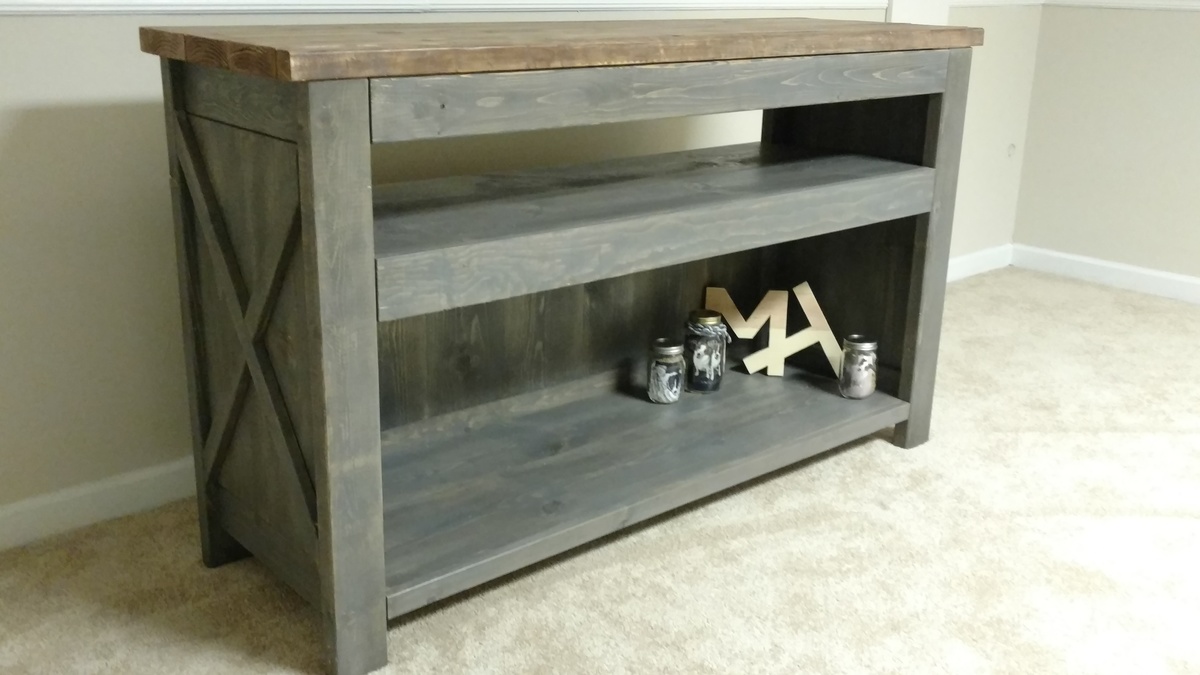
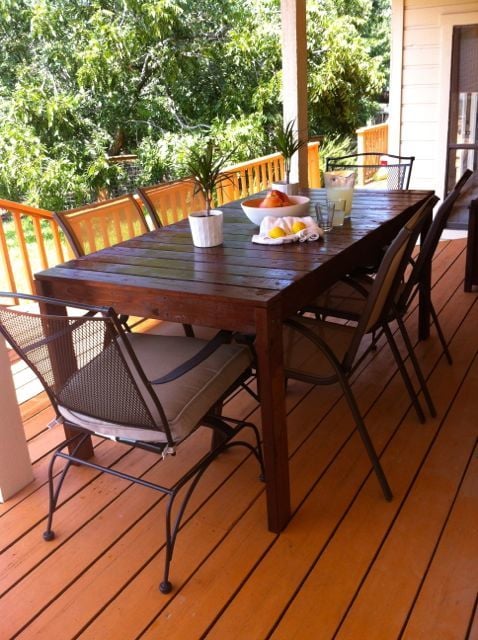
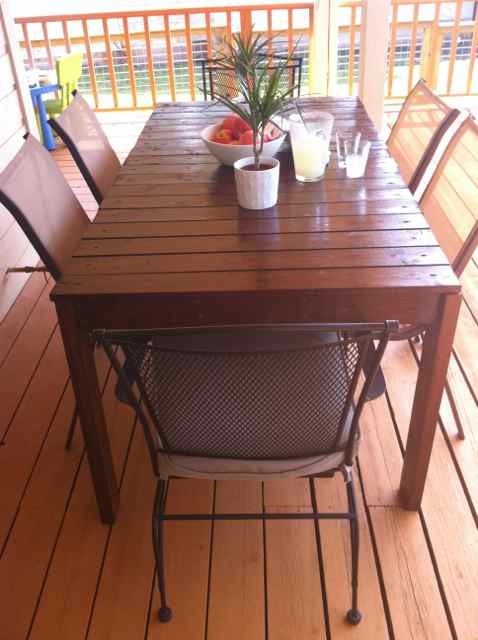
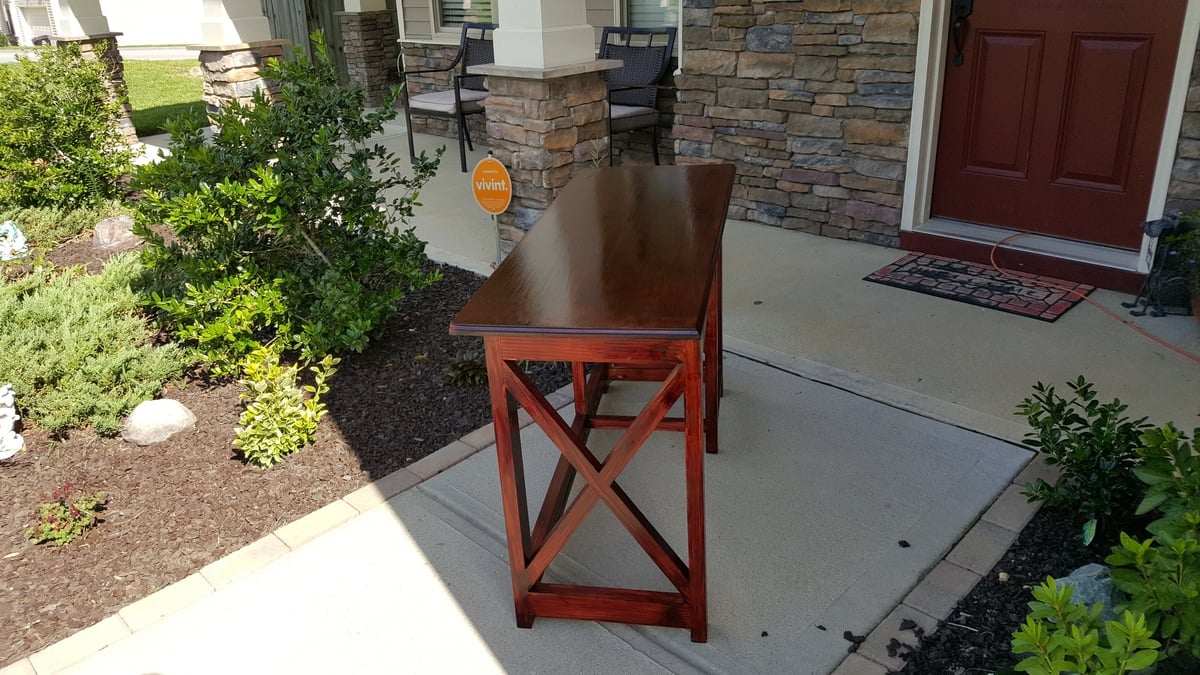
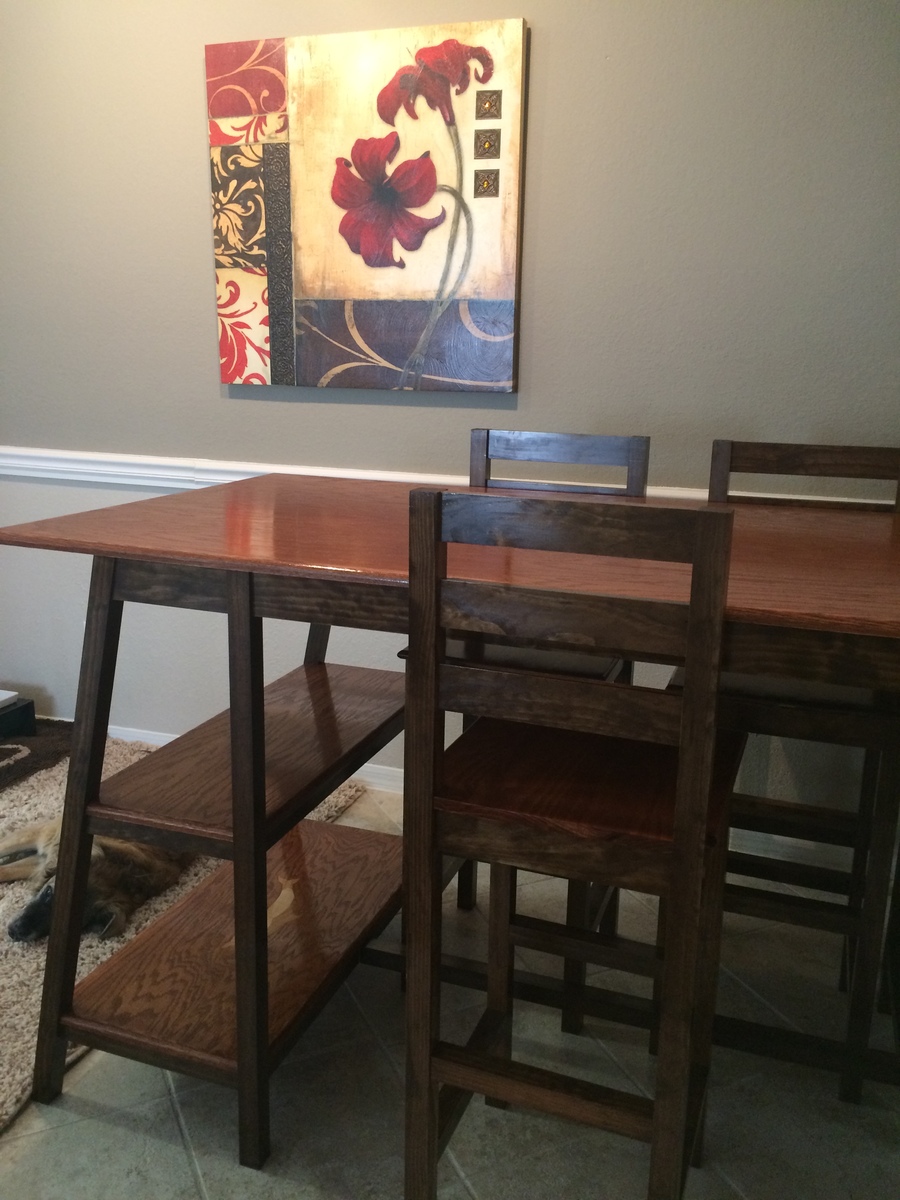
Bar Height Table and Chairs
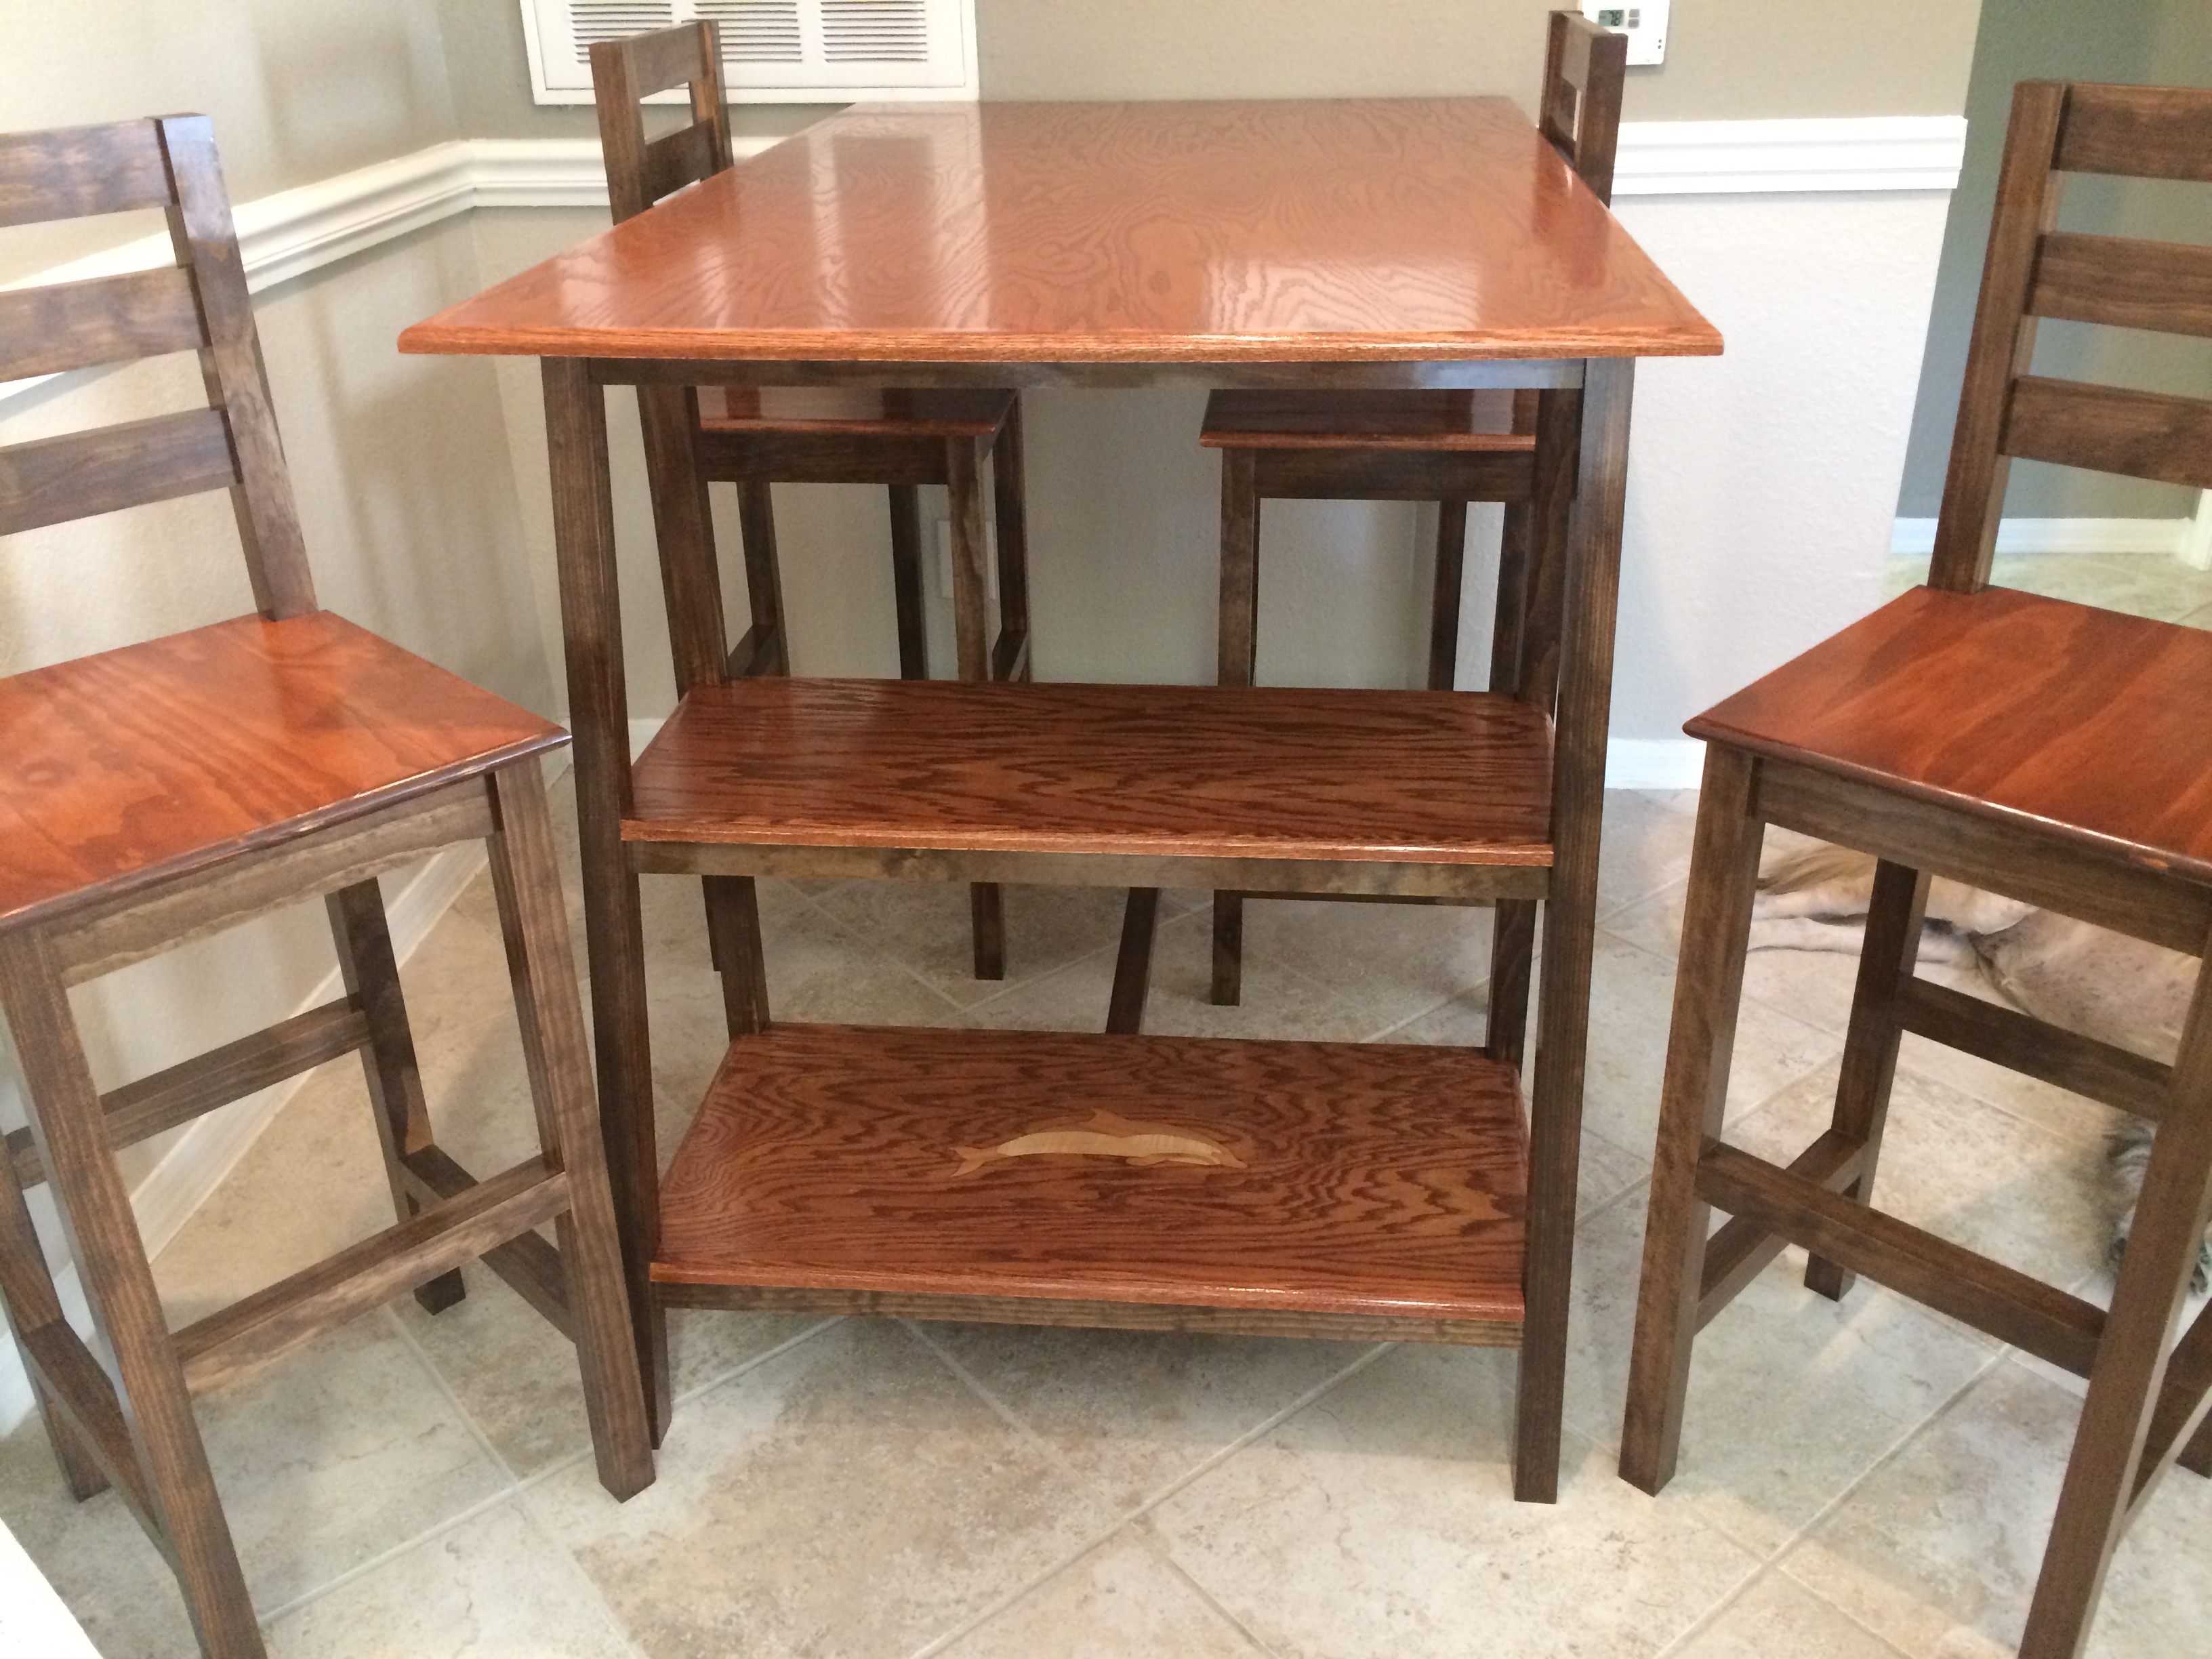
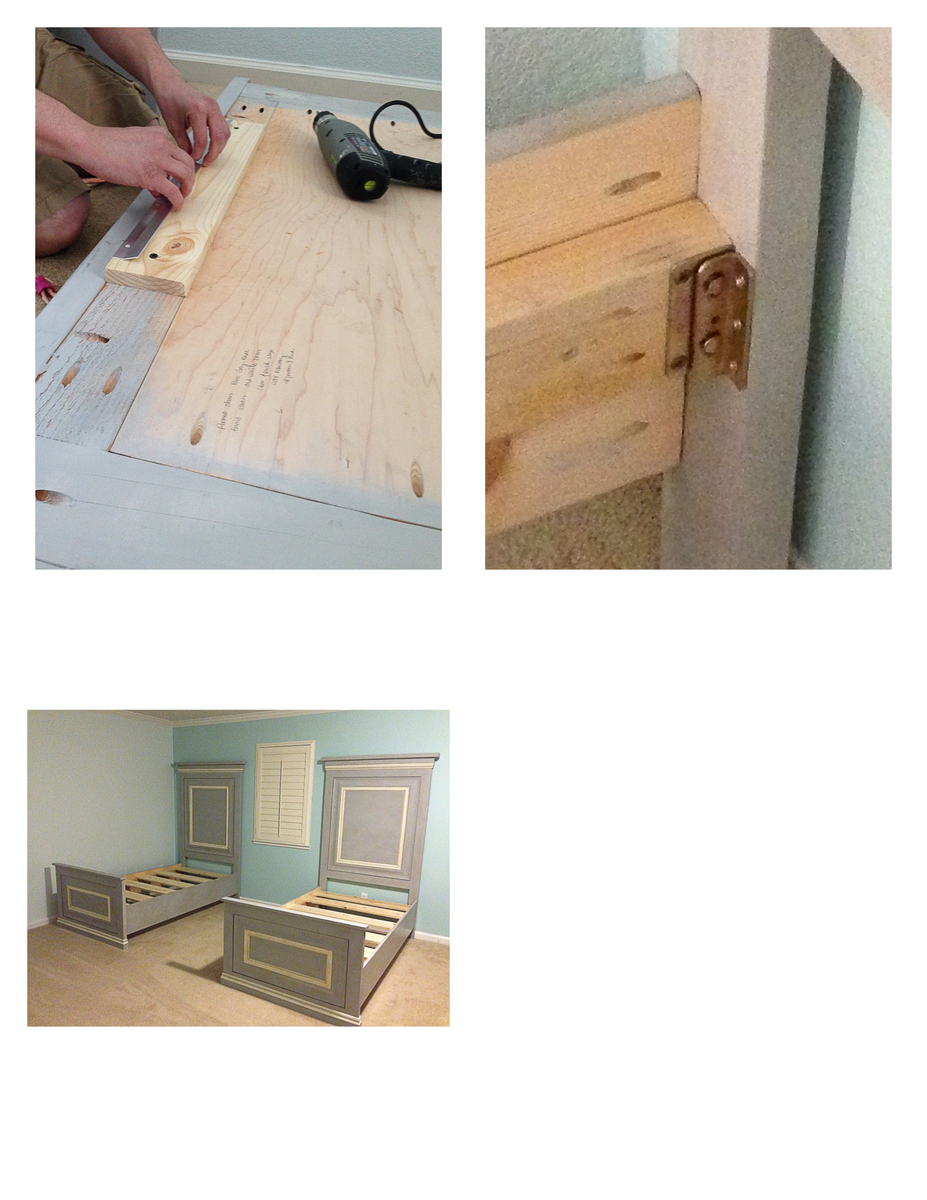
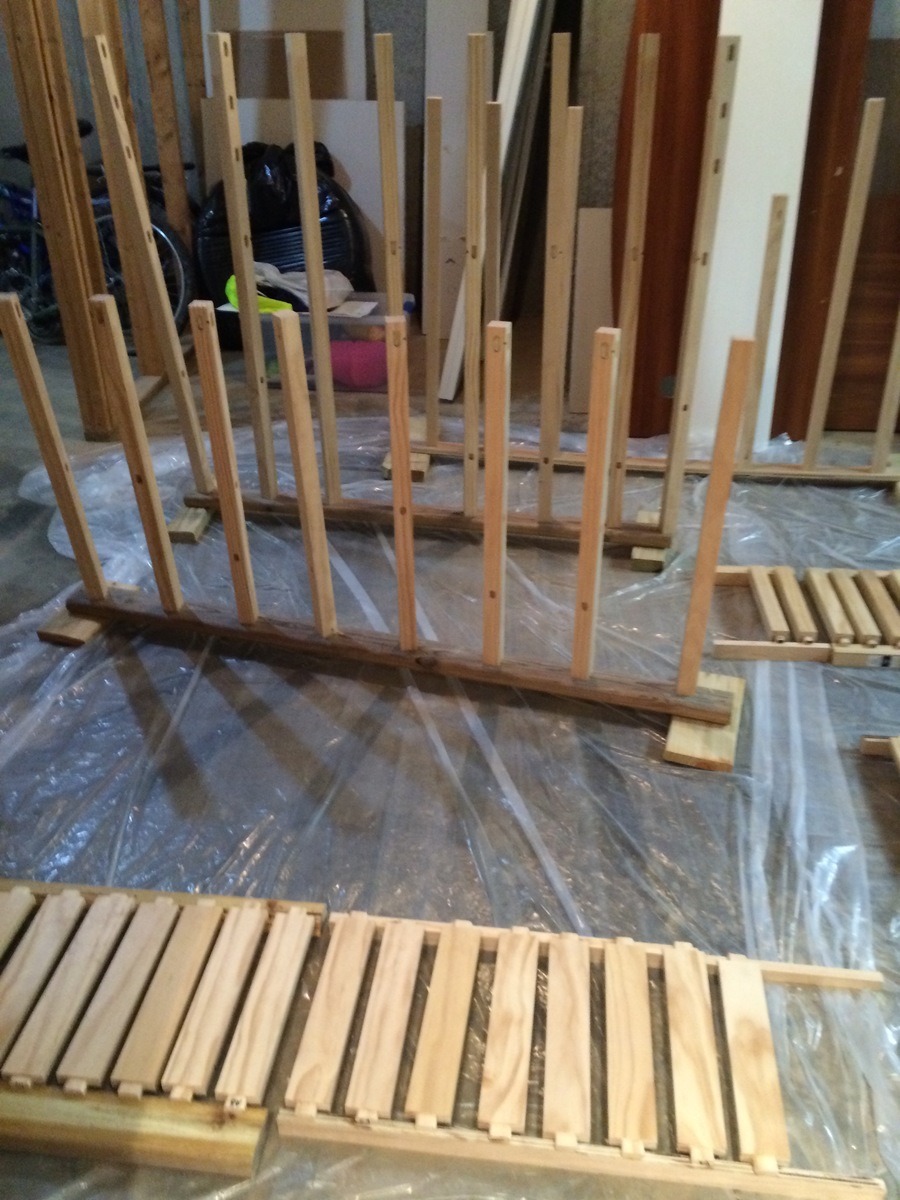
Decided to use mortise and tenon on the chairs to make for a clean look since I was staining and not painting. I did use a lot of pocket holes on the table.
Built from Plan(s)
Estimated Time Investment
Week Long Project (20 Hours or More)
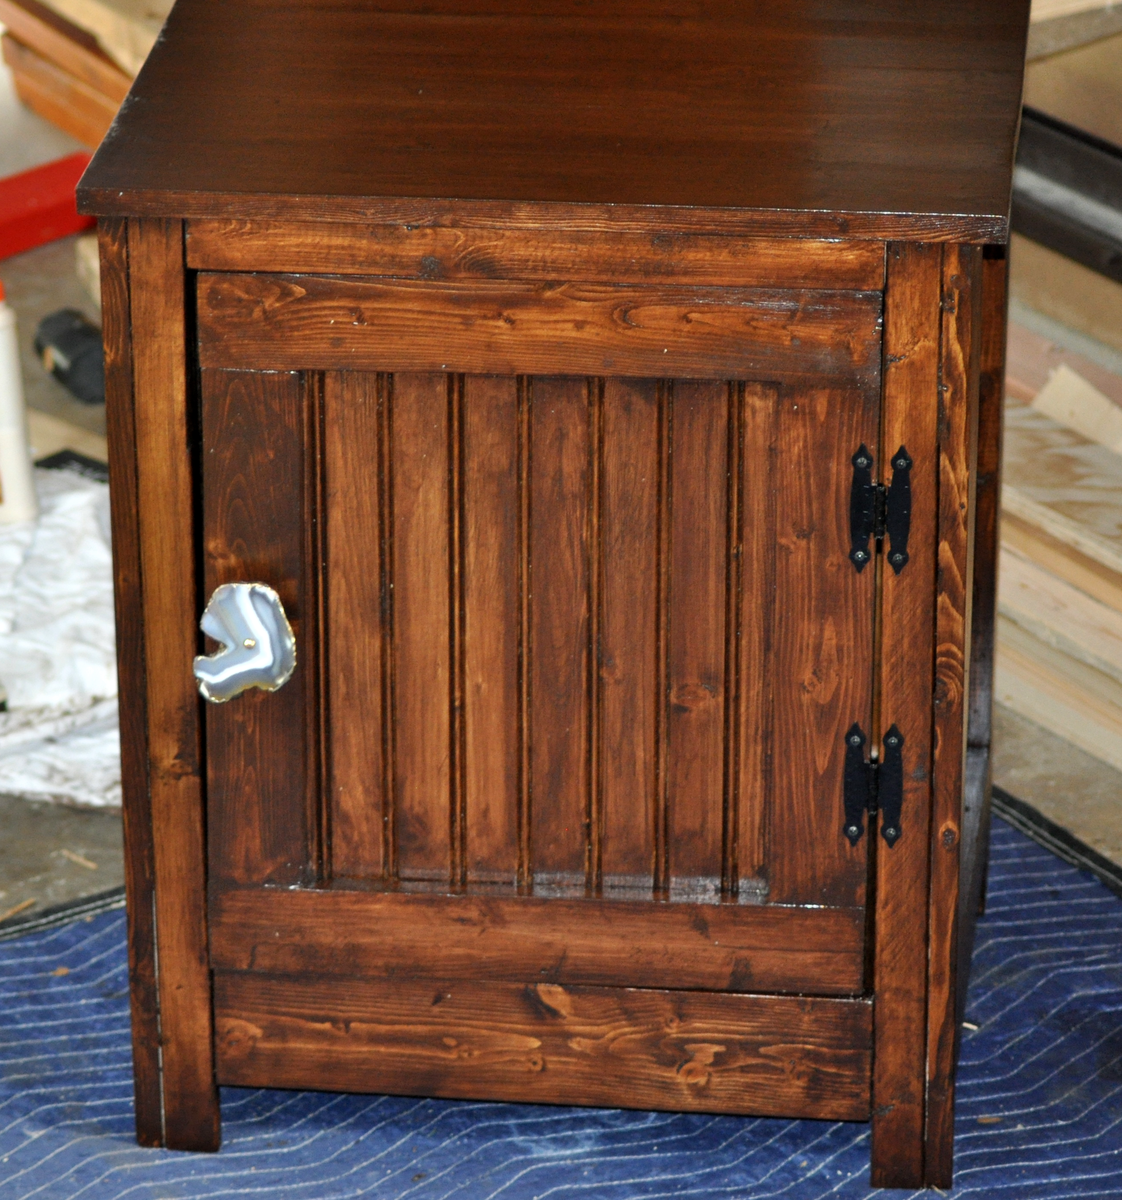
Finish Used
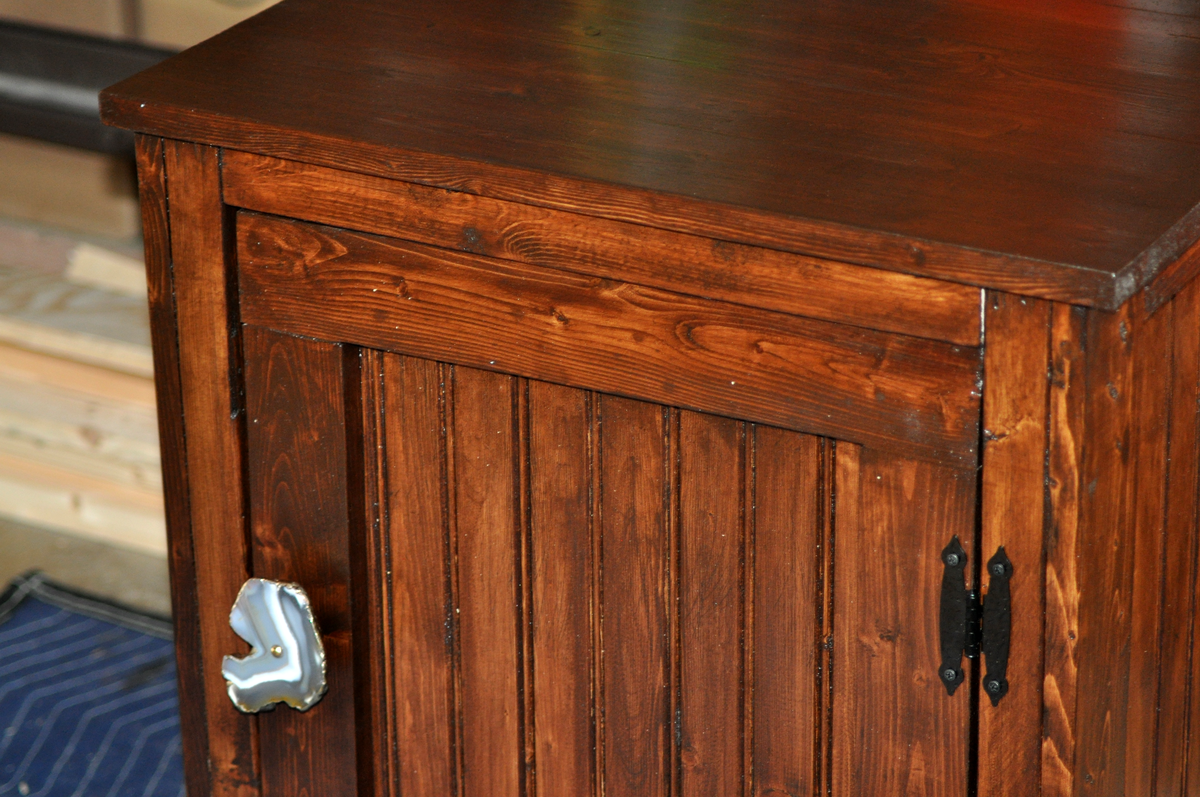
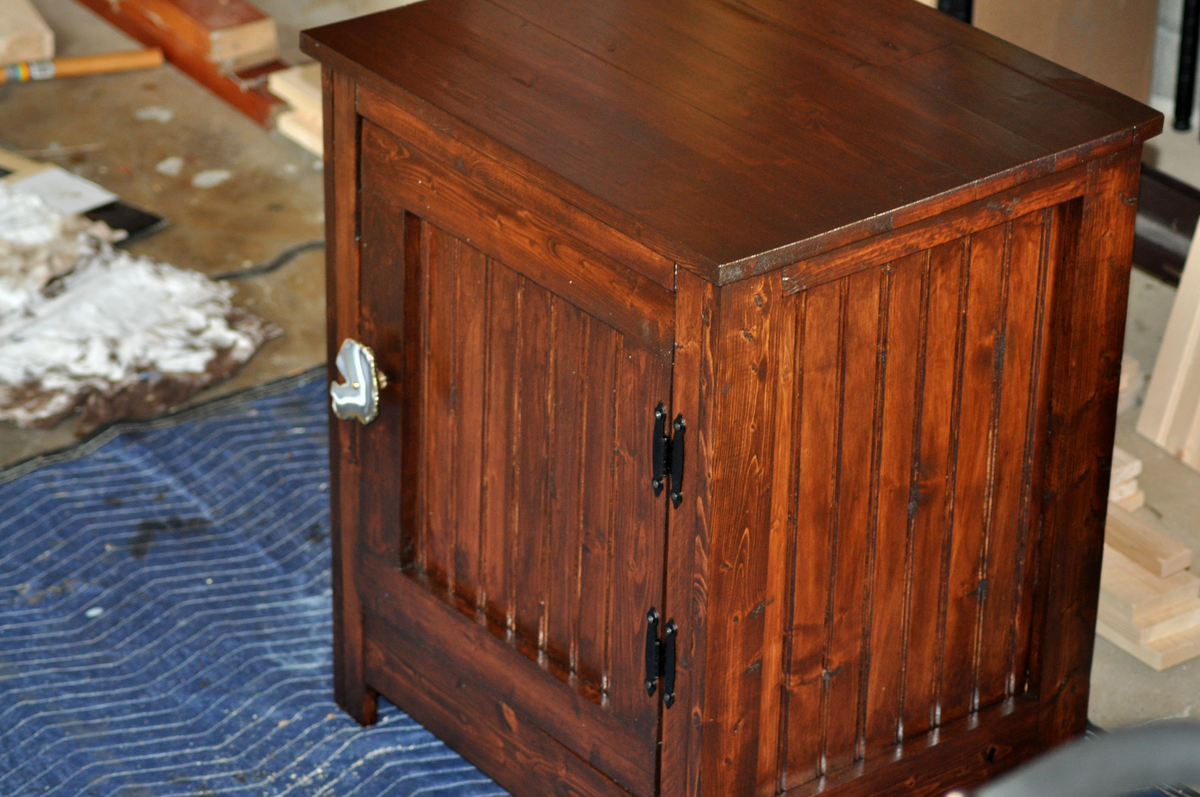
American Walnut and Dark Walnut. Oil Based Poly and Furniture Wax
Recommended Skill Level
Beginner