Modified farmhouse bench
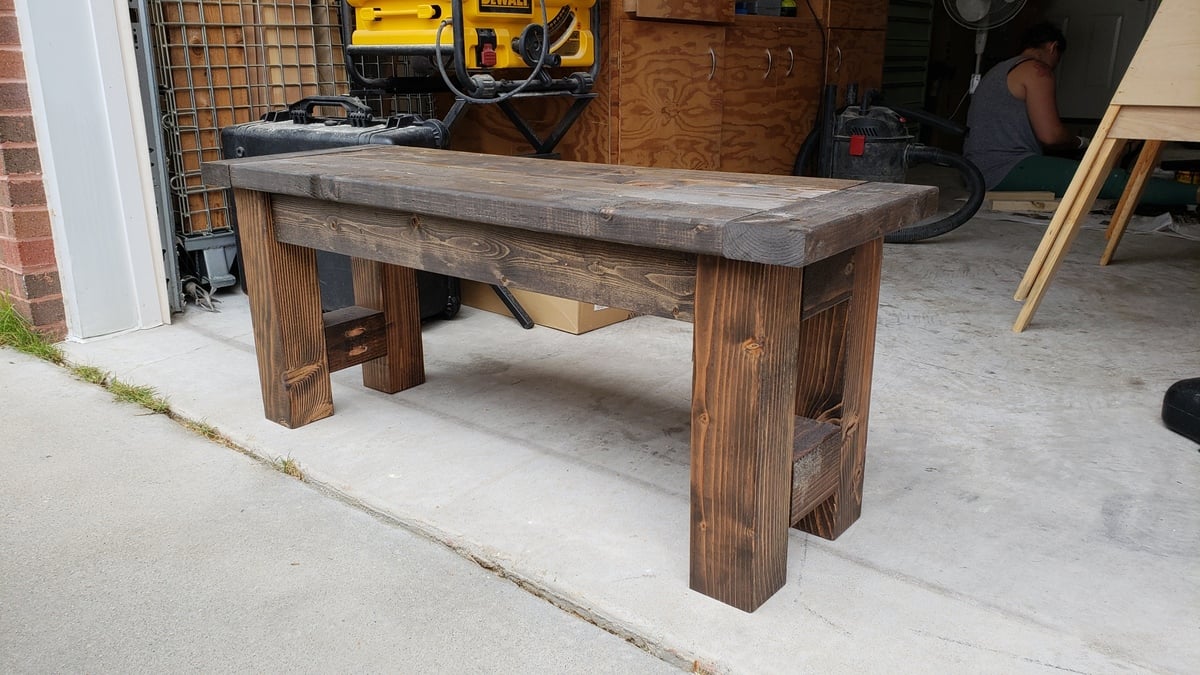
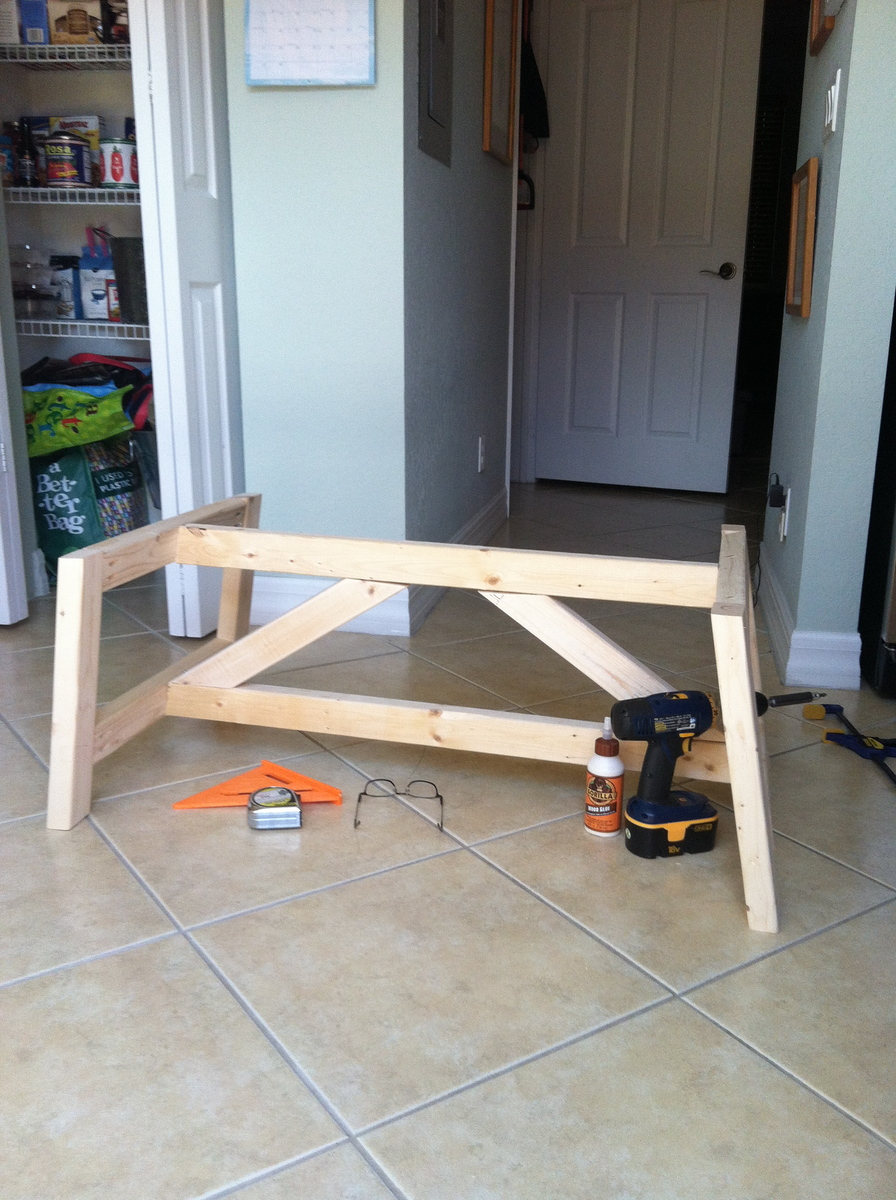
Made a 4 foot version of the farmhouse bench. I also used 4x4s for the legs instead of 2x4s. They work great, just makes the bench a little heavy.
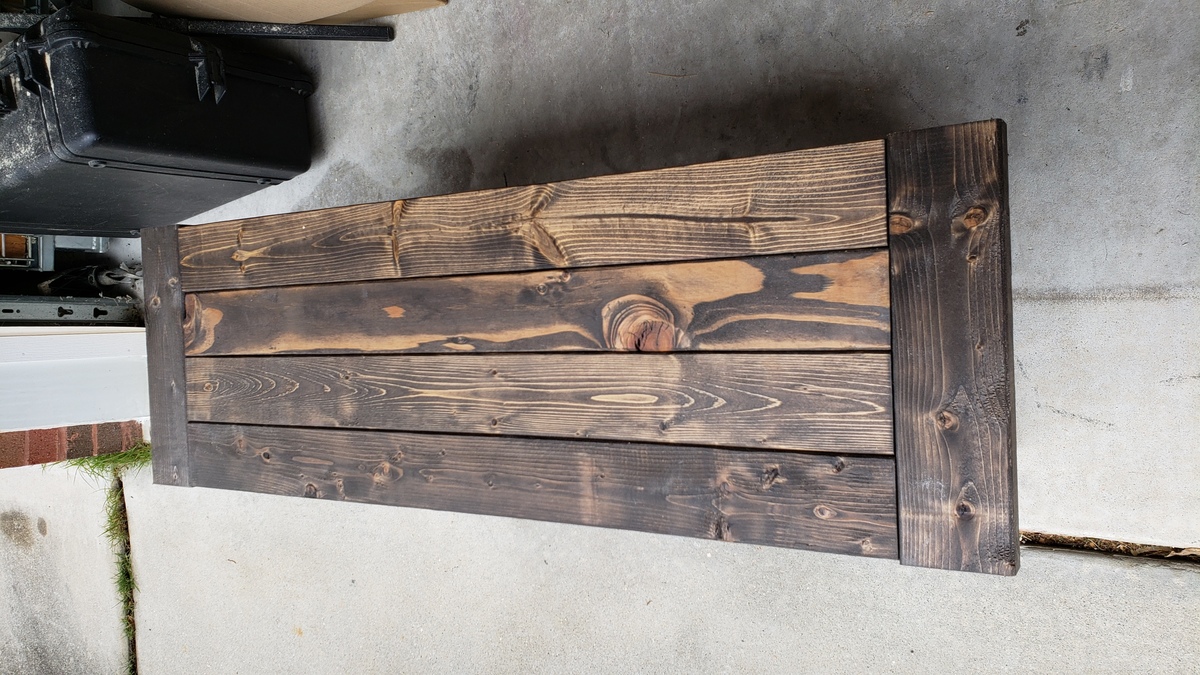

Made a 4 foot version of the farmhouse bench. I also used 4x4s for the legs instead of 2x4s. They work great, just makes the bench a little heavy.

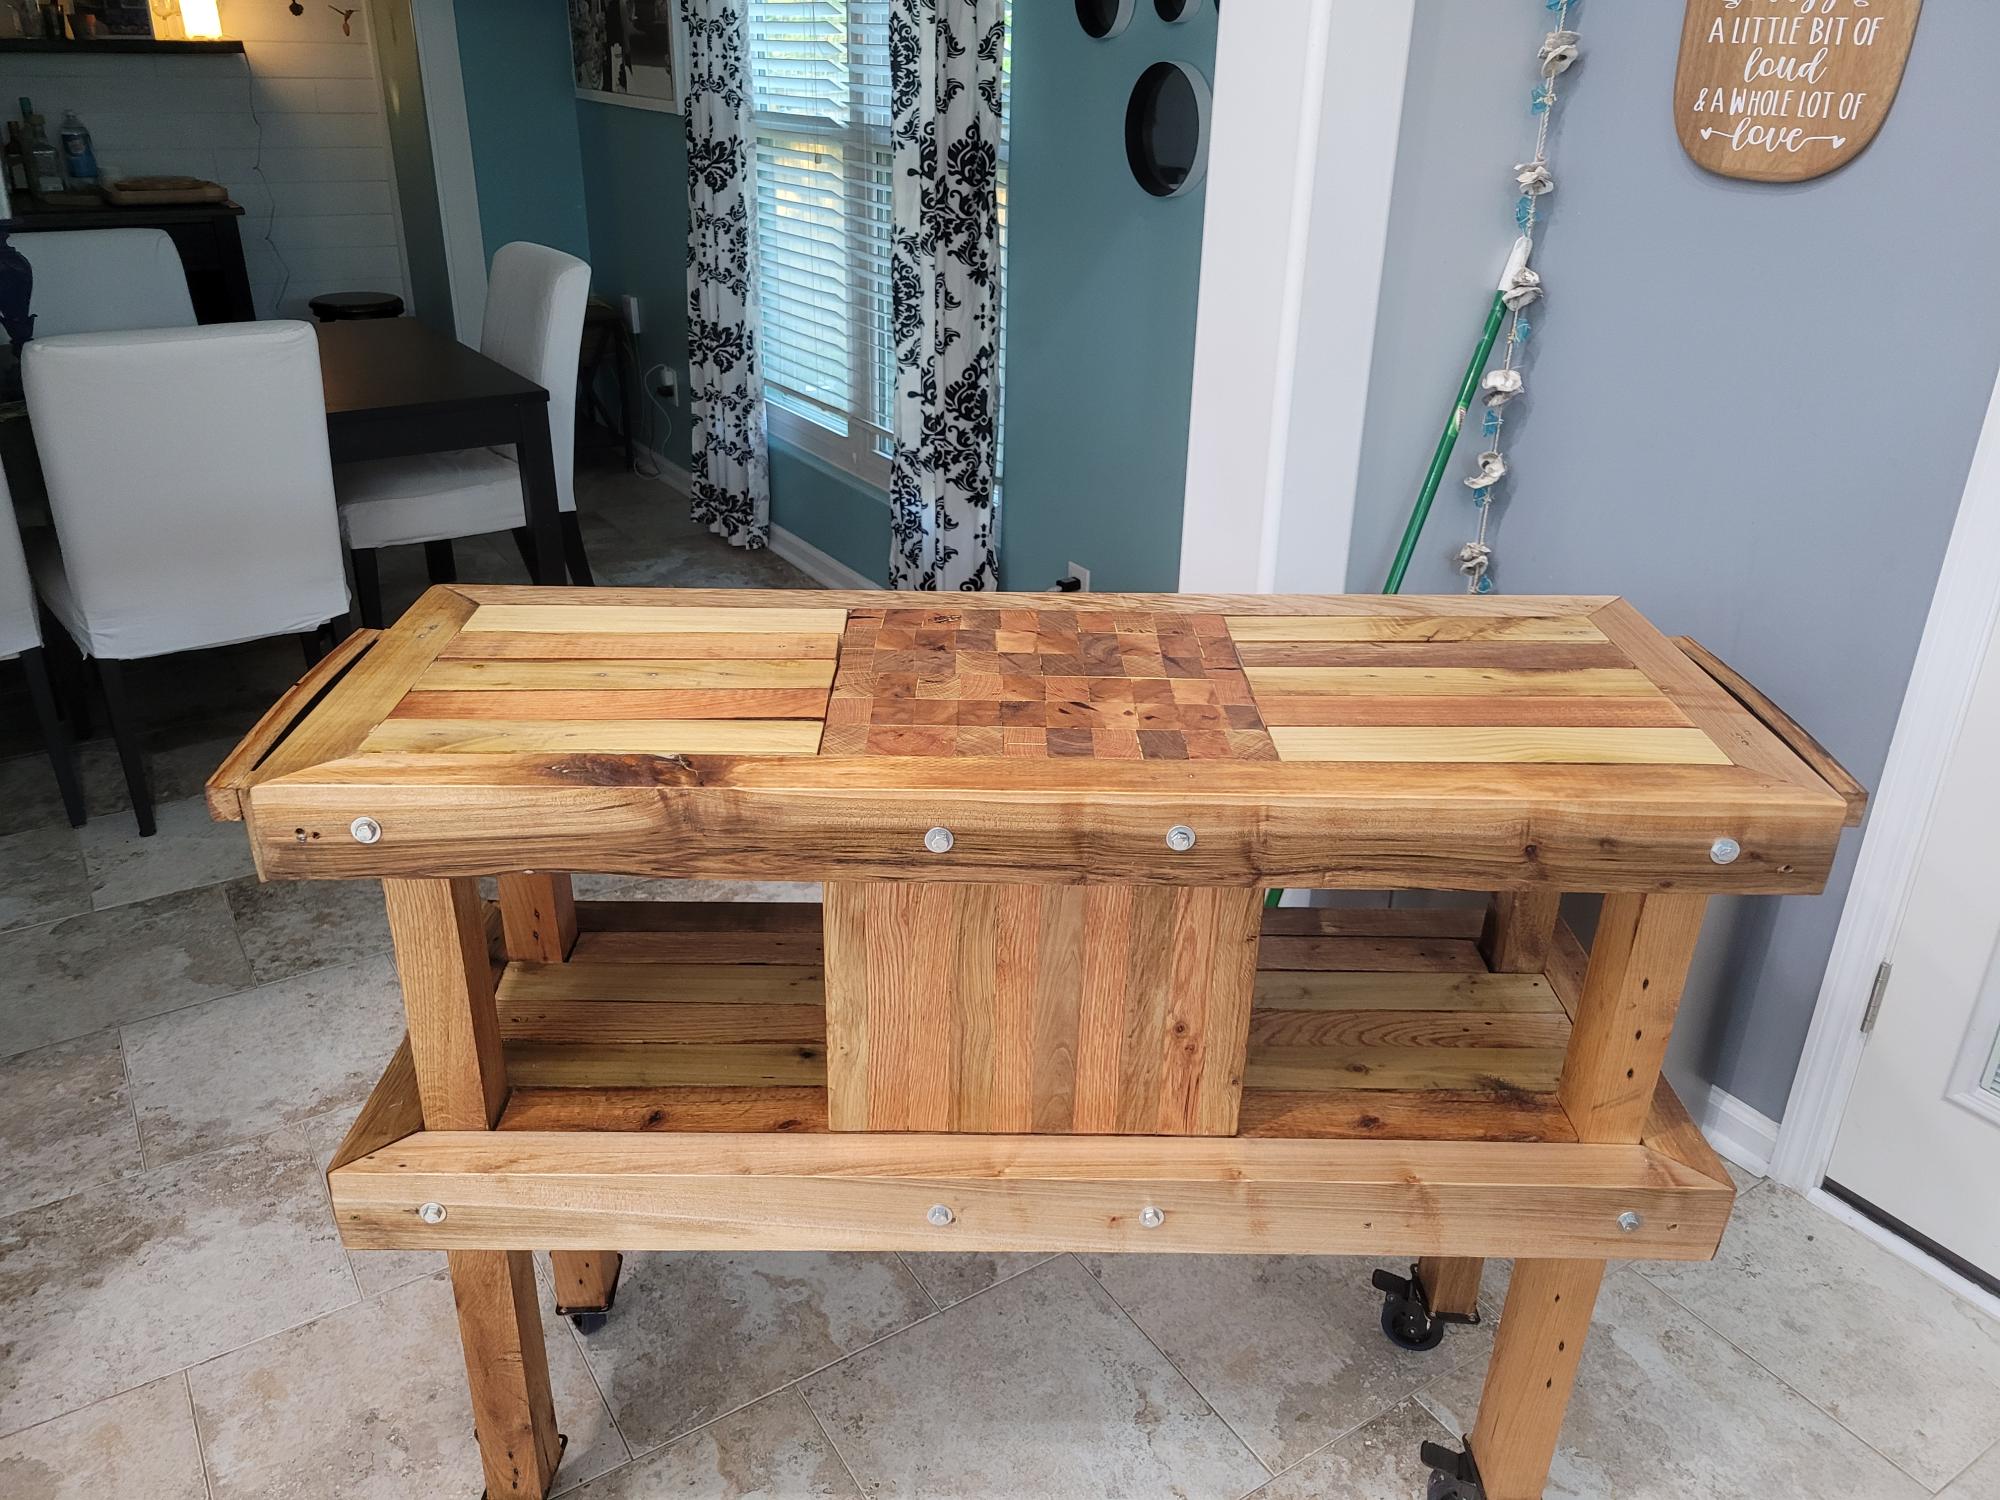
Used 2 by 3 inch solid hardwood. Built end edge thick butcher block and added the rest. All solid hardwood and sealed

This was my very first Ana project. It probably took me three times as long as it would take anyone with any experience. That said, we love it! I have since made two more for friends! No need to look too close, there are plenty of mistakes.

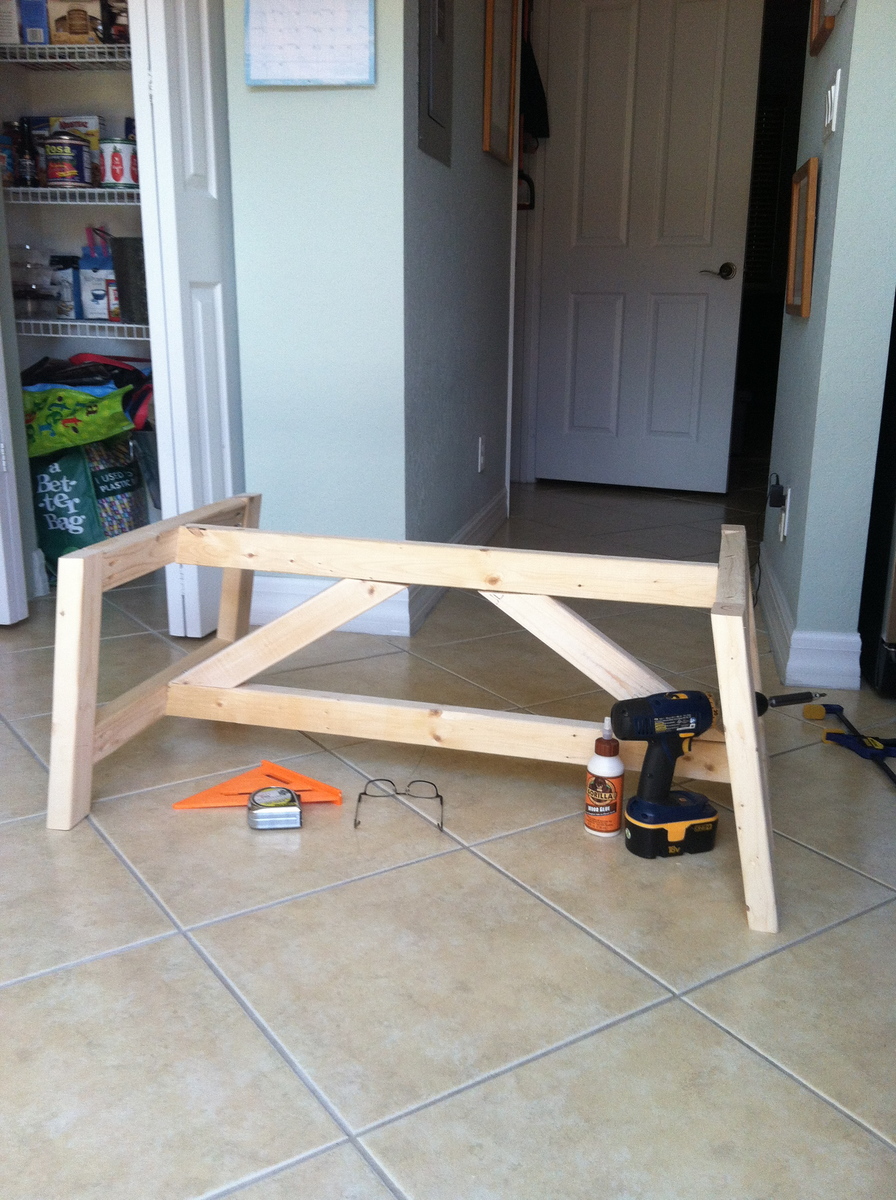
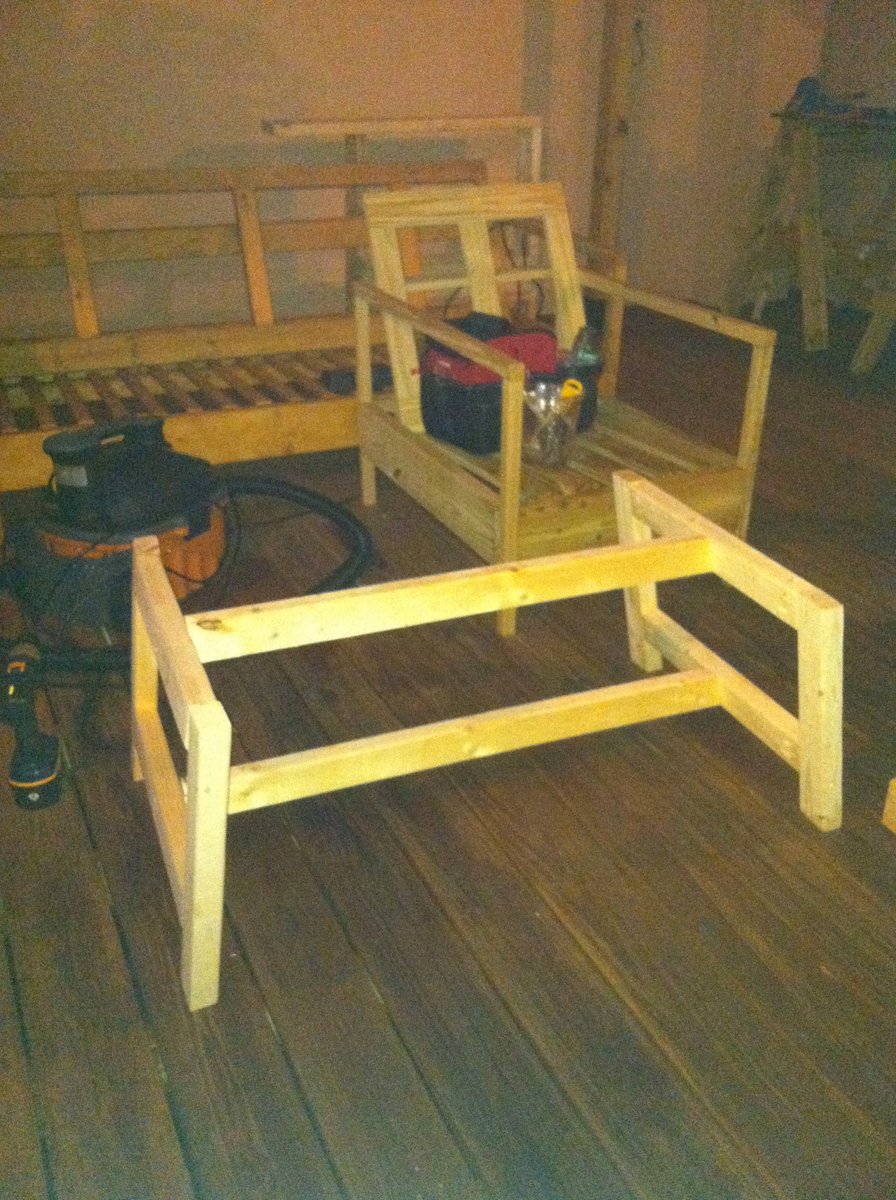
I made the Restoration Hardware couch and deck chair. I got really nice Sunbrella material cushions for $60 each at HD. I wanted to make a matching coffee table. I just threw it together. It's a little "jacked up".

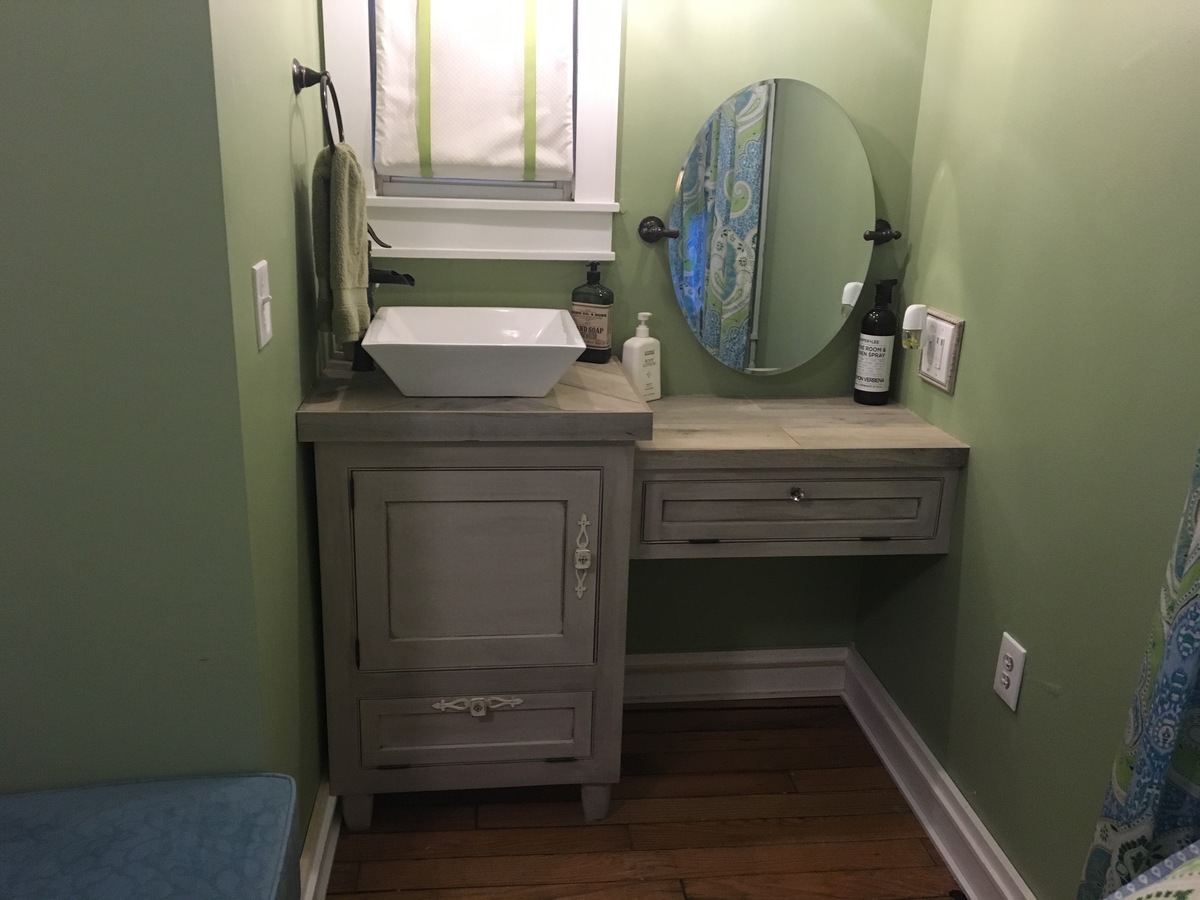
I had a half bathroom in my guest room but wanted a second full bathroom, so removed the sink out of the half and installed a shower. I built the vanity in the room and added a make-up area with seating. I used my Kreg beaded faceframe system and to add a bead around the faceframe and built inset doors and drawers. I used Behr paint and used valspar antiquing glaze for the finish. I used the leftover shower tiles to make the countertop.

One for each daughter for thier bathroom. I did use a wider board on top for larger standing surface and stability.
Made few modifications. Added a 9th board to the tabletop to make it larger, horizontal aprons connecting the legs, and seat support. For stain and sealer, I used Olympic semi-transparent redwood. Overall a great project. Thank you, Anna.
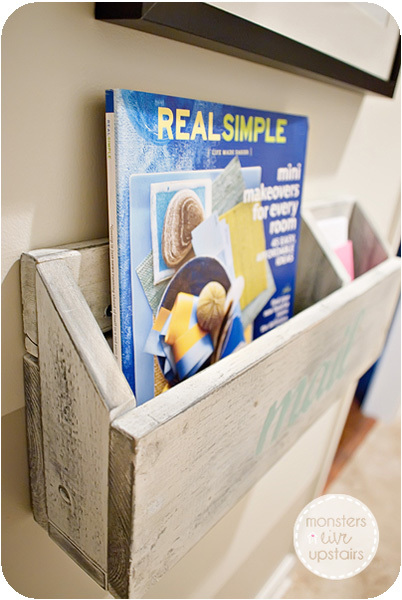
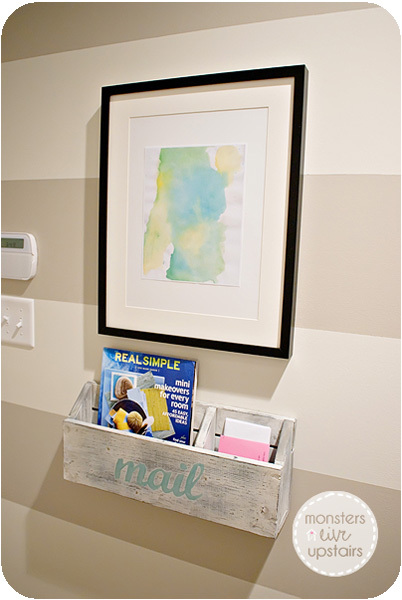
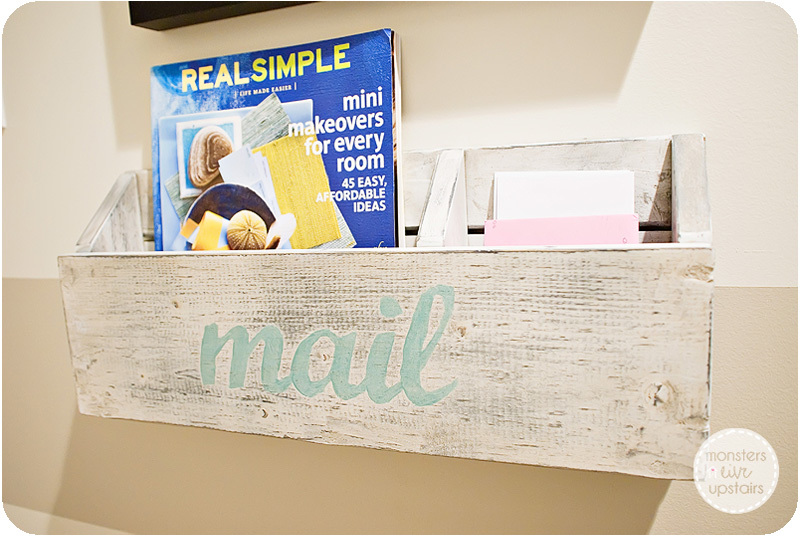
I was in desperate need of a mail organizer and knew when I saw the the plans for the numbered cubbies that it would be perfect with some modifications. The best part of this project was that it was free...all from scraps and done in less than a couple hours.
Fri, 08/19/2011 - 16:03
This is exactly what i've been needing, thanks for the idea!
Sun, 08/28/2011 - 20:13
Kelli224 ~ This is so cute! How long did you make it and how tall in the back and front?
Wed, 08/31/2011 - 15:22
Thank you! This little box has really been handy and keeps everything so tidy. EmileeA - It is 19" long, the back is 8", and the front is 5.5". The divider is 11.25" from the left side. Hope that helps!
Tue, 12/17/2013 - 17:31
hi there! I ve been working on a small cubby shelf similar to this and was interested in seeing how /where you joined the boards- ex. The front board (5.5ft) to the dividers... I don't see and nails or screws! I'm guessing you applied wood filler atop the nailheads. But I'm having trouble joining my boards and if you can kindle let me know where you attached the front board to dividers w nails or was it just glue?!? Thanks so much!
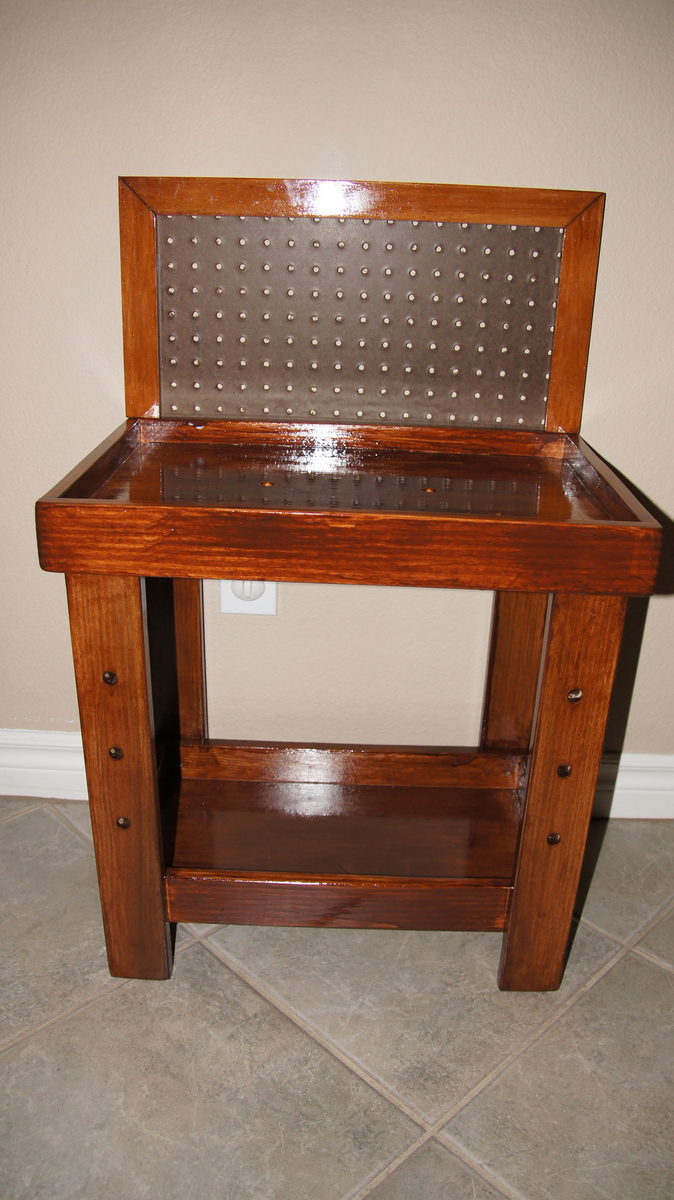
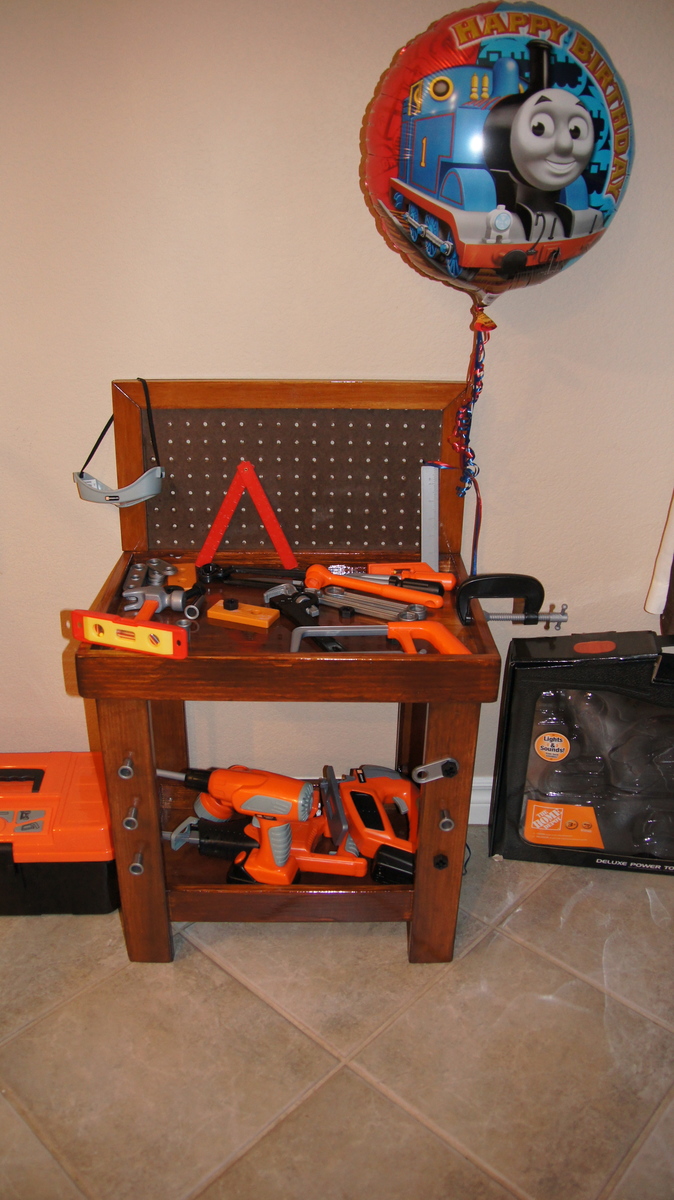
My Husband and I built this for our son's 2nd Birthday. This is our first finished project!
We drilled 1/2" holes for play nails and screws in the legs and top. We also modified the bottom to have a shelf for added storage, just measured the inside dimensions and cut to fit. We also opted for a peg board on the back to eventually hang tools and some baskets for the nails and screws. The peg board is attached to the base and trim with glue and staples. We taped off a section on the back before using the polyshade to allow the glue to adhere.
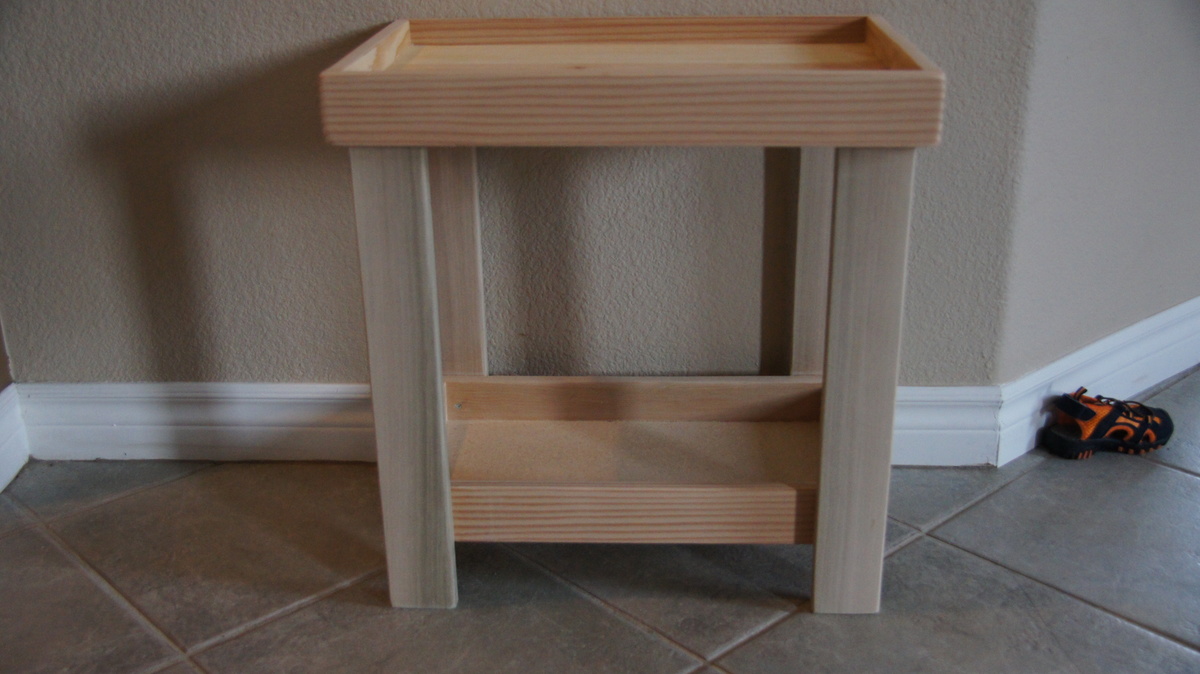
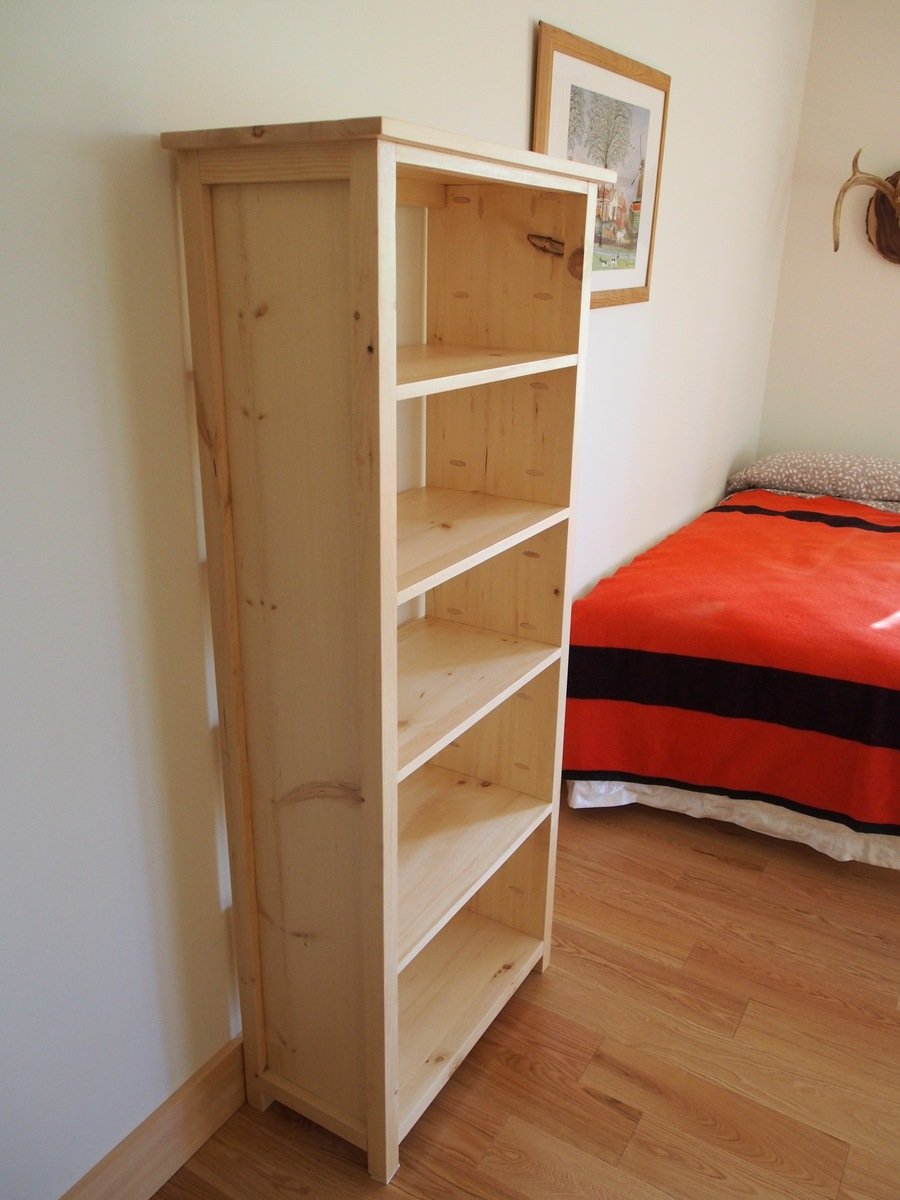
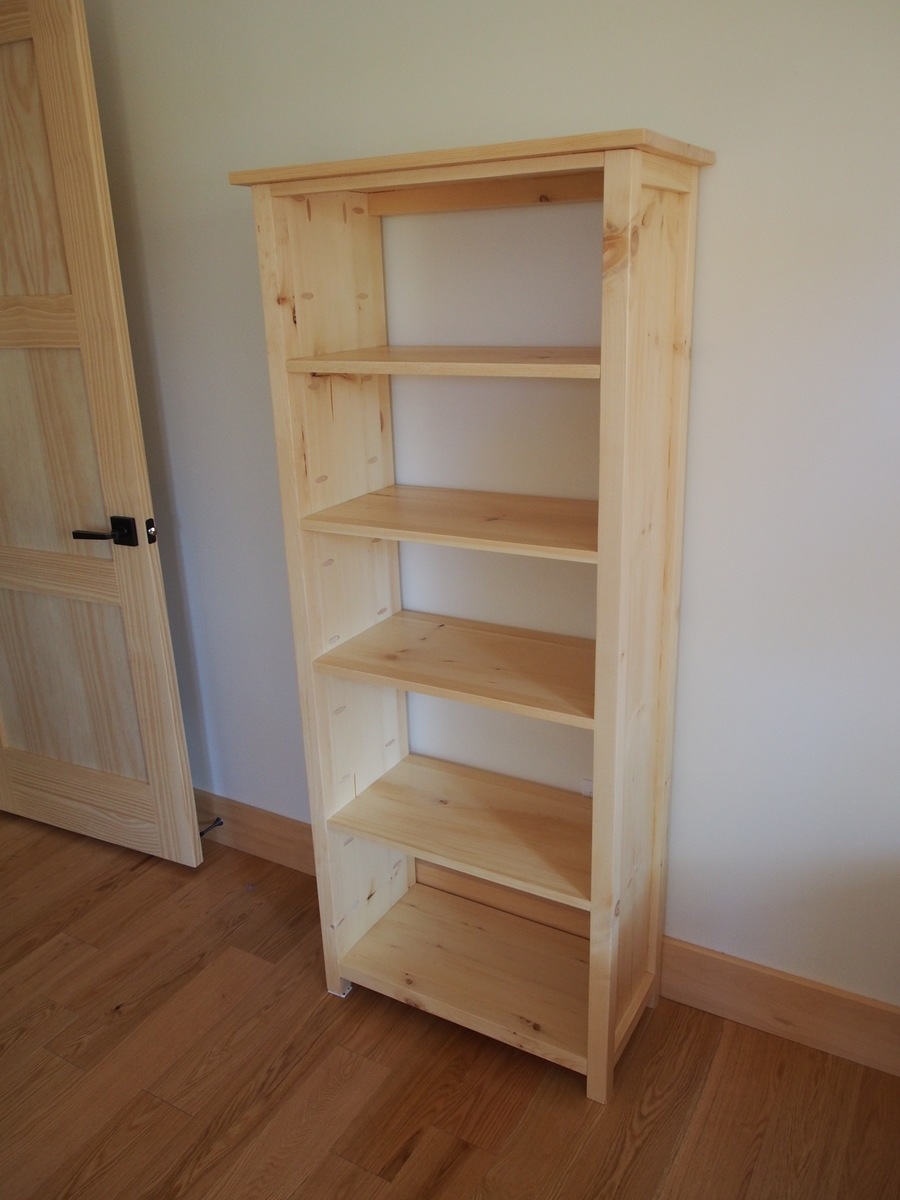
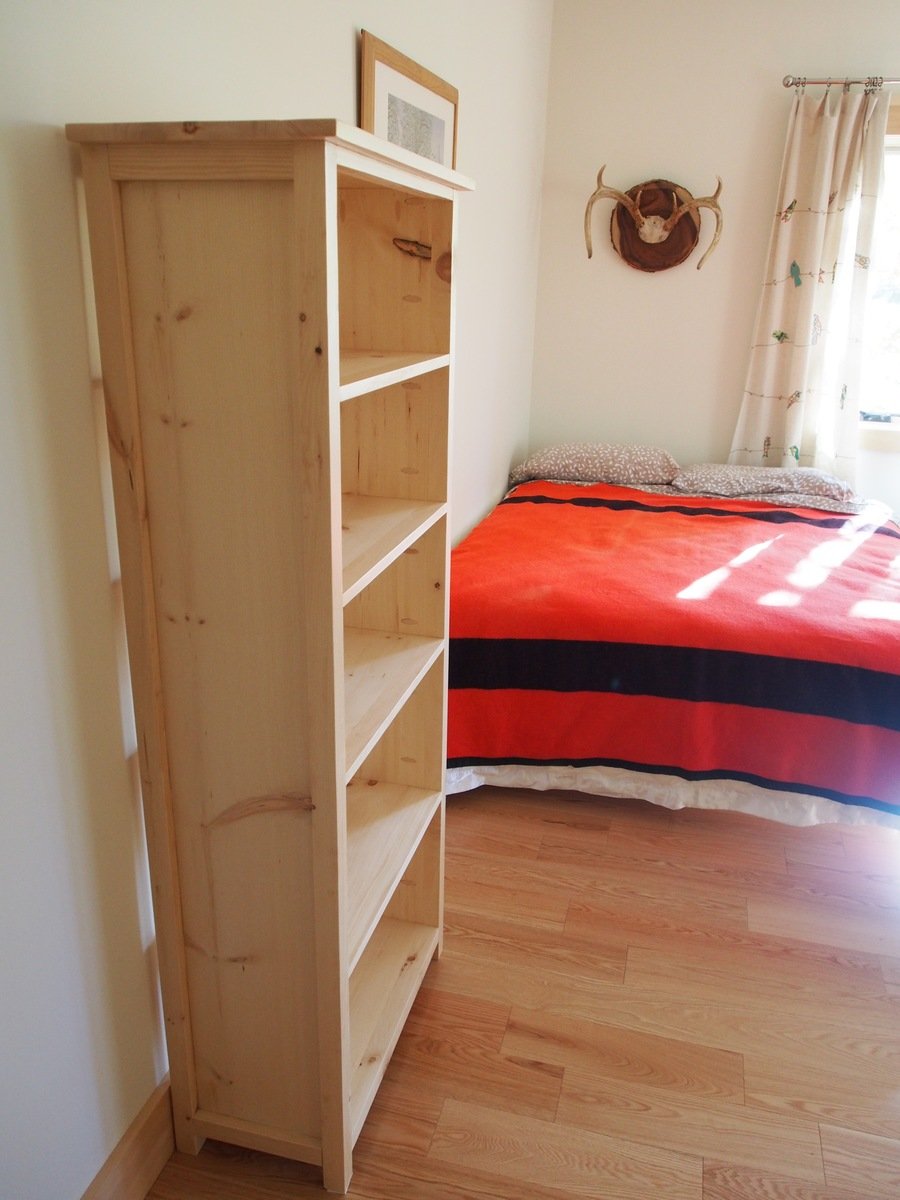
I used 1 x 10s to make the bookcase a little shallower, and left the back open. Thanks for the great plan.

I made this longer using two 8’ 1x4 pine boards and added a center brace inside. I added a pack of simple hinges to the top so that the face could flip up and we could access the inside. I also routed the face and back.

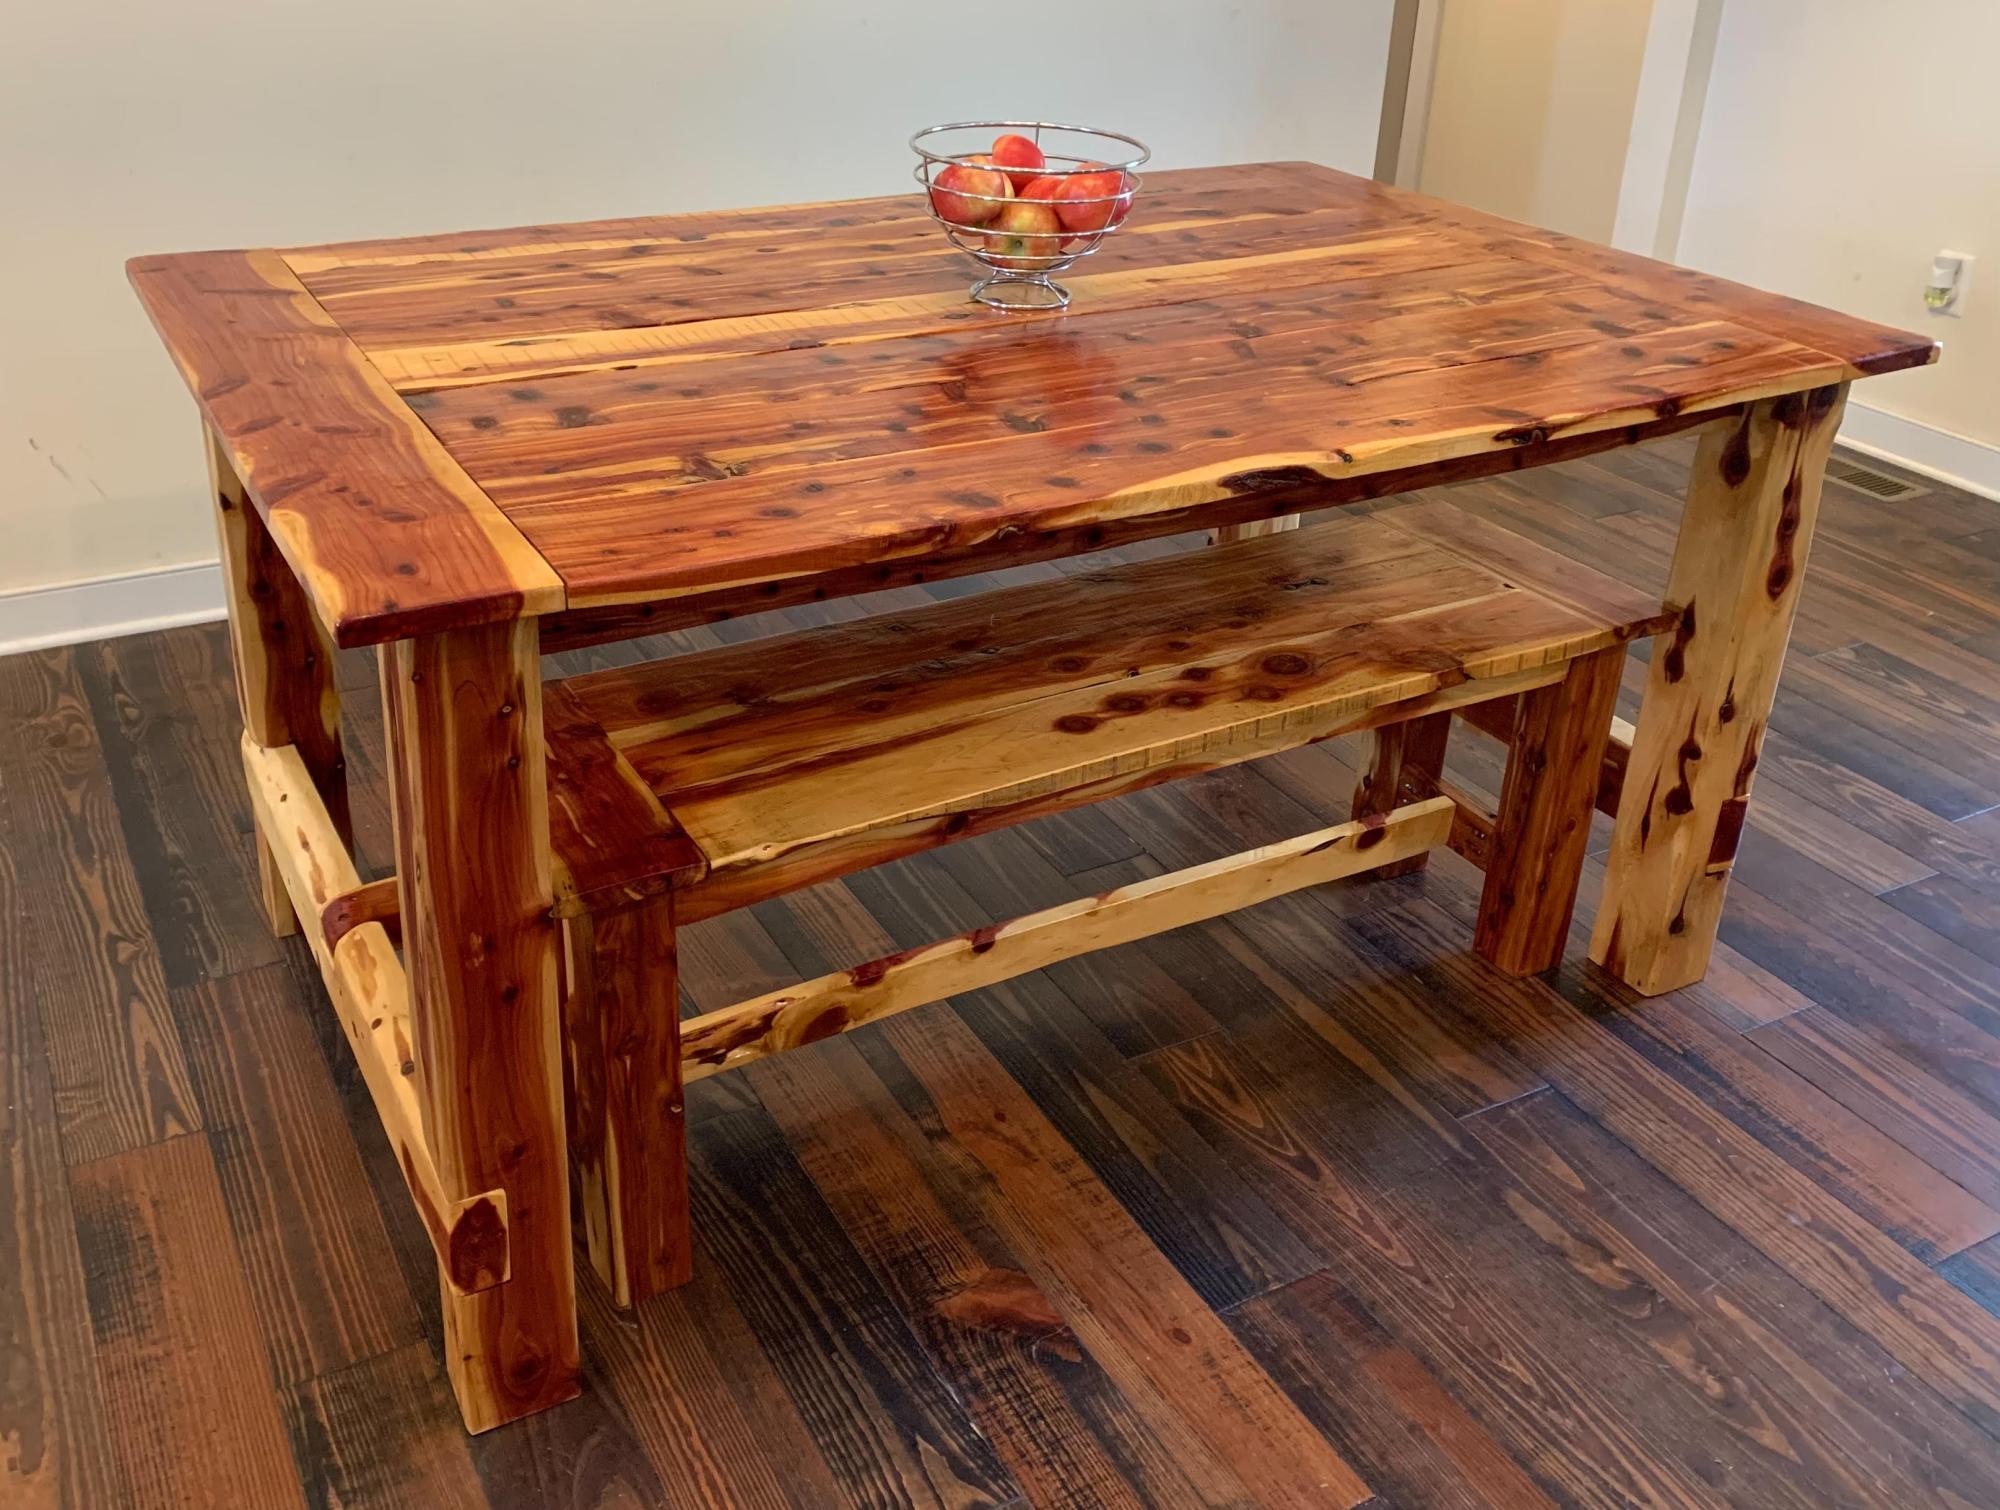
Beautiful Dining Table
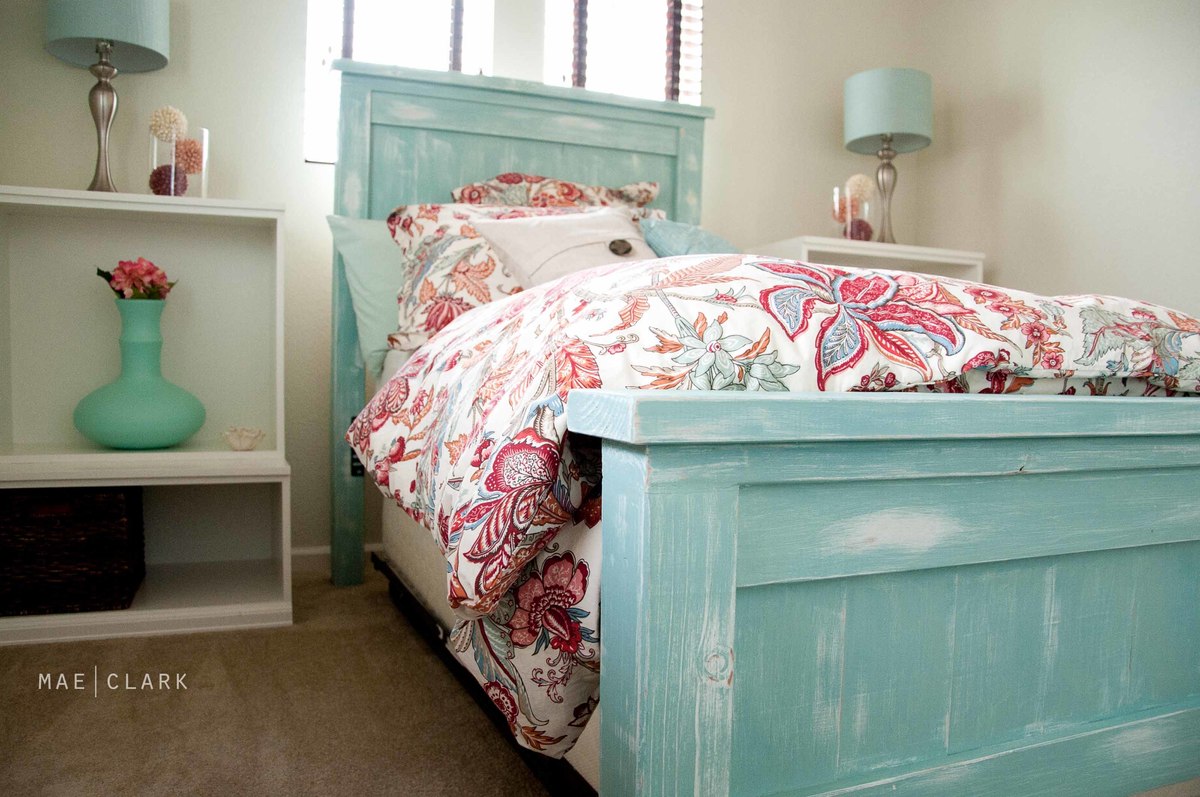
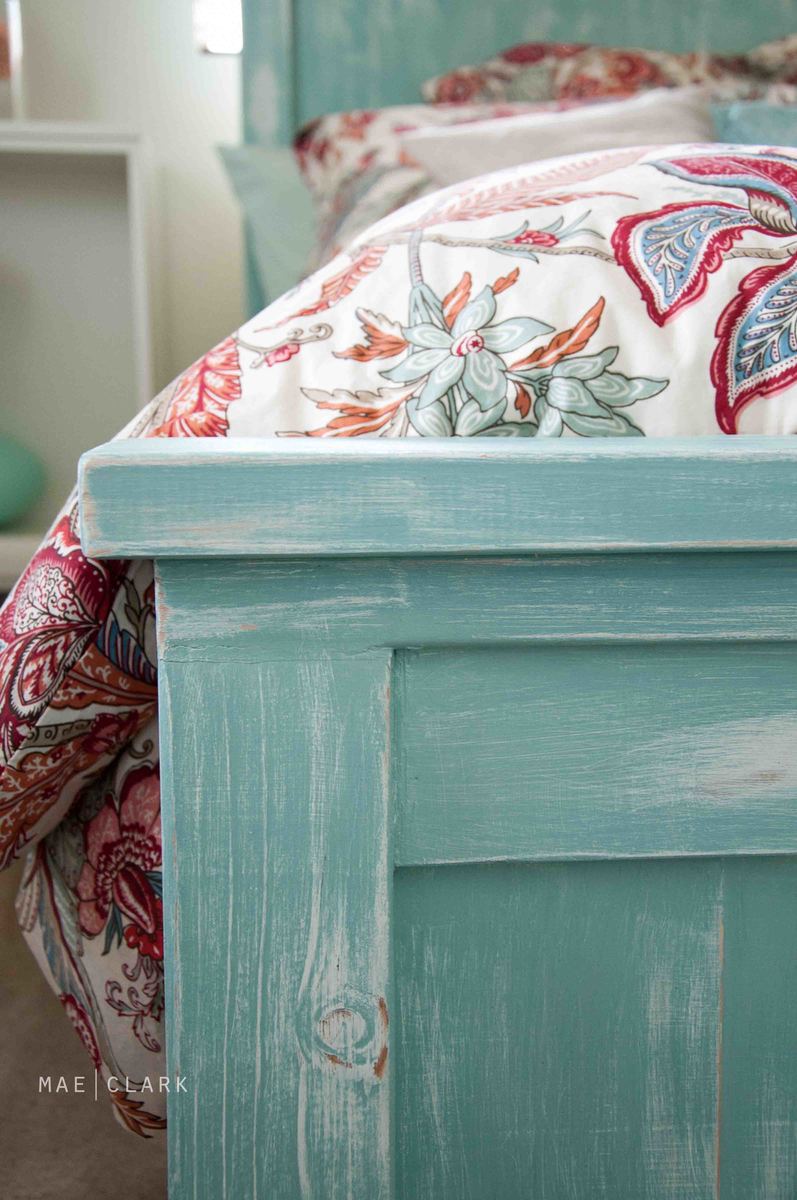
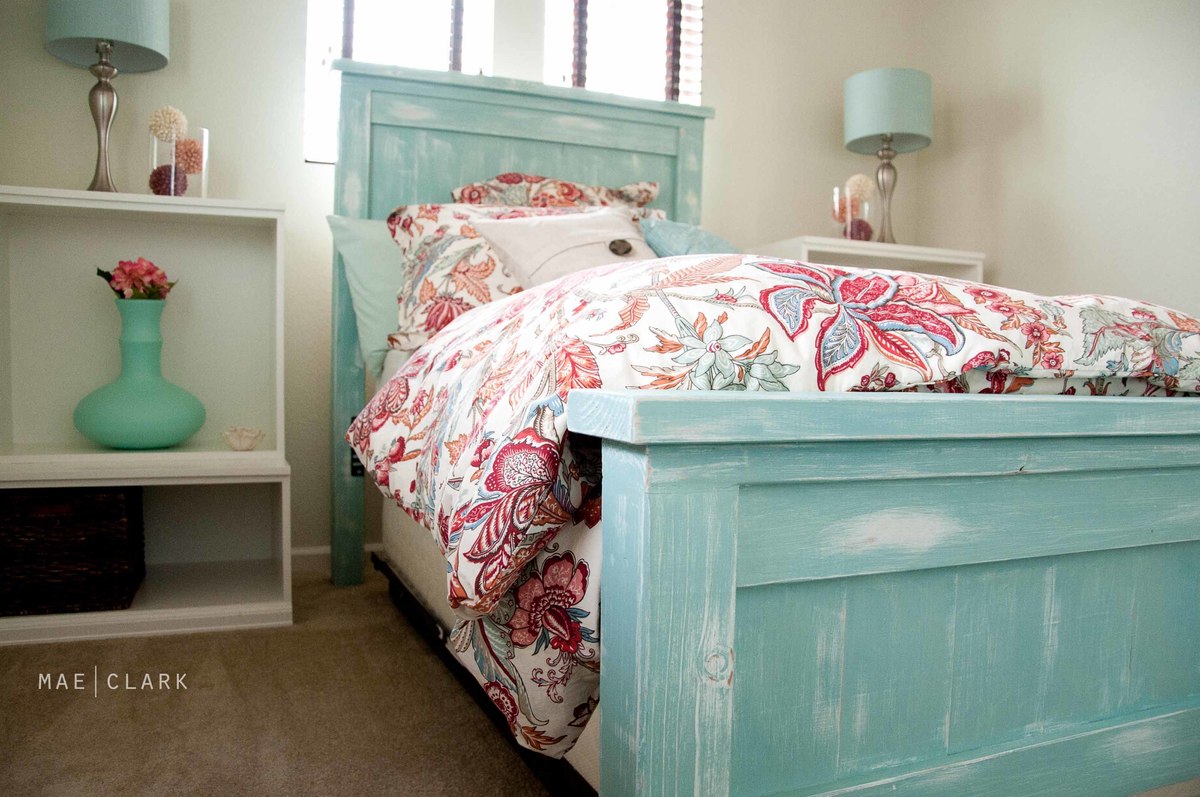
I decided to start on the project of converting my daybed to a twin farmhouse bed five days before I had a house full of company - genius! The hardest part was finding the 4x4 posts at the Blue store and deciding what length of screws to use. It's hard to say how much time I spent on it, as I was finishing up 46 other projects during the same time, but I would guess the build took about ten hours, and the finishing maybe three? This finish really is one of the easiest I've done to date. A quick coat of white/cream semigloss, another quick coat of turquoise semigloss, an hour of light sanding and wa-lah! I apologize for the poor photo quality - I borrowed a friend's camera lens to get wide-angle shots in my teeny guest room and the lens apparently wasn't made for my camera - whoops!
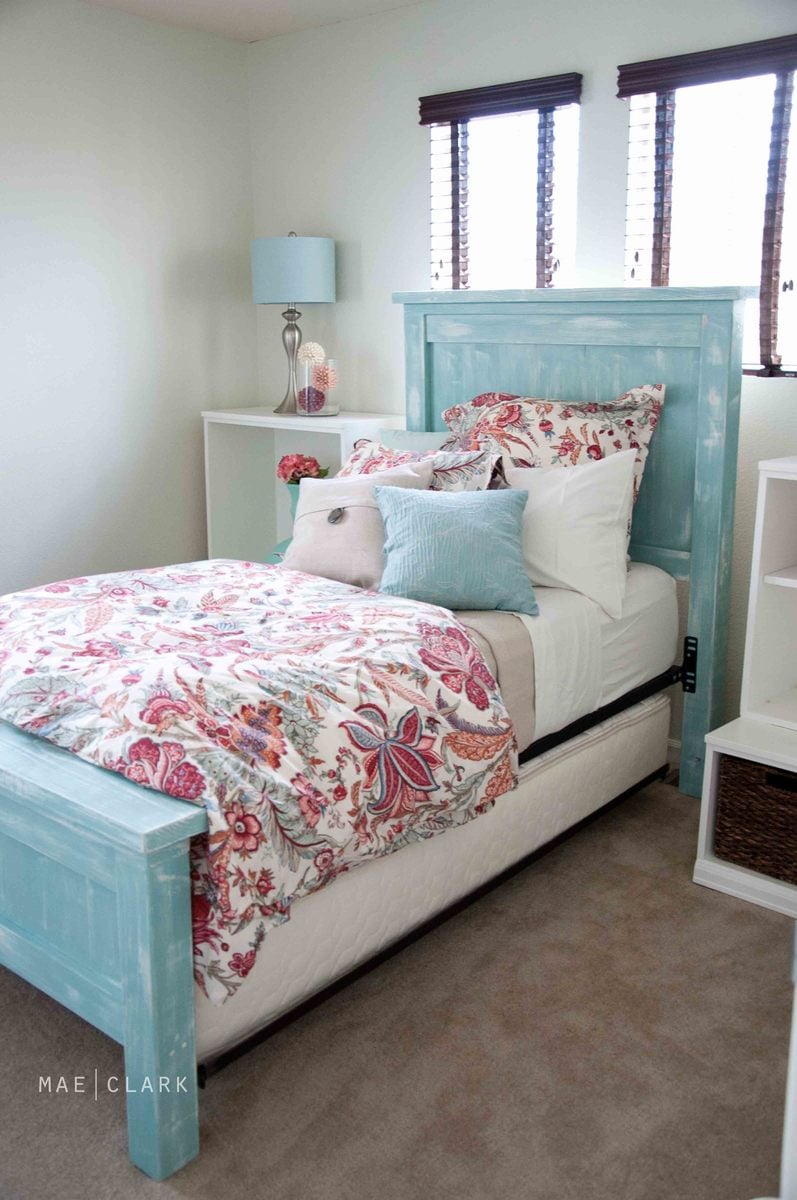
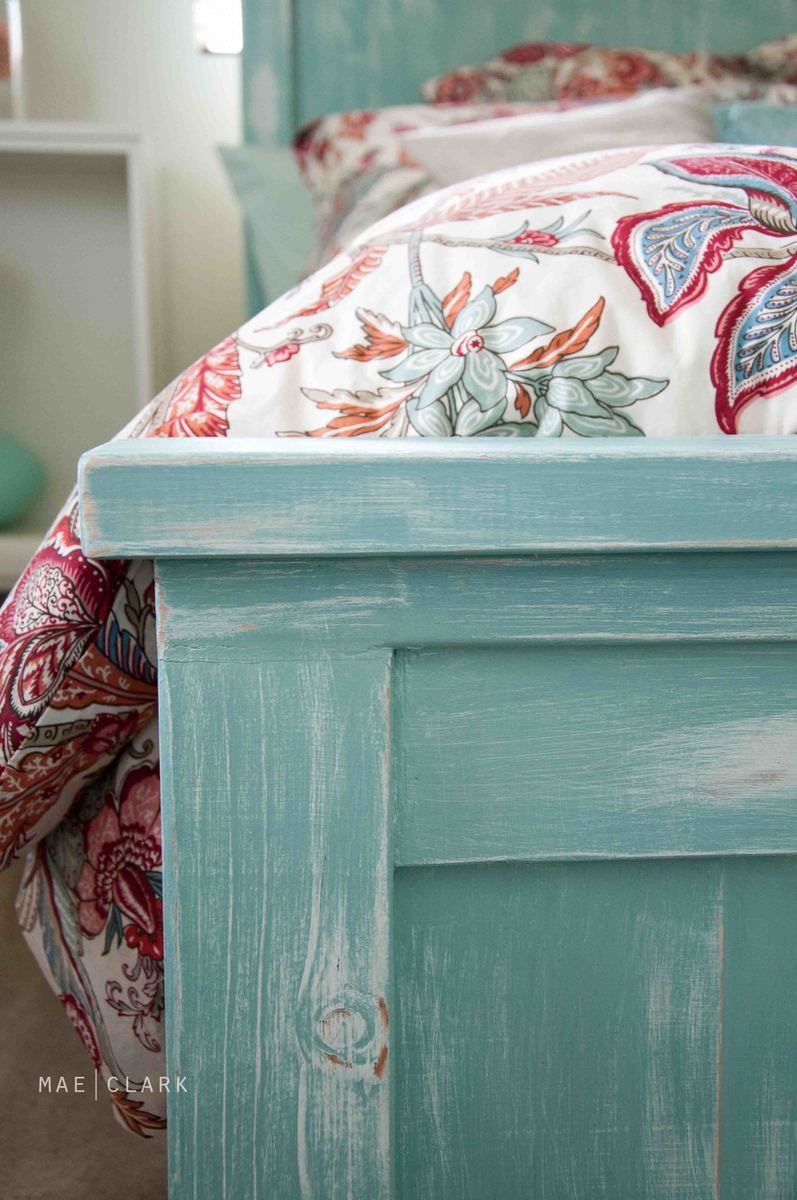
Sun, 08/14/2011 - 08:57
I absolutely LOVE the finish! Once I figure out which of Anna's beds I want to build, I will try to copy your fabulous finishing job. Thanks for sharing.
Sun, 08/14/2011 - 16:30
I love the beachy look. You did an amazing job. I have a day bed that I hate and I'm thinking this is a perfect solution. Thanks fir the inspiration.
Mon, 08/15/2011 - 05:36
This bed is GORGEOUS! Great Job! I think I need to get building and make 2 for my little girls :-)
Mon, 08/15/2011 - 08:41
I love the finish! I'm making one of Ana's beds for my daughter and may copy your finish technique, but use a pink (her favorite color) instead of blue.
I also noticed that you used the bedframe for the siderails instead of making them. Did you just screw them in to the posts?
In reply to I love the finish! I'm making by Miasmom (not verified)
Mon, 08/15/2011 - 19:25
Thanks! I just used the hardware that was used to screw the daybed into the original posts to attach it to the farmhouse headboard and footboard. Pretty easy! I plan to fashion a coordinating bedskirt to hide the trundle underneath.
In reply to bedding by designdoctor
Tue, 08/16/2011 - 19:52
Yup, Pottery Barn. The Deirdre Organic duvet and sham.
Mon, 11/21/2011 - 15:03
I was curious to know what your mattress is on for the trundle? I will be attempting the same thing, but was going to put the mattress in a wooden box on castors. Yours looks more friendly! Thanks for your time. Excellent job.
Trish
Fri, 02/10/2012 - 09:01
Hey Amanda... this is beautiful. I'm hoping to try this type of finish on a bed I am working on now. How does it seem to be holding up without a sealer? You didn't use any primer, correct?? Thanks. Really beautiful work.
Sat, 02/18/2012 - 07:29
I love the color so I went to the paint store bought palladian blue) by Benjamin Moore but it sure didn't look your color. It was more of a weathered gray look. Which was nice too but definitely not the same. Are you sure that you used palladian blue?
Mon, 04/23/2012 - 11:50
Absolutely beautiful, and such an inspiration. I think the color is stunning, and the weathered look you created is just perfect. It goes so well with the bedding too. I would love to have the exact same thing in my own house!
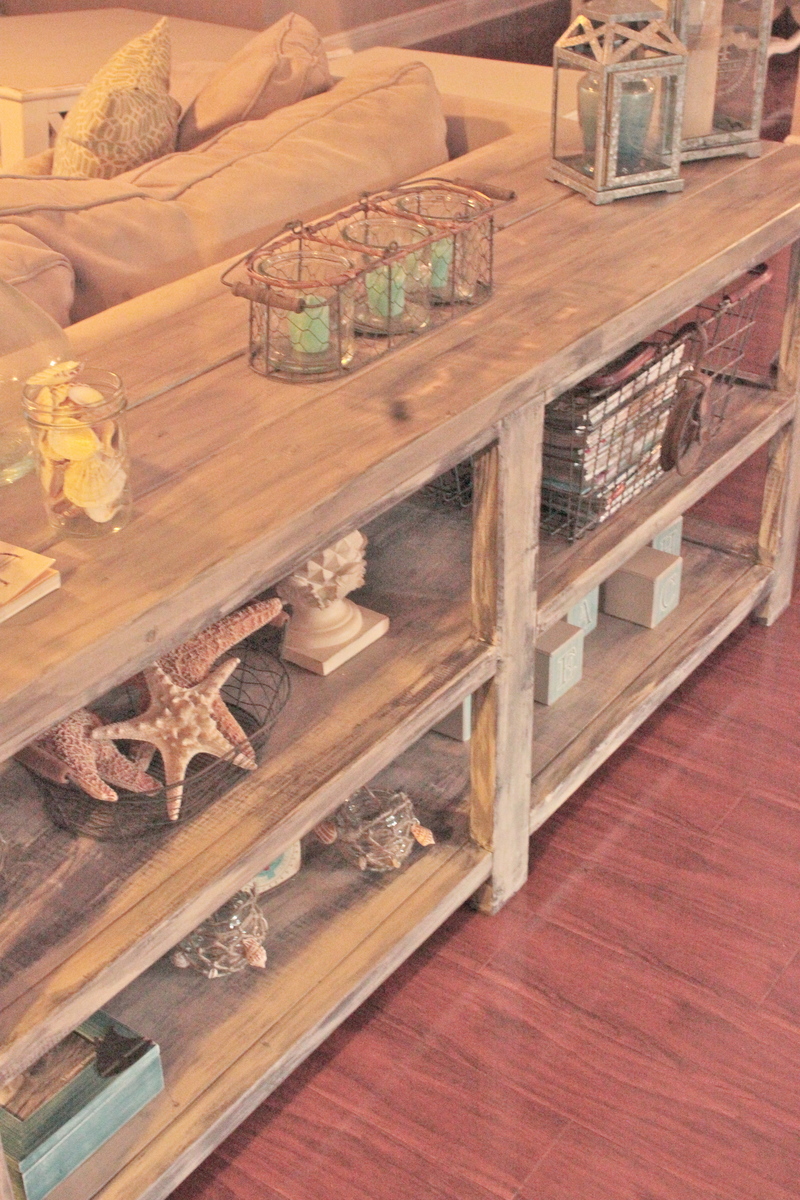
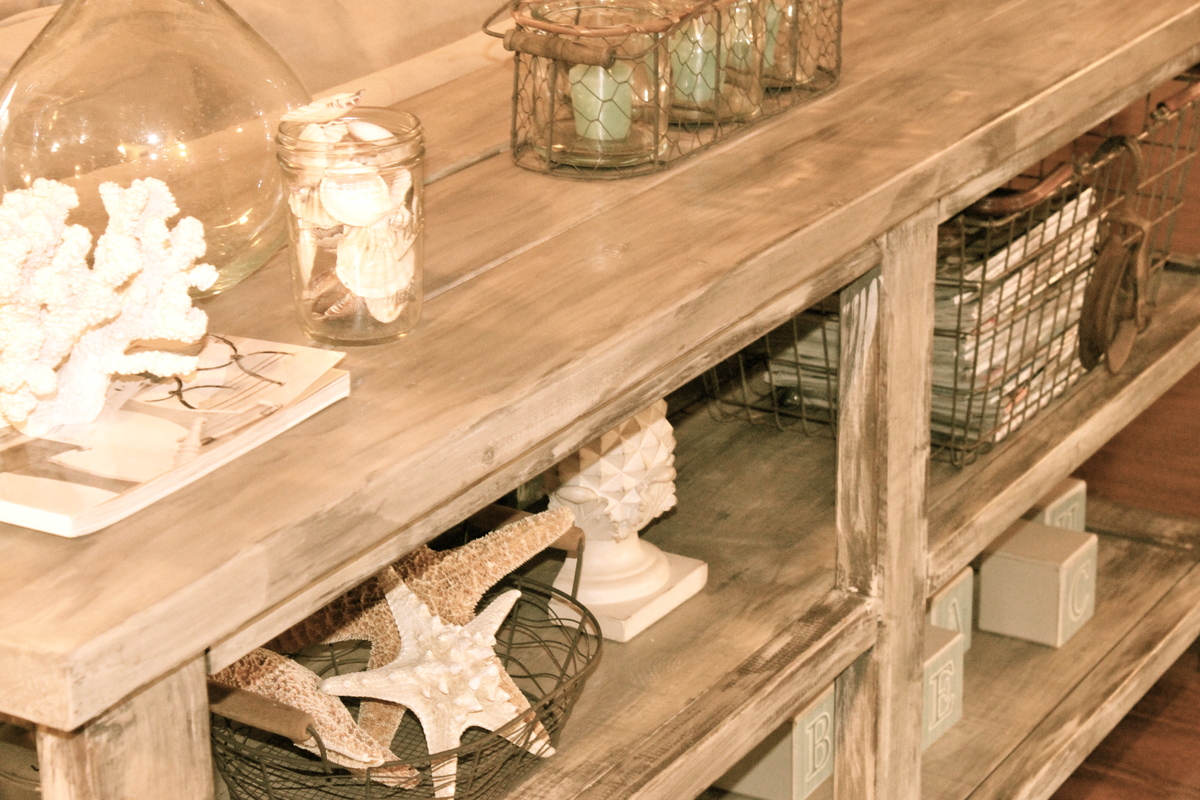
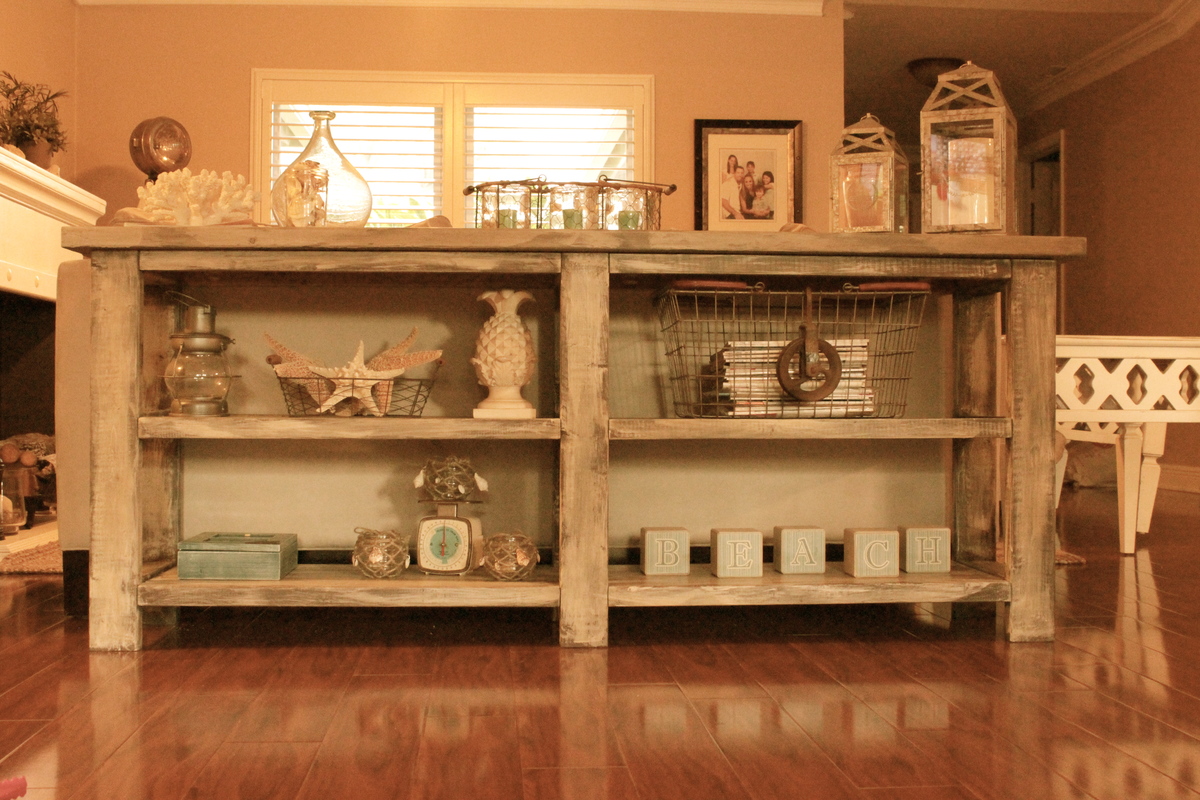
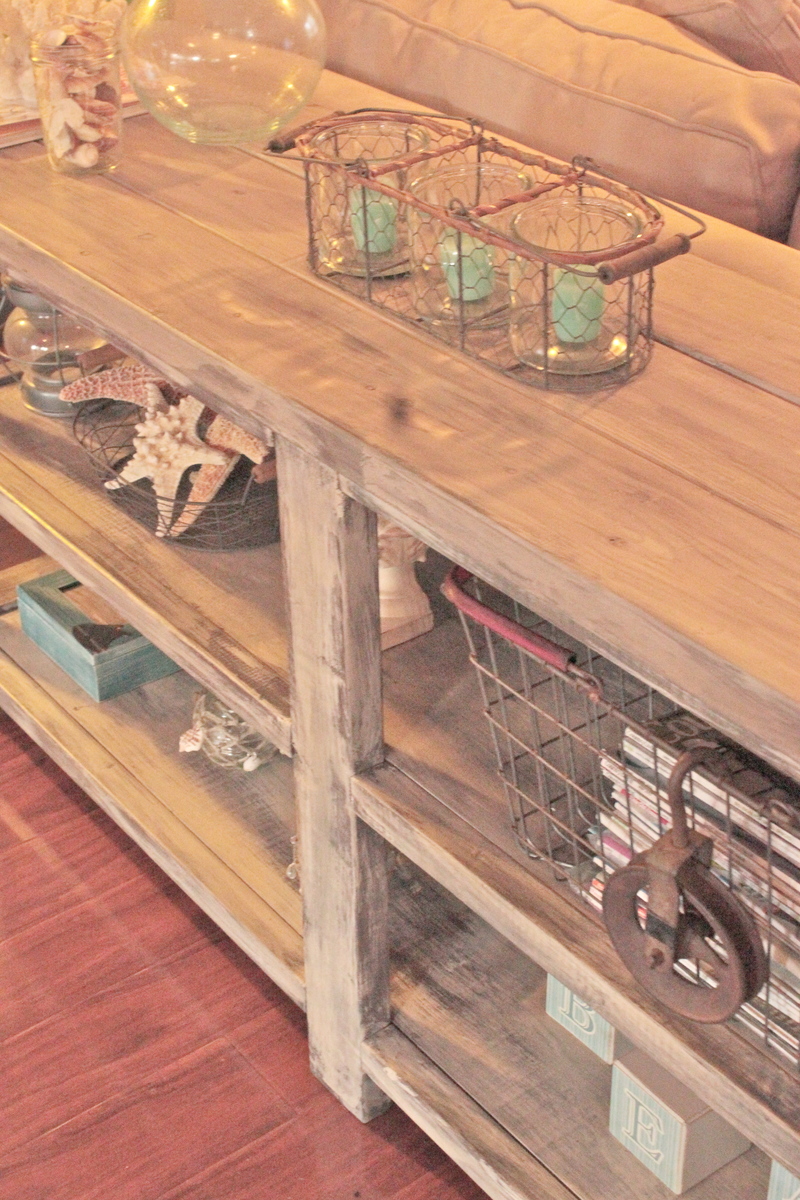
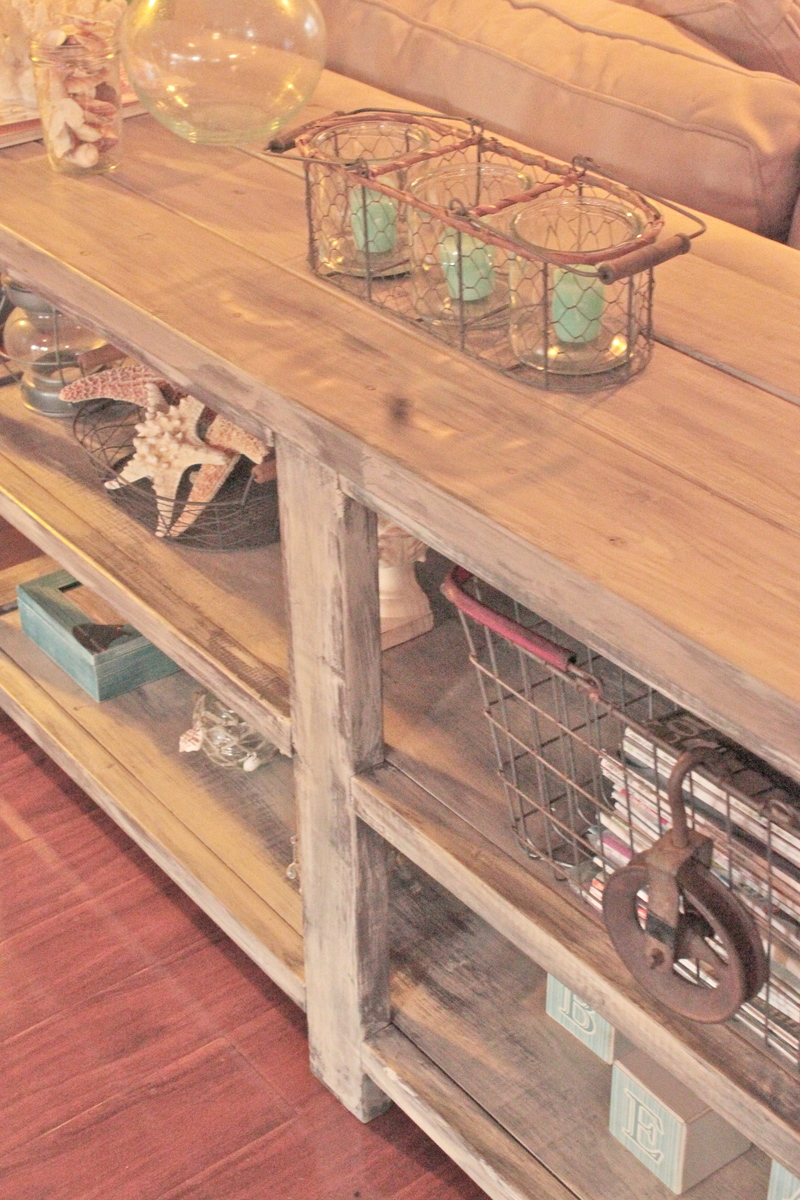
I have built this console quite a few times. Always trying different finishes. Love all of them. Have to say I always skip the X on the sides, I just get lazy towards the end :) Im in the process of building a couple more, will try to add the X to it this time...we will see :)
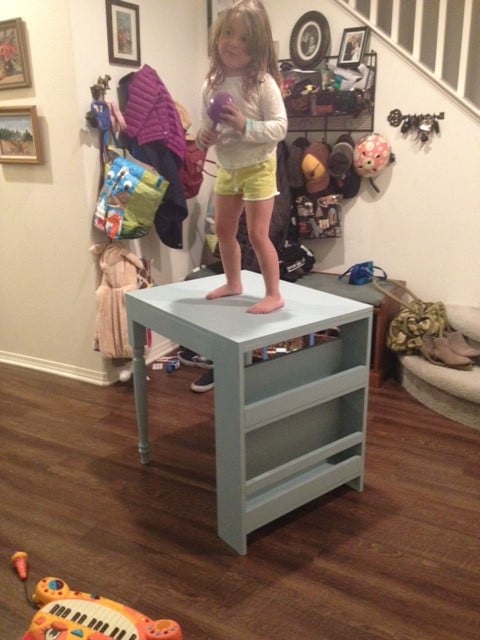
We love this little desk for my 3-year-old's room. She chose the light blue color and helped me paint it. We used Valspar chalk paint and wax and love the look. We didn't have room for the double-sided storage so we used pre-made table legs for the other side. Thanks again, Ana!
p.s. Sorry about the photos rotation. I have no idea why they are all sideways.

Substituted the galvanized pipes for heavy grade (Type M) copper pipes for a prettier, warmer look (I'm obessed with copper accents!)
So happy to have found these plans, and proud of how it turned out! It was even better than what I was hoping/looking to build. (I can't stop staring at it! :) It looks like I paid over $1000 at some high end furniture store like West Elm, but managed to make it for under $200!!!
Thanks Ana White for these plans and all of the others on your site. You have shown both me and my 65 year old mother the confidence and joy of woodworking! (And saved us a lot of money, too!)
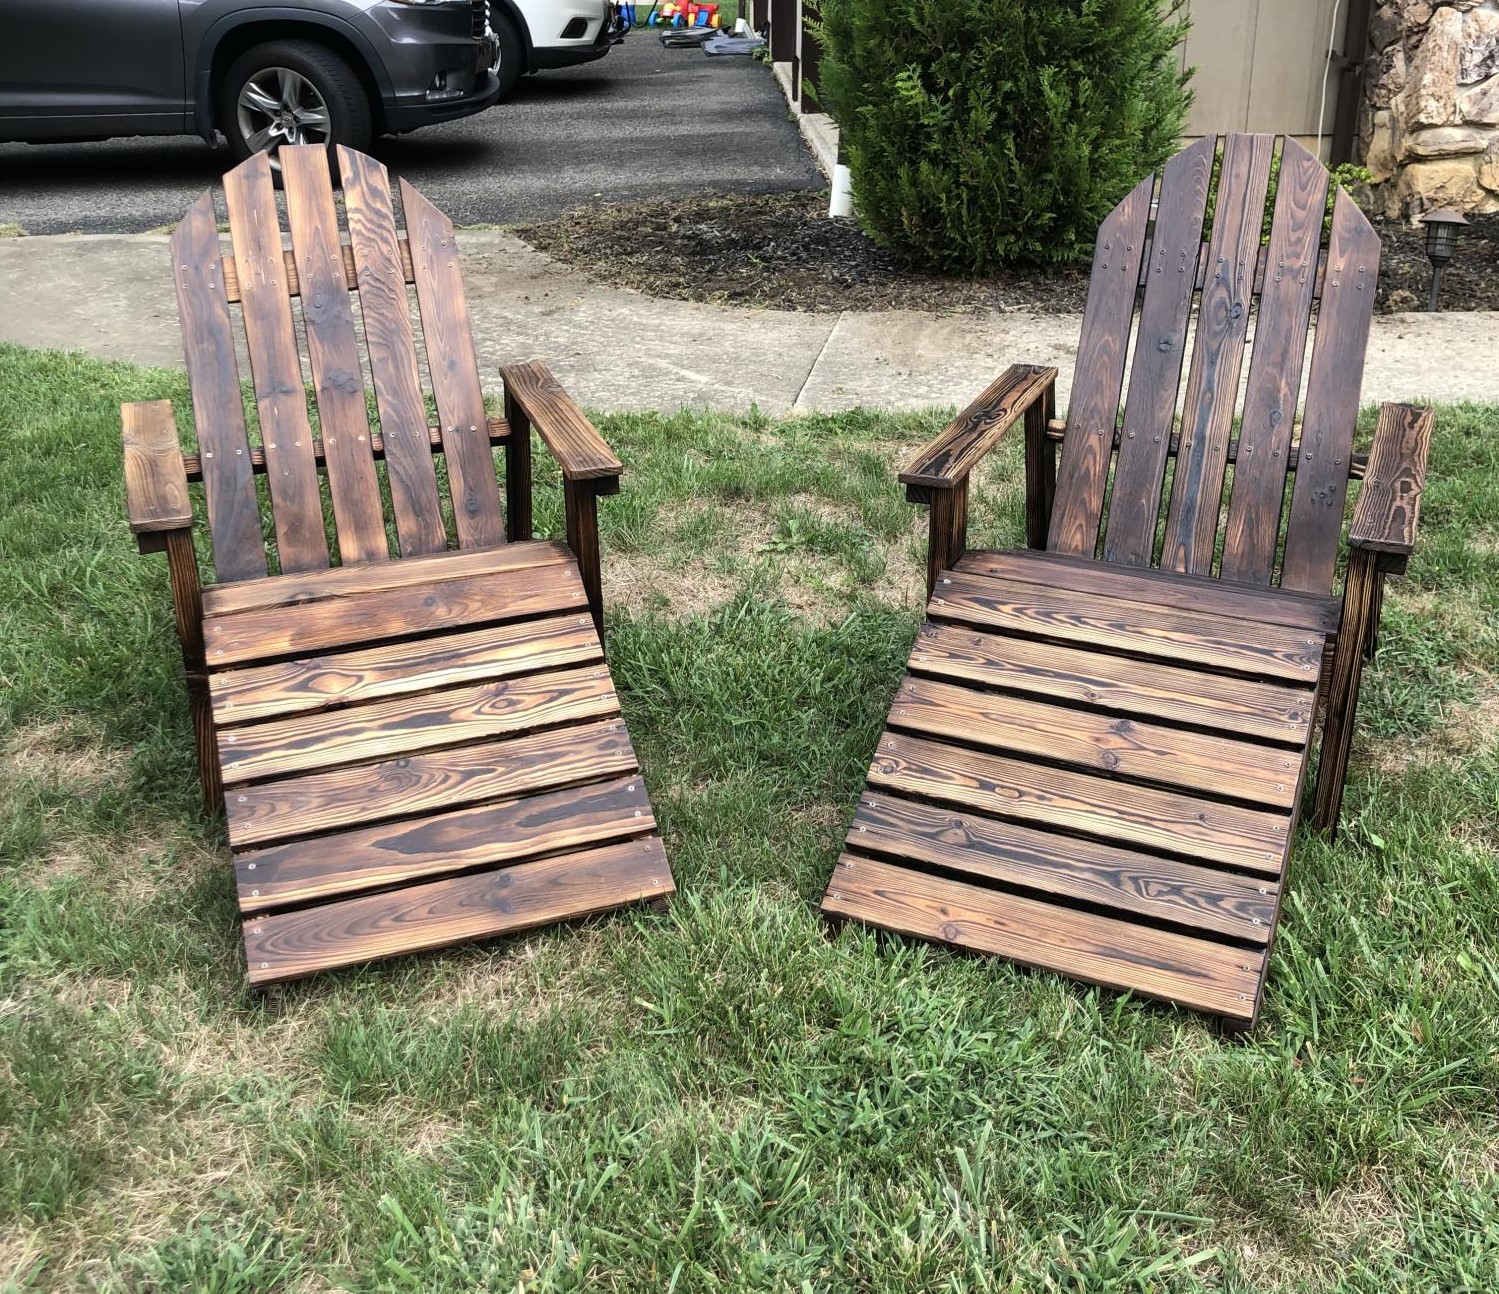
Plans were super easy to follow. I finished the chairs by using the Shou Sugi Ban technique. I burned the chairs and stools completely, than wire brushed them. I repeated the process a second time. I finished by adding a coat of poly which I believe gave the chairs a little more depth. They are so comfortable and plans were perfect. Thank you Ana!
We let my son choose whether he wanted a modern store bought play market or whether he wanted help Mommy and Padre (my dad) build one for his 3rd birthday present. We used magnetic primer so he can change the name whenever he wants and added some trim and some tea towel curtains! He loves it!
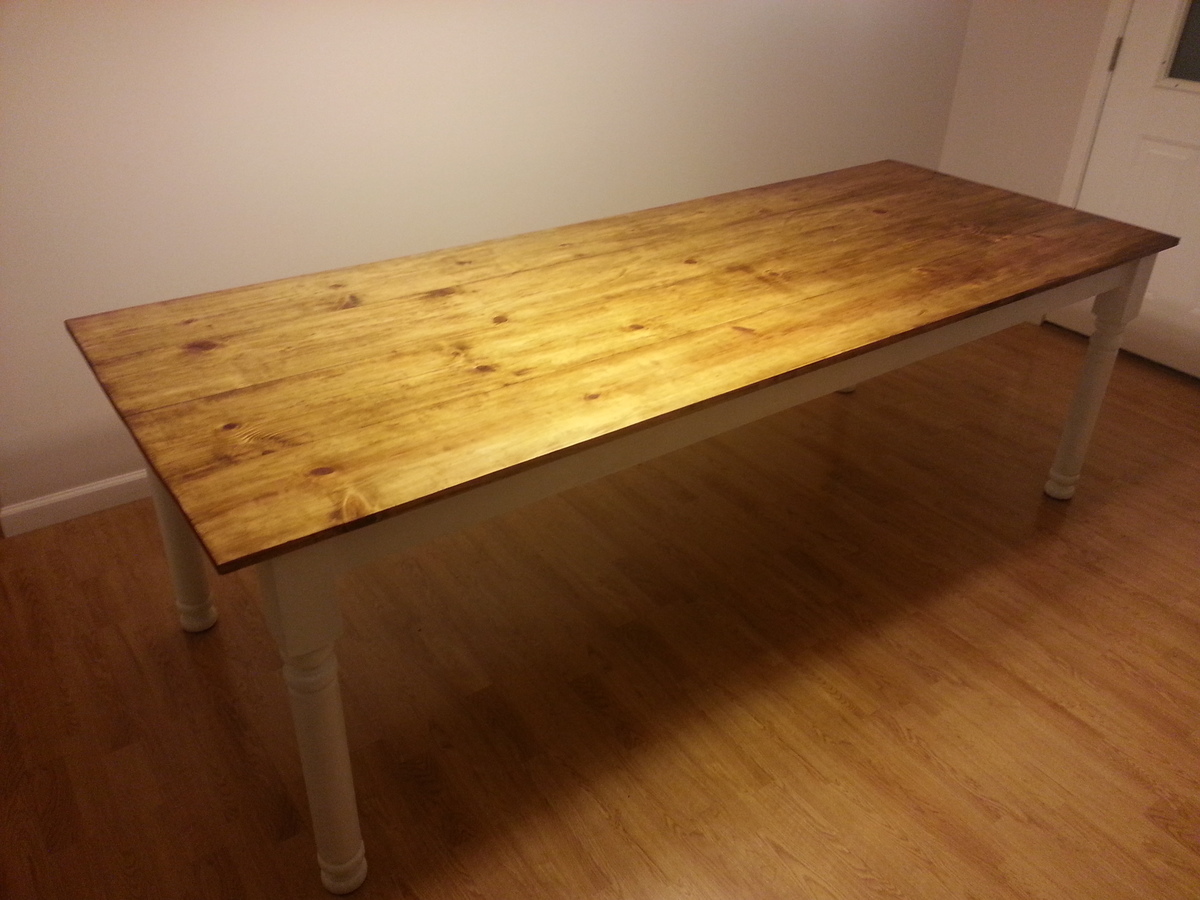
My spin on the rustic table. Used staircase spindles for legs, cut the side boards to accommodate. Rest of plan was pretty much the same. Wife wanted a big table, thats what she got.
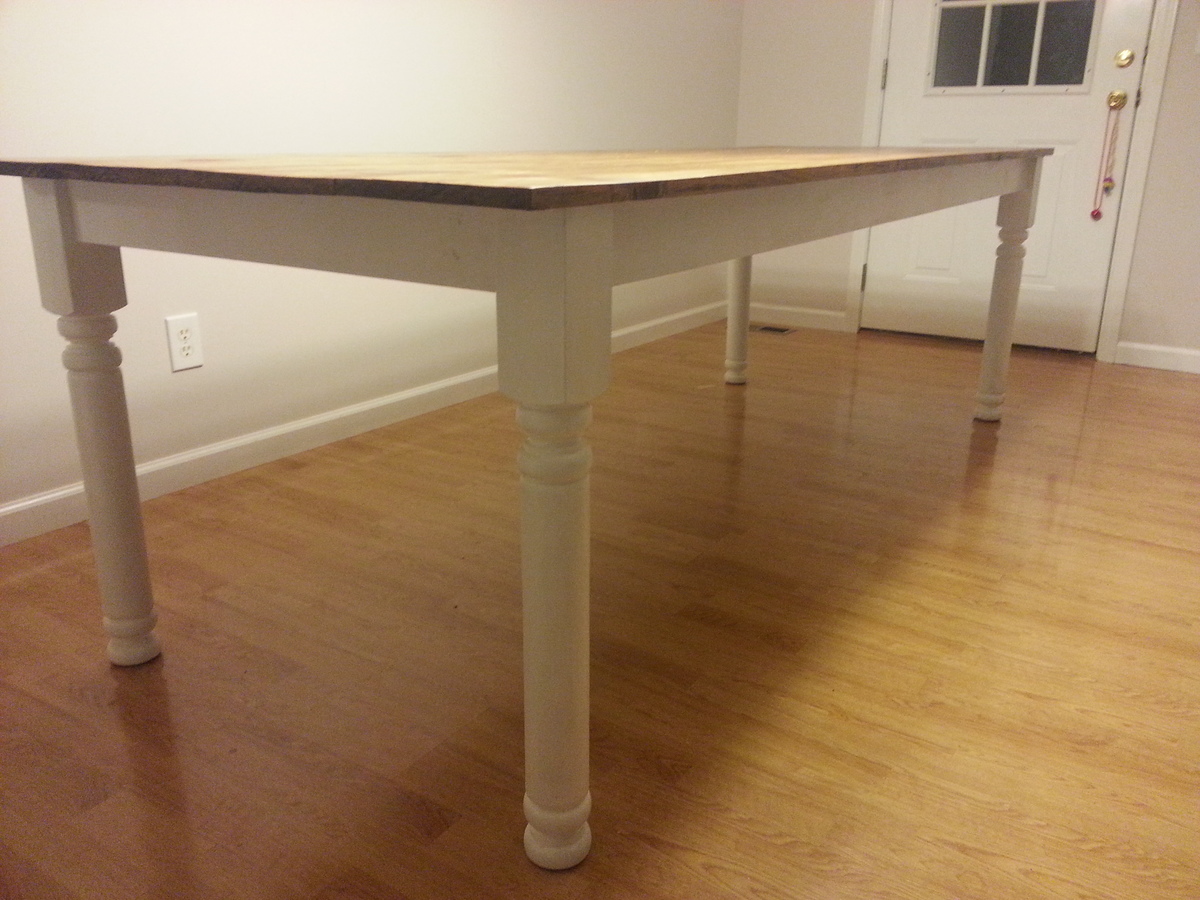

This was such a fun project!! Kudos to Ana White for a great design!! We made several changes, including the dimensions; 10ft X 42-43 in (left the outside edge raw. Table top is 1.5" thick American Walnut with a semi gloss clear poly, and the base is milled 1.5" thick poplar, stained dark walnut. The pedestals also have threaded rods vertically drilled through the center beams (one top and one bottom) and used 3/4" dowels sunk into the base and riser for added structural stability. Finally, the mortise and tenon runner on bottom used dowels to hold it in place and the top is removable using my own fabricated wooden cleats to attach the top in an old style removable way. All in all; although this was certainly not the cheapest (about $1,500 all things considered) or simple (although comparable materials and craftsmanship would cost about 3x what I spent); this table is bullet proof and beautiful!! Thanks for the inspiration Ana!!!


This was my first shot a farmhouse table. It was pretty easy to make overall. Frame and tabletop were put together mostly with dowels and wood glue but I put a few pocket screws and corner braces in for extra support. I also added a decorative trim board to the sides, which I put on the face of 2x3s. The tabletop is four 2x10s and two 2x6s for the ends. The stain is a dark Expresso color and I coated with polyurethane. The legs were bought from Lowes at a reasonable price since I lack the tooling and know-how for a lathe.
The benches were exactly the same except I used two 2x6s for the tops.


Fri, 01/04/2019 - 13:36
This is a beautiful farmhouse table. I love the size and the finish! Thank you for sharing a photo, it is much appreciated! Ana