Community Brag Posts

Lemonade Stand for Fundraiser

One of my daughters recently was diagnosed with Type 1 Diabetes. We are raising money to get a Service Dog for her and I was able to throw together this awesome Lemonade Stand from your plans, Ana. Thanks for the fun and QUICK project that will hopefully help my daughter with her fundraising goals. {Son not included with lemonade :)}
Gene
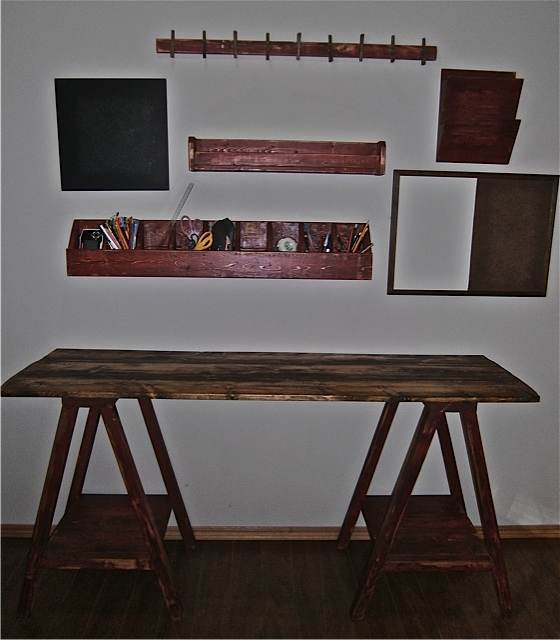
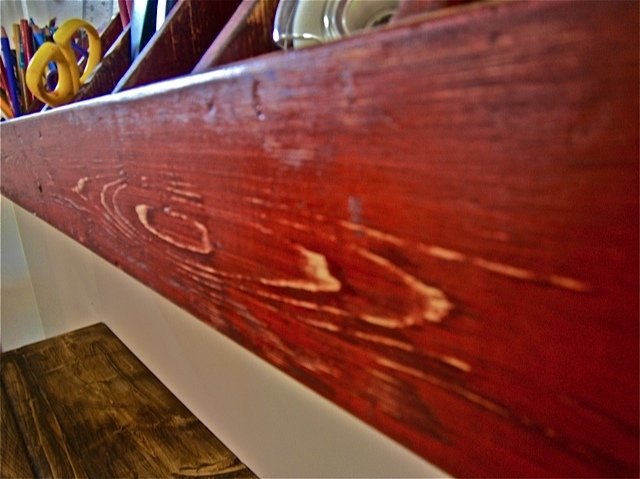
Paint stir stick Letter Bin
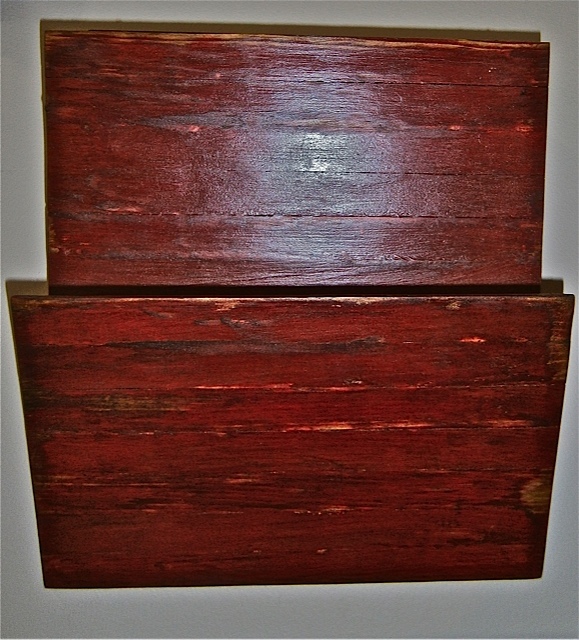
I used paint stir sticks as the front of my bins!
I wanted the "bead board" look but to still have a natural wood grain that I could stain for the rustic look. I also really like being "frugal"
Built from Plan(s)
Estimated Time Investment
An Hour or Two (0-2 Hours)
Recommended Skill Level
Starter Project
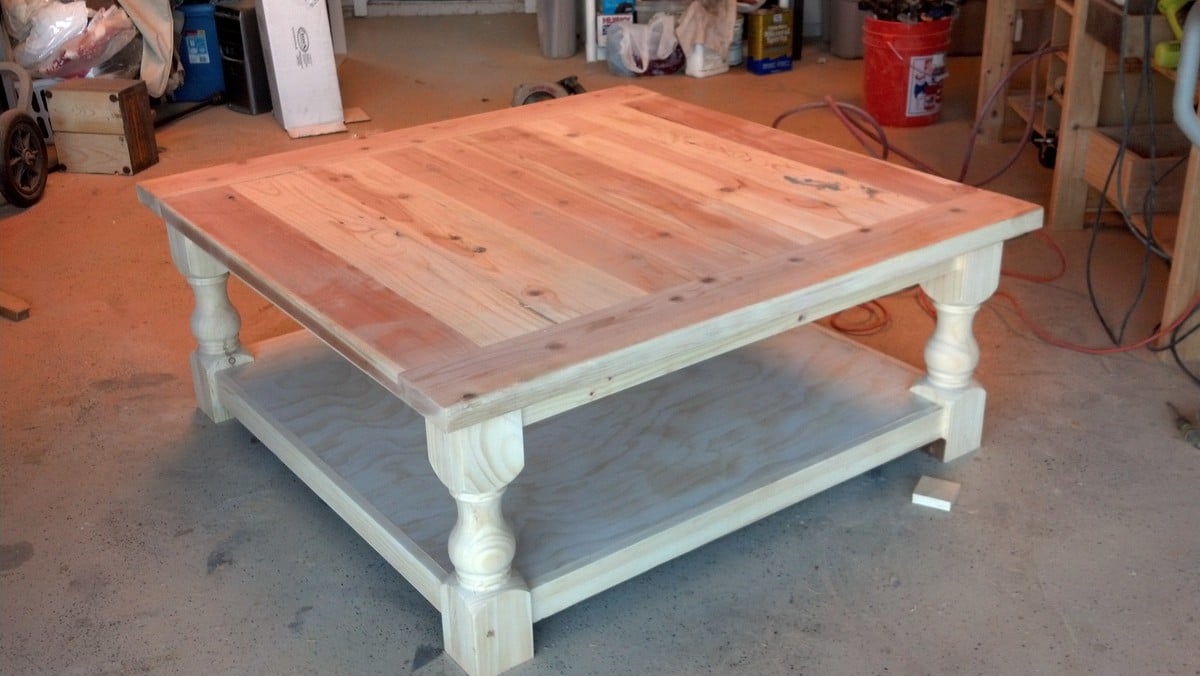
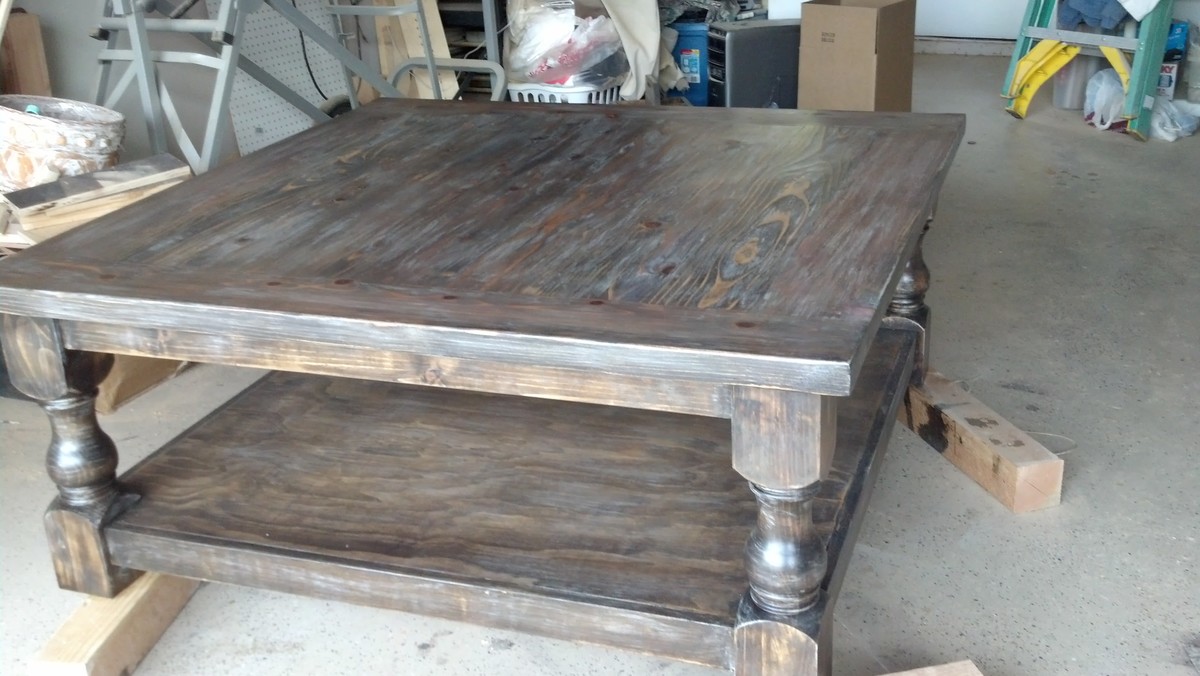
Pretty, massive coffee table
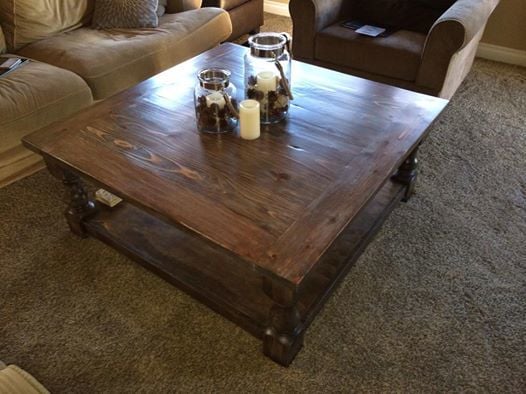
I'm still helping my kids furnish their new home. They "hired" me to build them a massive coffee table for their family room. They fell in love with the legs featured in a plan built by Shanty 2 Chic (http://www.shanty-2-chic.com/2013/11/diy-square-coffee-table.html). The legs definitely were the most expensive part of this table!
I made a couple of adjustments: because these kids of mine hope to have kids of their own soon, and the table measures 48x48, I reinforced the lower shelf of the table and the table top with support pieces. I picture babies crawling all over this and wanted to ensure that it would hold up!
I finished with the same steps used by Jen of House of Wood's rustic yet refined finish, but used a dark walnut stain as the base.
Another fun project for me, and they are very happy with it!
And, I just have to say that Osborne Wood products delivers a wonderful product with great follow up and customer service! http://www.osbornewood.com/
Built from Plan(s)
Estimated Cost
$250 for table - the Legs accounted for $160 of that.
Estimated Time Investment
Weekend Project (10-20 Hours)
Finish Used
Wood conditioner (2 coats), sand, Minwax Dark walnut, Minwax weathered Oak, sand, rubbed on whitewash (old, diluted white paint), sand, mixture of weathered oak and a little dark walnut, sand, 3 coats of polyurethane, satin finish, sanding between coats.
Recommended Skill Level
Intermediate
Bedside Stand

This project was easy & fun to make.
Built from Plan(s)
Estimated Time Investment
Weekend Project (10-20 Hours)
Finish Used
Waverly White Chalk Paint and distressed using Americana Decor Timeless Chalk Paint. Finished with Dark Brown wax and Miniwax Dark Walnut Stain.
Recommended Skill Level
Intermediate
Loft Bed

Modified to a twin xl from the loft bed plan. Wood has not been finished.
Built from Plan(s)
Estimated Cost
200
Estimated Time Investment
Day Project (6-9 Hours)
Recommended Skill Level
Intermediate
DIY Fireplace Wall
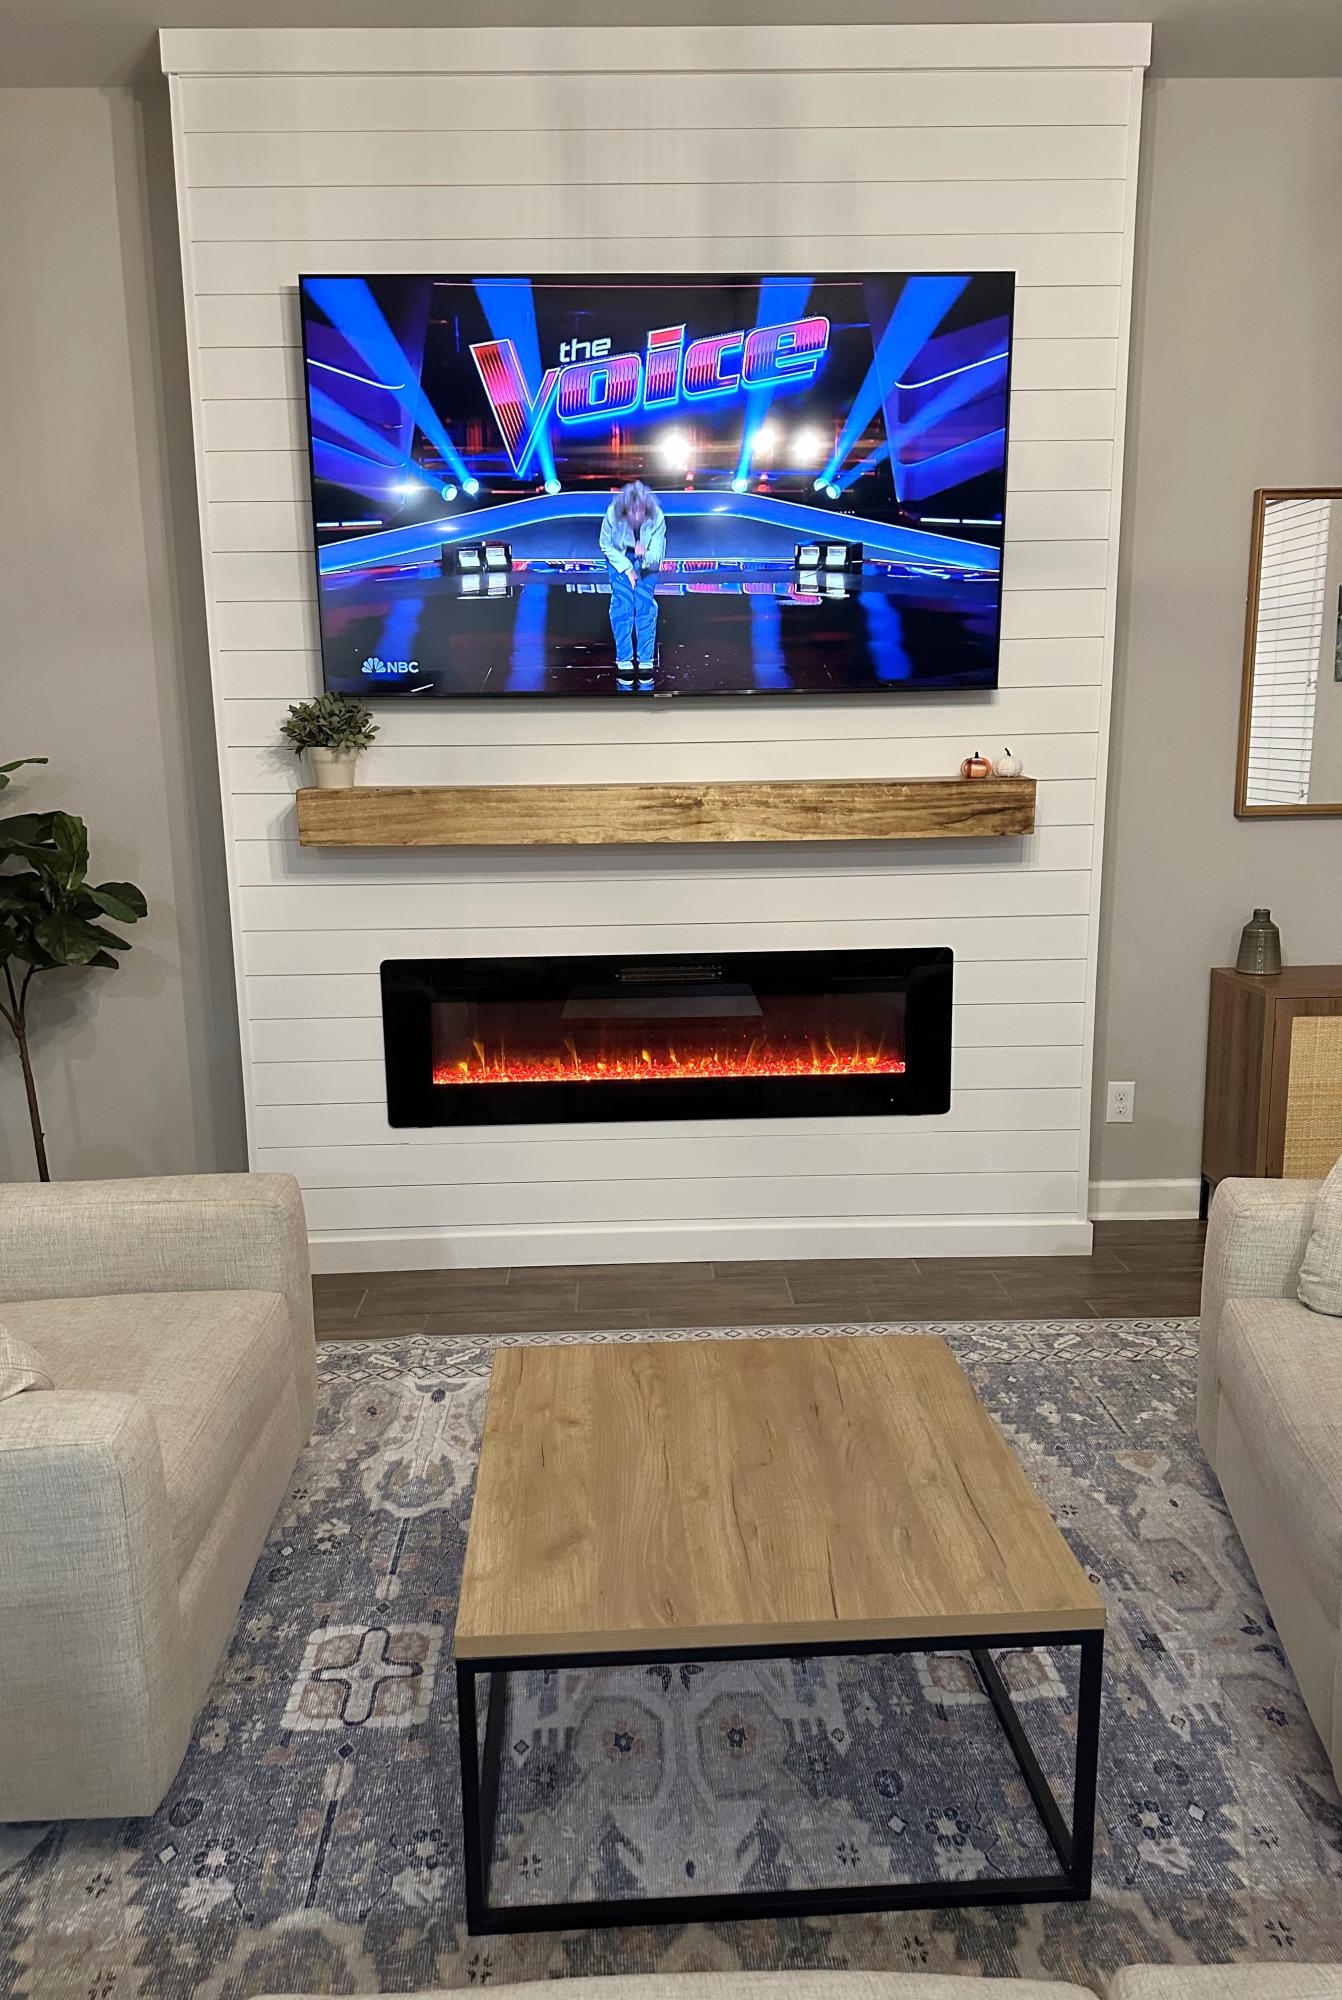
Added this beautiful focal wall to our living room! The plans were so easy to follow and alter to fit our space.
@salgefam
Built from Plan(s)
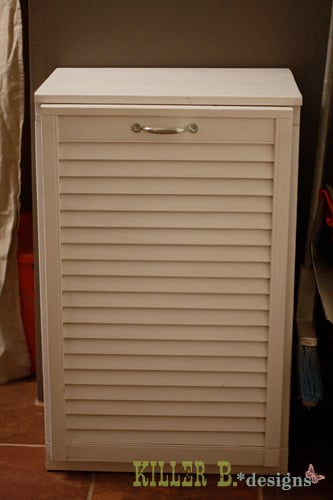
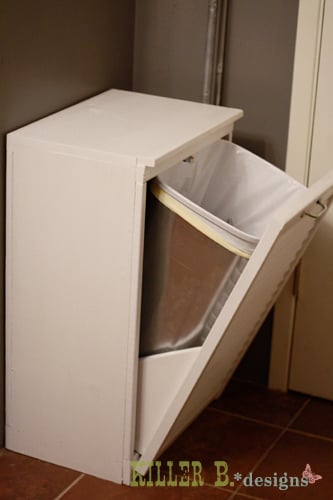
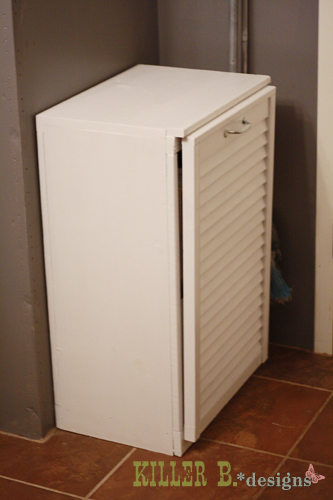
Tilt Out Trash Cabinet with Shutter Door
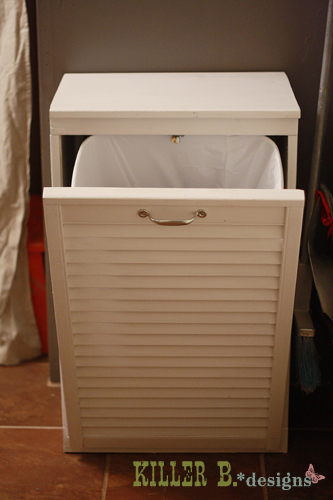
My trash situation was pretty dire once my dogs figured out how to pop off the lid and dig into everything. Trash was everywhere! So to keep out prying paws, I built Ana's tilt-out trash cabinet to keep the can safe. But I didn't read the plan through before going shopping, and didn't get any plywood to make the door! So I used part of an old bifold door that looks like a shutter and cut it to fit. I also added a cabinet clasp inside the top so it can securely shut. Now we don't have any trouble with my dogs dragging trash through the house!
Built from Plan(s)
Estimated Cost
15
Estimated Time Investment
Afternoon Project (3-6 Hours)
Finish Used
Three coats of semi-gloss white
Recommended Skill Level
Beginner
Comments

Wed, 05/02/2012 - 11:26
I love the shutter style
I love the shutter style door! I'd say you improved the plan out of necessity. Good Job!
Fri, 09/28/2012 - 07:14
I too think you have given us
I too think you have given us another idea with this plan, it's wonderful!
Alex's Book Shelf
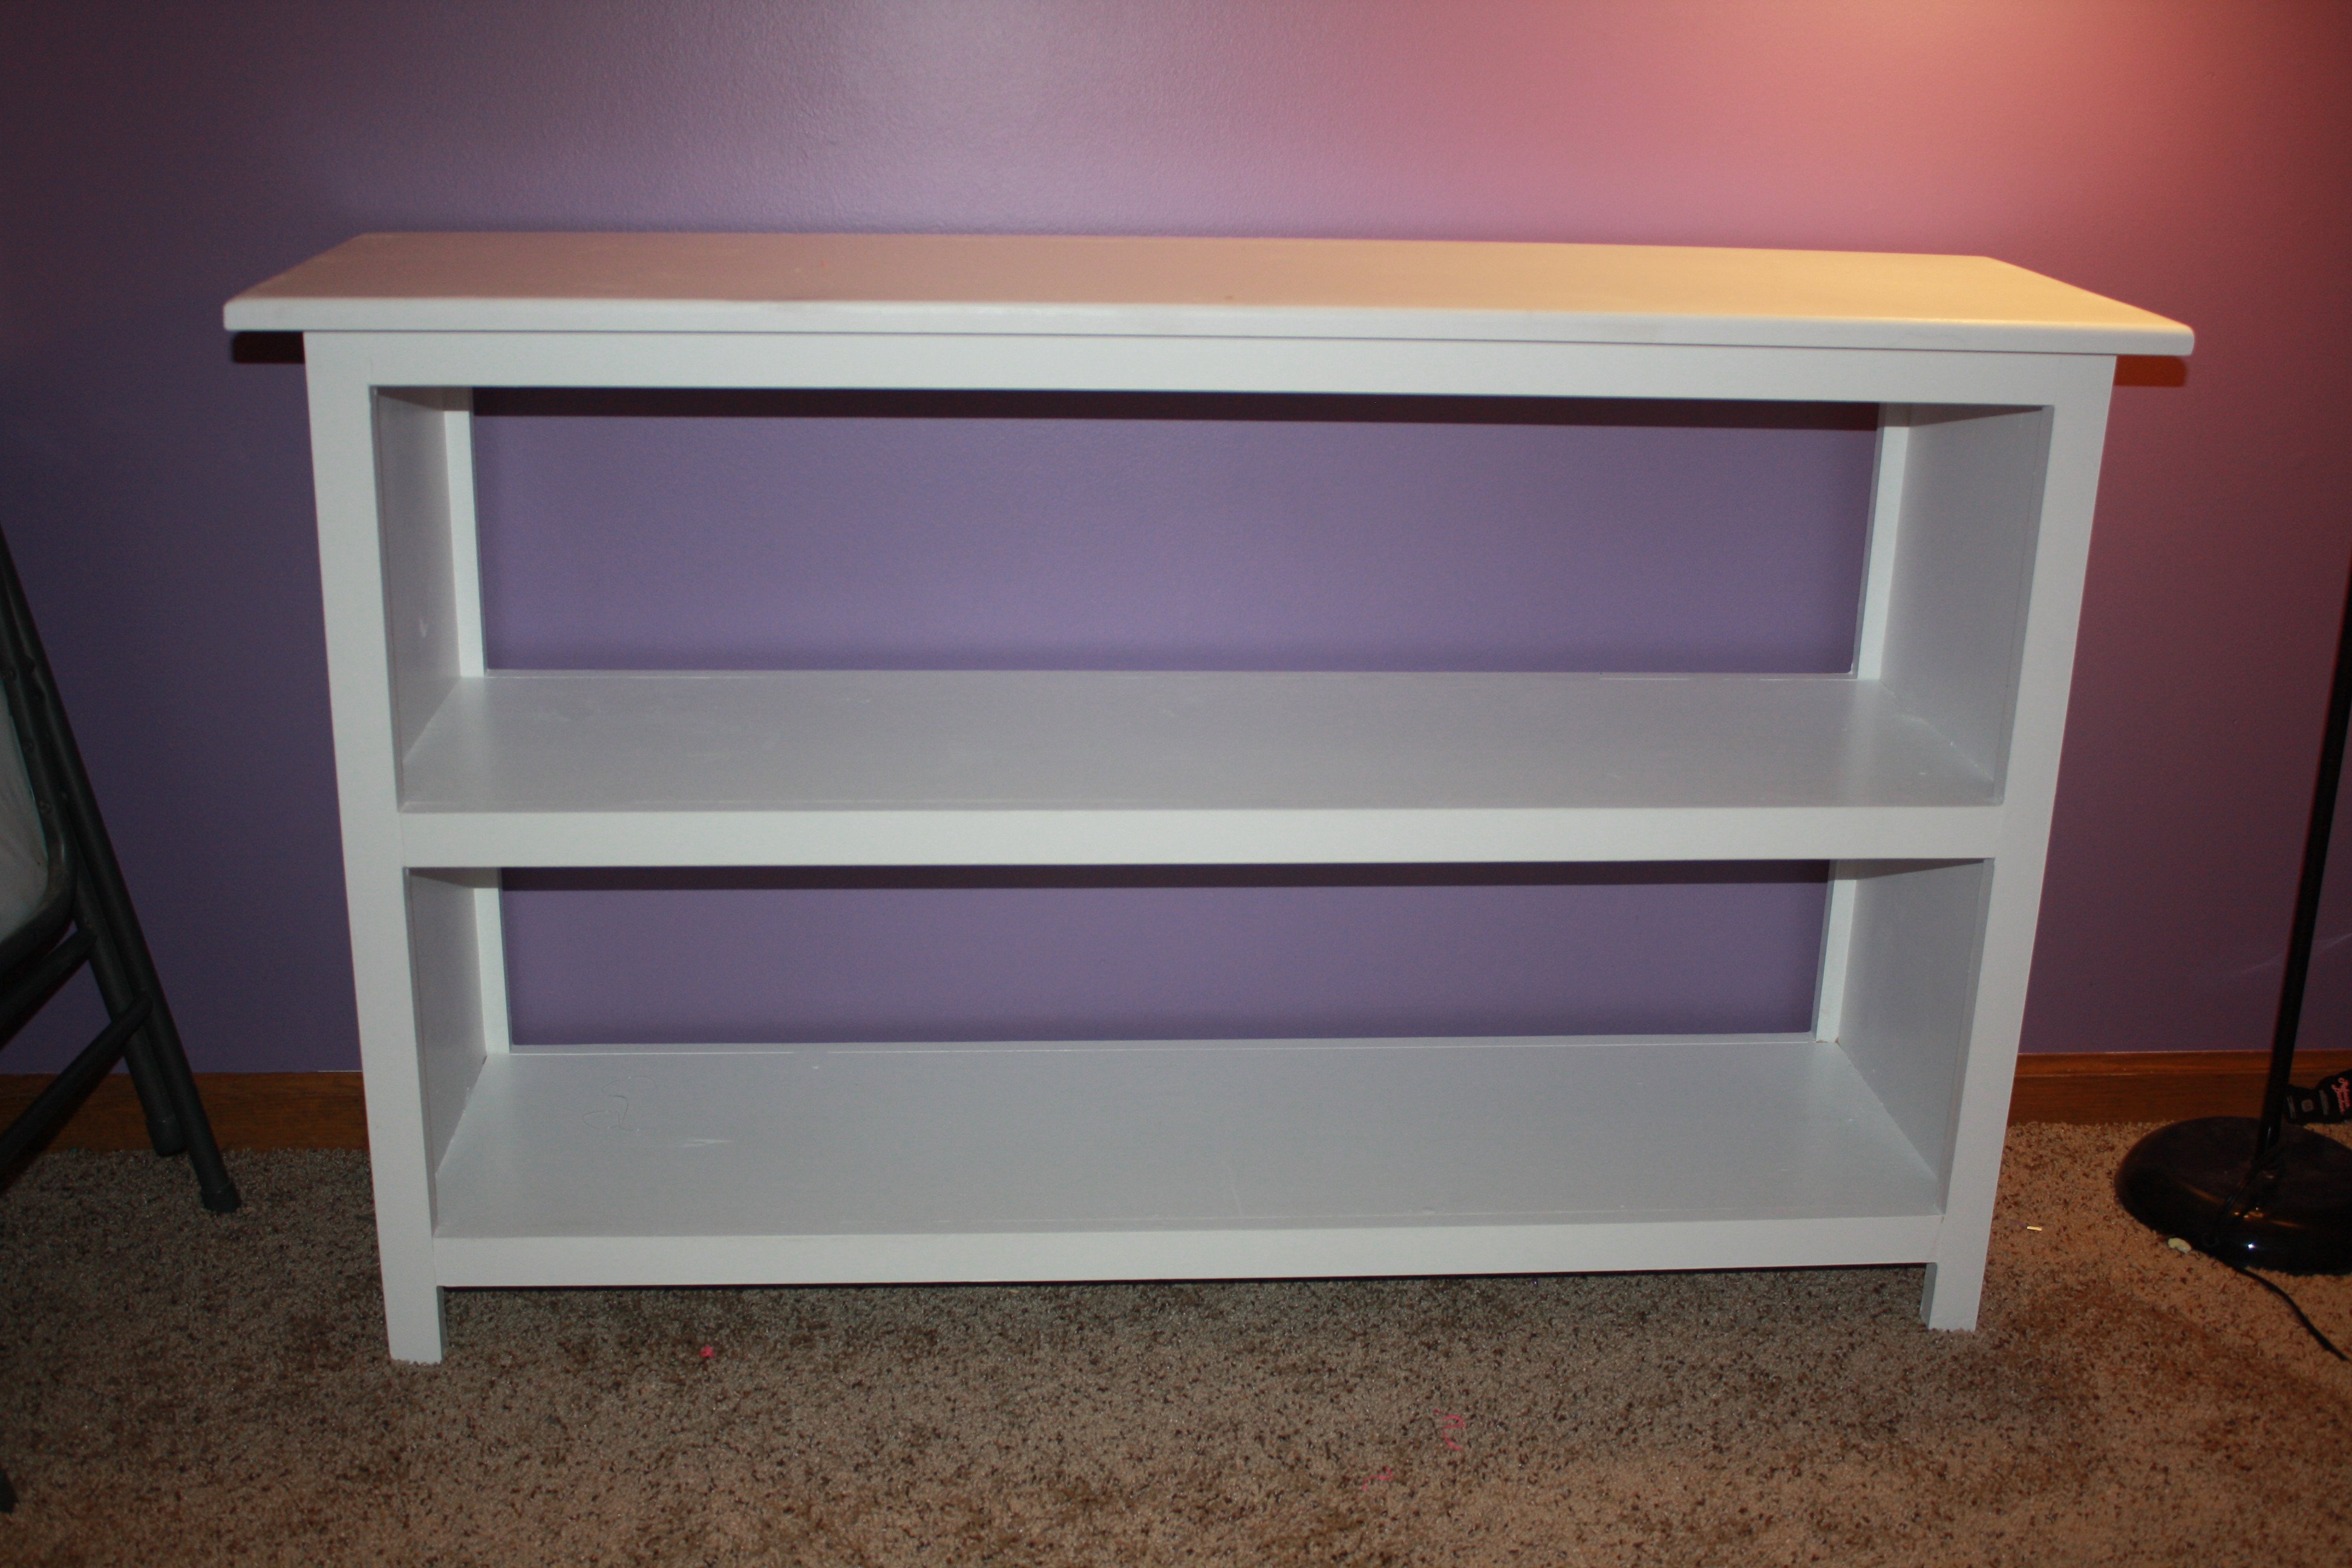
This design came from Ana's website. My daughter Alex asked me for a shelf to hold all her "stuff". She's a typical girl... lots of "stuff". I was able to snap a picture before she started to fill it all up!
Built from Plan(s)
Estimated Time Investment
Day Project (6-9 Hours)
Finish Used
White Paint
Recommended Skill Level
Beginner
Fancy Hall Tree

I needed a place for everyone to throw their bags instead of the kitchen table! I used the box plans from the fancy hall tree and modified the top, adding a shelf, and changed the design to accommodate the piece of plywood I already had and wanted to use for the back. I made it in two pieces for easier transport and assembled it inside the house. I used off the shelf pine and plain plywood for this. I found the cute numbered hooks on etsy :) I took my time building it and worked on it about an hour a day while my husband watched the kids.

Built from Plan(s)
Estimated Cost
150-200
Estimated Time Investment
Week Long Project (20 Hours or More)
Finish Used
I used a quart of calypso blue from Benjamin Moore and Old American stain by Minwax. And I used a couple of coats of polycrylic to finish it.
Recommended Skill Level
Intermediate
Rustic hall tree with alterations
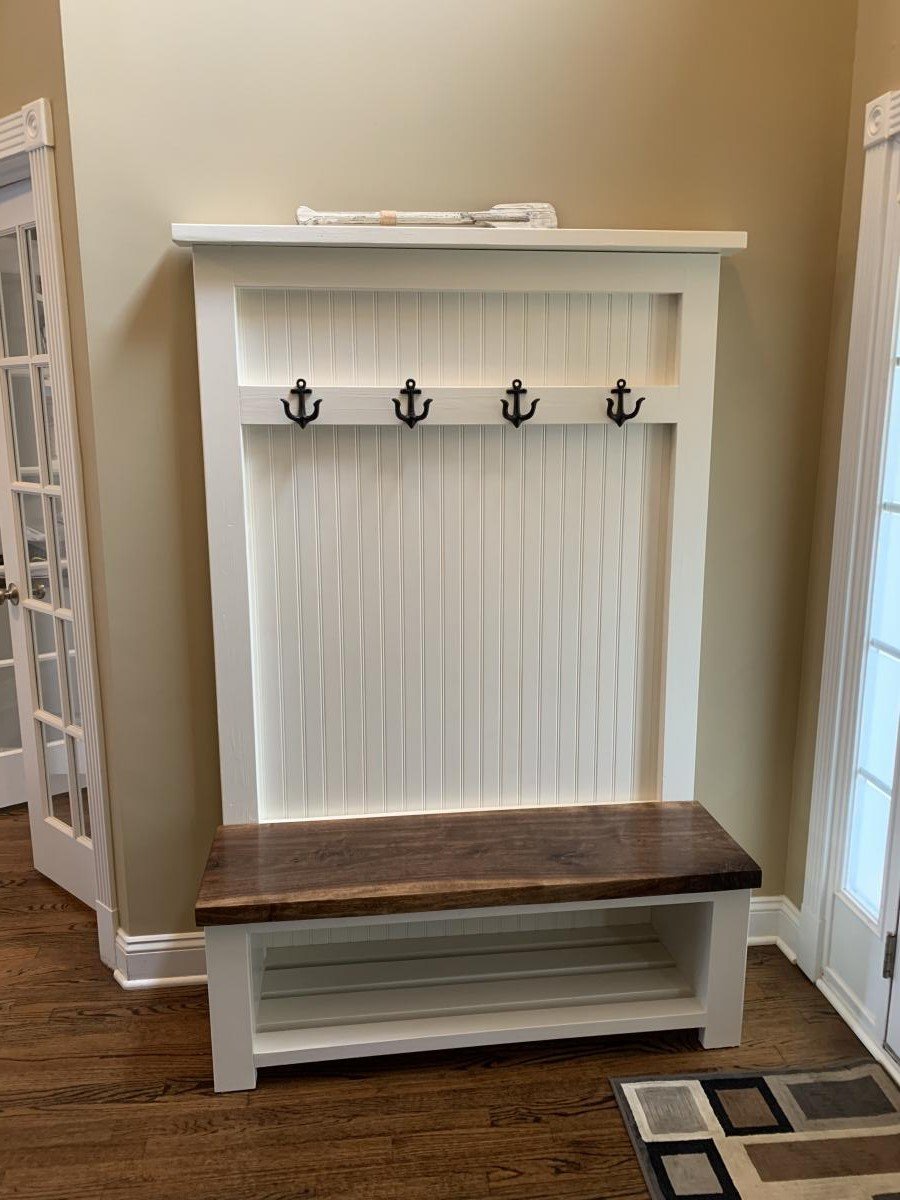
A few alterations I made to your original design plans:
1. I went with 1/2” plywood and bead board for the back. This gave it a little more stability and a complimentary design element to match other pieces I’ve built.
2. I used 2x3’s instead of 2x2’s since the selection was much better at the lumber store.
3. For the bench top I used a black walnut slab cut to size finished with a danish oil and satin poly top coat.
4. Instead of the X, I enclosed the sides and used a pair of parallel 2x3’s backed with poplar boards cut to size.
Thanks! I hope you enjoy.
Chad Cote
Built from Plan(s)
Estimated Cost
$150
Estimated Time Investment
Weekend Project (10-20 Hours)
Finish Used
Watco walnut danish oil
General Finishes satin top coat
General Finishes Antique White milk paint
General Finishes satin top coat
General Finishes Antique White milk paint
Recommended Skill Level
Intermediate
Comments
Tue, 08/25/2020 - 06:04
Rustic Hall Tree
Nice, where did you find those anchor hooks! I would love to use some thing like that.
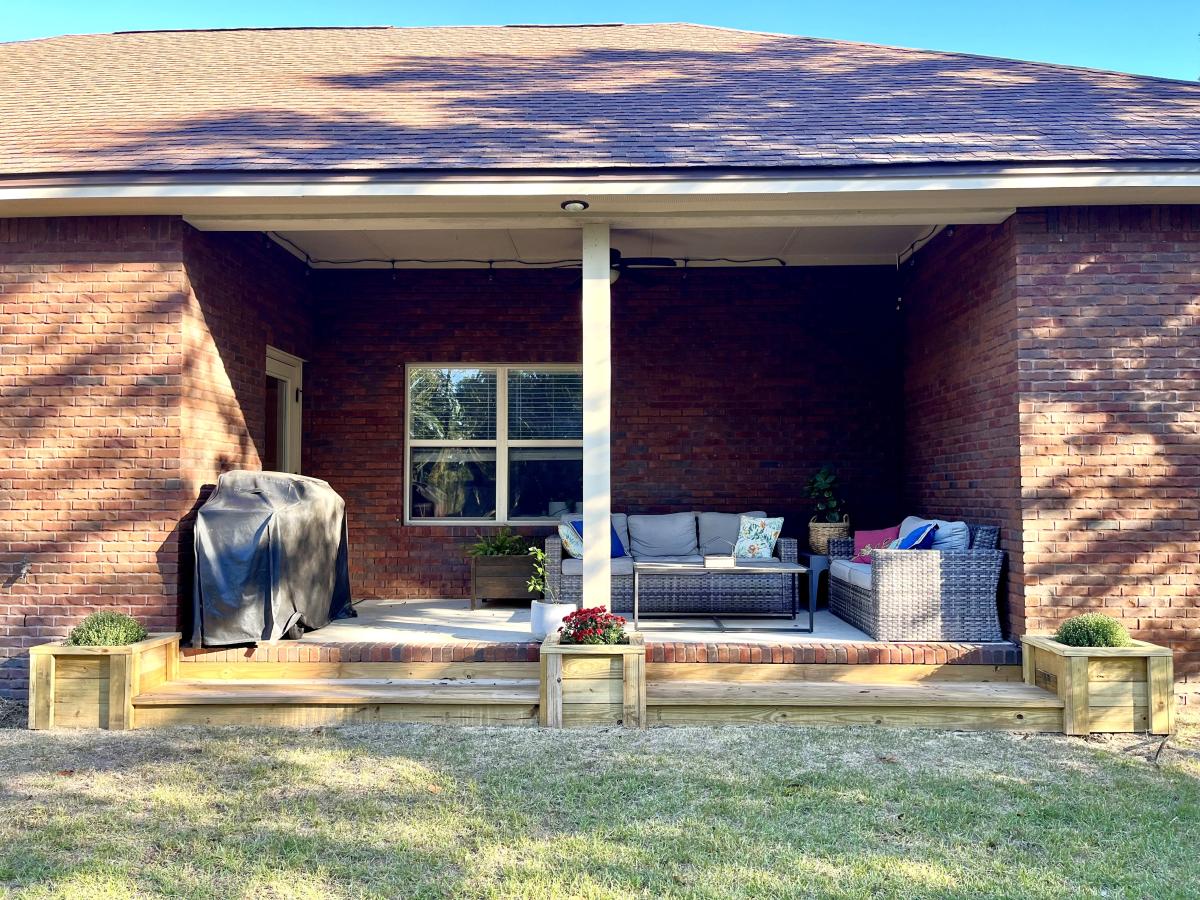
Long Planter Step for Back Porch
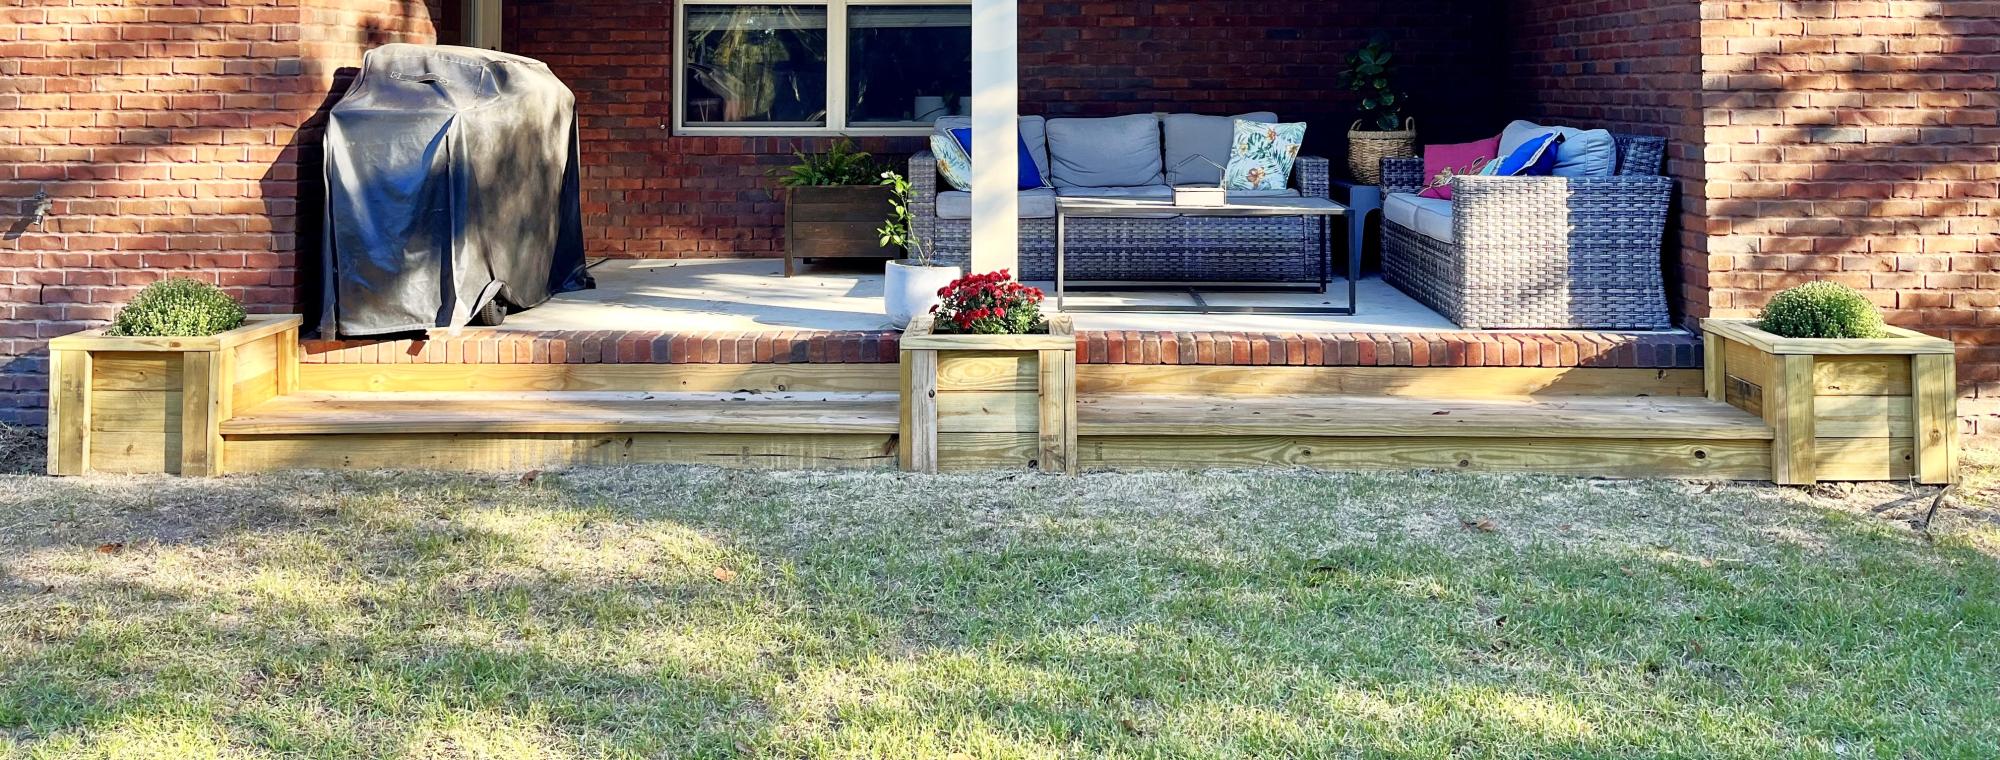
Plan modified to fit our back porch. Thank you so much for the plans! We love our new step.
Built from Plan(s)
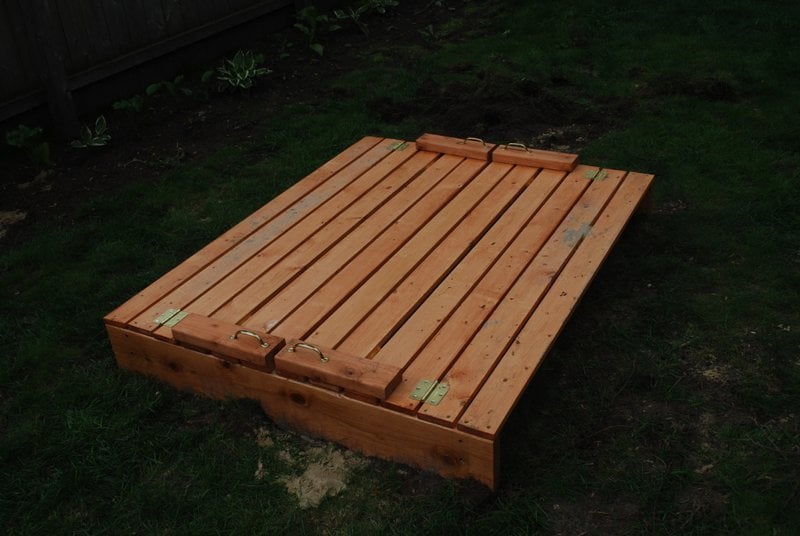
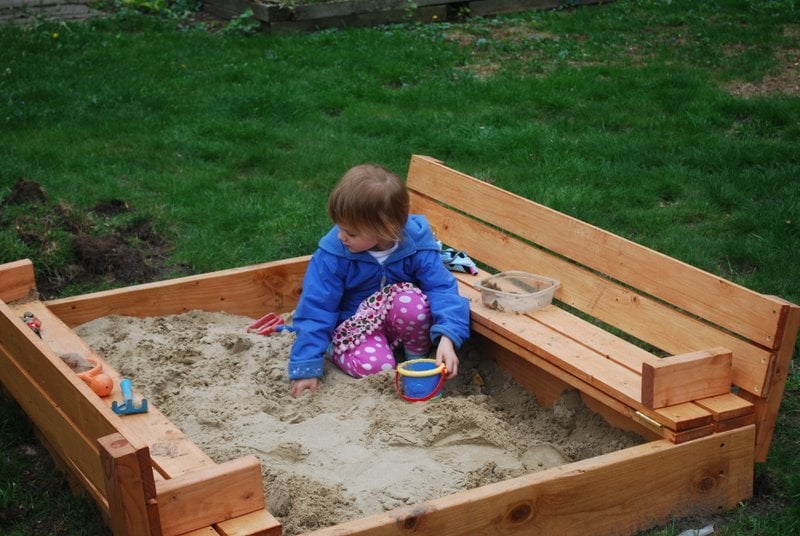
Sandbox with Benches

For the last year we have been kicking around making a sandbox. We really needed a cover and really wanted seats. So this worked out perfect. We did modify the plan a little to make it just a little bigger. It is 4' x 5' instead of the 4'x4' called for in the plans. Very easy to build...we have very little building experience and pulled it off. We did dig out the grass where the box was going to sit and stapled 2 layers of landscaping fabric to the bottom of the box frame. We also sealed the main box frame with a little silicone to minimize sand leakage.
Built from Plan(s)
Estimated Time Investment
Day Project (6-9 Hours)
Finish Used
Miniwax Polystain (Stain and Urethane in one) in Pecan color
Recommended Skill Level
Beginner
Comments

Mon, 05/07/2012 - 05:32
Widening
Thanks. There are the same number of 1x4s on the top they are just longer. I was worried about the benches sagging because of the increased length and was prepared with scrap 2x4s to add support under the first two boards if needed but it doesn't seem to be a problem. We only widened it to 5' though...I think at some point that extra support would be needed.
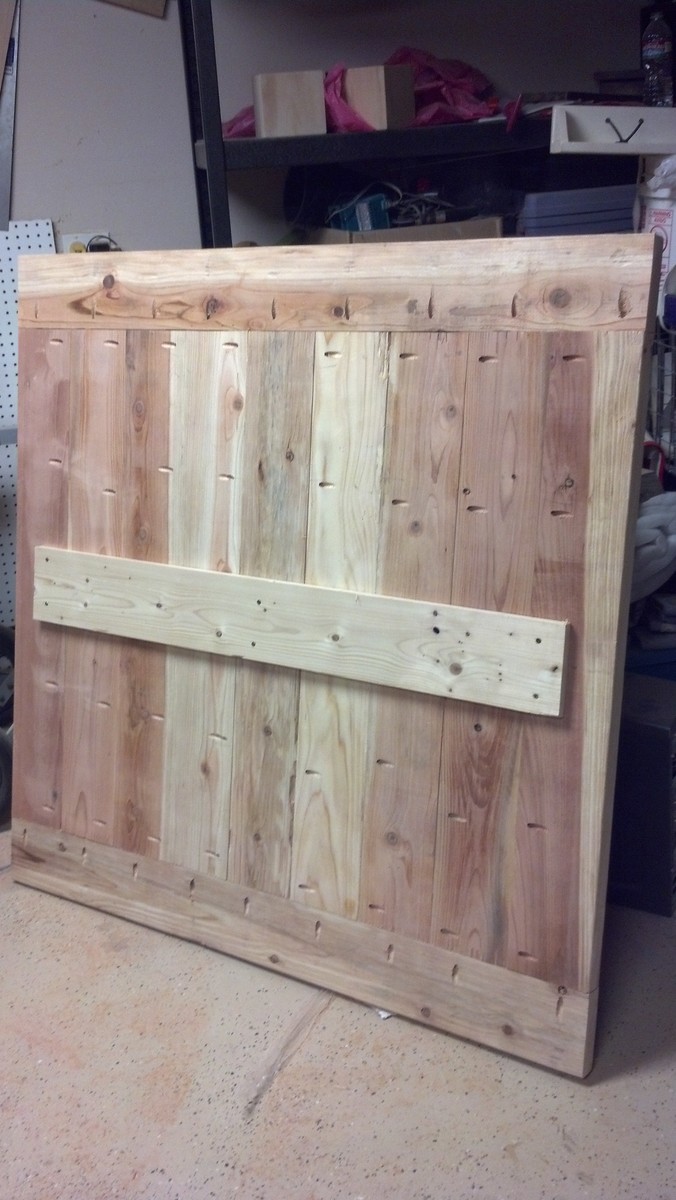
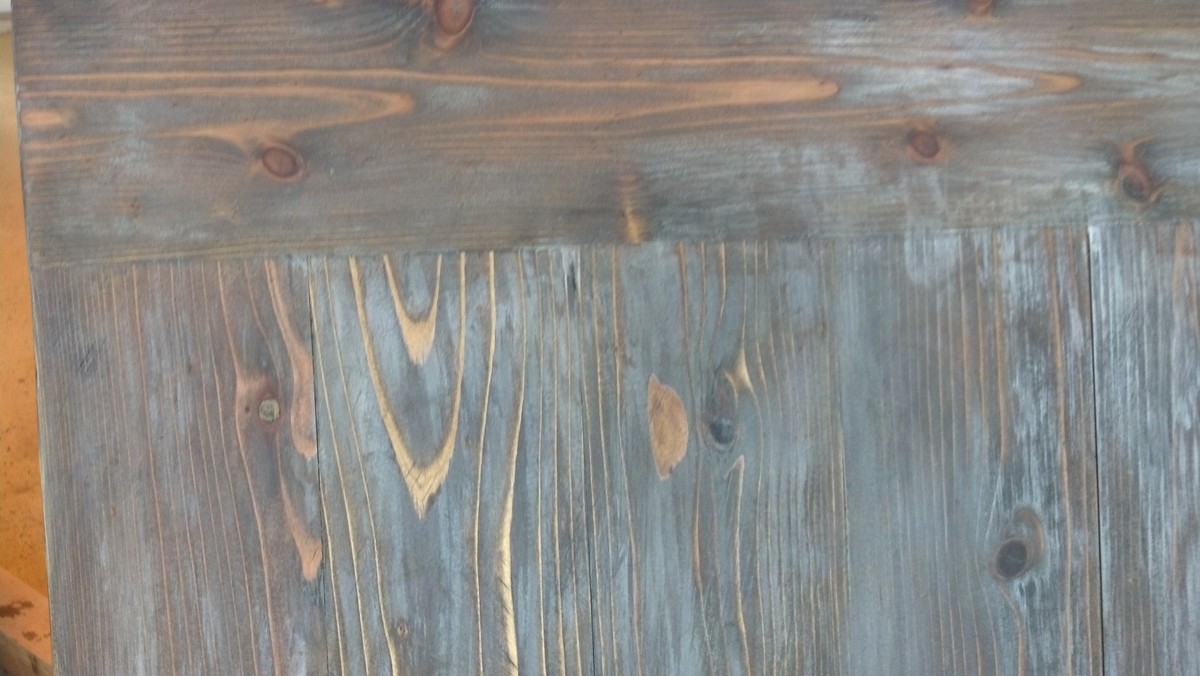
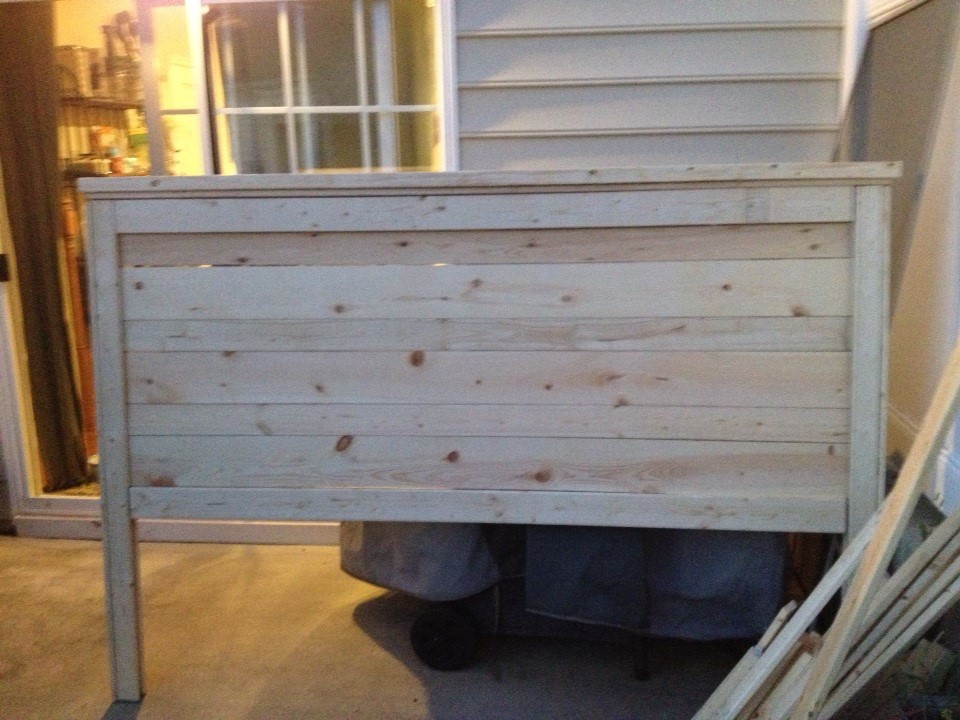
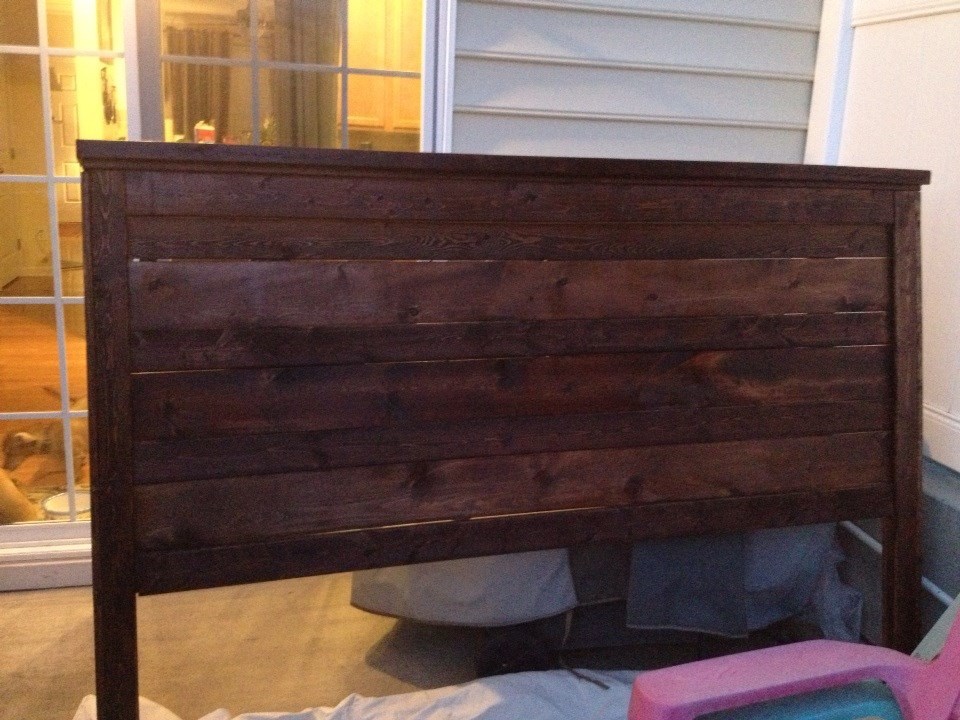
Headboard
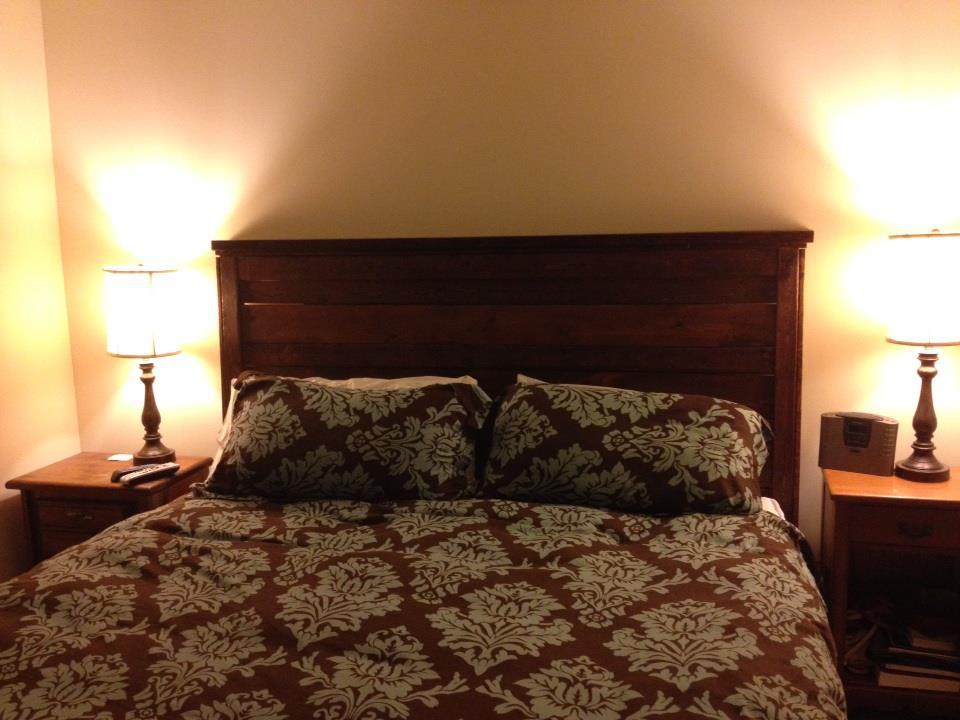
2nd project - added some additional supports on the back with scraps & fixed a bowing issue. We've had it in the bedroom since October 2013 & love it (especially the price tag)!
Built from Plan(s)
Estimated Time Investment
Afternoon Project (3-6 Hours)
Recommended Skill Level
Beginner
Motorcycle Jacket and Helmet Rack
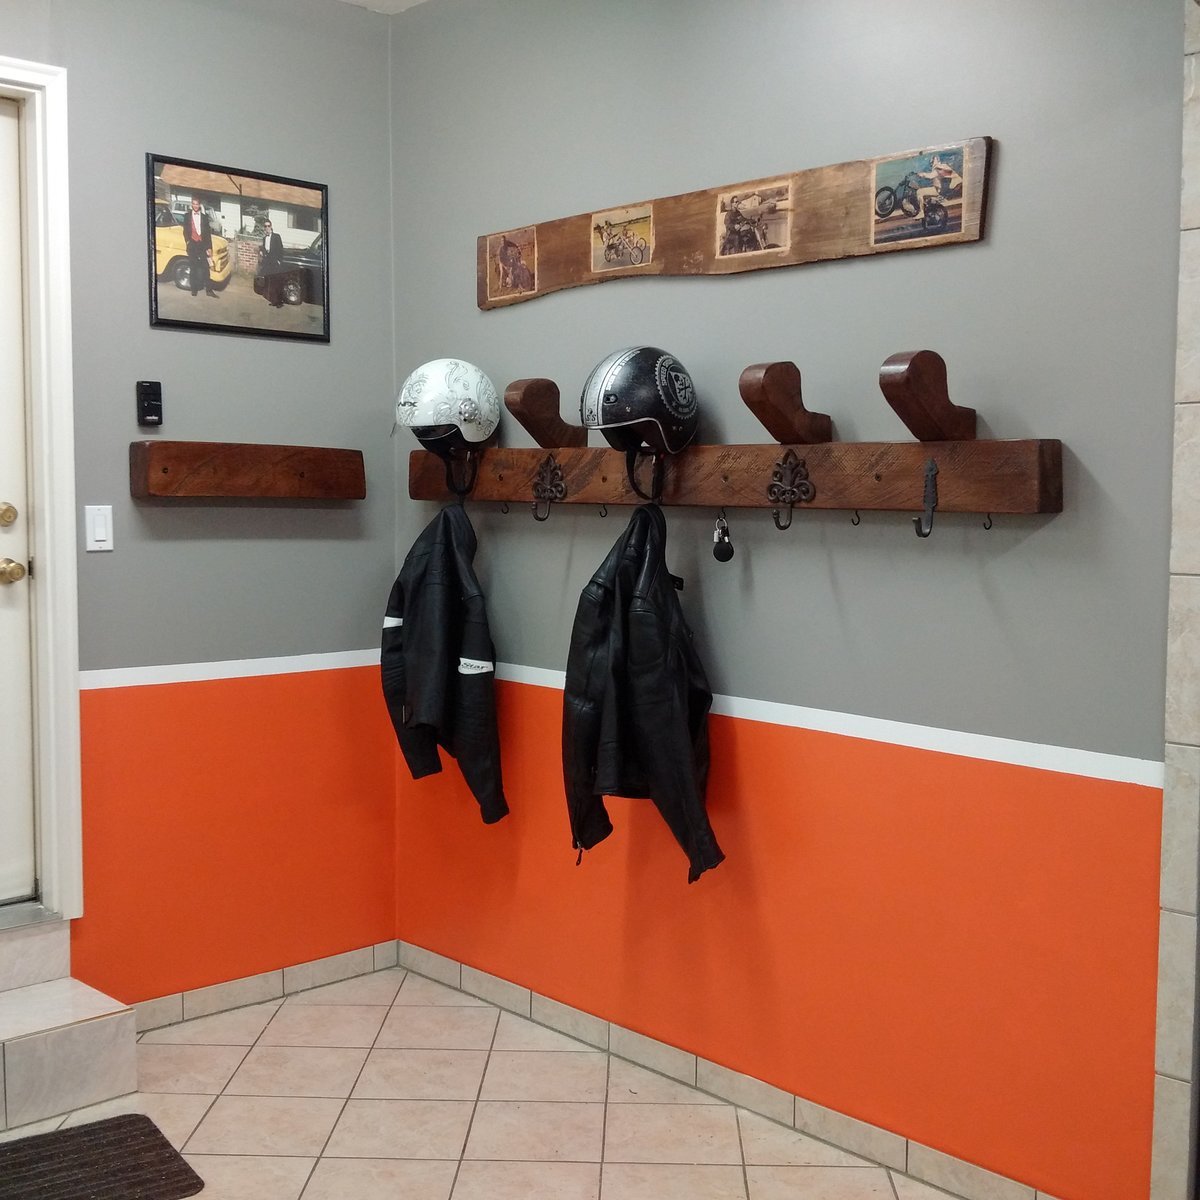
Built from left over Rough Cut Maple. Jaket, Helmet and Key Rack
Estimated Cost
$50
Estimated Time Investment
Afternoon Project (3-6 Hours)
Finish Used
Minwax Stain and Polyurithane
Recommended Skill Level
Beginner
Comments
Sat, 10/03/2020 - 10:22
Do you have the plans for…
Do you have the plans for this? My husband loves it and we'd love to make it.
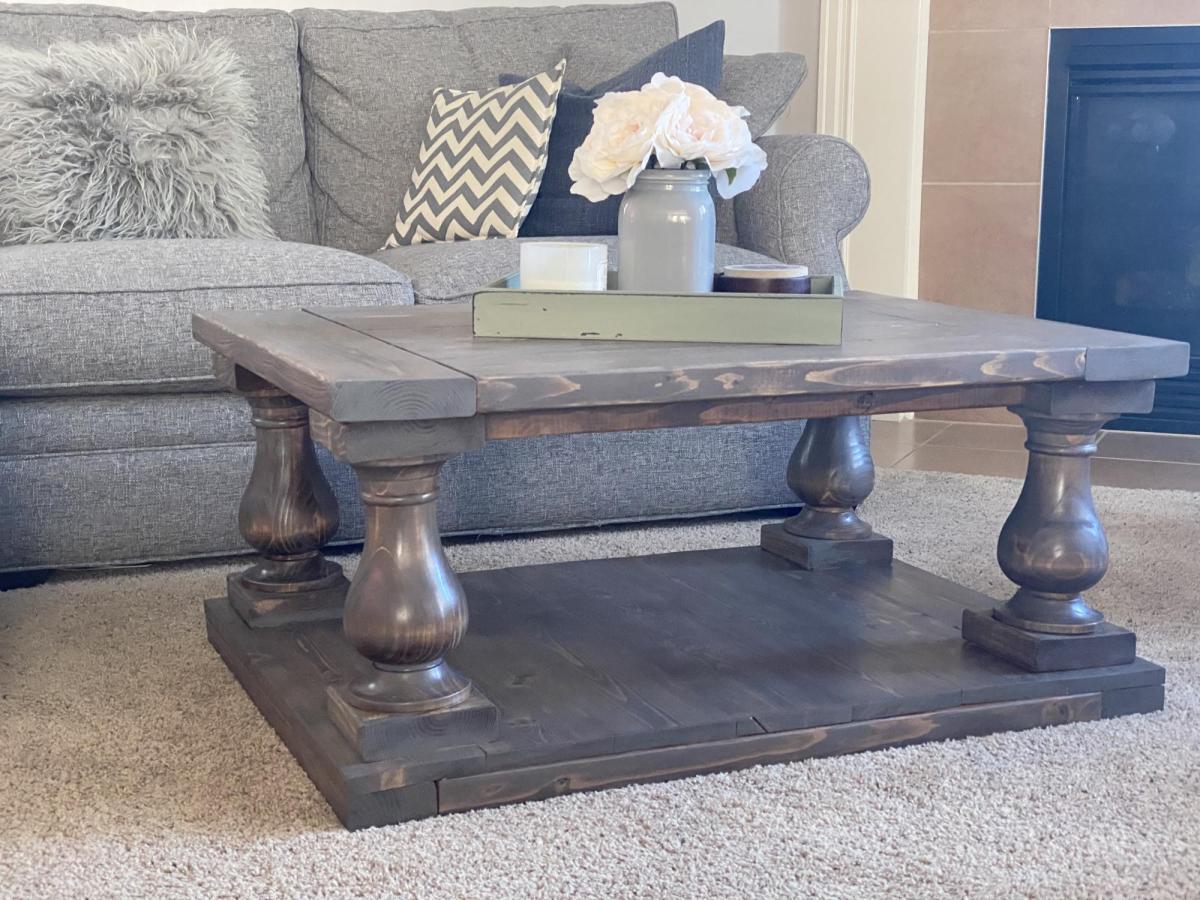
Small Balustrade Coffee Table
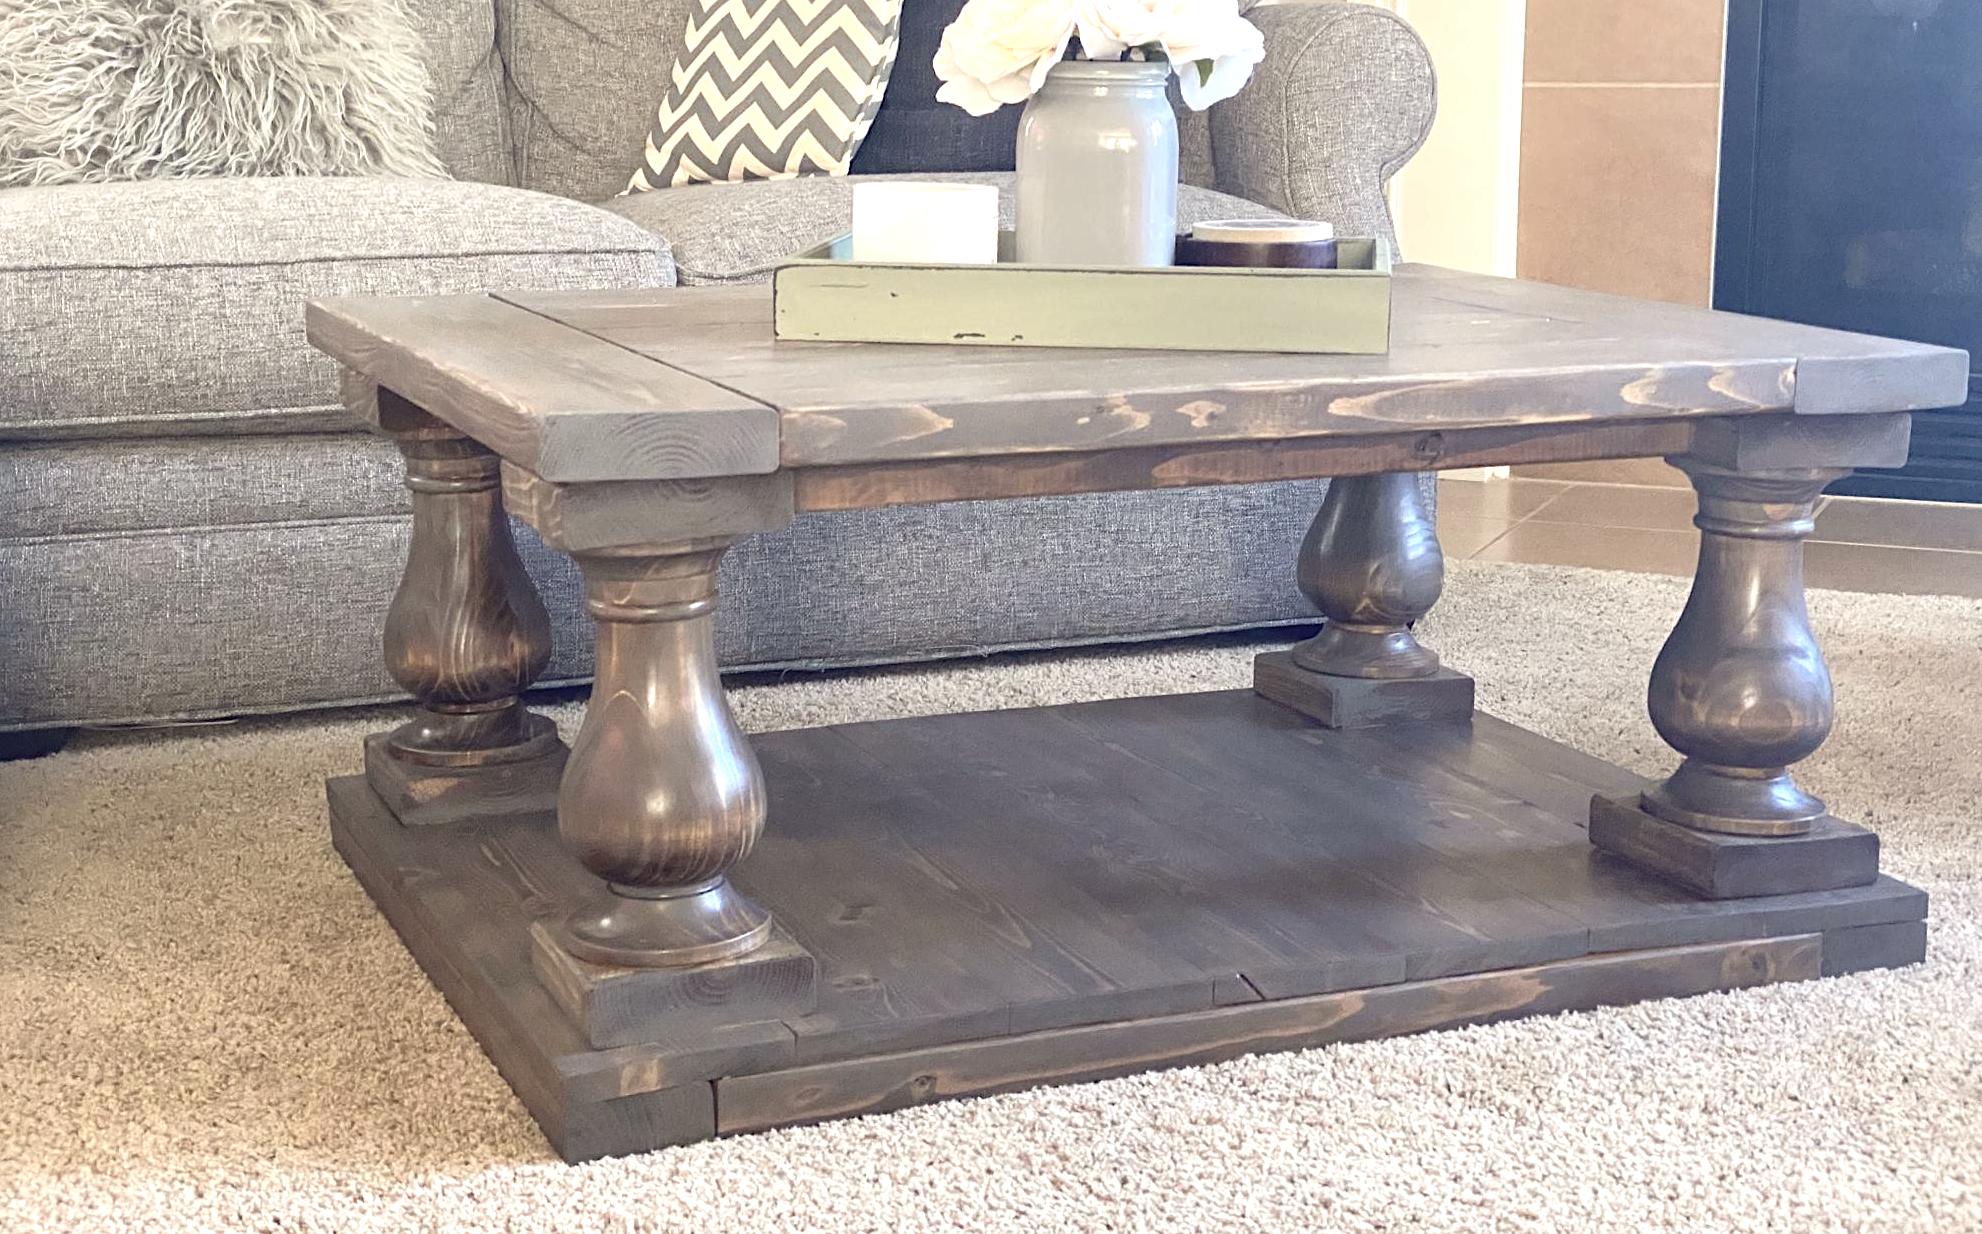
This might be my favorite build yet! We made some minor modifications to the plan since we only needed a 2’ x 3’ table. The legs were ordered from Osborne Wood - delivery was super quick and they make the table! The plan was easy to follow. I still can’t get over how much I love the final product!


Built from Plan(s)
Estimated Cost
$200
Estimated Time Investment
Day Project (6-9 Hours)
Finish Used
1 coat of special walnut and 1 coat of weathered grey. I used a wipe on poly for the legs and water based triple thick satin finish poly for the surfaces.
Recommended Skill Level
Intermediate
Sliding Barn Door Console
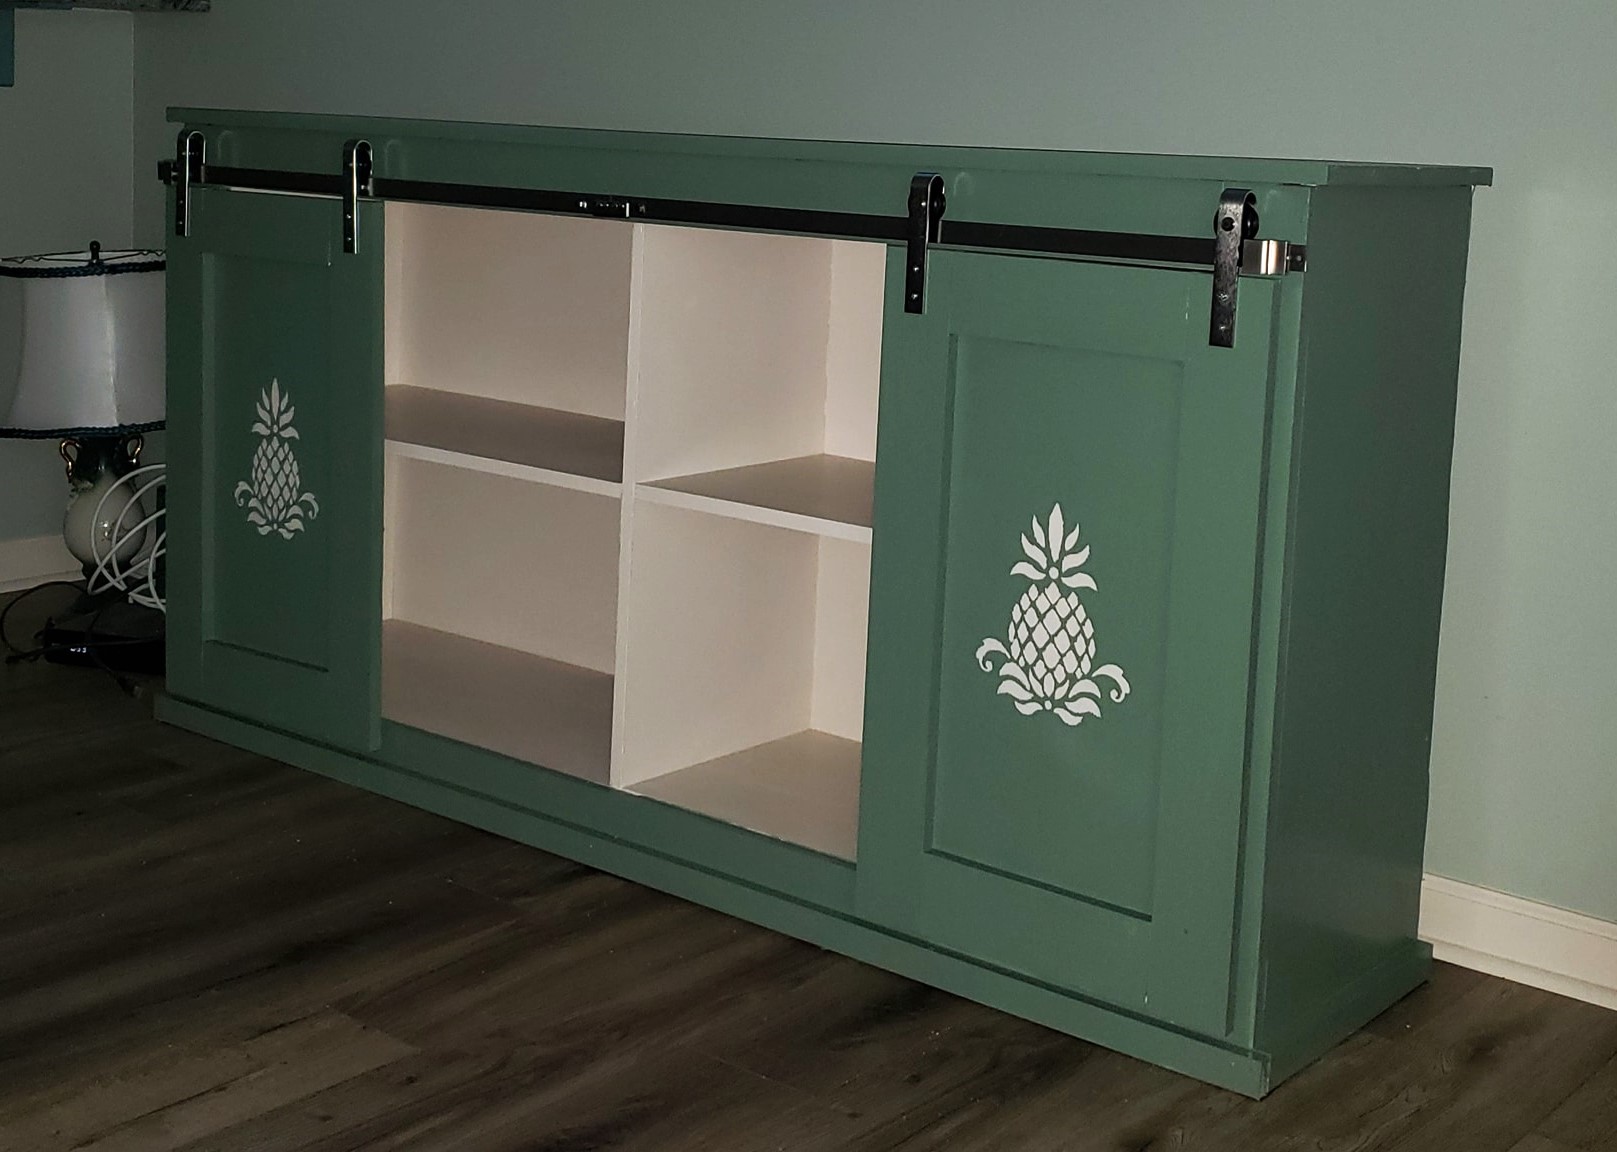
I was remodeling my house. I couldn't find anything that I liked in my price range. I decided to try my hand at making some furniture. I'm wasn't sure if this was something I could tackle, but I'm really pleased with how it turned out.
Built from Plan(s)
Comments
Mon, 10/16/2023 - 11:08
Great first woodworking project!
Way to go, it turned out so good! Thanks for sharing.
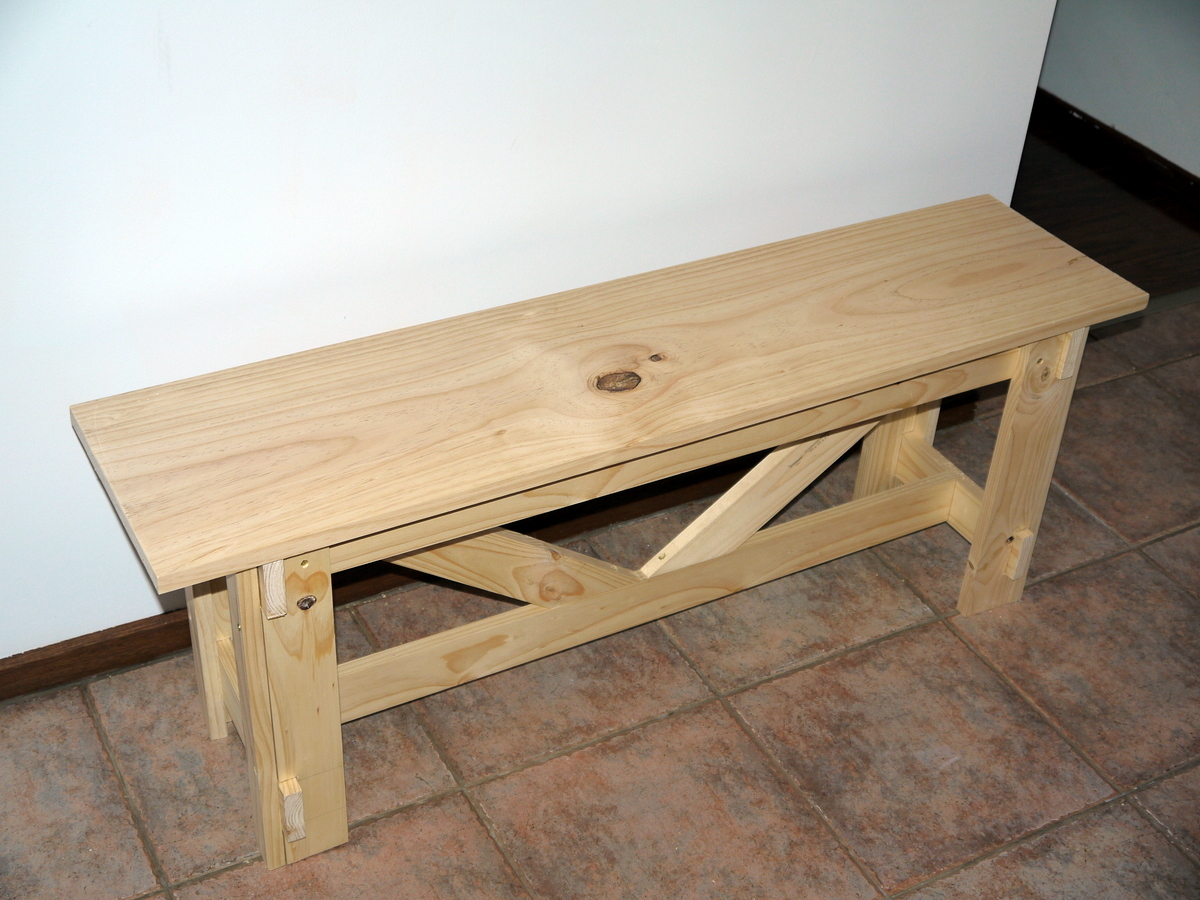
Large rustic bench
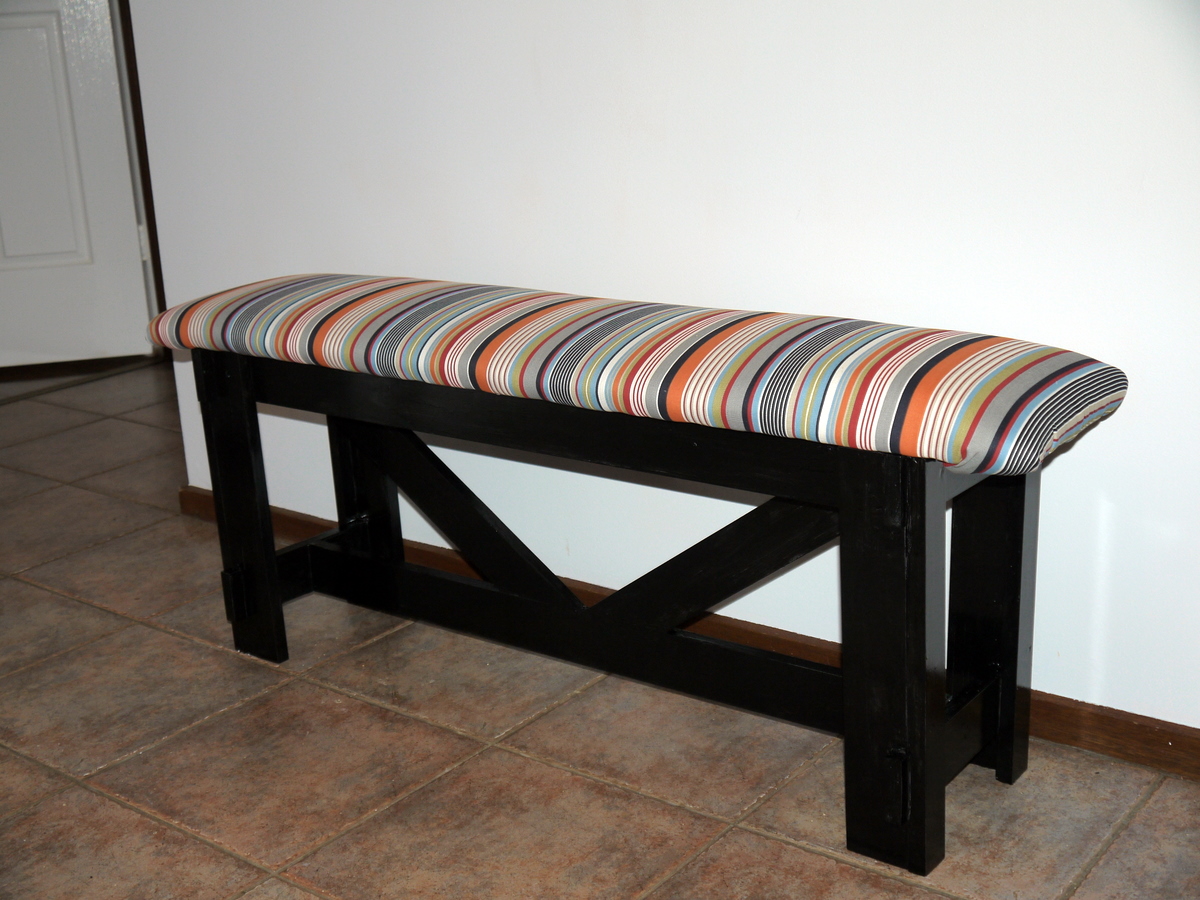
This is the first woodworking project I have done since high school (16 years ago!) and it's more ambitious than anything I attempted then!
It was easier than I thought on the whole, although I got a bit baffled by Australian standard timber sizes being totally different from USA ones. (The guy at the timber yard was all "One WHAT by two WHAT?") And because I couldn't find a 1x12 longer than 47 inches, I had to make the bench slightly shorter. I didn't anticipate how incredibly hard that would make it to calculate the cross support angles. (It's not just trigonometry, because there are multiple possible solutions).
It was the first time I've tried to upholster anything, too, so it's a bit wrinkly at the corners, but I'm happy with it.
I think the painting took the longest. I built the bench in one afternoon, but I had to do four coats of paint (and one of primer), each of which took nearly 24 hours to dry, so it took forever to finish.
Built from Plan(s)
Estimated Cost
$70 ($30 for the wood; $25 for fabric and batting; $10 for paint; $5 for screws and sandpaper)
Estimated Time Investment
Weekend Project (10-20 Hours)
Finish Used
Black acrylic "enamel" paint. Four coats over one coat of water-based primer. Upholstered top with upholstery fabric and batting, using a stapler gun.
Recommended Skill Level
Starter Project
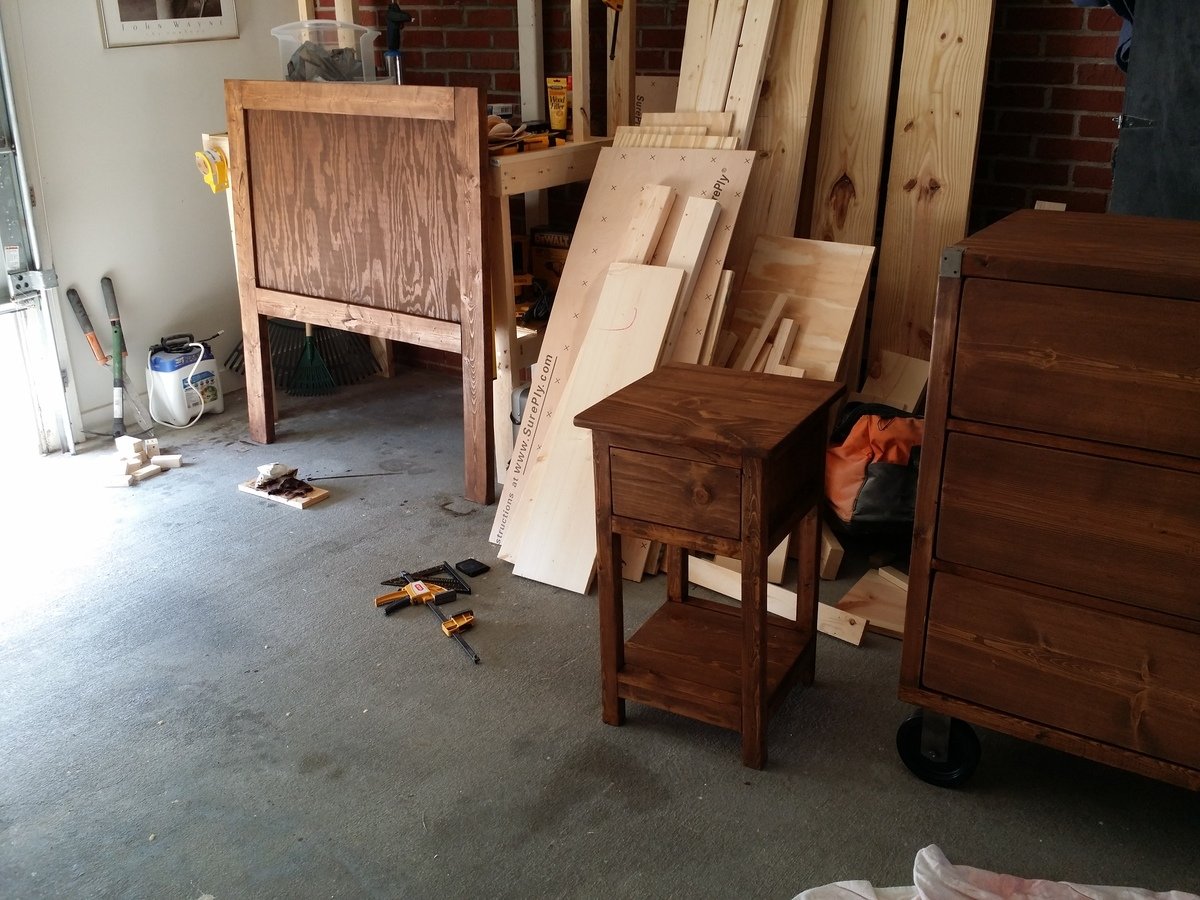
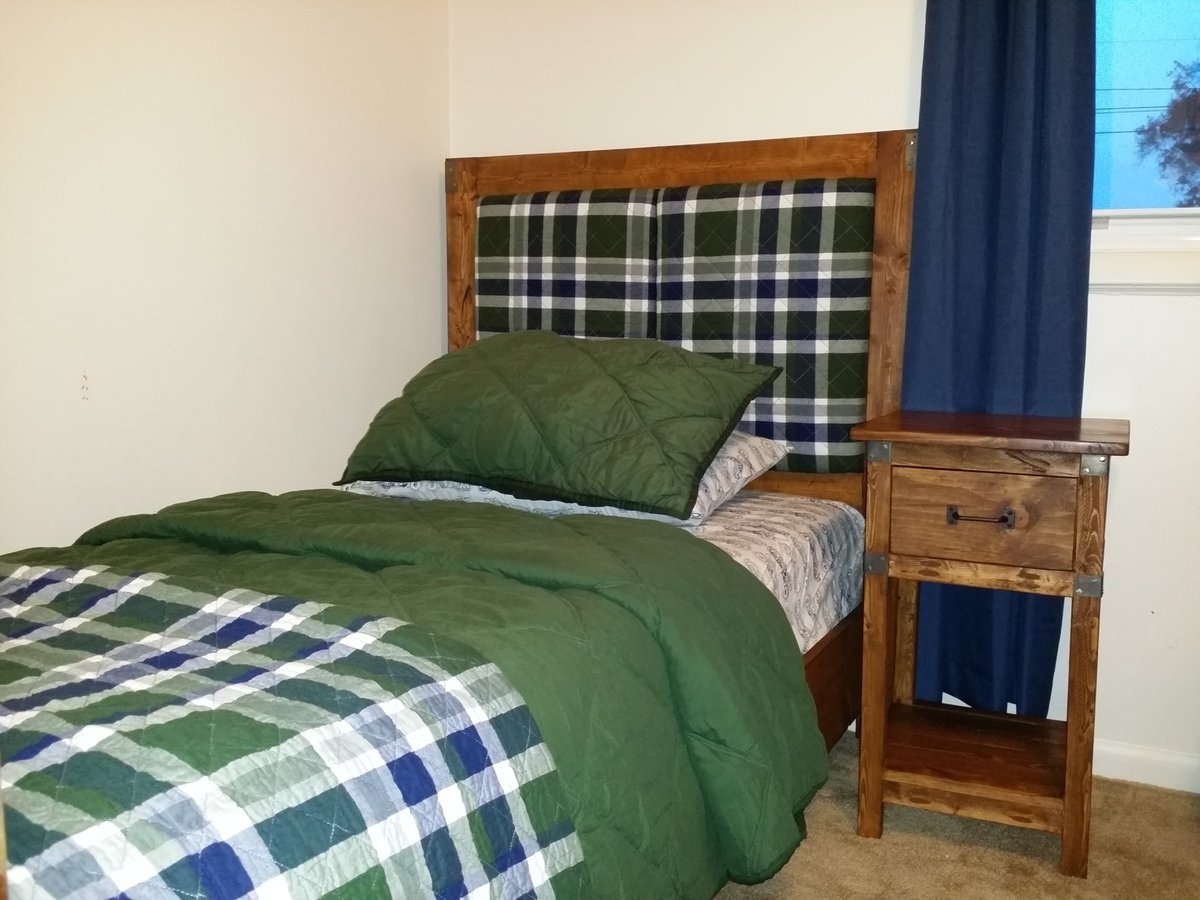
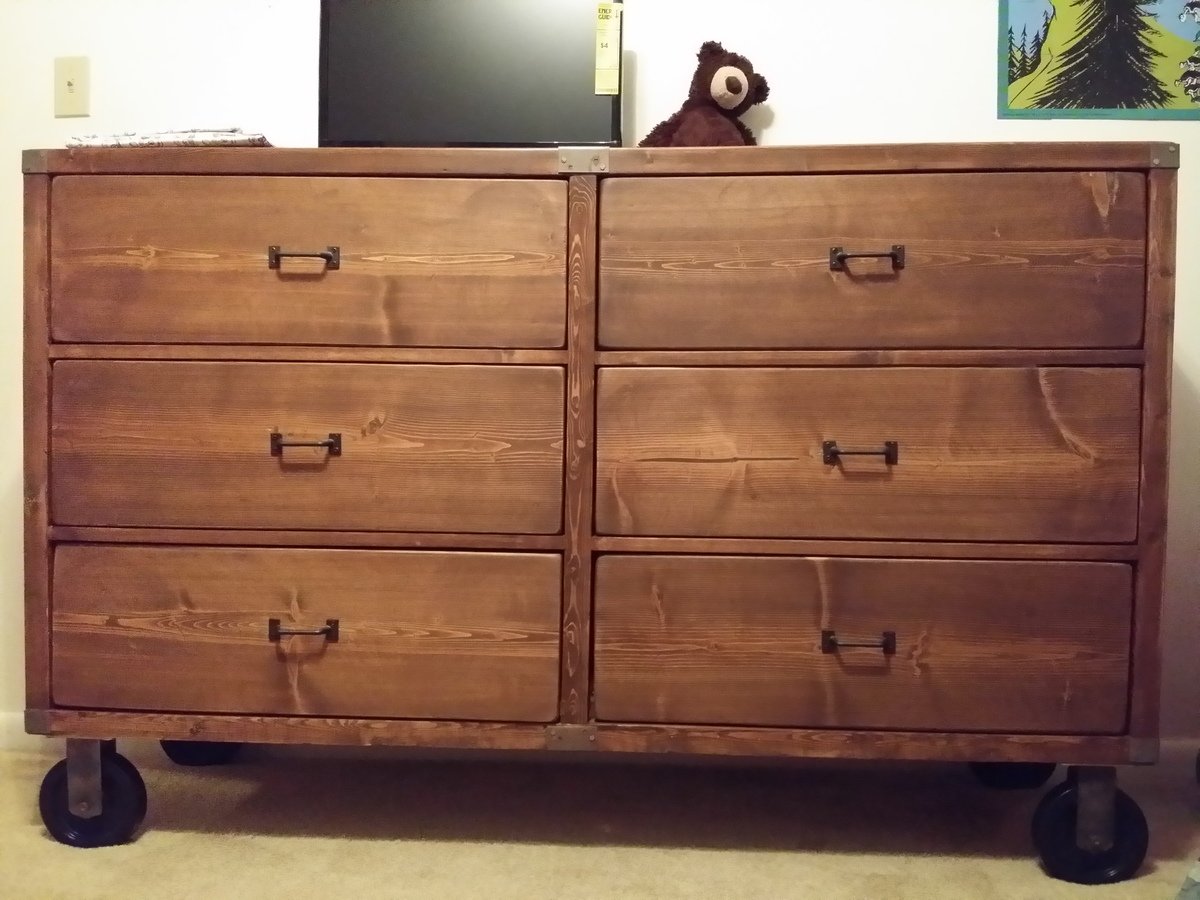
Rustic Twin Bed with Upholstered Headboard (Matching Nightstand & Dresser)
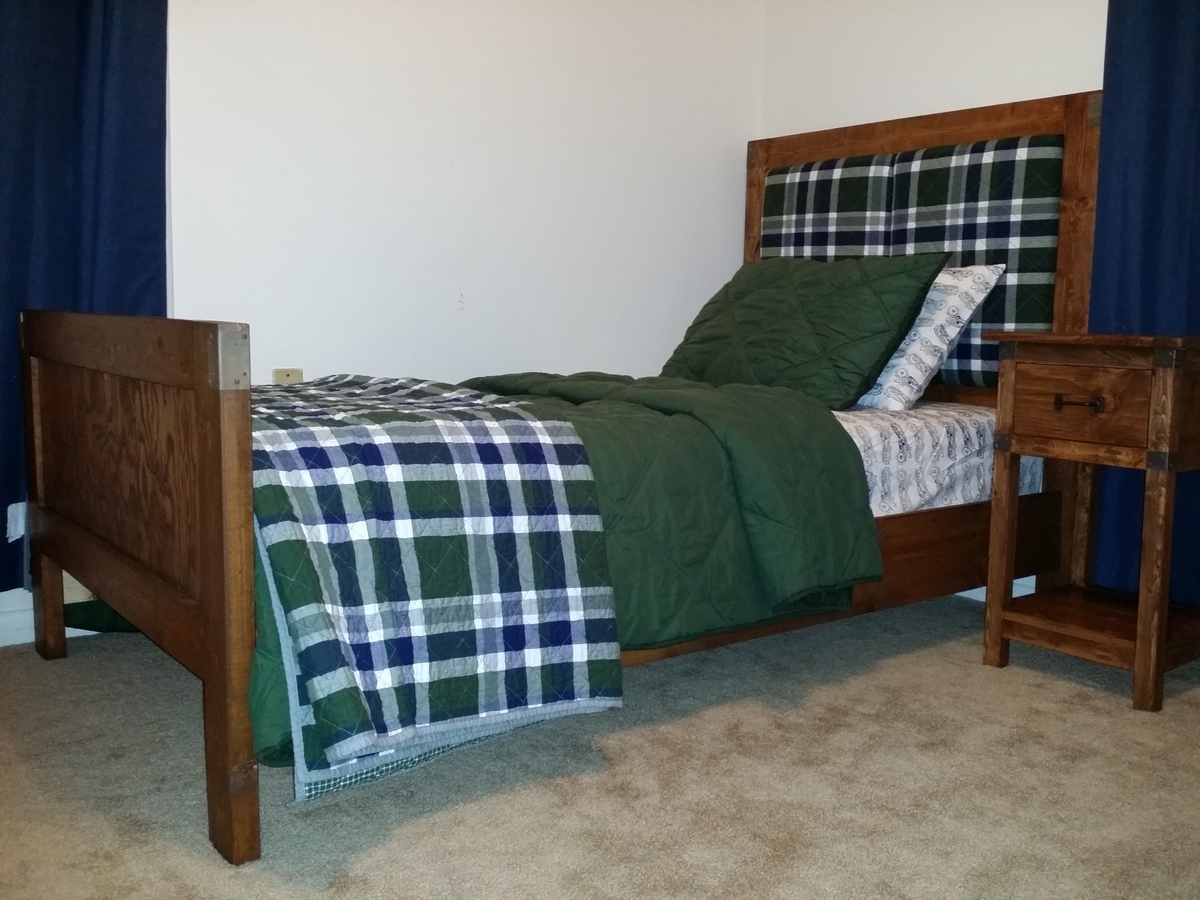
I started my son's bedroom set back at the beginning of January and have finally finished! I began by building the matching dresser (http://ana-white.com/2014/02/rustic-dresser-and-bedroom-set) and then started the bed only a week ago. The night table was taken from http://ana-white.com/2011/06/mini-farmhouse-bedside-table-0 - I had built it over the summer, but I couldn't get my pocket holes on the inside of the table because my drill wouldn't fit, so I wasn't going to use it.. until I realized it was the perfect little bedside table for a two year old who might destroy it anyways!
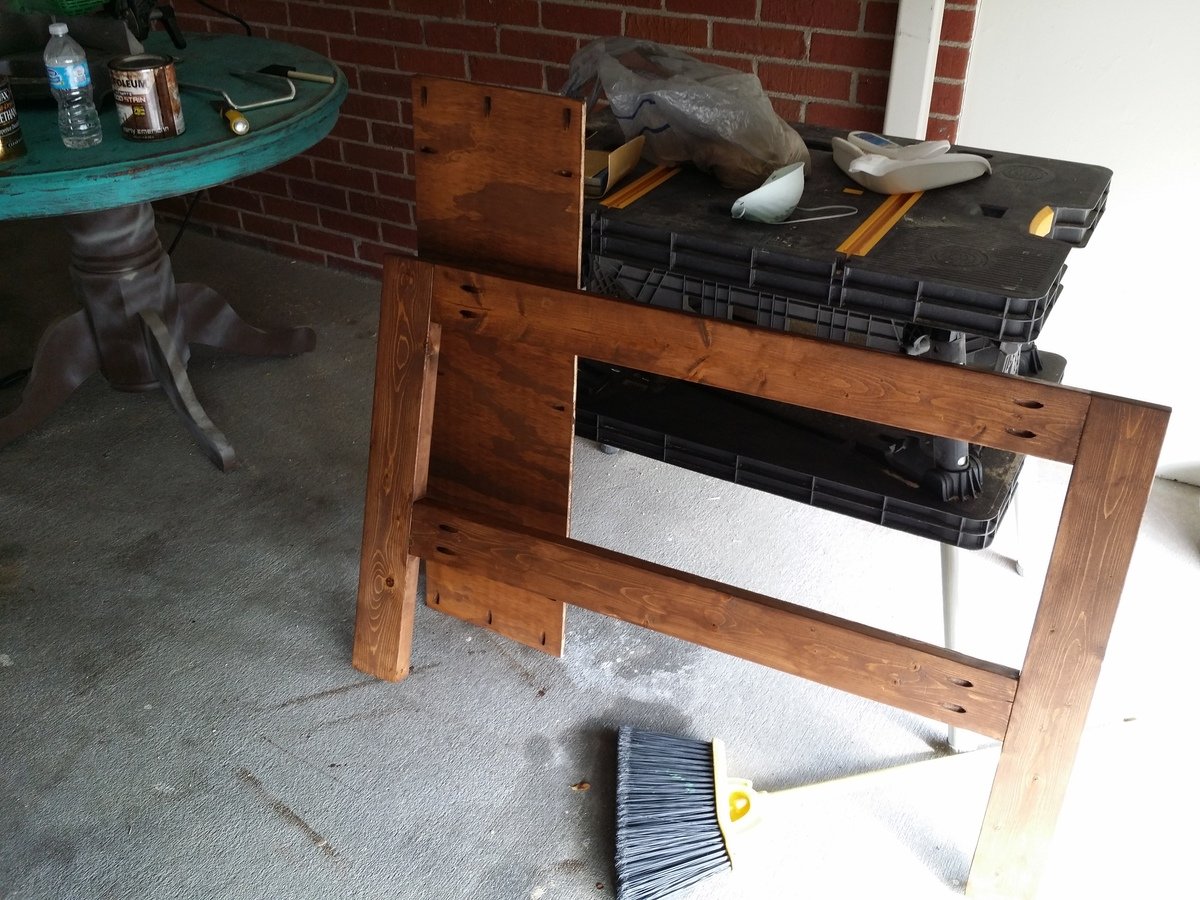
Back to the bed... I just had this vision of what I wanted my son's room to look like after seeing the rustic rolling dresser plan, and I stumbled on the Emme Twin bed plan. It was kind of perfect, but I didn't like the whole "window" look on the headboard. I still may add a divider on the foot board, but haven't decided yet. Regardless, so I envisioned something else with the same concept of the Emme twin bed. Building it exactly the same way without the dividers, I ordered the clearance shams from pottery barn that matched his new quilt and bought another piece of half inch plywood. I cut it in half and left about a quarter inch on each side of each piece of plywood to accommodate the fabric in between the 2 by 4s. I added one inch of foam and a couple layers of batting, matched up the two shams side by side, folded them each around the batting and foam, and stapled them. They fit perfectly into the headboard with some 1 1/4 or 1 1/2 inch screws (There is a gap from the fabric on the back, so your screw needs to account for that. You could put like a 1x4 onto each panel to screw through, but I placed the back plywoood attached to the 2x4s too far in, so it would have made the panels "float" and I wanted the fabric of the panels flush to the back plywood) holding them to the back plywood attached to the 2x4s. I wanted the padding on the back of the headboard because I always hear my son slam his head into the wall when he's sleeping and i just wanted to make sure he wasn't hitting the dividers that were on the EMME twin bed.
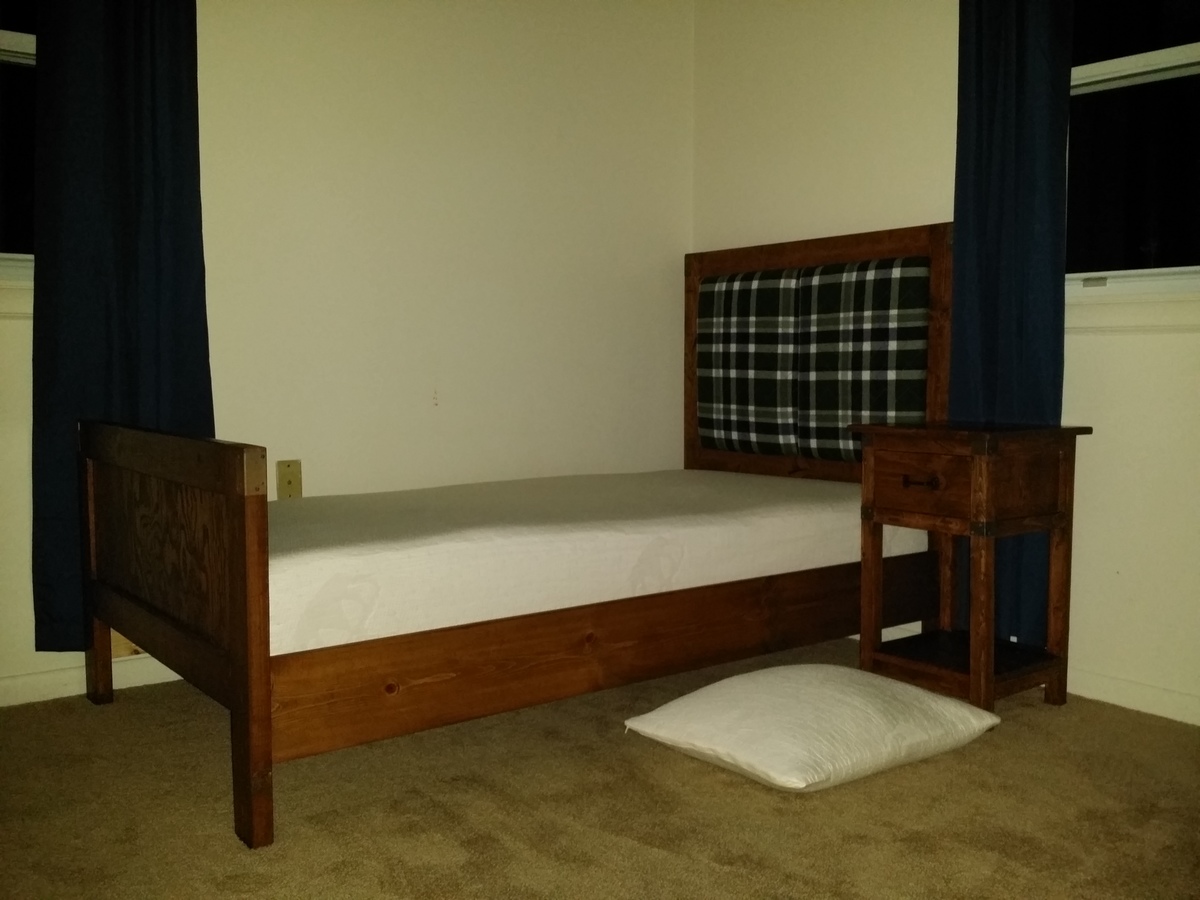
The bed was so easy to build, stain and finish. It turned out exactly how I had envisioned it. I had to lower the side rail 2x4s because I bought a ten inch memory foam mattress (You can see the foam mattress and pillow rising in the picture!) and didn't want it coming above the headboard, but now I don't think I'll need a guard rail since he is so close to the floor! The 2x4s sit 5.5 inches up from the bottom of each leg. I also added quite a bit of length to the foot board legs because I wanted the footboard to come above the mattress. I wish I had realized that there was much nicer plywood at Lowes, but when I asked, they told me "this is all of the plywood we have" and I got stuck with the ugly stuff.. I will fix the footboard with some nicer looking plywood, but it's good enough for now!
Built from Plan(s)
Estimated Cost
$50 for wood, added $30-$40 for the upholstered part, including the shams
Estimated Time Investment
Day Project (6-9 Hours)
Finish Used
Minwax Early American
Minwax Plyurethane, one coat and sanded, one coat of light wood minwax furniture wax to follow
Minwax Plyurethane, one coat and sanded, one coat of light wood minwax furniture wax to follow
Recommended Skill Level
Beginner
Custom X Console

Thanks for the plans Ana! Here's what I came up with.


Built from Plan(s)
Estimated Cost
$100 CAD
Estimated Time Investment
Weekend Project (10-20 Hours)
Finish Used
The top has Mini wax walnut gel stain with 3 coats of Miniwax water base polycyclic semi gloss. The bottom has 2 coats of Classic black polyshades.
Recommended Skill Level
Intermediate
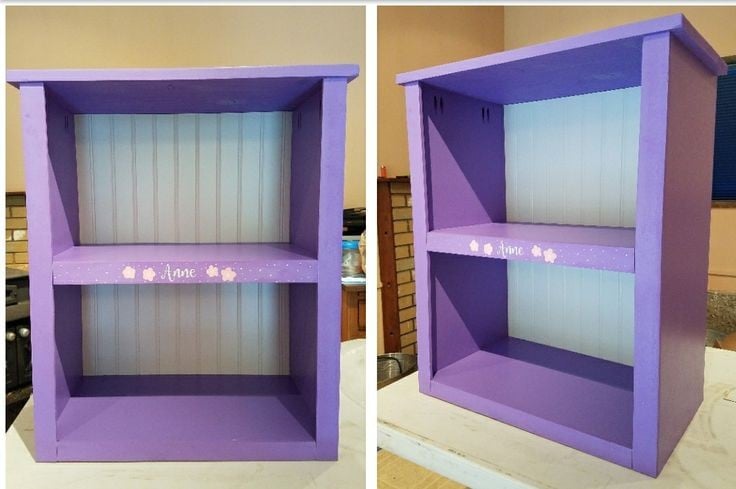
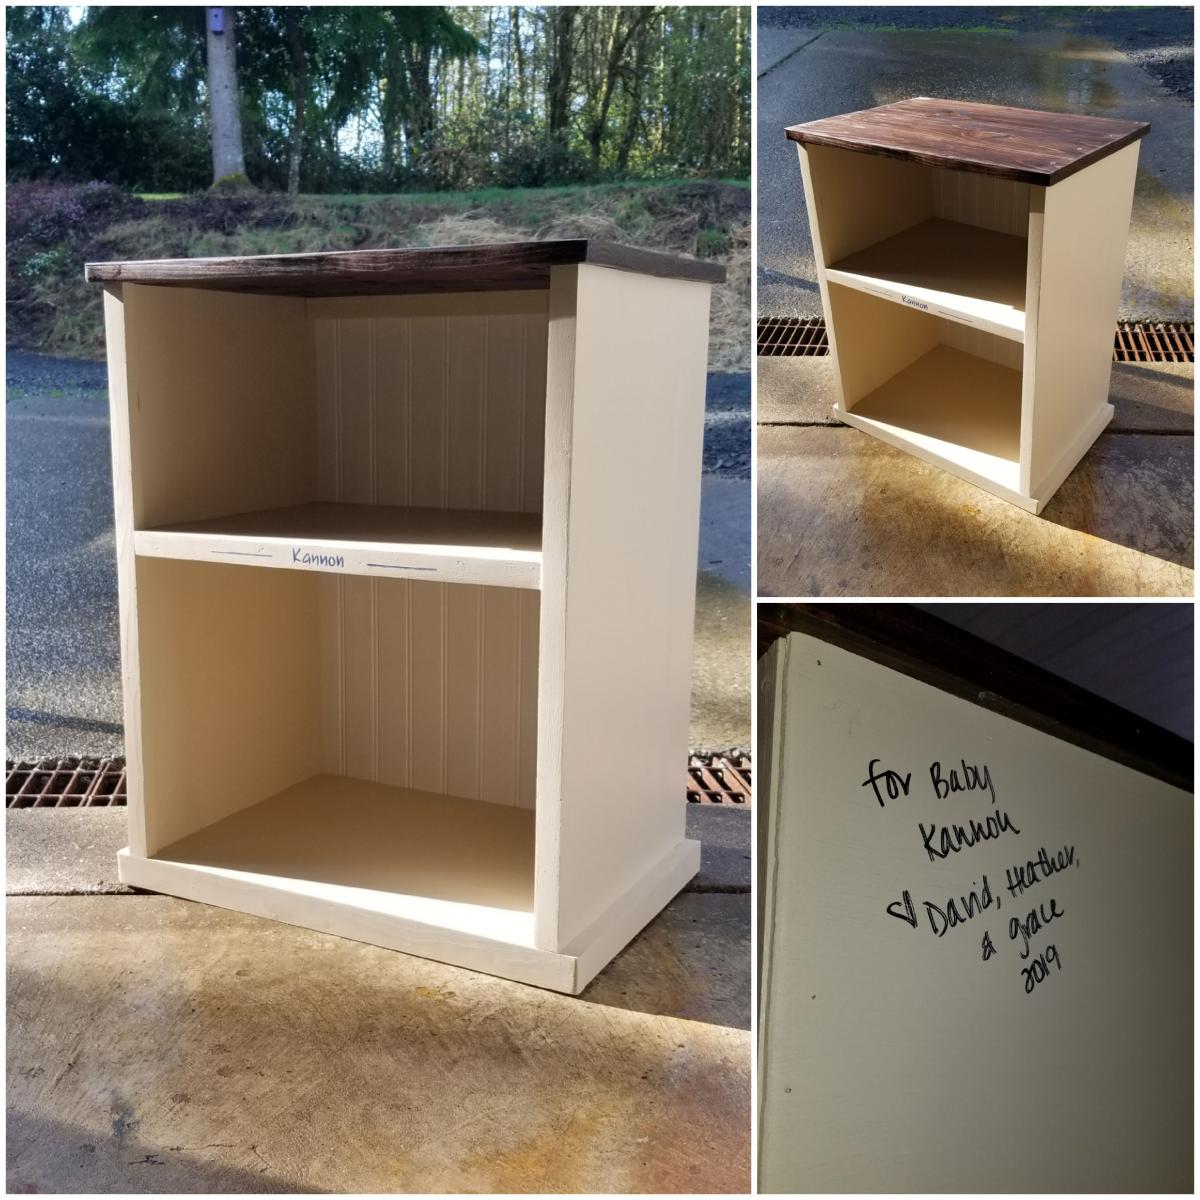
Kentwood Bookshelf, kid version

I have built three of these so far: one for my daughter, one for her best friend, and one for my cousin's son for their baby shower (books instead of cards). I've modified it and tweaked it a little each time but the overall finished product is basically the same. It's about 36" tall but the same width and depth as the Kentwood plan. I put the one shelf tall enough so that the biggest books can live on the bottom. I used beadboard for the backing but I think the next time I'll use either 1/4" plywood or common boards and Kreg them together. This takes less than a day to build and less than $40 in lumber. Easy to make, easy to assemble, and endless possibilities to finish.
Built from Plan(s)
Estimated Cost
$40
Estimated Time Investment
Afternoon Project (3-6 Hours)
Finish Used
Whatever your heart desires
Recommended Skill Level
Starter Project