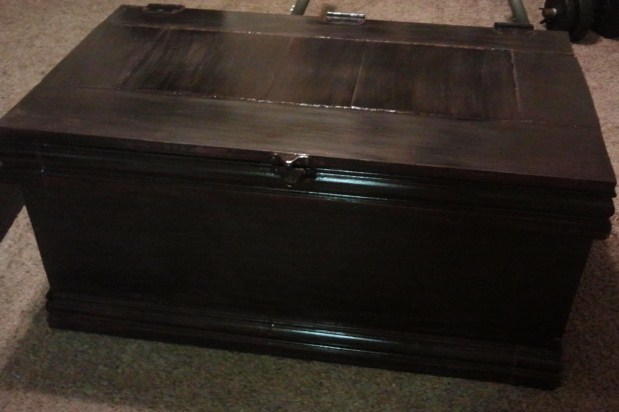
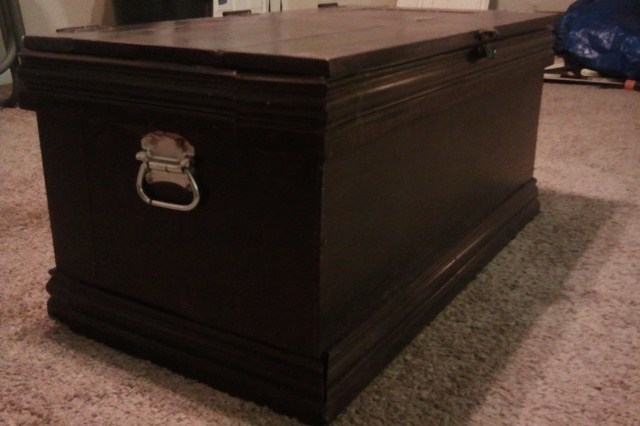
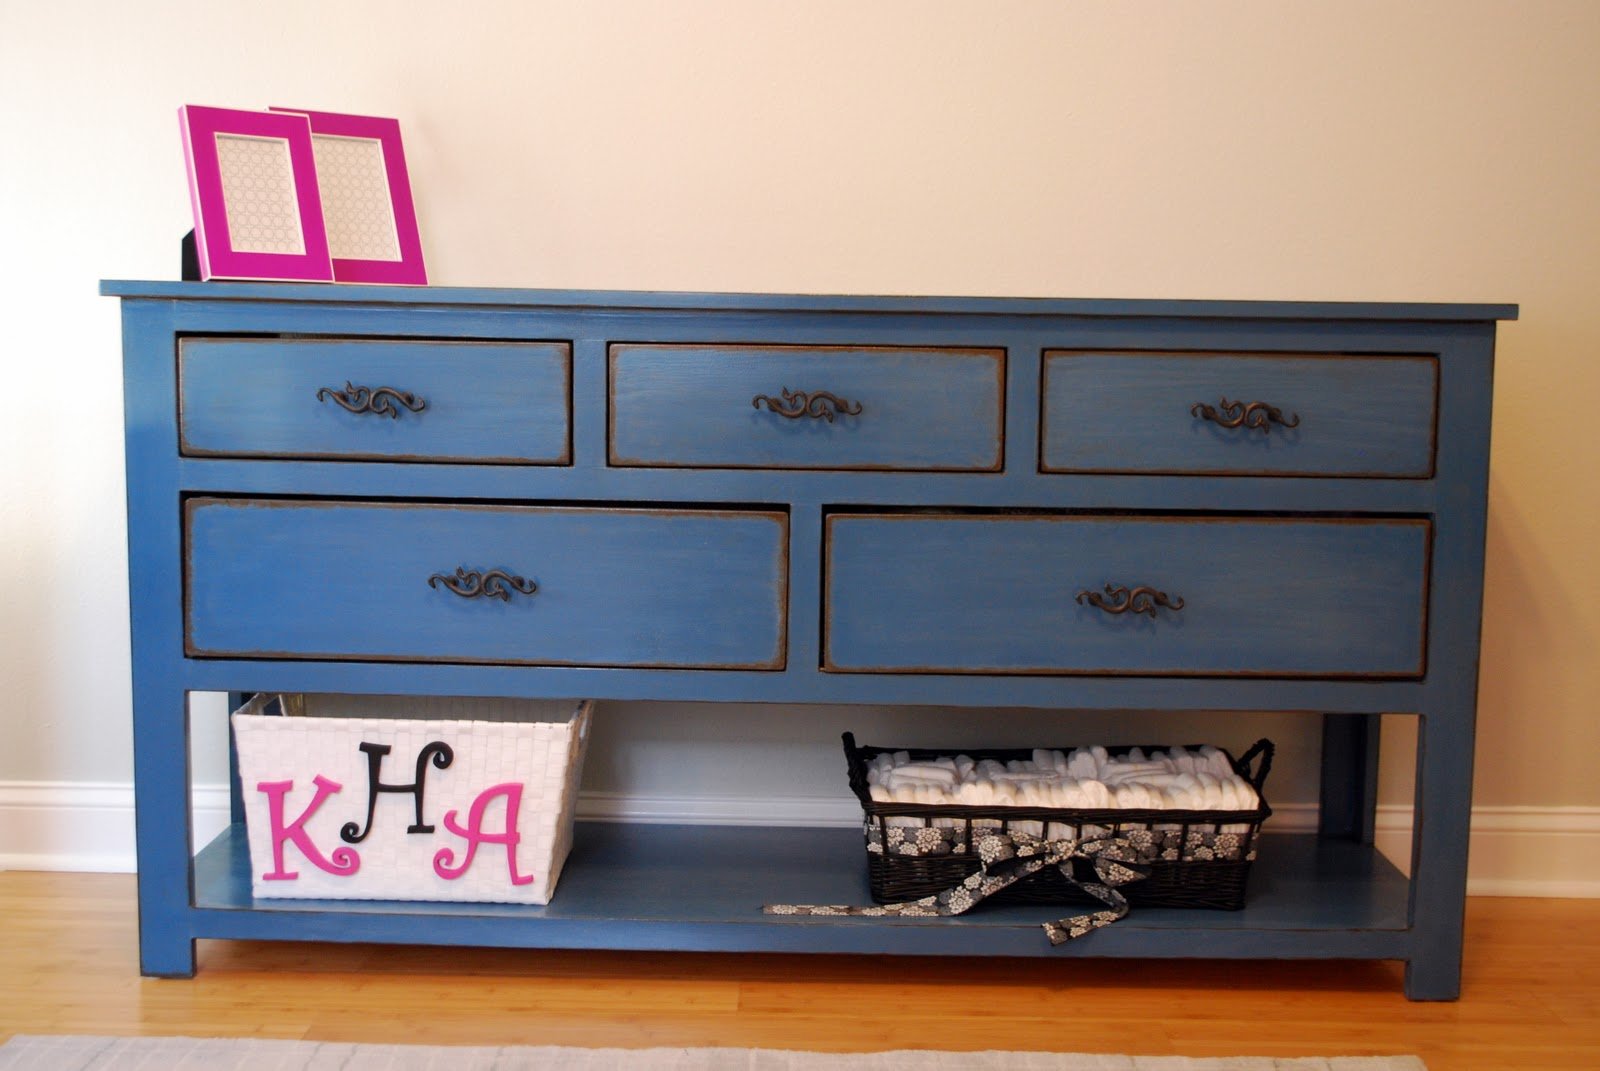
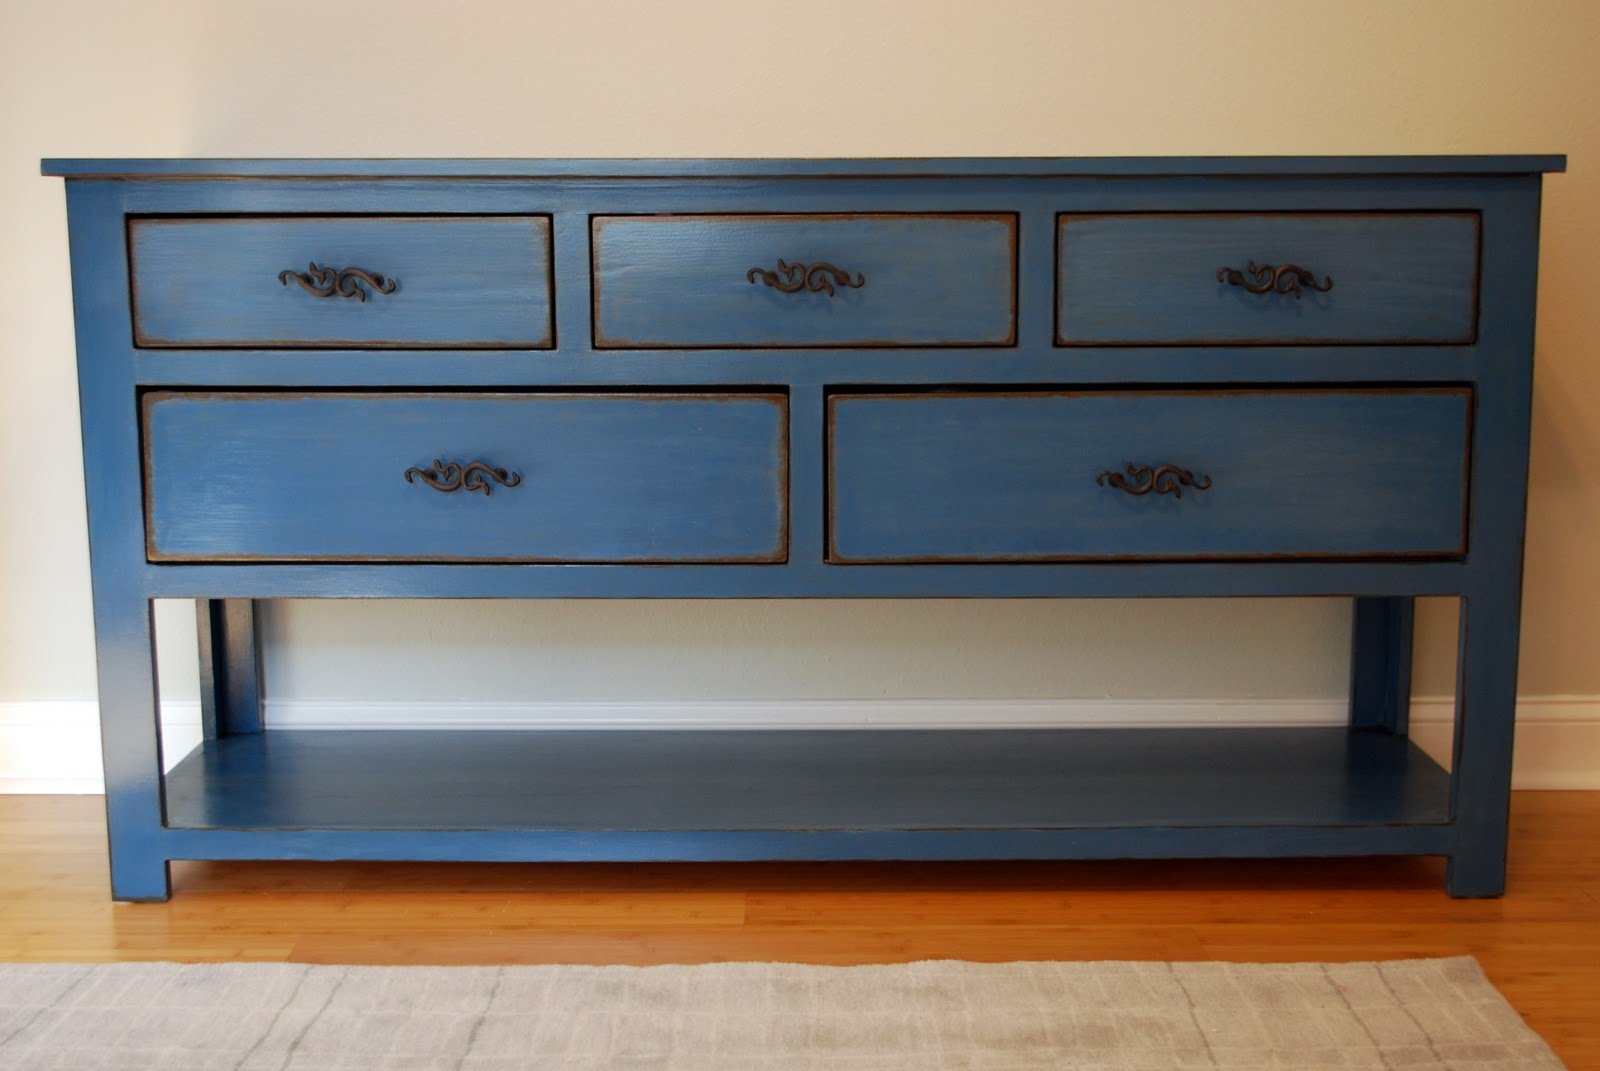
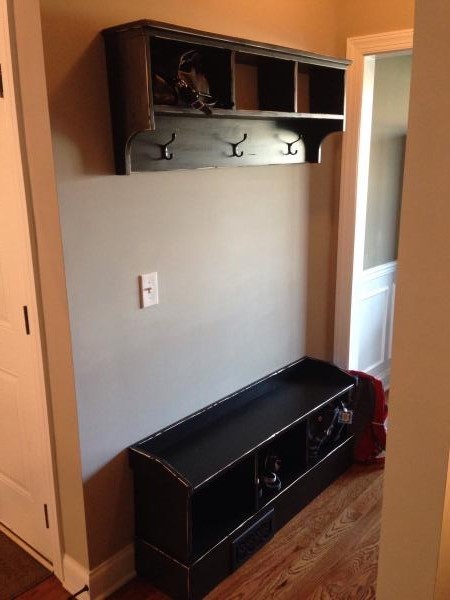
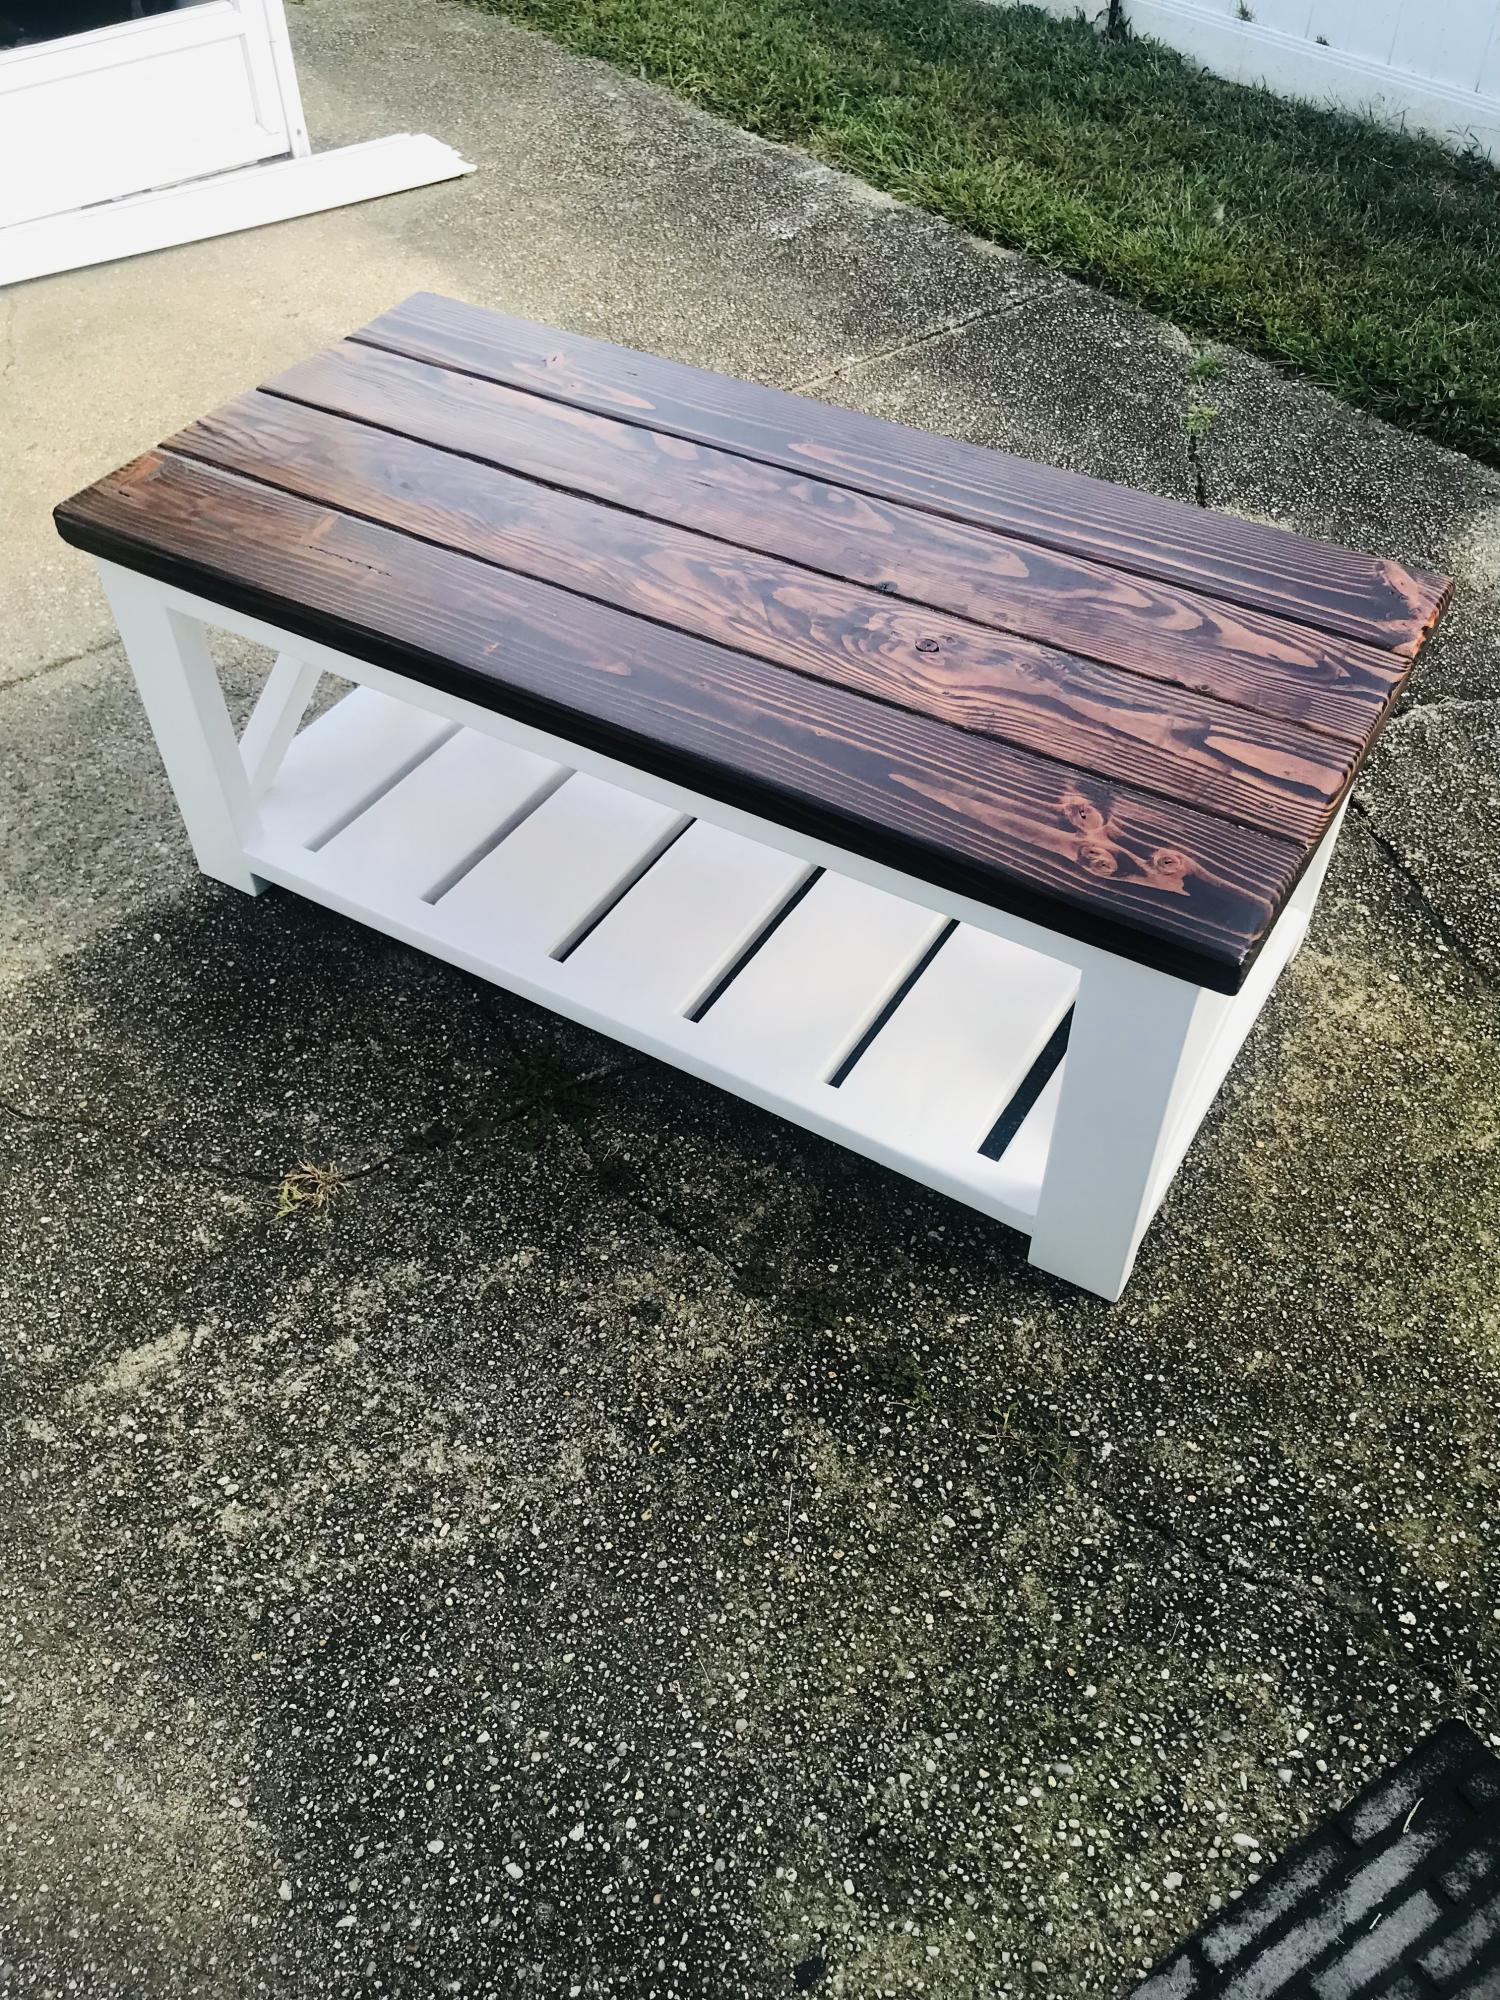
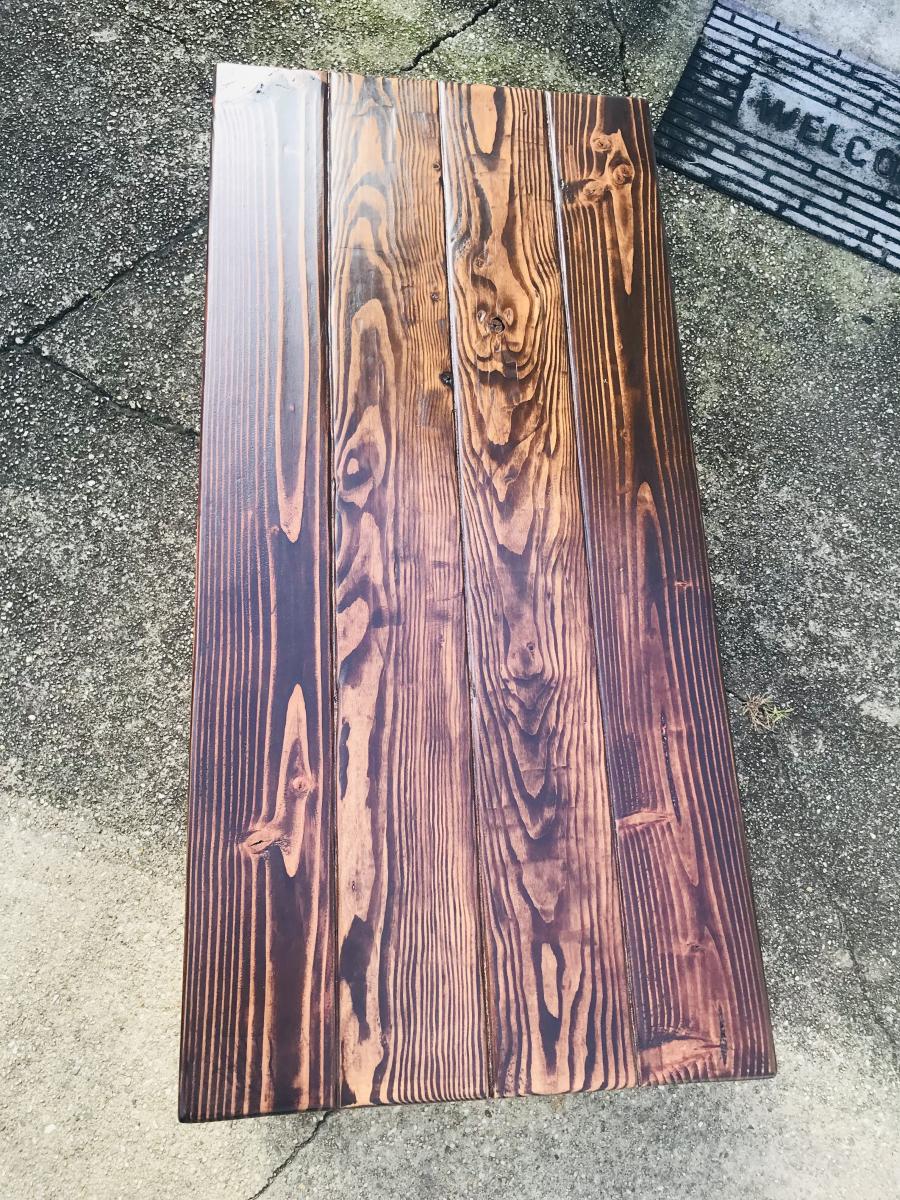
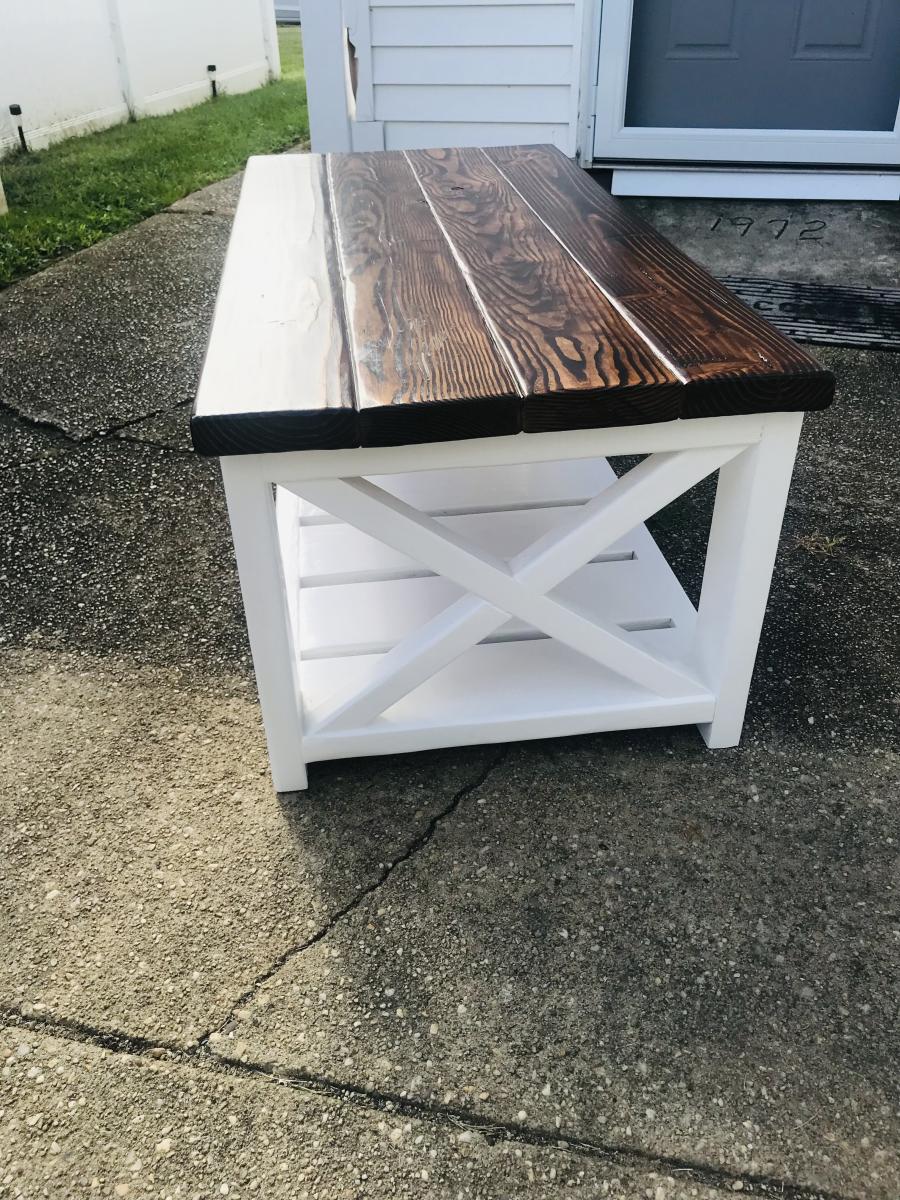
Community Brag Posts

Becca Trunk

Submitted by maluma on Sun, 06/23/2013 - 05:57

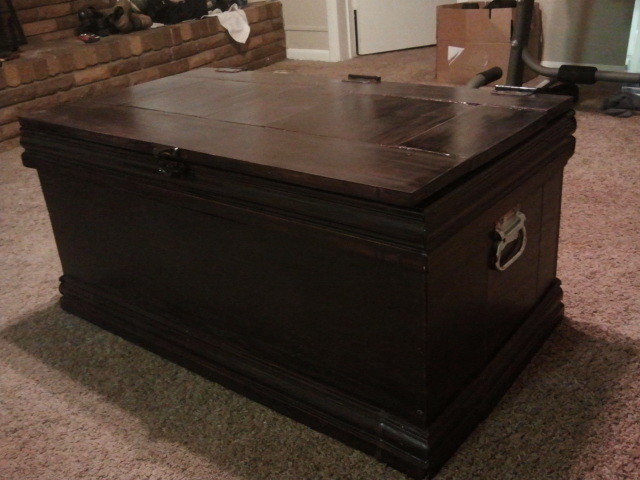
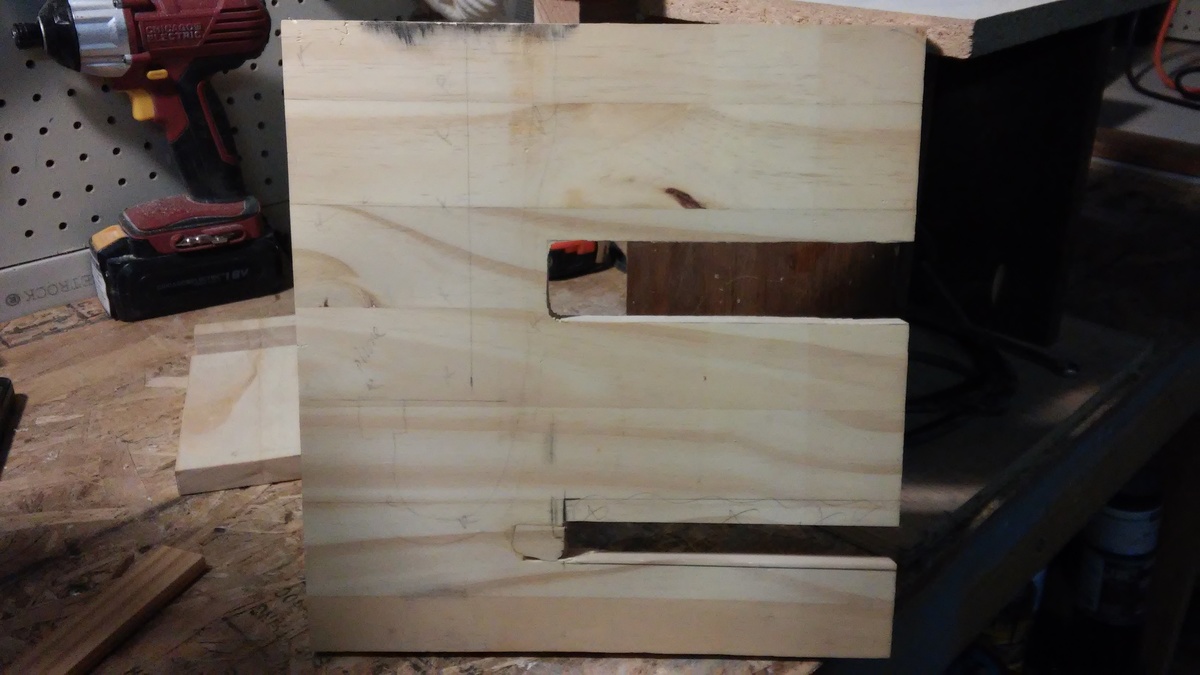
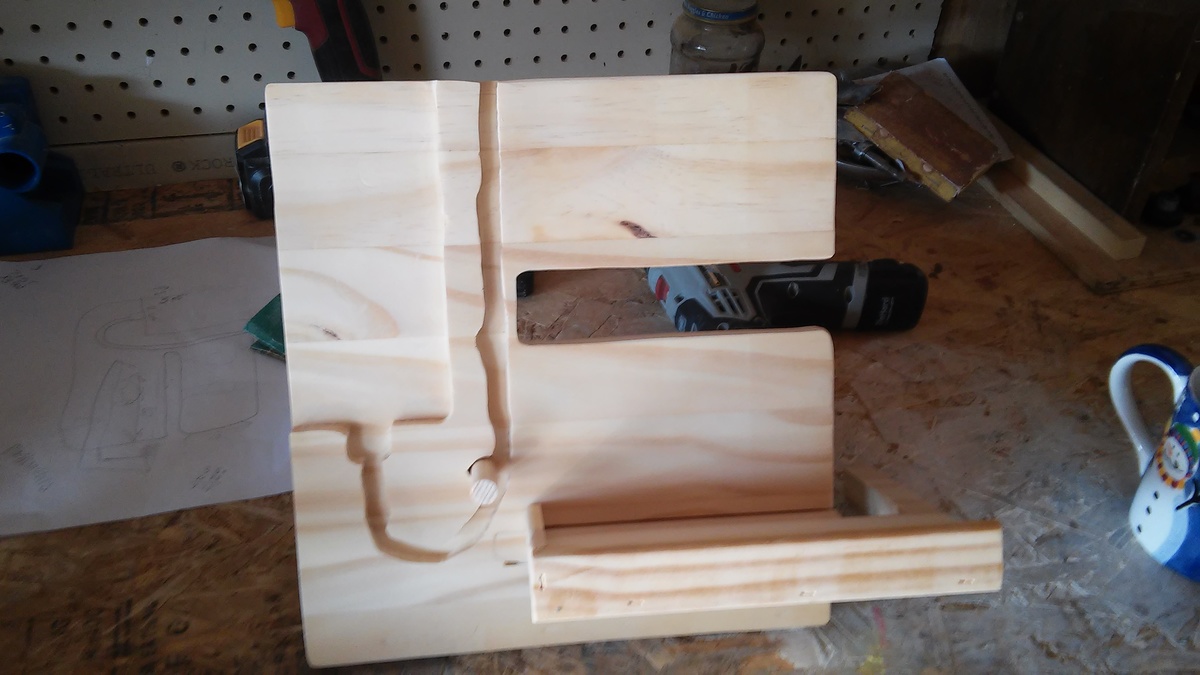
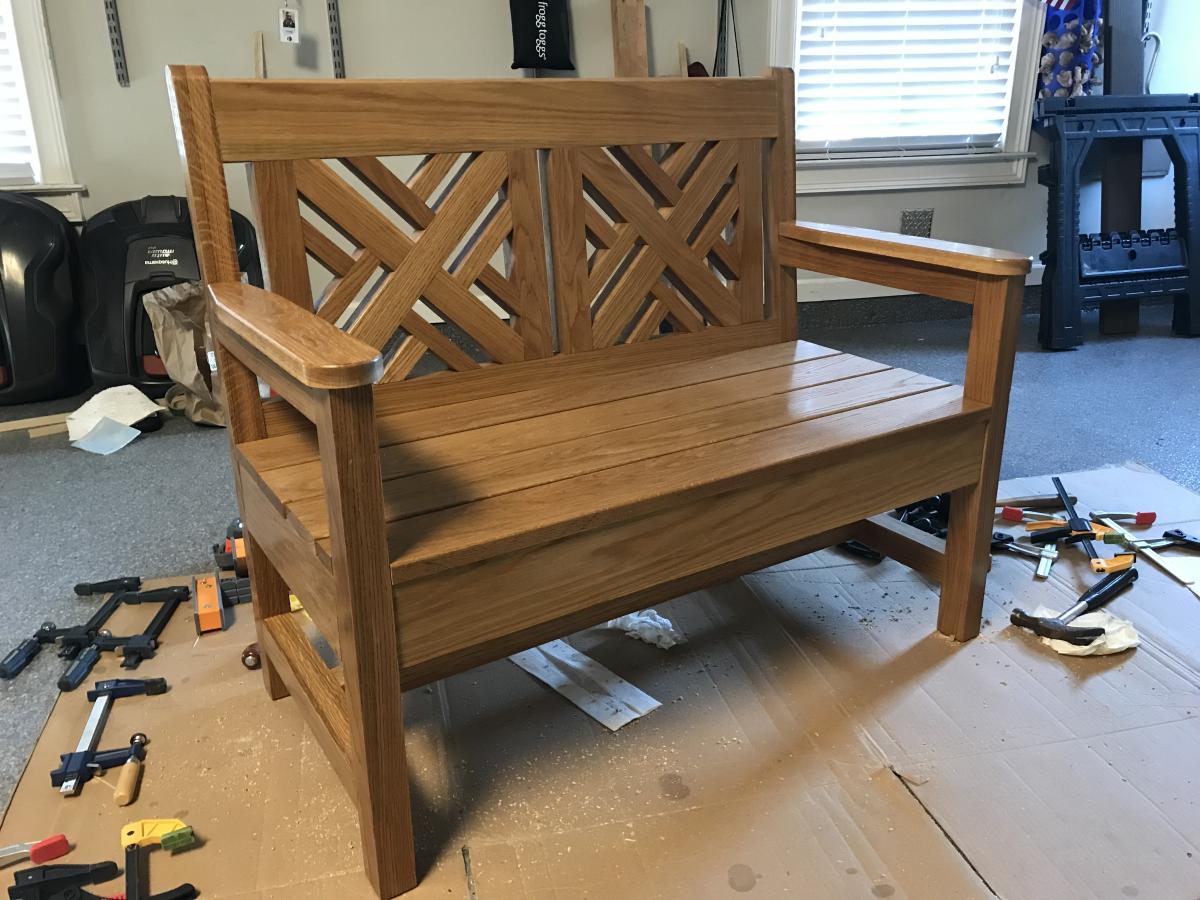
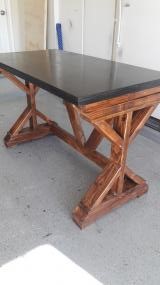
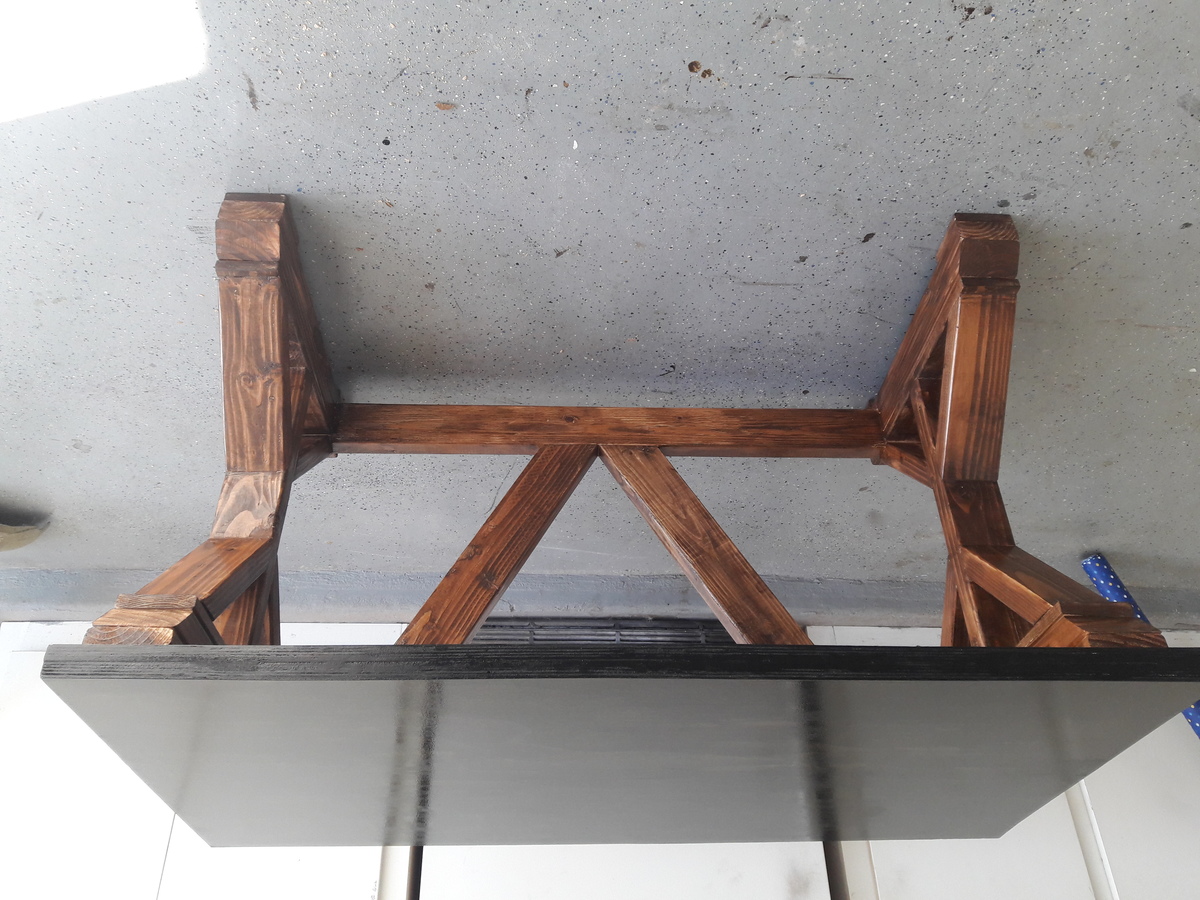
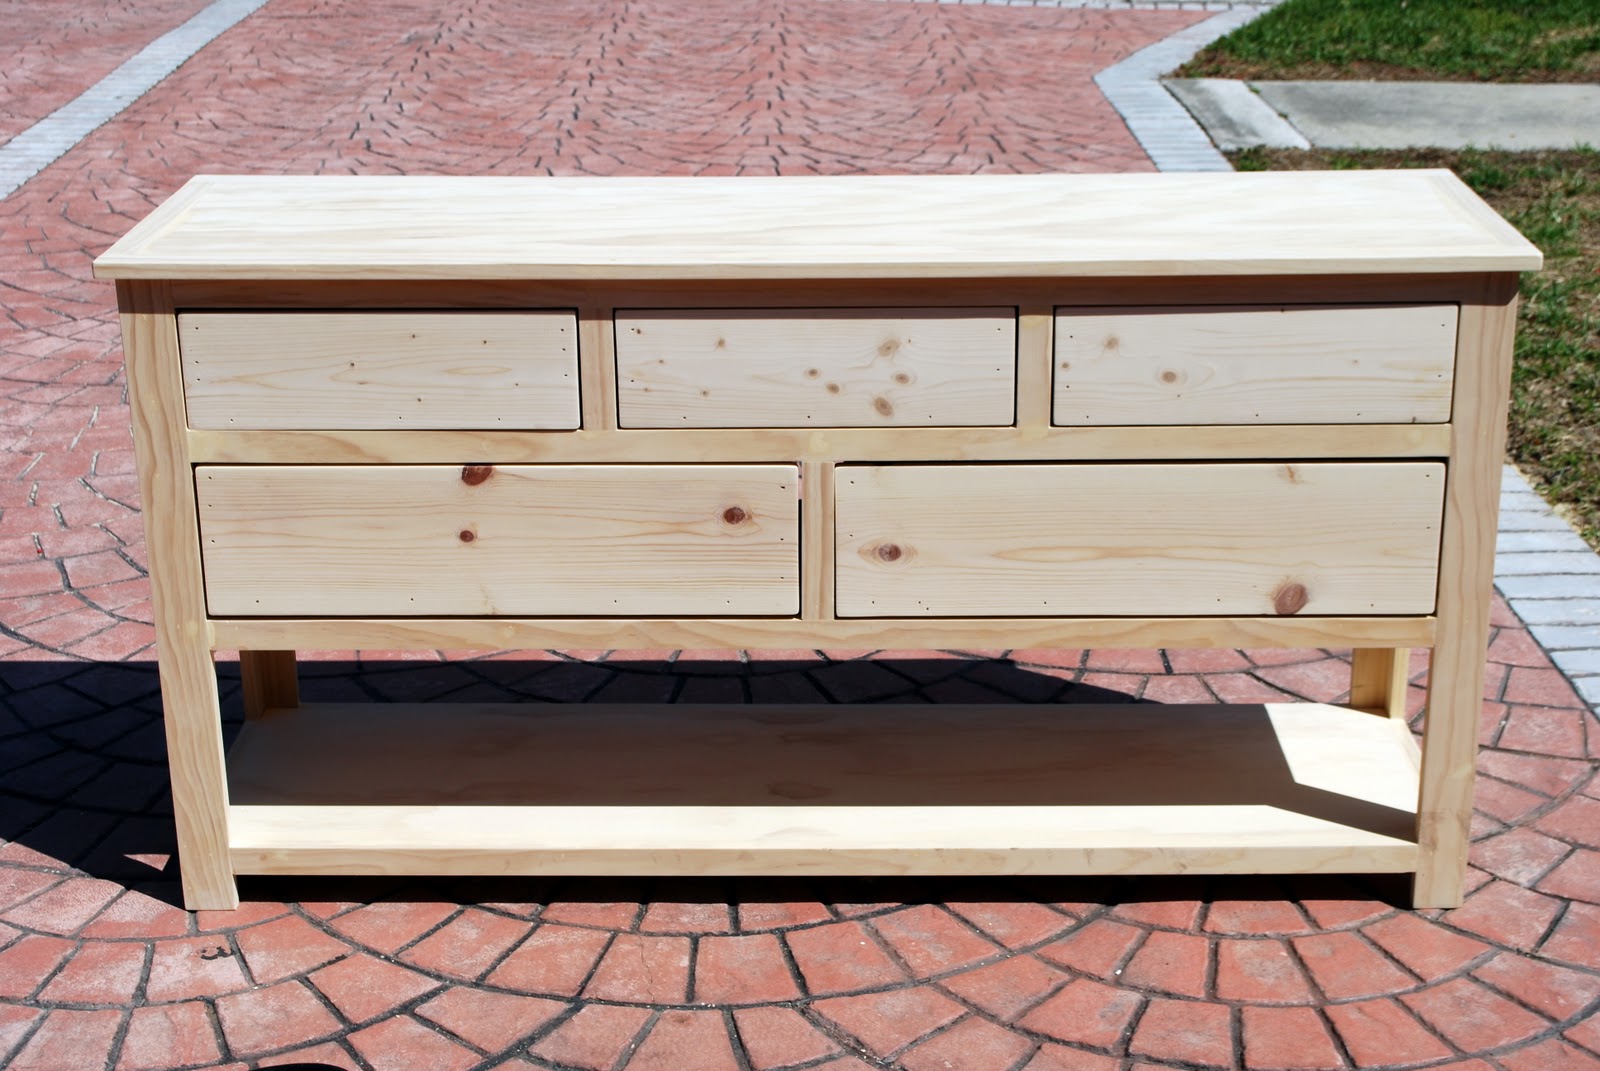
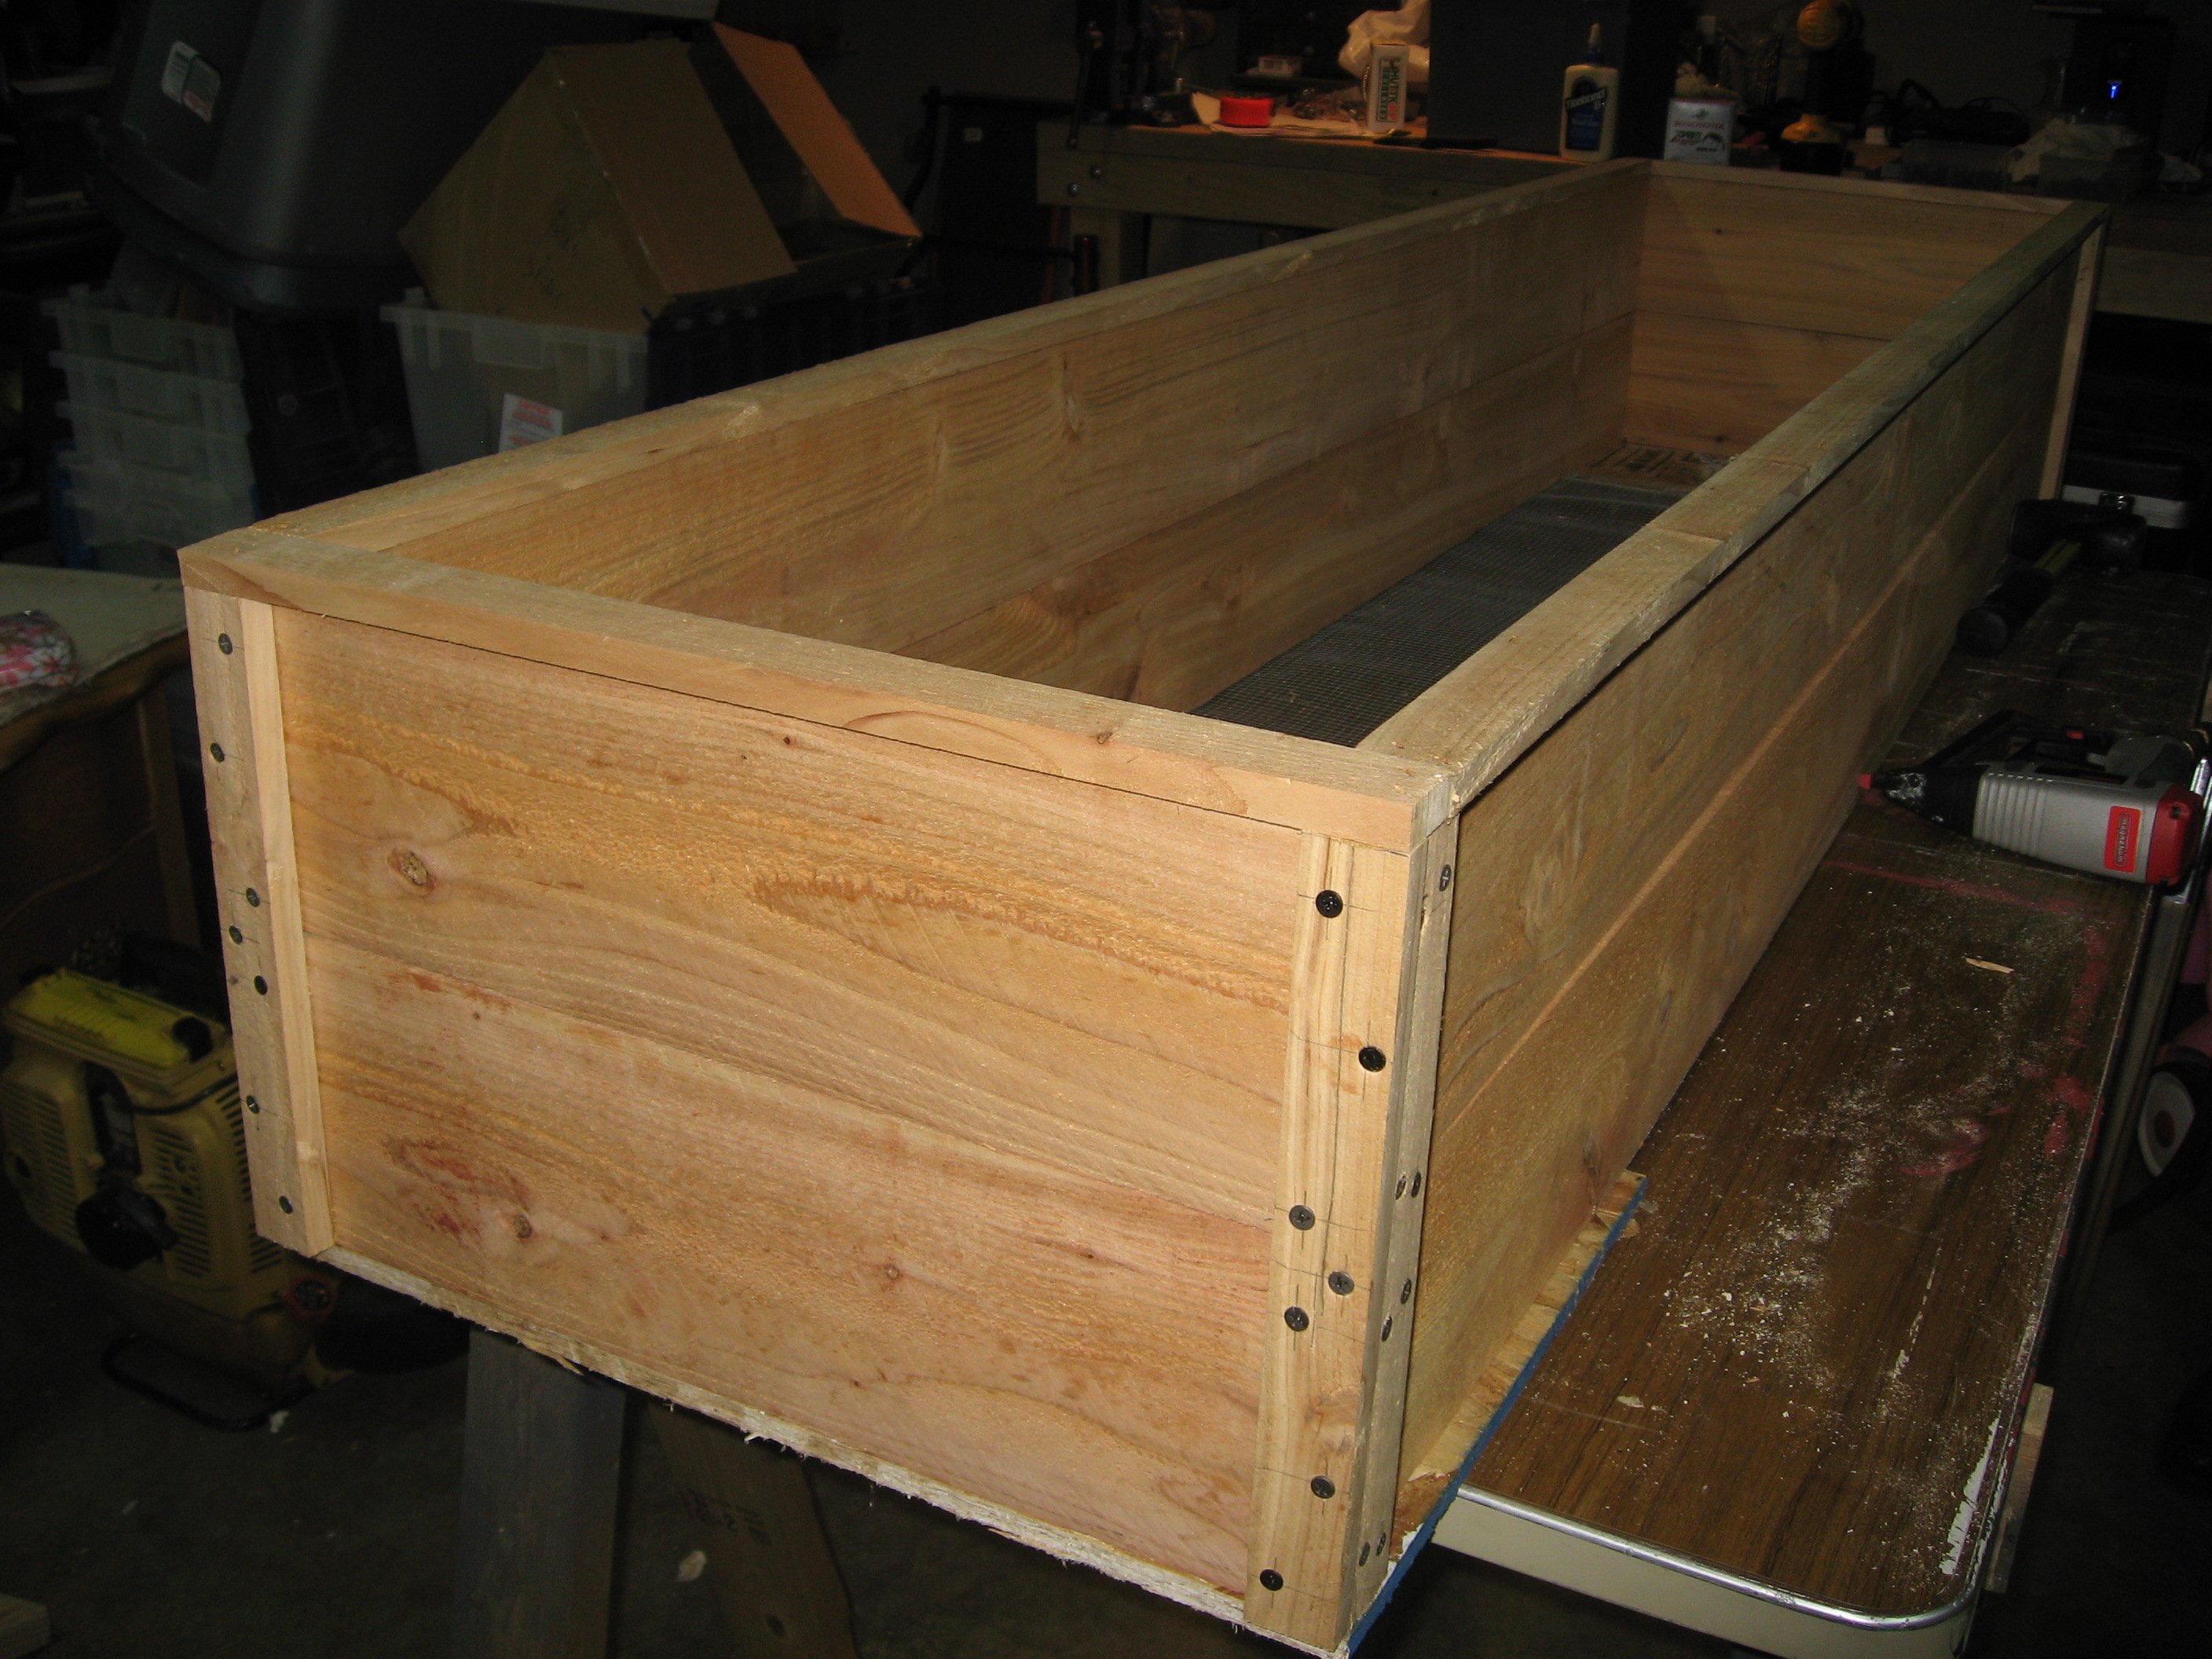
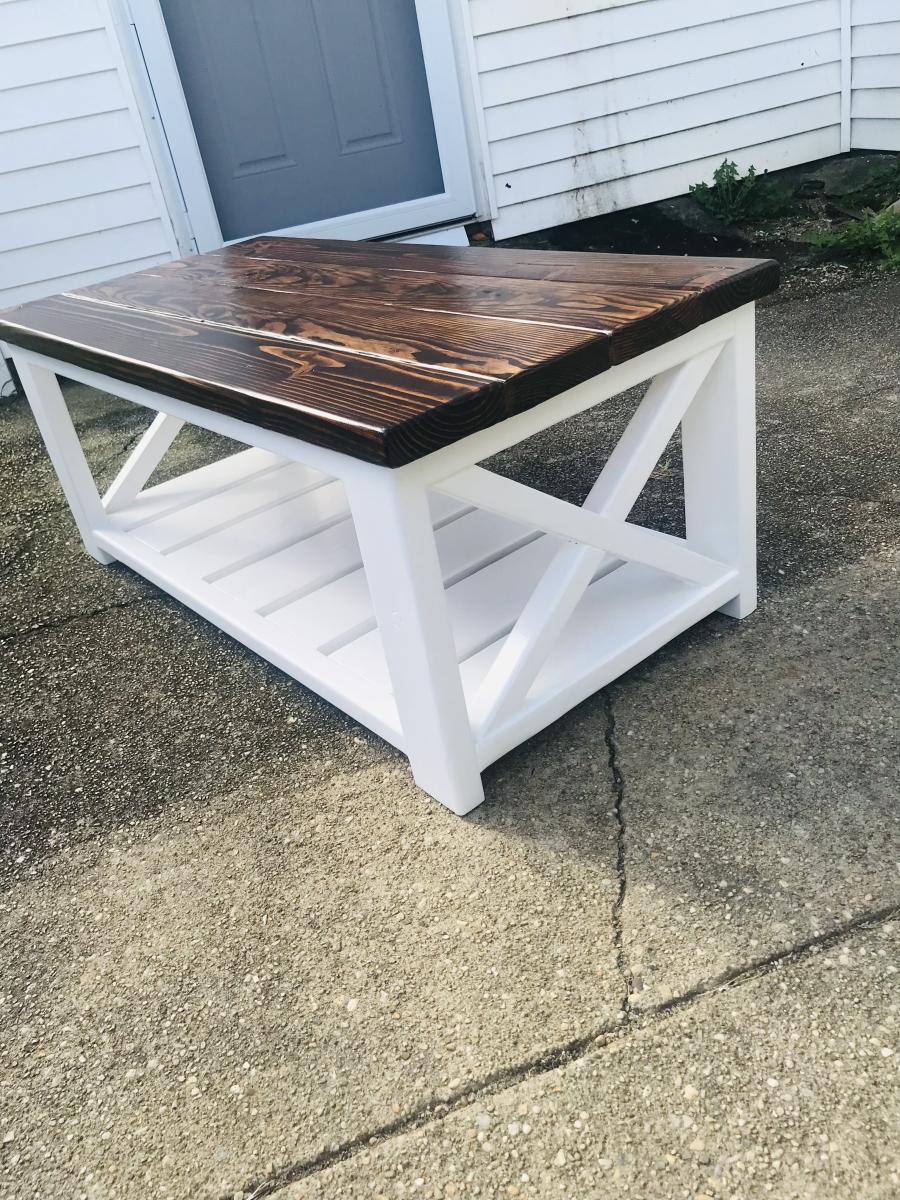
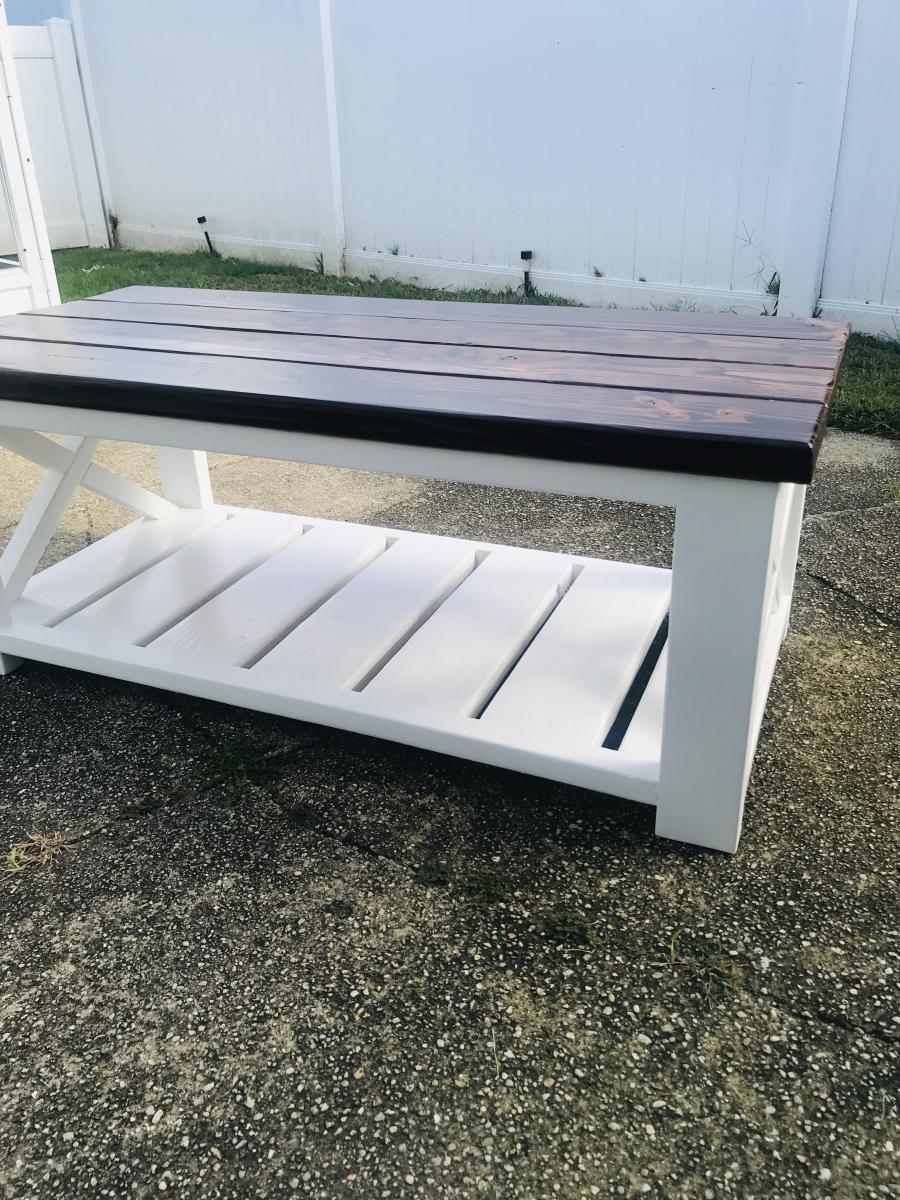
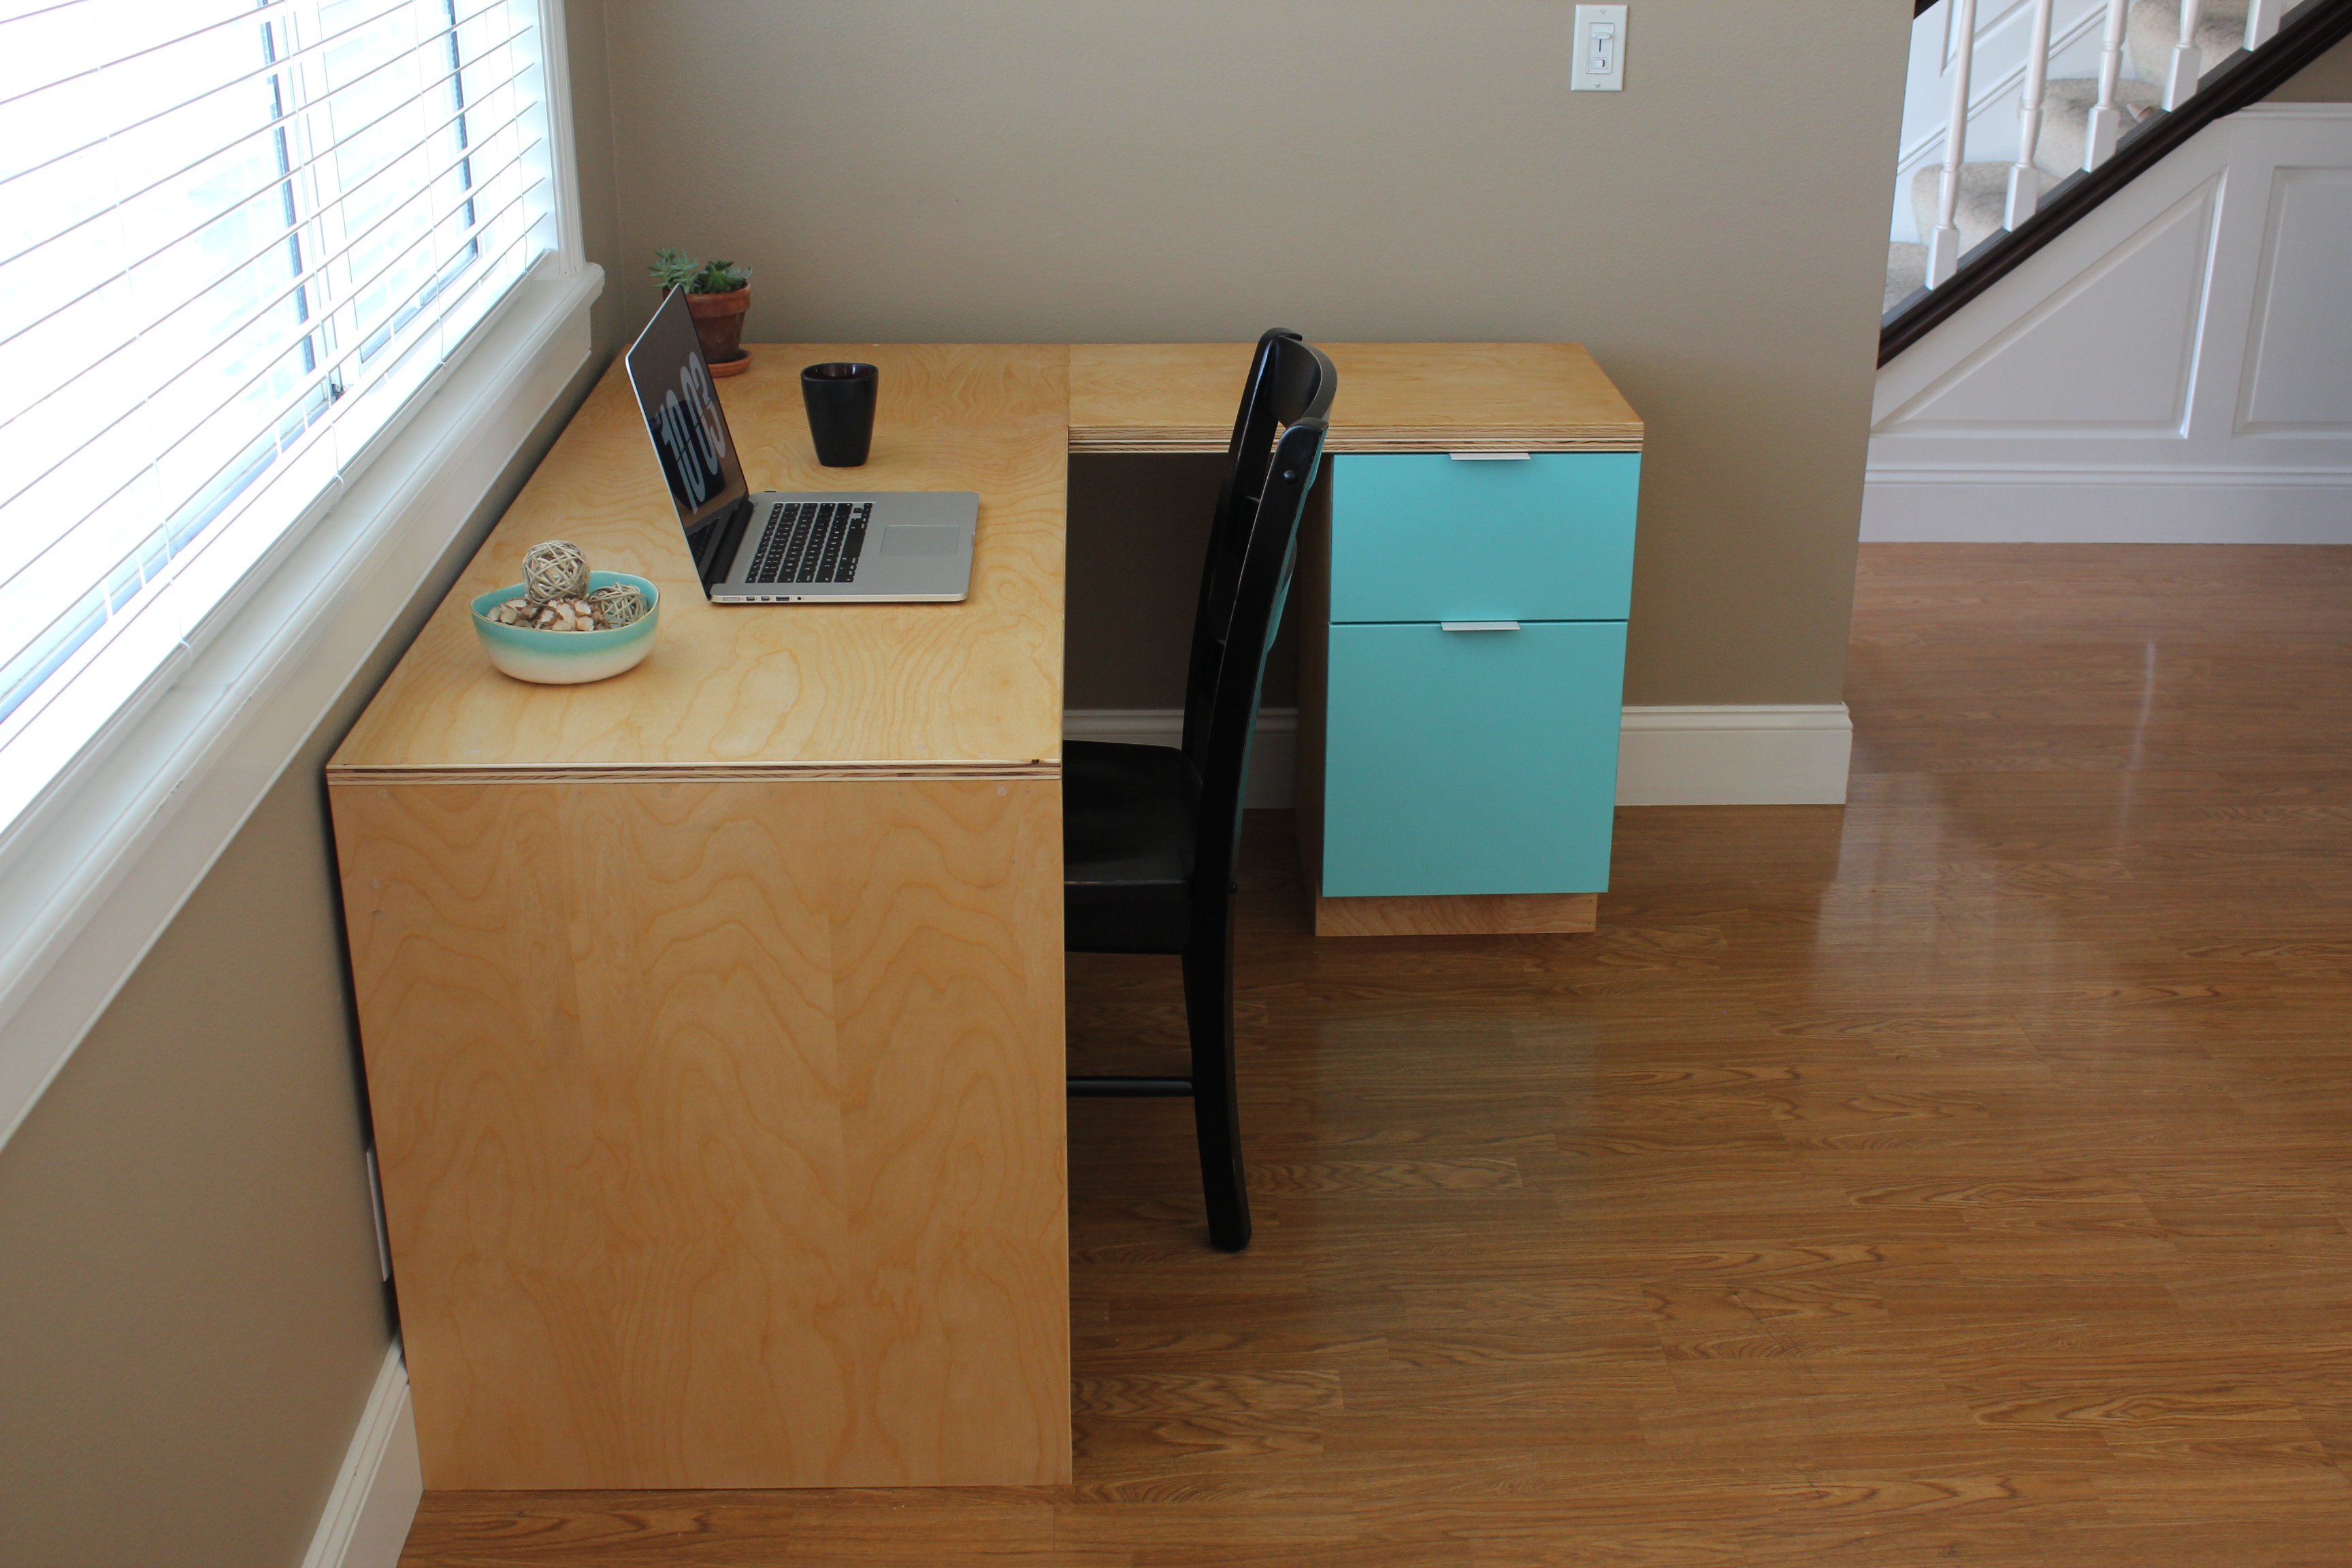
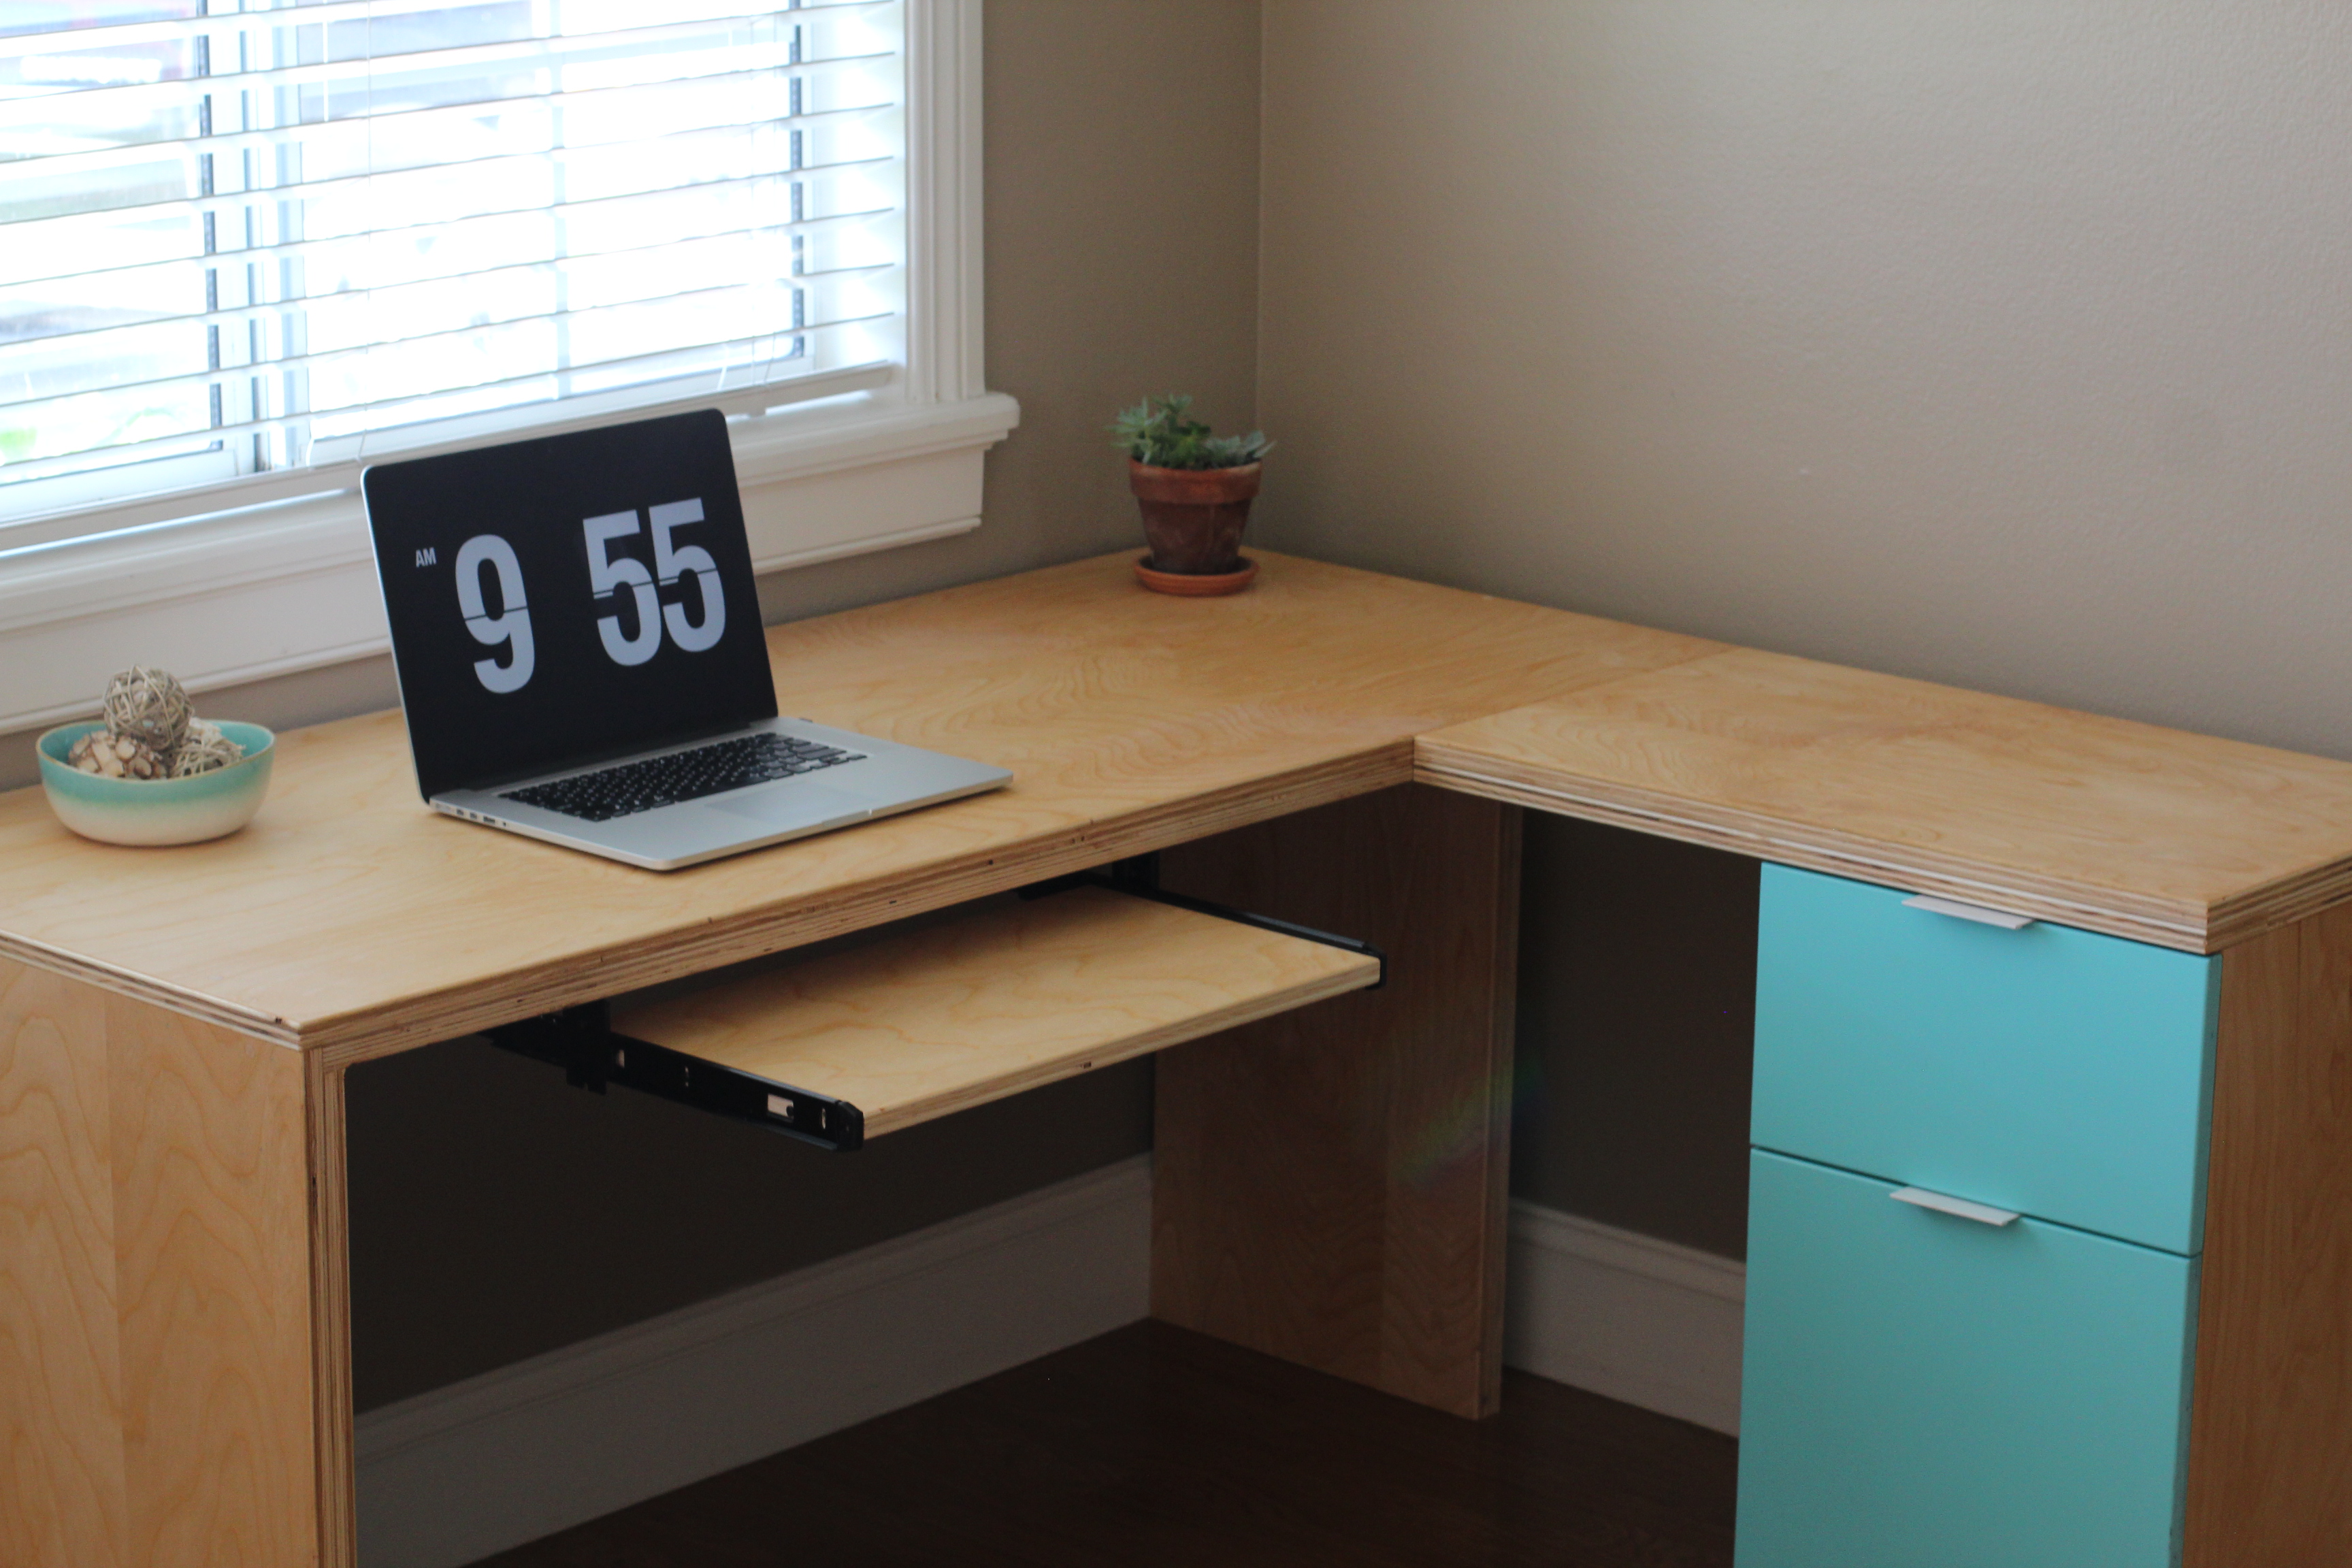
This was my first bigger woodworking project, and I loved the project and the plan! I'm just starting out buying tools, so the only power tool I used for this was a drill. I also have yet to get a work bench, so for now I was just working on the floor inside my apartment.
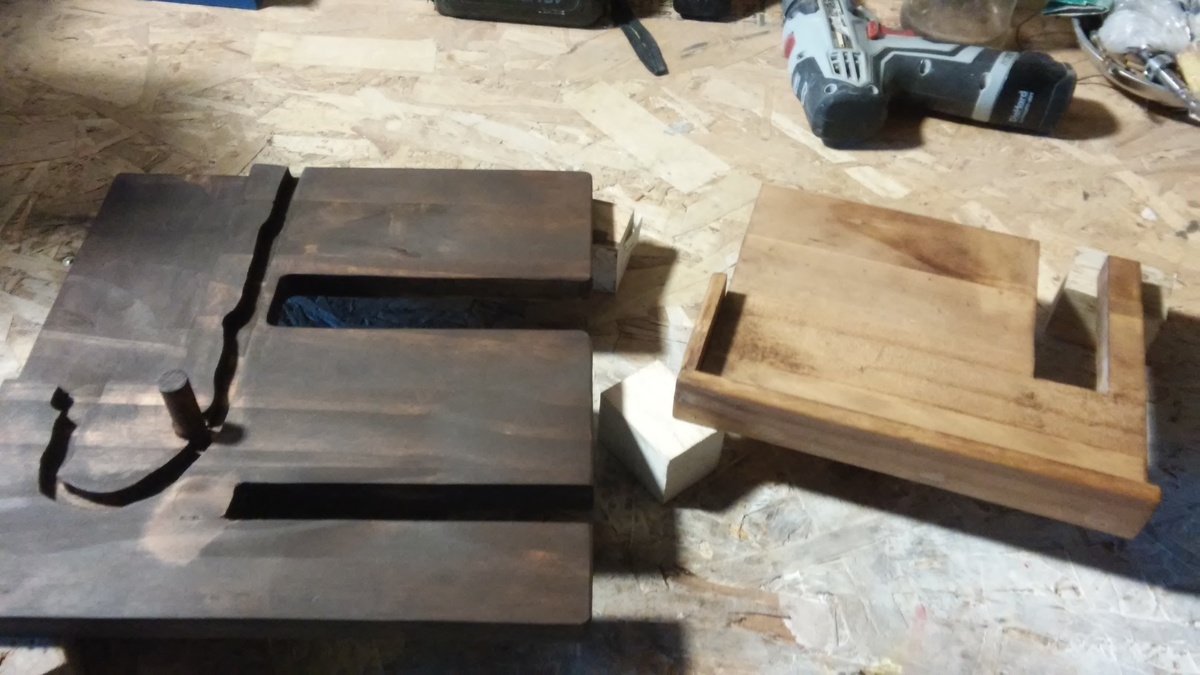
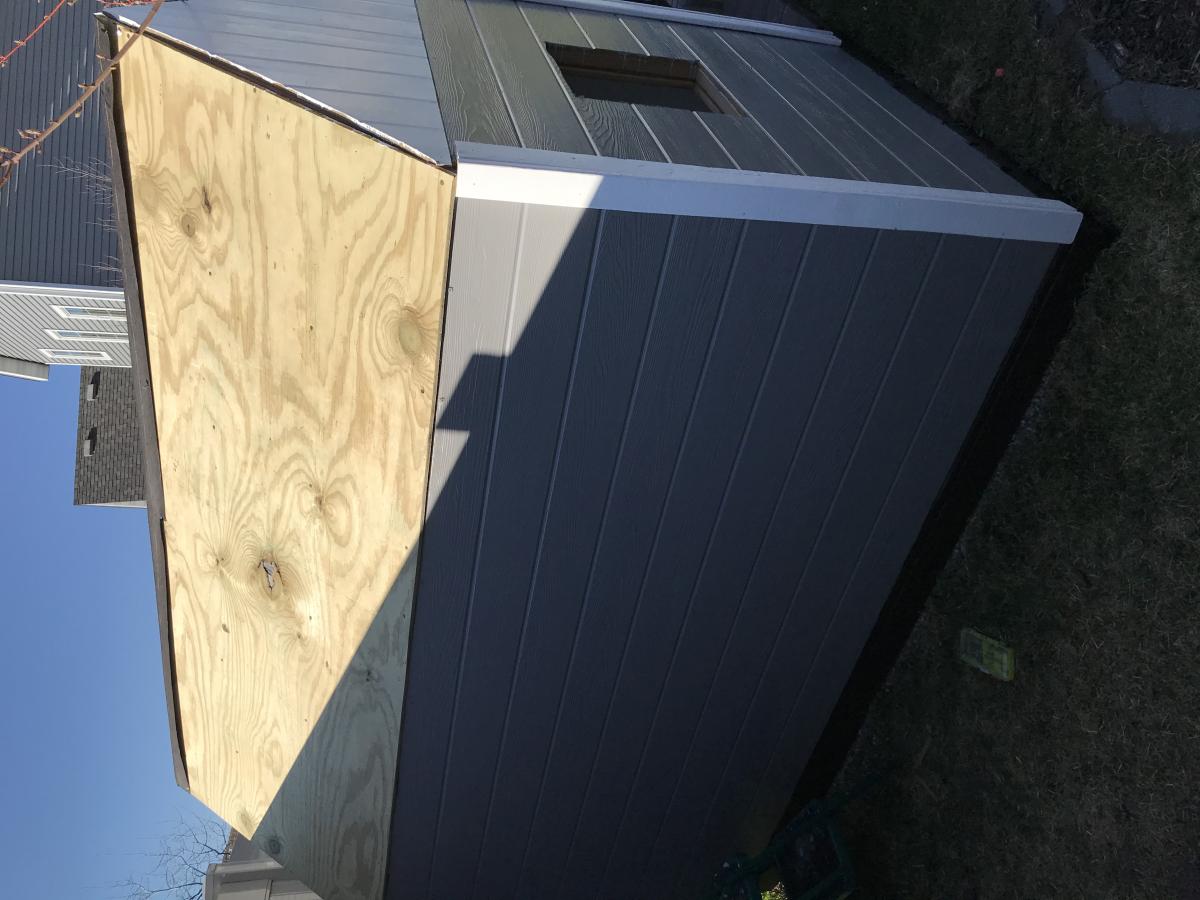
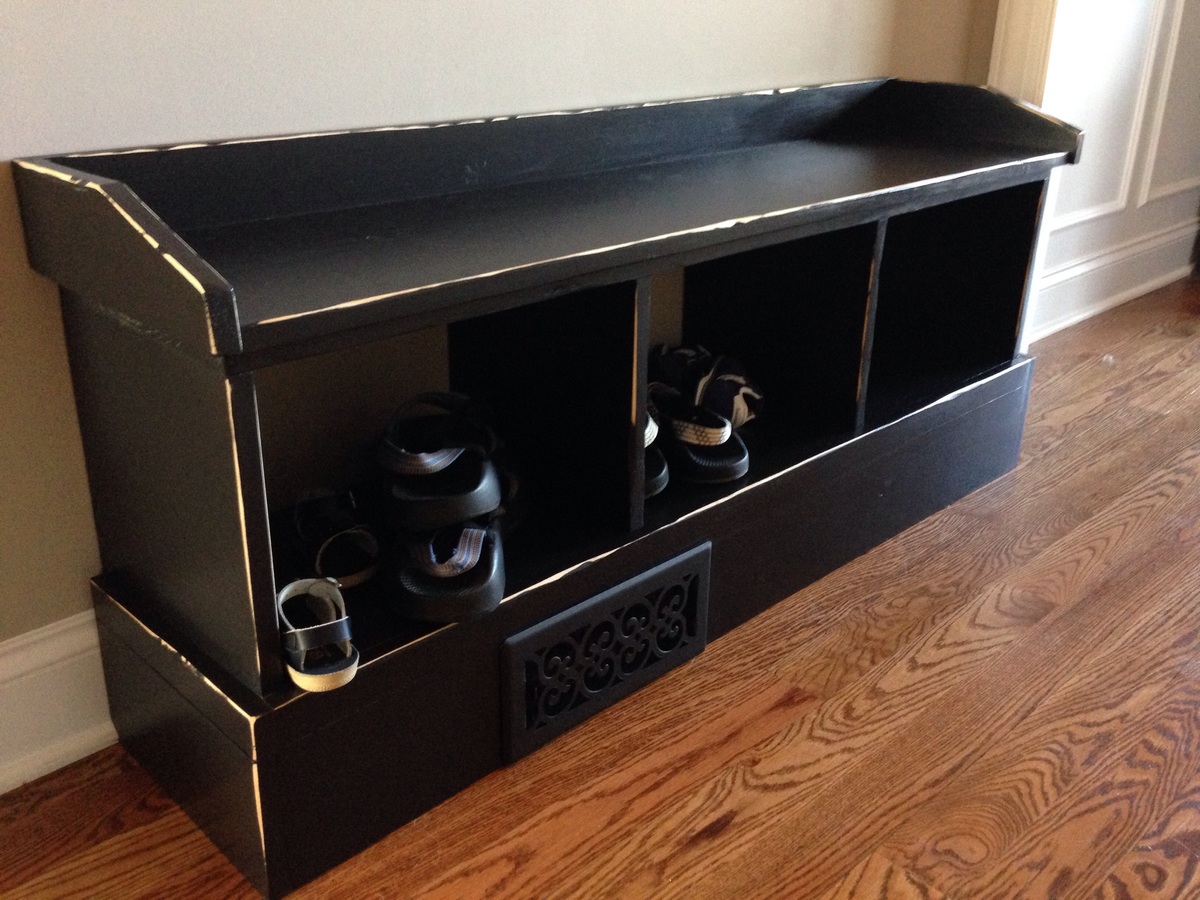
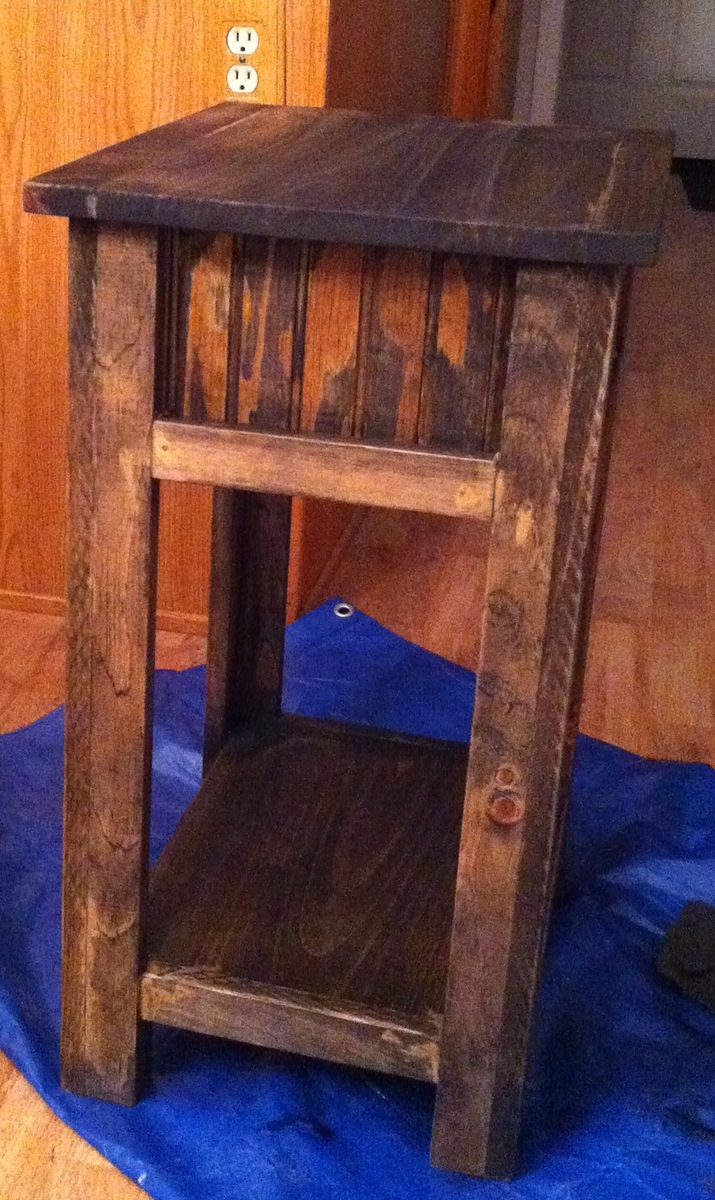
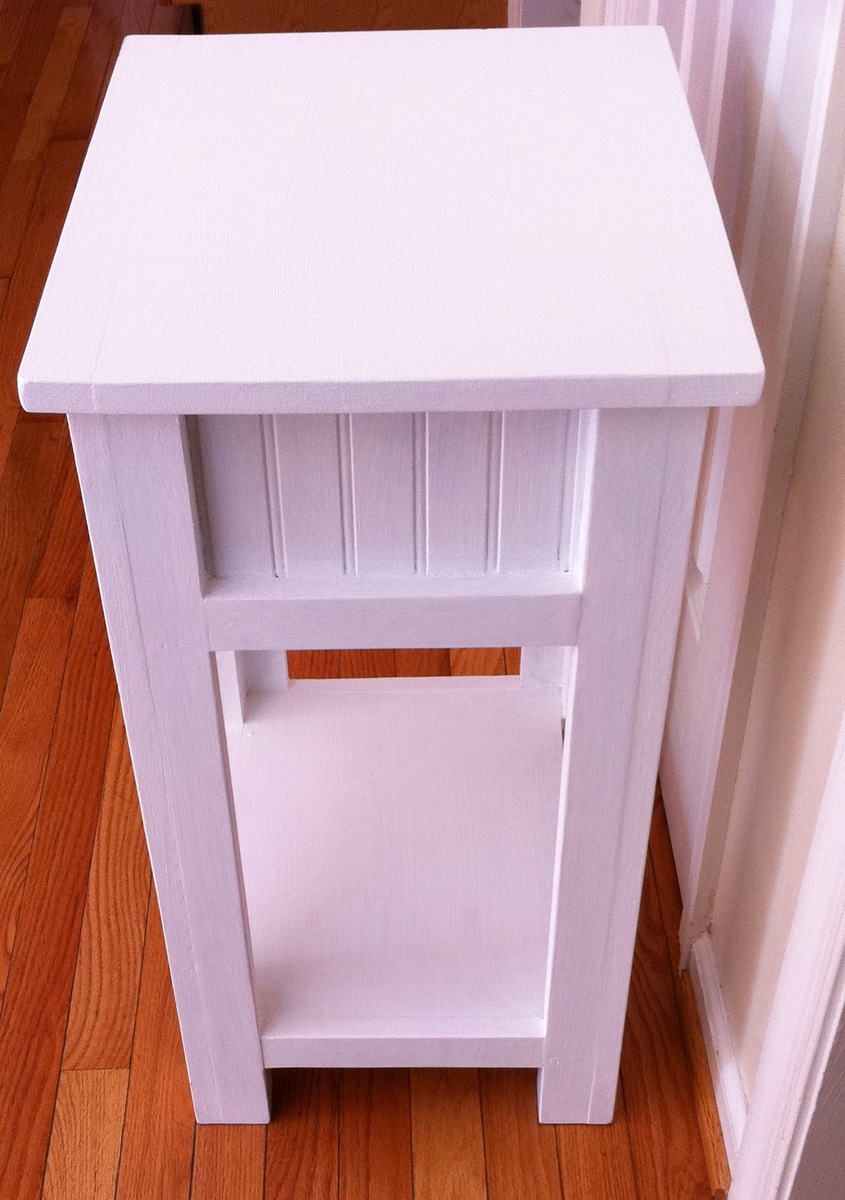
In order to use up some leftover wood, I made the sides out of several boards instead of one solid piece. I didn't use pocket holes for lack of a jig; instead I simply glued the boards on the sides and connected them with a few thin screwed-on boards inside. I will still line the inside with some sort of cloth, so I wasn't too concerned about what it looks like inside.
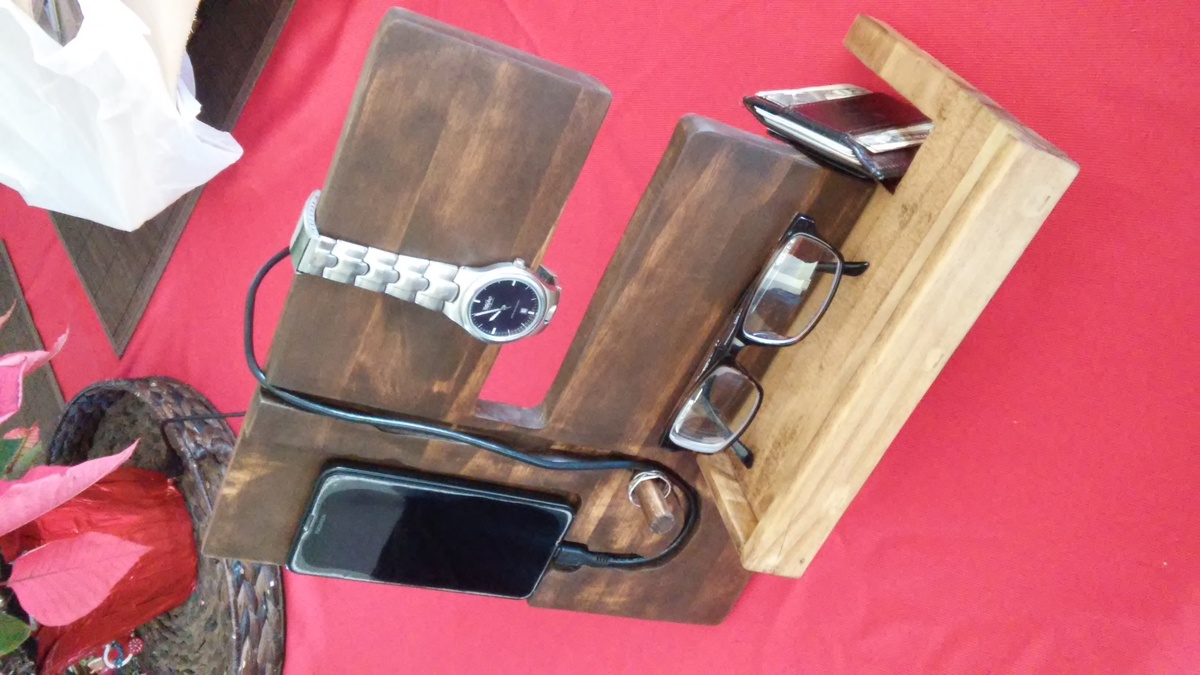
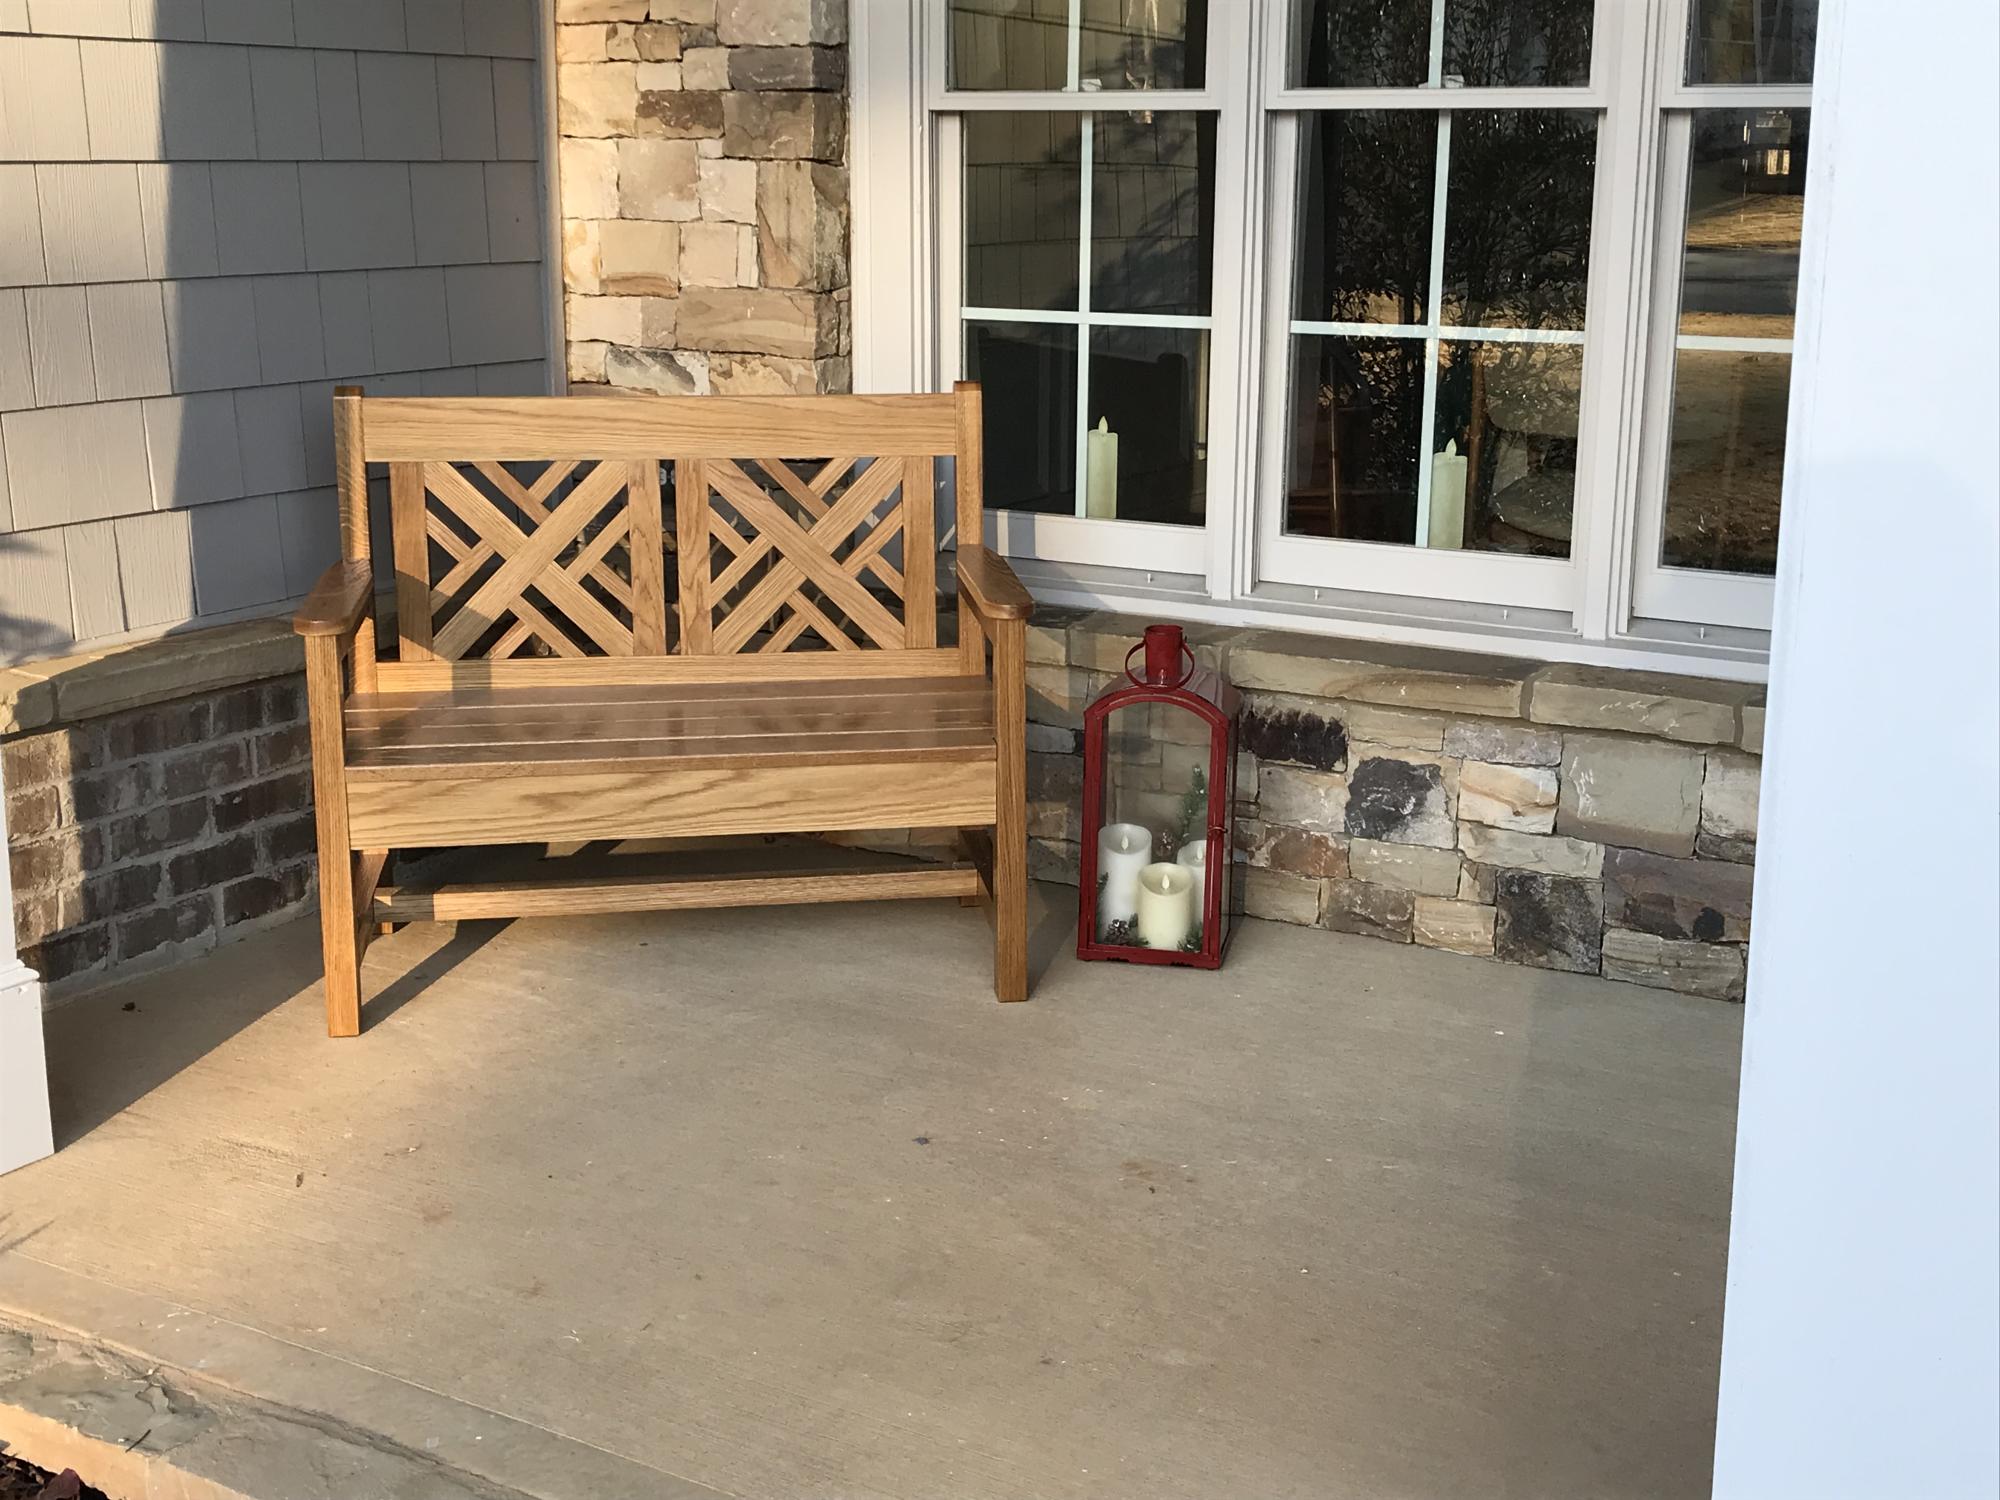
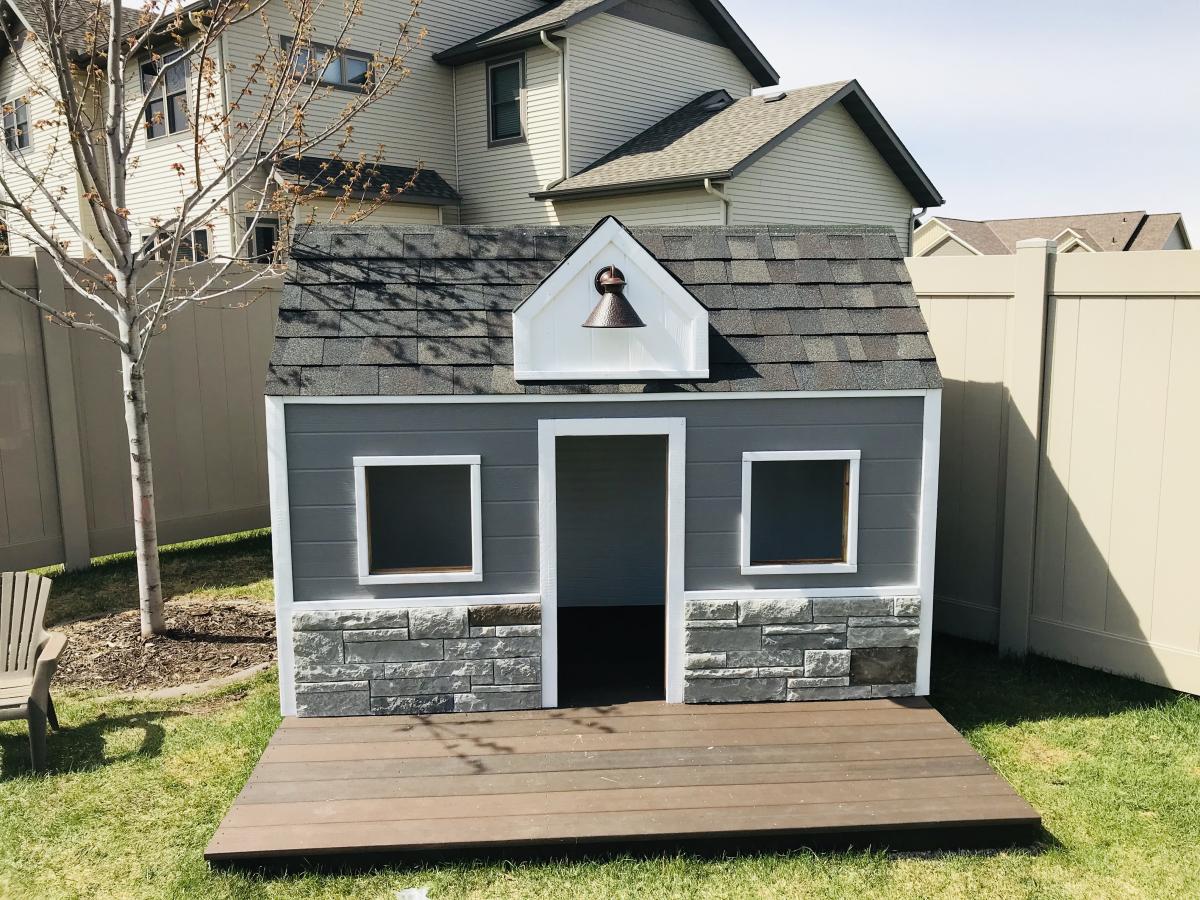
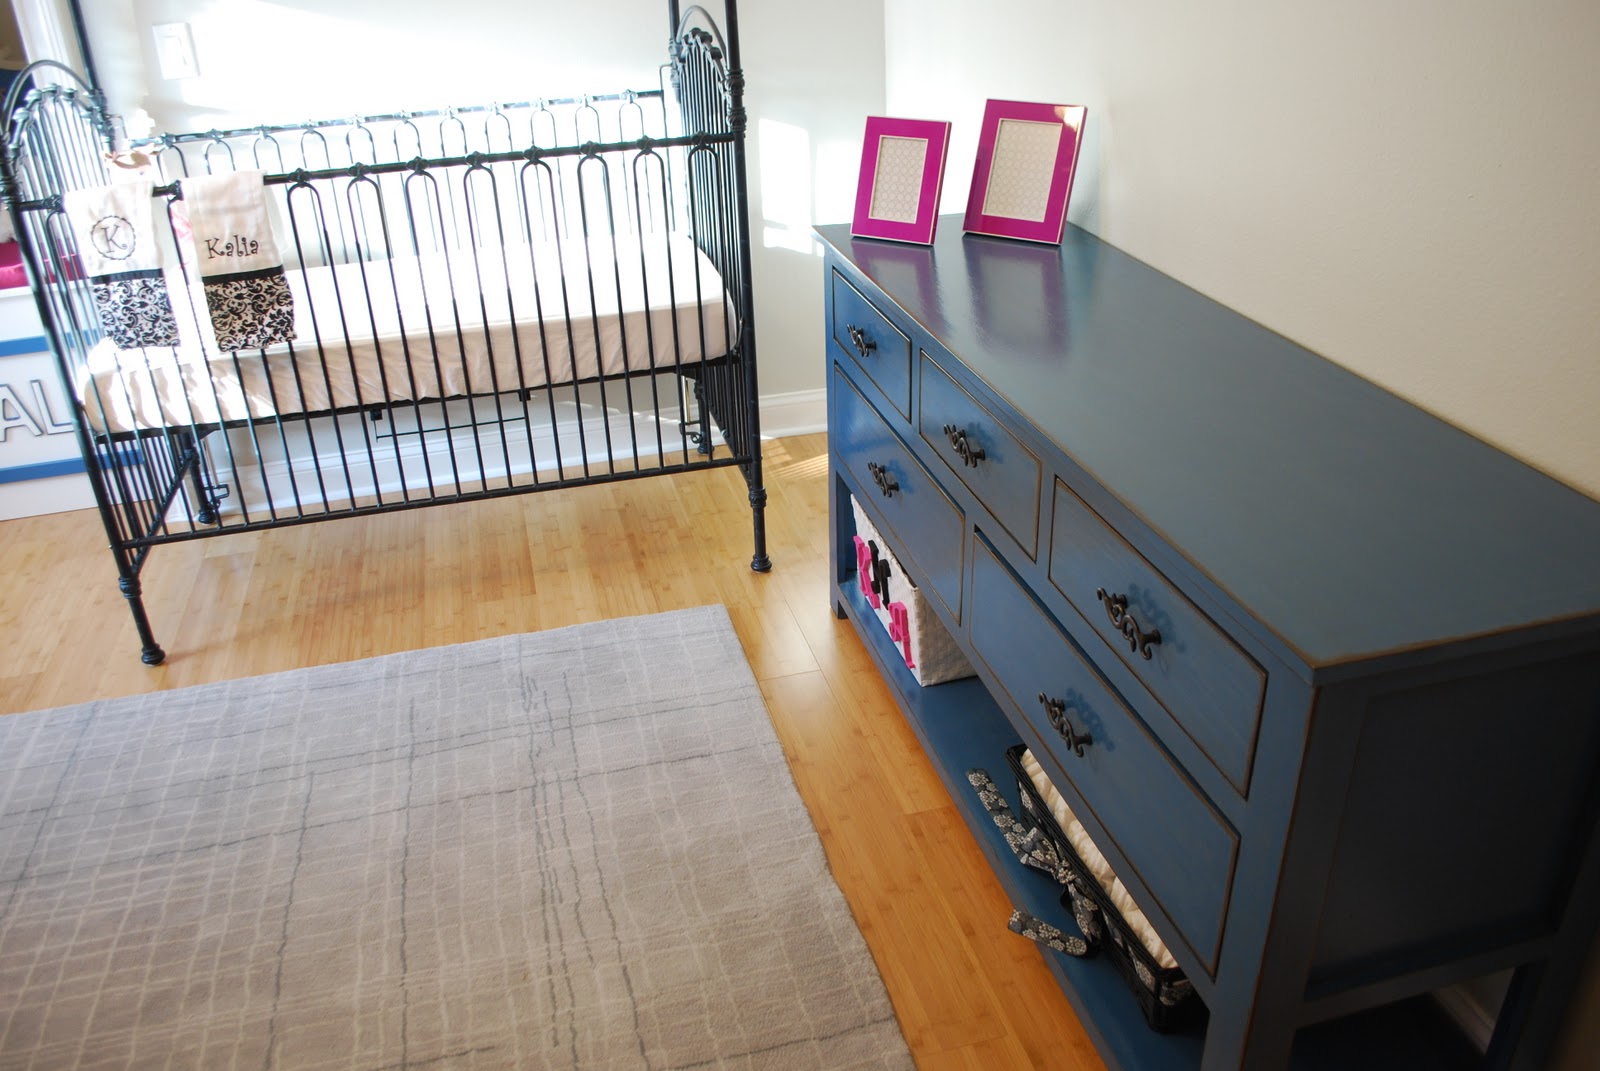
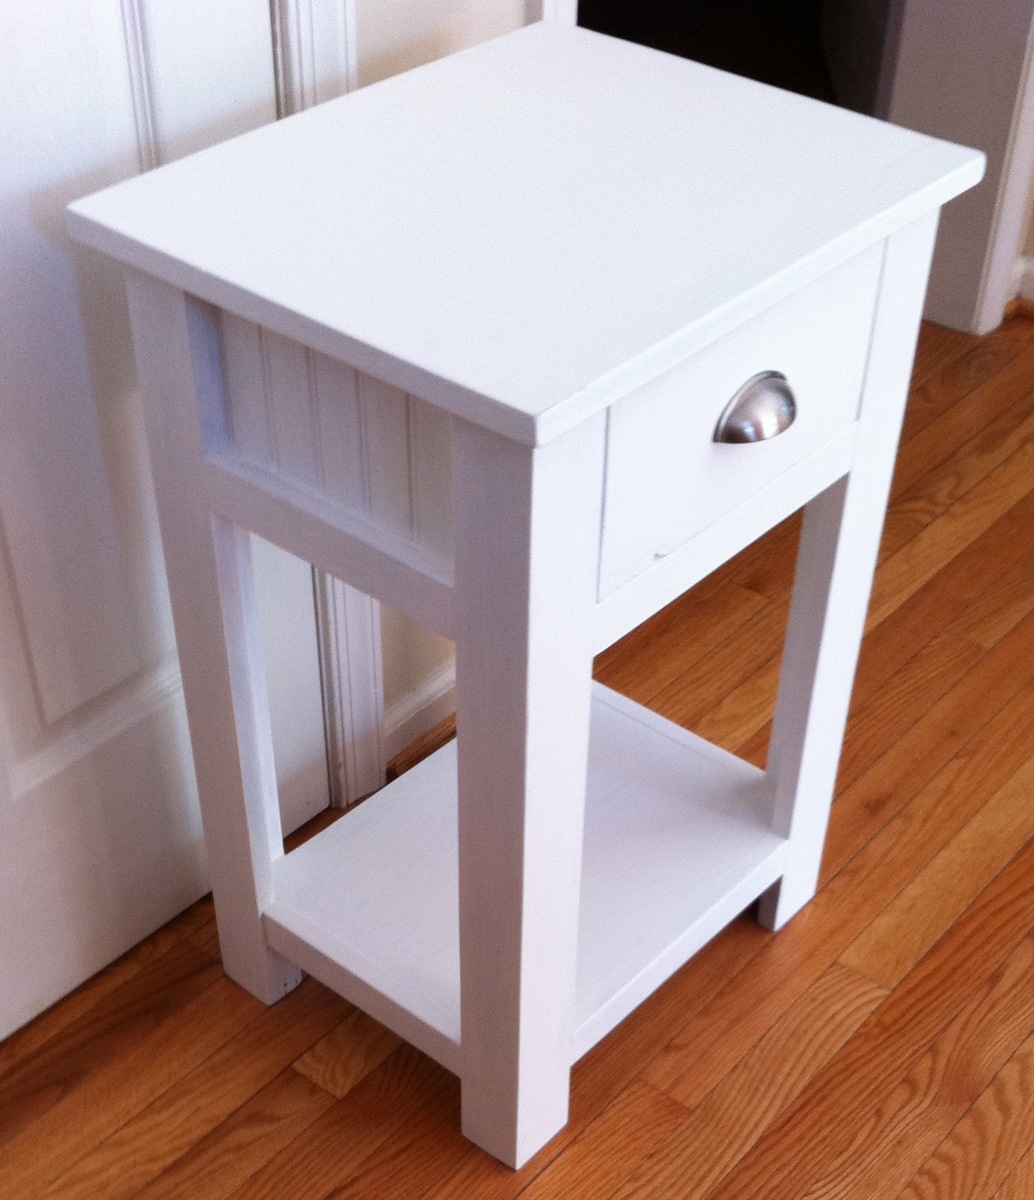
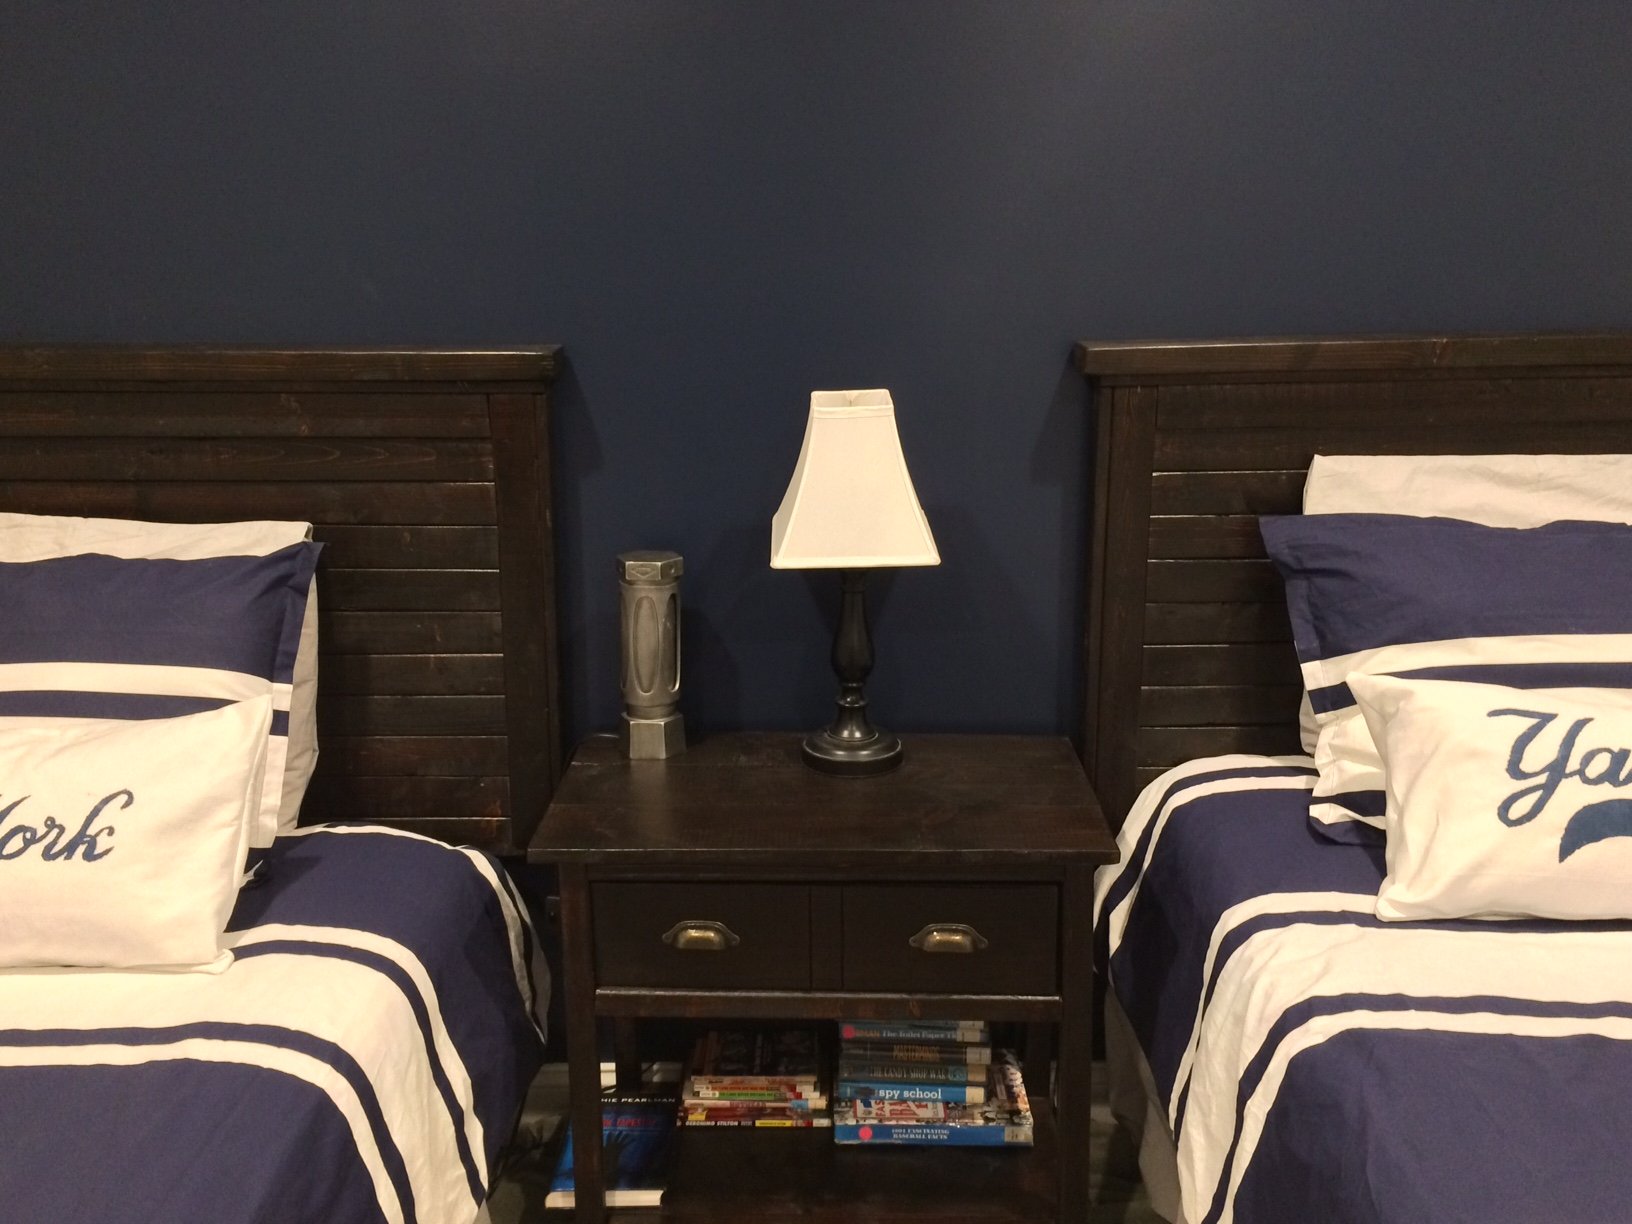
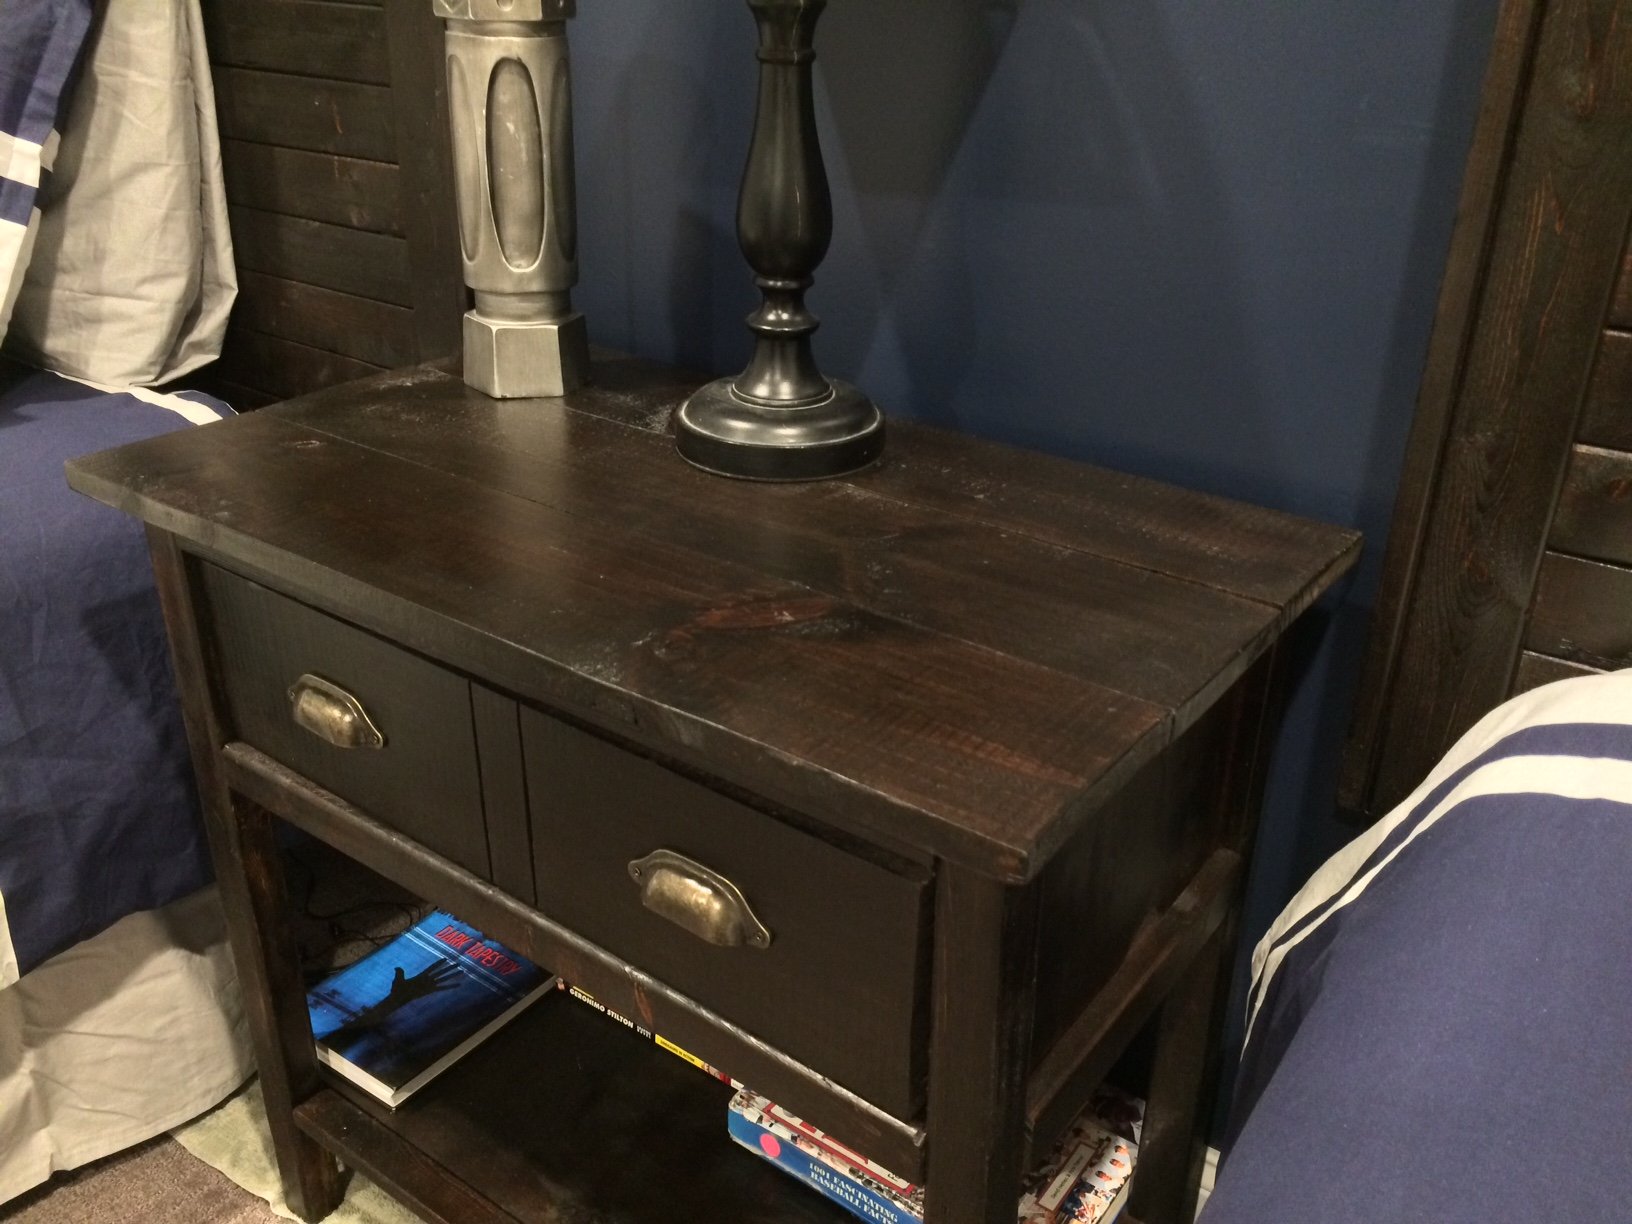
Considering my circumstances, I'm extremely pleased with the results, and ready to soon move on to another project.
From start to finish it took me about 3 weeks of working on it about 2 hours in the evening maybe 4 days a week (mind you, I'm a beginner and was using hand tools).

Finish Used
I used 3 layers of Varathane black cherry Stain + Poly, followed by some light sanding. It got kinda dark, so 2 layers would probably have sufficed.
Recommended Skill Level
Beginner

Comments

SoCaliforniaMel

Sun, 07/07/2013 - 21:31

You did a very good job considering you did it all by hand. When I was afraid to use power tools I made my sons first bed by hand so I know how difficult it can be. Since you already have a drill I'd suggest getting a miter saw next. It will save so much time with your cuts. You'll also get perfect angles. :)
I dont have a pocket hole jig either but if you still want pocket holes you can buy a countersink drill bit at just about any hardware store (or use a regular drill bit but the countersink ones work better, I feel) and angle it at 15 degrees or so. Then just sink your screw right into the hole. Viola, hand made pocket holes. :)
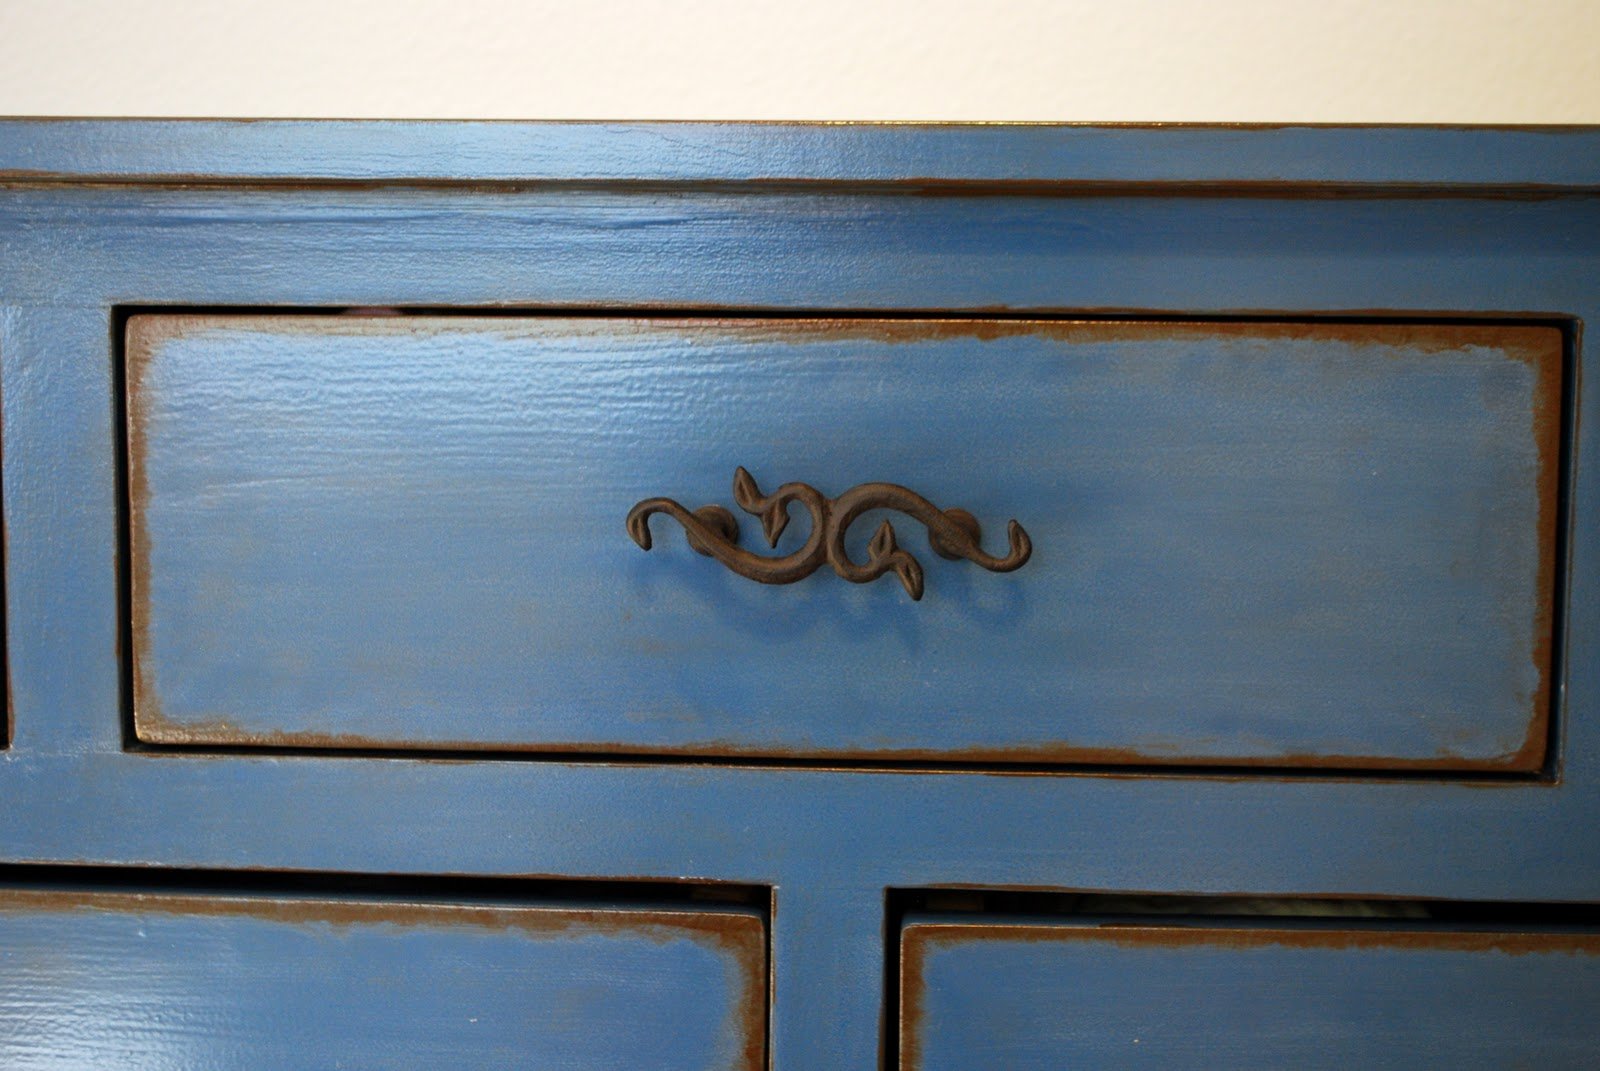
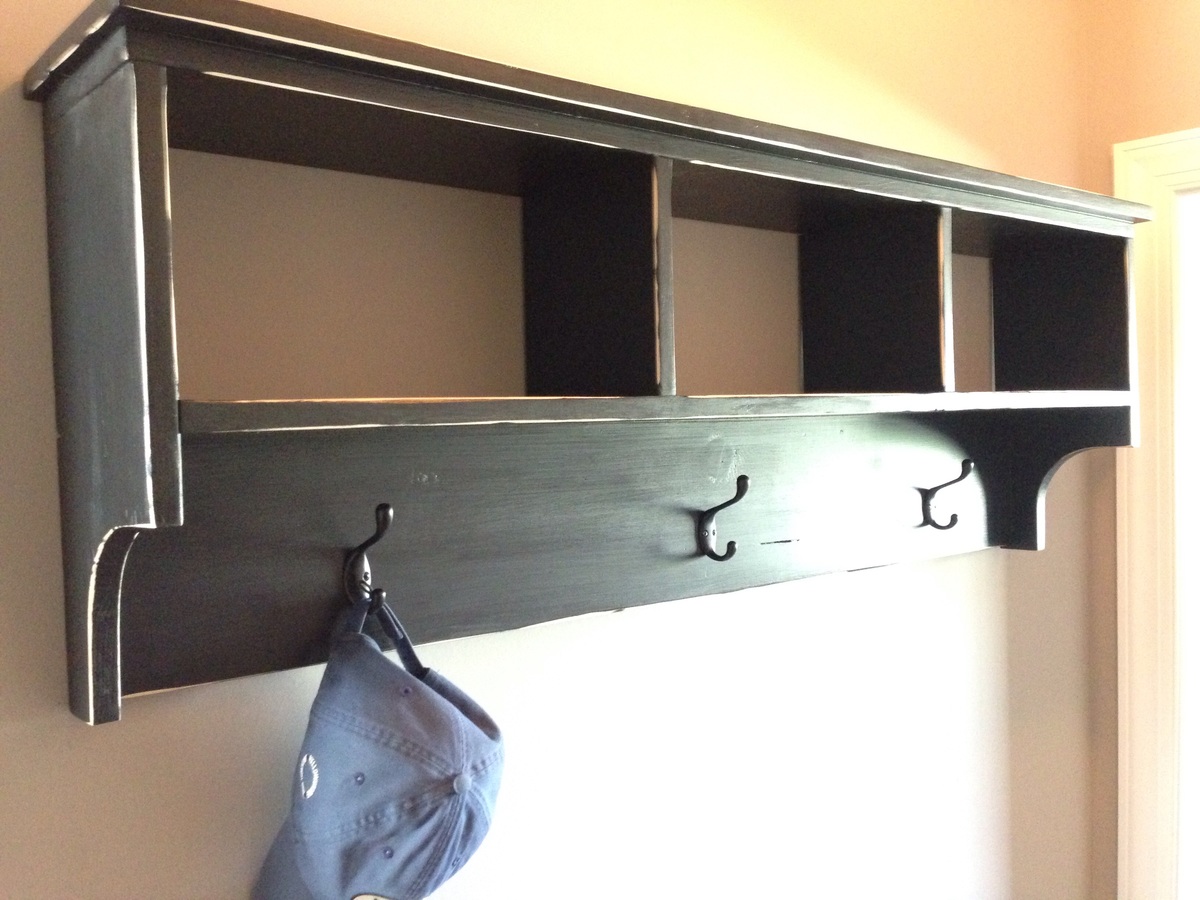
I love the dark color too, job well done
~Melody

Bar

I found the Workbench Console plans on this site and thought it would look great behind the sofa.

The length was extended to make it comfortable for 3 people to sit at and also to span the length of the sofa. I cut out a section at the back and lowered it to hold some glasses. This fits 4 beer glasses, 4 wine glasses and 4 shot glasses. The towel holder is a cast iron key that I found on Amazon. On the other end is a cast iron bottle opener found on eBay.

I would like to take credit for the chairs, but I cheated and got these from IKEA.

We love using this while eating dinner and watching a movie and is especially handy when guests are over.

Built from Plan(s)
Estimated Cost
$75-$100
Estimated Time Investment
Weekend Project (10-20 Hours)
Finish Used
Minwax Red Oak stain. Polyurethane.
Recommended Skill Level
Beginner

Accessory Holder

Submitted by brittanyj on Thu, 12/28/2017 - 13:50

Made this Accessory Holder as a Christmas gift for a male cousin to hold his phone, watch, ring, glasses, and wallet.  Comes apart for easy movement.  I like the two-tone of the stains and the simplicity of the holder.  Router kept giving a bit of kickback, biting into the wood where it was unwanted, hence the messy cord line, but as with most of my projects, I don't mind the mistakes that make them more "unique".  Artistic choice?  : )  Also difficult was figuring out the angle to cut the opening slot for the side piece.  It needed to be angled to set the side piece just how I wanted it.  Eventually decided on 10 degrees.  
The idea for this holder was based on this: http://cleverwoodprojects.org/woodworking-projects-for-beginners-six-ea…

Don't read the site- it was clearly written by a bot or ESL individual, because it's mostly gibberish.  Just used the image for inspiration.

I freehanded a design that then was drawn on the wood and had plenty of fittings and mockup pieces made throughout to figure out how things would fit.  Fun challenge, great gift. 

Estimated Cost
Scraps
Estimated Time Investment
Weekend Project (10-20 Hours)
Finish Used
Early American, wax polish
Recommended Skill Level
Intermediate

Woven Garden Bench

Submitted by Anonymous (not verified) on Sun, 12/26/2021 - 13:13

I used White Oak, 2 X 2 and 2 X 4 for the frame with 1 X 4 for the seats. This was my first attempt at mortise and tenon joinery (instead of pocket screws) and the woven pieces were held in with dowel pins.

Built from Plan(s)

Comments

Full Storage Bed

I built Ana's Full Storage Bed.  This was fairly easy to build and it is a perfect bed for a child's room.  I LOVE the added storage!  You can see the plans for the crates I built to fit at our blog http://www.shanty-2-chic.com/2011/03/crates-for-storage-bed.html 

Built from Plan(s)
Estimated Cost
$120
Estimated Time Investment
Day Project (6-9 Hours)
Finish Used
Minwax Dark Walnut Stain and Minwax Polycrylic Gloss
Recommended Skill Level
Intermediate

Hexagon Table

Submitted by german_mot on Sun, 06/07/2015 - 06:51

Anna, thanks for your project! I only strengthened it a metal plate in the center, extended sitting on 4" and feet connected bolts.

Recommended Skill Level
Advanced

Computer desk

Submitted by Amy22 on Sun, 12/31/2017 - 05:17

I built one for my husband but he said the top is too thin for big guy like him so when my friend asked me to build 1 for her son I attached 2 plywood together to make it stronger...

Estimated Cost
$60
Recommended Skill Level
Beginner

Playhouse - Drew Gaffke

Submitted by Anonymous (not verified) on Sun, 12/26/2021 - 14:46

I combined a couple of playhouse plans for this one. The framing is 2x2 treated pine. The front is real stone. I tried to match our home the best that I could. The floor is made out of composite decking.

Comments

Seasonal And Holiday

Dresser with Open Bottom Shelf for Changing Table

Submitted by karahart on Wed, 04/27/2011 - 13:46

My husband and I built this dresser to use as a changing table in our daughters nursery. I explain the build process (with photos) in this blog post : http://mekhart.blogspot.com/2011/03/nursery-room-biggest-build-yet.html and the finishing process in this blog post : http://mekhart.blogspot.com/2011/04/nursery-room-finished-dresser.html . I'm so thankful to Ana...I love that almost every element of her nursery is home made!

Estimated Cost
150
Estimated Time Investment
Week Long Project (20 Hours or More)
Finish Used
Paint with a whitewash over top and glazing on the edges. To see more details on how to replicate this finish, check out my blog post here : http://mekhart.blogspot.com/2011/04/nursery-room-finished-dresser.html .
Recommended Skill Level
Advanced

AllGardenBenches.com Farmhouse Table

Made this for my wife for our anniversary!
Check out a video of the project here: http://www.youtube.com/watch?v=3eyroIH517A
Check out more great furniture through All Garden Benches: http://www.AllGardenBenches.com

Thanks for the plans!!!

Estimated Cost
200
Estimated Time Investment
Weekend Project (10-20 Hours)
Finish Used
I used a basic oil based wood stain - dark - it was called Moorish Teak. One coat was sufficient. Lastly, I added a clear gloss finish - two coats.
Recommended Skill Level
Intermediate

Console

Submitted by cjlaw on Wed, 06/10/2015 - 13:44

We really liked the design of the console table. We built an entry way table and a coffee table to match. We did change some of the measurement to suit our particular needs. We are very happy with how this one turned out. Next we plan on making some end tables to match also.

Built from Plan(s)
Estimated Time Investment
Afternoon Project (3-6 Hours)
Finish Used
Stained top and painted bottom.
Recommended Skill Level
Beginner

Doll beds

Submitted by Kimberwdld on Tue, 01/02/2018 - 09:14

We had our first American Girl Doll Christmas ... and it was a big hit ... the girls all love their American girl dolls.


So we decided to make them beds.  Found Ana project on line ... and it was so fast and easy, thank you.


We made 3 beds, from the supply list ....  and 1 cradle, from an old oak magazine rack we found at the thrift store ... turned out so cute.


And we are looking to make the couch and chair set.


Thanks you again,   Kim

Estimated Cost
less than $25.00
Estimated Time Investment
Afternoon Project (3-6 Hours)
Finish Used
sanded, paint and clear coat
Recommended Skill Level
Beginner

My Hubby was busy this summer!

Submitted by Anonymous (not verified) on Sun, 12/26/2021 - 16:35

This summer my husband built three of your pieces. We are so in love with how they turned out. Thank you so much for your easy to follow blueprints!

Comments

Entry Bench and Shelf

Submitted by MatthewC on Tue, 06/16/2015 - 08:51

This was my second build, very easy with the plans. I wanted it flush with the wall so used a jig saw to cut notches in the bottom to fit around the baseboard. I was also covering an air vent, so I built a simple air diverter out of 1x's and bought a decorative vent cover of Amazon for $10...worked out much better than I thought it would. Painted with a flat black then a few coats of poly.

Estimated Cost
$100
Estimated Time Investment
Weekend Project (10-20 Hours)
Finish Used
Paint and polyurethane
Recommended Skill Level
Starter Project

Dartboard Cabinet

Submitted by Knathu121 on Fri, 01/05/2018 - 20:38

I made this dartboard Cabinet from pallets to give it a really rustic and weathered look. I stained it with rustoleum weathered wood accelerator. 

Estimated Cost
$20
Estimated Time Investment
Afternoon Project (3-6 Hours)
Recommended Skill Level
Beginner

X rustic coffee table

Submitted by Anonymous (not verified) on Sun, 12/26/2021 - 21:43

Came out great! Made it for my cousin! Everybody loved it. Used hard wood for the first time, which is actually… umm hard. Used varnish for the first time too! Strong smell, but beautiful wood.

Built from Plan(s)

Comments

Simple White Nightstand

It is a friend's birthday on 5/6 and I noticed she didn't have a nightstand so instead of buying a present, I decided to make her a nightstand. I really liked how the person who built "Lee and Beth's Simple Nightstands" used bead-board on the sides, and I have a lot of bead-board left over from our master bathroom renovation, so I decided to use it, too, and that way I wouldn't have to buy the wood for there, because I didn't have any extra plywood to use there. I also used the bead-board on the back and as the bottom of the drawer.

It looks more modern-cottage than it does modern, like I wanted, but it still looks good.

Pictures are of what it looked like pre-sanding and wood-filling, with 1 coat of the stain on it, and then finished with white paint.

With the combination of scrap wood and new wood, I only spent $20 on new wood for the project, and $5 on the drawer pull!

For the top, instead of a 1x12 and 1x3, I used a 1x12 and and then flanked it with 2 1x2s - for a more balanced look. I also cut the 1x12 at like 19 1/2 inches instead of 18 1/2.

Built from Plan(s)
Estimated Cost
$25
Estimated Time Investment
Weekend Project (10-20 Hours)
Finish Used
I originally wanted this to look just like the one that Ana has posted (minus the distressing) - in an espresso stain with the brushed nickel pull on the drawer. I forgot to add the pre-stain and put the stain right on the wood and it looked horrible. The wood did not take the stain well, nor was it even, and the wood filler was visible all over the place. I decided to paint it a flat white instead. I put on 2 coats of white primer and 3 coats of FLAT white paint. I don't really like glossy paint as I feel like it's harder to get it to cover right. I haven't done it yet, but will add a couple coats of satin polyurethane to protect it.
Recommended Skill Level
Intermediate

Comments

L-shape Modern plywood desk

I constructed this desk all from birch plywood. It features a pull out keyboard tray, modern drawer finger pulls, and full extension drawer slides. The plywood was finished with a hand-rubbed danish oil for a natural wood appearance.

Estimated Cost
$150.00
Estimated Time Investment
Afternoon Project (3-6 Hours)
Finish Used
danish oil
Recommended Skill Level
Starter Project

Nightstand

Submitted by fiddlepics on Mon, 01/08/2018 - 07:24

Built this nightstand for my boy's bedroom- built the farmhouse headboards to match. Was a straightforward project. I actually bought a circular saw instead of having the store make the cuts- best decision ever. Much better to cut as I go along. 

Built from Plan(s)
Estimated Cost
$75
Estimated Time Investment
Day Project (6-9 Hours)
Finish Used
Minwax penetrating stain- 2 coats dark walnut, 1 coat red mahogany. Spray Minwax Lacquer in Satin
Recommended Skill Level
Beginner