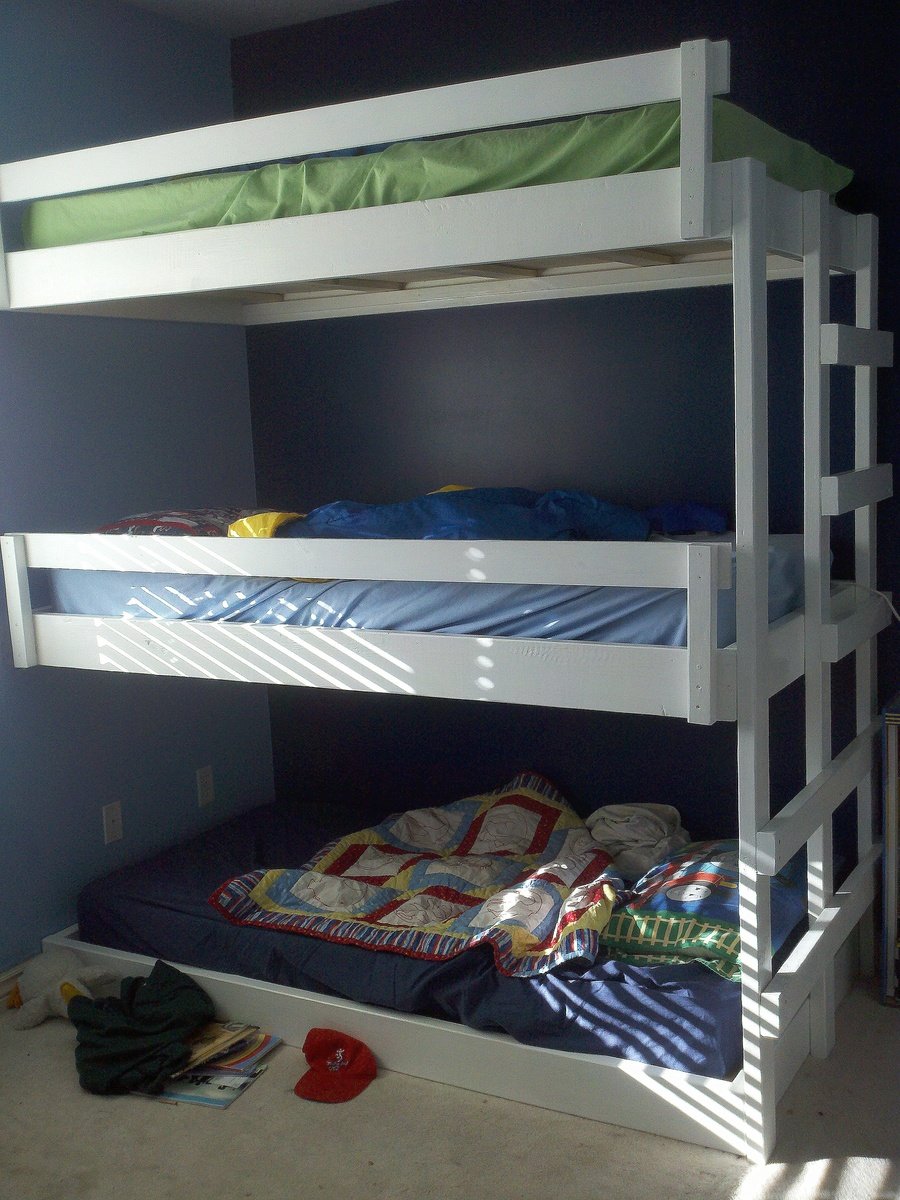
This bed has been a true labour of love over the last few months!
I made all cuts with a hand saw, and mainly used a kreg jig to assemble the bed.
The 'insert' in the headboard is made from macrocarpa window trim and tongue-and-groove panelling, which was leftover from when my parents built their house. The rest I bought from a local supplier as rough sawn timber, which I got dressed by a woodworking guy who lives nearby. Had I bought all the timber I used, the cost would have been closer to $400.
I didn't add the moulding that is included in the plan - it's just my preference.
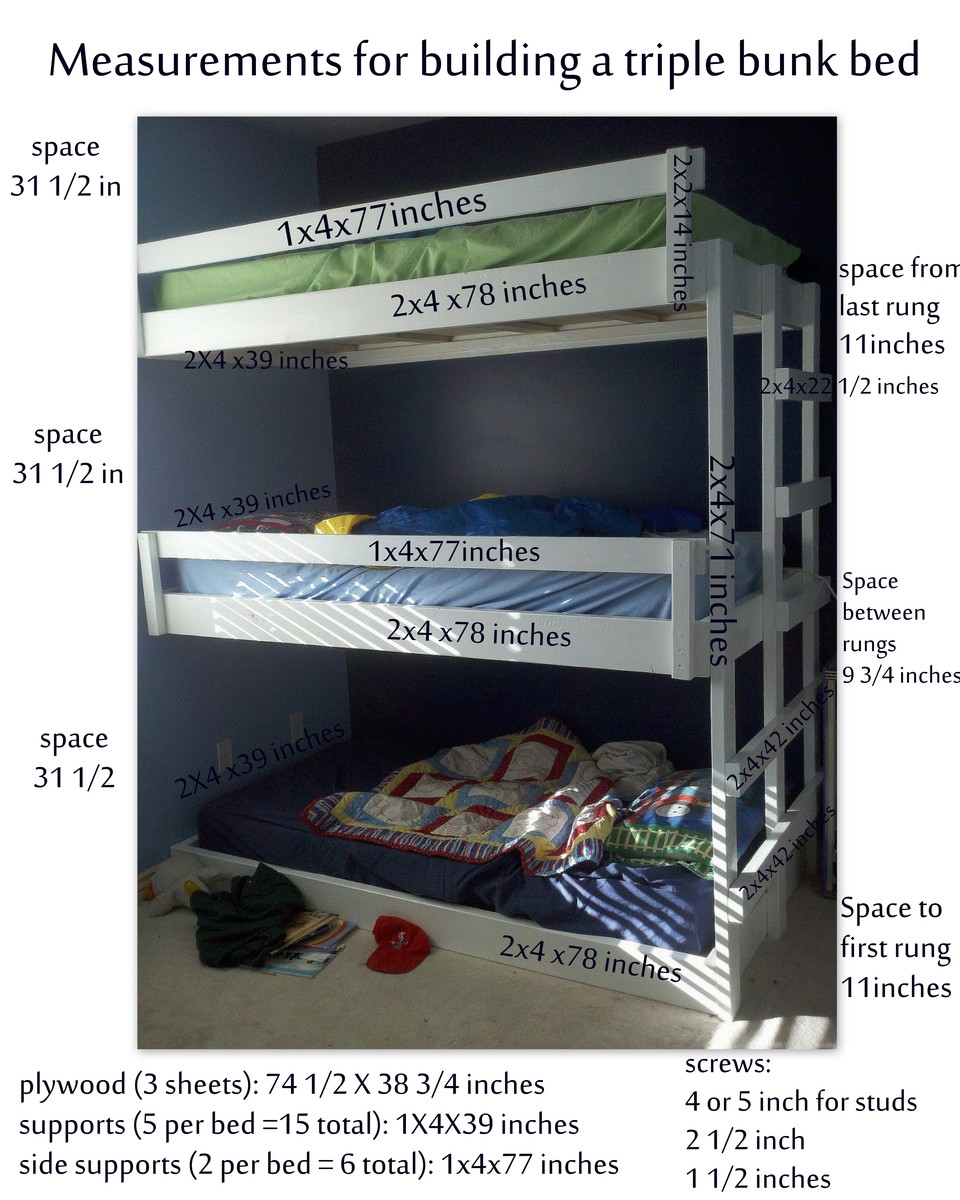
It took a bit of work to convert Ana's plans into metric measurements, but I got there in the end! I love my bed
Estimated Time Investment
Week Long Project (20 Hours or More)
Finish Used
I started with 2 coats of Danish Oil. After deciding I wanted a deeper colour, I applied one coat of Briwax furniture wax, in Rimu, with super-fine steel wool.
Recommended Skill Level
Intermediate


Comments
erinnist05
Mon, 04/21/2014 - 12:01
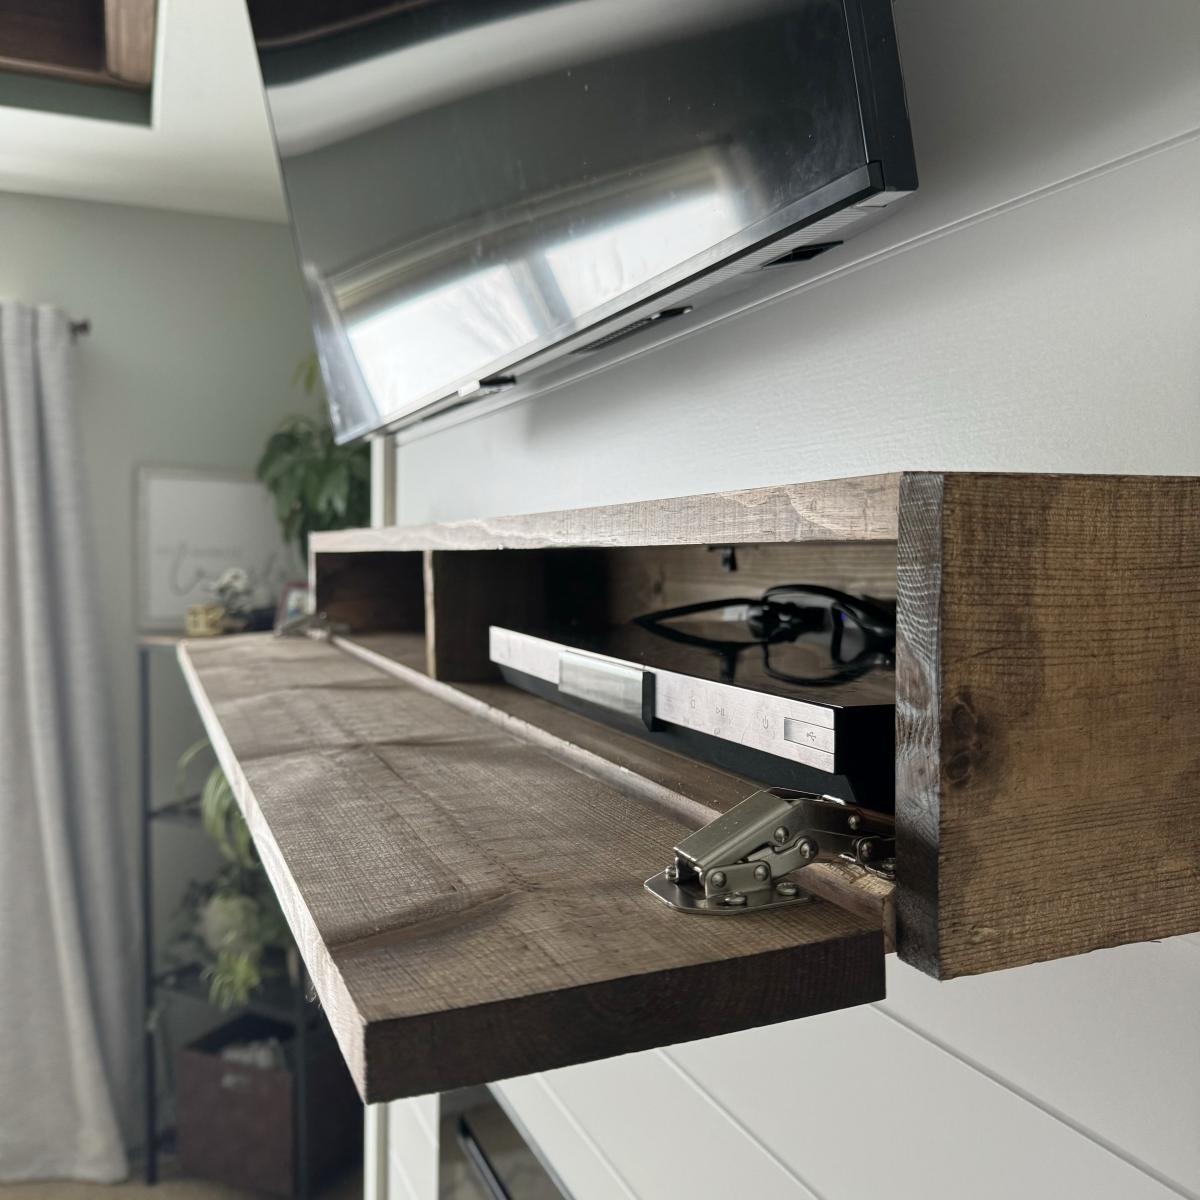
Sorry it's sideways! I
Sorry it's sideways! I couldn't figure out how to rotate the pic.