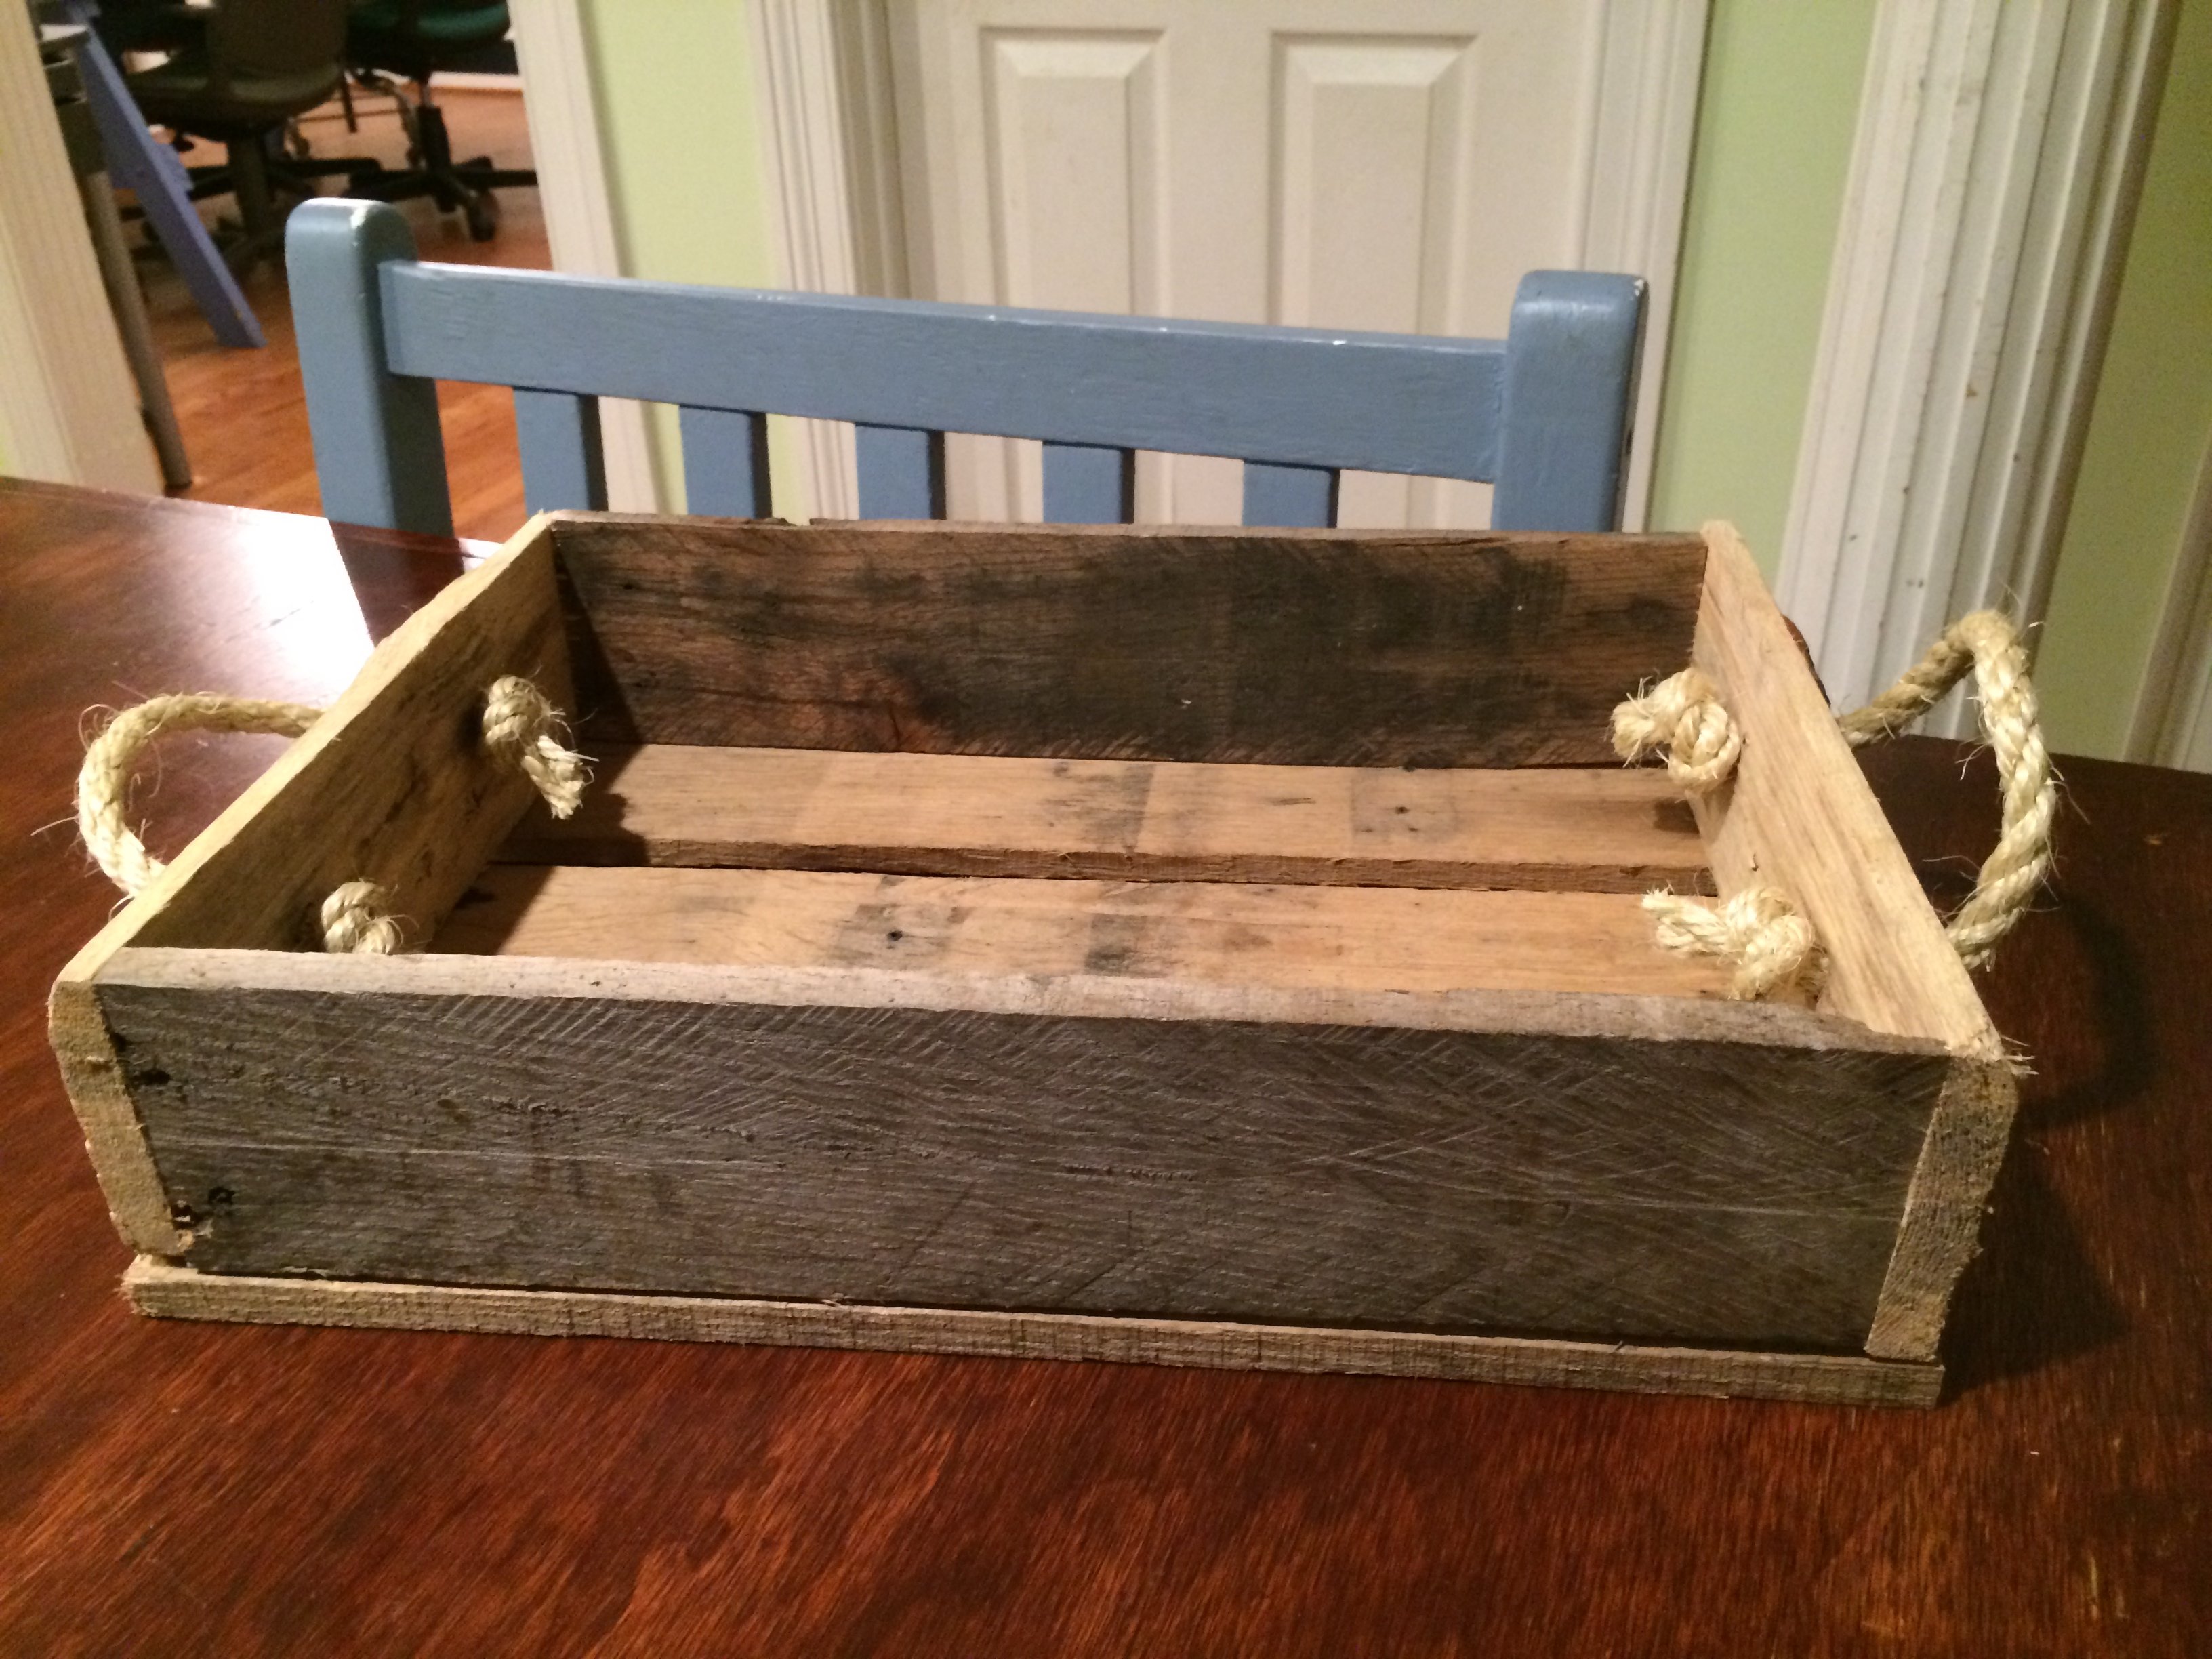
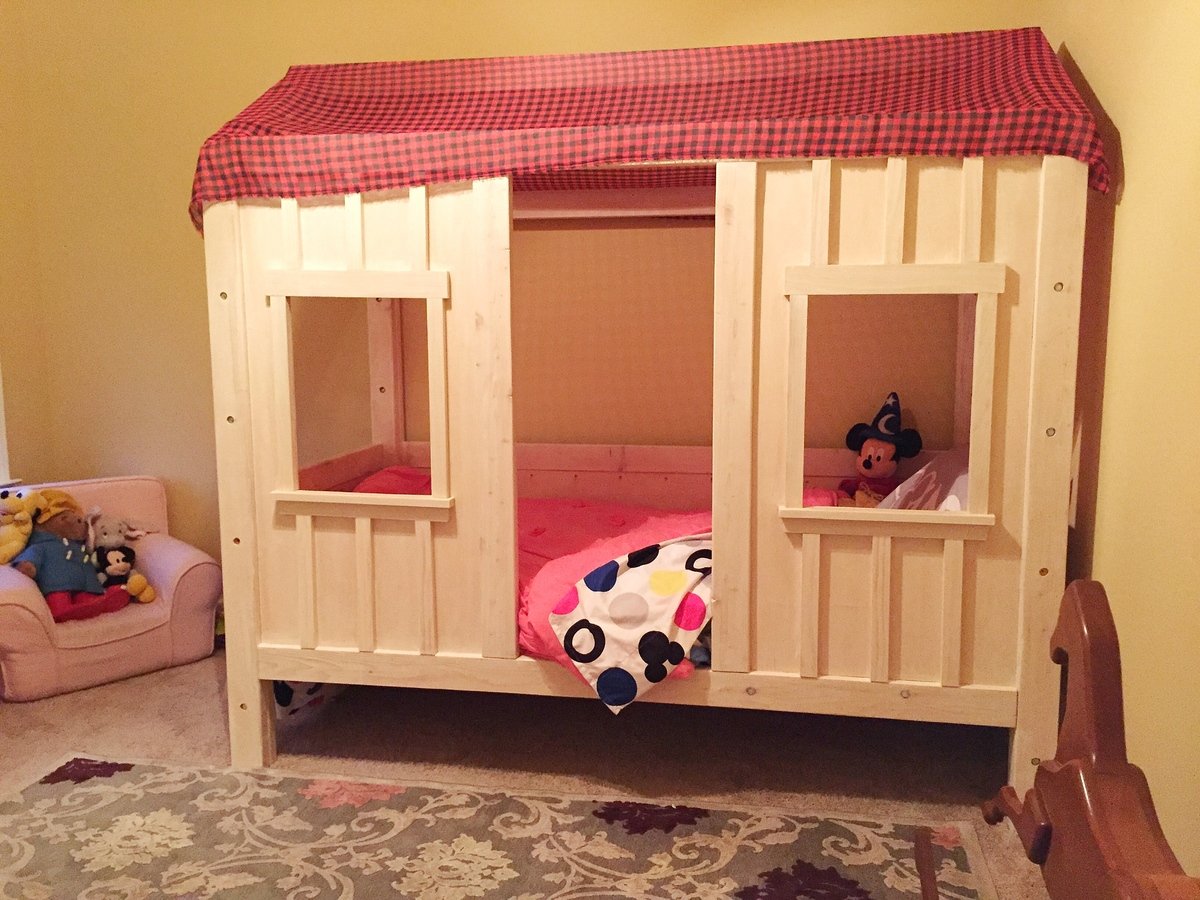
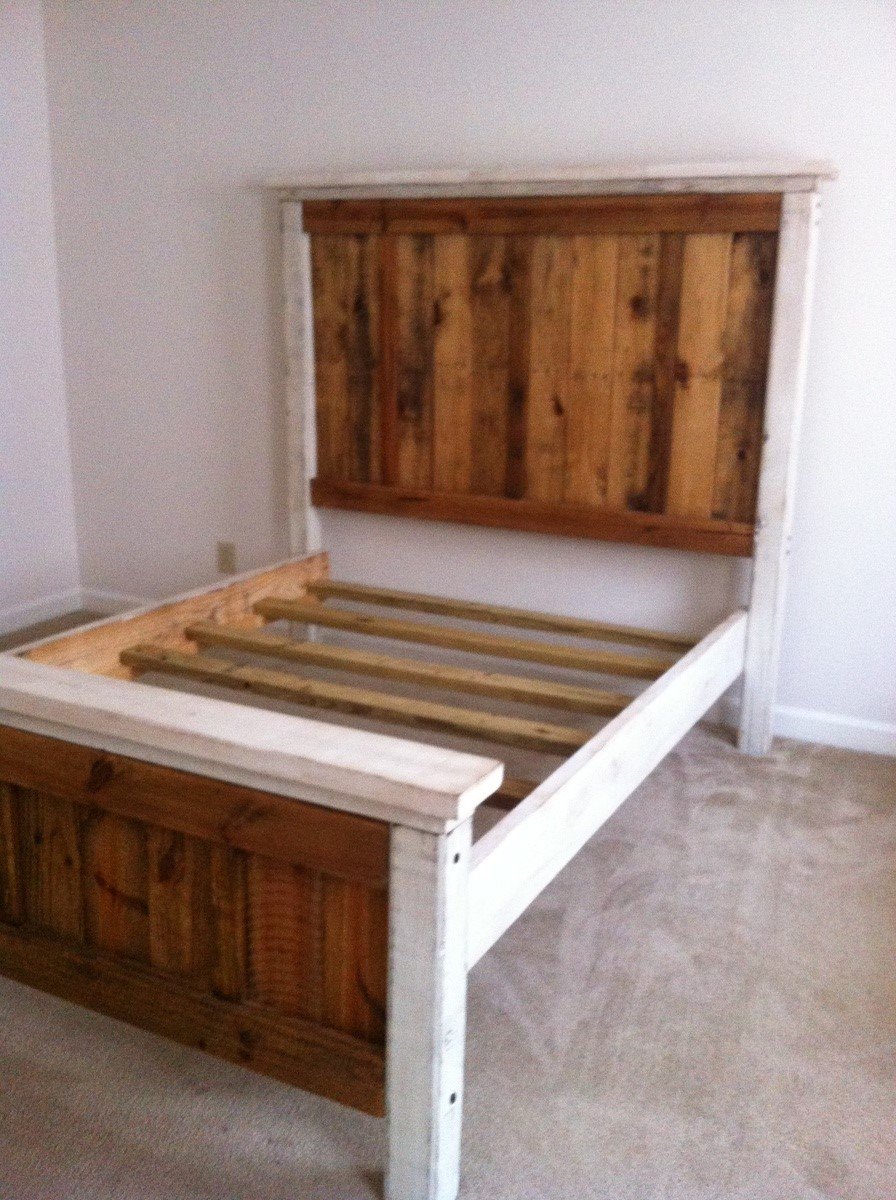
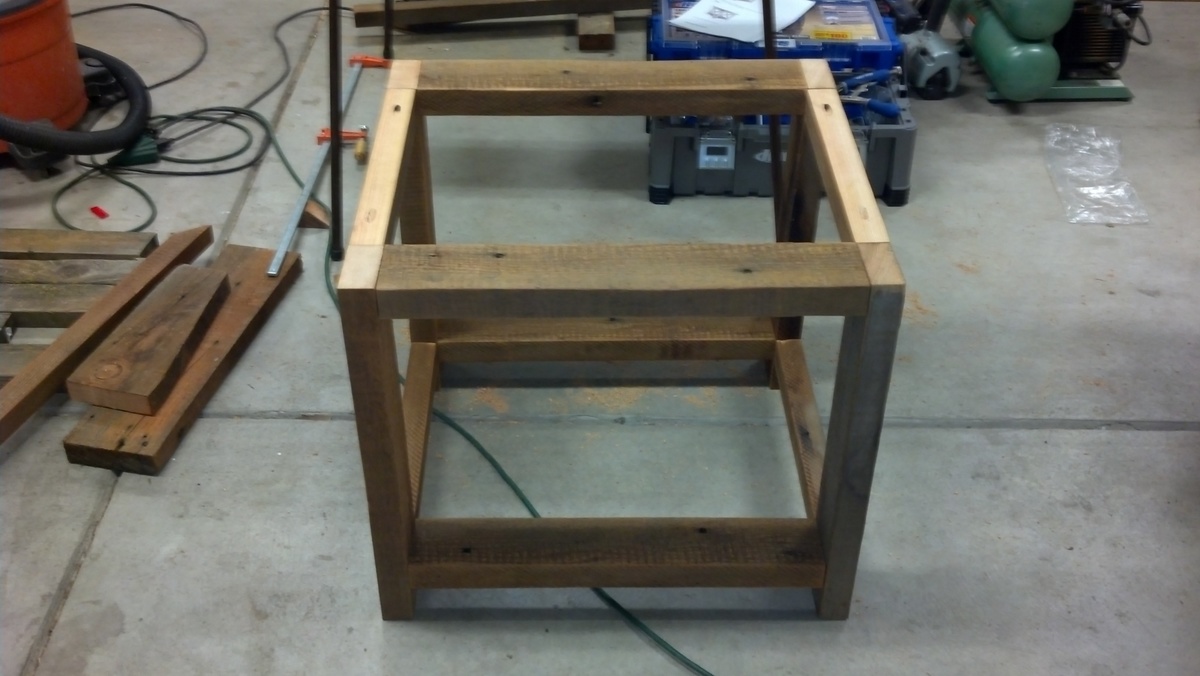
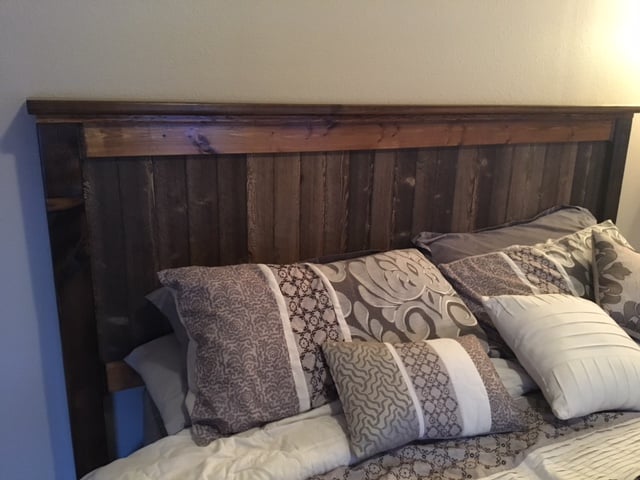
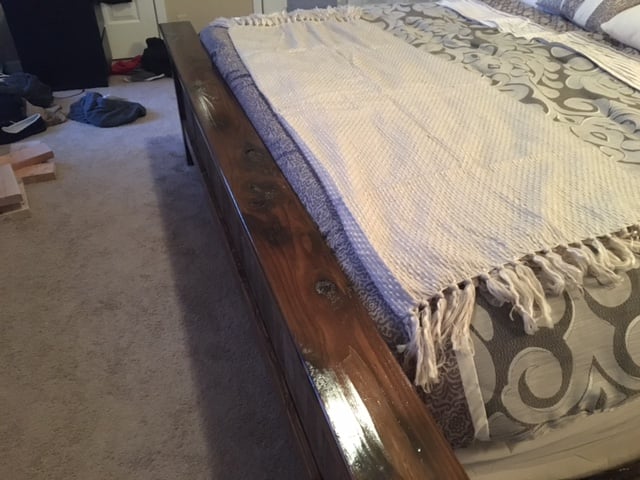
King Farmhouse Bed
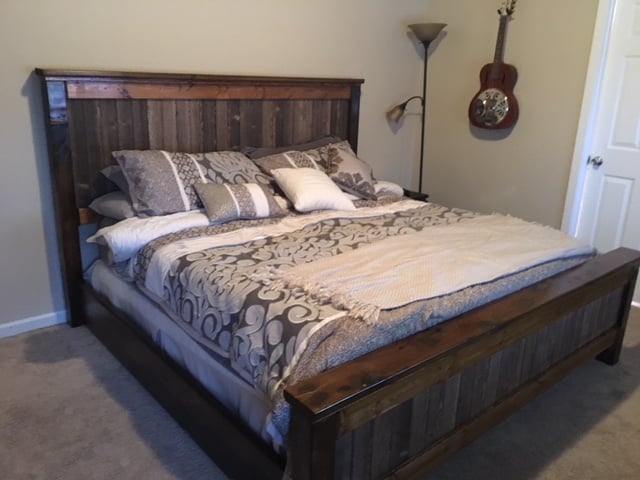
Used the Farmhouse King Bed plans to make this and made a few adjustments to make it fit my matress.

Estimated Cost
$250
Estimated Time Investment
Week Long Project (20 Hours or More)
Finish Used
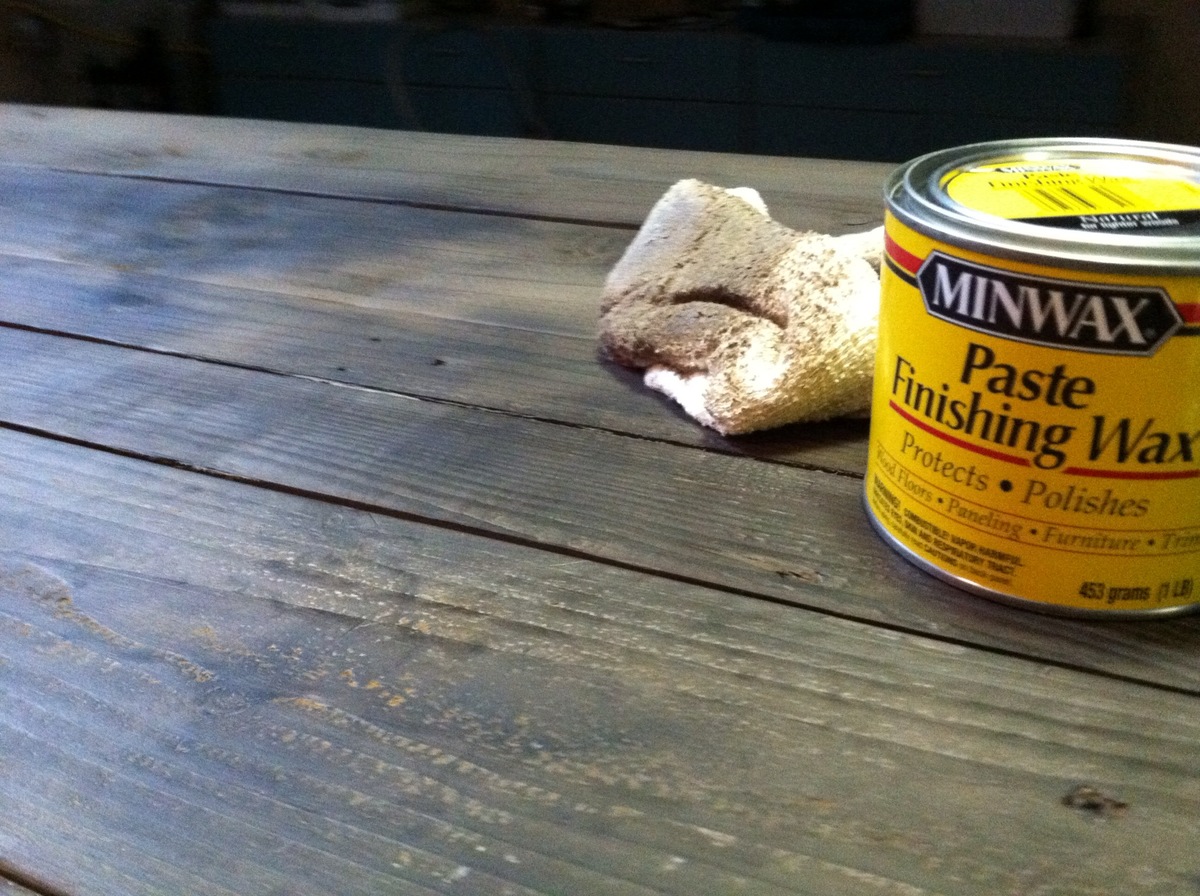
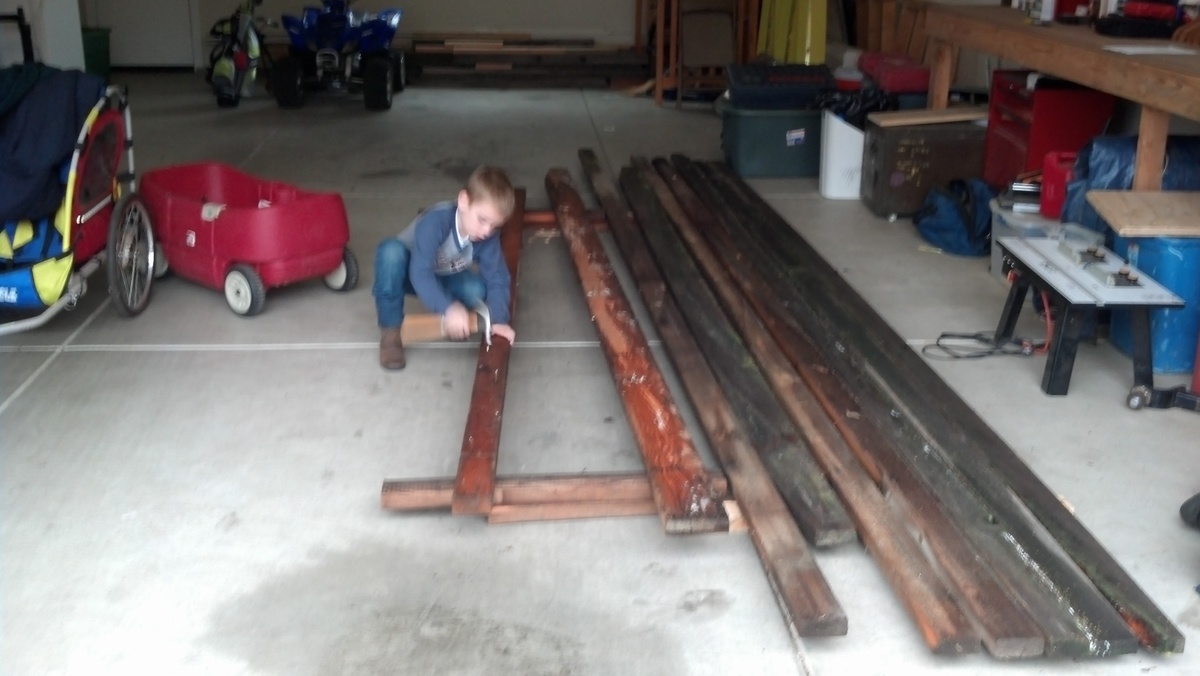
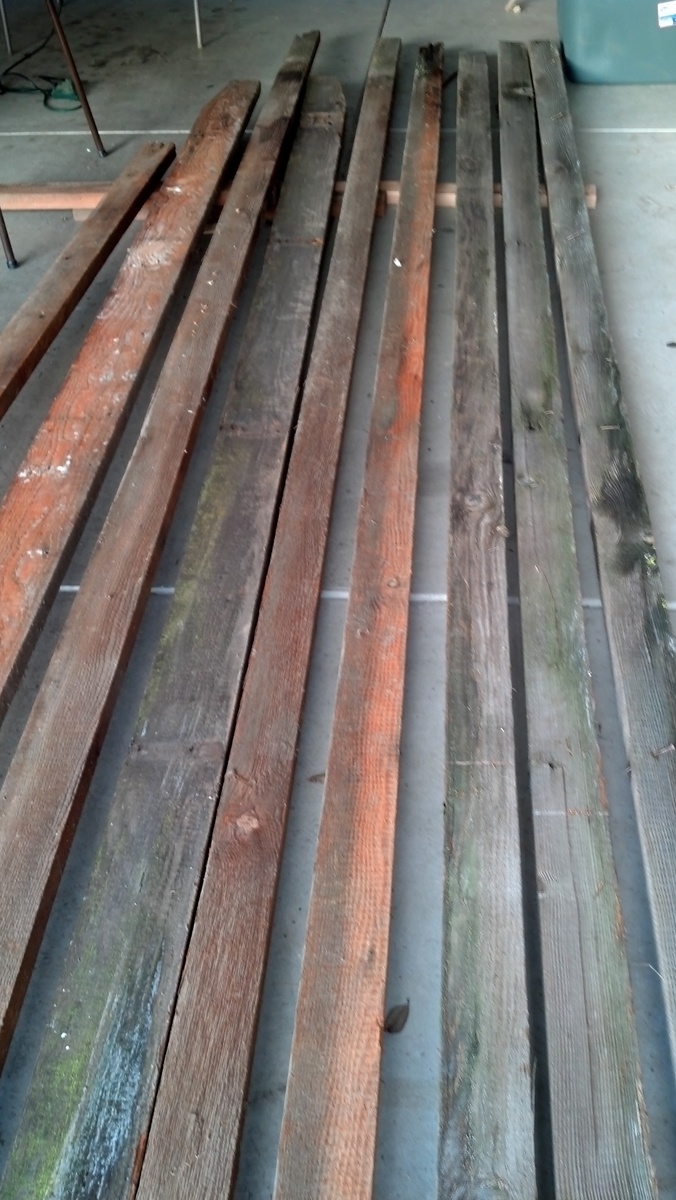
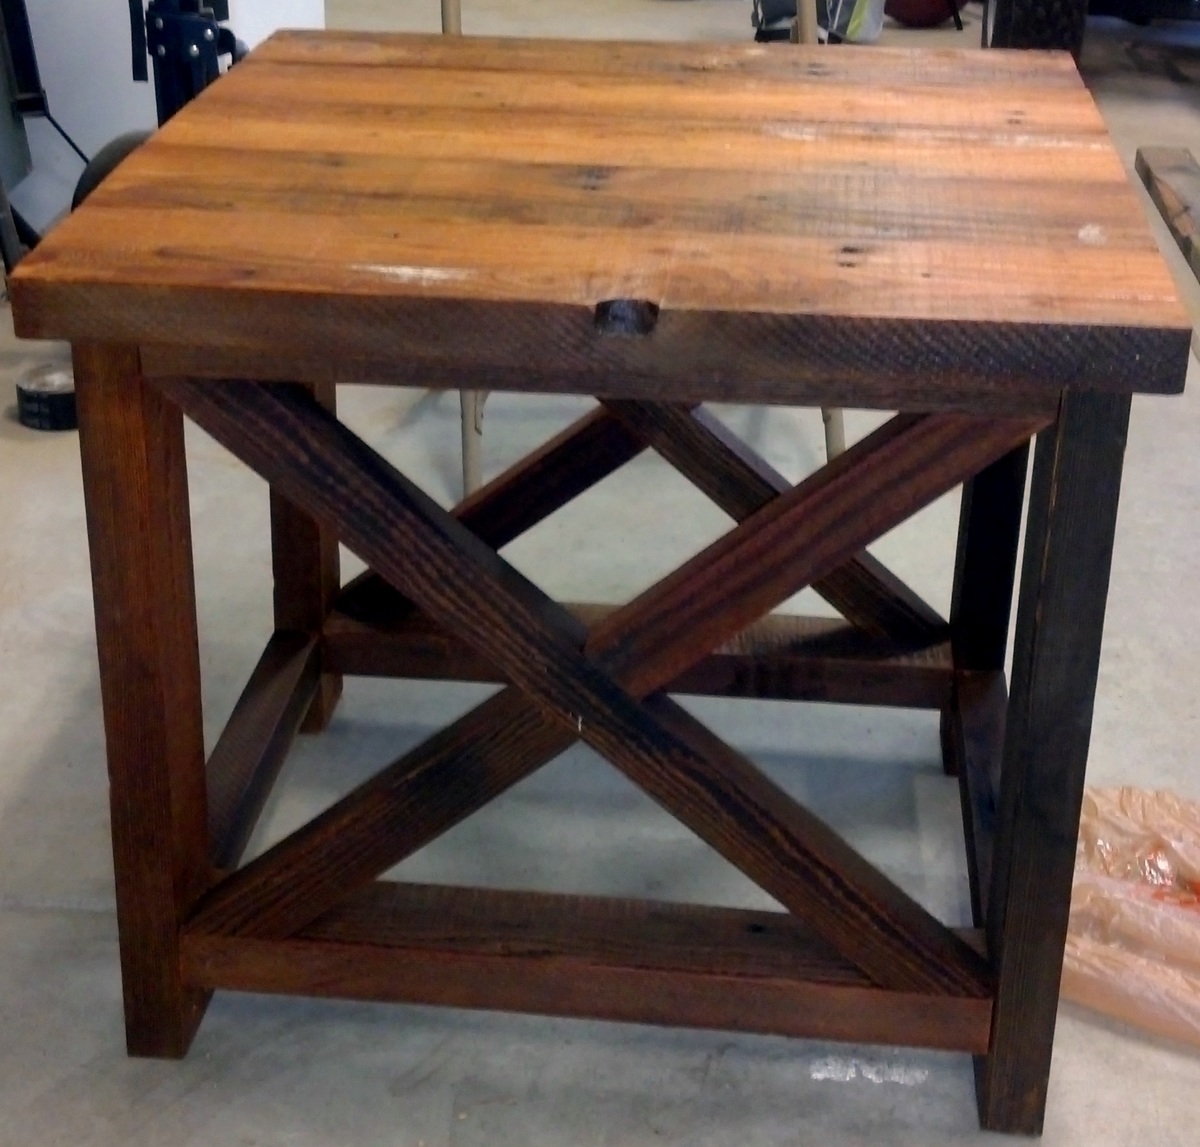
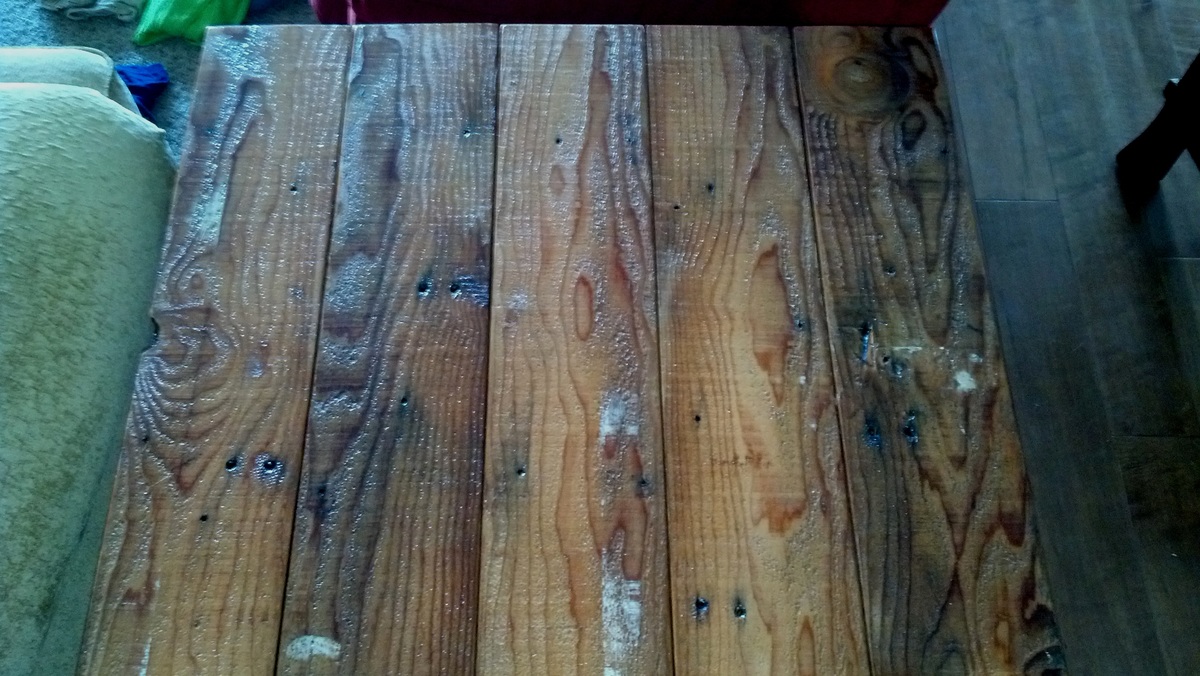
Steel wool and vinegar to distress the wood. Then stained with Minwax Provincial. Then applied 2 coats of lacquer. The barn wood was purchased at Home Depot.
Recommended Skill Level
Intermediate