Snowflake

Made this snowflake for my front porch for the holidays. Easy build and inexpensive.
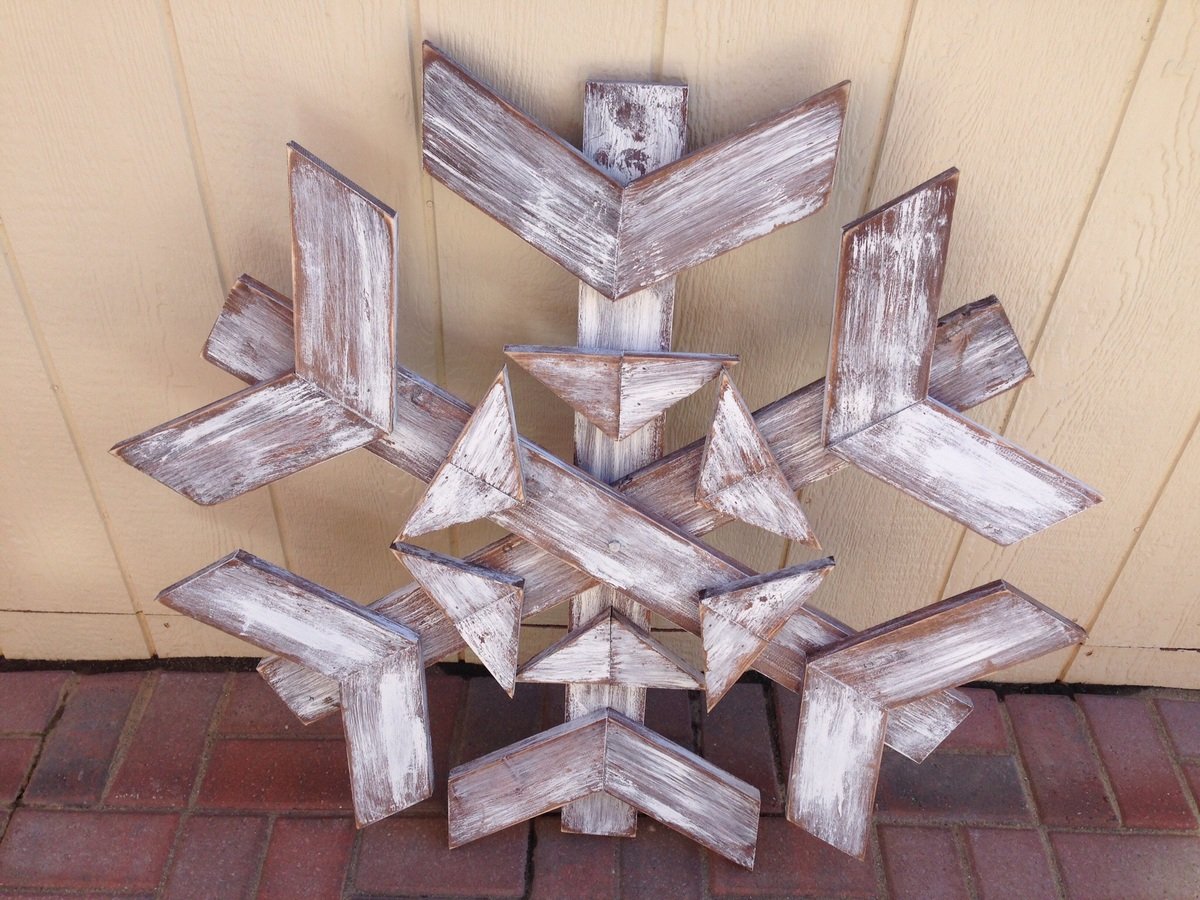
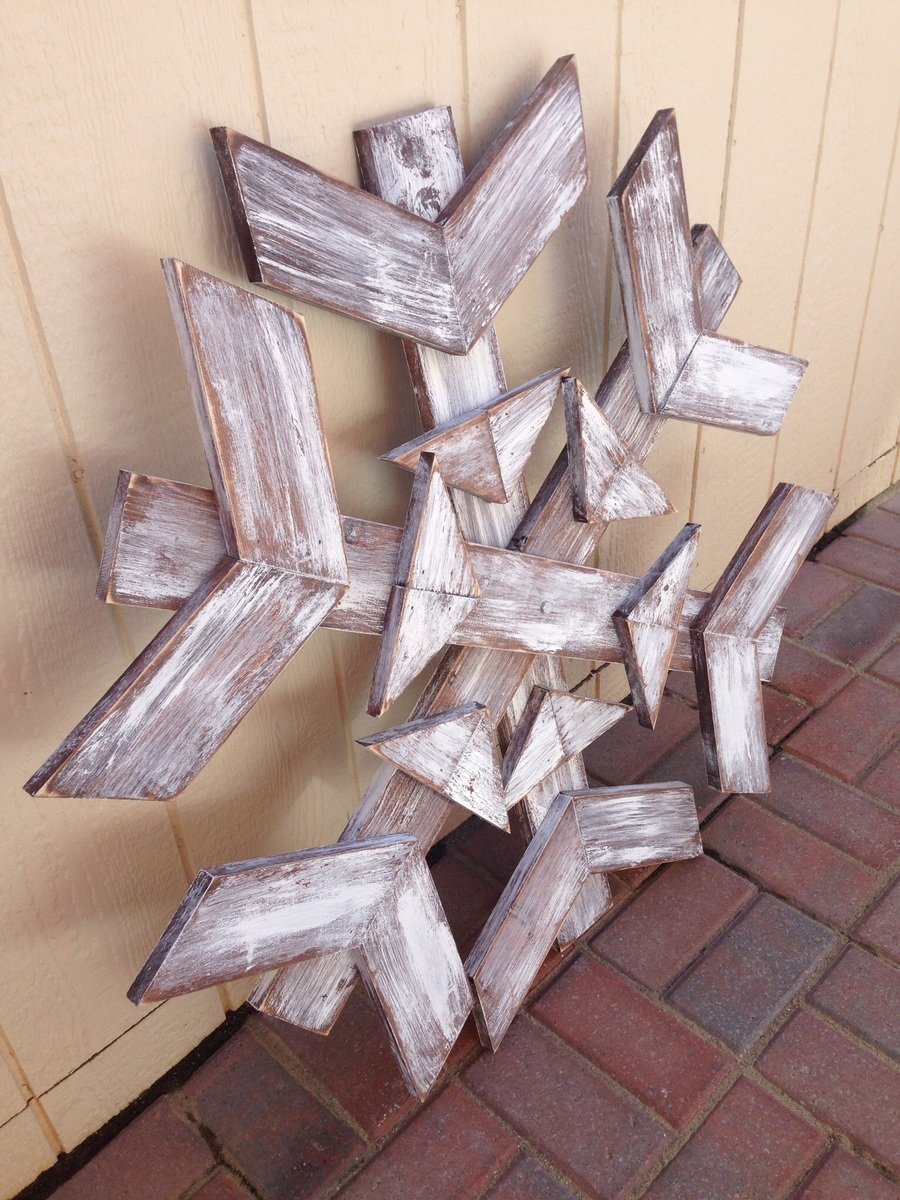

Made this snowflake for my front porch for the holidays. Easy build and inexpensive.


Followed the plans exactly. Seems sturdy and looks great. Our exchange student will love her new bed! Thank you!
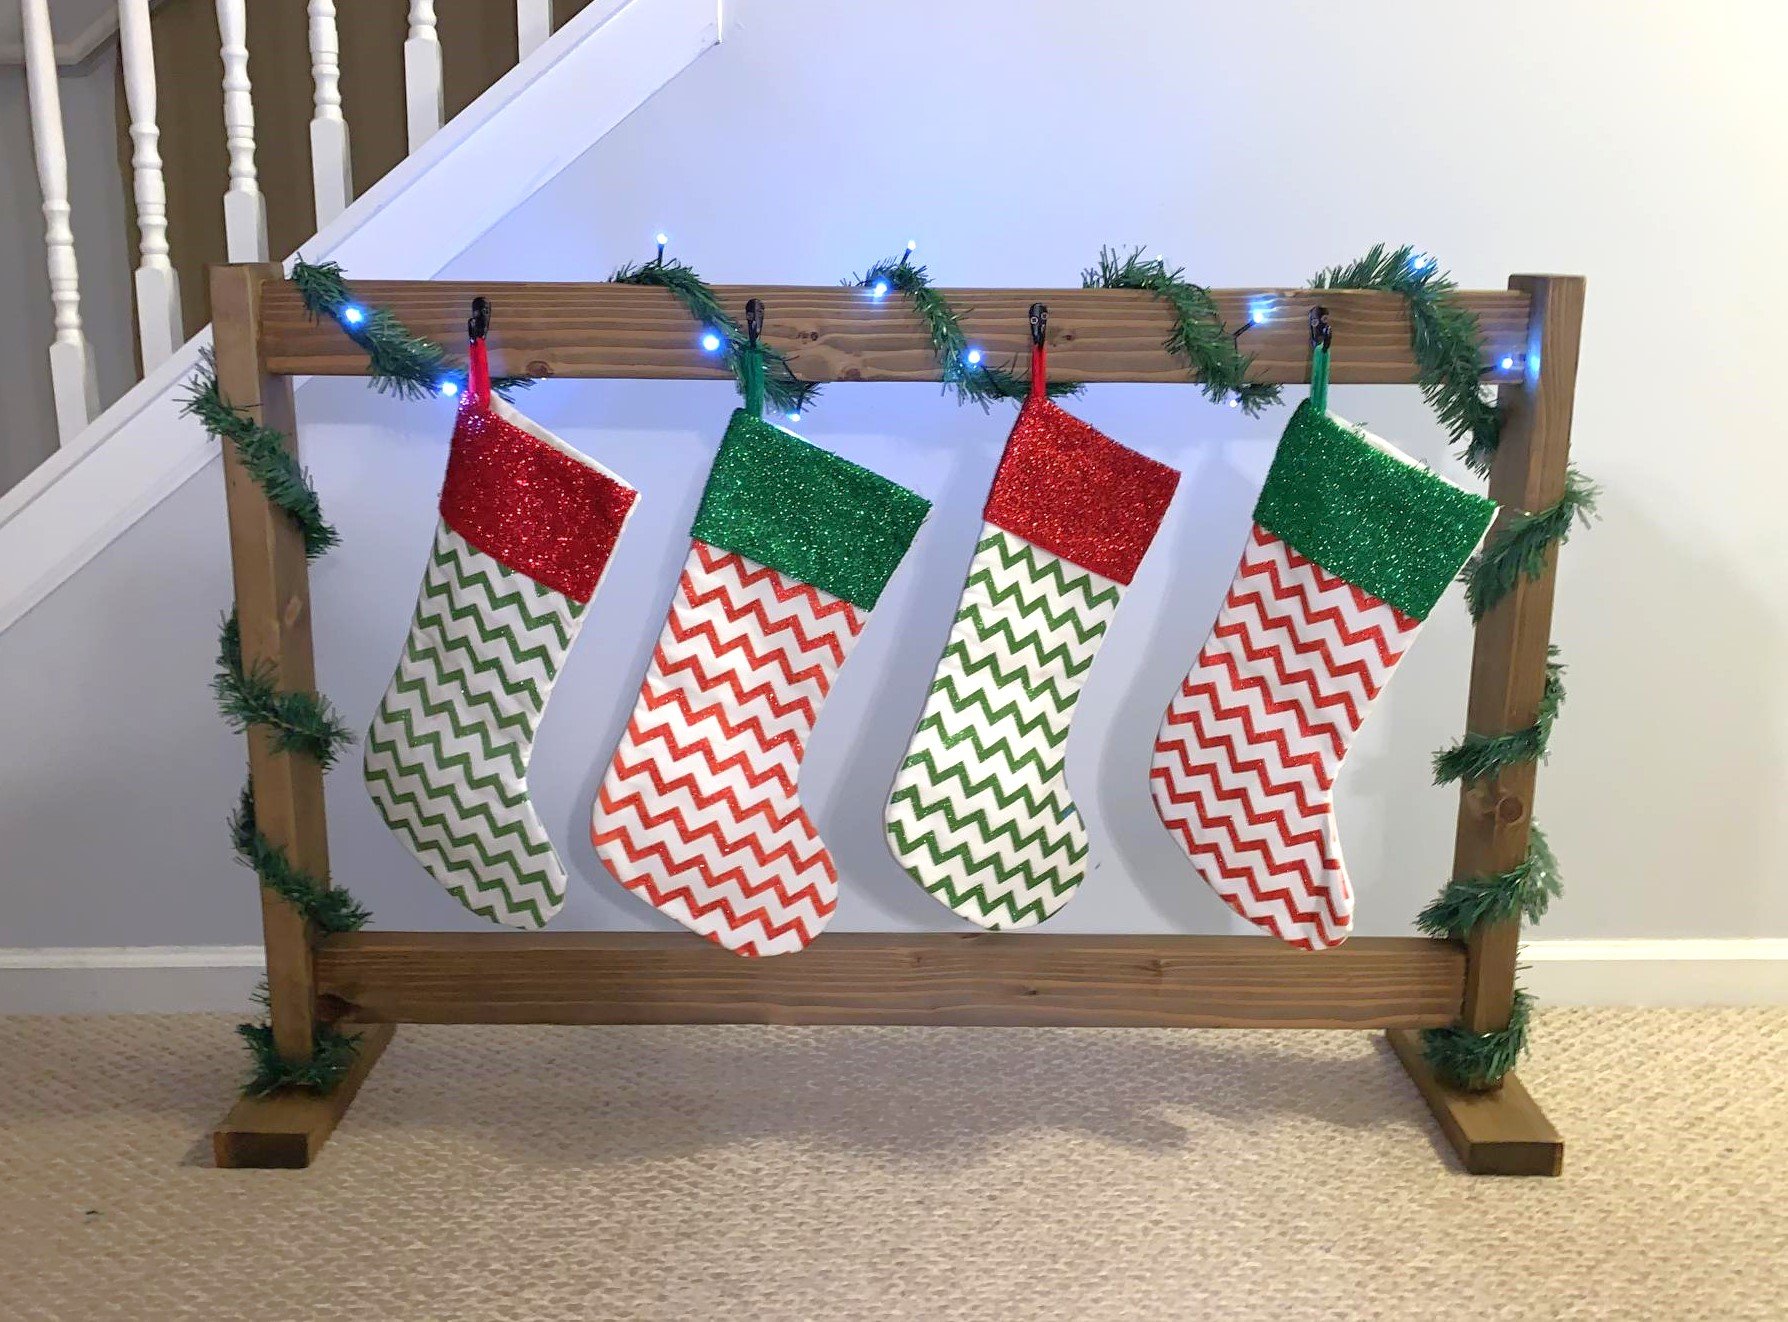
So fun! Directions were easy! Can also be used as Backpack hanger if you put a little bit longer feet on them. I bought the metal hooks from Walmart.
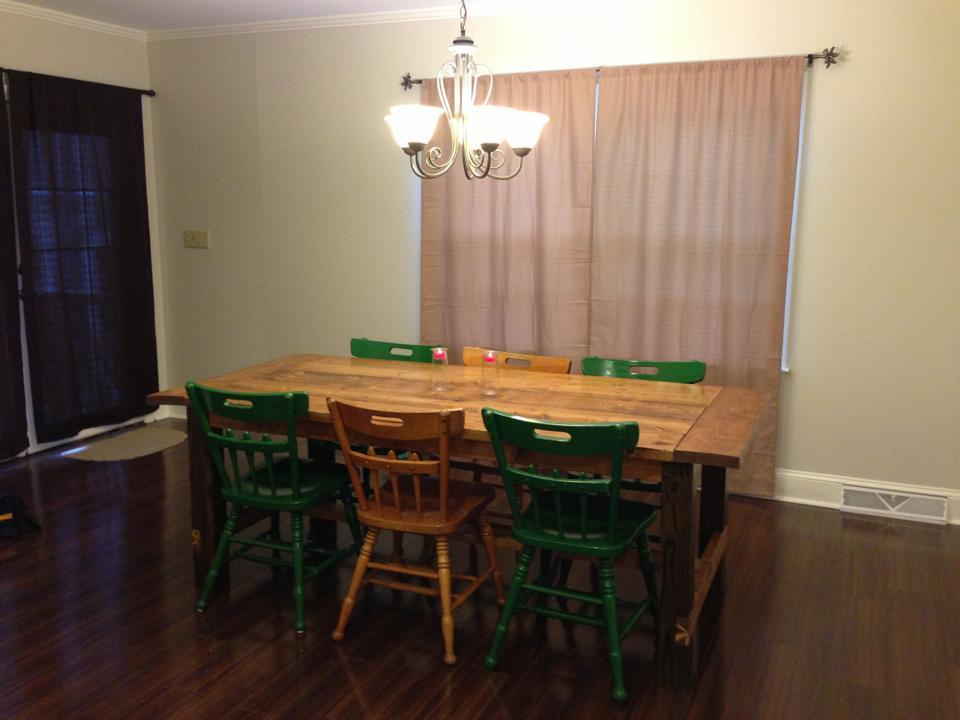
Based off of the Ana White design w/ pocket holes. This was really our first big project, so we made plenty of mistakes. Some lessons learned:
1. Pick non-warped wood to start with!
2. Clamps are pretty important to use when screwing into your kreg jig holes. It is REALLY hard to keep things flush without some strong clamps. Biggest lesson learned!
3. Always do your polyurethane coats in 60+ F temperatures. I did one coat when it was pretty cold, around 40 degrees. The liquid ended up beading and it was extremely hard to get out, eventually I just put many more coats on and called it a day.
4. Sand, sand, and sand some more!
This build is very rustic, but next time I think I could build a pretty perfect one. We're going to use this one, I like how rustic it is.
Modified width to fit the closet. Prep work of sanding and painting took longer than we thought it would; assembly inside the closet was simple but definitely a challenge in the small space. At 81", the top shelf was higher than intended so had to remove front slat in order to be able to use it - will make the next one slightly shorter. But love the final product and am now on a mission to get all the cheap wire shelving out of the house!
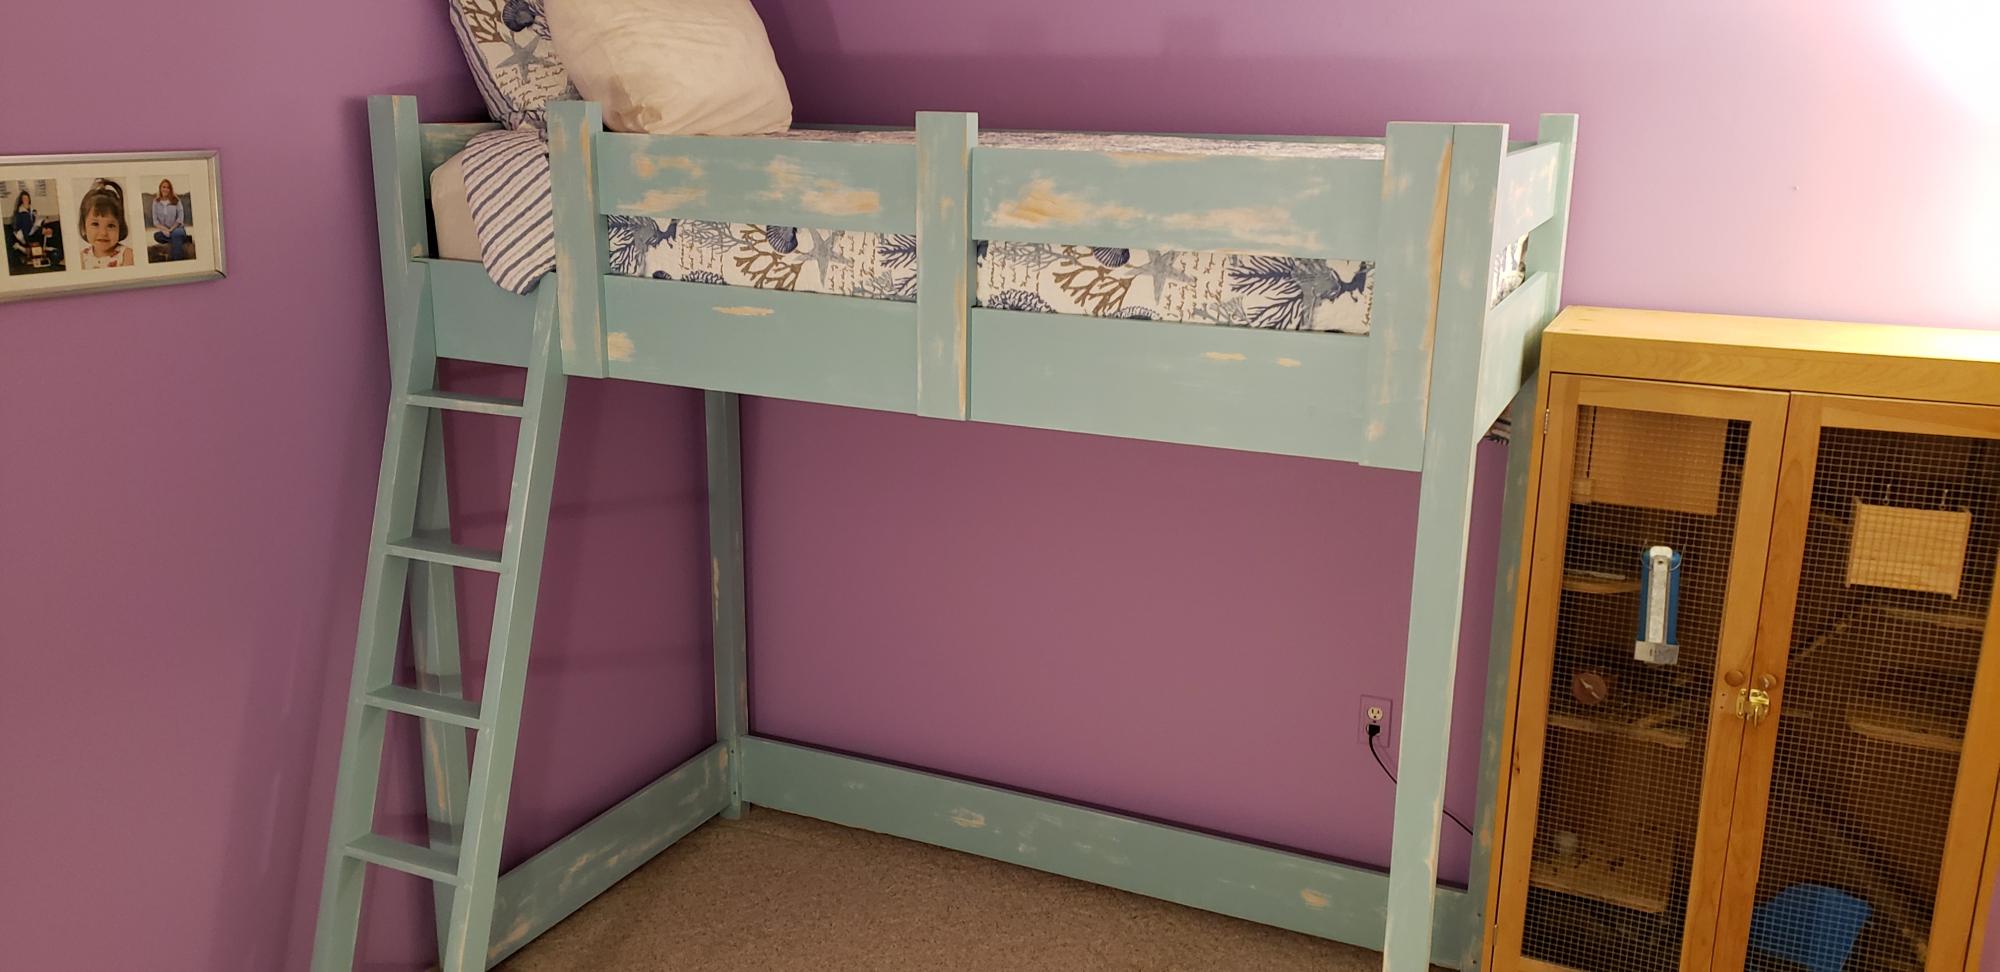
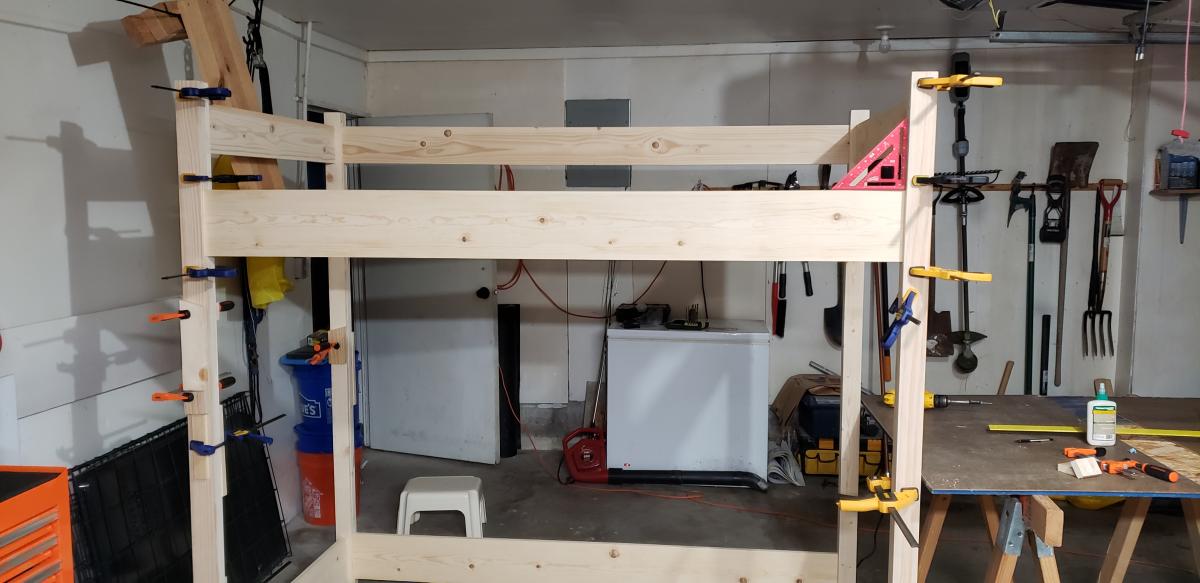
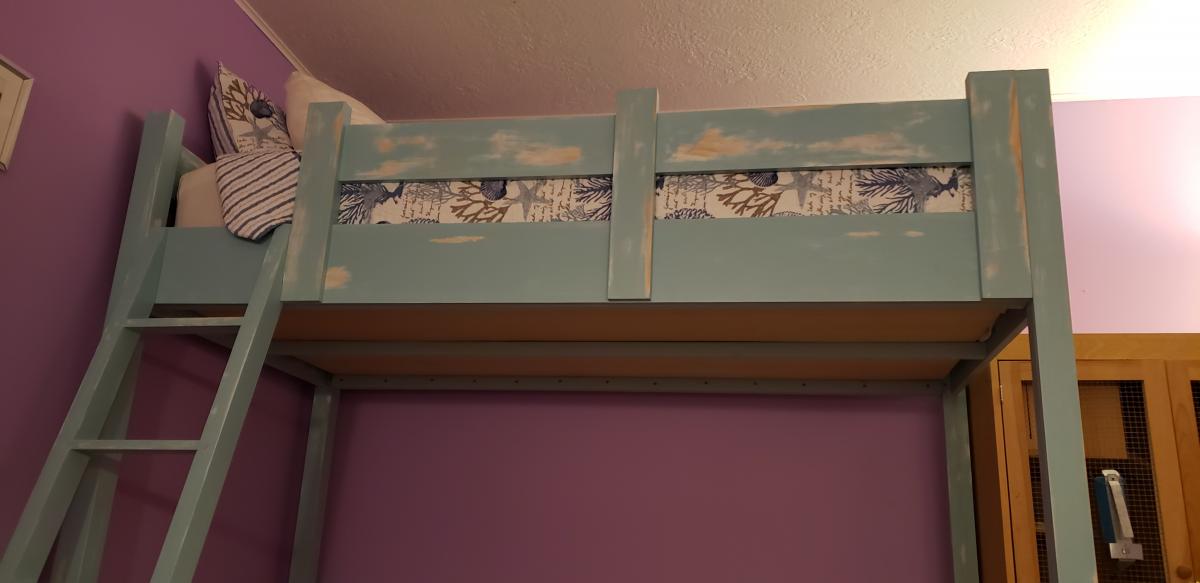
So, my skills have been as a cobbler, handy kind of guy for decades. Rough shelving for shop/garage basement storage etc... I've always done all my home maintenance and repairs so I'm familiar with a lot of stuff in and around the house. However I've never attempted a finished piece of furniture before. As always, I love the build and hate the finishing process.
My daughter had a pretty new mattress that she loved which was 13 inches thick and her celling is the standard 8 feet. Consider these kind of things before you build this design. We did and the plans were altered a little bit. We'll be building the bookcase later and either buying or building a desk as well. She can set up in bed with several inches above her head and there will be plenty of room over her head in a standard height office/computer chair underneath. All I basically did was; add a few inches to the height of the legs and uprights for the guard rail (4" I think), increased the head, foot, back and guard rail top planks from 1X4s to 1X6s. Which changed the dimensions of some of the spacers too. She isn't sure she wants the top rails on it but I think I'll put them on later.
We made our own bunkie board for firmer support, which also raised the thickness about 1/4" over just slats.
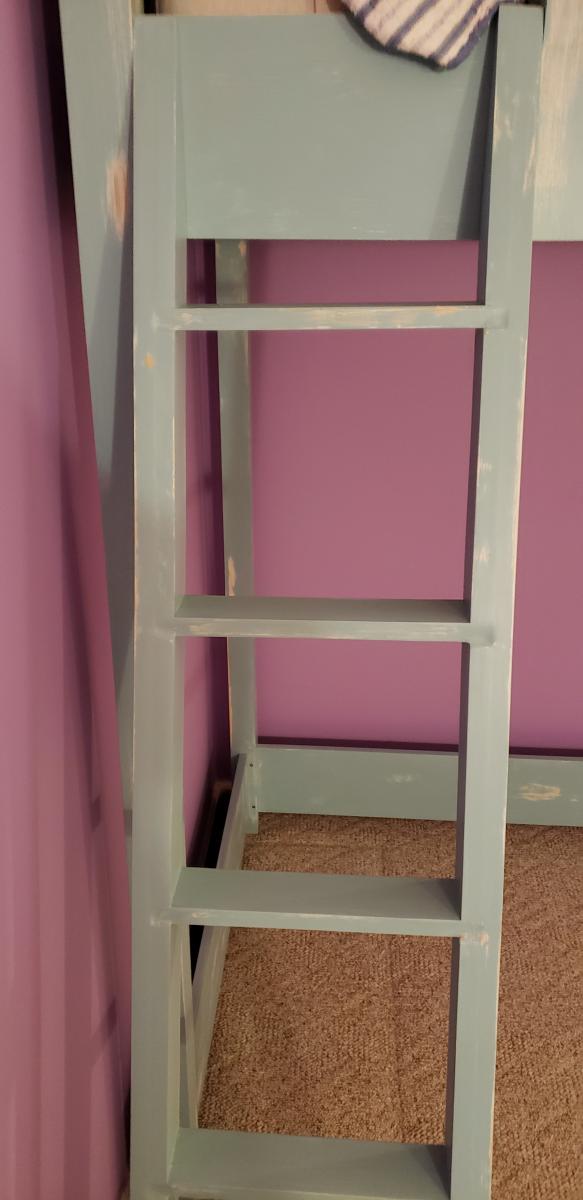
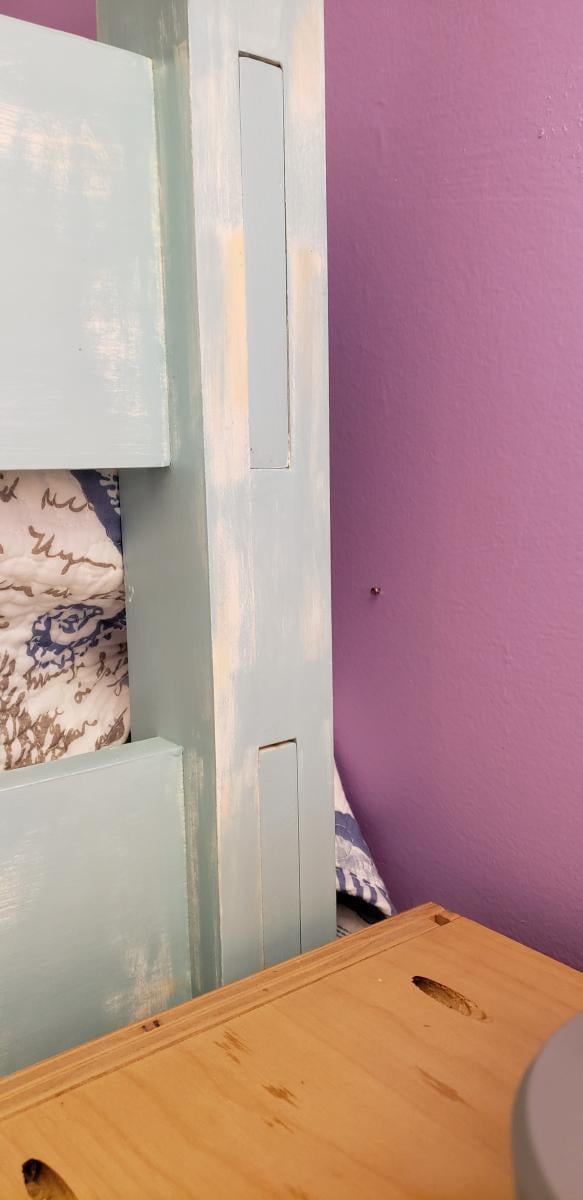
Details: Ladder fits tight between the leg and the guard rail. Glad I got those dimensions right. We'll be using Velcro to fasten the ladder to the bed (it's that tight, it'll be fine and she's 14yrs old). This way we can take it off easier to clean, move etc. Glue and screw everything you can except the long boards that will allow it to be broken down. Glue them and you'll never get it apart without breaking it. I used Titebond III on everything else with lots of clamps along the way.
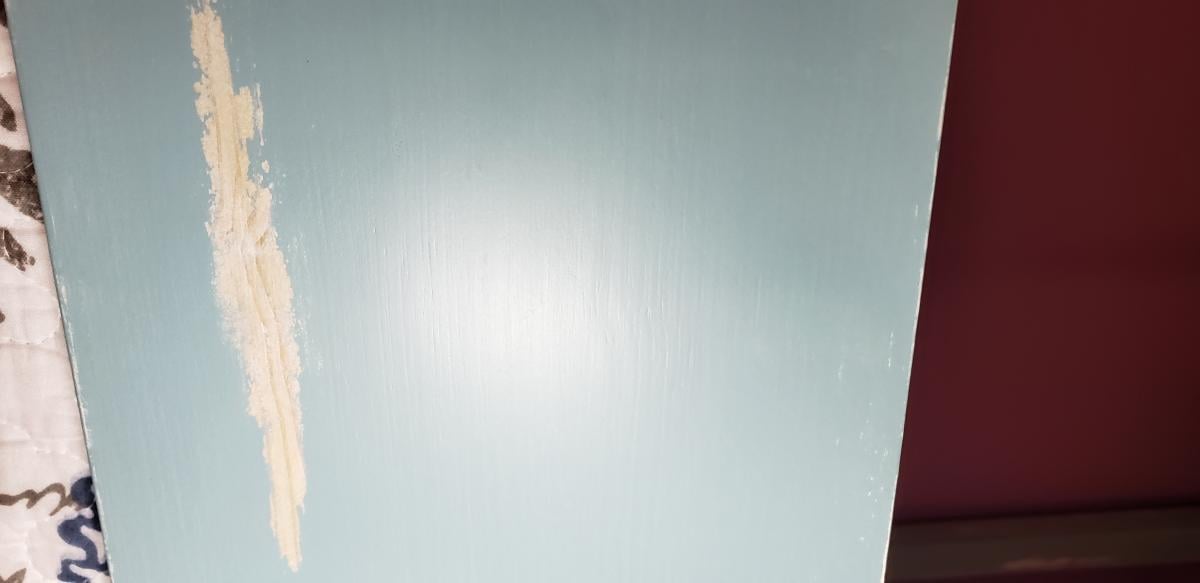
On the front and back of the ladder treads I simply smeared some filler in the joints to smooth them out. You can see the result in the pictures. There is one closeup of the finish so you can see how it turned out doing it the way I did. If you want is smoother then a 220 sandpaper finish is what was called for on the clear finish, which I didn't do.
I also said it was a weekend project 10-20hrs. Had I bought better wood and did an easier finish it would have been. My learning experiences/errors made it longer than that for me.
Lessons Learned:
1. Buy better wood! If you want a better finish buy better wood. By the time I was finished filling, sanding, filling again, sanding some more... I used almost a whole quart of filler to make knotty pine smooth. Just buy smooth wood, I'm tellin ya! Hours of work and dry time. Again, if you want a good finish, then you need to shellac knotty pine so the resin from the knots doesn't bleed through. Better wood might have added 5-10% to the materials cost but saved several hours and would have looked even better that what I achieved. Better wood and you could cut the shellac ($15 per quart) if you didn't want the two tone distressing.
2. Check the actual board dimensions. For outer facing pieces I bought some better wood with no knots (radiata pine). These were for the outside pieces on the legs. They were just a bit wider than the common boards that were sandwiched between them... more sanding and filling to get a nice square smooth finish. It also made clamping and gluing them together harder before the filling and sanding could even begin. See number 1 above. lol
Anyhow, I'm not afraid of building furniture anymore and my daughter loves it. OH, yes now we have to repaint her room and accessorize for the ocean cabin look. More projects with my daughter. YAY!!!!
Thanks Ana
Mon, 12/14/2020 - 09:59
The bed looks amazing and I can see many more projects in your future, I appreciate your added tips!
My husband built this bed for our son by combining 2 of the plans from here. The Loft bed and the Camp Loft Bed w/ stairs. We knew we wanted to build a loft bed for our son but liked the idea of the platform w/ stairs so it wouldn't block his window. We also wanted to incorporate a bookshelf for his growing collection of Legos to display as well as books, etc. The next project to add to this will be the desk for underneath. I'll add pictures when we build that. Instead of using 2 x 4's for the top rails of the bed, he improvised and created his own version of a panel for the top. I love how it turned out!

Mon, 06/10/2013 - 22:25
absolutely love this, just what I would like to have for my son! Thanks for the inspiration :-)
Mon, 07/01/2013 - 05:14
Just love this, I'm hoping to do something similar in a full size for my 9yr old daughter. She feels a bit sketchy with a ladder so the stairs will be better and I love using my Kreg jig so not having to piece together the supports sounds good to me!

I have made several of these now and love them.
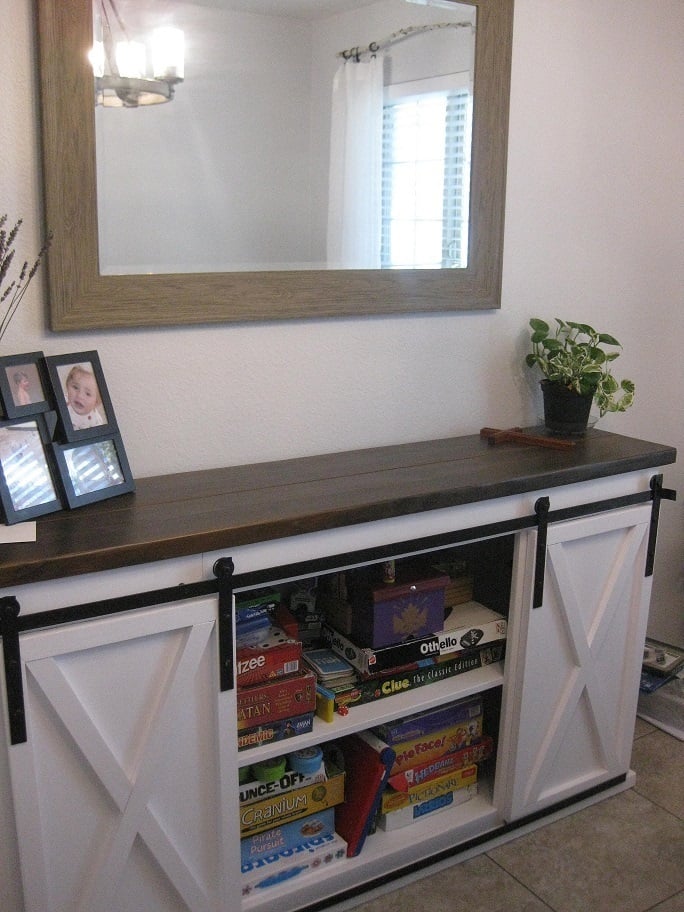
We have very little storage in our house and wanted someplace to store board games. This works great in the dining room. I made the hardware using patio door rollers and used my jigsaw to cut steel and aluminum bars to fit. I hammered the ends of the track in a curve and put a track on the bottom of the cabinet to keep the doors more flush against the cabinet. I spray-painted all the metal and bolts to match. It is 36" high, 13" deep and 63" long. I didn't use the center board in the front because I wanted to accomodate for larger games.
Fri, 09/20/2024 - 09:14
It looks so fantastic. The decoration you made here looks amazing. I like this one. Carry on!
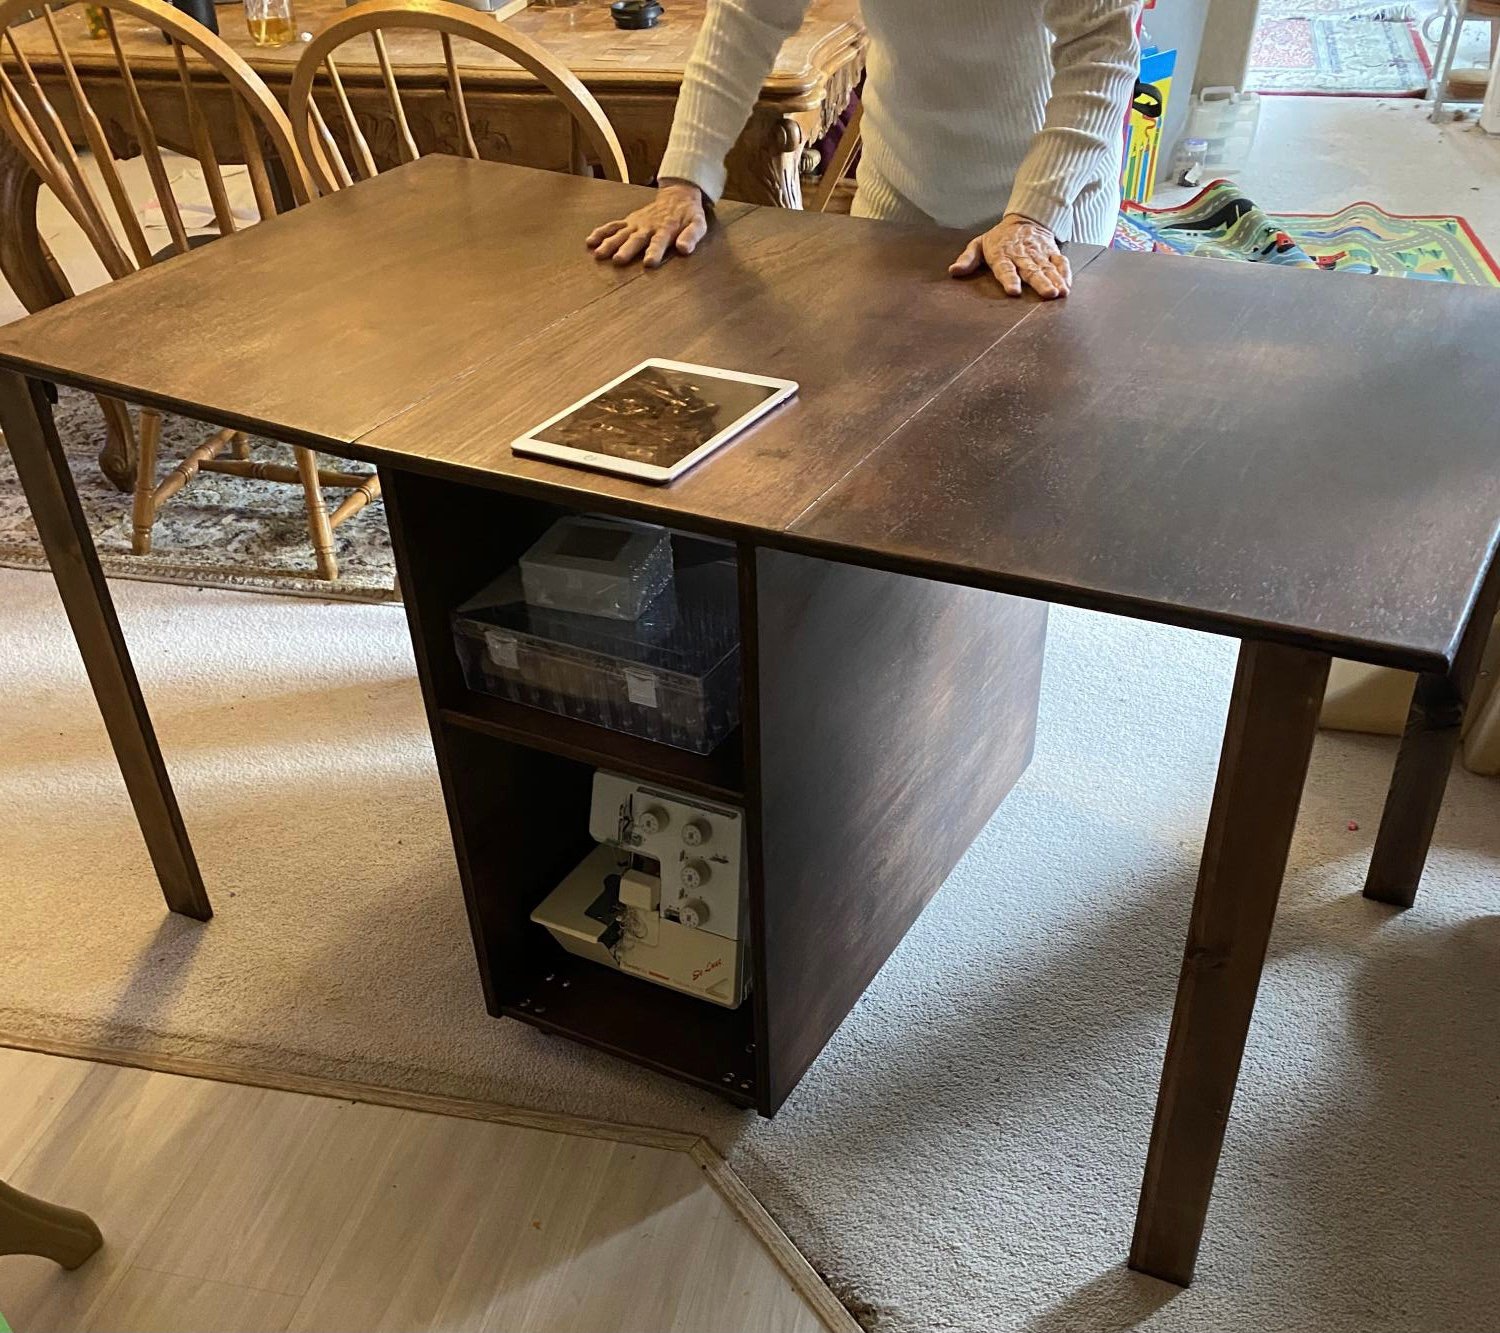
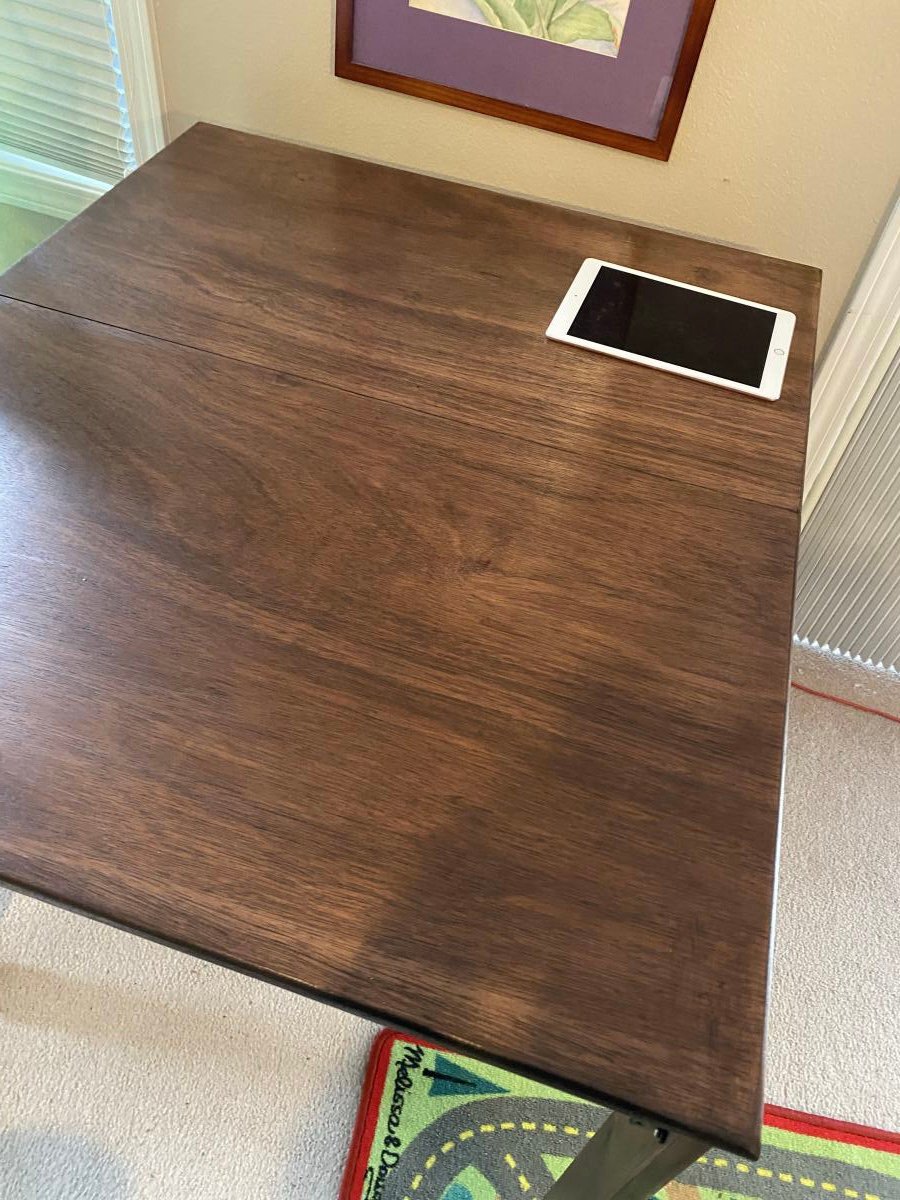
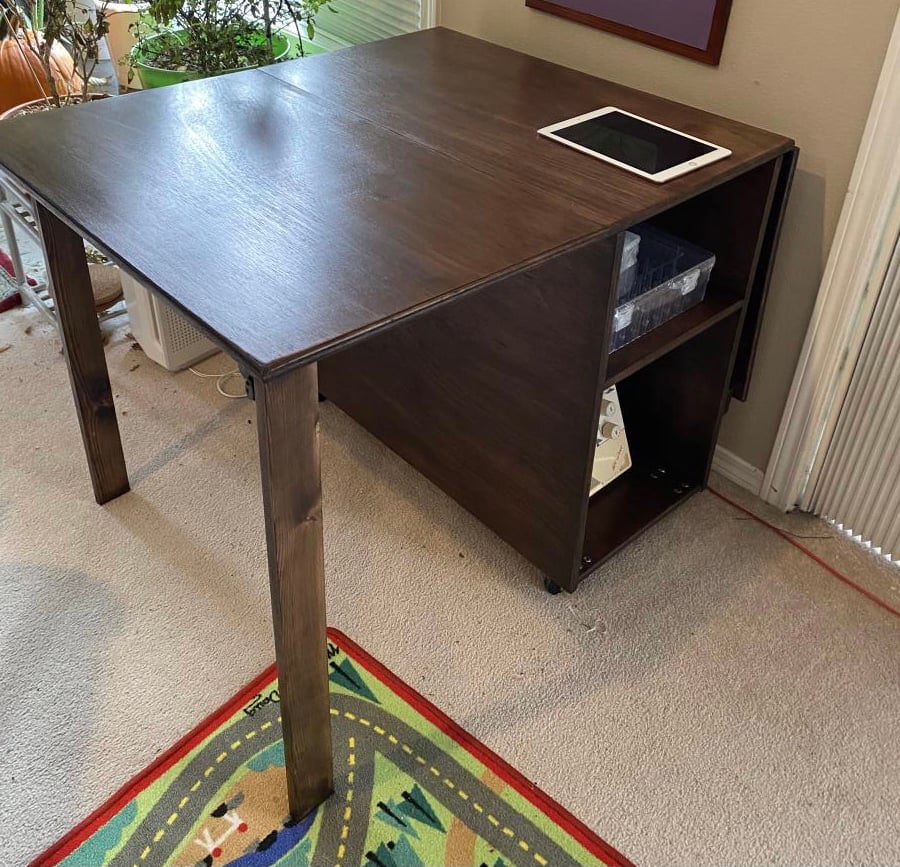
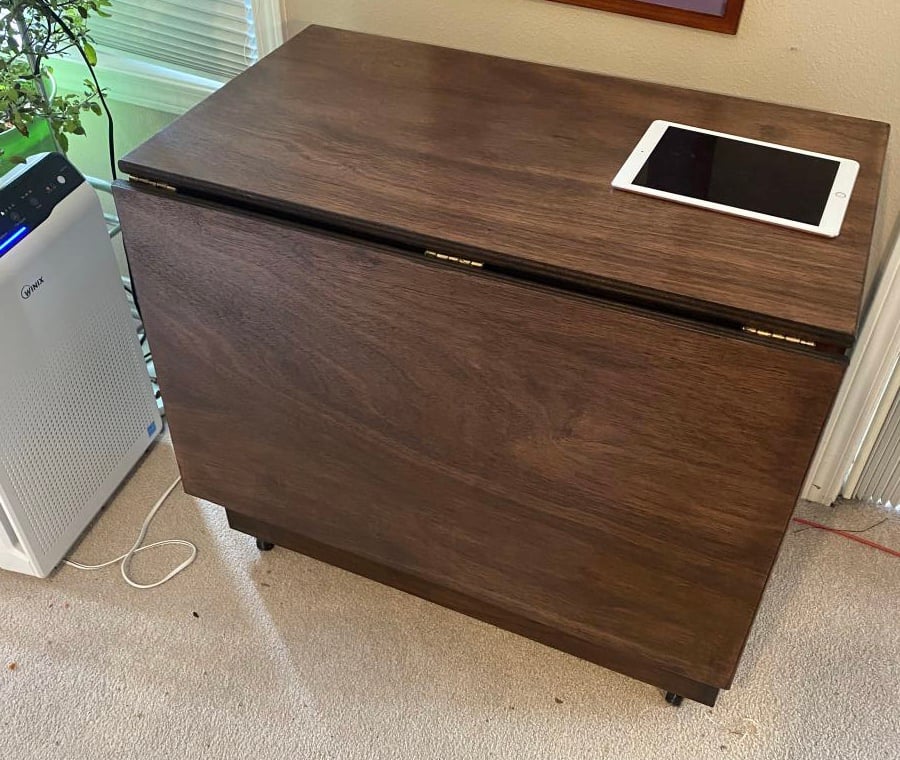
I used the sewing table plans from Ana's sie to make a sewing table for my mother-in-law's birthday. She loves it. the plans worked great. I did upgrade the legs with some Locking table leg extensions from Amazon. https://smile.amazon.com/gp/product/B06VTJZHS6/ref=ppx_yo_dt_b_asin_tit… I also used pocket holes instead of just screws. If I made another one I would use a thicker piece of lumbar for the legs maybe a 2"X 2" instead of the 1"X 3" I'd used.
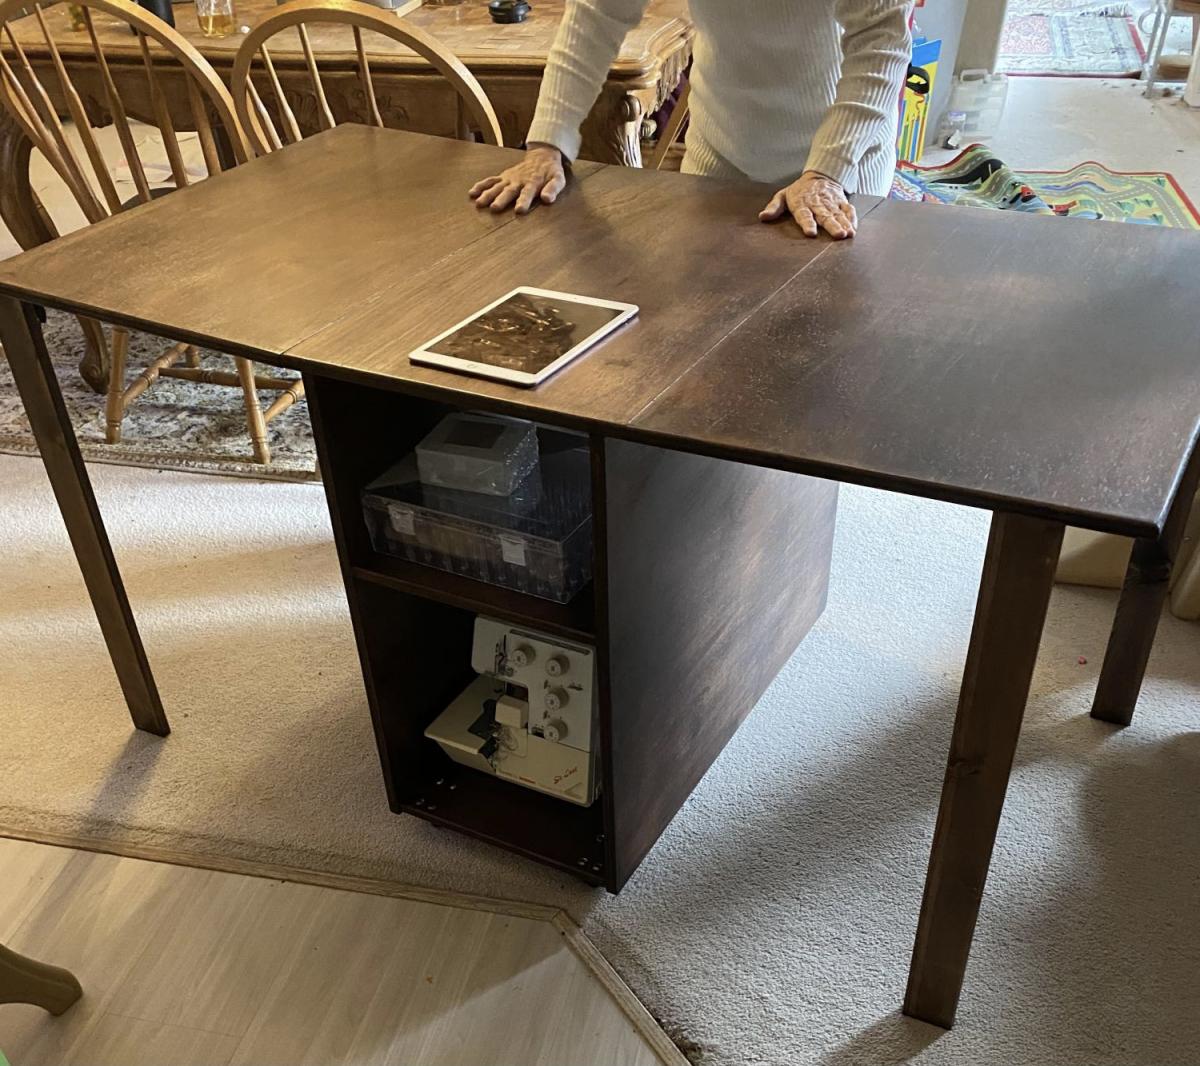
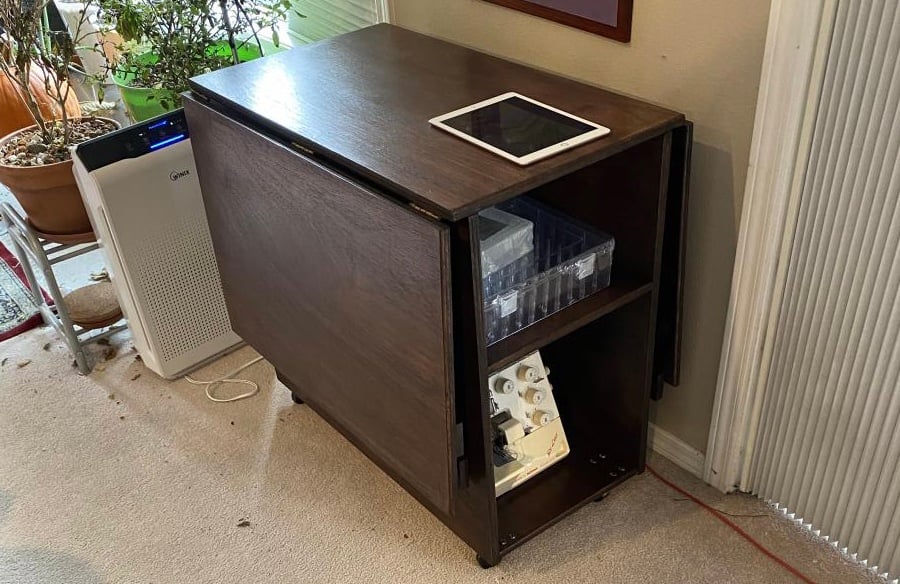
Sat, 12/19/2020 - 12:45
Excellent mods and additions to make this table last and last! Thanks for sharing!
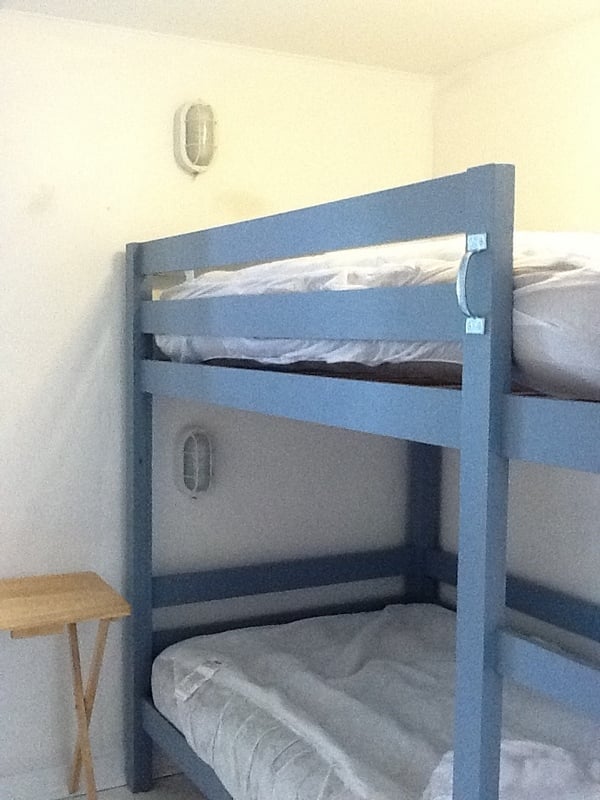
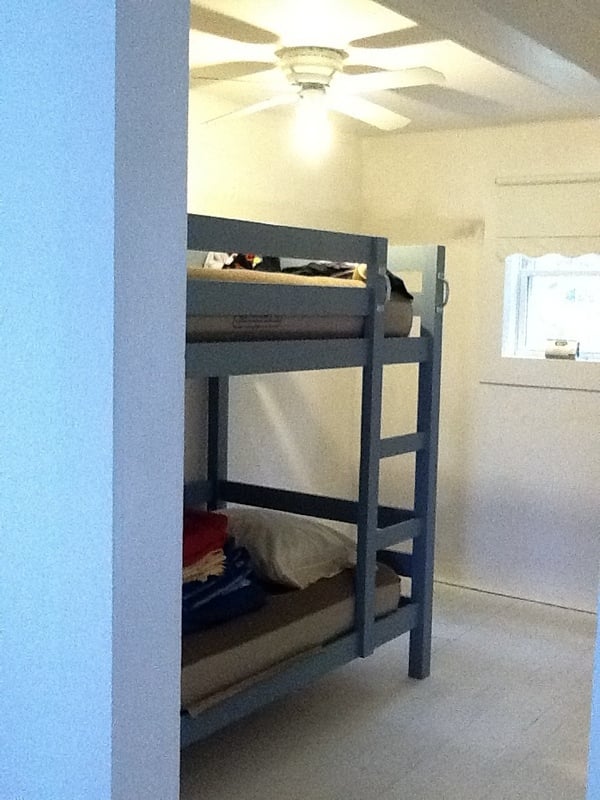
This bunk bed project was absolutely perfect for a small cottage bedroom for our son. We selected this plan when noticing that this could essentially be built as 4 flat sections and easily transported.
We were able to construct the bunk beds prior to owning the cottage and were then able to move in and bolt together.
Fri, 03/19/2021 - 01:12
The best way to shop on the internet and get one dealership to beat another’ price.main thing is only pay the cash no extra. I just only share the website which you find the best and also lowest price on a new car review toyota tundra
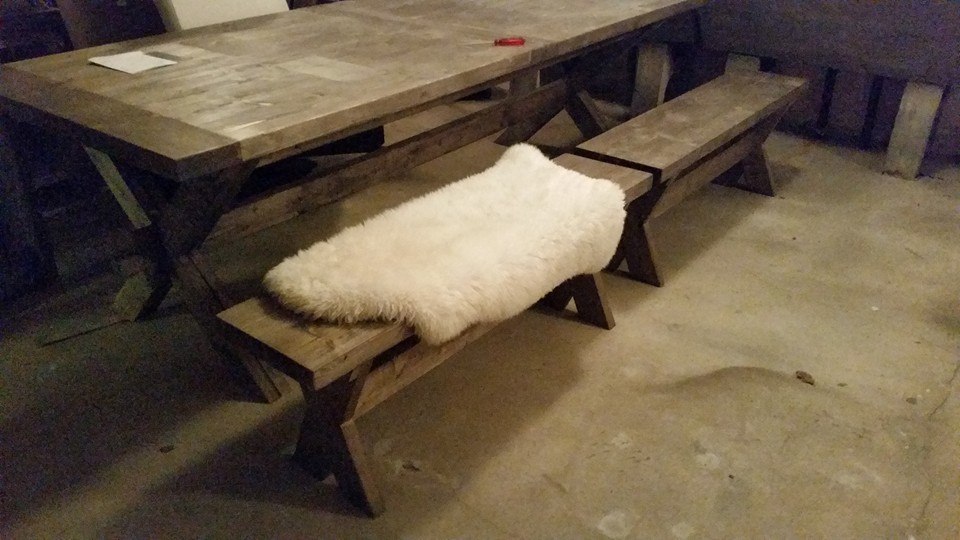
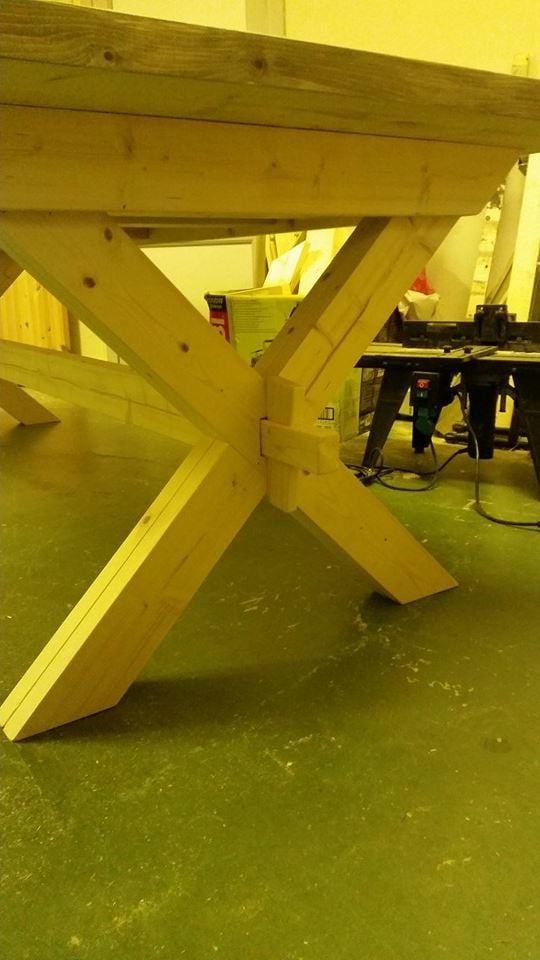
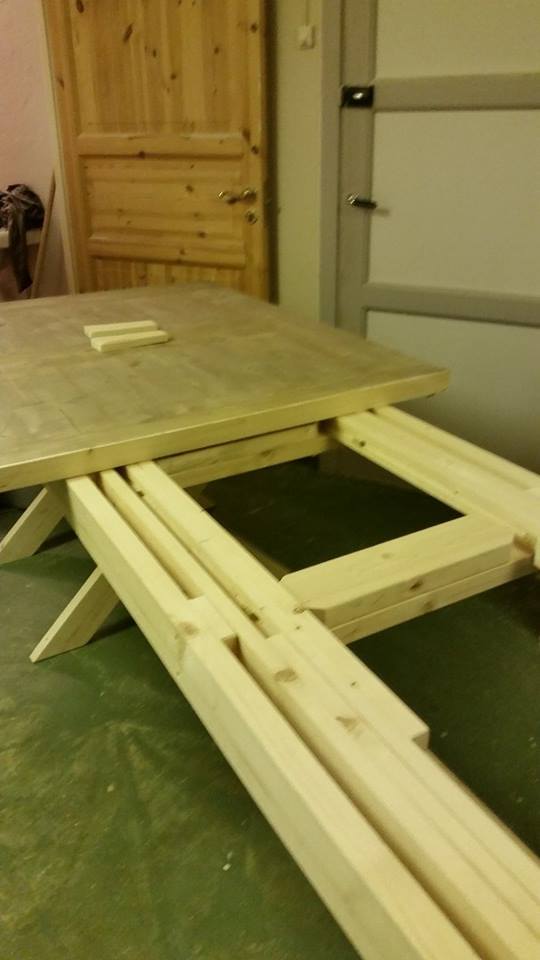
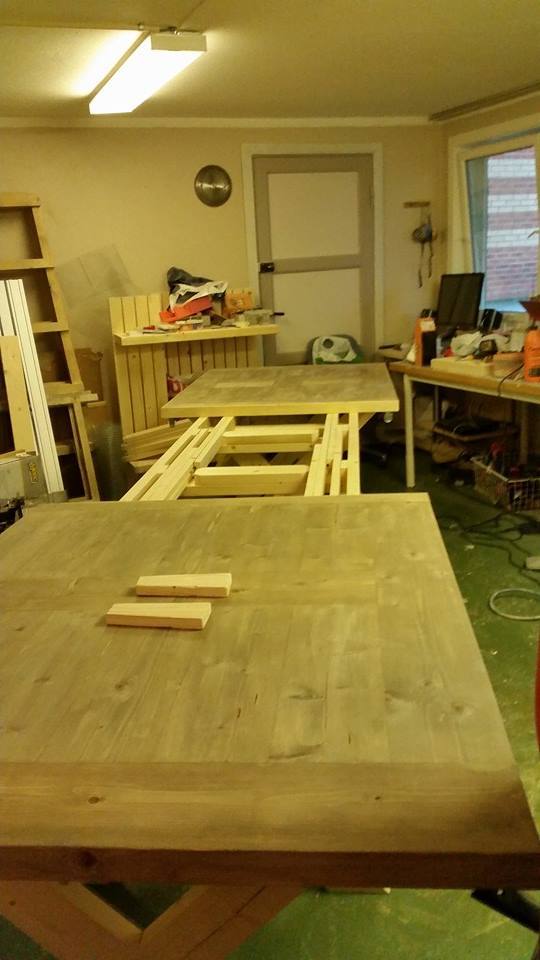
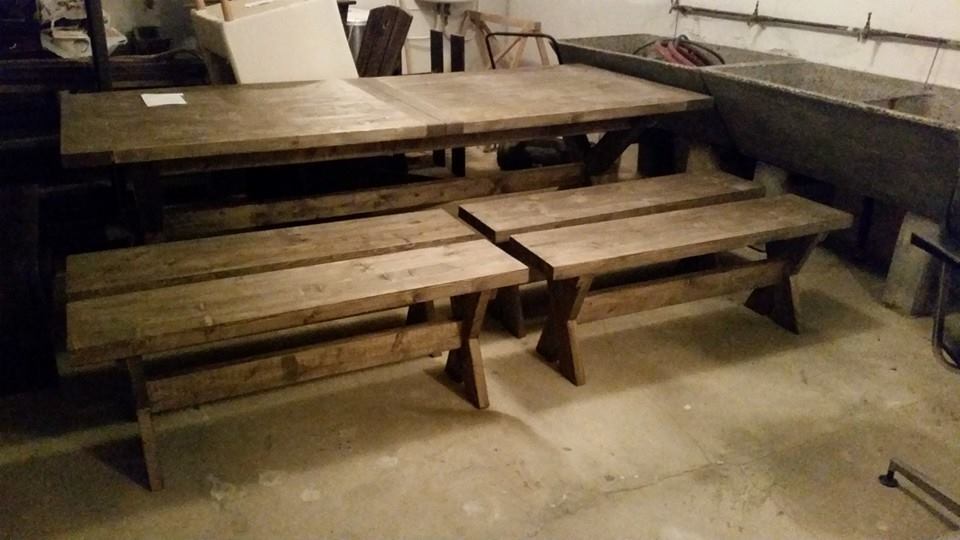
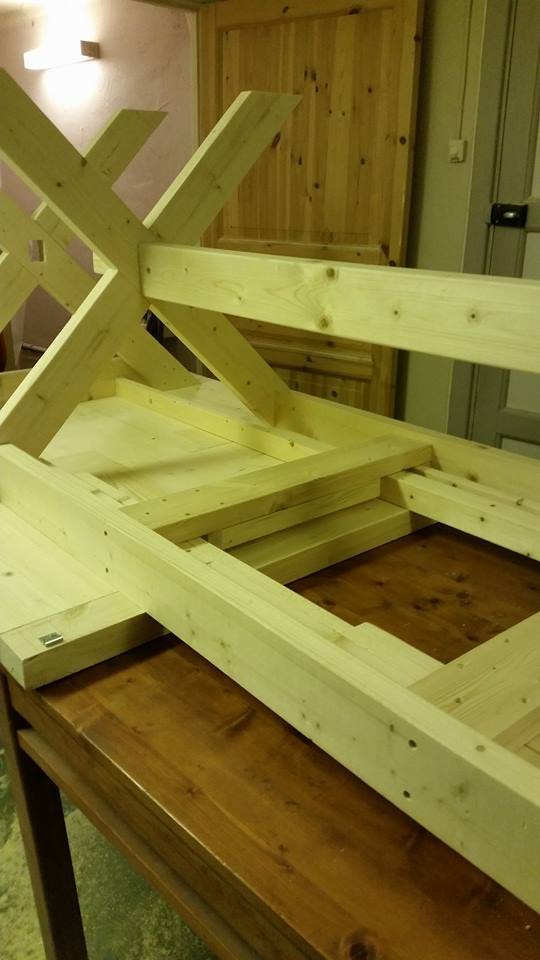
My girl wanted a long sturdy extendable x-legged dining table and benches for our big family and guest for our new house. Extendable from 2,5 meter to about 5,2 meter. Sorry for the picture qualities. Can post pictures later when the table is placed in the new house. Right now its in the basement waiting to be moved ;)
Sat, 11/29/2014 - 07:29
This is a gorgeous table! I love how far it extends! Great job!

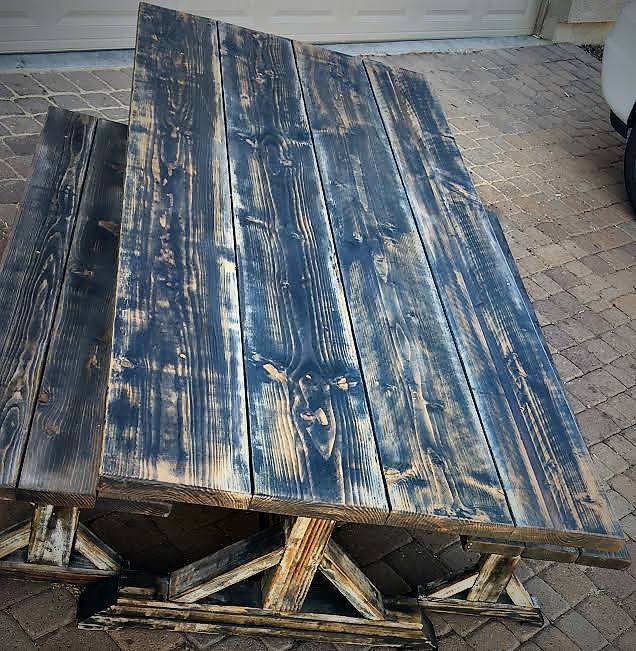
Using the plans for the farmhouse table, I took them and modified a bit and this is what I have come up with...so far... many more projects to come!
I was planning on building a greenhouse some time next year but I just happen to see this by chance and fell in love with it. I've always built from my own designs but when I saw this I decided to purchase the plans. I couldn't be more happy with it. Right now its doubling as a feed room. I wanted a solid foundation so I build a floating deck to mount the walls on. The deck added quite a bit to the total price.
Wed, 12/23/2020 - 09:52
Love that you're able to double it as a feed room, great job on this build!
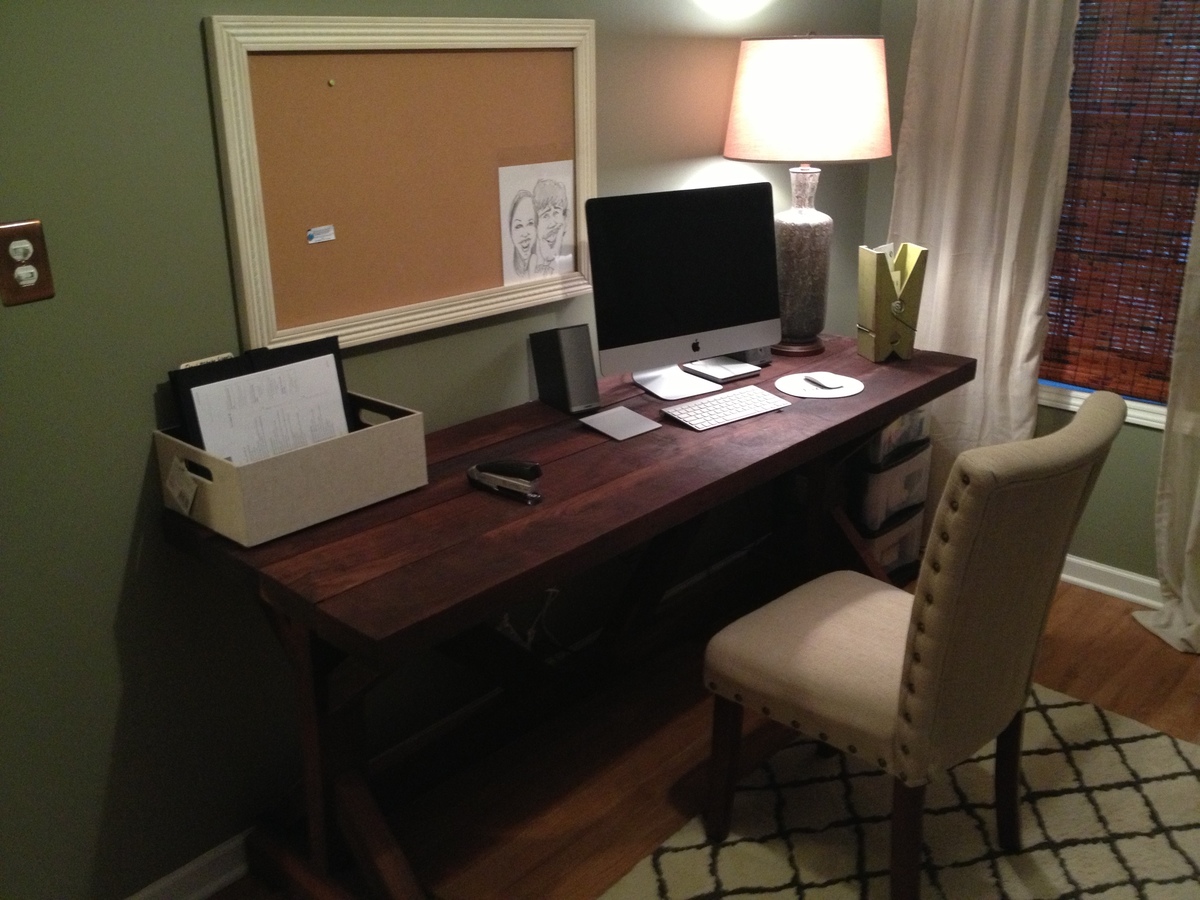
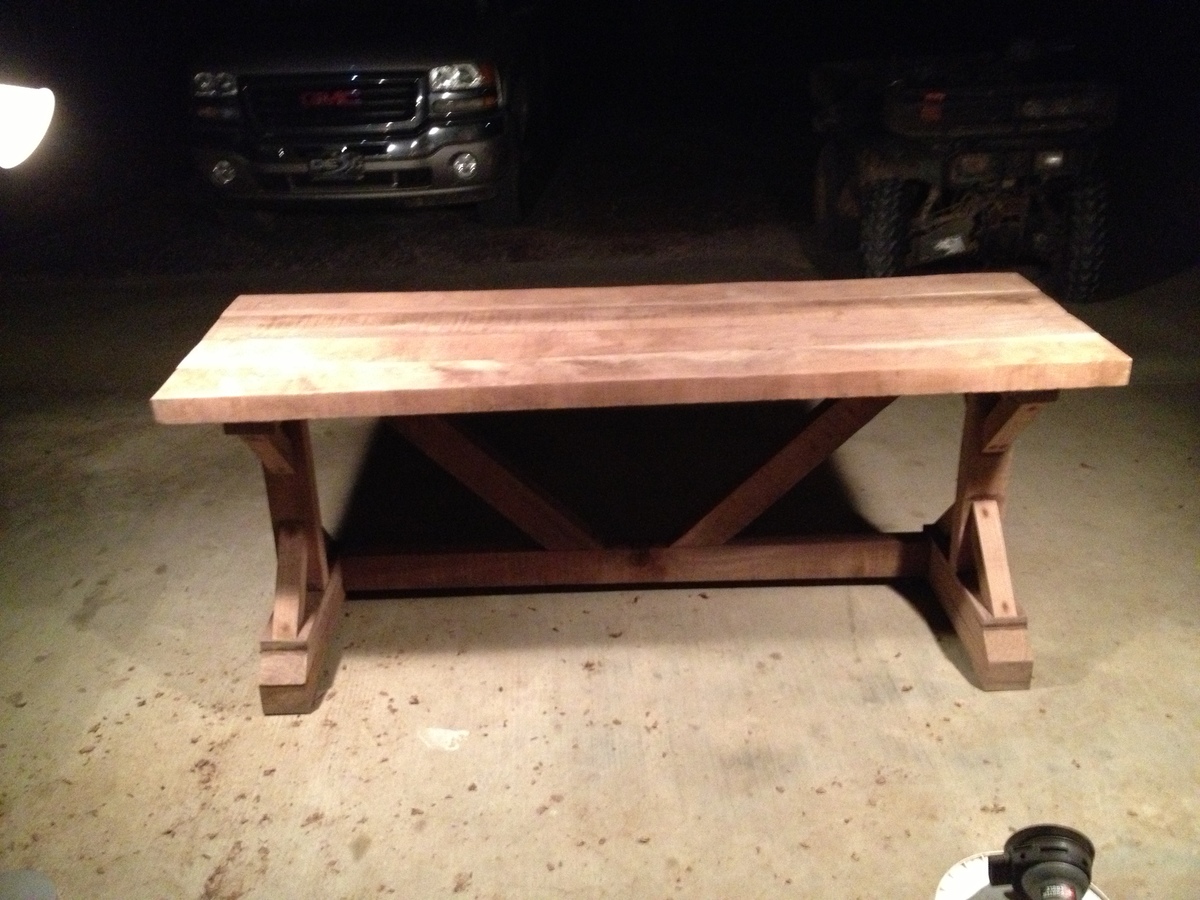
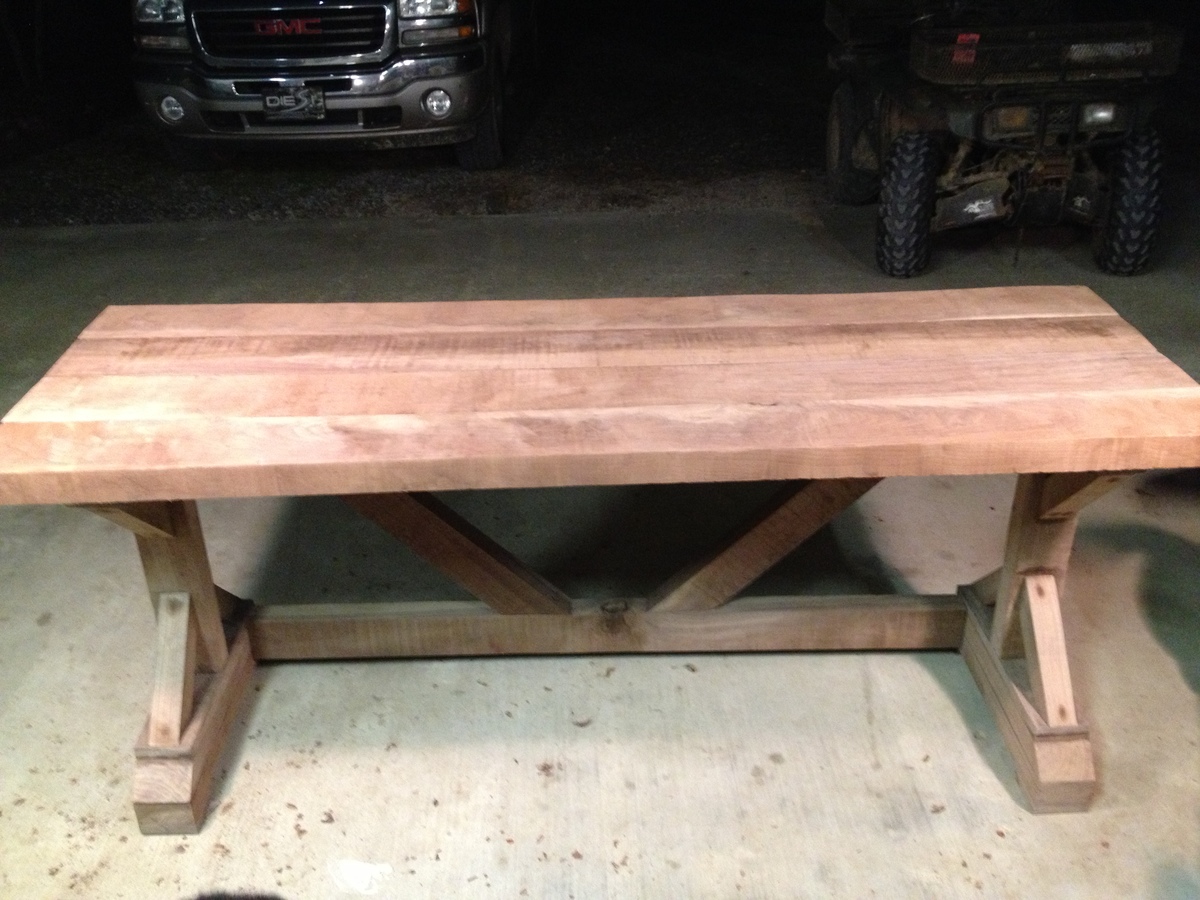
I chose to make this great looking desk out of Walnut wood. So, obviously its not the $55 dollar fancy X desk that Ana White has posted, but it does share the same design. We were looking for a heavy, sturdy, and large desk for our office and I simply added linseed oil to bring out the natural beauty of the Walnut wood. Thank you so much Ana for giving me the tools I needed to complete this project. Feel free to email me or message me if you have any questions, comments, or suggestions. [email protected]. Thanks
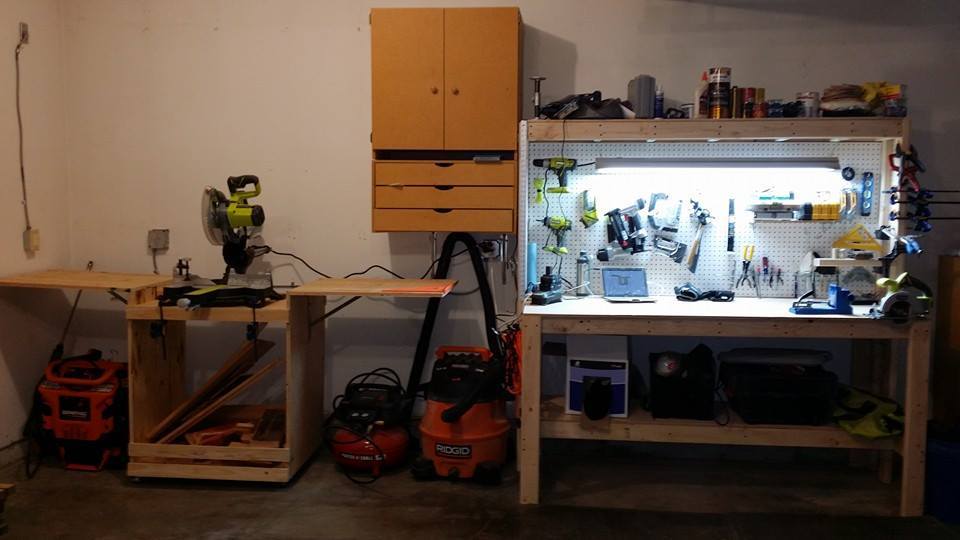
works great!
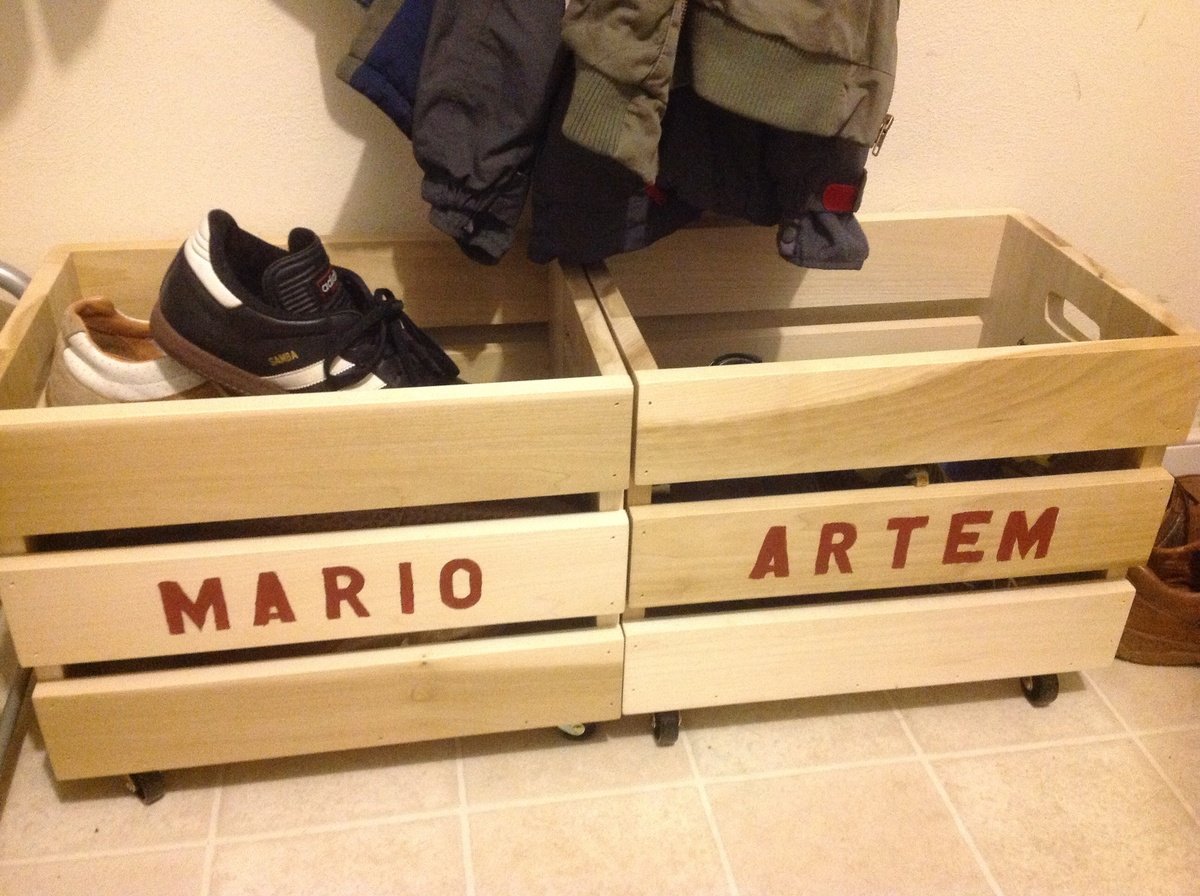
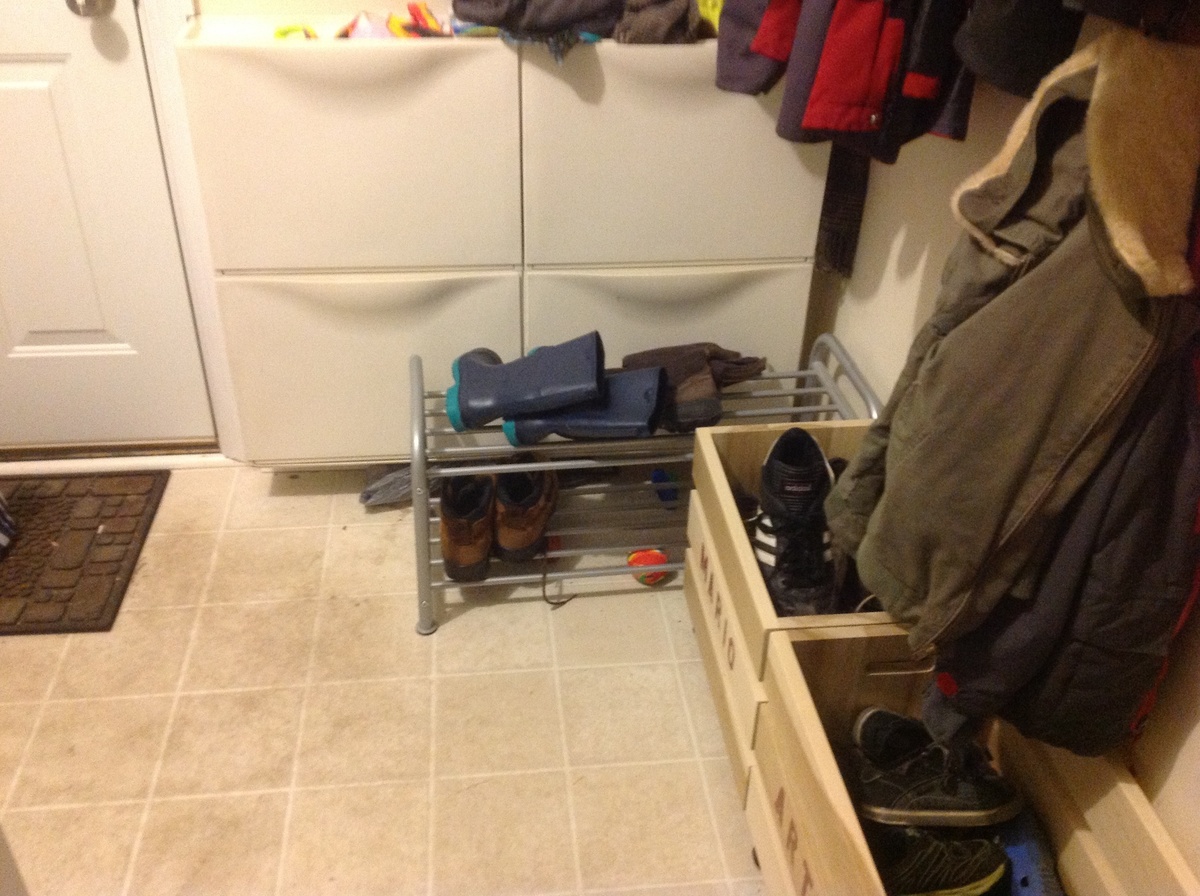
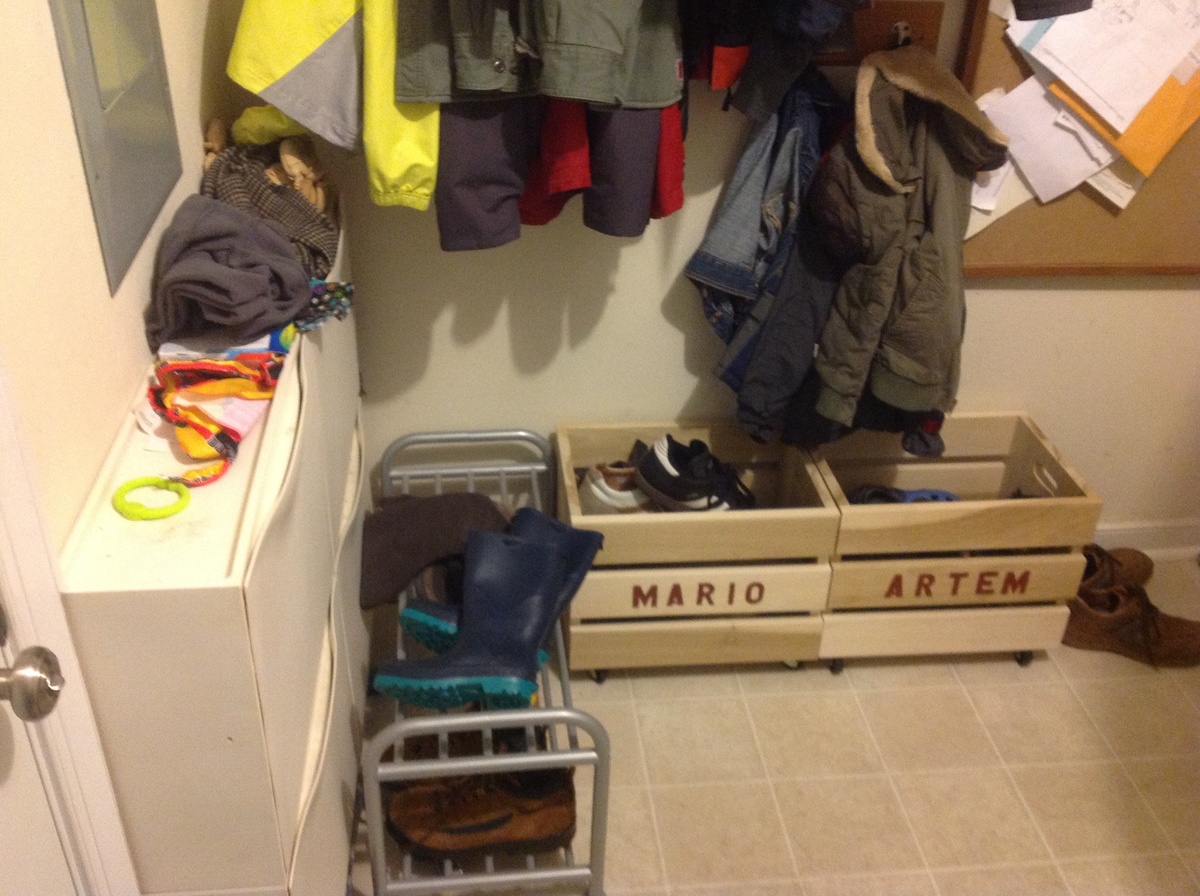
I saw someone's brag where she used this plan for shoe storage. I thought it was a great idea. It sure lets me clean the floor better, just roll it out of the way, clean, roll back. It is so much better than the shoe rack that occupied the space before with such piles of shoes that it was arduous to clean the floor at all. Next month I will take care of the second shoe rack for my own shoes.
It was so simple, I loved making them. Grandpa and I had fun. The best part, you can make them quick because the don't have to be perfect. And Grandpa's nail gun made quick work of all the attached boards. All boards were also glued and sanded.
Ana your site gave me the confidence to solve my own furniture problems with custom solutions. Thanks, I can't wait for my next project.

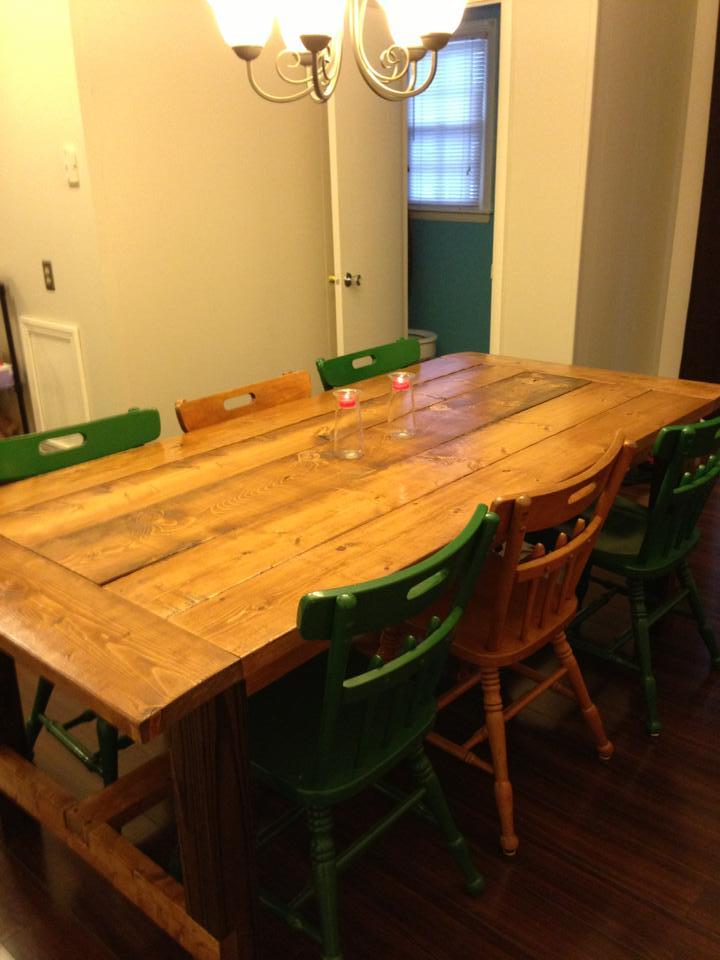
We recently moved from a 530 sq ft rental house to a 1700 sq ft rental house. The one kitchen table that we had in the little place was needed in our library/craft/homeschool room so I needed something knew for the kitchen. My 8 year old daughter helped a lot (she loves using the Kreig Jig).
I love how this (my second wood working project ever!) came out.
Thanks for making it so easy to create beautiful and custom furniture for me and my family!
Fri, 12/05/2014 - 17:31
This is my first brag post. Any tips on why the photo is sideways and there are weird links in odd spots?
Thanks!
Tina
Fri, 12/05/2014 - 19:59
When my photos posted sideways, I used microsoft paint to rotate and saved as a new photo. This seemed to solve the issue.
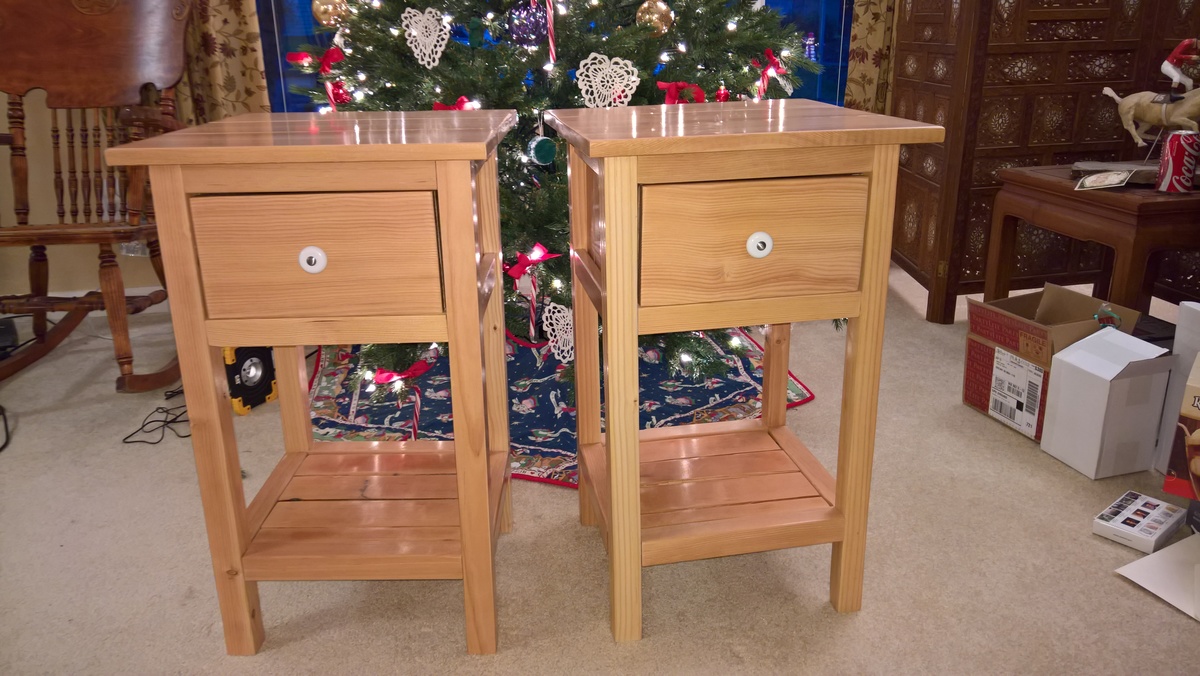
I made these nightstands with reclaimed siding and fir flooring, and scrap wood from a remodel they will ultimately furnish. I found the matching knobs for $1 each at a building materials salvage yard.
Comments
Ana White
Fri, 11/21/2014 - 09:16
This is sooooo cute! I love
This is sooooo cute! I love it!
Pauline Henderson
Fri, 11/21/2014 - 20:59
Awesome!
This is awesome. I love the white drybrush over the dark. :)