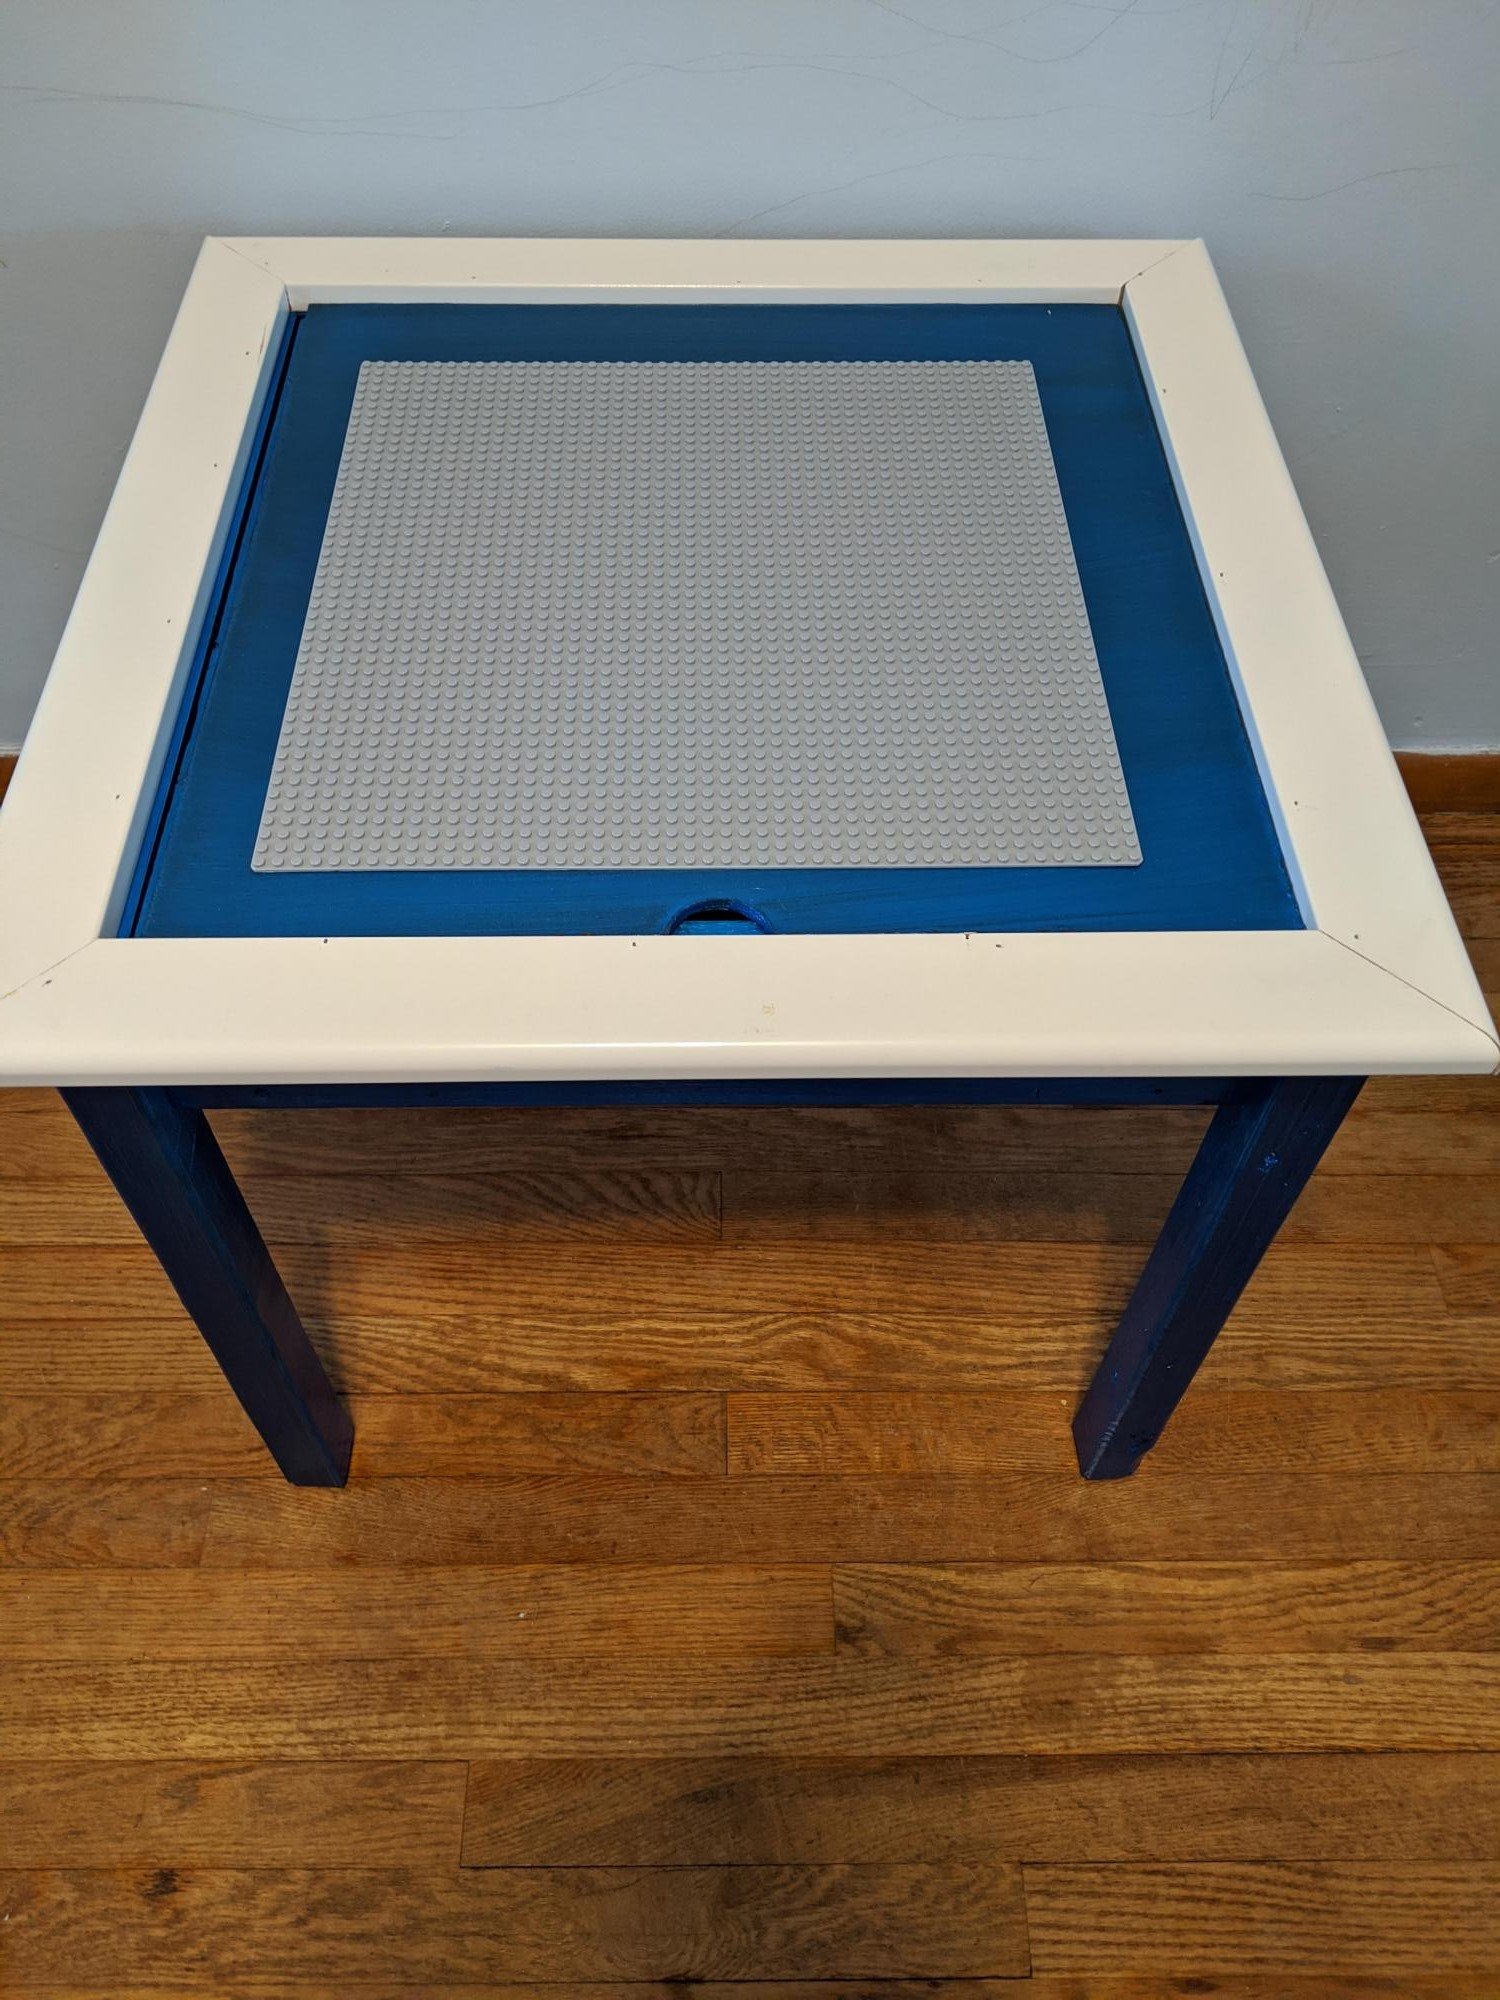
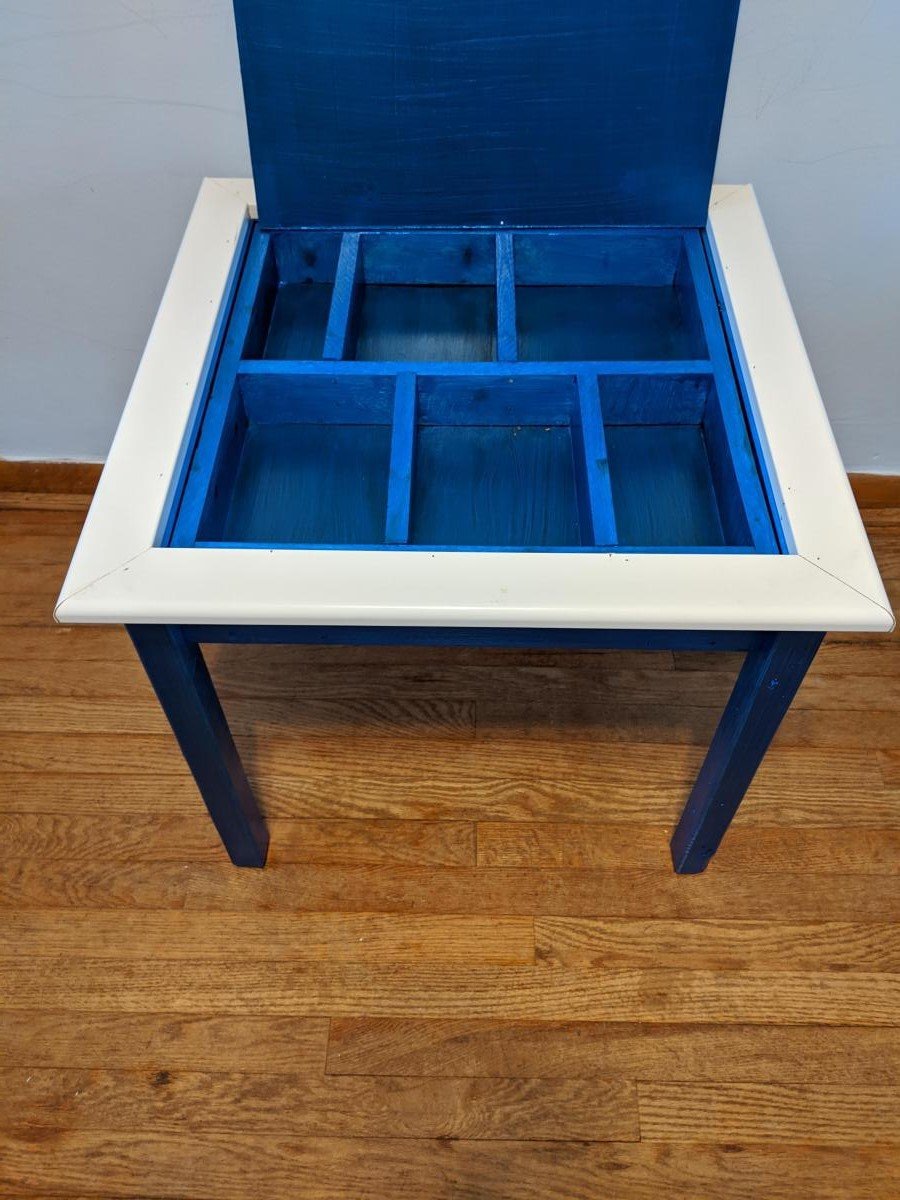
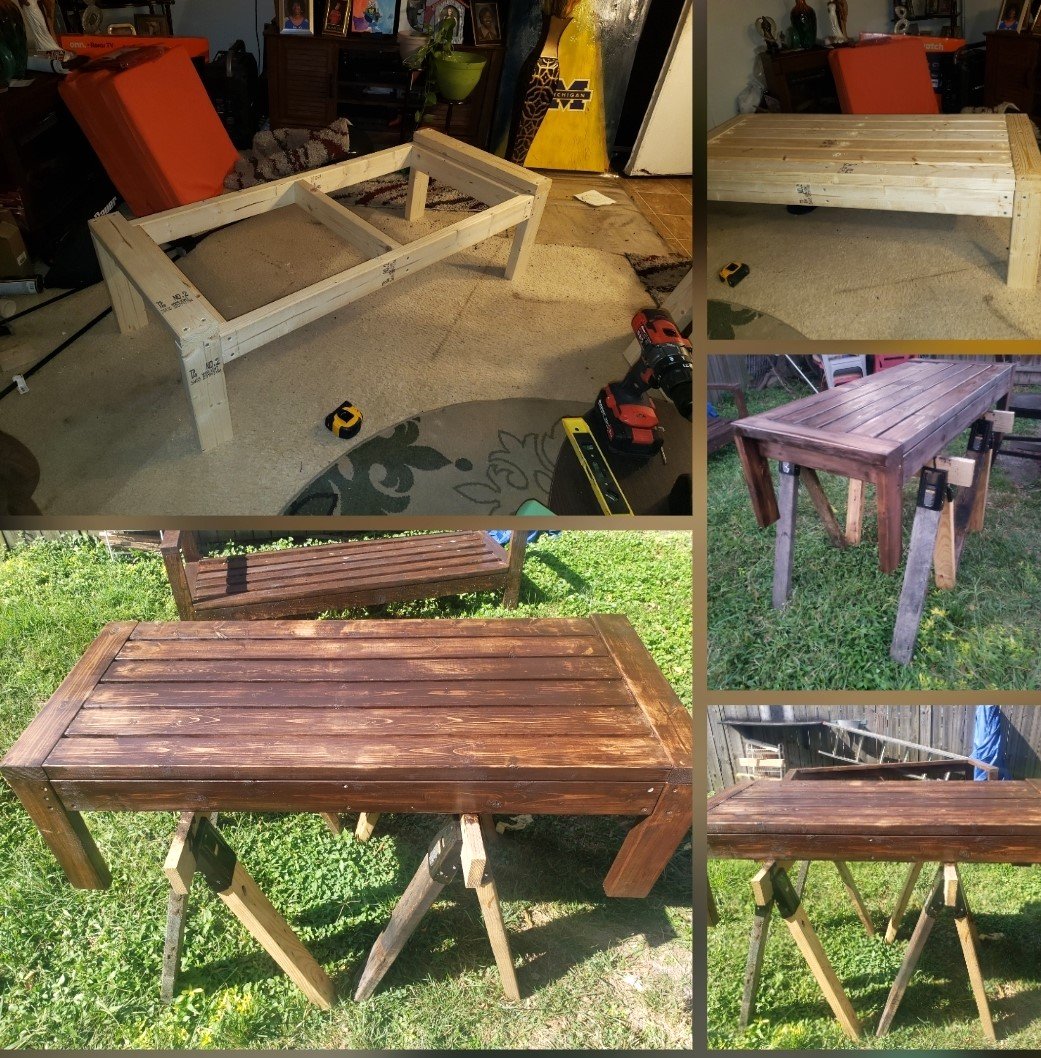
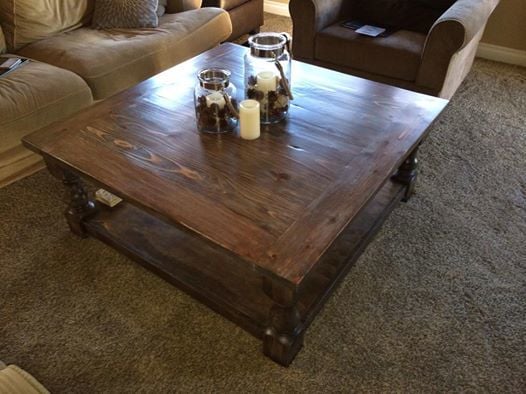
Sandbox with built in seats/lid

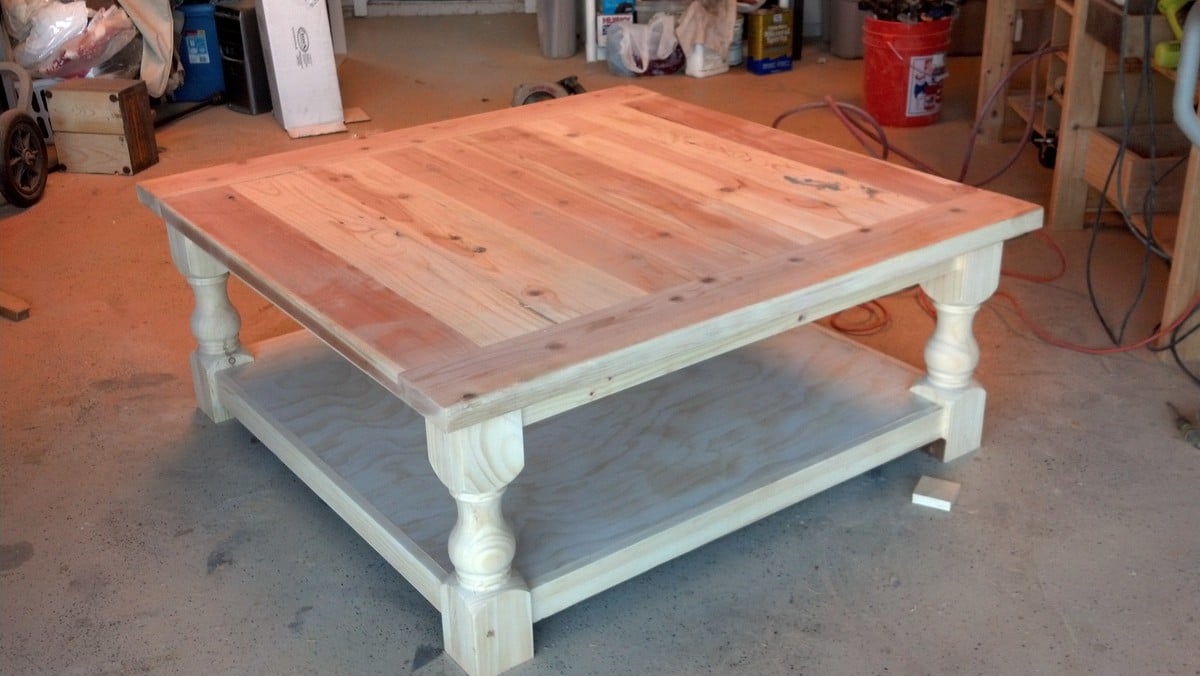
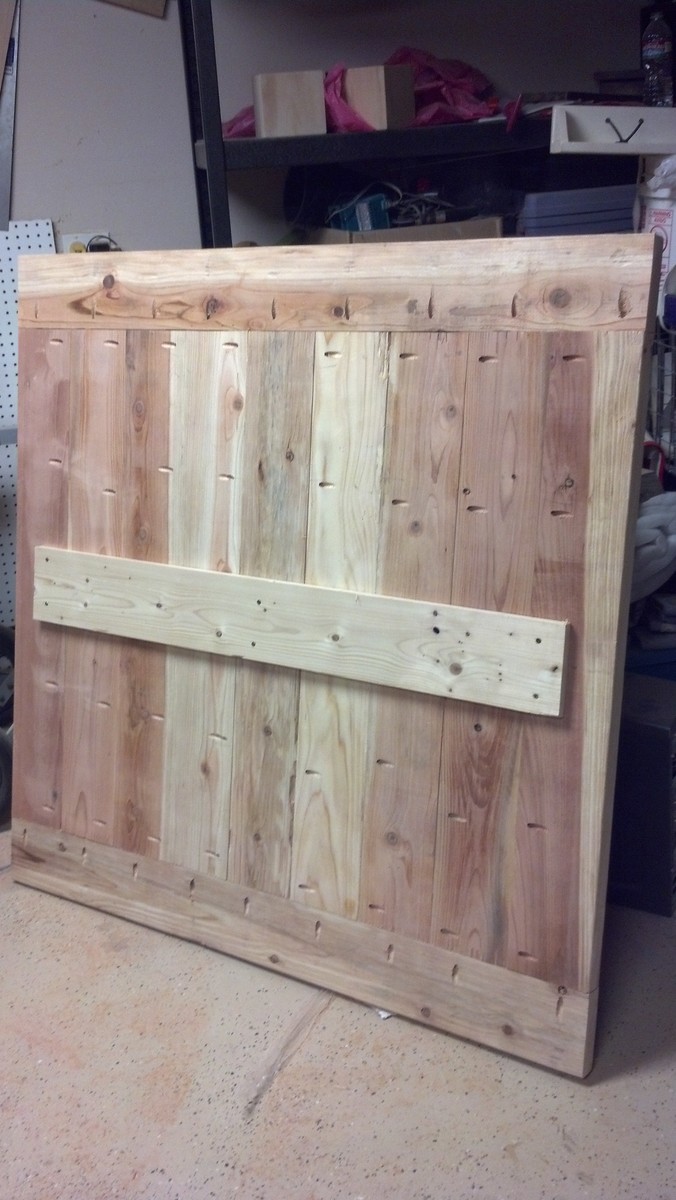
6'x6' with 12'' Treated Sides, 1x4 and 1x6 SPF tops/seats and 2x4 Brace under Seats to accommodate the 6 foot span. Sanded and Painted.
Completed in 2 days, couple hours each day, sanded/painted all boards before assembly.

Built from Plan(s)
Estimated Time Investment
Day Project (6-9 Hours)
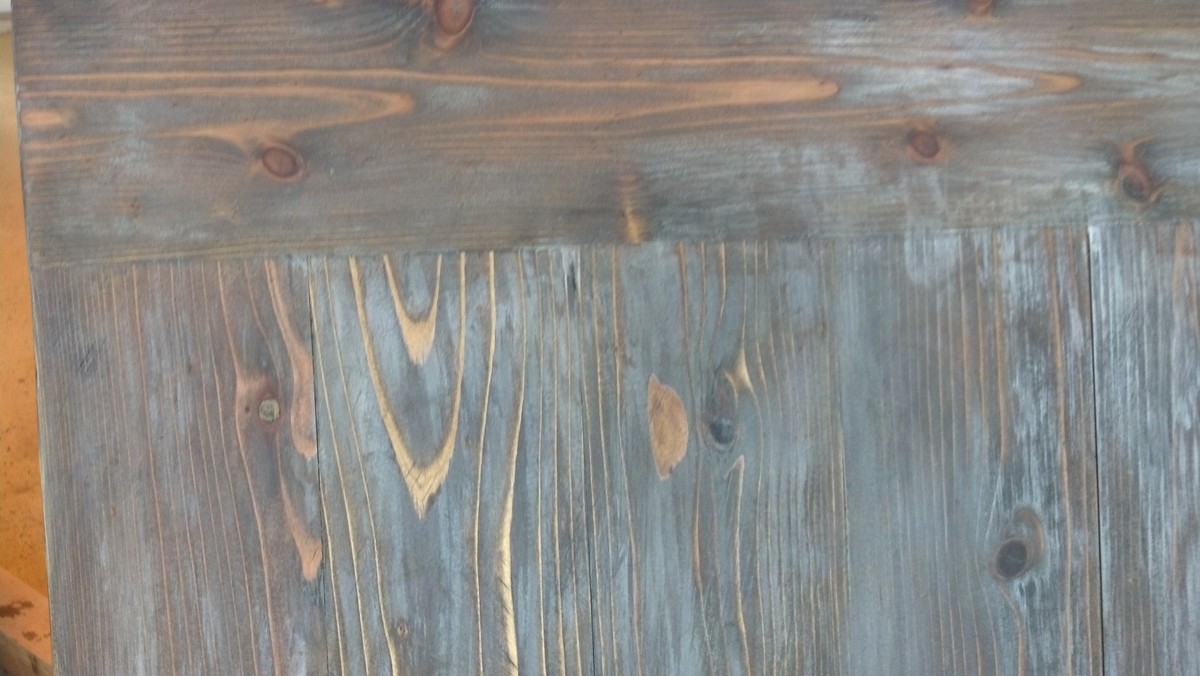
Finish Used
Exterior Grade Paint.
Recommended Skill Level
Beginner