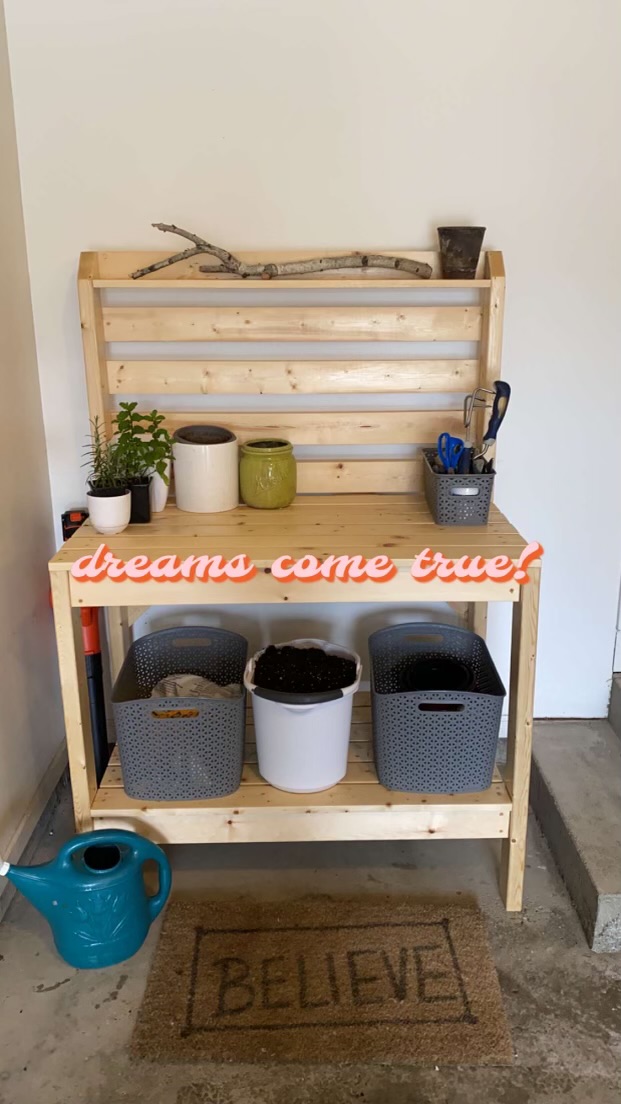
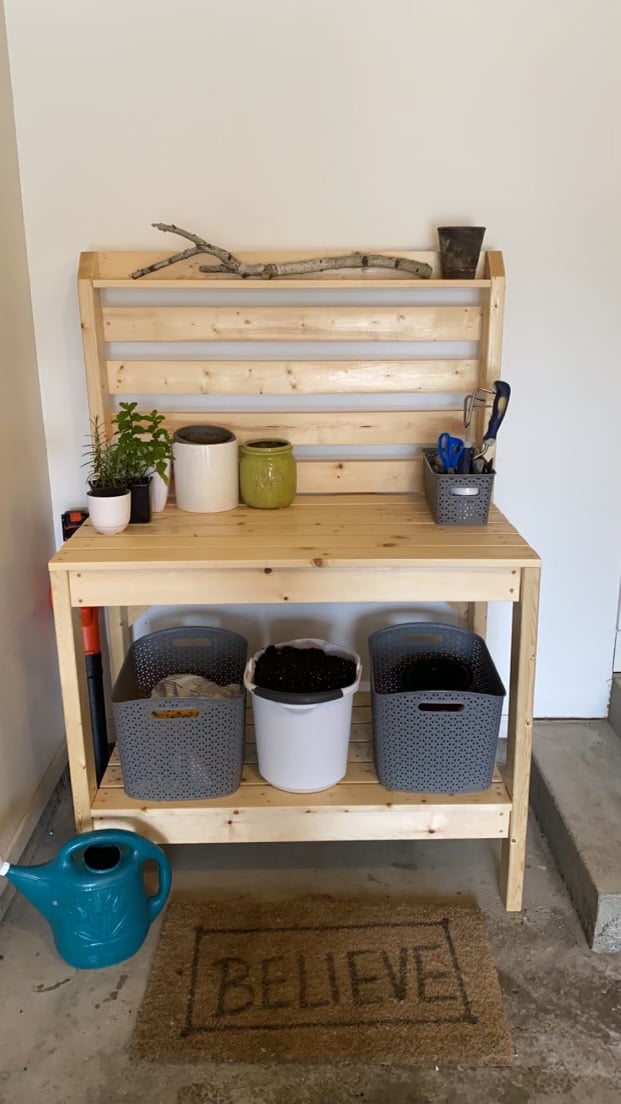
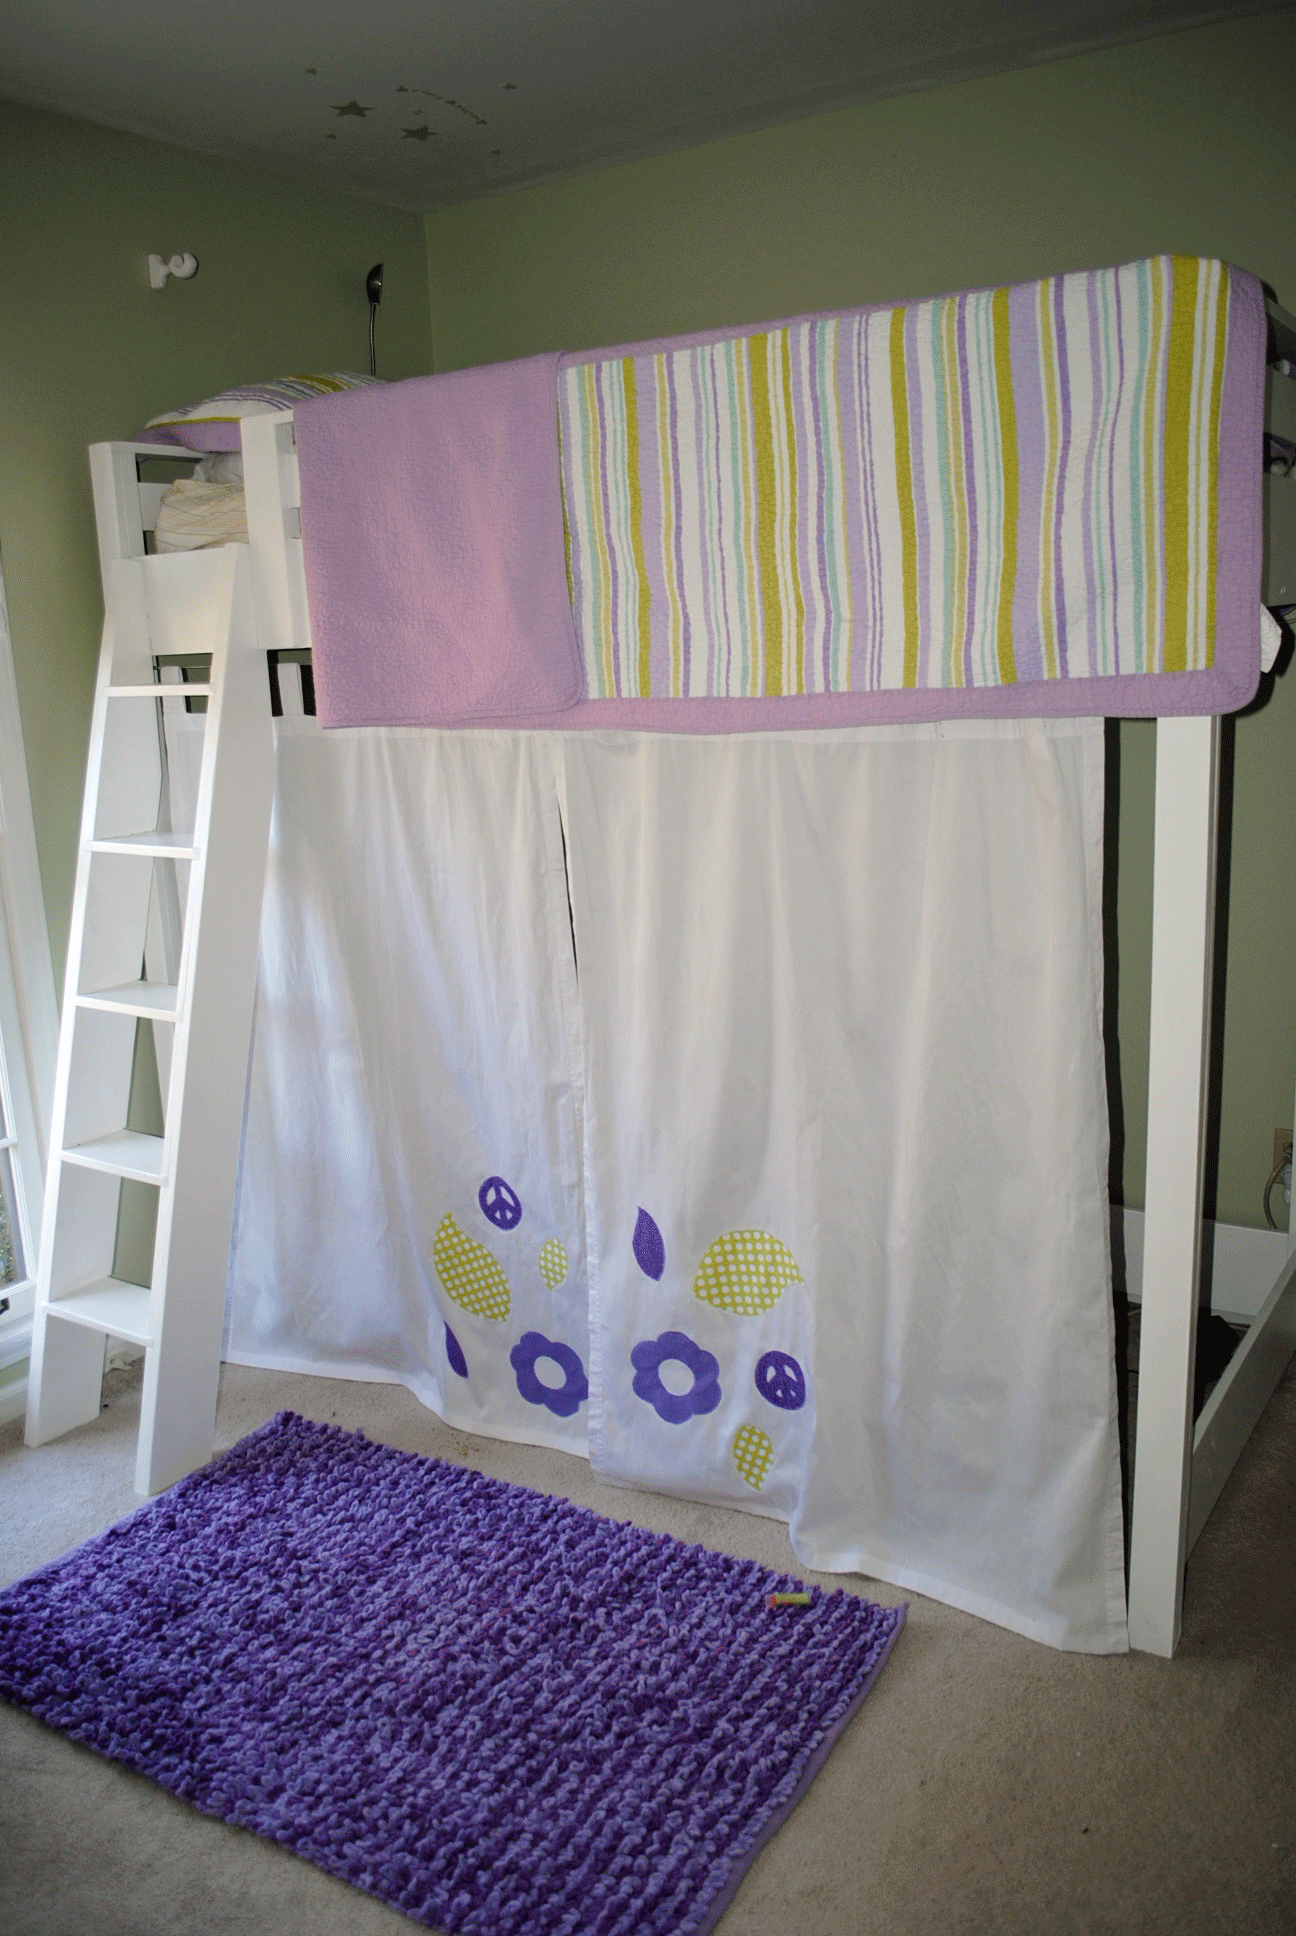
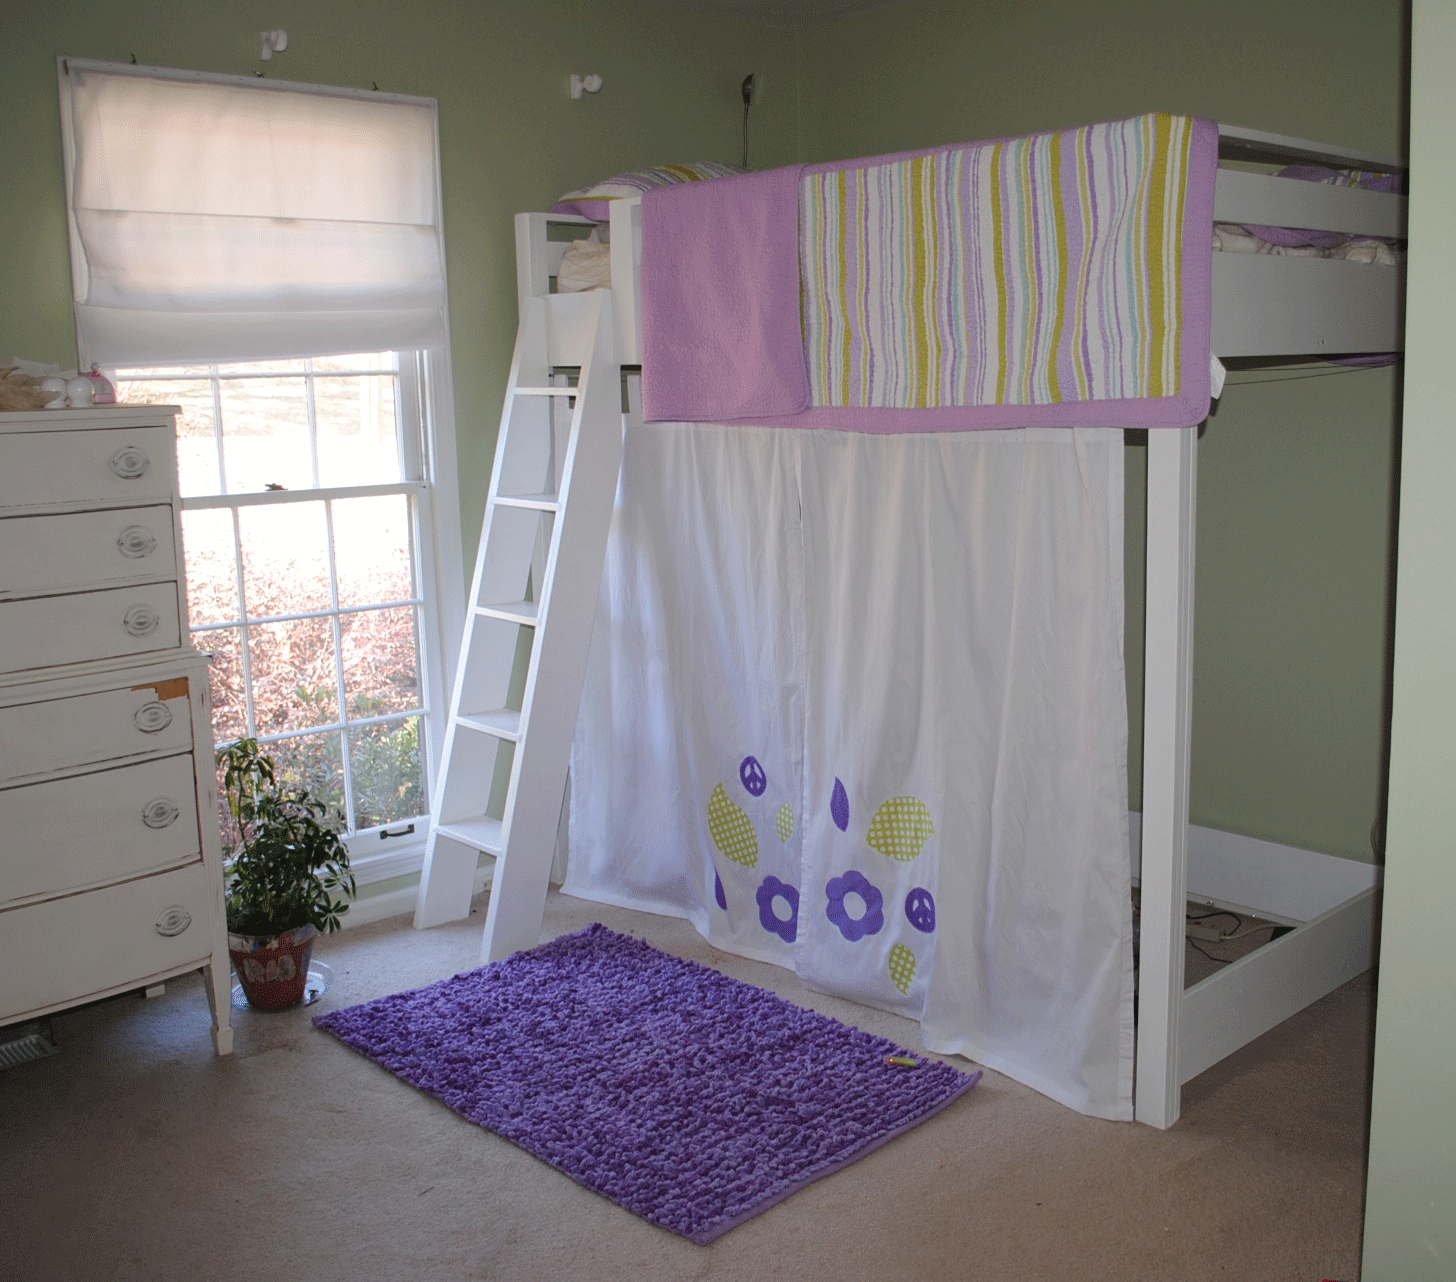
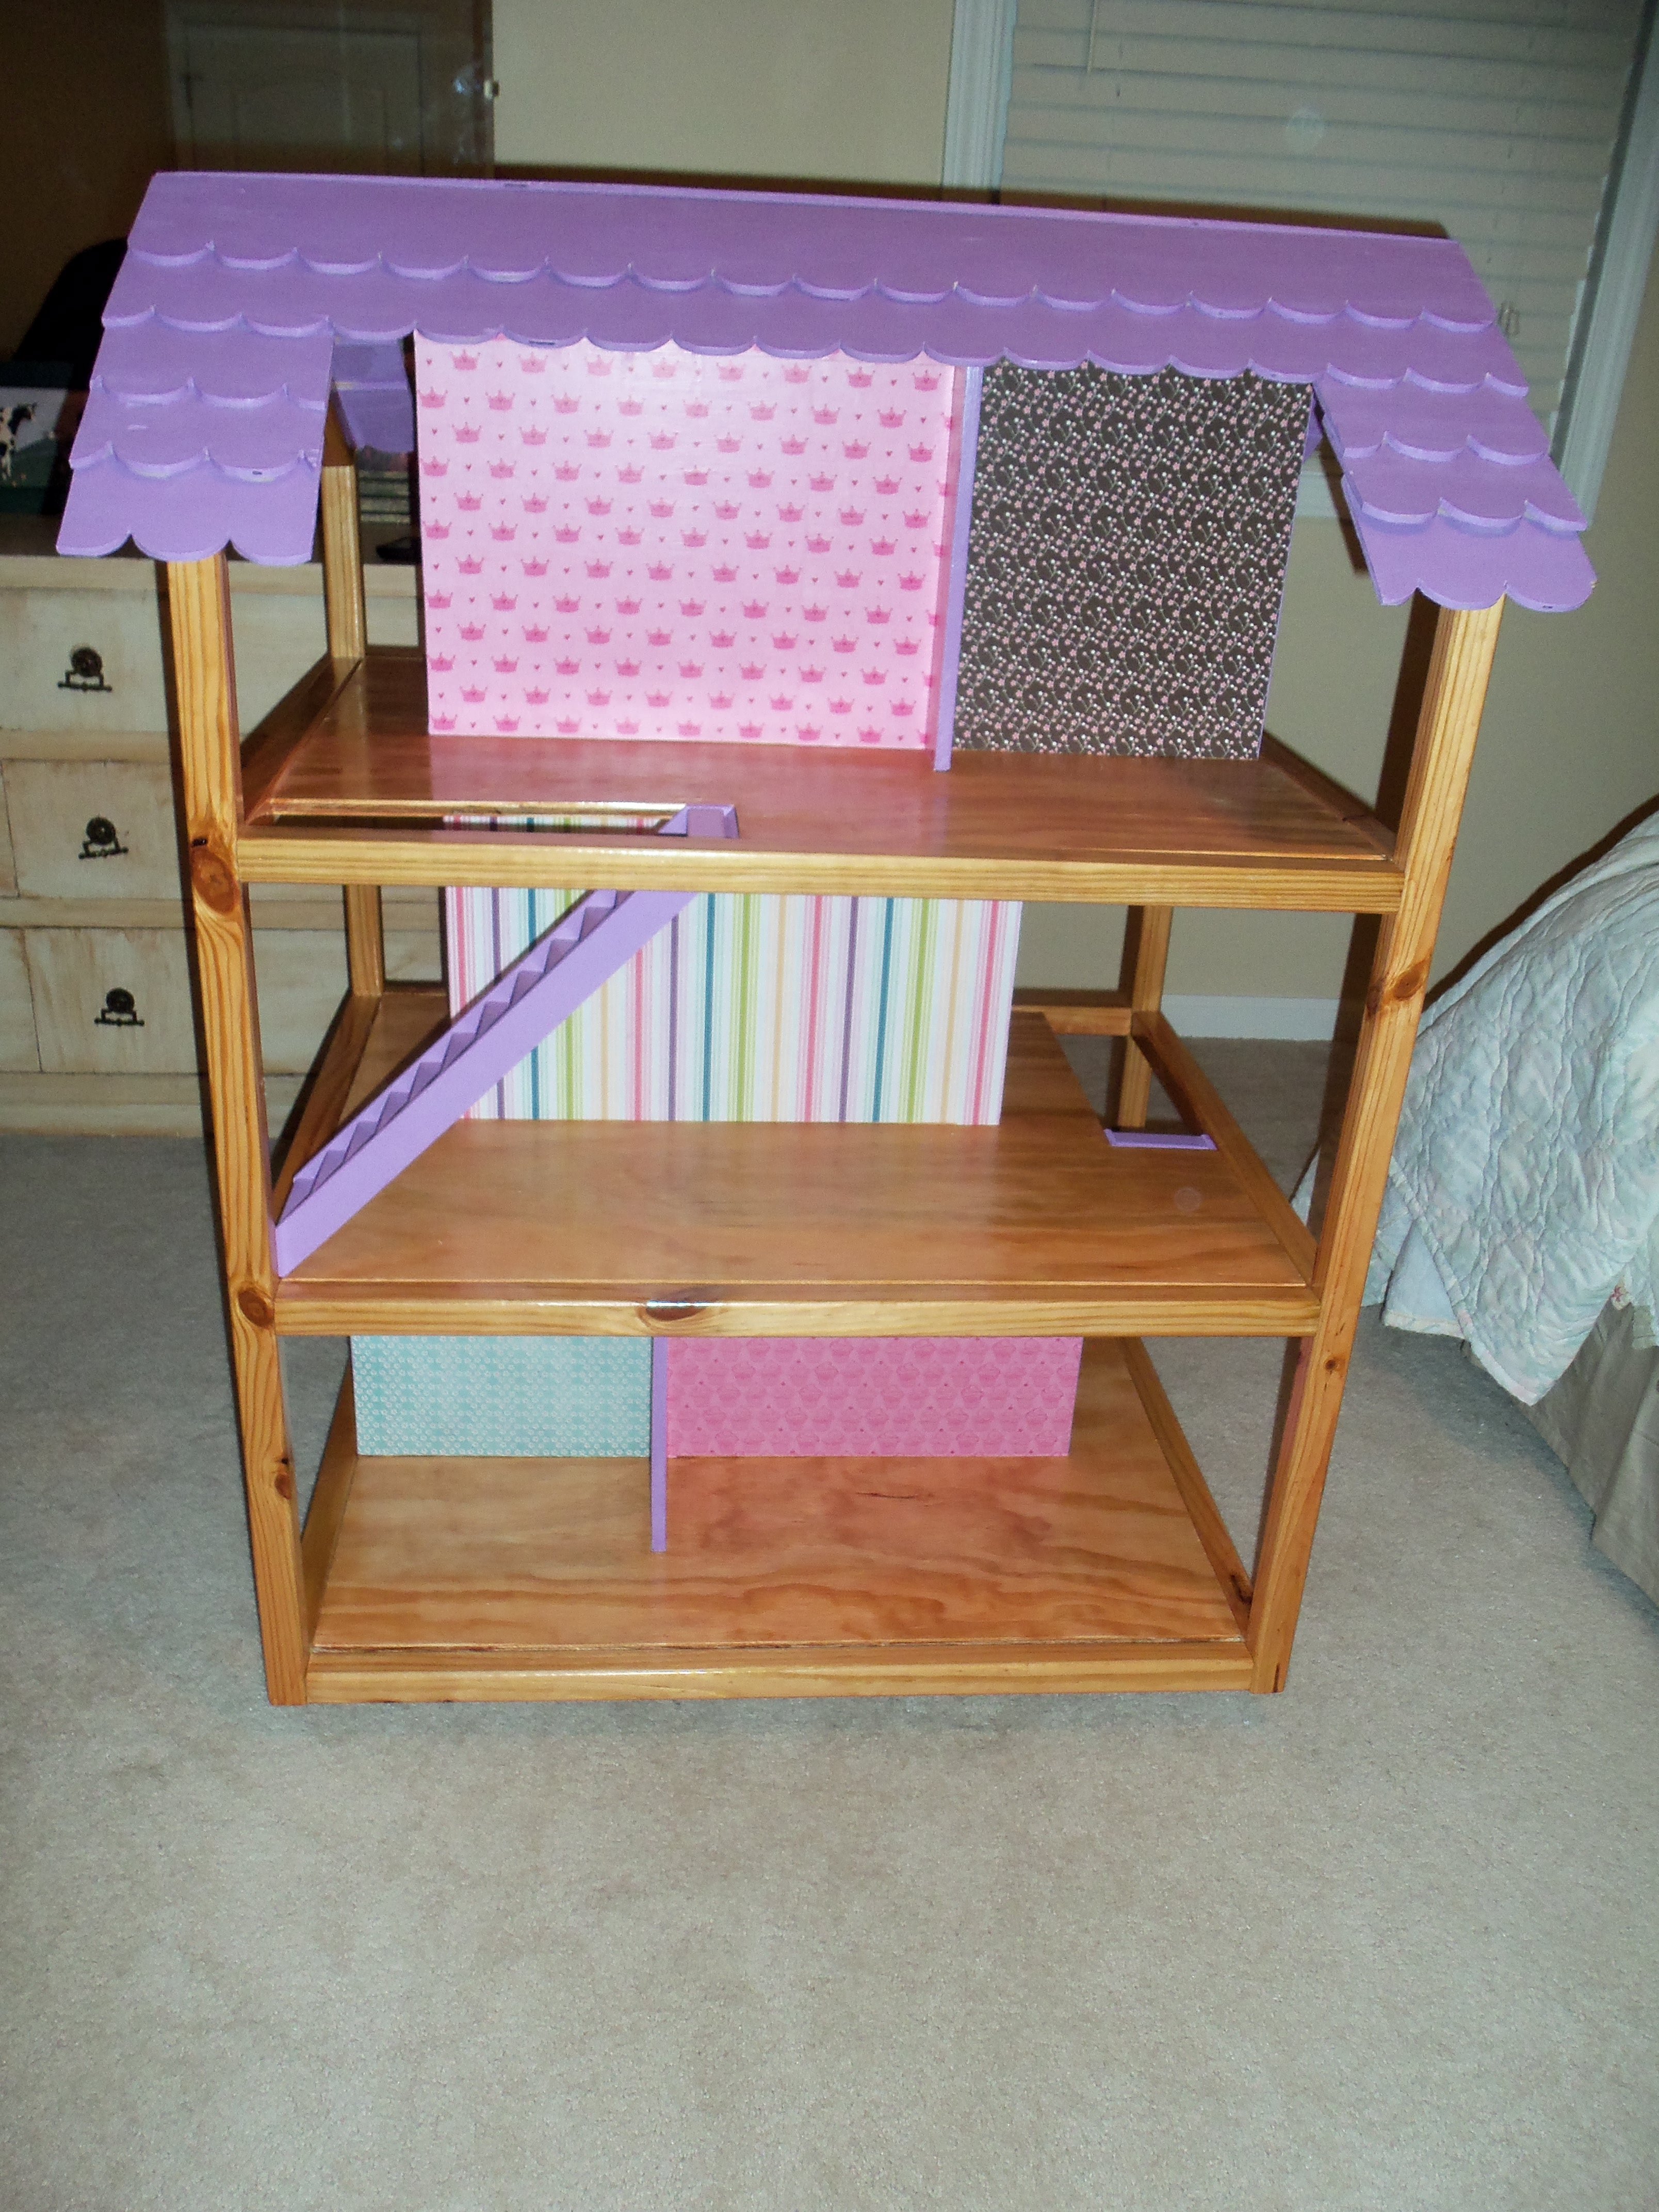
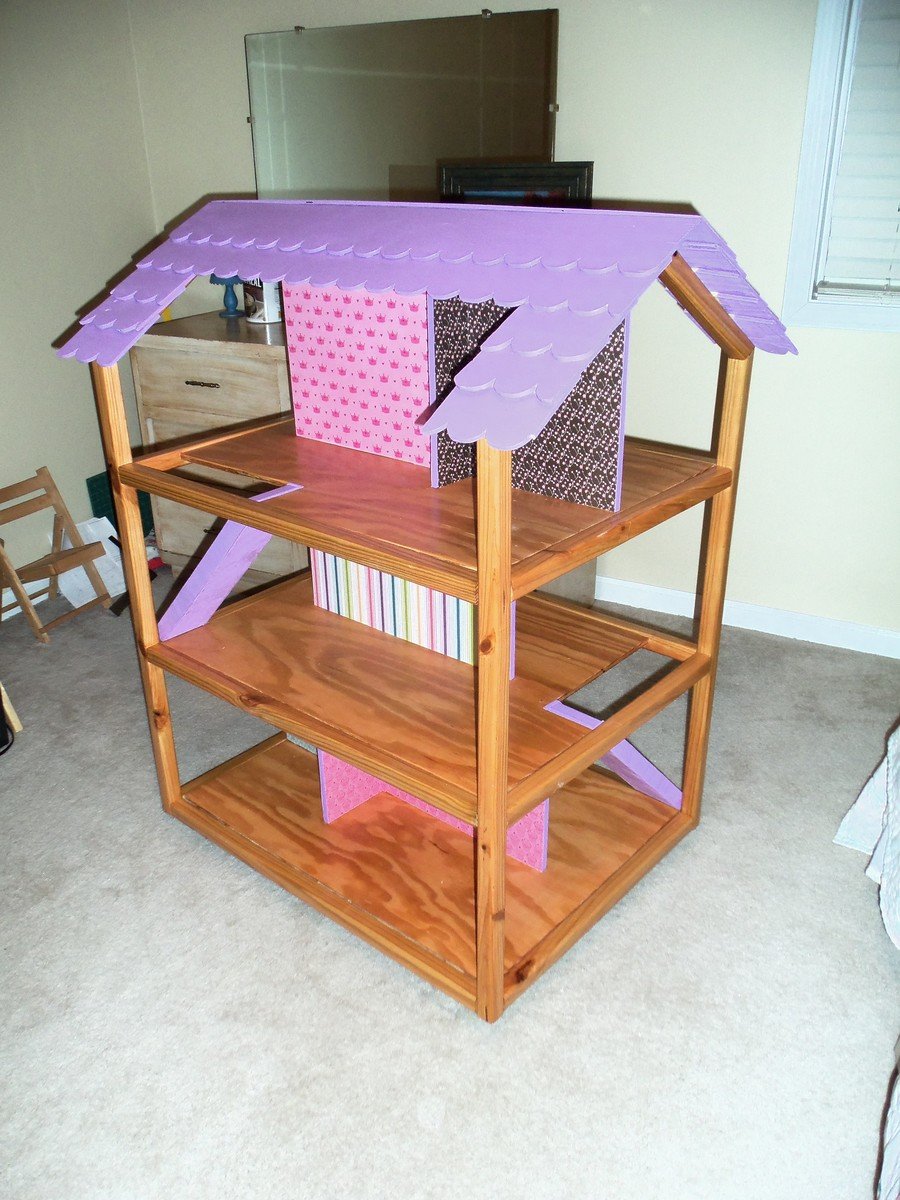
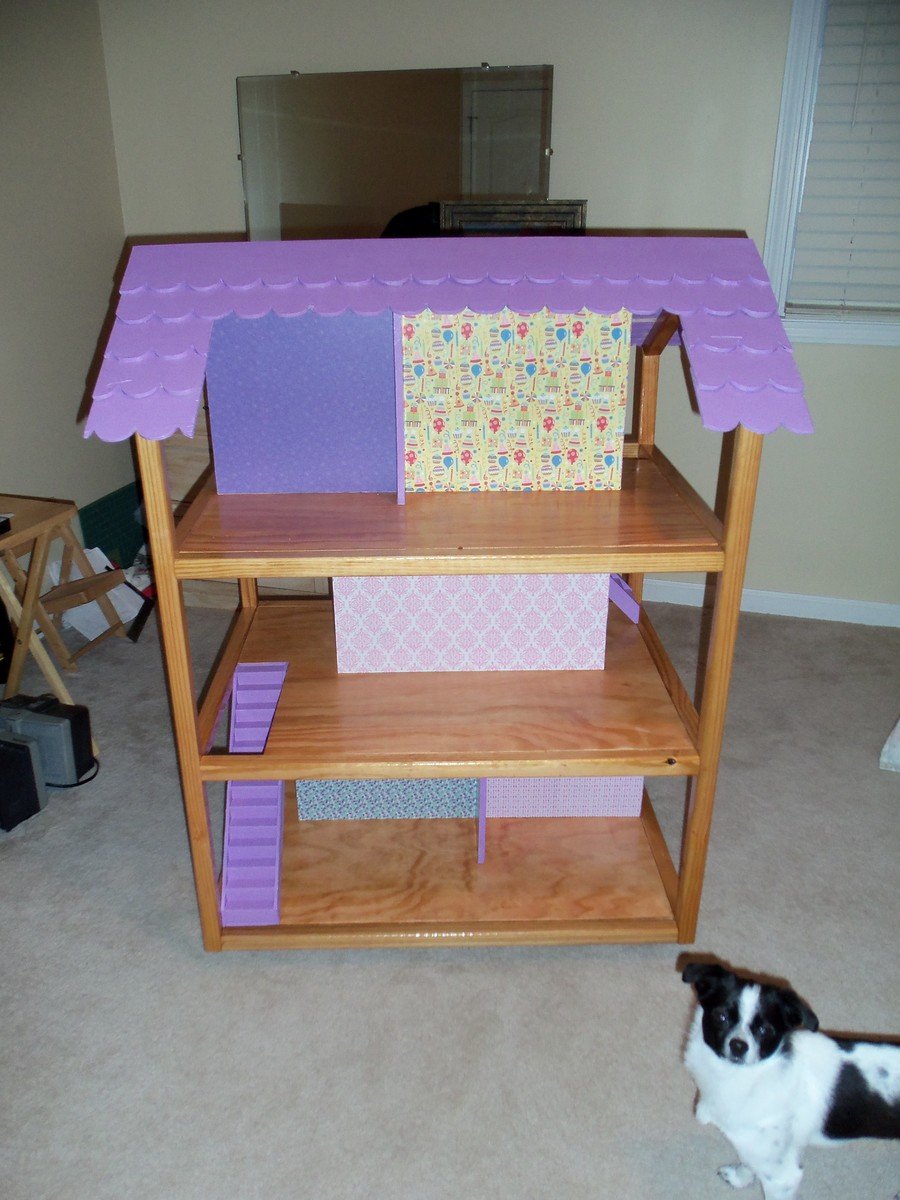
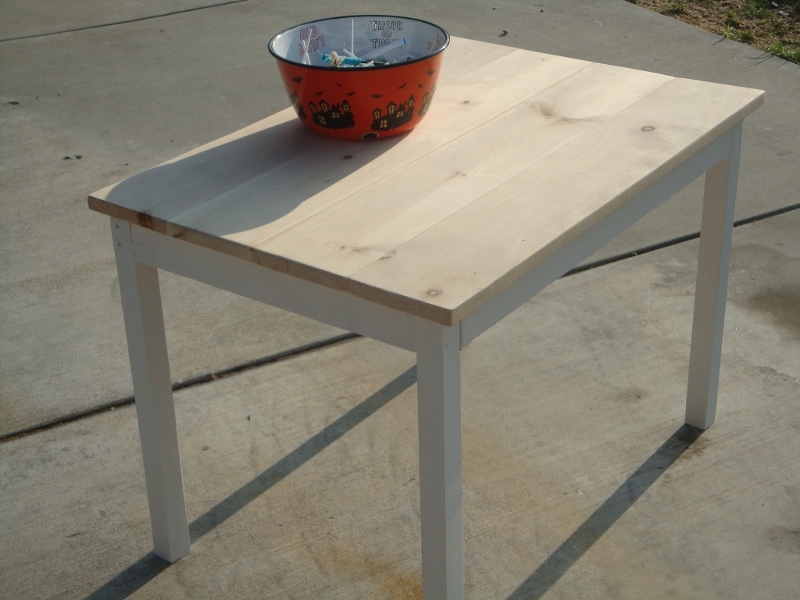
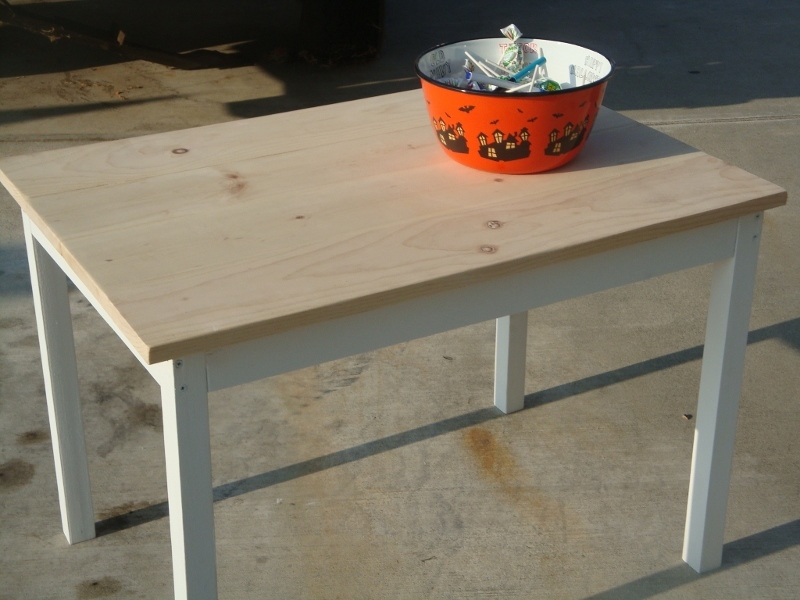
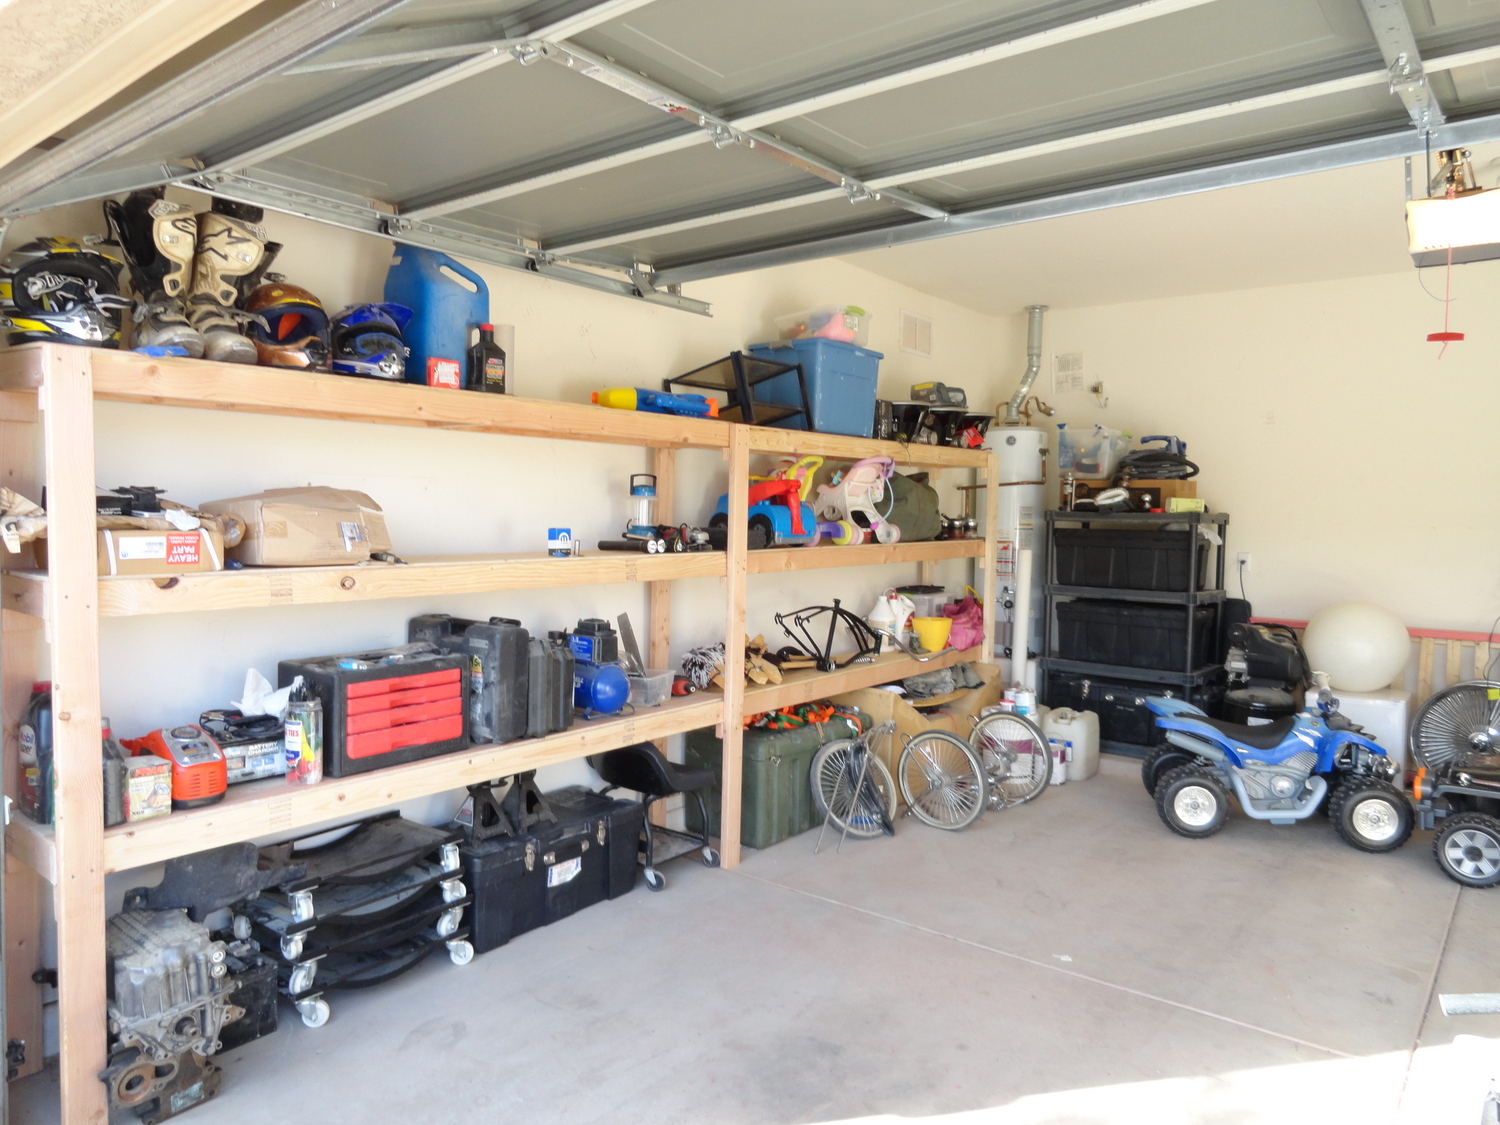
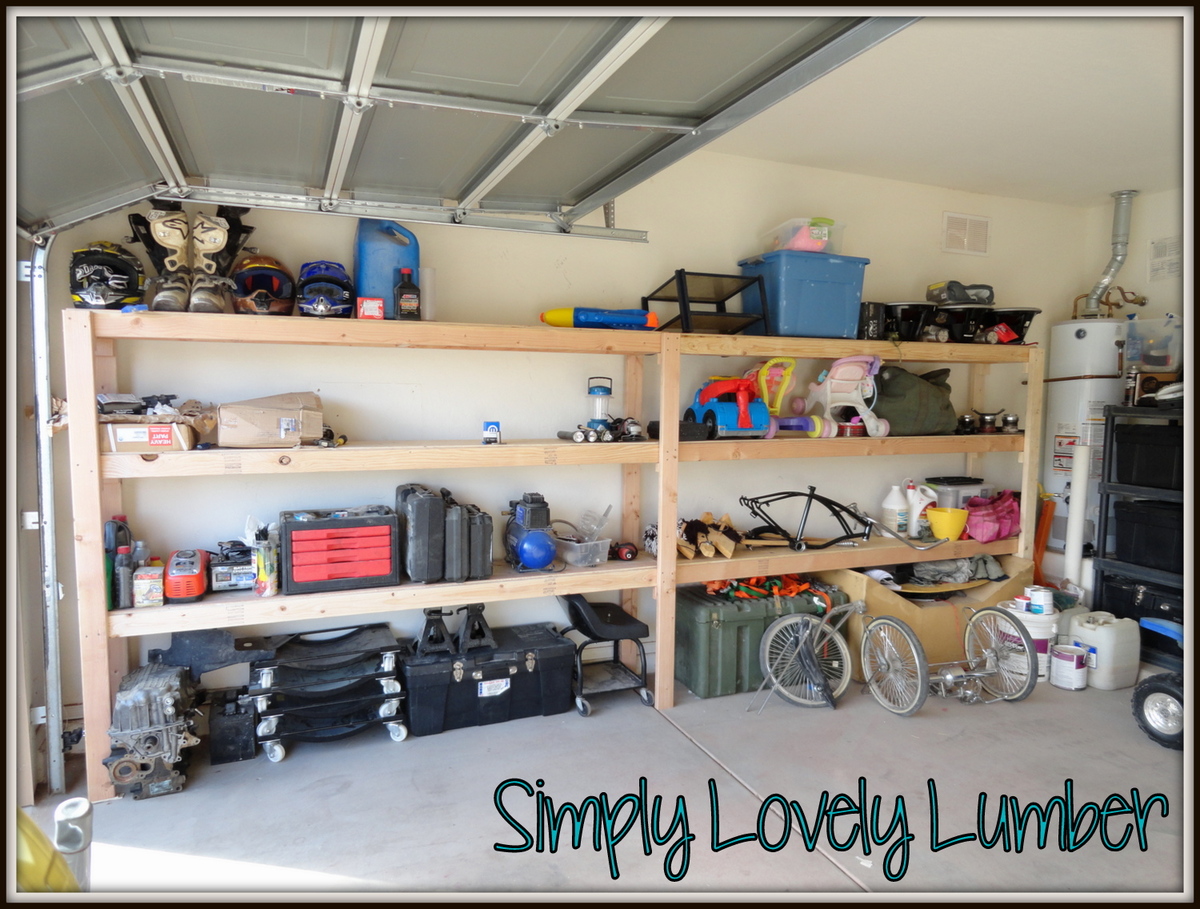
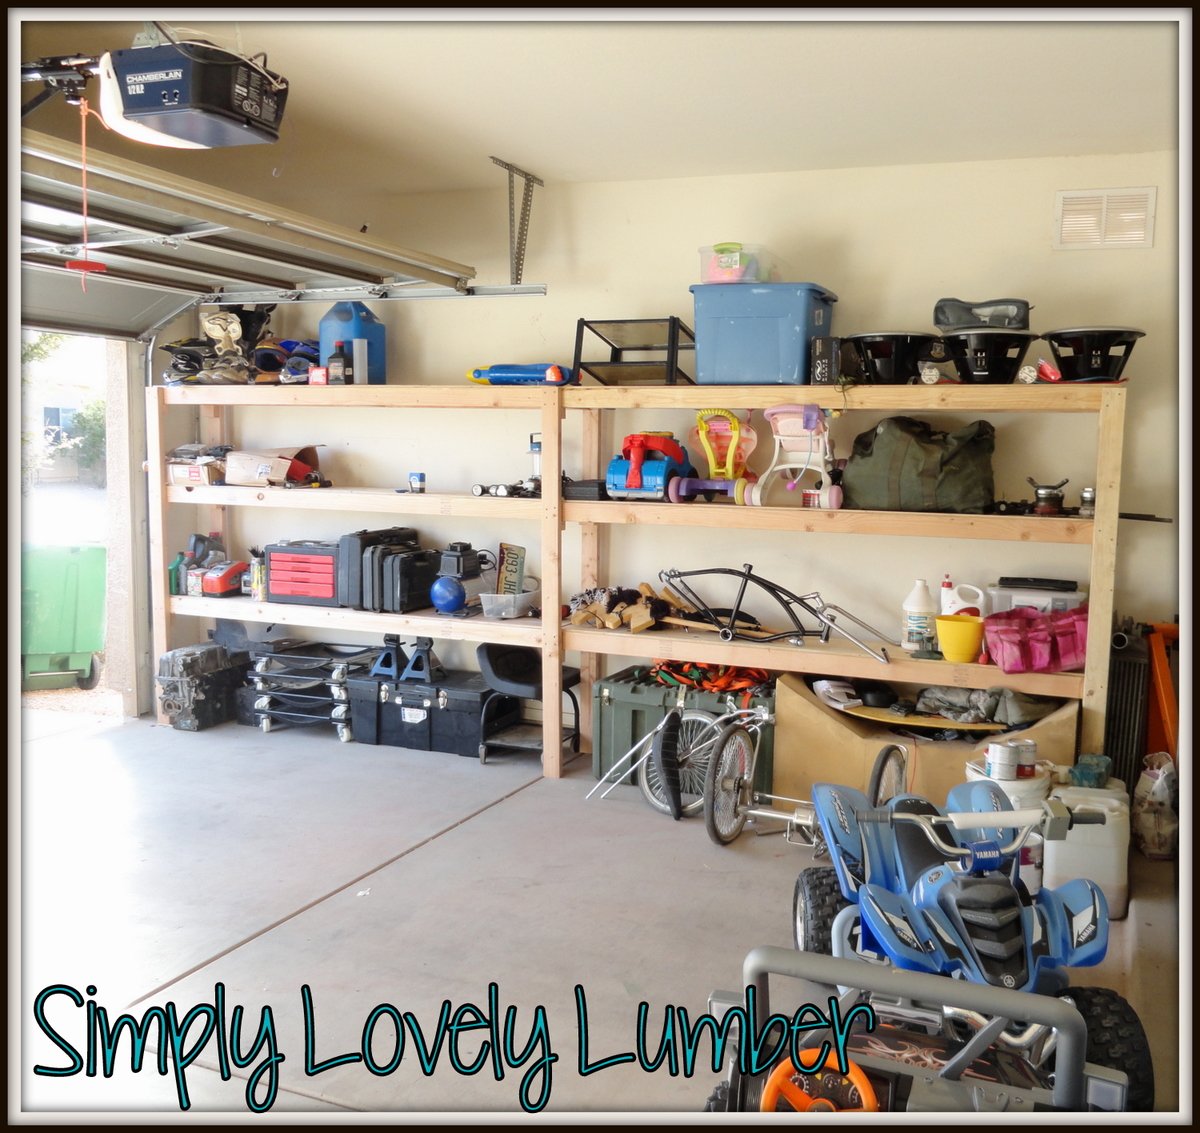
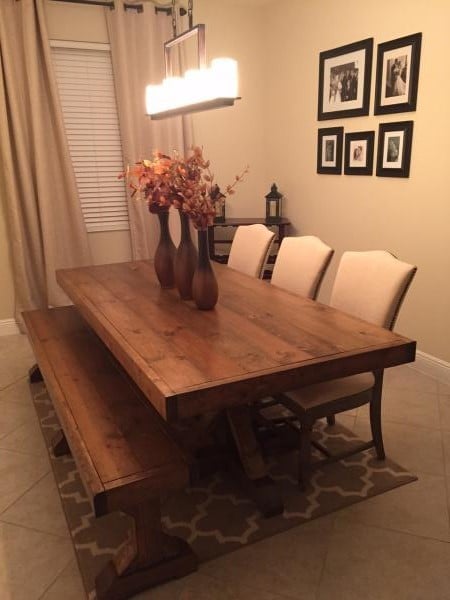
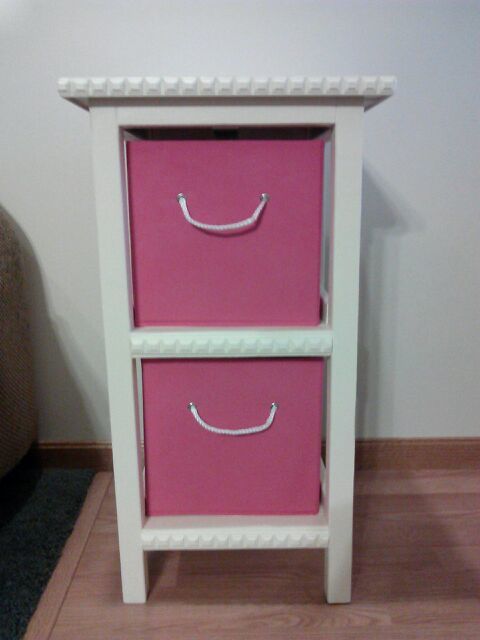
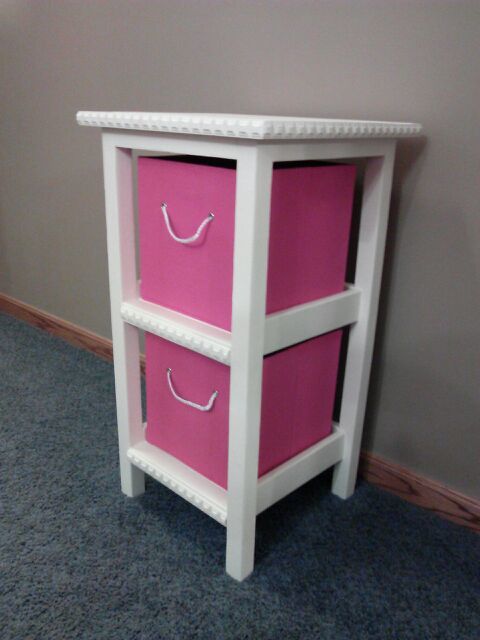
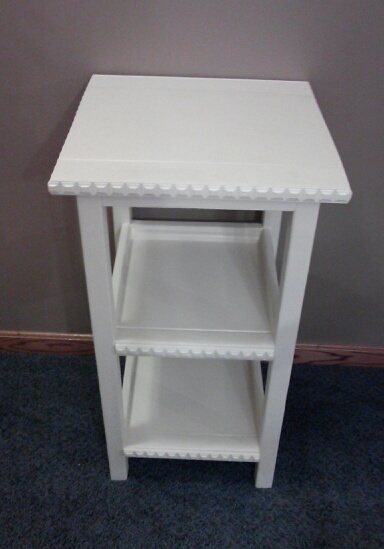
Community Brag Posts

Our Big Boy Fort Bed!

Submitted by Kabarie on Fri, 01/25/2013 - 18:03

This was sooo easy for a first timer like myself. Followed Anna's plan. Learned as I went. Customized a little...started with the end panel..could only fit it cut in sections in car from store, so decided to separate the sections and open it up a little with a peek a boo window. Used a little unsanded grout in my paint choice so that my son can doodle some art on the panels with his chalk. Added some support boards on lower corners for extra support...also used the Long L brackets as bed rails to support the slats. Make sure you get enough wood to cut the vertical side of ladder as the plans didn't include it. Cost about $100 without the mattress. Very happy with it. Thanks Ana!

Built from Plan(s)
Estimated Cost
$100
Estimated Time Investment
Weekend Project (10-20 Hours)
Finish Used
Sanded, wiped down with wet rag and applied one coat of Minwax Ipswich Pine 221 to wood.

For painting the panels I mixed 2tbs of unsanded grout with 1 cup of my choice of paint so that chalk could be used on it.
Recommended Skill Level
Starter Project

DIY Liam Barn Light Bed - Full

Submitted by thehallway on Sat, 11/22/2014 - 16:26

I found the Liam Barn Light Bed online and knew it was perfect for our son's room (except for the price tag).    After some research, I decided to use the Reclaimed Wood Headboard plan with some modifications.  I increased the height to 72", like the inspiration bed.  We used 1x6 Tongue and Groove boards for the middle panels instead of a mix of 1x4 and 1x6s.  Then we cut holes and installed the barn light and dimmer switch.  For the bed frame, I used just the frame from Mom's Fancy Farmhouse Bed, which I had used before HERE.

Building the headboard and frame was quick and only took a short afternoon.  Finish took a lot longer since I used oil based paint.  That only allowed me 1 coat per 24 hours, so it took several days.  I wanted a durable surface for a kid's room though.  I used the same paint to modify Ikea Hemnes Dressers and Nightstand to match, along with adding custom hardware.  I love the way everything came together and our son loves it too!

Visit the link to my blog for more information and the modified material and cut lists.  I have also posted the material and cuts lists for TWIN SIZE as well.

Estimated Cost
~$350
Estimated Time Investment
Afternoon Project (3-6 Hours)
Finish Used
Behr Oil Base Semi-Gloss Enamel in Cracked Pepper (PPU260-1)
Recommended Skill Level
Beginner

Comments

Frozen Theme Bed

Submitted by Anonymous (not verified) on Mon, 02/27/2017 - 00:09

Never having done anything like this before I knew it would be a challenge. I used the base plans provided and taught myself the CAD program used in the provided plans. From there I redesigned it to meet my dimensions and what I wanted. It took a lot of time overall but am thrilled with the turn out. Thank you for the original plans to use as a guide! Also with the cost I used a higher grade of plywood and also used cabinet paint to make it durable wich drove the price up some.

Estimated Cost
$450
Estimated Time Investment
Week Long Project (20 Hours or More)
Finish Used
Cabinet Paint
Recommended Skill Level
Intermediate

Comments

Kid's chair

Submitted by Anonymous (not verified) on Sun, 12/13/2020 - 09:58

Fun little project. Tried for the “distressed look” Now it’s on to a craft table.

Finish Used
I used Briarsmoke stain and white paint.
Recommended Skill Level
Beginner

Rustic Bench

This is the Rustic X Bench featured in Ana's Book, The Handbuilt Home.

Estimated Cost
$30-$40
Estimated Time Investment
Afternoon Project (3-6 Hours)
Finish Used
Dark Walnut & Early American stain.
Recommended Skill Level
Intermediate

Comments

coffee table

Submitted by DanGraves on Wed, 11/26/2014 - 08:55

After I made this the wife wanted it destressed and we had the kids put their initials in like an old picnic table at a park bench.

Built from Plan(s)
Estimated Cost
$45.00 for wood and stain.
Estimated Time Investment
Weekend Project (10-20 Hours)
Finish Used
Minwax
Recommended Skill Level
Starter Project

Comments

DanGraves

Wed, 11/26/2014 - 09:25

For some reason it has turned the photo but if you click on it. It will open normal

Rustic X desk

Great project! Delivered it to my brother and he loves it. Decreased the size to fit the space. Kreg jig and glue for assent. I used a dark walnut stain. My wife now has a number of build projects for me. It’s a little more than the original $50 with the lumber prices up.

Built from Plan(s)
Estimated Cost
$125
Estimated Time Investment
Weekend Project (10-20 Hours)
Finish Used
Dark walnut by Varathane oil based stain and minwax one coat polyurethane. Probably won’t use this polyurethane again. Too many brush strokes left with how tick it is and how fast it dries.
Recommended Skill Level
Intermediate

Child Adirondack Chairs

Submitted by KyleMelson on Mon, 01/28/2013 - 22:35

I'm not a writer, and English was my worst subject. So don't hold any grammatical errors against me.

This was a project that I built this past weekend. It's a set of child size adirondack chairs. The toughest part was the weather. It was too cold outside to paint, so I had to paint and assemble these in my living room. My two year old daughter kept trying to sit in them before the paint had an opportunity to dry.

Estimated Time Investment
Weekend Project (10-20 Hours)
Recommended Skill Level
Intermediate

Comments

Pam the Goatherd

Tue, 01/29/2013 - 11:59

They turned out very nicely!
I'm currently building a desk for my son in the living room of my home, so I know how that goes...
Congatulations on getting it done!

Simple Daybed

Submitted by ladybug618 on Fri, 11/28/2014 - 13:26

This was made from the simple daybed plan, took more time than expected but the end results are worth it. Build and paint first then assemble in the room it is heavy. Used non mortise bed rail hinges to detach easily.

Built from Plan(s)
Estimated Cost
150
Estimated Time Investment
Week Long Project (20 Hours or More)
Finish Used
Black behr paint and primer two in one...two coats.
Recommended Skill Level
Intermediate

Comments

Two Play Kitchens

Submitted by Pa on Tue, 12/22/2020 - 23:03

Two one-year-old cousins. What can I tell you; they BOTH needed a kitchen set for Christmas!

We were glad to stumble upon these plans for heirloom toys and greatly appreciate that they are free for all to access. Directions are easy to follow and the user-comments offer lots of good ideas which I incorporated into the units I built. I added three inches in width and height to the sink and stove units. Sanded pieces before assembly. Used screws instead of nails; screws were set using a counter-sink bit. Rounded all edges; this was very appreciated by the mothers! Both mothers also requested a clear polyurethane finish instead of paint. Magnetic closures on all doors.

Touches of realism for the ovens: cookie-cooling racks on the oven shelves to simulate the oven racks, a motion-sensor-light in each oven triggers when the door is opened, cooktops created with a black silicone placemat and a white permanent marker worked well to draw/simulate the burners. Despite the families’ actual home ovens having digital controls, both moms requested knobs for the children to manipulate ... screws through the back of the faceplate allow the knobs to rotate. Oven doors have side hinges for ease of child access to ‘baking food’ and to prevent anyone from stepping onto an opened door hinged on the bottom. Touches of realism for the sinks: aluminum mixing bowls for sinks, box-store bathroom faucets, hook at the side for hand towel. Touches of realism for the Narrow Fridge: hinges on the right and freezers on the bottom to match the children’s home refrigerators. We considered coating the top door with magnetic paint, but per request to stay away from paint, cookie sheets were screwed to fronts so that children can display drawings or anything magnetic.

Several Christmasy additions such as linens, dinnerware, magnets and mini floral buckets really added to the “wow factor” under the Christmas tree!

Estimated Time Investment
Week Long Project (20 Hours or More)
Finish Used
Polyurethane
Recommended Skill Level
Intermediate

Comments

Tilt Out Trash Bins

Submitted by rhsmit2 on Thu, 01/31/2013 - 21:01

I loved this project. Great way to clean up the kitchen and creates a nice usable shelf.

Estimated Time Investment
Weekend Project (10-20 Hours)
Finish Used
Kilz primer/paint in 1.
Recommended Skill Level
Intermediate

Comments

Modern Farm Table

Submitted by Jackalaca on Sun, 11/30/2014 - 18:23

I modified the plns for this table a little bit. I couldnt have the table as wide as the plans so I left out a 2x6 for the table top. I also beefed up the legs and added another 2x6.

Built from Plan(s)
Estimated Cost
$50
Estimated Time Investment
Day Project (6-9 Hours)
Finish Used
Stain and Shellac
Recommended Skill Level
Beginner

Comments

Firepit Swings

Submitted by hwallace on Tue, 03/07/2017 - 09:45

This was a real challenge as I did the whole project alone. 6x6 pressure treated lumber was used as posts and support beams. 120 lbs of quickcrete was used for each post and the support beams are bolted onto the posts. The swings were all made with pressure treated

lumber and I bought heavy duty mounting hardware for the chains. I bought the firepit kit at Lowe's and did the 4 block high enclosure. I had a lot of fun with this!

Built from Plan(s)
Estimated Time Investment
Week Long Project (20 Hours or More)
Finish Used
None
Recommended Skill Level
Intermediate

Comments

Play kitchen

Submitted by Anonymous (not verified) on Sat, 12/26/2020 - 16:28

Made this for my grand-daughter’s birthday!
I used the play kitchen with back wall plans. I used my circular saw to make 1/8 grooves for the shiplap, a dog bowl for the sink painted with enamel paint, the faucet is actually a coat hook I purchased from Amazon. The hutch is made from basic 1x4’s. The burners were made from an svg from Etsy as was the pie in the oven and the sign above the stove. Super cute, fun project!

Built from Plan(s)
Finish Used
Waverly paint in Ballet Slipper pink, gray chalk paint and white paint. Sealed with polycrylic.

Barnwood furniture

Submitted by BAAA1981 on Sat, 02/02/2013 - 17:41

I know that these aren't the best pictures. I'll load individual ones later. I built the coffee table, end table and toy chest out off all my grandparents barn. It collapsed a few years ago in be harsh Iowa winters. Everything on these is from the barn from the wood, hinges, and nails. It even makes the old barn door noises when opening them! Curious of what people think and ideas.

Estimated Time Investment
Weekend Project (10-20 Hours)
Finish Used
Oil based poly finish.
Recommended Skill Level
Intermediate

Comments

Farmhouse Doll Bed

Submitted by mdraper04 on Fri, 12/05/2014 - 16:24

These are my first two farmhouse beds. The pink bed was my very first woodworking project since high school. We're not gonna say how long ago that was. Haha!

Thank you for sharing your plans. My daughter and my cousin's daughter love their new little beds.

Recommended Skill Level
Beginner

Kentwood Bookshelf

Submitted by cwatson on Wed, 12/30/2020 - 05:03

Built the Kentwood Bookshelves for our living room. Bookcases are 6ft. Made of Pine and Whitewood. This is my 2nd build and looking forward to more.

Estimated Cost
325
Estimated Time Investment
Weekend Project (10-20 Hours)
Finish Used
Minwax Colonial Maple
Recommended Skill Level
Intermediate

Naked wall no more!!

Submitted by jmefish on Mon, 02/04/2013 - 07:48

I had a wall in our living room that was bare for almost 4 years. SO happy with the results of my "Ten Dollar Ledges"!!

Estimated Cost
$20
Estimated Time Investment
An Hour or Two (0-2 Hours)
Finish Used
RUST-OLEUM, AMERICAN ACCENTS; Colonial Red Smooth Satin Finish.
I'm a lazy painter, I didn't sand or prime my ledges and only applied one coat as I loved that I could still see the wood grain through the paint. (8oz can covered both ledges with one coat, still have half the can left!)
Recommended Skill Level
Starter Project

Comments

rhettar

Mon, 02/04/2013 - 10:59

I was wanting to make a small one under my bathroom mirror, but wondered if it would be too bulky. Seeing yours, I can see they look pretty sleek and I am probably going to go for it. (if I don't like it, I am sure it will get use somewhere)

I love how you admit you are a lazy painter, I am getting more patient the more I am building...hehe

mybartmart

Mon, 02/04/2013 - 13:22

The colour you chose is really nice. They shelves look great on that wall, I am making some for a hallway with 1 x 3 instead to make them stick out less.