Community Brag Posts

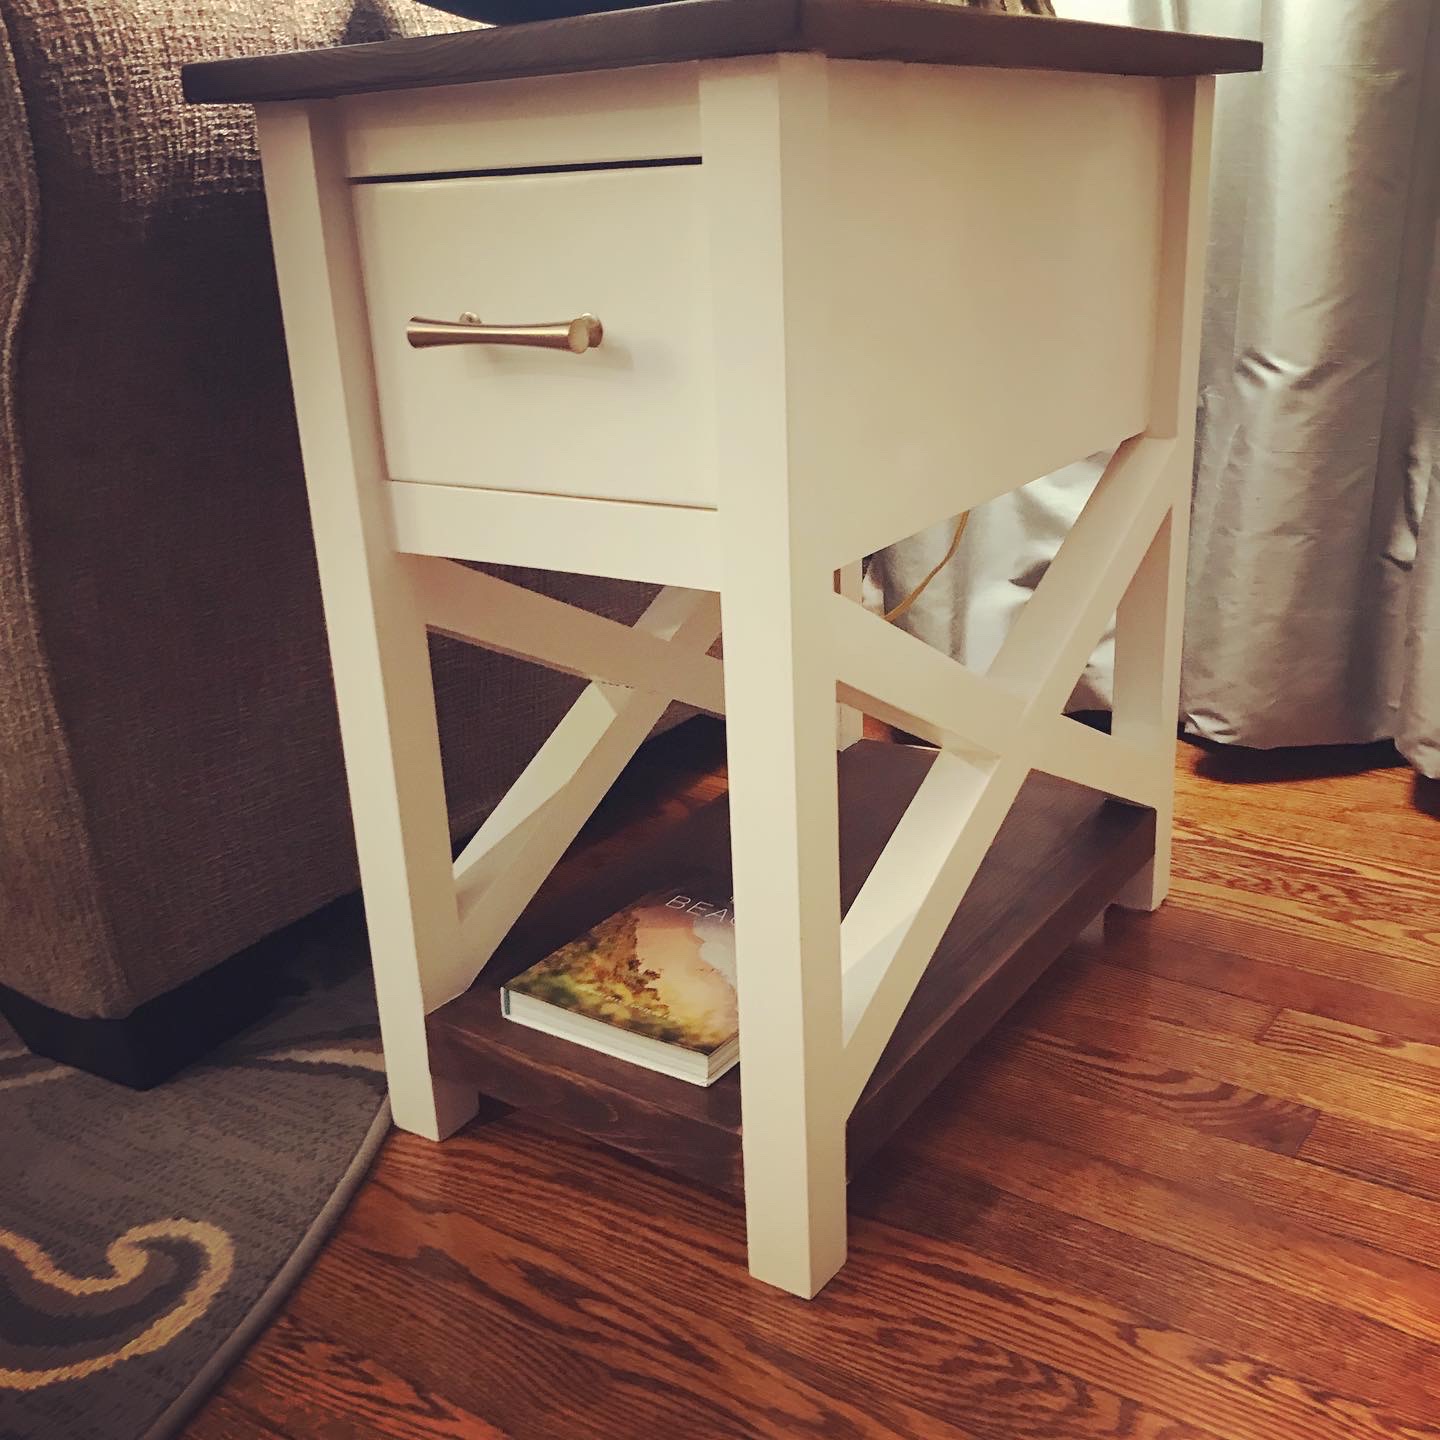
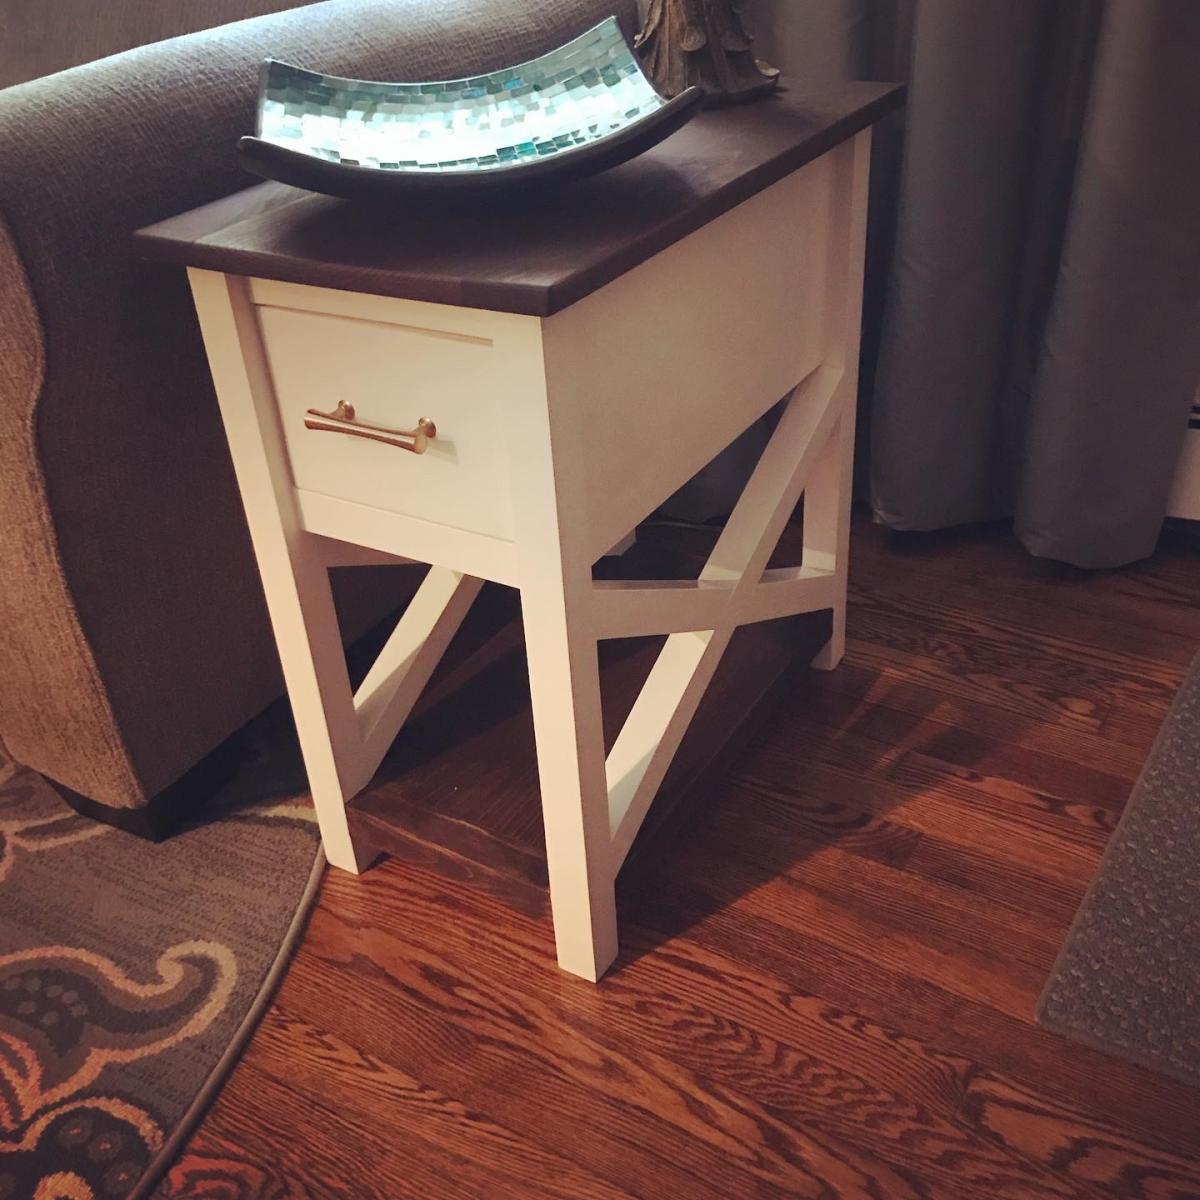
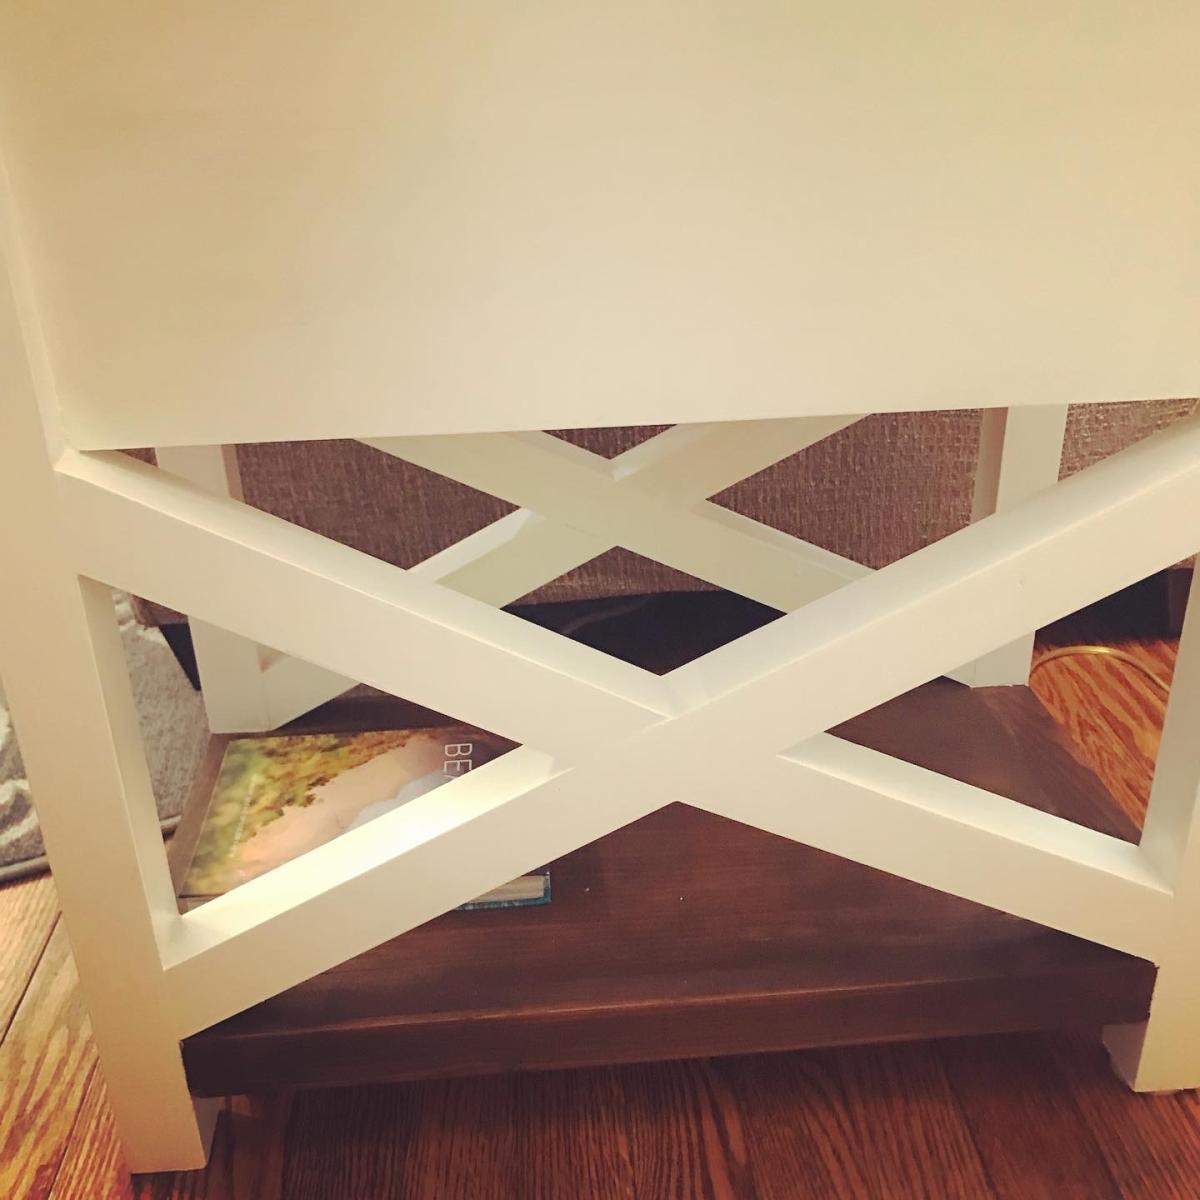
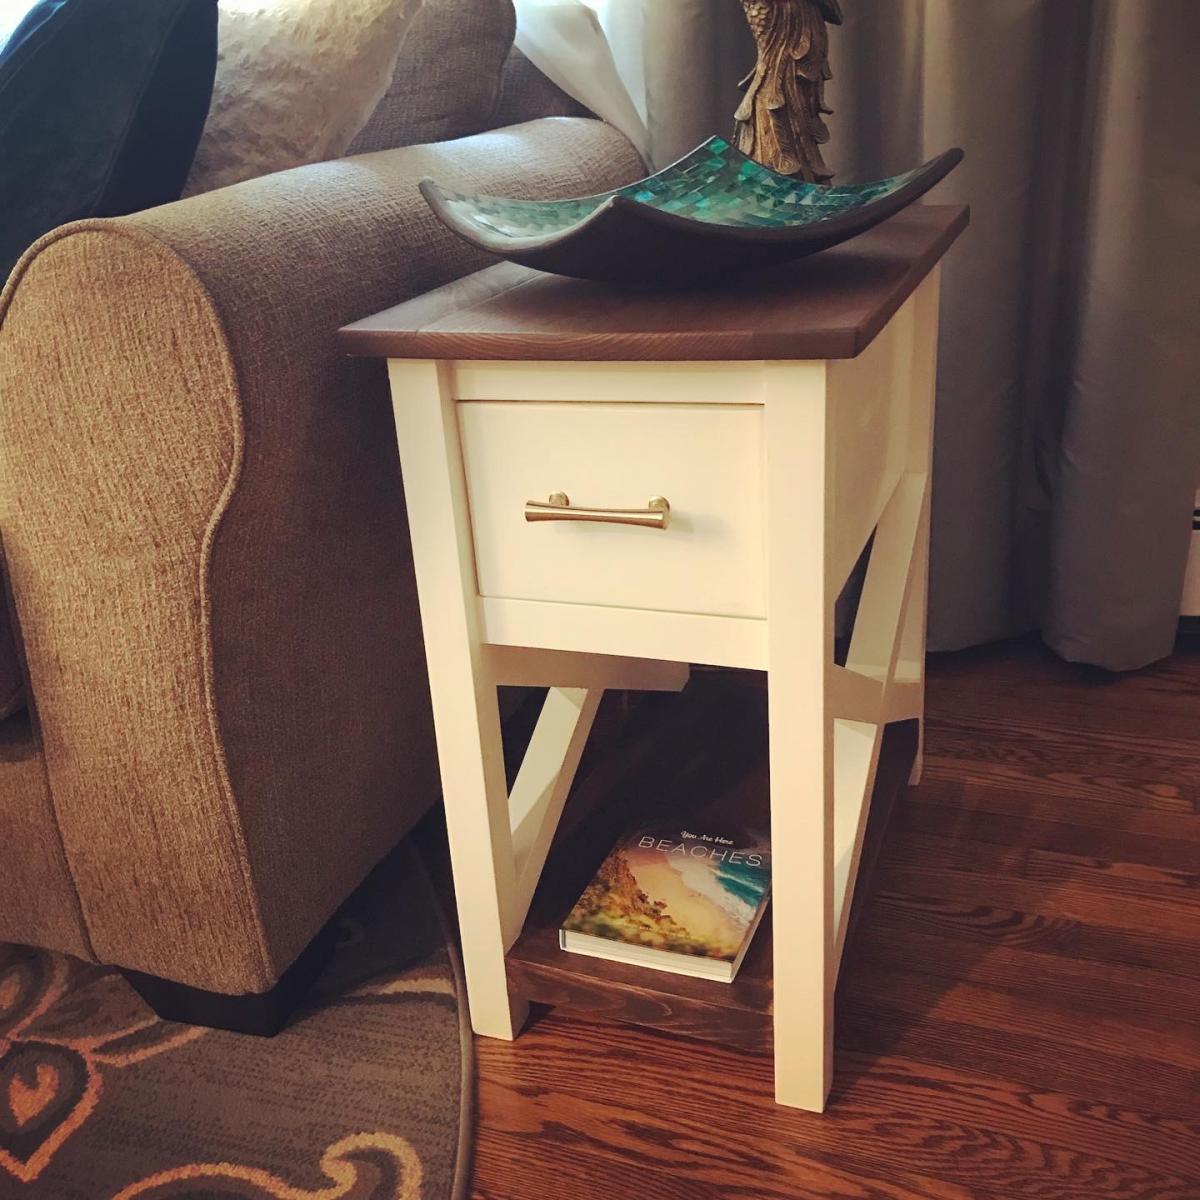
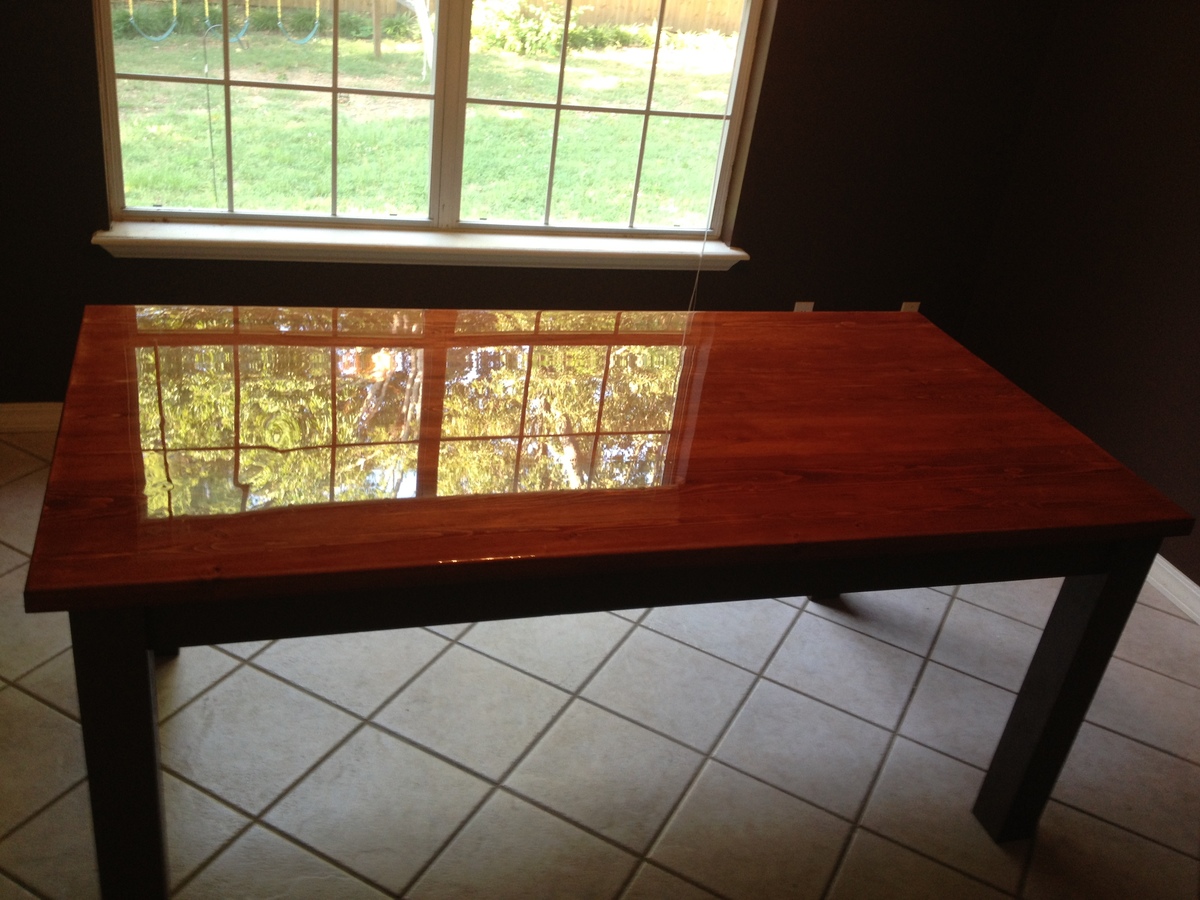
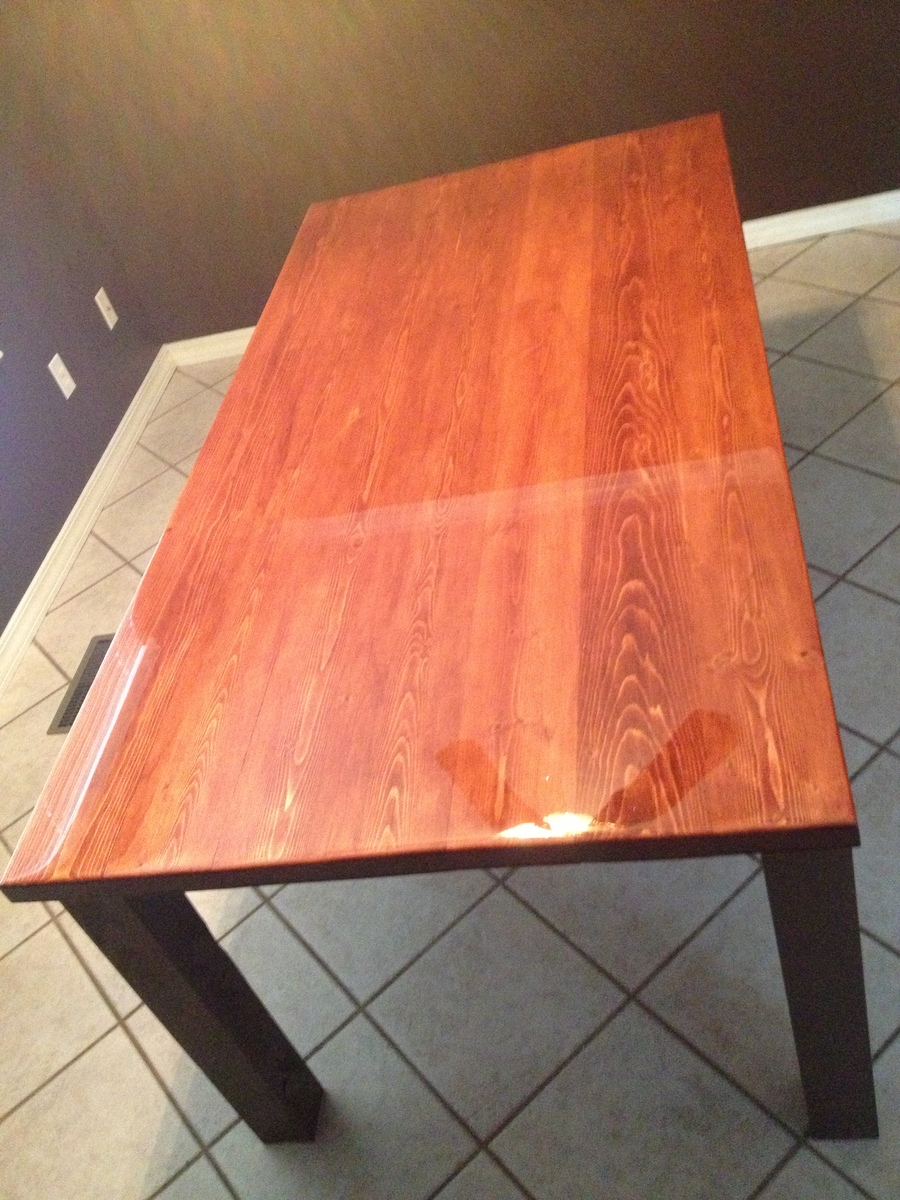
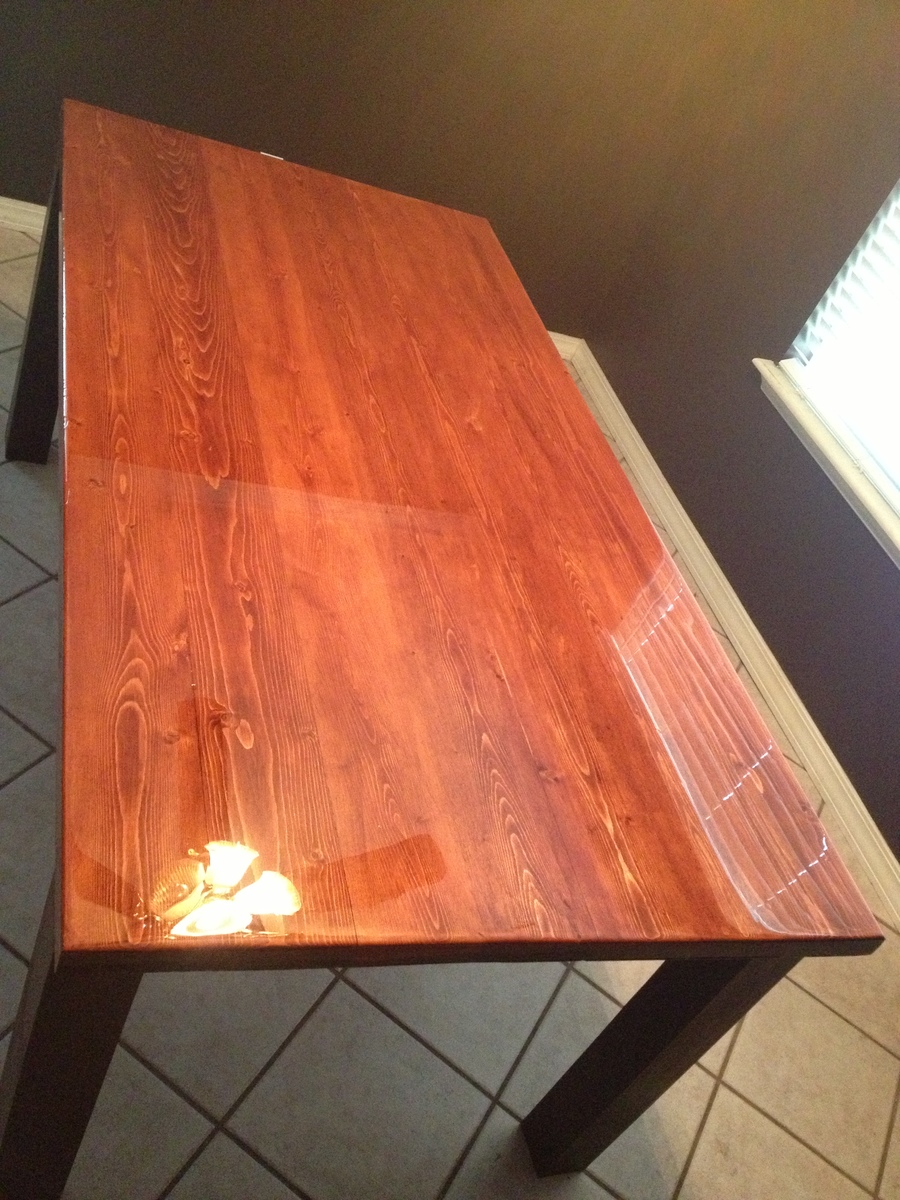
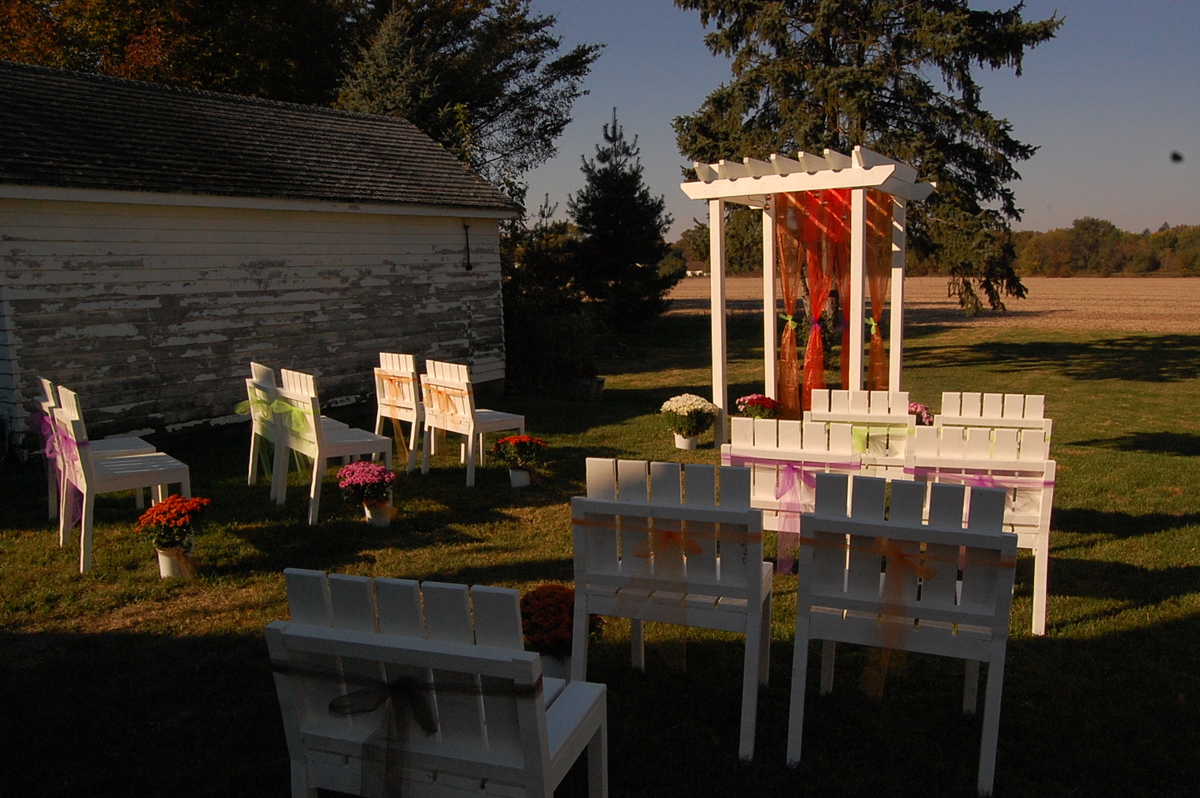
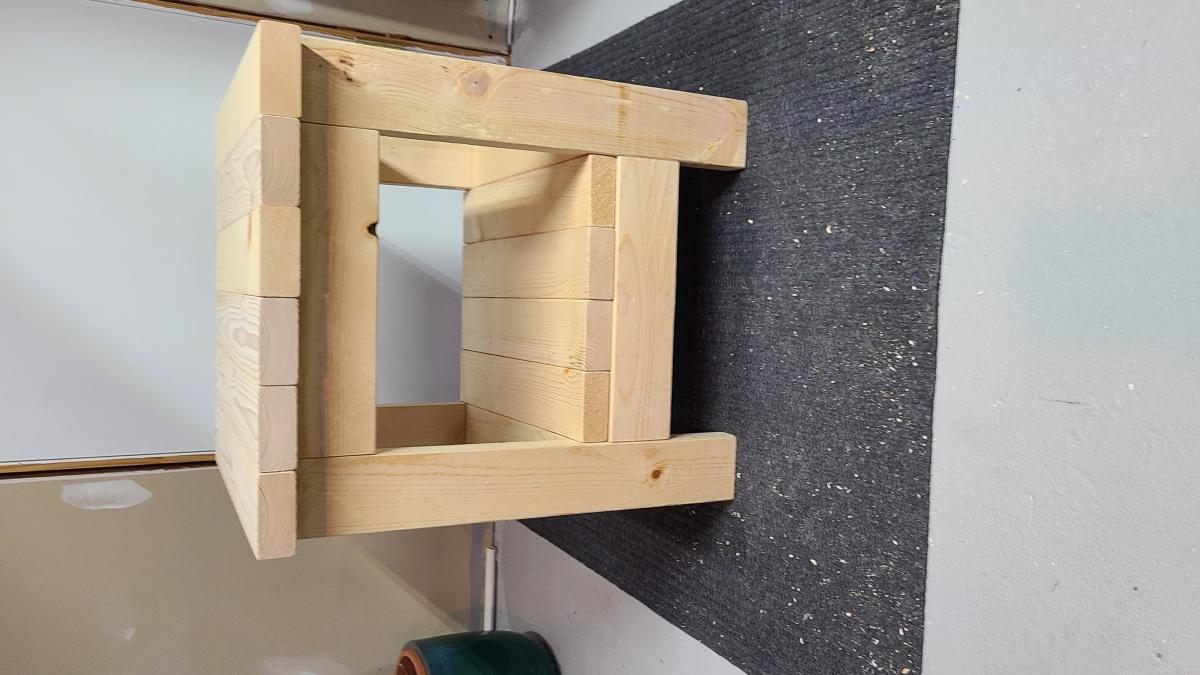
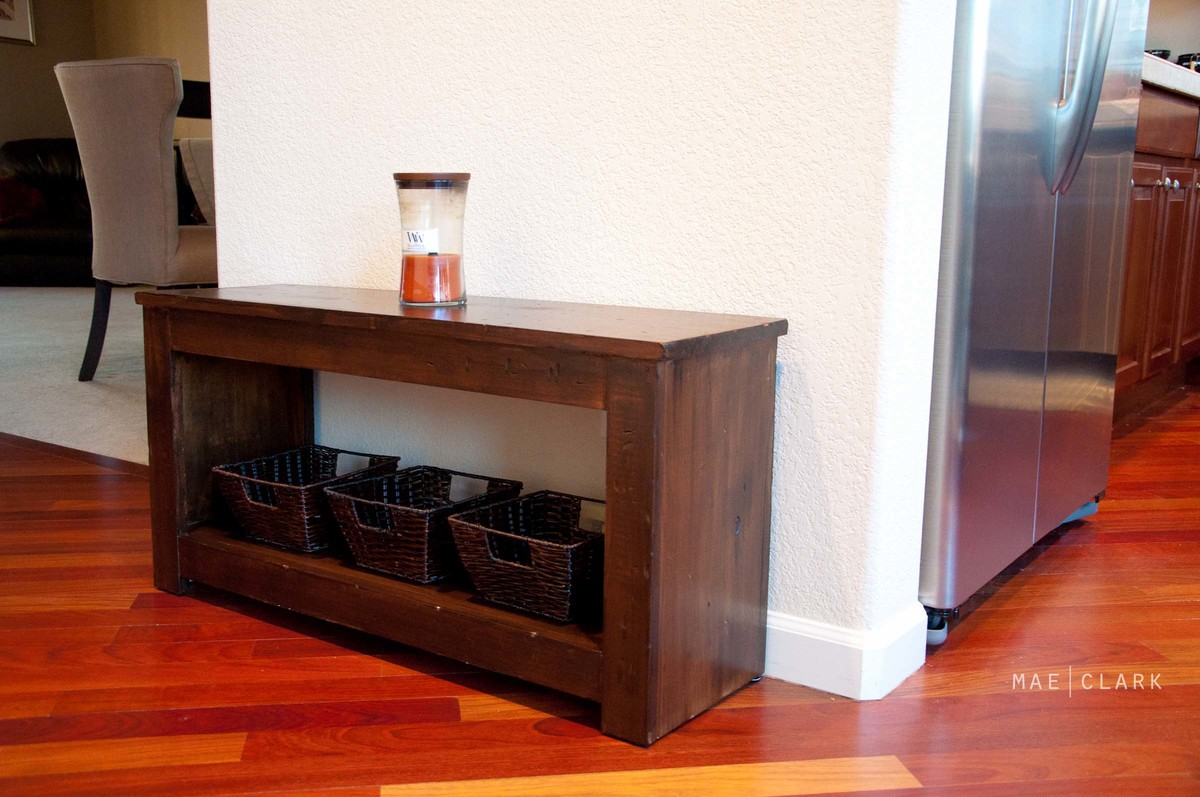
Farmhouse Inspired Table

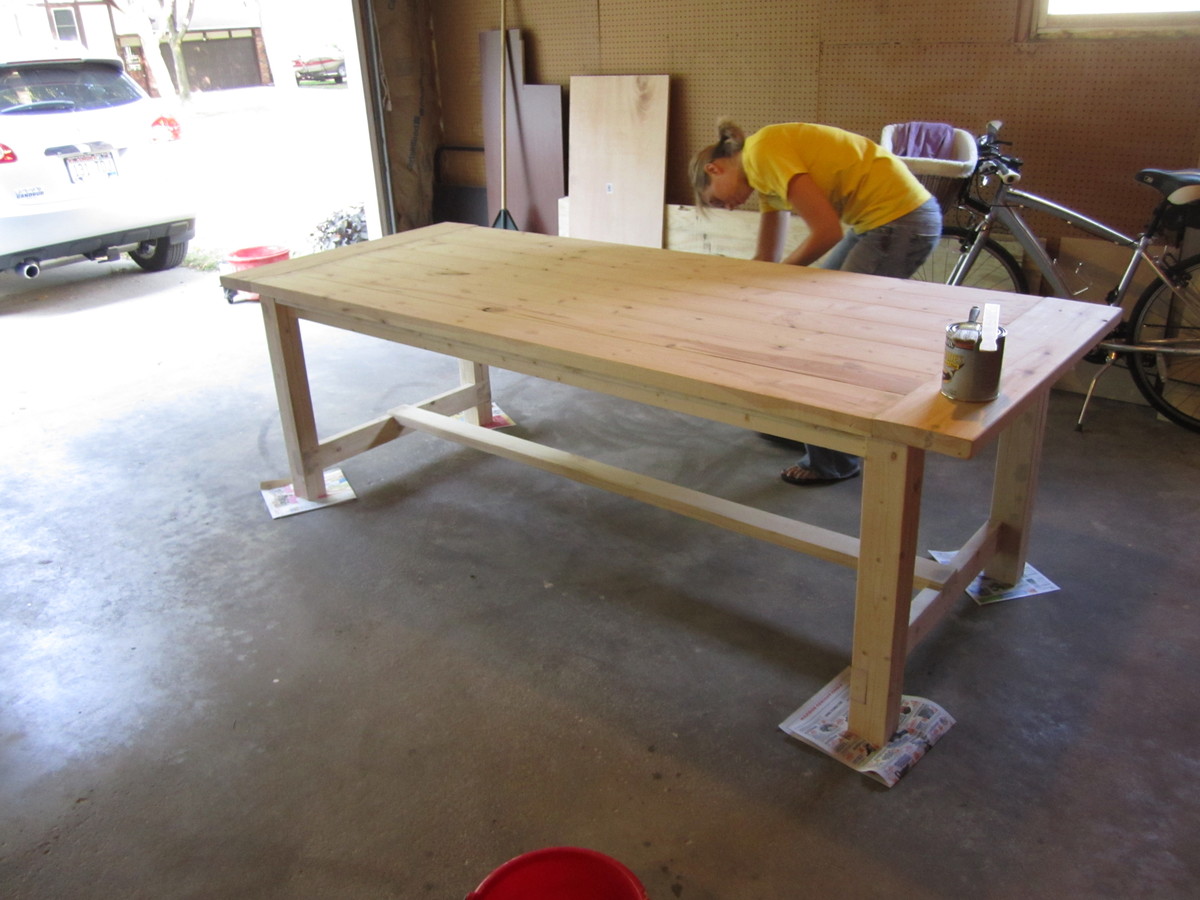
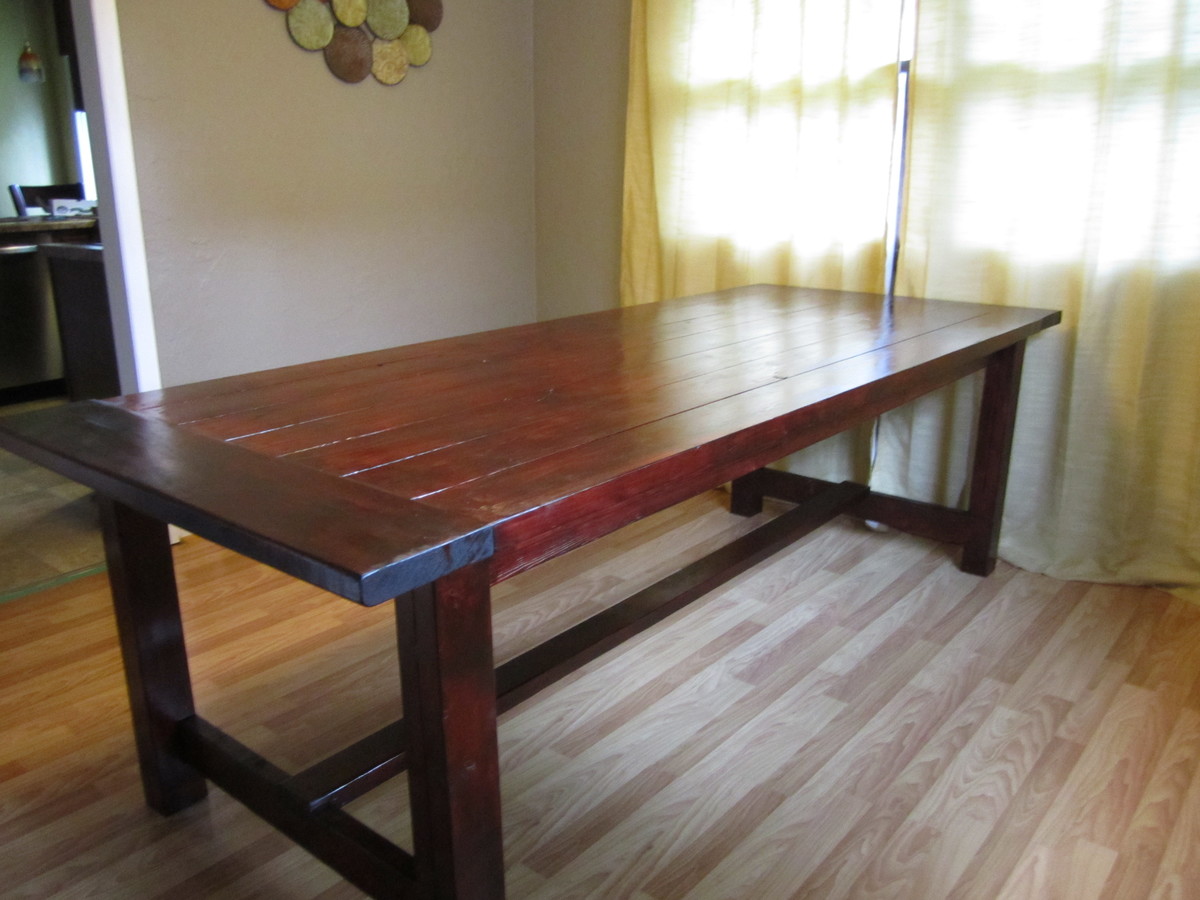
My husband and I used Ana's plans to create this BEAUTIFUL farmhouse inspired table for our dining room. The project was straightforward and we are EXTREMELY happy with the results. We added a touch of modern to the table by purchasing metal chairs from overstock.com. The table is perfect for family get togethers and even more important...family game nights!!

Estimated Cost
$100
Estimated Time Investment
Weekend Project (10-20 Hours)
Finish Used
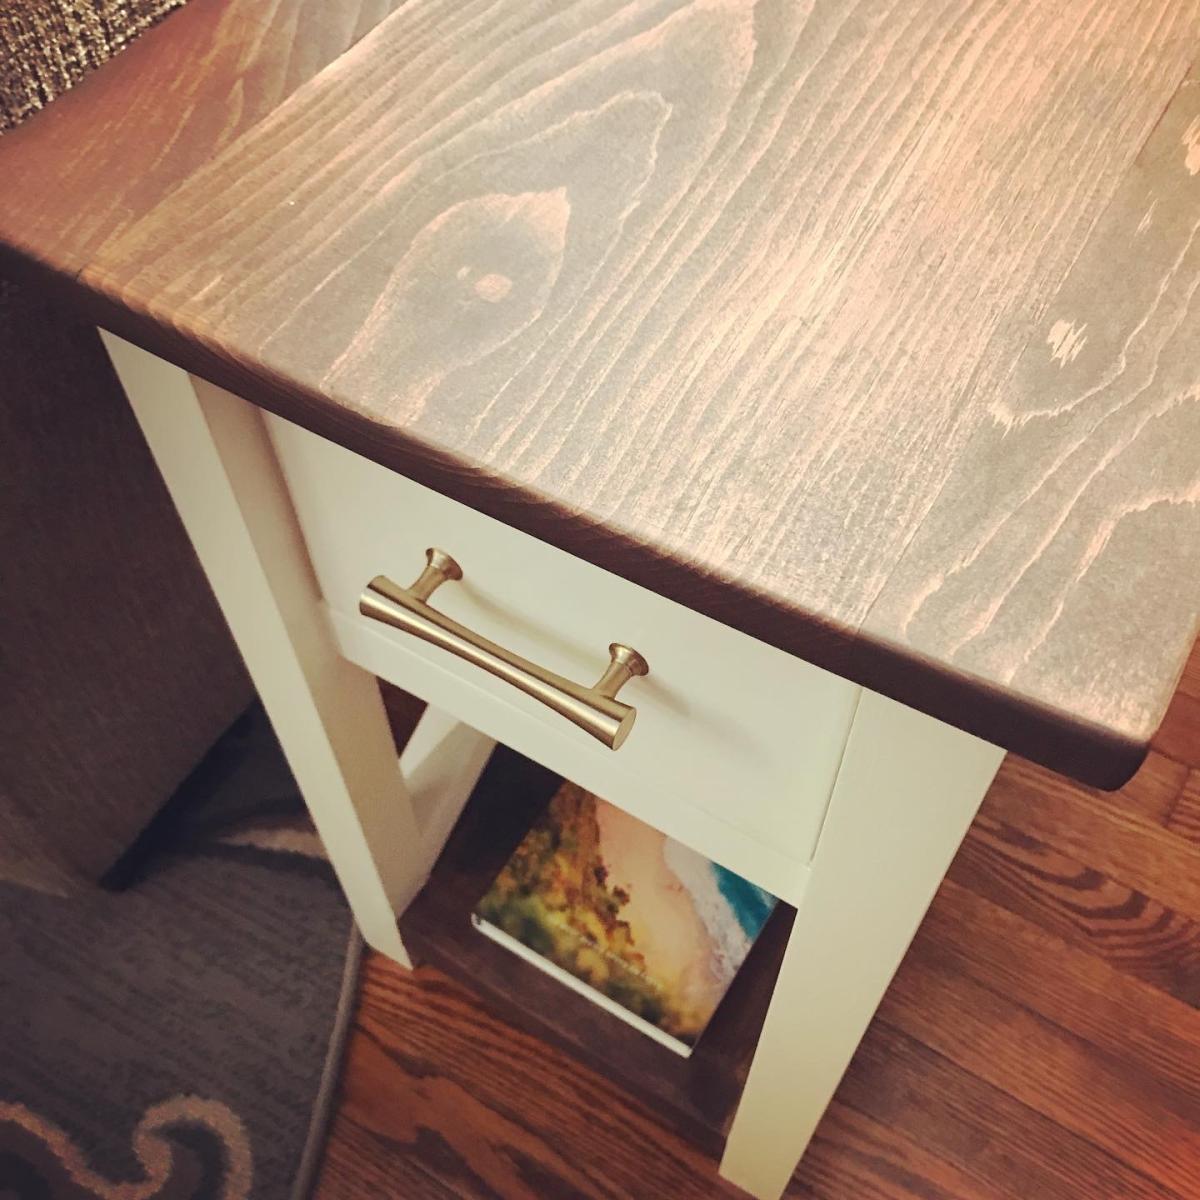
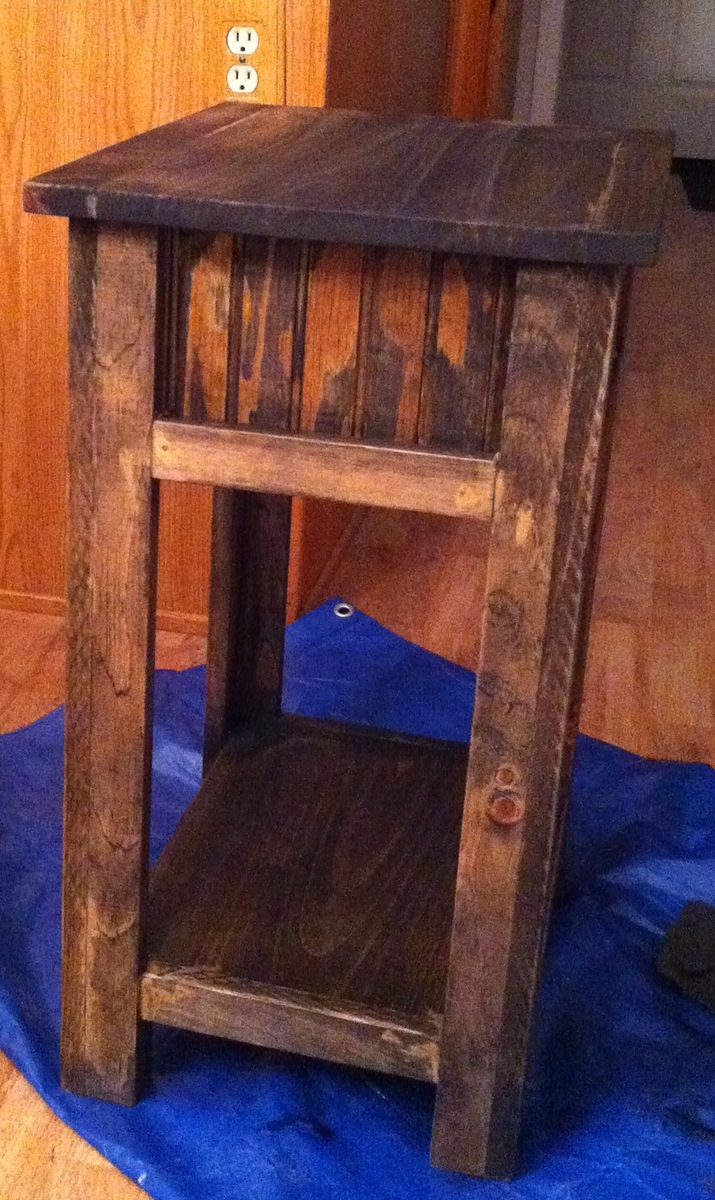
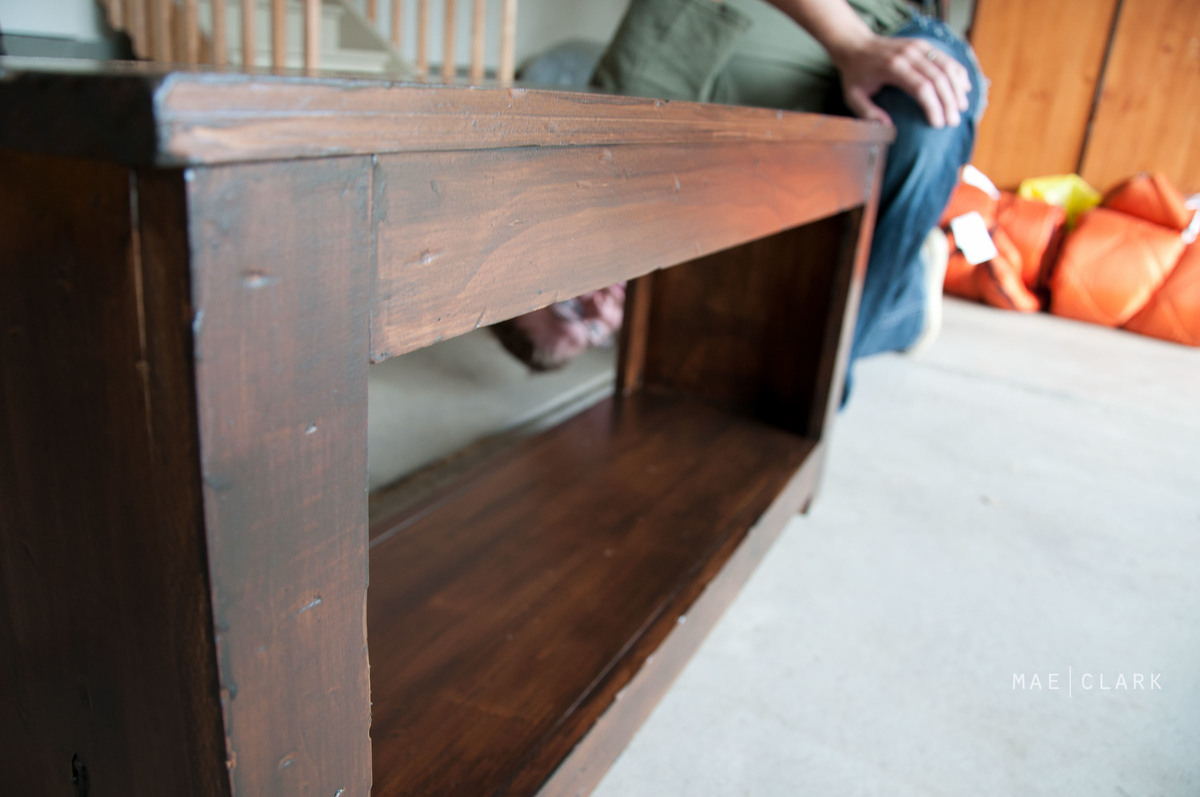
Minwax Polyshades in Dark Walniut-we also applied a few coats of wipe on poly to the finished project. We wanted our table to look rustic so we did "bang it up" a bit before staining and finishing.
Recommended Skill Level
Beginner

Comments

wjc129

Fri, 06/28/2013 - 08:26

Looks great! Did you just use the cheap pine at Lowes/HD? Any tricks to getting the table top flat and level?

In reply to by wjc129

amandaherlache

Mon, 07/01/2013 - 06:15

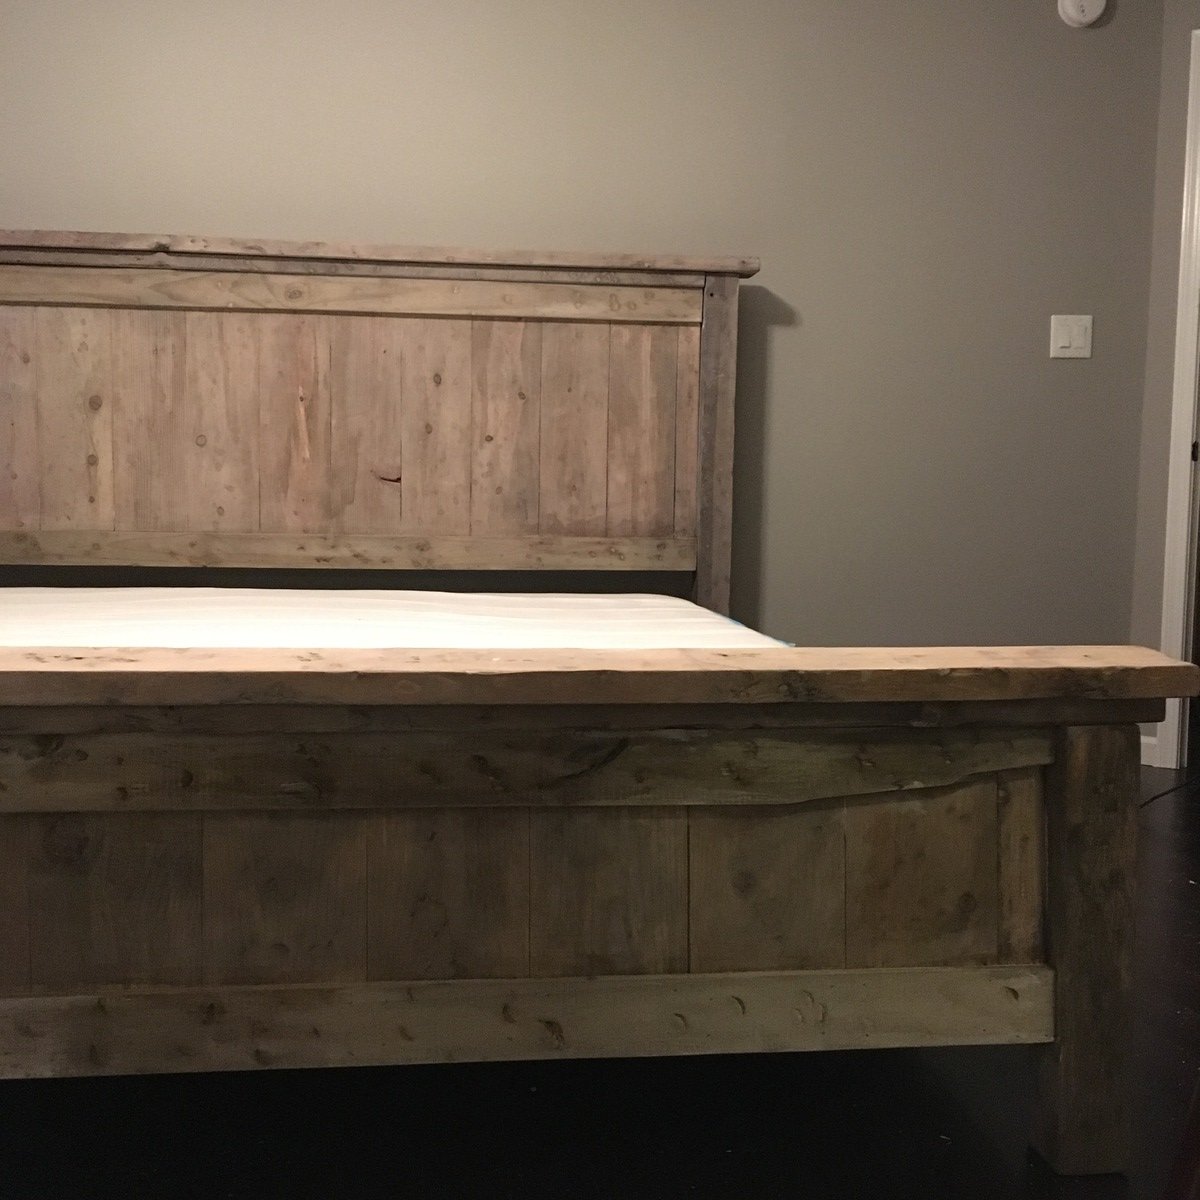
We used the "select" pine boards from Home Depot..which are a bit nicer than just the ordinary ones. To make the table top level we used a level to be sure that there weren't any major bumps...then once we had the top secured we sanded it to make the boards flush to each other. Hope that helps! Thanks for you comments!

Entry Bench and Shelf

Submitted by MatthewC on Tue, 06/16/2015 - 08:51

This was my second build, very easy with the plans. I wanted it flush with the wall so used a jig saw to cut notches in the bottom to fit around the baseboard. I was also covering an air vent, so I built a simple air diverter out of 1x's and bought a decorative vent cover of Amazon for $10...worked out much better than I thought it would. Painted with a flat black then a few coats of poly.

Estimated Cost
$100
Estimated Time Investment
Weekend Project (10-20 Hours)
Finish Used
Paint and polyurethane
Recommended Skill Level
Starter Project

Cottage end table w/ rustic x

Submitted by Anonymous (not verified) on Sun, 12/26/2021 - 21:51

Made the cottage end table, but through in the rustic x style. I really needed a narrow end table. Oh and I threw a shelf on the bottom. First time making a drawer! Loved it!

Built from Plan(s)

Comments

Simple White Nightstand

It is a friend's birthday on 5/6 and I noticed she didn't have a nightstand so instead of buying a present, I decided to make her a nightstand. I really liked how the person who built "Lee and Beth's Simple Nightstands" used bead-board on the sides, and I have a lot of bead-board left over from our master bathroom renovation, so I decided to use it, too, and that way I wouldn't have to buy the wood for there, because I didn't have any extra plywood to use there. I also used the bead-board on the back and as the bottom of the drawer.

It looks more modern-cottage than it does modern, like I wanted, but it still looks good.

Pictures are of what it looked like pre-sanding and wood-filling, with 1 coat of the stain on it, and then finished with white paint.

With the combination of scrap wood and new wood, I only spent $20 on new wood for the project, and $5 on the drawer pull!

For the top, instead of a 1x12 and 1x3, I used a 1x12 and and then flanked it with 2 1x2s - for a more balanced look. I also cut the 1x12 at like 19 1/2 inches instead of 18 1/2.

Built from Plan(s)
Estimated Cost
$25
Estimated Time Investment
Weekend Project (10-20 Hours)
Finish Used
I originally wanted this to look just like the one that Ana has posted (minus the distressing) - in an espresso stain with the brushed nickel pull on the drawer. I forgot to add the pre-stain and put the stain right on the wood and it looked horrible. The wood did not take the stain well, nor was it even, and the wood filler was visible all over the place. I decided to paint it a flat white instead. I put on 2 coats of white primer and 3 coats of FLAT white paint. I don't really like glossy paint as I feel like it's harder to get it to cover right. I haven't done it yet, but will add a couple coats of satin polyurethane to protect it.
Recommended Skill Level
Intermediate

Comments

L-shape Modern plywood desk

I constructed this desk all from birch plywood. It features a pull out keyboard tray, modern drawer finger pulls, and full extension drawer slides. The plywood was finished with a hand-rubbed danish oil for a natural wood appearance.

Estimated Cost
$150.00
Estimated Time Investment
Afternoon Project (3-6 Hours)
Finish Used
danish oil
Recommended Skill Level
Starter Project

Your kitchen island

Submitted by Anonymous (not verified) on Mon, 12/27/2021 - 11:27

My first real project, which you gave me the courage to try!!! The kitchen island!
Made one error that I had to spend a bit of money to correct but in the long run the finished product is beautiful, I even used the same color you used.
After that success my daughter-in-law asked me to build the changing table for my expected granddaughter, I went into that with a little more confidence. Thank you for the inspiration that you give so many!

Built from Plan(s)

Comments

Farm House Table

Submitted by rsawyer05 on Thu, 07/04/2013 - 06:43

This was from the farm house table plans and the finish I used was bar and table top resin that you pour on to get a mirror finish. It doesn't take very long at all to cut all the boards and put everything together with pocket hole screws. It just takes time for the paint, stain and top coat to dry.

Estimated Time Investment
Weekend Project (10-20 Hours)
Finish Used
Chocolate Swirl paint for the bottom and MinWax stain for the top which I bought at Orange. The Bar and table Resin I bought online.
Recommended Skill Level
Beginner

Play House For Ece & Zeynep

Hi, My name is Ibrahim I am a Project management Unit Manager in an Information technologies. I have two daughters, 3 and 8 years old. We have garden around 150m2. I want to do play house in our garden to play. First of all I searched how can do it in internet. Than I did preliminary work. I provided equipment and materials. And I take a holiday my company as a week. I started my first project which is wooden house.

My daughter and all around me was liked wooden house. I hope you like it:)

Sorry my English :)
.

Estimated Cost
all inclusive around 1.500 TL (Turkish Lira) around 564$
Estimated Time Investment
Week Long Project (20 Hours or More)
Finish Used
I painted white and pink the project.
Recommended Skill Level
Starter Project

Comments

Adirondack chairs

Submitted by Anonymous (not verified) on Tue, 12/28/2021 - 22:31

I made a pair of these
and my friends arrive early so they can have one to sit in. The other is mine!

Comments

Stratton Daybeds times Two

Submitted by karahart on Wed, 05/11/2011 - 08:25

I built my first daybed in May of 2010, and my second one in August of 2010. I've since moved one of the daybeds to my new nursery I'm creating. These beds are so versitle, so sturdy, and can be moved anywhere and 'go' with whatever decor. I love both of them!

Built from Plan(s)
Estimated Cost
$450 for BOTH beds
Estimated Time Investment
Week Long Project (20 Hours or More)
Finish Used
I primed the beds with Kilz oil based primer, then added a bunch of ultra white paint by Behr. I finished with sanding down the edges and staining them, before applying a top coat of polycrylic. Only use polycrilic, not polyurethane for white painted furniture!
Recommended Skill Level
Intermediate

Simple Stackable Outdoor Chairs for DIY Wedding

Submitted by OurWolfDen on Sun, 07/07/2013 - 14:43

For our wedding we wanted to make seating for our guests. We ended up making 16 chairs total over several weekends. We also made the pergola.

Built from Plan(s)
Estimated Cost
about $350
Estimated Time Investment
Week Long Project (20 Hours or More)
Finish Used
White paint
Recommended Skill Level
Intermediate

Comments

JoanneS

Sun, 07/07/2013 - 16:27

These are so lovely! Congrats on your DIY wedding, the setting is beautiful. Popped over to your blog, your new siding and floors look super too. :)

Channing Bookcase

Submitted by FrankJr on Sun, 06/28/2015 - 13:42

We needed a bookcase to fill a void in our living room and this was it. I altered the dimensions to increase the height to 72.5". I also added crown molding to the top which turned out nice. I used the same Bombay mahogany stain suggested by a previous post.

Built from Plan(s)
Estimated Cost
$150
Estimated Time Investment
Weekend Project (10-20 Hours)
Recommended Skill Level
Beginner

Baby Crib for $200

Hey yall!  This is Sara from OnHouseandHome.com with plans for my favorite build ever: my son's baby crib for less than $200. This is a super simple design that is fairly easy to build.  It's built from pine and poplar, both available at Lowe's or Home Depot, and I only used basic tools like a table saw, drill, kreg jig, and router to buil this.  The crib has survived a move to a new house and is currently housing my 2nd son so I can promise it's just as strong as it is stylish!  

Estimated Cost
$200
Estimated Time Investment
Week Long Project (20 Hours or More)
Finish Used
General Finishes Java Gel Stain
Recommended Skill Level
Intermediate

Second project ever

Submitted by NickC on Sat, 01/01/2022 - 13:10

This end table was the second woodworking project I have completed. The first was a doghouse that came out pretty well but was definitely not "furniture grade," so this time I knew I needed to up my game. For the most part, I think I did do that. It was not a completely seamless process, but considering my newness and the number of new skills involved (e.g., pocket holes, staining and polyurethaning) I like how it came out. It also showed me how I can continue to improve my skills so that the next projects will be even better still. The pine 2x4's were very easy to work with and dried out nicely once I got them home to reveal a nice grain. Clearly I have to learn how to cut boards to the same length, but that's part of what gives the project it's character (If you believe it then it's not a lie.). I also need to figure out how to sand polyurethane without scraping it and the stain all off. Thanks to Ana for developing this great page and for all the really nice plans on here. It made the whole process far less intimidating. (sorry for the sideways pics)

Comments

Spa Bench

My first project! A friend of my husband's came to visit for a weekend and was nice enough to show me how to use my handy dandy new air nailer. We had the bench put together in 15 minutes! And so began a beautiful friendship with furniture building...

Built from Plan(s)
Estimated Cost
$30
Estimated Time Investment
An Hour or Two (0-2 Hours)
Finish Used
dark oak polystain - distressed with hammer, nails, screwdriver, chains
Recommended Skill Level
Starter Project

Chic Teen Girl Bedroom

Our niece recently moved to Virginia to live with us. I may or may not have been pinning ideas to a Pinterest Board http://pinterest.com/stoneybrookesty/teen-bedroom/ non-stop day and night from the moment I found out because I was so excited to get to decorate a “fun” room. Her only requests were that it include animal print and bright colors. After looking through dozens of inspiration pictures and taking a trip down the paint aisle at Lowes, she decided on bright pink (Valspar “First Kiss”), green (Valspar “Parakeet Green”), lavender (Valspar “Berries Galore”) and teal for her color scheme.

The headboard we scored for a cool $15 at the Habitat for Humanity ReStore and it just needed a coat of paint and a 1.5 yards of Nu-Suede fabric. We didn’t realize until we had the headboard home that it was sized for a queen and not a full so we had to do a little improv on the legs and attached a 12 inch section of 1 x 12 pine. These were leftover from the frame were no added cost.

We chose to make the Captain's storage bed from the Ana White plans because I wanted to make sure Tiff had plenty of room to put away all her books and make it easier to keep her room clean. The chevron storage bins are from Lowes. Which happened to have cheapest bins in fabric we liked and that fit when we were looking. We also found lots of good options at Target.

Built from Plan(s)
Estimated Cost
$100
Estimated Time Investment
Afternoon Project (3-6 Hours)
Finish Used
Zinnser Oil Based Primer and Valspar Ultra Eggshell Black paint
Recommended Skill Level
Starter Project

Farmhouse Table

Submitted by sdarnell1 on Wed, 07/01/2015 - 13:01

This 8ft dining table and bench was created with inspiration from Ana White (with a few modifications). It was made with all scrap wood except the table top. Full details of the table build (and kitchen remodel) can be found at www.chasingadreamblog.wordpress.com.

Finish Used
Minwax Stain Provincial, whitewashed legs (50/50 white paint/water)--paint on lightly with a brush, let sit a couple minutes, wipe in/off with a old rag, repeat until you get the desired color
Recommended Skill Level
Beginner

Farmhouse bed - King

Submitted by Rusnok33 on Fri, 01/19/2018 - 06:38

We made the farmhouse bed with a few modifications. We distressed the wood and did a whitewash finish. Absolutely love how this turned out!

Estimated Cost
250
Estimated Time Investment
Weekend Project (10-20 Hours)
Finish Used
Stained with tea, then with apple cider vinegar and steel wool stain. Has two applications of the steel wool stain to deepen the aged wood look. Last painted with a basic white paint to white wash.

*Note: wood was warped but adds to the more rustic look. This may not be for everyone!
Recommended Skill Level
Intermediate

Patrick's Jelly Cupboard

Submitted by srodge1 on Thu, 01/06/2022 - 16:48

I love, love how this turned out. I was originally going to build it exactly as the plans are written, but somehow a screen doors came into the design. Thanks again Ana for sharing!!

Built from Plan(s)

Comments

Our Closet (and first build!)

Submitted by Alaskagirl on Mon, 05/16/2011 - 14:10

Our master bedroom unfortunately had no closet, so for almost 2 years we had been using 4 store bought (cheap) racks that would break under the weight of the clothes and keep having to be replaced. There was however, a big nook in one wall of the room that could definitely be some kind of closet. I sat down and drew up a plan of what I thought would fit, but then had no idea how to go about building it. The plan sat in a drawer for months until after asking a friend about a shelf her husband built she sent me a link to this site and told me that's where she got the plans. I found the closet system plans and they were so close to what I had drawn up I was blown away! IT was no problem modifying the measurements to fit our space. I am SO happy with the results, all I need to do now is wait for some dry weather so we can paint!

Estimated Time Investment
Afternoon Project (3-6 Hours)
Recommended Skill Level
Beginner