White Farmhouse Nighstand
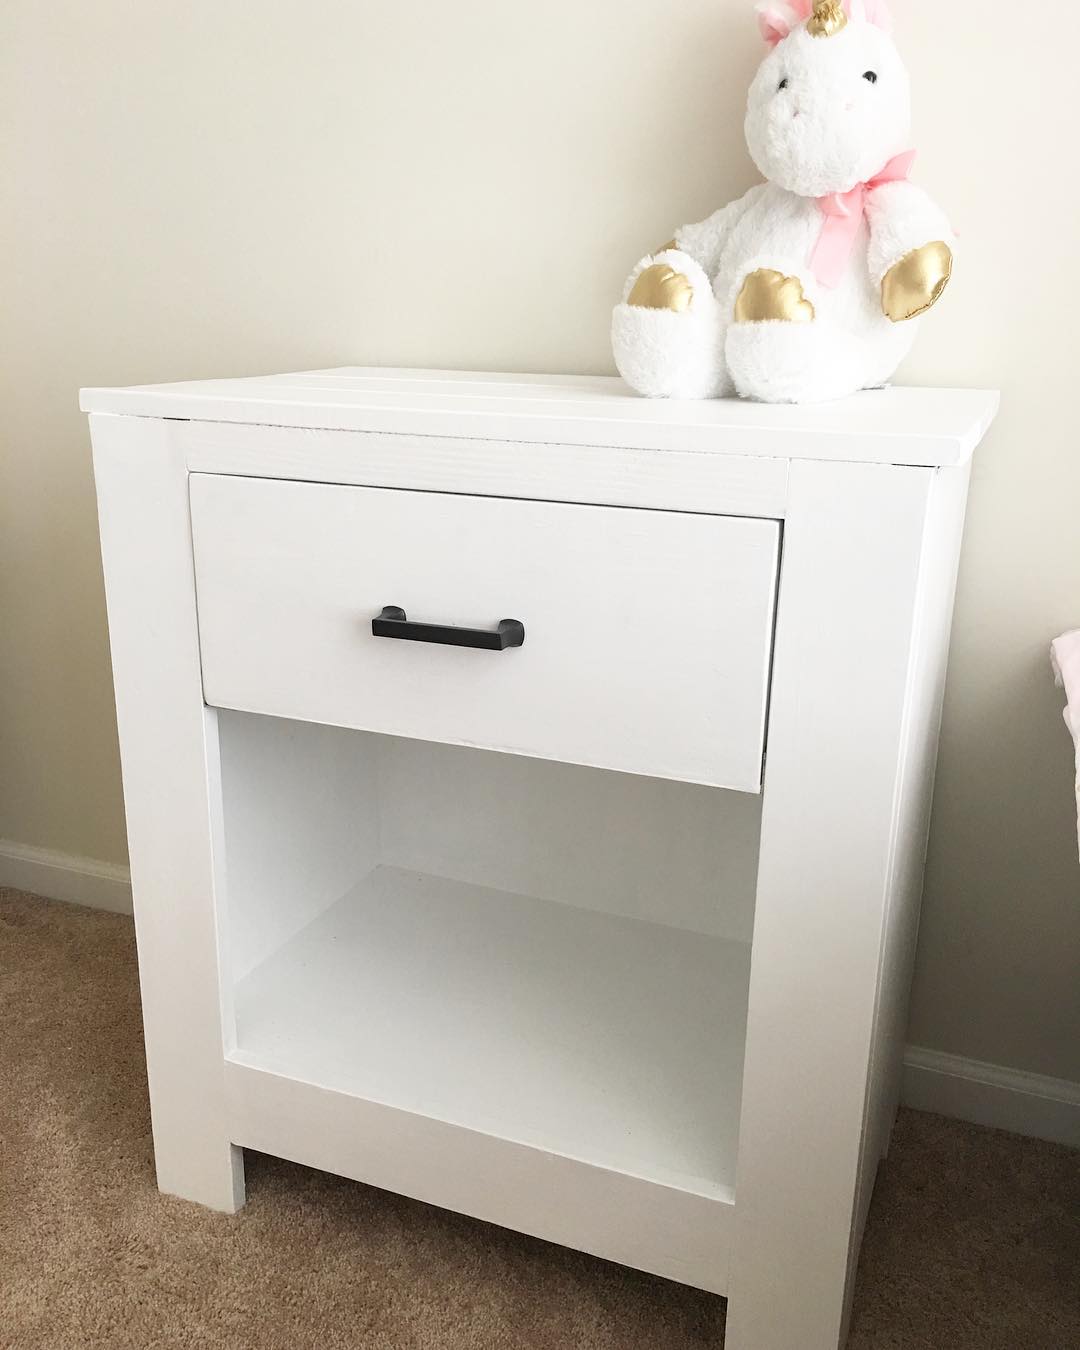
For more information please check out Leahslemonsdiy on Instagram
Built from Plan(s)
Recommended Skill Level
Beginner
For more information please check out Leahslemonsdiy on Instagram
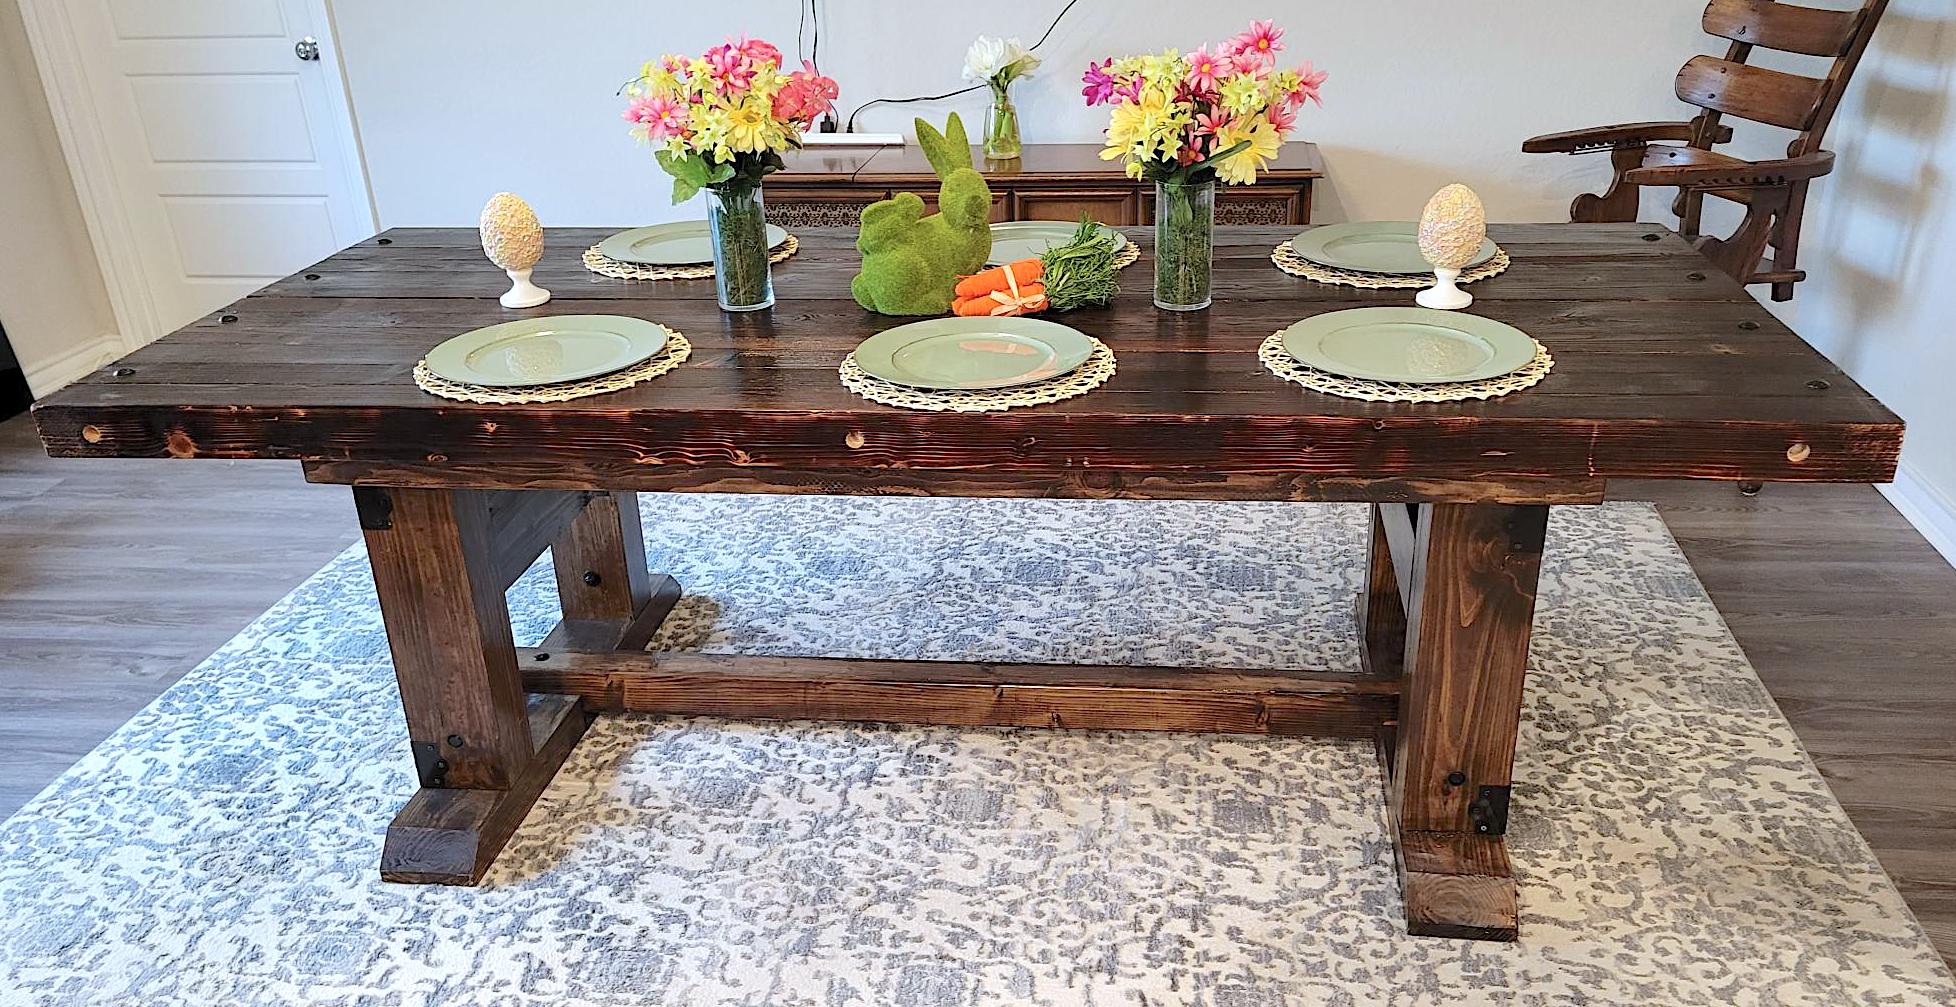
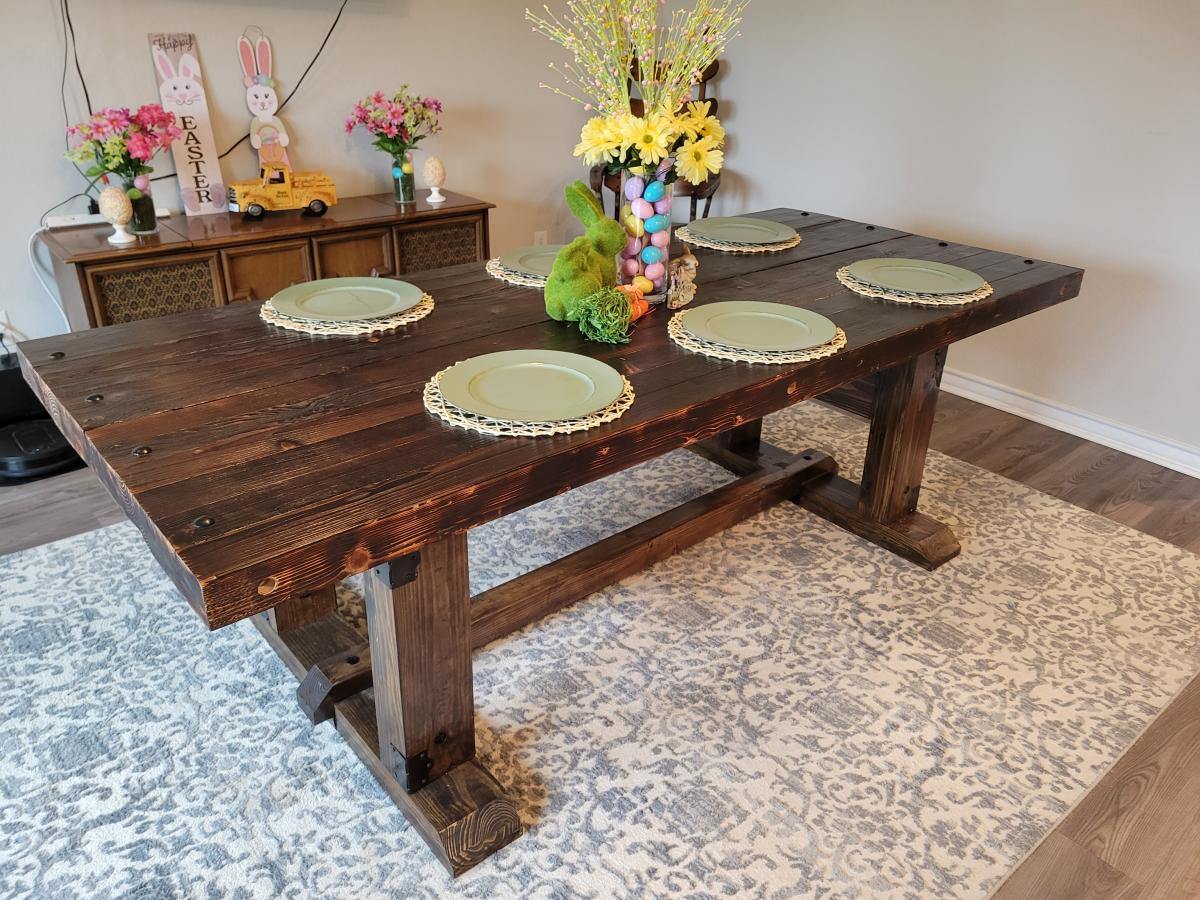
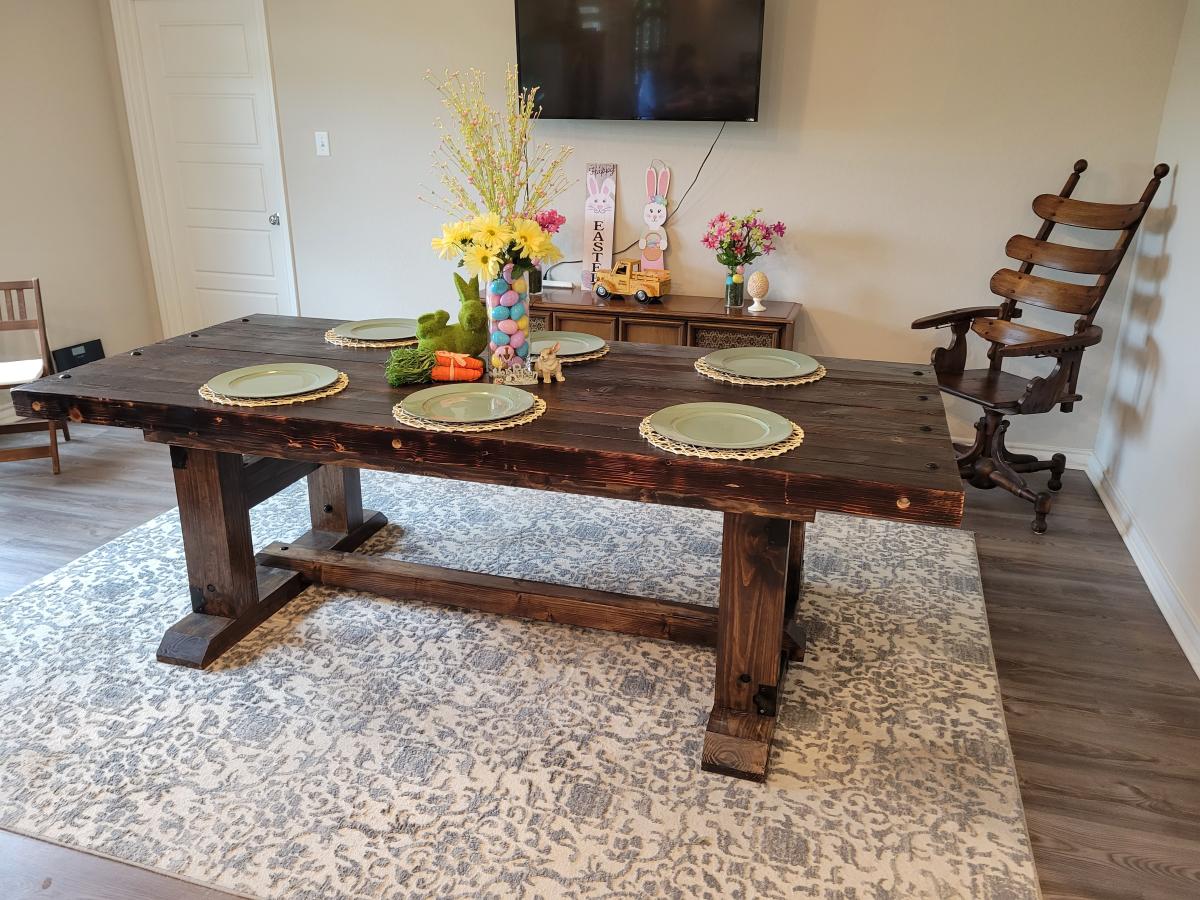
Just a super heavy rustic table I built for my neighbor. Thank you Ana for help in giving me the confidence to start my wood working journey.

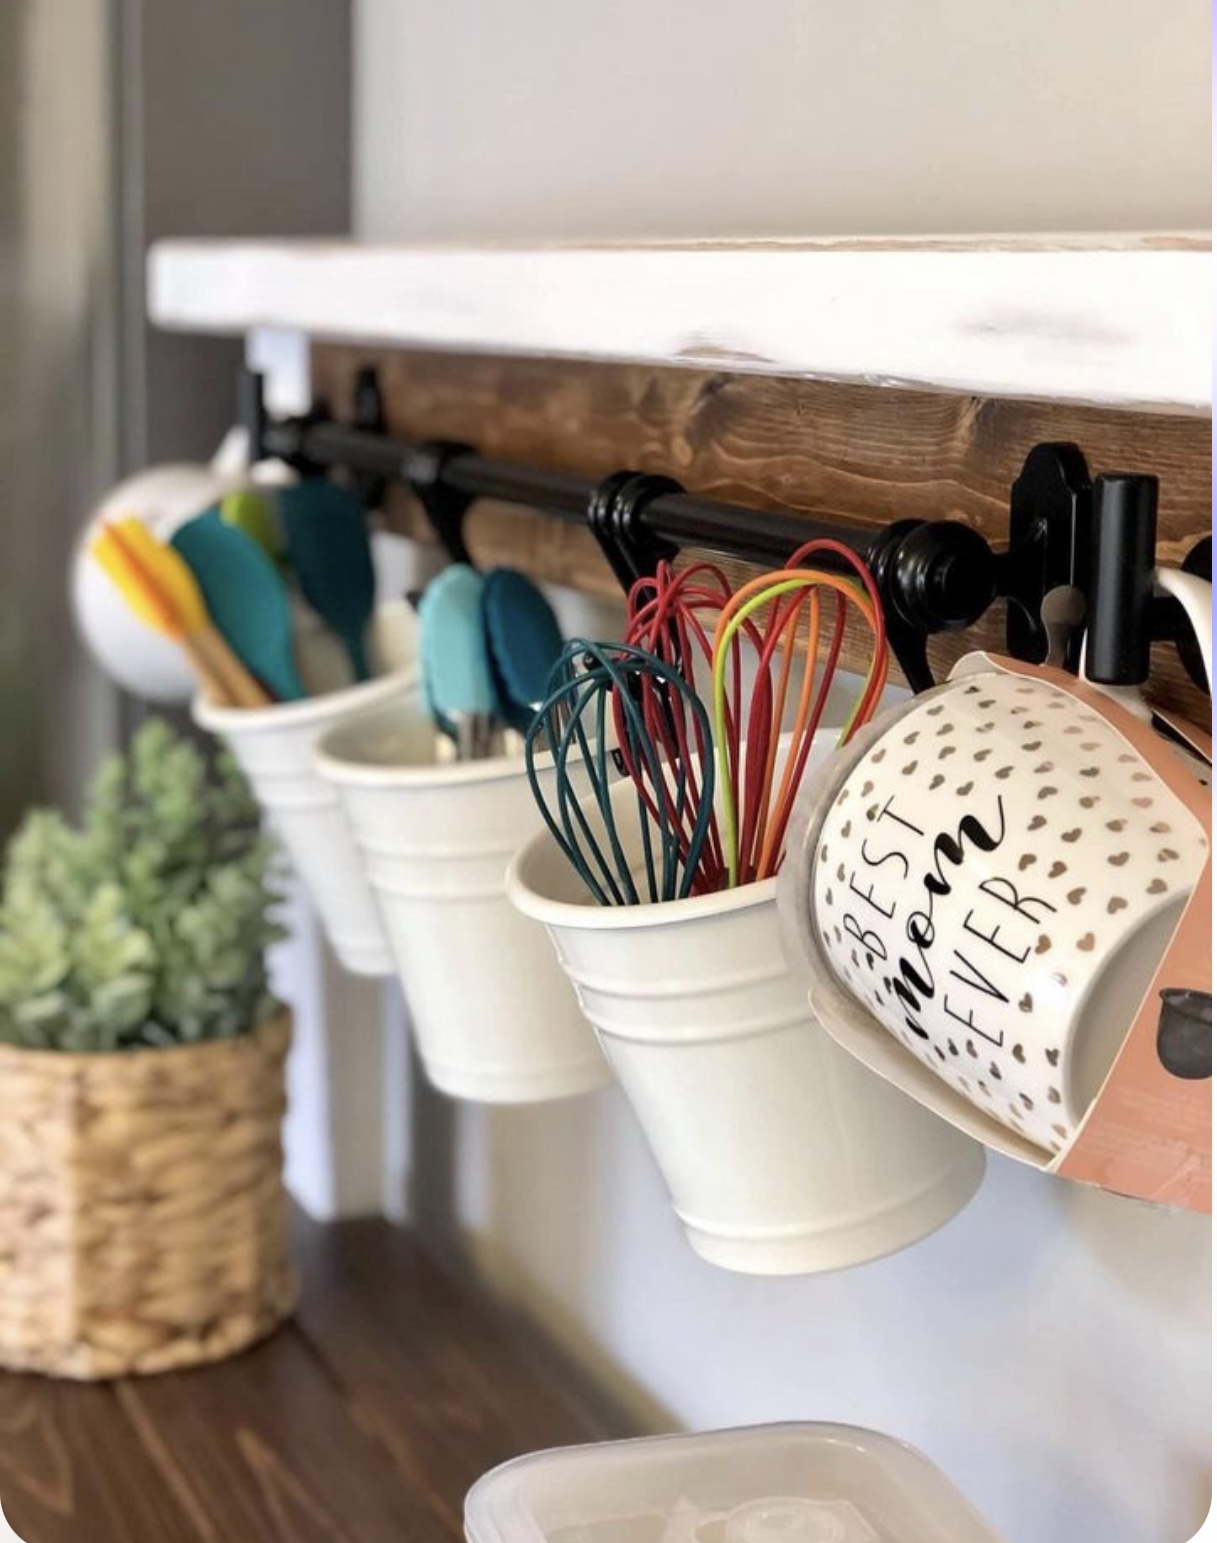
This project is all about using a Kreg Jig. My daughter asked for some shadowboxes to go around her chalkboard. 1 piece of 3/4" plywood and a few 1x2's later - here it is. It's really just an 8' x 2' box with the window panes inside - super simple, but does require a compact drill. Mounted to the wall using a ledger board underneath, then, pocket holes in the top shelf to join it to the studs. Quite sturdy. One day I'll learn Sketch-Up well enough to make this into a plan.
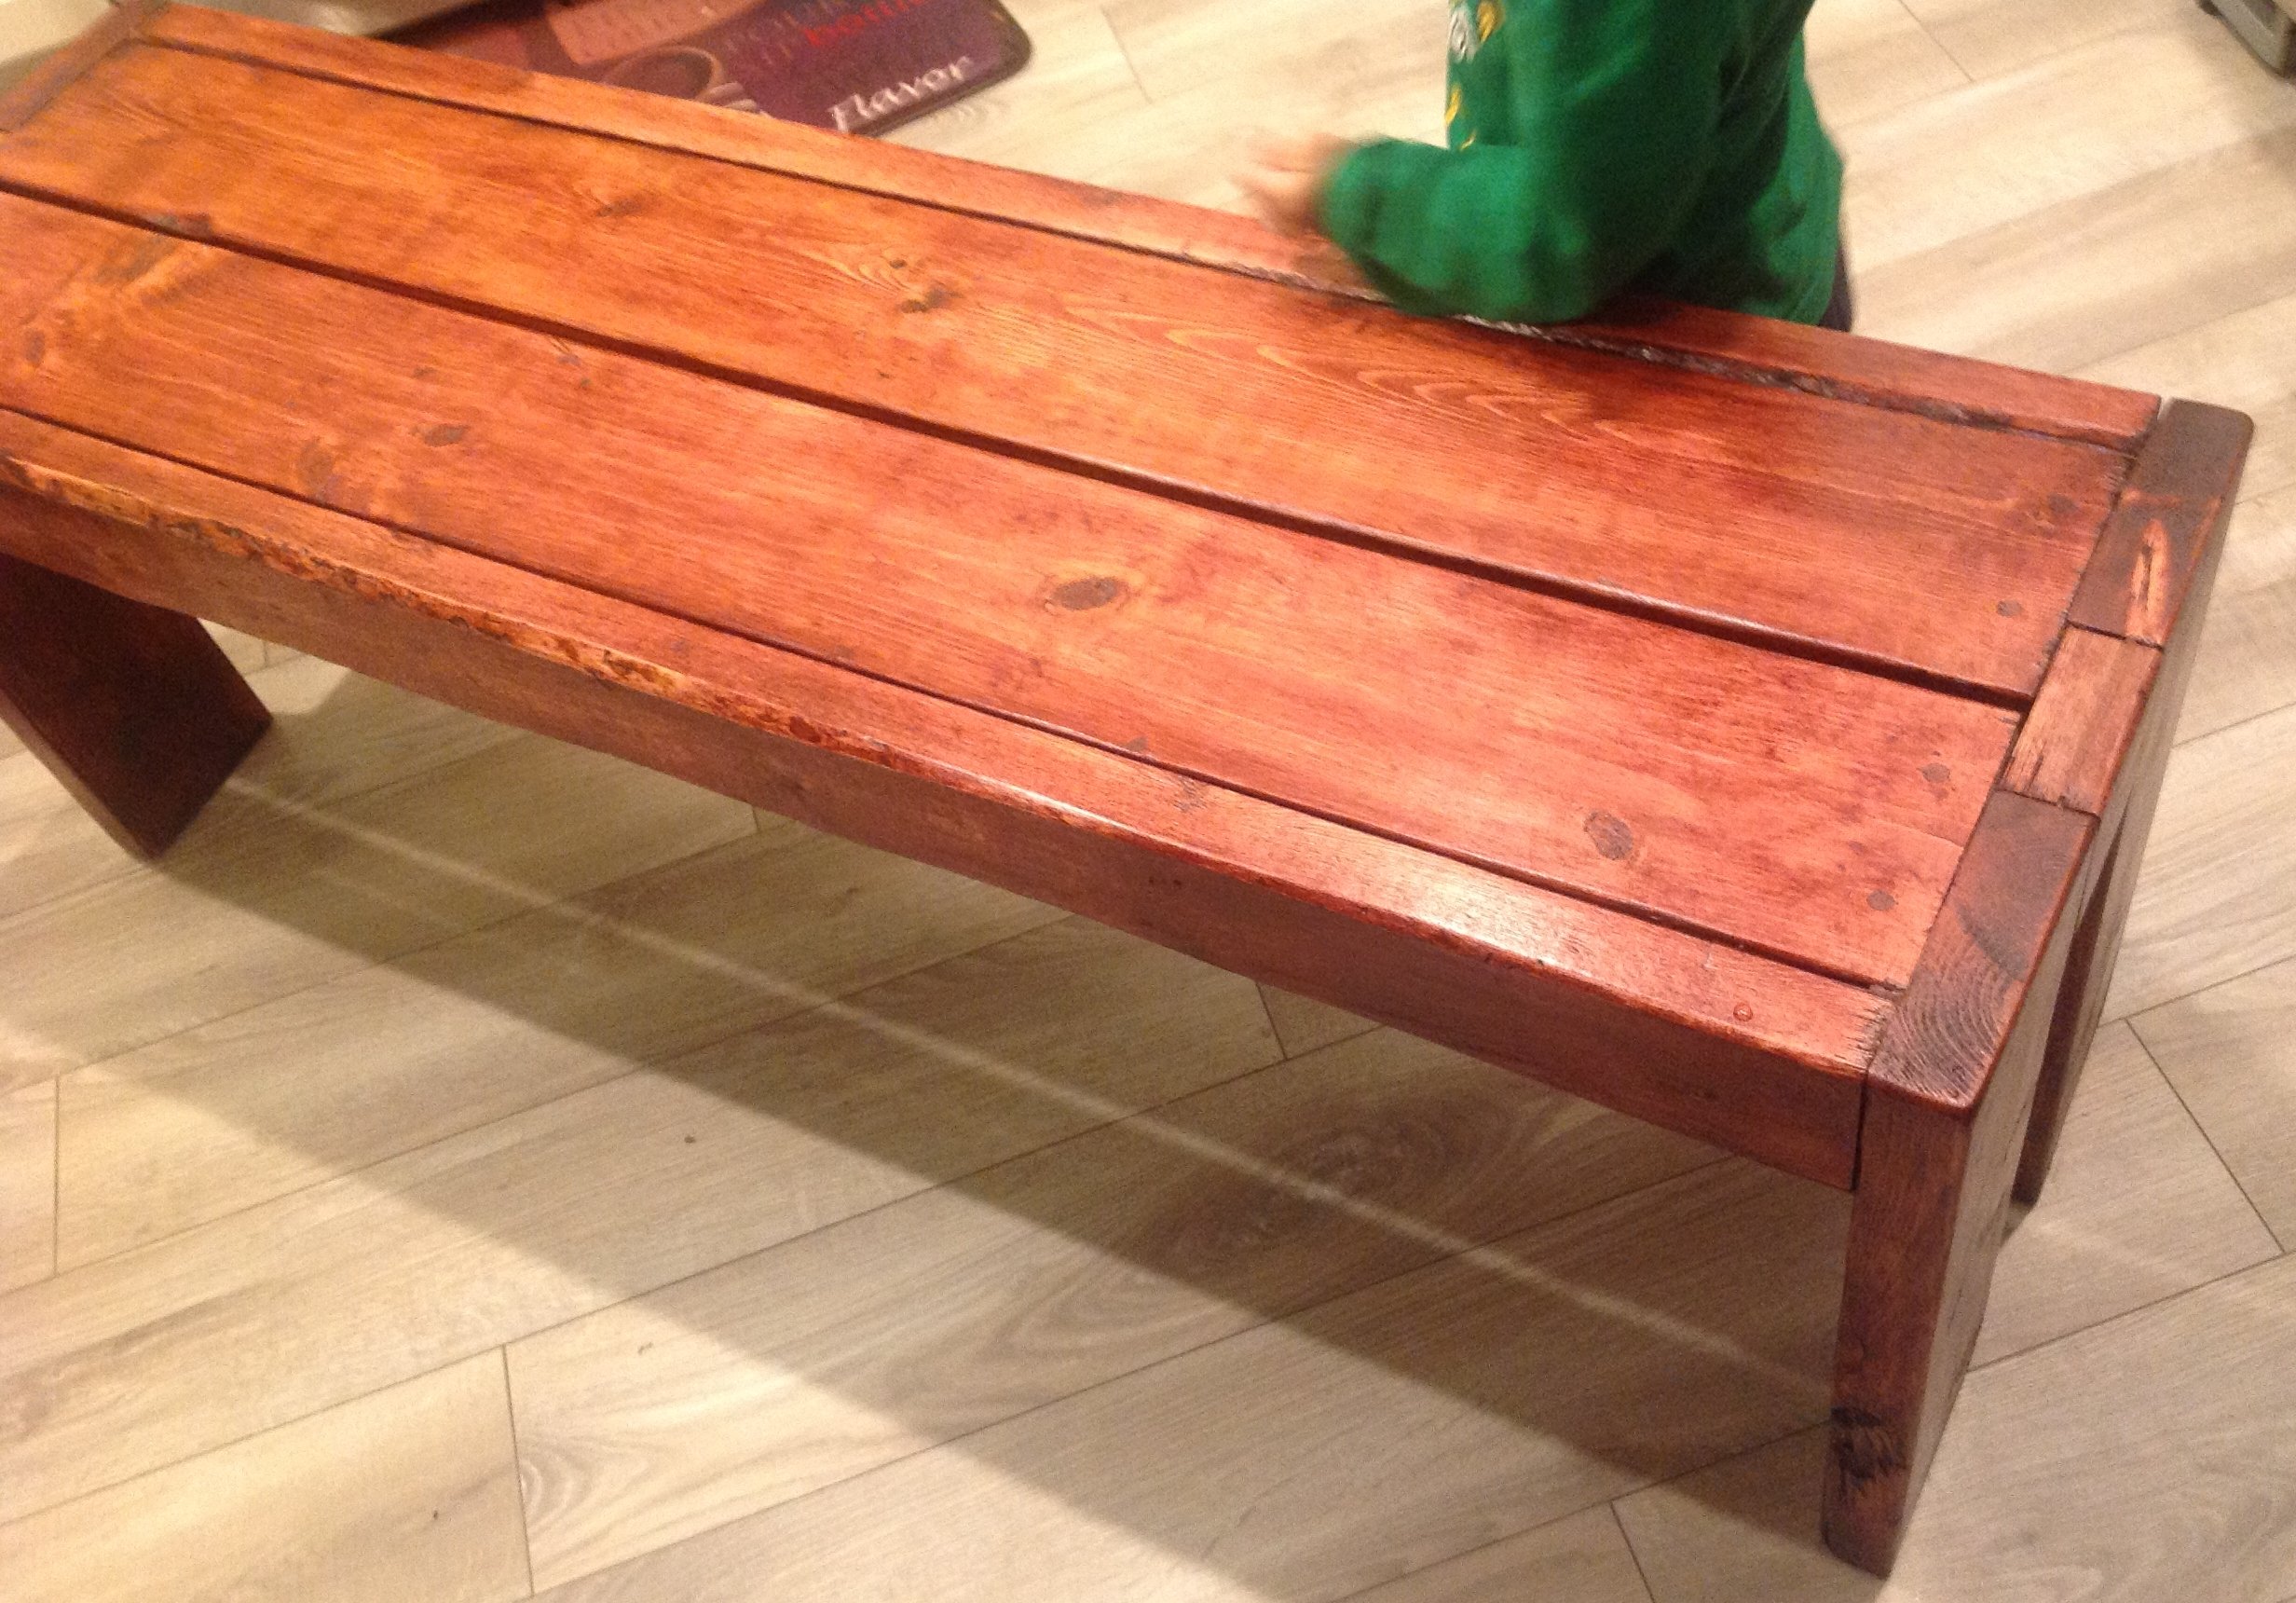
Made from scrap wood left in the empty lots besides me, from framing crews.
Cost me just the time, screws, sand paper and stain.
Made all the cuts with a skillsaw, by saving the $$$ I have now went and bought a mitre and table saw. YAY!
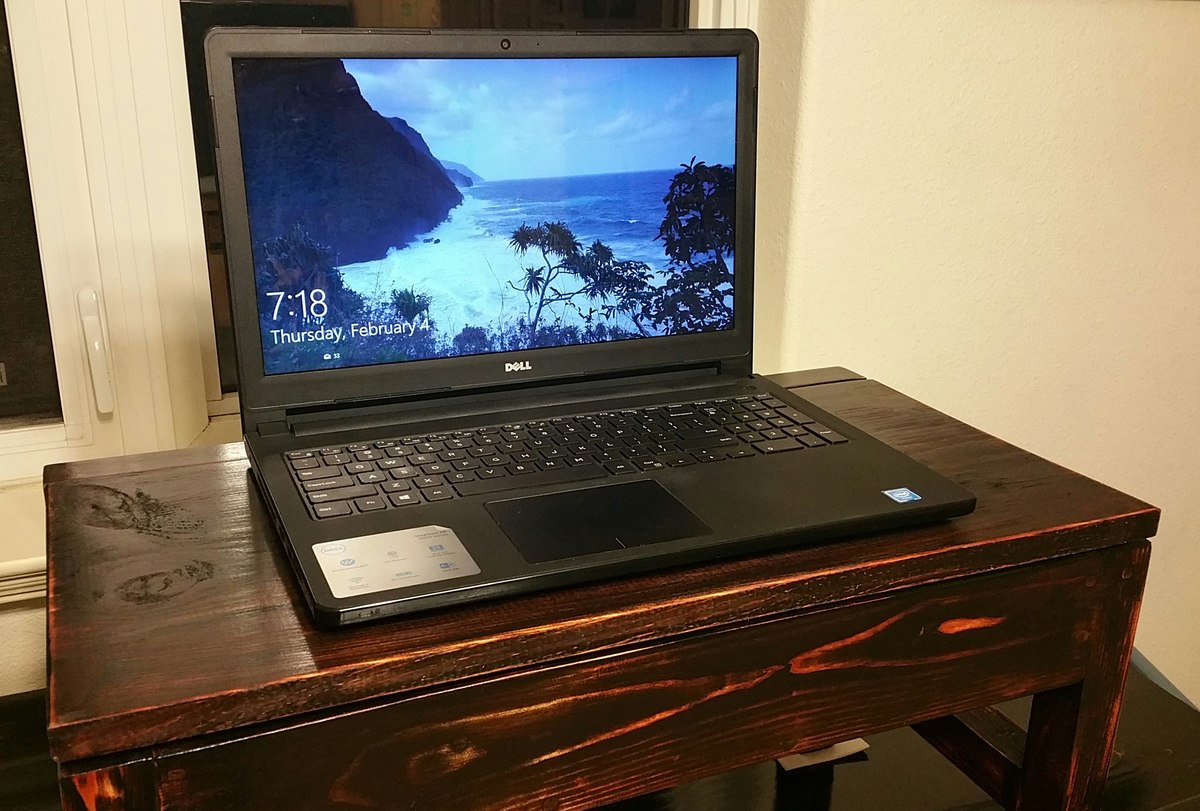
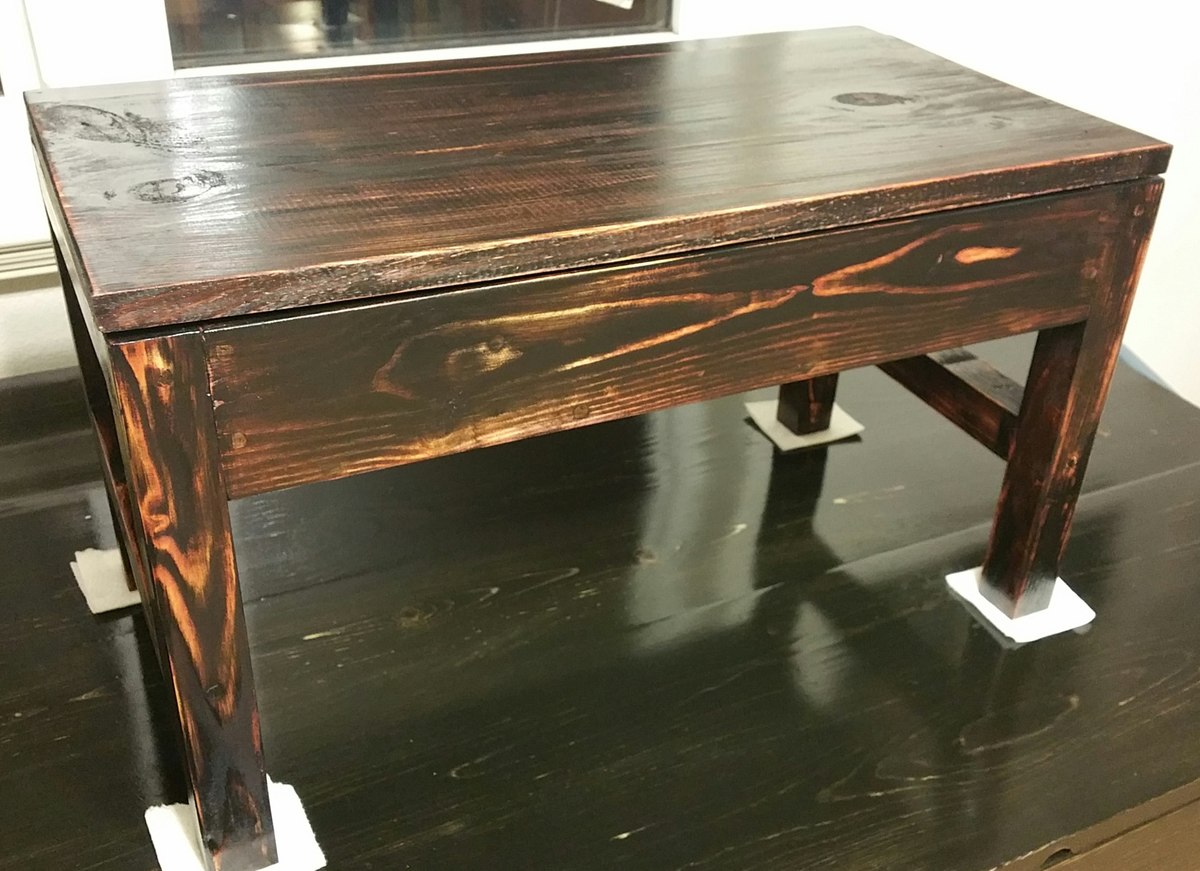
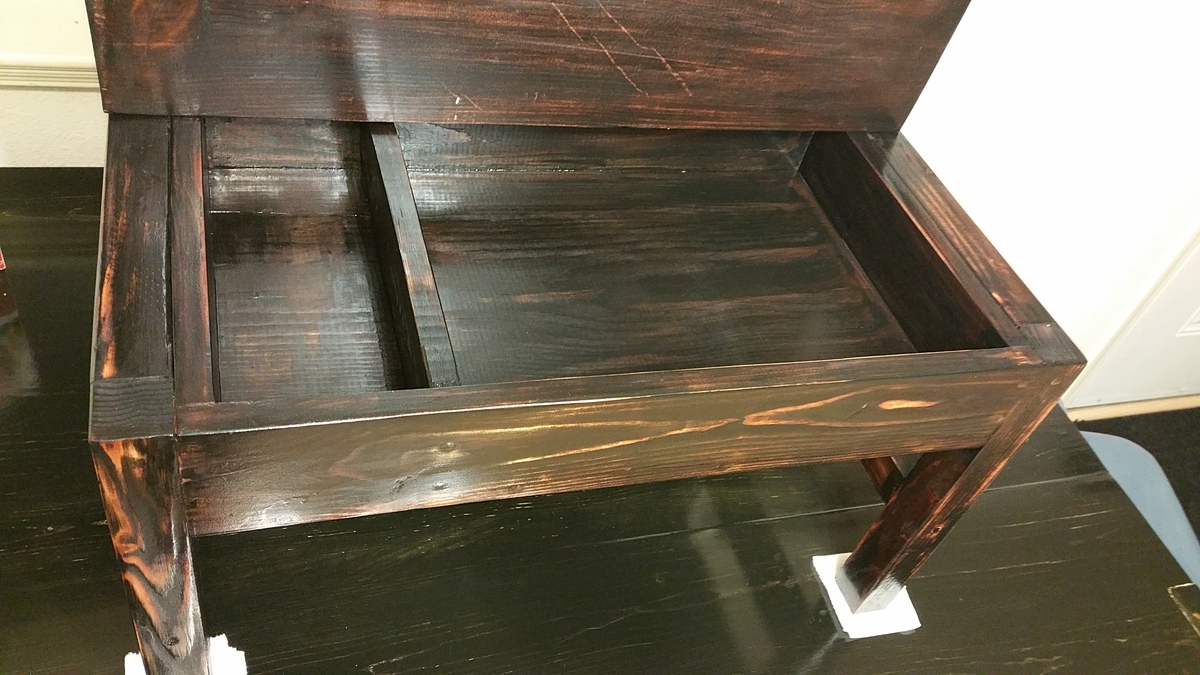
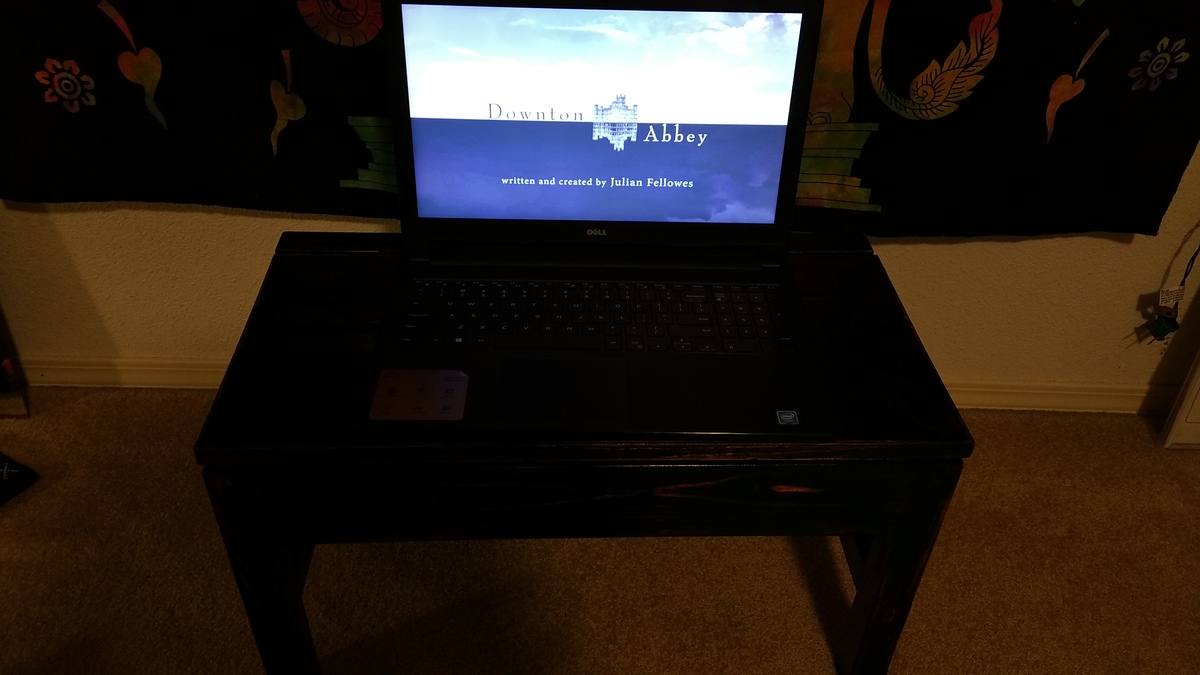
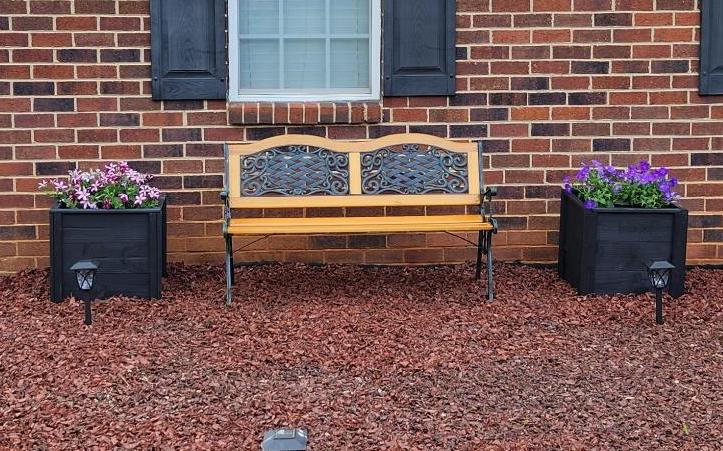
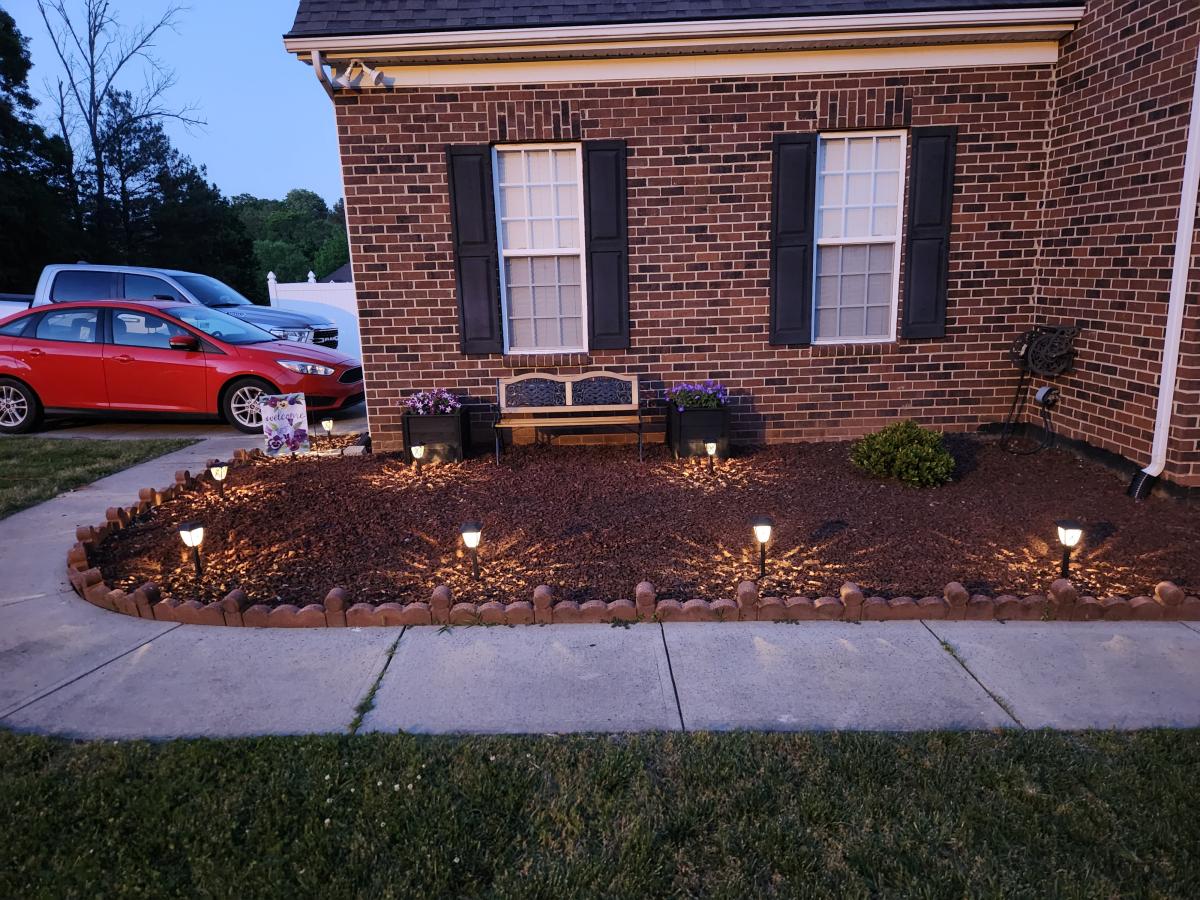
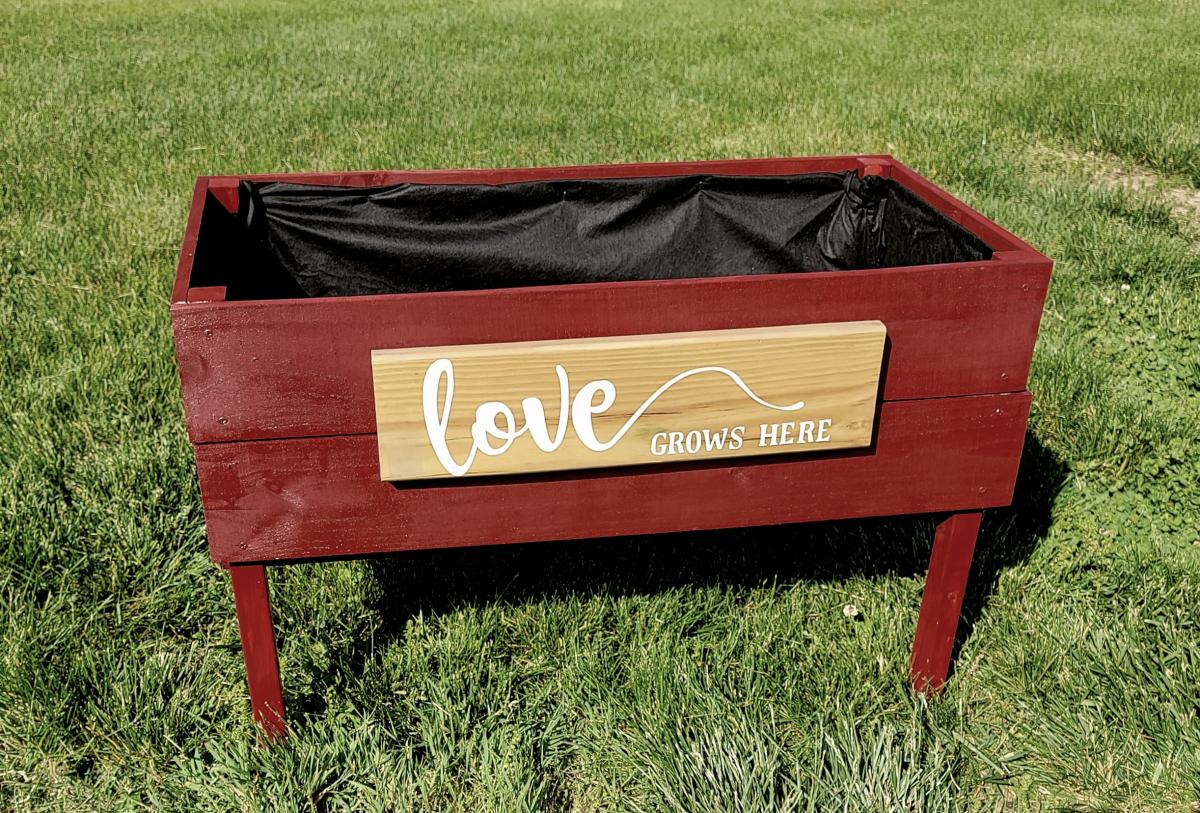
This was a fun afternoon project built almost entirely from materials I already had on hand. I finished it off with a coat of Gunstock stain by Minwax, followed by a coat of Cherry stain. I sanded a little between each coat. Next I applied a thin coat of black paint and sanded gently until the stain started to show through (and bare wood in places). Finally I applied a coat of polyurethane gloss. It took about four days to complete the finish and I made it up as I went along. Super happy with the end result. I opted not to add the side bins, but I did add an extra 2x2 on each side, mostly because the 2x2 I used for the legs was a little bowed and the exta piece ensured that they'd stay where they're supposed to.
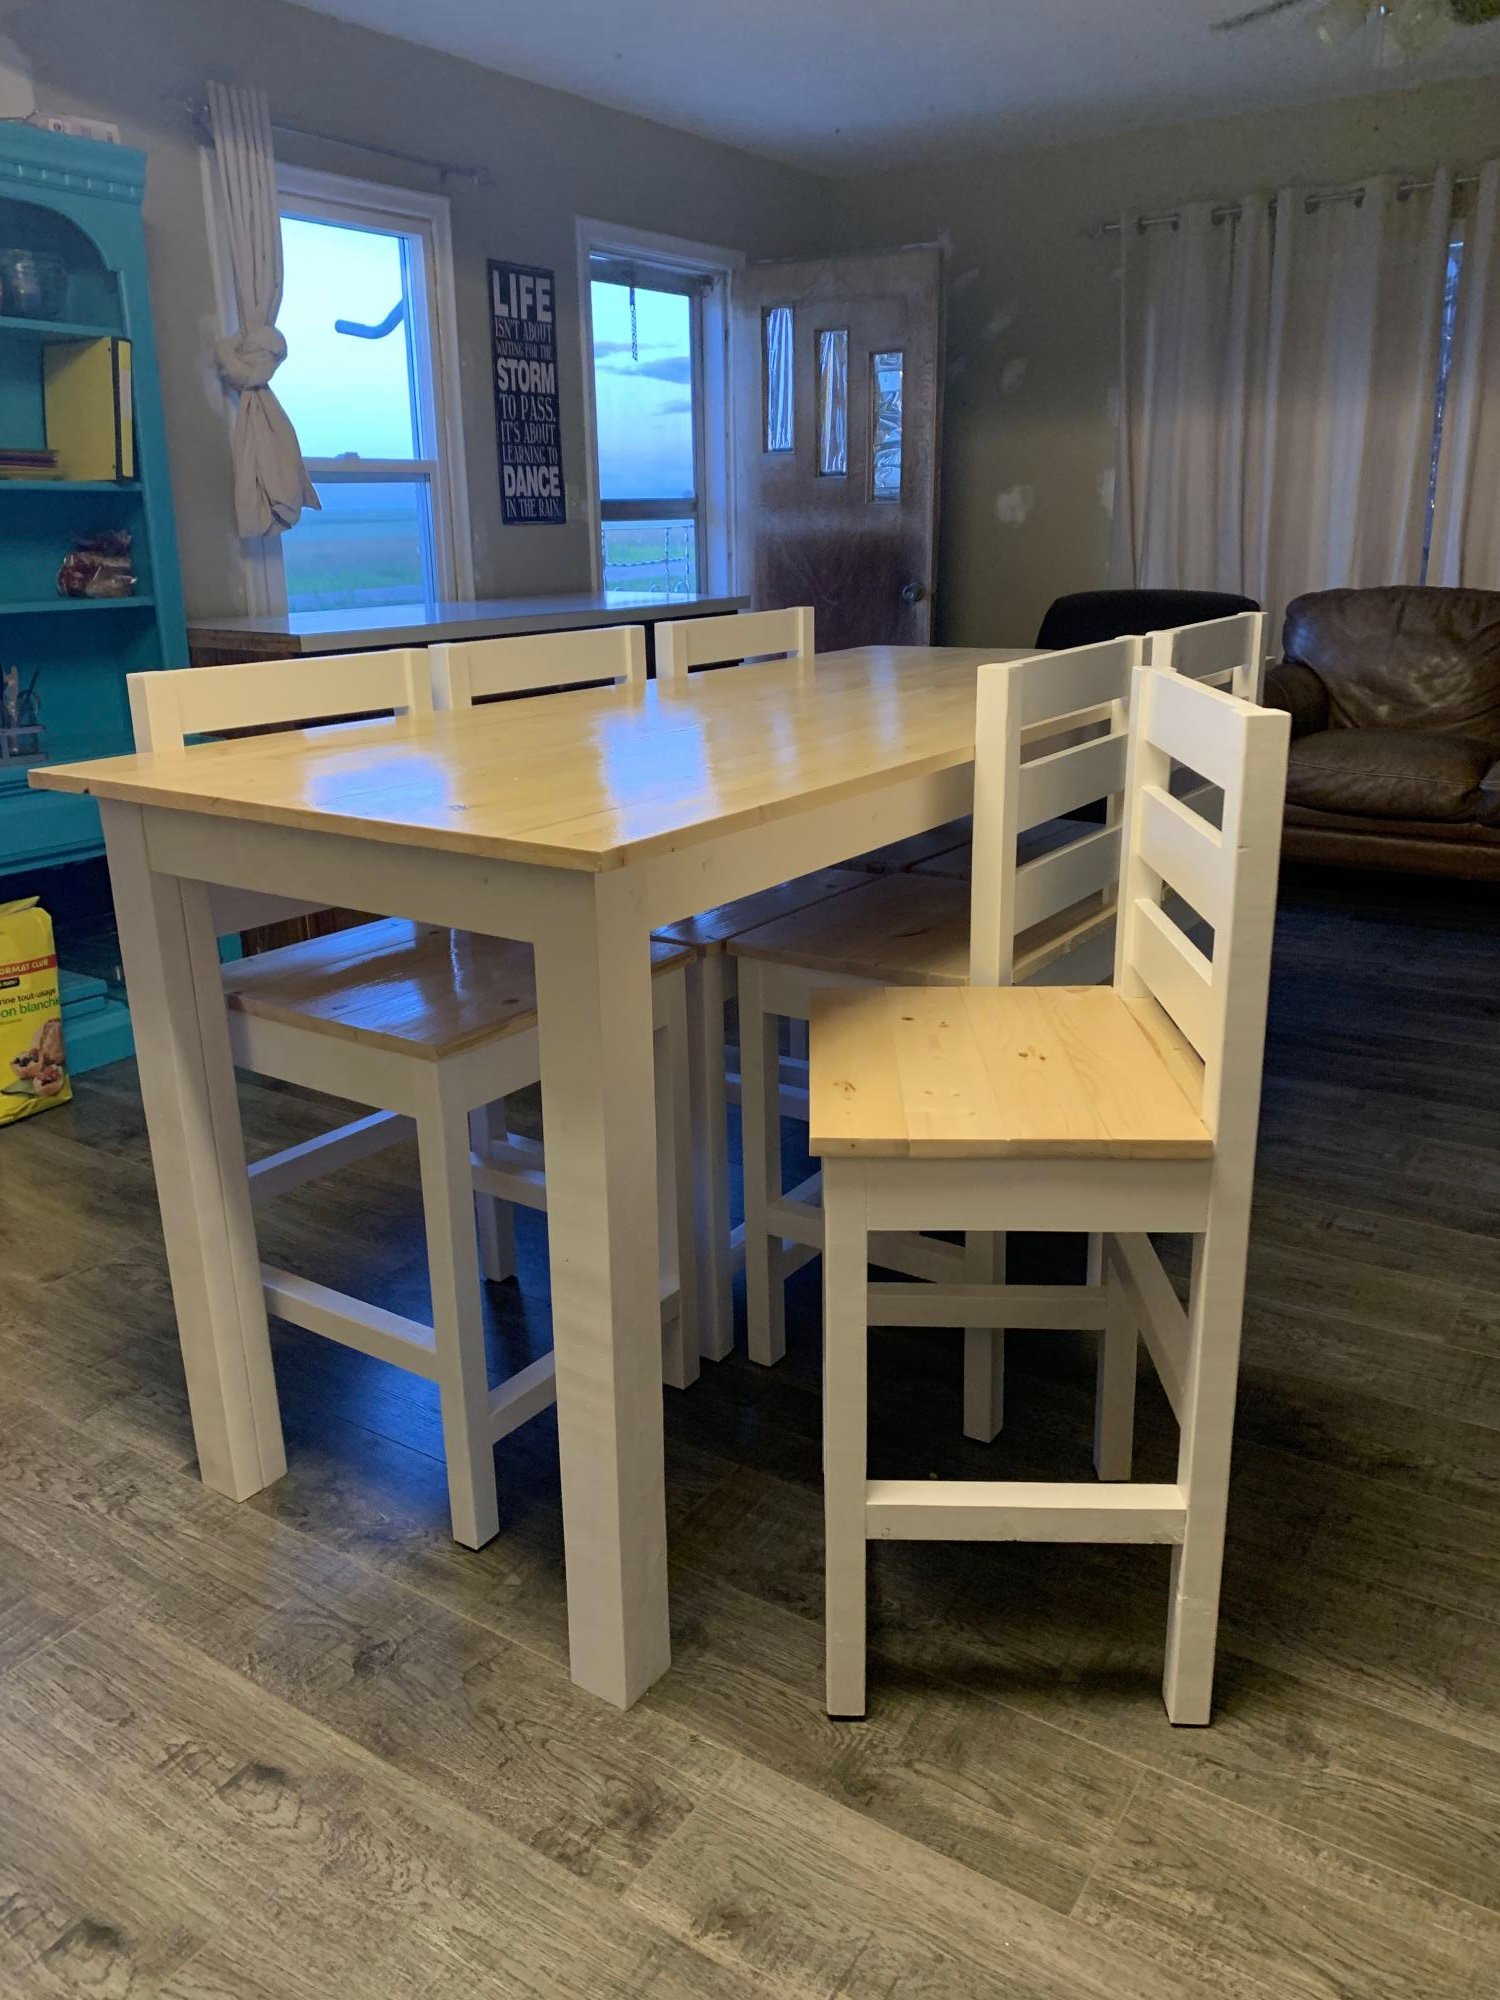
When we took the wall out from between the living room and kitchen in our small farmhouse, we found that our tiny table just didn’t work and we definitely needed more space at the table with the kids growing. So this is what I built. I wanted it counter height so I can have extra working space in the kitchen during canning and baking. I love how versatile it is in our space as well. We did cut down the backs of the chairs because it was too tall and overpowering in the small space. I also didn’t account for the seat length and wanted the whole chair to pushed up right to the table, so we adjusted the side measurements and made three of the chair seats one board smaller. They are perfect for the kids. Now on to the cabinets and painting the walls!
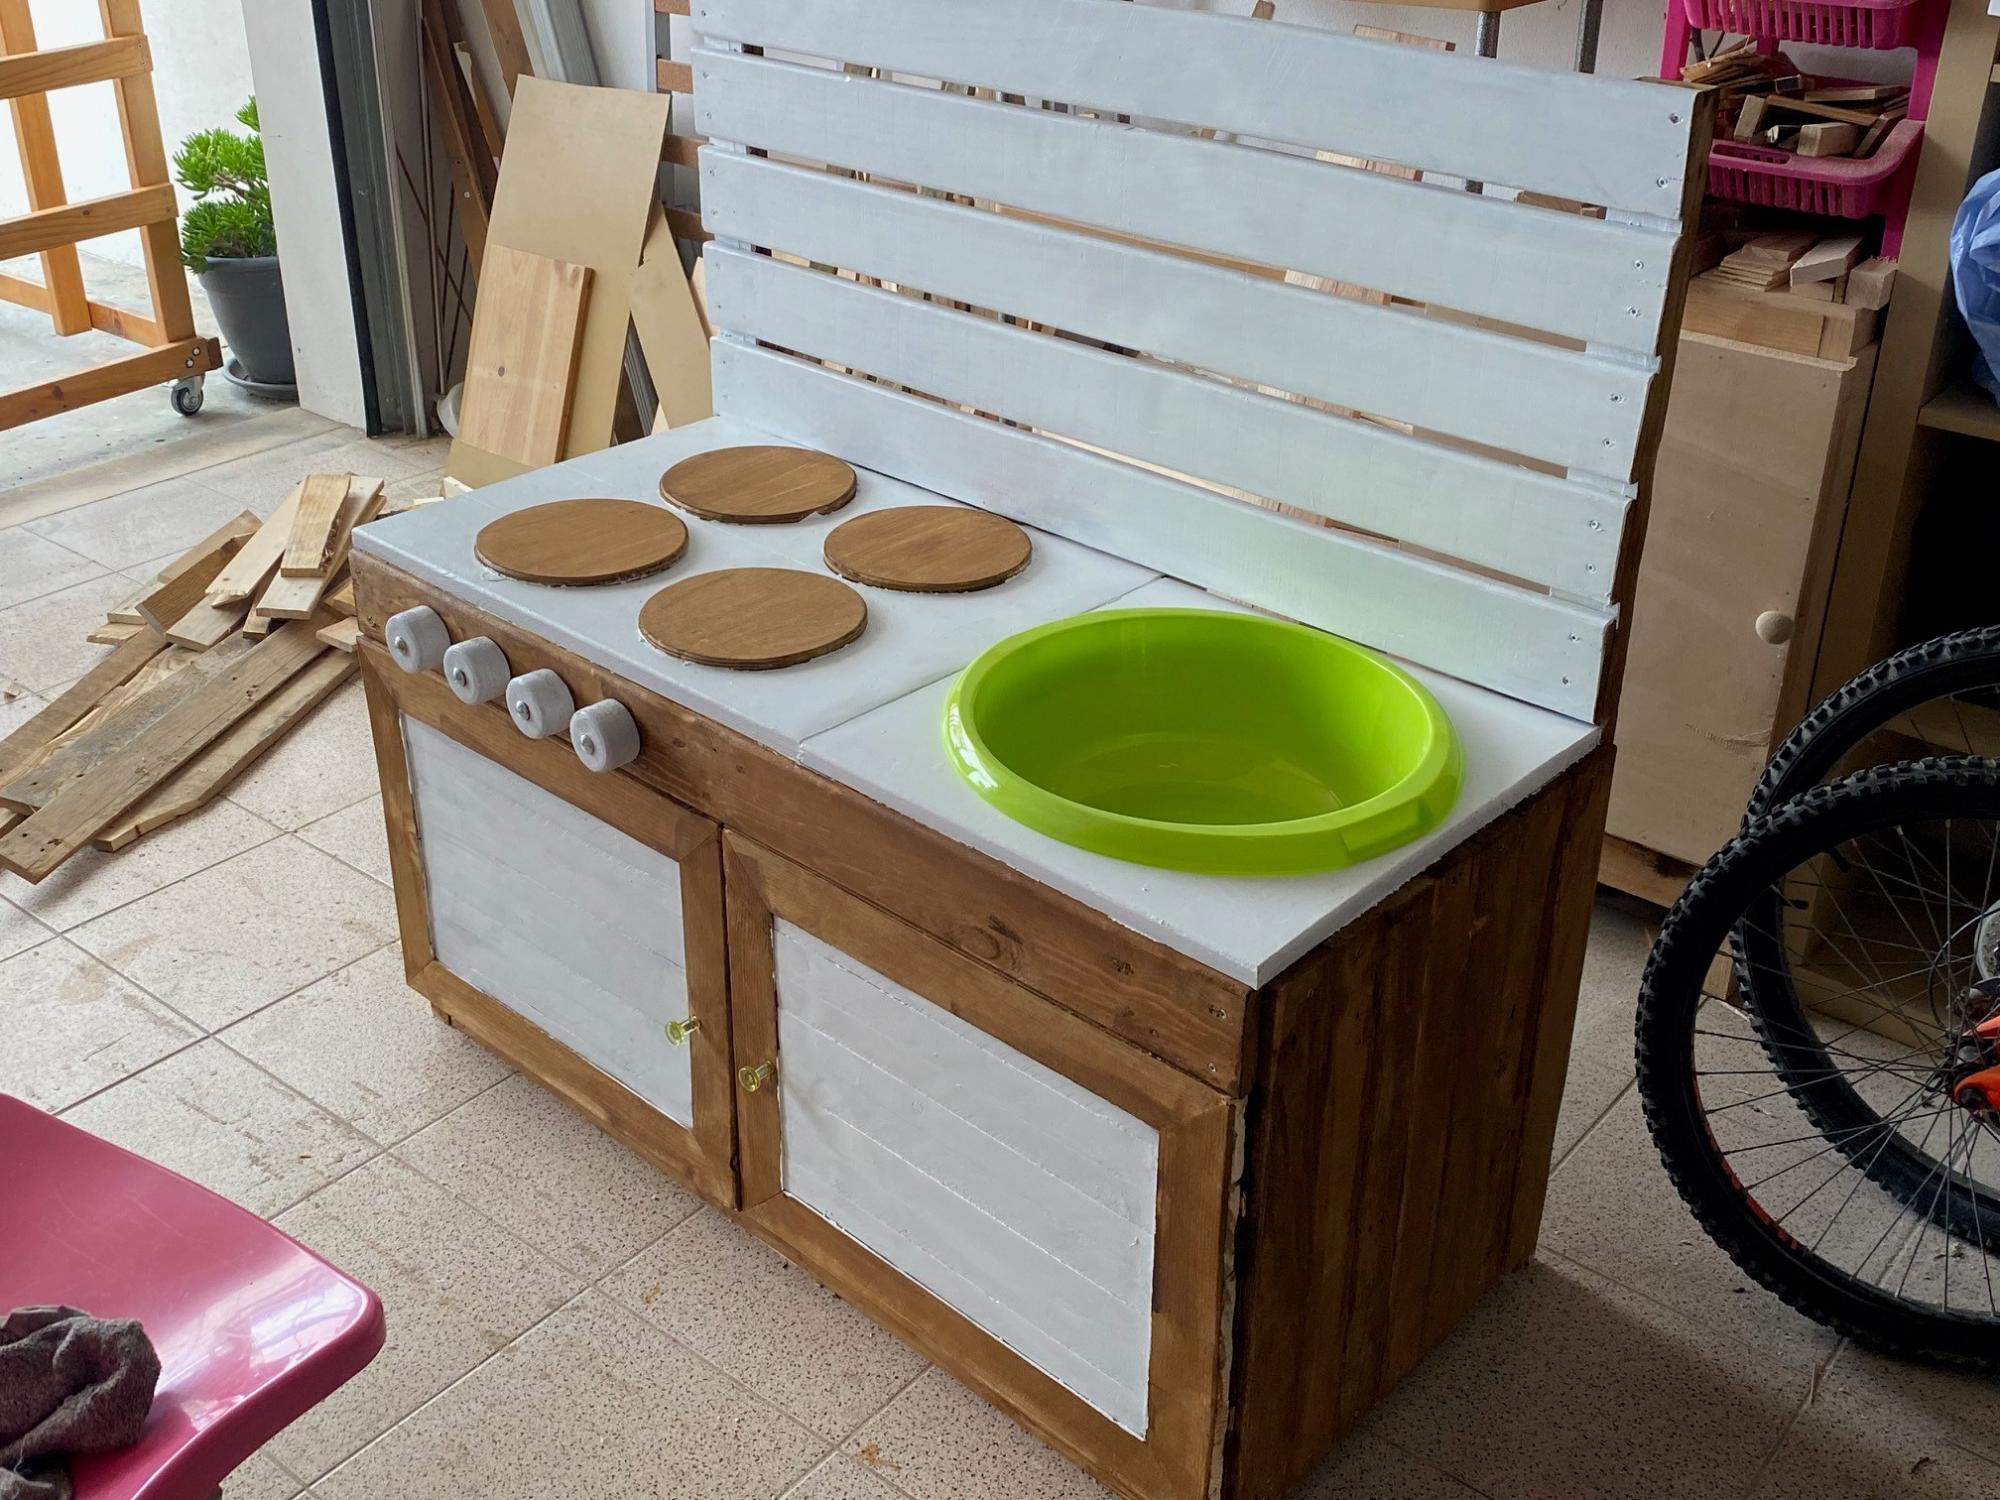
Here's the Mud Kitchen I made for my son's kindergarten. All made from palettes. Unfortunately your plans came out just too late
Fri, 05/05/2023 - 11:40
Thanks for sharing your version, it looks like a lot of fun!
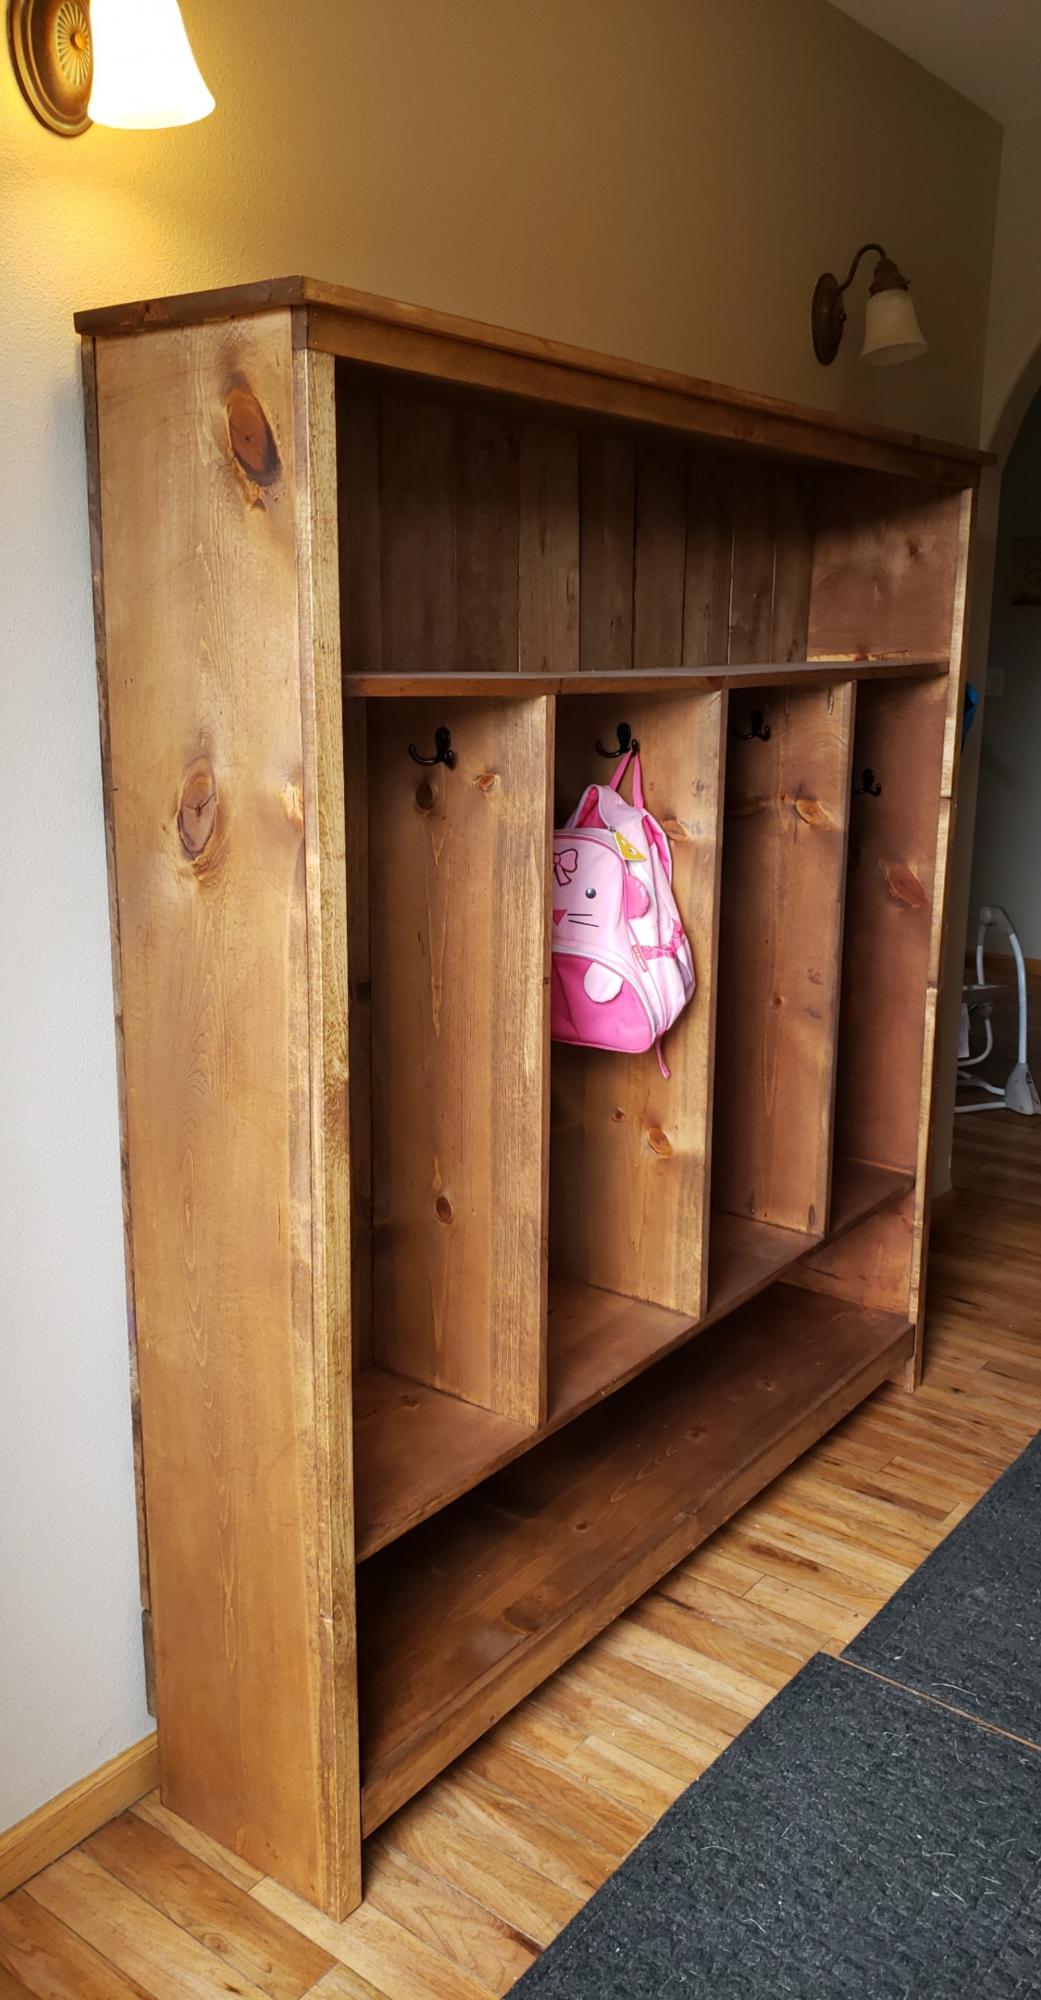
Modified the plans to make a fourth cubby, they turned out great!
I made these for my Aunt. She loved them. Can't wait to do another Ana project!!
Mon, 05/08/2023 - 20:07
Very nice, I'm sure your aunt loves them! Thanks for sharing.

I needed some furniture for the entryway and made this dresser. All it needs now is a few accessories! Thanks Ana.

Fri, 01/06/2012 - 12:00
I love this. I would love to build this, but modify it to be more narrow. I am afraid to do both. I don't have the confidence yet to modify or tackle drawers. Yikes. Going to have to bit the bullet one of these days!

This is my first wood working project I've done. I am definitely a beginner, but feel that it turned out great. The project instructions were easy to follow and very descriptive. Some of the problems I ran into was my hardware store had a very limited selection of wood to choose from. I ended up buying a 2x4x1/2 sheet of plywood for the sides so when I made my cuts, I didn't take into account that the blade from the saw would eat up an 1/8" of wood which made my cuts off. Next when I was attaching the 1x2s and 1x3s to the plywood, I didn't realize I clamped the wood to hard which left a slight bend in my joined pieces. Overall I feel the project turned out great and my 3 year old loved it (which is the most important thing)!! I look forward to making more projects, to include another toy box.


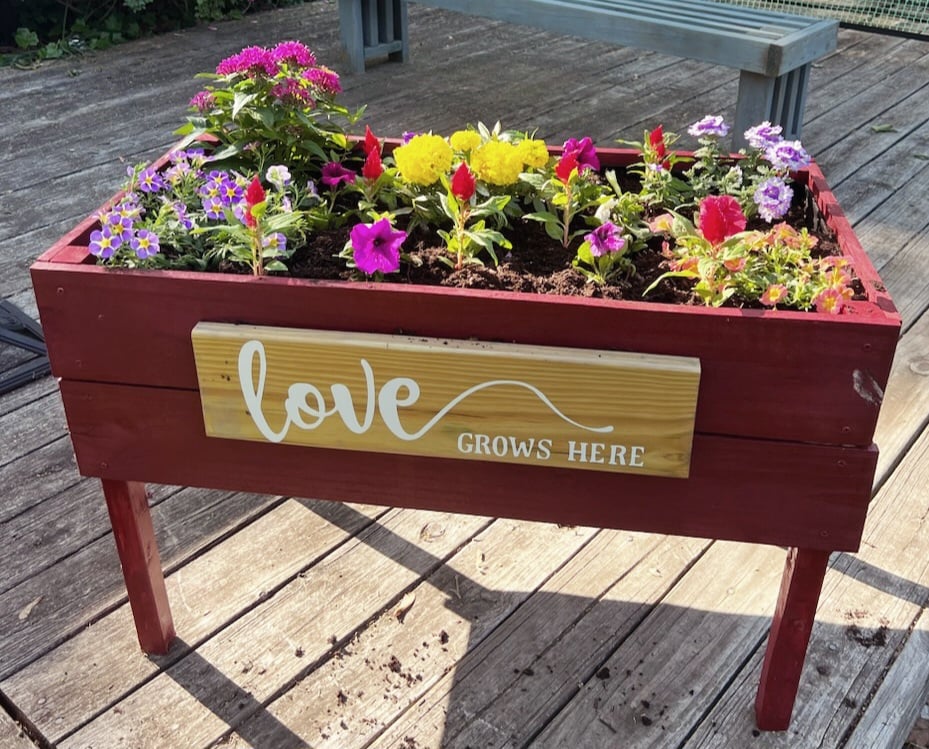
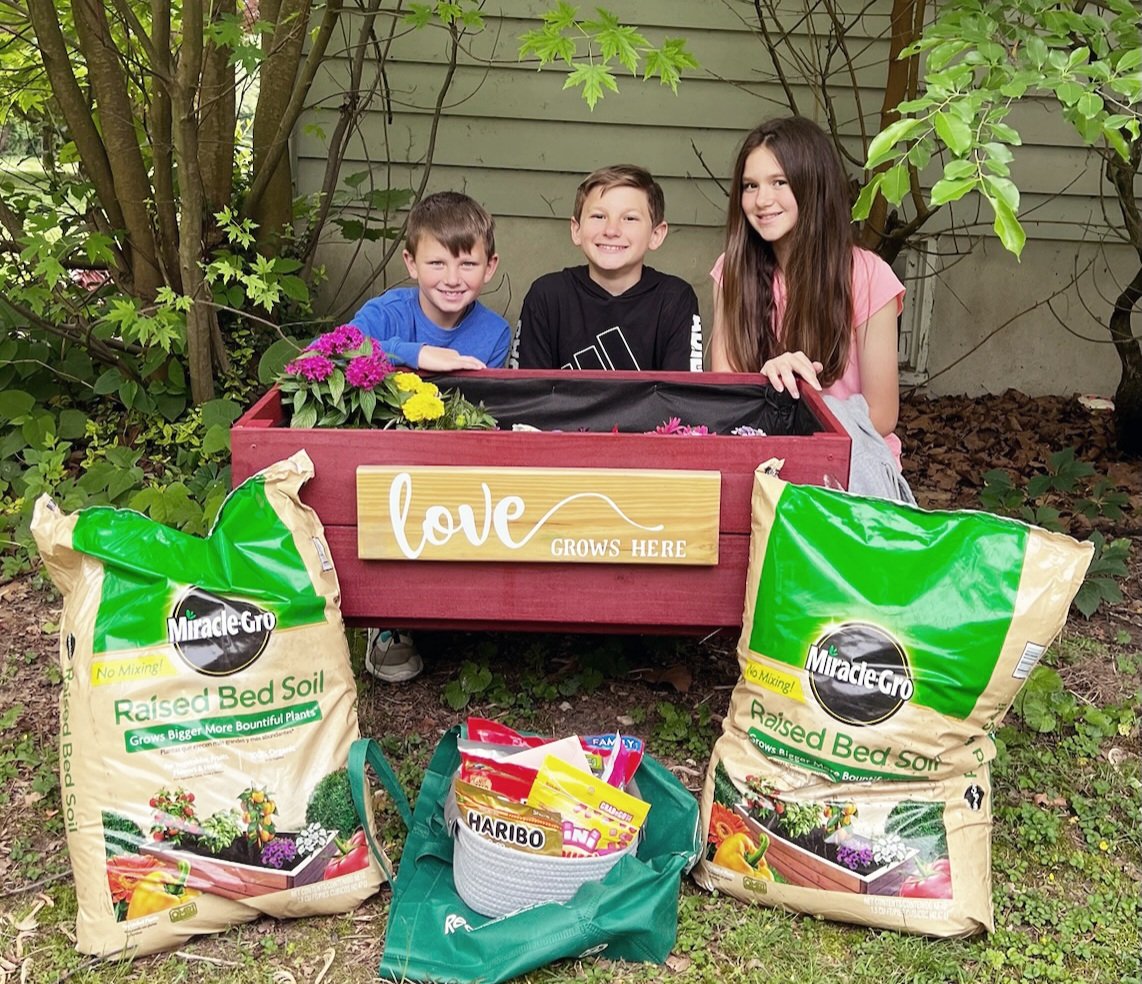
I helped my 3 grands make this for their mom for Mother's Day. They loved it and she was over the moon!
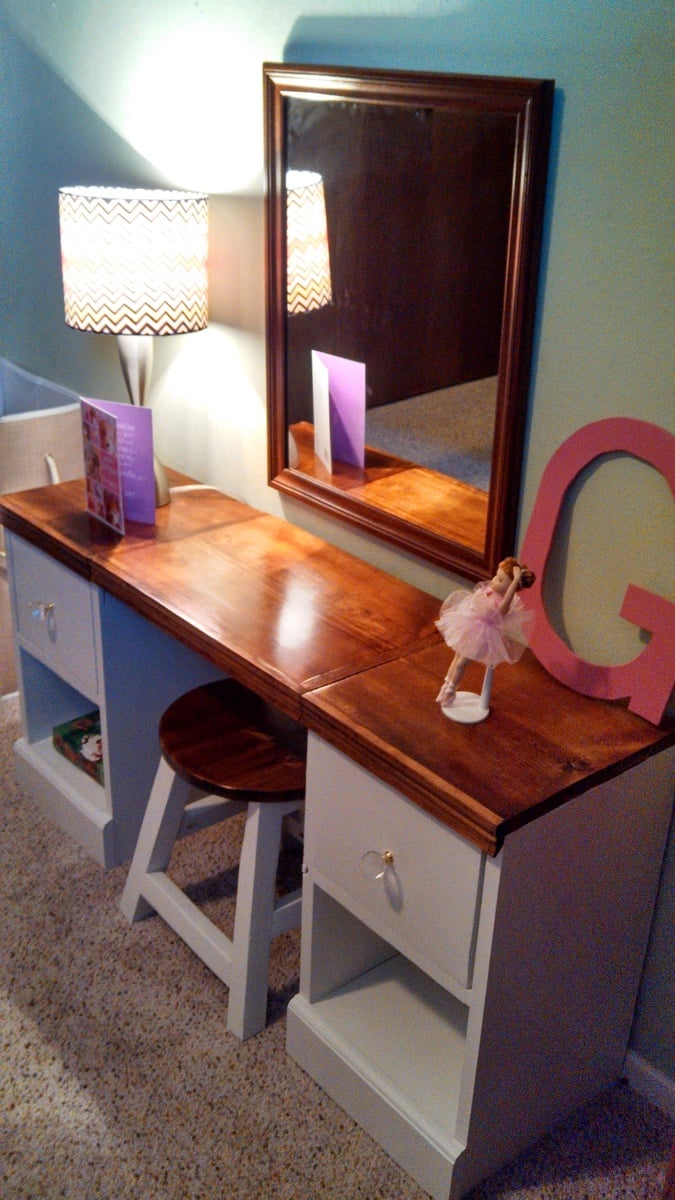
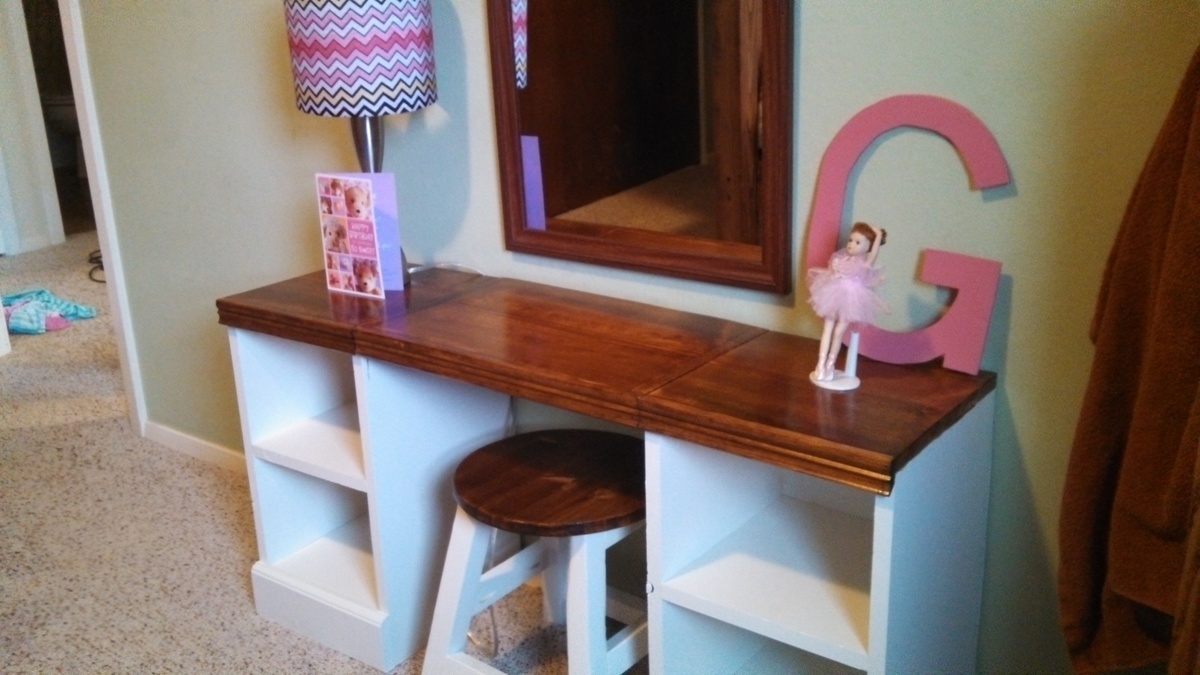
I wanted to surprise someone special with just the right gift on her 5th birthday. The size was just perfect for her and the space that was available.
At the last minute I decided to add drawers to contain all those girly things and am glad that I did. To finish it off I added pretty crystal knobs to really glam it up.
I also built the play table stool to complete the set.
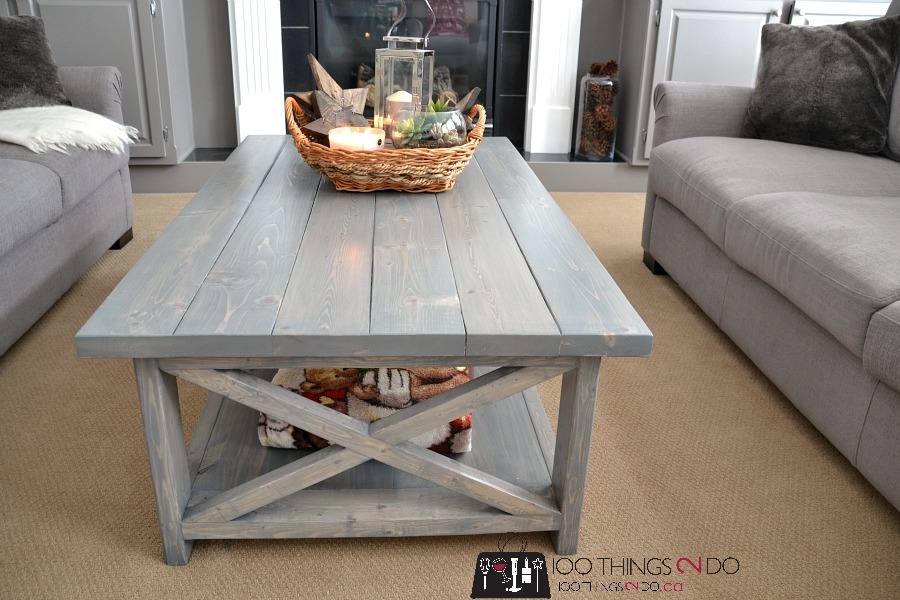
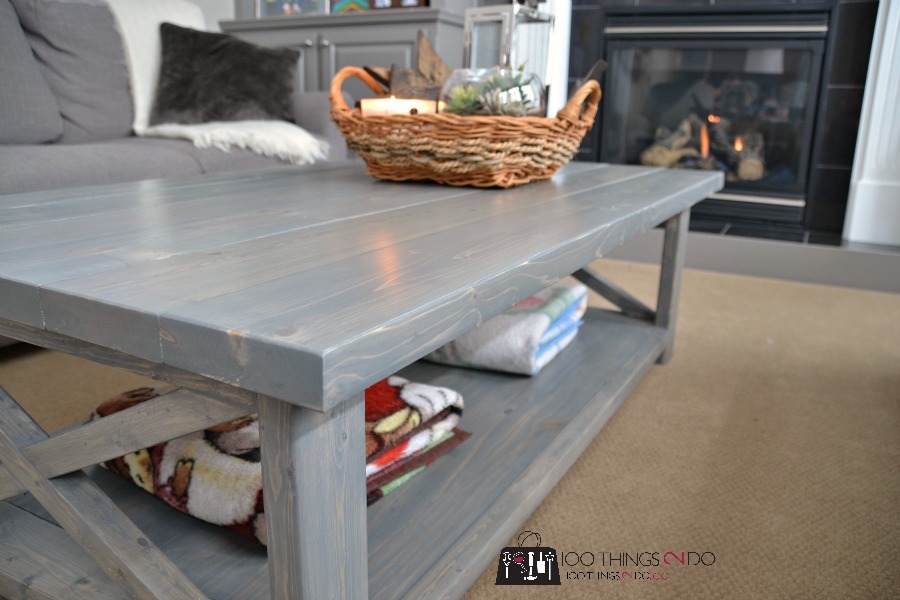
Using Ana's Rustic X Coffee Table plans, I created a larger version at 60" by 33" - just as easy and perfect for my space! Thanks Ana!

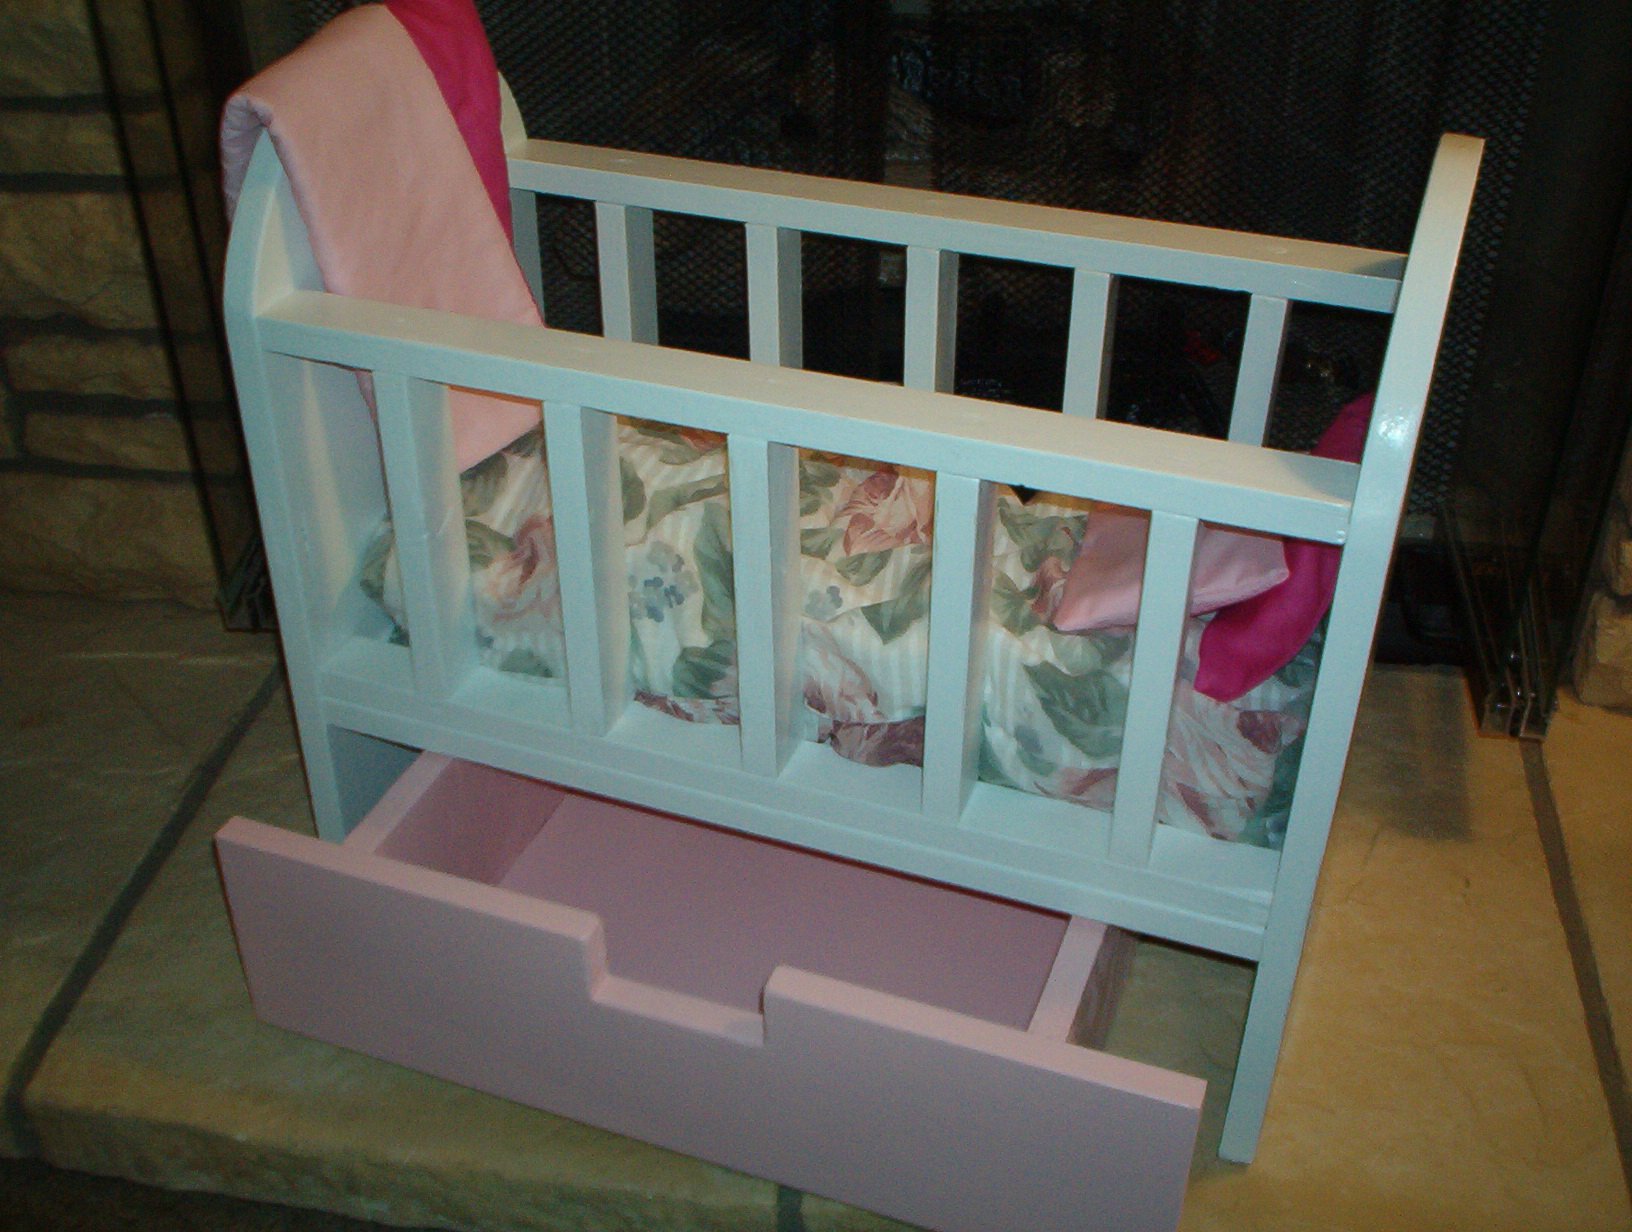
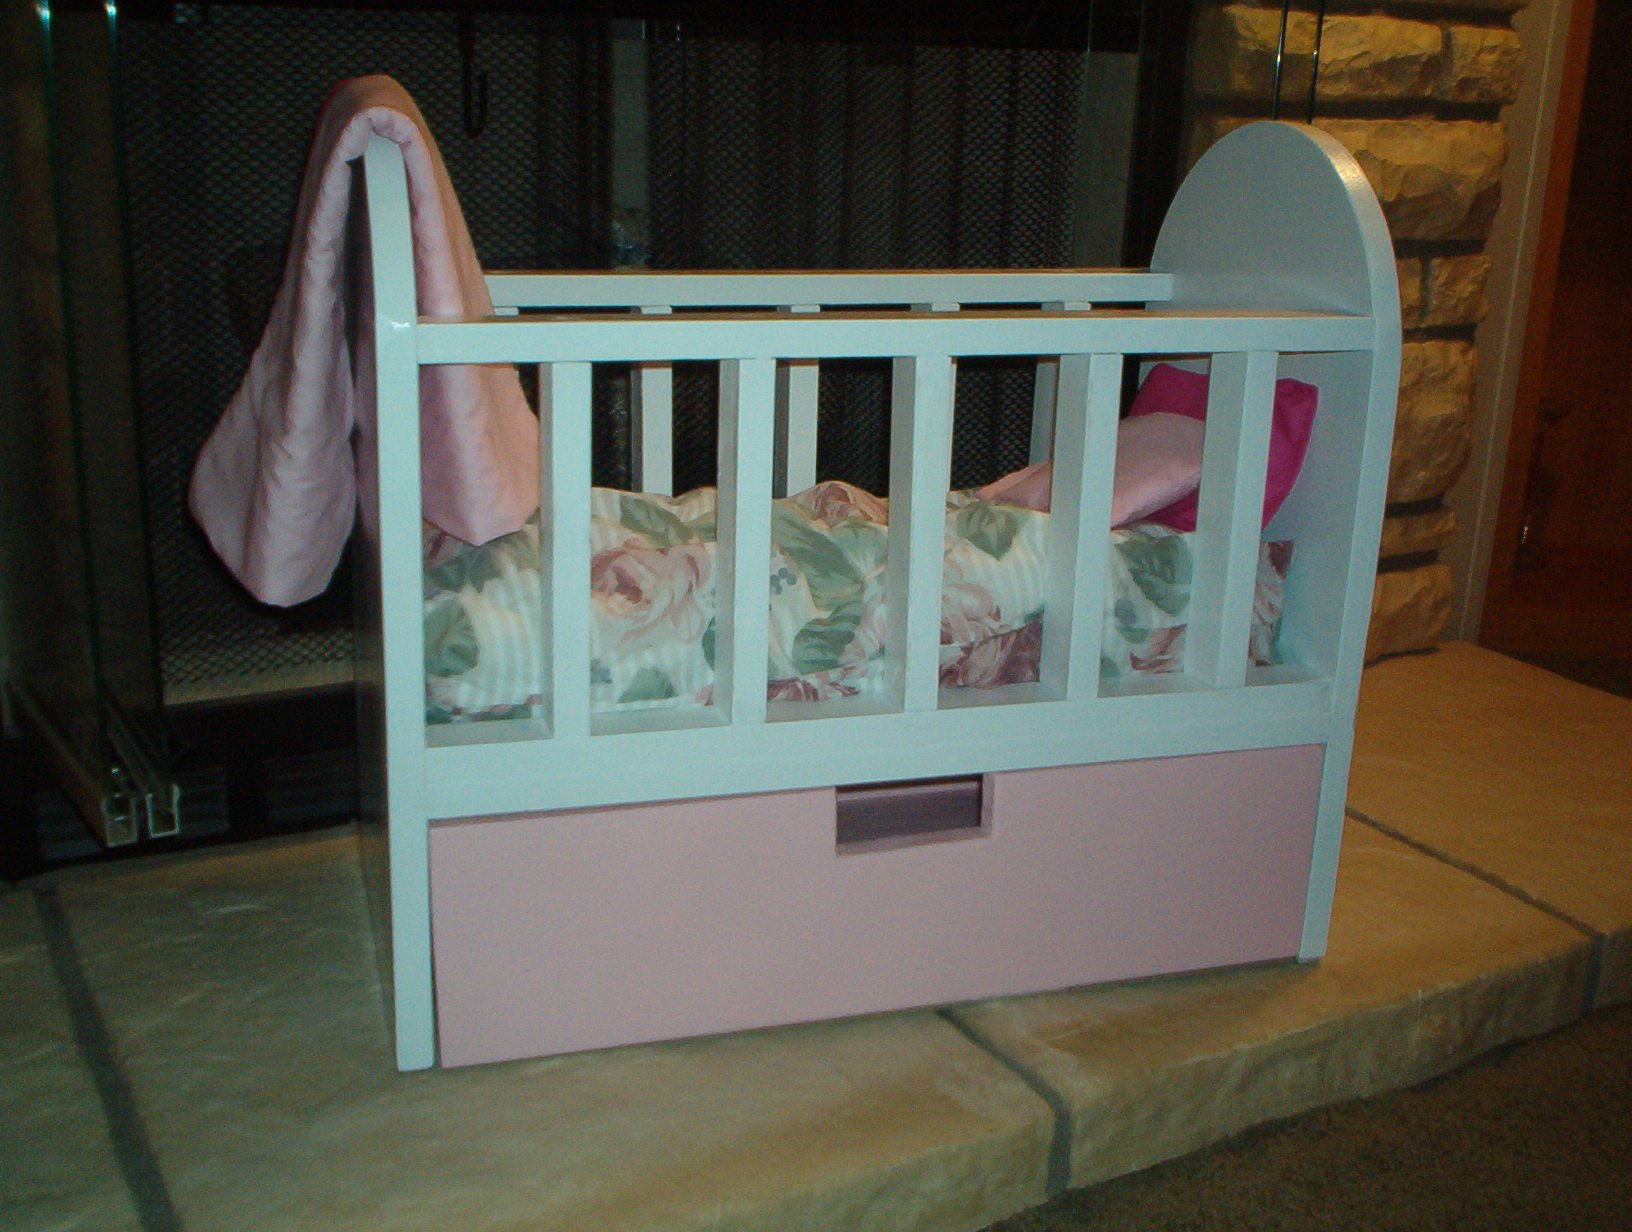
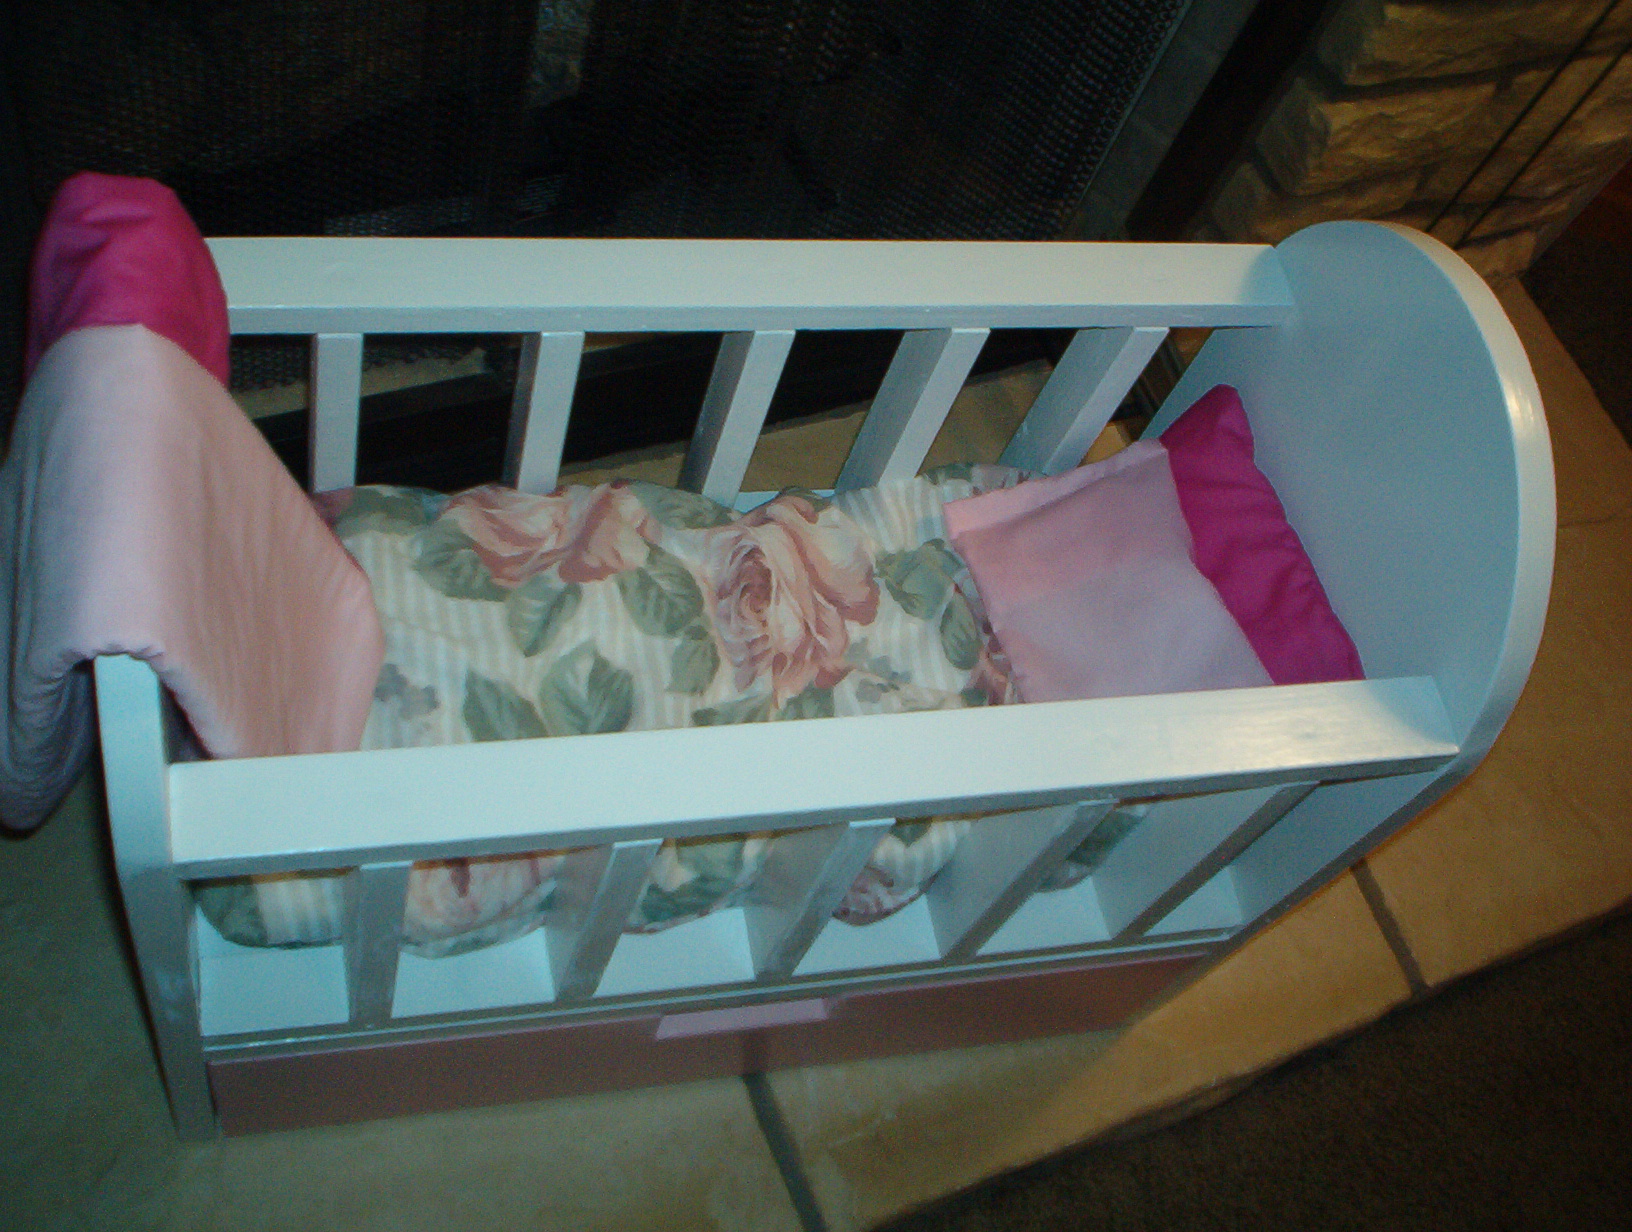
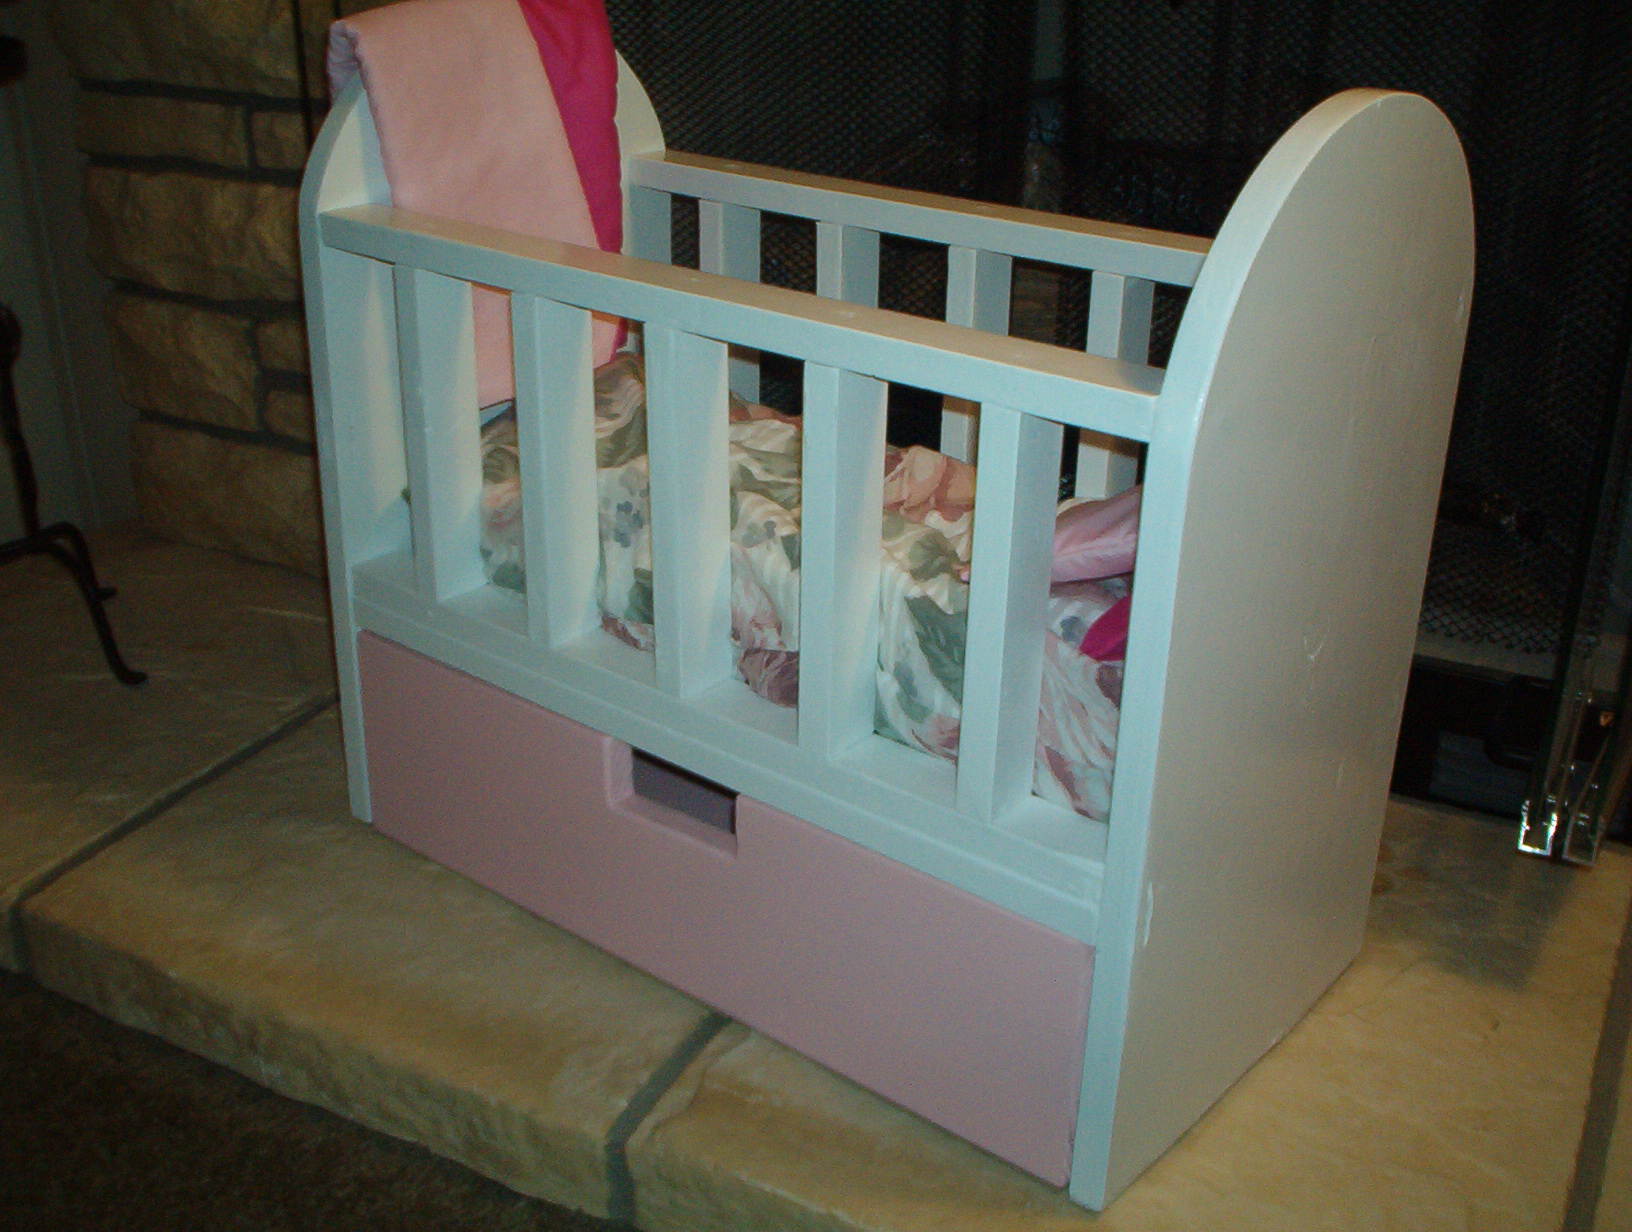
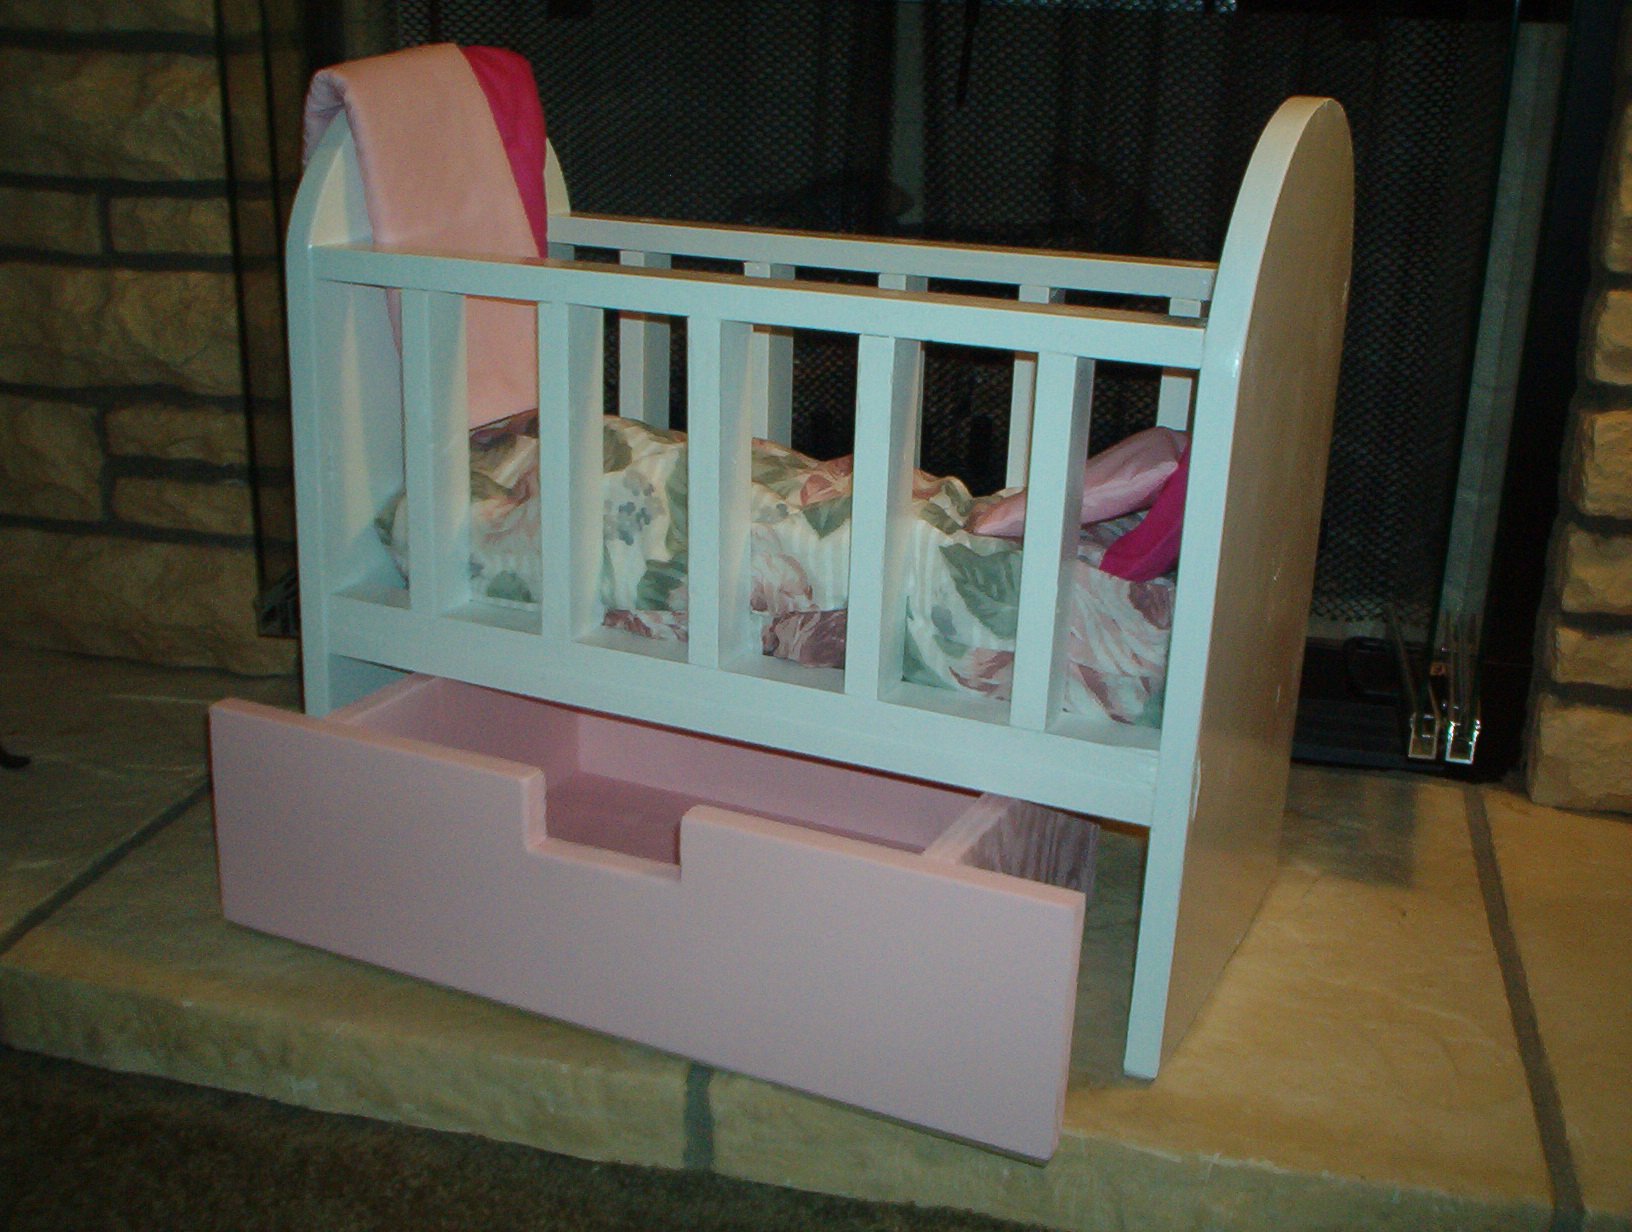
I did it! Using your plans I made the doll crib. I had to improvise on the drawer as the drawer in the plans was to tall to go under the bed and I had already put it together before checking. Oh well. I also made the mattress, reversible blanket and 2 pillows for the bed. As this was my first woodworking project I am so proud of how well it turned out. Thank you Ana for this site. It is amazing and I am HOOKED.
Tue, 01/10/2012 - 21:52
The drawer isn't out of line, it is just my hearth is uneven. LOL

My husband broke out entertainment stand all out of glass. This is my very first project. All by my self. Inspired from being broke and have 2x4 laying around.
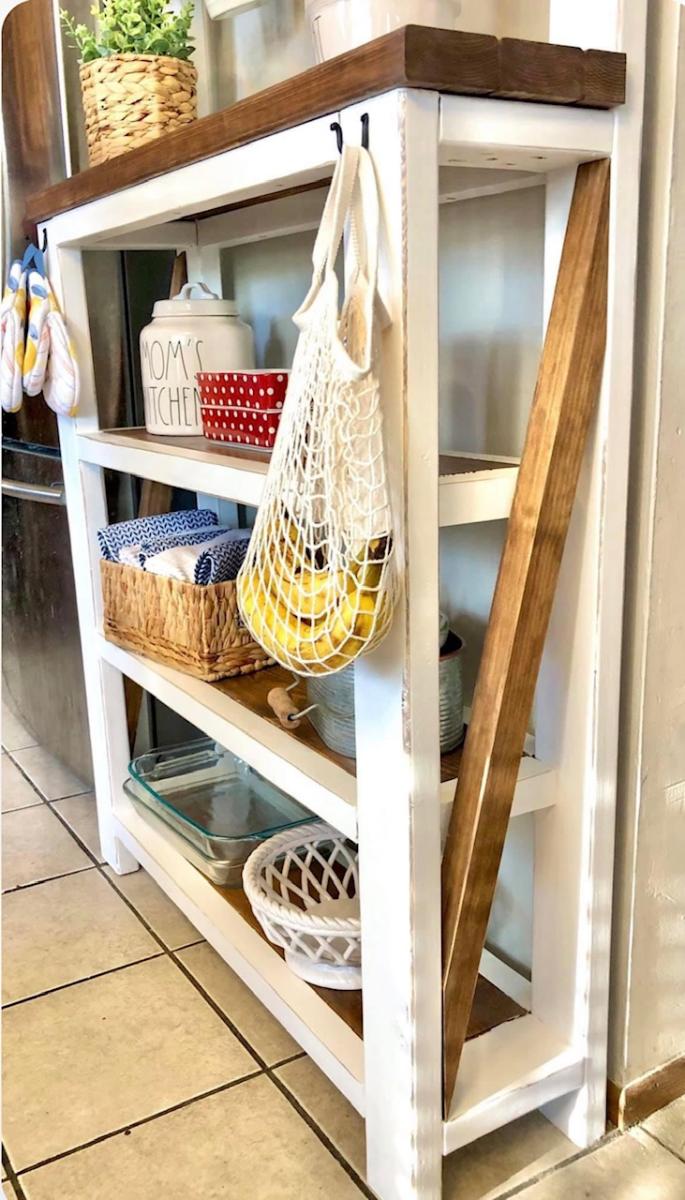
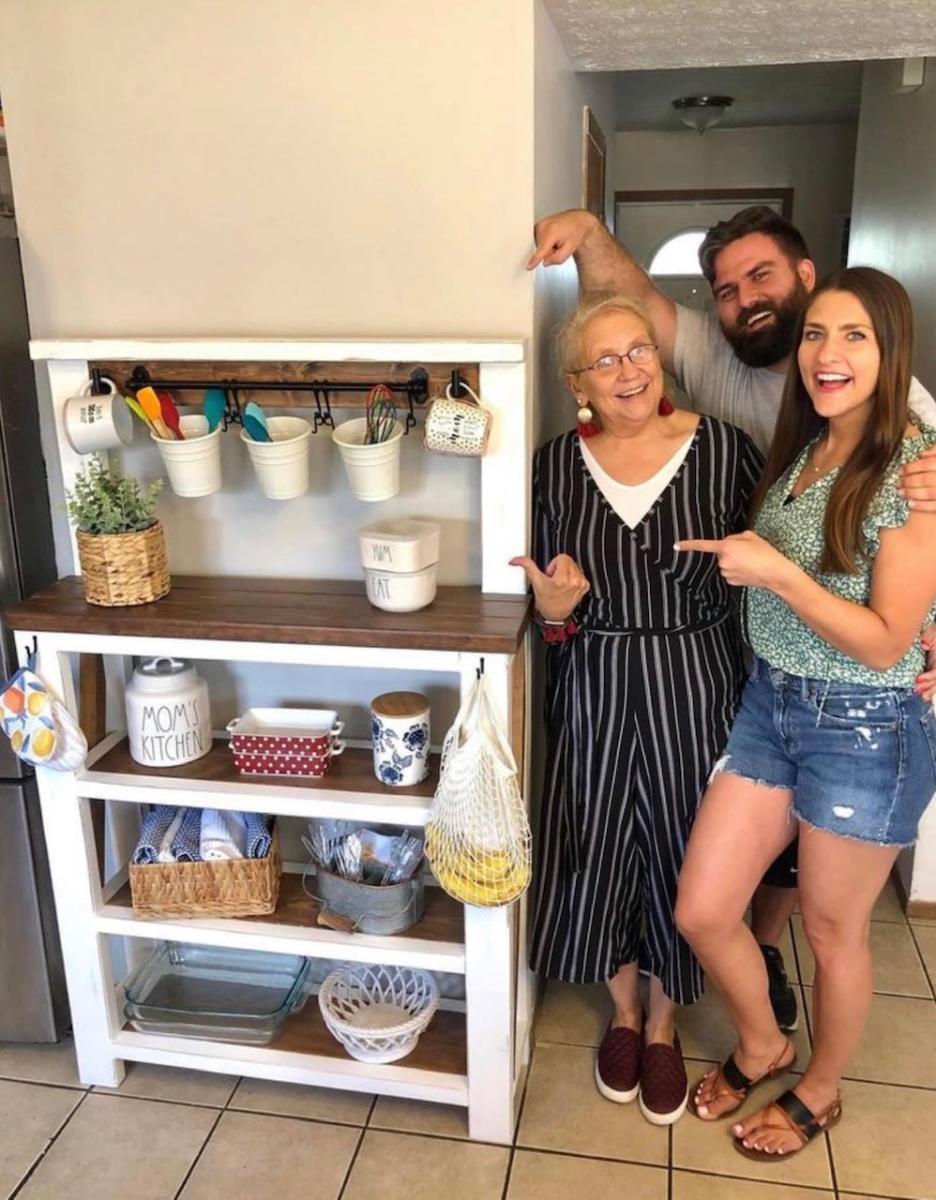
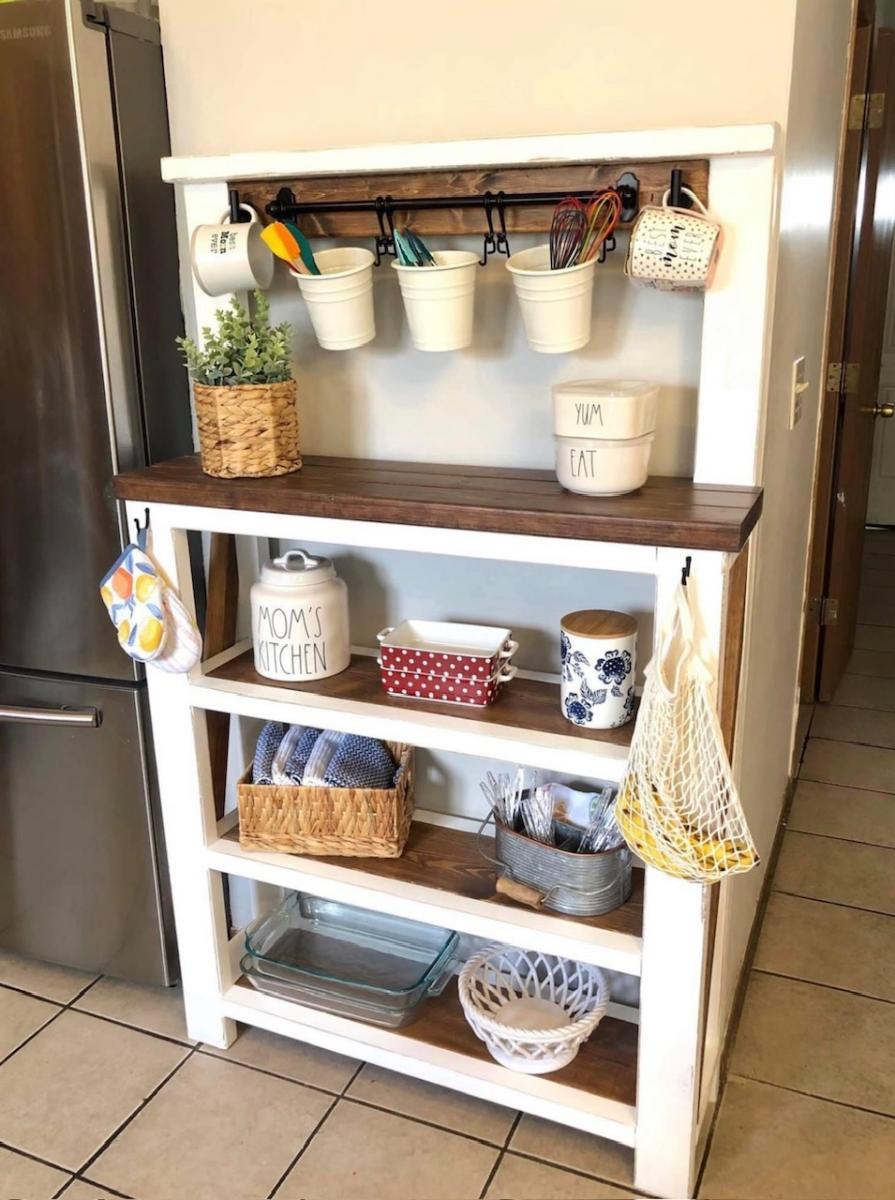
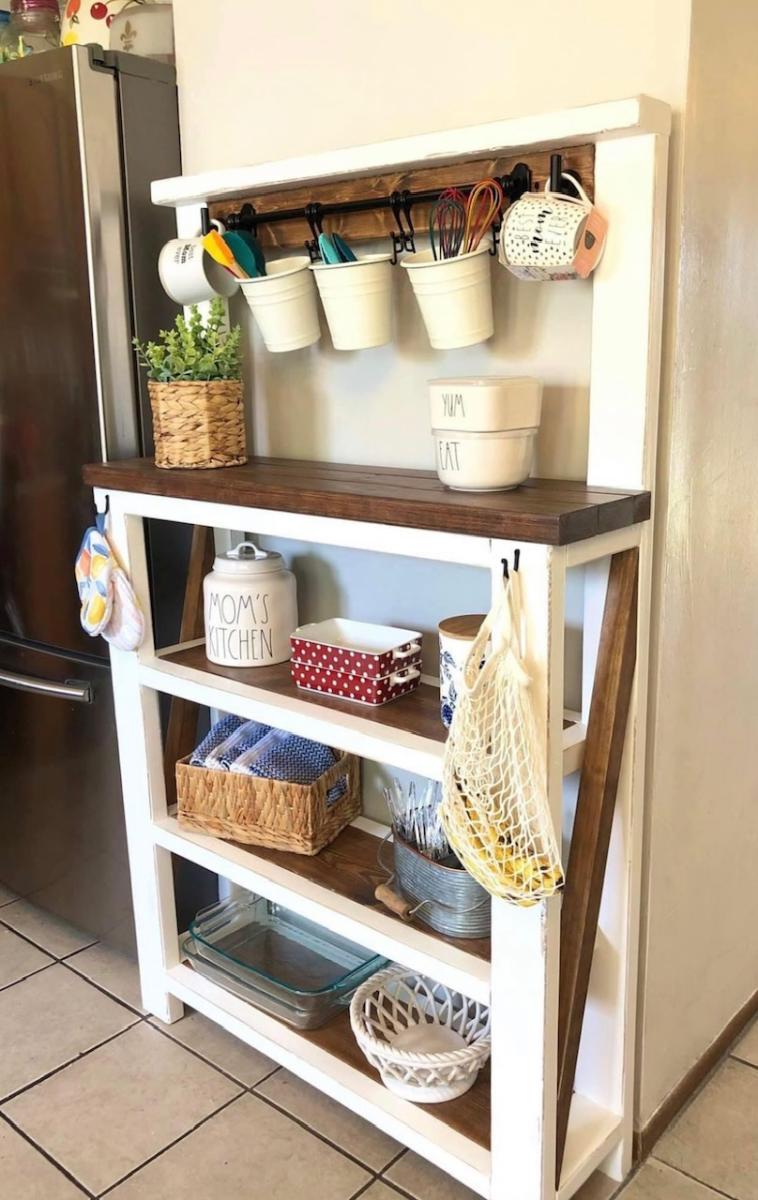
Thanks to you we were able to build my mom a shelf for her kitchen with a combination of two of your plans! My mom loved the top of the “Farmhouse Potting Bench” but also wanted shelves like the “Rustic X Console Table”. We combined the two and adjusted measurements to fit our wall space. We didn’t do a complete X on the side because we wanted it with one slant, but loved how it turned out over all!
Kayla
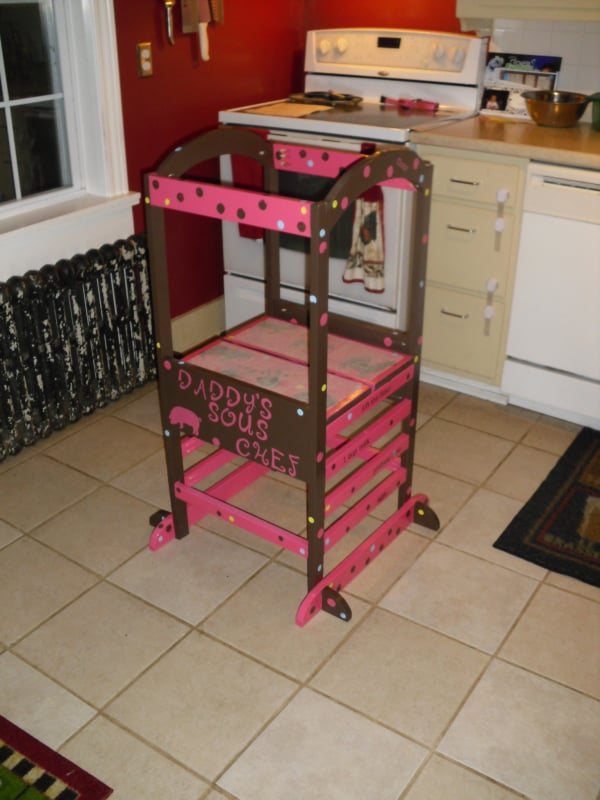
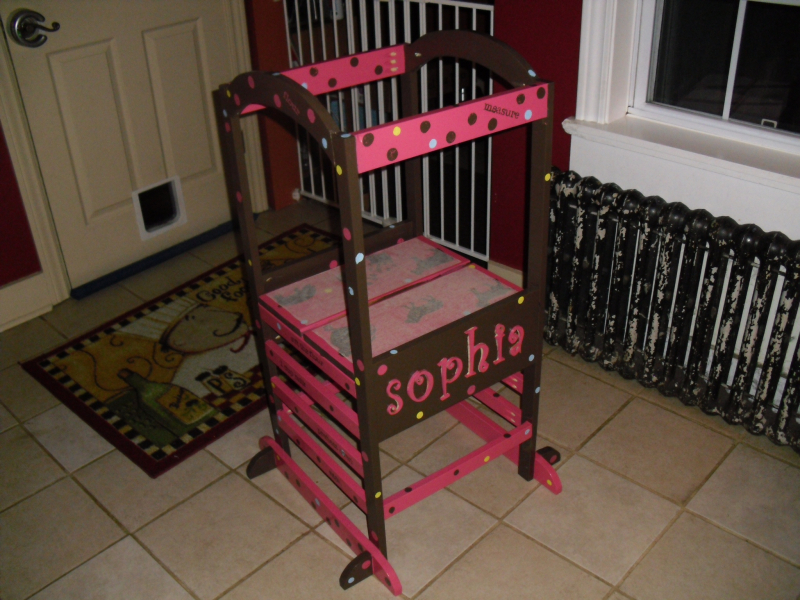
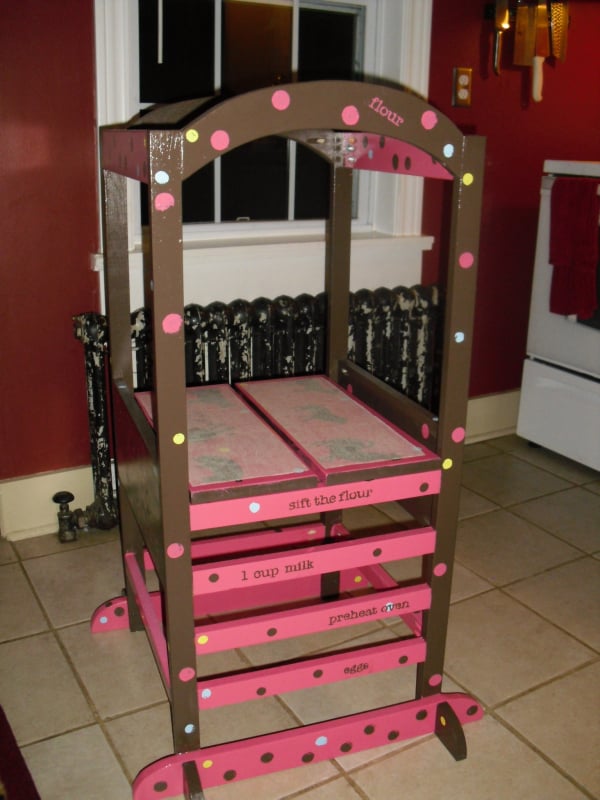
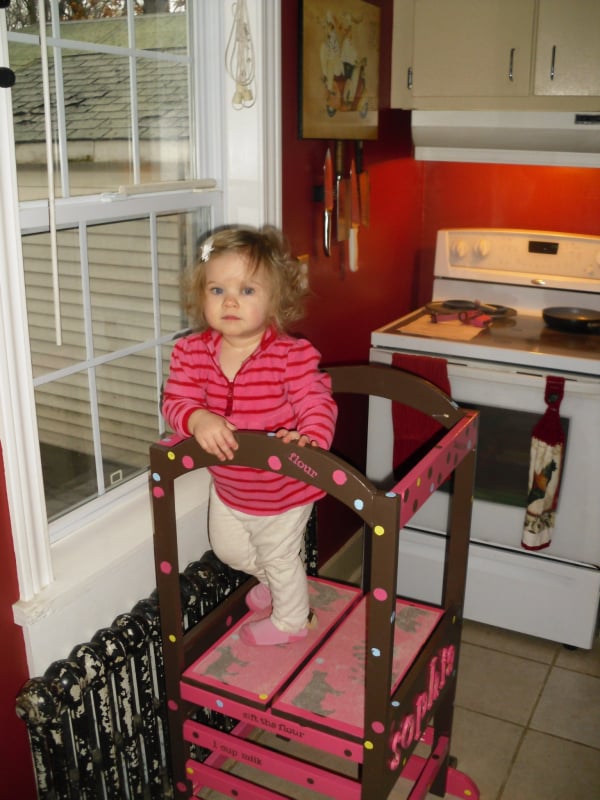
My first project build from Ana-white.com. My wife had been looking at these towers online for a while until we saw they were upwards of $200 online... So I was like, "I'm sure I could make one.". So I found Ana's website, and here it is... My 19 month old daughter loves it, she climbs in and out of it with no problems, she calls it "uppy". This is my first of many projects to come from this very helpful site. The plans are all so helpful and very detailed. Thanks Ana!