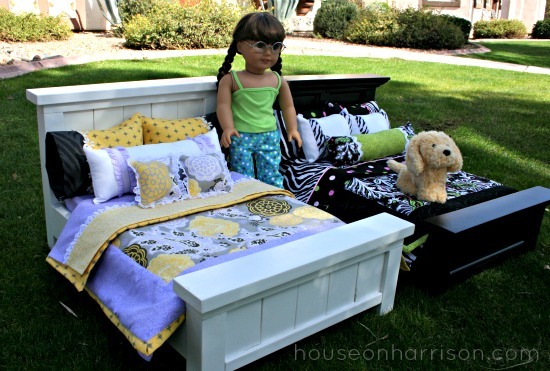
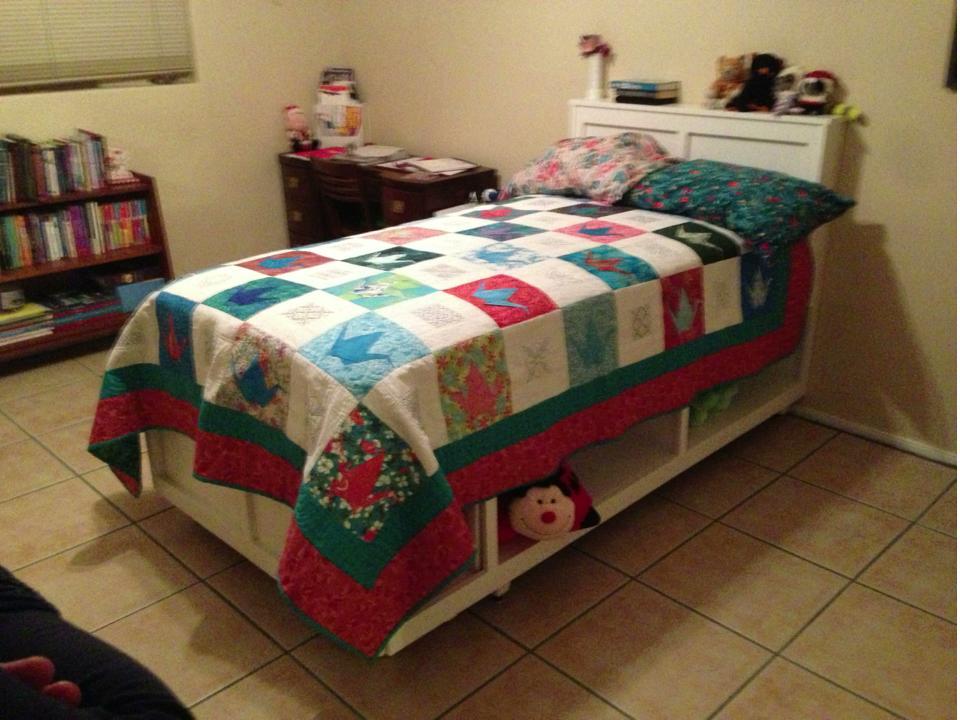
Our daughter was in desperate need of storage in her room, so we decided to build her a storage bed. This was our first build, and we had many issues that we've chalked up to "learning curve," but we're pleased with the end result anyway.
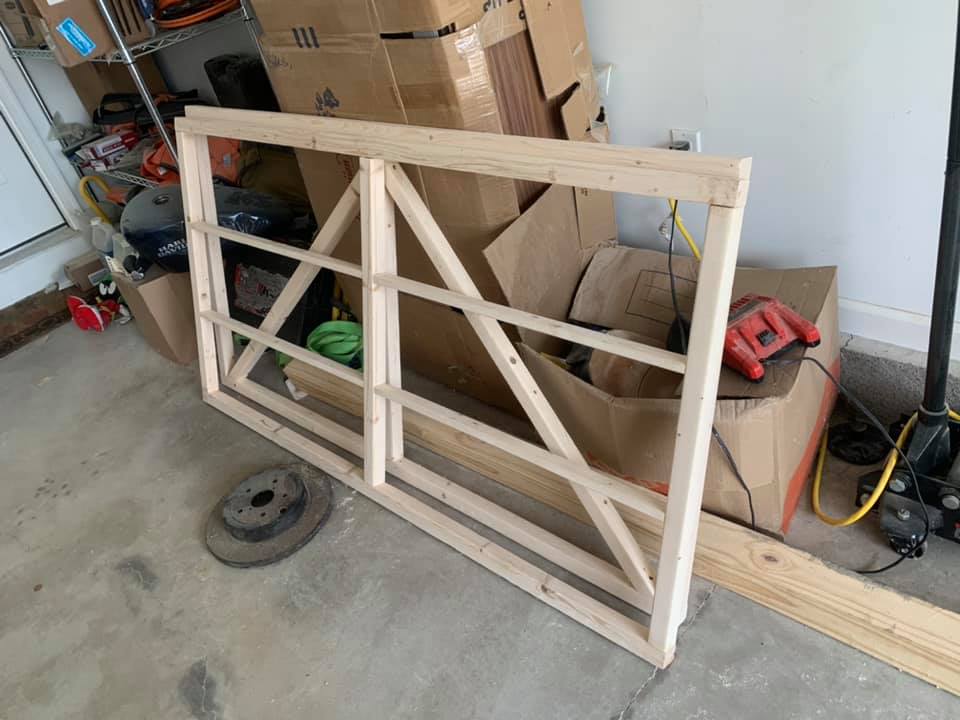
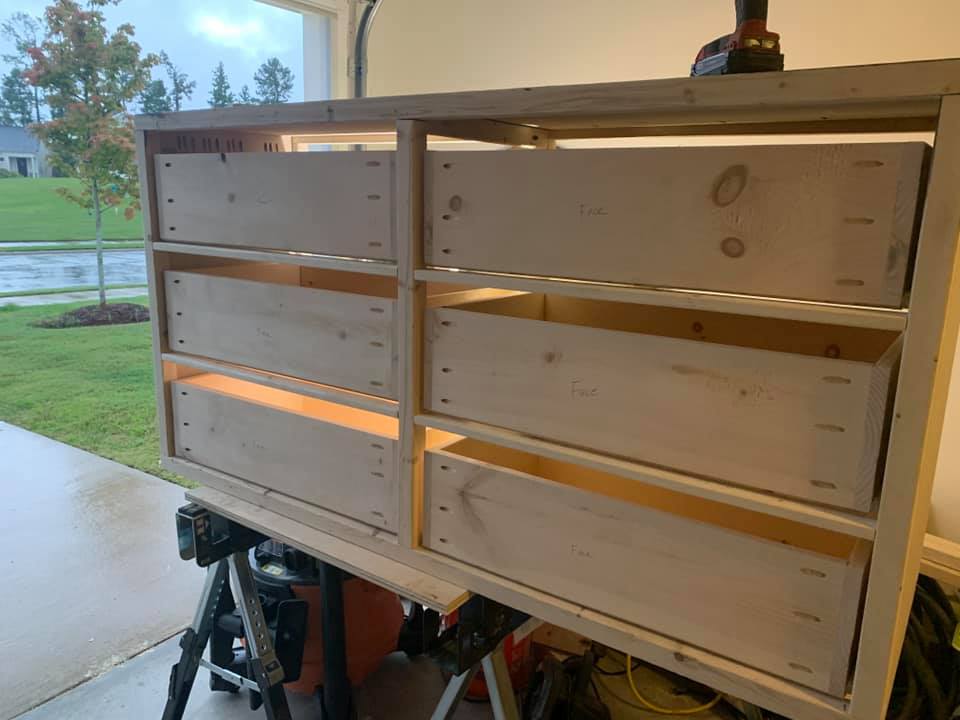
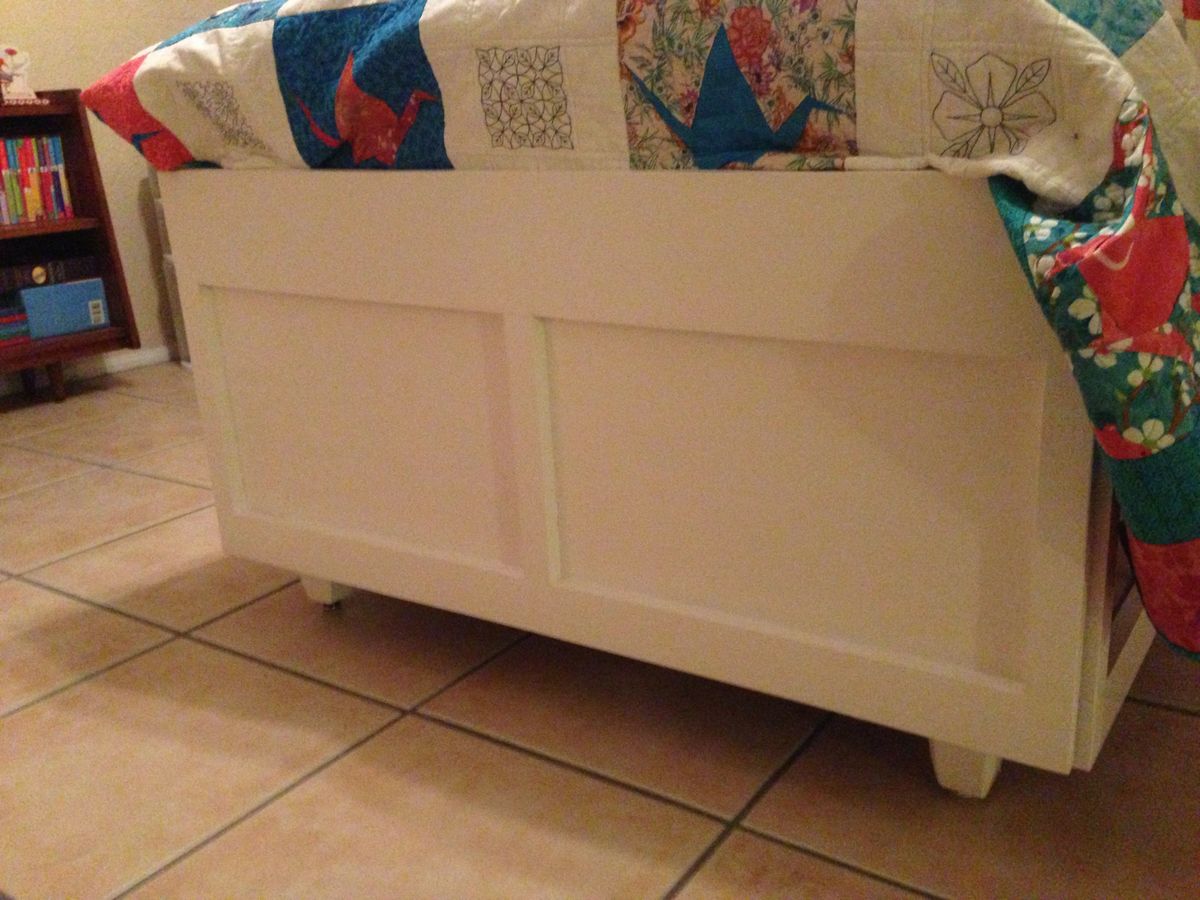
We used the Twin Storage Bed plans to start, but we modified the end box so that the sides would have all open storage, and we could build a low footboard. We liked the low footboard on the Farmhouse Bed, but our daughter did not want the crown on the footboard, so we worked up a simpler design. We kept the 3-box design of the Twin Storage Bed instead of just making the two side boxes longer so that the end box has deep storage (we kept the center divider for support, but the storage is 19" deep). The footboard is low enough that it doesn't extend over the mattress (our daughter's request), but it still gives the bed a finished look and keeps the mattress from sliding off.
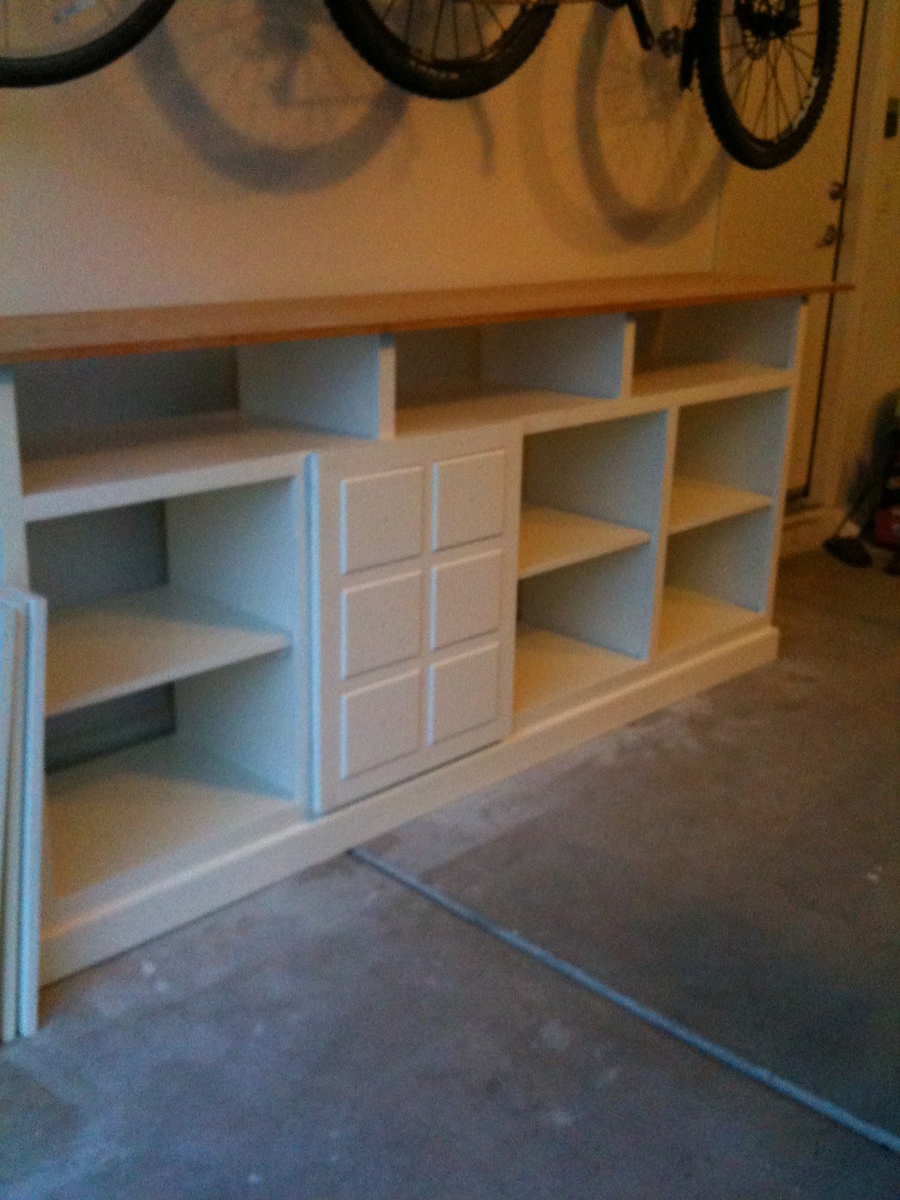
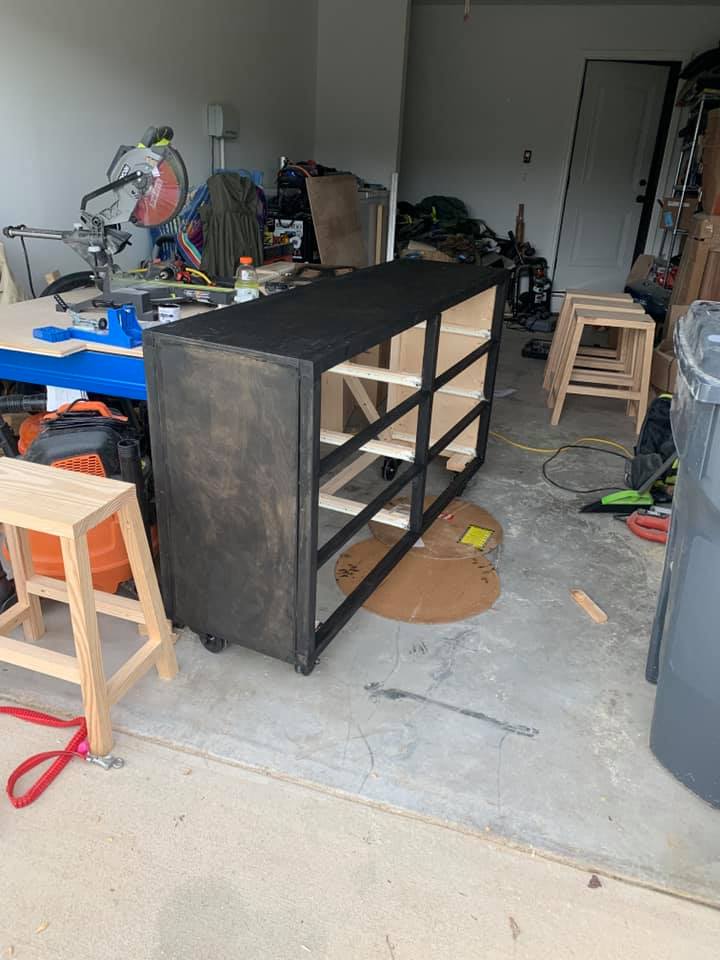
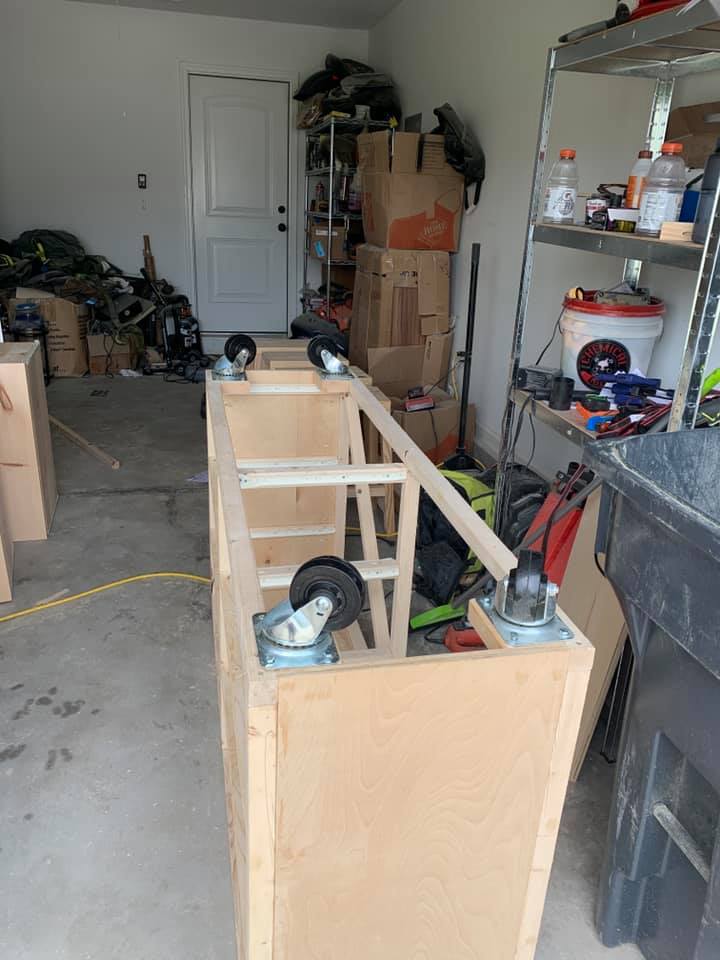
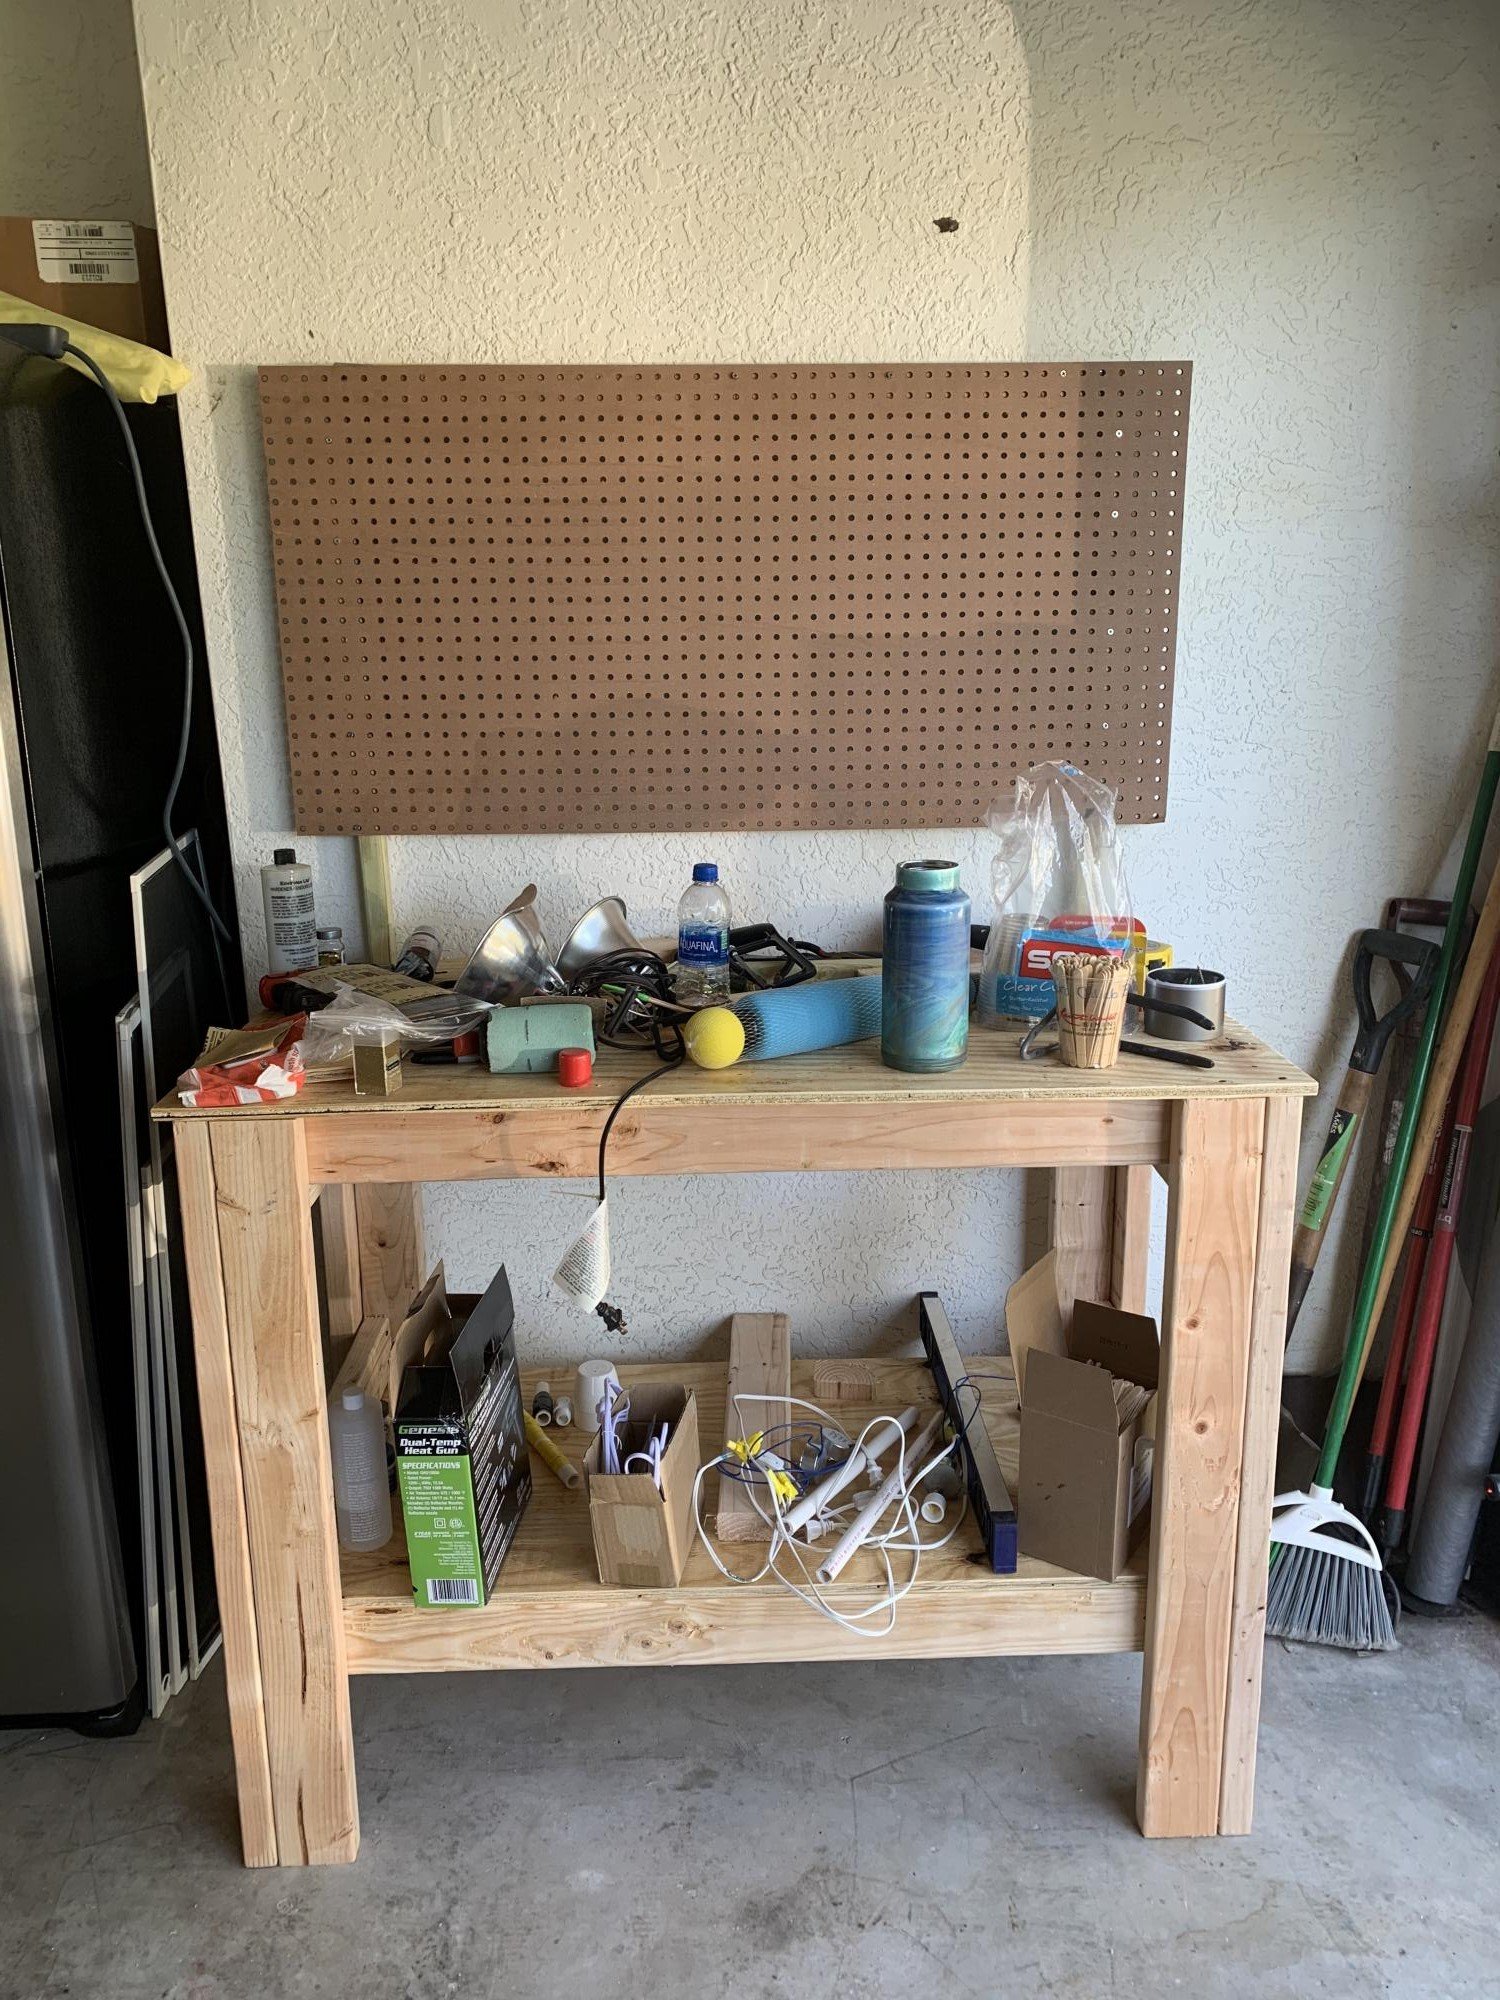
When we built the two side boxes and the end box, we made the mistake of cutting all of the pieces at once, before assembly. When we went to assemble, we discovered that many of the boards had issues (warps, the boards were not the same width all the way through, our cuts weren't straight -- we had trouble figuring out how to get straight cuts with the circular saw at first). We didn't have money to buy all new wood and start over, so we went ahead and assembled the boxes, and I spent two weekends fixing as best I could (lots of filler and sanding). The boxes ended up being somewhat different heights, so even though each box was level on its own, we were going to have a problem getting them all the same height together. So, we decided to add feet with leveling footers. We also ordered a set of bowed slats from Ikea to help make sure the bed would be level and comfortable.
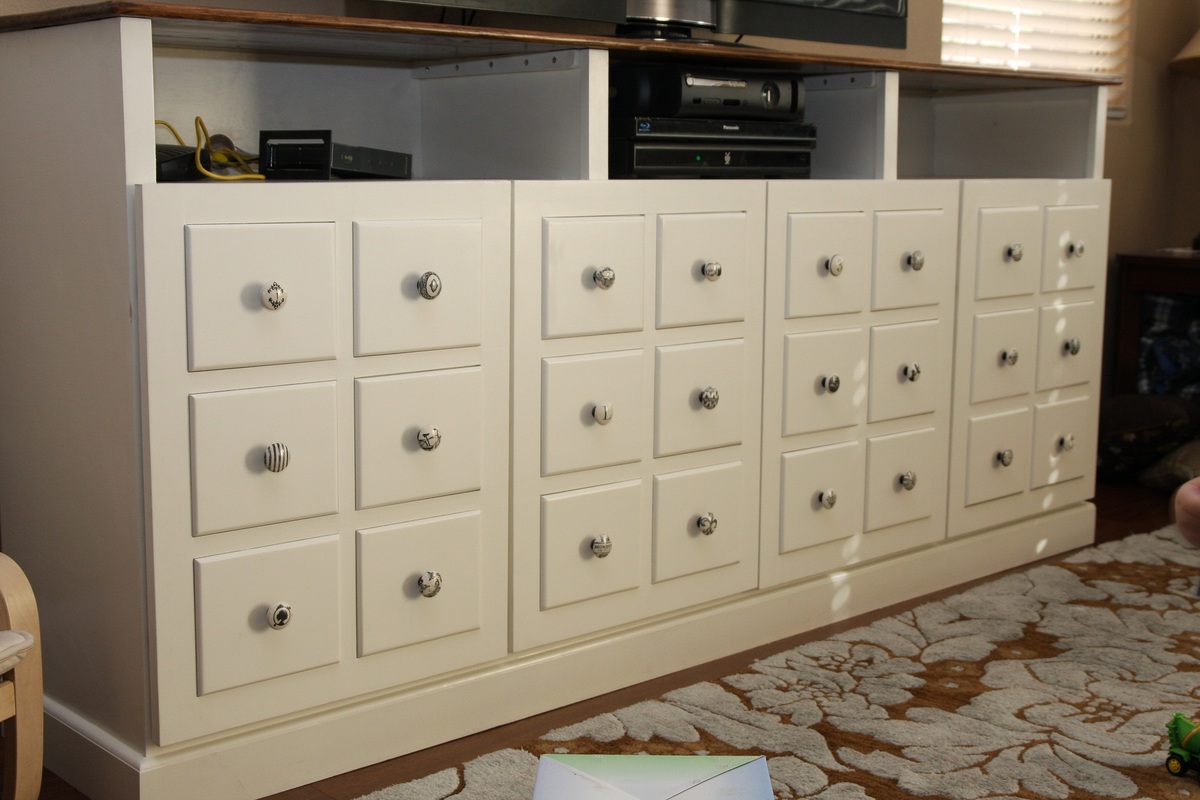
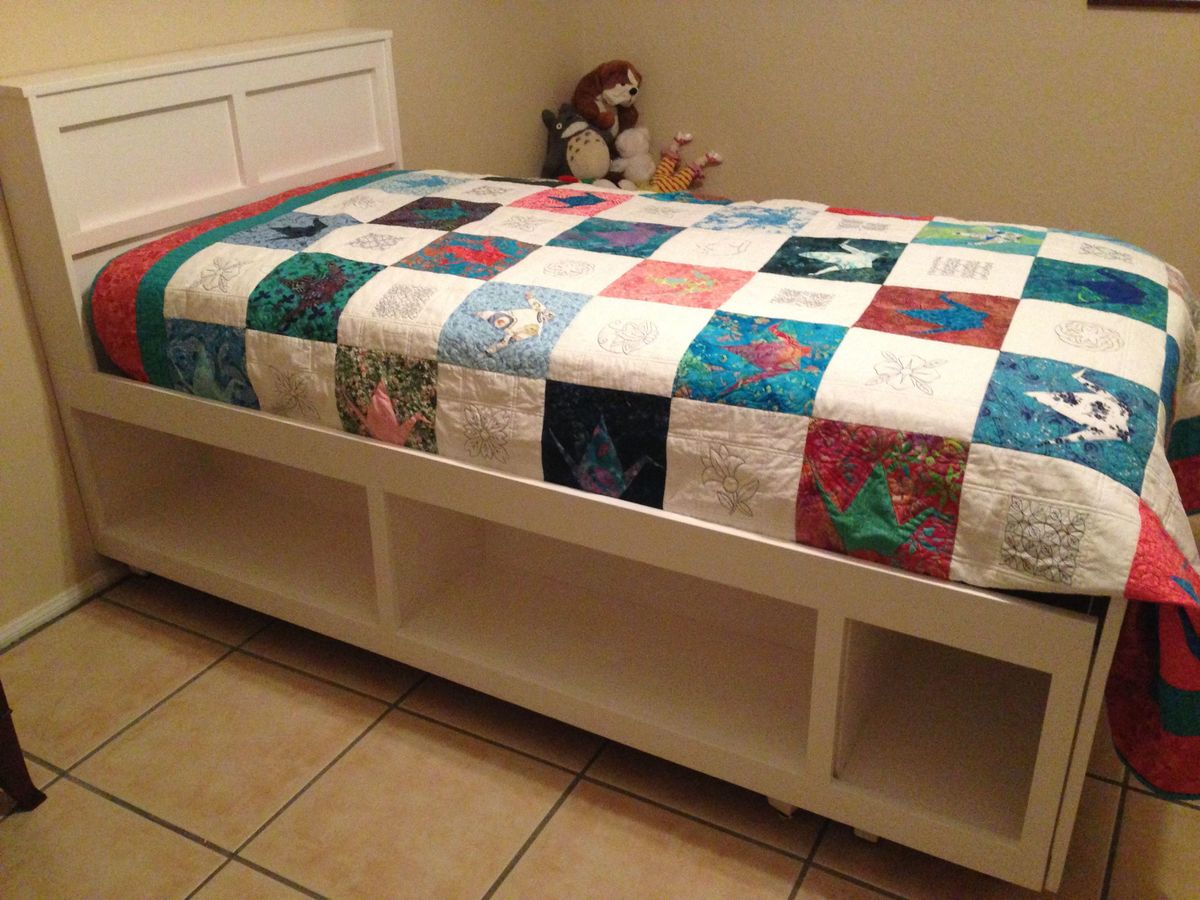
The storage cubbies all turned out the right size on the inside despite our assembly troubles, so we can fit 12 fabric storage cubes in the cubbies.
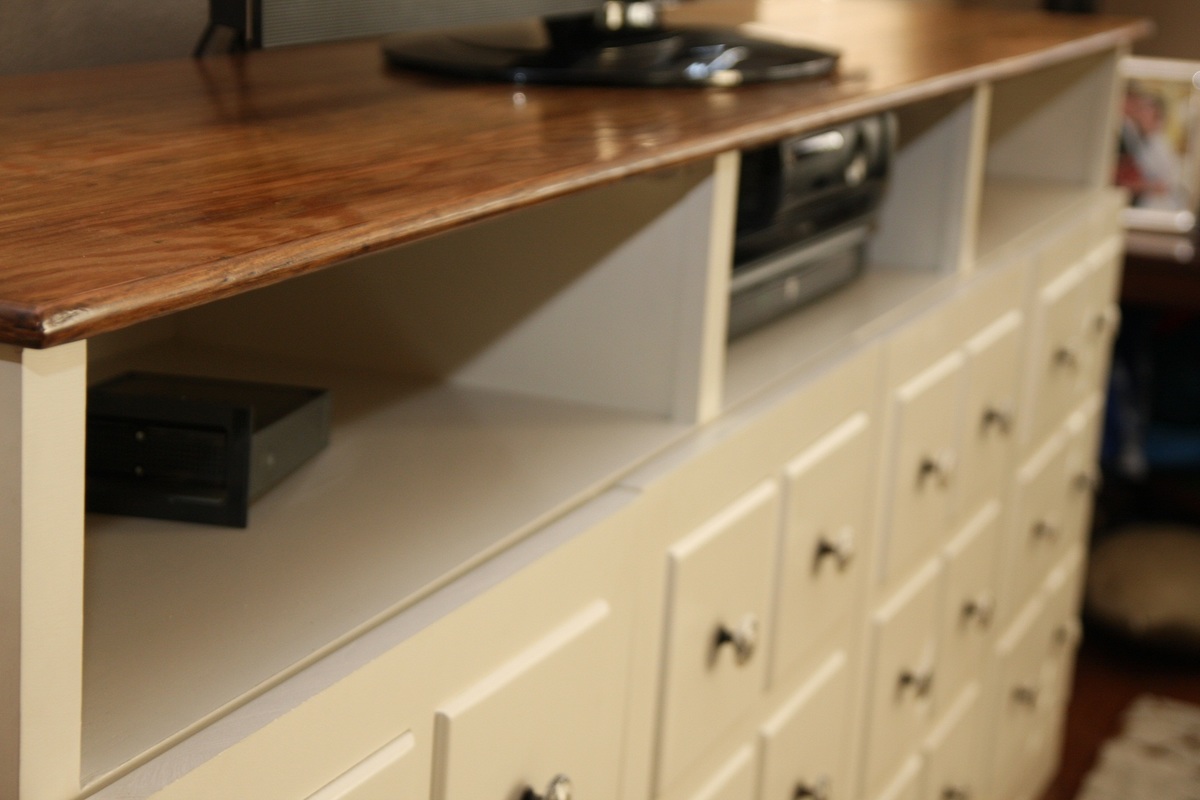
We added trim to the side boxes to give it a finished look and to help keep the mattress from sliding off the bed. To make it possible to move the bed later, we decided to build the trim on the side boxes and slide the end box into place. We attached the boxes together using L brackets.
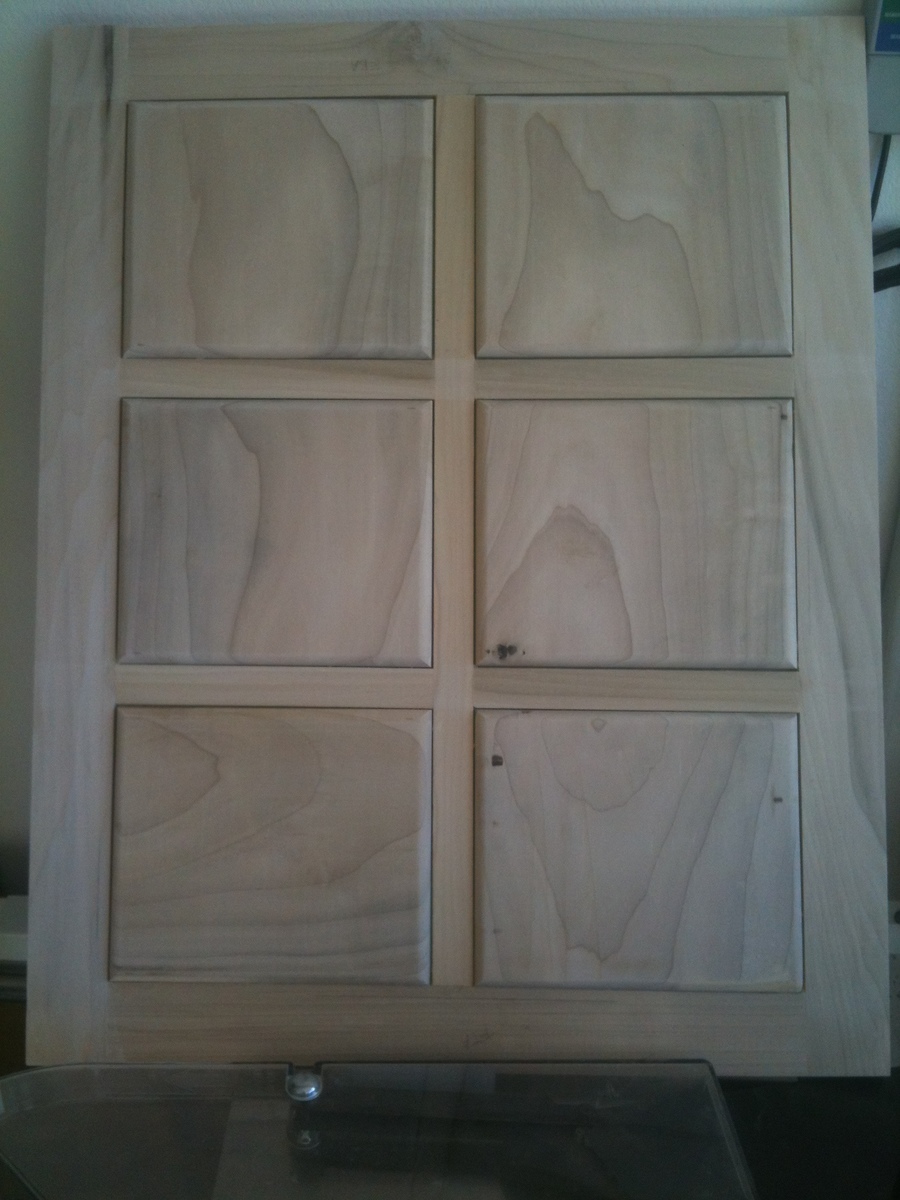
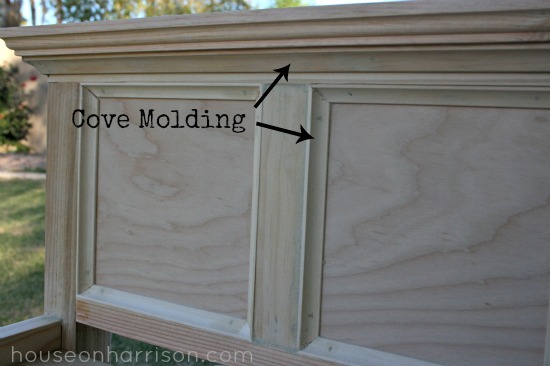
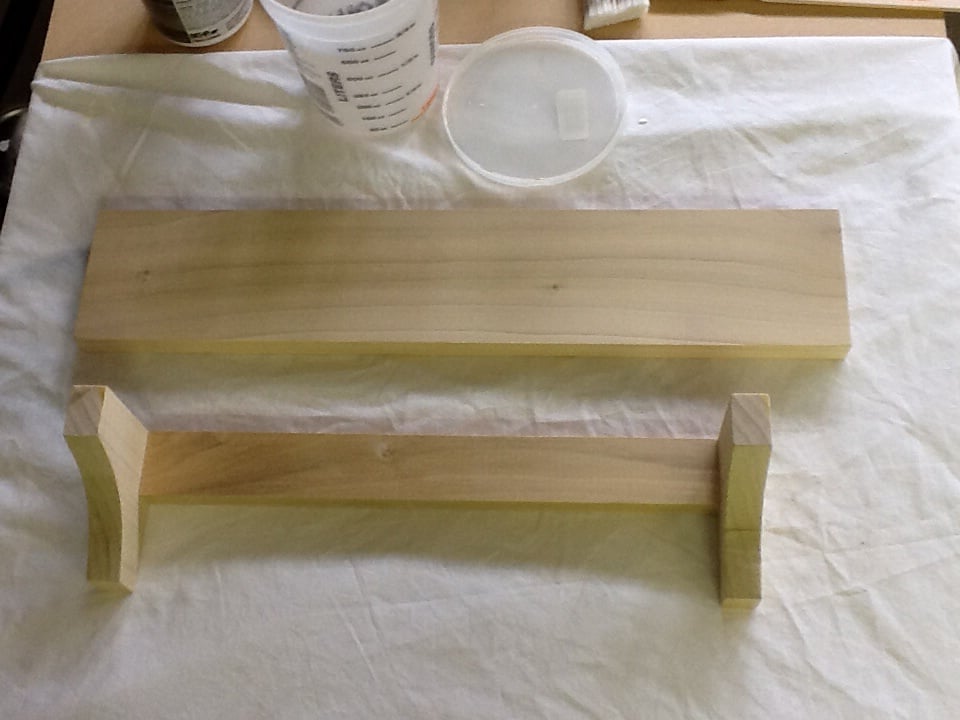
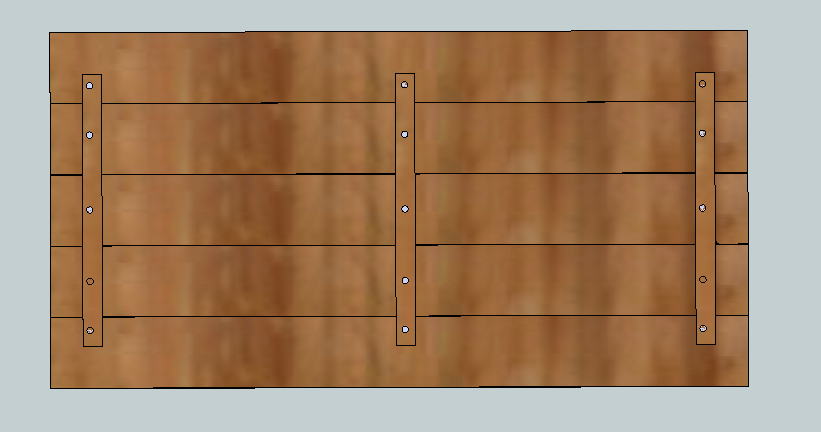
The footboard is made out of plywood, trimmed with 1X6 at the top, 1X3 on the bottom trim, and and 1X2 vertical trim.
The side trim is made out of 1X4 for the top trim centered (2" overhang below and 2" raised above the side of the box), 1X3 horizontal trim for the bottom of the box (top edge of the bottom trim is flush with the bottom of the cubbies), and 1X2 trim for the vertical pieces.
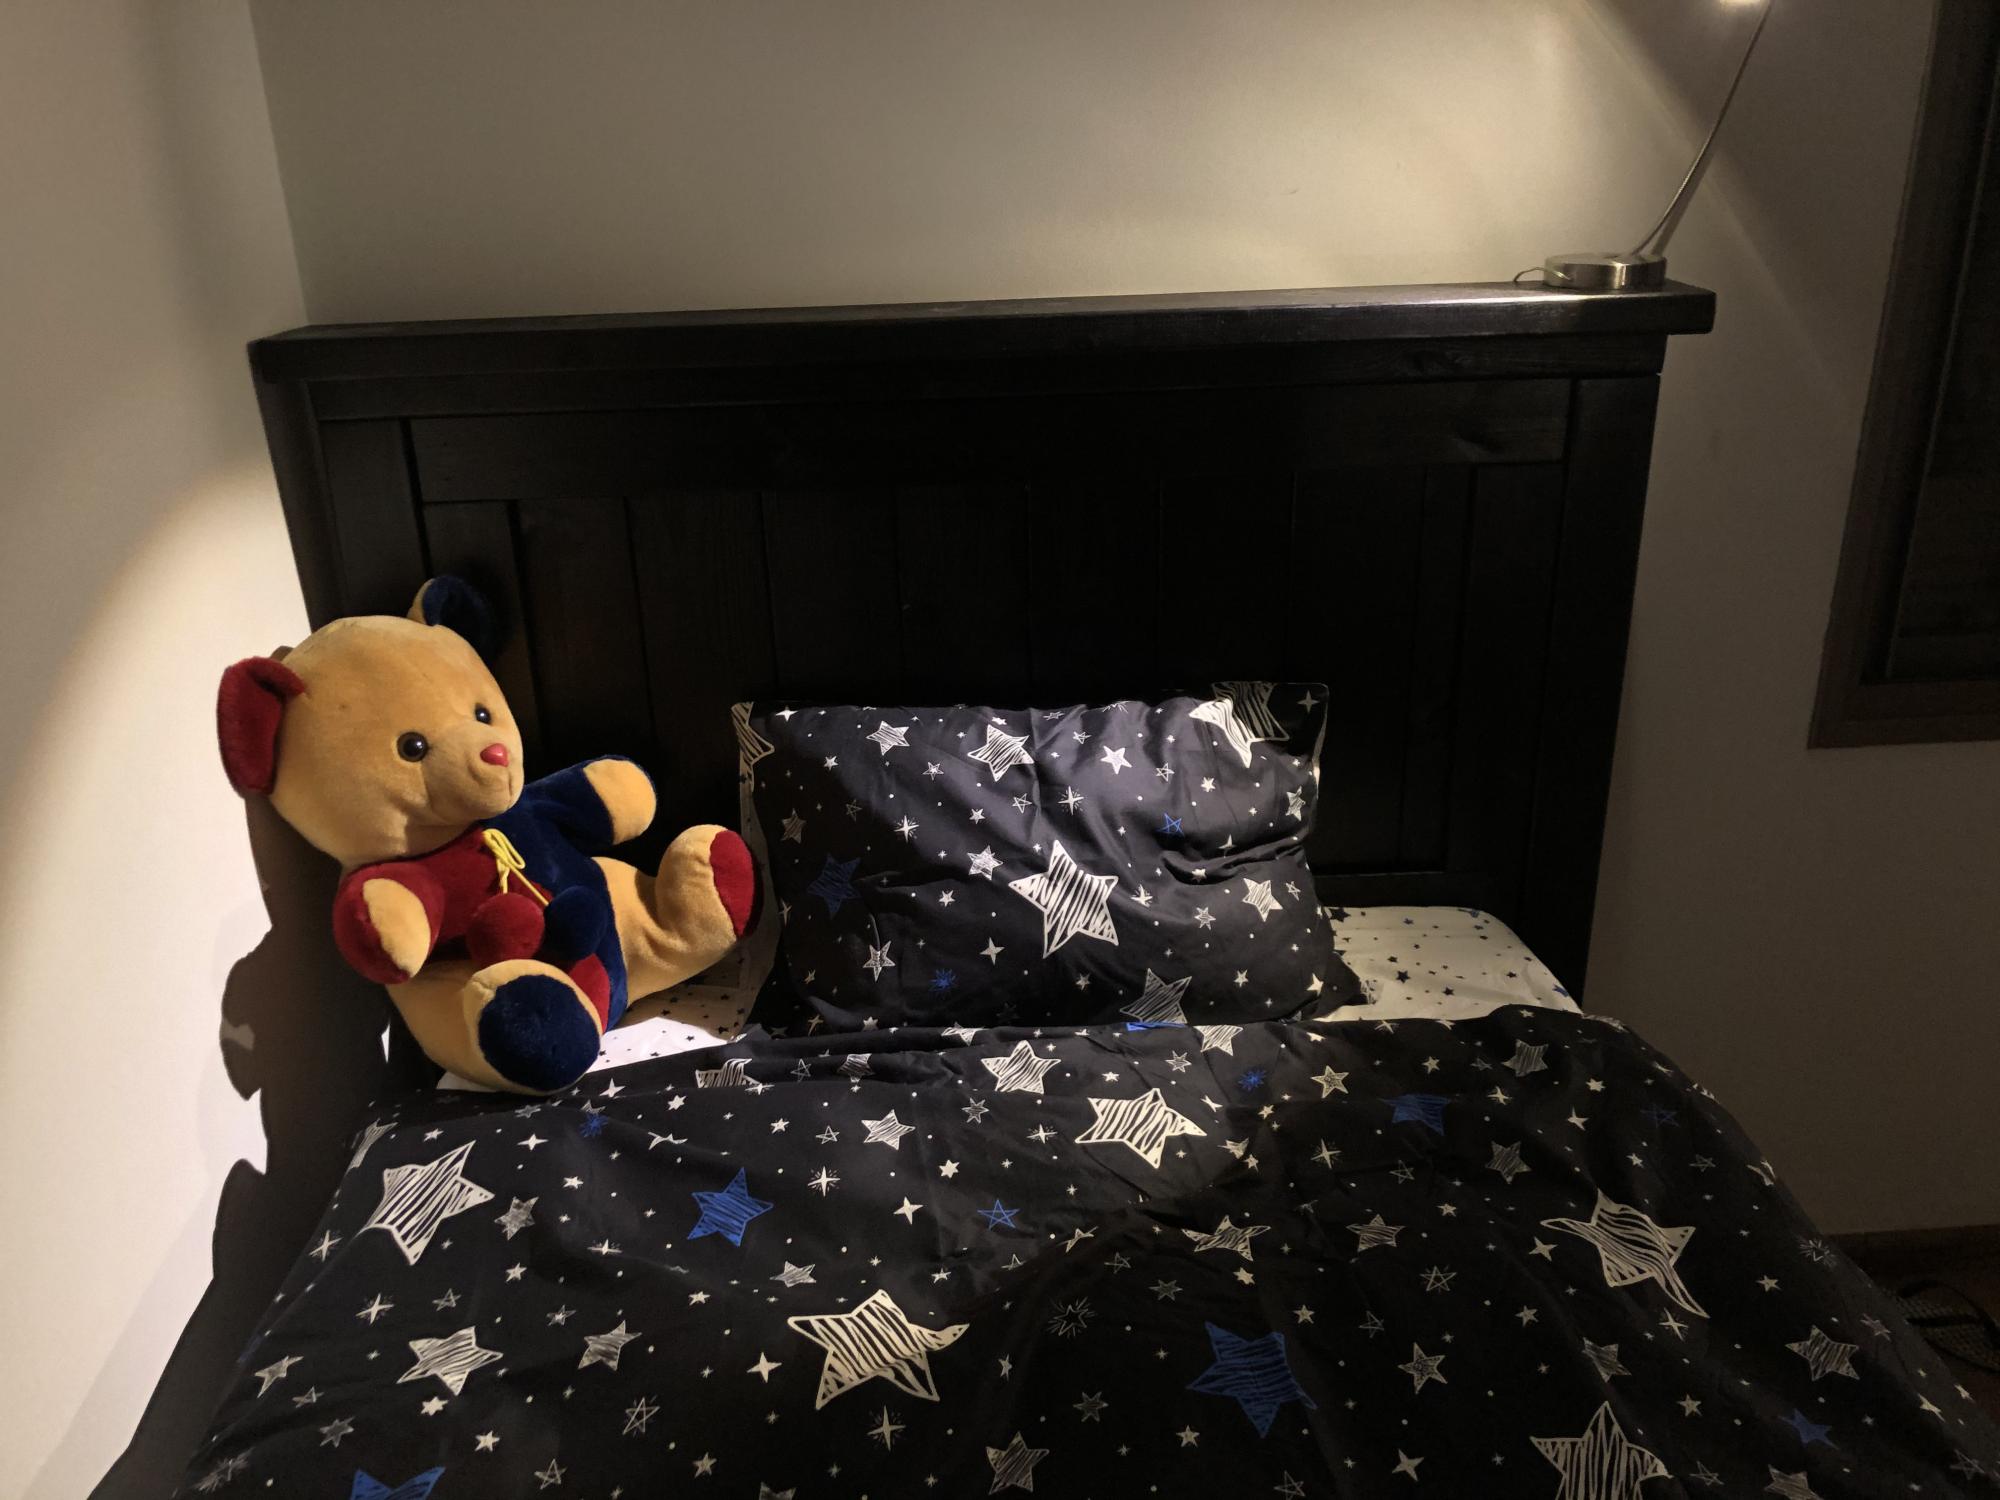
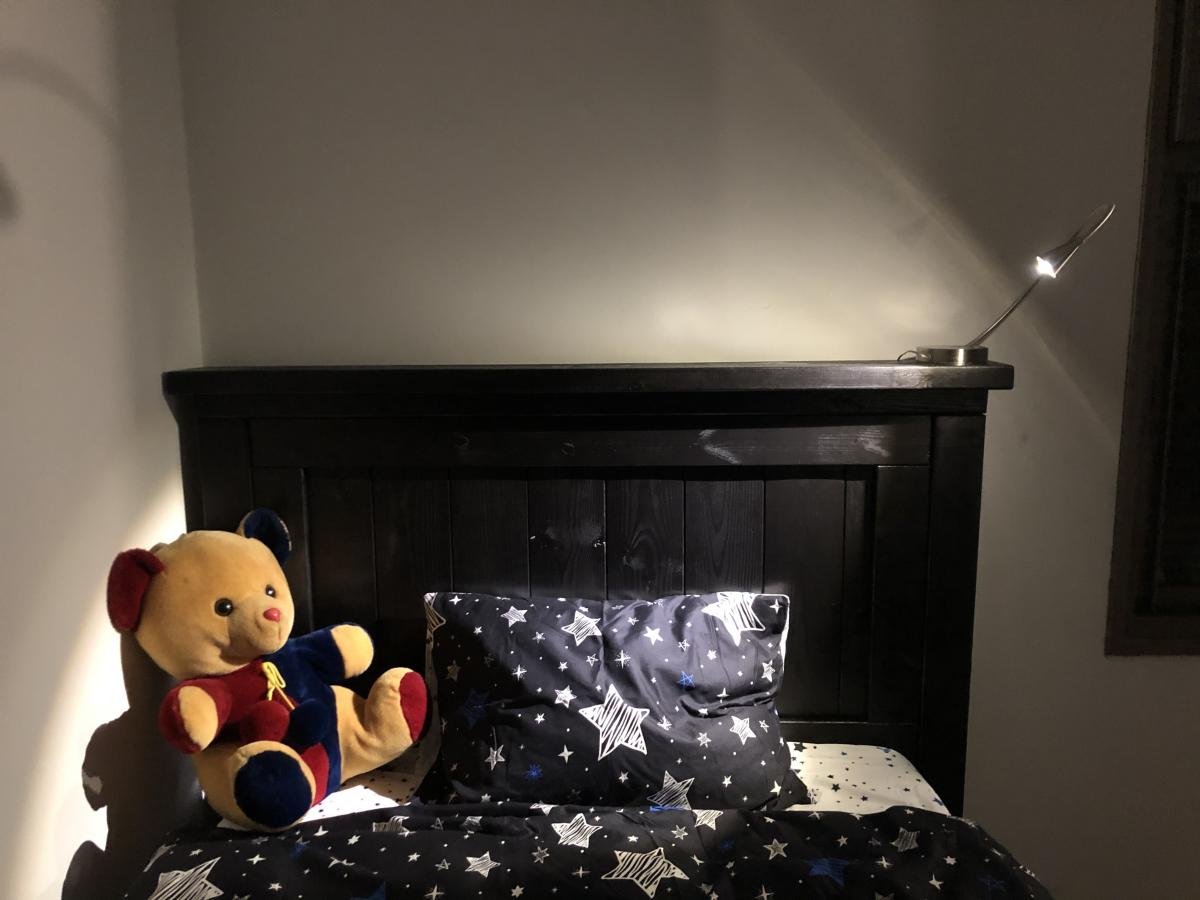
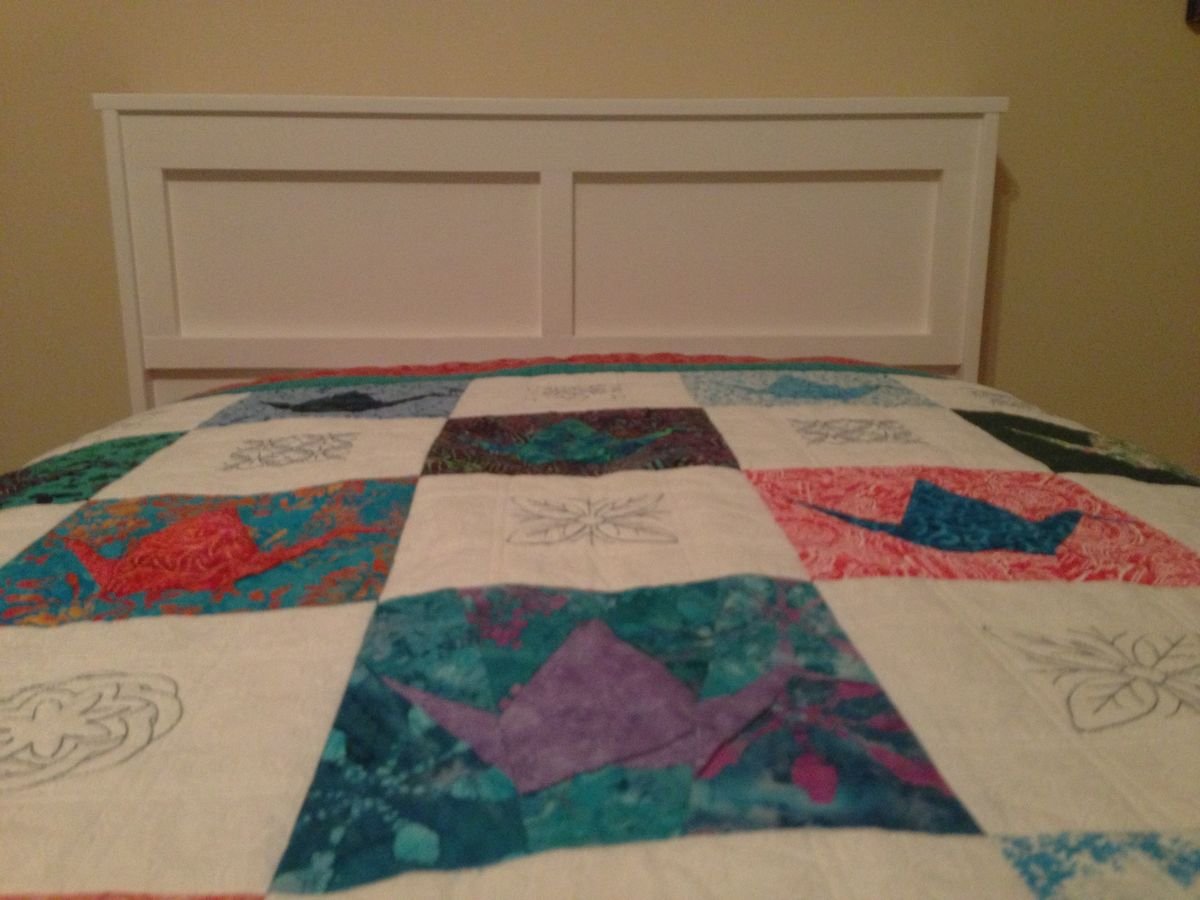
The headboard was our own creation. Our daughter did not want a large headboard, so we wanted to make something that was just enough to keep her pillows from sliding off the bed and to provide a ledge to put her glasses and book. When we first tried the mattress on the bed, there was a 5" gap between the head of the mattress and the wall, so we built a headboard "box" that sits on and is attached to the two side boxes. The mattress now fits without gaps so that the pillows won't slip off the head of the bed.


Comments
colleenwalsh
Sat, 09/20/2014 - 10:28
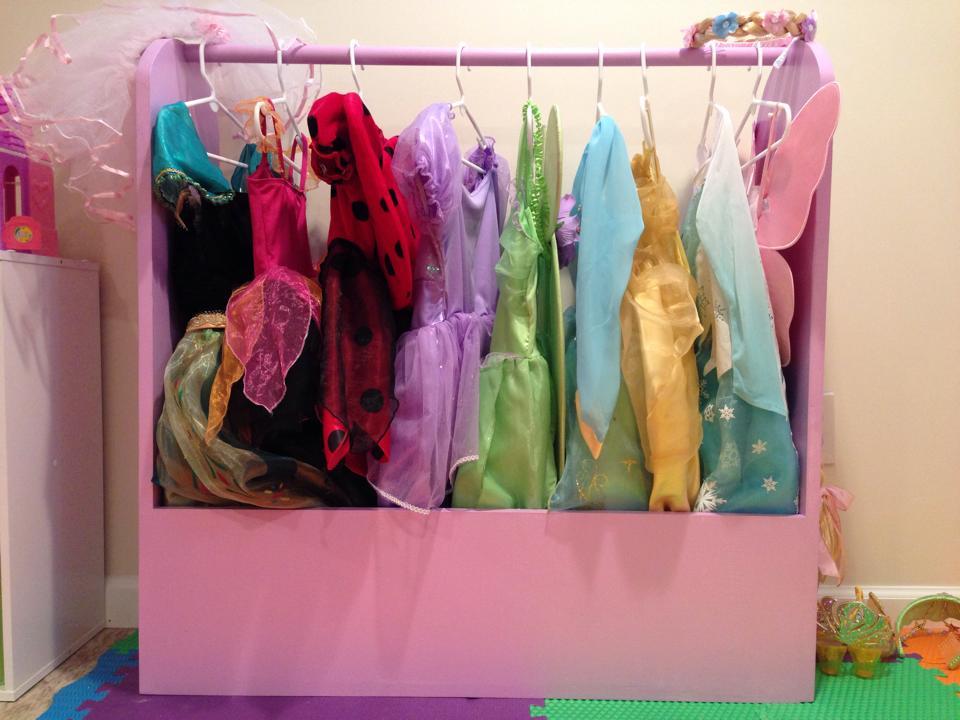
Very easy to make. Looks
Very easy to make. Looks adorable in our play room. If I built this again, I would add a few inches to the height to accomodate some of the longer costumes.