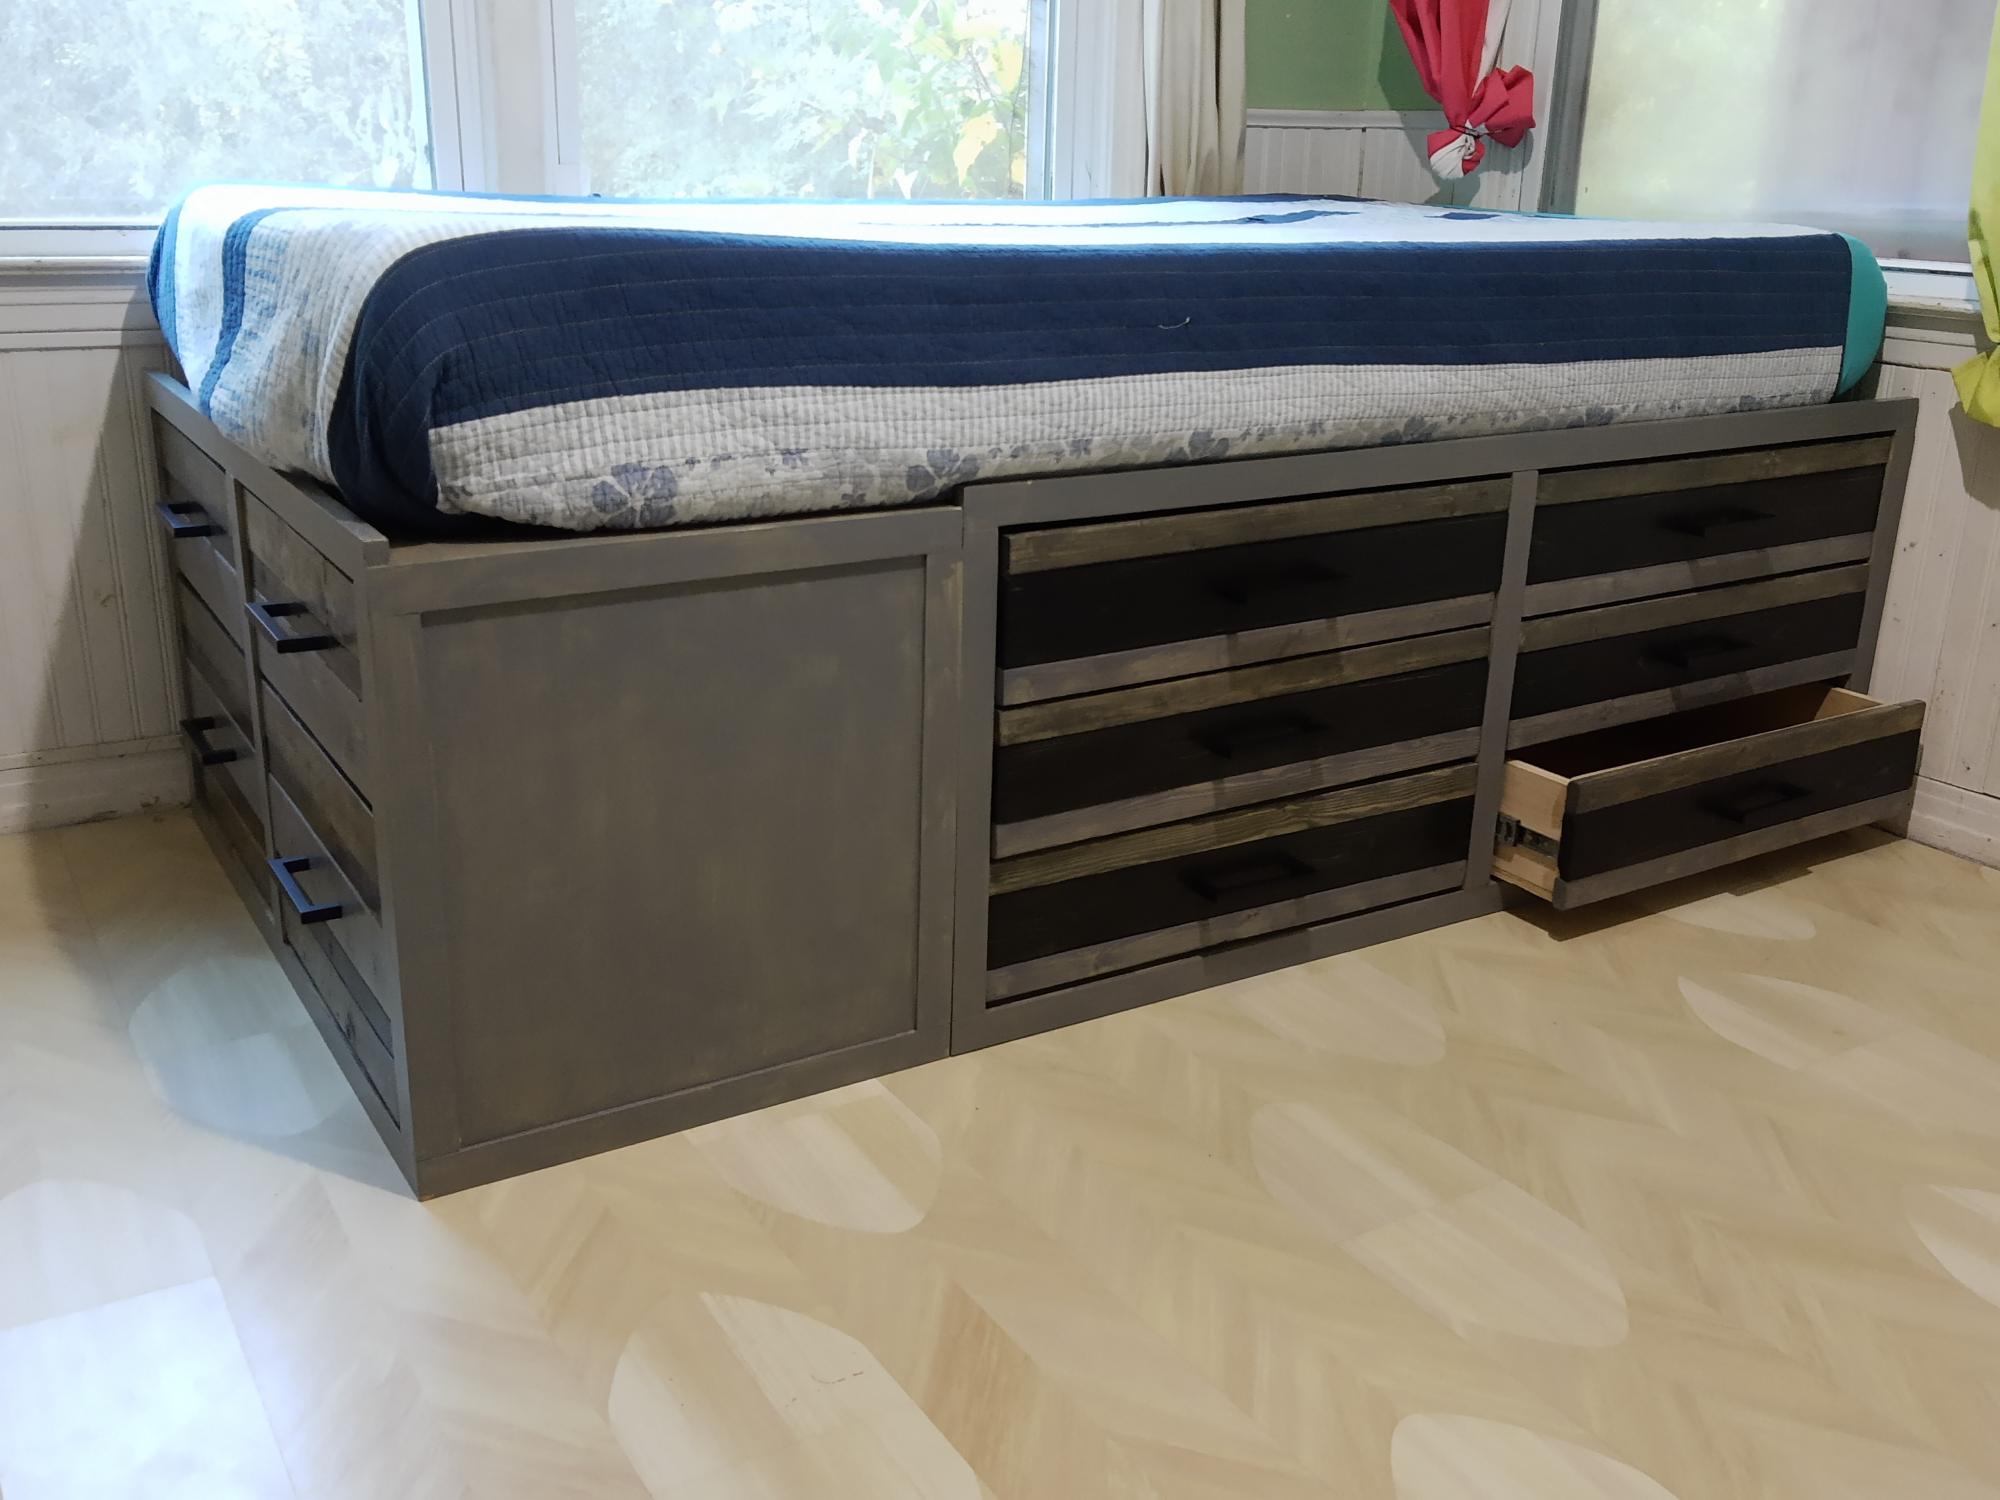
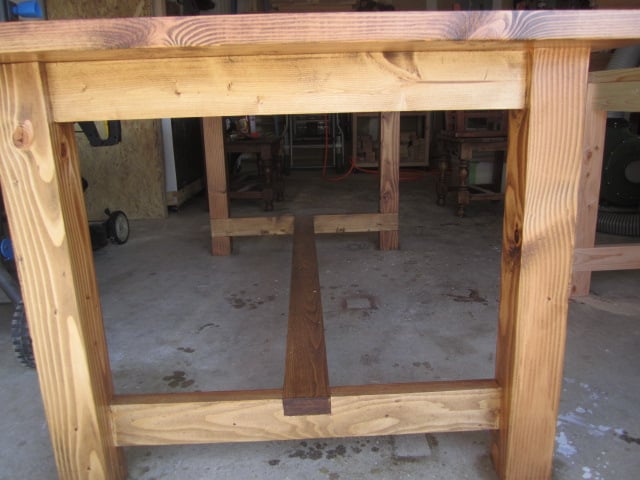
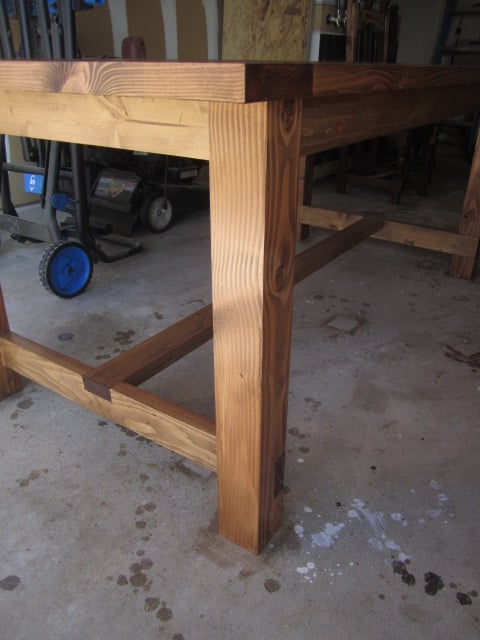
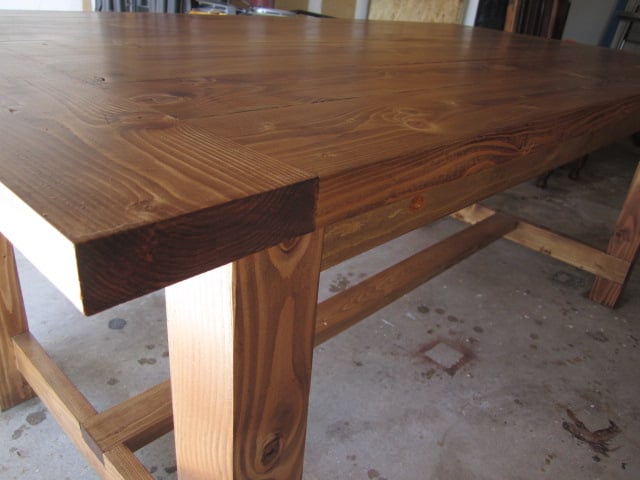
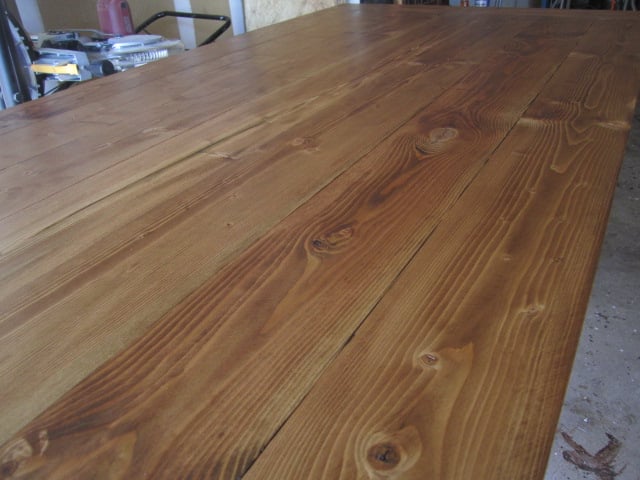
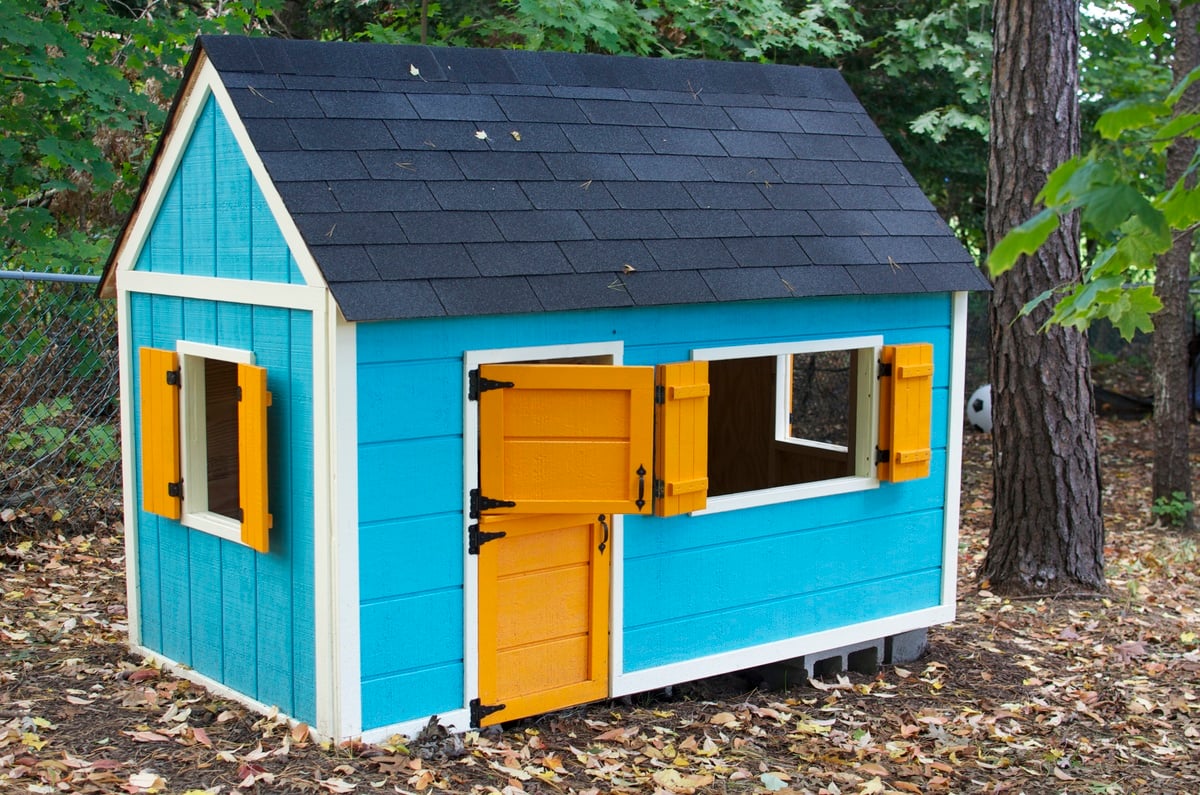
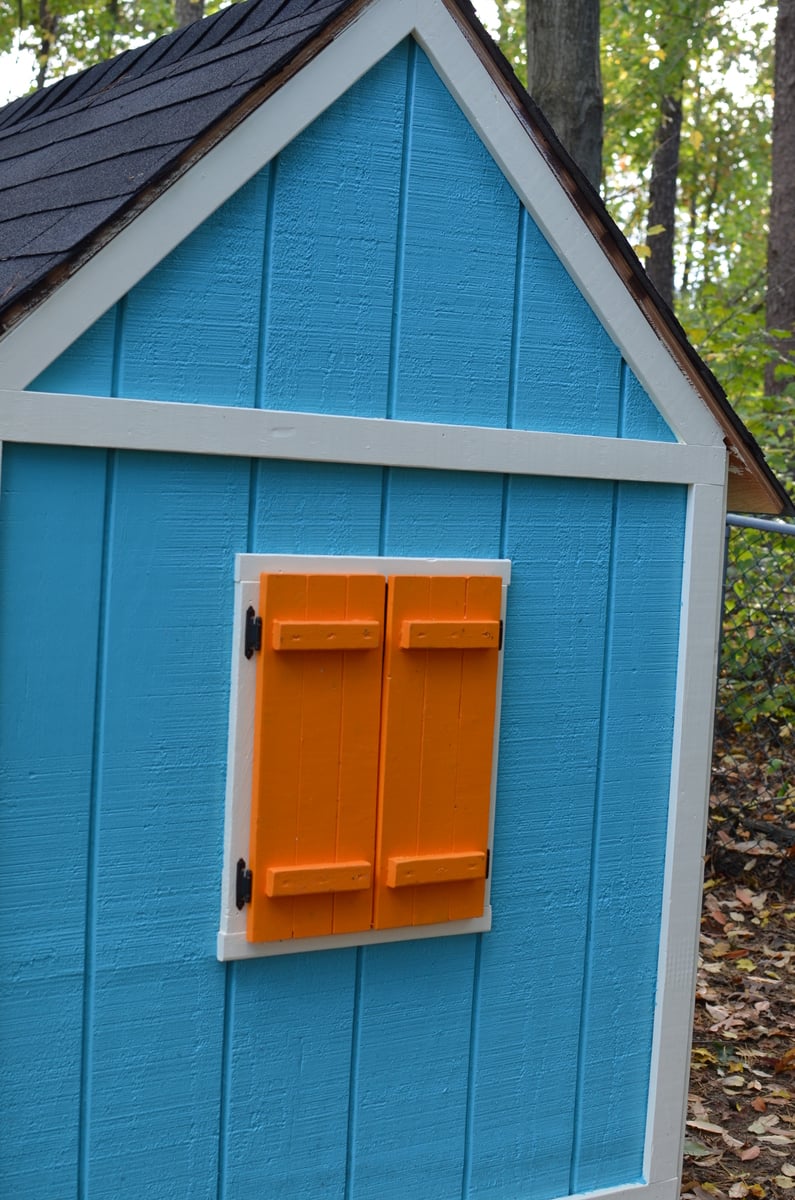
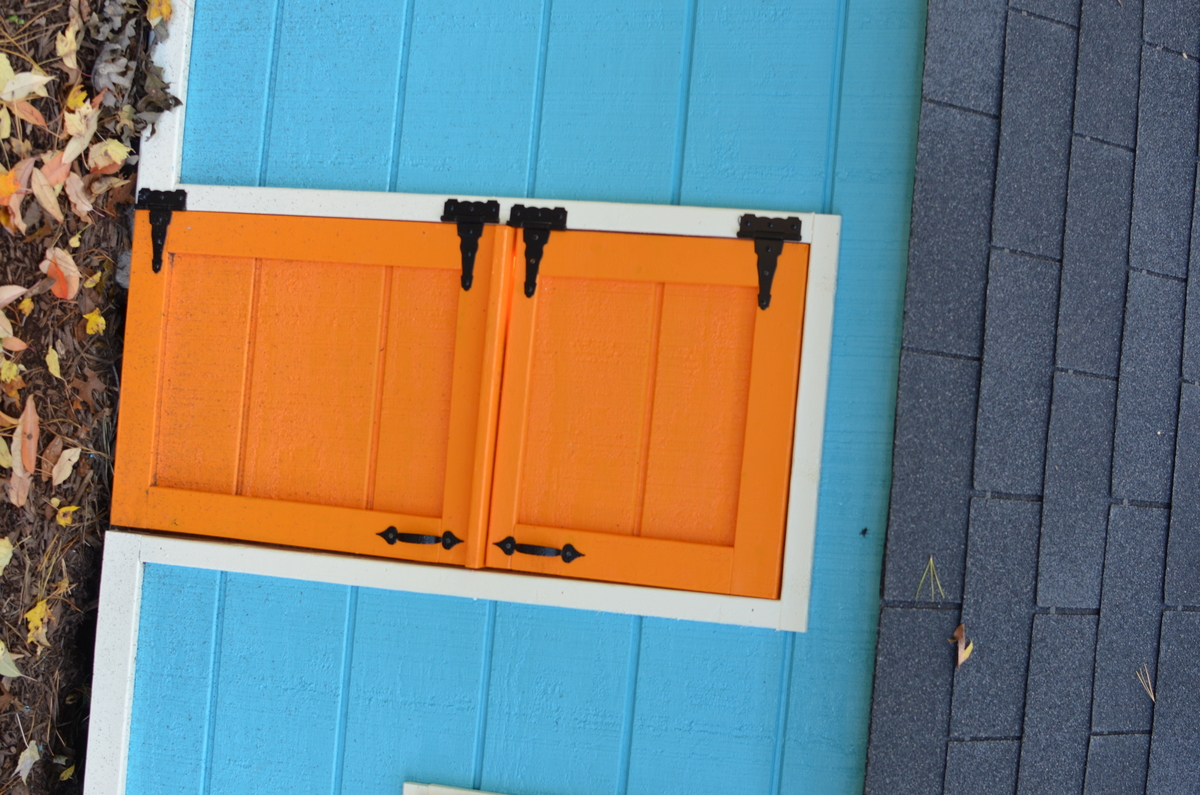
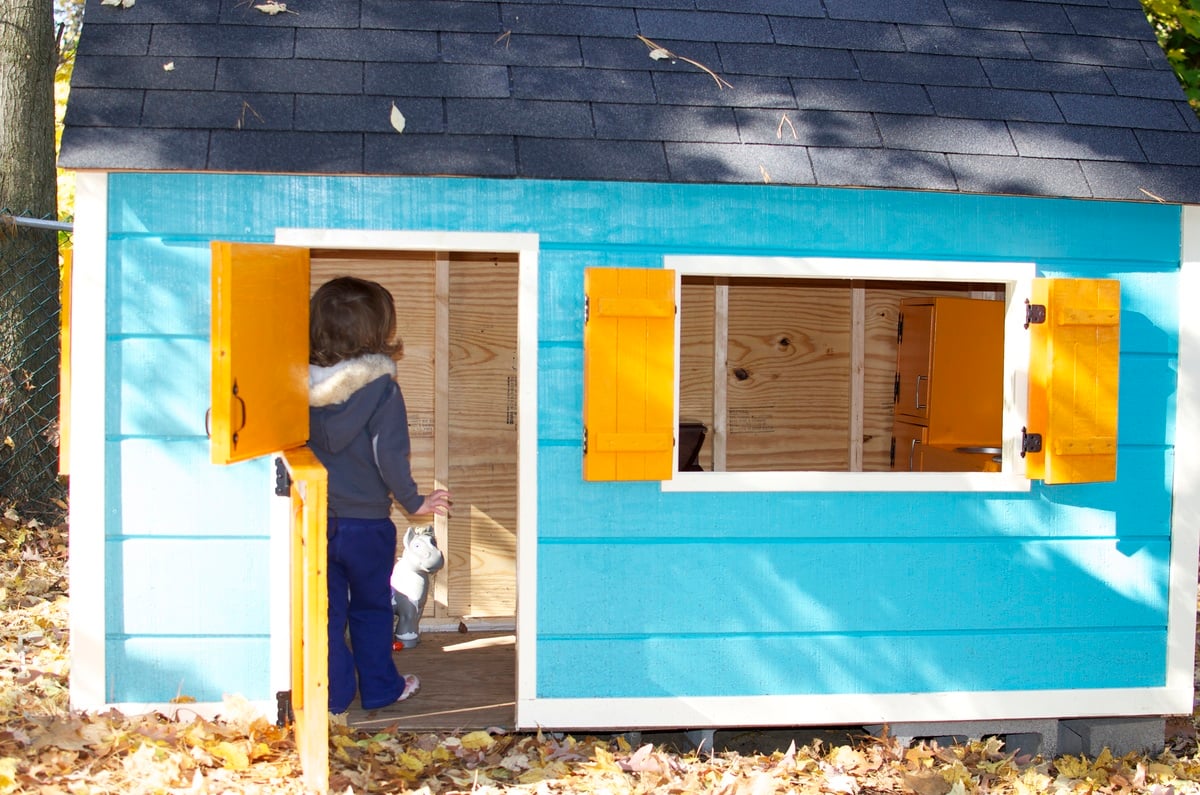
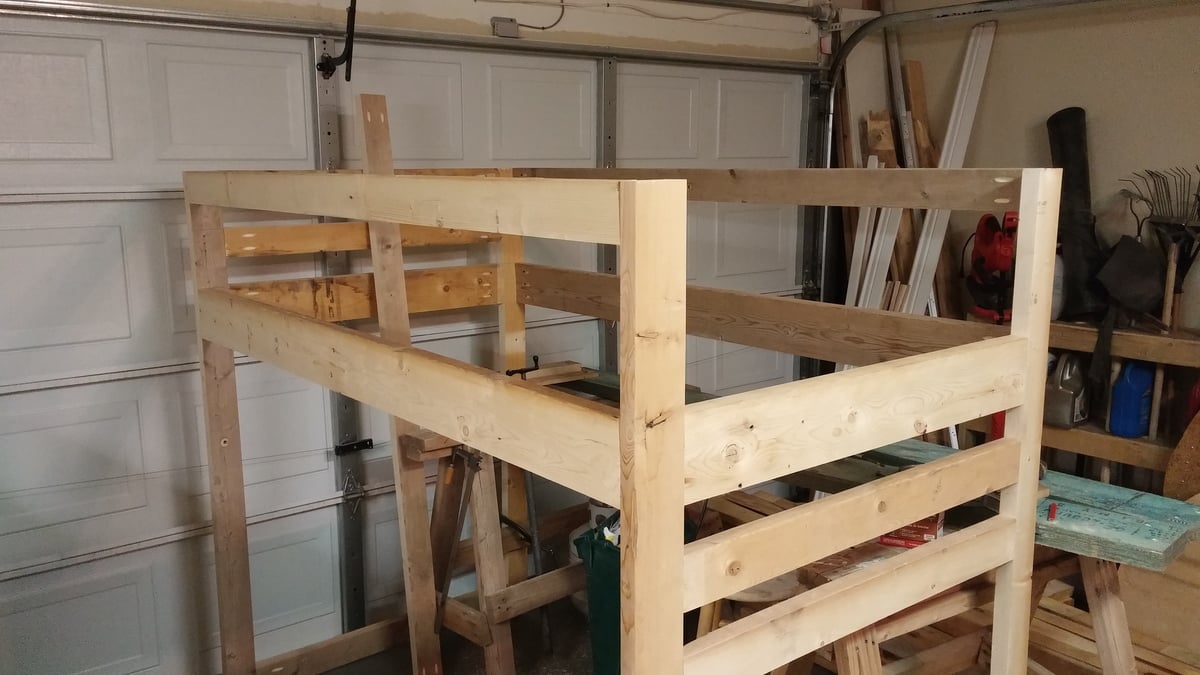
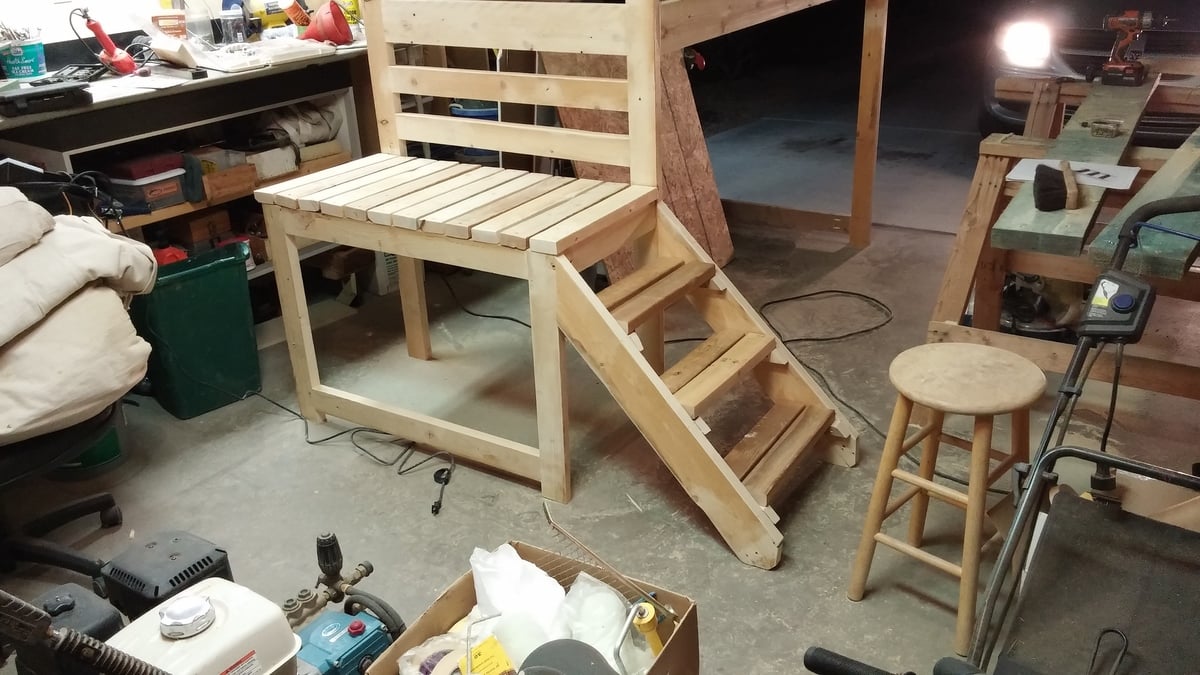
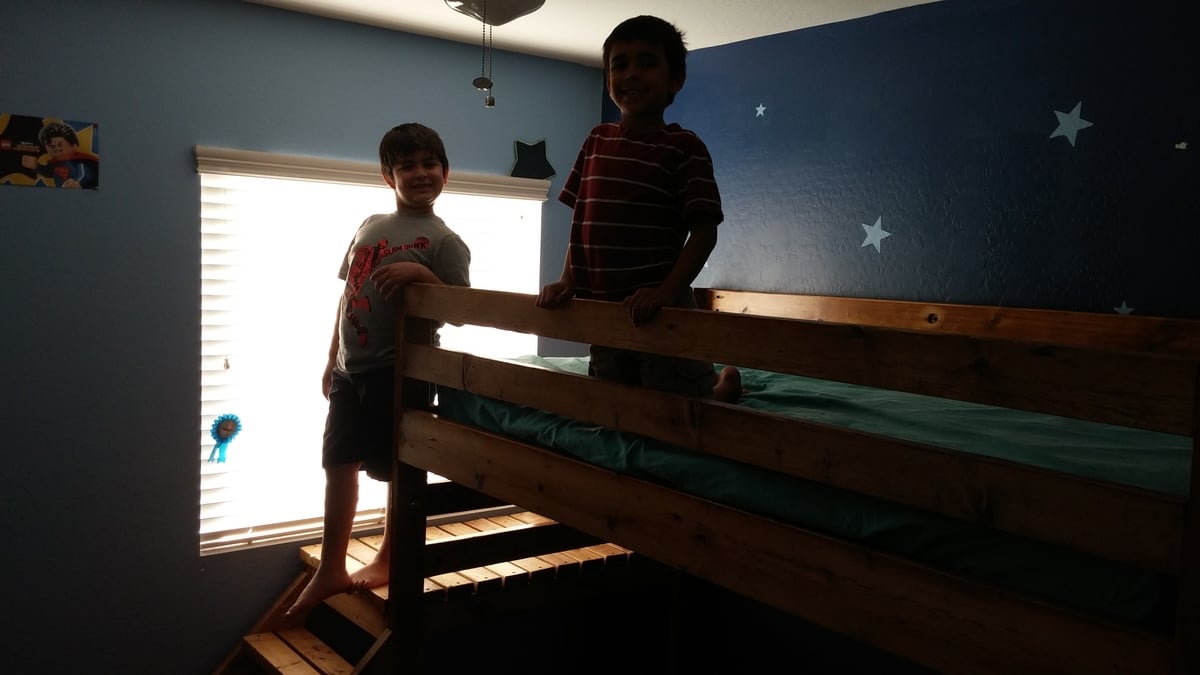
Craftsman playhouse!
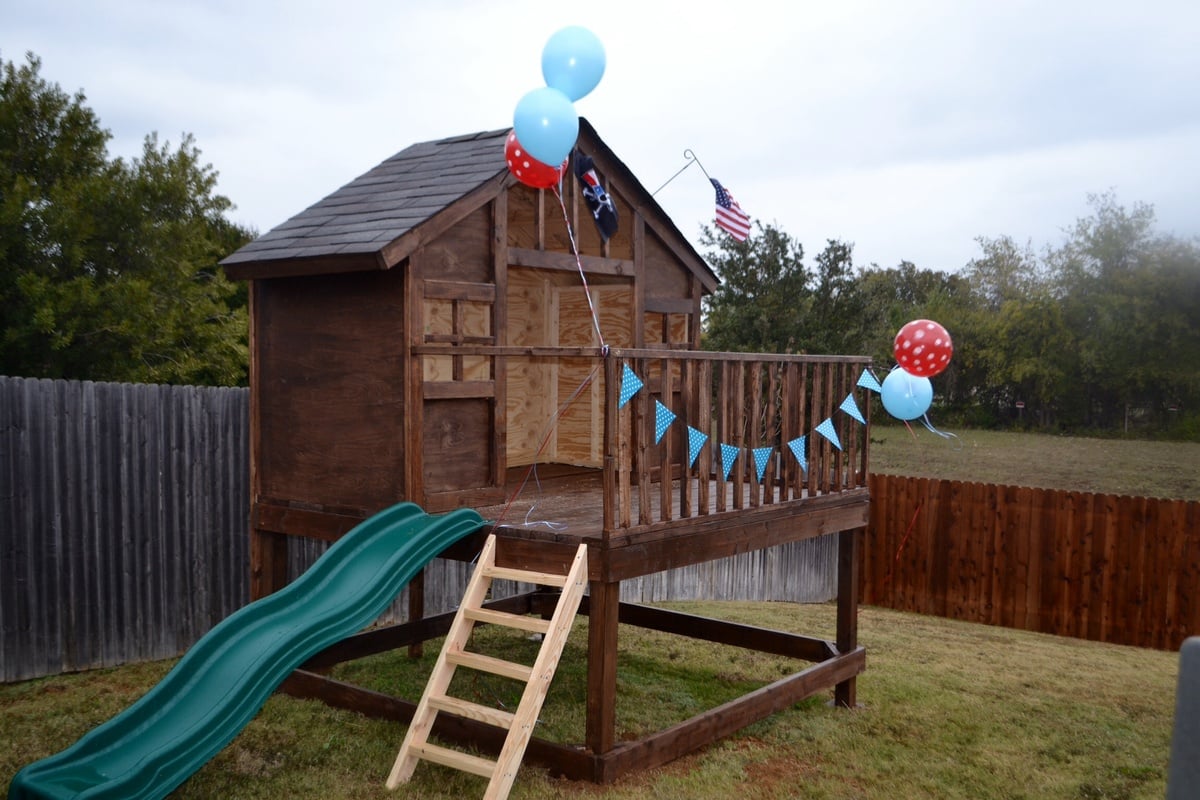
Love how this turned out!! Thank you thank you Ana!! Plans were great, I think we got it done for just about $250!
Thanks again!
Built from Plan(s)
Estimated Cost
$250
Estimated Time Investment
Weekend Project (10-20 Hours)
Recommended Skill Level
Intermediate


Comments
Ana White
Mon, 12/08/2014 - 13:00
Wow! Nice job! Looks even
Wow! Nice job! Looks even better than mine!
Ana White
Mon, 12/08/2014 - 13:00
Wow! Nice job! Looks even
Wow! Nice job! Looks even better than mine!