Community Brag Posts

Our Porch Swing Bed

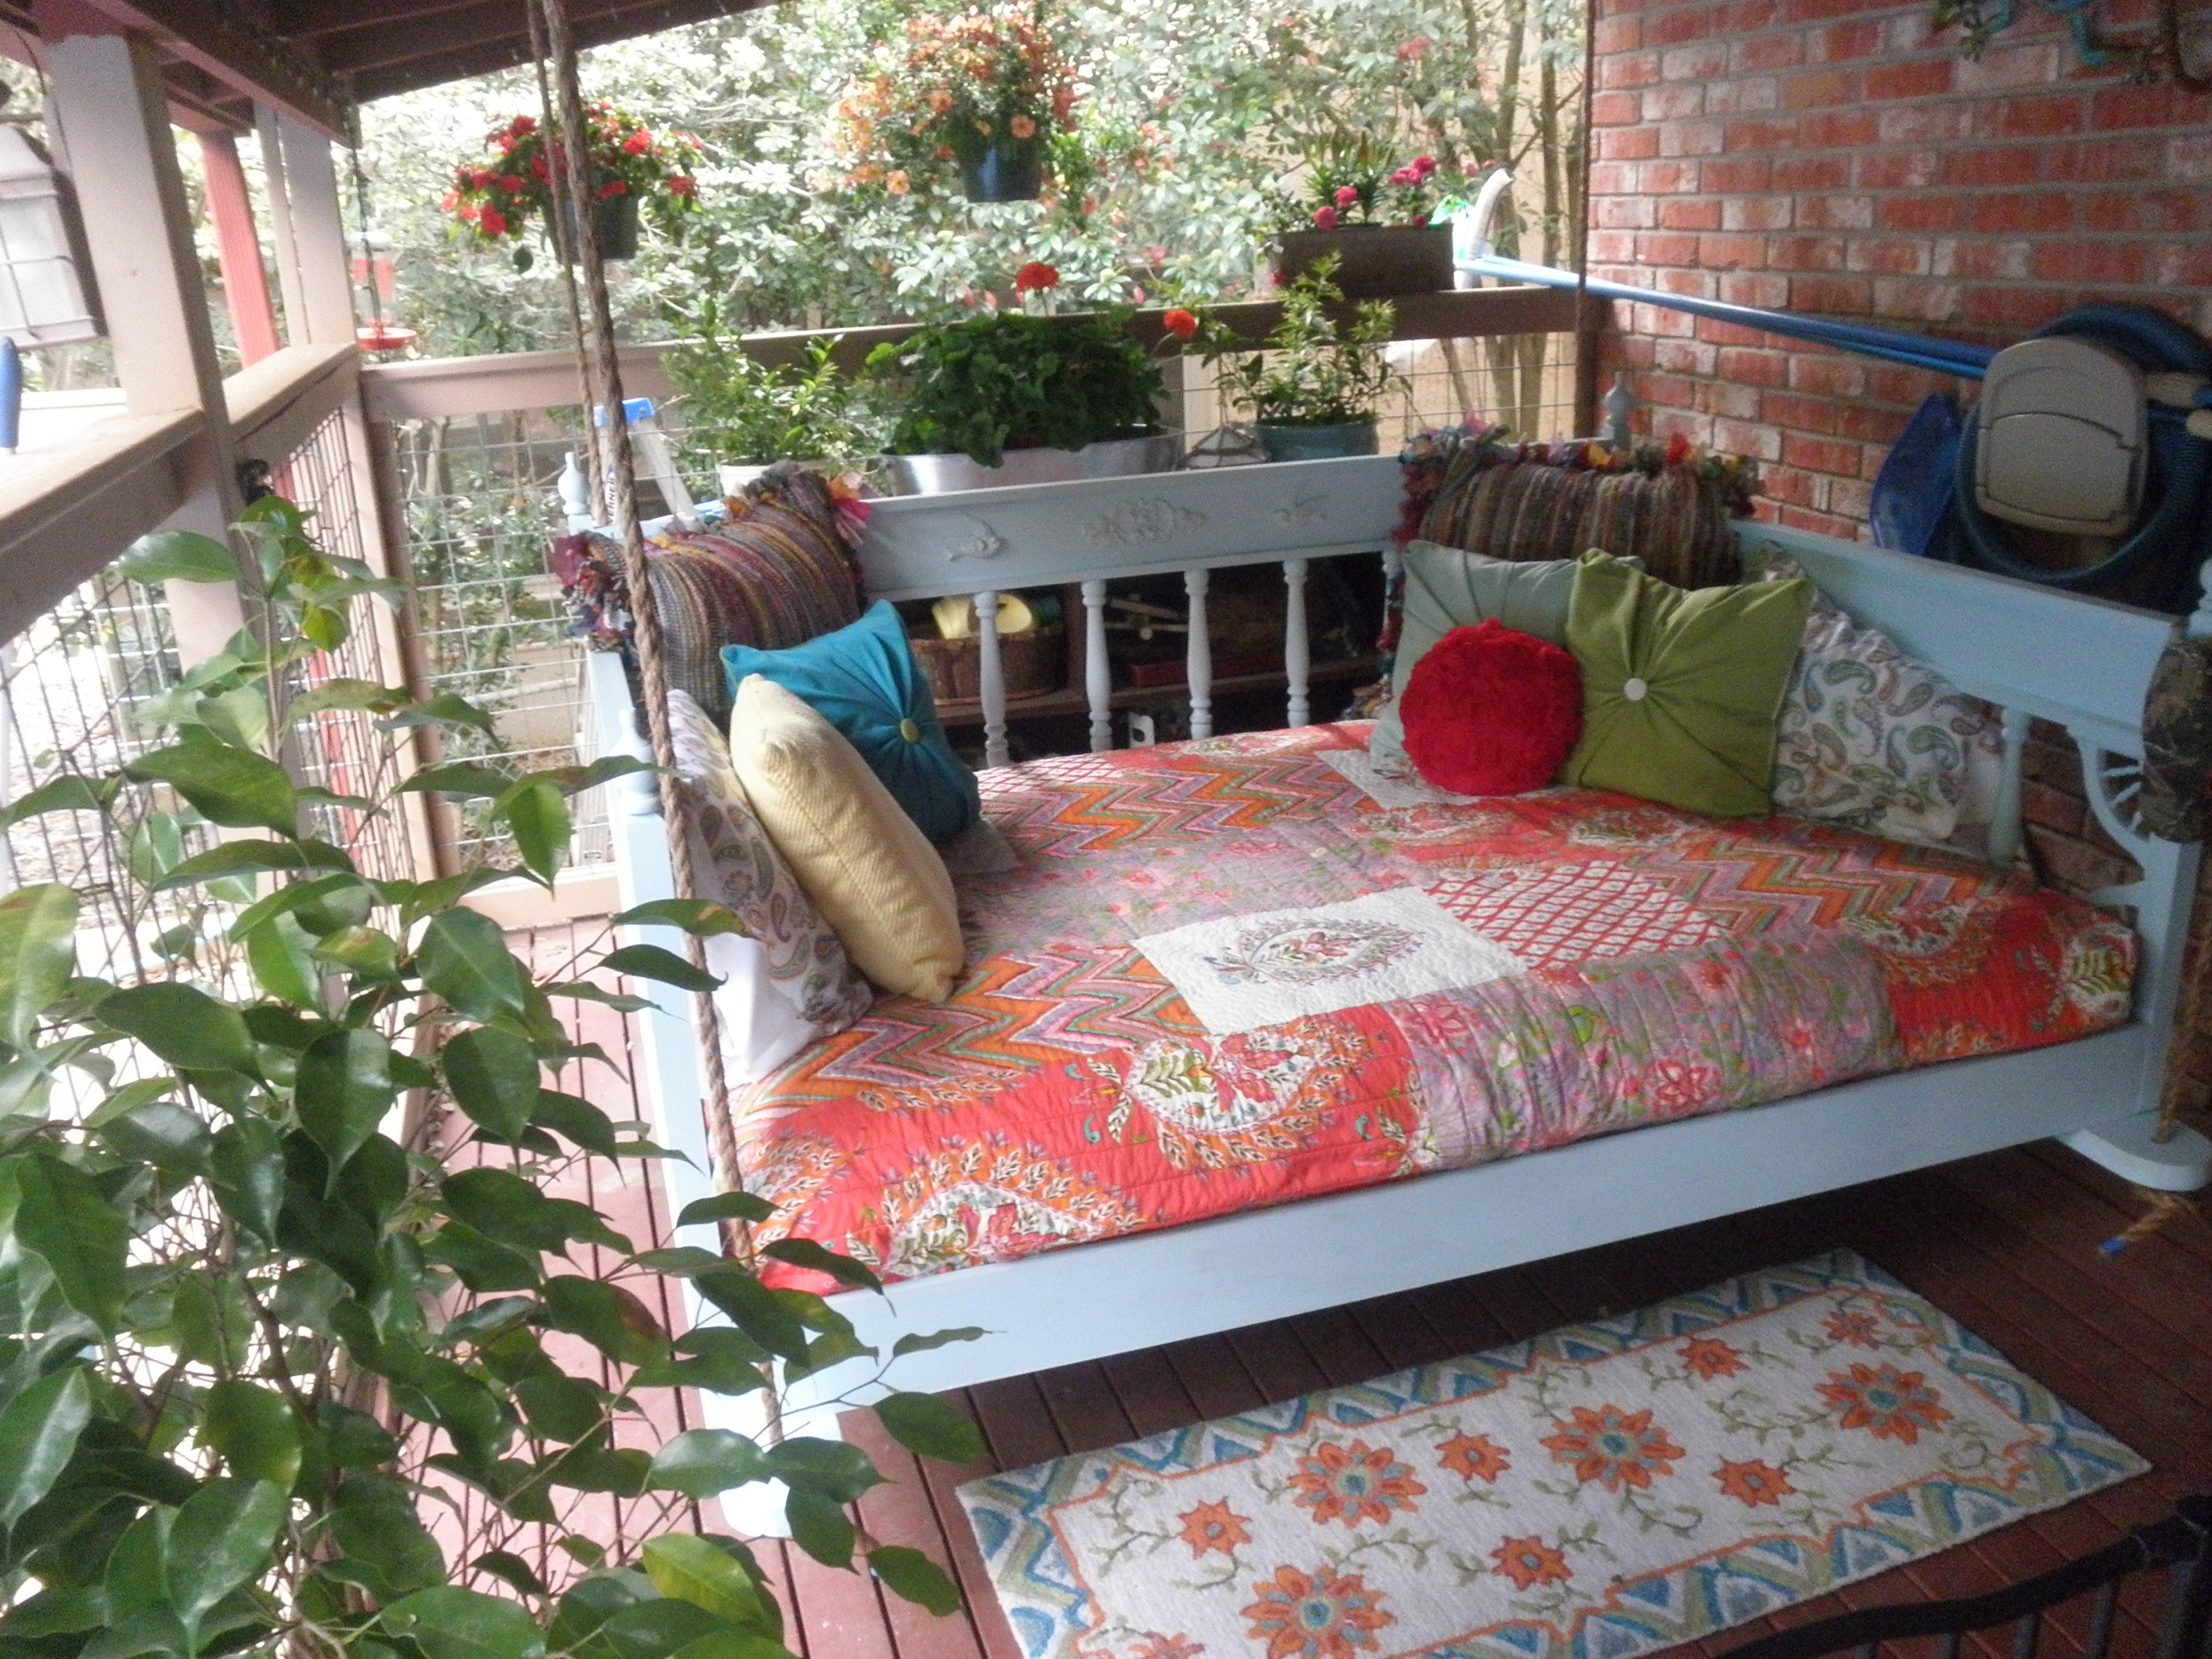
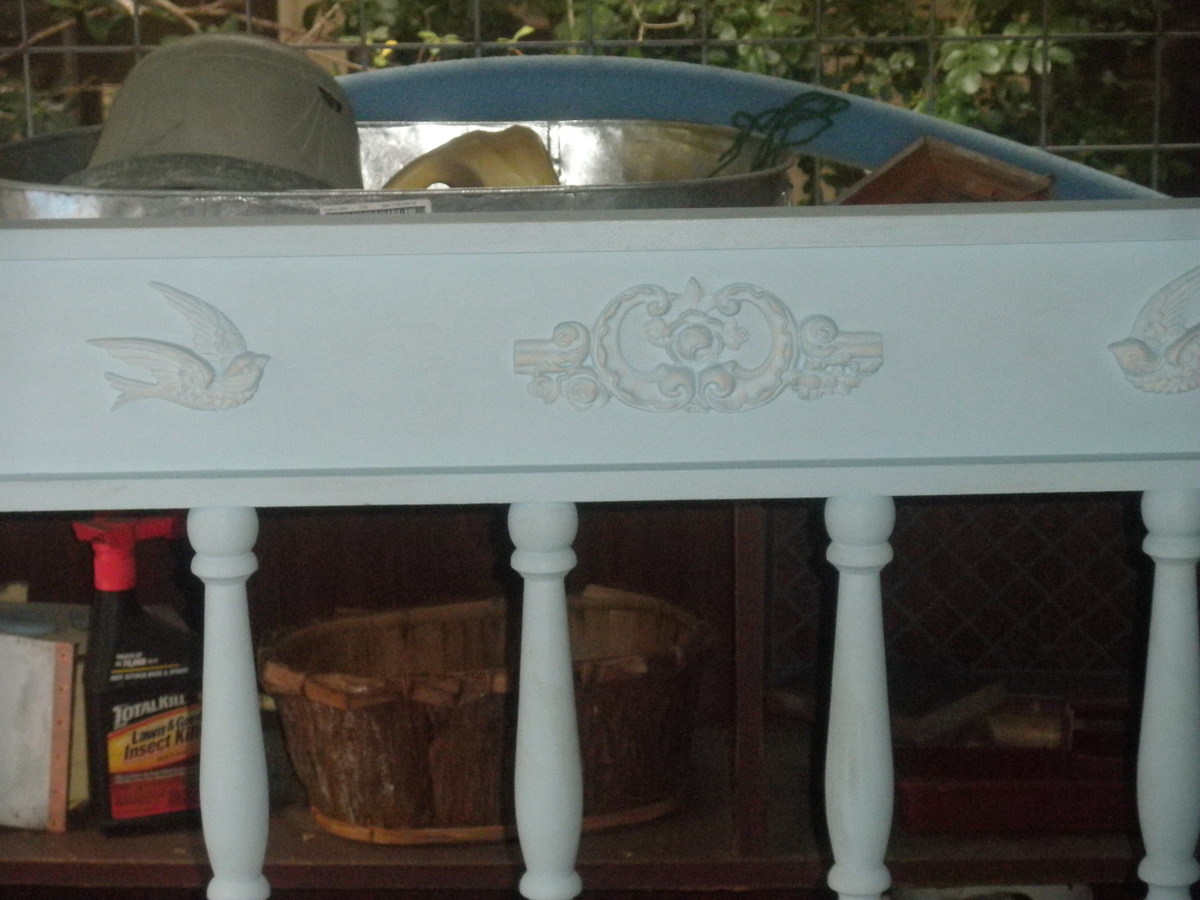
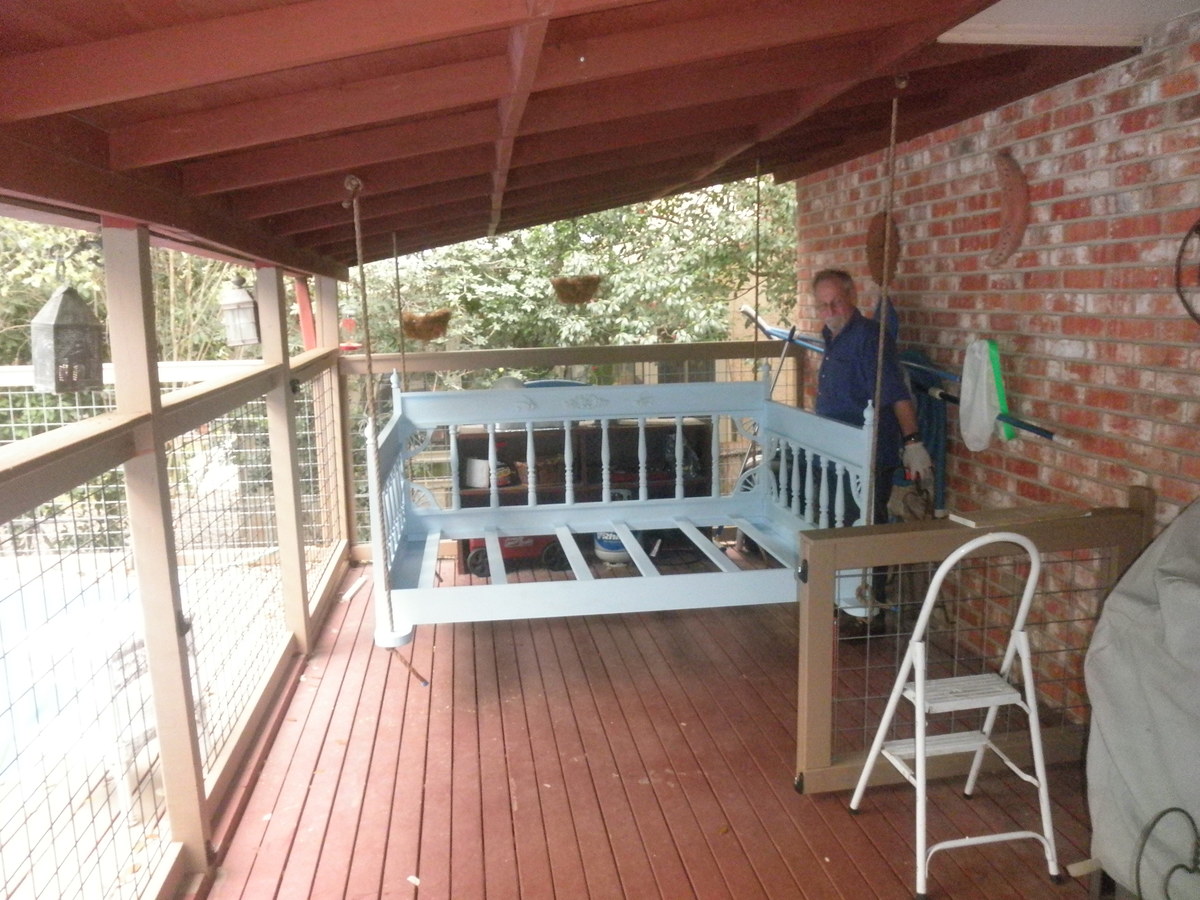
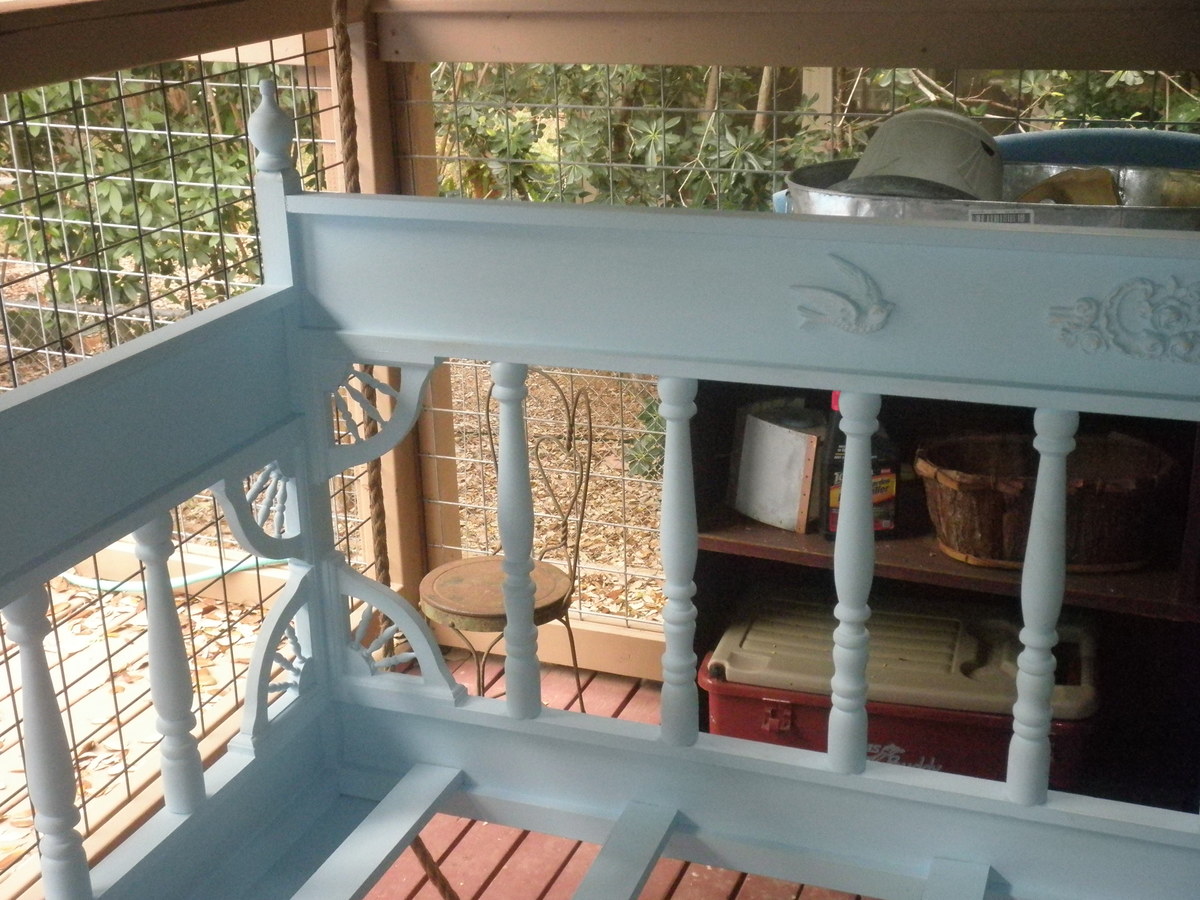
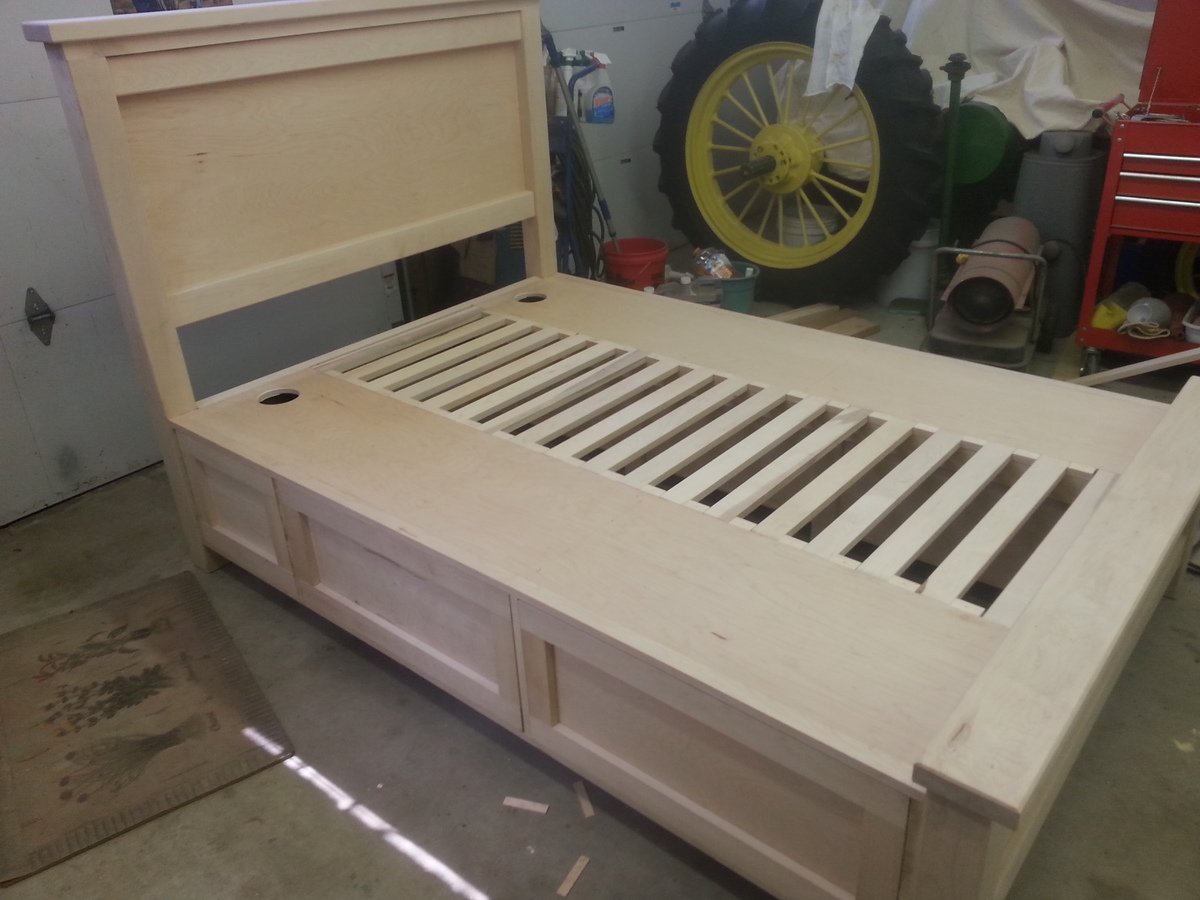
I have wanted a swing bed for ages and got hubby on board with this. We built a full size bed (plenty of room for me and all 3 grandkids!) using poplar. I had the turned dowels from a major score at my Habitat Store several years ago. $2 per dowel! I wanted an old fashioned look and so added the corner brackets to all sides and the resin appliques on the back.

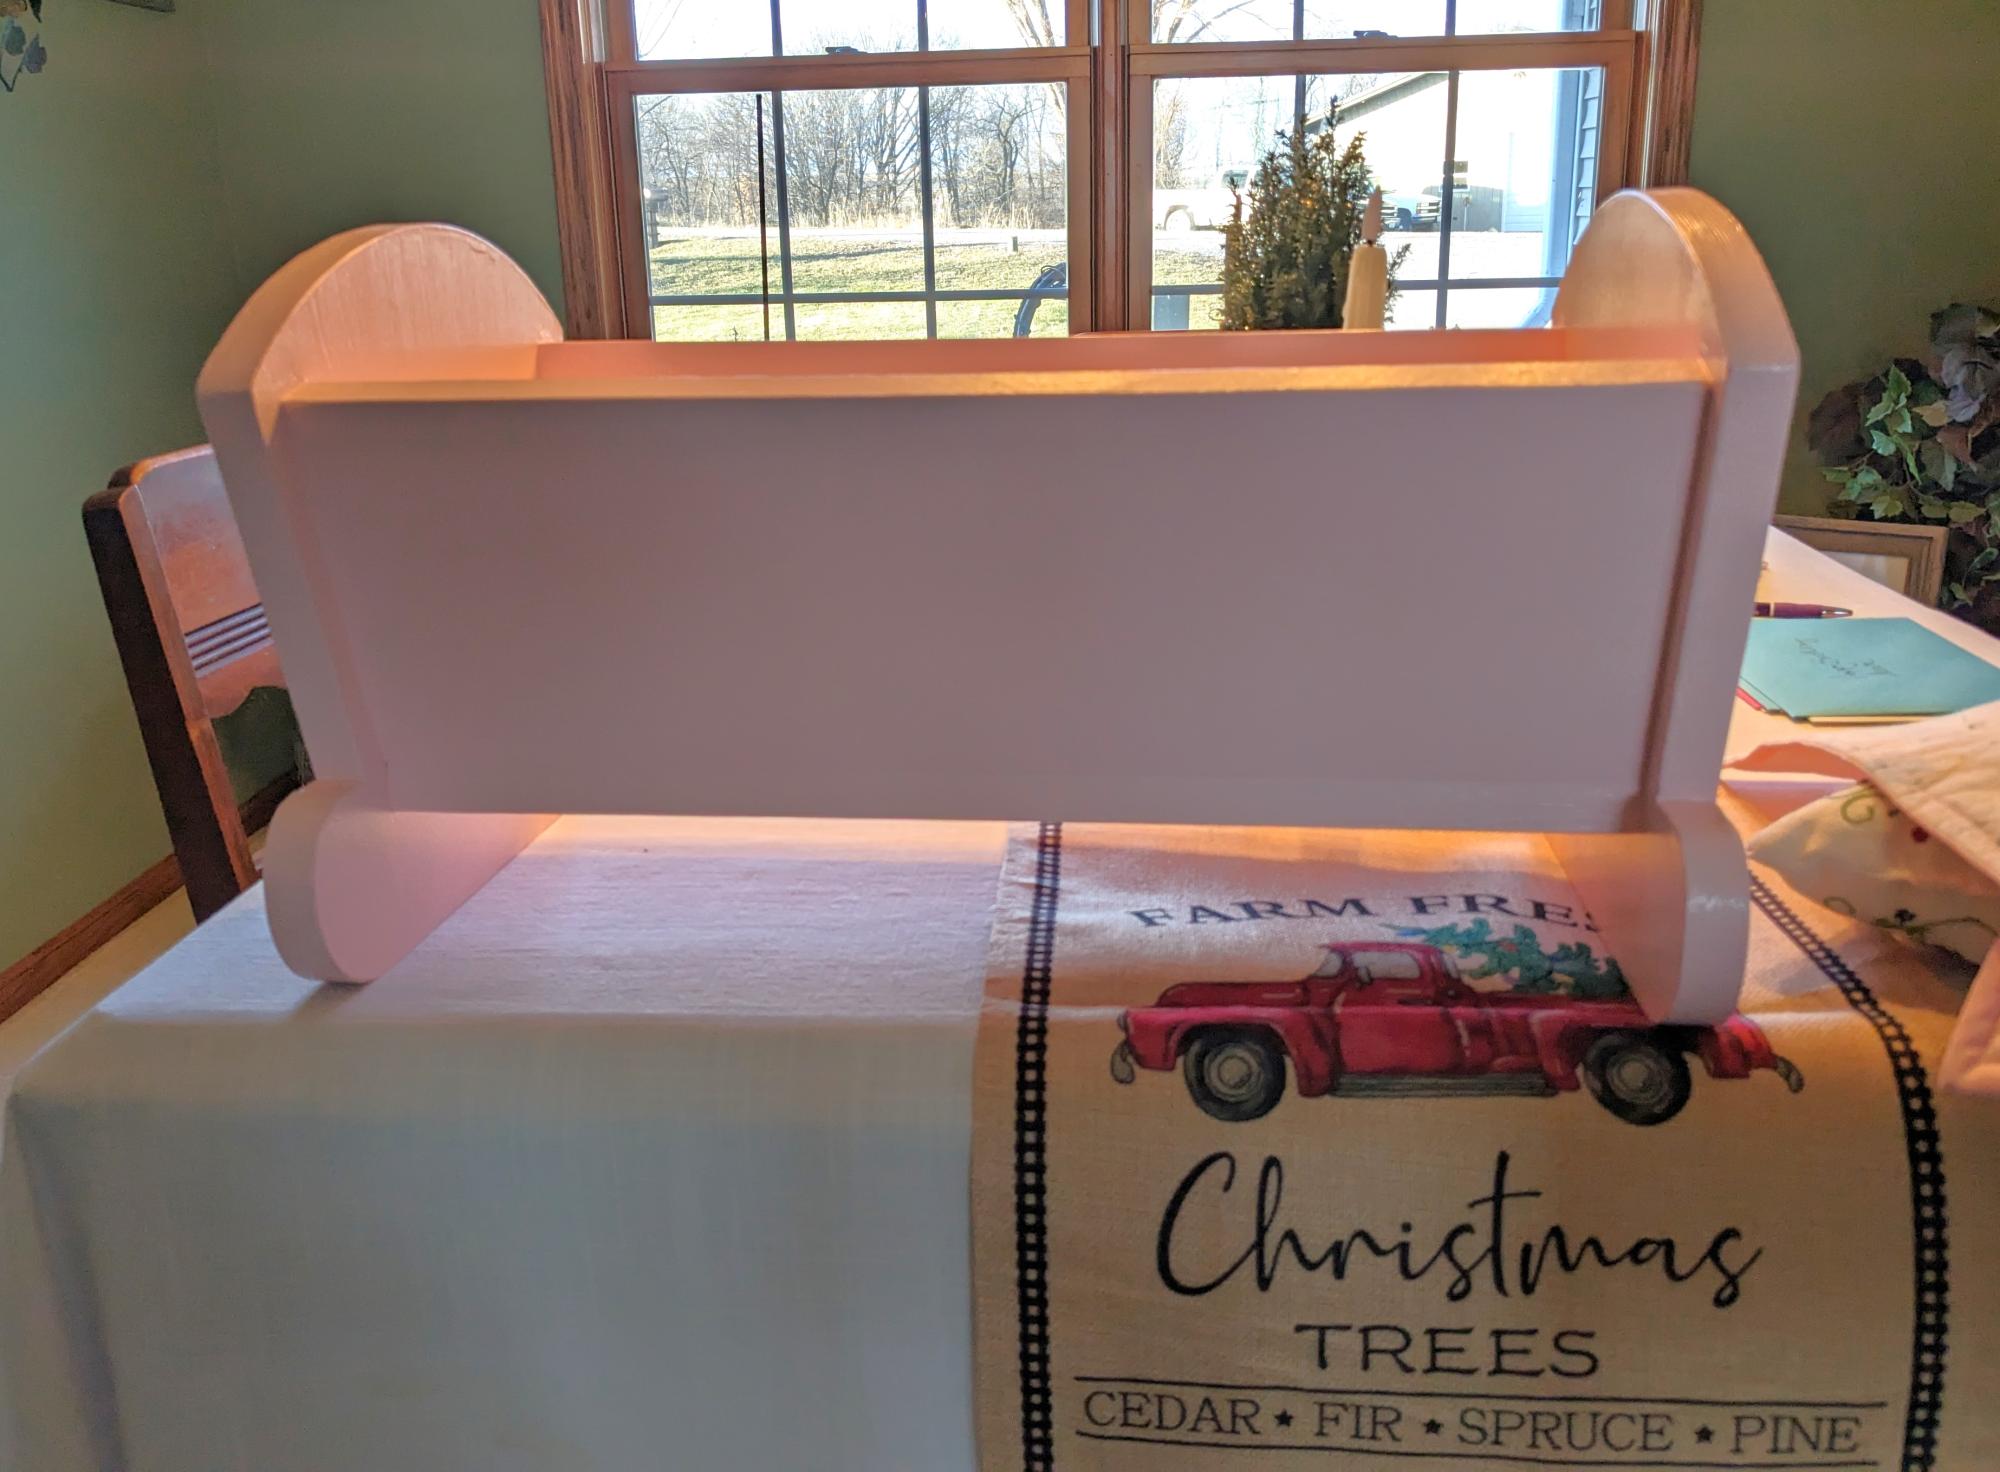
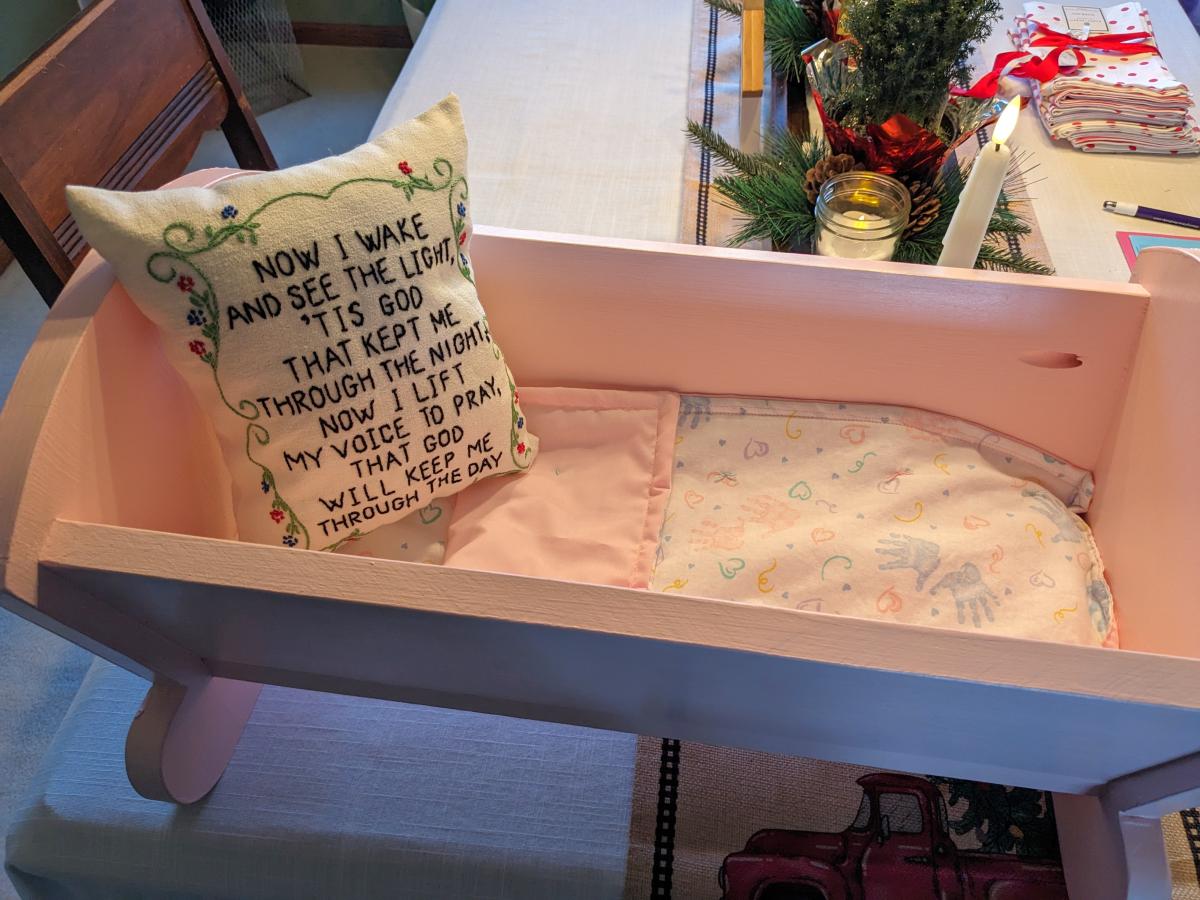
I primed with cream colored ceiling paint, an "Oops" paint from my neighborhood home improvement store. The baby blue was another "Oops" paint - another score- only $5 for a gallon of Valspar eggshell. After a very light distressing, I finished it with a paste wax.

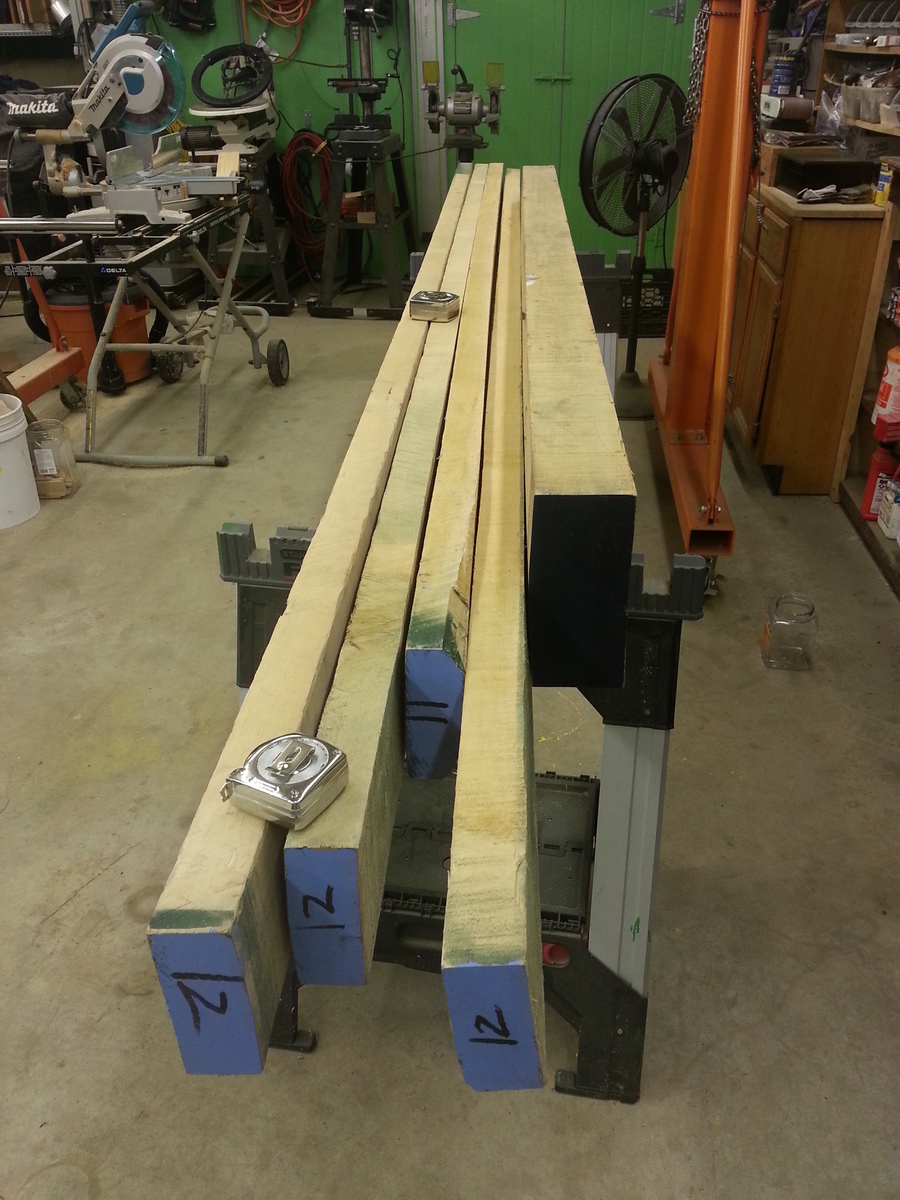
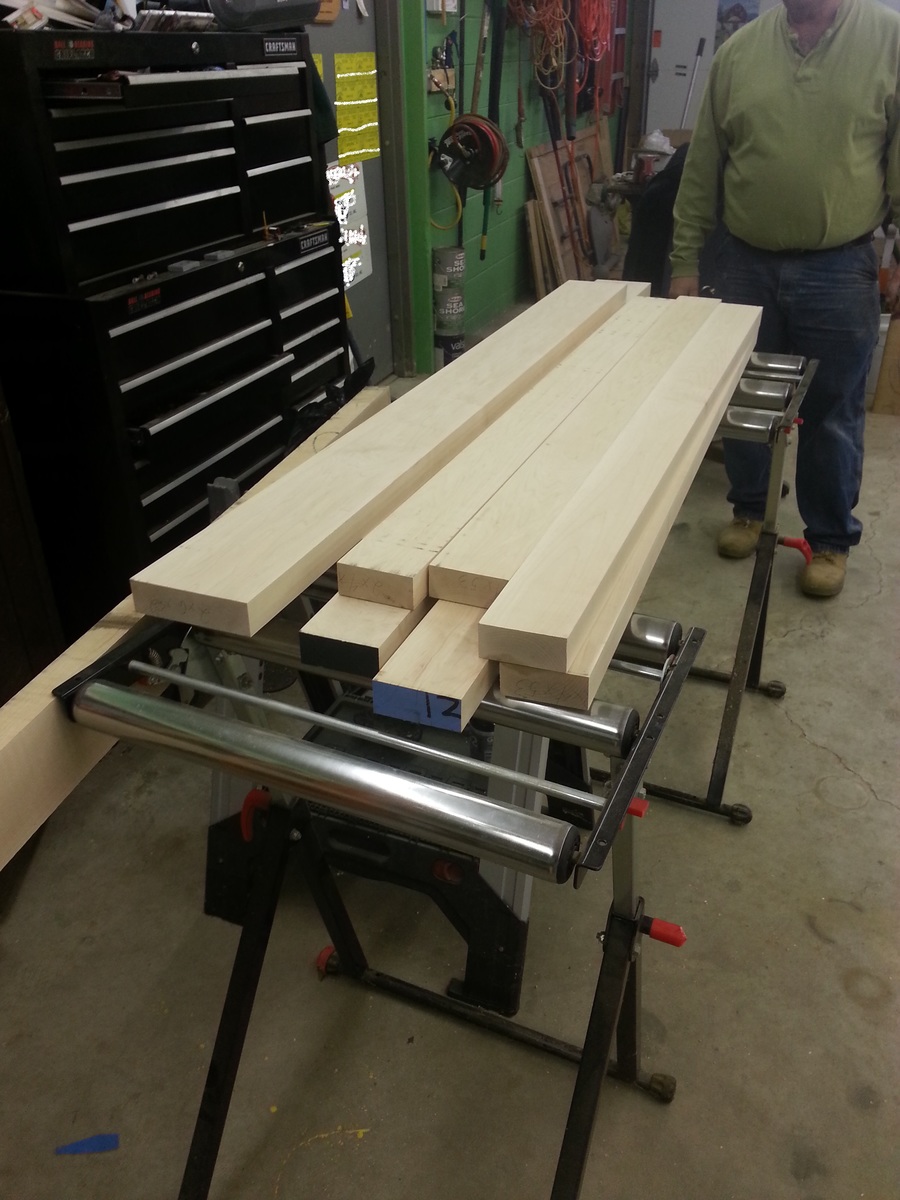
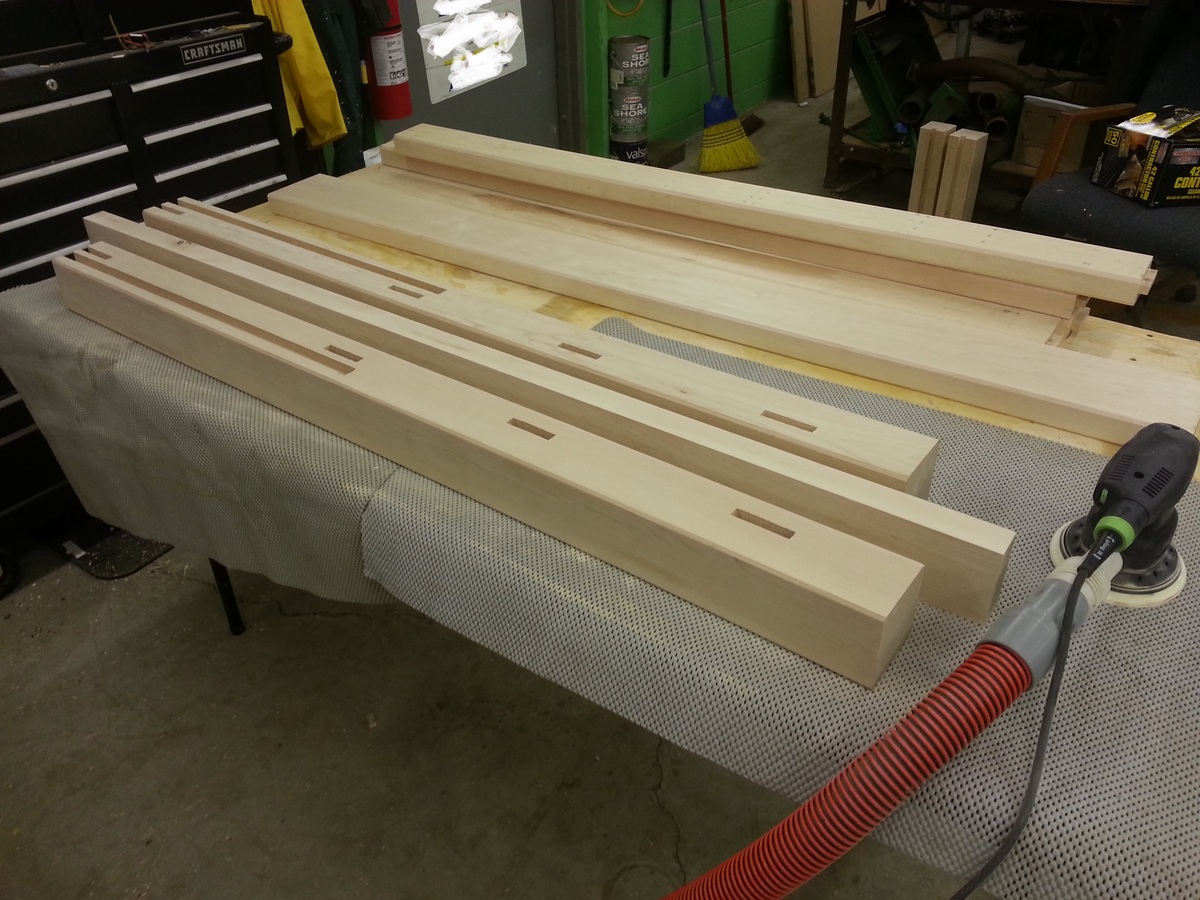
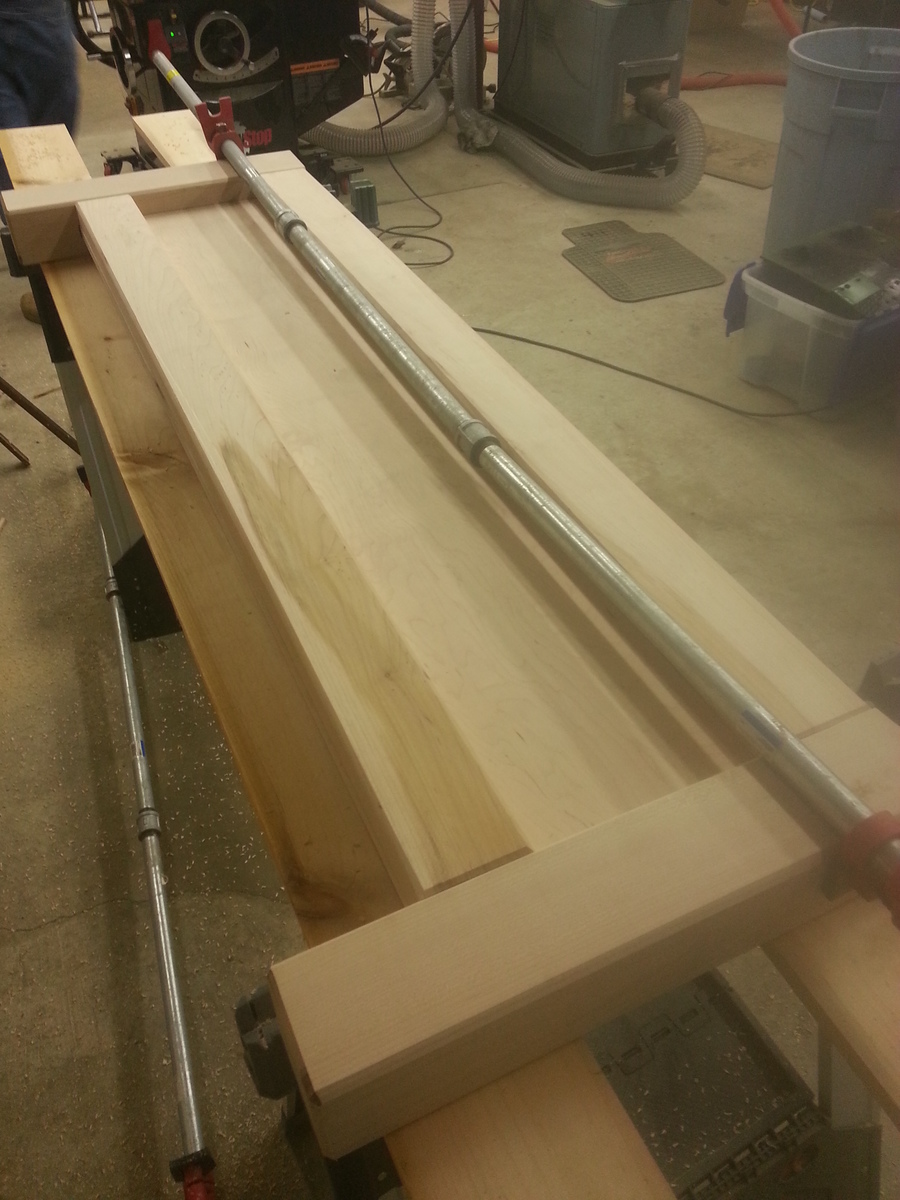
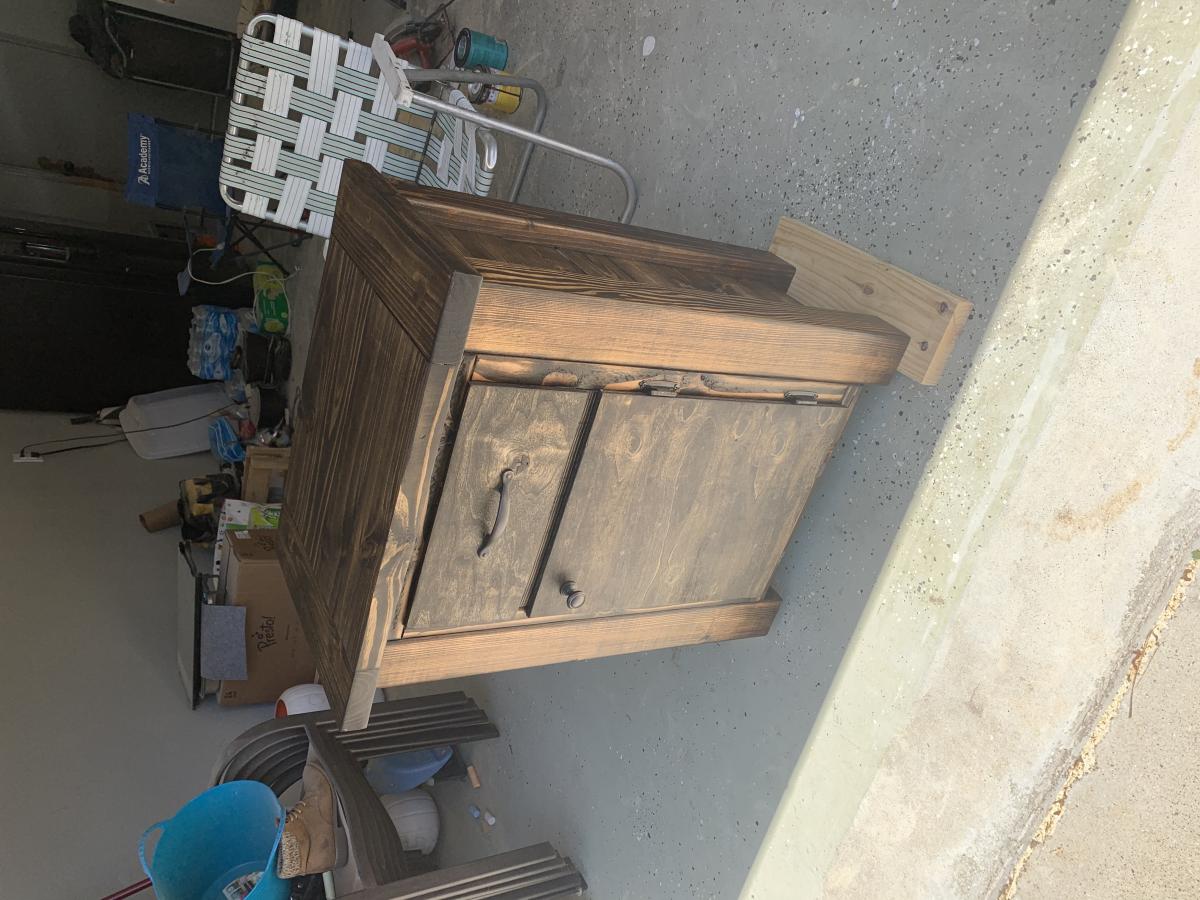
I make the design and drawing and Hubby makes all the cuts. I joined all with biscuit joinery for a strong and solid piece.

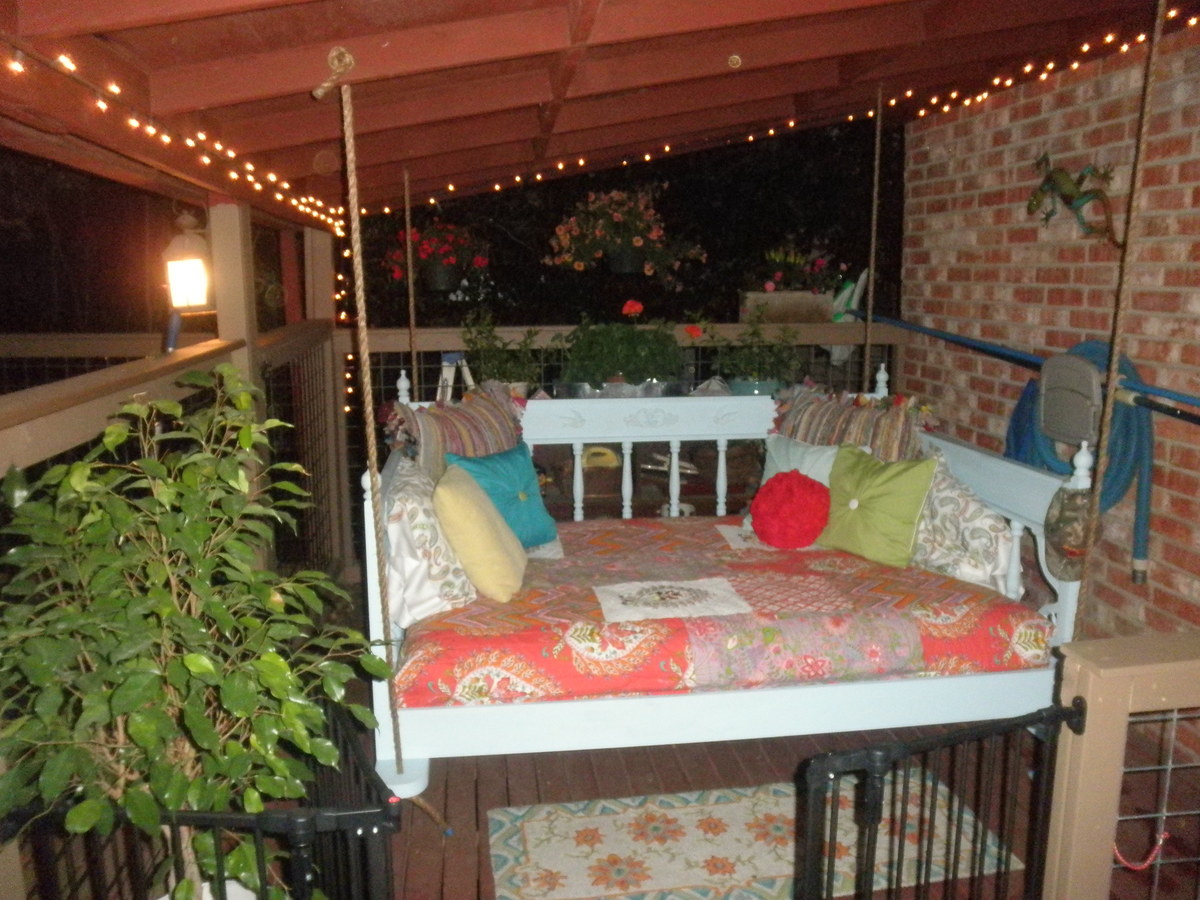
We hung it from the ceiling joists with 1" manila ropes, added lots of pillows and plants and it is my happy place. A night blooming jasmine adds a heady fragrance that puts me right at peace ... A great refuge from a crazy work day!!!

Estimated Cost
$500 without the bedding
Estimated Time Investment
Week Long Project (20 Hours or More)
Finish Used
Valspar eggshell finish in a baby blue for a matte look, finished off with a little aging wax and final coat of paste wax. (Hard edges were lightly sanded to give a bit of distressing)
Recommended Skill Level
Intermediate

US Flag gun case

I threw some plans together for this.  Going to make another one and tweak it a little but overall I'm happy with the way it turned out. I used dark walnut stain and 4 coats of poly.

Estimated Cost
$150
Estimated Time Investment
Afternoon Project (3-6 Hours)
Finish Used
Dark walnut and polyurethane.
Recommended Skill Level
Intermediate

Comments

Reclaimed Wood Bench...My First DIY Piece

Submitted by Stacey G on Fri, 04/11/2014 - 09:11

This was my first attempt to use real power tools and make furniture. After being inspired by Ana, I purchased my Kreg Jig and got to work! I needed a coffee table so I tweaked this one to fit my needs. I ended up staining it with Minwax Gray, but it wasn't rich enough for me. So I took white, black and brown pain and dry brushed it to give it that old barn wood look.....OMG I LOVE IT! It came out perfect. So much better than in the photos even! Thank you for the inspiration Ana.....What will I make next???? Hmm......

Estimated Cost
15.00
Estimated Time Investment
An Hour or Two (0-2 Hours)
Recommended Skill Level
Starter Project

I did it! I did it!

Submitted by Anonymous (not verified) on Thu, 07/07/2016 - 13:45

I absolutely loved this project! My first advanced' leveled project! I was afraid it would be to big for my room so I went 10" smaller in the width only. It surprisingly turned out well proportioned! Thanks Ana! I feel like a women with power!!

Built from Plan(s)
Estimated Cost
Plywood is all I had to buy. Roughly $30
Estimated Time Investment
Weekend Project (10-20 Hours)
Finish Used
Basic off white paint, roughed it up then rubbed a walnut stain over the entire thing.. Then a clear polyurethane. The raw wood I just stained the cut edges with a walnut stain and brushed a clear polyurethane over top.
Recommended Skill Level
Advanced

Outdoor Sofa

Submitted by Anonymous (not verified) on Sun, 05/03/2020 - 23:01

Love love love this sofa!

Built from Plan(s)
Estimated Cost
150.00
Estimated Time Investment
Day Project (6-9 Hours)
Finish Used
Polyurethane
Recommended Skill Level
Beginner

First Woodworkig Project - X Console

Submitted by Anonymous (not verified) on Wed, 12/27/2023 - 11:43

First time building a piece of furniture. Definitely get a small Kreg Jig for the project. Built it for my wife for Christmas. She loves it. A lot of imperfections, but not too bad and very sturdy.

Built from Plan(s)

truss bookshelf

Submitted by cactuscc on Sat, 06/23/2012 - 14:42

We made this a bit taller then the plan. But everything worked out well. It was our first project. I would NOT recommend this as a first project. Also, wipe the stain off quickly. We let it sit way too long and it came out very dark. It took us a long time to build because we both work. And, Home Depot didn't cut miters so we had to get a neighbor to do it.... fyi

I love it though.

Estimated Time Investment
Week Long Project (20 Hours or More)
Finish Used
Minwax wood finish in Jacobean
Recommended Skill Level
Intermediate

Fillman platform bed full size

Submitted by Mgros483 on Sun, 04/13/2014 - 18:54

Modified the plans for a full size mattress, also used 2x6 lumber for the main frame. Installed LED strip lighting around the perimeter for a night light. Also built my own headboard, modified for the full size. I used laminate flooring for the center inlay.

Fun project, about 6 hours to build, total cost around $200 with the lighting.

Estimated Cost
200
Estimated Time Investment
Weekend Project (10-20 Hours)
Finish Used
Dark walnut stain brushed on, let soak for 5 minutes then wipe off with a rag.
Recommended Skill Level
Intermediate

Channing Bookcase/Desk combo

Submitted by Maremilina on Sun, 07/10/2016 - 23:24

Wife wanted bookcases for all our books and a desk/work area for her calendar.  I decided to modify the Channing Bookcase to suit our needs.  We built 5 of them to fit the wall.  We did not attach the back trim piece on the shelves to give them a recessed look.  Convinced the wife to let me buy the Kreg K4 system, which saved my sanity for the over 500 pocket holes we had to drill in this project. Thanks for the plans!

Built from Plan(s)
Estimated Cost
With paint, about $350 but we live in Guam, so prices are significantly higher!
Estimated Time Investment
Week Long Project (20 Hours or More)
Finish Used
Behr Marquee interior semi-gloss dark navy blue and ultra pure white (top and back).
Recommended Skill Level
Intermediate

Comments

We Built a Greenhouse!

Submitted by Anonymous (not verified) on Tue, 05/05/2020 - 15:28

When the Covid quarantine hit we decided to build a greenhouse - it's been on our To Do list for 9 years. The DIY Greenhouse was the first design I found via Google search and it looked so easy and has all the materials listed so we just had the materials delivered and dived right in! It took us 5 days, about 4 hours per day. The smartest thing we did was borrow a mitre chop-saw. There's a lot of 22 degree angles to cut. Other than that it was easy peasy as long as you follow directions. Also got a skill saw blade that cut both the plastic and the tin. It cost us about a grand Canadian, but the closest kit I found online was smaller and was $1500 US. I'm already growing stuff in it and the temperature here in Northern BC gets below freezing at night (around -1C) but everything is ok. The current temp outside is 15, but it's 30 in the greenhouse. We cut a few vents in the back wall panel to allow for airflow and I'm going to purchase a solar muffin fan to move the air a bit. Highly recommend this unit!

Built from Plan(s)
Estimated Cost
$1000 Canadian
Estimated Time Investment
Weekend Project (10-20 Hours)
Finish Used
None
Recommended Skill Level
Intermediate

Fancy Doll Bed

Submitted by hortonec on Thu, 06/28/2012 - 04:59

This was my first project! WIth some guidance from my husband, we were able to complete this during naptime (minus paint, of course). It was a fun project and I can't wait to try a different one! (Not sure why it looks so crooked in this picture! It looks nice and even in person.)

Estimated Cost
$50
Estimated Time Investment
An Hour or Two (0-2 Hours)
Recommended Skill Level
Starter Project

Frozen Loft Bed

Submitted by ndelanuez on Thu, 07/14/2016 - 10:09

Those angles on the ladder are challenging. This is our first time building any furniture. Thak you Ana W

Built from Plan(s)
Estimated Time Investment
Weekend Project (10-20 Hours)
Finish Used
Sherwin Williams Paint
Recommended Skill Level
Beginner

Cedar Flower Box

My supervisor wanted me to build her a waist high planter so I found pictures online and then came up with an idea in my head and carried it through. I had some pieces left over so I made it's little brother as a gift to my mom for Mother's Day. I posted it on a FB share site the other day, now folks want the plans for it. I am great when it comes down to thinking the plan in my head but putting it on paper, well lets just say not so much.

It measures 24" X 24" X 24" with a 12" deep planter basin. The bottom has a dadoed grid of 4 boards on the first and 6 in the newer versions to hold the bottom boards on top.

The entire project was 8-1X6 6' dog ear cedar fence pickets from The Home Depot that cost $2.35/each. I glued (Gorilla Glue), brad nailed and screwed the entire thing together So total, this cost me about $25.

Estimated Cost
25
Estimated Time Investment
An Hour or Two (0-2 Hours)
Recommended Skill Level
Beginner

DIY Doll Stroller

Submitted by Anonymous (not verified) on Wed, 01/03/2024 - 07:33

Thank you for the inspiration. In Australia I could not get the same size timber so needed to trim the sides. Next time will create the main frame and use it as a template. Made my own wheels, lock nut (also super glued) to ensure nut does not come off with little ones.

For my granddaughter and finished with Winnie the Pooh stickers.

Lawrie Kirk

Built from Plan(s)

Farmhouse Storage Bed - Solid Maple

My Dad and I started with solid maple lumber. We altered the plan to use mortise and tendon joints and adjust drawer sizes to that night stands would not interfere with the drawers. Final product weighs about 500lbs.

Estimated Cost
$1600.00
Estimated Time Investment
Week Long Project (20 Hours or More)
Finish Used
Cherry Minwax
Recommended Skill Level
Advanced

My first homemade table

Submitted by Anonymous (not verified) on Sun, 07/17/2016 - 03:04

This was my first time building something like this. I used reclaimed wood from my wife's family farm and decided to use thinner materials. I'm very pleased with the results.

Built from Plan(s)
Finish Used
Linseed oil
Recommended Skill Level
Beginner

Modern Farmhouse Nightstands (Own Plan)

We built the Modern Farmhouse Bed Frame, but wanted matching nightstands. Since we made the bed frame taller than the original plans, we needed taller nightstands. I also wanted a drawer and cabinet in the nightstand. We used the same panel pattern as the headboard for the side of the nightstands, and we used 4x4’s as the corners. We used euro sliders for the drawers. We used Minwax - Dark Walnut and Polycrylic in Clear Matte to finish the pieces. The nighstands dimensions are 32” in height, 26” wide, and 17” (top edge to edge) deep. They turned out amazing!

Estimated Cost
80
Estimated Time Investment
Weekend Project (10-20 Hours)
Finish Used
Minwax - Dark Walnut and Polycrylic in Clear Matte
Recommended Skill Level
Intermediate

DIY Baby Cradle

Submitted by Anonymous (not verified) on Fri, 01/05/2024 - 07:46

I am not a carpenter by any means, but my husband is. And I wanted to make something very special for my 2 year old granddaughter, and found your plans for this doll cradle. I took a piece of foam and covered it and then sewed a fitted sheet and made a little blanket from material I got after my mother passed away. She did the embroidery work, so I made the pillow.

Carol

Built from Plan(s)
Back