Community Brag Posts

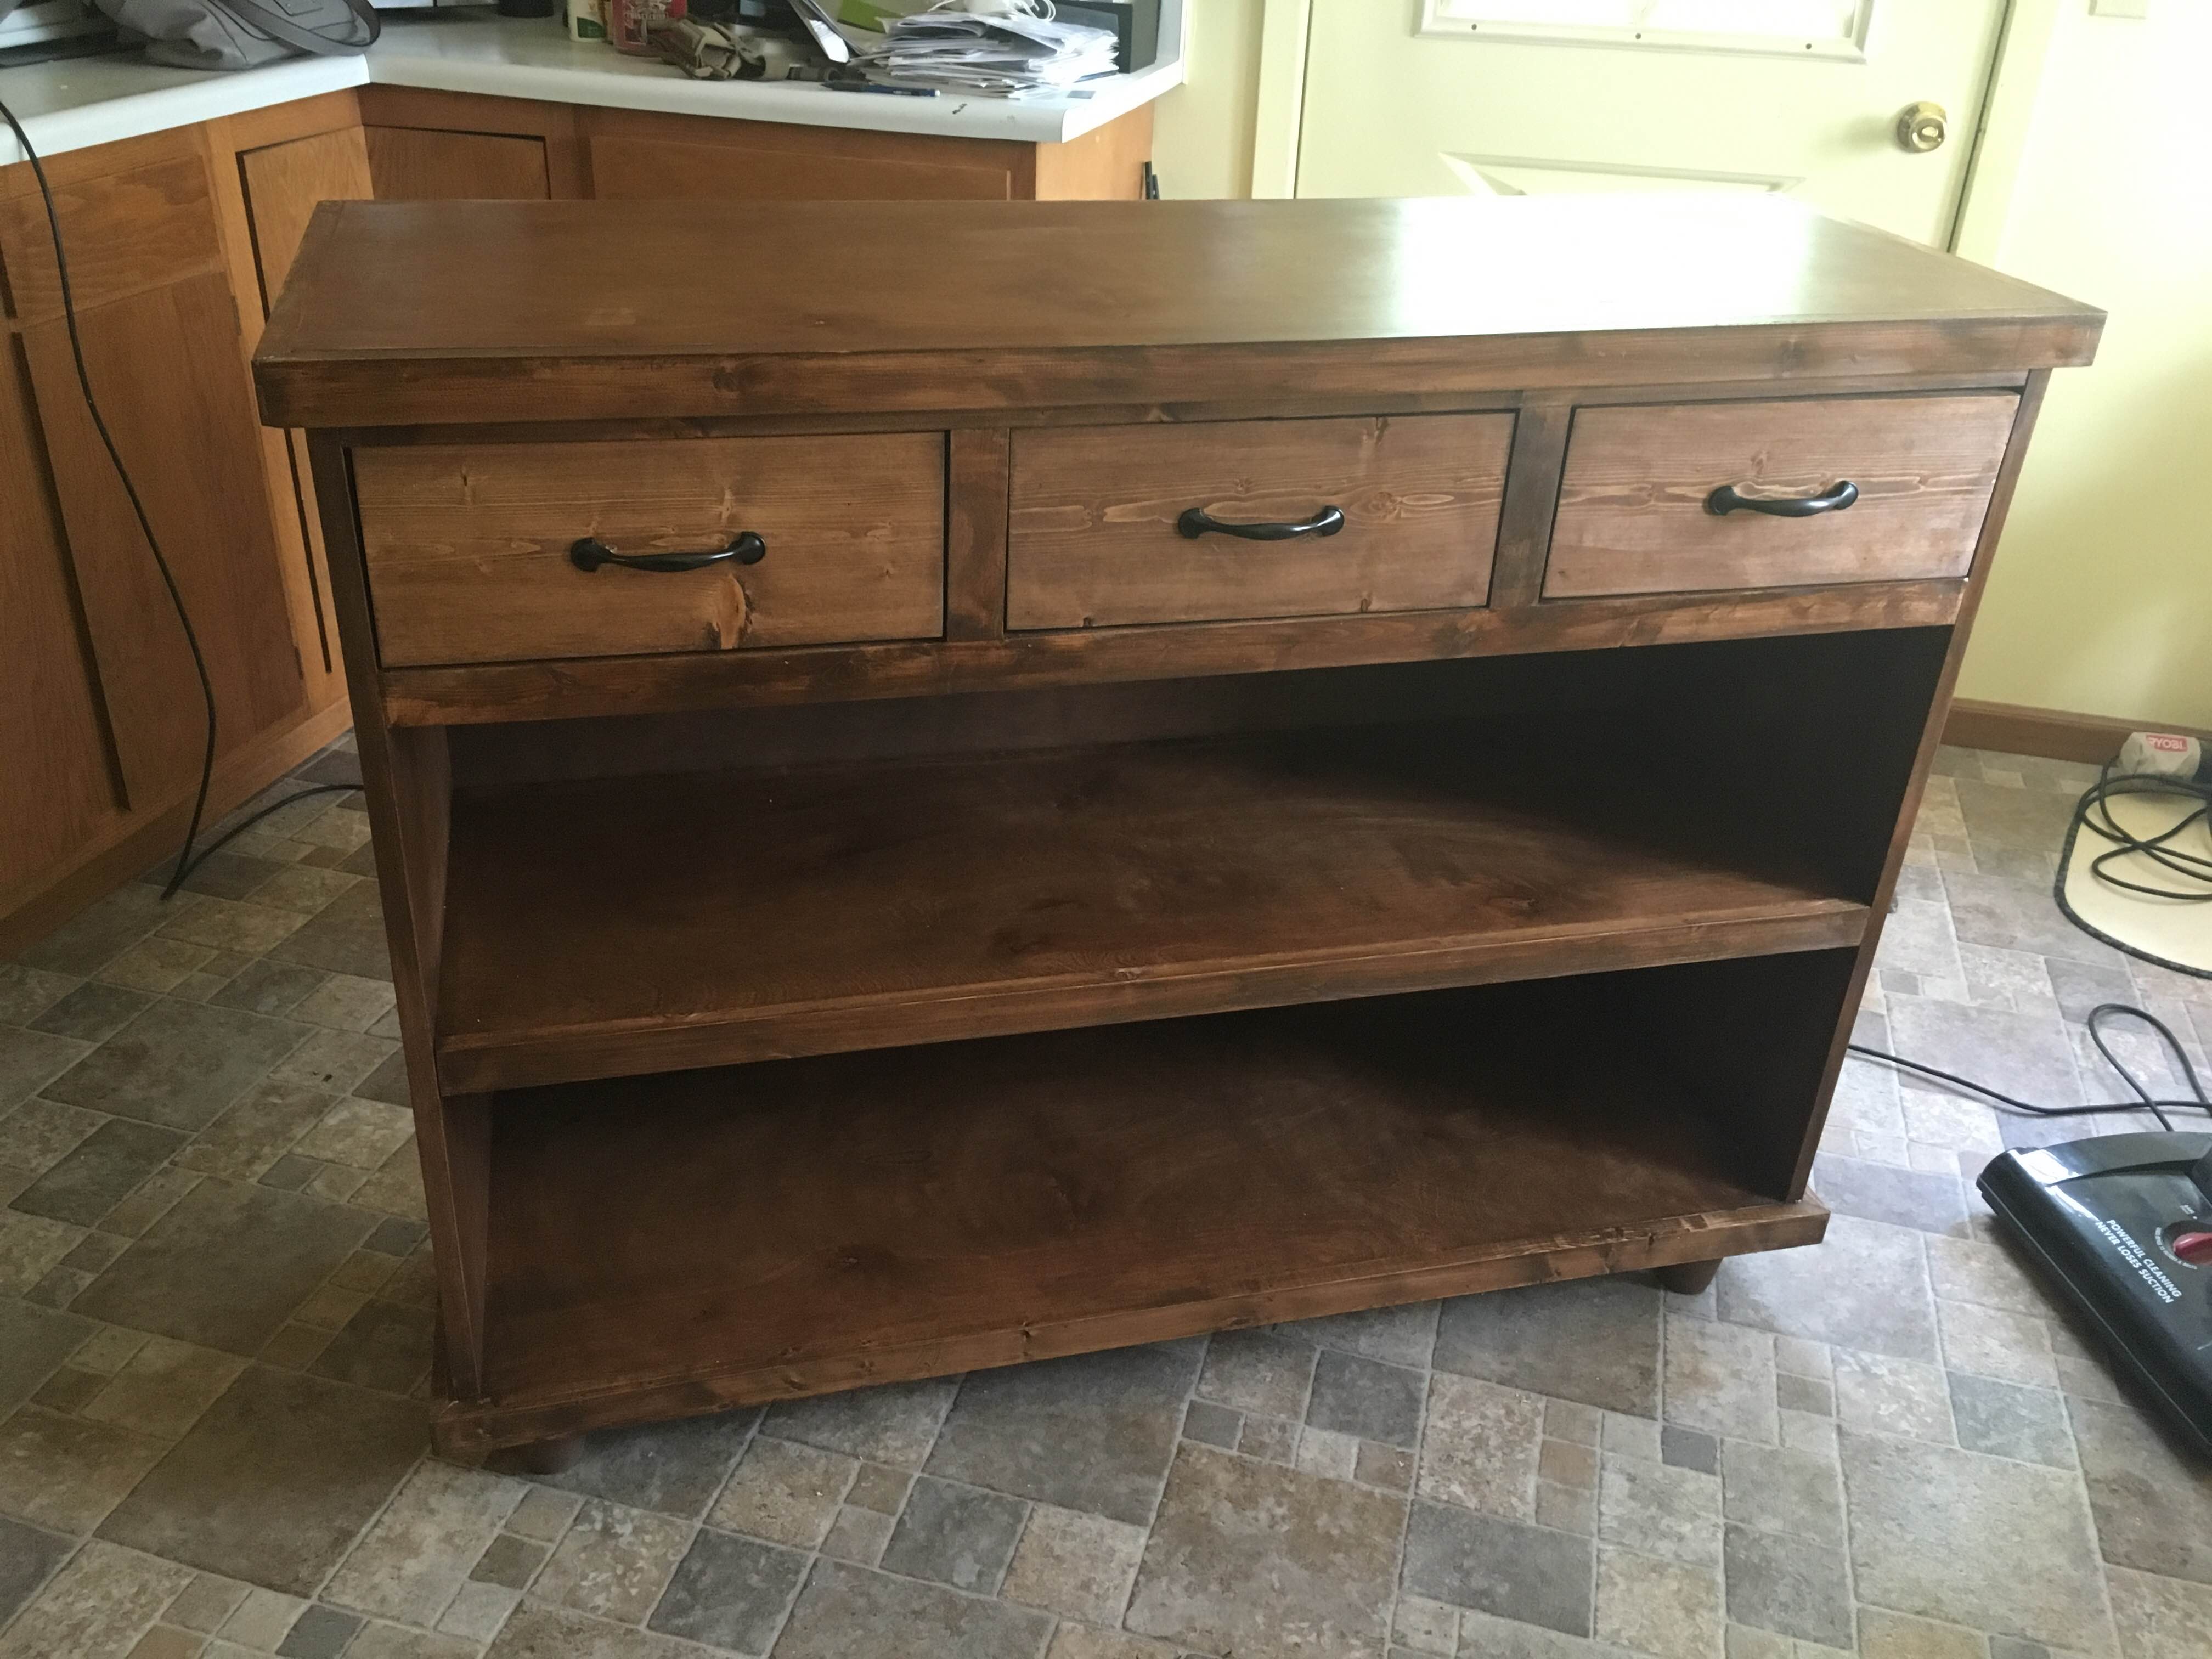
Back To School Podium

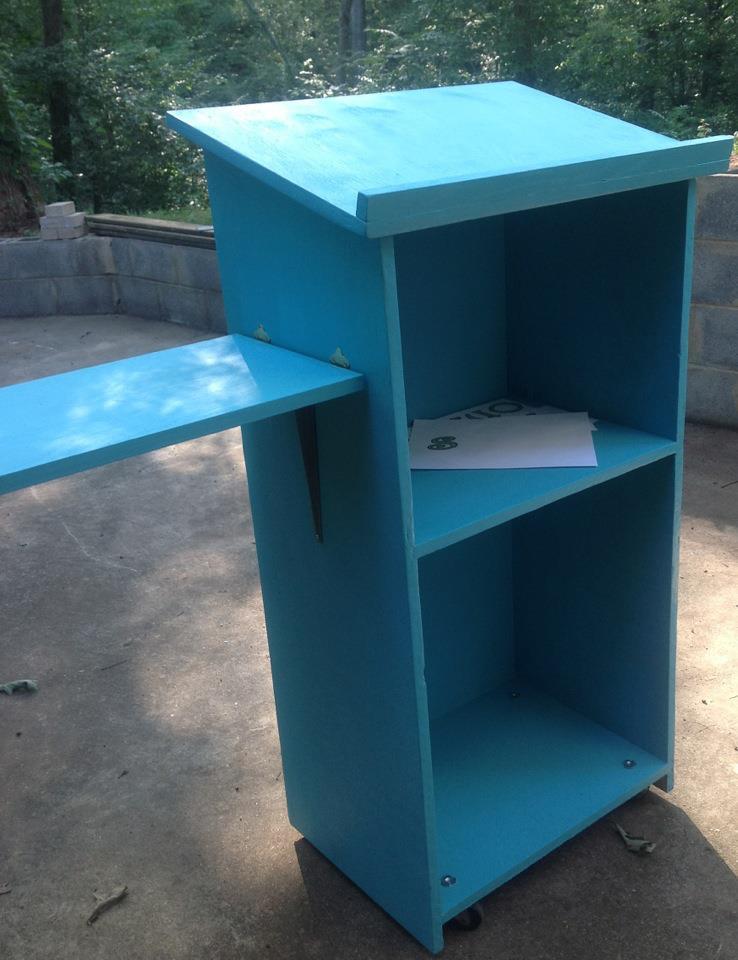
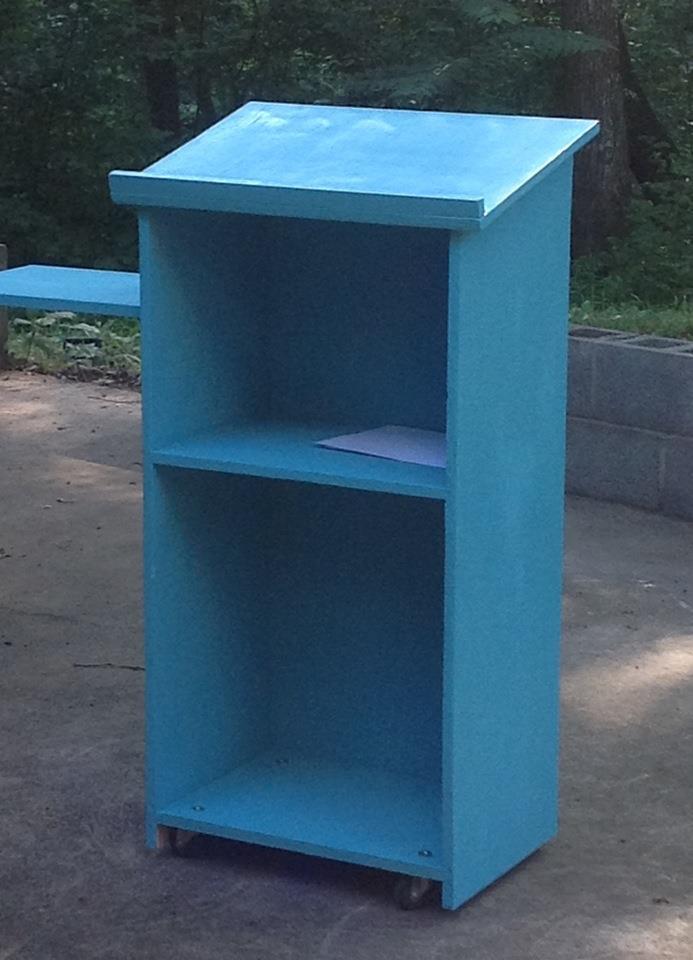
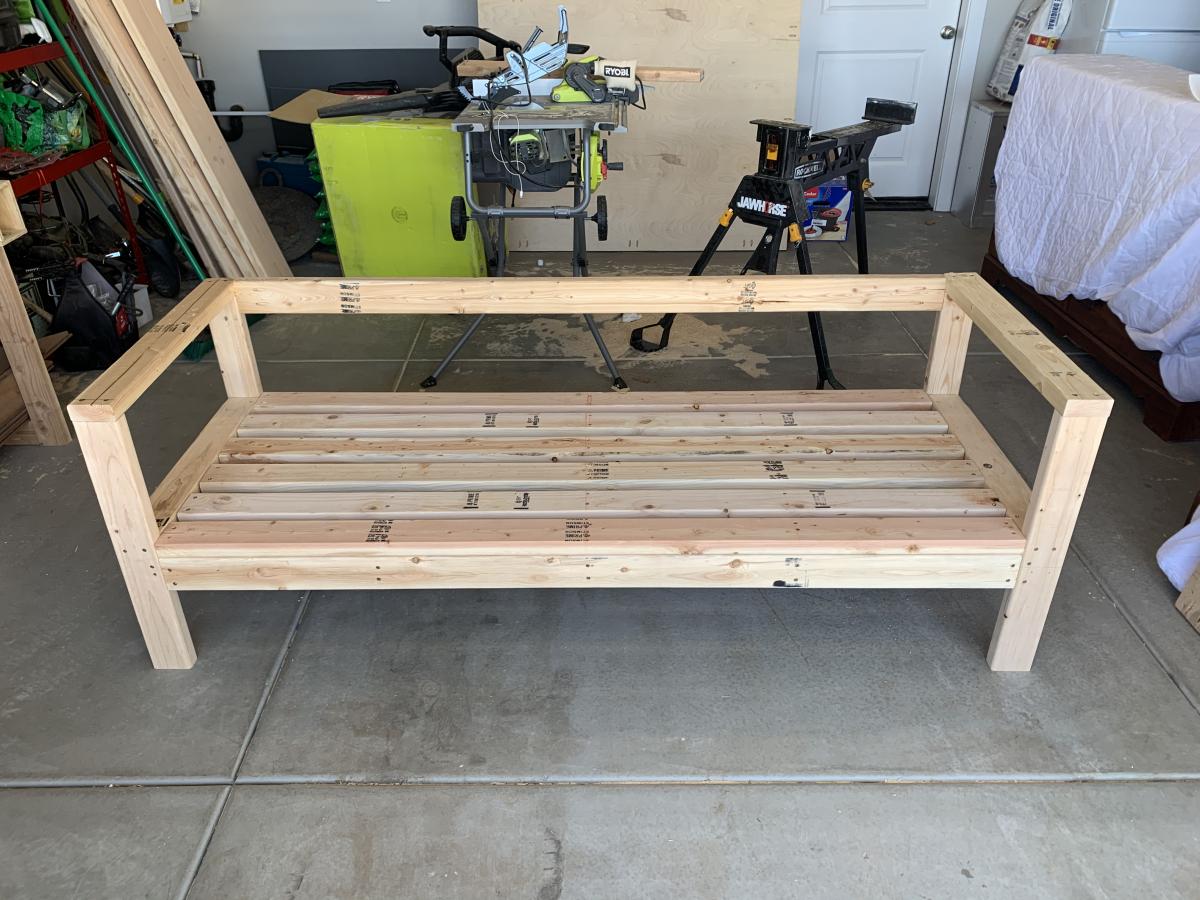
I recently landed my first teaching position, and unfortunately my predecessor left quite a blank canvas for my classroom. I will be teaching math and definitely needed a lectern to hold my book as reference for examples during instructional time. However, I was completely unable to fork over $200 for a lectern...so of course I turned to Ana White! I saw the Podium Plan that another had submitted, and used it as a guide with some changes:

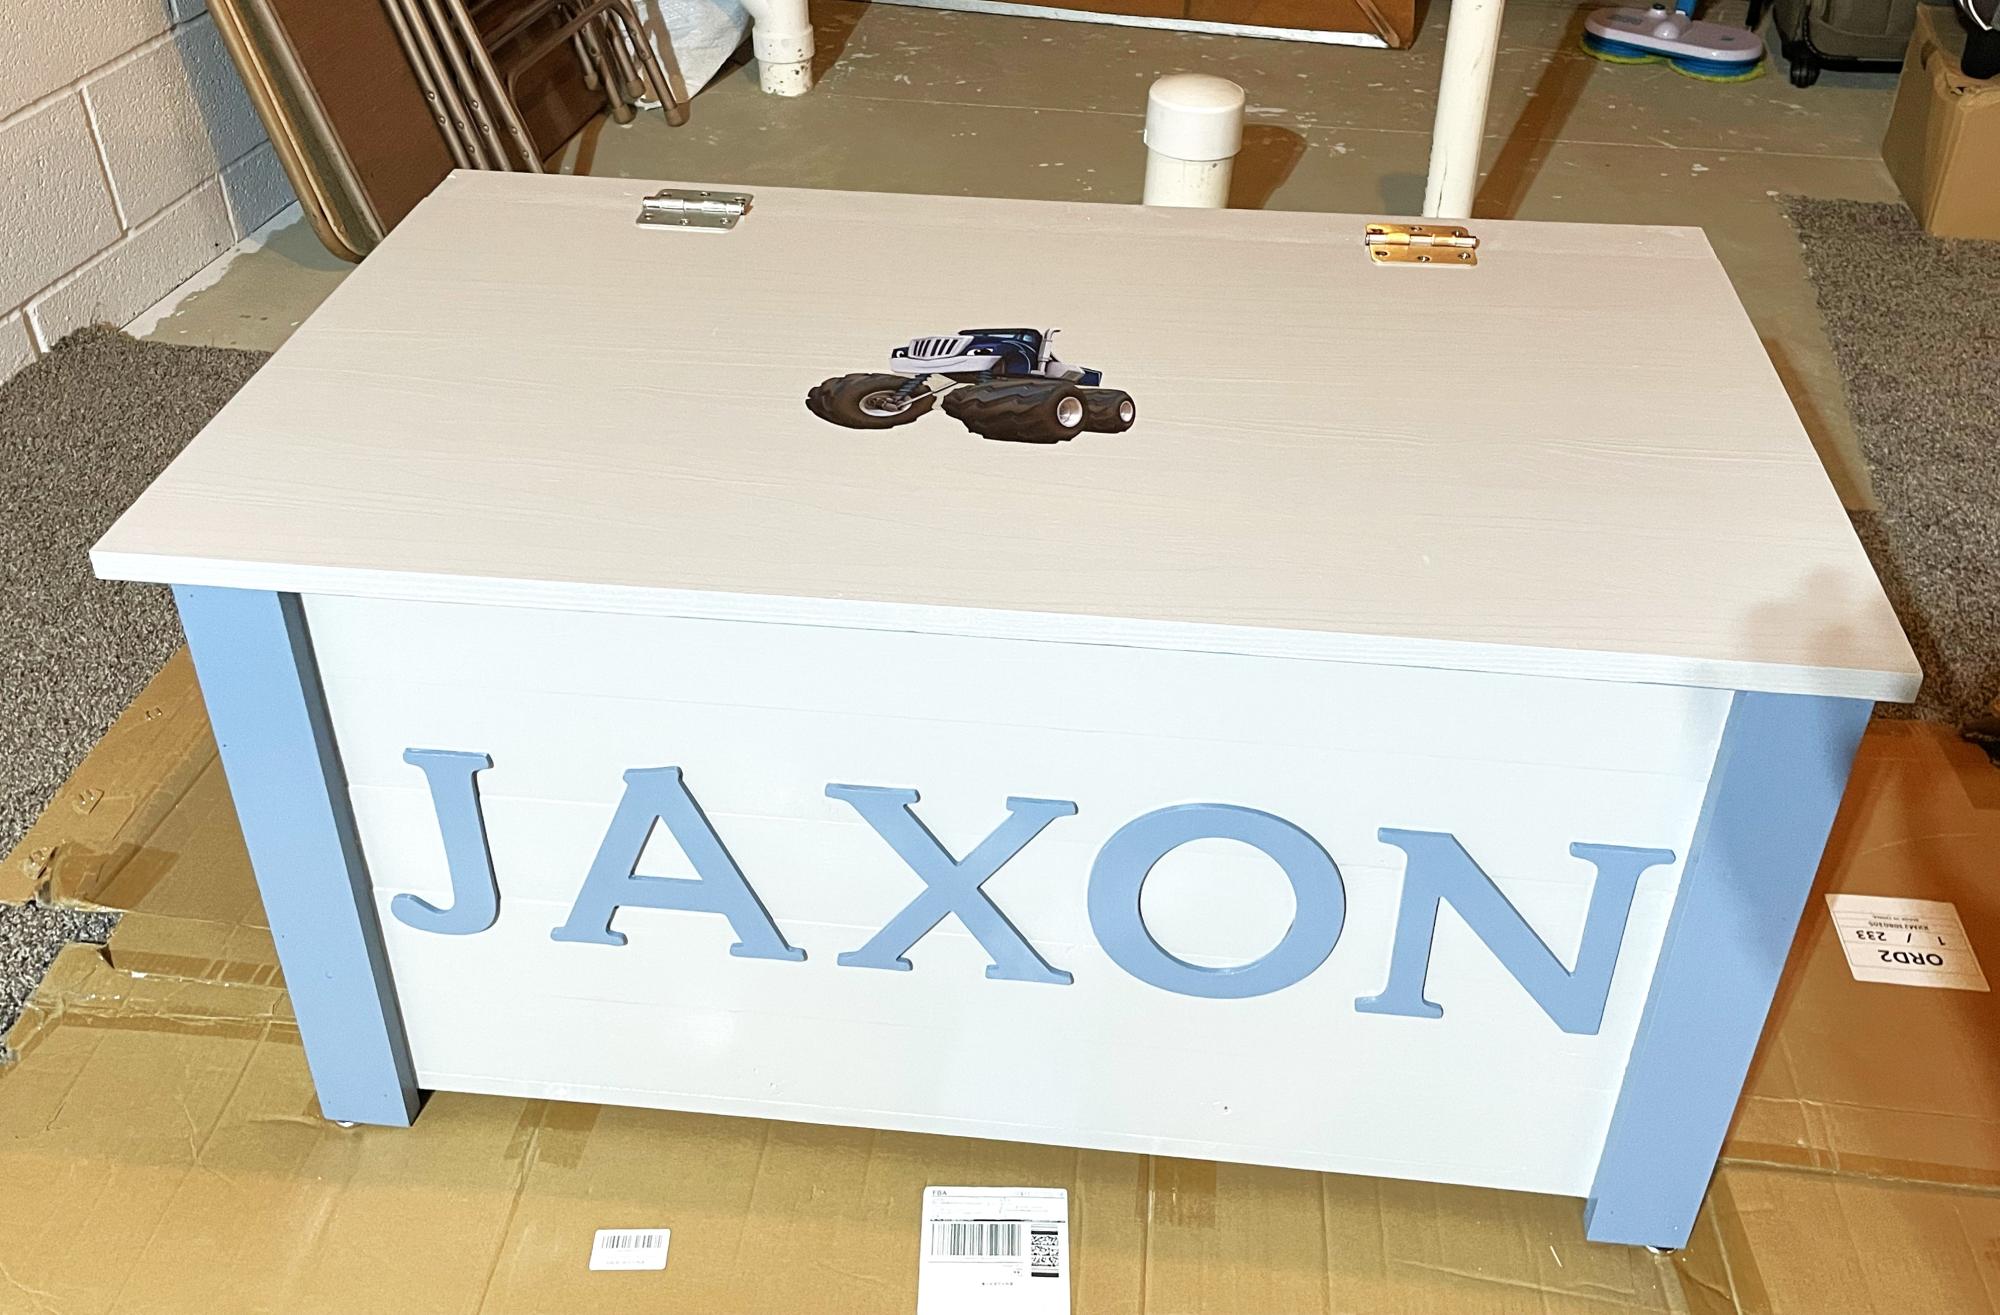
1) My dimensions are 15" wide by 21" long by 43" tall (I'm shorter than your average bear).

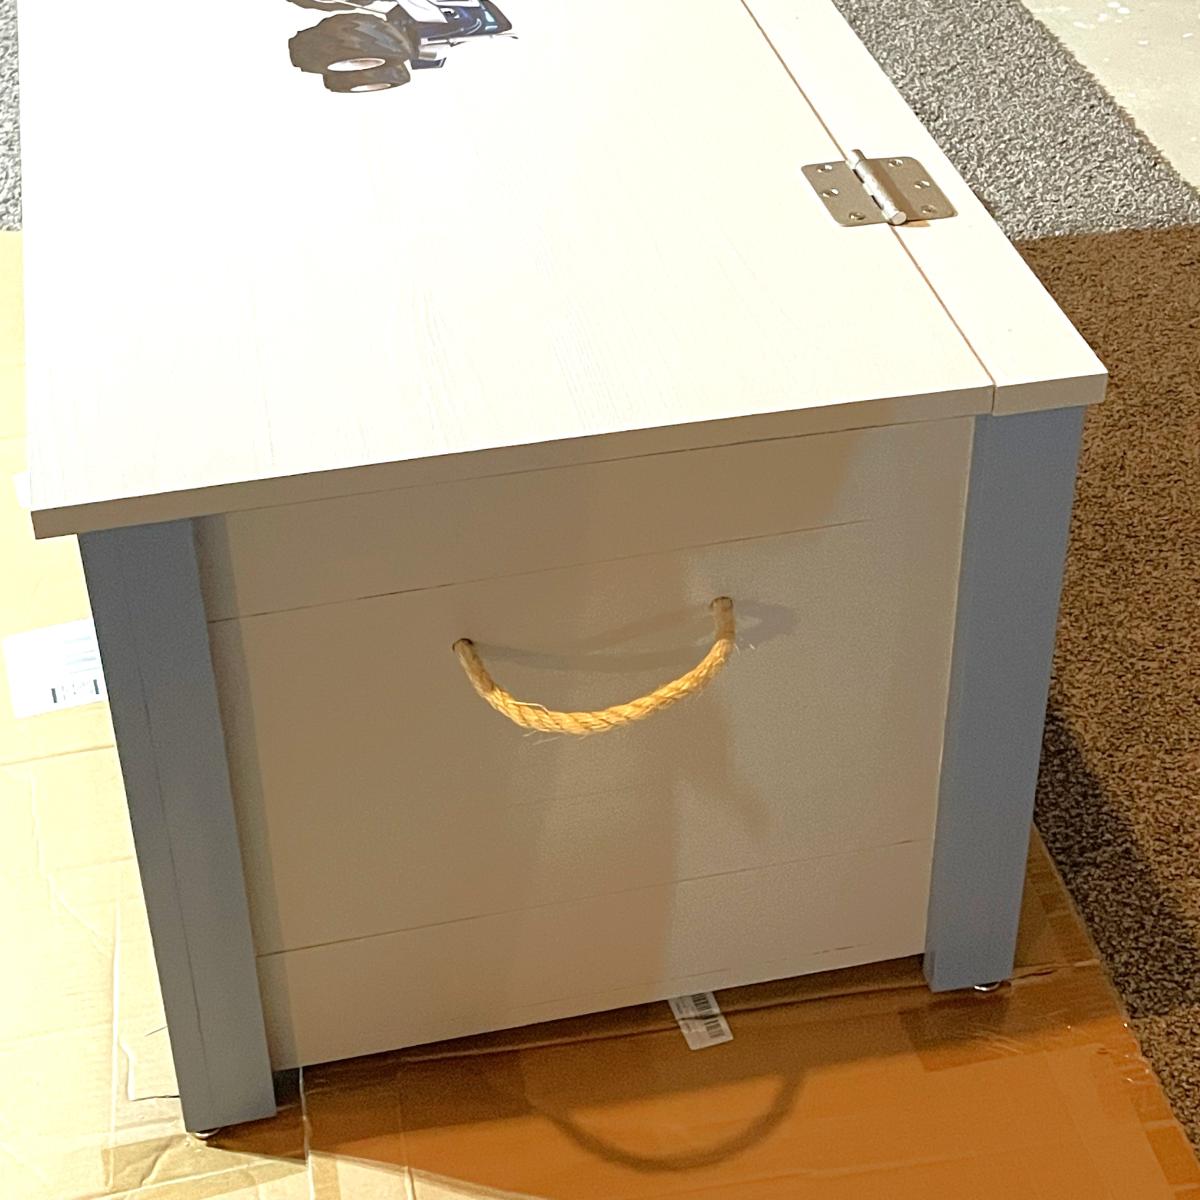
2) Used the table saw set at 45 degrees to create mitered joint edges with my plywood

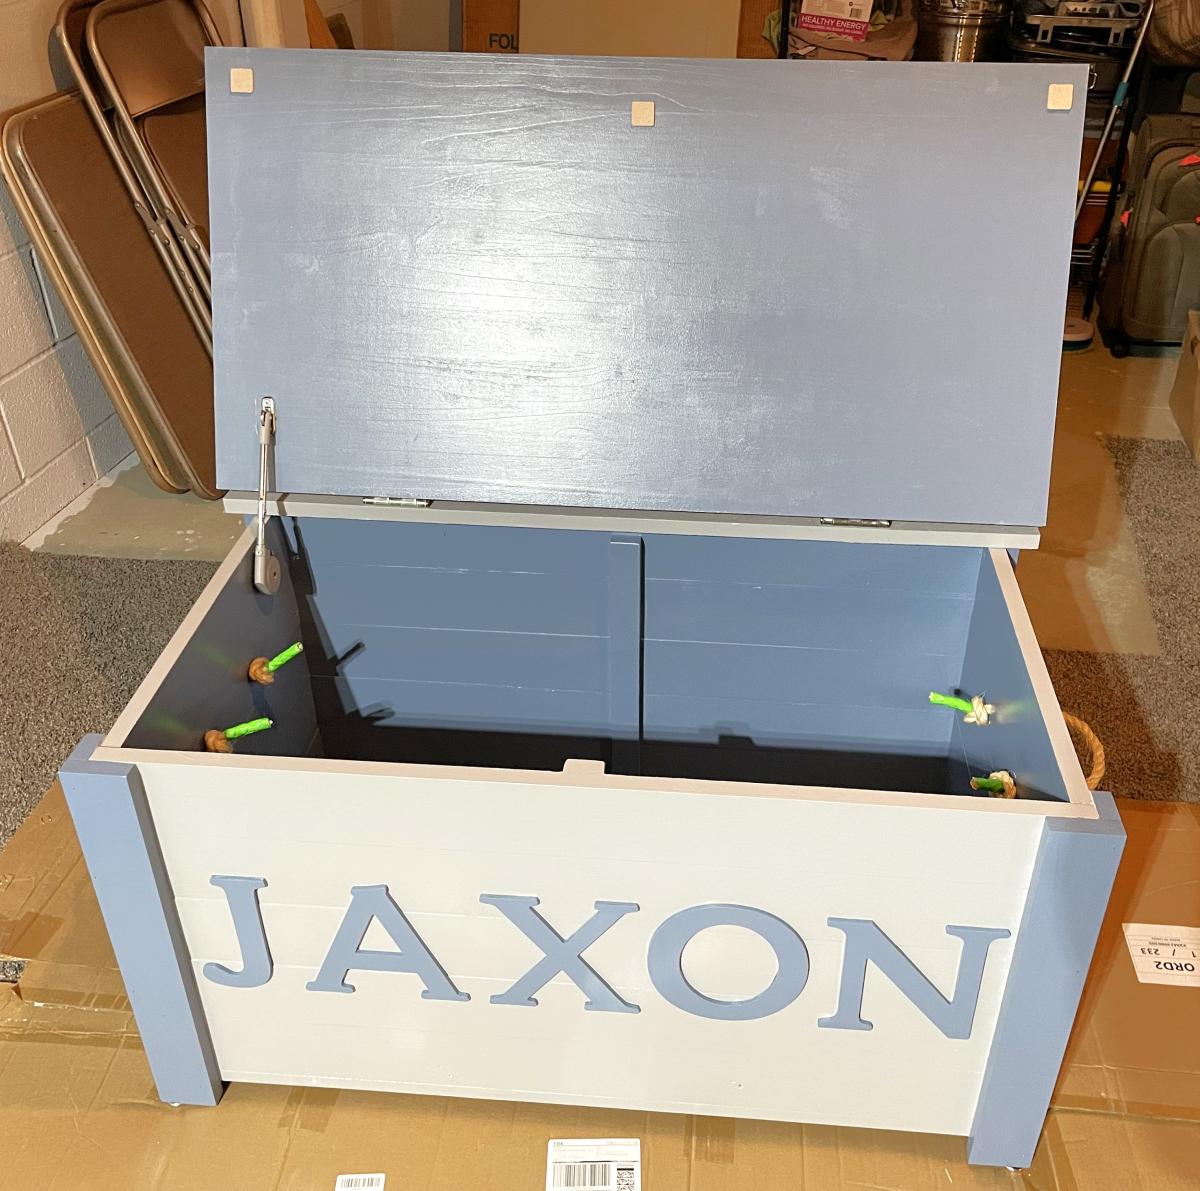
3) Inset the shelves into the frame for added stability using a router.

4) Added casters to the base for maneuverability

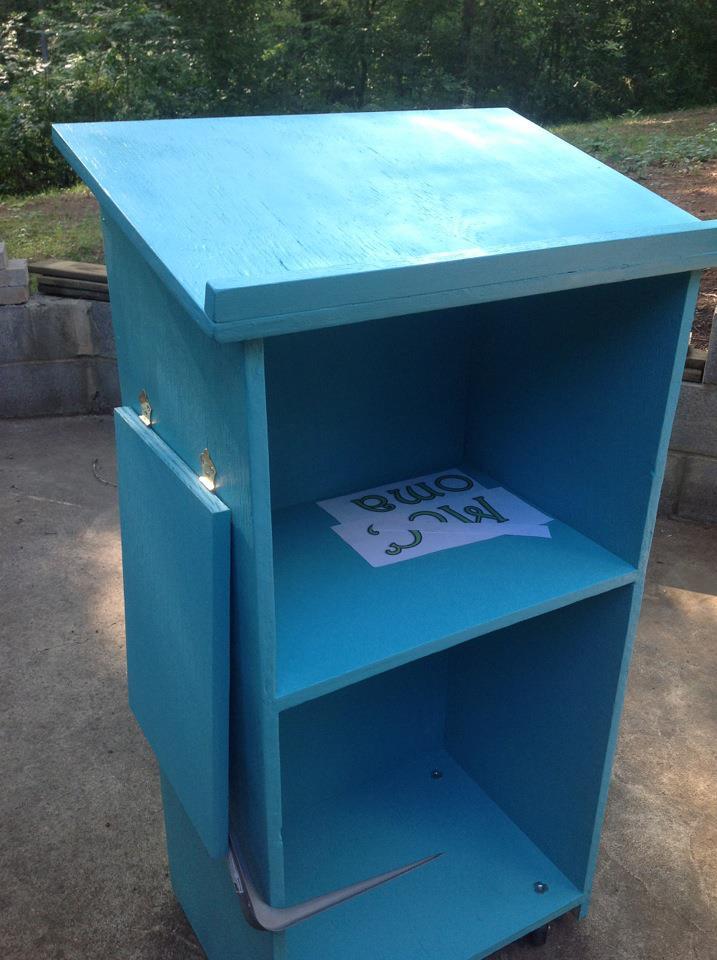
5) Added an easily-removable laptop shelf for the side for easy hook-up to the Promethean Board in the classroom.

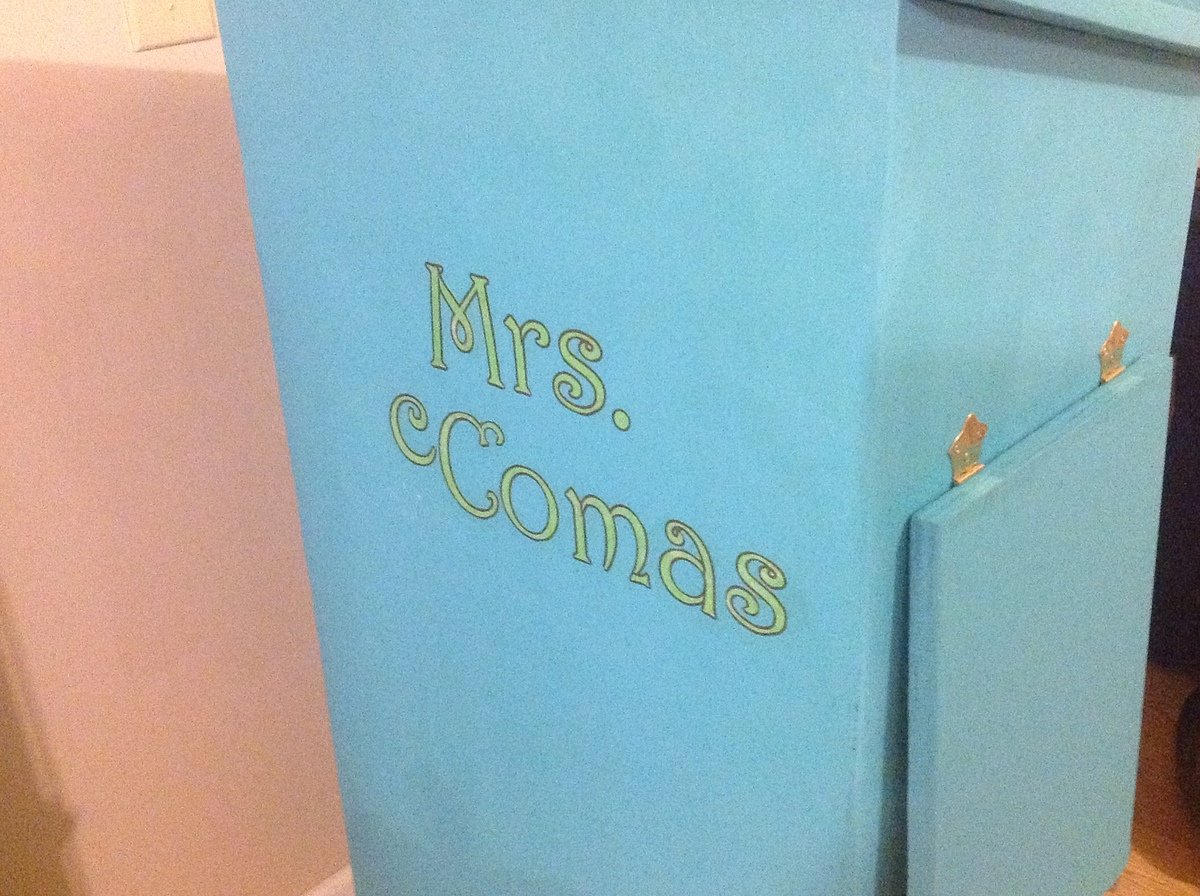
6) Decoupaging my name to the front for some visual interest...(and of course to claim ownership...:) )

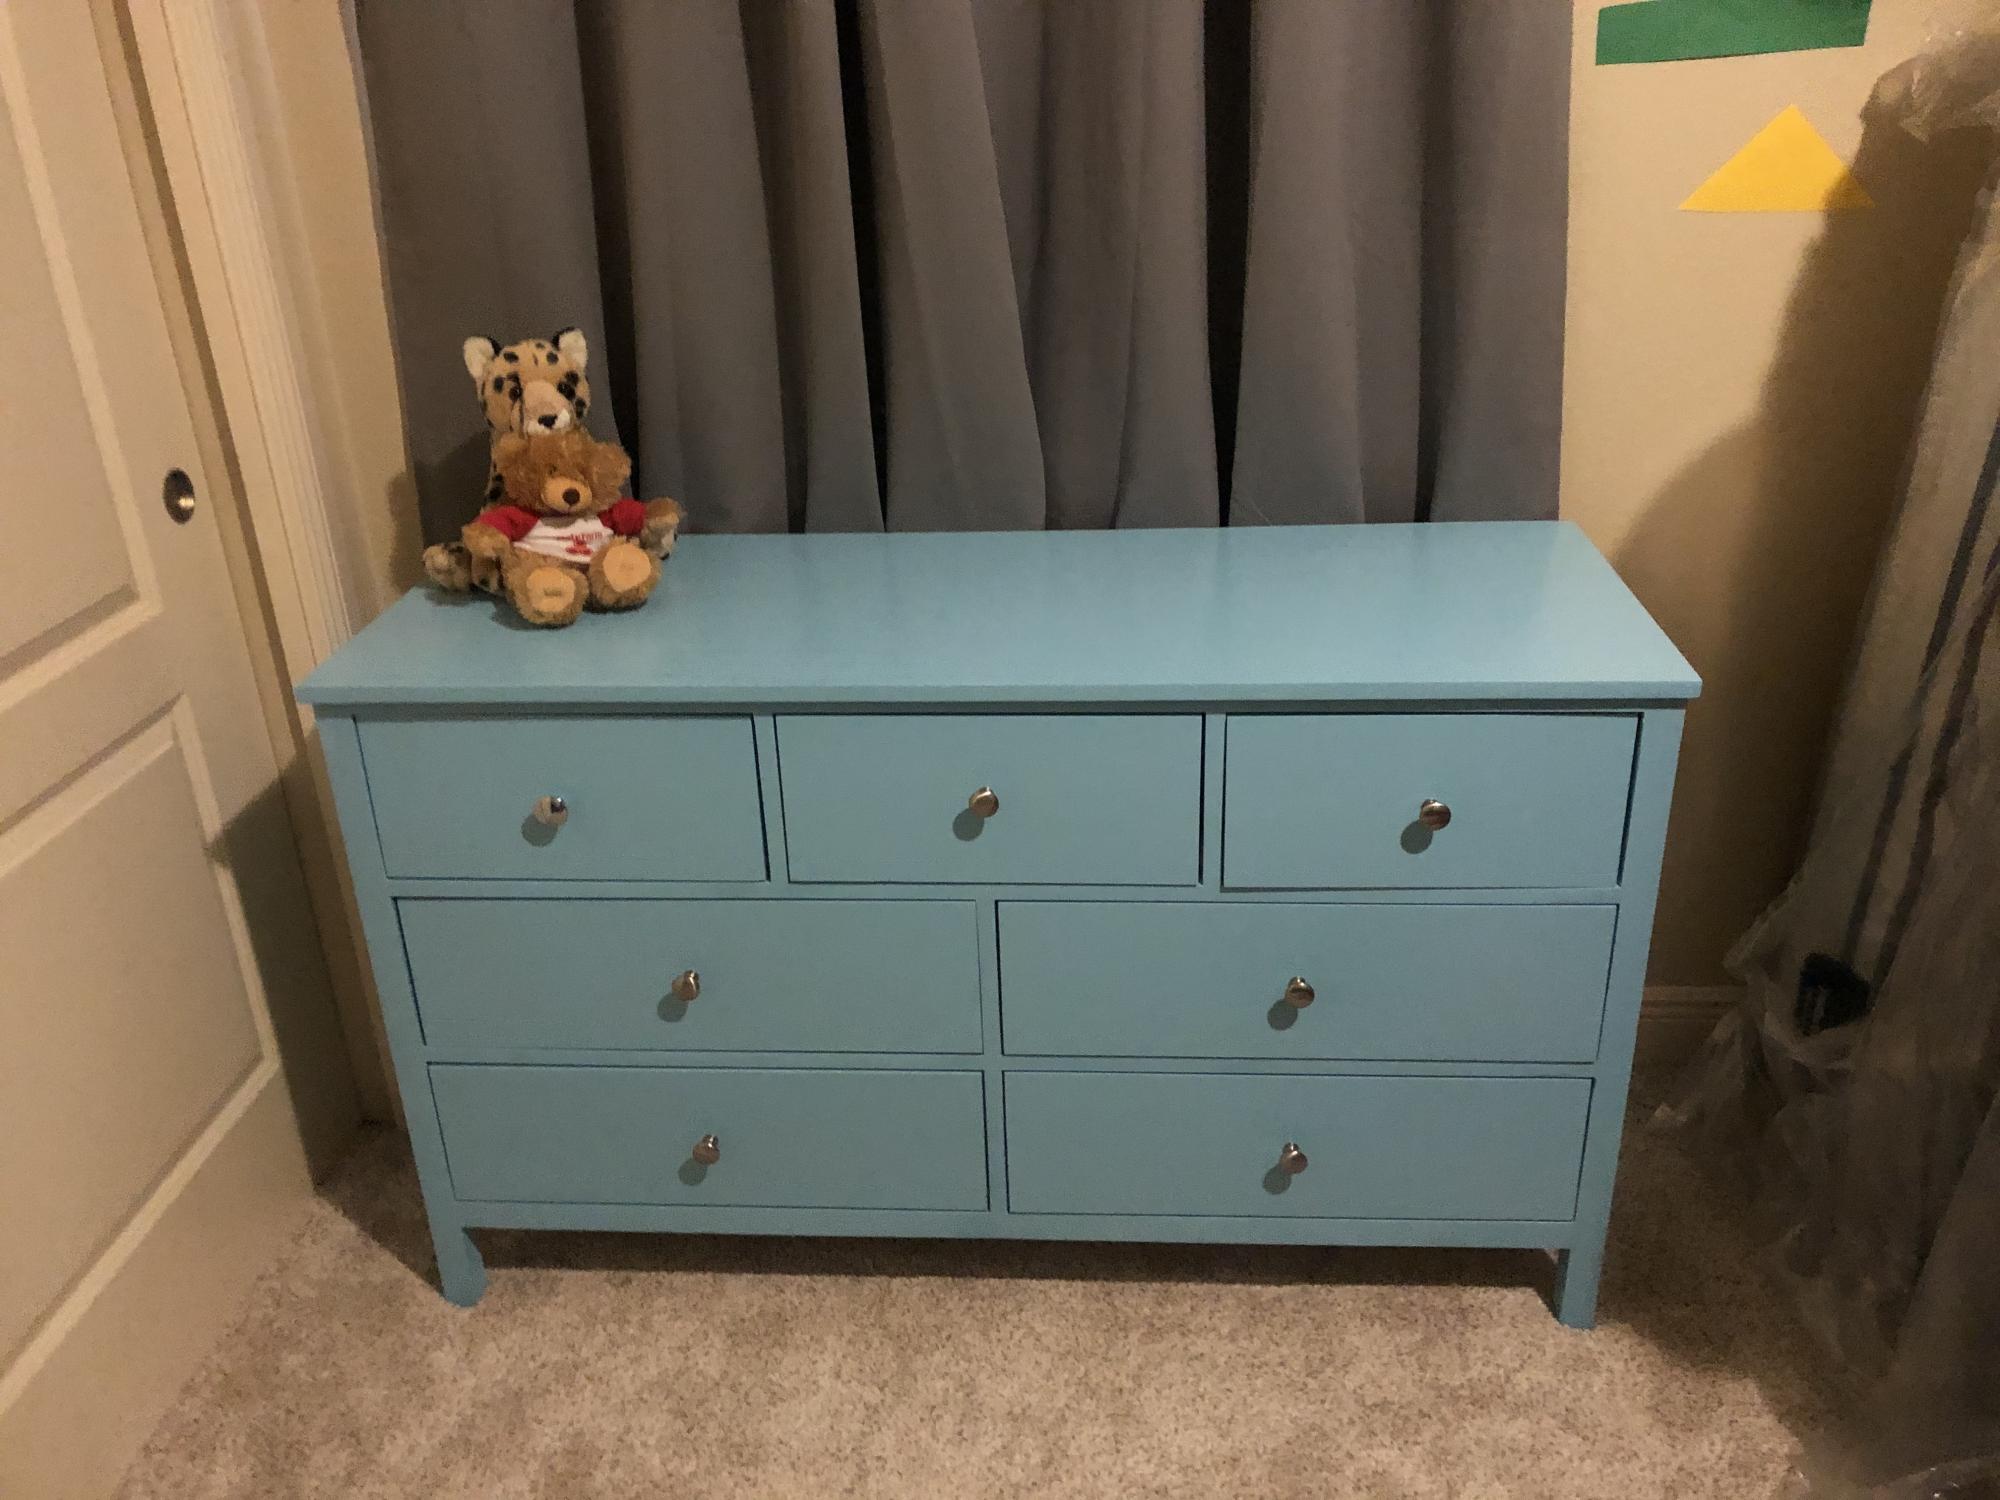
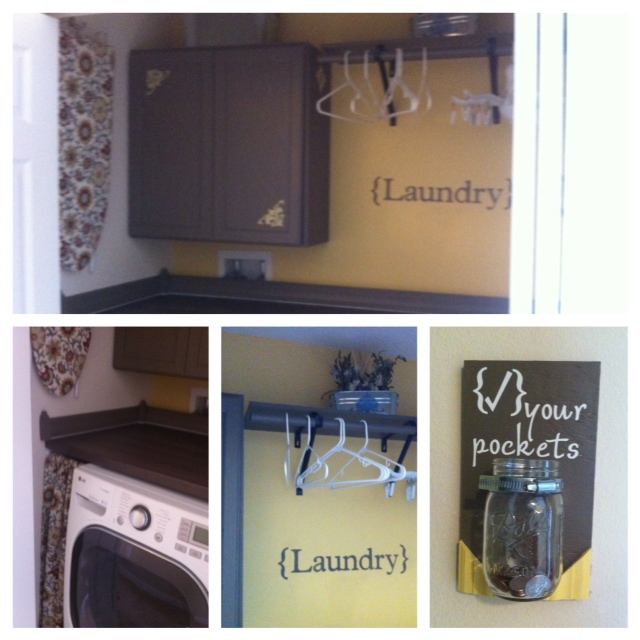
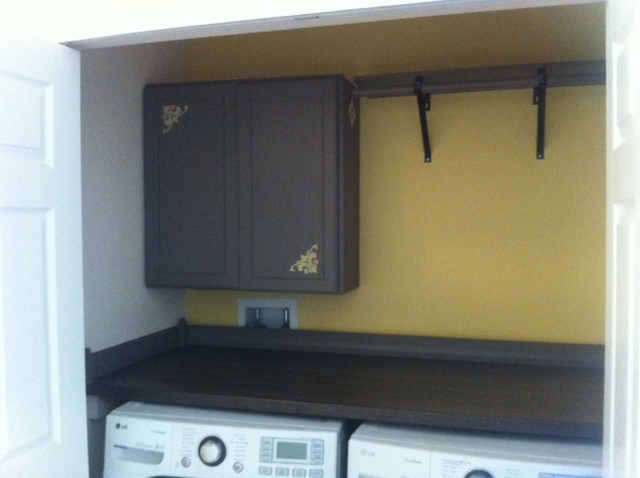
My room is painted yellow, and all of my accessories are teal, lime green, and brown. This is gonna look GREAT in there, and best of all, it's attractive AND functional!

Built from Plan(s)
Estimated Cost
$40.00
Estimated Time Investment
Afternoon Project (3-6 Hours)
Finish Used
Paint and Spray-On Poly
Recommended Skill Level
Beginner

Comments

birdsandsoap

Sat, 07/28/2012 - 22:23

I don't remember having ANY teachers with anything this cool and personal in their classroom (except maybe woodshop, har-de-har-har). All the other teachers will be jealous!

20 Second Tidy Up

This was a fun simple project. I added some fabric to the bottom of the trundle. If you have questions when building please let me know. Thank you for viewing.

Estimated Time Investment
Weekend Project (10-20 Hours)
Finish Used
Ipswich Pine - Minwax
Dark Walnut - Minwax
Recommended Skill Level
Beginner

Elsa Loft Bed

Submitted by Anonymous (not verified) on Sun, 08/21/2016 - 16:22

Wow! This took much longer than 2 hours and cost around 200 but it was worth it! My 3 year old LOVES it. We added a safety rail to the foot end. 

Estimated Cost
200
Estimated Time Investment
Weekend Project (10-20 Hours)
Finish Used
Splurged on a "one coat" pain from Home Depot. It's amazing.
Recommended Skill Level
Beginner

Dresser done!

Submitted by pantheon79 on Wed, 06/03/2020 - 18:23

Struggled with this one, but it’s done and I’m pretty proud of her

Built from Plan(s)

Comments

Double Outdoor Chair

Submitted by Anonymous (not verified) on Sat, 03/02/2024 - 11:16

I make these double benches with storage in the middle… very sturdy and comfortable…. Will last a long time….

Stewart Larocque

Laundry closet makeover

Laundry closet makeover. I was tired of having only the one wire shelf to store laundry supplies. So I added a cabinet, hanging rod, and counter-top over the washer/dryer for folding clothes. Also, behind the curtain on the left is a built-in garbage can for lit. Recovered small ironing board in same fabric as curtain and hung it up so save space.

Estimated Time Investment
Weekend Project (10-20 Hours)
Recommended Skill Level
Beginner

Much needed for our bathroom!

Submitted by Anonymous (not verified) on Thu, 08/25/2016 - 09:48

I am a really beginning builder (read: this is about my fifth project ever), but it is perfect for our tiny, narrow bathroom. I finished it with Golden Oak stain I already had on hand, and I enjoyed the process. Thanks so much for sharing the plans!

Estimated Cost
$30
Estimated Time Investment
Day Project (6-9 Hours)
Finish Used
Golden Oak Stain and Poly
Recommended Skill Level
Beginner

Almost finished

Submitted by jfloyd on Sat, 06/06/2020 - 19:24

Fairly simple, especially if you have a miter station. So many repeating cuts. I think I cut the entire couch in 20 minutes. I believe we’re in this for about $250; including screws, and cushions, and paint. Very inexpensive compared to purchasing. So, I routed the arms with a 45 and added a 2x2 rail to keep the cushions from moving out the back. I will be turning it into a sectional soon. Also painting it red... Stay tuned.

Built from Plan(s)
Estimated Cost
$250
Estimated Time Investment
Afternoon Project (3-6 Hours)
Finish Used
Will be Behr exterior paint in crimson.
Recommended Skill Level
Beginner

Outdoor Cedar Day Bed

Modified from the plans for the simple day bed - link - http://ana-white.com/2009/12/plans-simple-daybed.html

Another visit from my friend Lisa and her miter saw - this time we were joined by my daughter Claudia. We changed the height of your indoor day bed from 31" posts to 44" posts in order to have enough height for people to lean back.

We used cedar so this can be left outside year round (I'm in Toronto, Canada). The lightweight foam single mattress can easily be removed.

Thanks for the plans!

Estimated Cost
@$350.
Estimated Time Investment
Afternoon Project (3-6 Hours)
Finish Used
none
Recommended Skill Level
Beginner

Rustic Console

Submitted by Anonymous (not verified) on Sun, 08/28/2016 - 16:58

My first project.

Built from Plan(s)
Estimated Time Investment
Week Long Project (20 Hours or More)
Finish Used
Dark Walnut
Recommended Skill Level
Starter Project

Custom Toybox

Submitted by Anonymous (not verified) on Mon, 03/18/2024 - 10:16

My husband and I built this toy box for our grandson from the farmhouse toy box pond you had on your site. We adjusted the size from what was in the plans, but it turned out really nice!

Built from Plan(s)

Loft Bed

Seen the plan on another site....cannot for the life of me remember which one.....but I made my own out of the one I seen online. Sorry pictures are not that great!!! But my daughter loves it!!!!

Estimated Cost
$150
Estimated Time Investment
Weekend Project (10-20 Hours)
Finish Used
Sanded well filling in large holes with wood filler....covered bolt holes with the sticky mirrors that my daughter picked out......Paint is White semi gloss...3 coats!
Recommended Skill Level
Beginner

Entry Console

Submitted by Anonymous (not verified) on Sun, 09/04/2016 - 10:52

I liked the look of the spacers on the bottom shelf, but decided to leave them out since I just wanted to be done with this project :) I modified the plans to only have one shelf, as well as feet on the bottom (instead of having the piece go completely to the floor). As a result of adding the feet, the bottom is framed with 1x2s instead of 1x4s. I needed to purchase 6 1x2s to do that (but only needed 3 1x4s). I attempted to miter the cuts on those pieces...wood filler came to the rescue in the end. This was a lot of fun to make!

Estimated Cost
Approximately $200
Estimated Time Investment
Weekend Project (10-20 Hours)
Finish Used
Varathane Early American. Brush on one coat, let sit for 5 minutes, then wipe off excess and blend together for an even finish. Follow with 3 coats of poly (I used Miniwax water-based satin finish), sanding between each coat.
Recommended Skill Level
Intermediate

Beginner Farm House Table

Submitted by Anonymous (not verified) on Tue, 06/16/2020 - 06:15

We made a 6'ft version of the beginner plans. We initially made the table 1" higher than the plans originally called for so that there'd be more room under the apron but that turned out to be just too high to comfortably dine at, so at the end of the project I shaved off an inch on each of the legs.

Some issues we had with this table is Pine is rather easy to warp and during the staining and poly process 3 of the top boards warped too heavily for the table maintain a fat surface. I ended up buy 3 new 2x6's and doing the sanding staining process all over again. We also modded the plans so have a notch to fit the bottom cross beam in. This was our first wood working project ever it turned out really nice. We used the Dutch oil, Dark Walnut on the pine for anyone interested.

I'm giving a high estimate on both time and money due to mess ups and just being completely and utterly new at this stuff.

Estimated Cost
200
Estimated Time Investment
Week Long Project (20 Hours or More)
Finish Used
Dutch wood oil - Dark Walnut
3 layers of Polyurethane
Recommended Skill Level
Starter Project

Simple Twin Bed

Submitted by LacyLou on Sun, 08/12/2012 - 12:19

This was my first Ana White project! There was a learning curve so it took longer than it probably should have but over all the build went pretty fast. The finishing was the part that seemed to drag forever! I used a tea followed by vinegar/steal wool treatment to make it look rustic. Finished with a wipe on poly that looks great but smelled atrocious for weeks! Looks great and smells fine now. The bed is super heavy and sturdy, which shocked everyone. Not only did I build something, I built something really well and its all thanks to these awesome plans that made it too easy!

Built from Plan(s)
Estimated Cost
60.00
Estimated Time Investment
Weekend Project (10-20 Hours)
Finish Used
Antique treatment of tea bath followed by vinegar/ steal wool bath. Finished with wipe on poly.
Recommended Skill Level
Beginner

Taylors Coffee Table

I've made several of Ana's pieces, but this is my first brag post.

I actually made this for one of my husband's co-workers, but now I want to make one for myself.

I don't know the actual amount of hours it took, but like any project, the sanding was the most tedious part!

This one was built with 4 2x6, and 2 2x4 boards on top, as the friend wanted it a little wider than the original plan. I modified the other dimensions accordingly.

The wheels used in the Shanty2Chic build post were too large for my 4x4 posts. The wheel plates were too wide. They measured about 3.75" and my 4x4's were only 3.5". Also, speaking of the 4x4's, I used untreated Douglas Fir, purchased from my local Lowes. I typically shop at Home Depot, but they did not carry any untreated 4x4's.

The wheels I used were the same style by Everbilt, but the next size down, the 2" wheels. However, their overall height was 3", and so the height of the table ended up being perfect anyhow!

I finished the table in Minwax English Chestnut and used the Minwax rub on satin polyurethane.

I put the time as a week long, primarily because of sanding and finishing. But, I think that if you devoted your time to it, you could do it in a weekend.

OH! Also, Ana doesn't mention it in the plans, but the Shanty Chics do... put the plywood shelf in BEFORE adding the second side. I had to remove pieces which were already glued, and it made that step a bit annoying!

Otherwise, all was well. Enjoy!

Built from Plan(s)
Estimated Time Investment
Week Long Project (20 Hours or More)
Finish Used
Minwax English Chestnut stain
Minwax Rub On polyurethane Satin finish
Recommended Skill Level
Intermediate
Back