Child's Picnic Table
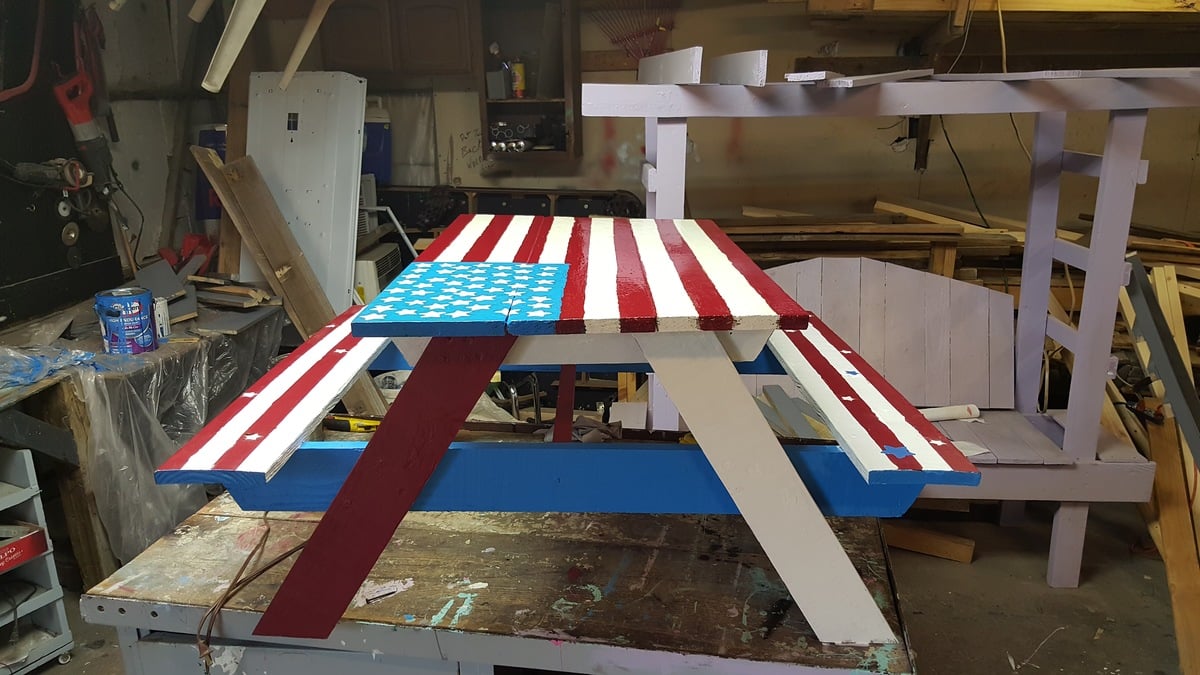
A lot of detail and time spent in painting this, but I am very happy with how it turned out. I used wider boards for the top to accommodate the hand drawn and painted flag. So glad that it is finally done!
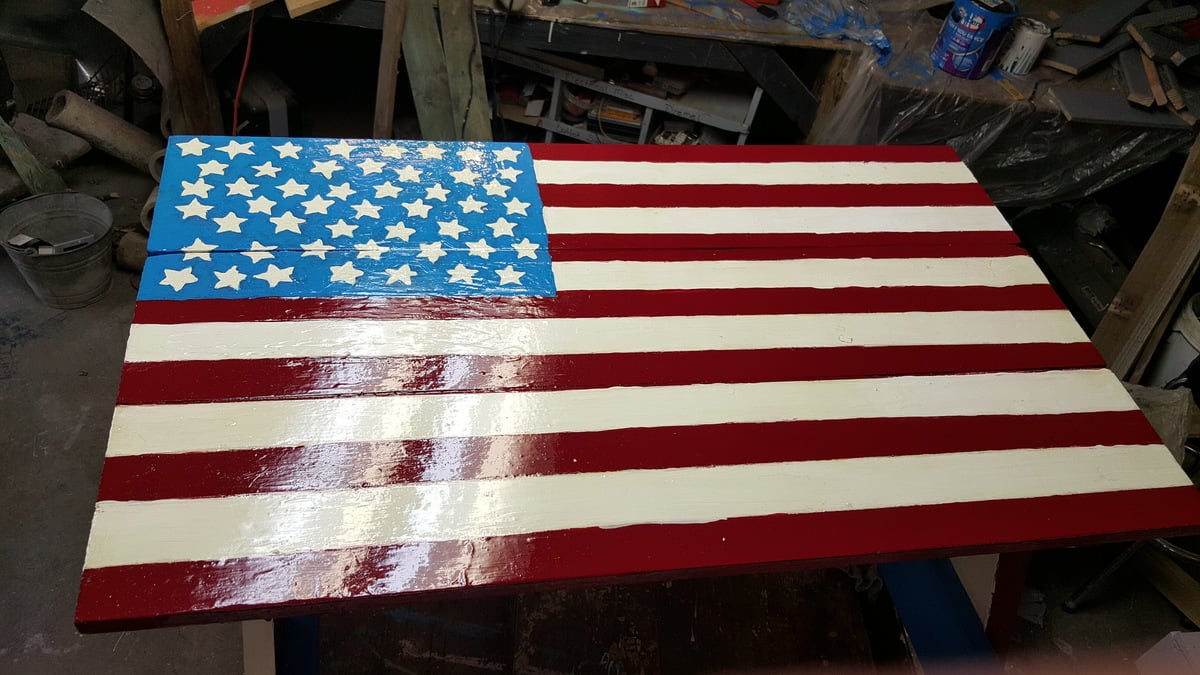

A lot of detail and time spent in painting this, but I am very happy with how it turned out. I used wider boards for the top to accommodate the hand drawn and painted flag. So glad that it is finally done!

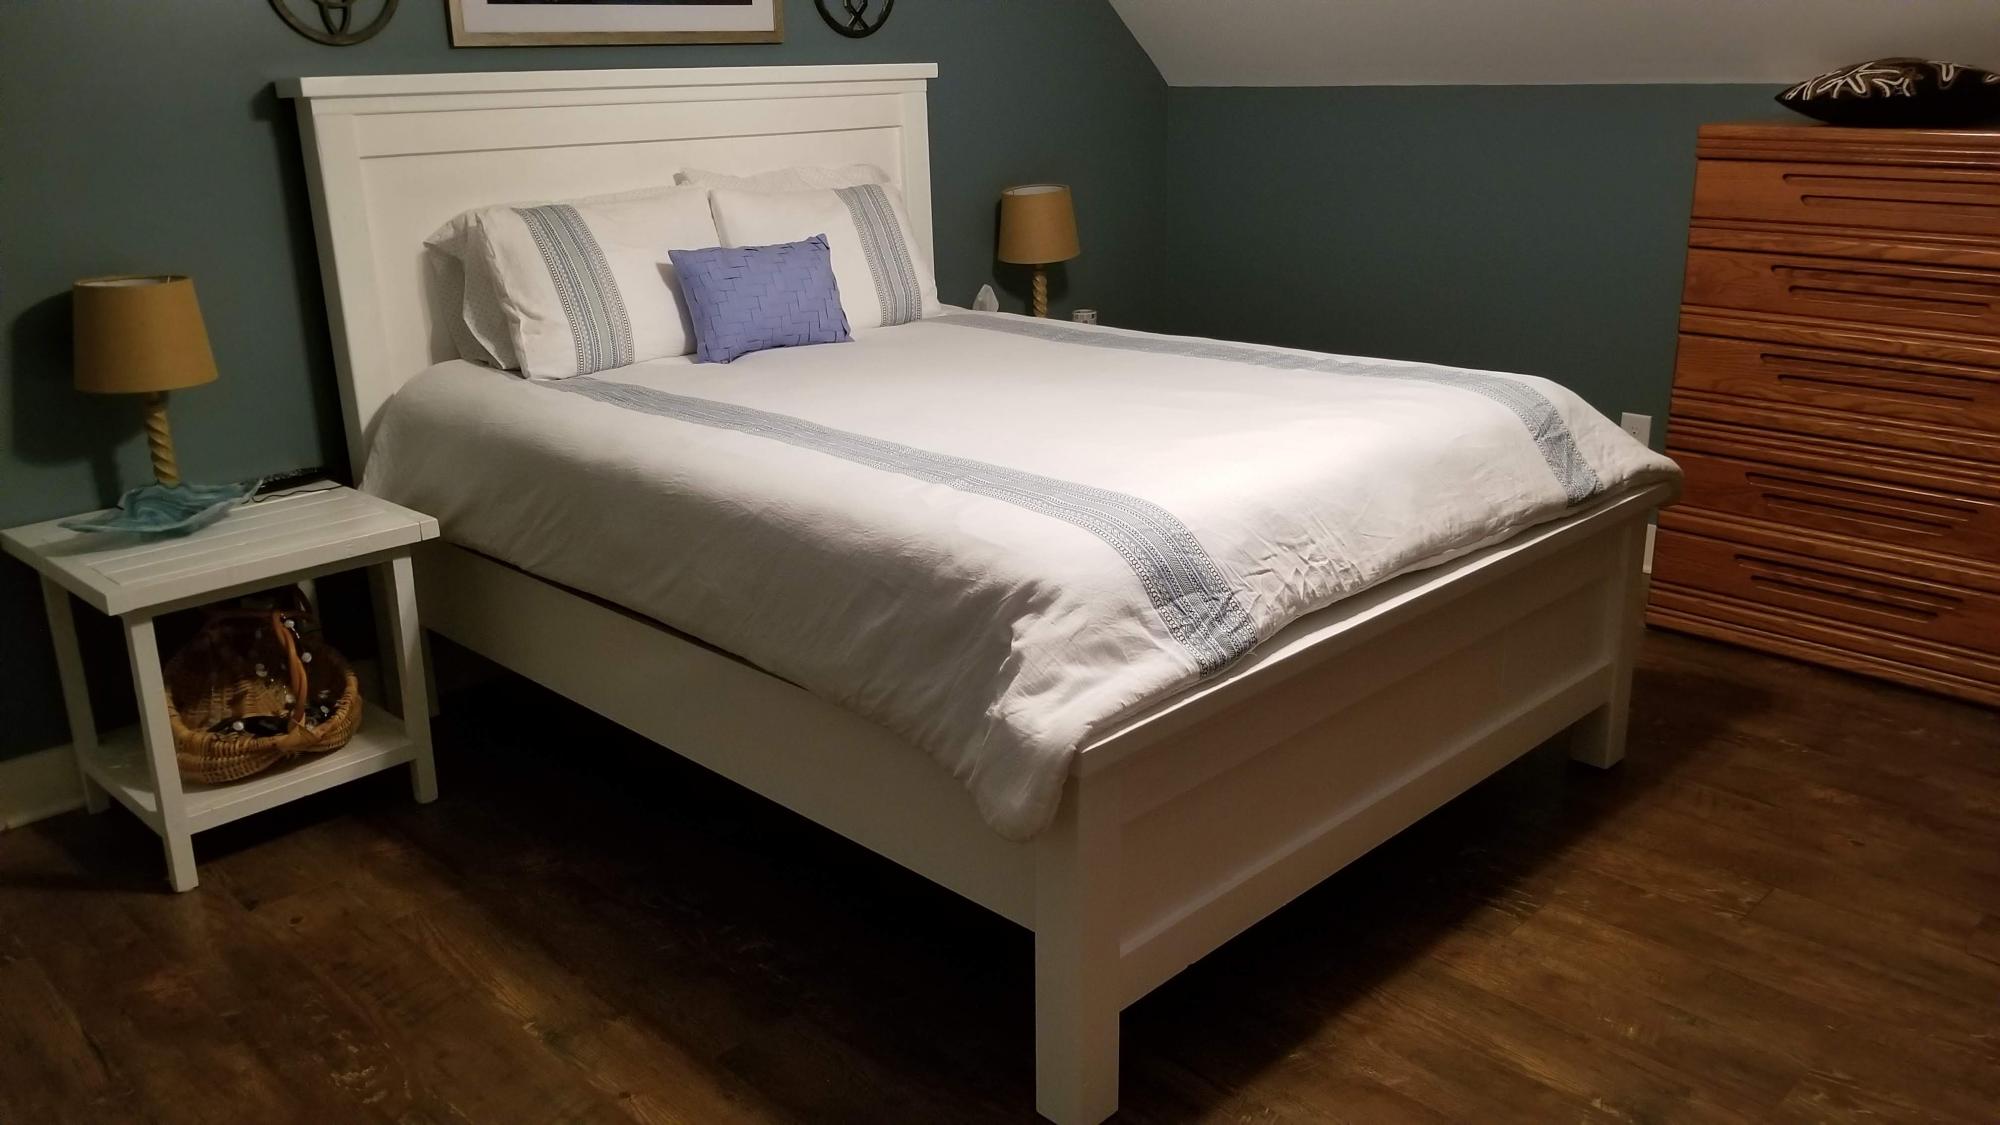
This was a great set of plans...easy to follow and everything was available from the local home improvement store. I appreciate the time and effort that you all put in to making the plans easy to follow.
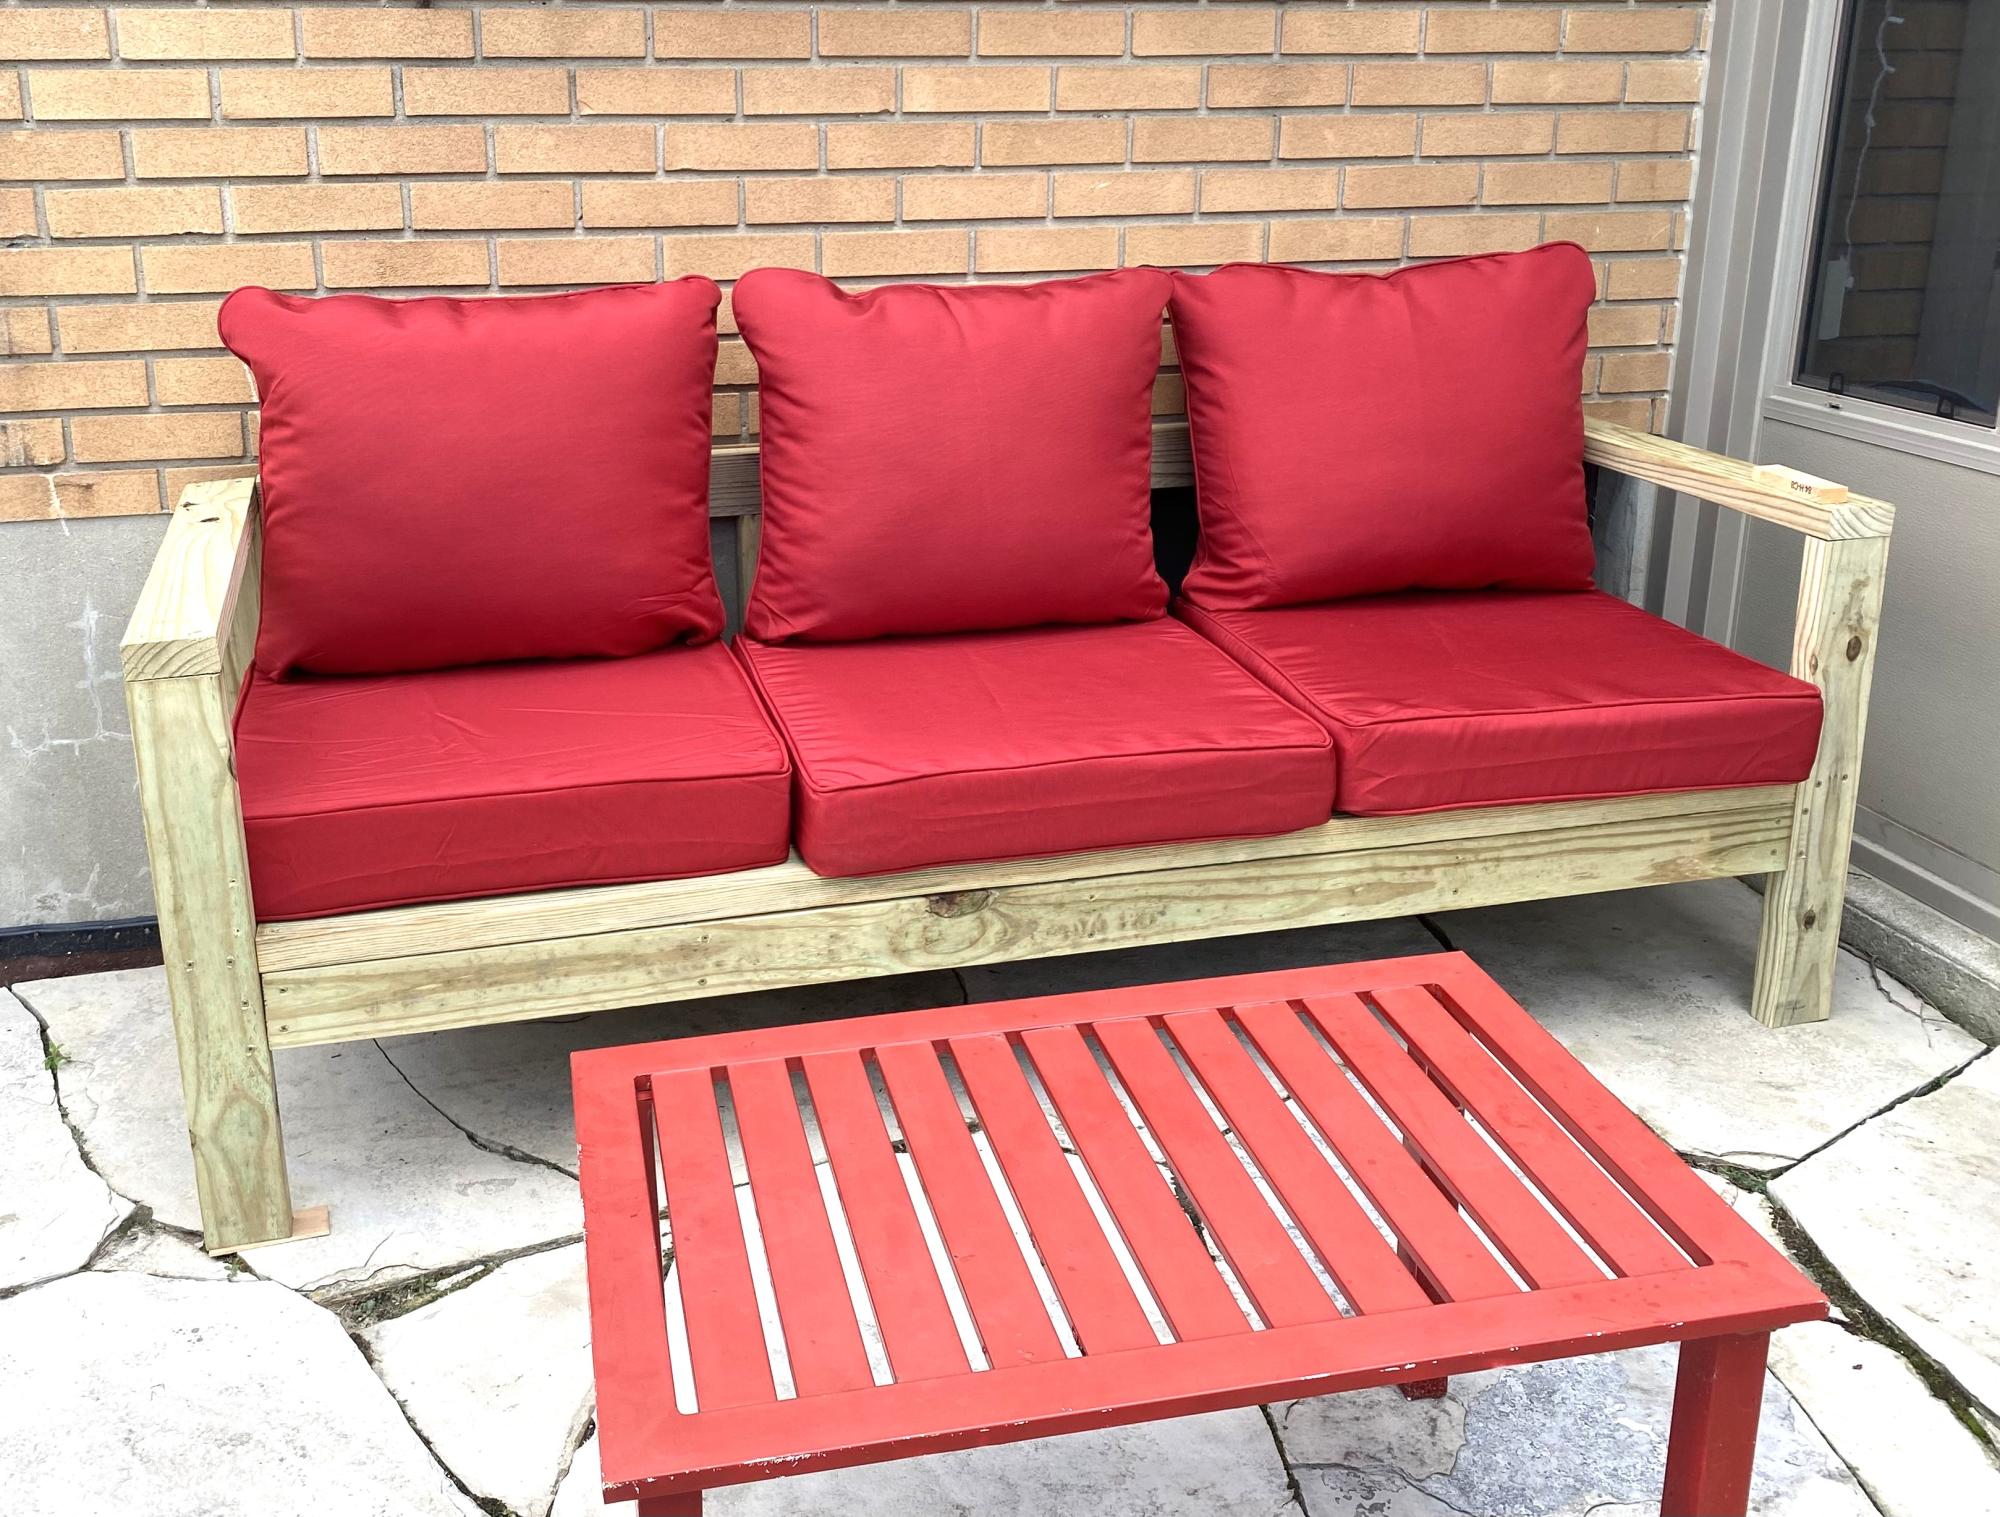
Outdoor couch excellent plans, easy to make and result is amazing.
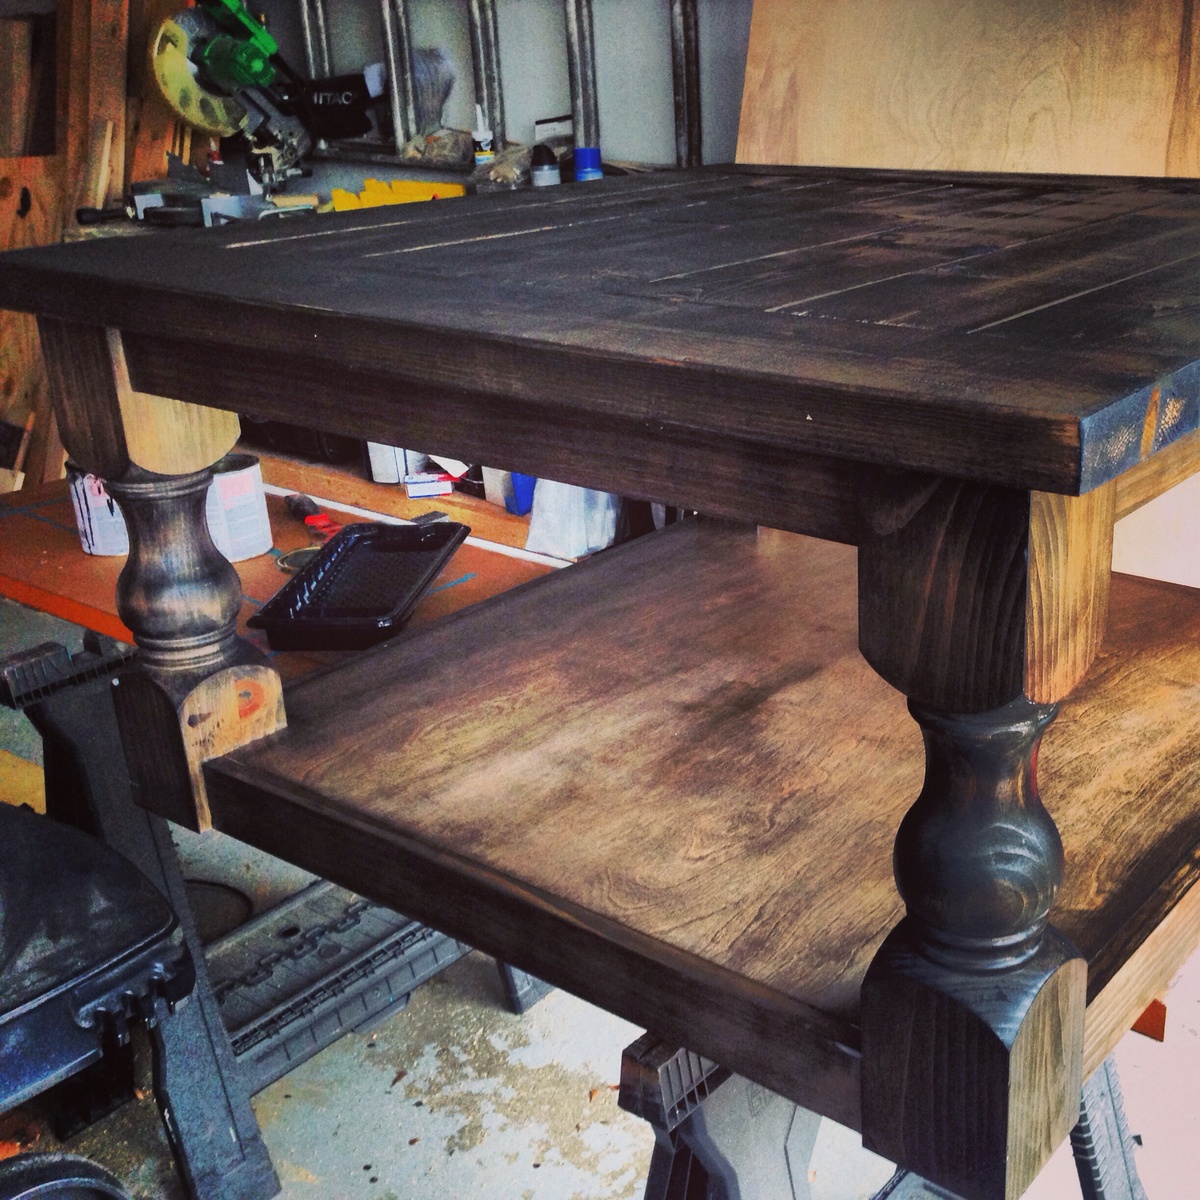
Got the plans from this website and built the table for our family room!
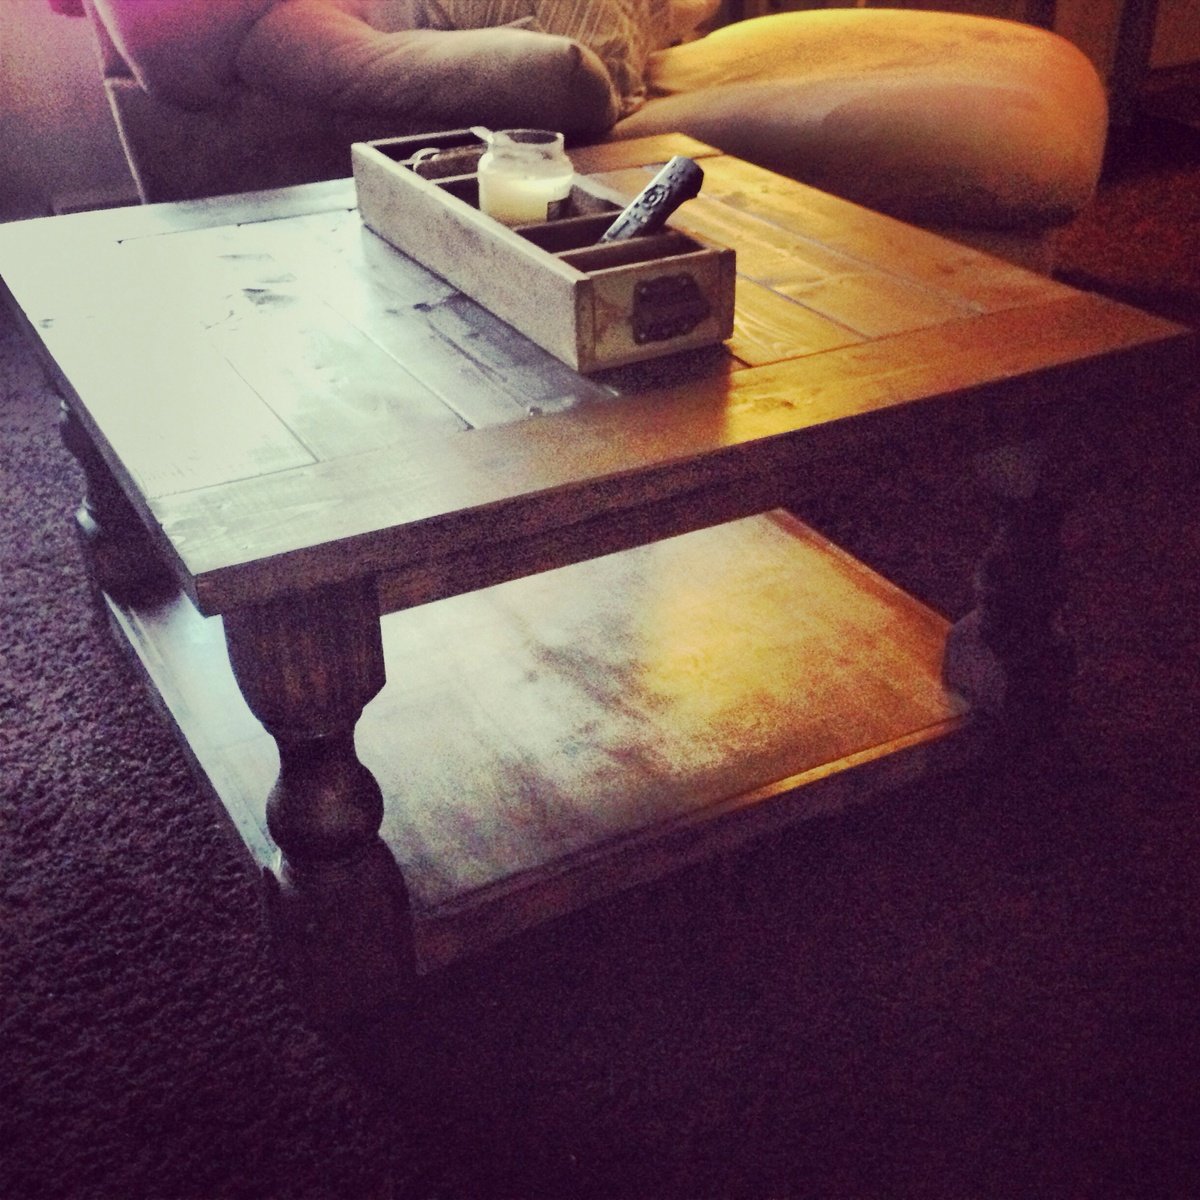
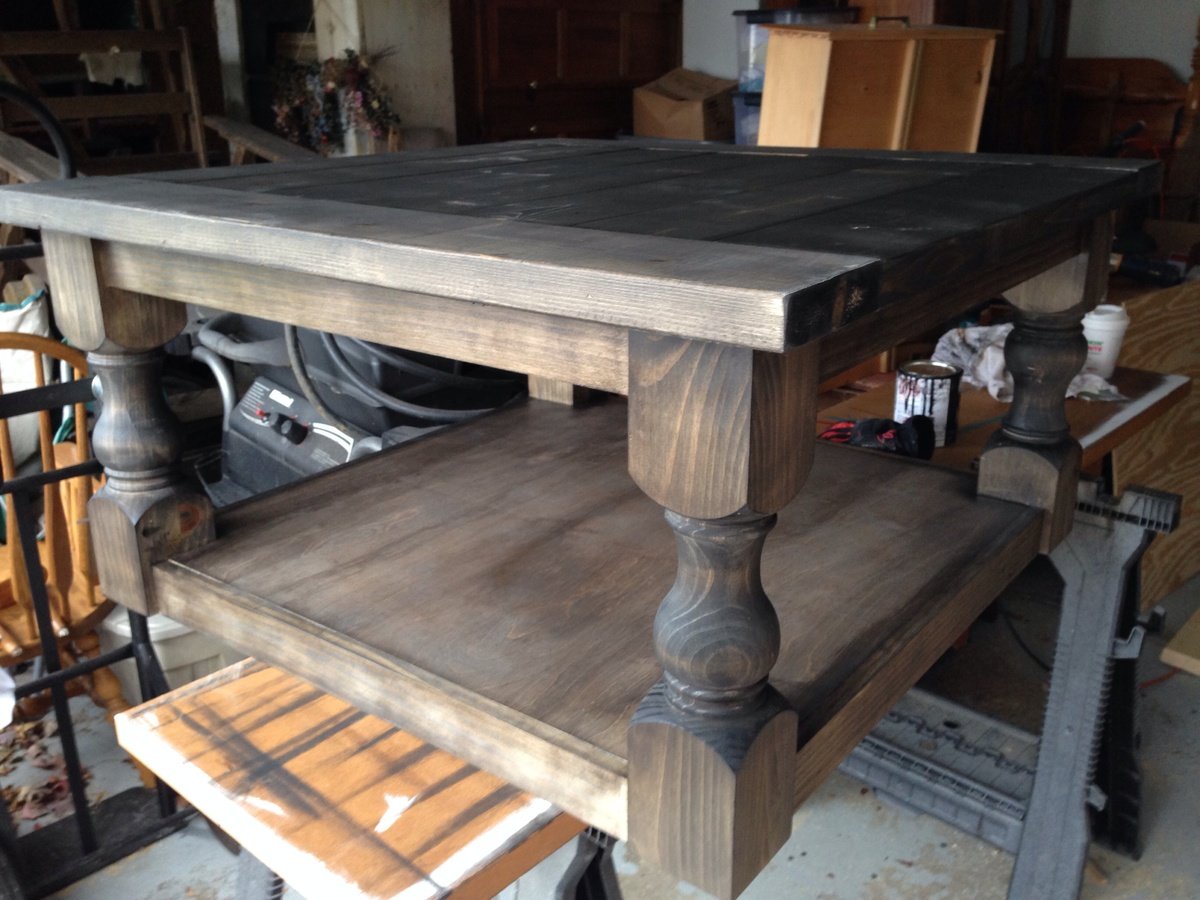
As always, we were super inspired by Ana White designs and wanted to tackle the media console project but add a little bit of our own farmhouse flare. This project was stained with apple cider & white cider vinegar and topped with ivory spray paint. Details are up on my blog, Sincerely the Smiths! Thanks for all your inspiring projects Ana White, we love getting to see all the awesome things you do!
Mon, 03/14/2016 - 21:29
This is so beautiful!!! Thank you so much for everything, I'm so honored that you use my plans and follow our projects. With much appreciation, Ana

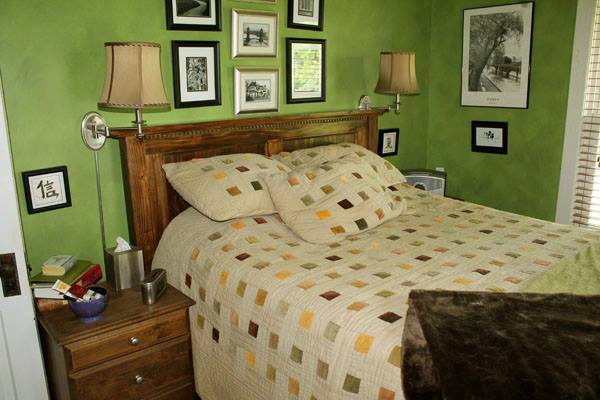
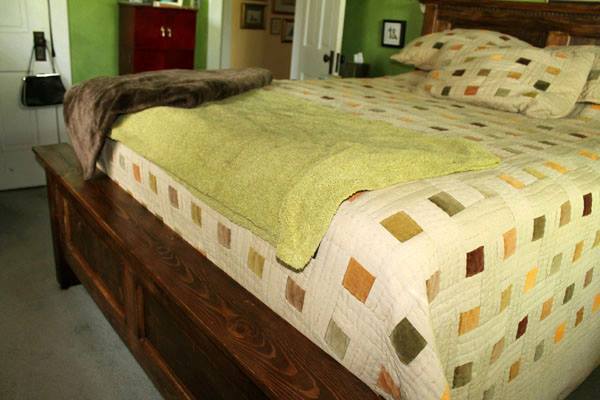
After going through tons and tons of different bed styles settled on this one because i LOVED the way the original image looked, though when it came to picking out stains I decided to do mine a bit differently! I like the look of multiple stains, it certainly allows for you to play with different wood stains on other bedroom furniture as well. This bed WEIGHS A TON, so we agreed that we will never move it unless its to the burn pile but I highly doubt that will ever happen because its incredibly sturdy! Also - Thanks Ana White family, this build introduced me to my kregg jig and it is by far my very favorite tool now!

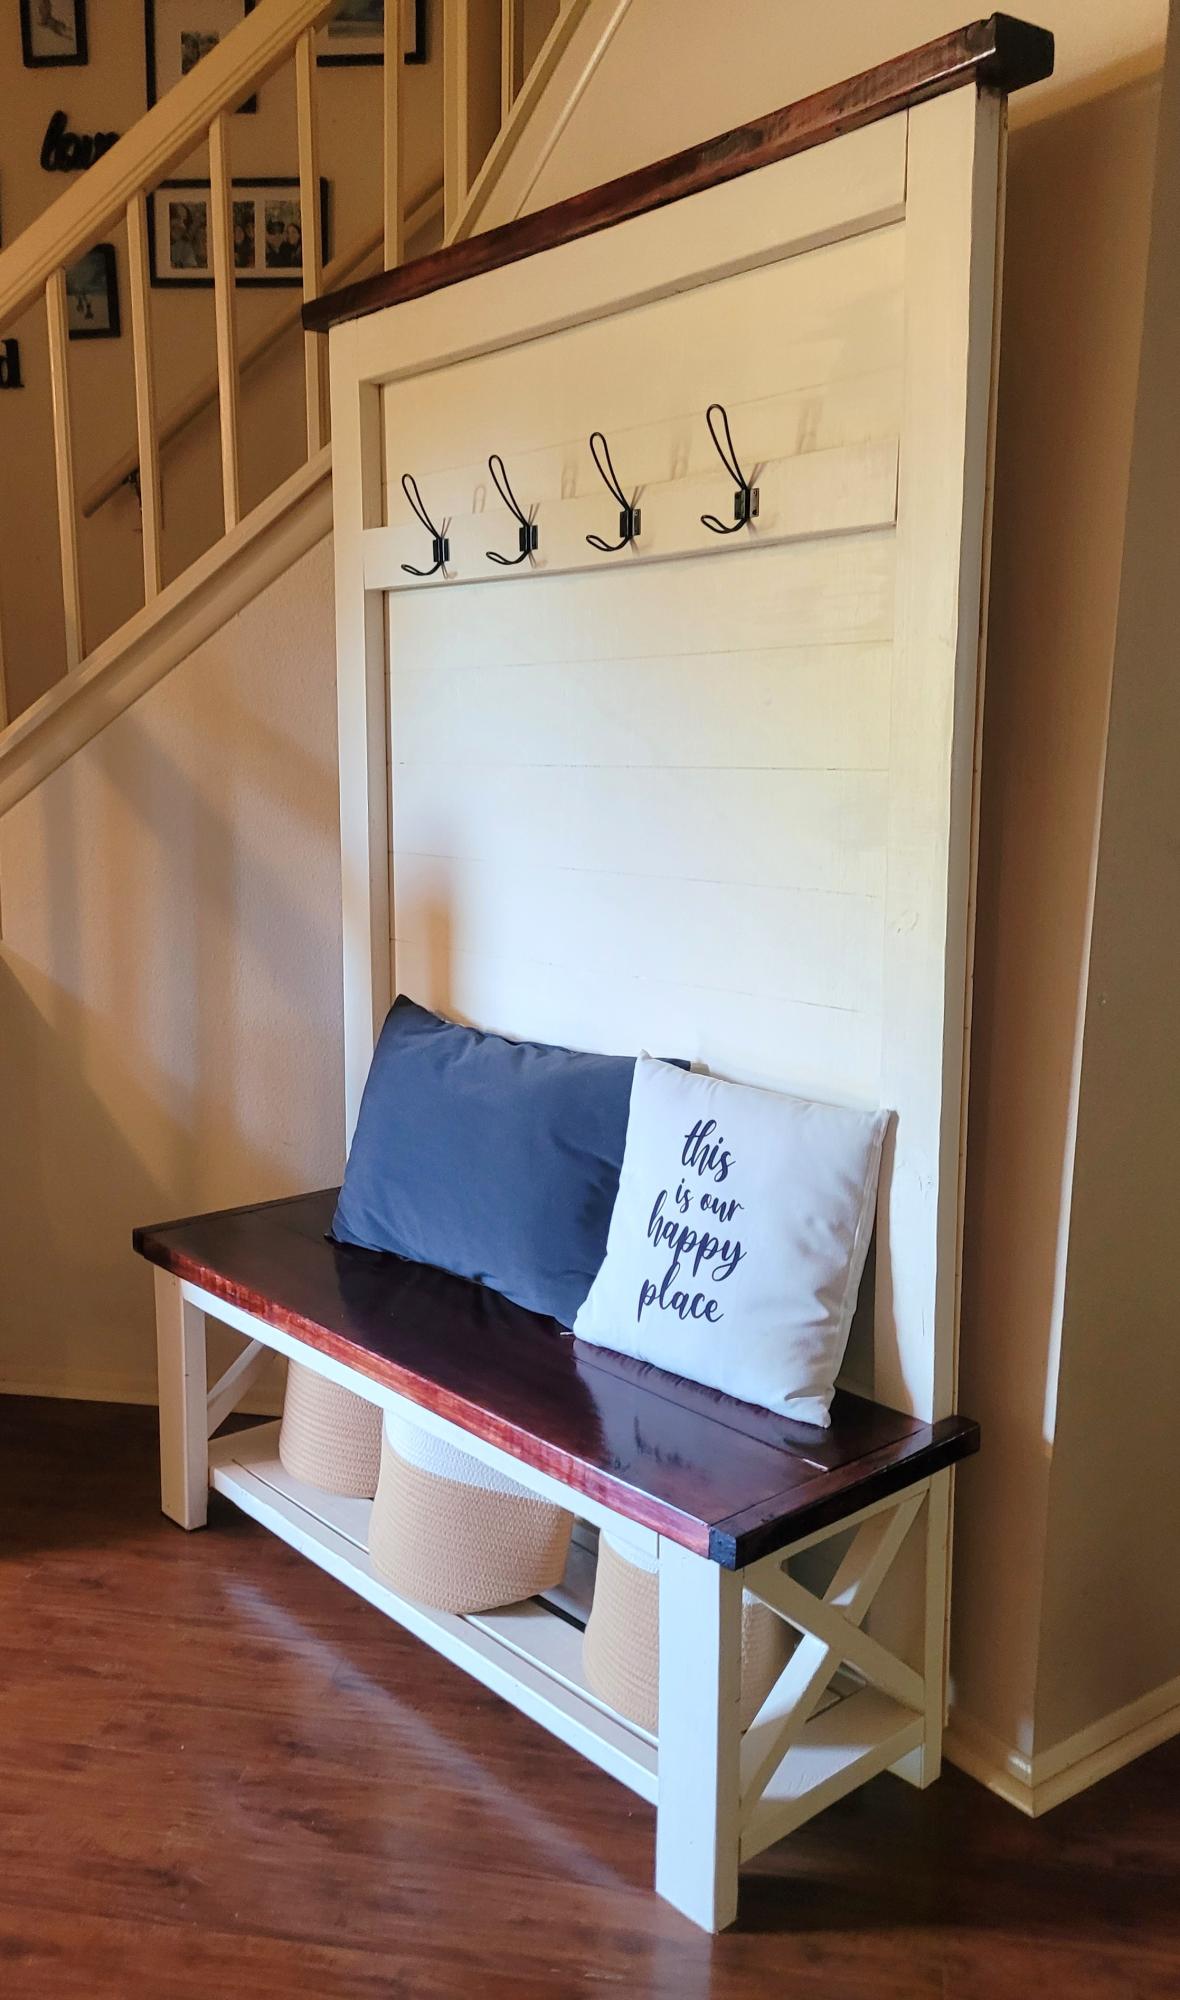
Such a fun build! Can't wait to start my new project 🤗
Jenuri
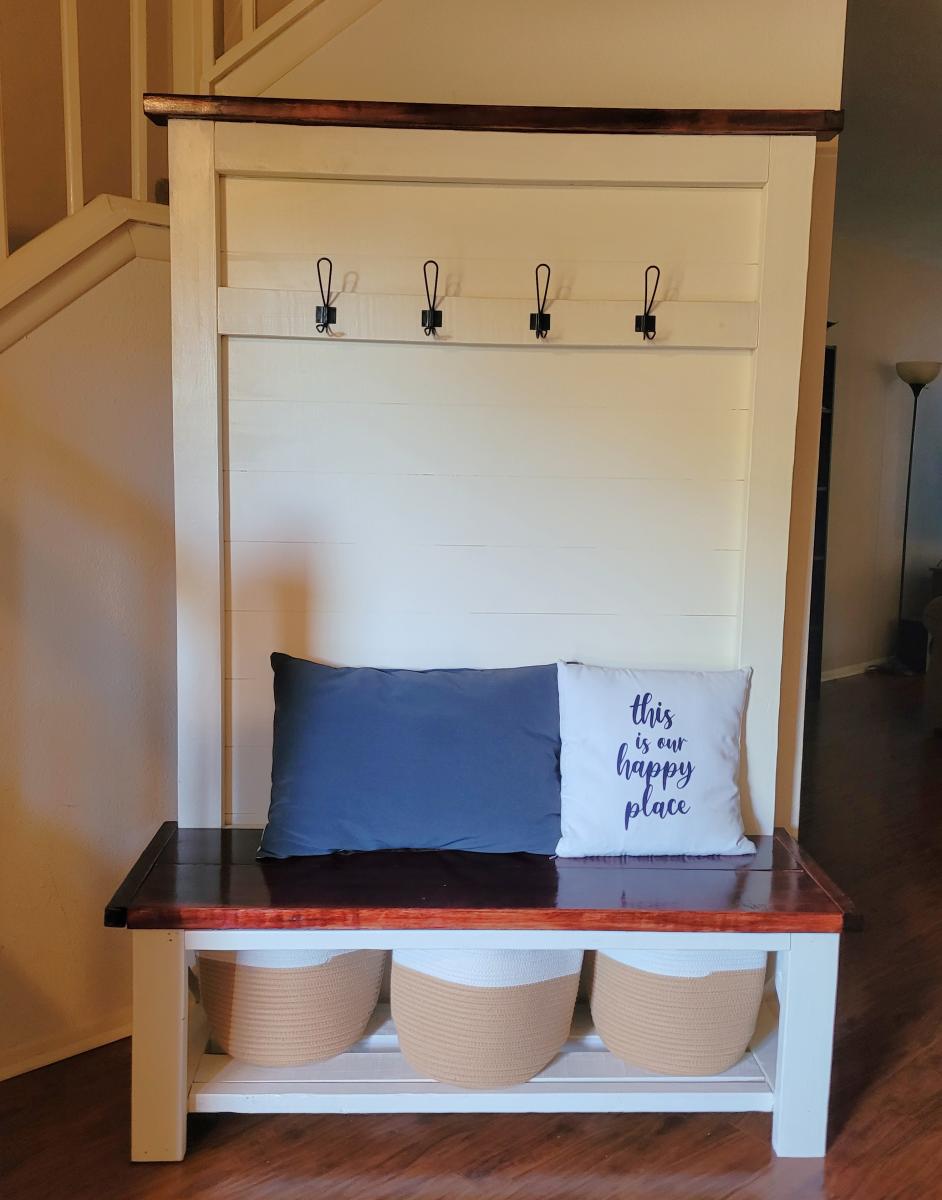
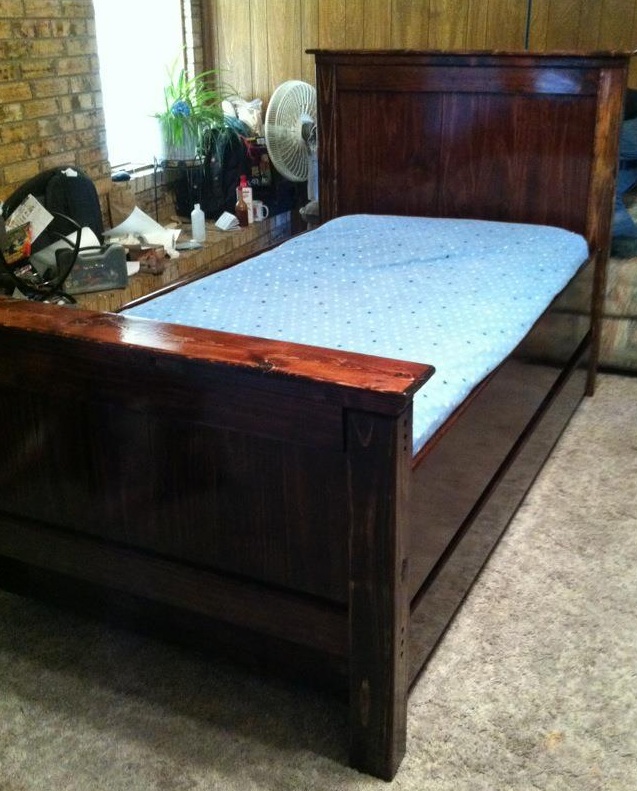
Twin farmhouse bed with trundle. Slightly modified to make foot board a bit taller.
Wed, 03/14/2012 - 07:44
Where can I locate plans for the trundle?
Thanks!

This is a narrow farmhouse table that I was asked to build for my neighbors. The plan was very easy to follow and didn't take long to do at all. I used 1x12x8' shelving board from the local home improvement center for most of the application. When mating the top together, I used a biscuit joiner, (aside to what the plans called for), for added strength. Also, I remember from years back that you should alternate the "rings" in the lumber to prevent bowing. This gave me a smooth, level table top without using a planer. Using the shelving board made this table very light, I love this table!!


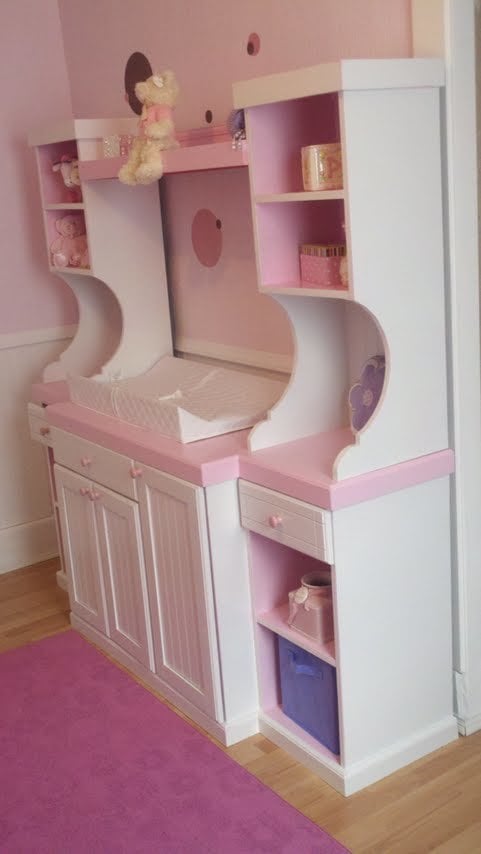
Thx for the plan Ana. I modified it slightly to make it a bit different but realy loved you plans.
Thu, 03/08/2012 - 20:53
Thank you all for the kind words. This was a fun project for a worthy lil person :)
Tue, 08/14/2012 - 16:29
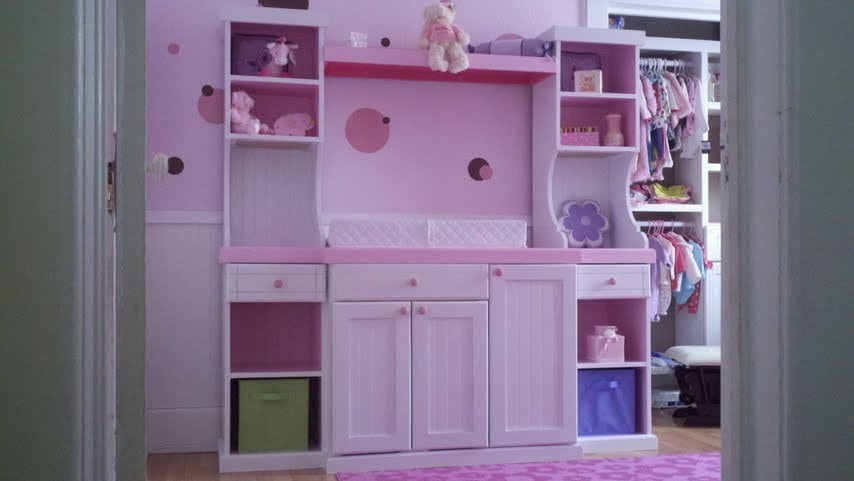
I would like to know where did you get the instructions for the HUTCH on the Madeline changing table plan I can not find it on Ana Whites plans
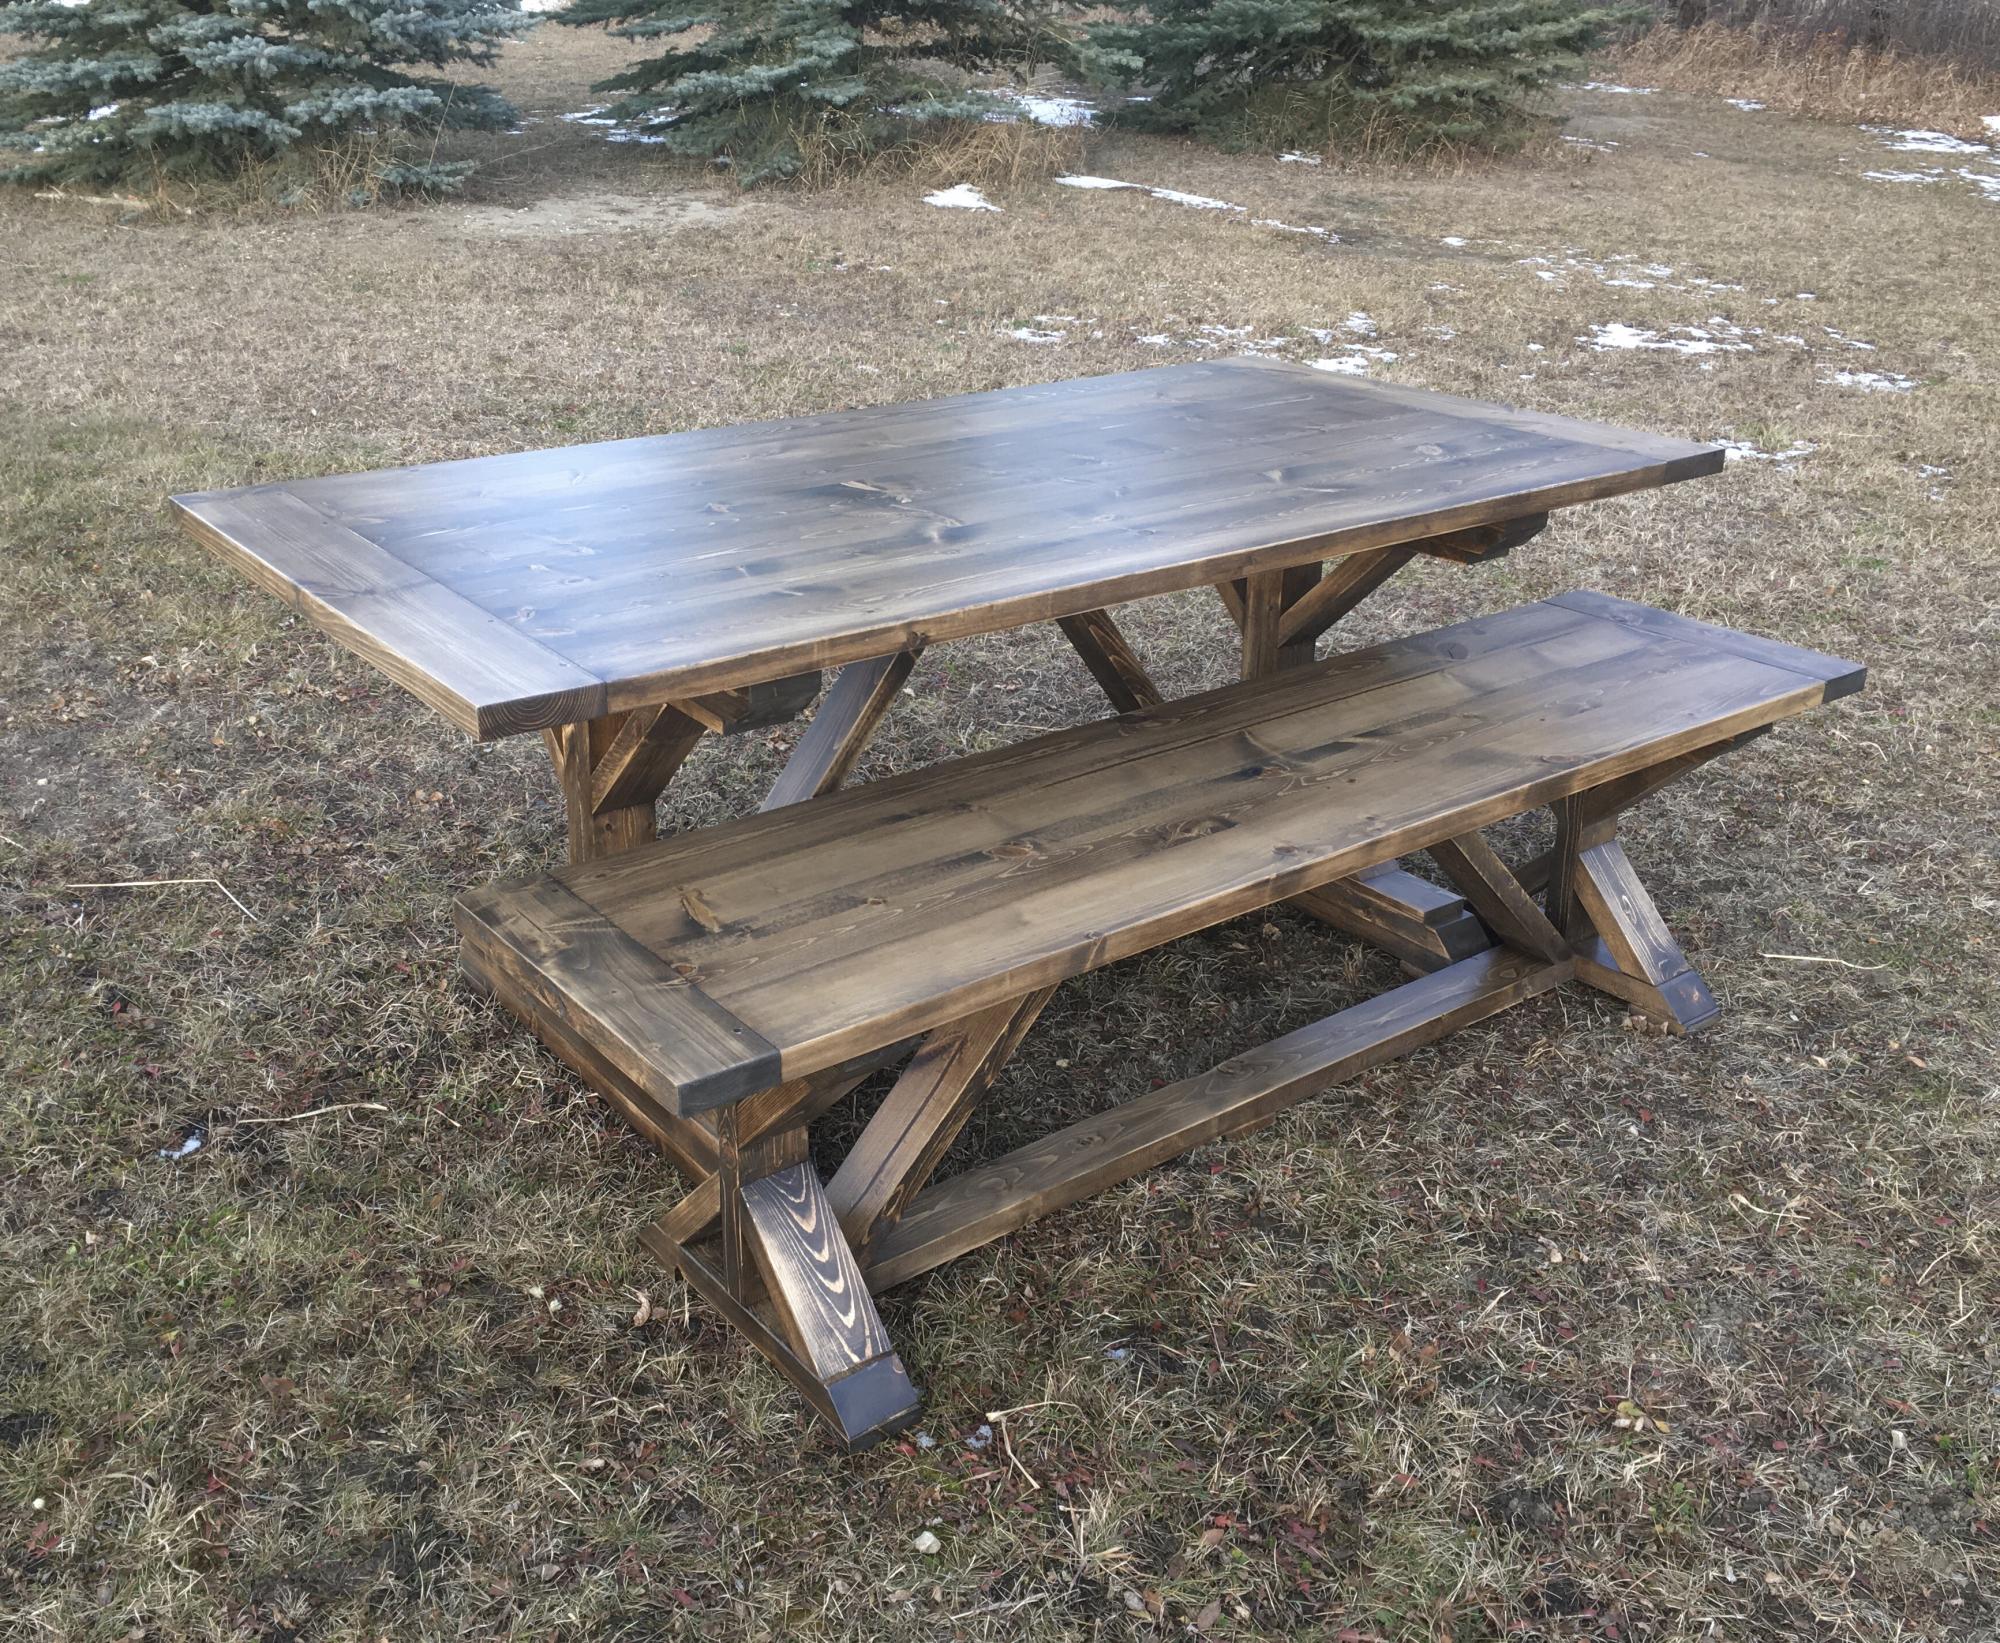
These plans were a lot of fun, easy to follow and I love all the layers!! I changed the direction of the bracing under the table and used a thicker beam along the floor. For the bench I decided to use only two legs so I did them in a thicker look to match the table.
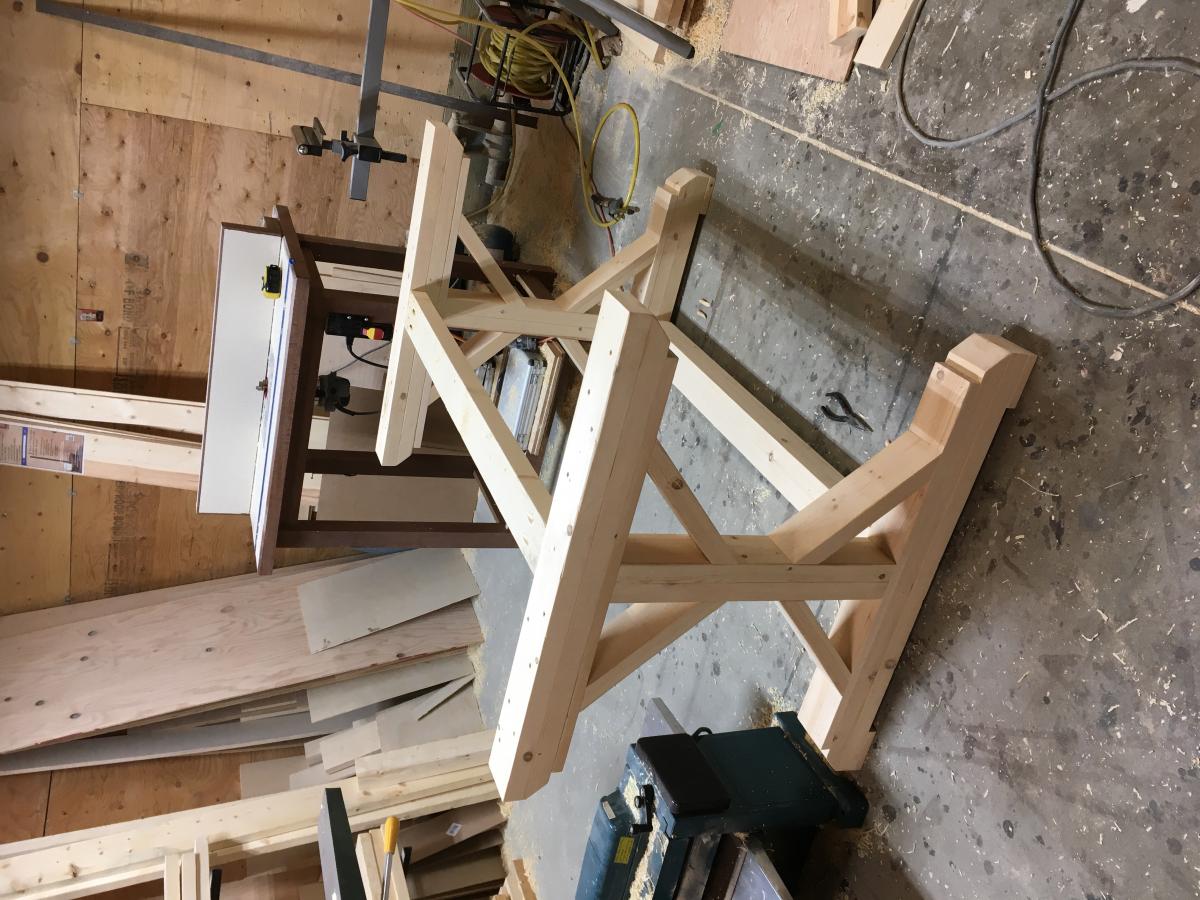
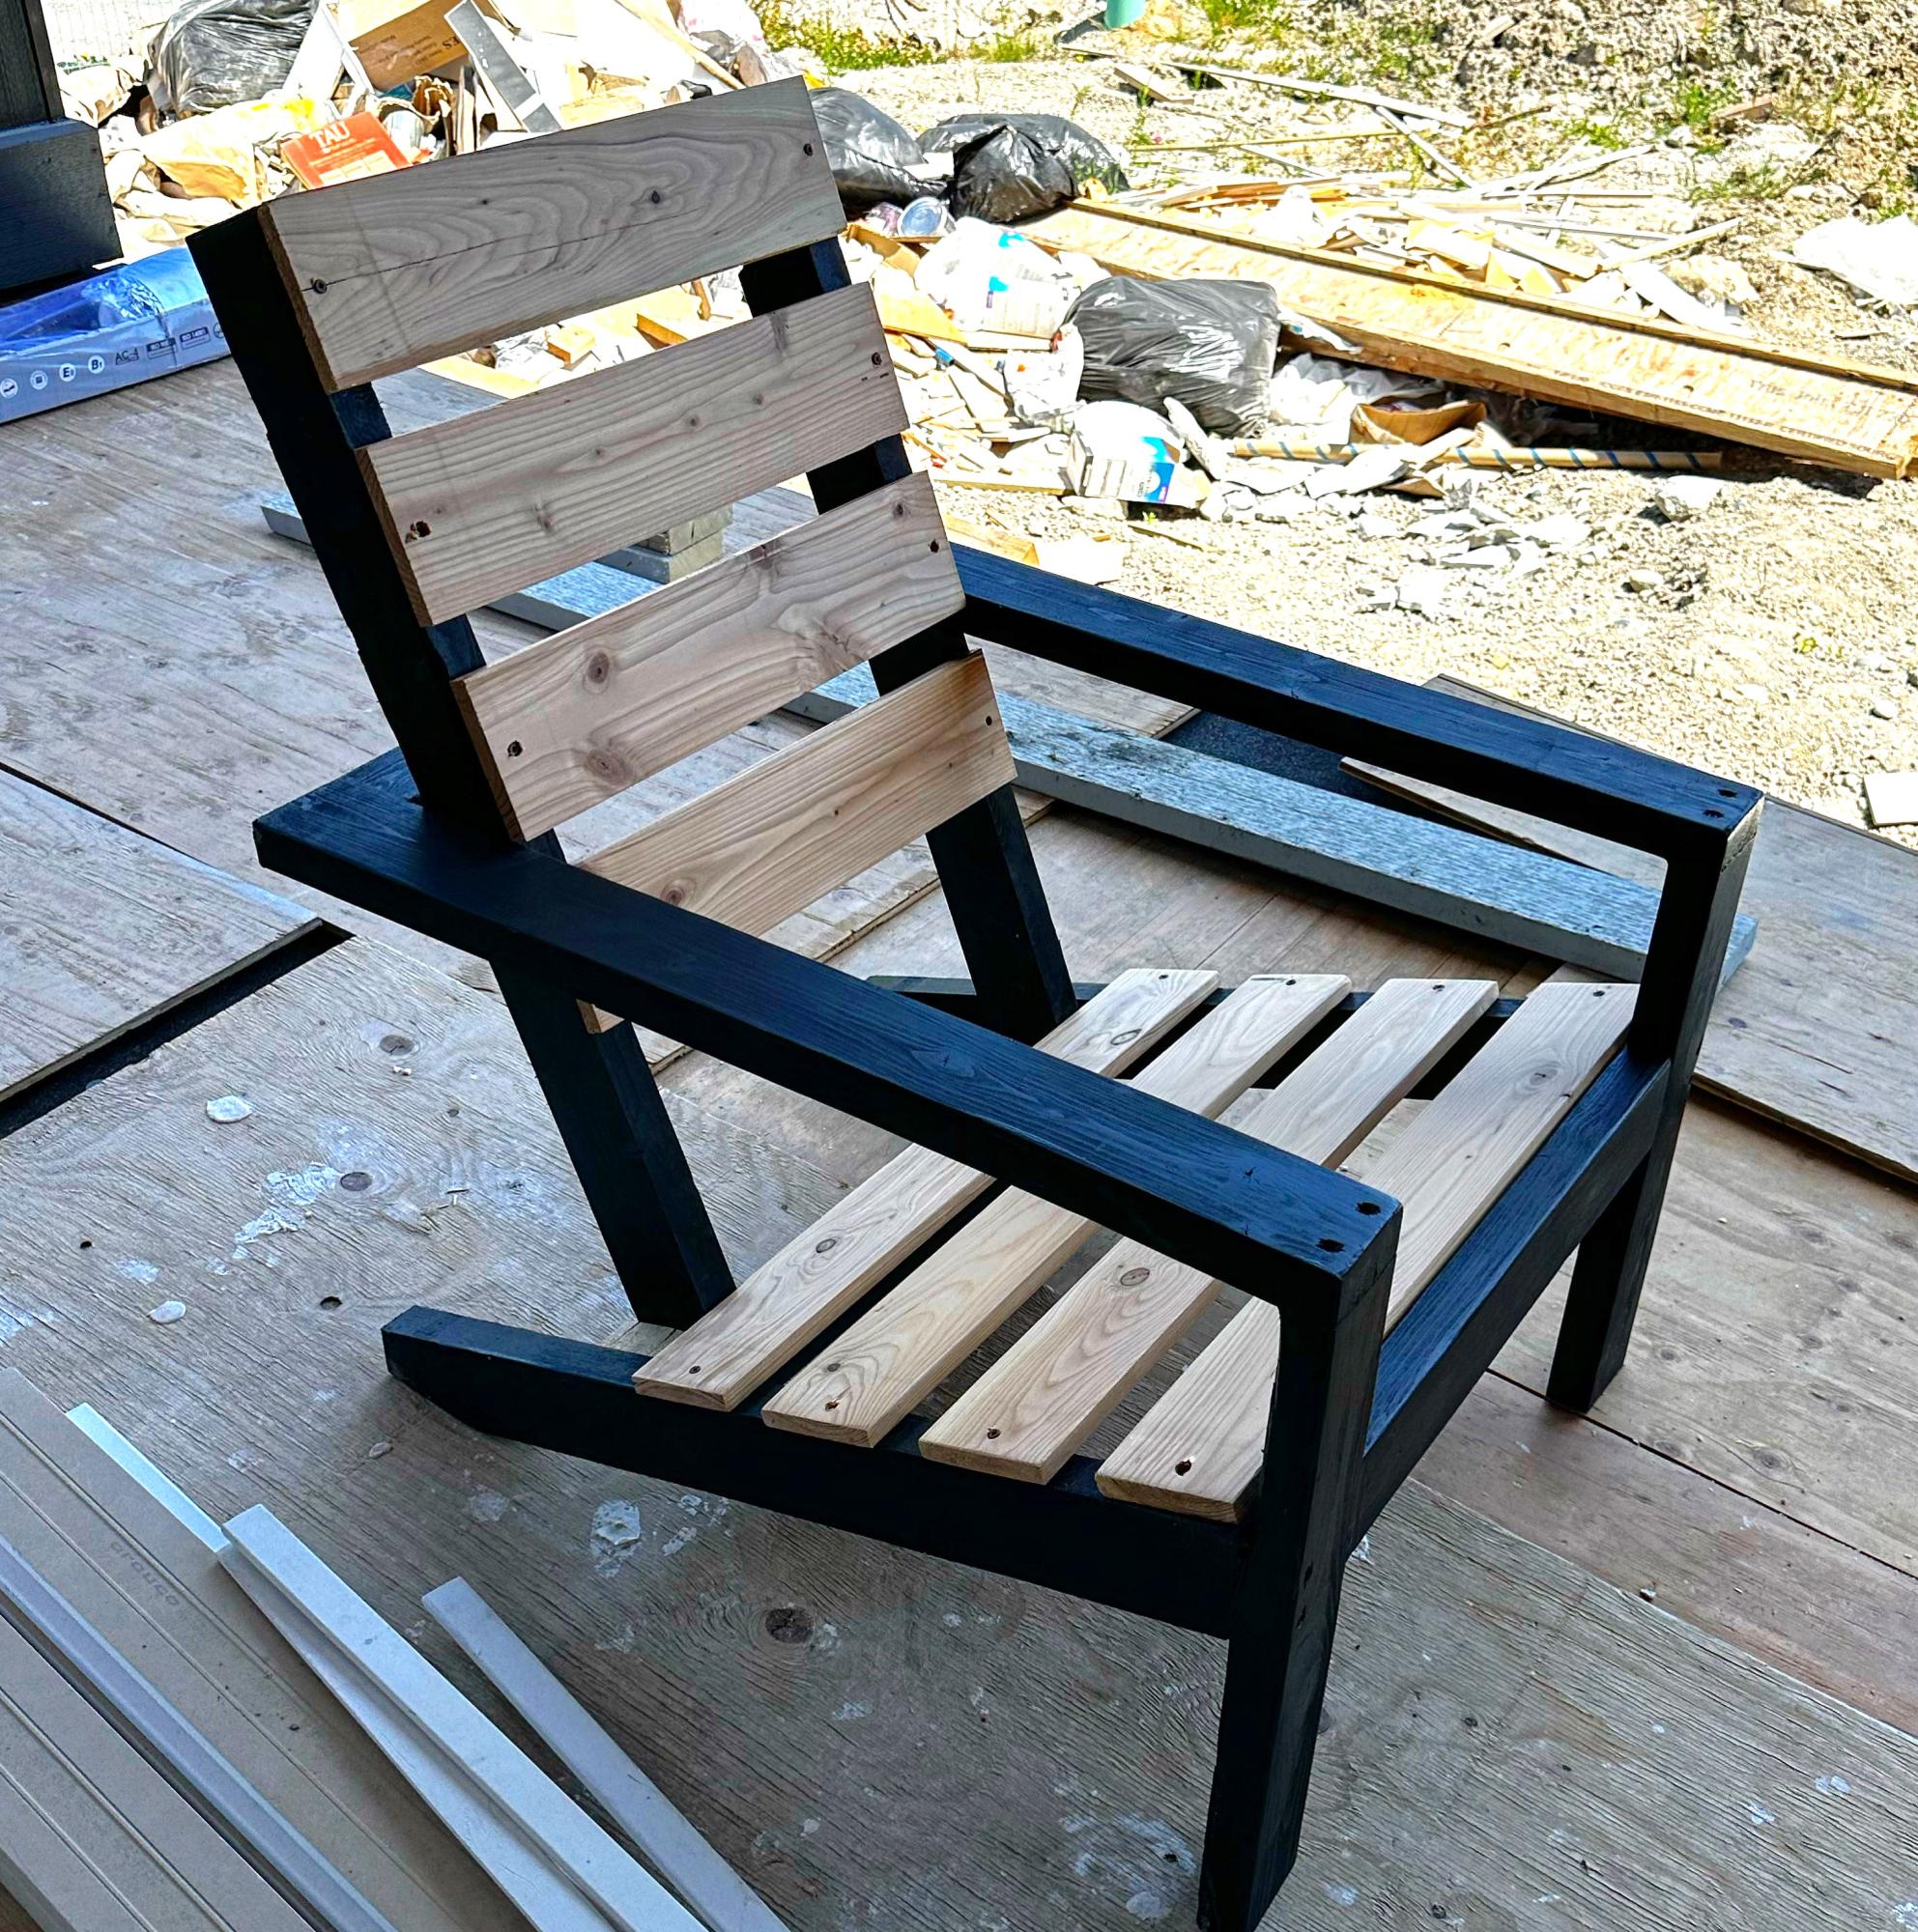
Built by Boatman

I love Ana's farmhouse doll bed. But I've made a couple beds/cribs, and I know how tedious it can be to make the slats, so I cheated and used a 1x6 across the headboard instead of the slats and a 1x3 (turned lengthwise) for the footboard. :) It was a gift for my daughter's friend who is using it for a stuffed animal, so we made it more narrow as well. Details on the changed dimensions can be found on my blog.


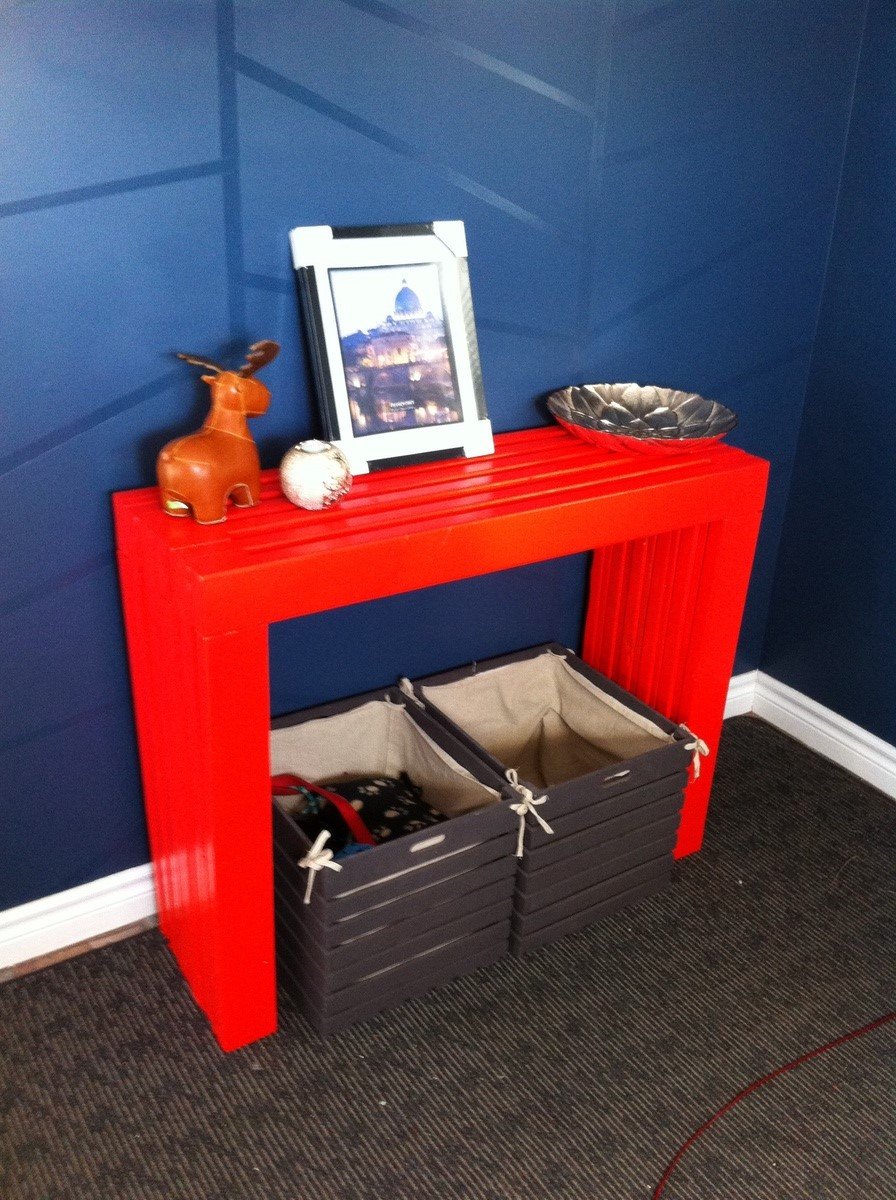
This was my first project ever and I'm so excited how well it turned out!! However, I did modify the length and height for my space. The table is 40" long and 33" tall. The finish is Benjamin Moore Tawny Day Lily (awful name) with their high gloss wood finish. Thank you Ana!! You made this project seem easy and now I'm excited to build more!

I similarly was looking for something to store laundry baskets underneath and didn't want to shell out $500+ for pedestals that were less functional. Without being particularly handy, this was a relatively easy DIY project that turned out great. Adding the baseboard trim made a big different in the overall look and the dark paint to match our cabinets helped in pulling it all together. We made the height 12" (instead of 11") for the storage component and cut the width by 2 inches to allow room for the baseboard trim to wrap around the side. Otherwise it was built the same as the original design without the extra trim.


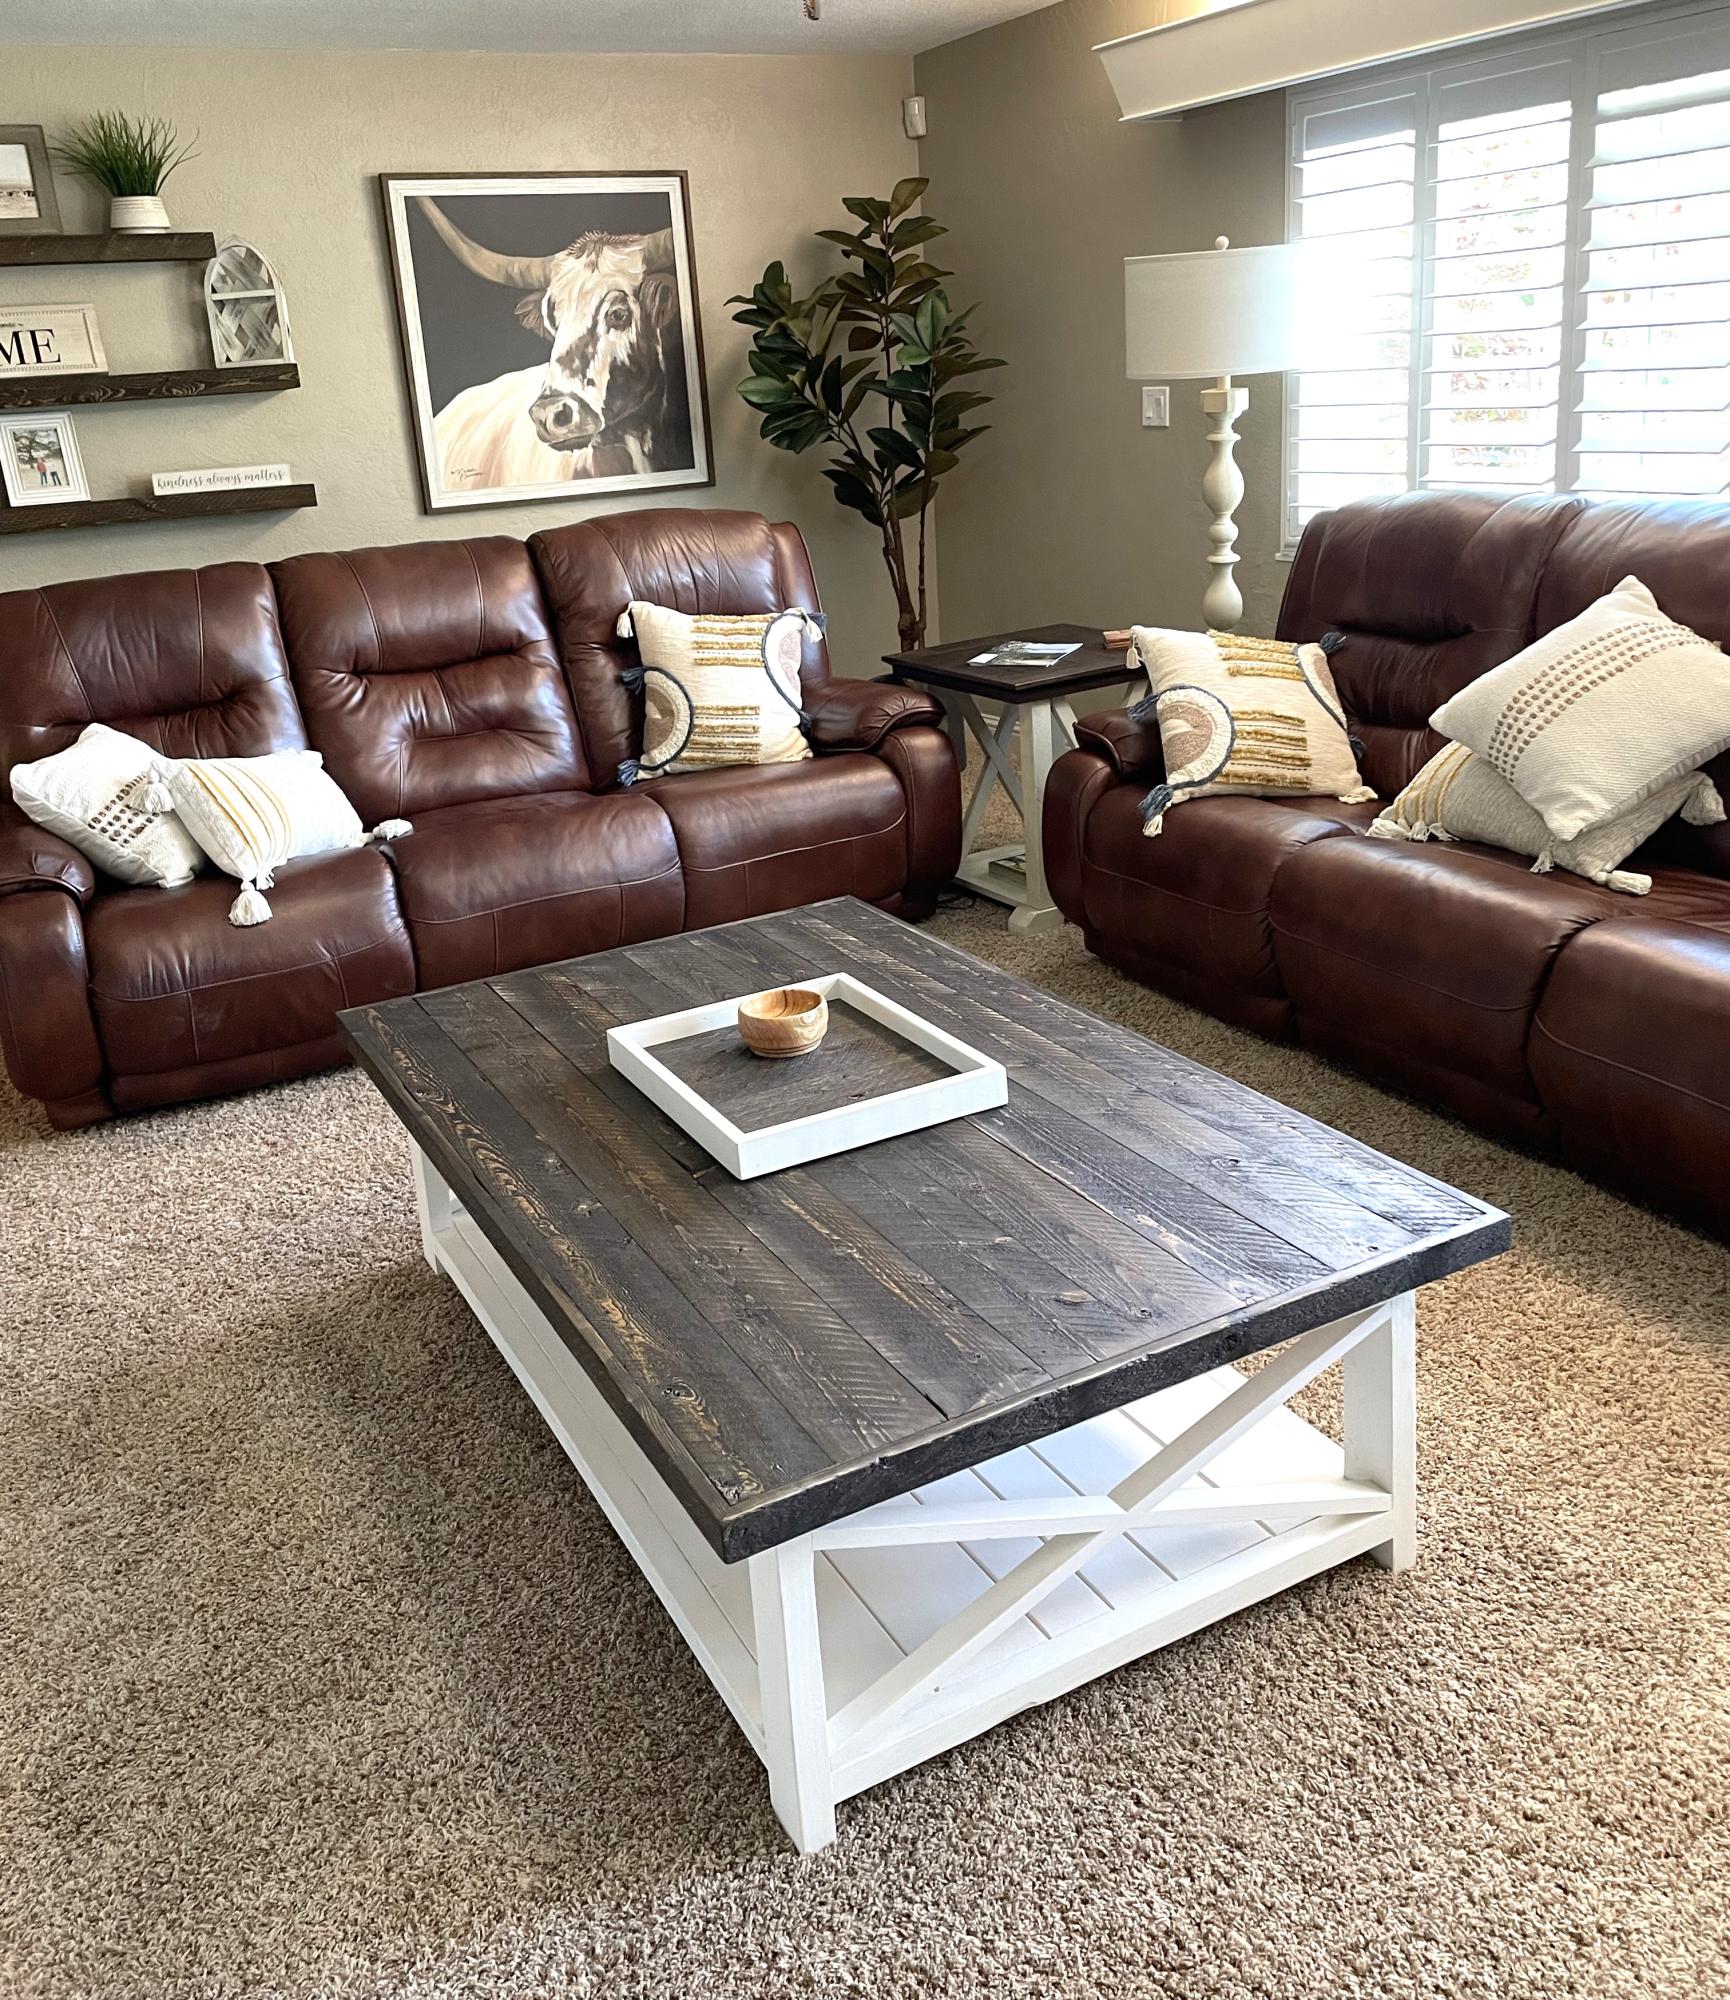
Rustic farmhouse using lap-siding on 3/4” plywood for the top.
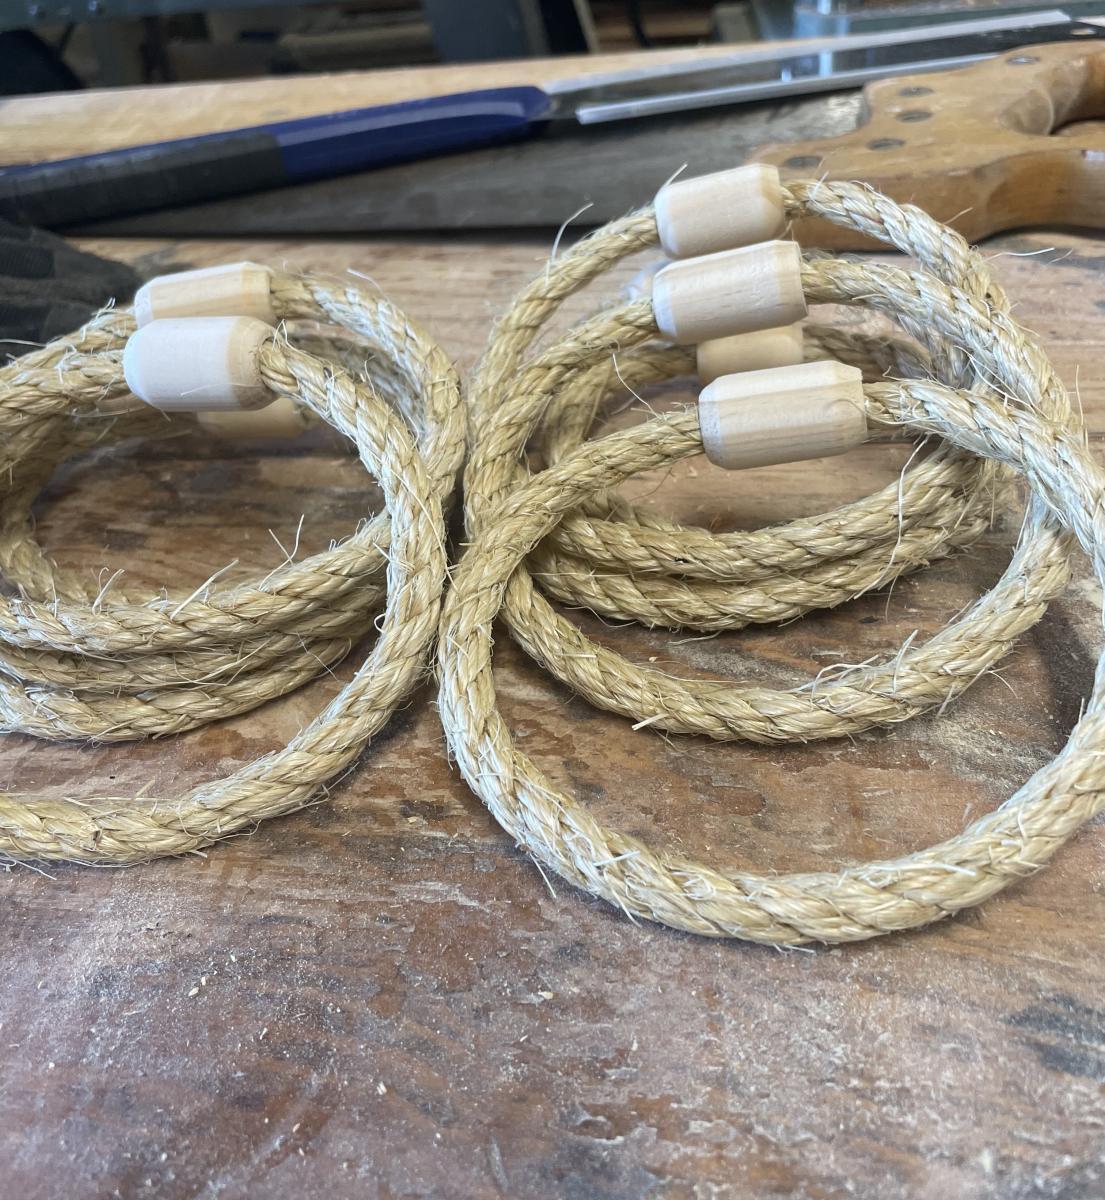
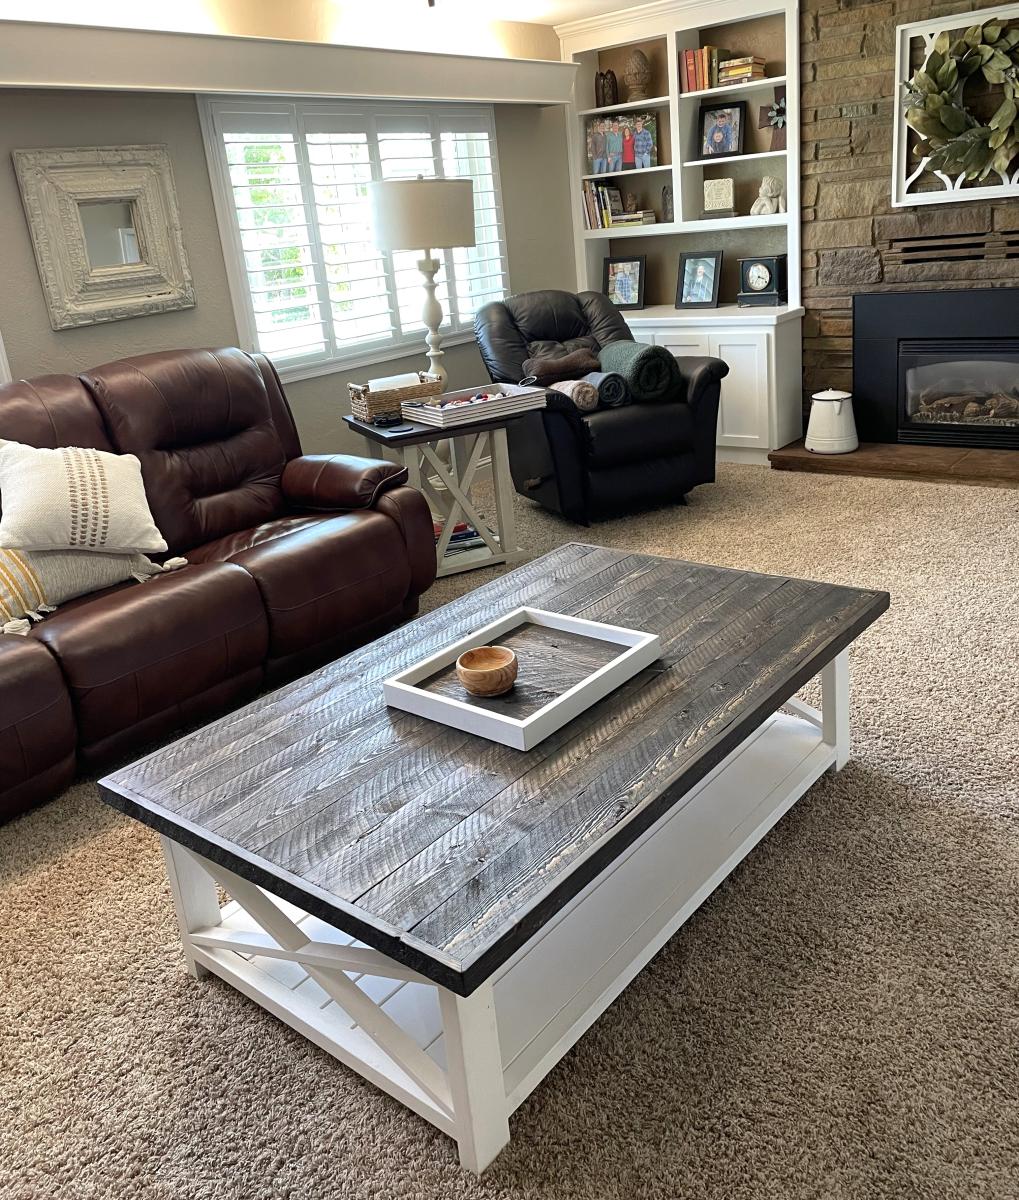
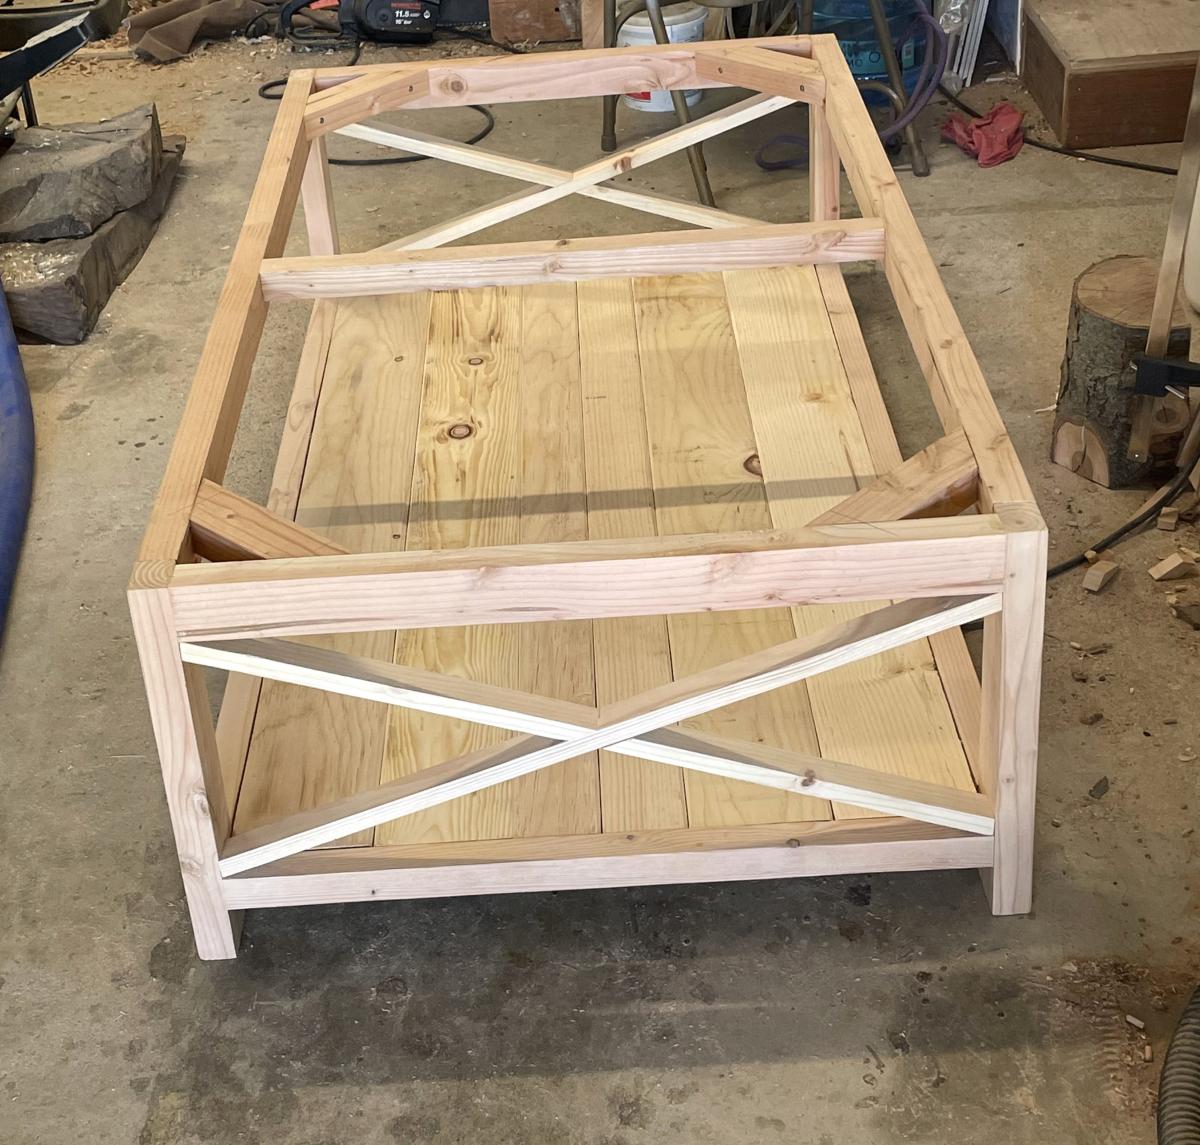
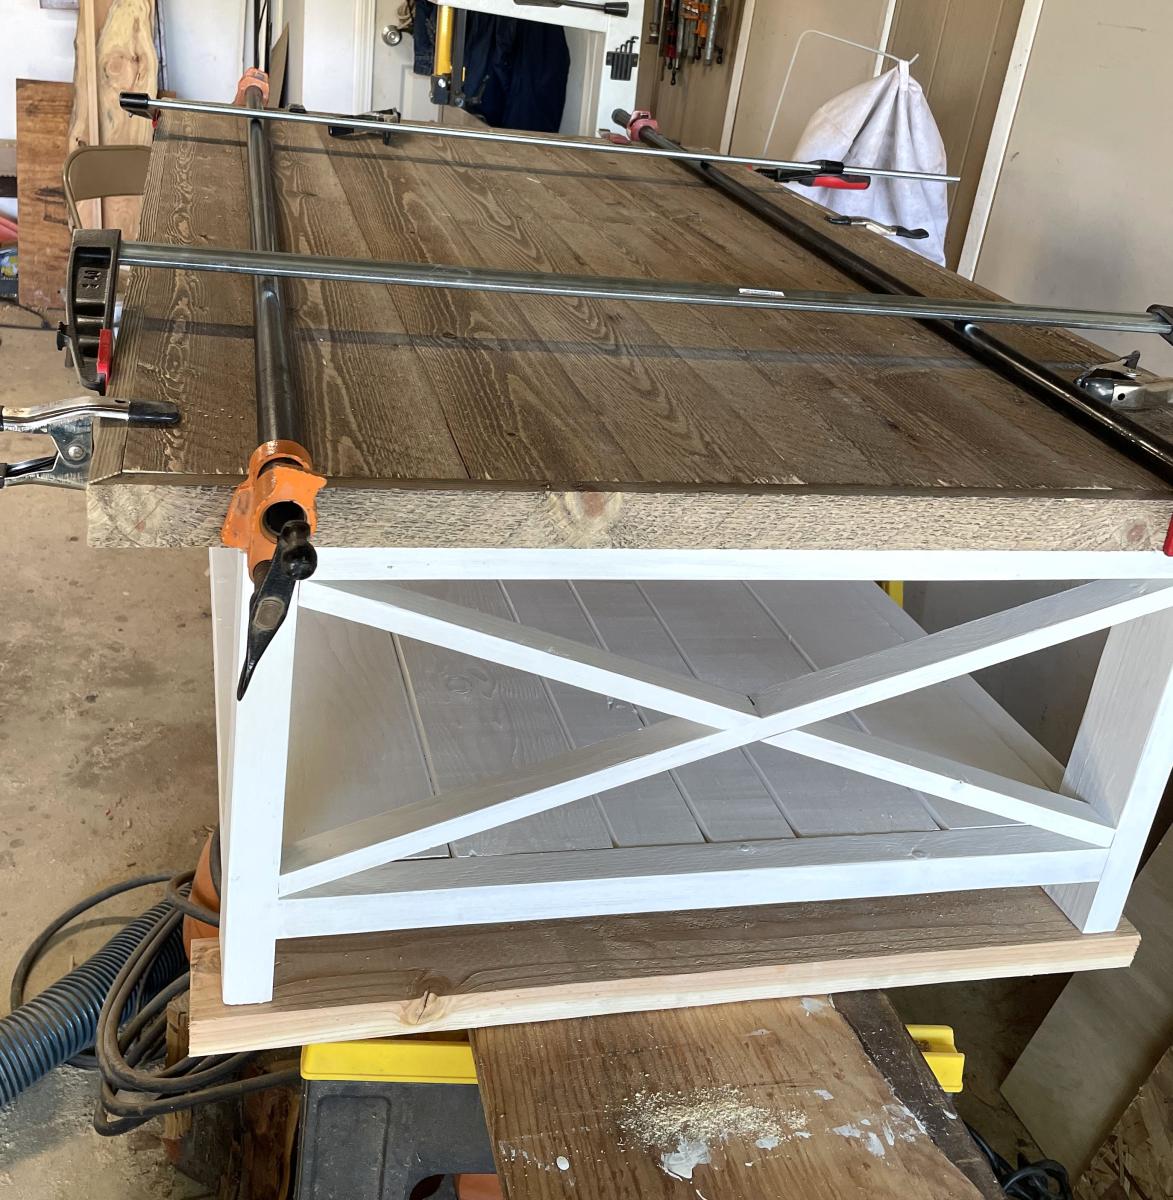
Finished our tidy up table! A couple of tweaks: I didn't want to kreg jig the boards together because I have a tendency to split 1x's when using a lot of joins. I tried drilling from below, but the 2x2 furring strips were so soft that I couldn't get my warped 1x6's to suck down without the screws popping through, even when changing to 1 1/4" ones. So, I countersunk two holes on each end of each board, and used 3/8" buttons to fill them to provide a decorative element. I LOVE THEM! Not only are all my boards flush, but the top is now so pretty. I secured the middle by screwing in from below with 2" screws, but since I didn't need to make them so tight to get my boards flush they no longer popped out. I hope that makes sense.
Also, the sides are pretty wobbly without the trundle in there, so my husband suggested adding L brackets to each corner. Success! It's now solid as a rock. We screwed in from the outside and filled with more buttons. For those of you who don't like the raised look, they also have flat button hole plugs. They take stain so much better than wood putty.
Lastly, I chose 1 5/8" casters that move in all directions. Bad idea. It gives the proper 2" height, but makes the trundle difficult to maneuver. Going to try and find some fixed-side one-way casters to replace them. Other than that, it's fantastic!
Tue, 03/13/2012 - 15:11
Here's the link to the product: http://www.homedepot.com/buy/paint/paint-sprayers/husky/gravity-feed-hv… . It's $50, and comes with 2 sprayers and 4 tanks (2 large, 2 small). You can use paint or stain. The coverage is nice and even. It was so much more fun to stain that way than with rags and brushes!
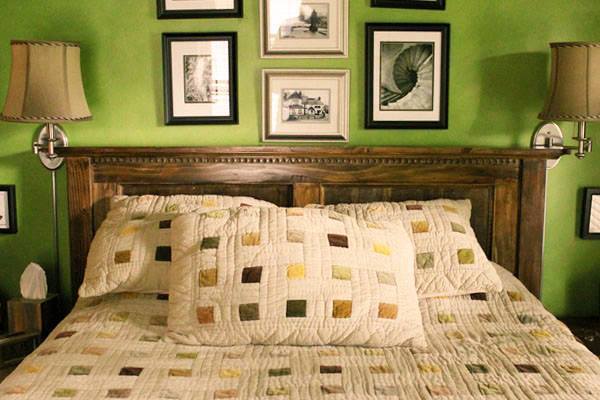
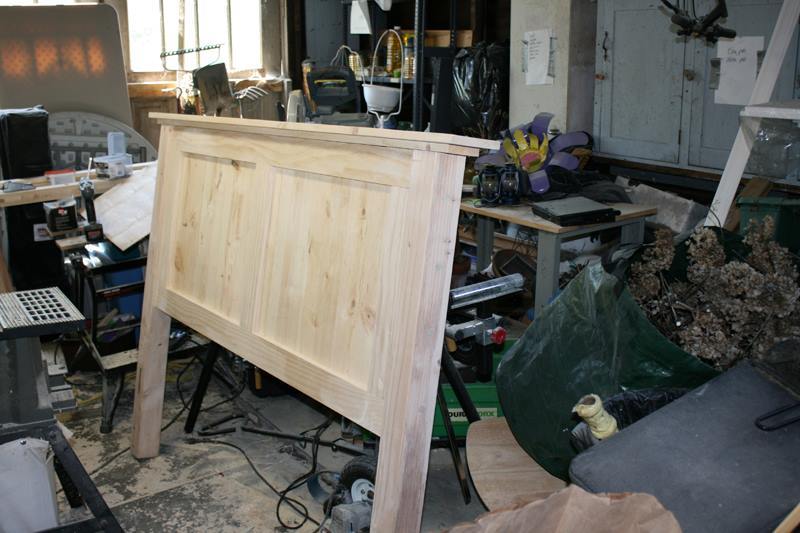
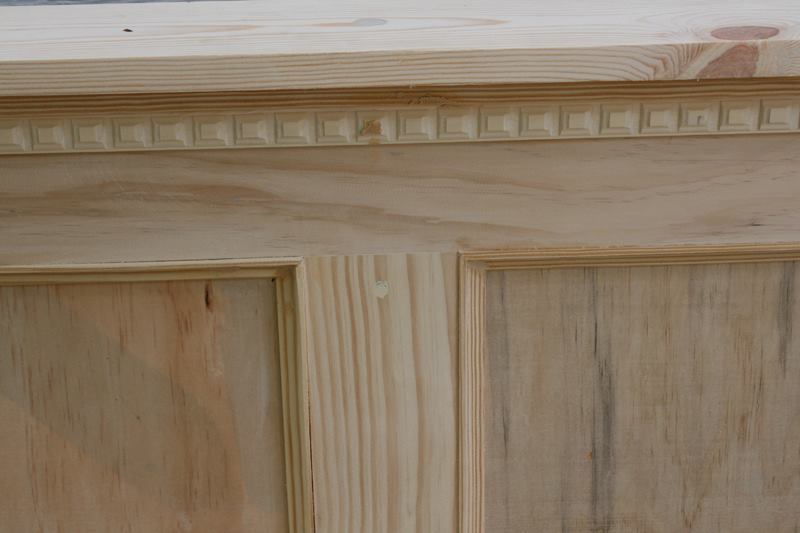
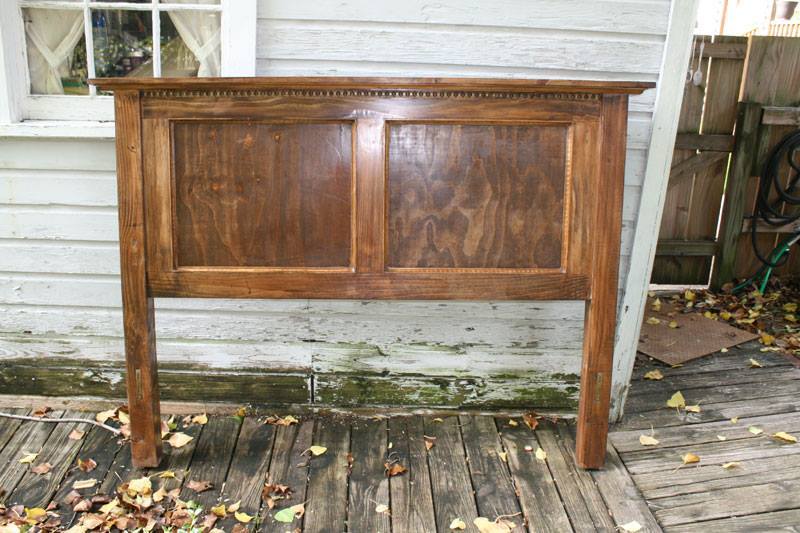
Started off as the rustic farmhouse bed, but I couldn't help adding bits to it - dentil moulding, panels on the headboard and footboard.
