Community Brag Posts

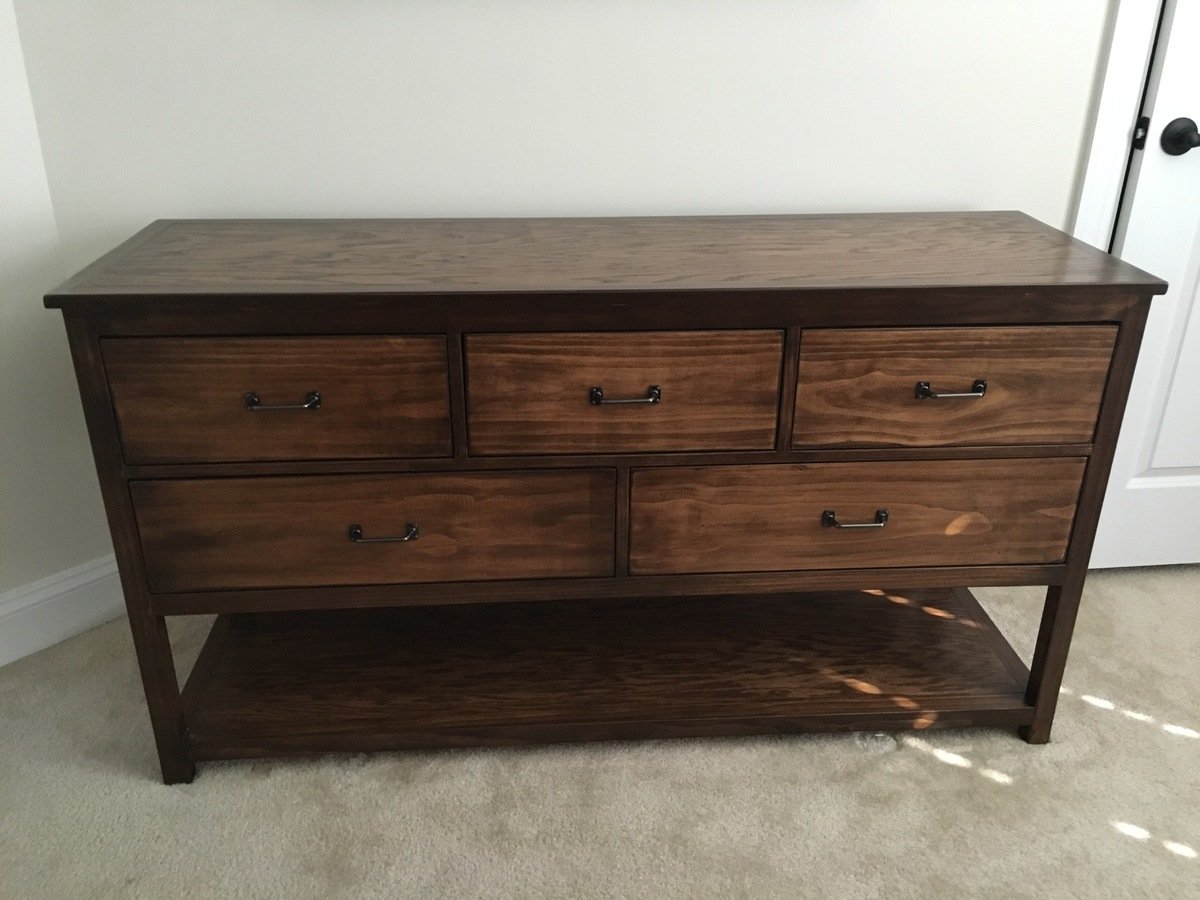
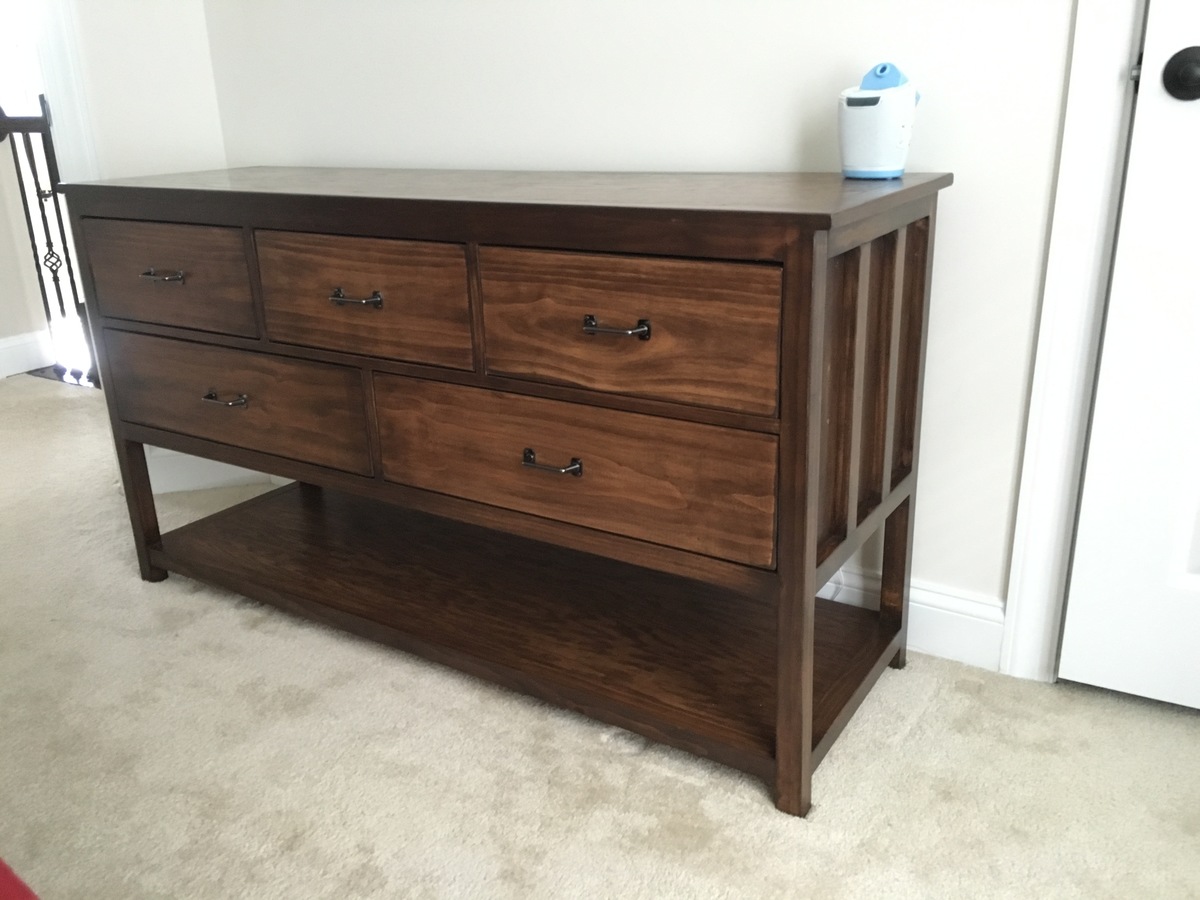
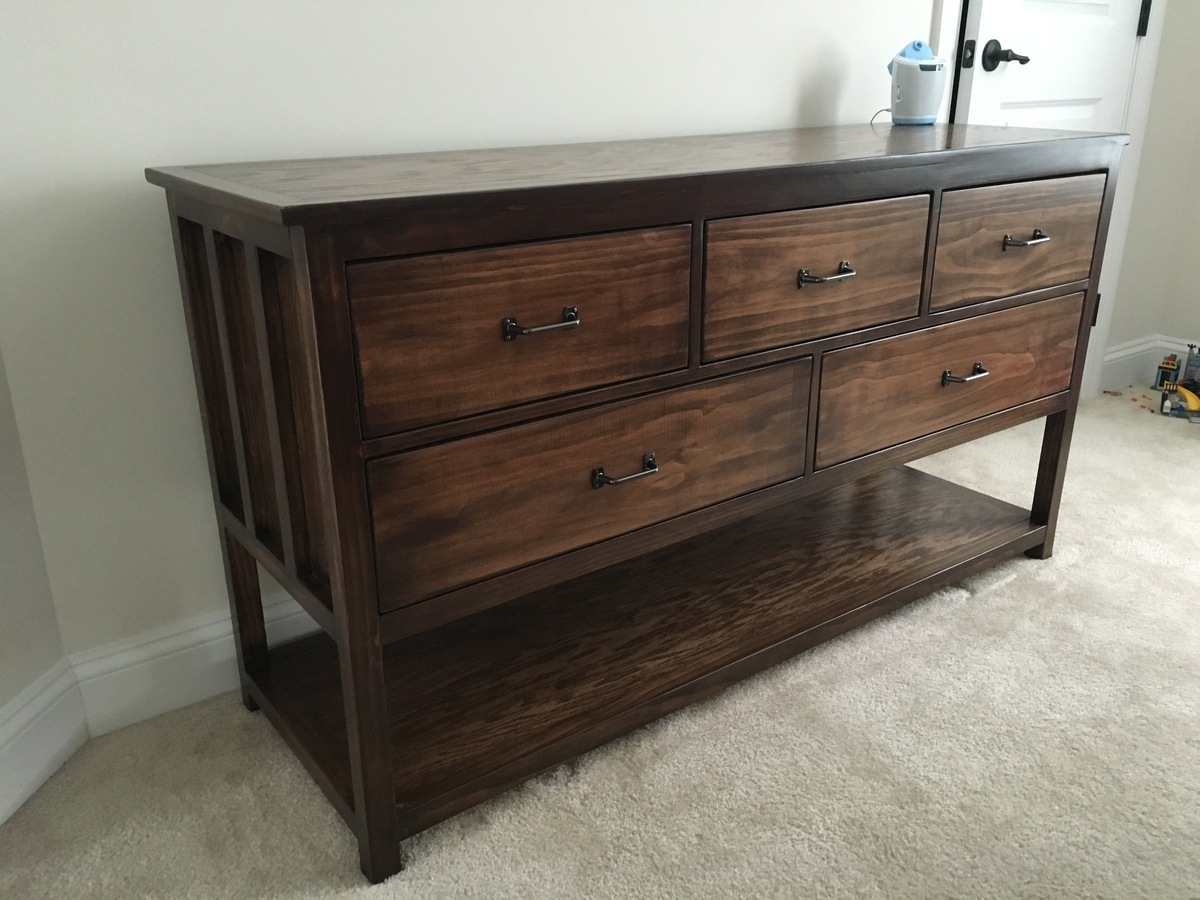
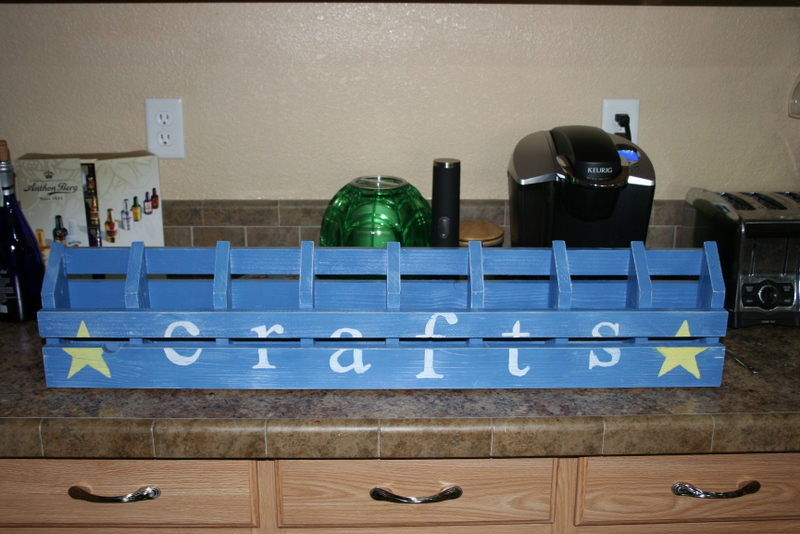
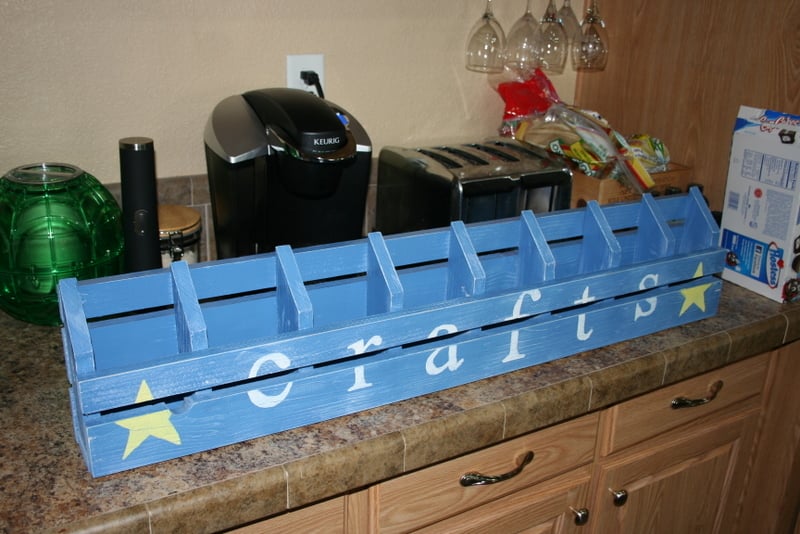
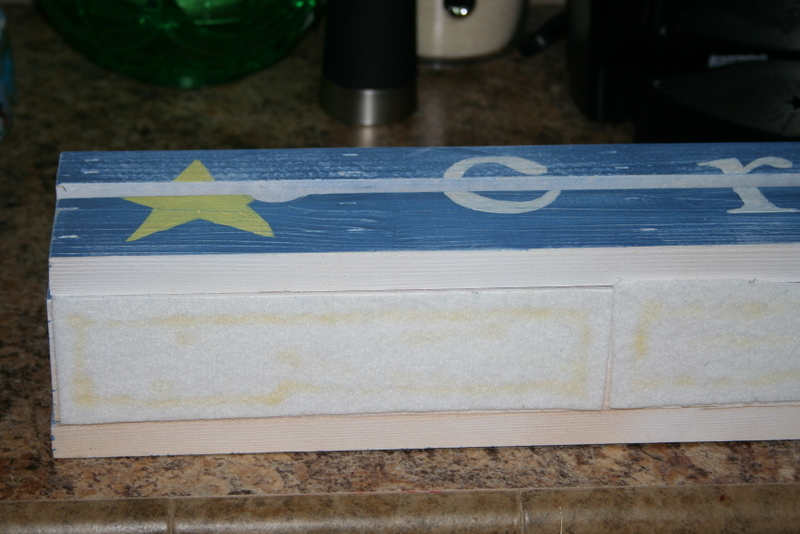
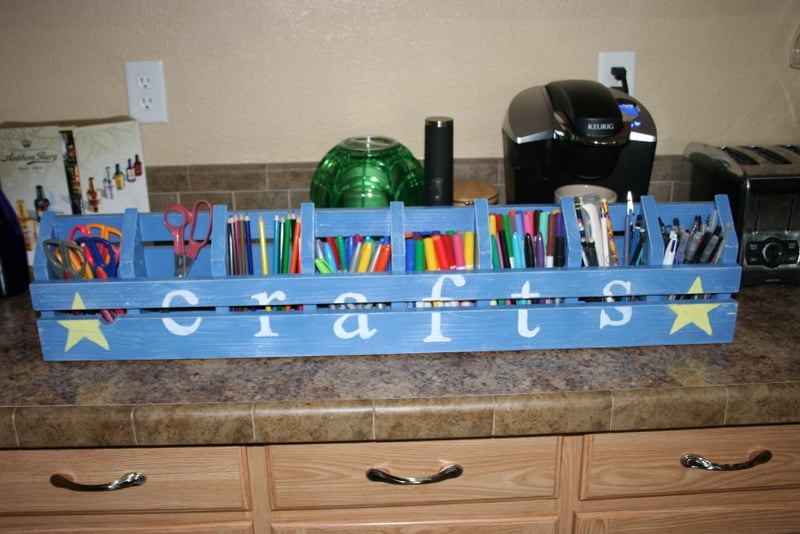
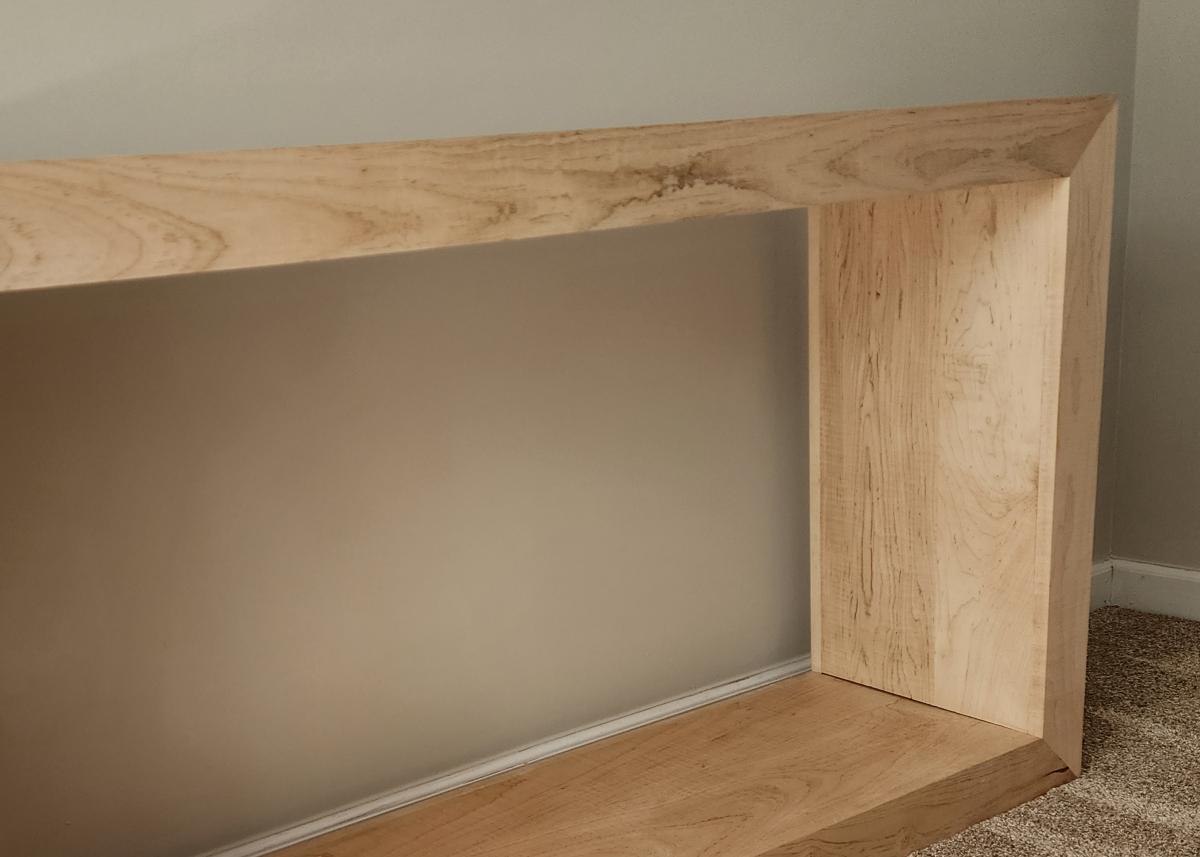
Salad bar with handles

Submitted by Sara on Sun, 07/21/2019 - 11:18

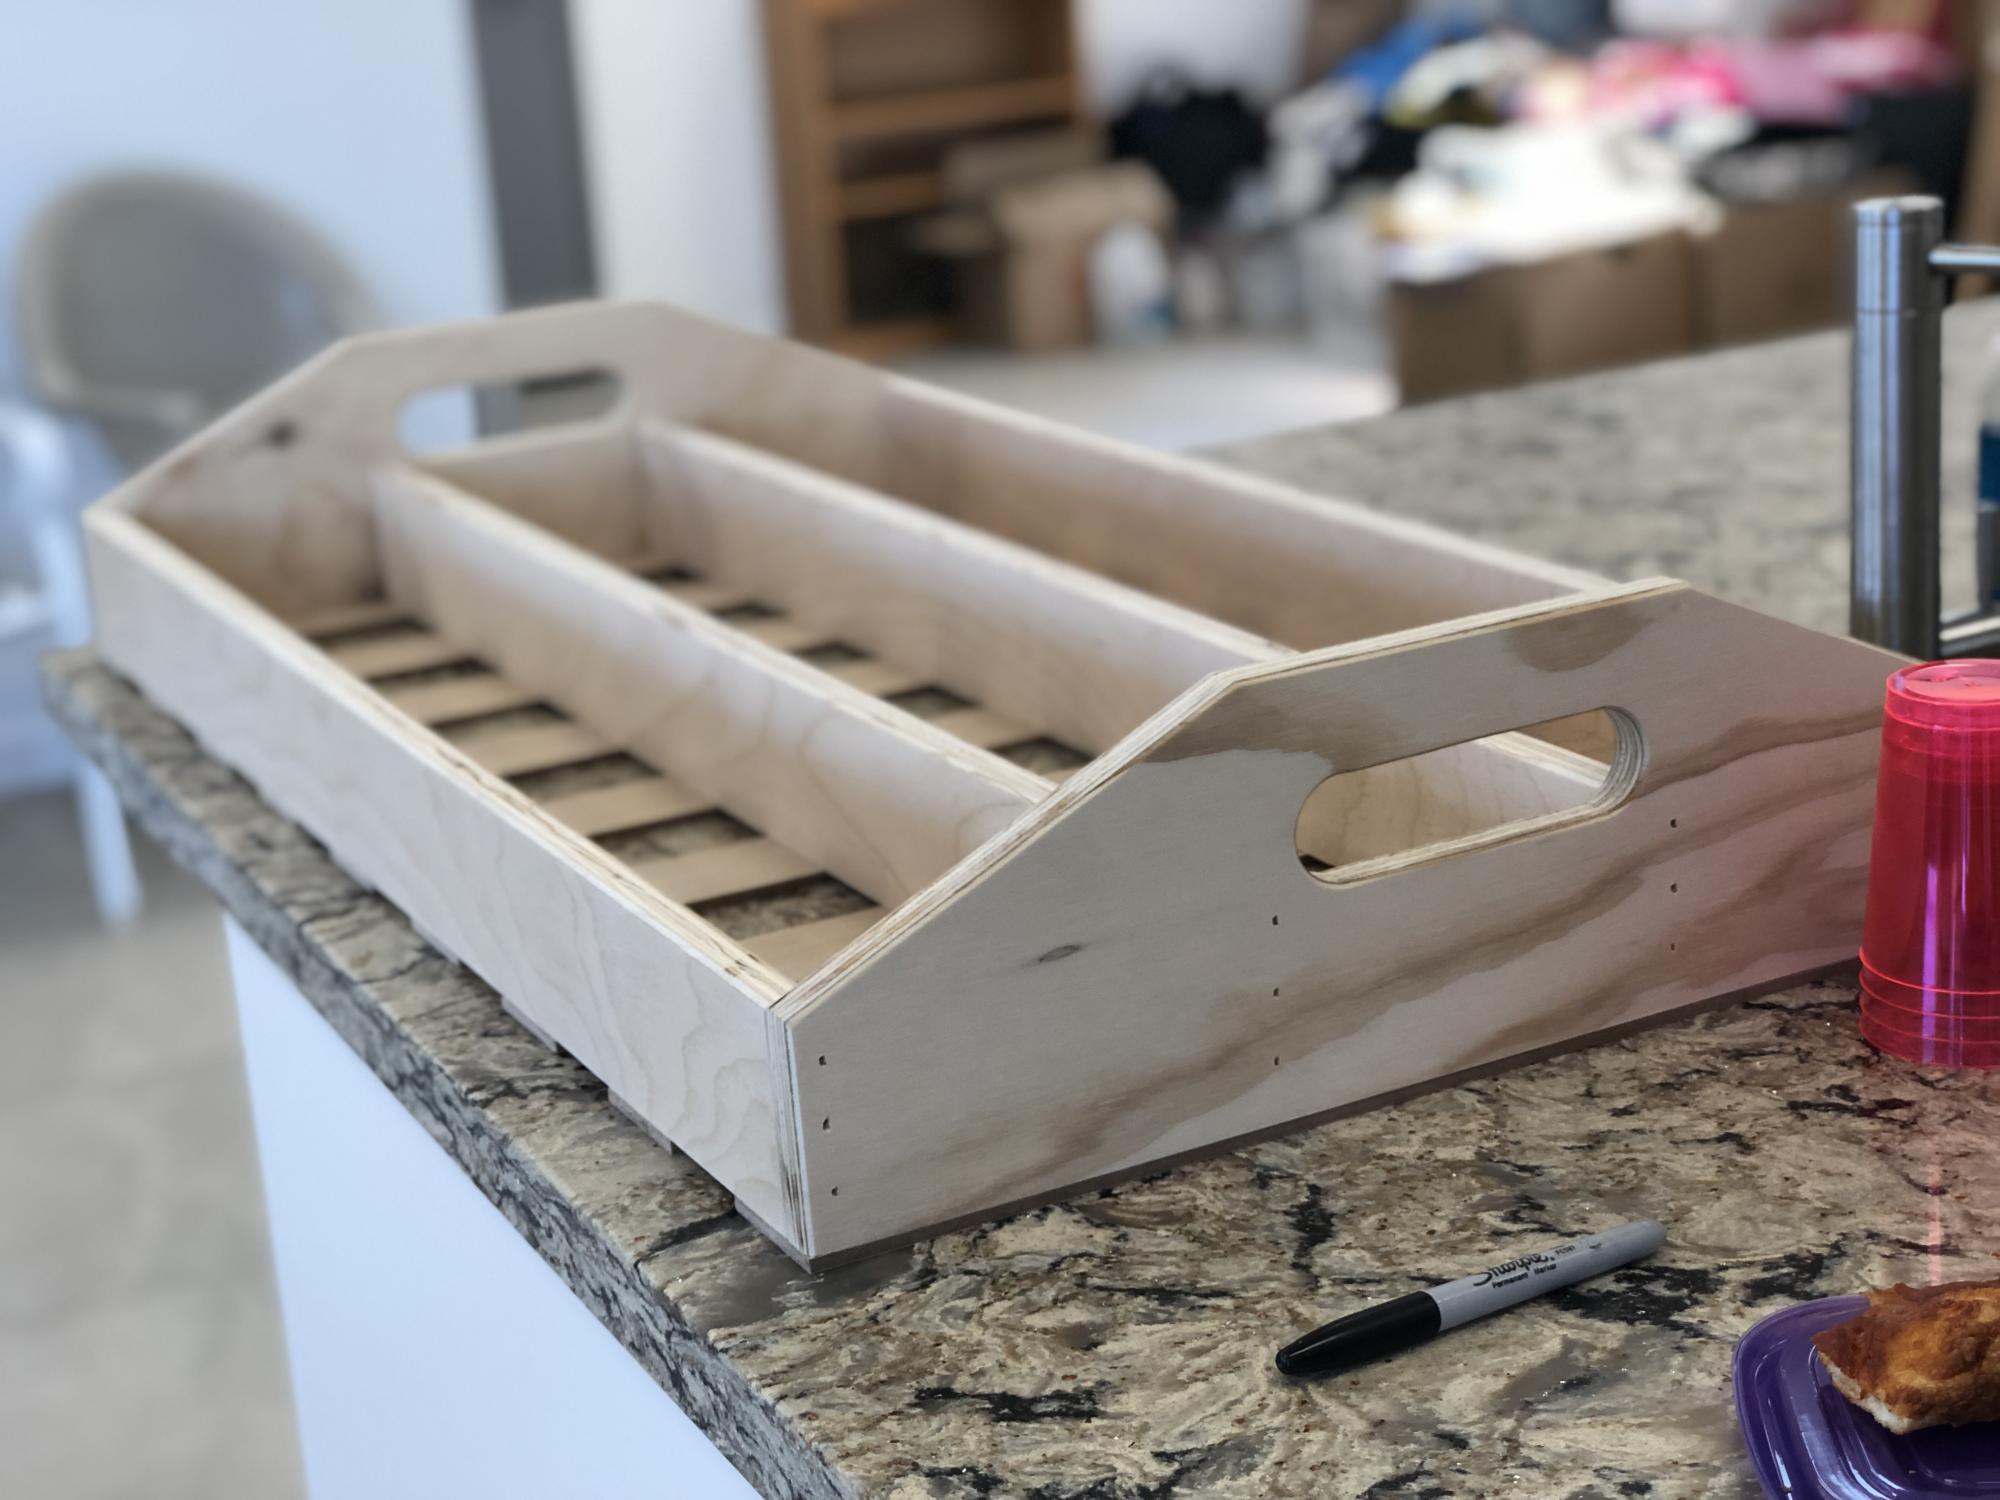
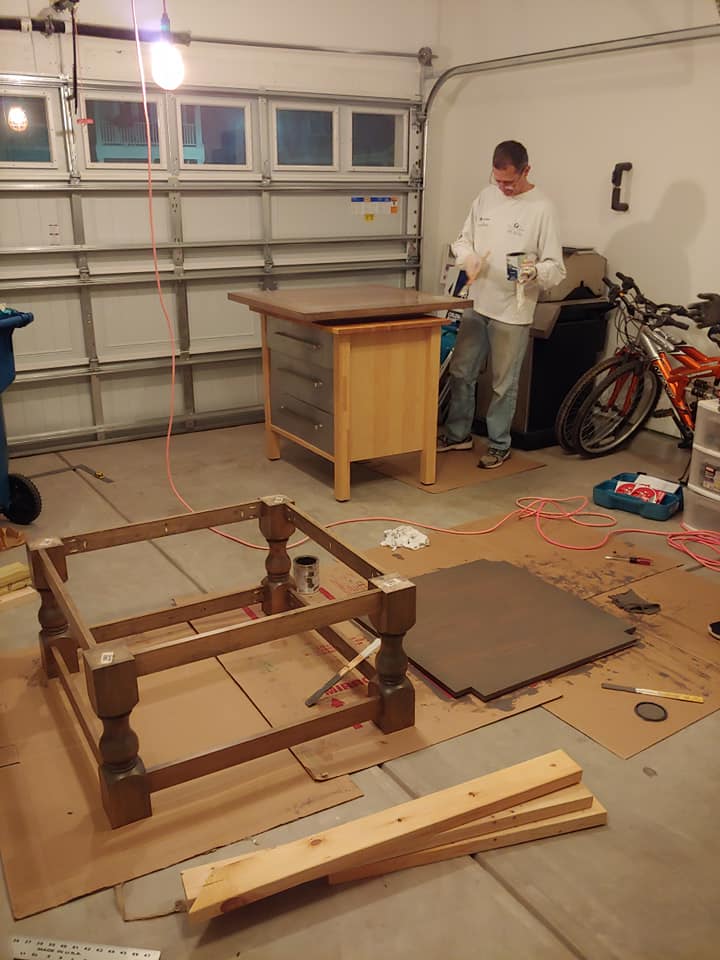
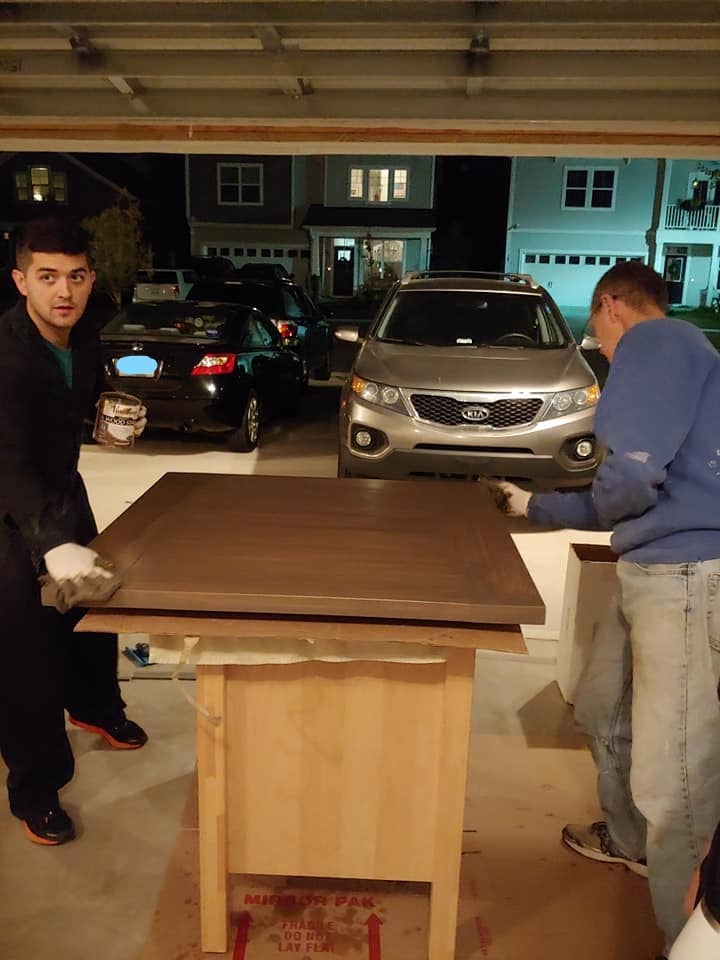
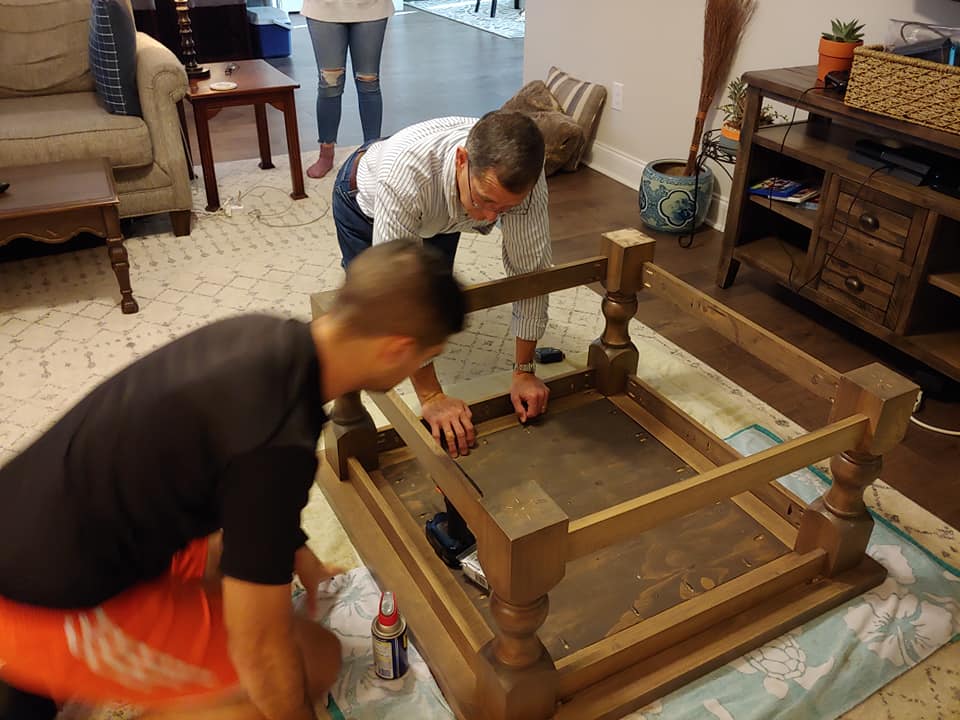
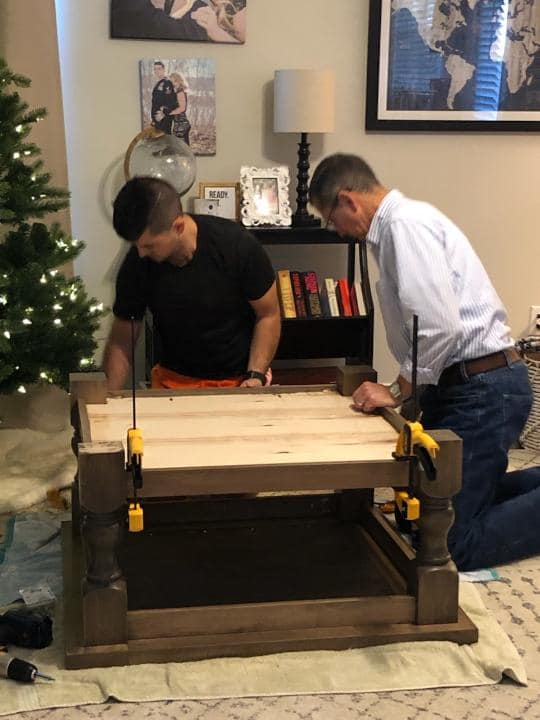
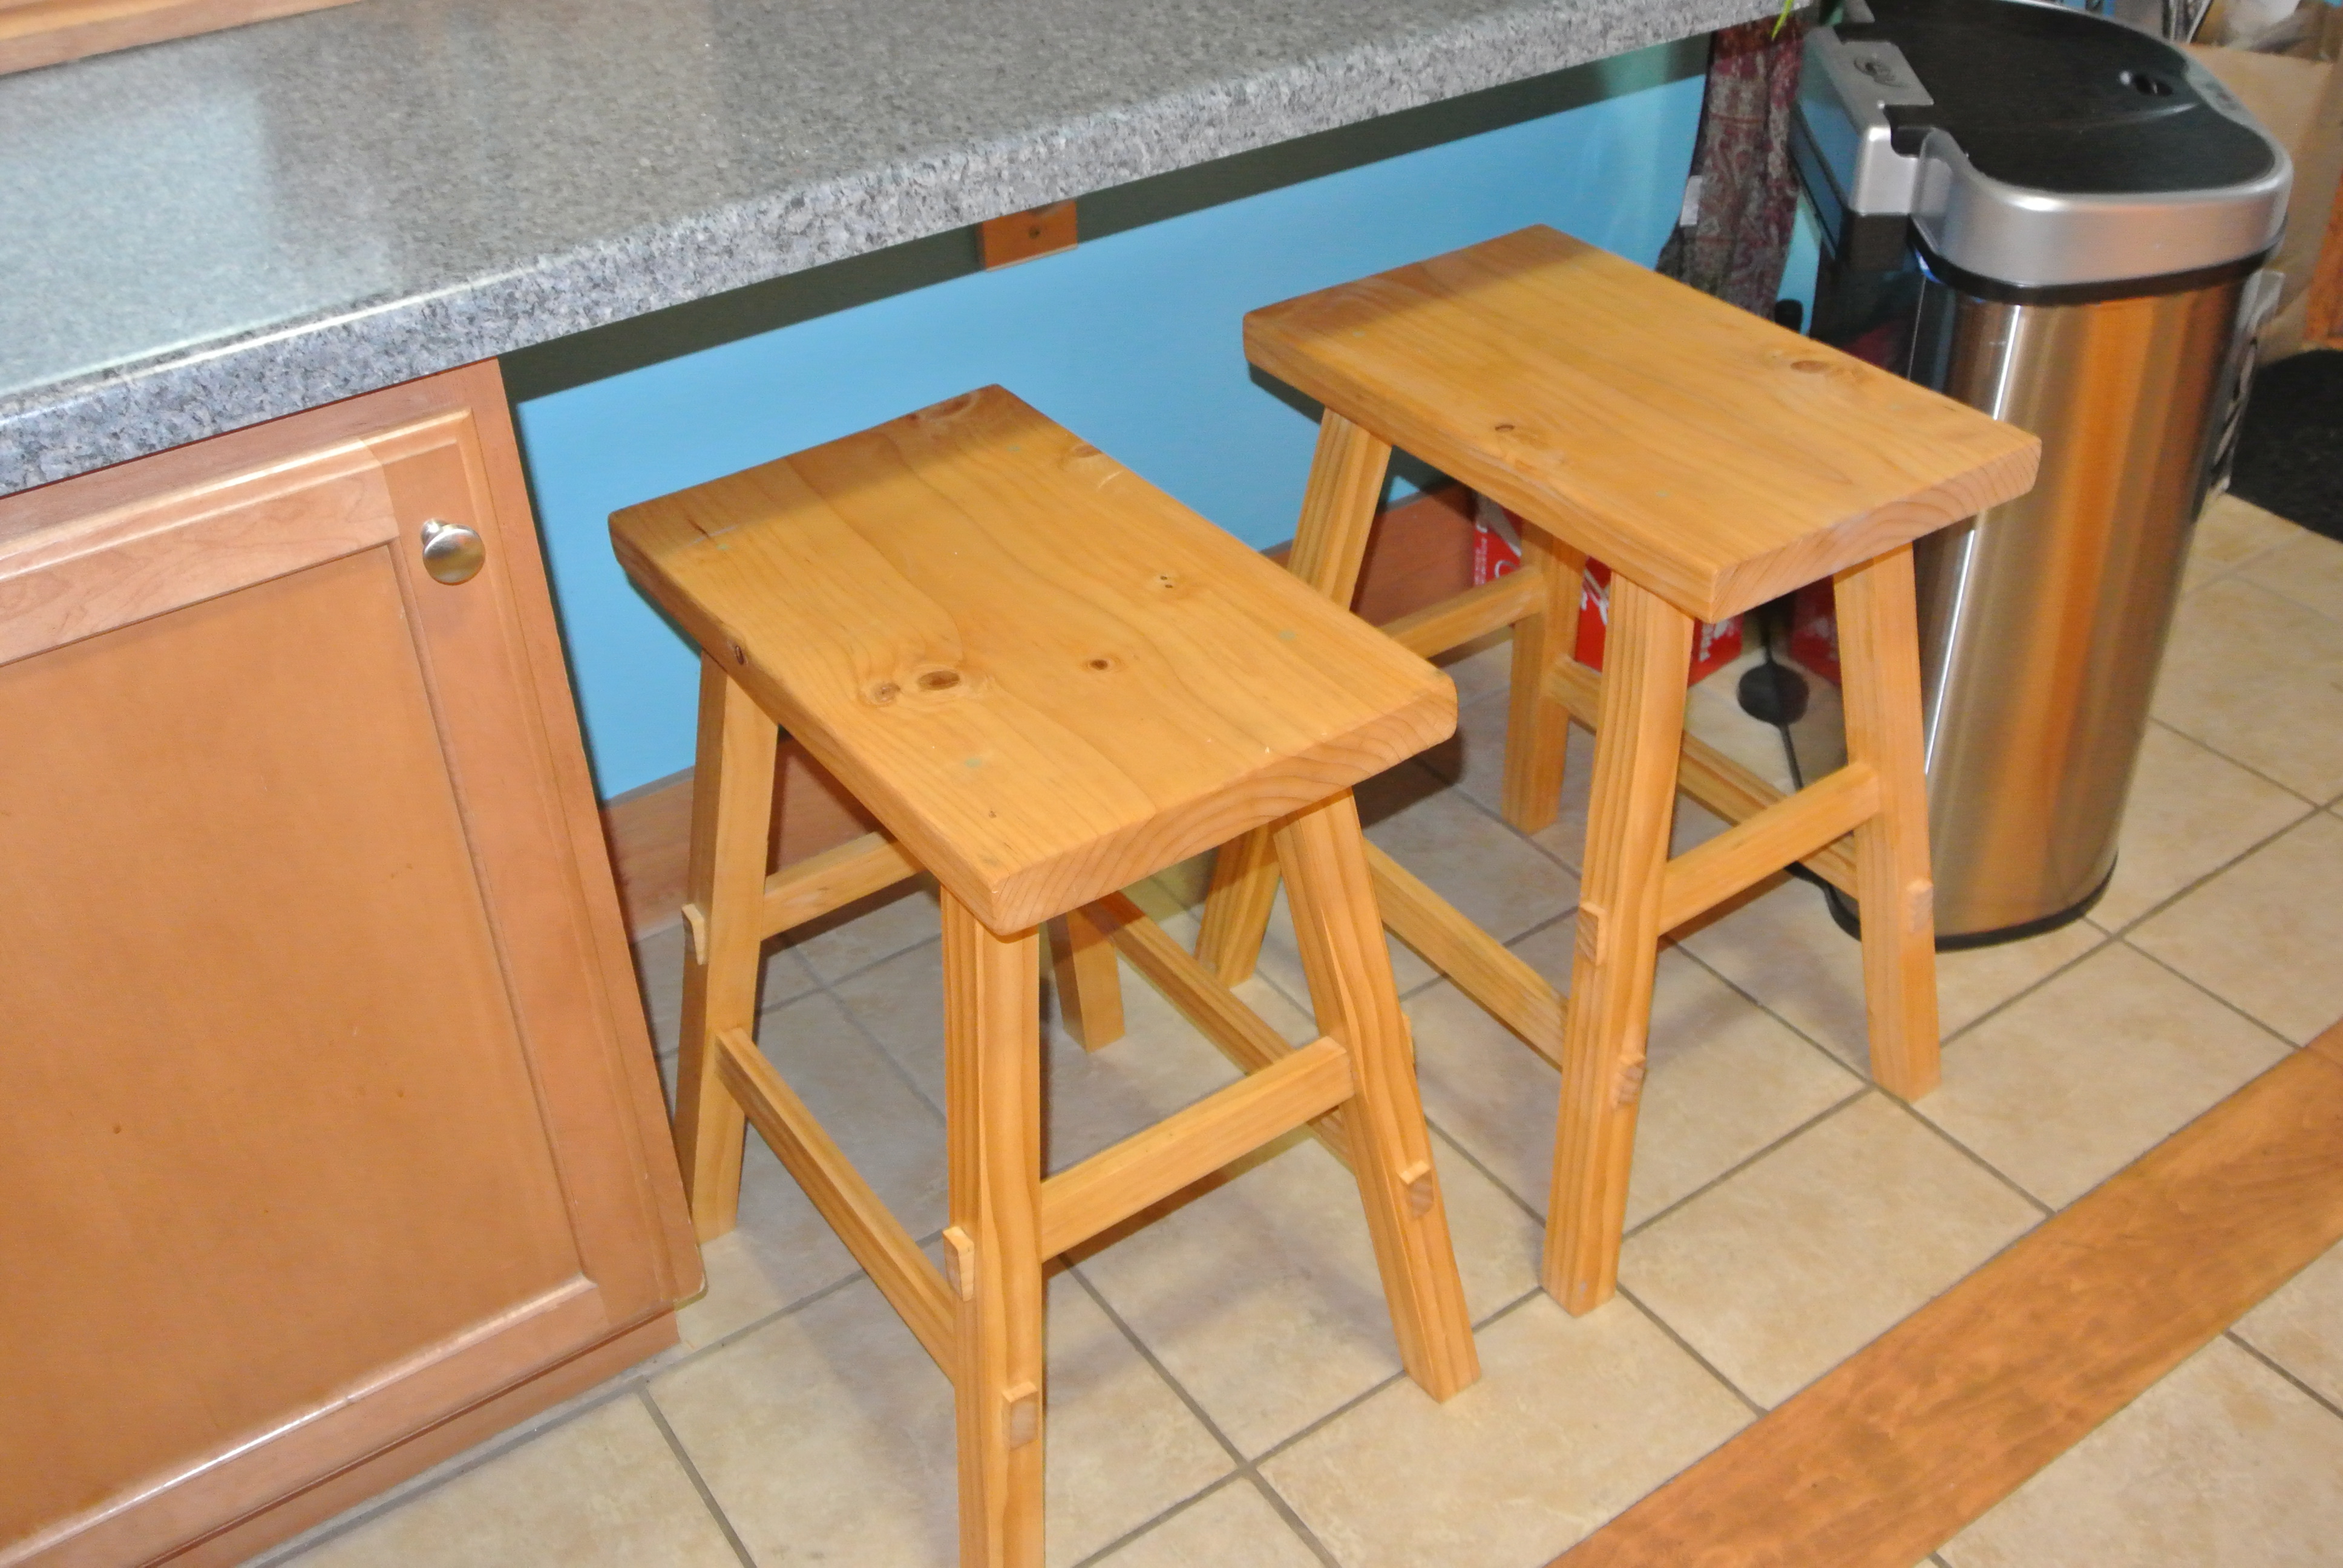
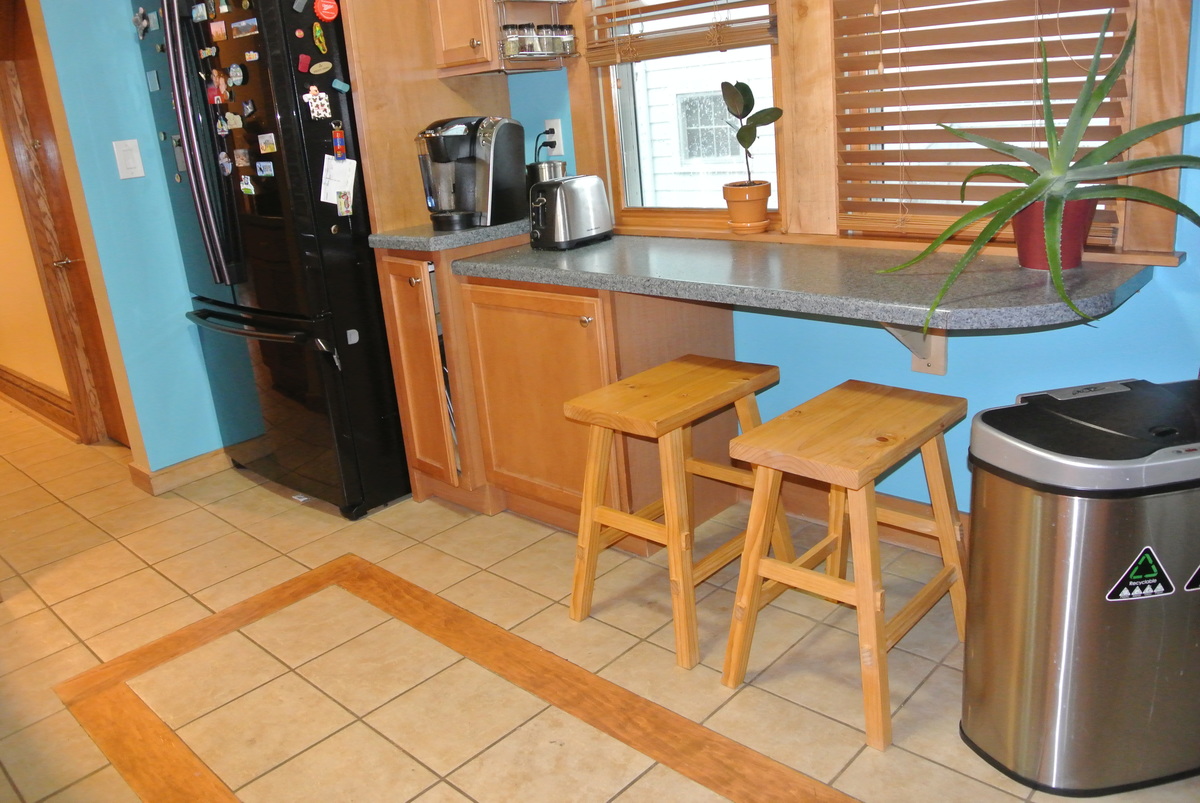
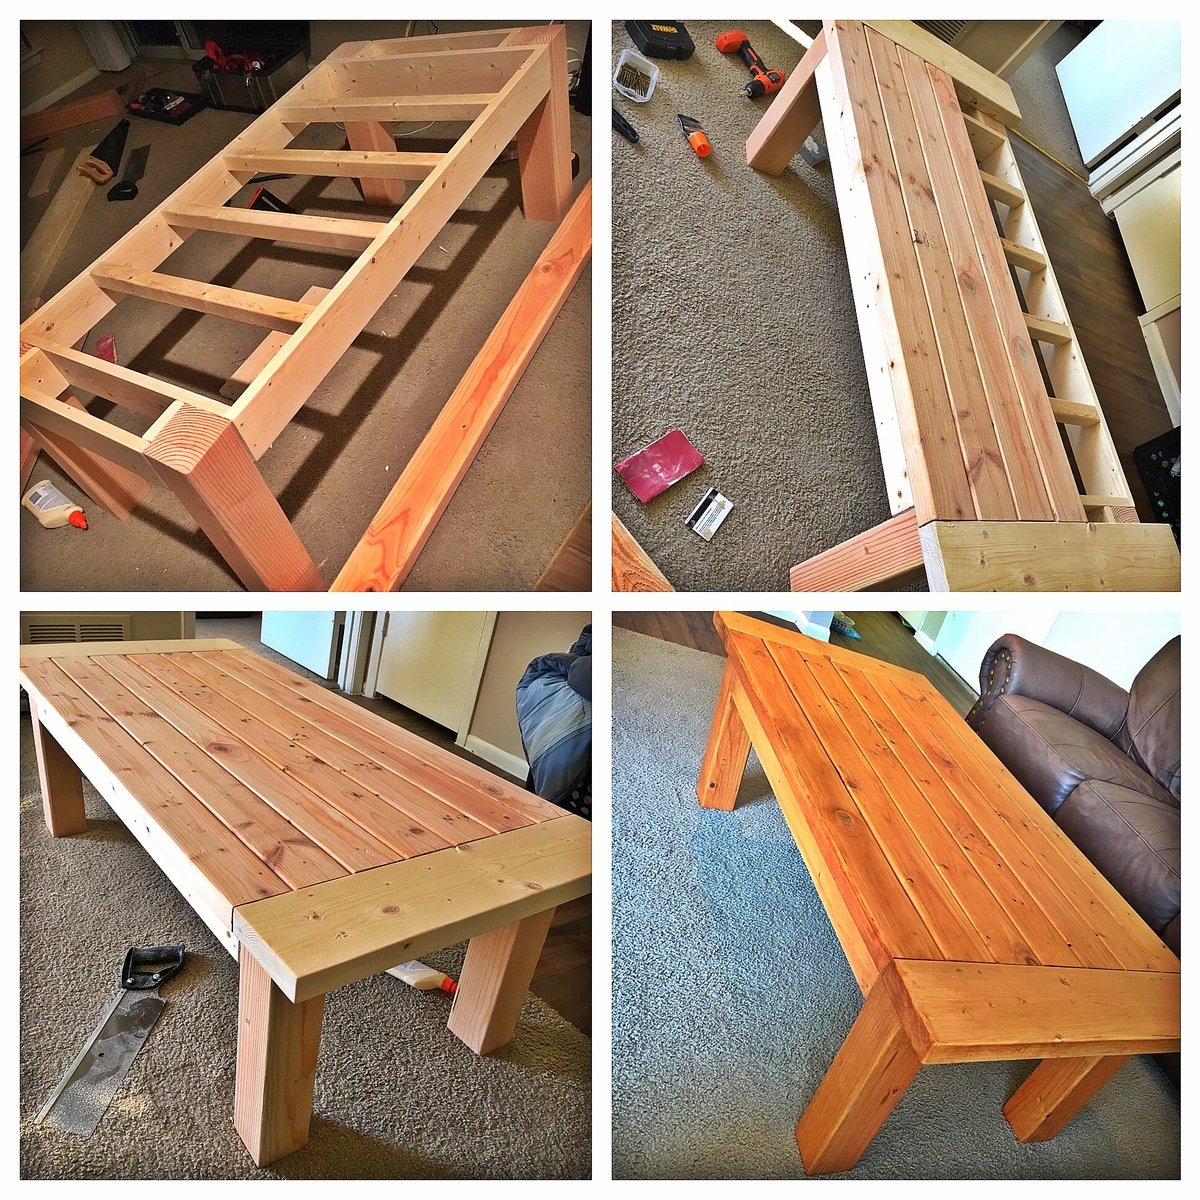
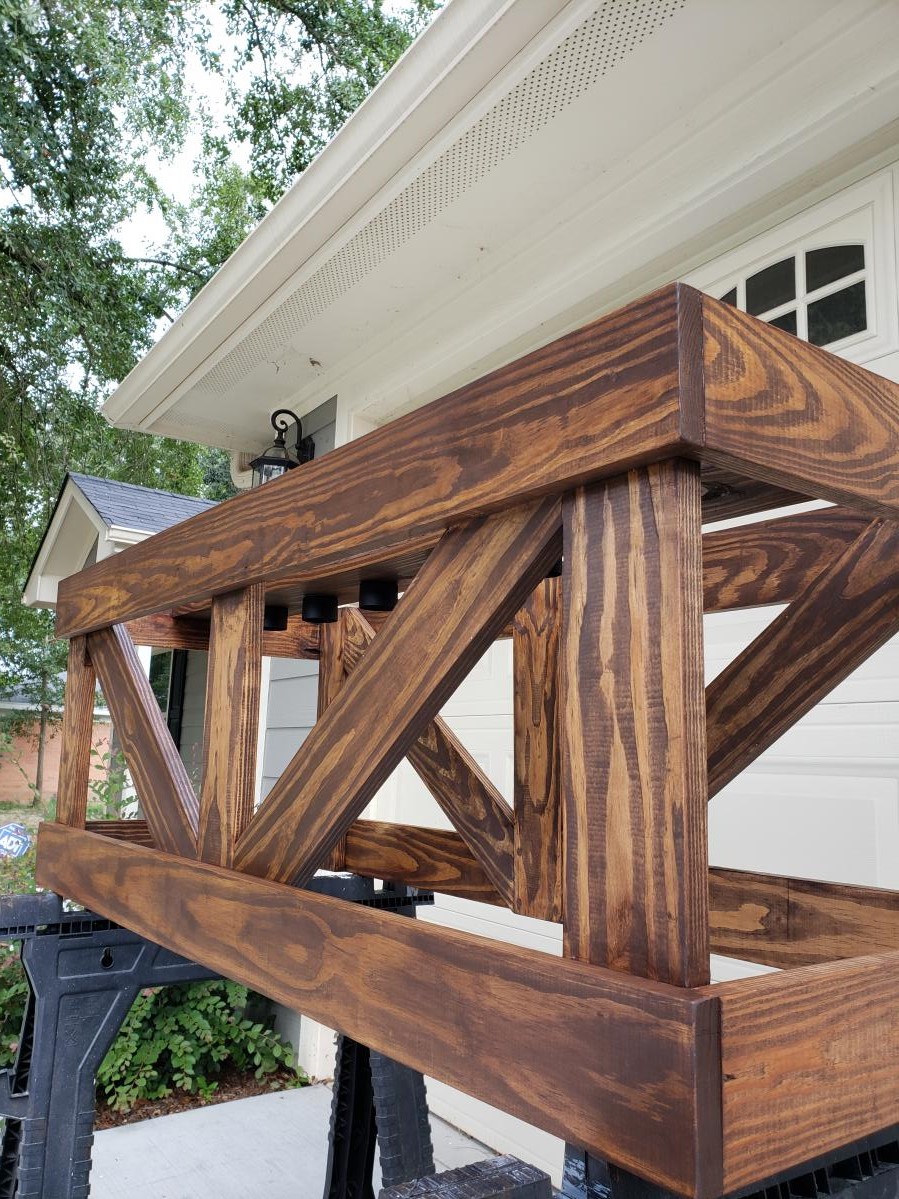
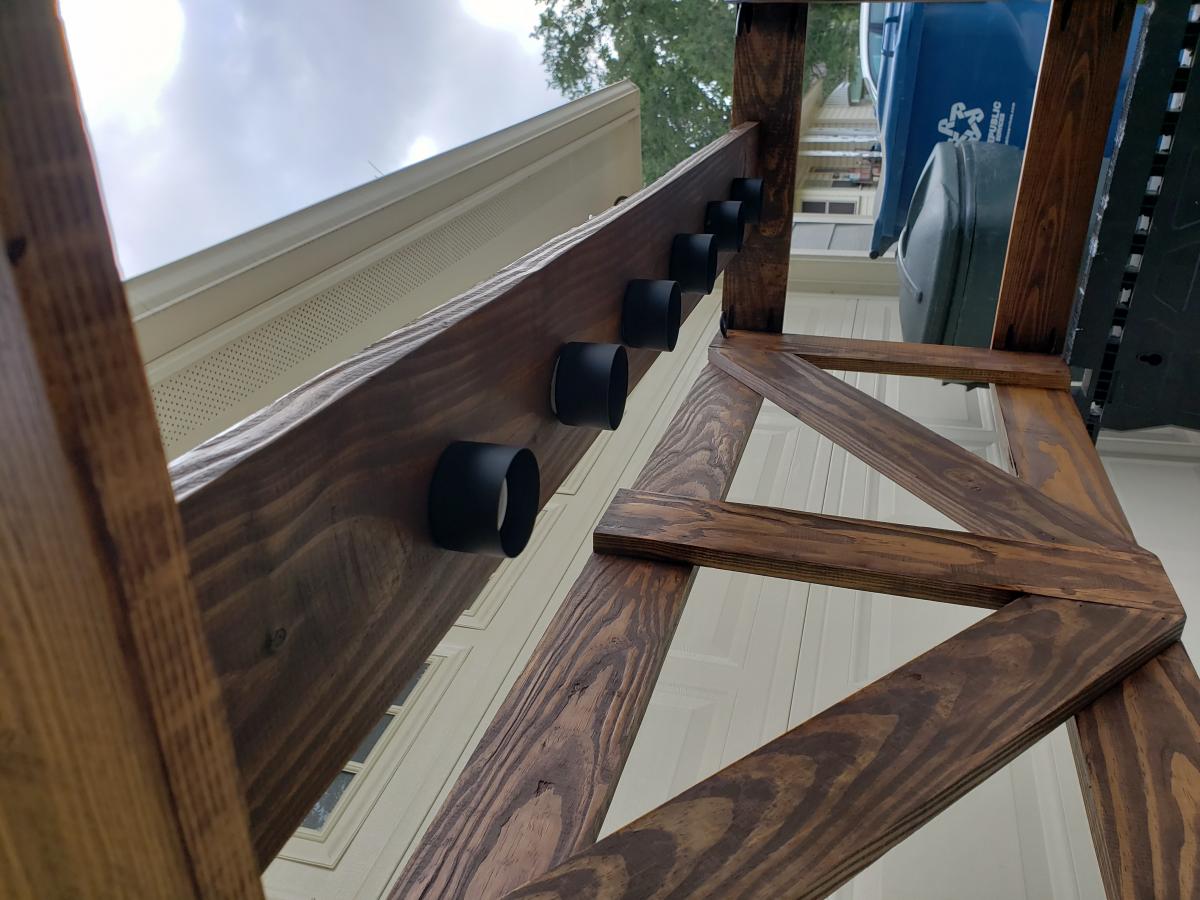
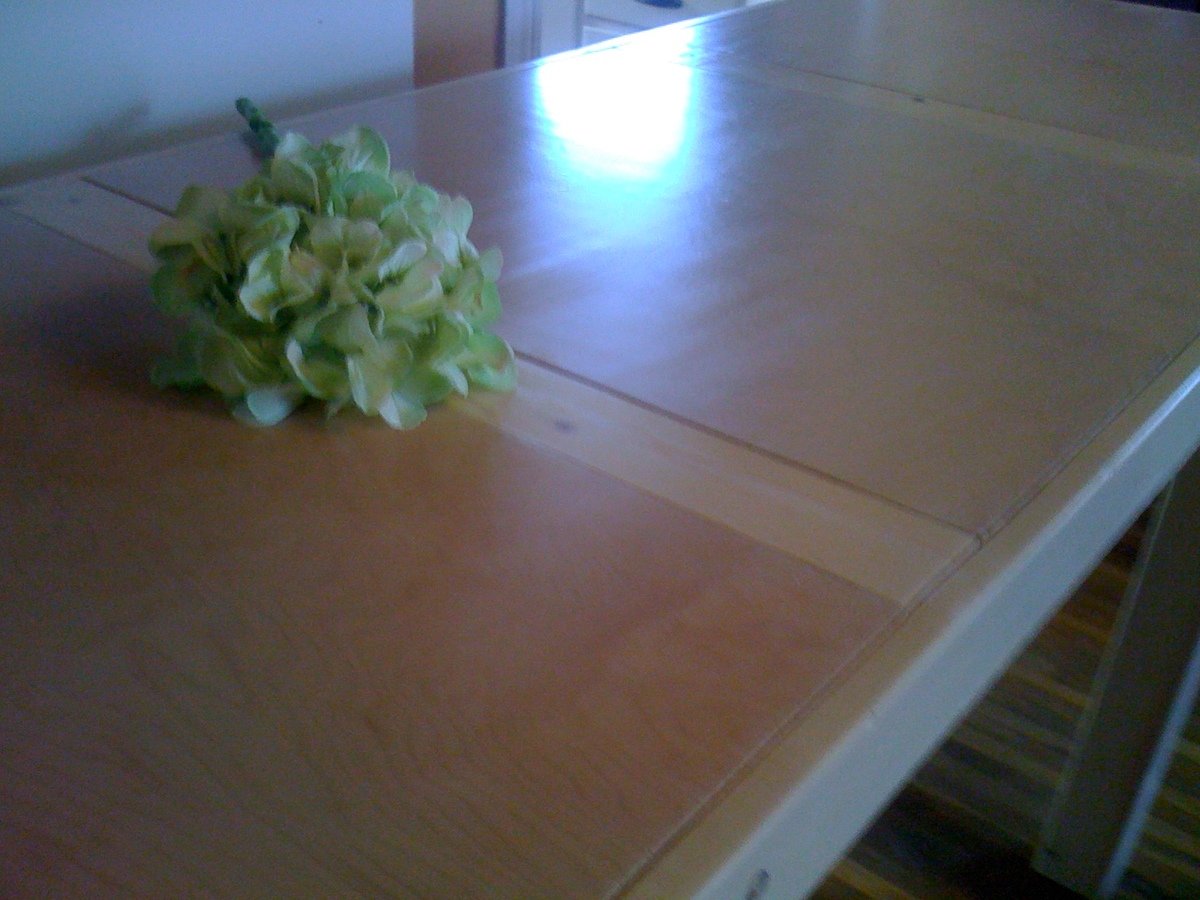
My husband made this with a few tweaks: taller dividers to be even with the sides, smoothing of edges, and handles! It was perfect for our salad bar and pizza party!

Estimated Cost
$0 (used scrap plywood)
Estimated Time Investment
Afternoon Project (3-6 Hours)
Finish Used
none, but we plan to use butcher block oil/sealer
Recommended Skill Level
Beginner

Comments

Banquette Bench with Flip Up Storage

Submitted by Anonymous (not verified) on Mon, 04/24/2023 - 08:35

Thank you, Ana, for the banquet bench plan! I’ve never done any form of carpentry before, but with your plans, the right tools and some perseverance, this labour-of-love is my new pride and joy and has added some much needed storage to my small kitchen.
Angela (London)

Comments

one more farmhouse doll bed

Submitted by justqltin on Wed, 12/28/2011 - 19:27

A cooperative project. Hubby made the bed and I did the bedding.

Estimated Cost
$10
Estimated Time Investment
Afternoon Project (3-6 Hours)
Finish Used
going to paint it white
Recommended Skill Level
Beginner

Comments

Pottery Barn Inspired Dresser

Submitted by Anonymous (not verified) on Wed, 02/03/2016 - 07:21

My husband built the dresser for our three-year-old son. He built and stained the dresser over the course of a week.

Estimated Cost
$300 including slides and pulls. We used select pine which increased the cost.
Estimated Time Investment
Week Long Project (20 Hours or More)
Finish Used
Dark Walnut Stain. The drawers took more coats to match the frame and still ended up slightly lighter than the rest of the dresser.
Recommended Skill Level
Intermediate

Corona Coffee Table - Square

Submitted by oneillrp on Sat, 07/27/2019 - 11:44

Built this table out of solid Maple, which made it much more expensive to build, but such a beautiful piece of furniture. I bought the legs from Osborne Wood. One thing I did to cut down on cost was to use 1" X 6" wood for the 5 center table-top boards instead of the 2" X 6" called for in the plans. Underneath those, I put a piece of 3/4" plywood to increase the thickness to match the (4) 2" X 6" outer edges. This is not visible unless you climb under the table to look at it from underneath but I think it actually helped to create a flat (almost seamless) table top. Thank you for the plans! I put a lot of work into this piece and I think it will remain in my family for generations!

Built from Plan(s)
Estimated Cost
$700.00 (
Estimated Time Investment
Weekend Project (10-20 Hours)
Finish Used
-3 coats of Varathane Stain (the color is Briarsmoke)
-2 coats of Varathane Polyurethane (Matte Finish)
Recommended Skill Level
Intermediate

Entryway Closet Drawers - Done

Submitted by cdswhite on Sun, 01/01/2012 - 20:28

We're still working on these but I wanted to show an in progress picture. Getting organized is fun! I've got lots more details on my blog if you're interested.

Update: We're all done with the drawers and they are the perfect way to organize and create storage in the entryway. It was a lot work getting them to fit into the closet but well worth it.

Built from Plan(s)
Estimated Cost
$110
Estimated Time Investment
Weekend Project (10-20 Hours)
Finish Used
We'll be painting these white when they're all done.
Recommended Skill Level
Intermediate

Comments

sdevost (not verified)

Tue, 09/04/2012 - 11:21

Do you have a detailed how-to for these closet drawers.
I love the cut out portion at the top - and I have been trying to find an affordable alternative to the Ikea Stolmen drawers ($120 for 2 drawers)
If you could perhaps send me some details on materials, sizes, how you did the cut out at the top - that would be great.
Thank you
Stephanie

Cayden Stool

Submitted by hechoenwi on Tue, 11/19/2013 - 15:06

This was my very first project. I wanted to jump right in and start with a Storage Farm House bed but my husband was convinced that I would start a project and just leave it hanging and insisted that I start with something smaller. He was sooo impressed with these stools! I originally had planned to upholster the top as in the plan but we preferred the look with out it! The plans were very easy to follow.

Estimated Cost
$80 for two chairs
Estimated Time Investment
Day Project (6-9 Hours)
Finish Used
Ipswich Pine - Minwax
Recommended Skill Level
Beginner

Coffee table

Submitted by Anonymous (not verified) on Fri, 02/05/2016 - 05:52

Pretty easy just followed the plans 

Estimated Cost
$60
Estimated Time Investment
Day Project (6-9 Hours)
Recommended Skill Level
Beginner

Farmhouse Chandelier

Submitted by Anonymous (not verified) on Mon, 08/12/2019 - 10:50

Farmhouse chandelier that I'm building for a customer. I used a vanity bar light for the lighting for the chandelier. I just have to add the Edison bulbs and chains and it will be done!

Got my confidence in building back!!!!

Submitted by Anonymous (not verified) on Fri, 05/05/2023 - 03:45

I woke up one morning and decided this space couldn’t go on without a day bed. One week later I am standing tall. This is my first intermediate build. Excited to jump into the next project!

Built from Plan(s)

Comments

Numbered Cubbie Modified

Submitted by jlandr on Wed, 01/04/2012 - 09:36

This is my first woodworking project ever. I didn't like the numbers in Ana's plan so I changed it up a little for my taste. I also made this to sit on my desk and added felt to the bottom so that it wouldn't scratch the surface when my kids moved it around. It probably should have only taken me an hour but I was having issues with the brad nailer and not nailing straight.

Built from Plan(s)
Estimated Cost
$5 for the furring strips, I had the nails.
Estimated Time Investment
Afternoon Project (3-6 Hours)
Finish Used
1 coat white spray paint, 1 coat blue spray paint, I used acrylic paint for the letters and then sanded the edges and over the letters when they were dry.
Recommended Skill Level
Starter Project

Dinning room table

Submitted by Btpowell on Thu, 11/21/2013 - 09:19

Needed something I could put together between work in a few weeks to serve thanksgiving on. The base of the table is modified from Ana's build and the table top is a frame I built and filled with log slices and clear epoxy resin

Built from Plan(s)
Estimated Cost
100 for lumber.
Estimated Time Investment
Weekend Project (10-20 Hours)
Finish Used
Dark walnut then red oak
Recommended Skill Level
Intermediate

Comments

kennonr79

Thu, 11/21/2013 - 10:14

Awesome idea for the top. Would love to see a pic of the finished product!

kennonr79

Thu, 11/21/2013 - 10:14

Awesome idea for the top. Would love to see a pic of the finished product!

spiceylg

Thu, 11/21/2013 - 12:15

Love it and I agree with kennonr79, would love to see a pic of the finished product! So unique!

Farmhouse Table for Thanksgiving

Submitted by Midorable on Sun, 02/07/2016 - 12:55

My husband and I bought our first house back in October and wanted to build a table so we could host Thanksgiving dinner at our new place. With the help of my dad and his collection of tools, we were able to use the farmhouse table plans from Ana-White which turned out nicely. We used a dark walnut stain and a couple coats of MInwax Helmsman Spur Urethane.

Estimated Cost
$130
Estimated Time Investment
Weekend Project (10-20 Hours)
Finish Used
Dark Walnut Stain
Minwax Helmsman Spur Urethane
Recommended Skill Level
Intermediate

Side Table

Submitted by Anonymous (not verified) on Sat, 08/31/2019 - 06:24

First thing my husband has ever attempted to build and I love it! Thanks Ana!!

Built from Plan(s)

Comments

Maple Console Table

Submitted by Anonymous (not verified) on Wed, 05/10/2023 - 17:24

Table was made from curly maple that was glued into 12" widths to match the panel widths of 12". Client loved the look.

Built from Plan(s)

Comments

Tryde Media Hutch

Submitted by Anstar on Fri, 01/06/2012 - 13:28

My husband and I worked together to build this project. We built the bottom in November 2010, then built the top hutch in January 2012. The project itself was easy to understand, but holding everything together and getting it square took a bit of work. We do not have a Kreg Jig or clamps, either of which would have been very helpful. However, we were able to complete it using our own best efforts, and we are very pleased with the results.

Estimated Cost
$125
Estimated Time Investment
Weekend Project (10-20 Hours)
Finish Used
Minwax Pre-Stain Wood Conditioner
Minwax Polyshades in Antique Walnut
3 coats with old brushes, lightly sanded with steel wool between applications. Next time, I'll use foam brushes. The conditioner was a great choice, I think it really improved coverage.
Recommended Skill Level
Intermediate

Comments

Anstar

Sun, 01/08/2012 - 10:27

I regularly sit on the front of it when our living room gets too crowded. I'm sure I wouldn't do that with a store bought flat pack tv stand!

8 Foot Standing work table for trade

Submitted by ksmith311 on Sun, 11/24/2013 - 11:29

We built this 8 foot long standing work table in trade for a friend. It turned out great! We had some scrap 2'x2' pieces of white maple plywood that we used for the top and framed them out with 1x3's. Then we made a simple base of 4x4s and 2x4s. It is a super simple table but it's so pretty!

I've been eyeing Rustoleum's new wood stain called "Willow" so I decided to give it a try for this project. It is sooo pretty. It lightens the wood almost like a white wash but it has this pearlescent quality to it and I'm swooning for it! Then we put 2 coats of satin poly over the top and legs. I prefer to use wax but he is using the table as a work surface and needed something a little stronger.

Estimated Time Investment
Day Project (6-9 Hours)
Finish Used
Rustoleum "Willow" and minwax satin Poly
Recommended Skill Level
Intermediate

Modern Bunk Beds in Antique White

Submitted by arlo on Wed, 09/18/2019 - 18:46

I used the overall dimensions from the plan for the beds. Some differences:

  1. For the ladder we wanted less footprint, so attached it vertically.
  2. I modified the guard rail to attach to the top of the side rail, and the side of the vertical board. These were fastened with pocket screws. This method eliminates the support 2x4s that would jut into the mattress area.
  3. I cut the ladder and guard rail corners to 45 degrees and routed the edges.
  4. I used just 2 bolts and nylon lock nuts per connection, which is plenty strong enough since the weight is on the vertical 2x4s.
  5. We used IKEA LUROY slatted bed bases to support the mattresses.

Tips:

  1. When you prepare the vertical boards with notches, be sure to use the same 2x6 boards that will be your actual side rails. I accidentally used one from another job that was slightly narrower, so I had to open up those notches when I assembled.
  2. Be sure to test fit everything before painting, including drilling for the bolts.
  3. Pre-drill and counter sink the holes in the vertical supports and in the 2x2 slat supports. Then use wood screws.
  4. If the bed base is noisy, wax the support rail. Renaissance Wax works great.
  5. For any job using pocket screws, be sure to set the tool for the correct board width. I accidentally had it set for 3/4, so had to fill those holes and flip the guard rail and re-drill for 2-1/2.
  6. For the 1/2" gaps, I used scrap boards, teed together as spacers. You can see in the photo of the guard rail.
Built from Plan(s)
Estimated Cost
$150
Estimated Time Investment
Weekend Project (10-20 Hours)
Finish Used
Latex based, Antique White. 2-3 coats as needed. This used about 3/4 of a gallon.

For a better finish you should use a proper primer first.
Recommended Skill Level
Beginner

Farmhouse Bed

Submitted by Anonymous (not verified) on Wed, 05/17/2023 - 07:49

Easy to make. I’m in love. Thanks for the super simple plan to follow.

Built from Plan(s)

Comments

queen bed frame

Submitted by CoreyS on Sun, 01/08/2012 - 20:39

This was my first build! I do enjoy this bed unfortunatly i found ana's blog just after i had built it. next time i build a bed i am totally building the farmhouse bed to match the farmhouse nightstand i also just built and will post. hopefully ana in her busy life will find time to post a plan for a farmhouse tallboy dresser to match!

Estimated Cost
$100
Estimated Time Investment
Week Long Project (20 Hours or More)
Finish Used
two coats of minwax mission oak polyshades followed by a coat of minwax semi gloss poly
Recommended Skill Level
Intermediate