Narrow console table
First build! Love the way it turned out! Used stain in color “Briarwood”.
I built this toybox for my son's first birthday. It took about a week to do, starting and stopping. I got Lowes to cut the plywood for me, and screwed everything together. Wood filler filled the countersunk holes, and a coat of primer and two coats of paint finished it off.
After everything dried, my wife added the name and crown in vinyl cut out using her Cricut.
This has been a project all summer and I was so excited to find that Ana had made a mantle. I had to make it bigger and I had so much fun making it! Thank you Ana!!!
Mon, 01/04/2016 - 10:12
Could you let me know which pieces you had to adjust to fit your fireplace? If possible, if you still know the width changes? I'm a new wood worker, but would love to try and adjust this to fit our fireplace, ours looks to be the same size as yours. Thanks for your time!!
Paul
This was my first table project. I needed additional desktop space in my home office. This table was easy to build.
This was my first attempt after finding the site. I was so happy with the ease of the plans and the way it turned out i made the dining table
My son asked me to build him a narrow desk for his bedroom, with lots of drawers. This desk is a modified version of the Brookstone desk, with 7 drawers on the side and a pull-out writing surface (inspired by the pull out surface LadyGoats added to the Mod bar wine grid base – Gina’s pictures from her blog were really helpful!) The top measures 16 ¾ x 48 (top is a 1x12 and 1x6 edge joined with pocket holes). Lots of pocket holes on this one, because it’s stained and I didn’t want to fill nail holes. For the color we were trying to match the PB small printers desk Chestnut color. The pulls are antique bronze from Lowes. The drawers slide directly on the wood, because I knew I wouldn’t have the patience to install 8 sets of drawer slides ;) used ¾” S4S and 1x2 to hold the drawers. The drawer bottoms and the wood all got a coat of soft wax, and they slide nice and smooth. This took about 20 hours to build and finish over a long weekend. My son said he thought it looks amazing, which is the best part!
Tue, 10/30/2012 - 07:09
This looks awesome! Love those drawers, colors, handles-everything!
Tue, 10/30/2012 - 07:29
Thanks LisaTen! This was a fun build, especially since it was for my son, the college student :) :) (proud Mom smiles)
Sat, 11/03/2012 - 10:35
Thanks Gina! I'm glad you like the desk, and especially glad you added your link to the tutorial. :) I couldn't have done the pull out without it! I can't wait to see your desk, I'm sure it will look awesome!
Thu, 09/05/2013 - 07:49
JoanneS,
I think I've just found my design for my fly tying desk! I was wondering how wide you made the drawer base and how tall each drawer is?
Thanks,
Ben
Wed, 09/11/2013 - 02:19
Hi Ben,
Sorry I'm so late replying, I just saw I had this comment. The drawer base on this is 16 1/4" wide, and each drawer is 2 3/4" tall (a 1x3 with 1/4" plywood as the bottom). I'm kind of a spreadsheet geek, so I have all the measurements and cut lists in an Excel file. If you would like to have these, please send me a message via "contact" on my profile, and I'll reply with the attachment. Thanks for commenting, glad you like the desk! :)
Joanne
I needed a place to store towels and other items in my bathroom. This was the perfect project for this. I have friends begging me to make one for them. Not too hard and it definitely does the job!
I built this table from your Farmhouse table plans for my friends. They did the fabulous job of staining it.
Great site!
Needed new desks for remote learning and working from home. Easy to build and we love them. This is 1 out of 2.
I loved the look of the farmhouse table, but it was a little long for what I needed as our kitchen table. The original plan made a longer dining room type table. I decided to shorten it up a bit, it has a bit more of a stocky look to it but we love it! It is such a solid design, and we get such great compliments on it. I used wooden dowels to fill the screw holes which gave it a bit more country look to it because the vinegar stain turned them a slightly different color than the tabletop.
Hi Ana,
My wife and I wanted to creat a caboose bunk bed for our boys. When we saw the cabin bed plans we loved the look for the caboose. We used your plans as a guide and made a few modifications. We are really happy with how it turned out! It just needs a ladder and maybe some train wheels. Thanks for sharing your wonderful ideas. They have inspired us!
Travis and Krista Lundell
Tue, 07/09/2019 - 19:32
Hey there. Do you have measurements or a description of how the top modification part was done?
my father wants to make a caboose bunk bed for my train Fanatic Son.
Thanks,
-Amanda
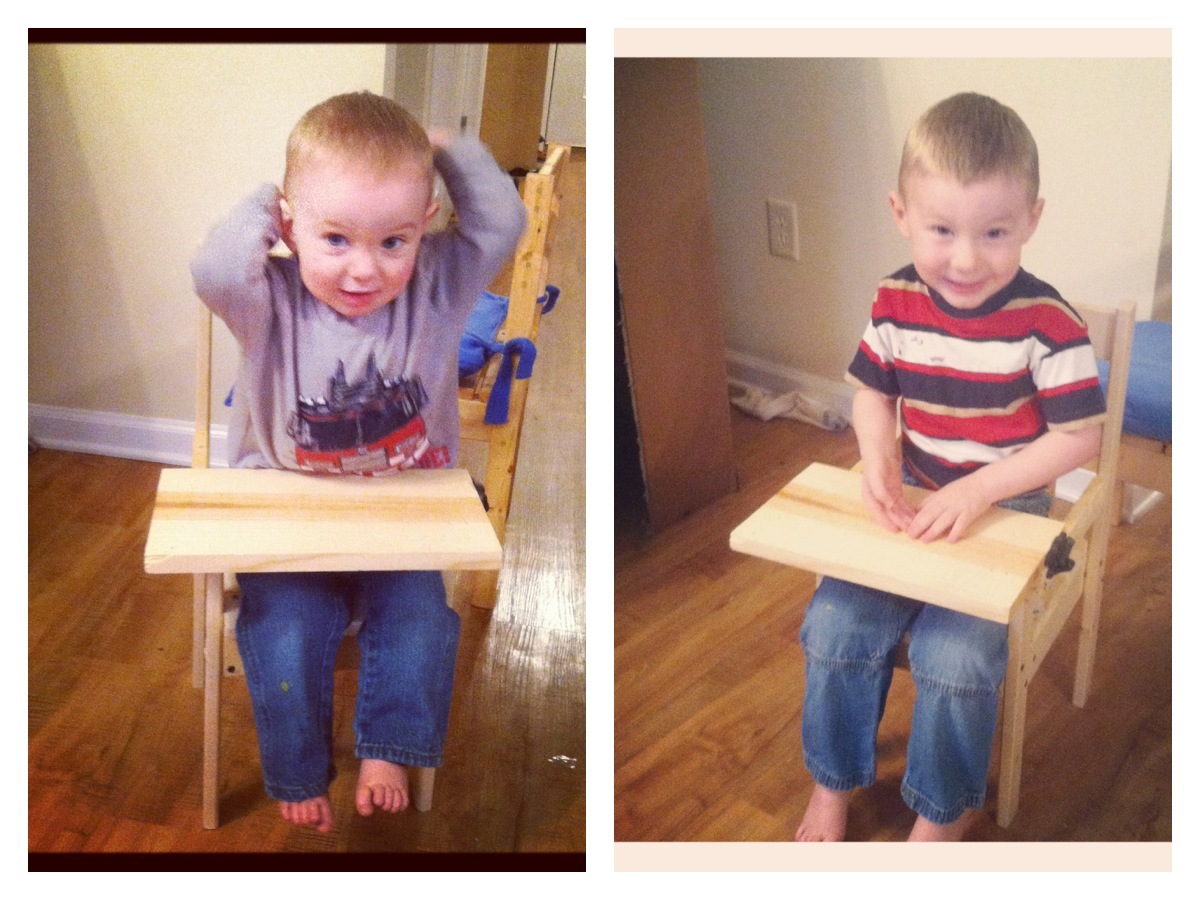
I made this for a friend whose son is turning 1. I wanted him to be able to sit in the seat without falling out, so at first I just planned on making arm rests (thus destroying the stack element, but he's an only child haha!). I had an extra piece of 1x8 laying around that turned out to be just long enough, and some hinges and a sash lock.
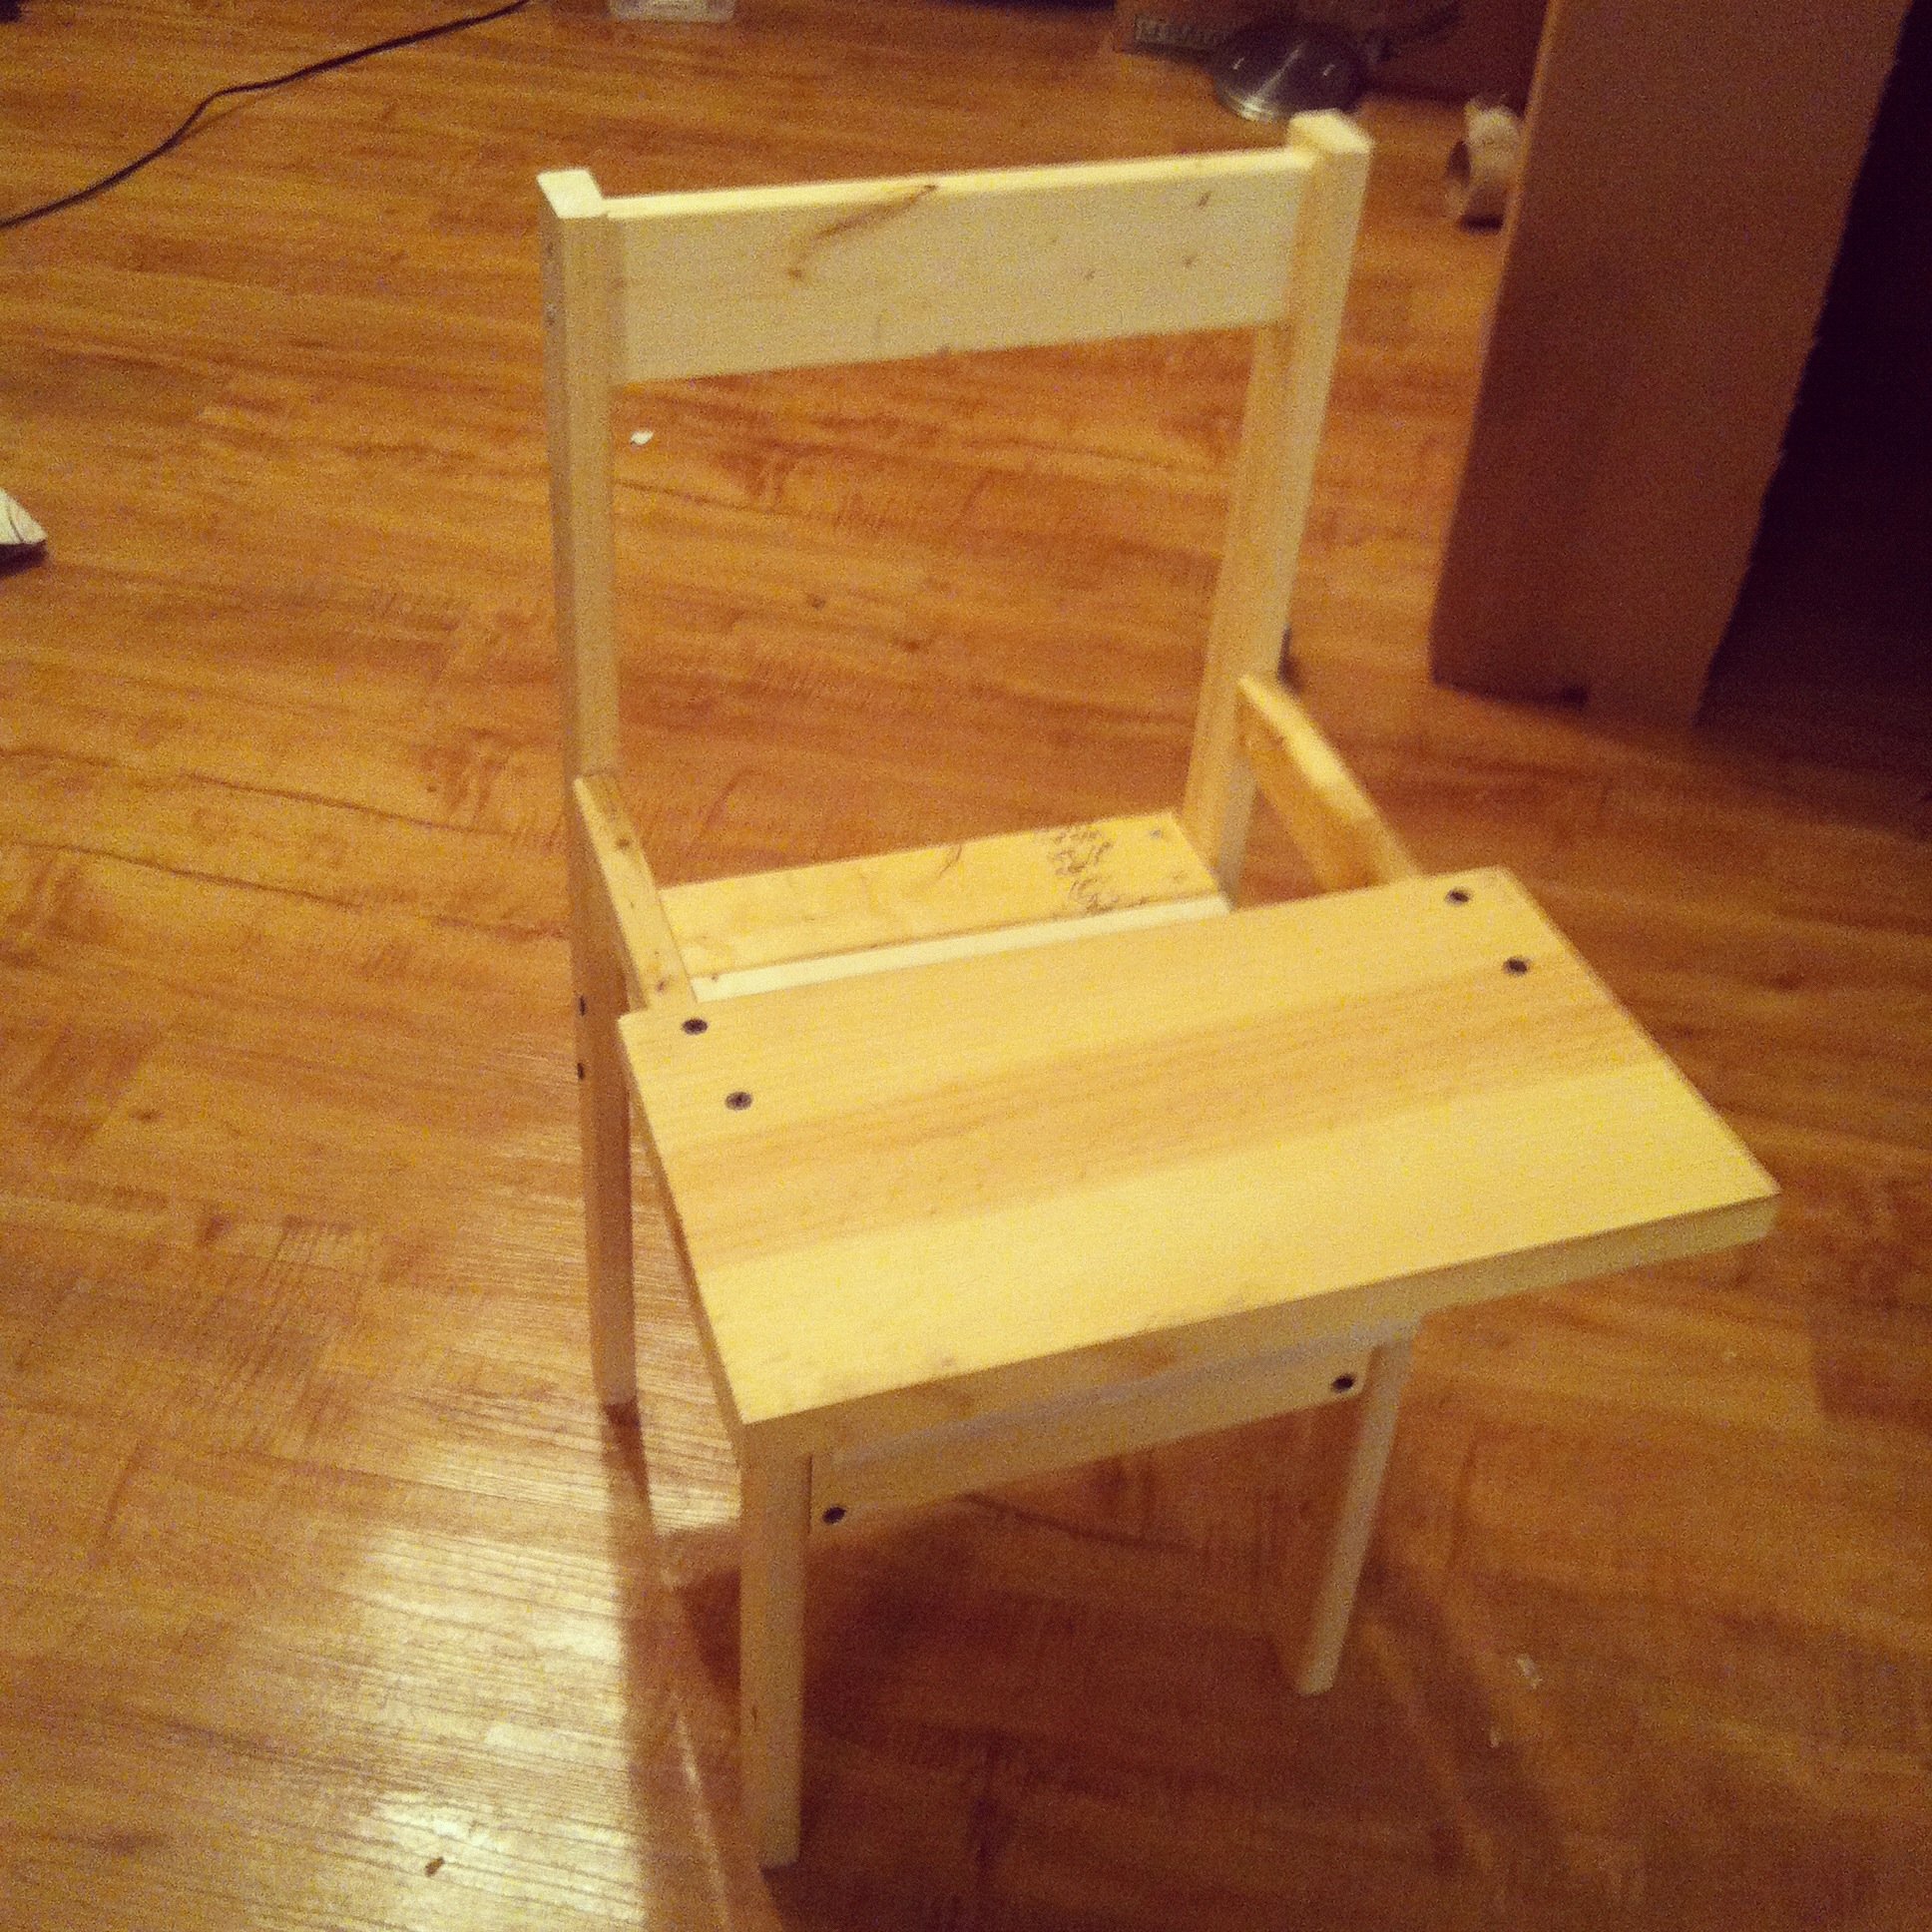
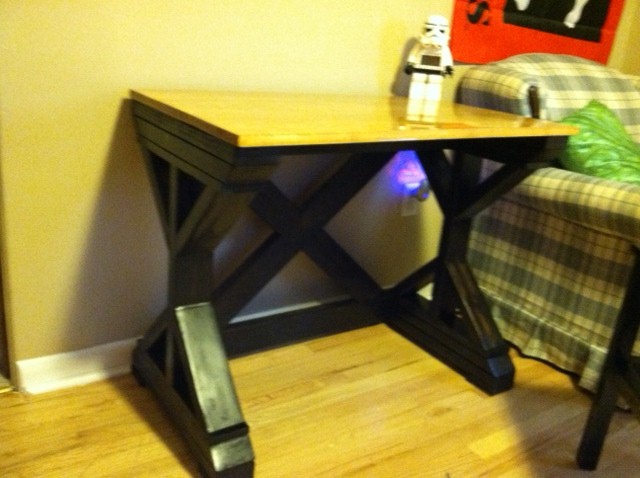
in the first picture, the desk is screwed on. I ended up changing it so he could use the desk longer! little legs can only squeeze into spaces for so long :)
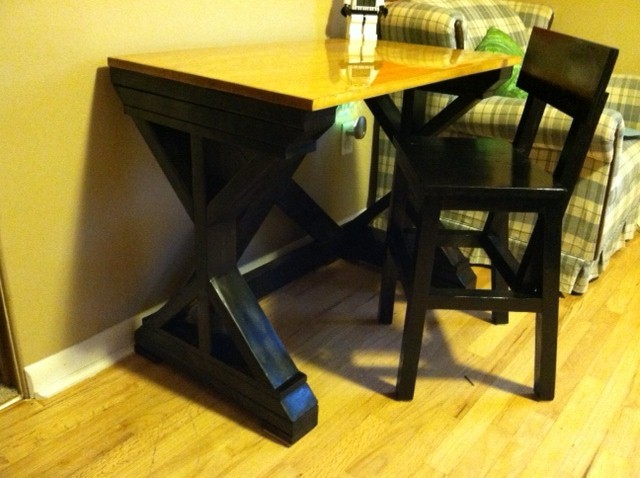
Long story short, for this project I took all of the measurements for the original stackable chair and took 2" off to make it more appropriate for his size, EXCEPT the front legs, which I actually added 5 inches to. The front legs then stuck up from the seat about 5 inches, and i attached a 10.5" 1x2 from the front leg to the back leg on each side. Hinges on one side of the 1x8 board, sash lock on the other, and voila! desk-chair!! and it fit my 15 month old AND my almost 3 year old! granted, it was a tight squeeze for the 3 year old, but he LOVES the desk and I'm planning on finding a way to convert his stackable chair into one :)
Tue, 11/06/2012 - 11:07
i brought it outside to sand yesterday and all of the kids in our row of townhomes were trying to play in it! i had 2 people ask me to make one for their kids! i hope a lot of other people can use this concept and make it even better for their kids! i feel like there have to be better hinges and lock sets than what i used, hopefully someone on here can make suggestions!
I modified the Farmhouse Console Table to serve as a entertainment center for our new 75" television. I removed the center shelf so that we could place our taller knick knacks there. I also put a 'hidden' shelf at the top and painted it flat black to hide the cable box, power strip etc. I also added a back to hide the wires. It turned out nice.
We started with a play table from Ikea, added a 1X3 lip around that and then built a train table top to the same dimensions as Thomas the Train tables, trimmed it with 1X2 and glue thin felt on the base. I built cleats uner the top to fit snuggley over the base table. The train top can be lifted off and the under table is perfect as a leggo table when my grandson is old enough for leggo.
My 40”x80” dining room table with equalizer extension slides that bring it to 110” when both leaves are installed. This was initially inspired by the Farm Hose trestle table. I've got details in some blog posts on my build. It’s not exactly the most complete blog with every detail, but it has a bunch of pictures along the way.
Sun, 11/08/2020 - 09:01
This is amazing and exactly what I'm looking for.. do you have plans for this table?
This was the very first project that my husband and I have ever built and it came out exactly as planned. We followed the instructions exactly as written and I’m in love with this table.
this is a much smaller version of the $55 Fancy "x" Desk. We did not have the space for the larger version and my son liked that one best, so this is as close as I could come. I also made him the Higher Chair. He is six and very tall with it, but a standard height table and chair still make him sit low enough that writing and working on projects can be troublesome. He loves this, and we had fun working on it together.
Mon, 11/12/2012 - 12:31
Sorry for the yellow and blurry photo, had to take with my phone!
Fri, 11/16/2012 - 14:10
I have this in my to do list and like you I want a shorter version. I was wonder how long you built yours?
I bought a box of oak scraps from a local lumber store - sold a firewood for $6.00 and I was able to get enough big pieces to make this step stool for my granddaughter.