Bigger Tryde Coffee Table
My sister put in request for bigger coffee table and 2 end tables, again, the building part was not that difficult, the time consuming portion was staining. But they turned out great!
Thanks for the great plans!! Finally got this monster put together.
My husband and I built the 10 dollar ledges to use for book storage in our nursery. I love how they allow you to display the books as well as store them. This is the second time we have used this plan for wall decor in our house, and our fifth build overall from one of Ana's plans. I love all the fun options!
For the small size, we only needed three boards so it was inexpensive and they came out great.
I wanted to build a planter box by our front door, which is not exposed to the weather. I based the design on the video I saw on YouTube for the “Easy Build DIY Planter Box” made from cedar and painted white.. Being based in Australia I amended the dimensions to metric, and used plywood rather than cedar. I am delighted with the finished product. So many thanks, Ana, for your part in making this planter box on the other side of the world.
Cheers Noel
Tue, 10/05/2021 - 09:33
Thank you for sharing from across the world, that is absolutely gorgeous!
I built this set for my friends little girl, Alice. She’s the same age as my son Benjamin, and needed a kiddie table and chairs!
I had some trouble with the chairs, I need to work on my clamping and squaring. Now that I have picked up a better countersink bit my issues with screws should be solved though!
The table was super easy with the kreg jig! I got it clamped down well for each corner and the aprons/legs screwed together like a dream! I love that the table doesn’t have a single screw marring the surface of the wood, they’re all pocket holes underneath!
The chairs have a few more screw holes than they should’ve had, but they don’t look too bad. I decided to leave them unfinished so she can decide on the right finish for her space.
Thanx so much for the easy to follow plans Ana!
I took the original plan and tweaked it to have the X's on the sides to go along with the Weatherly Outdoor Sectional I made. Also, added the top ledge to finish it off.
Cost was less than $20 just as the plan said. Use fence pickets and furring strips to save money!
This was my first wood working project. I made this bunny Easter basket for my son's first Easter. Everyone loved it. I can't wait to try other projects!
Industrial chandelier for our dining room made from black iron pipe pieces from Lowes and some leftover black walnut scraps. It was a sometimes frustrating design-as-you go project that required loads of help from my electrical engineer husband. Love how it finally turned out!
Simple beginner project. Would have preferred a more durable wood, but still a fun and quick project.
First I'd like to thank Ana for everything she does. Without her i would have never started building furniture, and without her I would have never picked up Google Sketchup and learned how to design my own furniture.
Ana, I can't thank you enough for the skills, hobby, and confidence you have given me. Thank you thank you thank you!
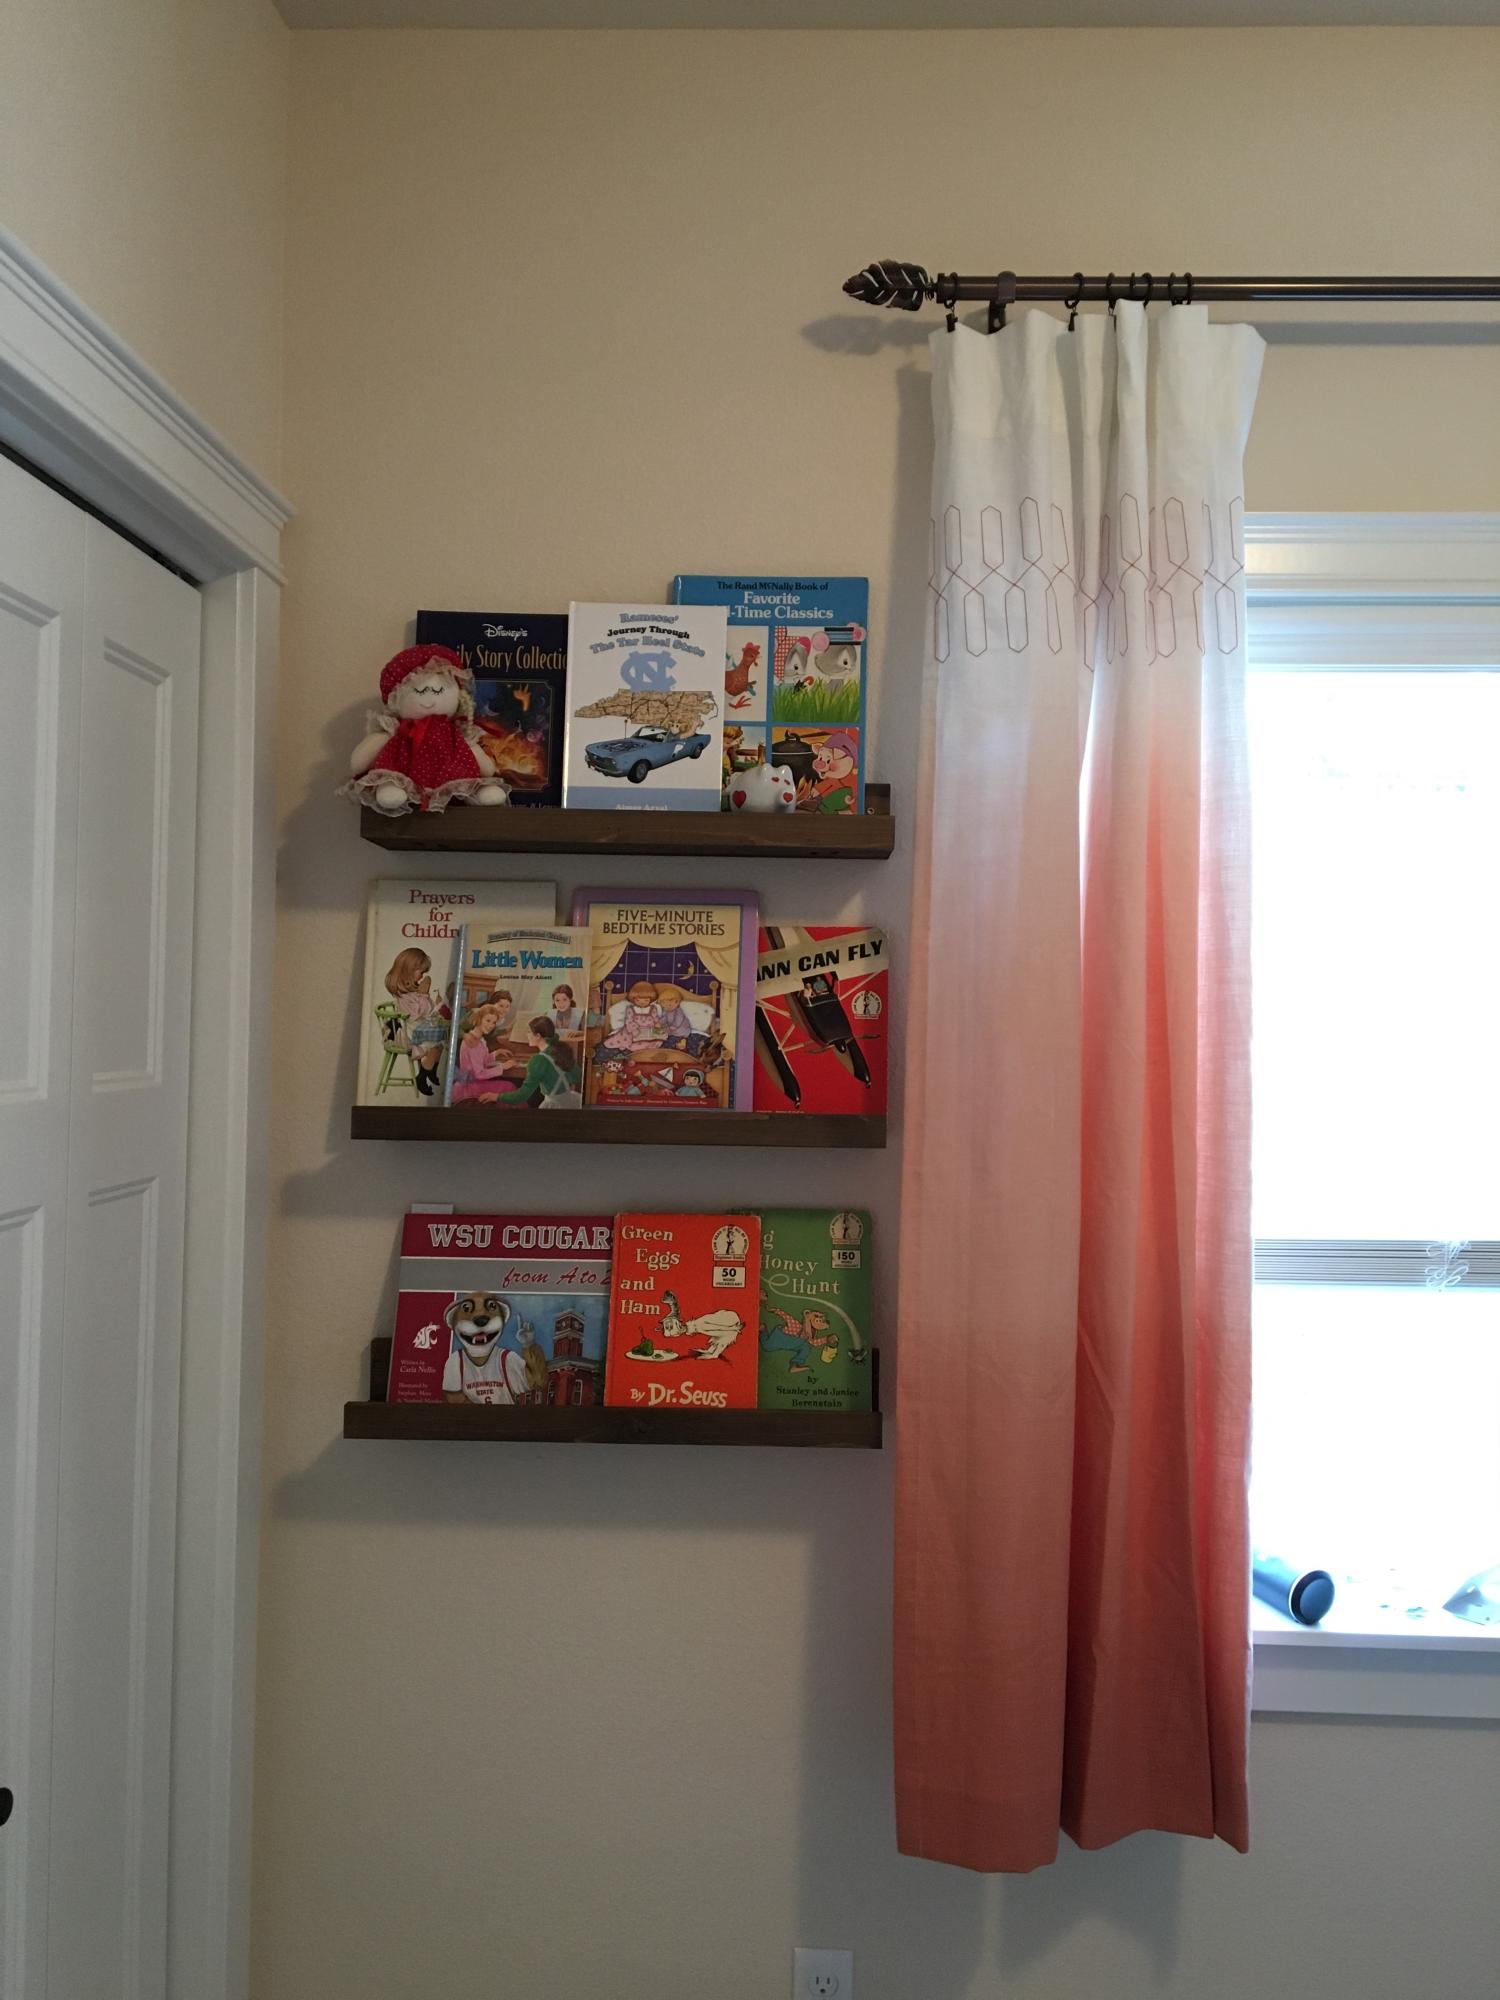
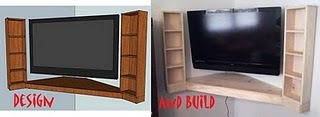
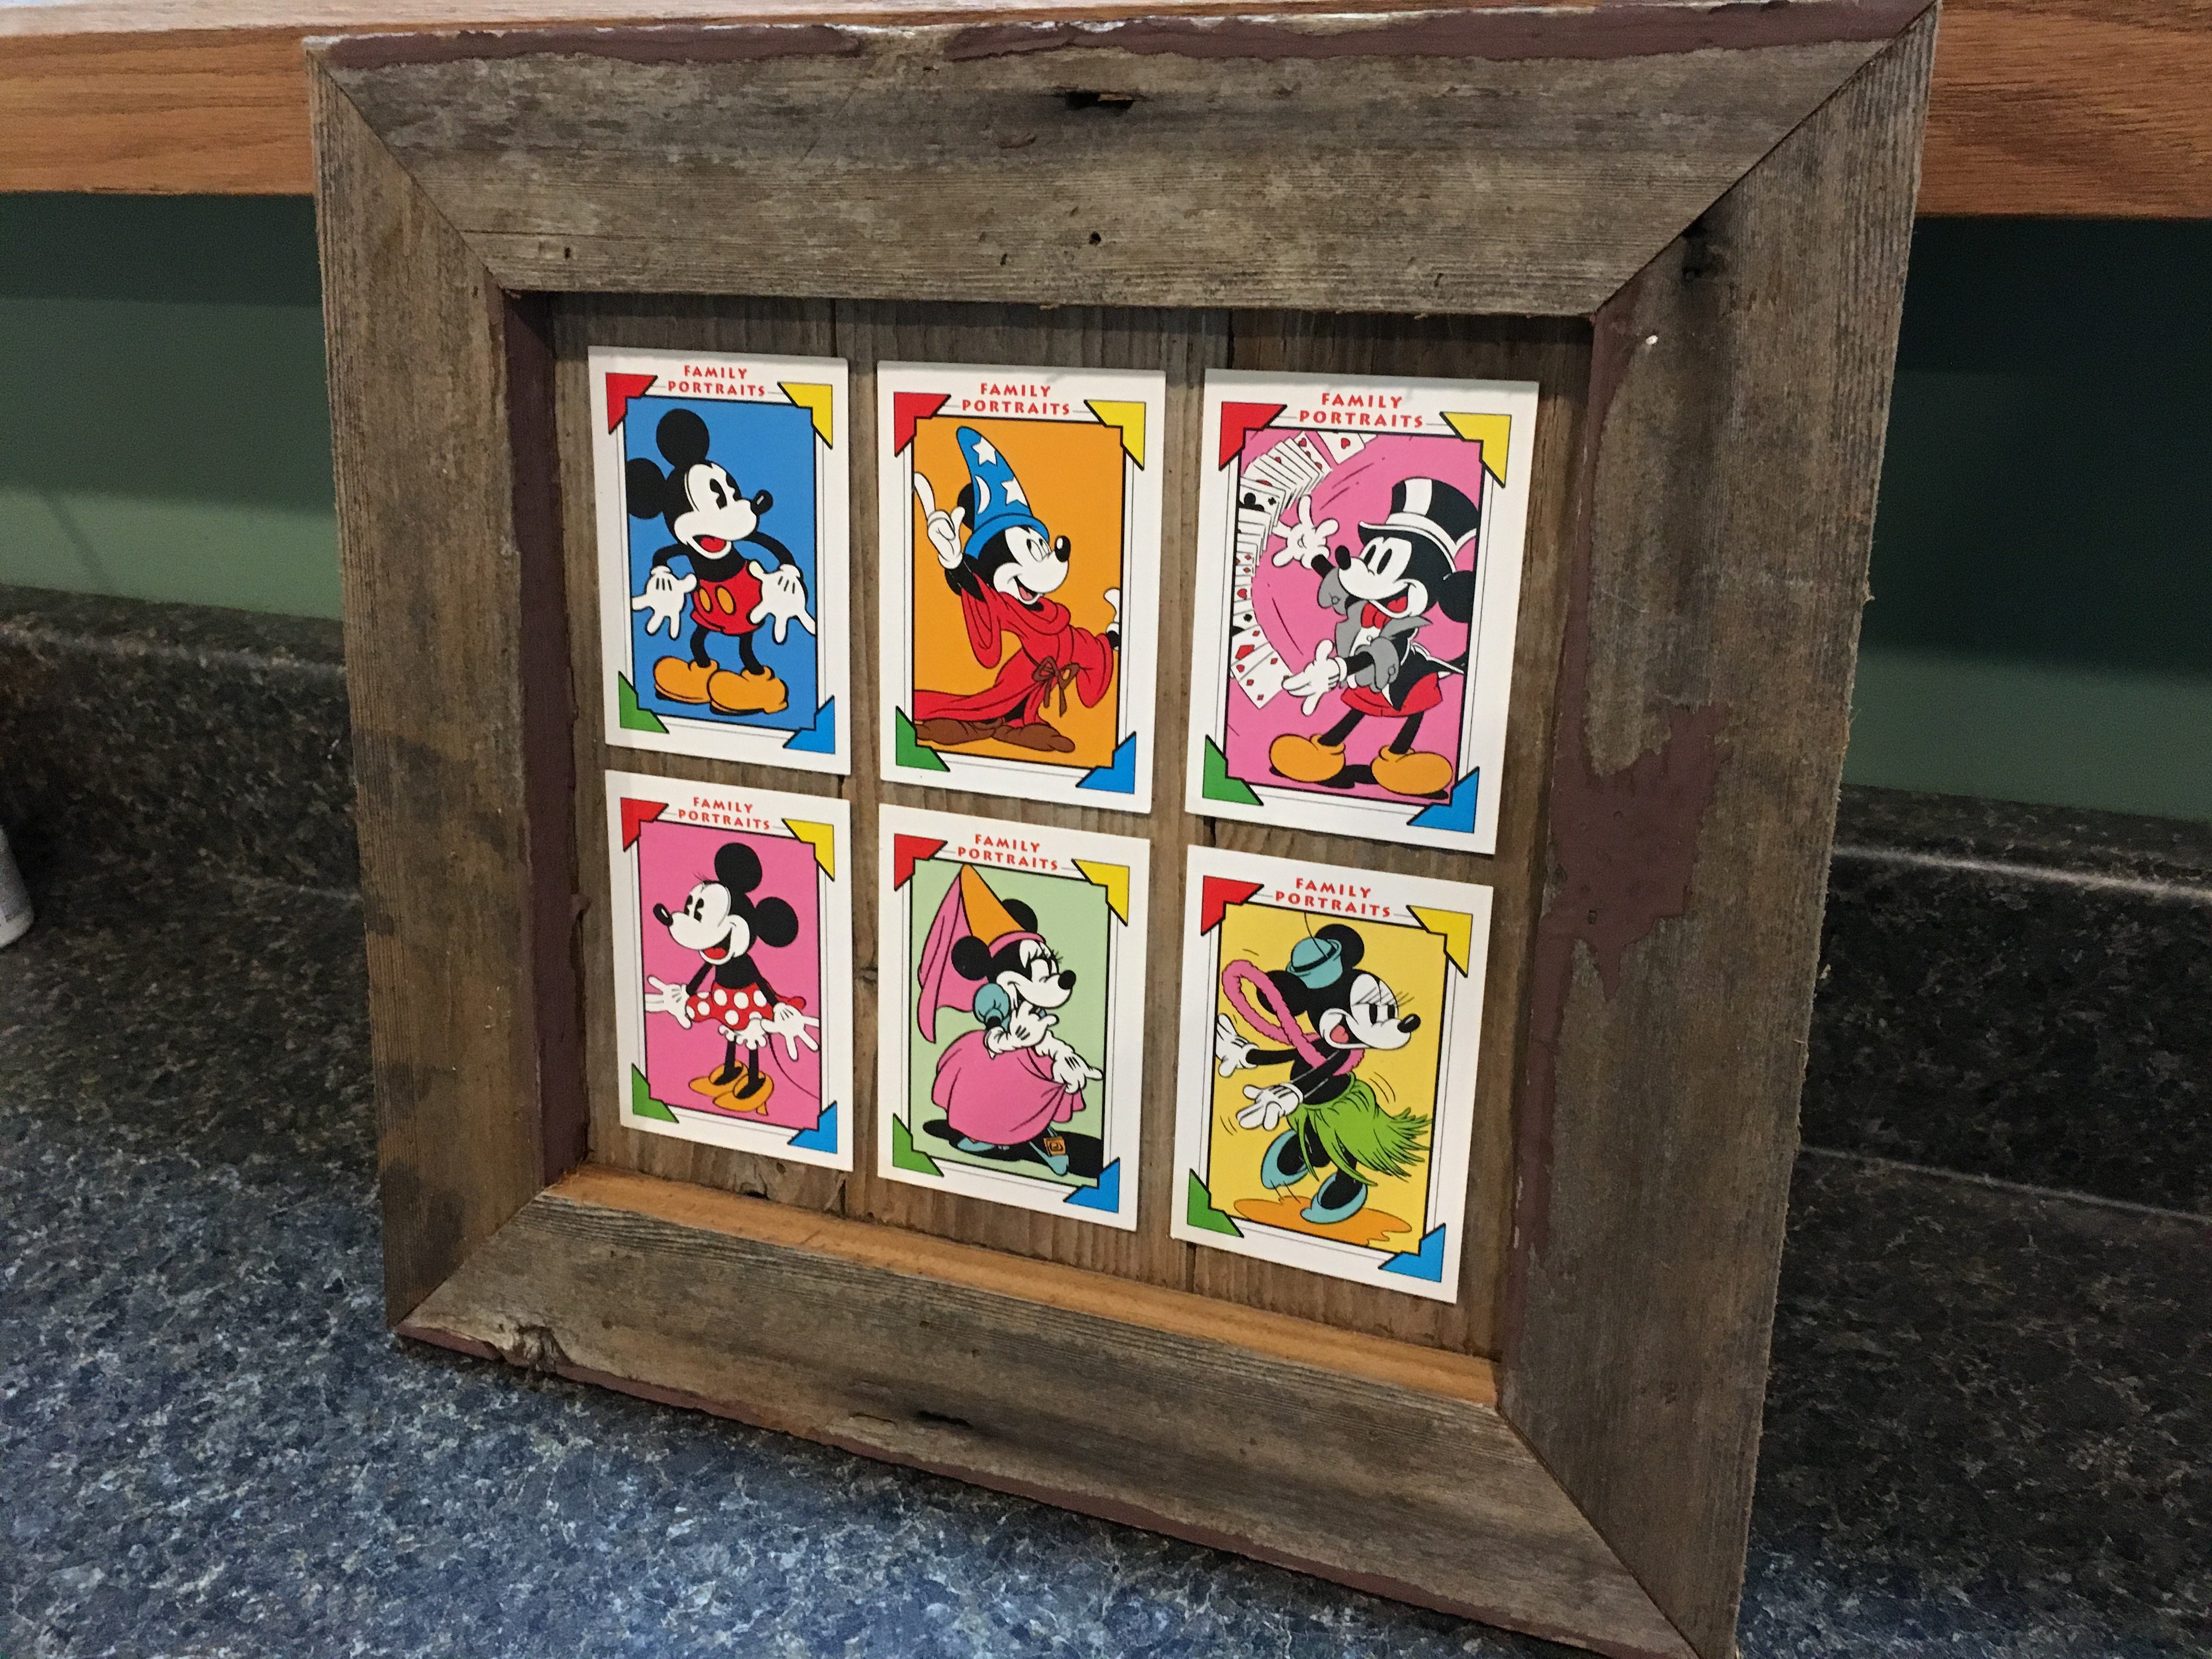
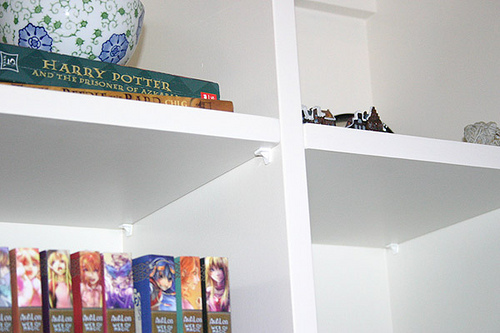
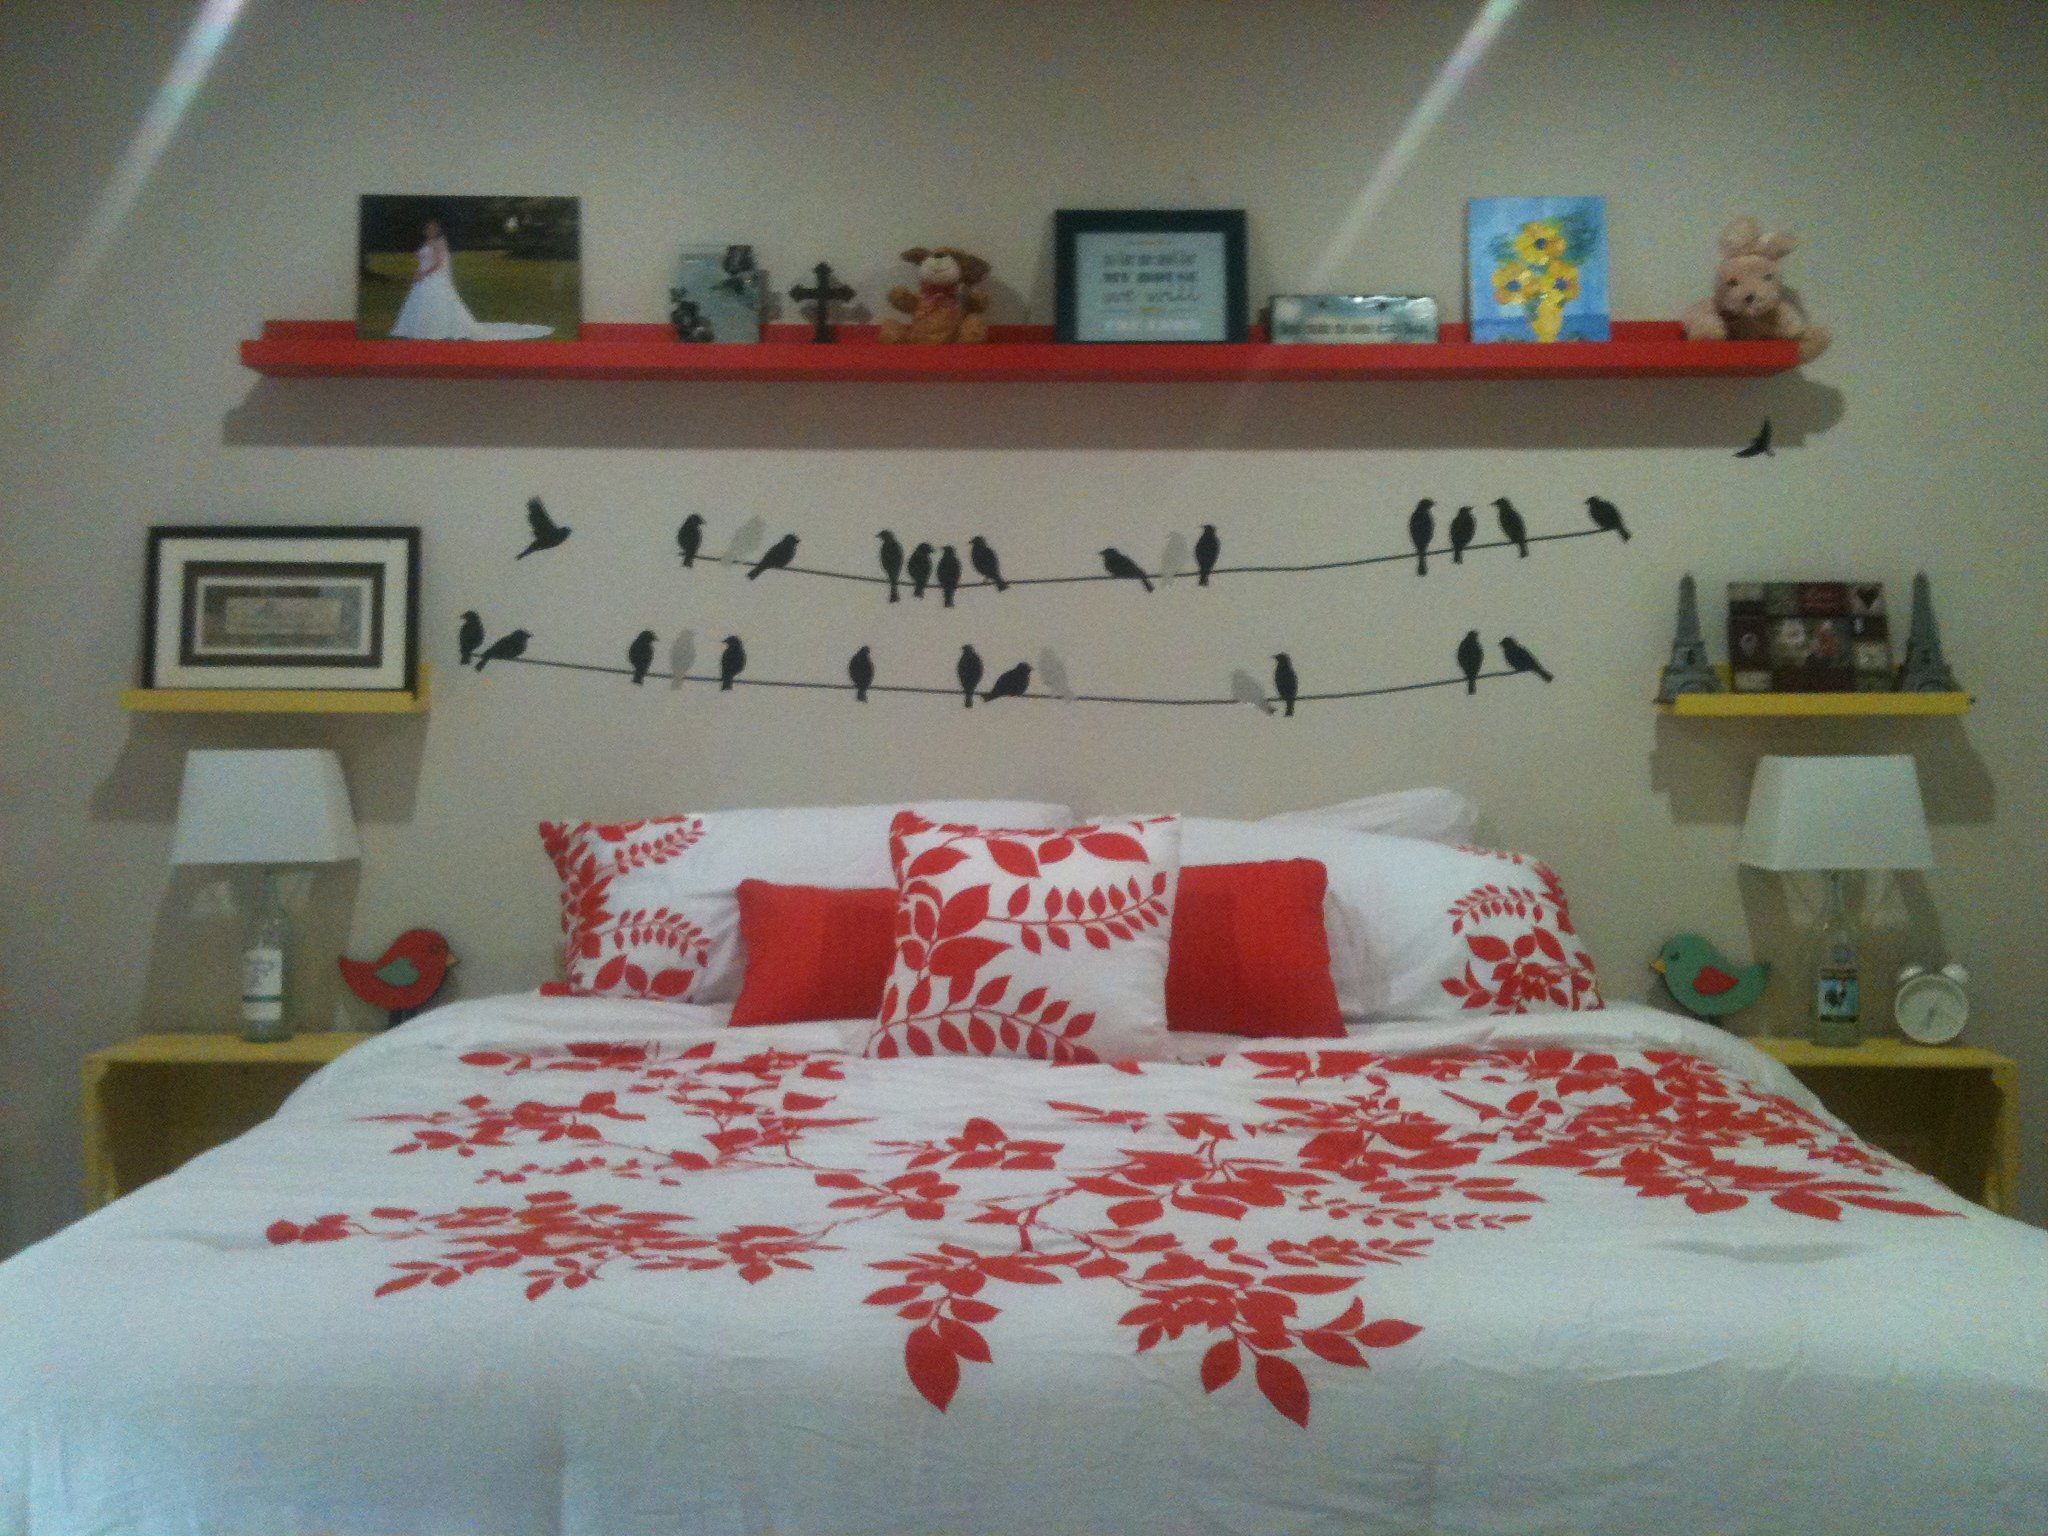
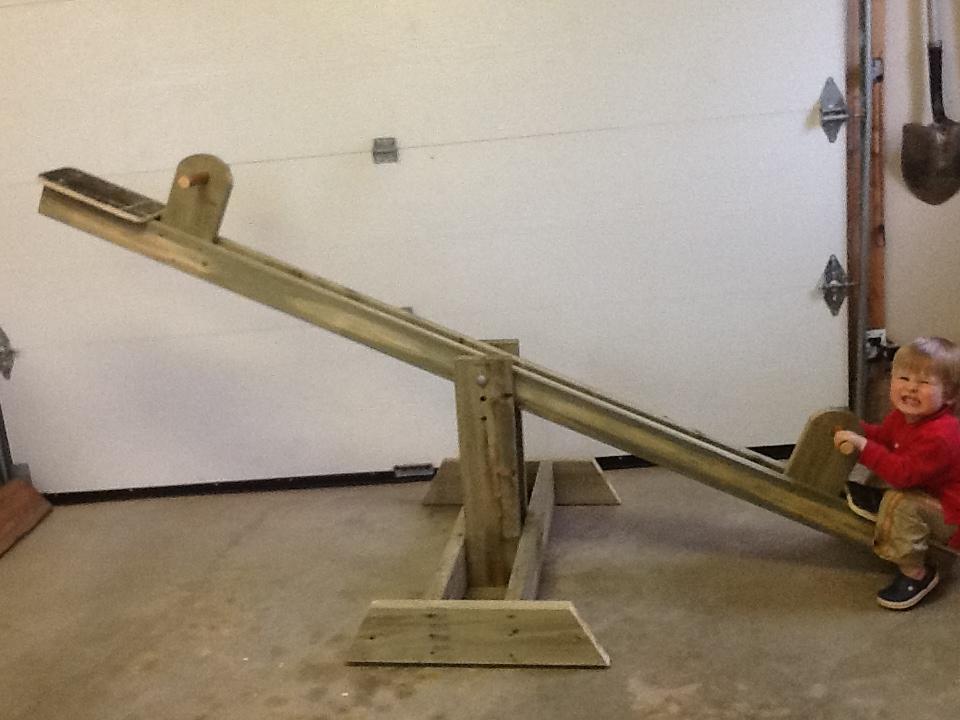
I attached this to the floating shelves plan because it is what inspired us to design this. And I chose intermediate because of figureing out the angles and for finding the studs in the wall and properly/securely mounting it so little ones don't get hurt.
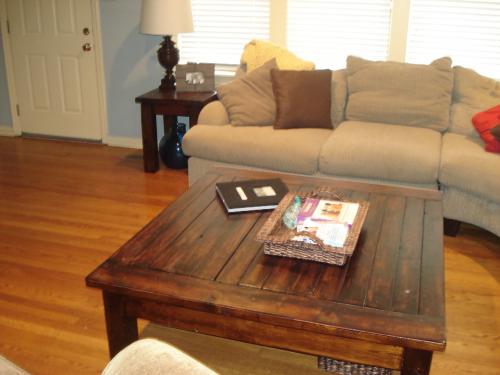
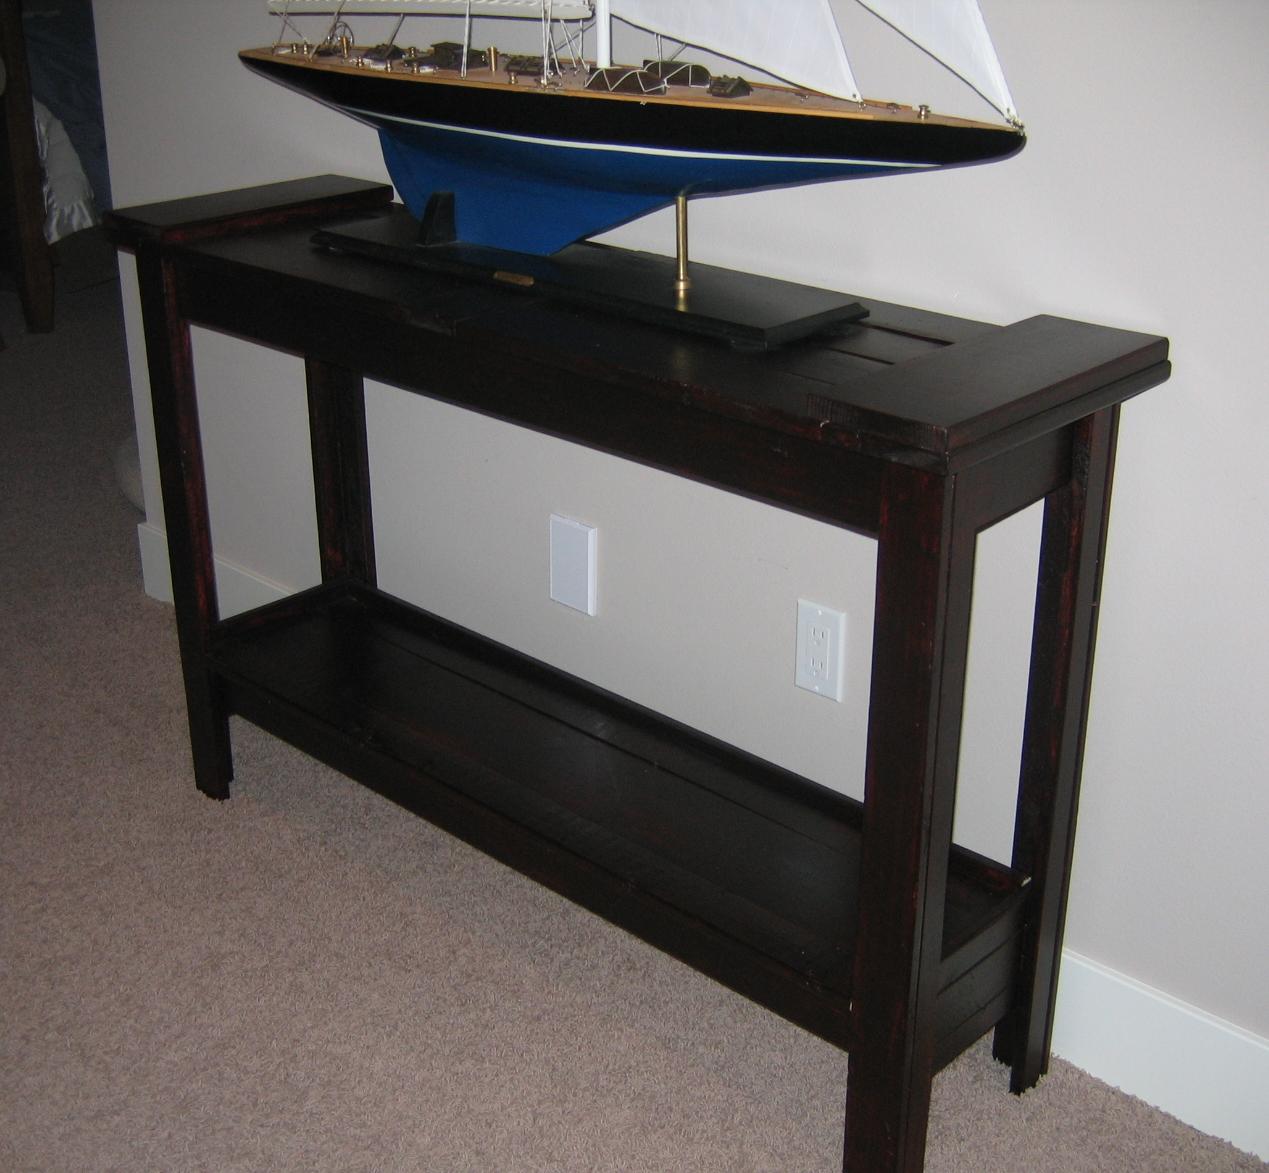
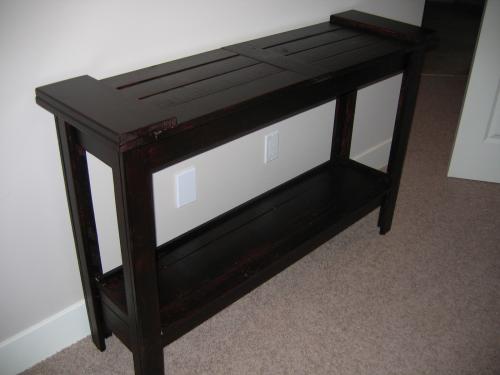
Since moving into our new home Matt and I have been using my great-grandmother's old sideboard as a tv stand. Our house (and living room) is very small so I've been wanting to mount the tv on the wall in the corner and Matt's been wanting to buy a smaller tv stand. I did not want to do it his way because we have a large hyper dog running around knocking everything over, lol.
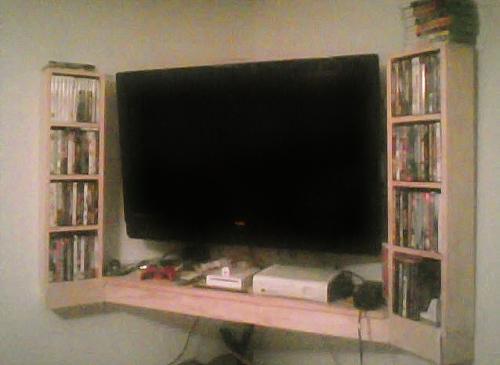
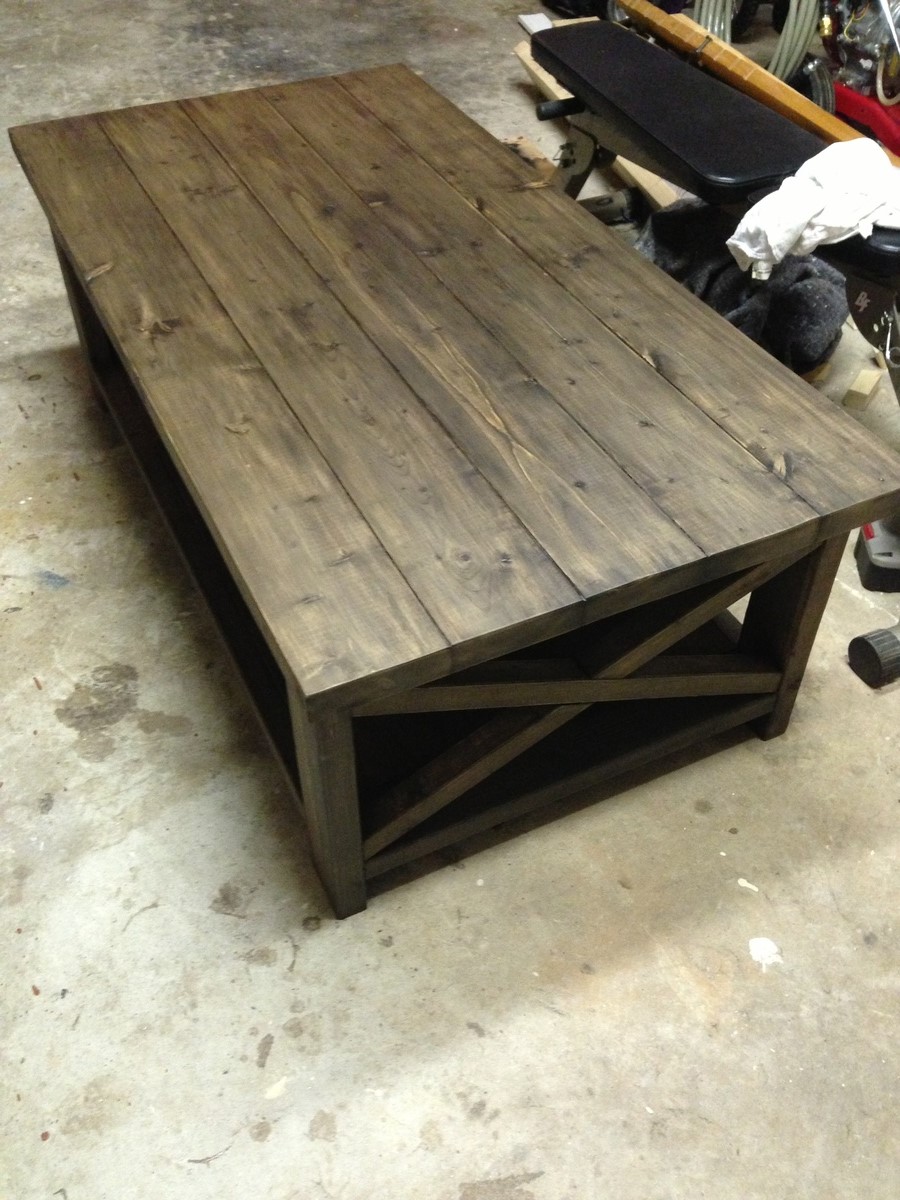
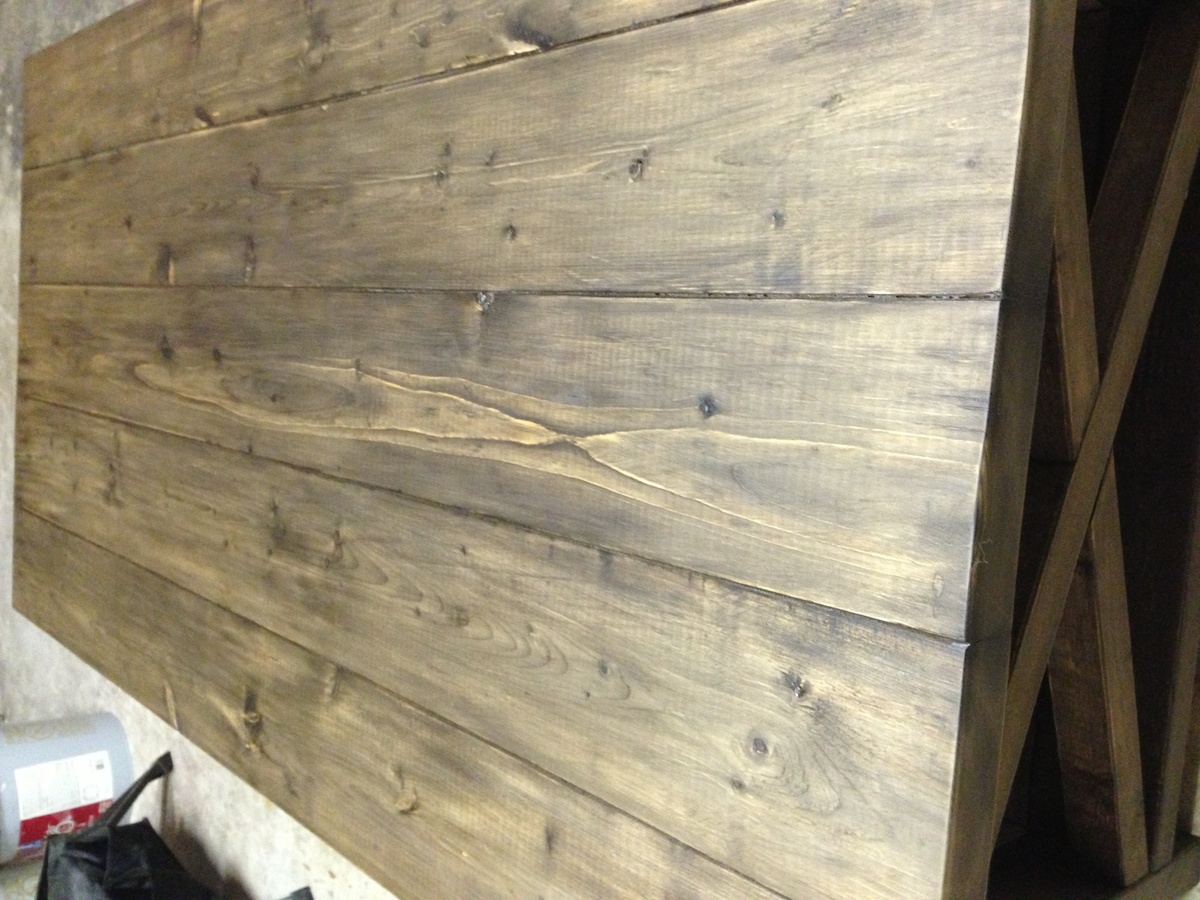
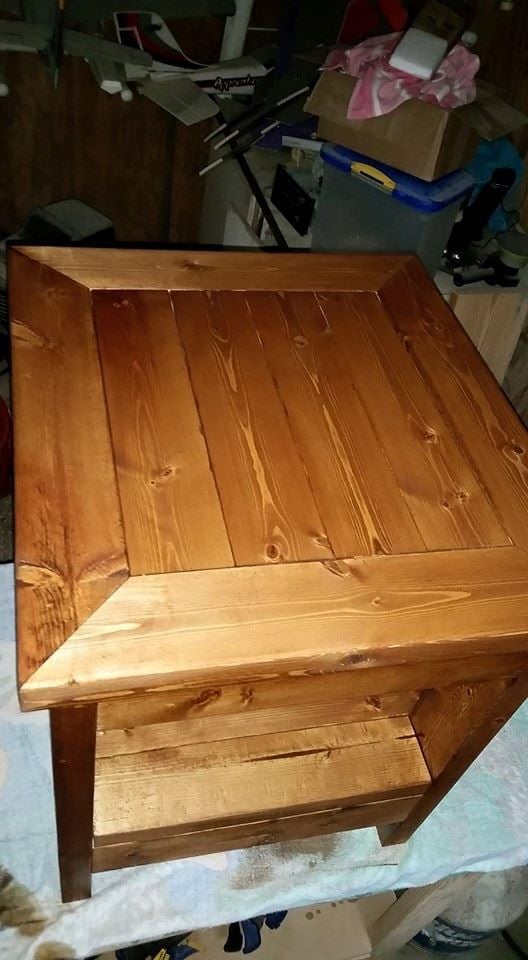
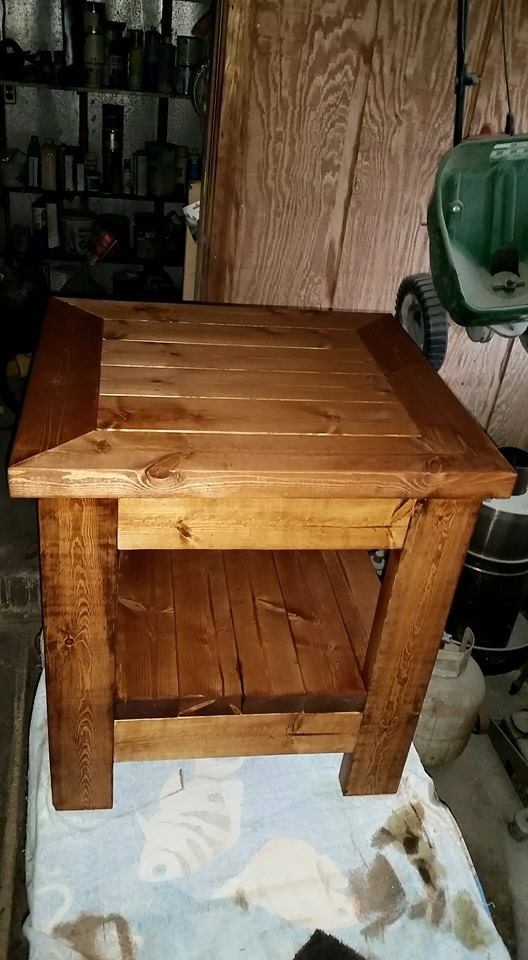
So after recieving an extra tv wall mount from my parents and mounting the tv in the corner like I wanted, we brainstormed and created this "floating" table/shelf to hold Matt's game systems and our dvd's. Its off the floor and out of Buck's destruction path, but it also made the room look so much larger!
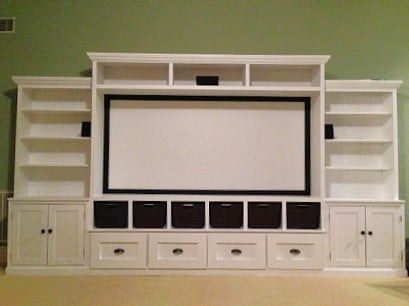
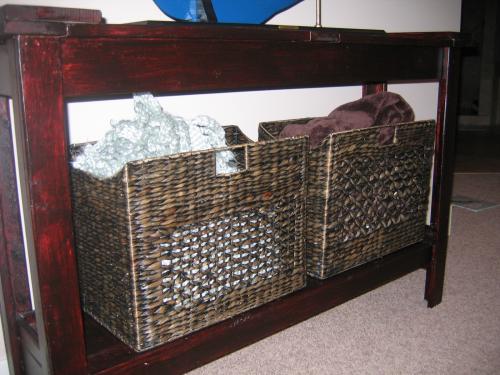
***This plan was not designed to hold the weight of a tv. While it is plenty strong enough to hold the movies, game systems, dvd-vcr, and the chance his 6 year old decides she's a rock climber, we have no idea its actual weight capasity.
My Grandaughter wanted a Baby Bed for her dolls. I made one for her. and one for a little friend of hers. I just used 2x2's and plywood, then used rattle can spray paint to finish.
This is my very first woodworking project! My oldest daughter badly needed a bigger bookcase... I made this last year and it's already completely stuffed full of books now! Home Depot ripped the MDF for me, hubby helped me put it together and then I finished it. Since it is tall and narrow, the sides were bowing inward. I decided NOT to make ALL shelves adjustable, so I made two of them part of the bookcase. Squared things up nicely. The rest of the shelves are removable though.
This the recent remodel of our guest bedroom. Its a modified plan from a fancy farmhouse bed that allows room for tubs to be stored underneath, three of the ledges, and the nightstands are old wooden crates that have been sanded down, painted, and mounted to the wall. We decided to do vinyl stickers as the "headboard" and felt the birds on a wire made for a good look. The lamps we made from wine bottles with labels we liked using westinghouse lamp kits. Thank you Ana White for these plans and ideas!
I built this table in about 3 hours with 5 2x4s yellow pine for the total cost of around $17 total...thats not including the kreg jig screws or stain. I deviated from the original plans for the top to try something different with the 45 degree mitre cuts. It came out great but I had to review a youtube video on making the kreg pilot holes at the 45 degree angles to attach the corners together. I then cut the (4) 2x4s to fill out the top and used kreg jig screws to attach. Very nice instructions by Ana and after posting to my FACEBOOK page, I'm getting orders! :)
What a great little feeder! I didn't put mine in the window yet, because the screens are on for the summer. I screwed a metal flange into the bottom of the bird feed then screwed a metal pipe into the flange. Then put it in the ground under the window. I'll add the suction cups and put it in the window in the fall. I love watching the birds!
All made from an 8 foot packing crate.
This is a piece I made out of scraps just for fun. I'm pretty happy with how it turned out and how functional it is!
I looked on the Tryde Console Table and Simple Console Table as a reference and just figured out the dimensions from what material I had. I also added a piece of wood in the center, and winged it with the shelf on the bottom.
Took no time at all - 1 hour start to finish on a rainy day. Built it for the little kids but kids came out of the "woodwork" from all over the neighbourhood. Easy, fun and cheap! May add some old rubber bike tires beneath the seats to protect the wood that comes in contact with the ground. Didn't bother with a padded seat - an off-cut of plywood, with sanded edges works just fine and will be easy to replace if it starts to weather.
Built from the King Farmhouse bed plans
Tue, 11/08/2016 - 10:48
do you have a boxspring on your bed as well? I am curious how high a mattress and boxspring will sit if i make the side rails and frame
Tue, 11/08/2016 - 10:49
Did you use a metal bed frame or did you make the side rails and frame? i am curious how high my mattress will sit above the footboard because I want to make the side rails and use slats. I have a boxspring that I will be using.