Community Brag Posts

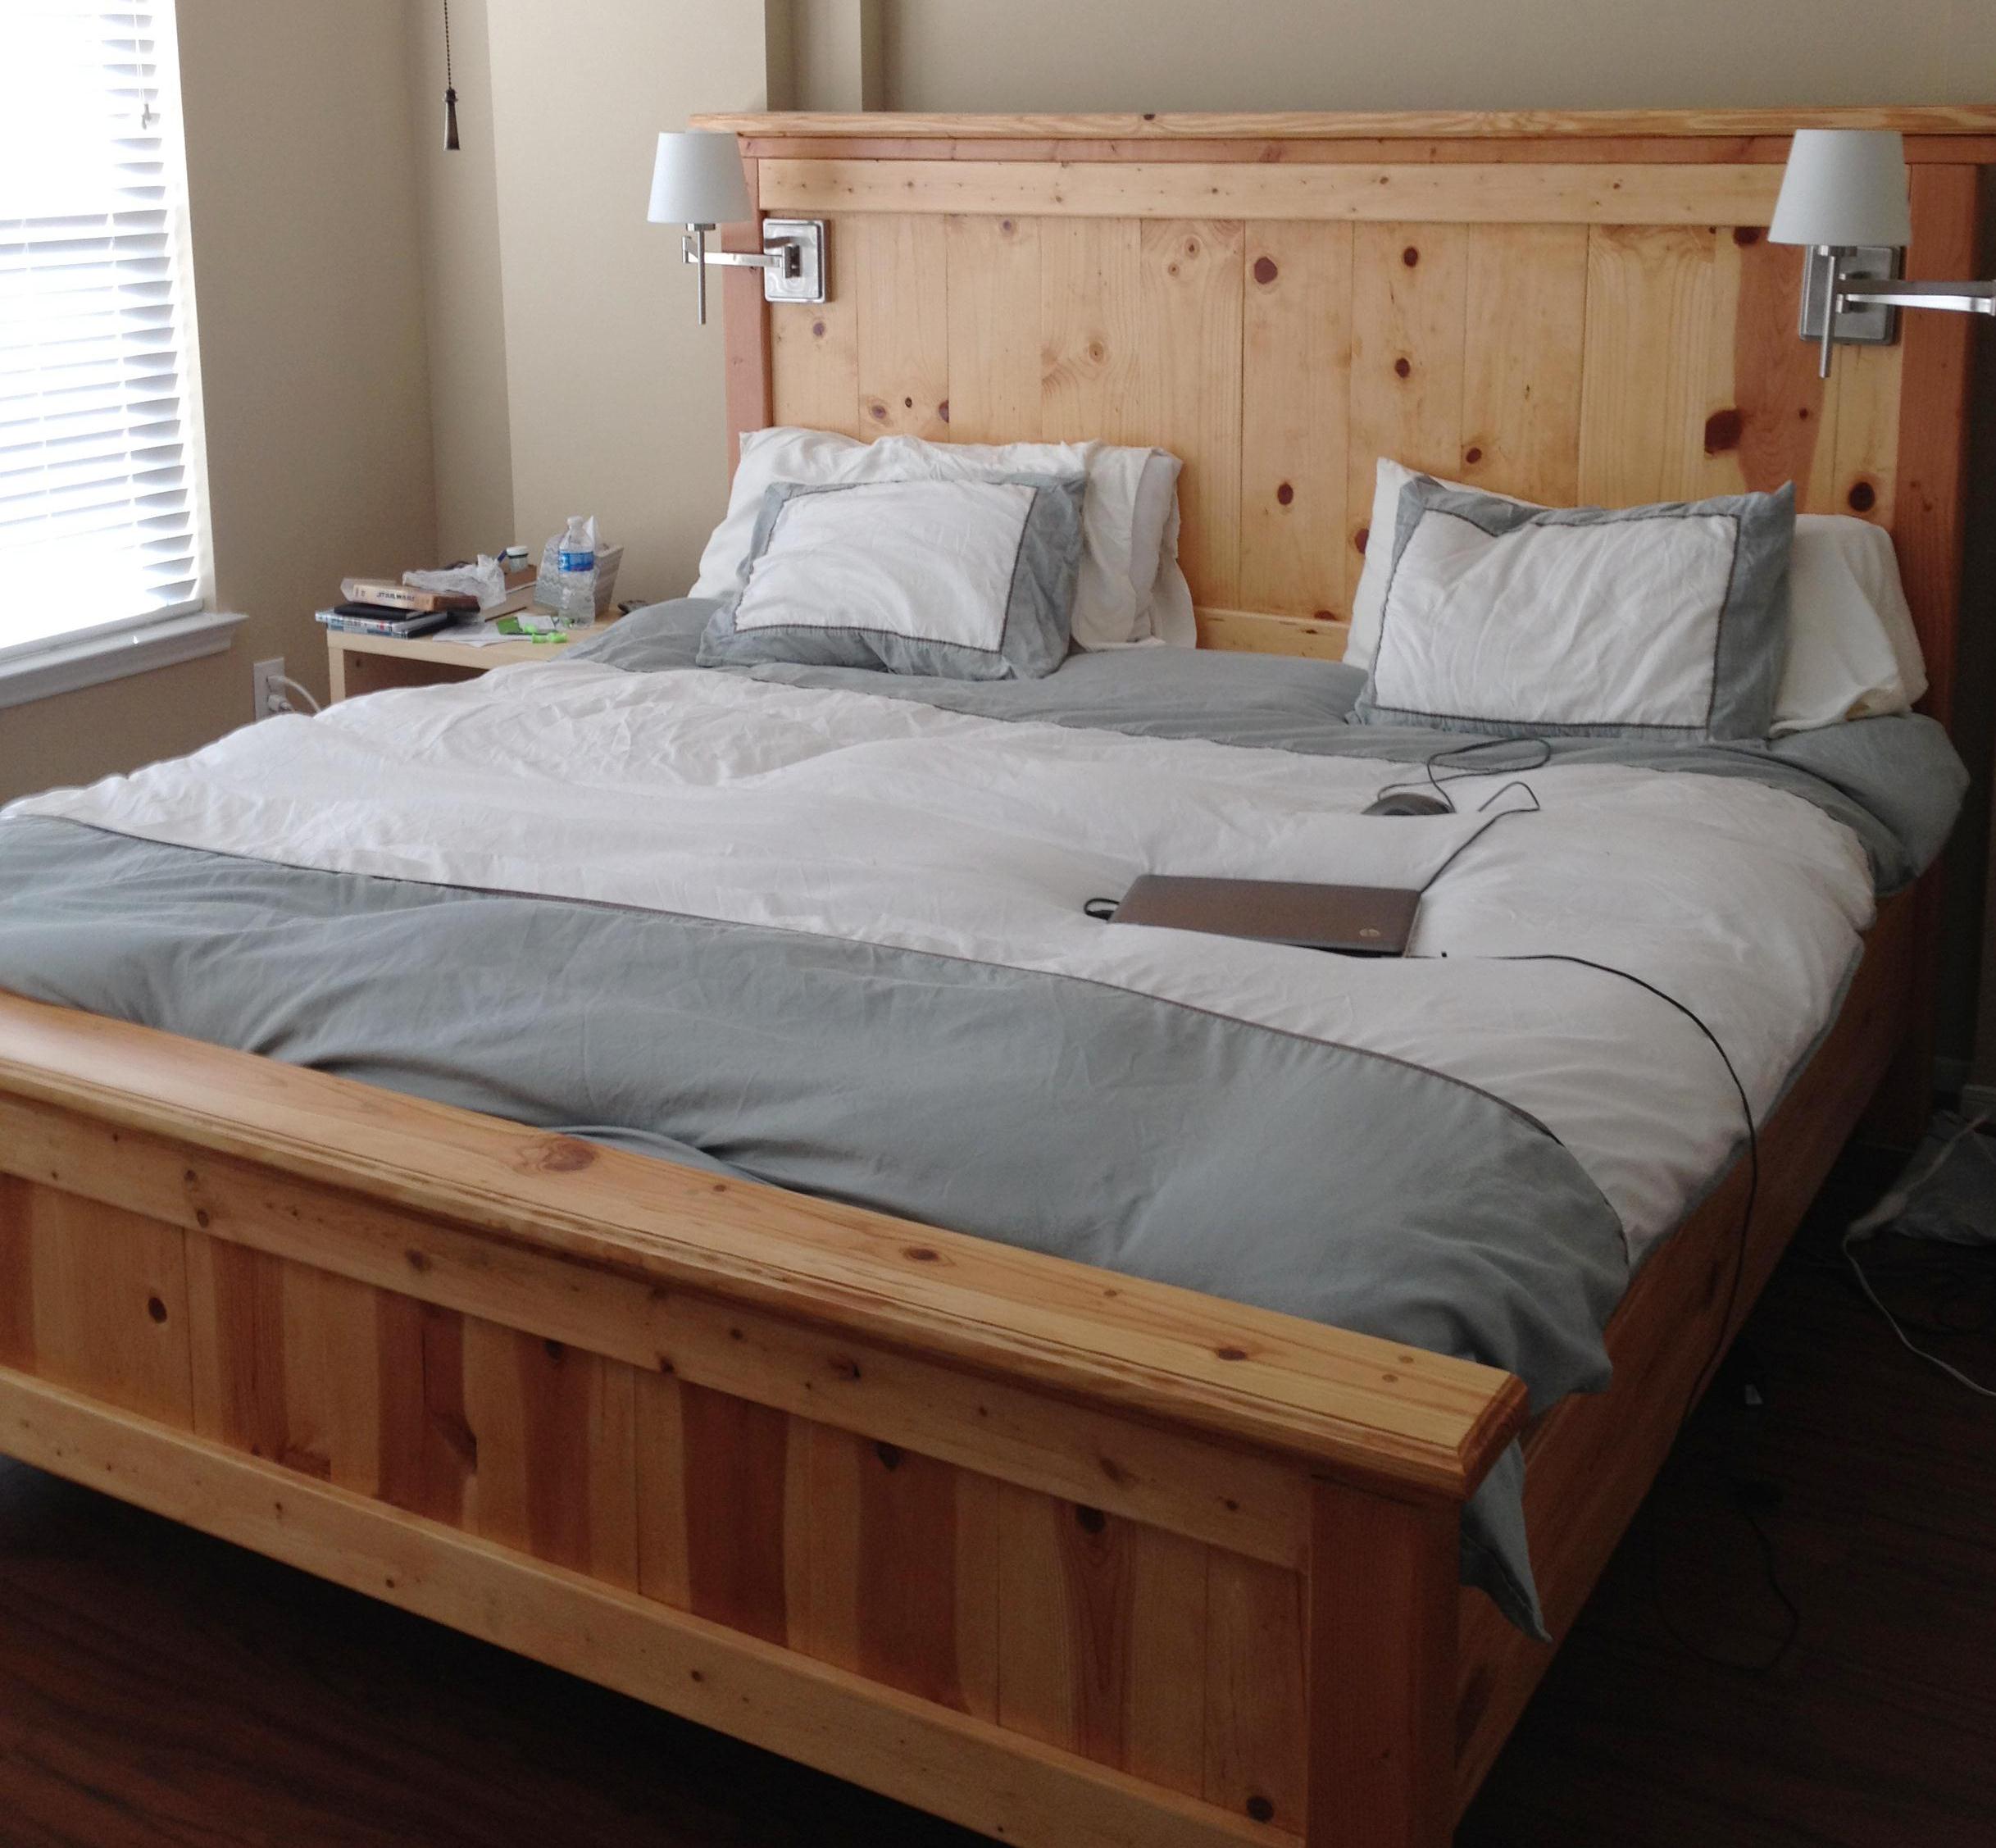
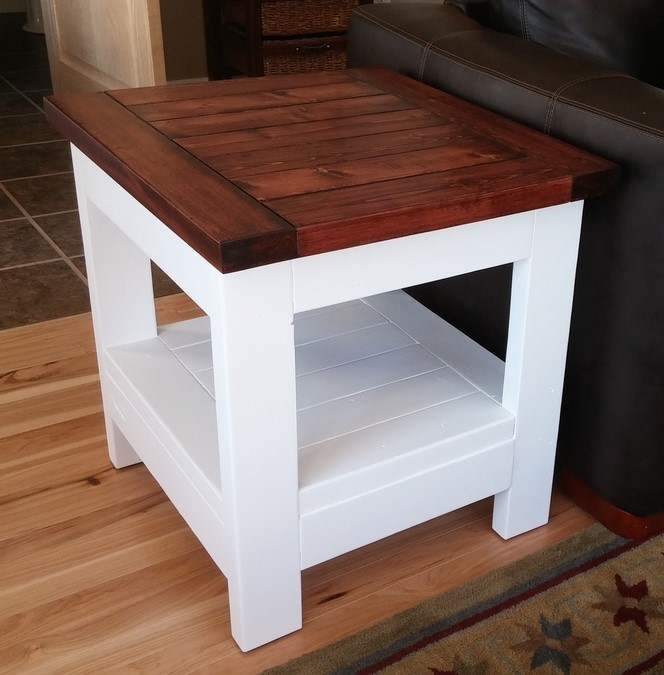
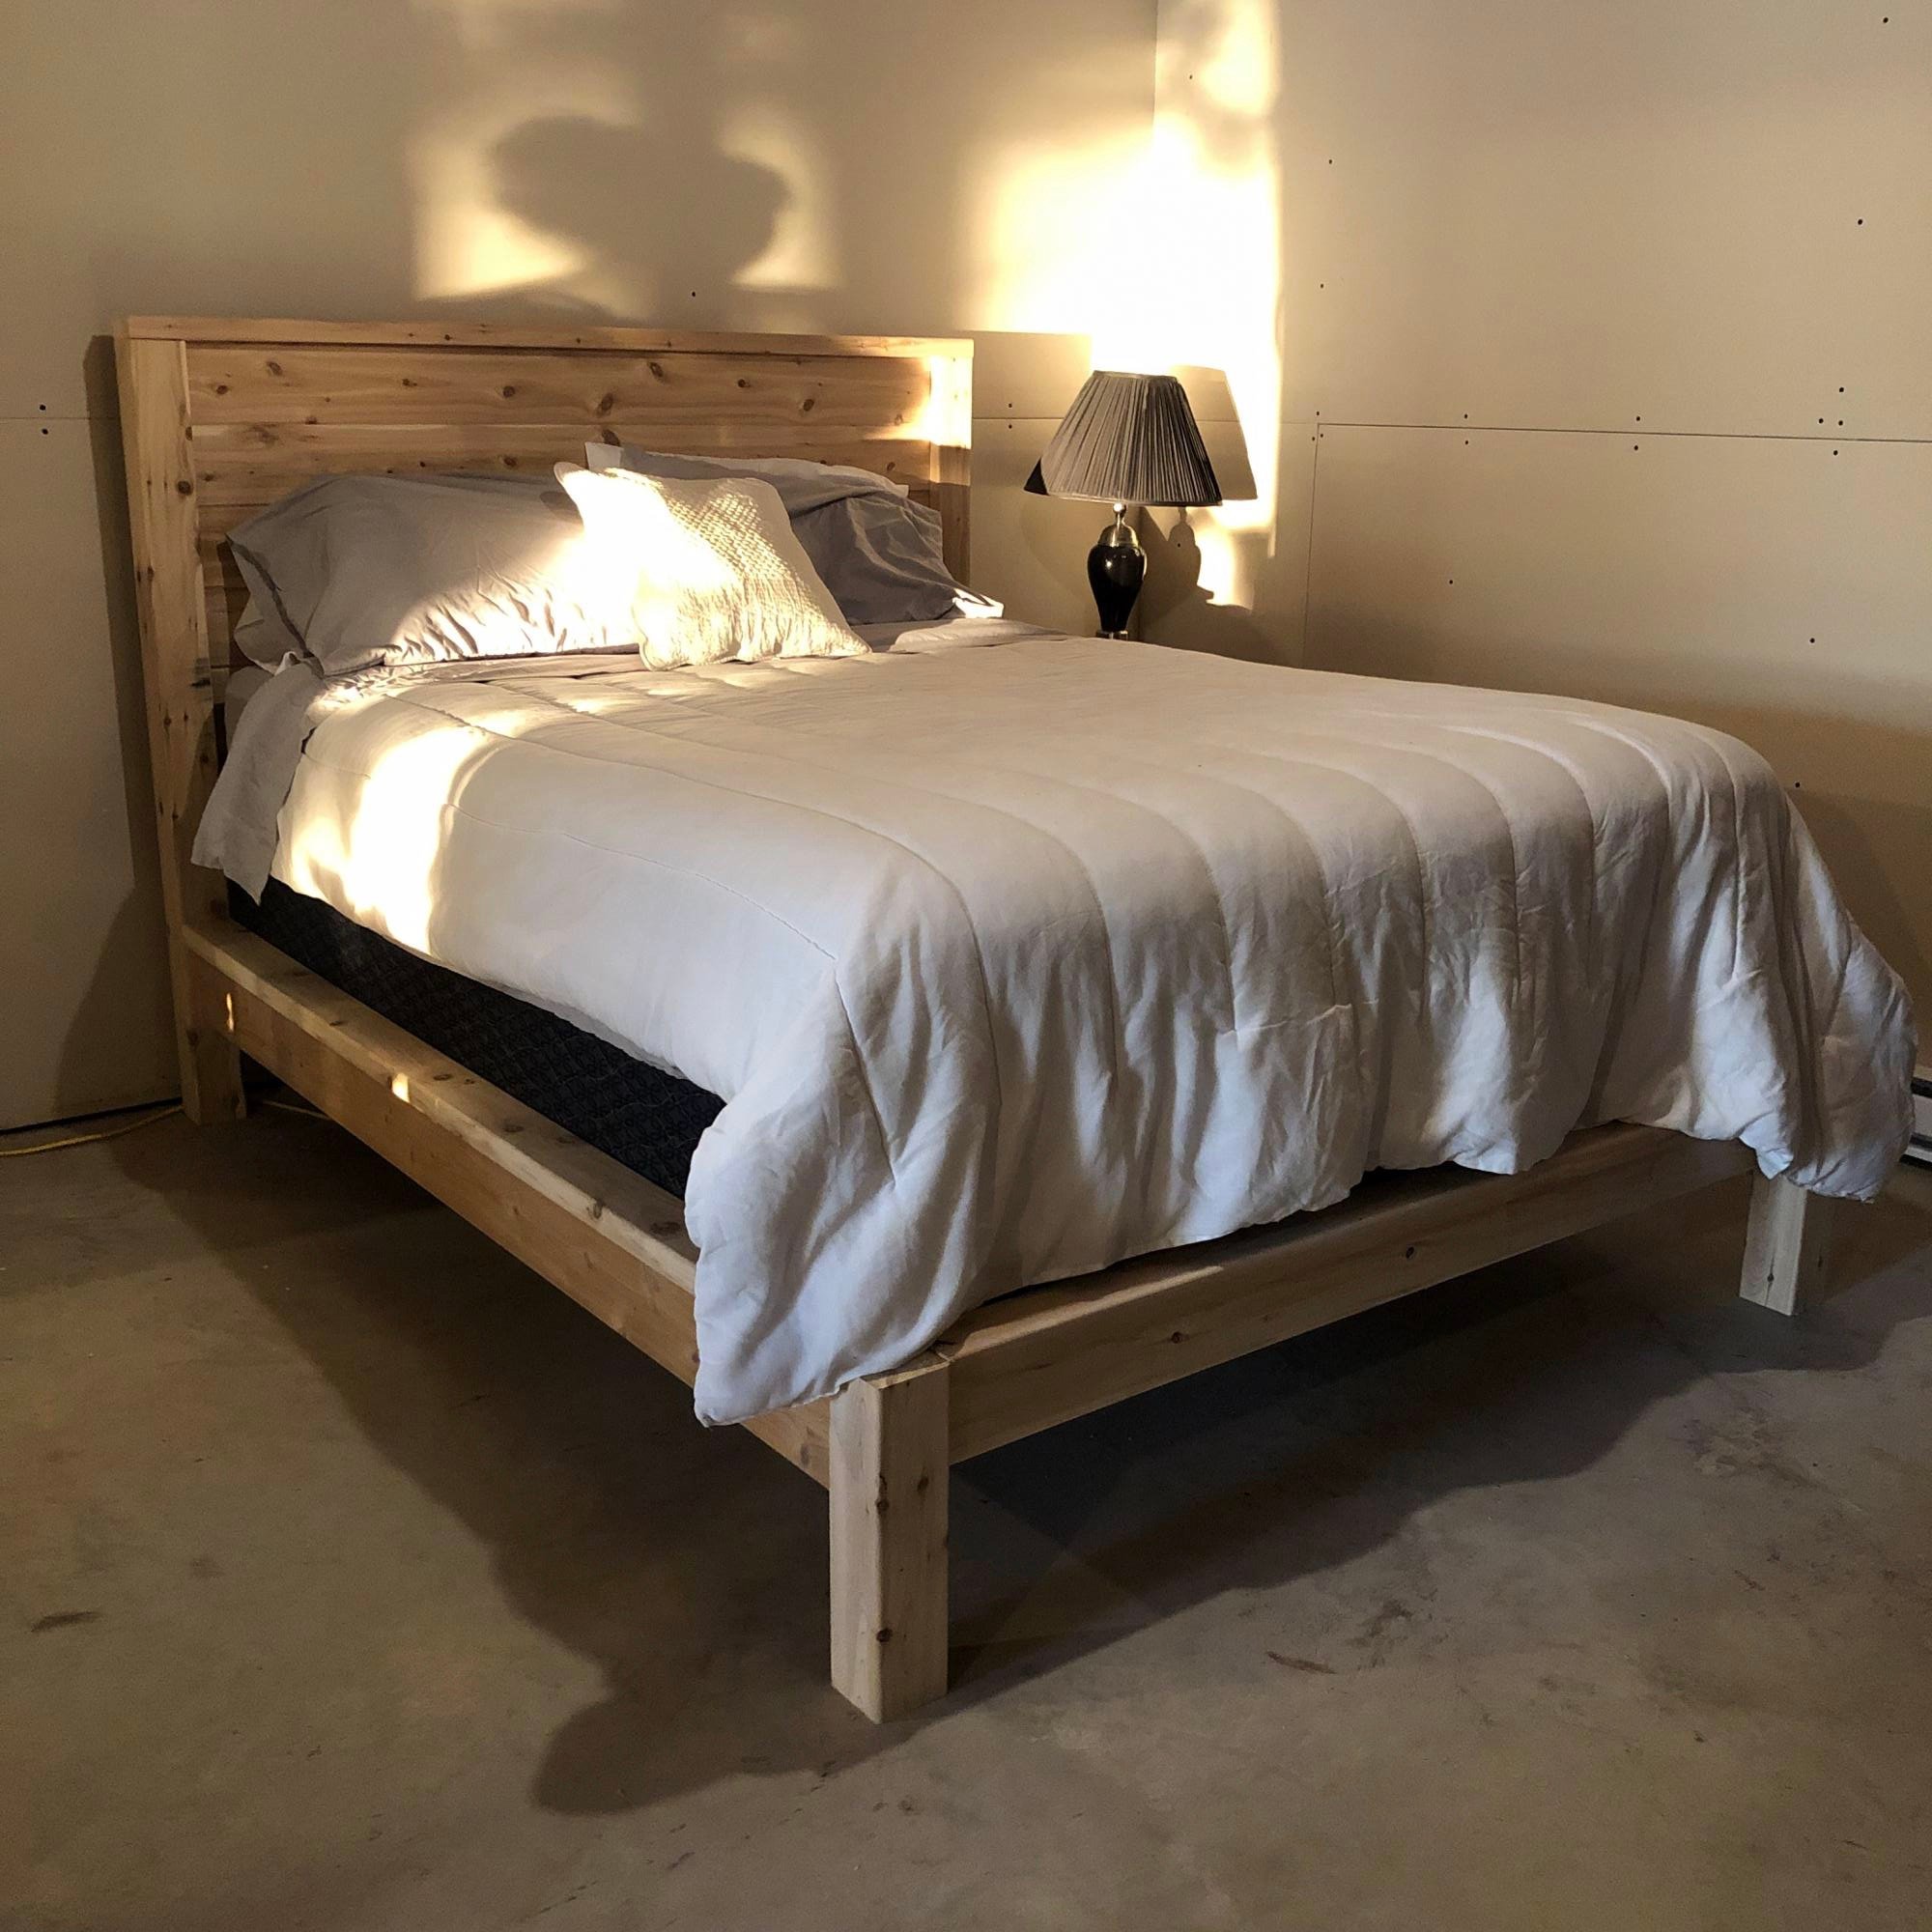
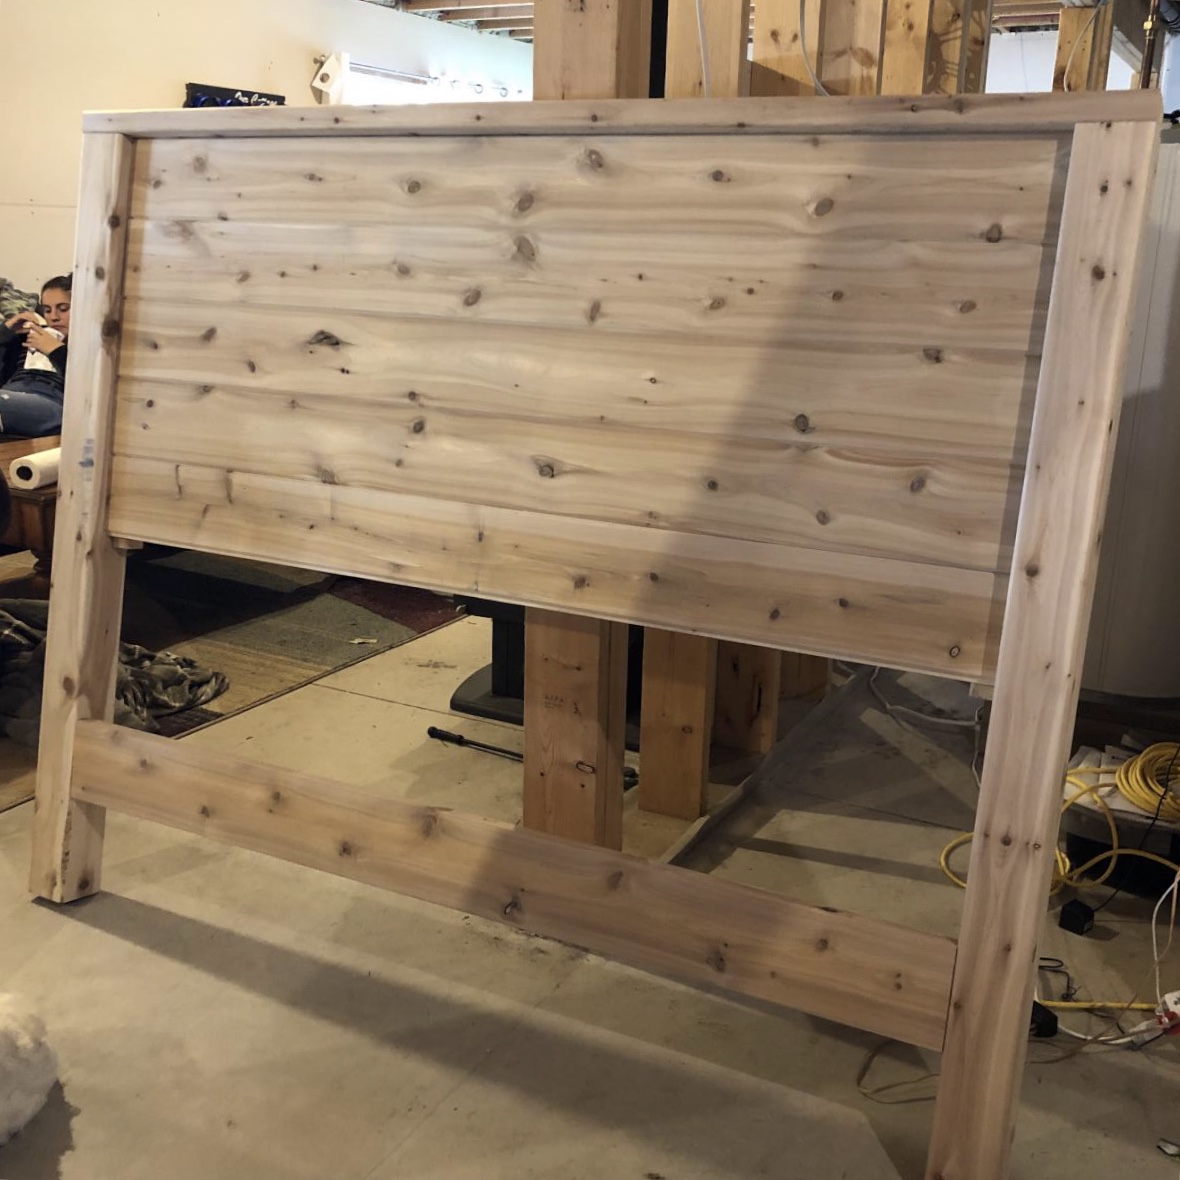
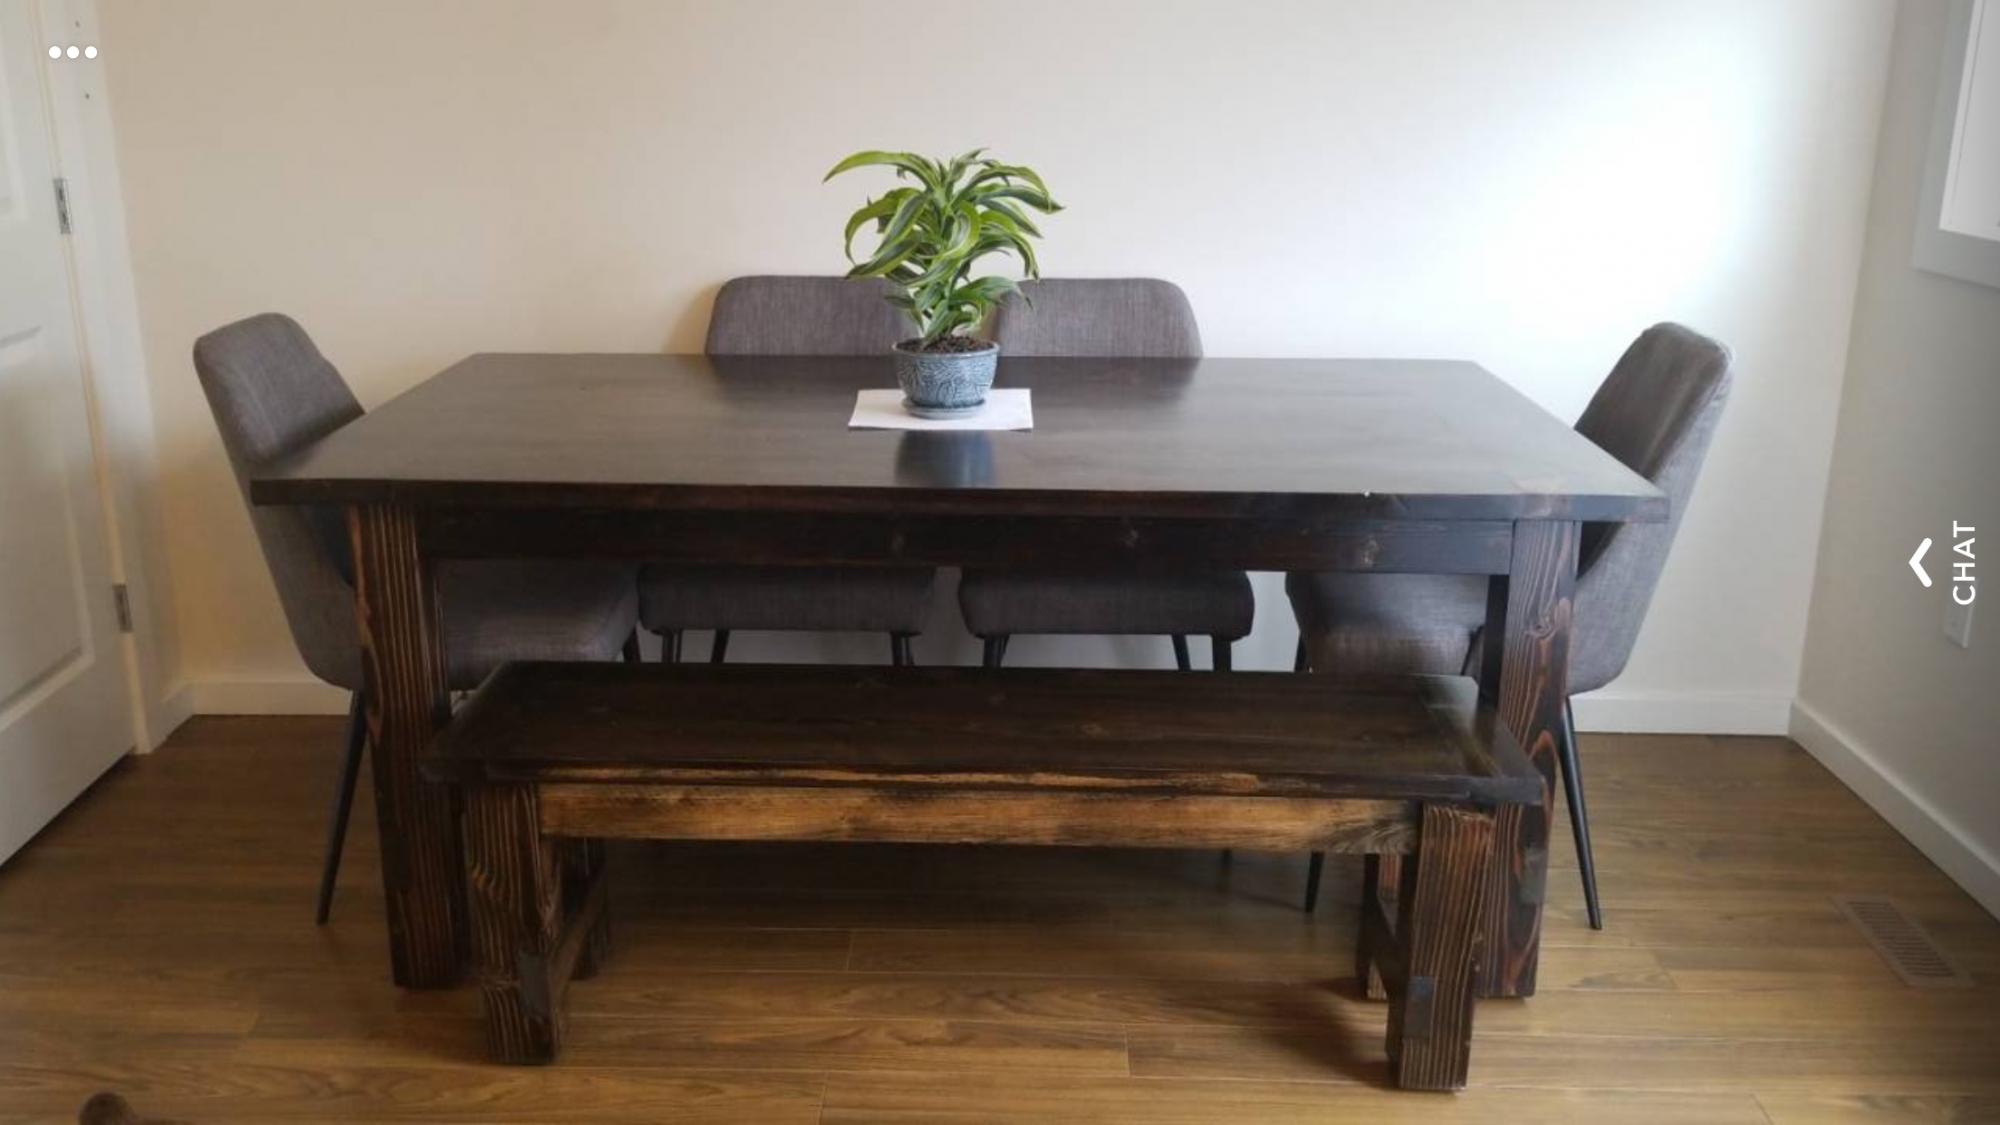
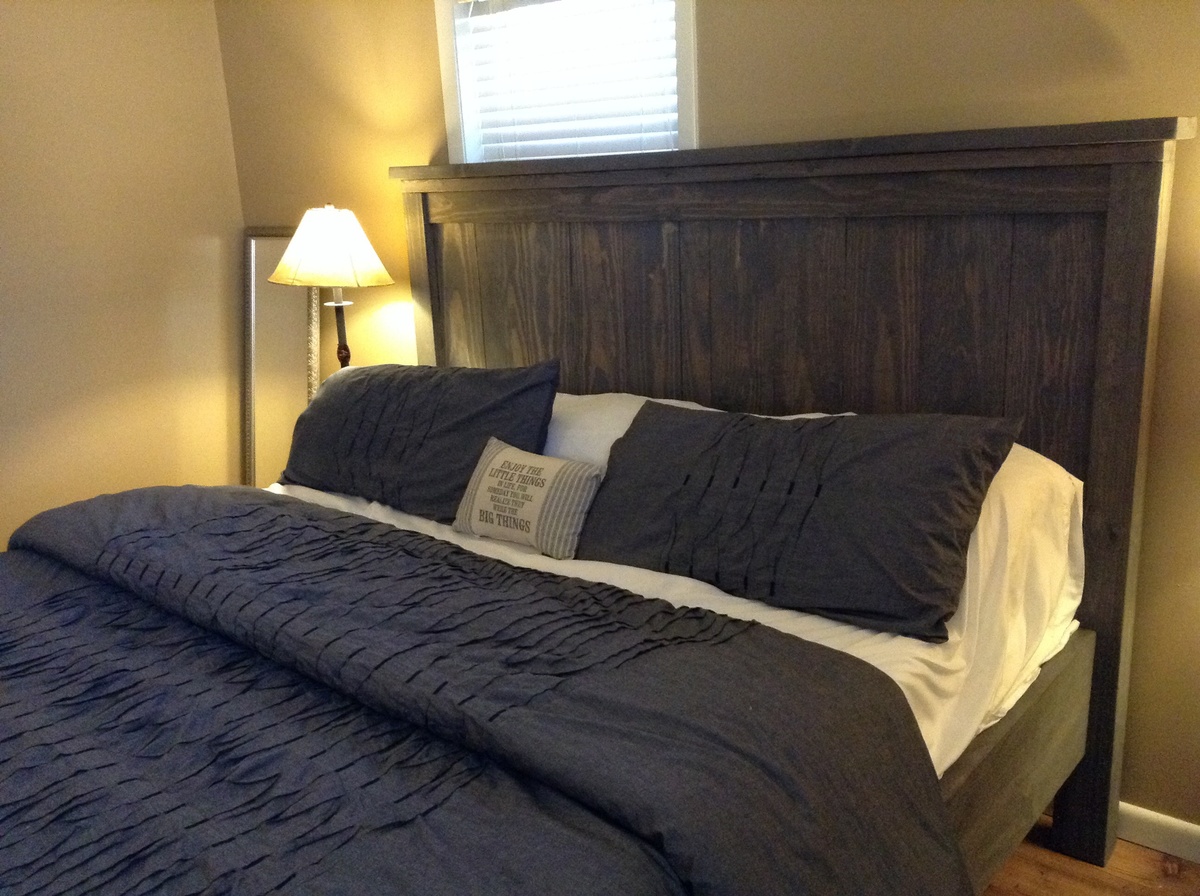
Rustic weathered gray bed

Submitted by Anonymous (not verified) on Fri, 02/12/2016 - 13:24

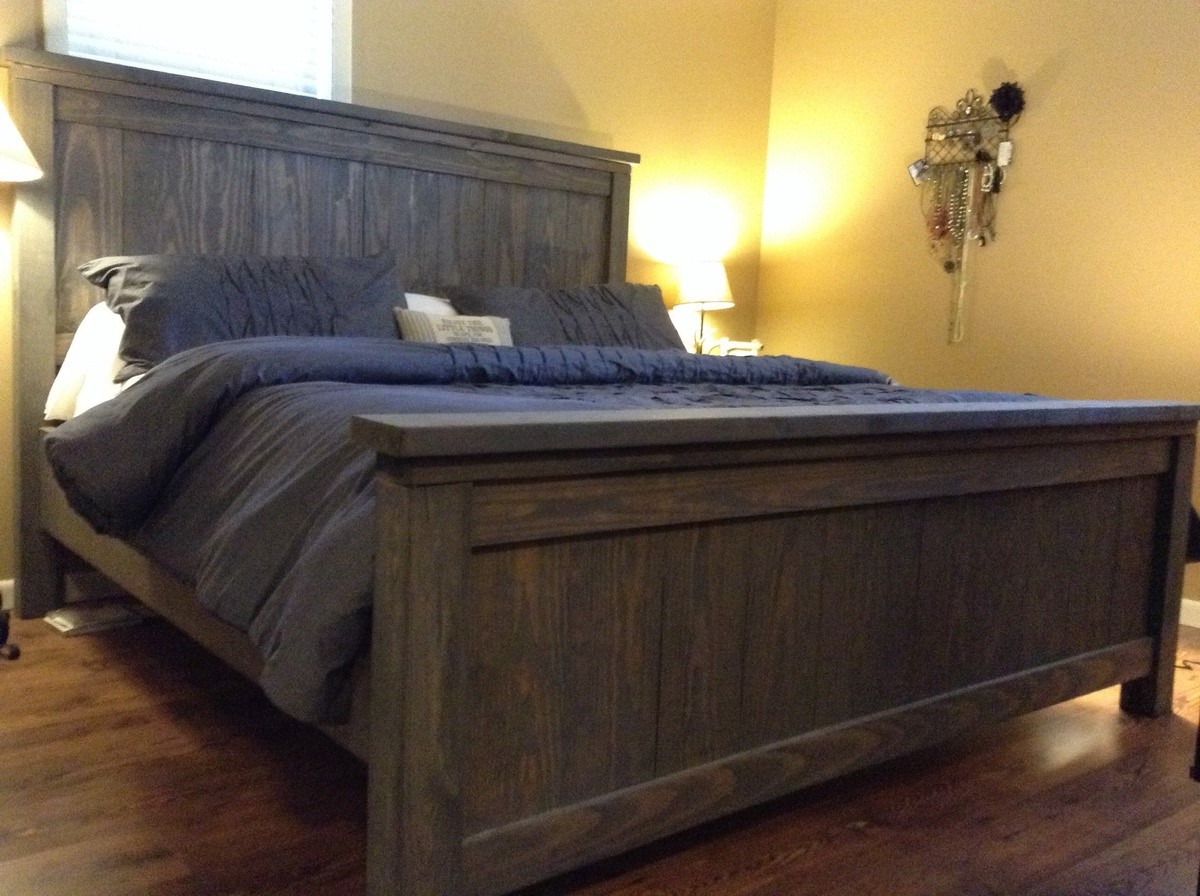
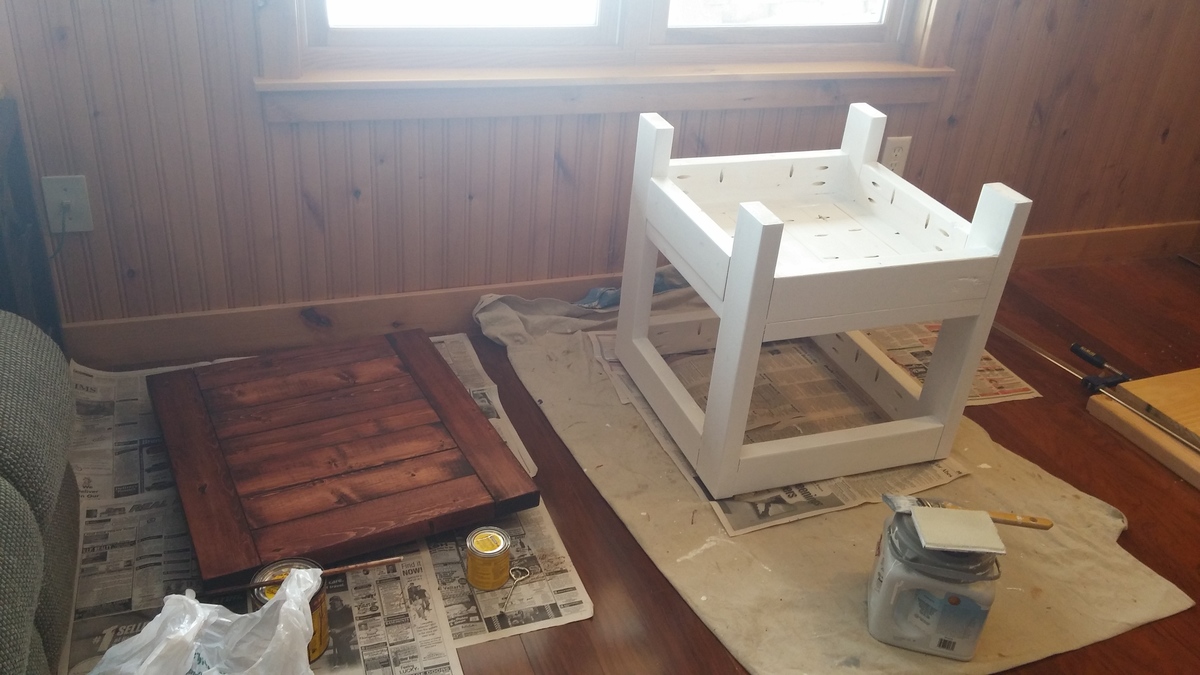
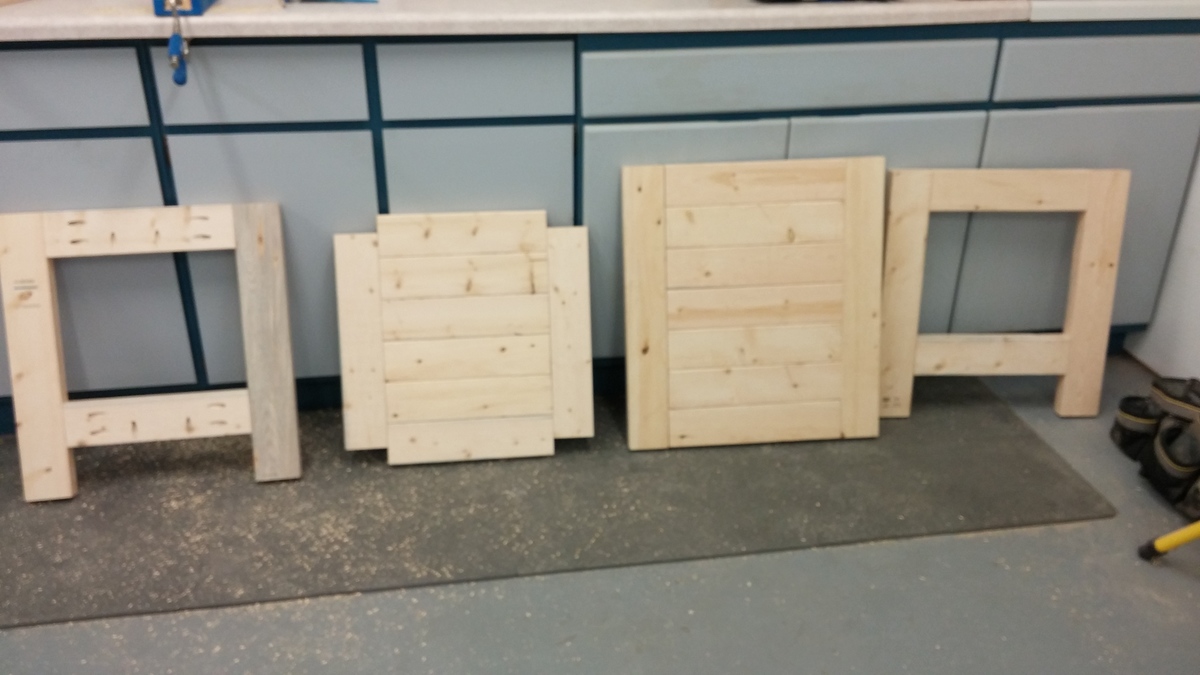
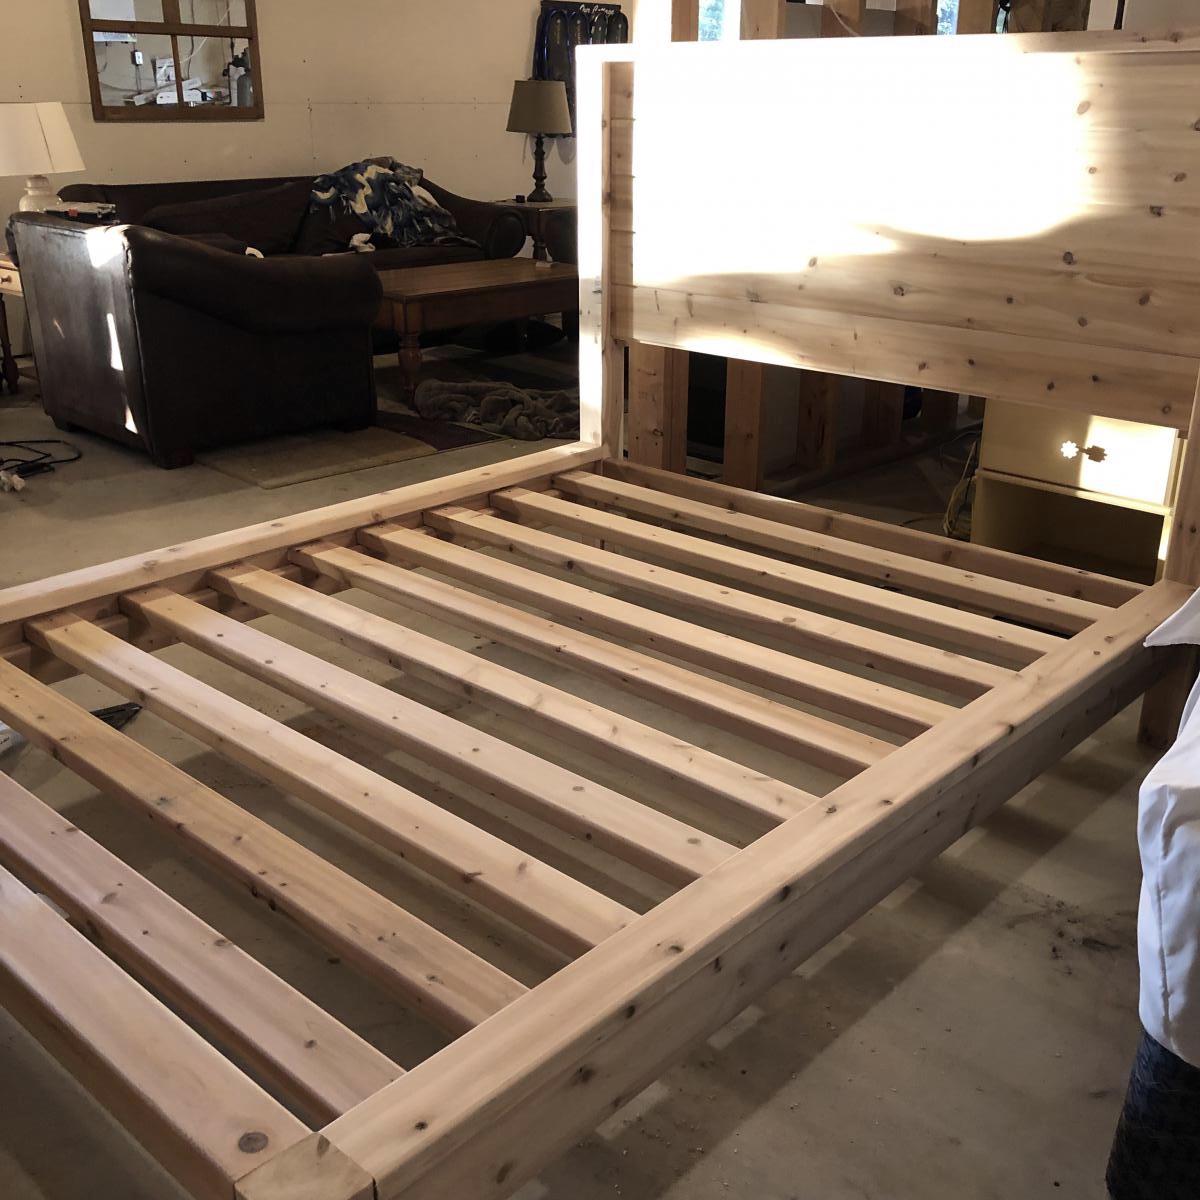
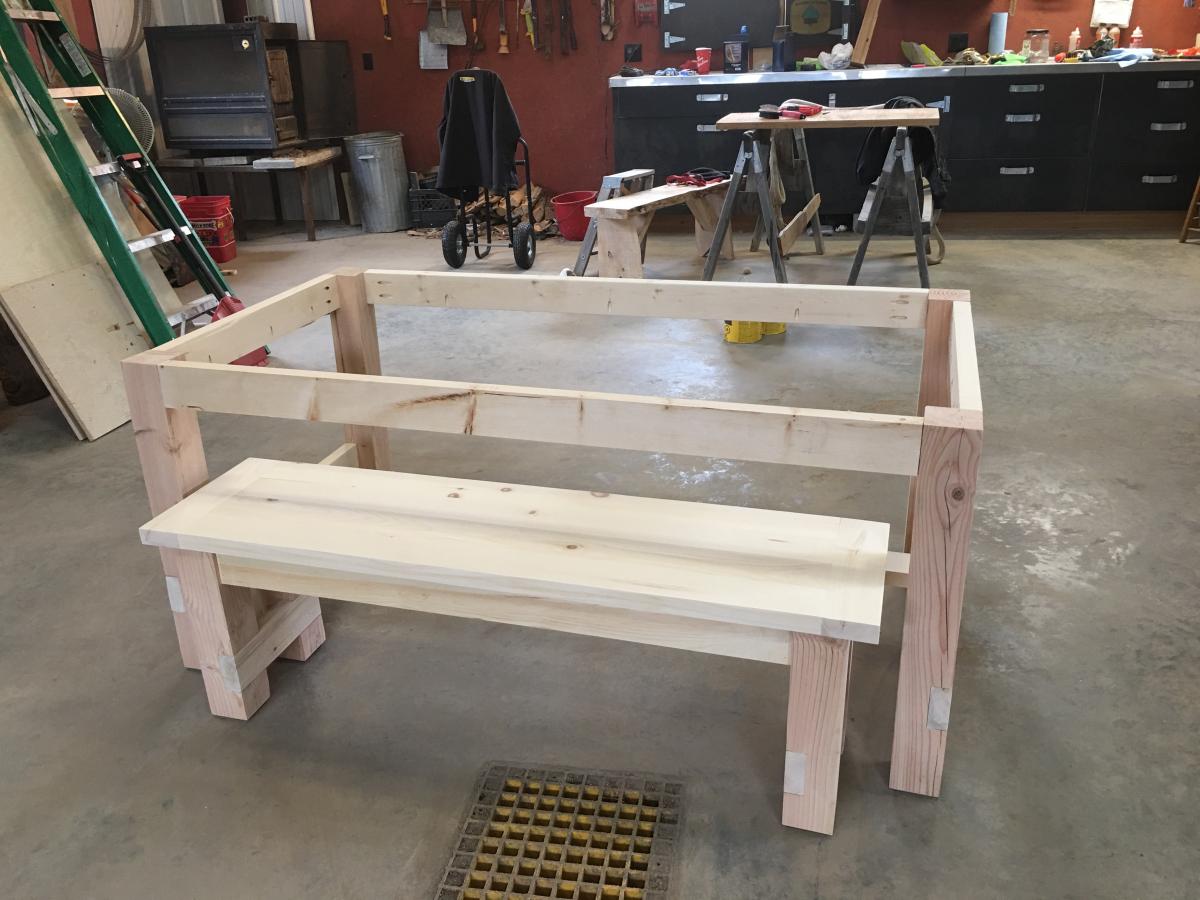
My husband and I built this for our first furniture project. I have the bug! Now I must make night stands . I got the look by staining first with min wax dark walnut, followed by rustoleum weathered gray. This was my first time to ever stain anything, so this does not take much experience to do. Love it! We followed the advice to measure our mattress first, which was good because it turned out to be narrower than many kings. We built the bed custom to our mattress . We also made the height a few inches taller to have a nice tall bed. The footboard is lengthened also. I wanted it to come up above the end of our mattress. This project is easy once you get going. It is also addictive!

Estimated Cost
$350 includes the stains and all. This includes building in our own bed frame to eliminate needing box springs.
Estimated Time Investment
Weekend Project (10-20 Hours)
Finish Used
Wood conditioner, min wax dark walnut, & rustoleum weathered gray stains. In that order
Recommended Skill Level
Beginner

Tress Beam Table

Submitted by Billzair on Sun, 09/29/2019 - 11:48

Put this baby together in 3 days and I just LOVE it! I cannot wait to pick my next project.  Thank you,  Ana White, for your inspiration!

Estimated Cost
$125
Estimated Time Investment
Weekend Project (10-20 Hours)
Finish Used
Golden oak
Recommended Skill Level
Intermediate

Modern Outdoor Chairs and Simple Seacoast Tables

Submitted by Anonymous (not verified) on Mon, 05/22/2023 - 17:08

Great sturdy outdoor furniture to spruce up a small deck space with lots of afternoon sunlight and coastal breezes!

Comments

Farmhouse Bed King

Submitted by moldah on Wed, 01/11/2012 - 15:15

This was the plan that started my addiction! We had just gotten new mattresses, and we needed a new bed frame. All of the furniture stores have dark stains, and we wanted something natural and bright. I was searching one night found your site, and that was it. A few changes, increased the height of the headboard and footboard, wanted a slight overhang on the top of each as well. Also added an additional 2x4 between the legs of the headboard for support.

Estimated Time Investment
Week Long Project (20 Hours or More)
Finish Used
Natural
Recommended Skill Level
Beginner

Comments

Kate (not verified)

Wed, 01/11/2012 - 17:15

That looks great! The natural finish looks really great with your bedding. I love the higher headboard - we're planning to do the same with the farmhouse bed I'm planning so that my husband will be able to sit up in bed without hitting the back.

Did you end up using the boxspring, or is the mattress just in slats? I couldn't tell from your picture.

moldah

Wed, 01/11/2012 - 18:23

Hi, thanks for the positive response :) The mattress and box spring both are on here. In fact, I kept the bed itself on the original metal frame below, and added the side rails to hide it. Purchased the hardware for the side rails from Rockler

MichaelAndMelissa

Fri, 01/13/2012 - 08:42

All I can say is wow. Definitely showing this to my wife today. We had plans to do something like this but yours is up up and away! Excellent job!

moldah

Fri, 01/13/2012 - 15:48

I'm glad you like the lights. I go back and forth on them. I hated that I had to drill holes into the wood to run the cord, as it does not give us the option to remove later on. Also, if you go with the lights, you might want to put some double sided tape on the back. Thanks!

RyanJ (not verified)

Tue, 01/17/2012 - 11:15

The bed looks great. The routered edges are a nice touch.

Did you attach the bed to the original metal bed frame at all?

moldah

Tue, 01/17/2012 - 14:20

Yes, the 2x4 I put between the headboard legs for support, I did drill a hole on each side, and attached the top of the bed frame to that with bolts.

Szetoklin (not verified)

Tue, 04/03/2012 - 09:41

My husband just forwarded me a link of your bed.
It is SO SO beautiful!!! Love the reading light. Where did you get that by the way?
The bed is so pretty. Love the natural wood look and the knots.
We too have mostly dark wood stain in the house and love this light color look. Did you stain it or coat it with something?

igapo

Sat, 04/28/2012 - 15:26

Hi Moldah,

Very impressive and great addition with the lights. Can you tell me how tall your final headboard and footboard are? Thanks.

Elizabeth "Lizzie" (not verified)

Sat, 06/16/2012 - 04:46

LOVE IT! I love doing things like this and I am inspired by seeing your pictures!! I am especially impressed with the Star Wars case noted on your endtable LOL Right there I know you have great taste in films, too!!! I am going to do this project! Great job!

Usmc3mama

Fri, 08/09/2013 - 20:35

Since there were no plans we are making one similar. Thanks for sharing

Marybaileycole

Wed, 09/04/2013 - 17:10

Wow, this is so beautiful! Great Job! We are very amateur builders and I had a couple questions. Do you have a blog with more details? How did you achieve the routered edges? And also, do you mind sharing the cost of the project? Thanks!

rangers_31

Sun, 11/03/2013 - 08:44

By how many inches did you increase the height of the headboard and footboard? I am thinking about doing the same when I build this bed and was hoping for some guidance.

Outdoor sectional couch

Submitted by schwanee on Sun, 12/01/2013 - 06:54

This was my second Ana White project (first was a sandbox). I made a few changes to Ana's plan so that it would better fit my porch. First, I basically flip flopped the plans so that the end table was on part 1. I also altered the length to better fit the cushions I found. Ana's plans were 24" between the 2x2. Mine ended up being 26.5". I also used 2x8's for the base instead of the 2x4 for added height.

The price of outdoor cushions was a big surprise!! We looked into buying outdoor high density foam and making our own cushions, but that seamed to be just as expensive as buying cushions. We also really had a hard time finding large cushions that actually fit this plan. Most cushions are REALLY small for this couch. we found some Pottery Barn cushions online that were on clearance.

It was a fun project and we love the couch!

Estimated Cost
$180 not including cushions
Estimated Time Investment
Weekend Project (10-20 Hours)
Finish Used
Exterior grade white paint
Recommended Skill Level
Beginner

Tryed end table with shelf

Submitted by Anonymous (not verified) on Mon, 02/15/2016 - 12:18

Top 22.5" x 24.5" Base 21"x21" Total height 24"

Built from Plan(s)
Estimated Cost
$25
Estimated Time Investment
Weekend Project (10-20 Hours)
Finish Used
Top finished with minwax red mahogany and polyurethane.
Base finished with Dutch boy trim paint.
Recommended Skill Level
Beginner

Christmas Doll House for 3

Submitted by Anonymous (not verified) on Tue, 10/01/2019 - 20:08

Ana, you saved us! Thanks to you, Santa’s Elf “Ralph,” whipped this up literally the day before Christmas. We have three little girls and wanted to make Christmas magical again after having survived some significant personal tragedy. Christmas has been rather difficult after loss and grief but your doll house was the perfect remedy. Not only do our girls still play with it daily over 9 months later (this has never actually happened with any other toy), but we are thrilled to use it to store all of their dolly clothes and accessories. No mess in our house and it’s super cute! People ask us all the time where we bought it. We tell them it came from Ralph the elf and his bestie Ana White.❤️

Estimated Cost
$80
Estimated Time Investment
Day Project (6-9 Hours)
Finish Used
Paint
Recommended Skill Level
Beginner

Comments

Land of nod knock-off bankable bookcase

Submitted by Chef Sowa on Tue, 01/17/2012 - 18:43

My third project from the Ana-white.com site. Our daughter's books and toys were outgrowing the toy box and small magazine rack we were using, saw this plan, no brainier. It led me the the land of nod website, to see the real deal, and I liked the version with the closed top better, so I modified the plans to fit my needs. Added some trim and oak veneer for the edges, a little stain, and waa laa... Found some boxes at lowe's, perfect fit. We'll move it into her room after I build a new media console for the living room

Built from Plan(s)
Estimated Cost
$100
Estimated Time Investment
Day Project (6-9 Hours)
Finish Used
Minwax poly shades antique walnut satin
Recommended Skill Level
Beginner

Comments

Emerson Buffet

Submitted by Tomifer on Tue, 12/03/2013 - 20:01

We made this based on the Emerson Buffet plans, but modified to fit our current TV accessories. We also added legs, instead of the framed base. 

Estimated Time Investment
Weekend Project (10-20 Hours)
Recommended Skill Level
Beginner

Queen Farmhouse Bed

We've built over 100 of these farmhouse beds - we've tweaked the design ever so slightly. 

Our first Farmhouse Bed took roughly a day to complete. We sanded the entire bed, applied stain & then applied two coats of matte varnish. At least apply one. Stain can leak for weeks, and smell bad for longer.

We use 2x3's for our slats and find them extra strong! 

Built from Plan(s)
Estimated Cost
A Queen Costs roughly 160.00 for just the wood. That isn't including stain, screws, poly or any of the other materials.
Estimated Time Investment
Afternoon Project (3-6 Hours)
Finish Used
We used minwax stains mixed to make a custom stain called "beachwood".
Then we applied A matte polyurethane - We also used metal caps on the holes in the top of the footboard/headboard.
Recommended Skill Level
Beginner

Modern Farmhouse Queen Bed

Submitted by Anonymous (not verified) on Wed, 10/02/2019 - 07:47

Love this bed so much, we plan to build another 3. Used local white cedar milled just down the road from our cottage.

http://www.ana-white.com/woodworking-projects/modern-farmhouse-bed-frame

Built from Plan(s)
Estimated Cost
$300
Estimated Time Investment
Afternoon Project (3-6 Hours)
Finish Used
Unfinished. Love the cedar smell.
Recommended Skill Level
Beginner

Comments

Faux beam

Submitted by vickyand on Sun, 01/22/2012 - 20:07

We took down a wall in our basement which left us with a gap in between the ceilings and two ceilings at different heights...the beam filled the gap perfectly!

Built from Plan(s)
Finish Used
we stained it with Minwax Special Walnut.
Recommended Skill Level
Beginner

Fancy Hall Tree Bench

Submitted by blmalloy on Thu, 12/05/2013 - 12:08

I saw the plans for this and had to have it! My husband had it assembled pretty easily (we've built several dining tables/benches, but this was our first piece that went out of that box, lol) and the whole project took maybe a day or two including staining. We left of the end pieces just because we were trying to get it done quickly for Thanksgiving; we intended to add them on later, but I kind of like it open. Everyone who has seen it loves it!

Built from Plan(s)
Estimated Cost
$75
Estimated Time Investment
Day Project (6-9 Hours)
Finish Used
Rustoleum Ultimate in Early American with two coats of poly. If I had to do it again, I would stain the pieces used for the bench before they were assembled; staining inside those cubes was a bit difficult.
Recommended Skill Level
Beginner

Comments

Val Manchuk

Sat, 12/07/2013 - 21:46

Your hall tree looks really good! (Early American is my favorite stain color!)

Val @ artsybuildinglady.blogspot.ca

Six cube shelf

Submitted by Anonymous (not verified) on Sat, 02/20/2016 - 12:06

Really fun project. My dividers were a little off, but for kiddo storage- it's not too shabby. Bins were on sale at target. Because I trimmed the whole case out in 1x2s- 11x11 was the size I needed. The labels were extra, but totally worth the cost in my opinion. Loved this project and love the organization it brings!

Built from Plan(s)
Estimated Time Investment
Day Project (6-9 Hours)
Recommended Skill Level
Beginner

My first build ever !

Submitted by Anonymous (not verified) on Sun, 10/02/2022 - 05:04

My daughter needing a dining room table. After discovering Ana White’s web site and building plans, I figured I could do this ! I have a background in quilting so I was thinking , cut the material , piece it together....simple !!!! It was definitely the plans and YouTube videos that made this achievable. I had never run a miter saw or table saw in my life ! I still can’t properly read a measuring tape !!! I had the basics down and away I went !!!
It turned out beautifully and best part of all is I could gift my daughter a table and bench made with love from mom !!

Estimated Cost
300
Estimated Time Investment
Week Long Project (20 Hours or More)
Finish Used
Minwax dark walnut stain and sealed with minwax polyurethane
Recommended Skill Level
Beginner

Comments

Camping life

Submitted by Anonymous (not verified) on Fri, 06/09/2023 - 14:21

This was a great project. Easy to do.. Had to down size the table to fit our trailer…

Comments

Combined Tryde Media hutch & Rustic Media Console

Submitted by lazyLiz on Sat, 01/28/2012 - 20:56

My very second furniture do-it-myself. This furniture was inspired by both the Tryde hutch and rustic media console built to suit my space and need. Whew! now I feel like I can build anything:-) Thanks Ana!

Estimated Cost
$250.00
Estimated Time Investment
Week Long Project (20 Hours or More)
Finish Used
glossy white paint
Recommended Skill Level
Intermediate

Comments

Moms train table in white

Submitted by Lsh108 on Tue, 12/10/2013 - 13:00

I used the basic plan but made a few changes. First I wanted a track layout that was screwed down. Easy to start playing for a two year old. And a reversible top that could be used for activities. The top therefor is one piece of ply. With a hole drilled in one end for inserting a finger to start the lift/flip. I used a little thinner ply than recommended to give a little lip around the trim to not allow the crayons and trains to roll on the floor. This also allows me to put two inserts on the plain side. I have a half chalkboard/ half whiteboard inserts. This gives it more flexibility. I also added a theater front to the mix that I store in the cavity of the box with the other top inserts. Finisher with white paint and minwax spray lacquer.

Built from Plan(s)
Estimated Cost
$200
Estimated Time Investment
Week Long Project (20 Hours or More)
Finish Used
White paint and minwax clear satin lacquer
Recommended Skill Level
Beginner

Handmade by Gary

Submitted by Anonymous (not verified) on Mon, 02/22/2016 - 18:35

This is a modified version of your plans.  I made it 4x8 and adjusted the roof and front according. For the back wall, I used T1-11 siding and the pickets everywhere else. I added a floor and ramp too.

Estimated Cost
$425
Estimated Time Investment
Weekend Project (10-20 Hours)
Finish Used
None yet.
Recommended Skill Level
Intermediate

Honey Do

Submitted by Anonymous (not verified) on Thu, 10/03/2019 - 11:45

After moving, my wife informed me that I would be building her a new TV console. This is the end result. Now we need a bigger TV!

Estimated Cost
$400
Estimated Time Investment
Weekend Project (10-20 Hours)
Finish Used
White paint and Minwax stain.
Recommended Skill Level
Intermediate

Comments

Media Console

Submitted by Donnalu on Fri, 02/03/2012 - 17:54

Media Console--My first build! Read all about it at http://isthisloadbearing.com/2012/01/15/media-console/

Built from Plan(s)
Finish Used
Behr Swiss Coffee
Recommended Skill Level
Beginner

Comments

jfmiller17 (not verified)

Mon, 02/06/2012 - 13:31

The details really make the piece unique. The additions of the lattice panels and the legs look like simple additions, but they make a bigg difference. It looks great.

RandyE (not verified)

Mon, 04/09/2012 - 15:40

Did you follow Anna's plans for this? Some other comments on the plan had suggested the measurements were off. Did you find this was the case?

Thanks,
Randy

lizzlysamsinson

Mon, 05/06/2013 - 03:58

I like the idea you have in there. It is quite simple but it expresses such coolness and neatness to the place. Simplicity is beauty. It is better that you make your media console not occupied with a lot of stuff.

------------------------
dragon city hack