Community Brag Posts

Adirondack chairs

Submitted by elfi on Sun, 05/05/2019 - 08:04

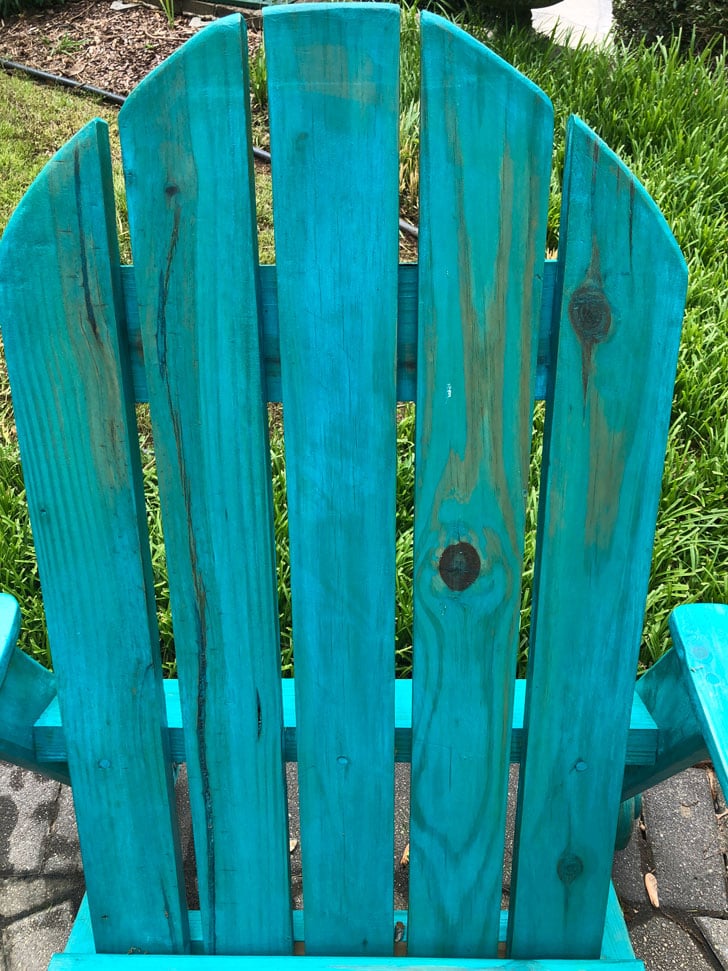
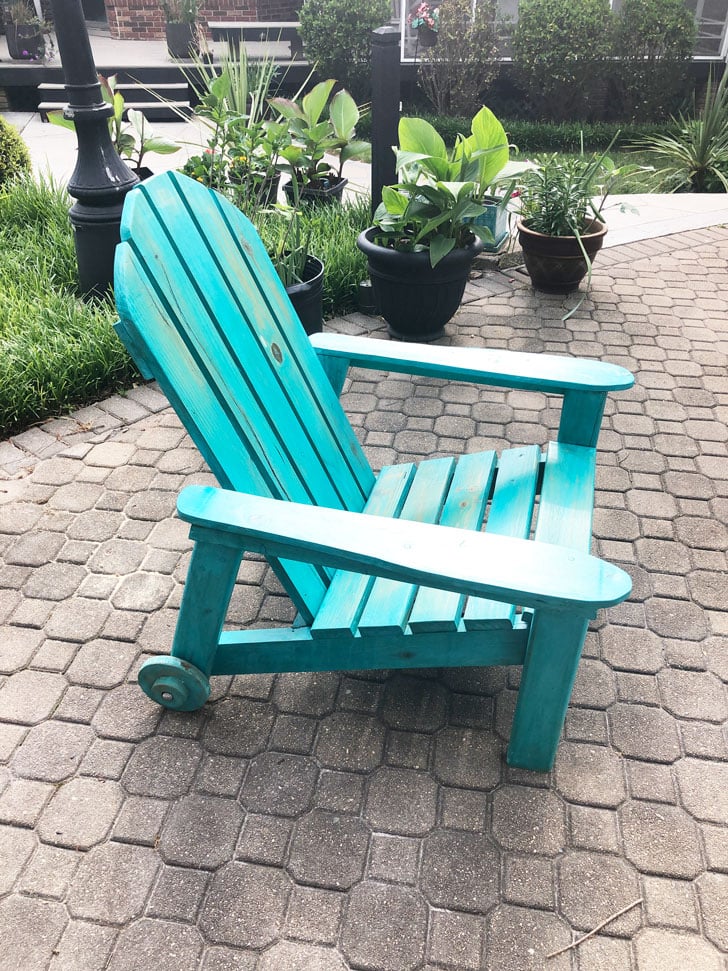
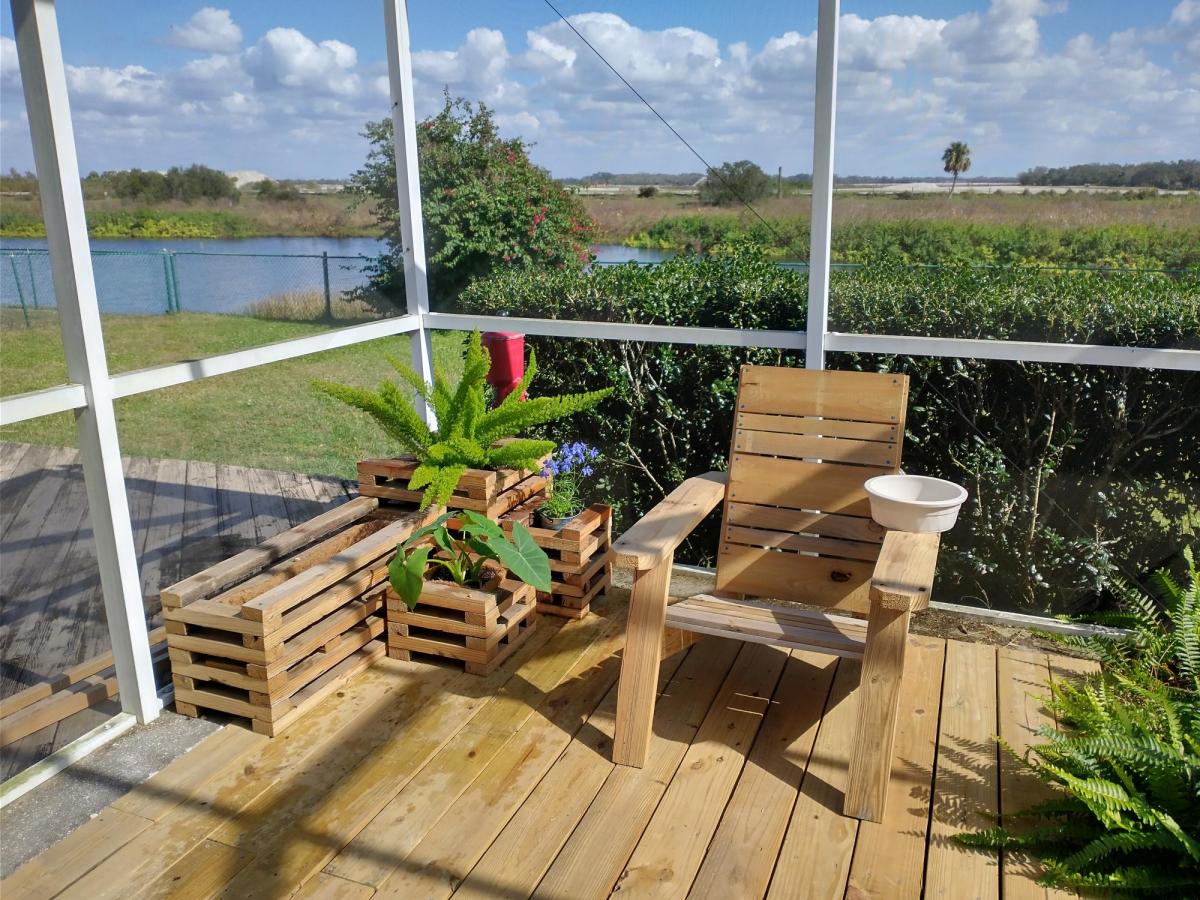
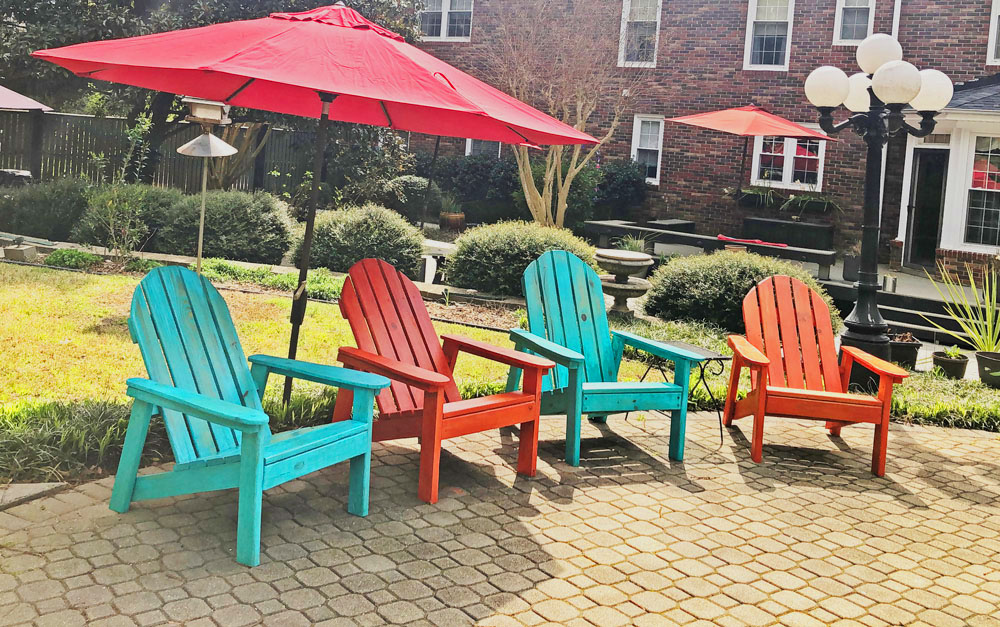
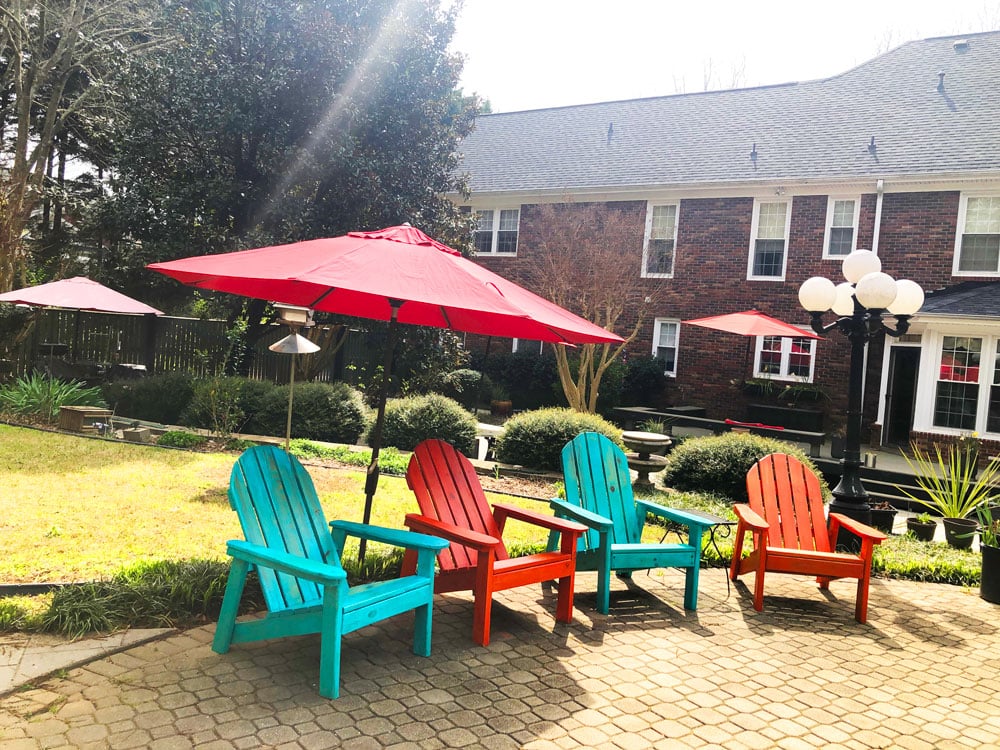
Adirondack chairs from your plans. My husband added some rounding on the arms and back. We wanted them to look like well weathered beach chairs. To get that effect we used milk paint which lets the grain show through.

The best addition are the two wooden wheels on the back leg of the chairs, I can now easily move them around my patio.

Estimated Cost
$ 30 per chair
Estimated Time Investment
Weekend Project (10-20 Hours)
Finish Used
Milk paint
Recommended Skill Level
Intermediate

Comments

Seasonal And Holiday

Patio tables

Submitted by Anonymous (not verified) on Fri, 03/03/2023 - 05:06

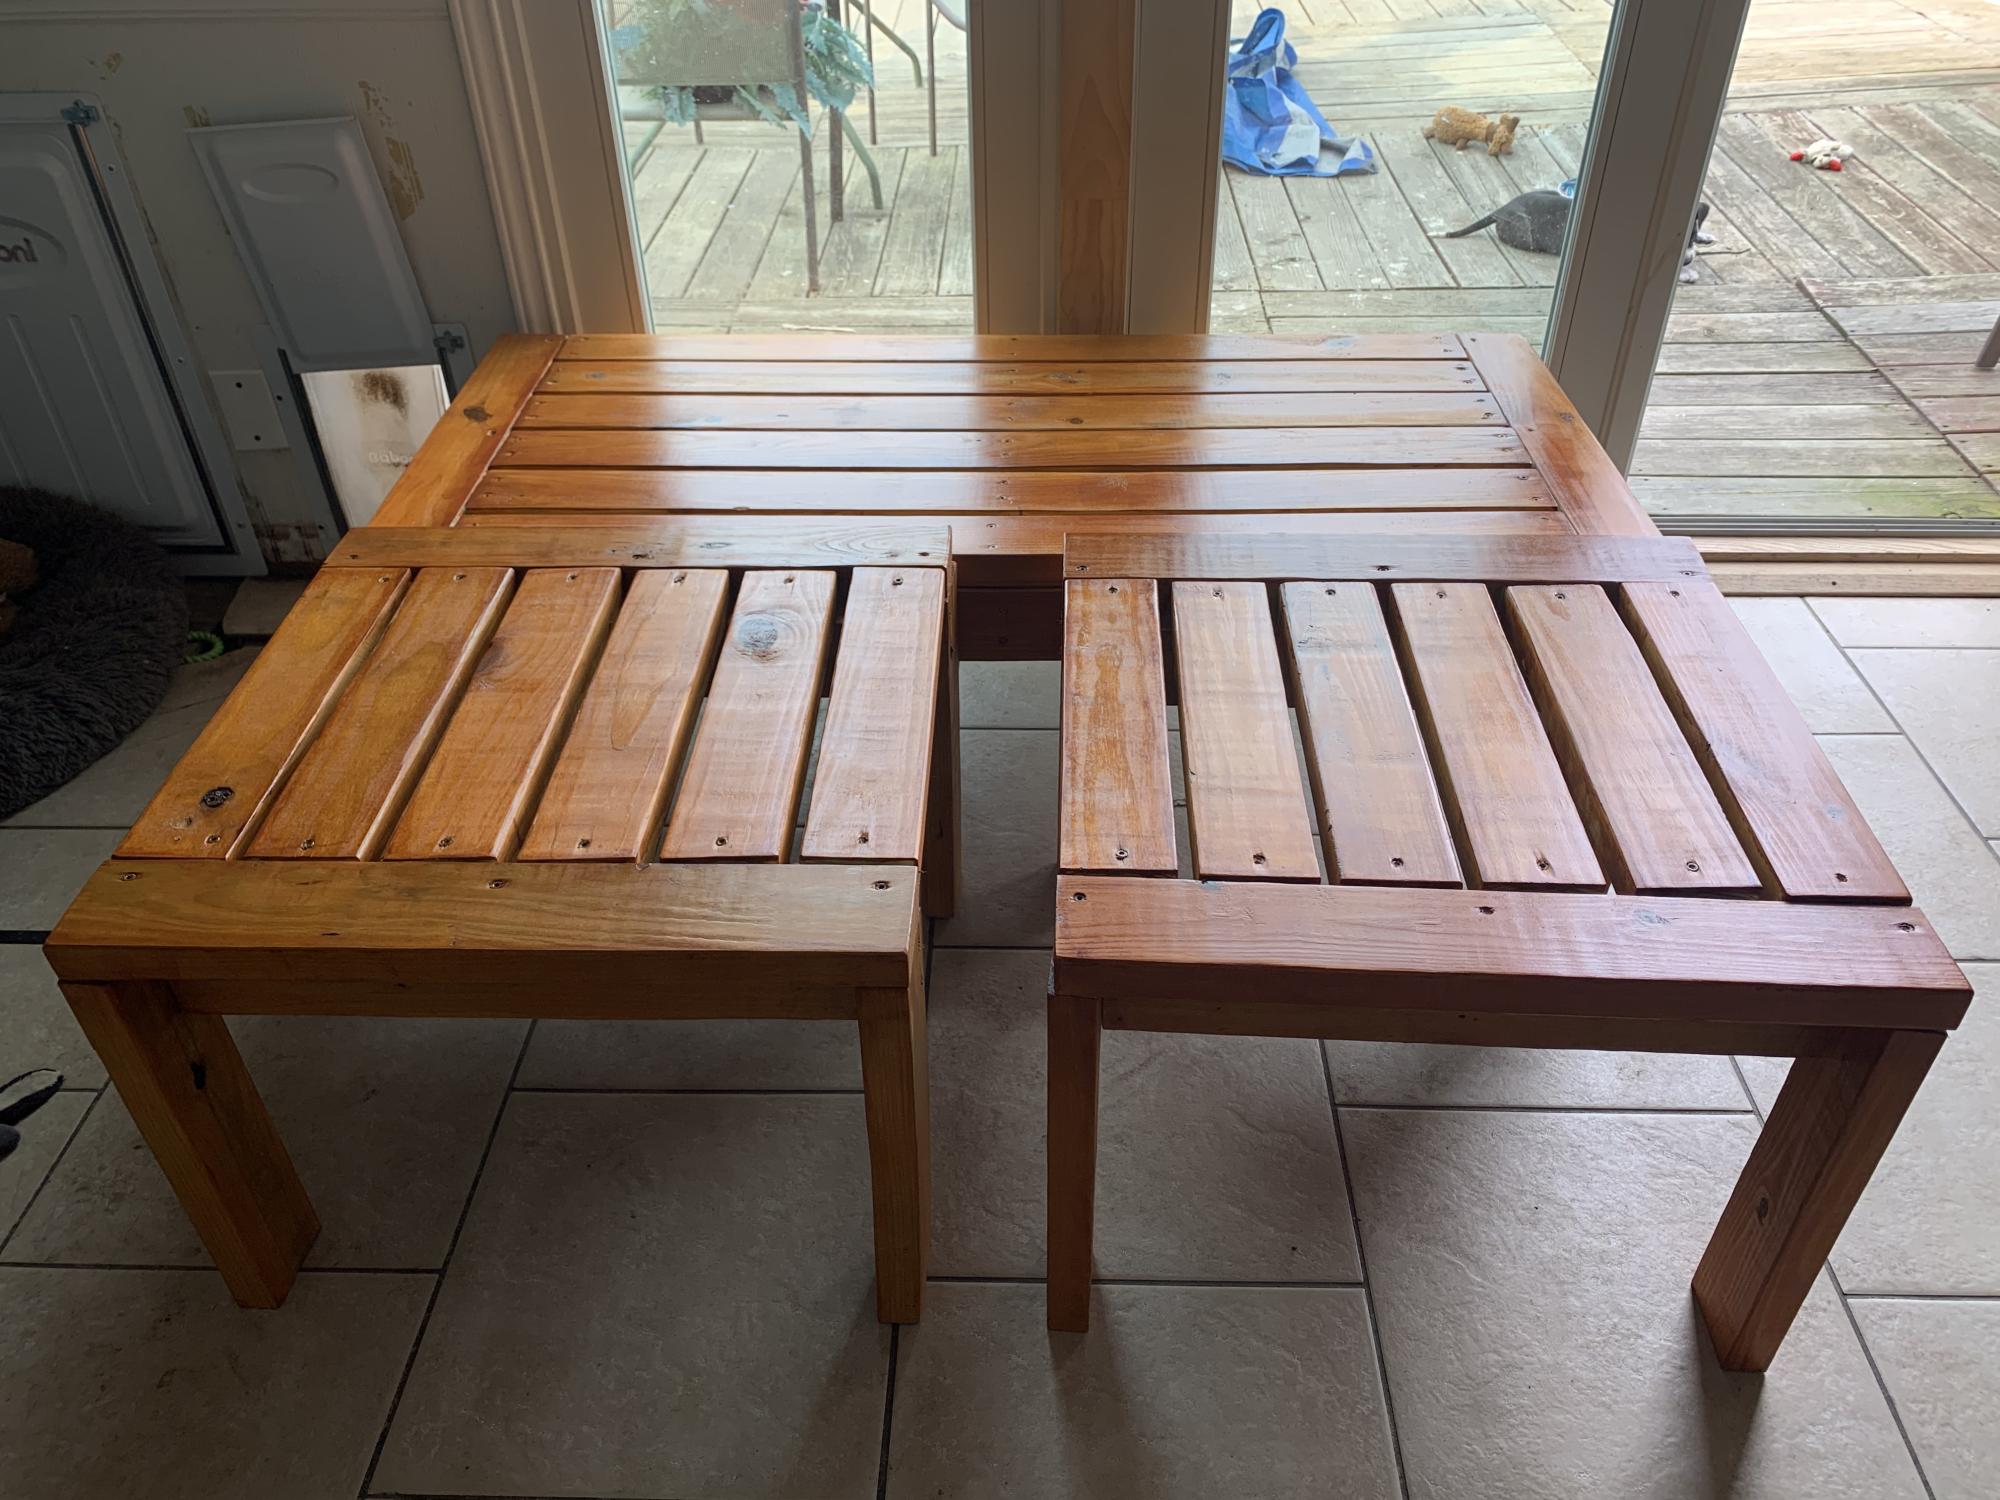
Fun and easy project. If I did it again I would definitely follow the directions to stain the wood first. My first Ana-White project. I’m hooked!

Built from Plan(s)

Comments

Modified Simple Cheap Console Table

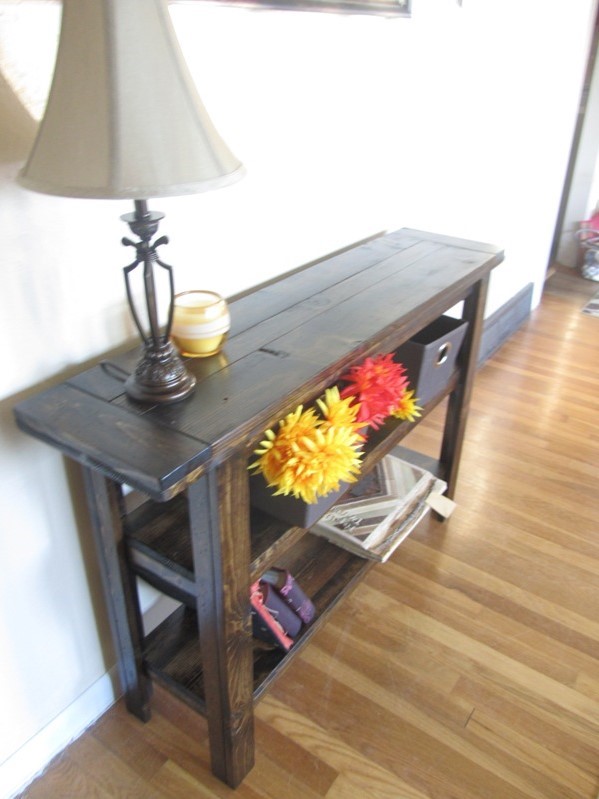
This was my first project from Ana's web site. I modified the table by expanding the trim of the stretcher to the outsides and adding a shelf. I also added an additional shelf in the middle. I cut the apron for the top down to two inches, and an inch a half for the lower two shelves. I distressed each piece of wood individually by hitting it with a bag of nails and various other things.

Estimated Cost
$40.00 - I had the stain and sand paper and polyurethane.
Estimated Time Investment
Afternoon Project (3-6 Hours)
Finish Used
I used two coats of dark walnut minwax and two coats of satin polyurethane. If anyone has any tips for their "best" finishing techniques, I'm all ears.
Recommended Skill Level
Beginner

Comments

shea chappell

Sat, 11/12/2011 - 07:31

I am literally I the middle of buildig the sectional and all of a sudden it says I
am not authorized to get into that page. Any information?

beckiedecker

Sat, 11/12/2011 - 20:03

And what a fun project, whacking it with nails and such to distress. Did you feel de-stressed afterward?

It looks great.

T-Town DIYer

Tue, 11/15/2011 - 09:25

I could have given the table a little bit more of my stress. Unfortunately I couldnt swing the bag too hard, because the nails would rip right through it and fly all over the place. Maybe next time i'll use a pillow cause and swing a little harder.

T-Town DIYer

Thu, 11/17/2011 - 10:14

This has become me new favorite site to visit. My to do list is a mile long and covers almost every room in the house. My wife thanks you!

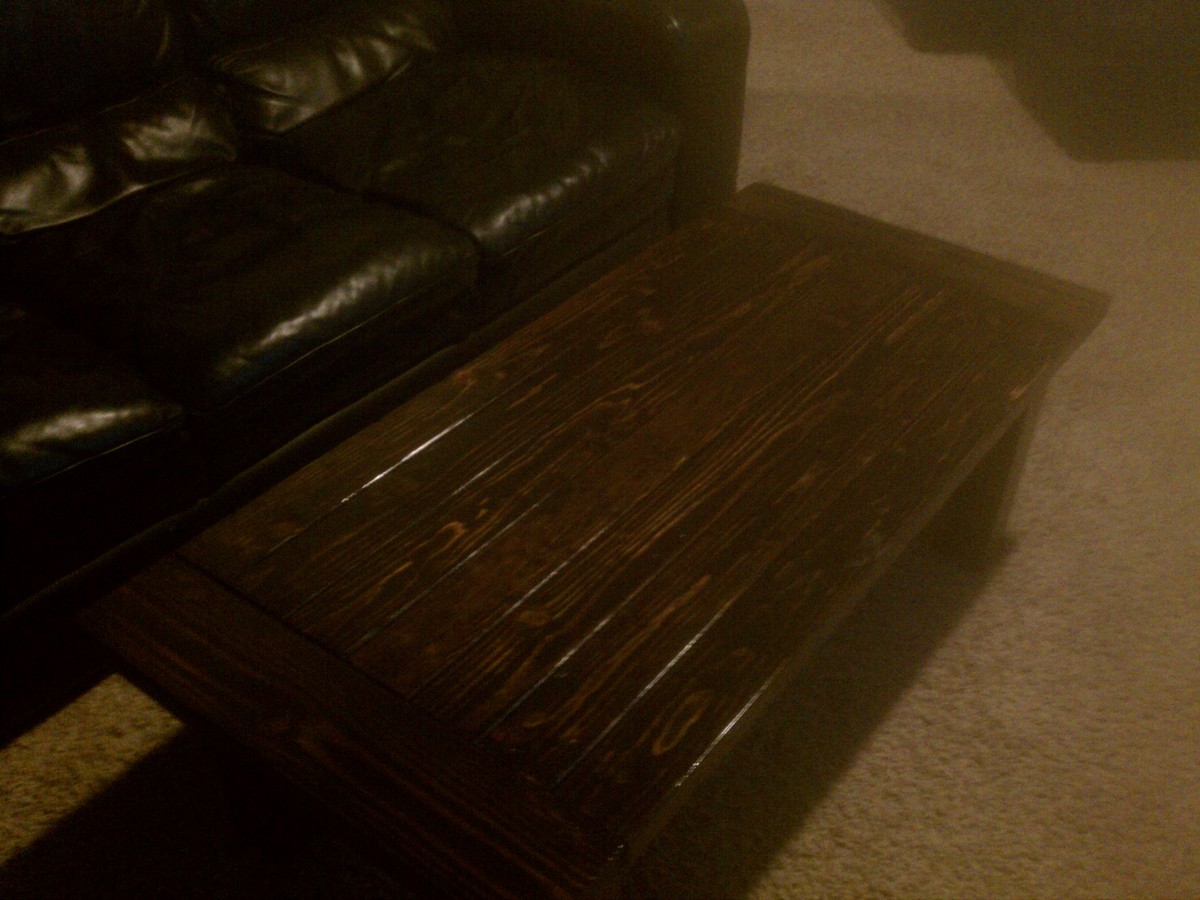
Planked top Coffee Table with recycled legs

Submitted by AndyH on Sun, 01/10/2016 - 15:00

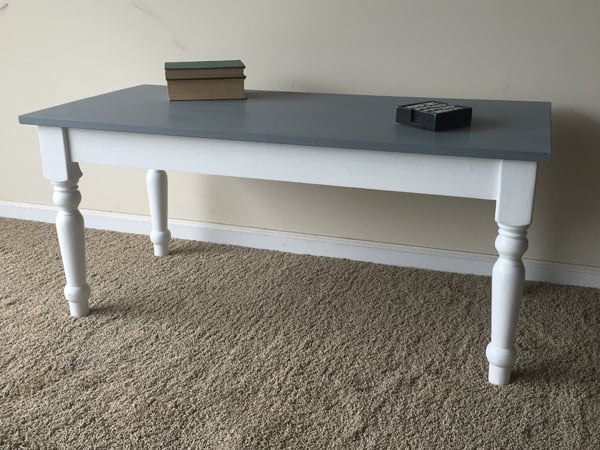
I found an old coffee table with stained legs for $10 on one of those app "for sale" sites. Sanded them down and with two pieces of 1 by 4 for the apron and 2 pieces of 1 by 6 for the top made this table. Apron is No2 whitewood and Top is select pine. Top was stained in a dark color (Varathane Kona) and then painted gray and sanded back to show some of grain and stain through. Total cost of new table about $60 (most expensive part was the select pine for the top at around $35)

Estimated Time Investment
Day Project (6-9 Hours)
Finish Used
Extra bright white and then gray for the top.
Recommended Skill Level
Beginner

Newbie at work

My first piece of furniture 

Estimated Cost
Scrap wood and 1 8ft 1x4
Estimated Time Investment
Day Project (6-9 Hours)
Finish Used
Hammered dark bronze paint and polyurethane
Recommended Skill Level
Beginner

toy box #4

Kids toy box with personalization.

Built from Plan(s)
Estimated Cost
$50
Estimated Time Investment
Afternoon Project (3-6 Hours)
Finish Used
1. One coat primer
2. Two coats semi-gloss white
3. Acrylic for personalization
4. clear acrylic spray
Recommended Skill Level
Intermediate

October Scrap Projects

Submitted by SaraLodise on Mon, 10/28/2013 - 14:21

Starting to get colder here in SC. I know the northerners will scoff at me but I'm a wuss when it comes to the cold... and I want my warm garage spot back. That means cleaning up my scrap wood and finishing the big projects that won't fit in my little project/craft room. So the past few weekends I have done a few scrap projects that had been on my mind for a while.

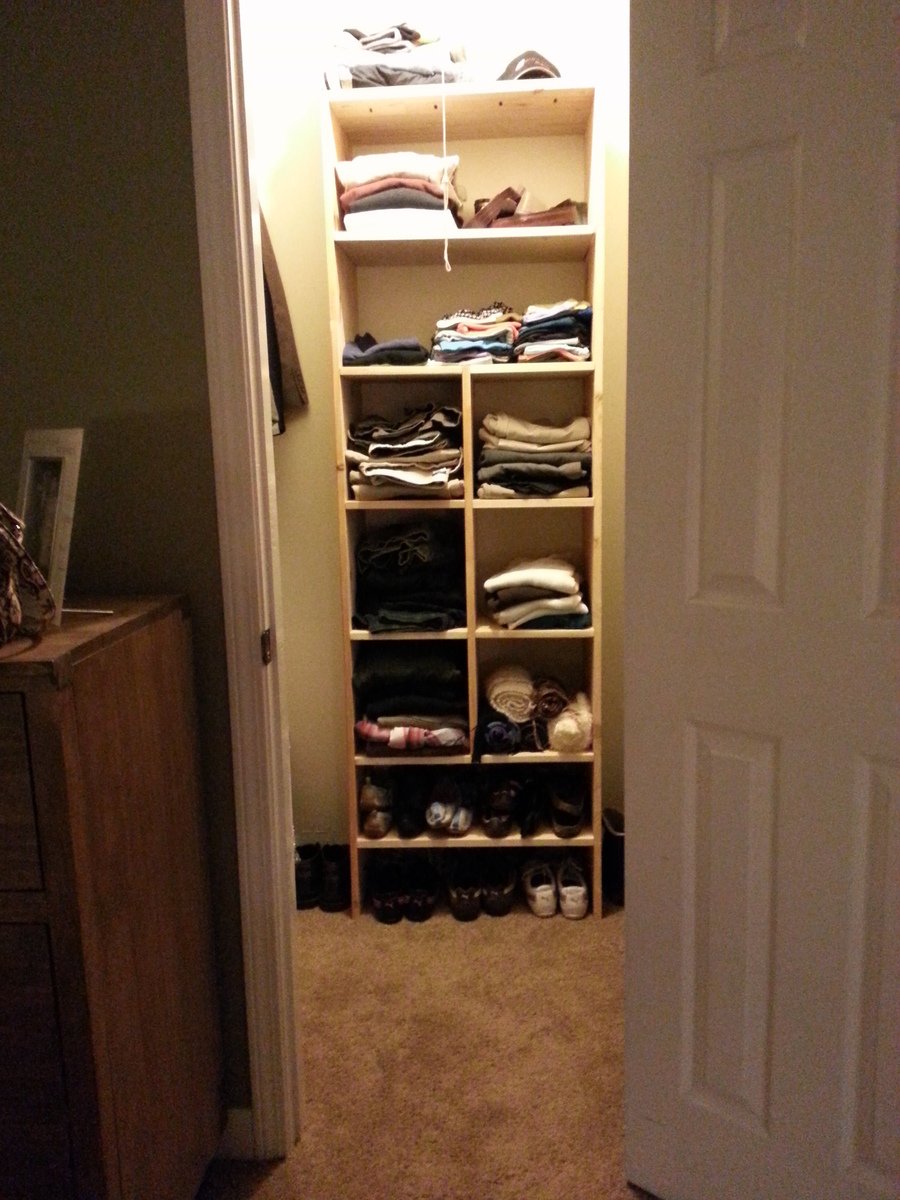
First was shelves for our oddly shaped walk-in-closet. Most of the wood was salvaged from my old dresser/armoir with a splash of scrap whitewood boards to finish it up. I love being able to see everything right when I walk in now.

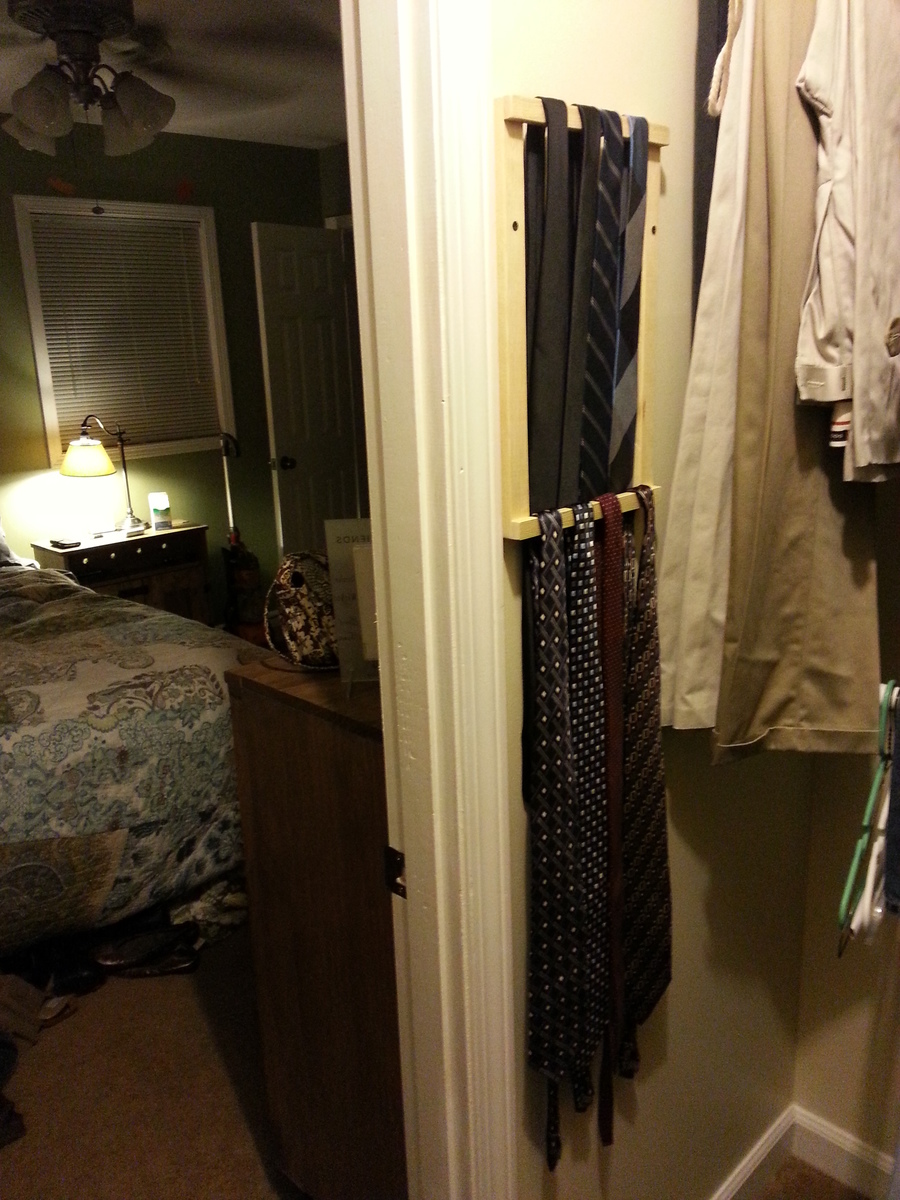
Second is a simple tie rack for Mr. Lodise so he doesn't have to put them on a coat hanger any more. One more step to getting everything in the closet more visible.

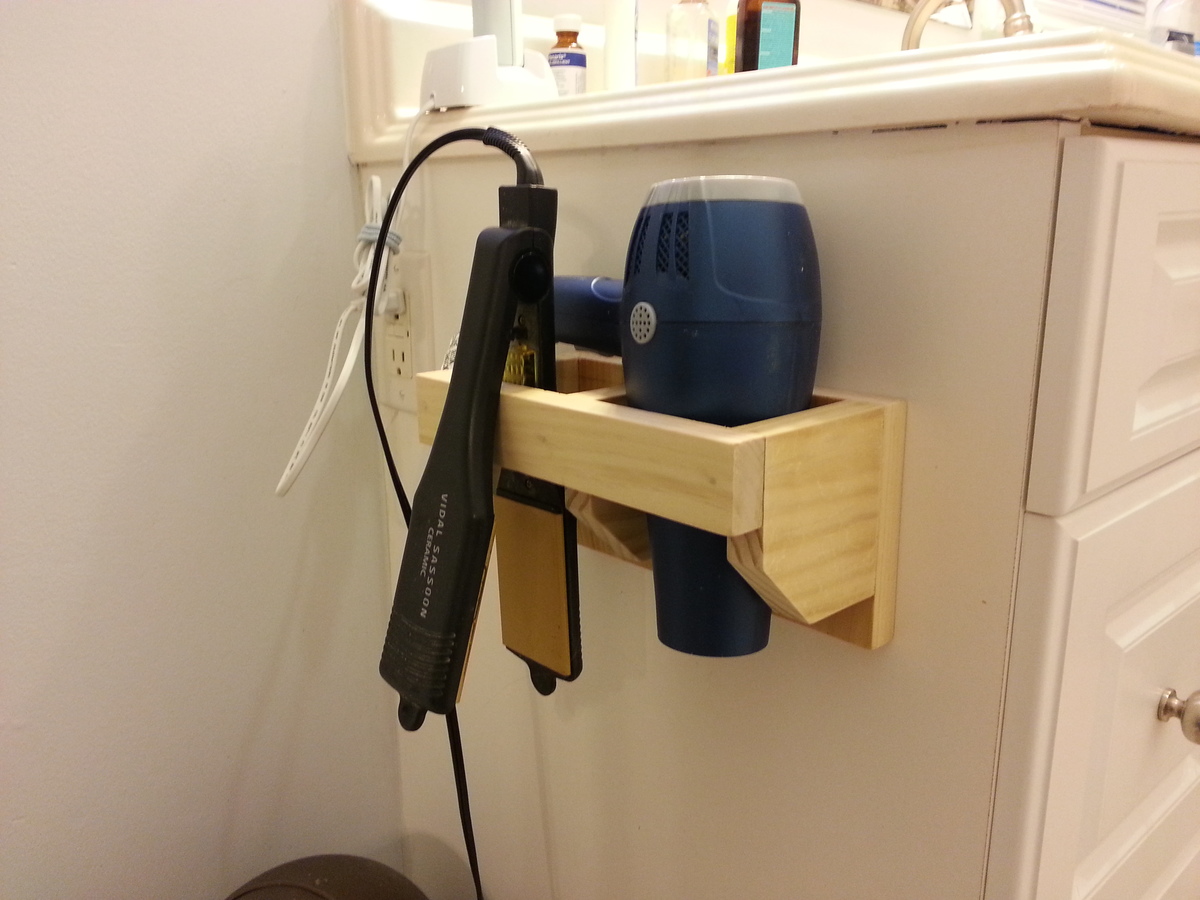
Third is a holder for my hair dryer and straightening iron so they don't have to take up counter space anymore.

Best of all my car now fits in the garage again :)

Estimated Time Investment
Day Project (6-9 Hours)
Finish Used
none
Recommended Skill Level
Beginner

Big Ol' TV Stand

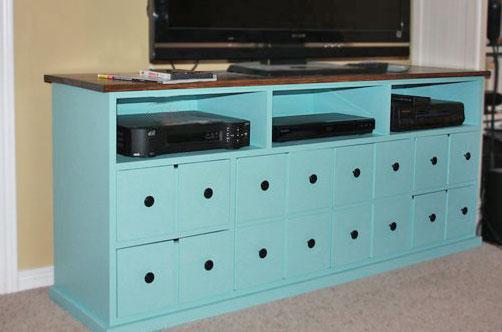
Submitted by BERobinson on Thu, 01/14/2016 - 11:14

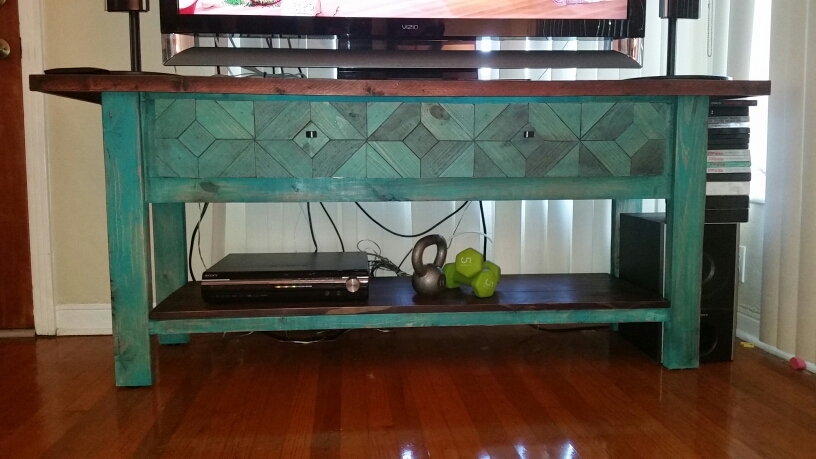
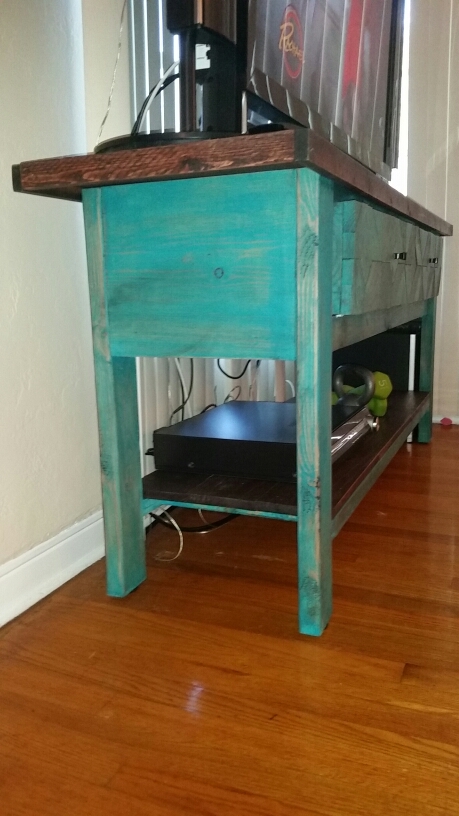
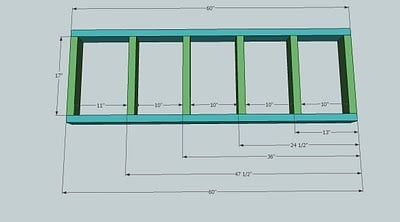
Instructions for the Ridge Media Console Table were easy enough to understand after one read-through.

I changed up the front-drawer face to go along with other decor in room fun, satisfying project.

NOTE -- Measure your electronics. The drawer is supposed to hide all wires and electronics for a clean look, however, the plans give a 13" drawer space. The dvd/tuner I own is approx 14.5", therefore I have to store it on the bottom shelf. I guess it's time to upgrade to blu-ray.

Built from Plan(s)
Estimated Cost
100.00

wood, kreg screws, nails
Estimated Time Investment
Weekend Project (10-20 Hours)
Finish Used
minwax stain redwood on the table tops, and then a turquoise chalk paint, 40/60 with water, on the body. After sadning the finishes down to reveal more grain, minwax wax finish was used to protect. I use a rag with black paint on it to apply the wax. It tends to darken the grains and pull out the awesome imperfections of the wood that I love staring at.
Recommended Skill Level
Beginner

Comments

Chicken Coop

I Modified the plans to make the coop 4Ft wide to accommodate 4 nesting boxes. I Used roll away egg nesting trays in my coop. I keep the base pretty much the same dimension but made the planter smaller. I also replaced the 2"x 4" that framed out the house with 2" X 3".  My chicken ladder is made from three 1" x 2".   Because my chickens are so young I have the nest box blocked off until they are bigger. I will then use a hole saw to cut holes to each individual nesting box. I also added a Chicken Swing!


Estimated Cost
300-500
Estimated Time Investment
Weekend Project (10-20 Hours)
Recommended Skill Level
Intermediate

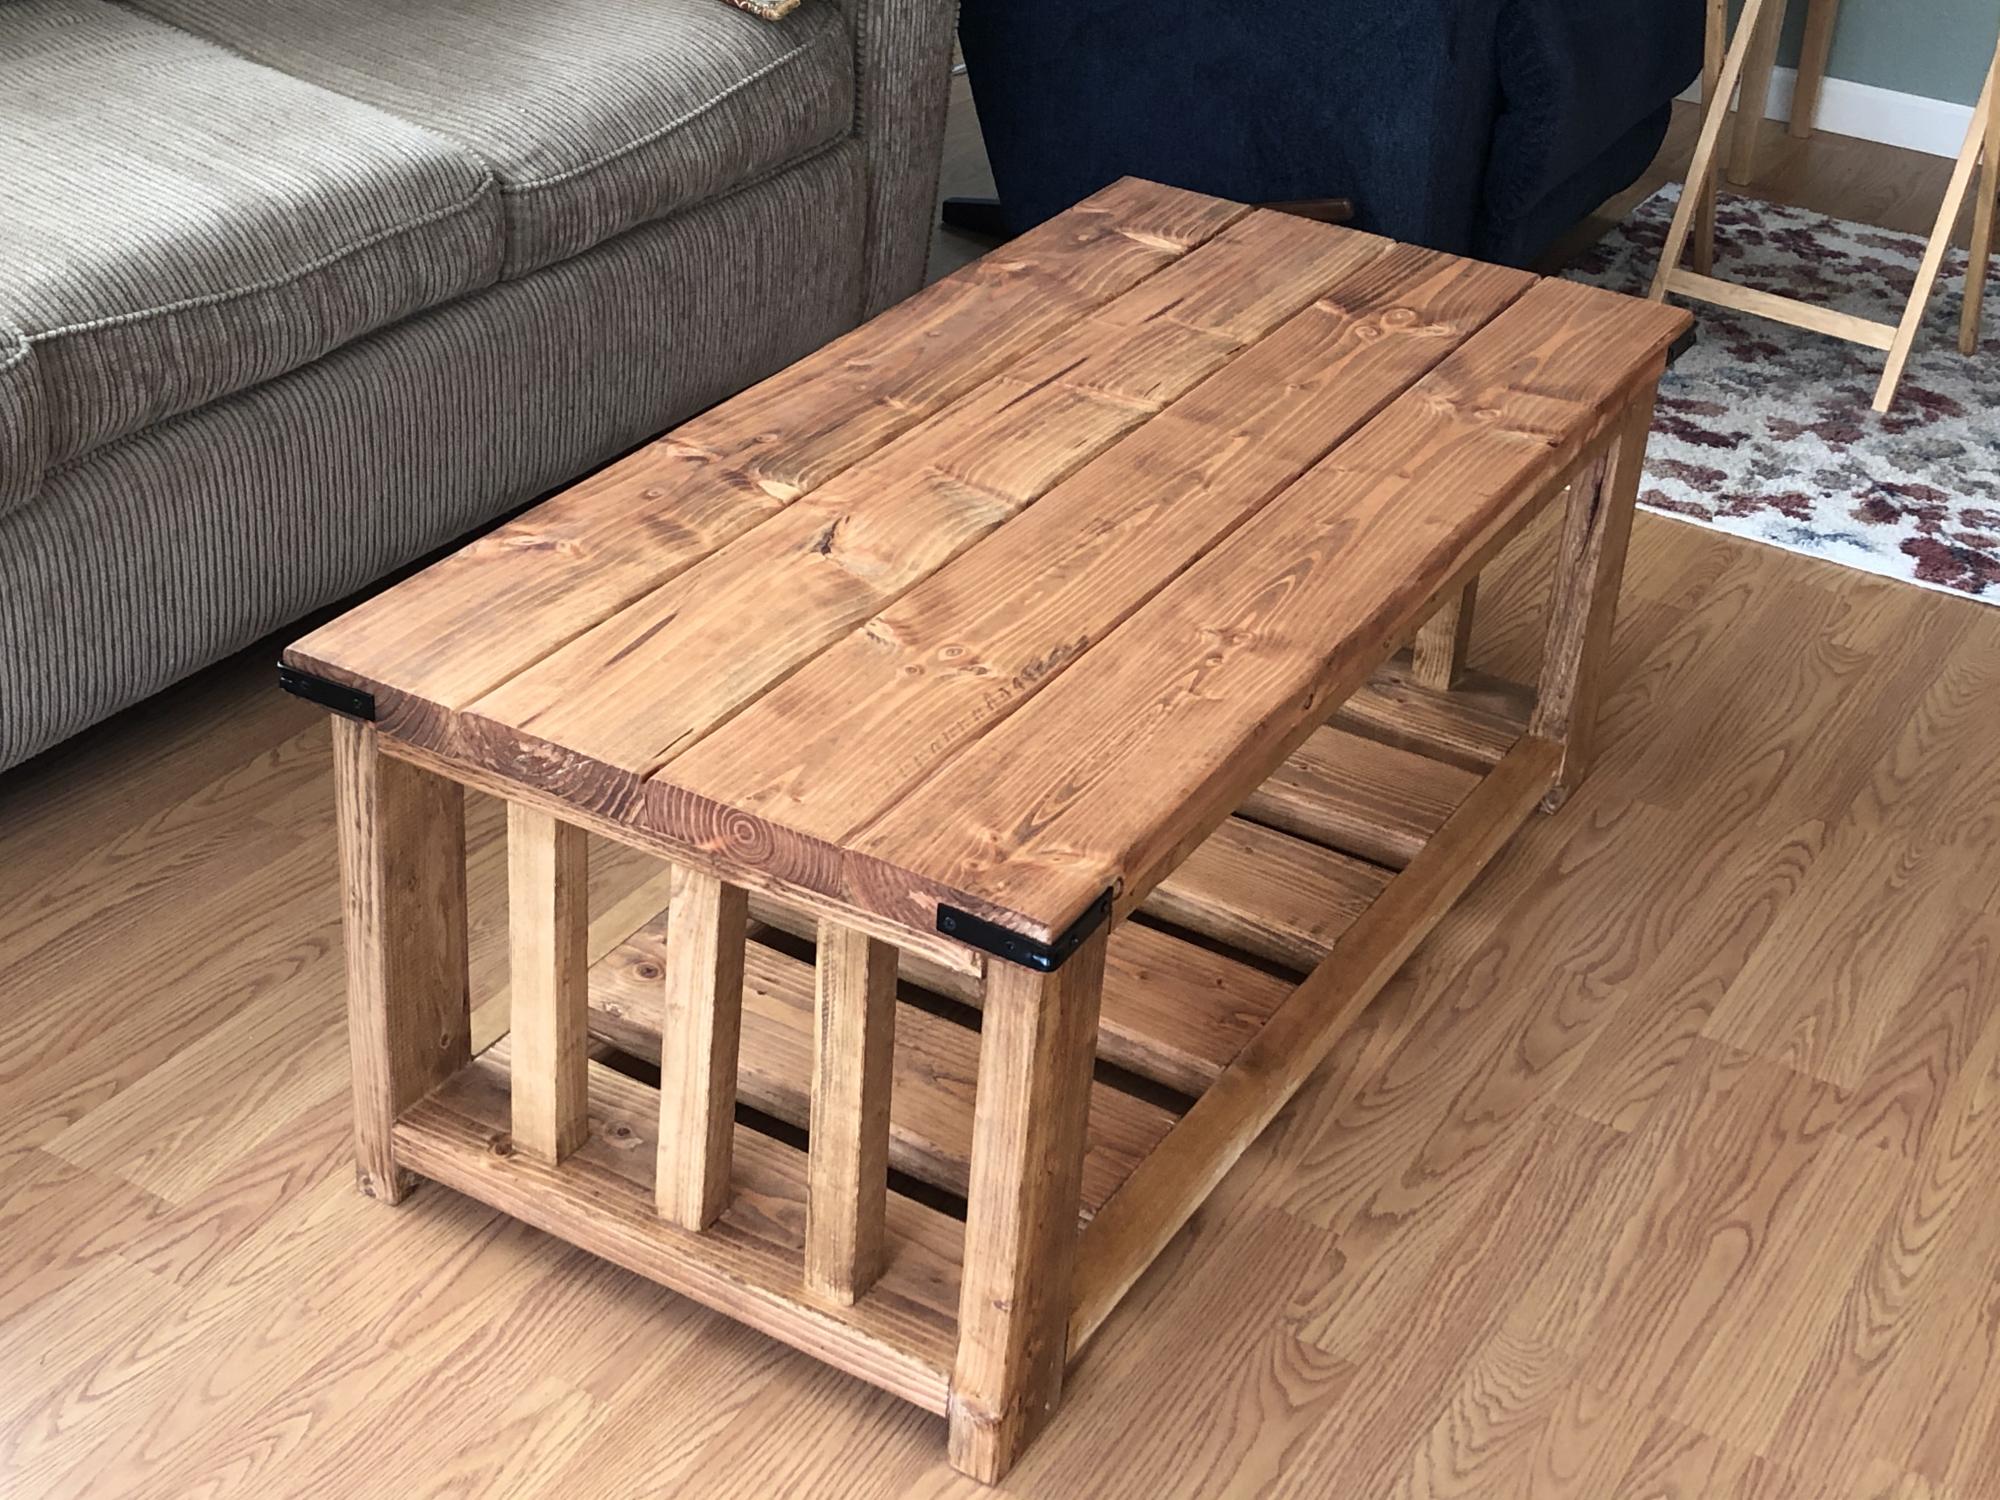
Pine Coffee Table = Success

Tryde Coffee Table

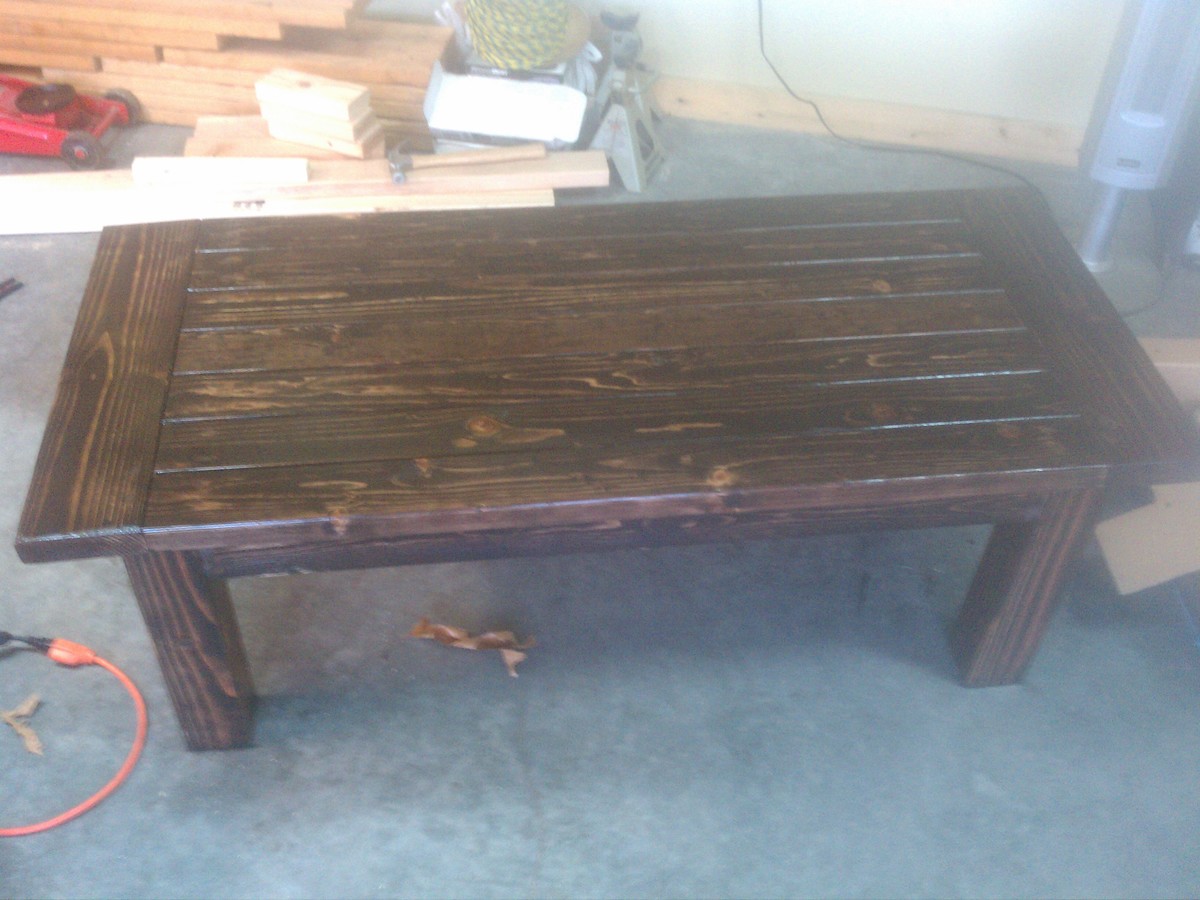
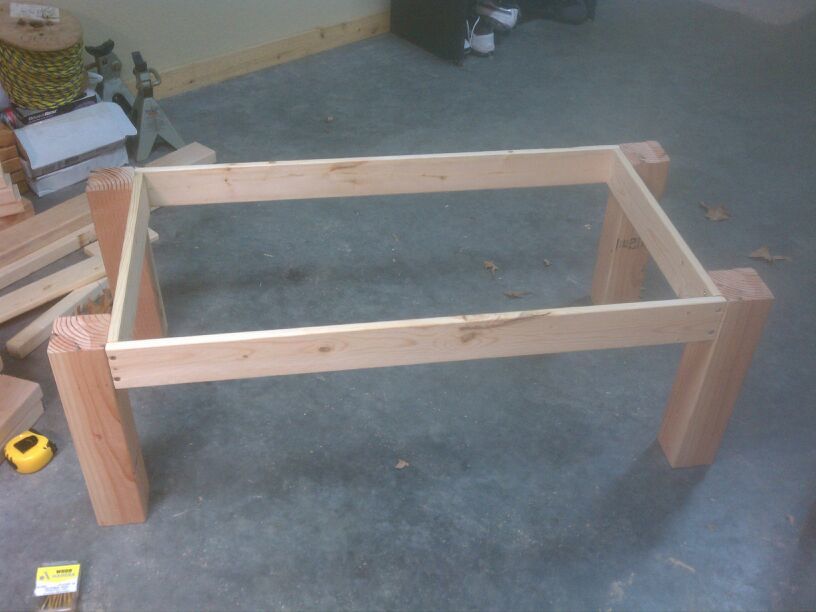
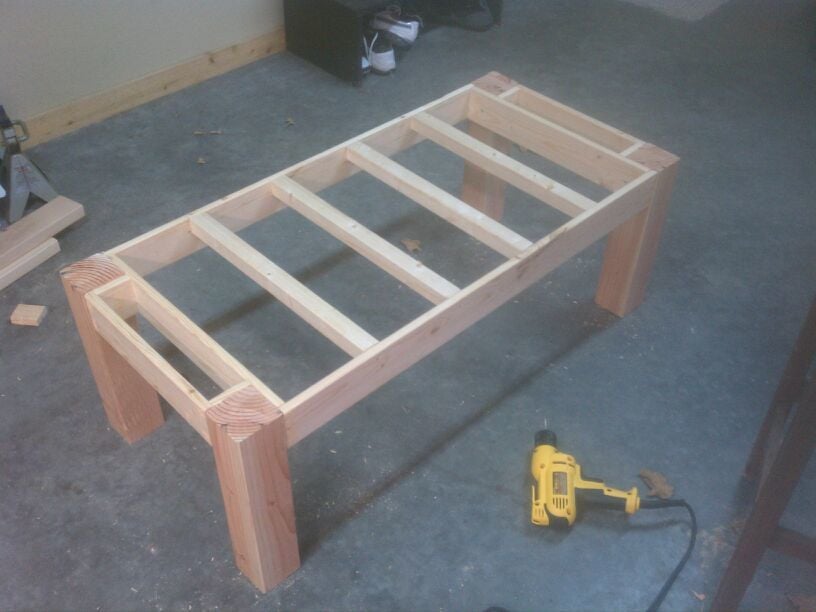
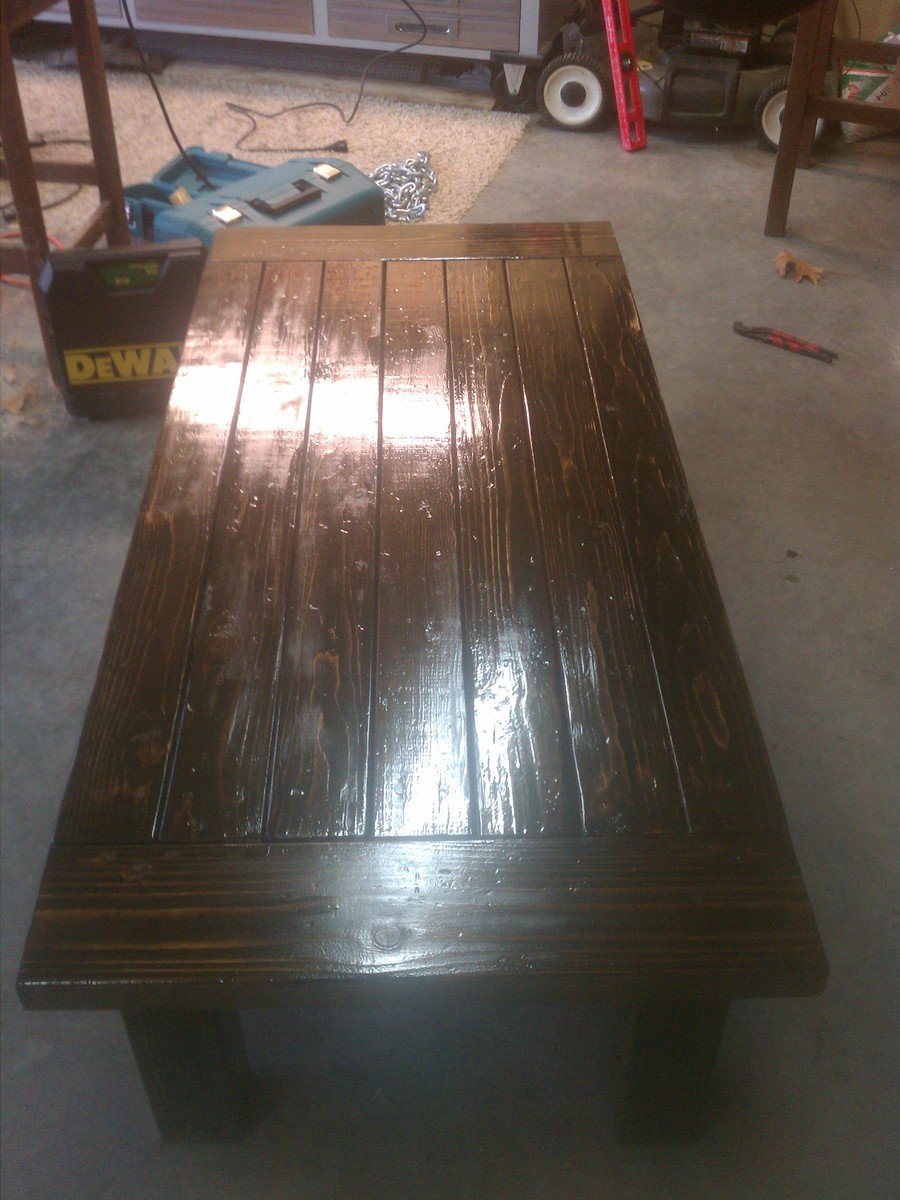
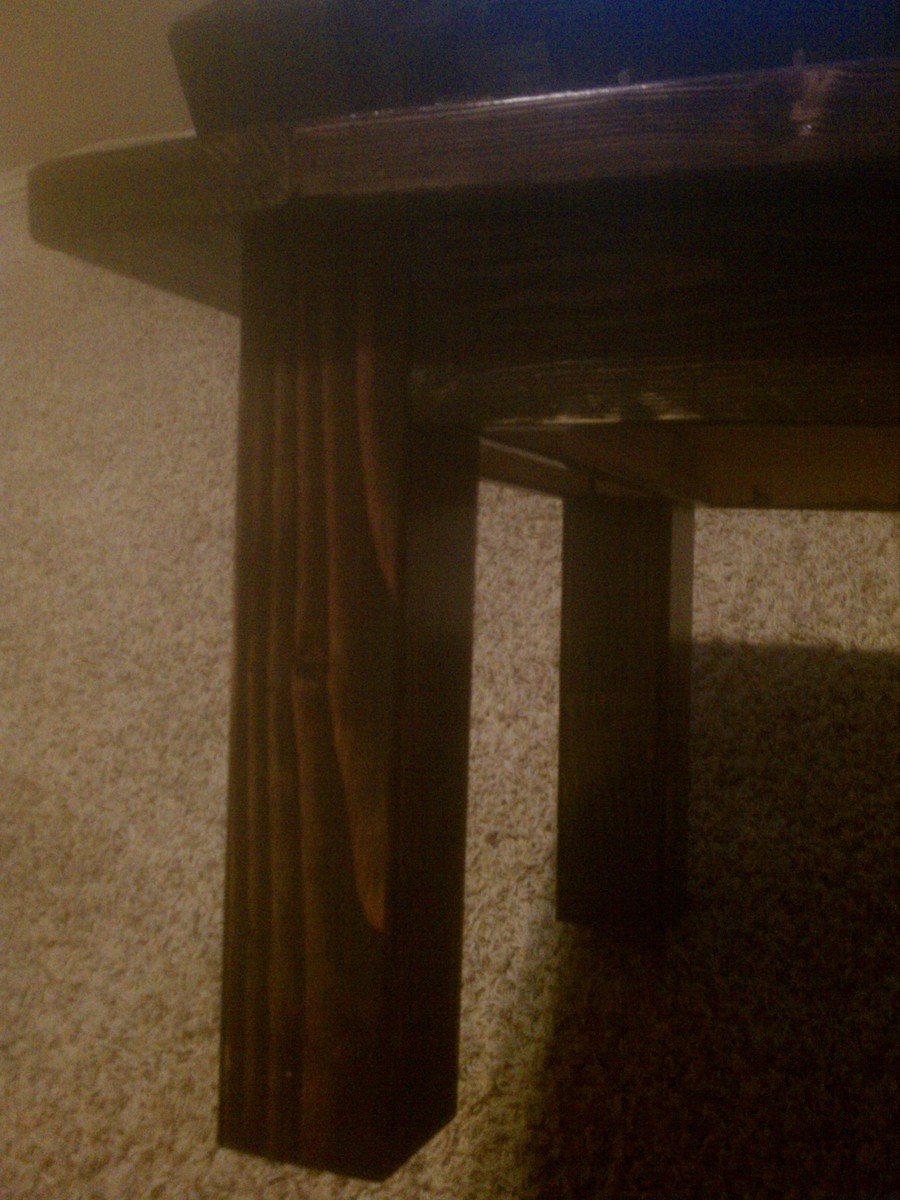
Used: Pine wood, 2 coats Kona stain, 3 coats gloss poly, 2.5" silver screws.

Lessons Learned: Forgot to use wood glue on joints, use 10" circular saw or table saw for 4x4 posts (I used a 7.25" circular and had to cut all sides and then sand down uneven parts)

This is a heavy duty coffee table, and can easily support up to two people stacked on top of it... which was my main concern. :)

Built from Plan(s)
Estimated Cost
$70
Estimated Time Investment
Day Project (6-9 Hours)
Finish Used
Kona Stain, Gloss Poly
Recommended Skill Level
Starter Project

Comments

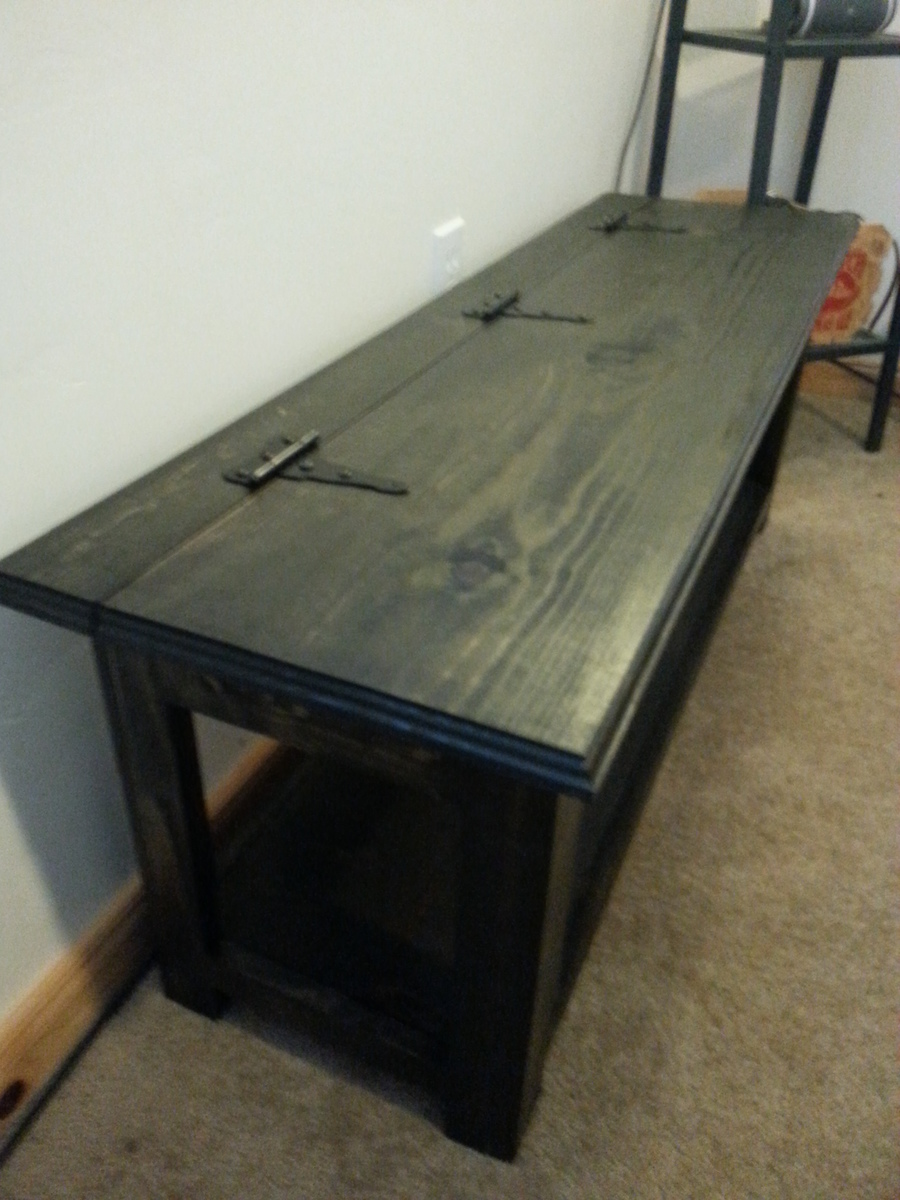
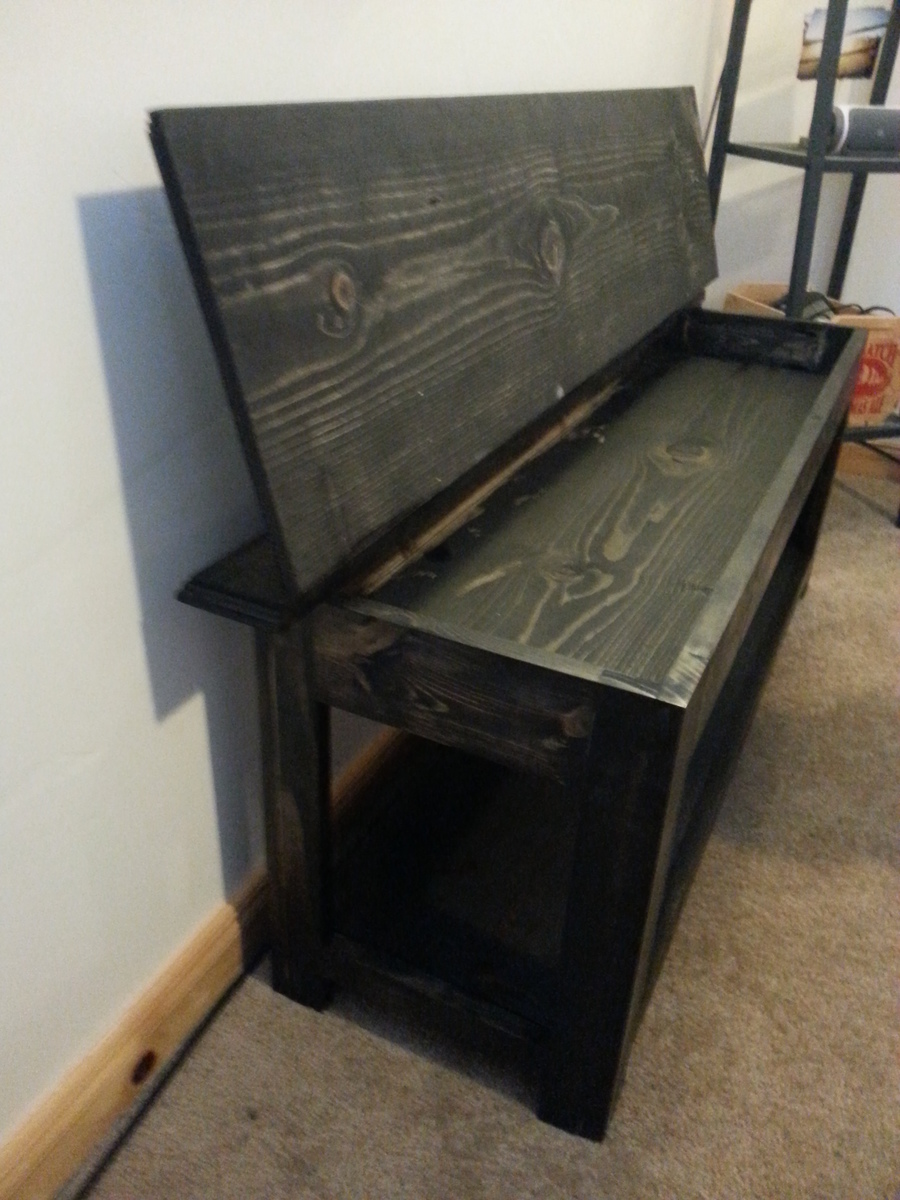
My bench with strap style hinges

Submitted by bash7325 on Thu, 10/31/2013 - 16:39

Followed the plans closely. Used a roman ogee bit to add a decorative edge to the top. Used strap style hinges instead as well.

Estimated Time Investment
Day Project (6-9 Hours)
Finish Used
minwax ebony stain, single coat polyurethane
Recommended Skill Level
Intermediate

Comments

Val Manchuk

Thu, 10/31/2013 - 18:46

I bought some Minwax Ebony stain a long time ago and have never used it, but I will now! It makes a beautiful finish!
Val
artsybuildinglady.blogspot.ca

First plan,,first table. I made two of these.

Submitted by Anonymous (not verified) on Fri, 03/24/2023 - 12:44

I was retired from my job and needed a new chore.
The plan seemed easy, and not being a real good carpenter, I required easy, and the plan was exactly that.
Thanks Ana.

Comments

Little Helper Tower

Submitted by SecondWind on Thu, 12/08/2011 - 16:48

Love this site! I stumbled on Ana's site via Pinterest and have been hooked ever since! I used pocket screws to attach everything (the Kreg Jig is AWESOME!) Thanks for the great plans, and my daughter loves her tower! I stained it to match the cabinets in our kitchen and so our soon-to-be baby boy can use it in the future. The wood is just some cheaper pine from the local HIW.

Built from Plan(s)
Estimated Time Investment
Weekend Project (10-20 Hours)
Finish Used
Bombay Mahogany Minwax Polyshades
Recommended Skill Level
Beginner

Built-in Bookshelves

Submitted by brittanyj on Mon, 11/04/2013 - 11:51

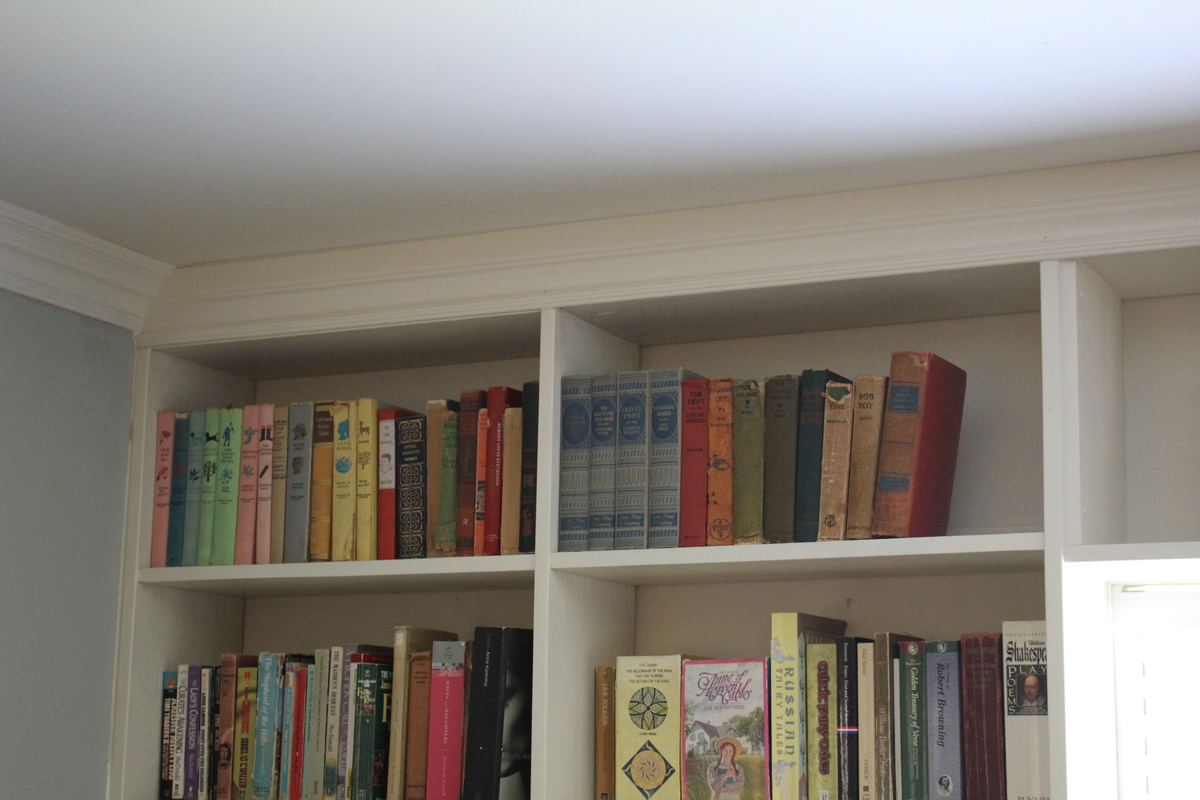
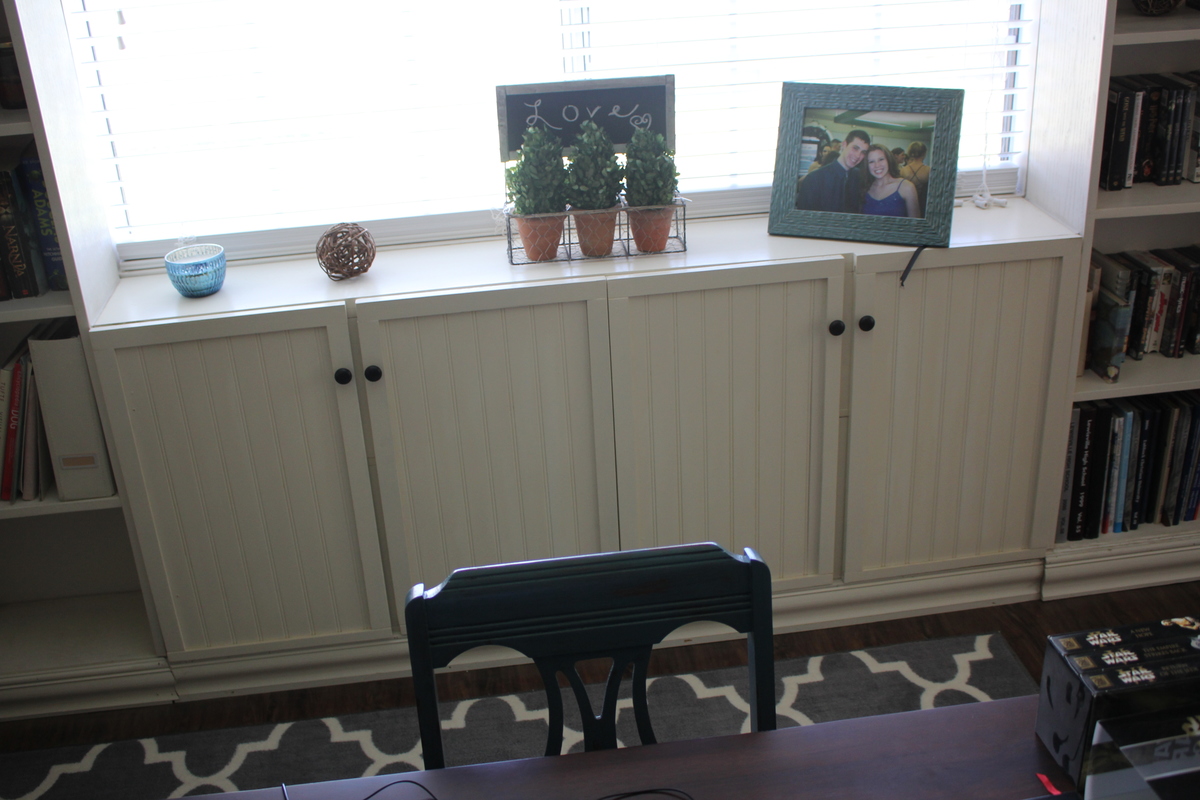
My summer-long project (admittedly, I was lazy about getting it done) was to make built-in bookshelves for our huge family room. For the bookshelves themselves I cobbled together plans from different sites, and modified them all to fit our space/needs, and the cabinets are built after Ana's cabinet plans, modified to be as thin in depth as the bookshelves. Doors on the cabinets were a pain, but they are also my favorite part of the whole shebang with their beadboard inserts. Moulding at top and bottom finishes out the look, and caulking in all the gaps helps give it cohesion.
I could not be happier with my built-ins. I feel like I have a library now, and it got all of our books out of boxes and onto shelves. Yay!

This entire project cost around $80-$100 because I acquired quite a bit of free wood off Craigslist. I also got wood from the scrap bin at Home Depot for great discounts. Since this would've likely cost near 1k to buy, I am quite pleased.
Anytime you are making projects without real plans, it take quite a bit longer and more mistakes are made. But, to have something completely customized to your needs and space is better than any price tag/time you can put on it!

Tools used: drill, kreg mini pocket hole jig, orbital sander, countersink bit, miter saw, jig saw, HPLV paint sprayer, clamps, circular saw
Estimated Time Investment
Week Long Project (20 Hours or More)
Finish Used
Primer, white latex paint, poly top coat
Recommended Skill Level
Intermediate

Comments

Handmade by [email protected]

Submitted by Anonymous (not verified) on Wed, 01/20/2016 - 04:31

This is our first time building this awesome table.  My husband used Ana's plans with the greatest of ease and then I was able to do the fun part, paint it! Did I mention that our table SOLD the very day we finished it? Yes, the same day.  We are in the process of building another table as we speak.  I am so excited!

Built from Plan(s)
Recommended Skill Level
Intermediate

Original Farmhouse King Bed

Submitted by Nor on Fri, 06/14/2019 - 10:05

I made this bed to house the new standard king mattress that my husband bought. The hardest part is probably picking the straightest lumber possible. Straight lumber would eliminate having to wrestle with the boards to line up/square and minimize power tools used. I had to ask my husband help with the screwing bowed boards together, but other than that I did everything by myself. 

Estimated Cost
220$
Estimated Time Investment
Week Long Project (20 Hours or More)
Finish Used
gateway grey behr marquee. foam roller and angle brush
Recommended Skill Level
Beginner

adapted adirondack chairs

Submitted by Anonymous (not verified) on Thu, 03/30/2023 - 09:02

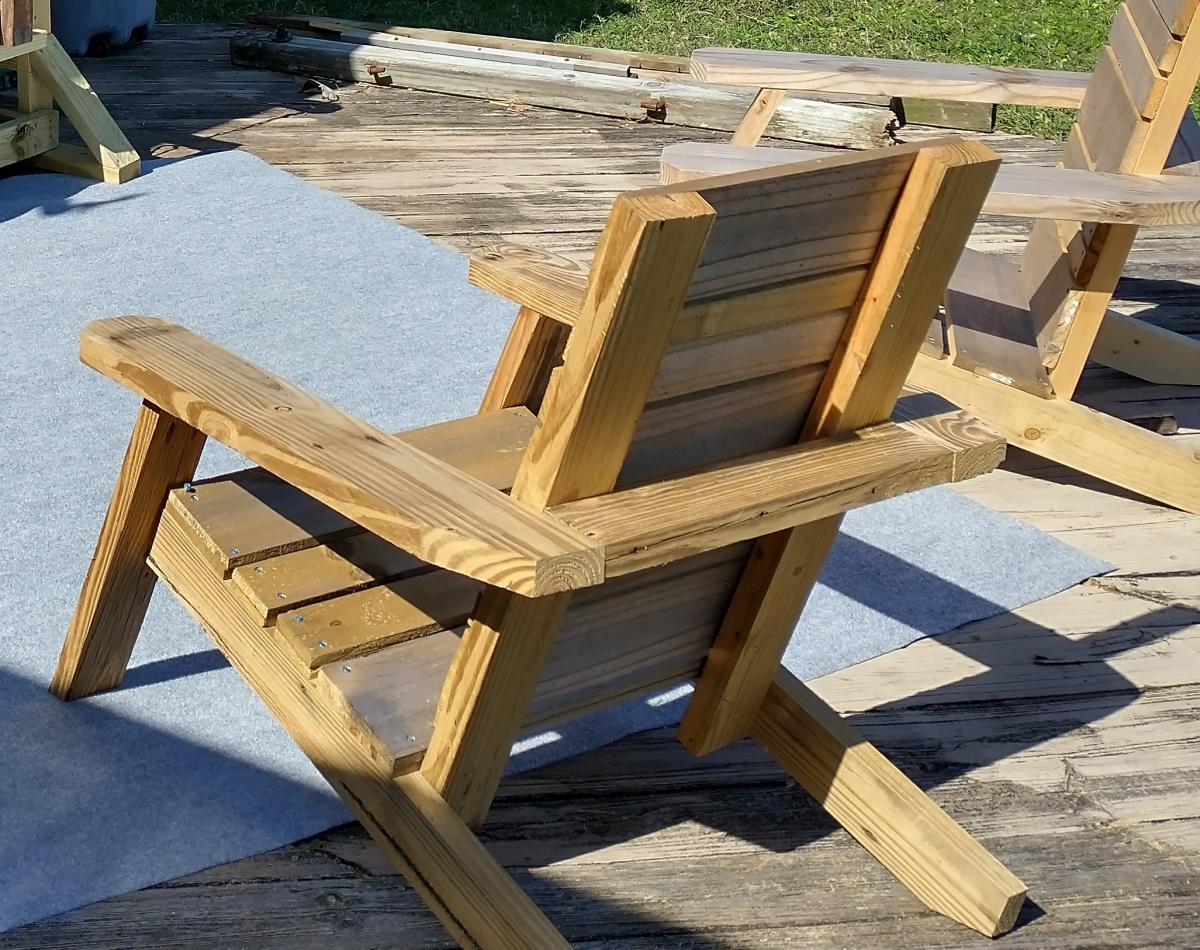
had some fun with the back and seat slat design and did an angle rather than a 90 degree where the arms meet the front support. also used a 2x6 for a larger arm rest. i think it turned out well. thanks Ana

Comments

Kids Play Kitchen

Submitted by julievic on Wed, 12/14/2011 - 11:28

Christmas 2010 my husband and I made our little girls a kitchen using Ana's plans. We used the materials on her cut list, and used paint for the finish. Used fabric scraps to sew the sink skirt, found the knobs at hobby lobby and habitat for humanity, and small bar faucet at Home Depot. It turned out amazing!

Estimated Cost
$100
Estimated Time Investment
Weekend Project (10-20 Hours)
Finish Used
Paint
Recommended Skill Level
Beginner

Comments

julievic

Tue, 12/20/2011 - 16:04

Thanks so much for the compliment! Means SO much coming from you! I love your site and your plans, Ana you are amazing! Thank you for making me your featured builder this month, I had no clue until someone saw my face on your blog! I feel like a rock star now ;)
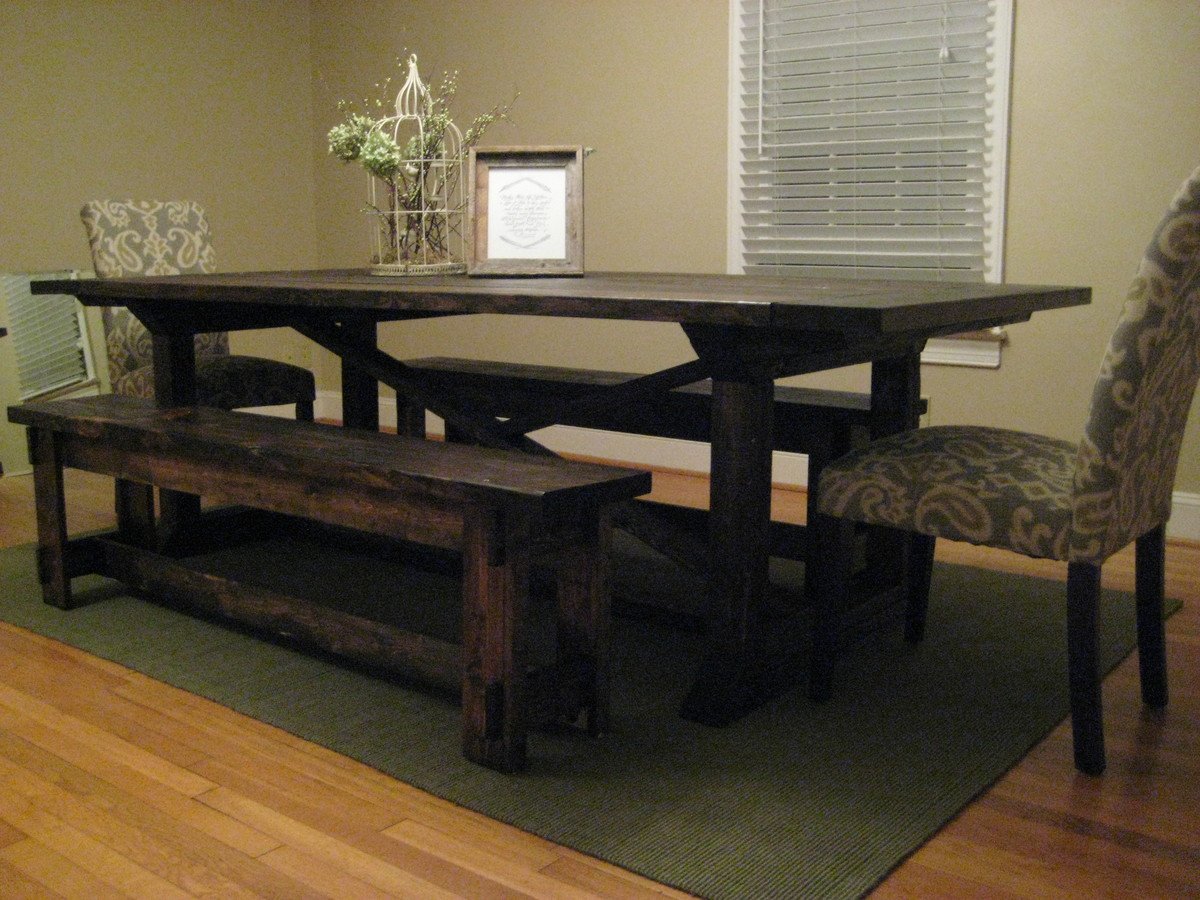
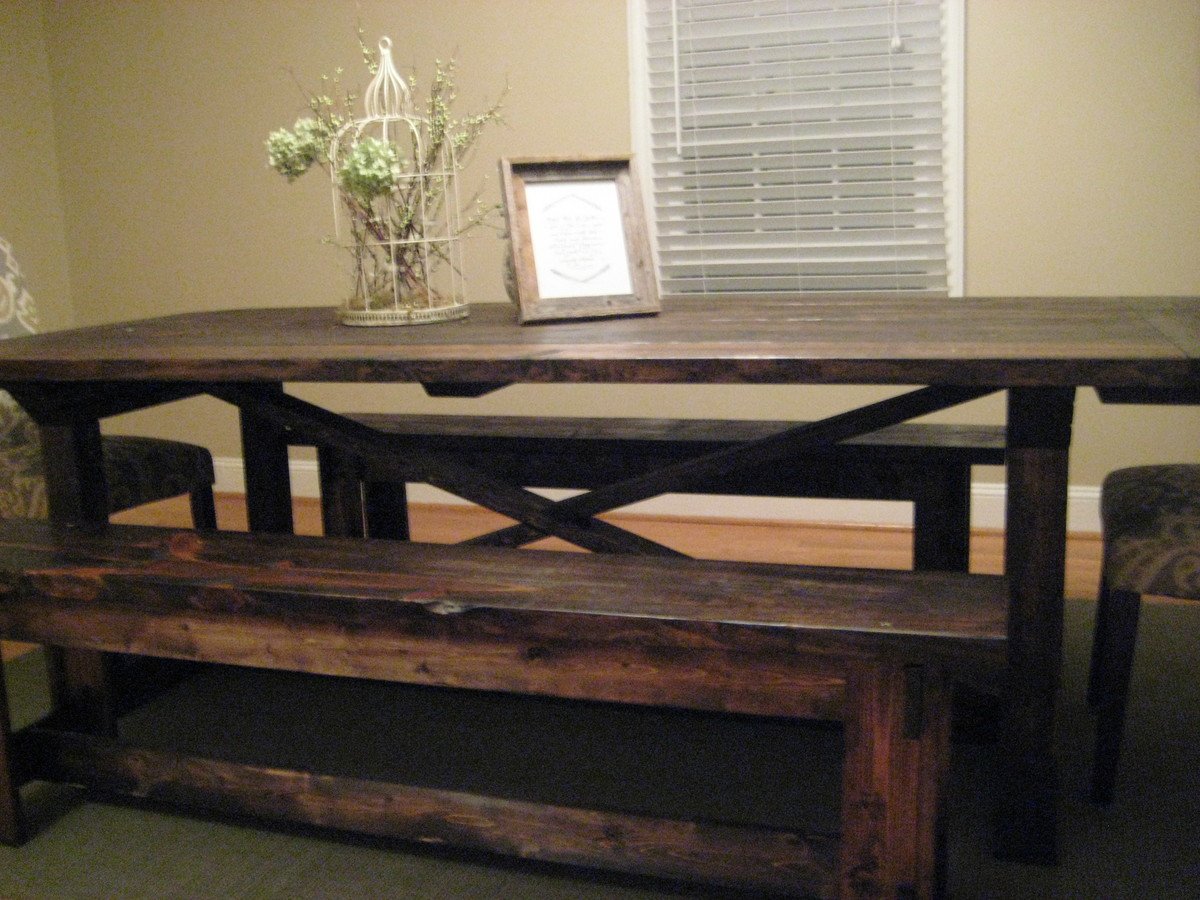
Rekourt Farmhouse Table

Submitted by ajwechter on Wed, 11/06/2013 - 17:32

We made this table using the Rekourt Farmouse table plan. We used wider boards for the table top and simplified the angles on the legs a bit. We also built benches for each side of the table and dressed the ends with formal dining chairs. Used Dark Walnut Minwax stain and a clear satin epoxy to coat the top and bench seats. Had issues attaching the breadboards even with a Kreg Jig, Would probably do better if we did it all over again but totally happy with how it turned out.

Estimated Time Investment
Weekend Project (10-20 Hours)
Finish Used
MinWax Dark Walnut
Recommended Skill Level
Intermediate

Comments

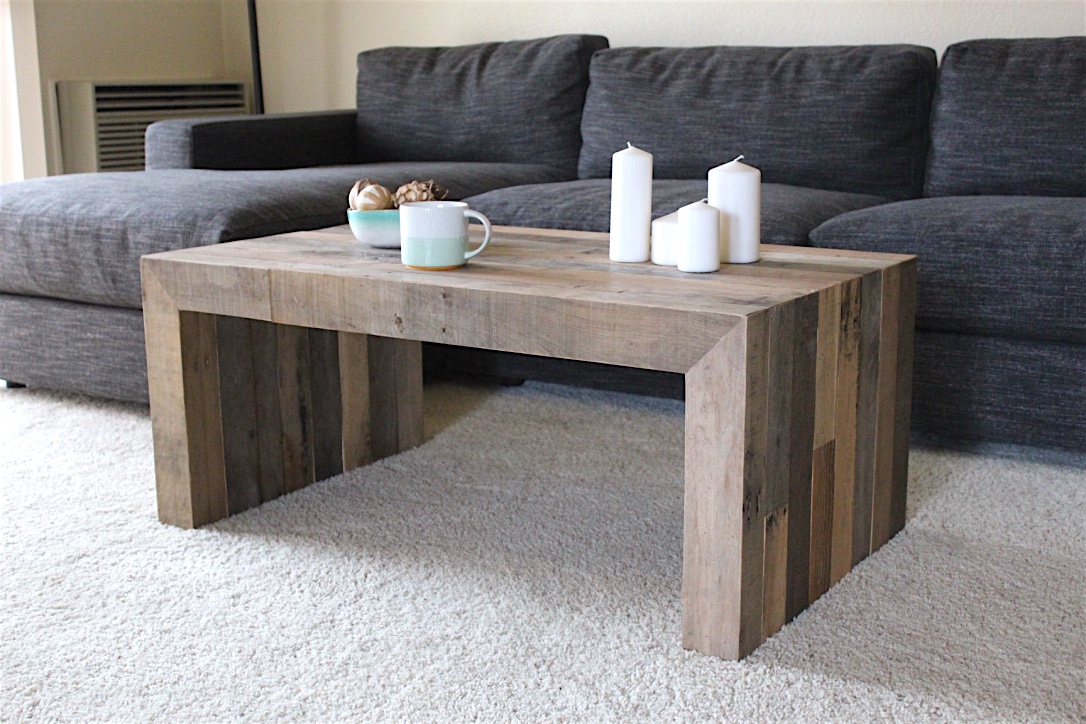
Reclaimed coffee table

Submitted by Anonymous (not verified) on Thu, 01/21/2016 - 10:31

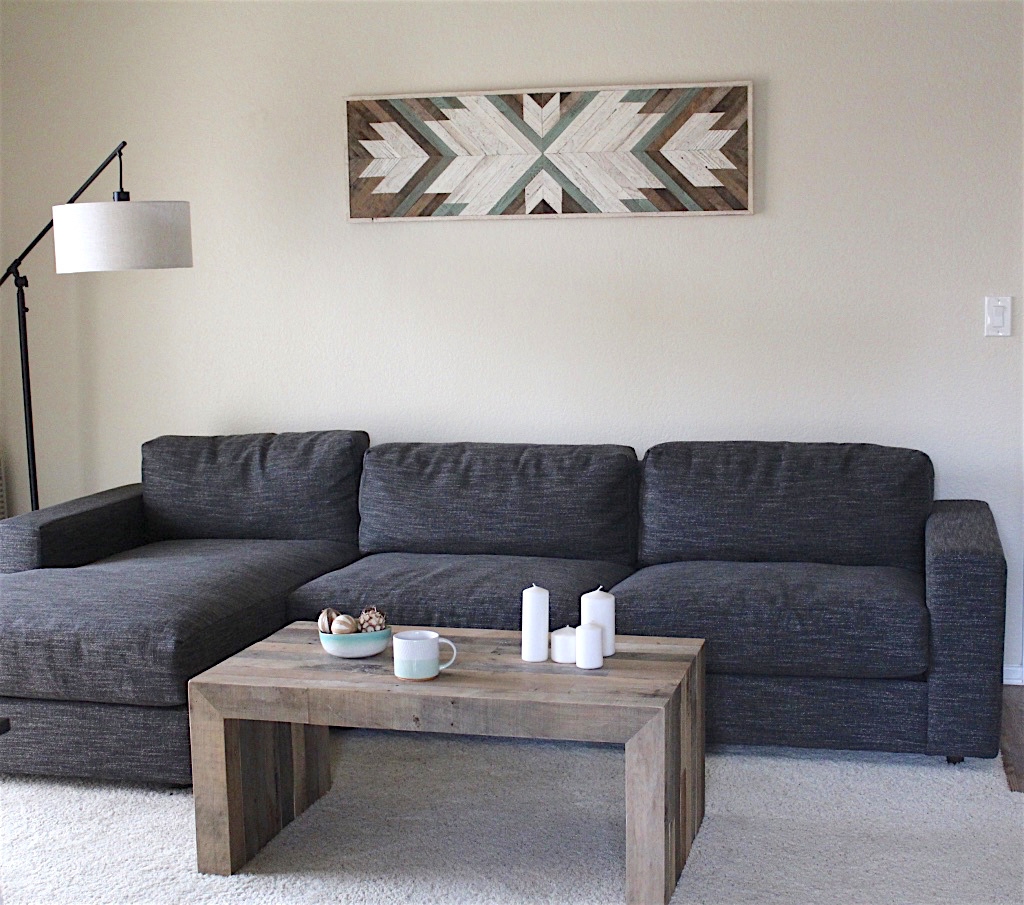
I built this coffee table from reclaimed pallet. The design is based off of the West Elm Emmerson line.

Estimated Cost
$50.00
Estimated Time Investment
Day Project (6-9 Hours)
Finish Used
Hand rubbed clear wax
Recommended Skill Level
Advanced

Comments

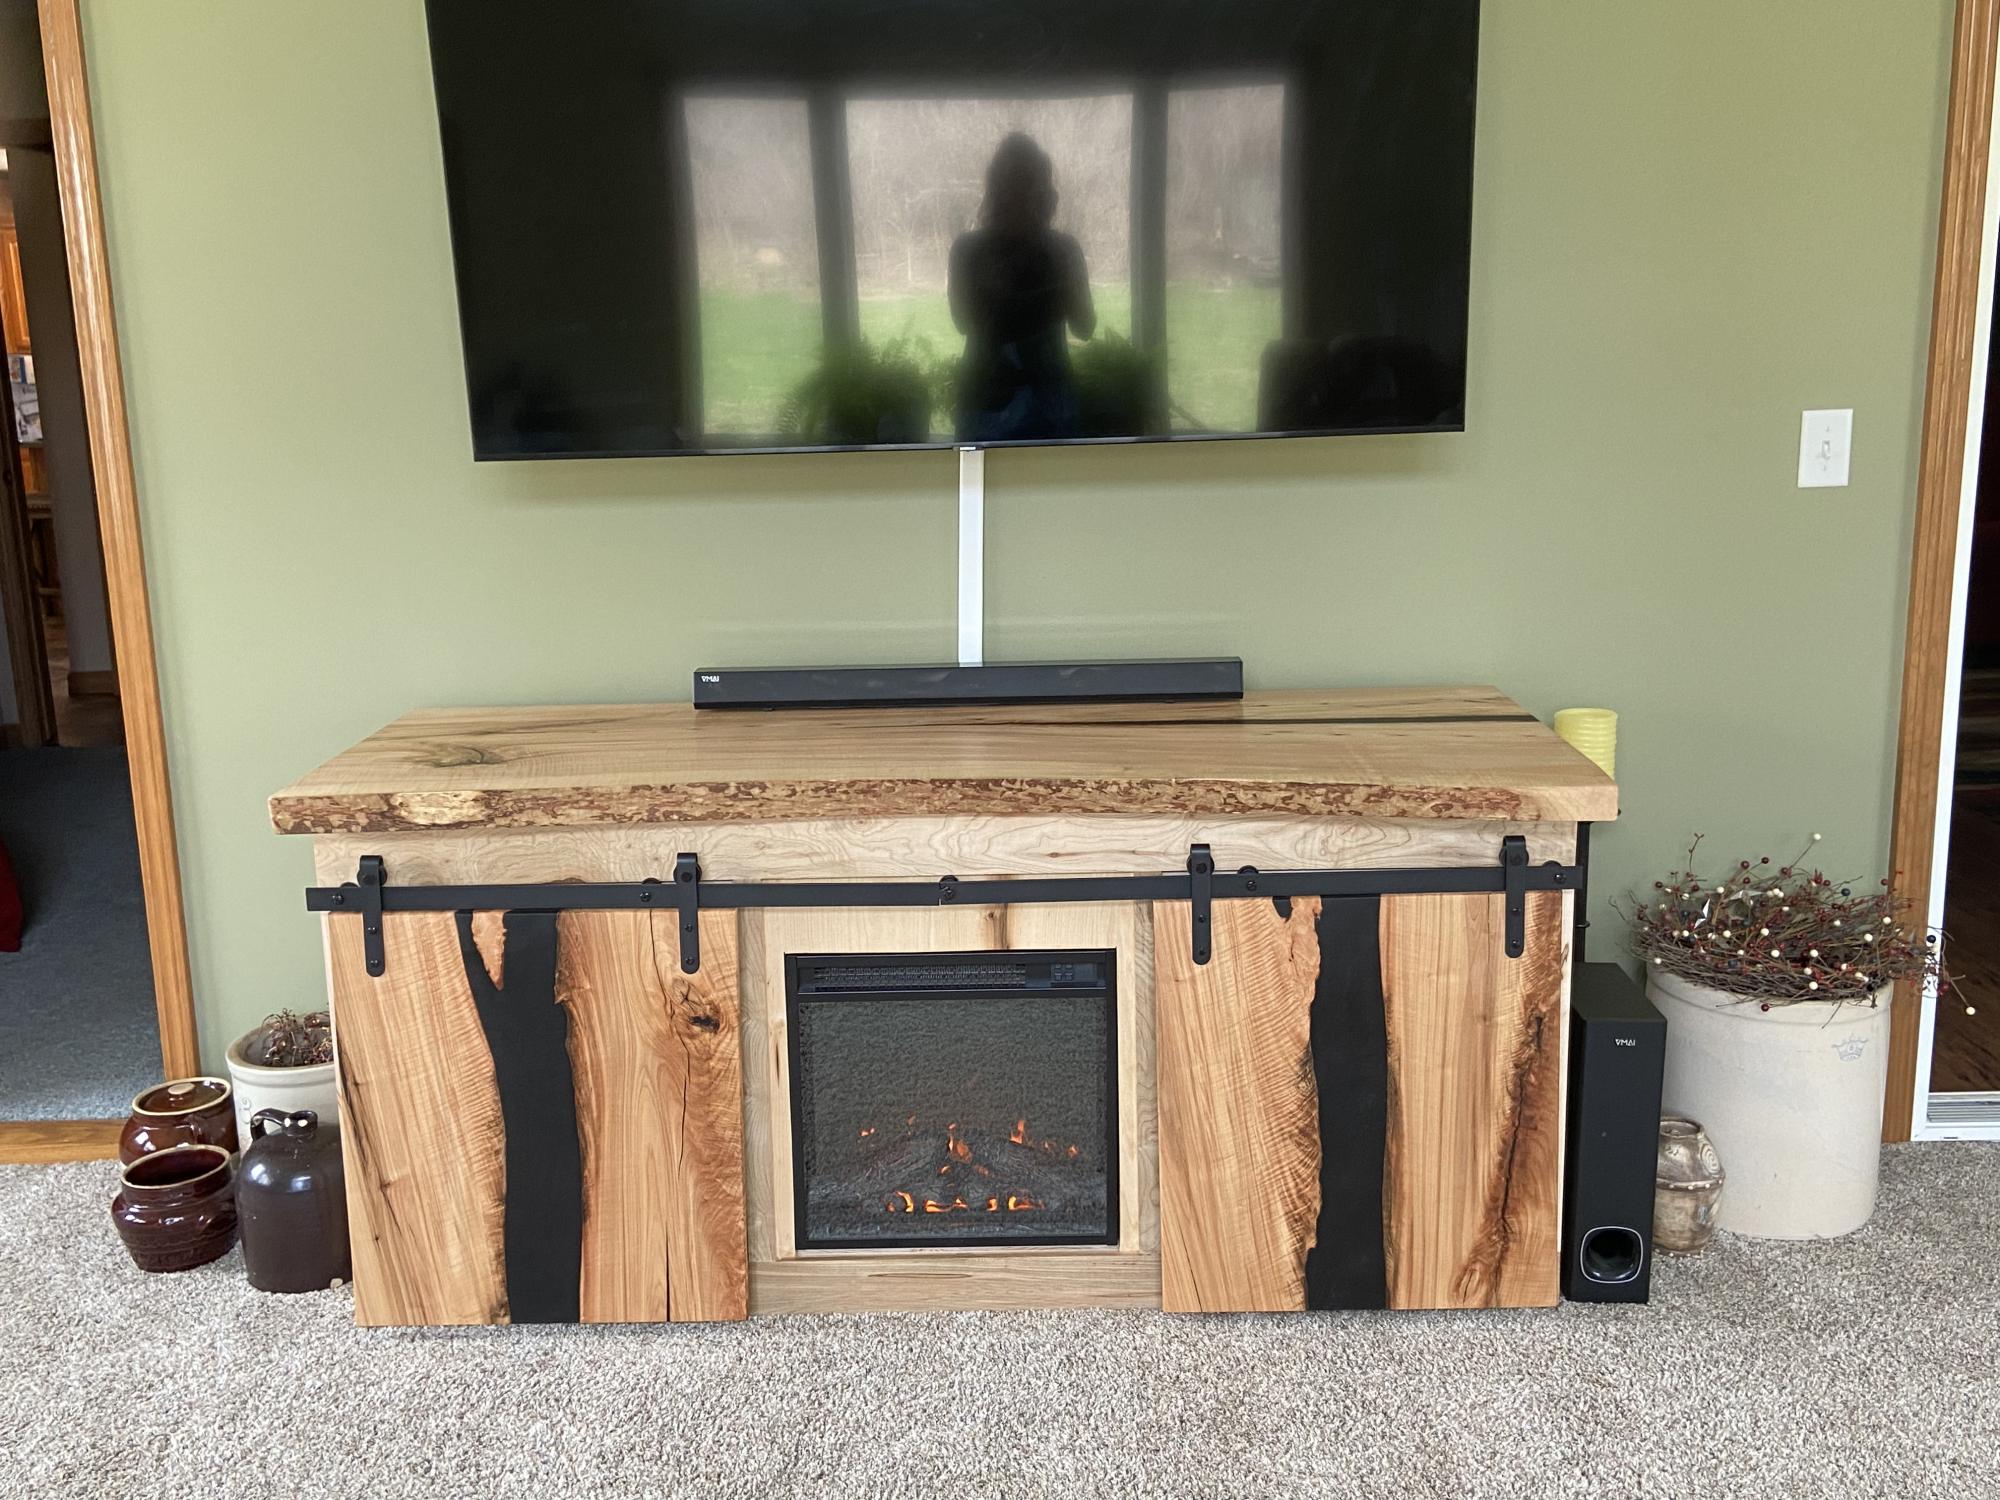
Entertainment Console

Submitted by Anonymous (not verified) on Sat, 04/08/2023 - 08:27

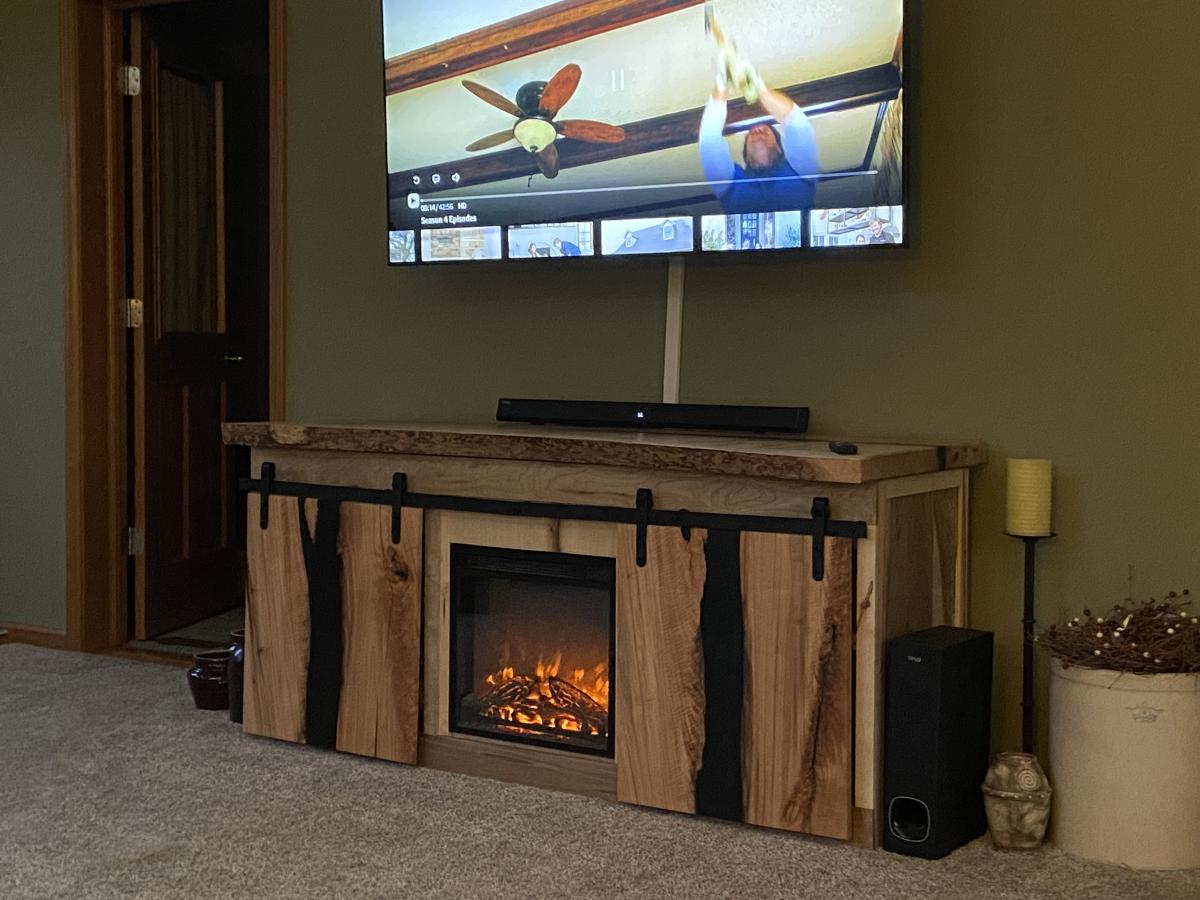
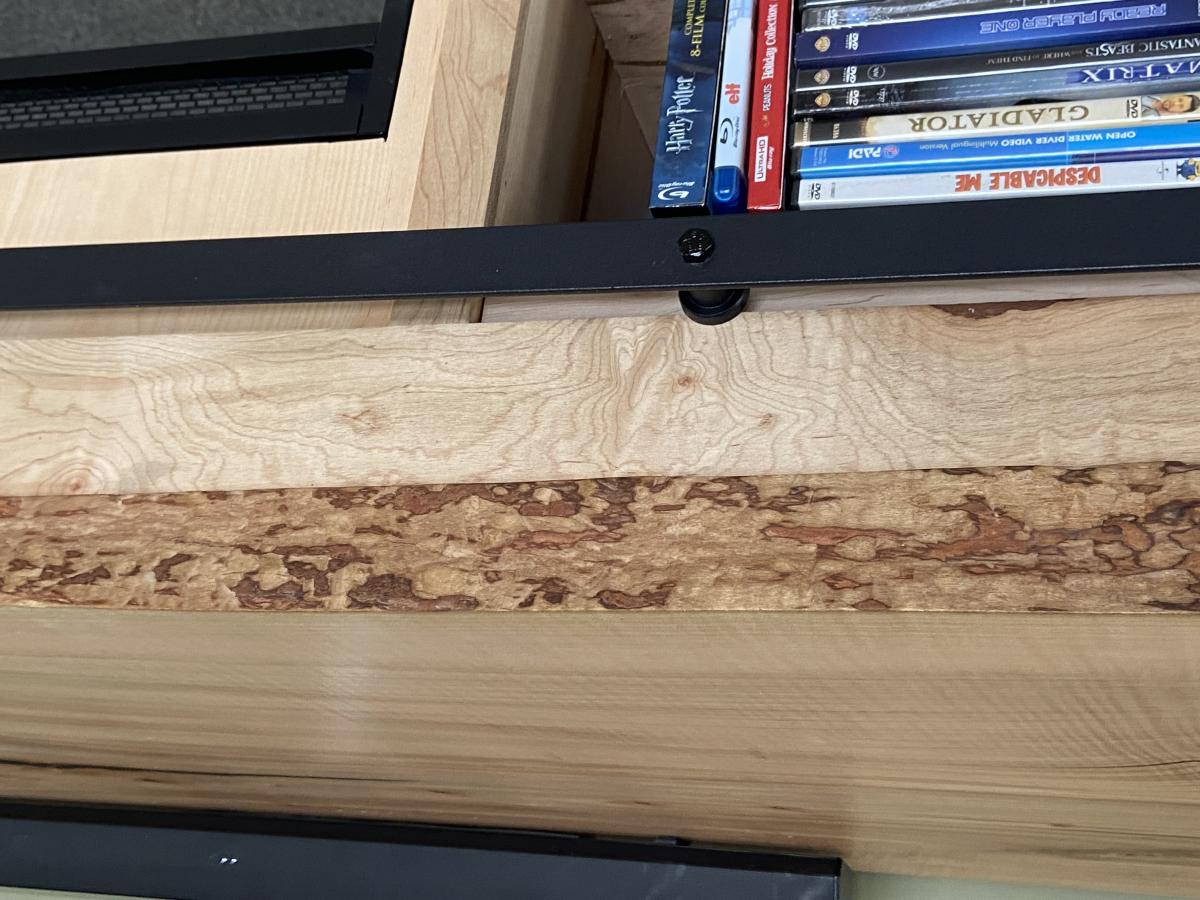
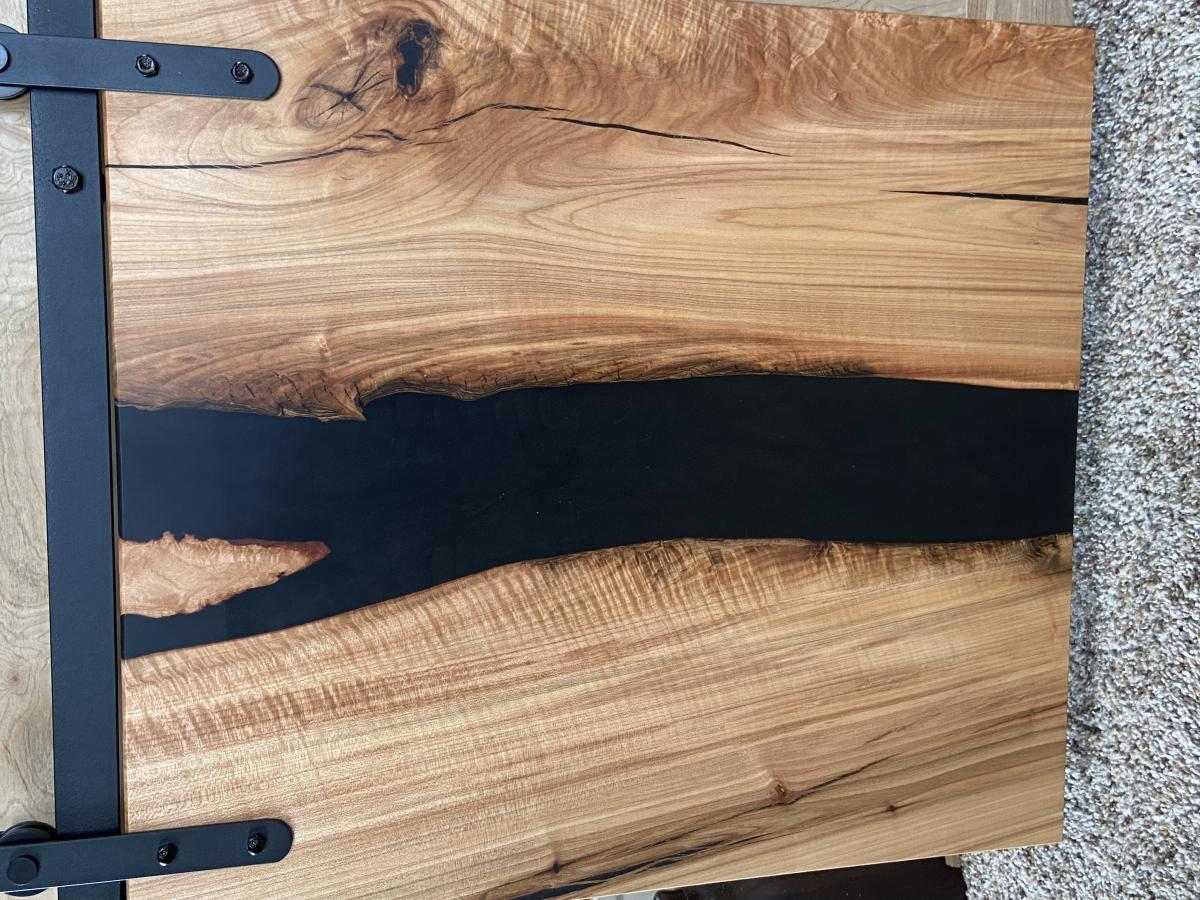
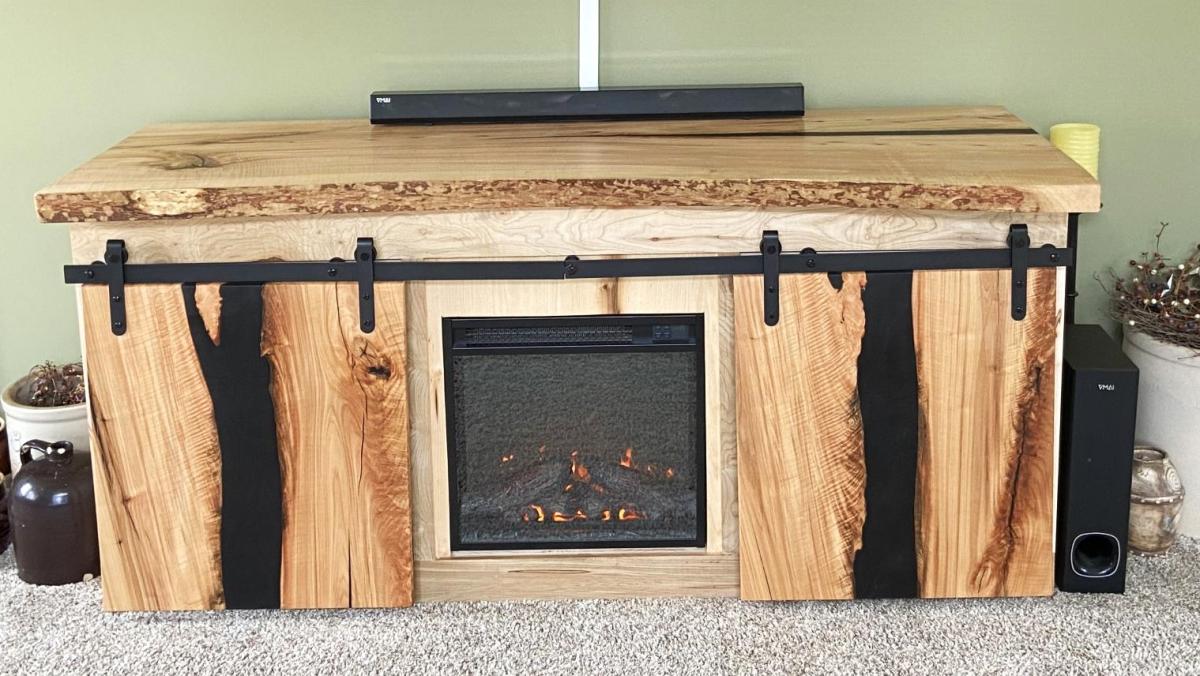
We needed a new entertainment console for the living room but didn’t want to spend $$$for something everyone else has. I found plans on your site and tweaked them to fit our needs.
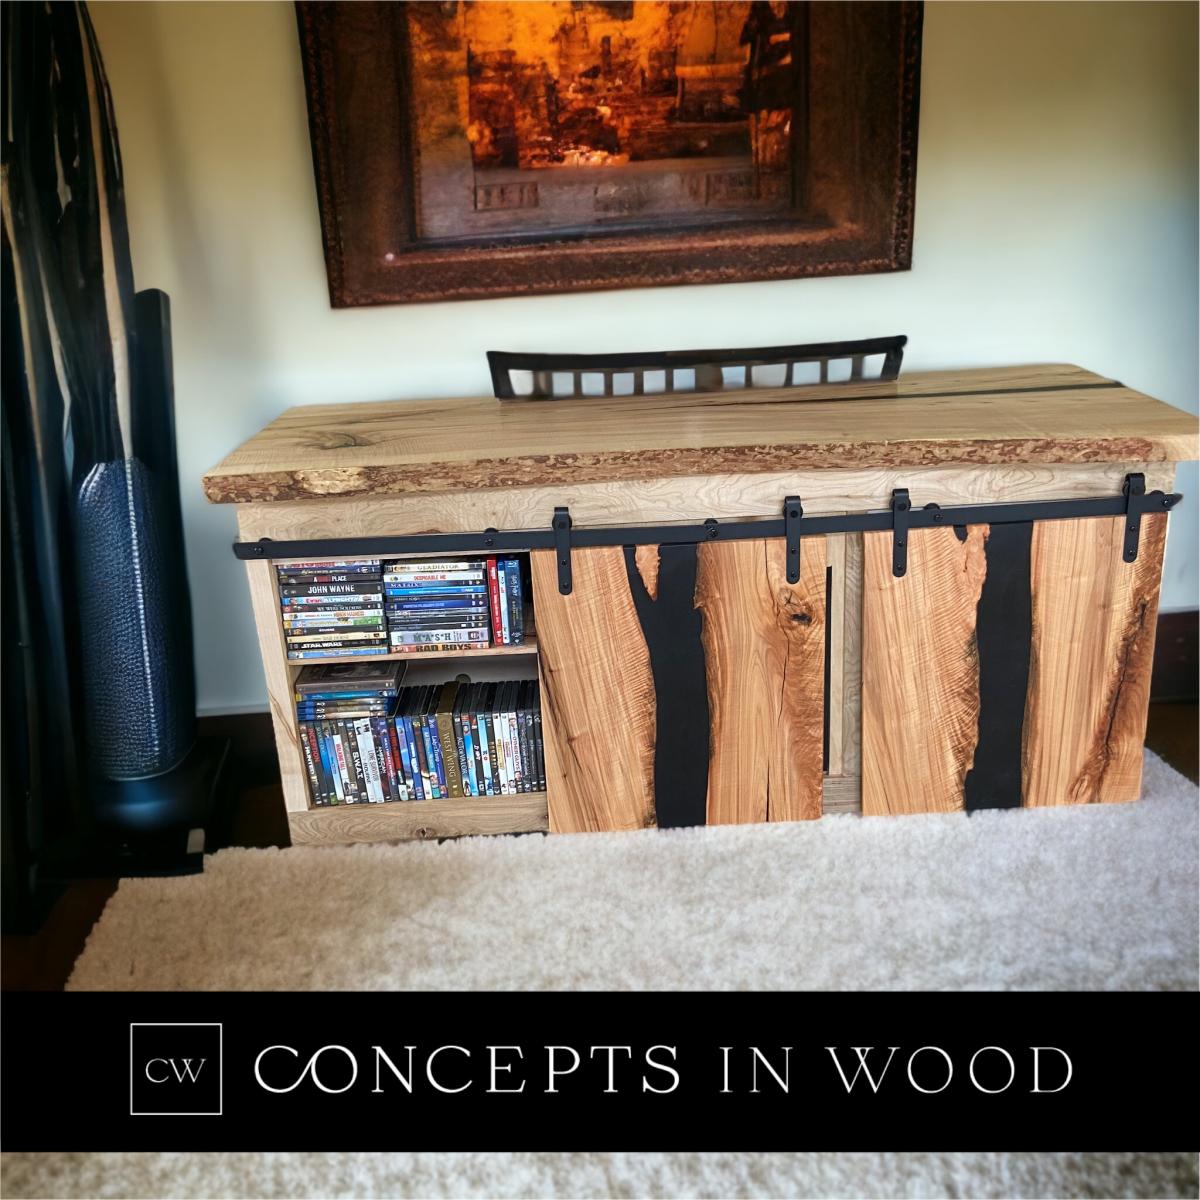
This is 70”x31”x24” live edge Maple top and doors have a black epoxy filling the voids. The shelving, sides and trim are ambrosia maple. The fireplace insert has a heat/no heat option. I trimmed it the back with 1/4” maple plywood with ventilation for the fireplace. The top and doors maple is from a tree we cut, slabbed and dried. I finished it with Odies Woods Wax.
All-in-all, $550 in materials. The best part, my husband loves it!

Built from Plan(s)

Comments