Great Plan & just what I had been looking for
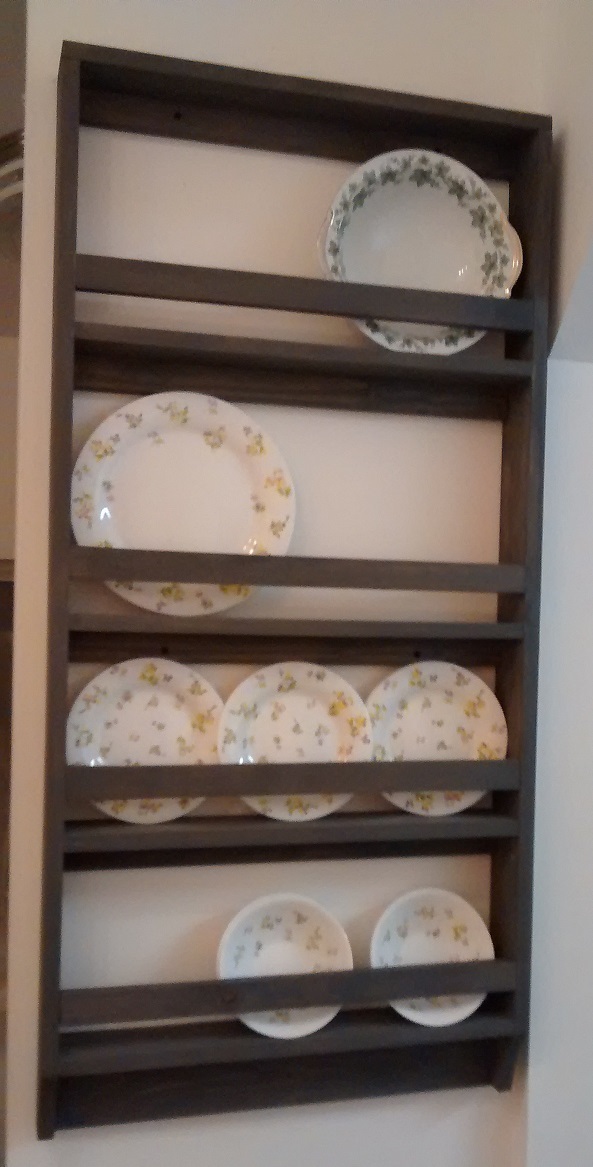
Very small kitchen with extremely limited storage. I made this taller than the plan at 48" and narrower at 23-1/2" to fit the available wall space. I added one extra shelf and left off the overhang from the top. As you can see from the photo, there isn't room for an overhang. I plan to put cup hooks under the bottom shelf.
Shelf space is 12" for the top two and 8-1/4" for the bottom ones.
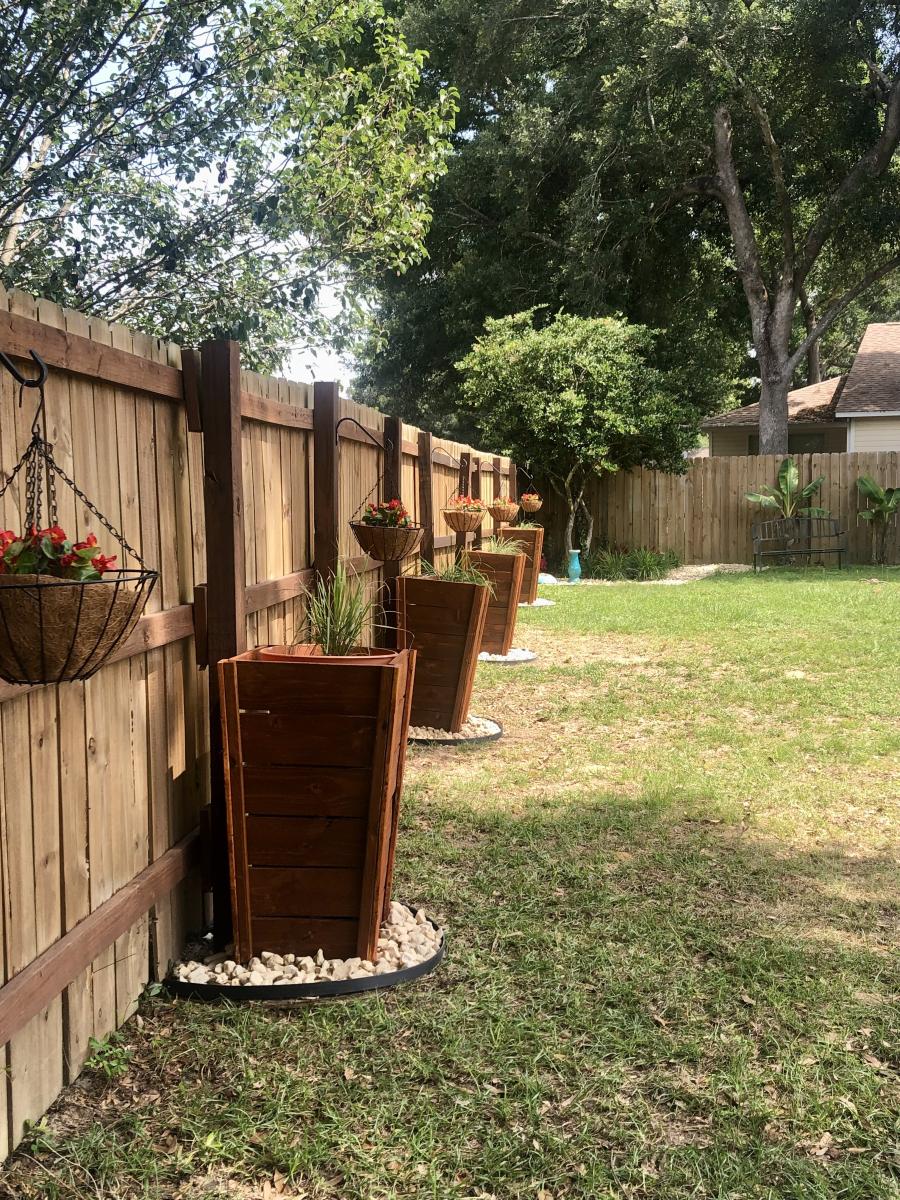
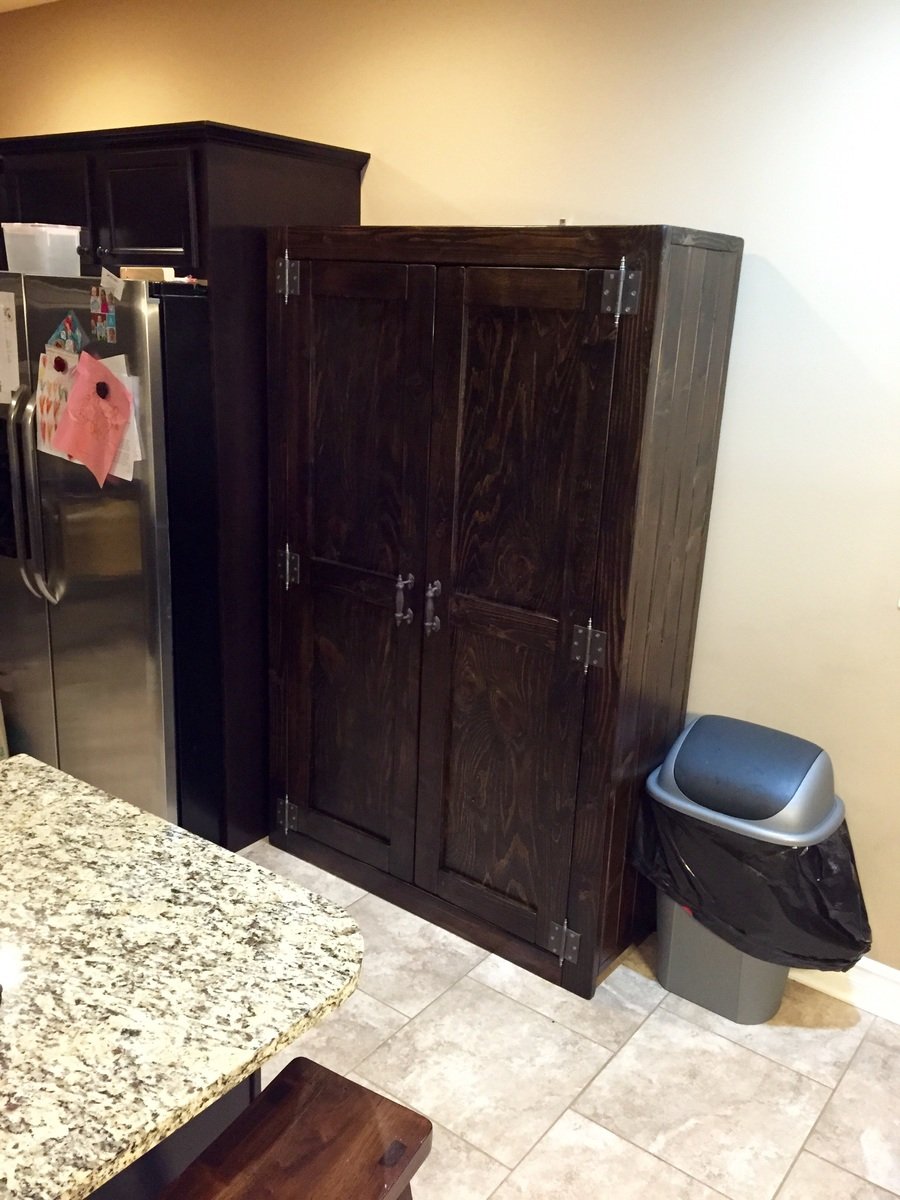
Next project; a trash cabinet to sit on the floor underneath the plate rack and look like a mini Welsh Dresser :)
Built from Plan(s)
Estimated Cost
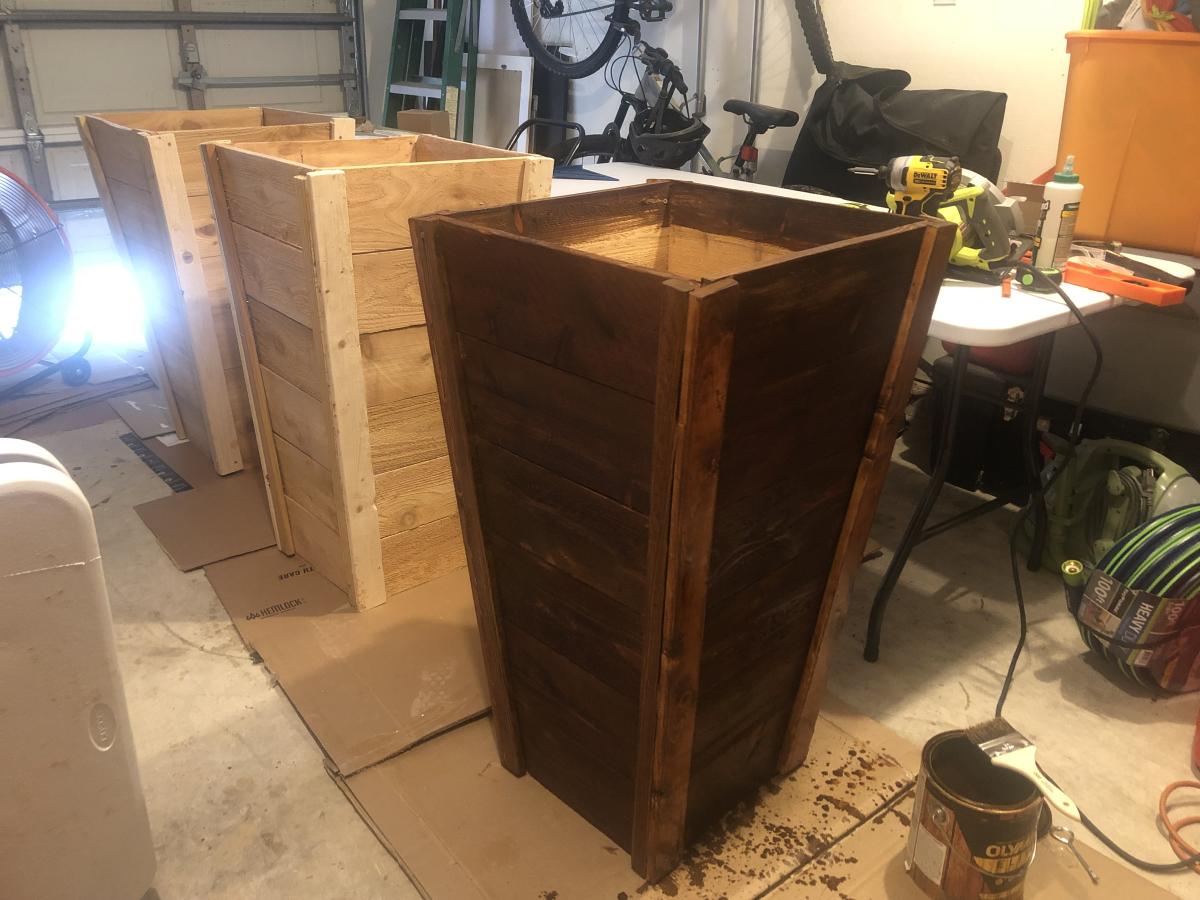
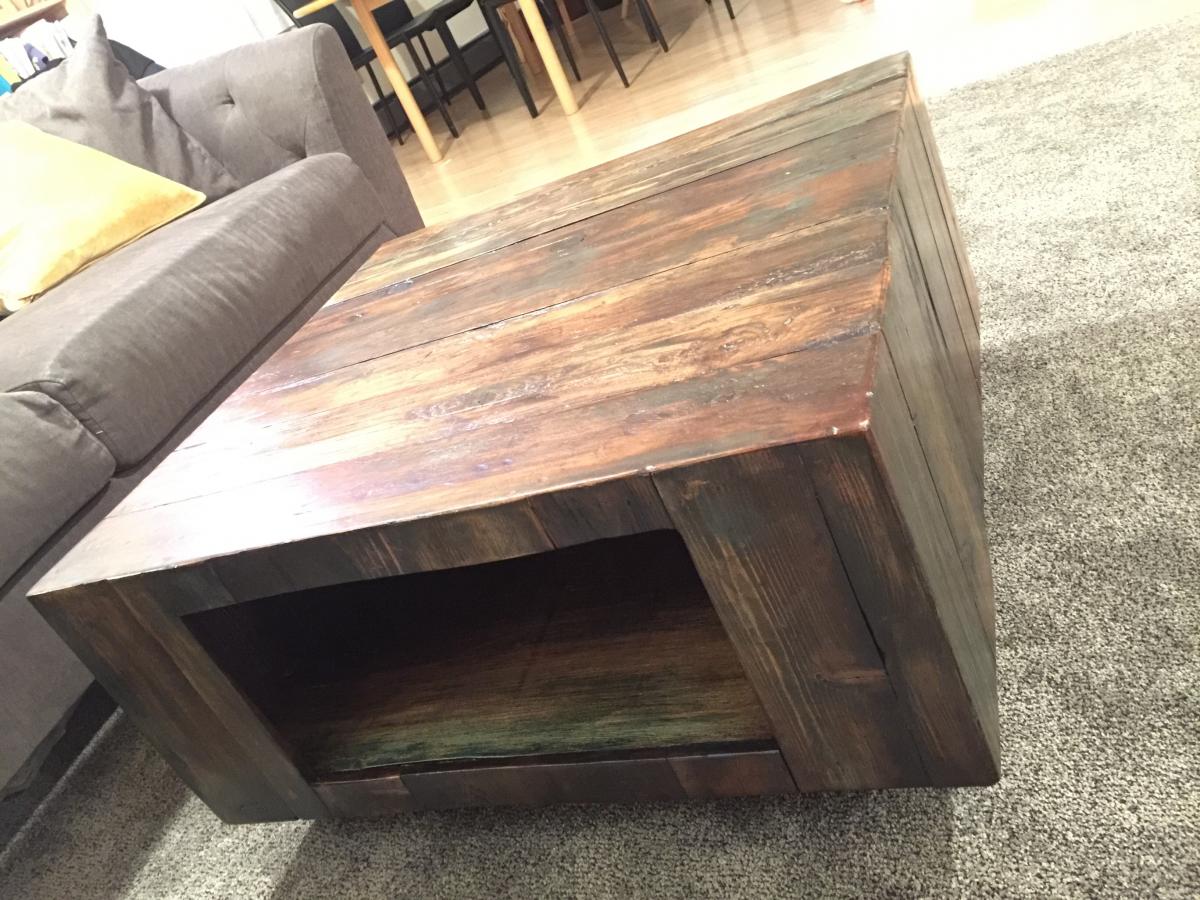
$16 including stain, screws, nails and sandpaper. (I already had the stain and this used maybe 4oz)
Estimated Time Investment
An Hour or Two (0-2 Hours)
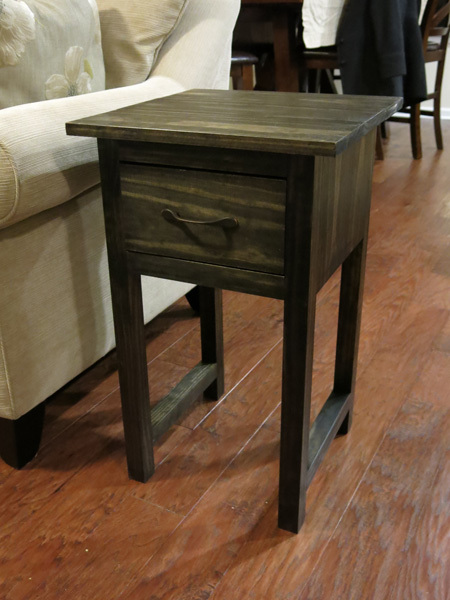
Finish Used
Minwax Classic Grey, no pre-conditioner, rubbed off and blended after 5 minutes.
Recommended Skill Level
Beginner