Community Brag Posts
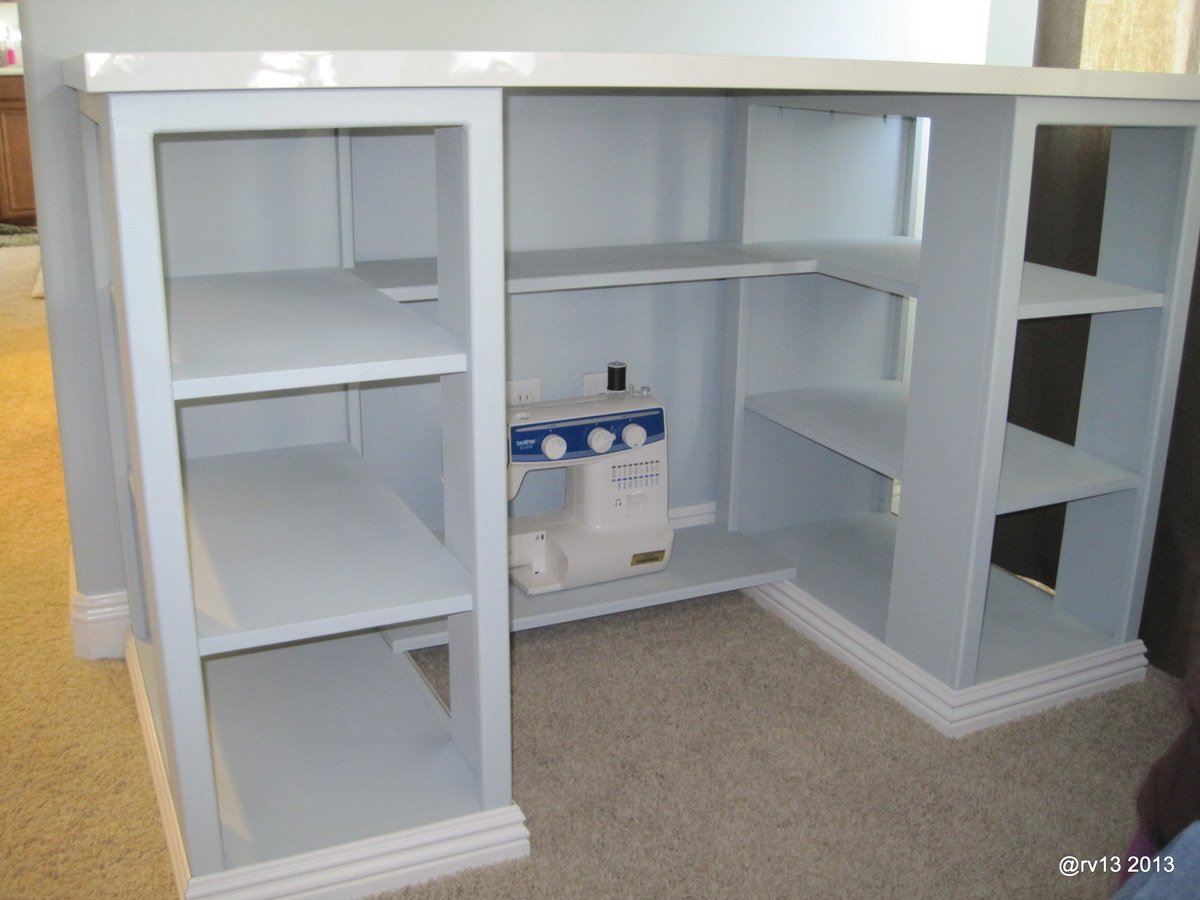
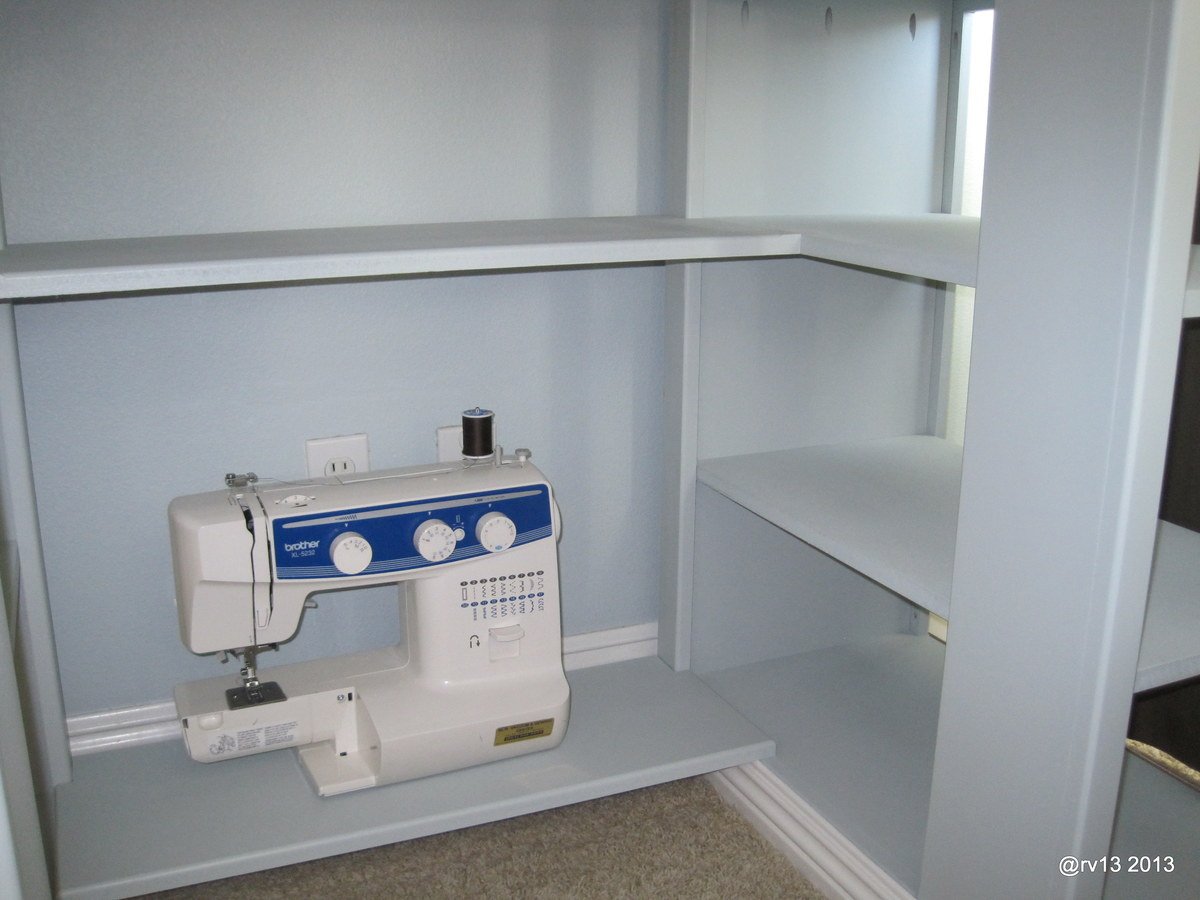
Modern Craft Table - Modified

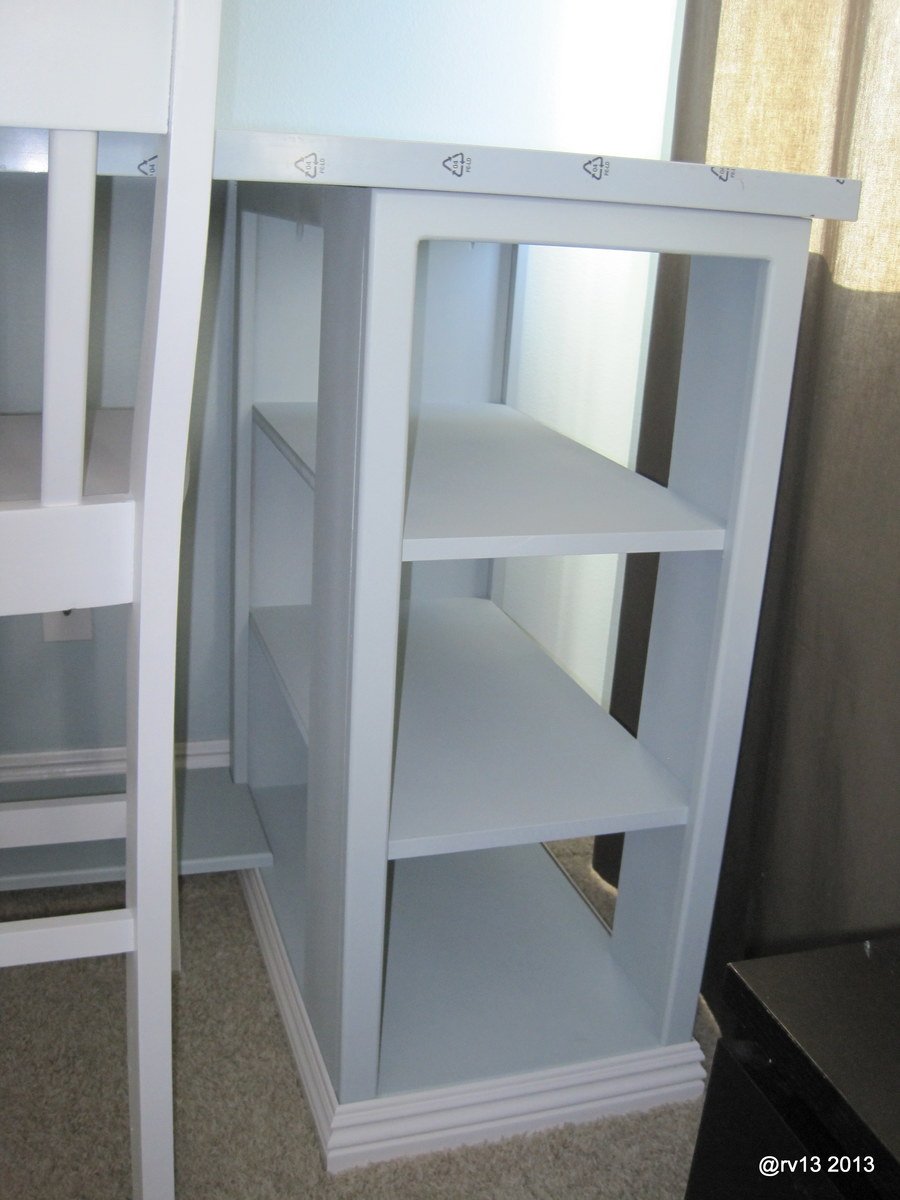
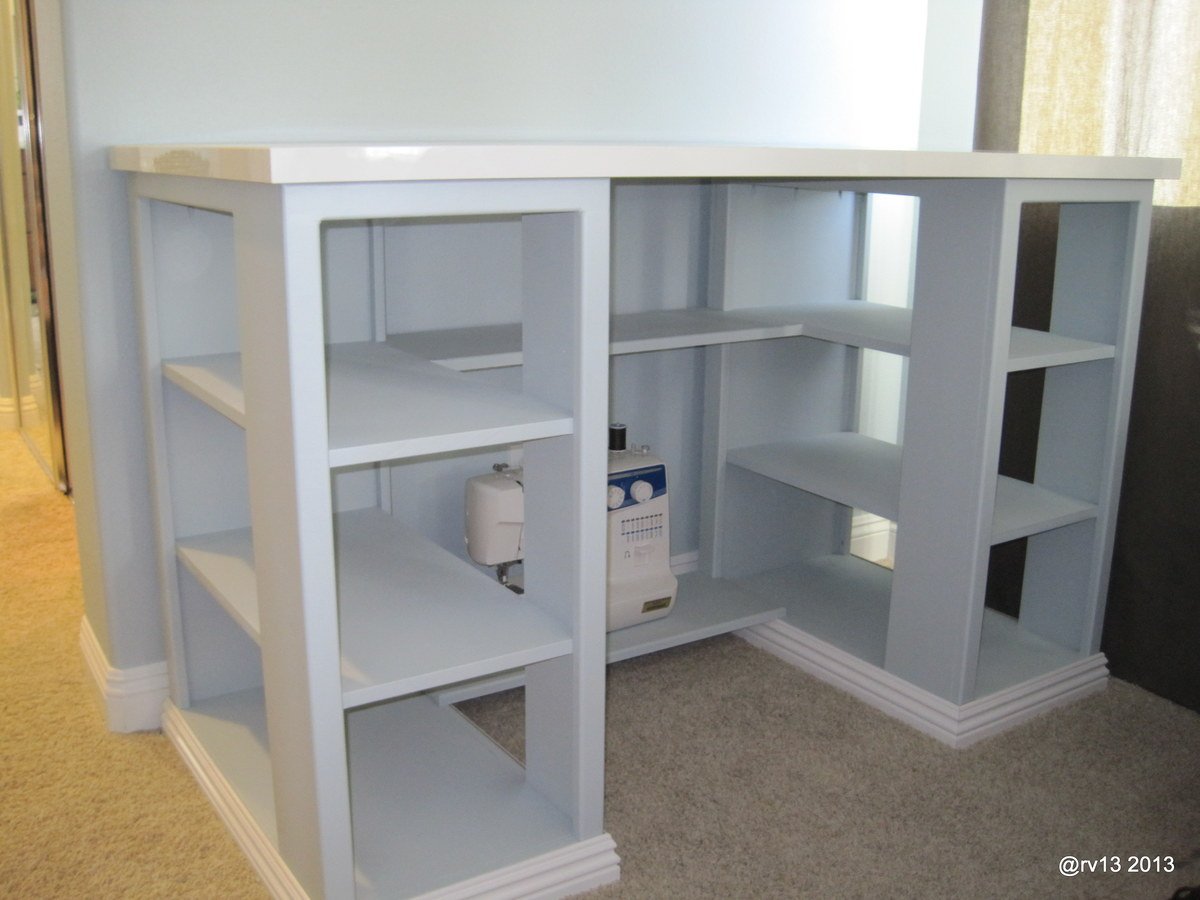
Here is our take on the Ana White "Modern Craft Table". My wife wanted to use this as a sewing table. I used my Kreg Pocket Jig for most all connections, minus the moulding. The unit was built out of 3/4 MDF. The table top is from IKEA.
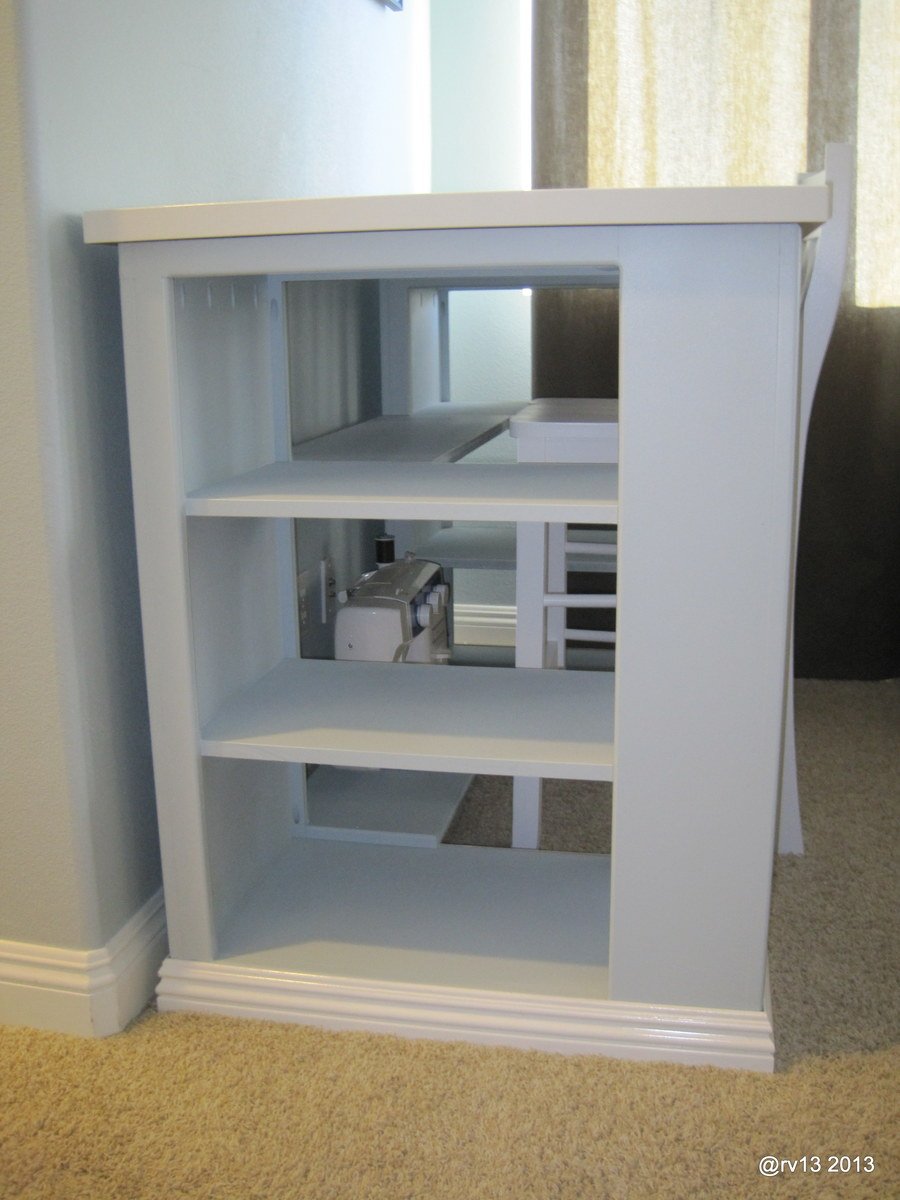
Mine is built a little different in that the shelves are continuous, not compartments. I also added in shelving on the back for more storage.
I also ran the router along all the edges.
Built from Plan(s)
Estimated Time Investment
Weekend Project (10-20 Hours)
Finish Used
Spray Painted with the "HomeRight C800766 Finish Max Fine Finish Sprayer" from Amazon $64. Awesome sprayer. Used Indoor Latex Semi-Gloss Enamel.
Recommended Skill Level
Intermediate
Comments
Mon, 08/05/2013 - 06:45
Nice Table!
Very nice for sewing - and love how you added shelves to the back.
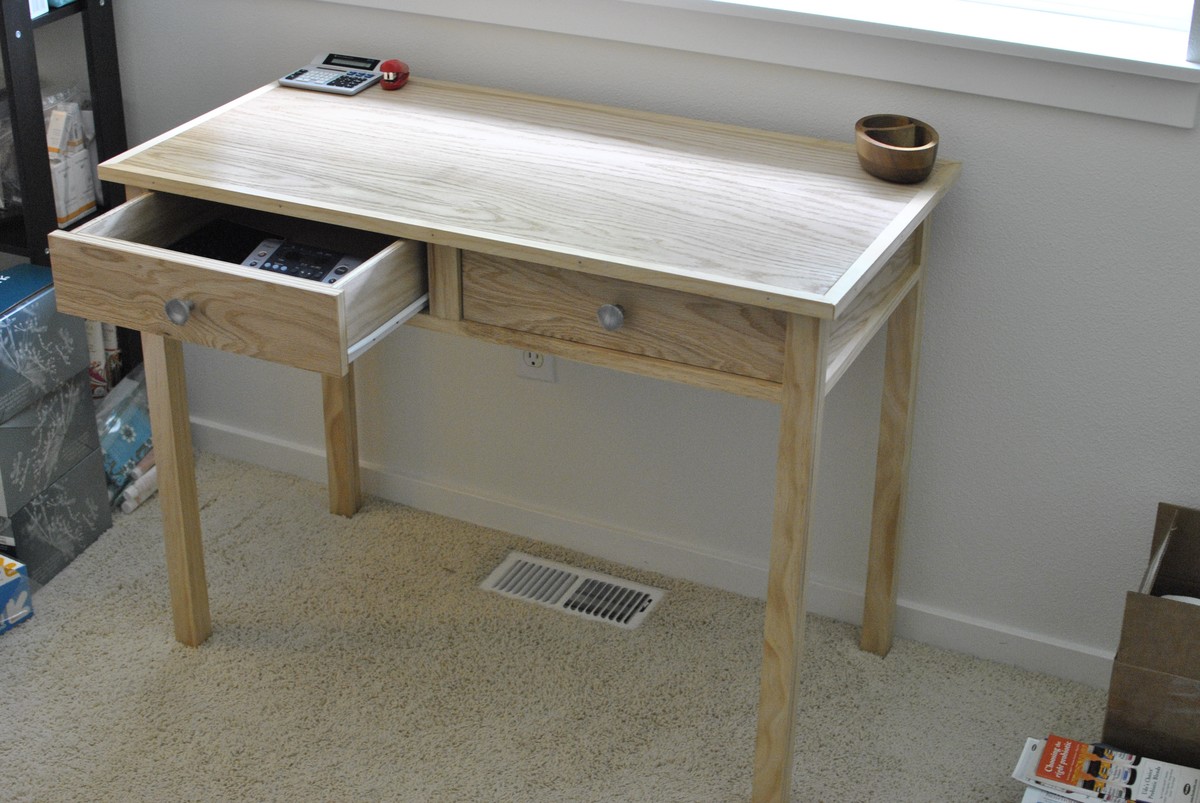
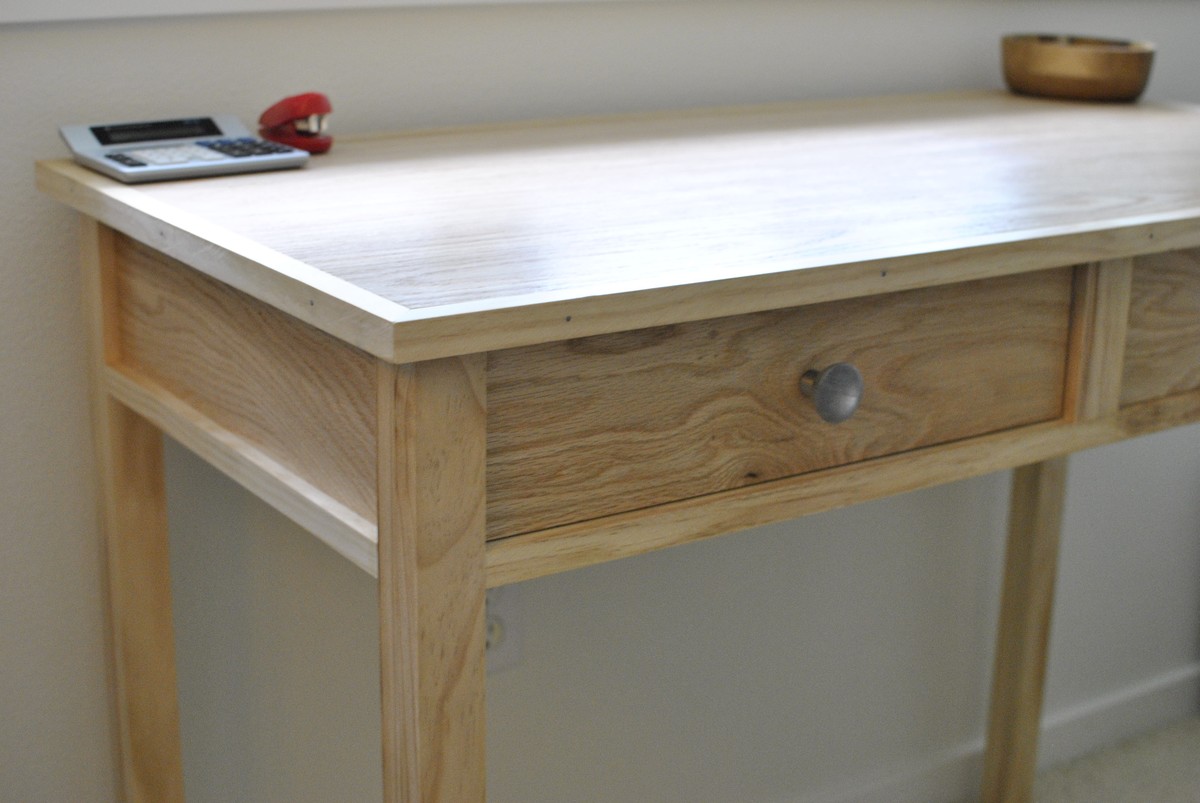
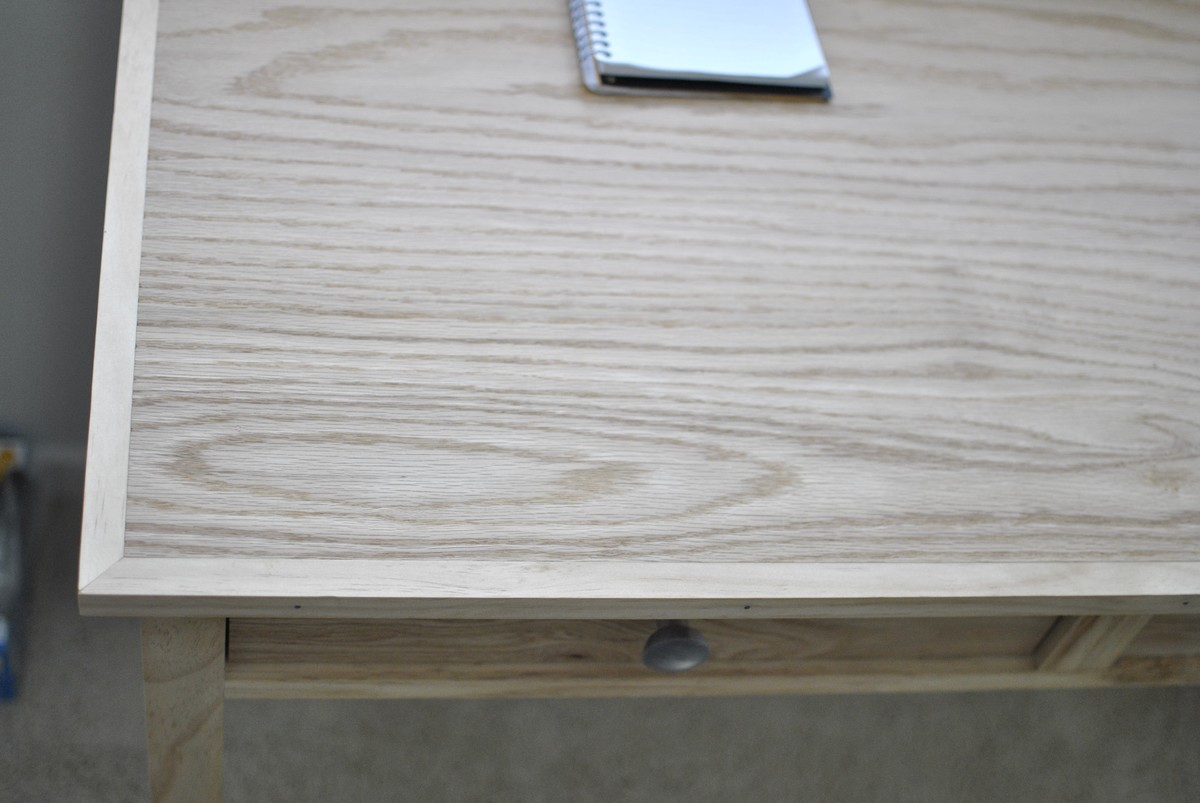
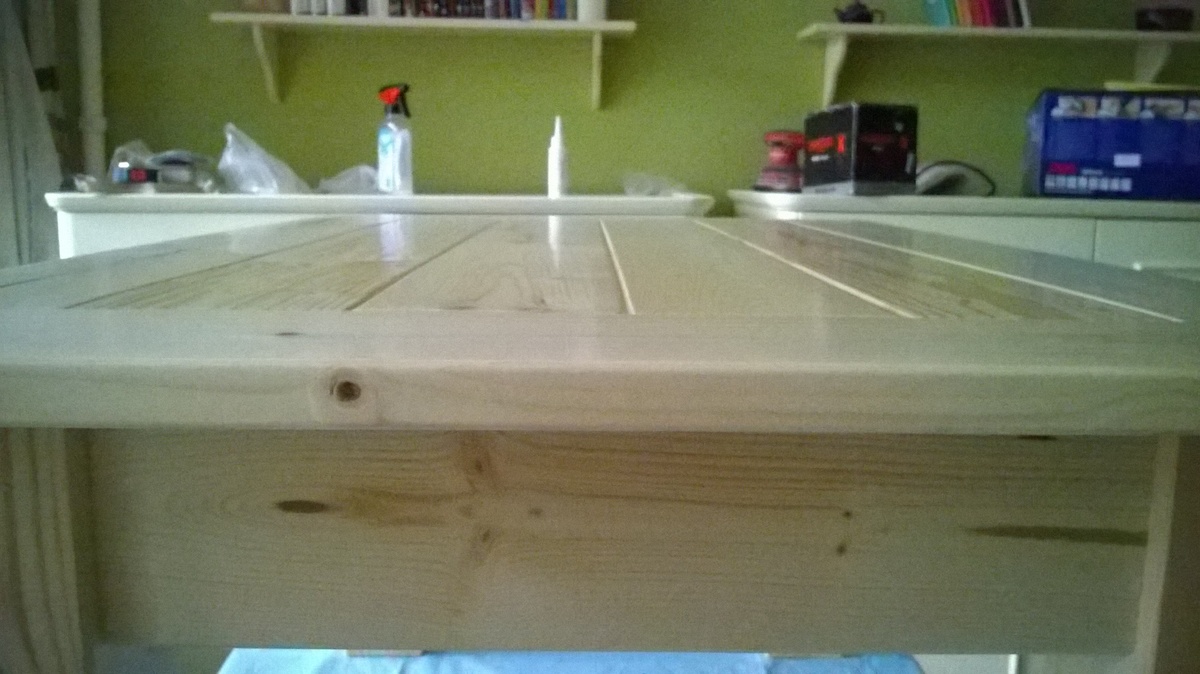
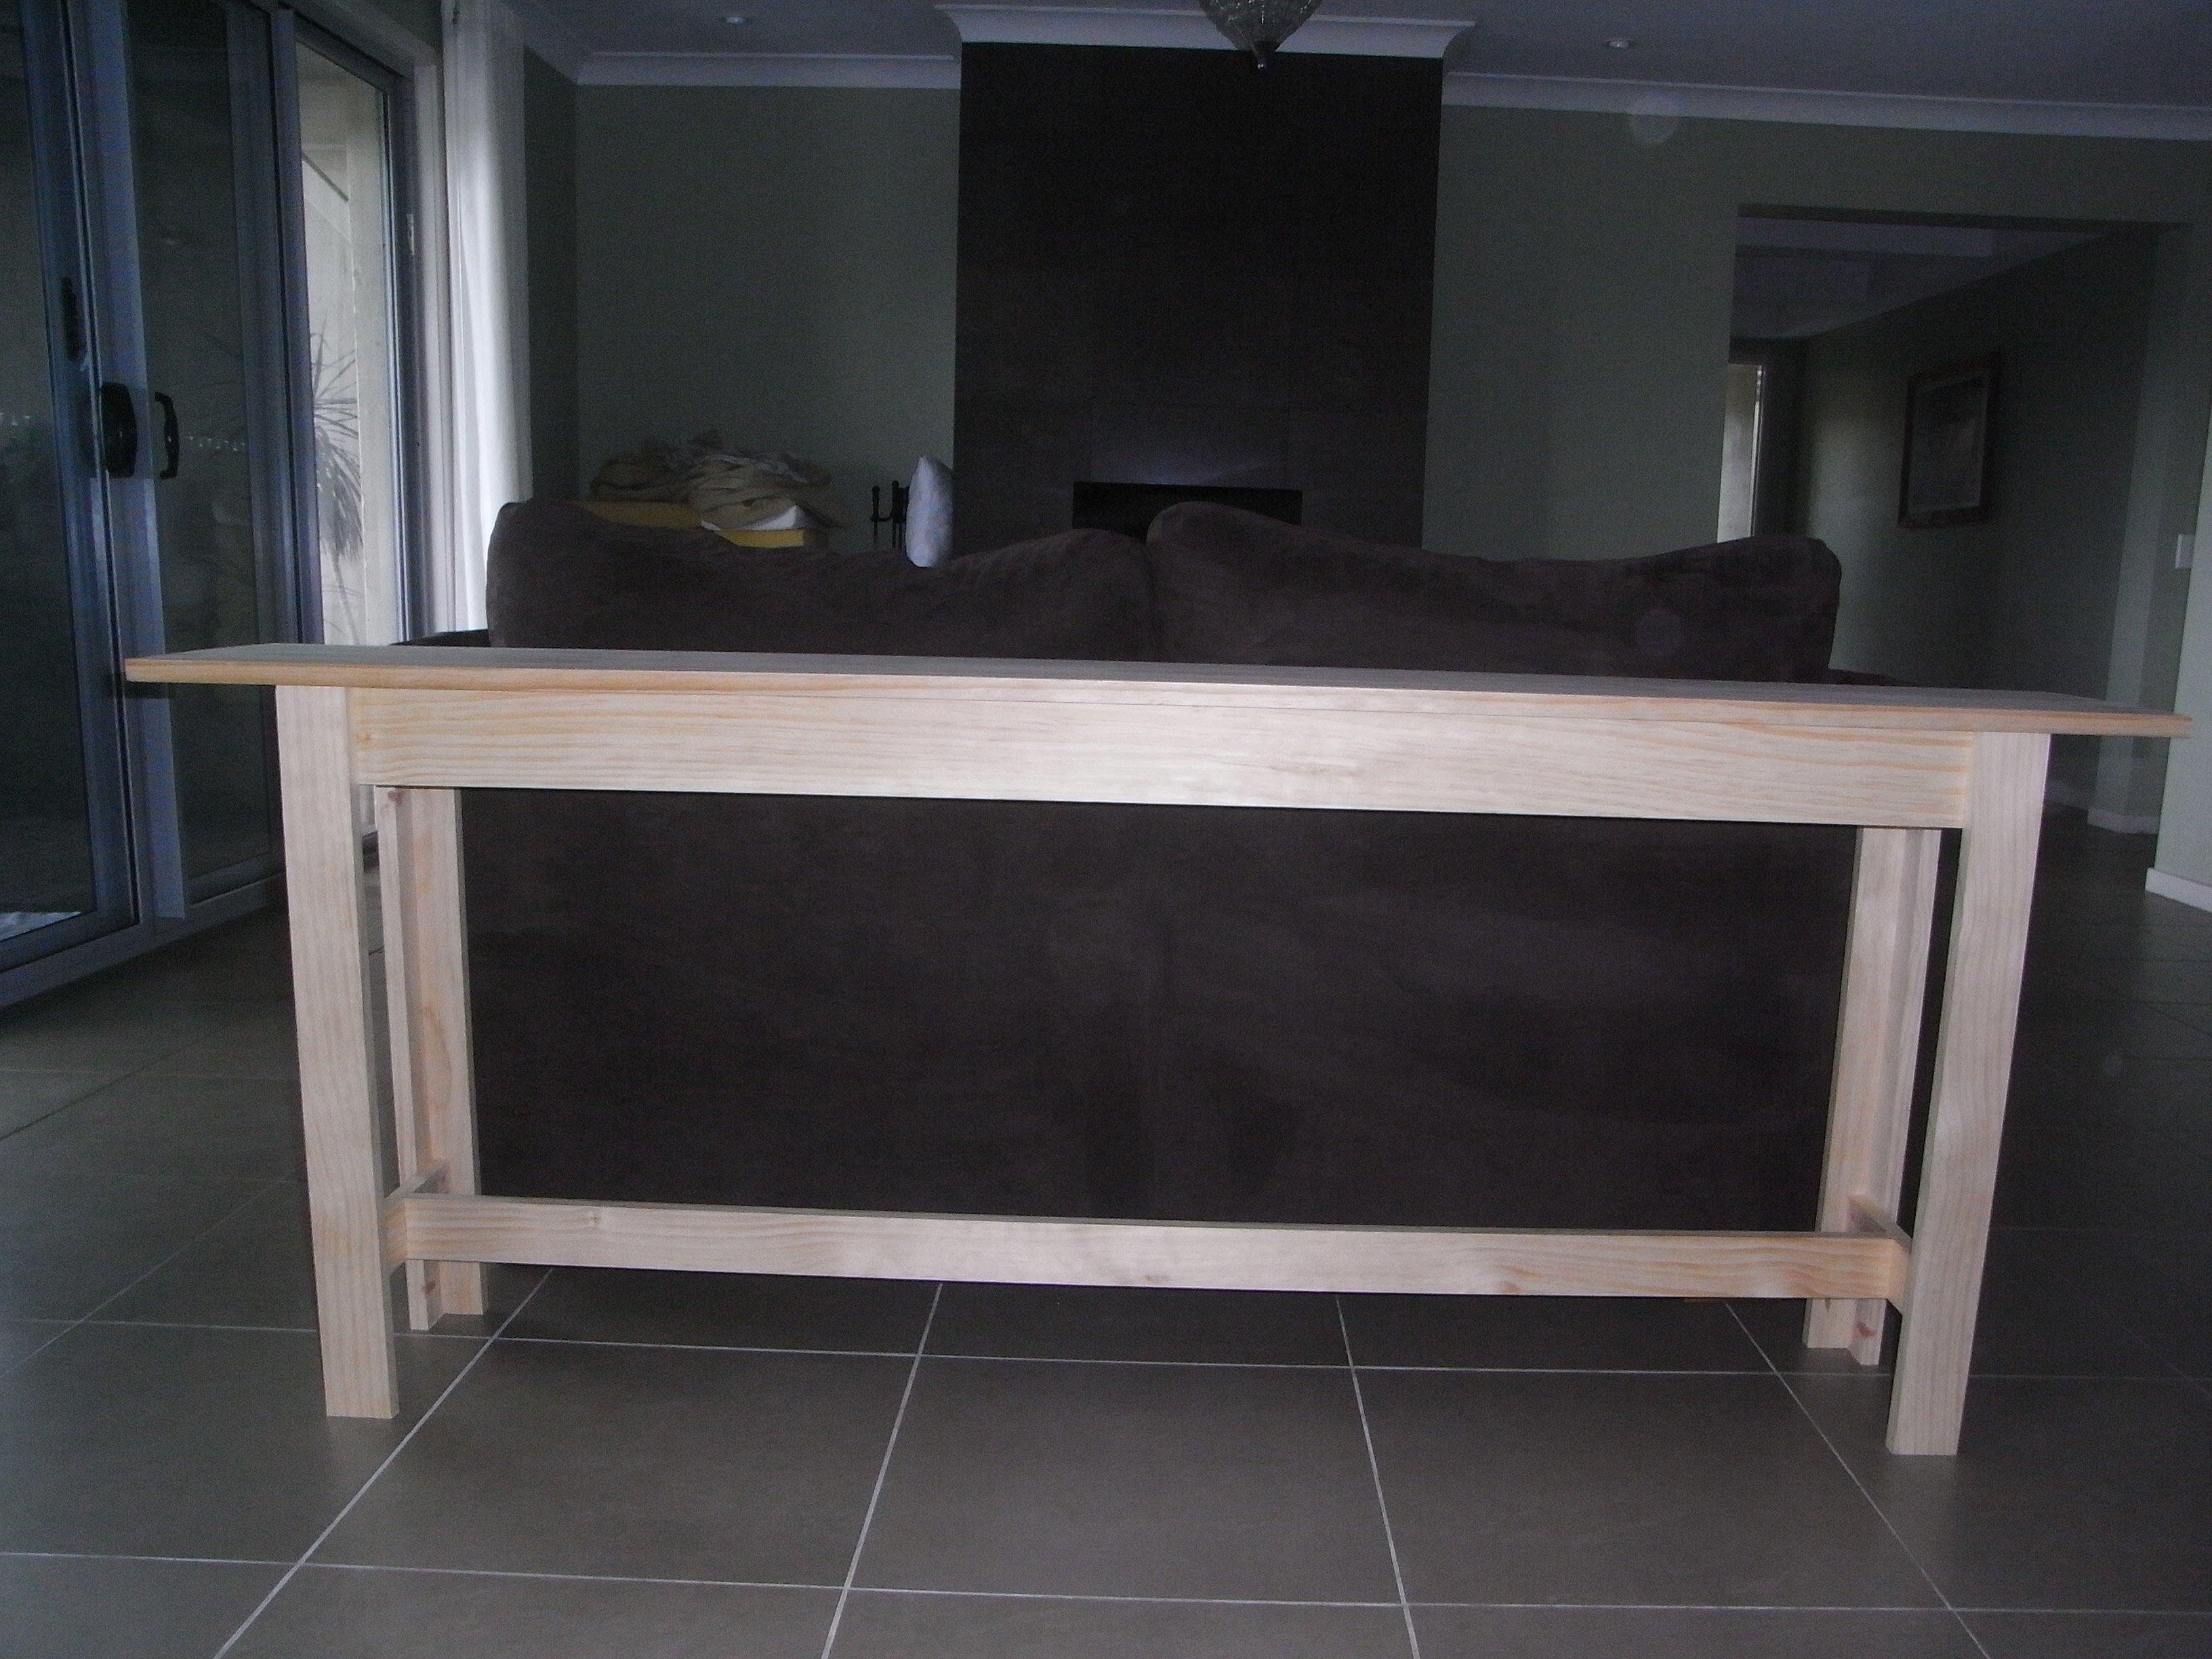
Writing Desk For My Wife
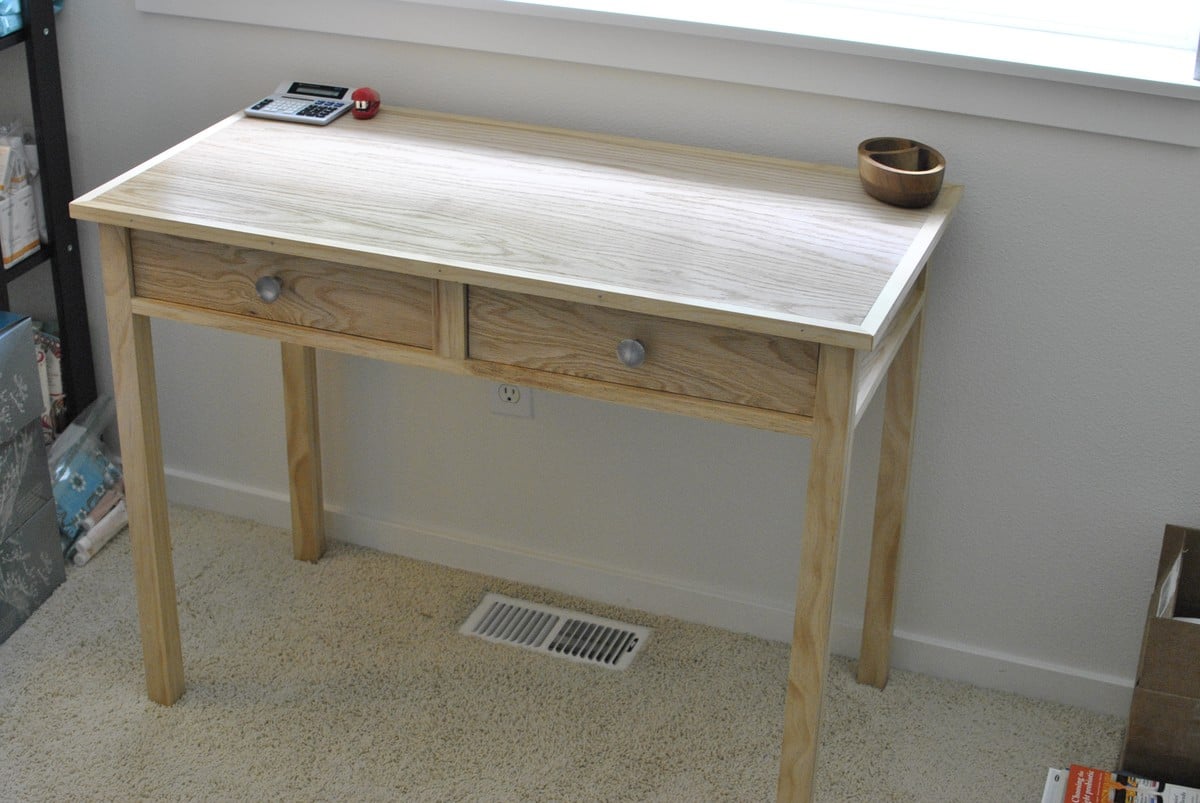
My wife needed a writing desk. I had previously built a coffee table with cheap lumber and wanted to see if I could build something with nicer wood. My concern was that all I had was a small portable table saw. This is the result. Oak plywood for the top and side panels, pine for the frame and edges. No stain; I really wanted to let the difference in colors from the two different woods to speak for itself. Just a good sanding and 5 layers of water based polyurethane.
Estimated Cost
$120
Estimated Time Investment
Weekend Project (10-20 Hours)
Finish Used
No stain, just poly for protection and shine.
Recommended Skill Level
Intermediate
Comments

Sun, 03/31/2024 - 12:33
For me having a comfortable…
For me having a comfortable writing desk is very important. A cozy desk setup helps me focus and boosts my productivity. Plus, with https://skillroads.com/resume-writing-service I can easily access professional assistance to fine-tune my resume and make it stand out. So, if you're serious about landing that dream job, investing in a good writing desk and using Skillroads' services is a winning combination!

Fri, 05/17/2024 - 02:14
This writing desk project is…
This writing desk project is a testament to the creativity and skill that can be achieved with dedication and craftsmanship. If you're ever in need of assistance with crafting compelling written content, consider reaching out to professional services like https://kingessays.com/ for expert support.
Hall Tree Storage Bench
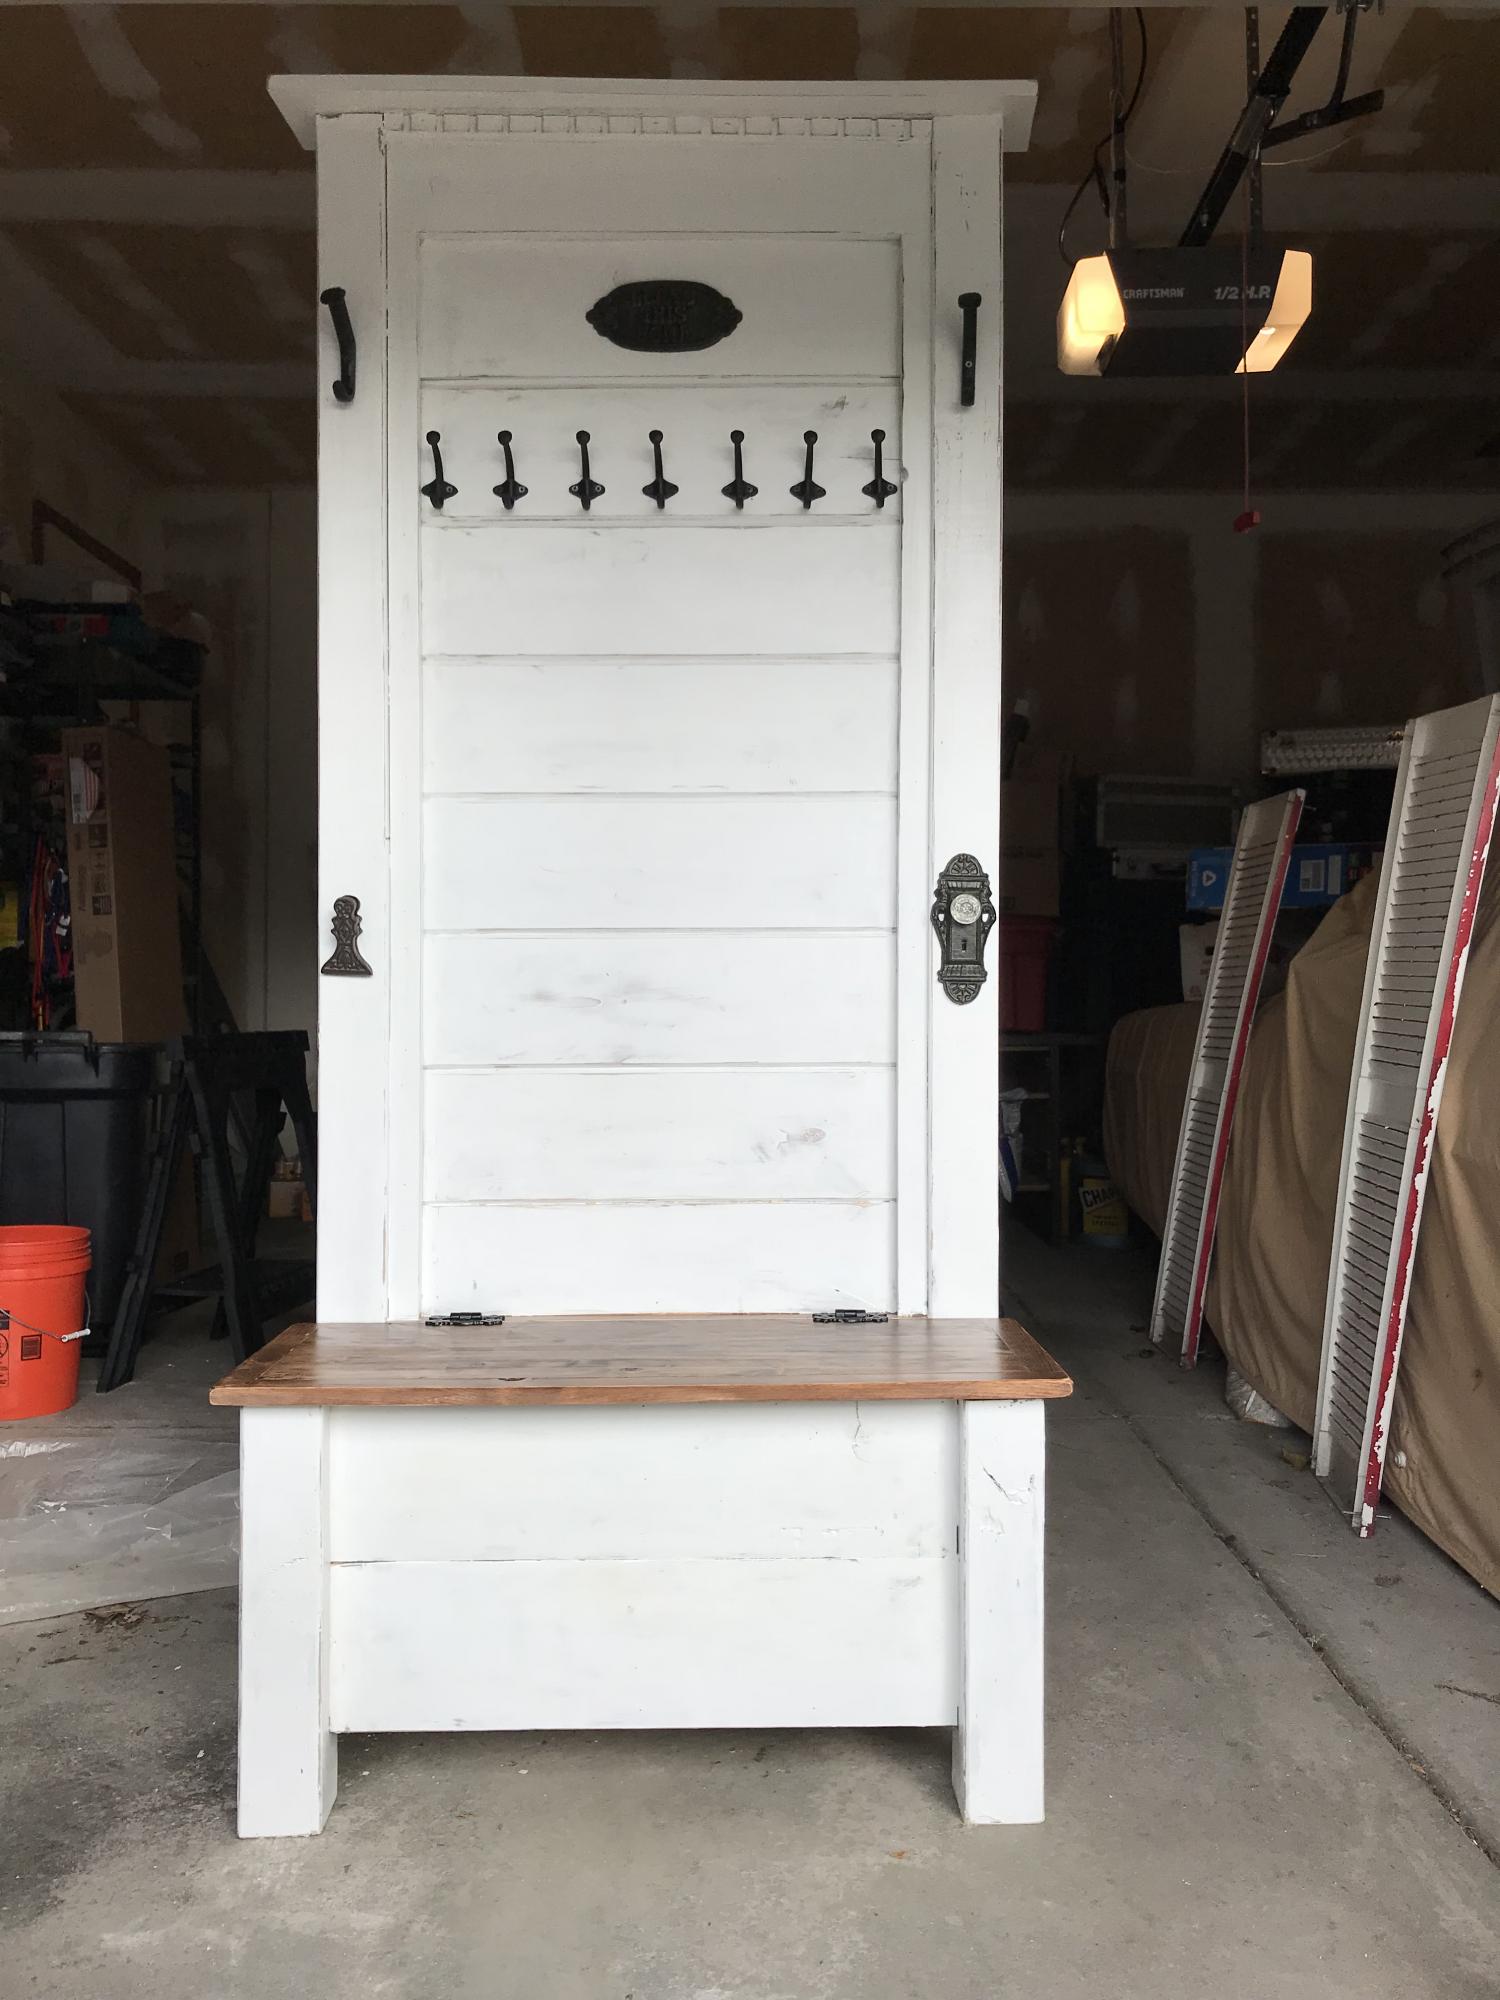
Hi Ana! This project was pretty much inspired by ALL the great things you build on this site, as well as from watching a 'Fixer Upper' marathon (hence, the white color and shiplap). Last Christmas, I promised my sister that I'd build her a hall tree since she's now up to 10 grandkids and needed more hooks for all those coats and hats. Unfortunately, I also came down with a WICKED case of vertigo, so no power tools for yours truly. : (
Well... The vertigo finally cleared up, so it was time to get out my trusty ol' Kreg Jig and fire up the tools.
This project started with 2 4x4s. I cut 17 1/2" off each, then used the long pieces as the back and the sort pieces as the front legs. Then I built a rectangle (shored up by some cross supports) out of 2x3s and used those to attach the back legs together with pocket holes. I did the same thing with the 2 front legs, then attached the 2 sets of legs together with shorter pieces of 2x3s that framed up the side.
Next, I added a front to back support to the underside, and then attached the bottom of the seat on top of that. I built the front, back, and side pieces of the bench section by cutting a couple of 8' x 8" x .5" planks to size, and attached 2 pieces to each side by gluing and nailing them to the frame. Then, I rans some shiplap up the back (glued and nailed to the back frame) and topped it all off with a mantle.
For the seat, I used a 12" project board ($11 at Lowes for a 6 foot section) because I love all the knotty details and nail marks. I framed it out with 1x1 and attached with pocket screws on the underside. I finished that piece by staining it in Rustoleum Dark Walnut.
As for the rest, I just framed the shiplap section with leftover 1x1s, then sanded and stained the whole piece with the same Dark Walnut stain (so that something would show through after distressing). Finally, I applied 2 coats of Rustoleum Linen White Chalk Paint (LOVE that stuff!), distressed it, and topped with one coat of Minwax 1 Coat Poly (ALSO love that stuff), and added some hardware and country do dads from Hobby Lobby (Rustic Hooks, 'Bless This Home' Sign, Decorative Doorknob, and "Mitten Clip" for wet mittens and gloves coming off little hands) . What do you think? ヅ


Estimated Cost
About $100
Estimated Time Investment
Weekend Project (10-20 Hours)
Finish Used
Rustoleum Dark Walnut Stain (Bench Seat), Rustoleum Linen White Chalk Paint (Rest of project), sealed with Minwax 1 coat poly.
Recommended Skill Level
Intermediate
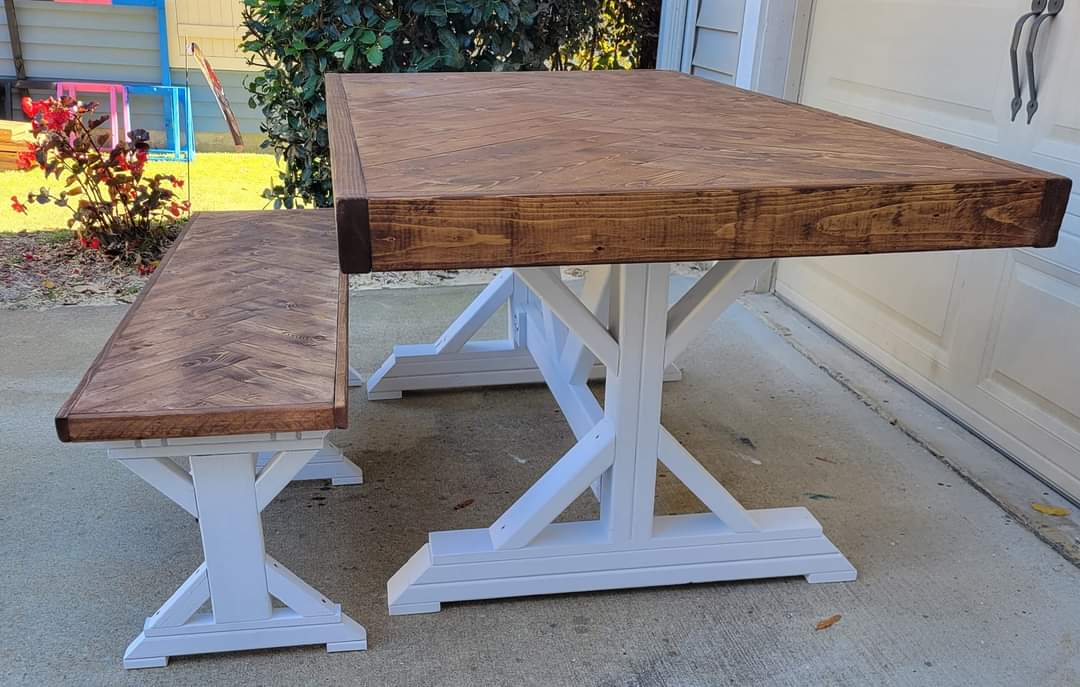
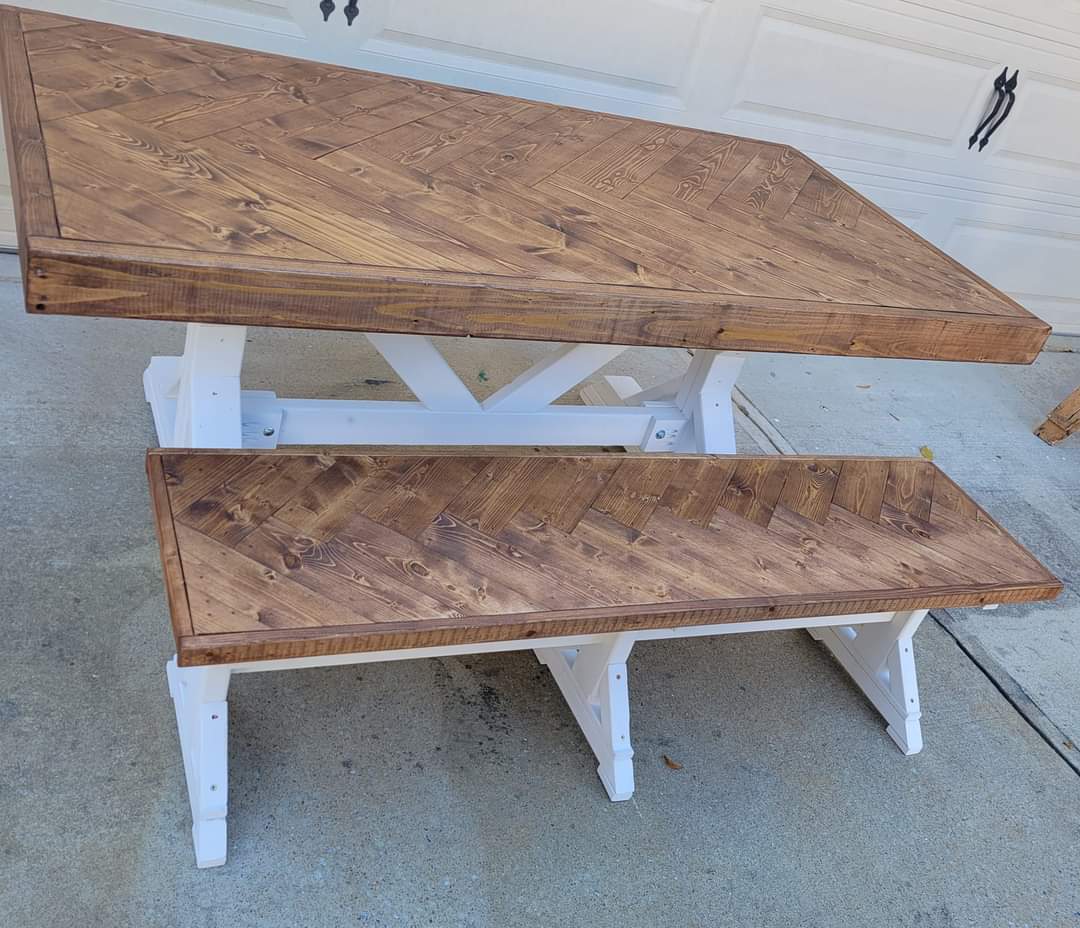
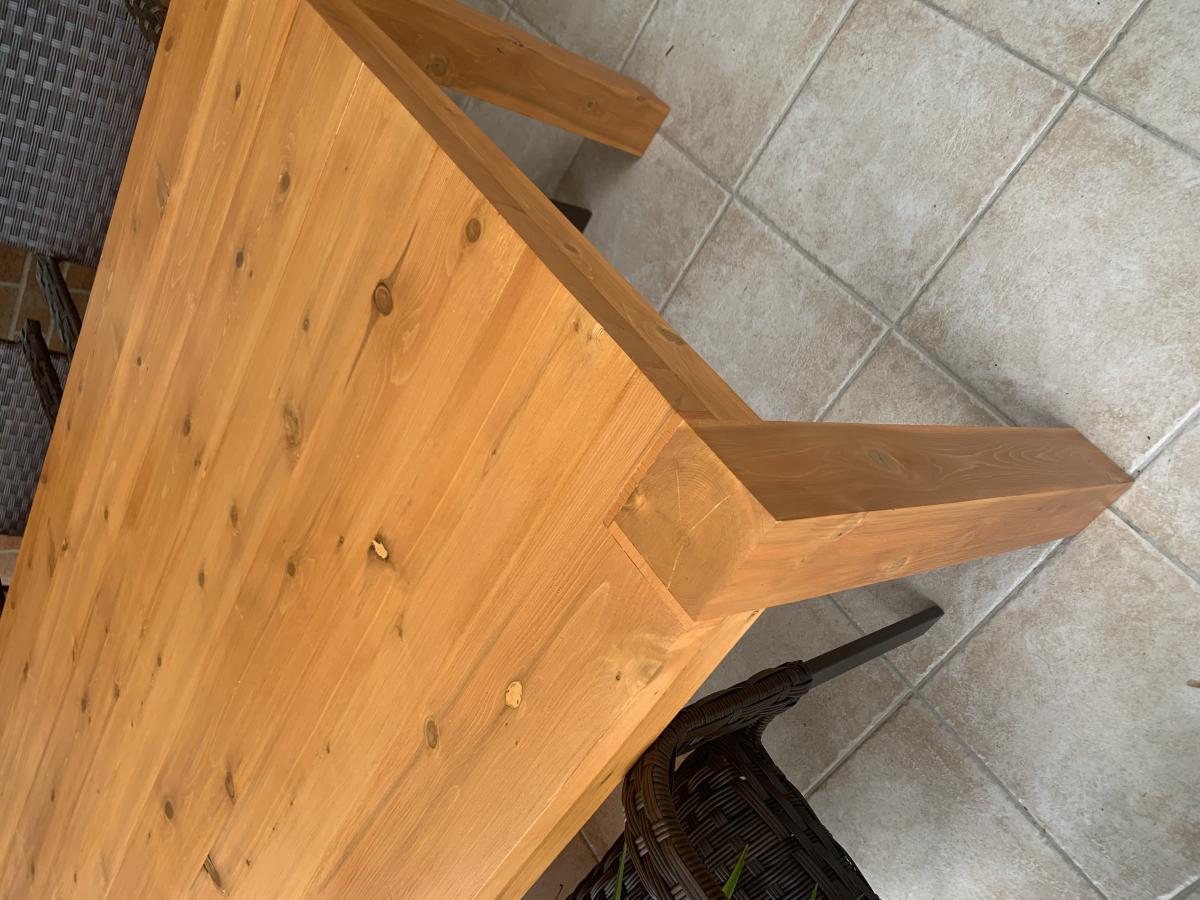
Fancy X table and bench
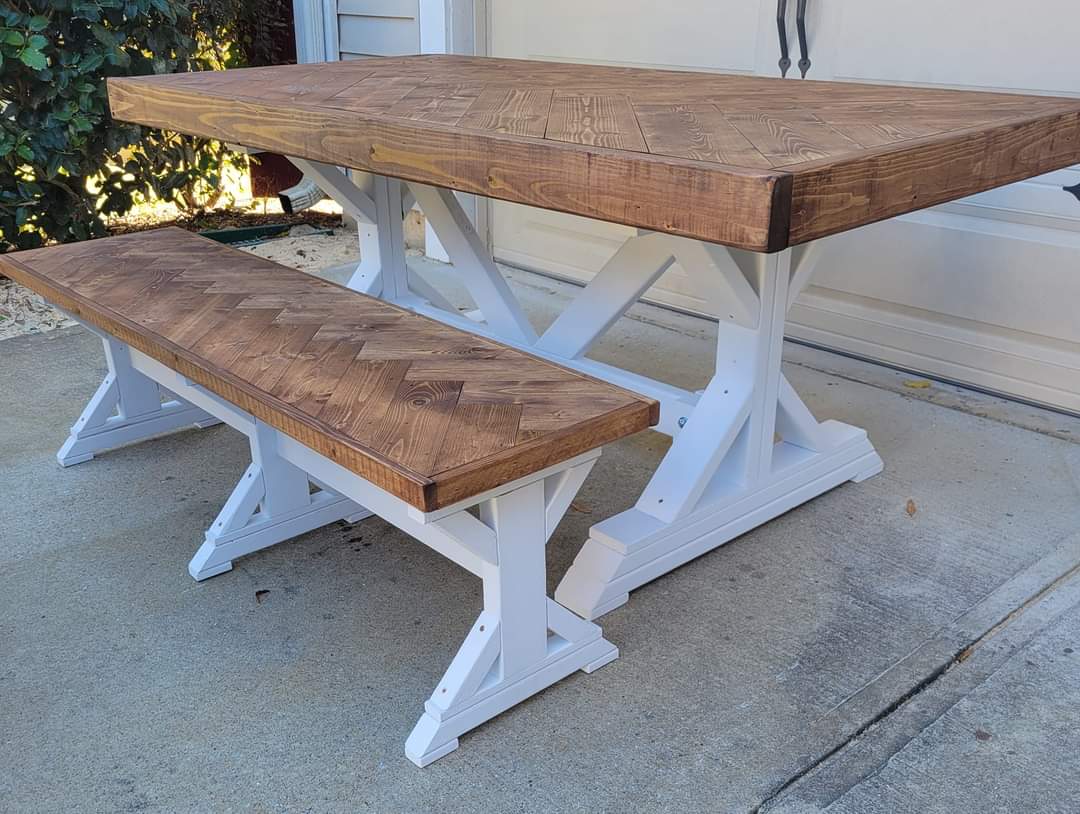
Put a fancy twist in this tabletop and bench top. We like the 45 degree angles that the top and legs both have to compliment each other. The top is stained with minwax special walnut.
Built from Plan(s)
Comments
Tue, 11/16/2021 - 19:18
Another amazing build!
You've been busy, this is gorgeous all the way around!
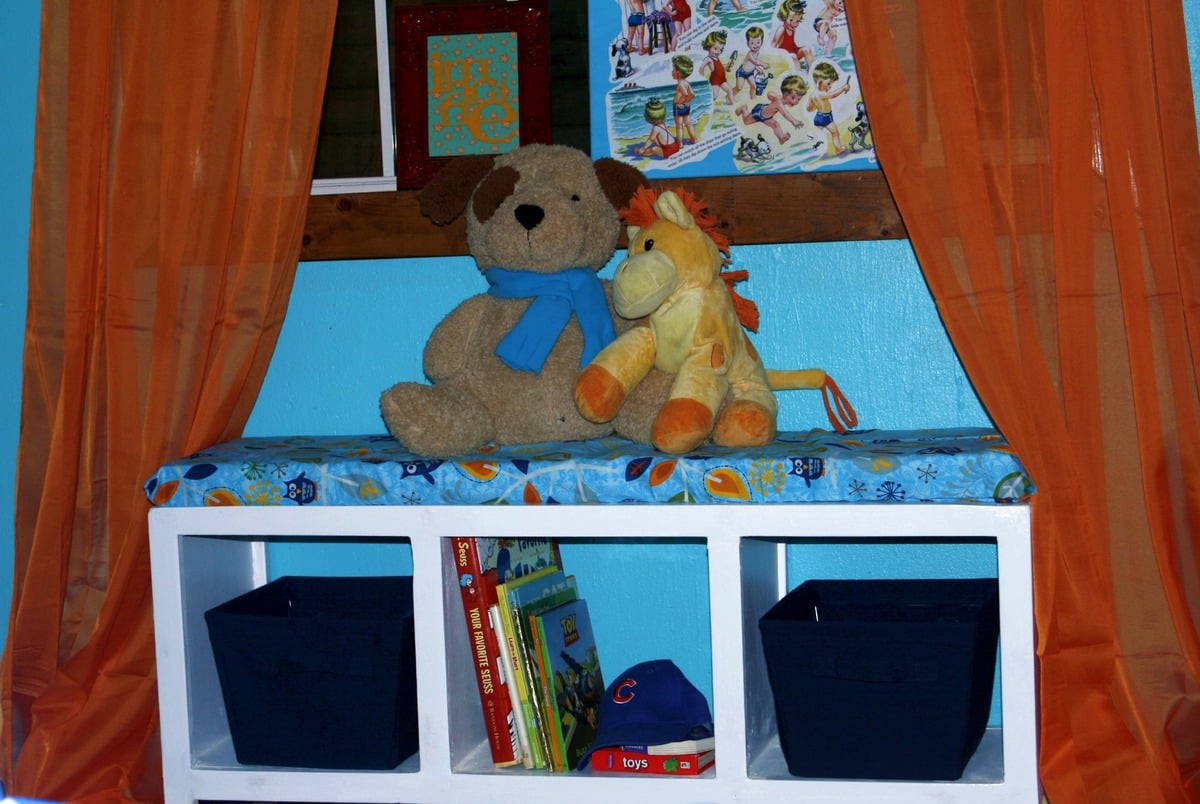
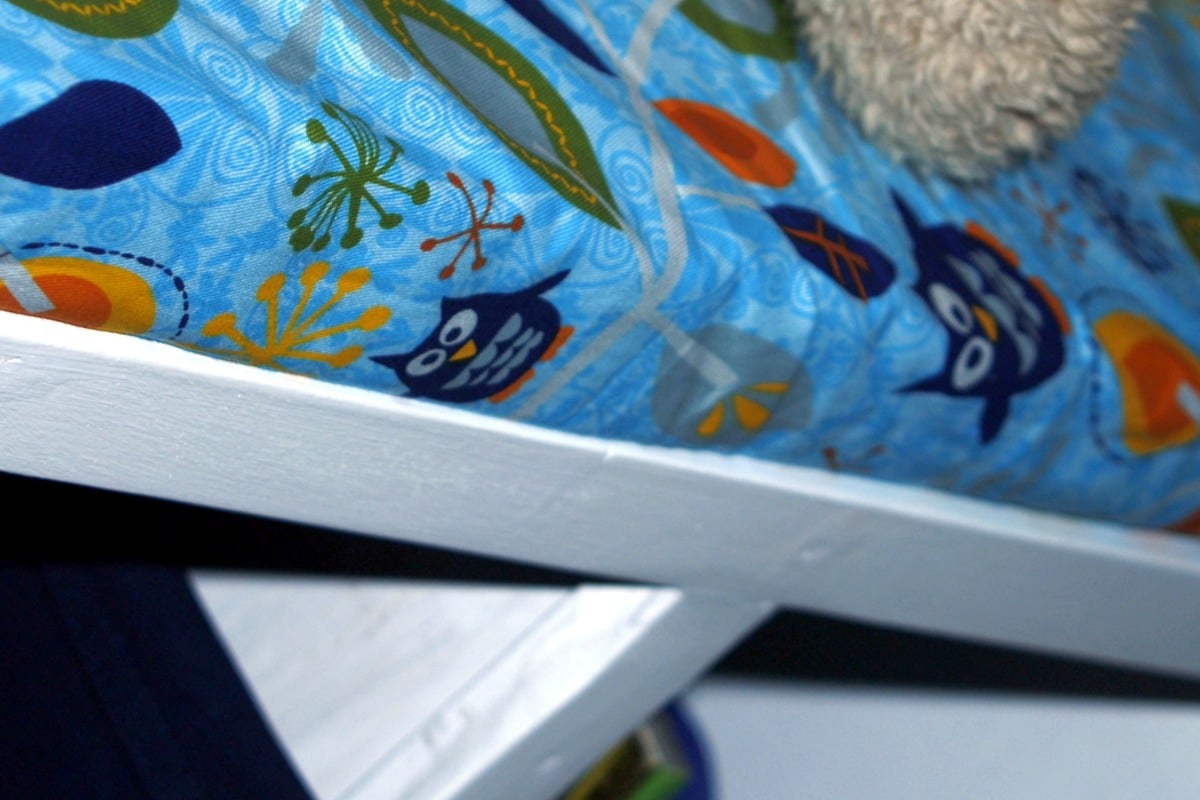
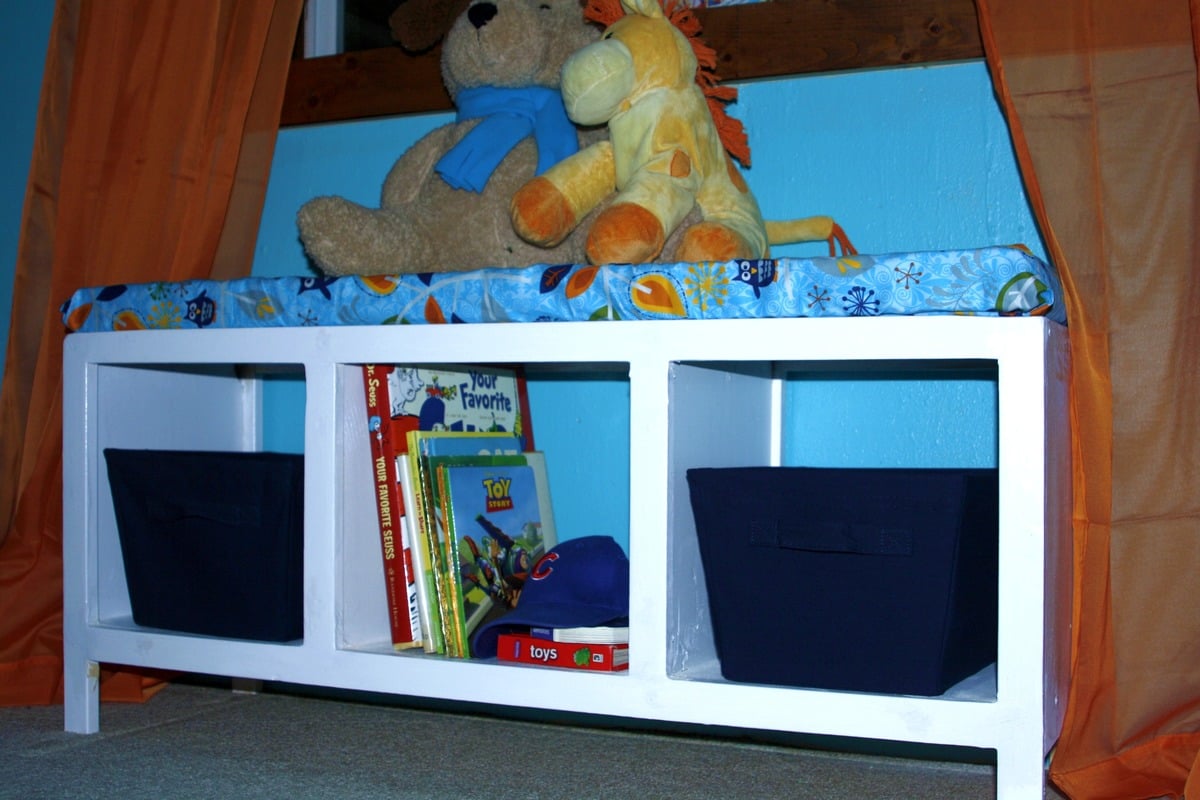
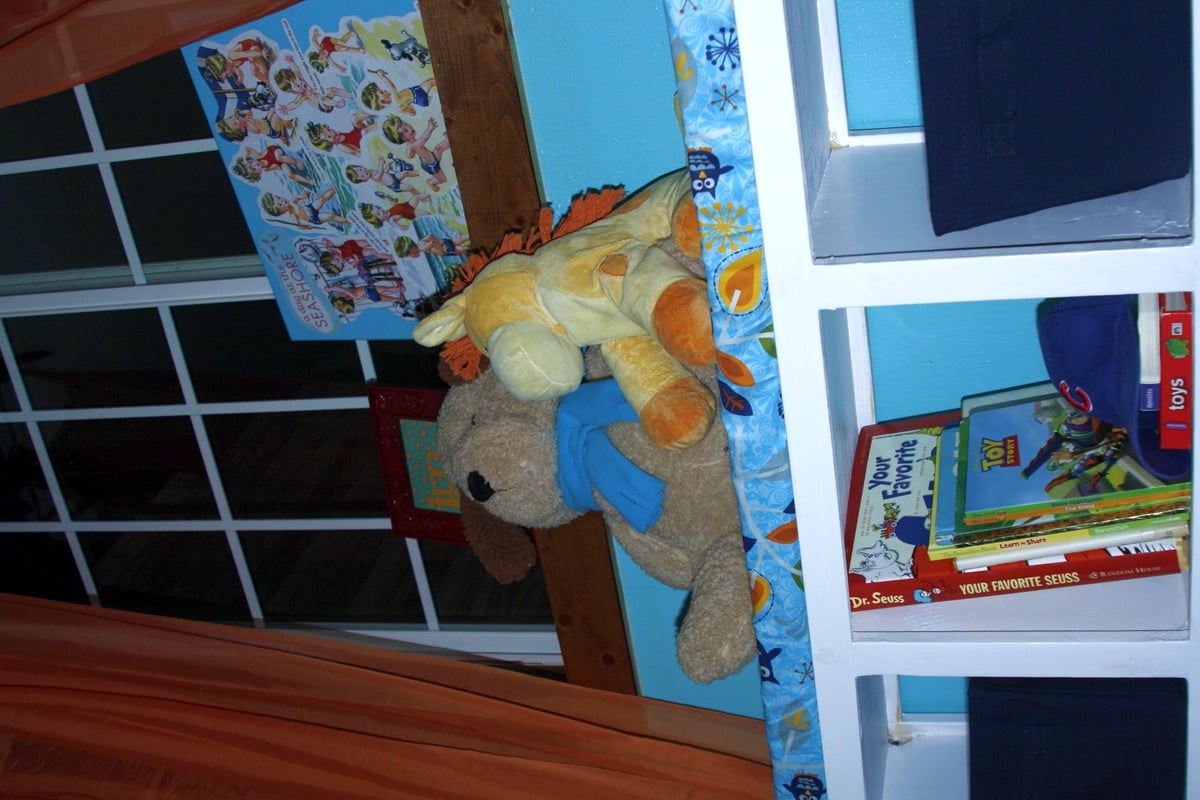
Three Cube Bench

My 2nd project!
Built from Plan(s)
Estimated Cost
40.00 - including cushion
Estimated Time Investment
Weekend Project (10-20 Hours)
Recommended Skill Level
Beginner
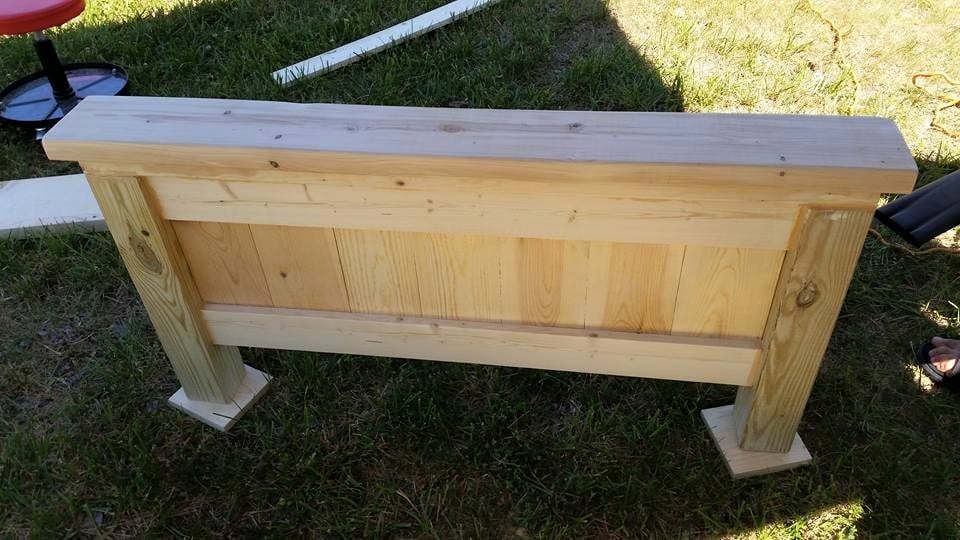
My headboard!
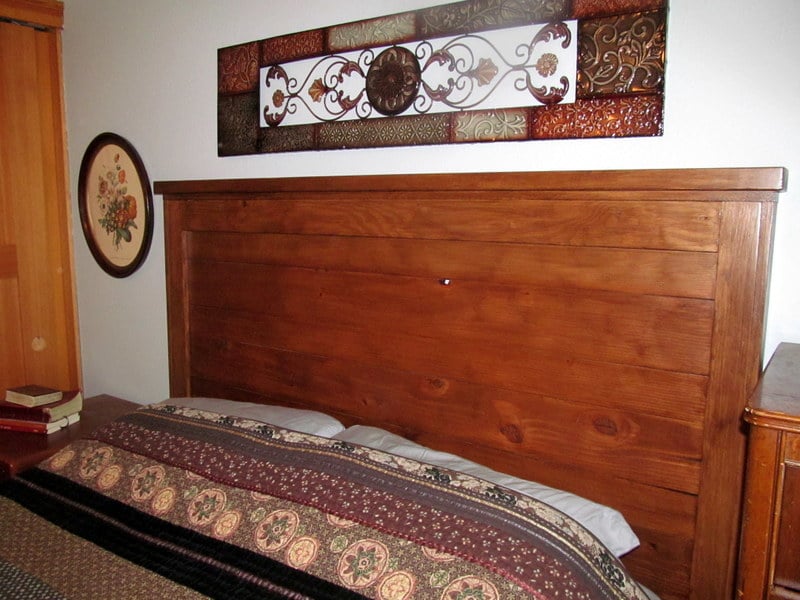
My hubby is a pro carpenter and was annoyed that i printed out instructions for him... but I wanted it to look exactly like the ones on the blog! I LOVE my new bed so much
Built from Plan(s)
Estimated Cost
$45 (wood and stain)
Estimated Time Investment
Afternoon Project (3-6 Hours)
Finish Used
Walnut poly
Recommended Skill Level
Beginner
Patio Furniture
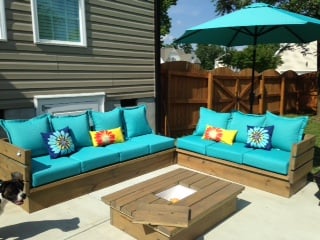
We built this set as a variation of the Platform Outdoor Sectional plan. I read that several individuals had a hard time finding the right size cushions, or inexpensive cushions, so I found some on clearance and built the seating customized to their size. The built-in cooler was a neat little addition we had an easy time with, and we used mainly scrap wood for the coffee table and corner piece. We decided to stain it a translucent grey, as I really loved the natural wood look, but needed to match the cushions a bit more. Still adding a few finishing touches, but already enjoying relaxing on it. It was a fun project, and I love how it came out. Bring on the sun!!
Built from Plan(s)
Estimated Time Investment
Weekend Project (10-20 Hours)
Recommended Skill Level
Beginner
Comments
Thu, 01/28/2016 - 08:20
Dimensions for coffee table with built in cooler
I would love to know how to build the coffee table with built in cooler. I would like to build this asap :)
Christmas Tree Collar
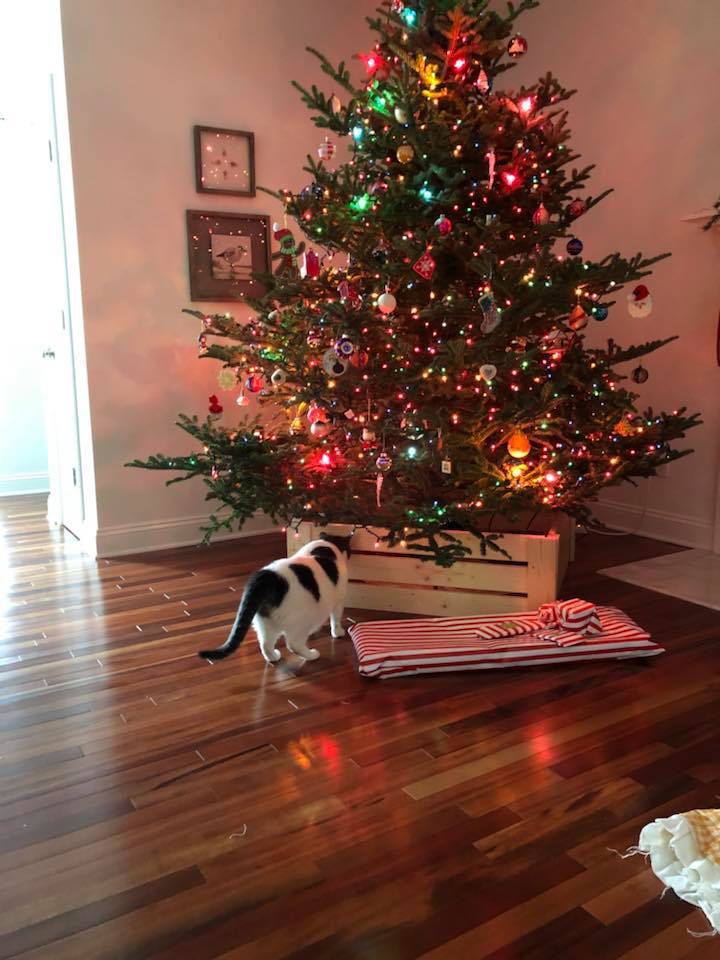
Thank you for these plans Ana! Had to make mine 36" wide to accomodate the tree stand tripod. Added bonus: kitty cannot drink the tree water! YES! Still have to stain and going to add hinges to one side to access water bucket easily.
Built from Plan(s)
Estimated Cost
$20
Estimated Time Investment
An Hour or Two (0-2 Hours)
Finish Used
Stain to be applied; unfinished at present
Recommended Skill Level
Starter Project
Comments

Thu, 12/14/2017 - 09:56
That was fast! Looks great,
That was fast! Looks great, love that it keeps the cat away too!
My version of the Simple Outdoor Dining Table
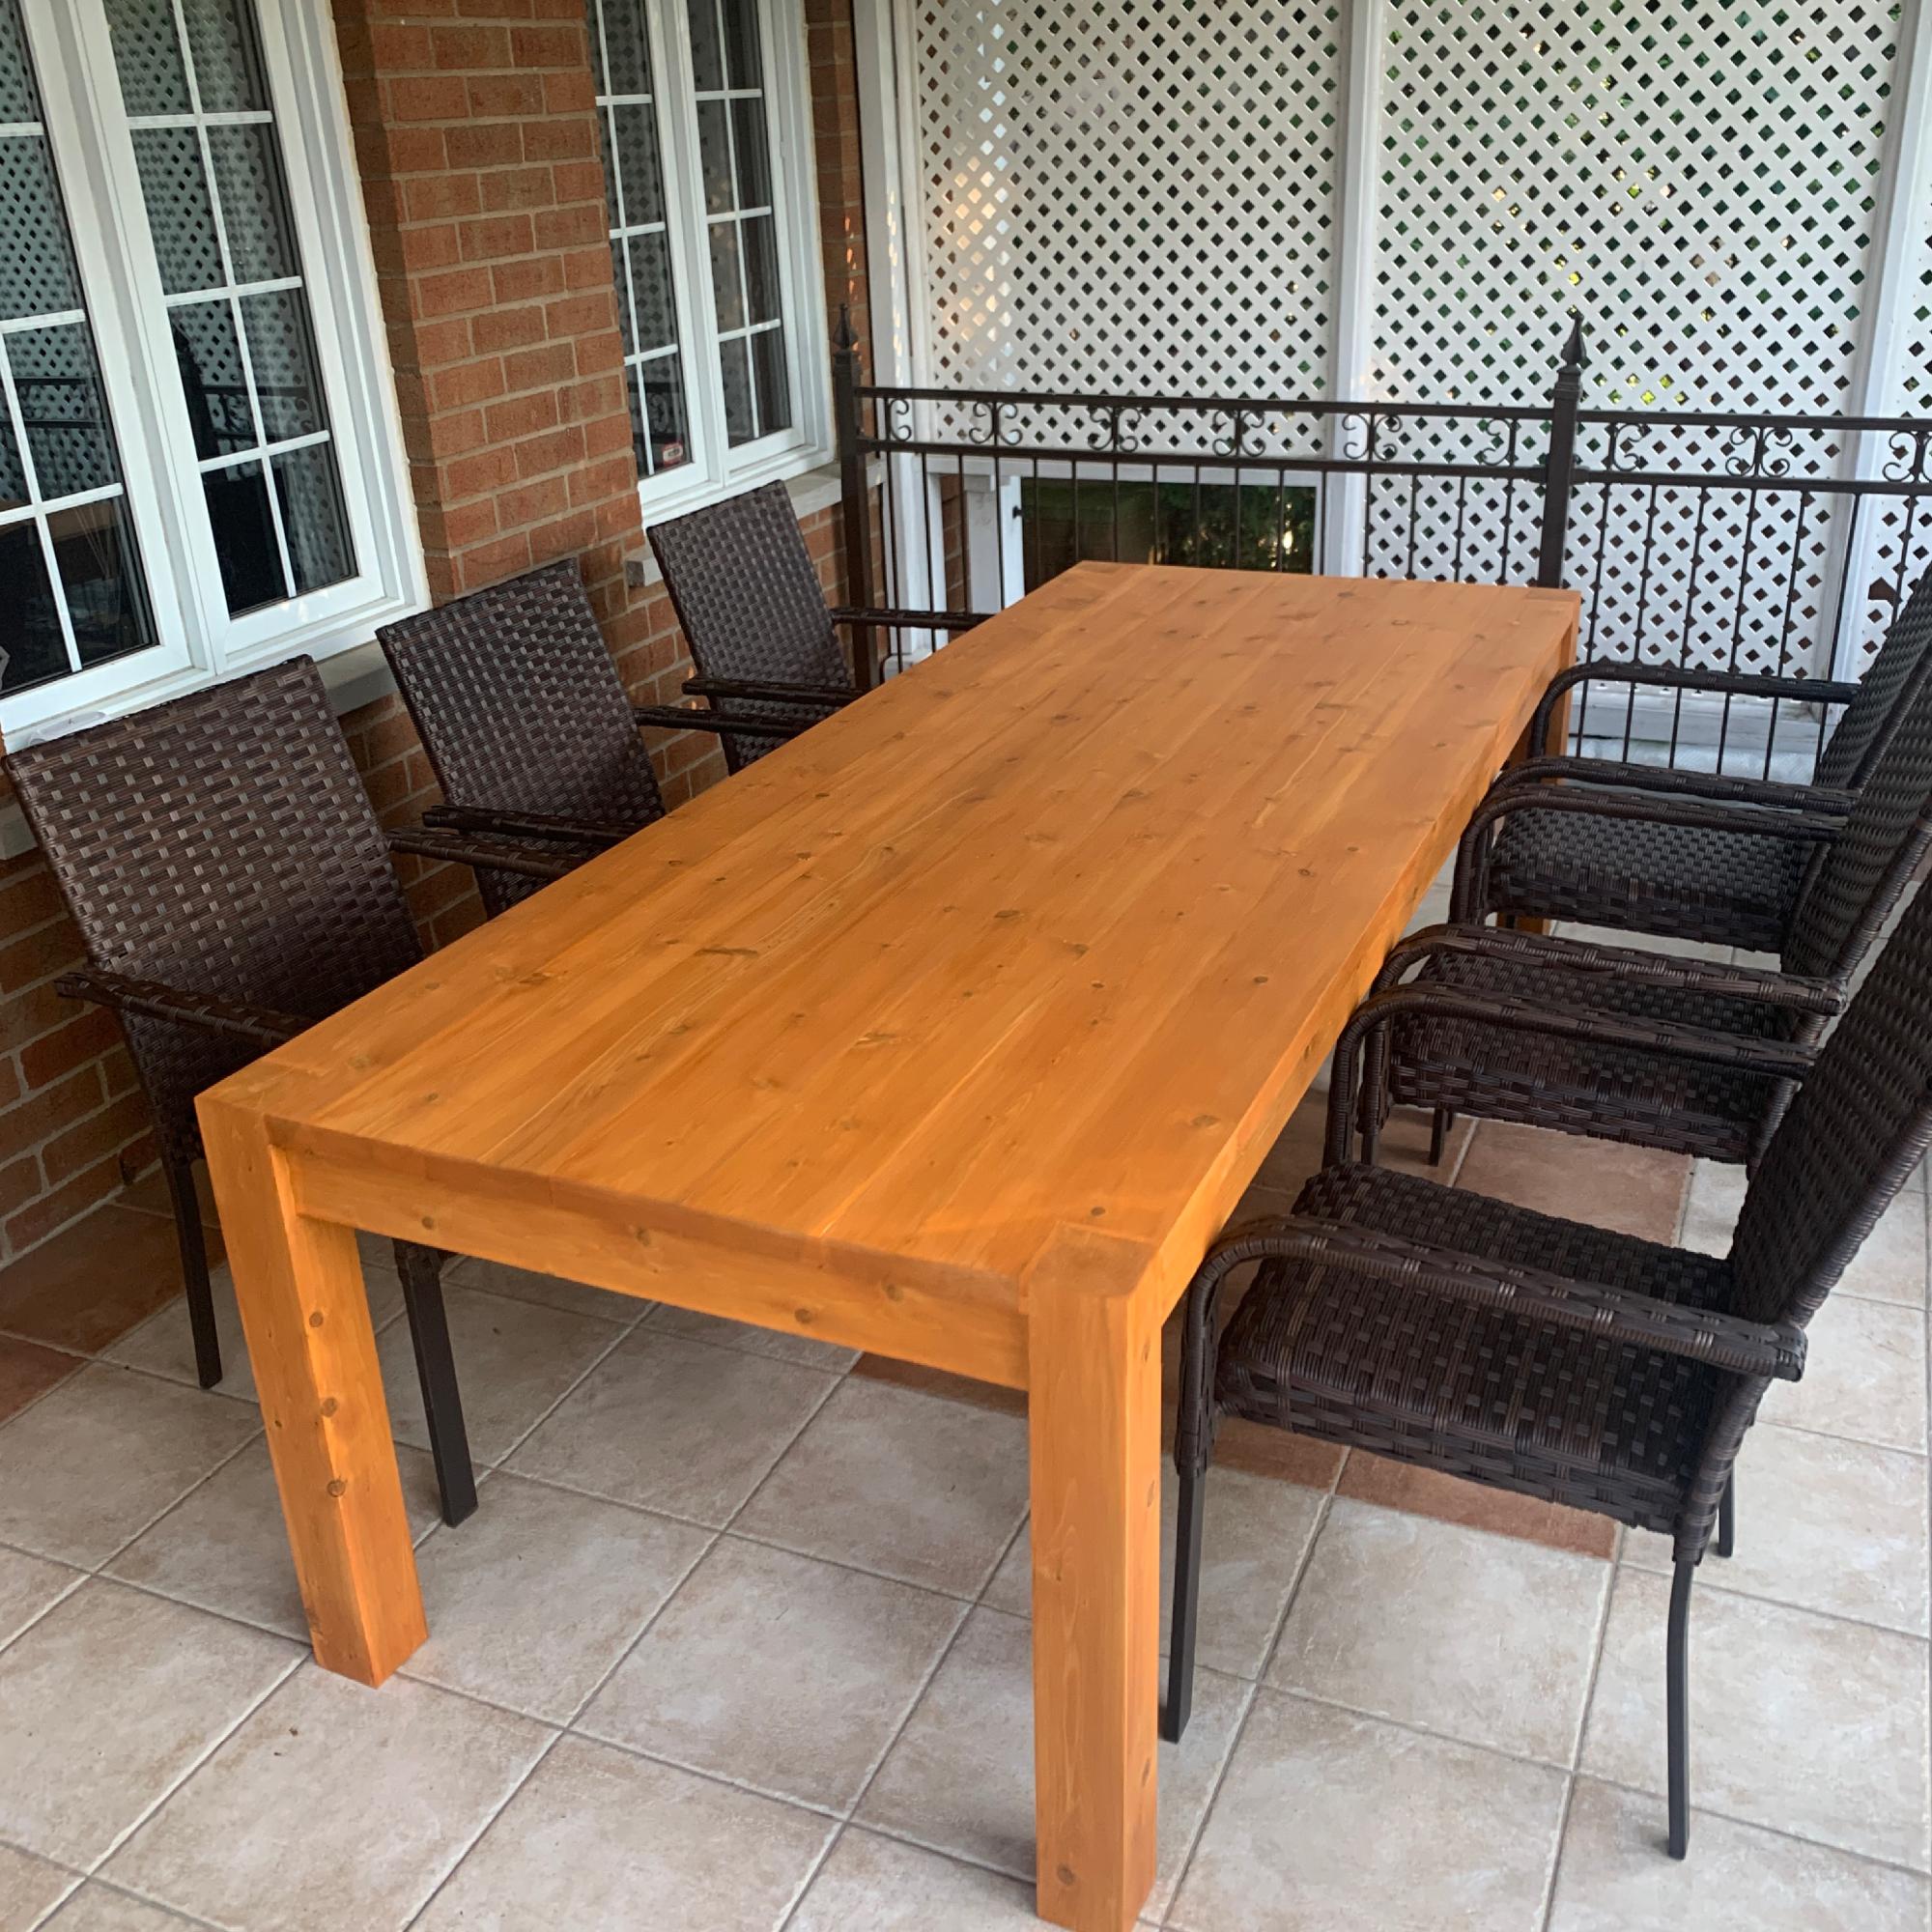
My version of the Simple Outdoor Dining Table
- All Cedar
Built from Plan(s)
Comments
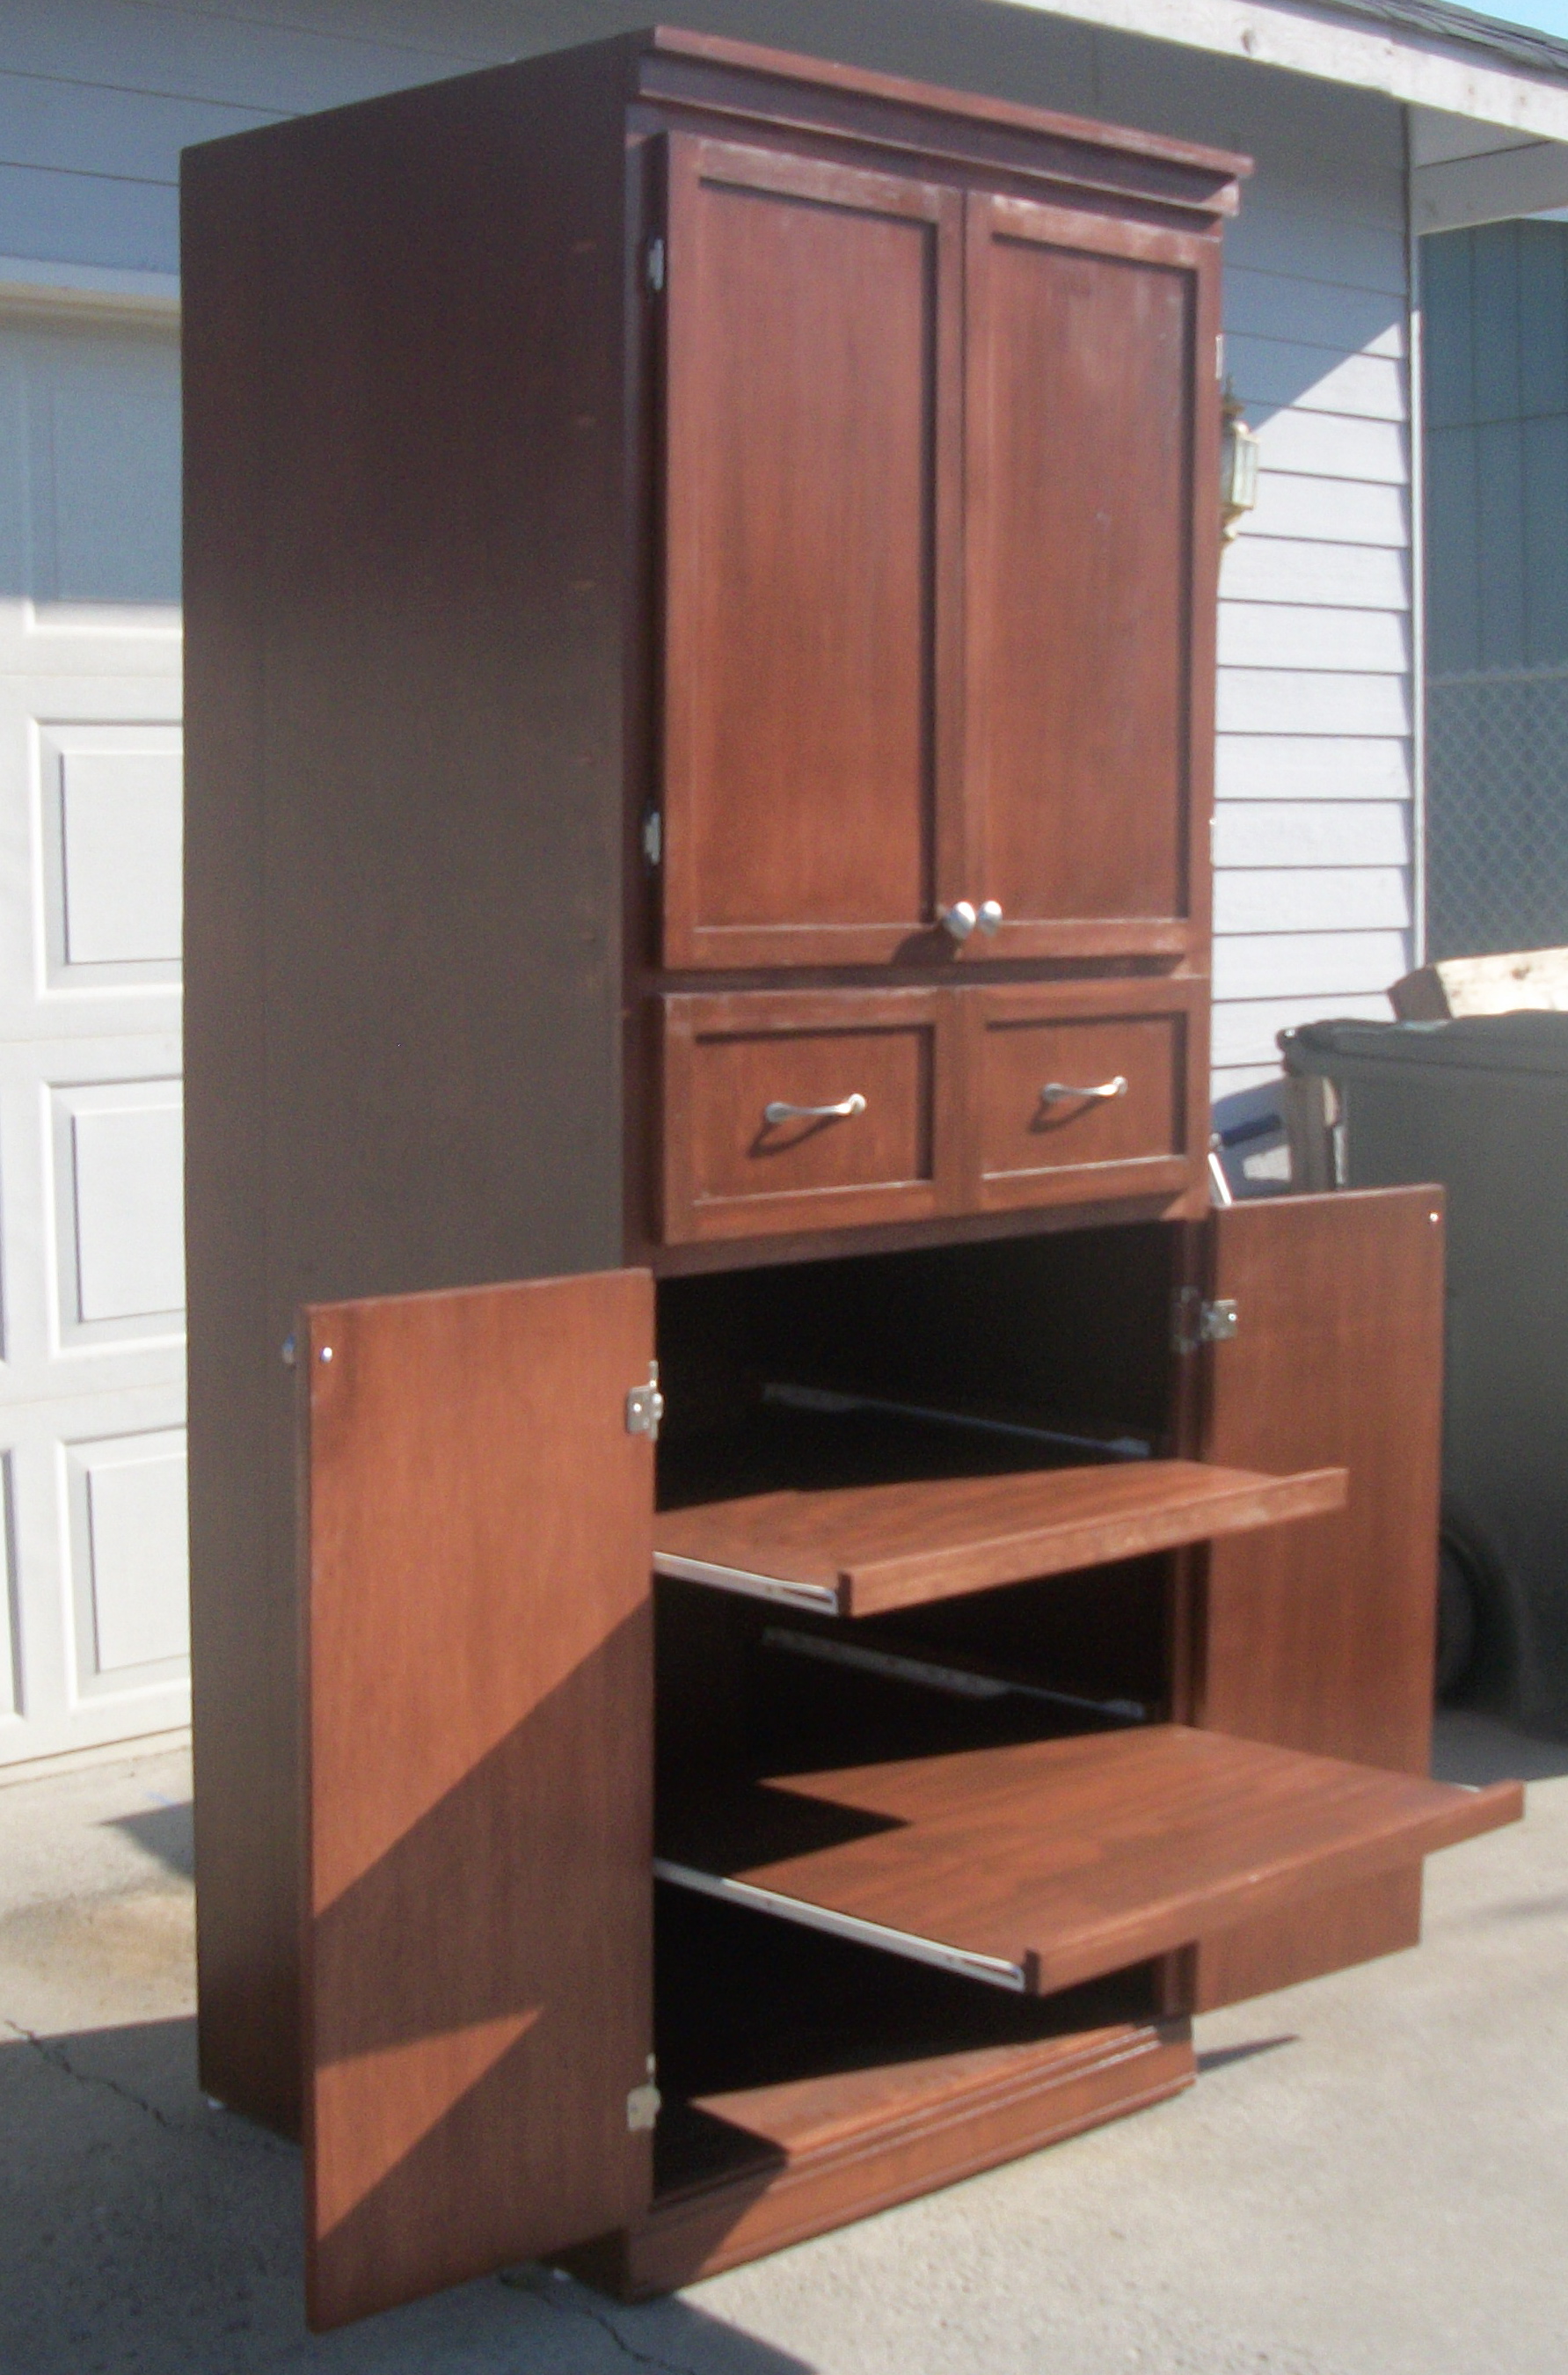
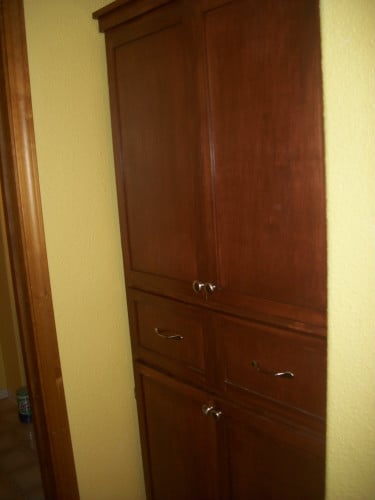
My Version of the Nursery Armoire
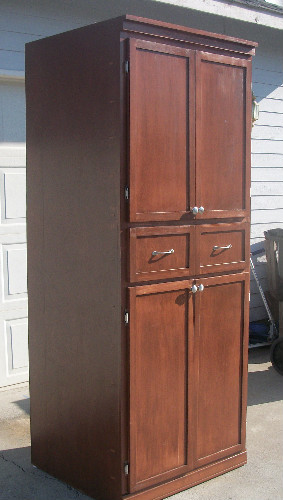
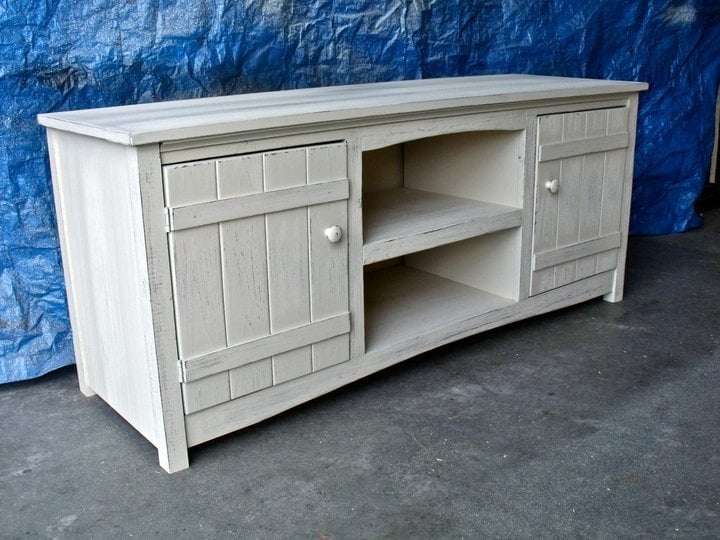
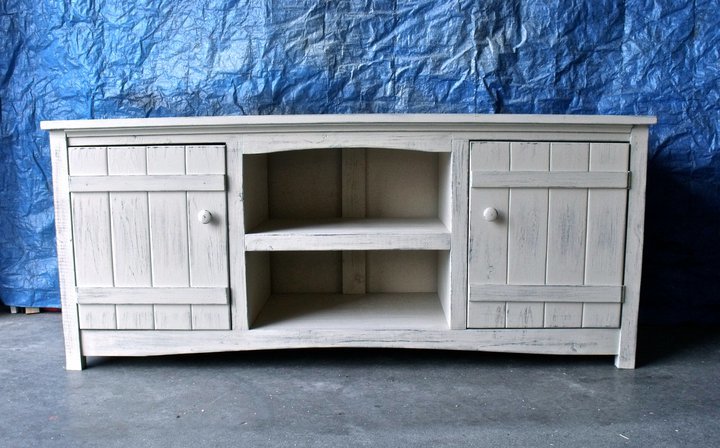
We built this armoire cabinet for a client of ours (this was a paying gig) who needed extra storage in her bathroom. I think it turned out beautifully if I do say so myself. So much so that I decided the build two of these to put in my laundry room for extra storage.
This project took us a month and a week to do in overall time, but in that month, we didn't work on it everyday. Actual build time was probably more like three weeks - 6 hours a day. We tweaked a lot on this since it was going to a customer we didn't want anything wrong with it so if it was mine it probably wouldn't have consumed so much time. We also had a couple of problems that arose and it took a bit of figuring to get past those. All in all it was a great experience. :-)
Modifications:
Height and width were altered to fit the available space.
Drawers were put on the outside of the upper doors instead of inside
Shelves on the bottom section were made into sliding shelves (see additional pics) so that the contents in the back were more easily accessible.
Thanks for posting these plans, it was a joy to build and help someone else with a project that they didn't have time to do themselves. We appreciate the inspiration!
Built from Plan(s)
Estimated Cost
$425
Estimated Time Investment
Week Long Project (20 Hours or More)
Finish Used
Minwax Waterbased stain in Rosewood - 2 coats
Minwax Polyurethane - 3 coats
Minwax Polyurethane - 3 coats
Recommended Skill Level
Intermediate
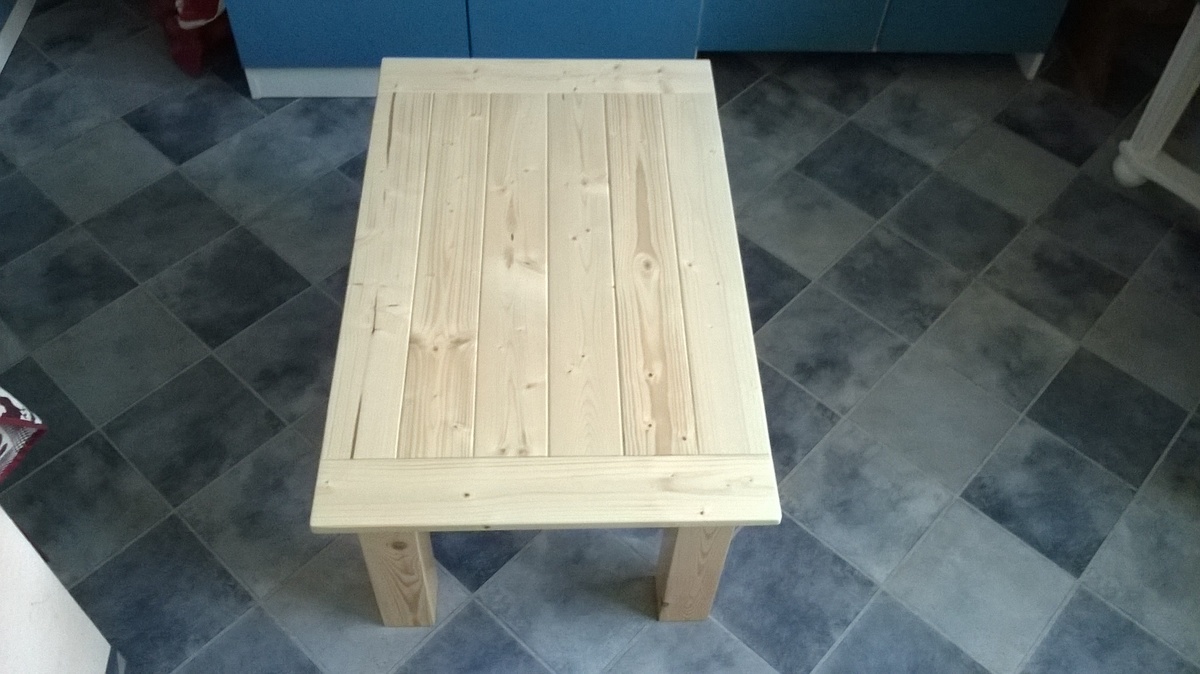
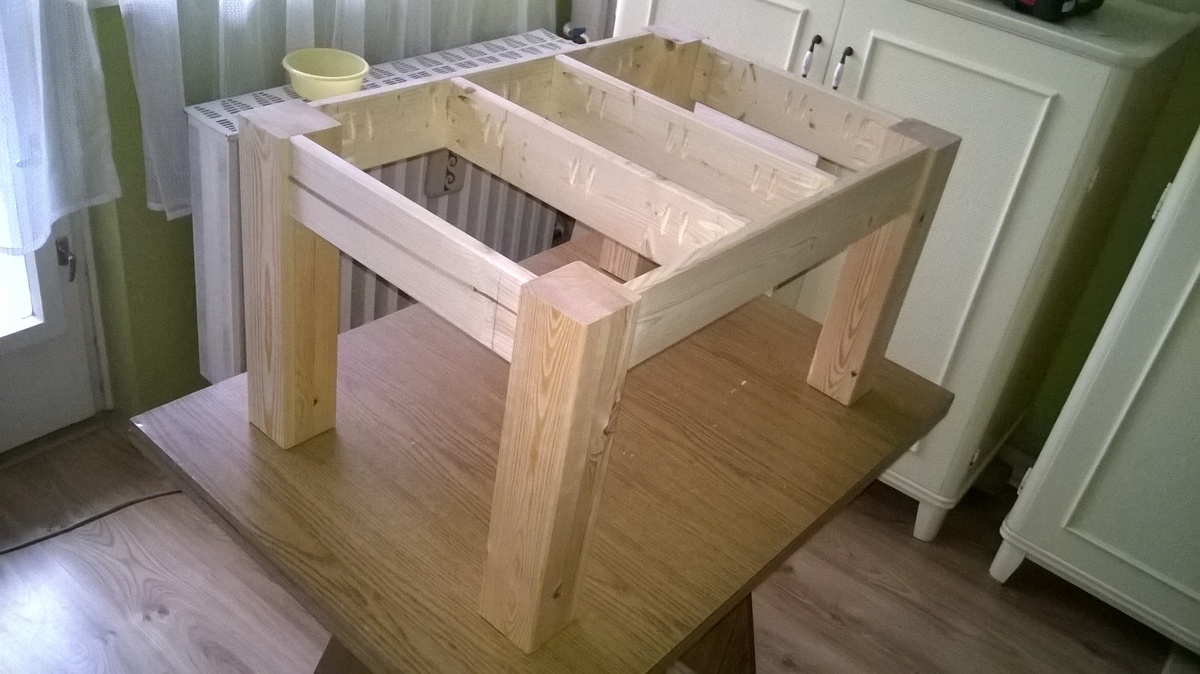
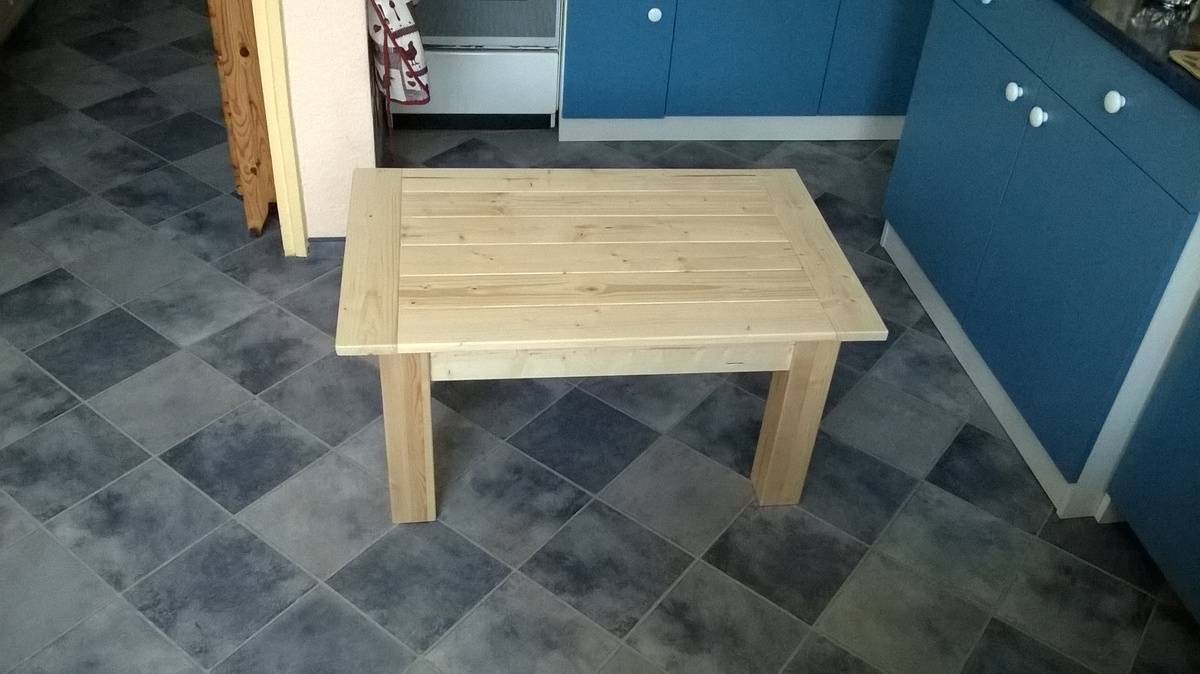
Tryde coffee table
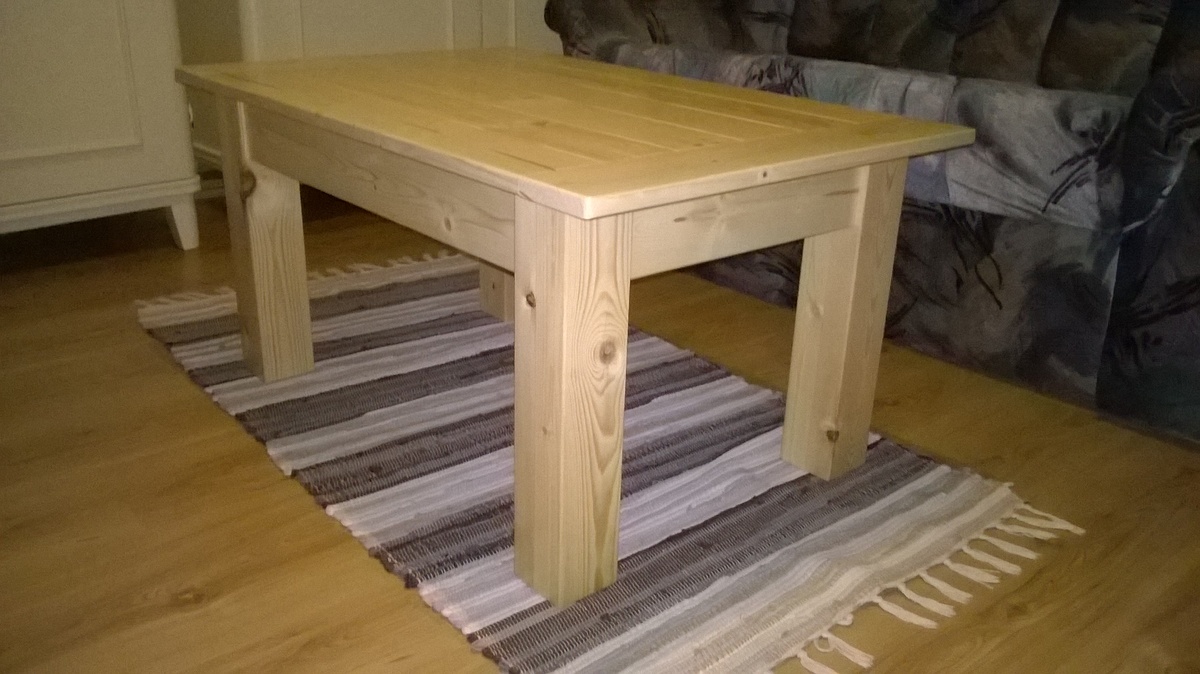
My second project from hungary!

Built from Plan(s)
Estimated Cost
~40$
Estimated Time Investment
Afternoon Project (3-6 Hours)
Finish Used
4 coat for top and 3 coat legs.
Recommended Skill Level
Beginner
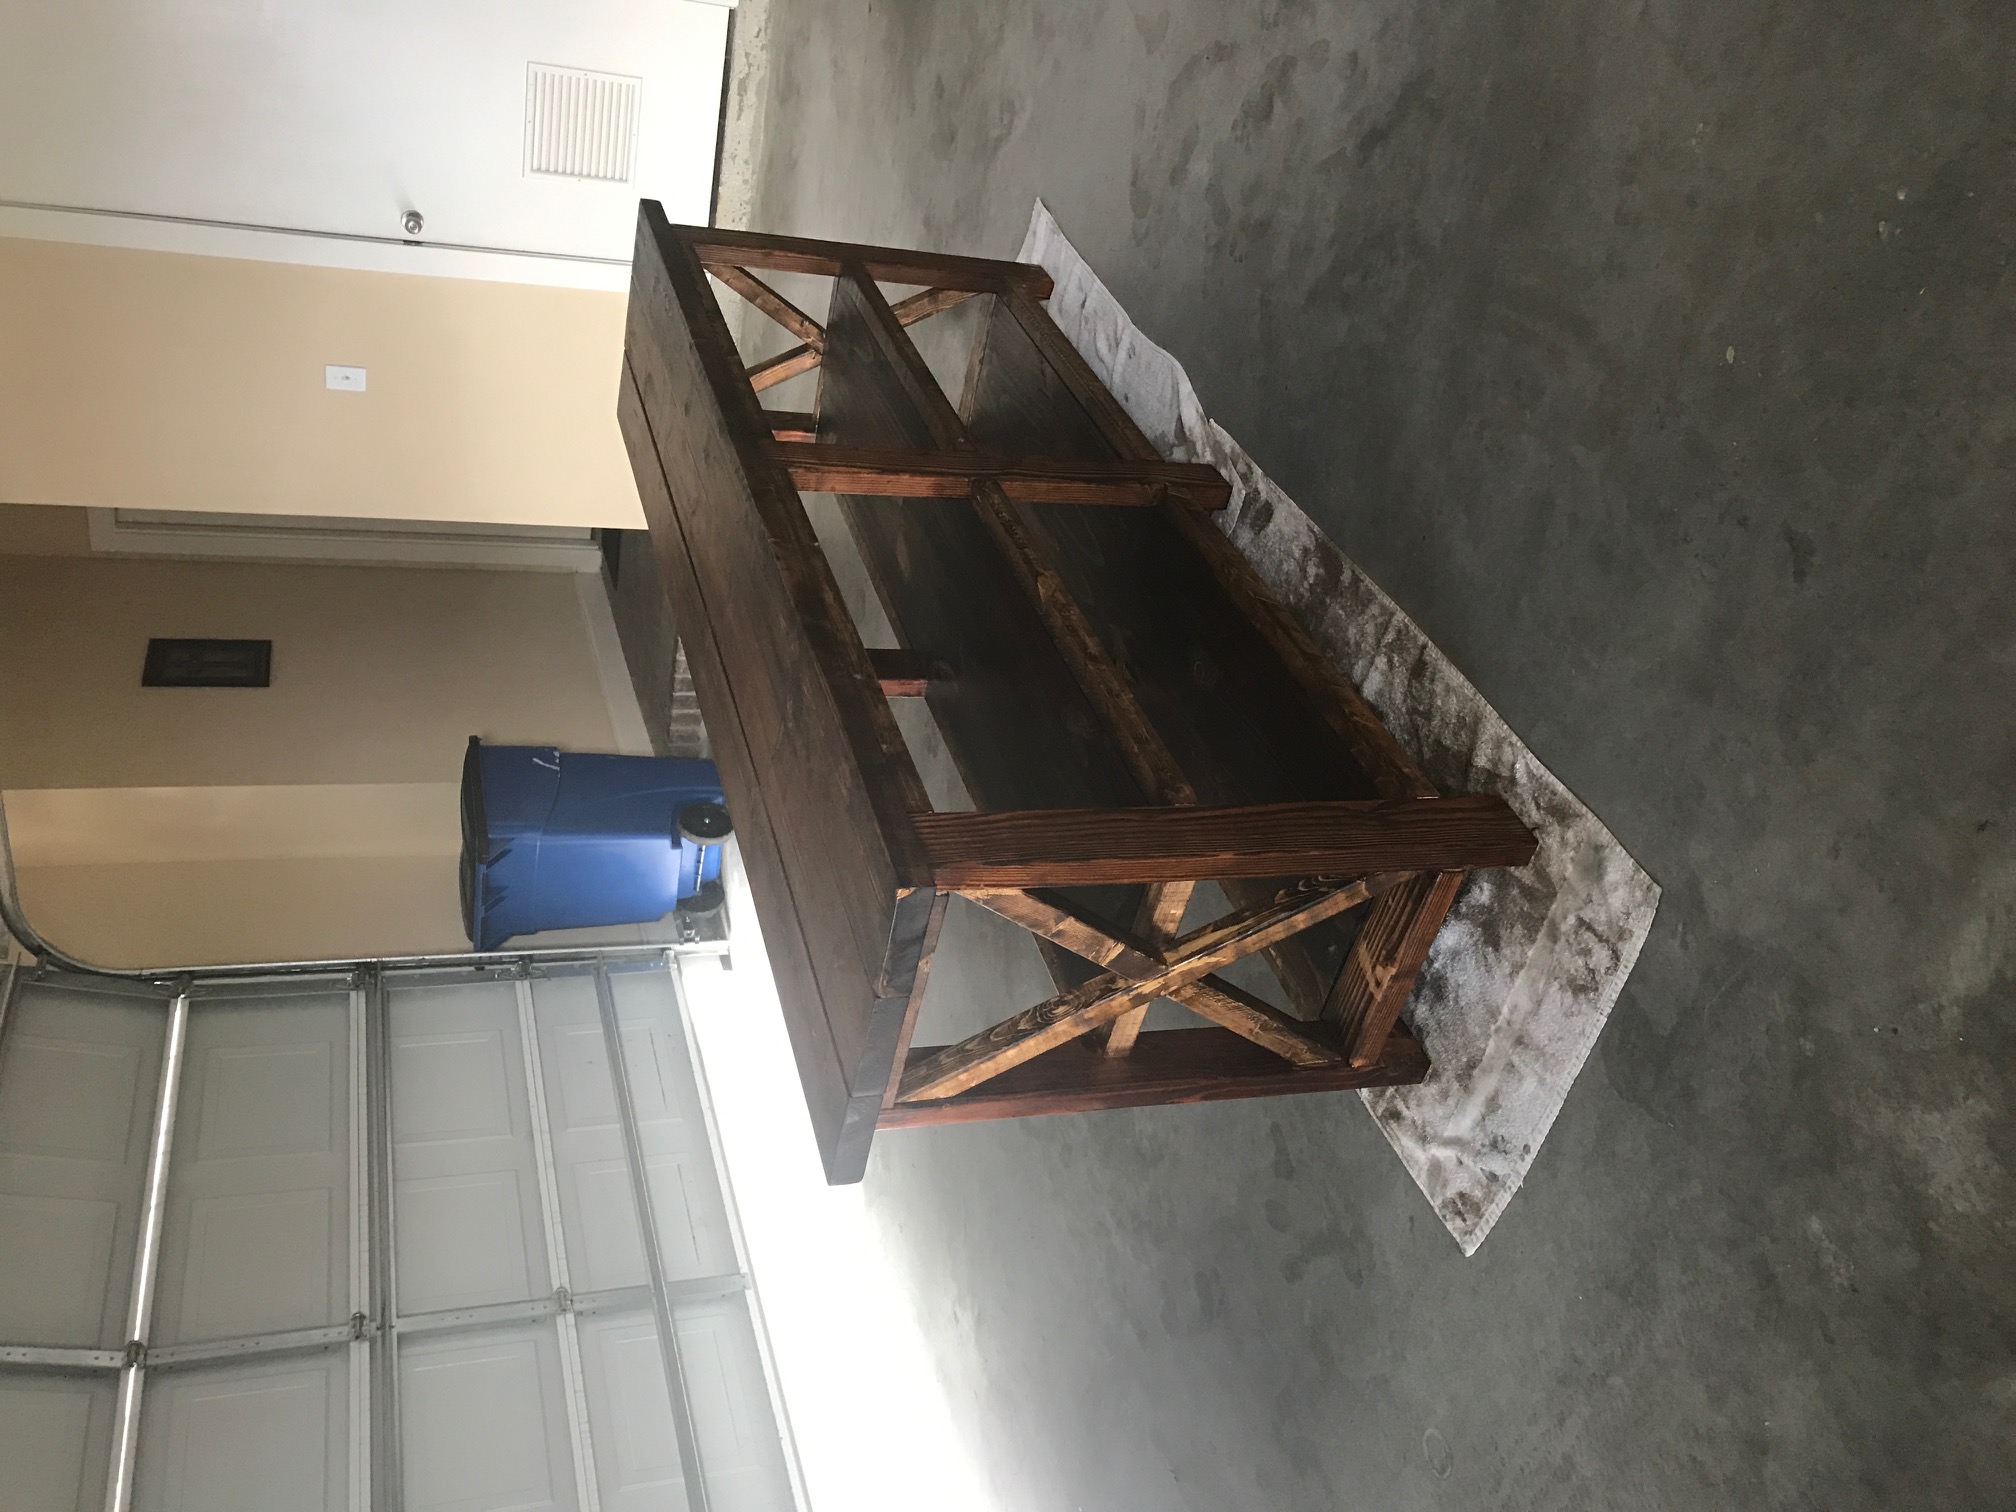
First Rustic X Console table build
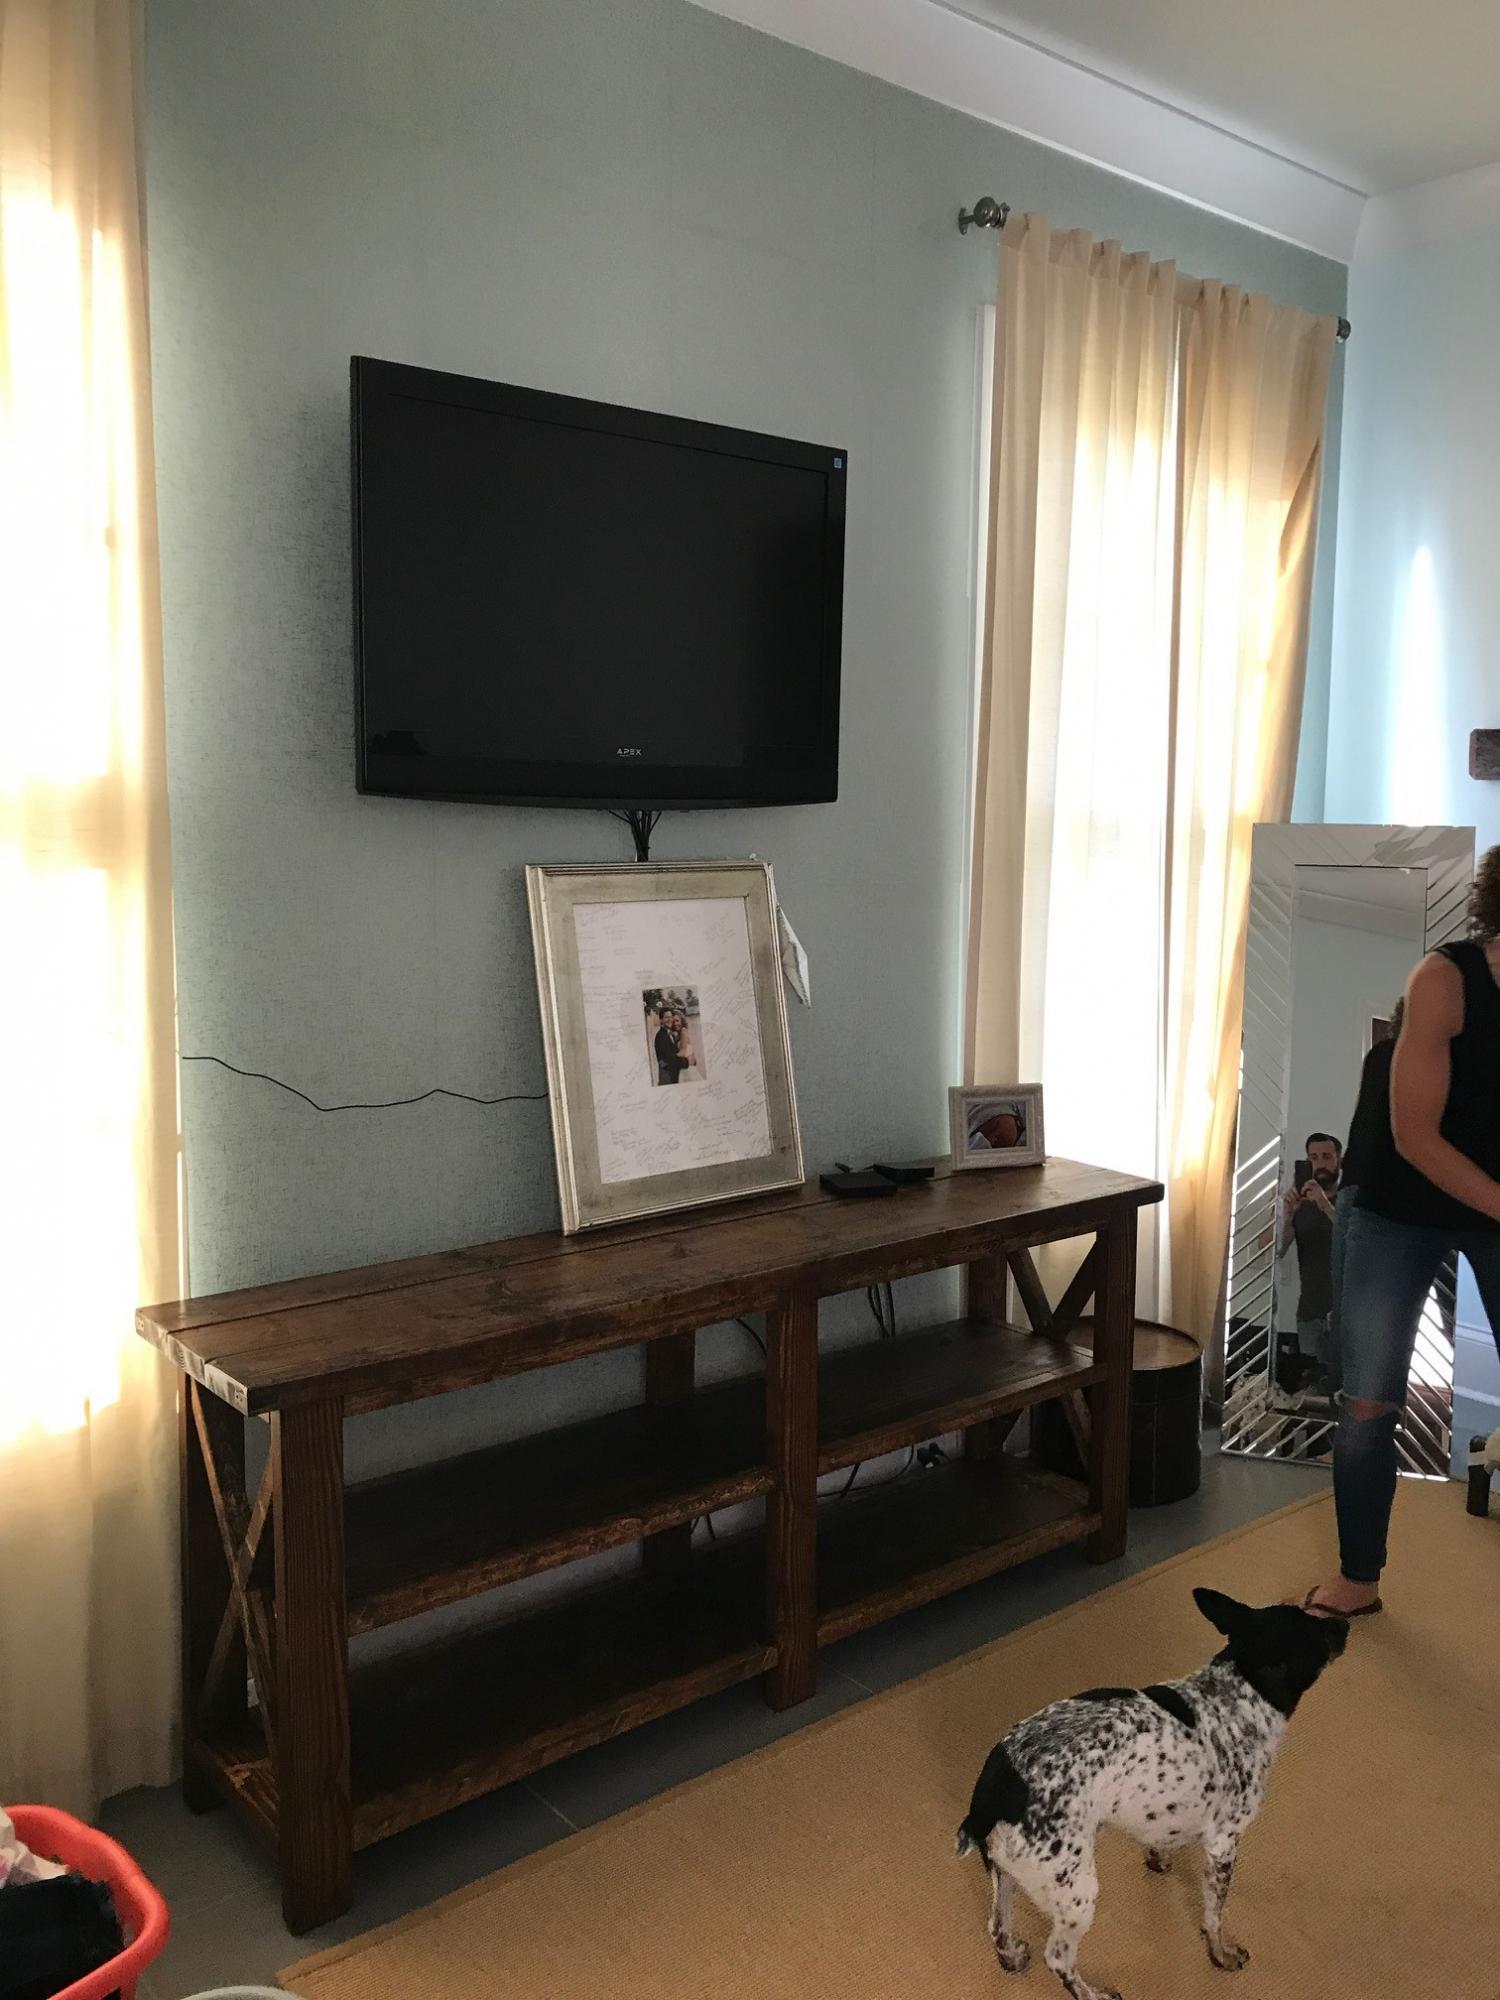
First stab at this table turned out so well a friend bought it off me and I had to build a second.
Built from Plan(s)
Estimated Cost
$100
Estimated Time Investment
Weekend Project (10-20 Hours)
Finish Used
Miniwax Provincial Stain and Polyurethane
Recommended Skill Level
Beginner
wood shed project

Dear Ana White,
I was looking for an inexpensive shed to build and saw your lean to. I love it and get many complements. Thanks for your site and what you do.
Comments
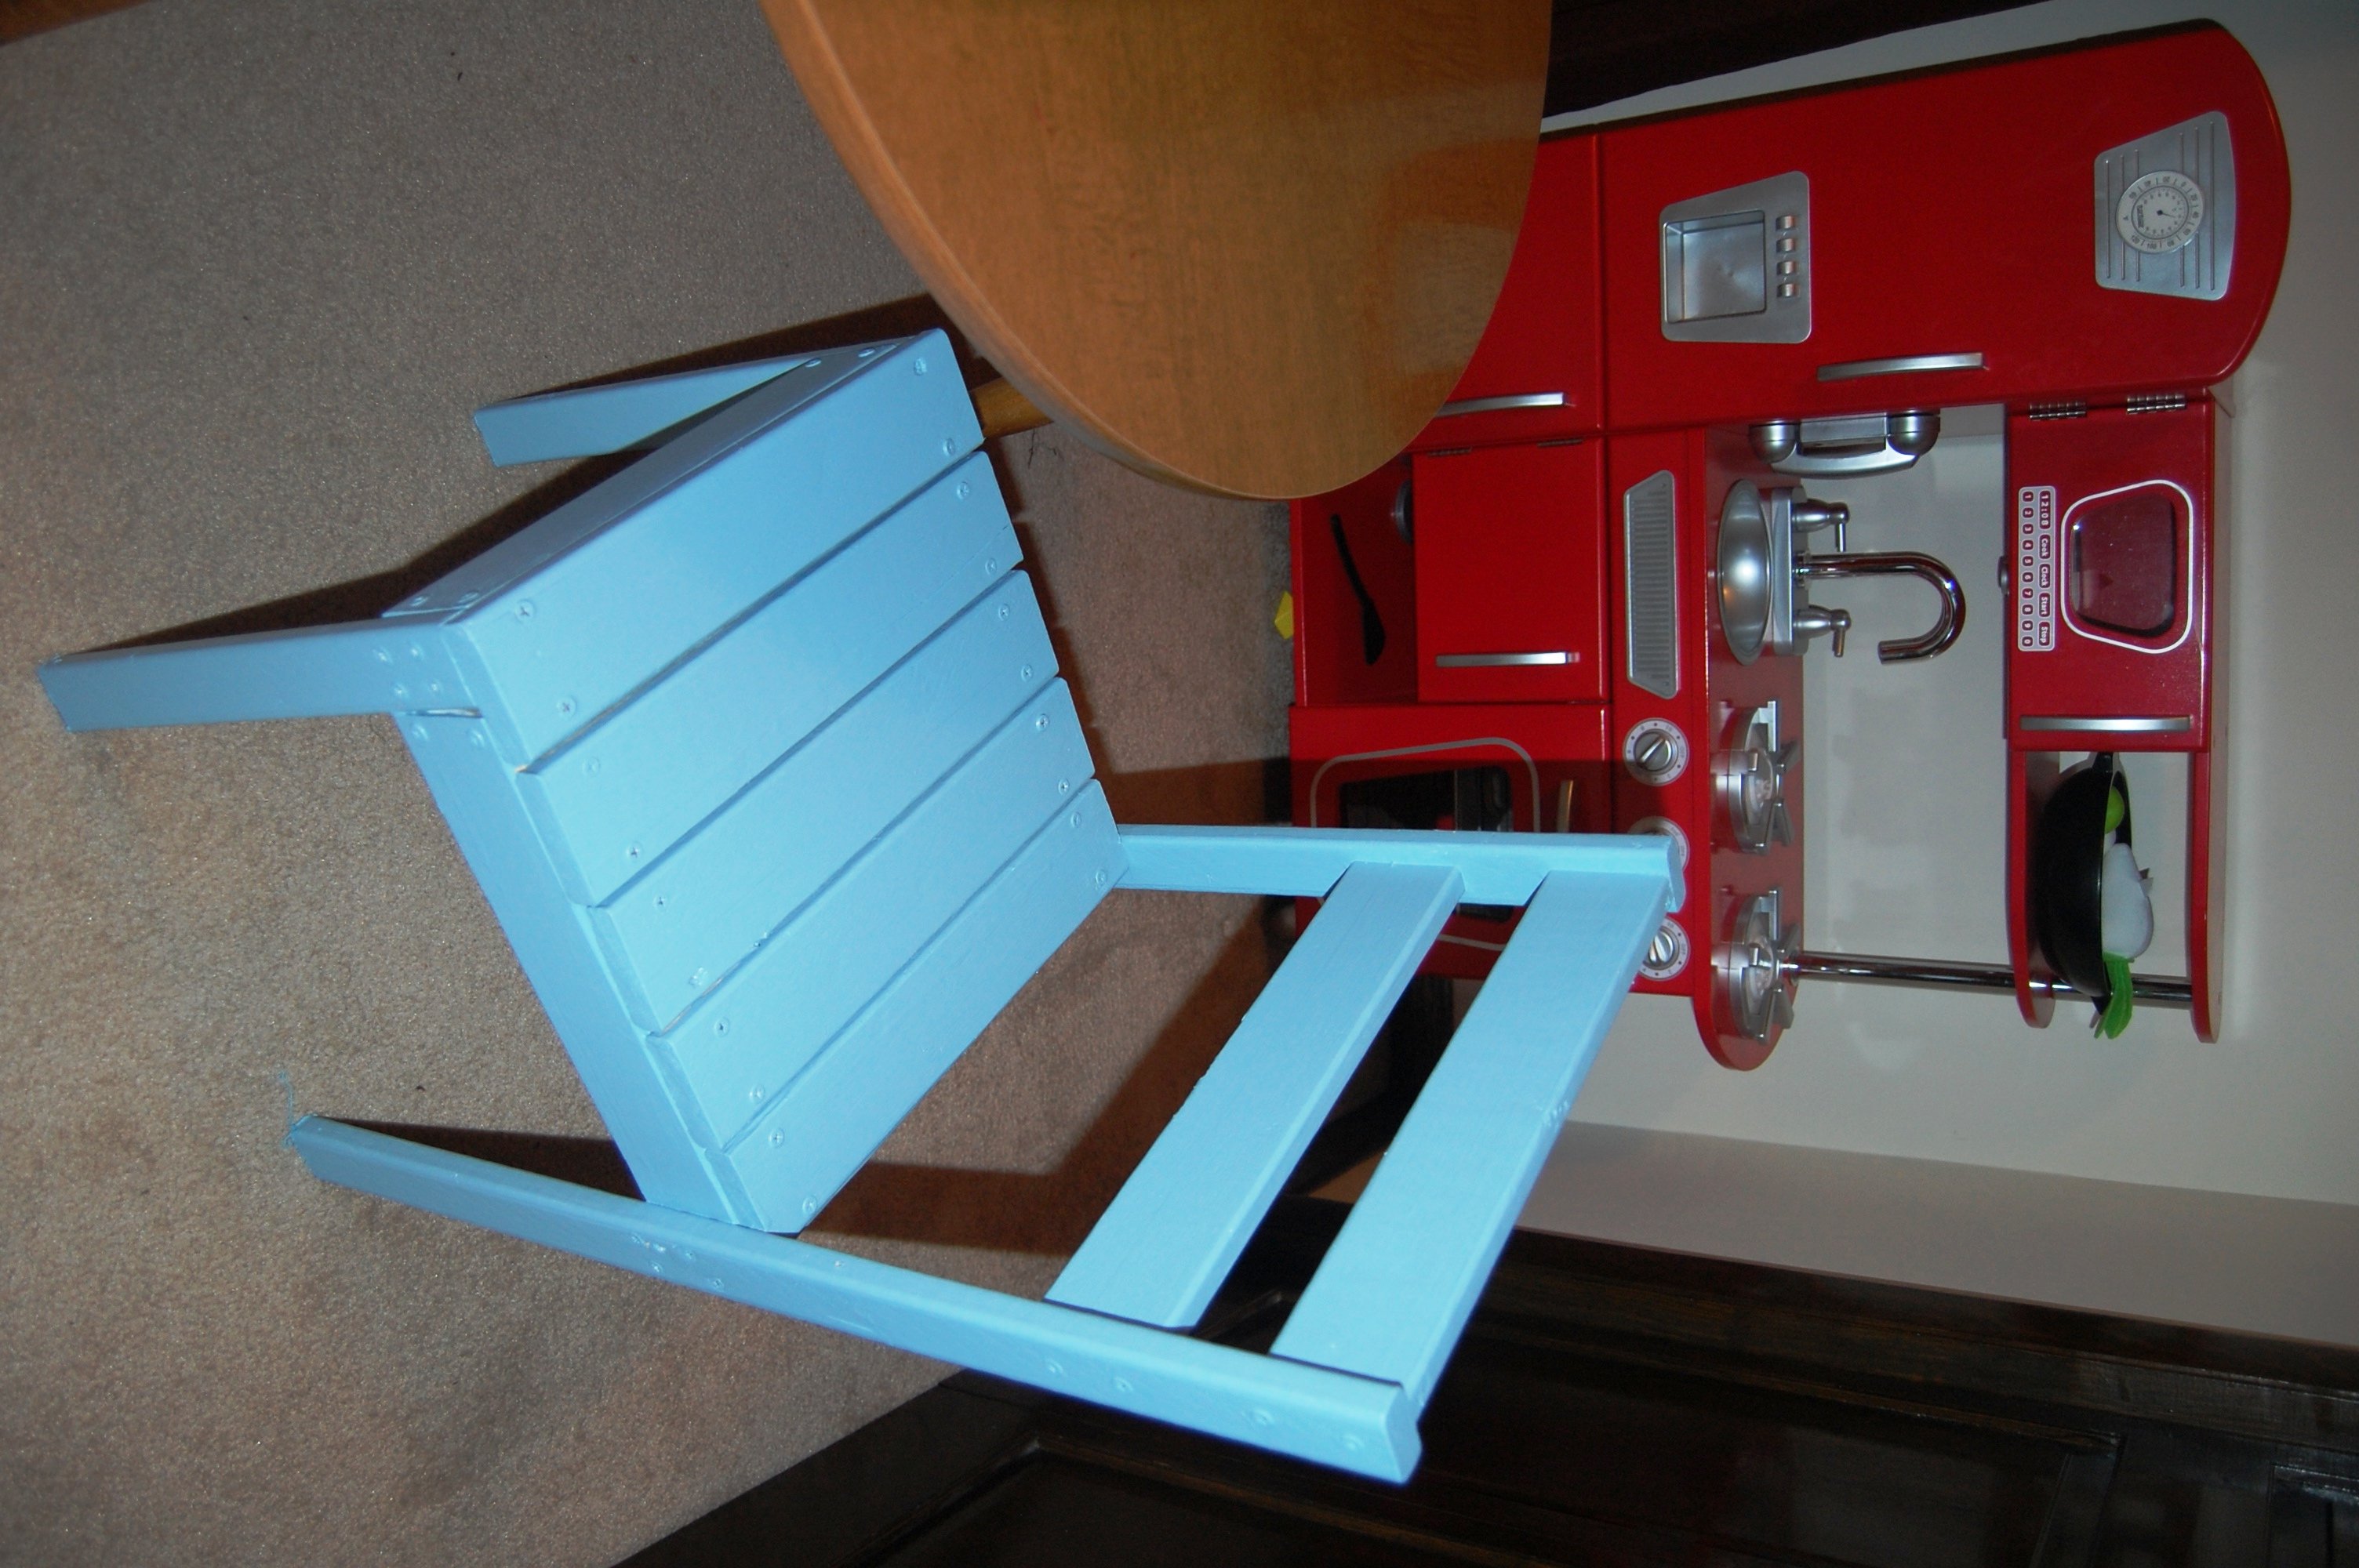
James' Play Kitchen Chair

James got a sweet retro kitchen set for Christmas from his grandma. CarpenterMama scored a kids kitchen table (pretty sure it's authentic retro) at Goodwill for $8. All that he needed was a chair to sit in, and Ana's Four Dollar Stackable Chair fit quite nicely!
This was CarpenterMama's very first building project, and she is as proud as punch that she made something with her own two hands, some wood & screws, and oops paint. James is ecstatic that it is blue and he can sit in it. :-)
Estimated Cost
$5
Estimated Time Investment
Afternoon Project (3-6 Hours)
Finish Used
2 coats of Kilz primer then 1 coat of Behr medium base interior eggshell paint (from the "oops section" of the big orange store--only $5 for the gallon)
Recommended Skill Level
Starter Project
sofa table
sofa table made from console plan, I just changed the measurements.
Built from Plan(s)
Estimated Cost
$30
Estimated Time Investment
An Hour or Two (0-2 Hours)
Recommended Skill Level
Starter Project
Comments

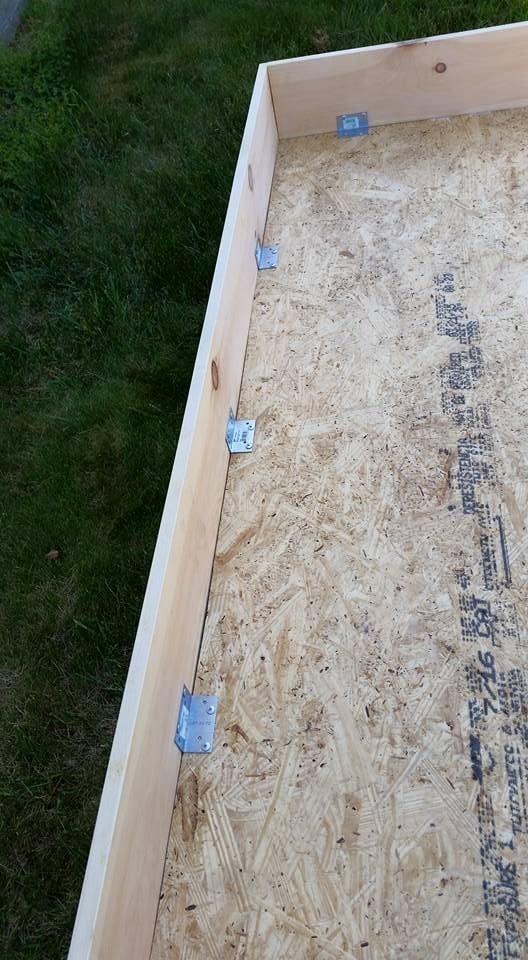
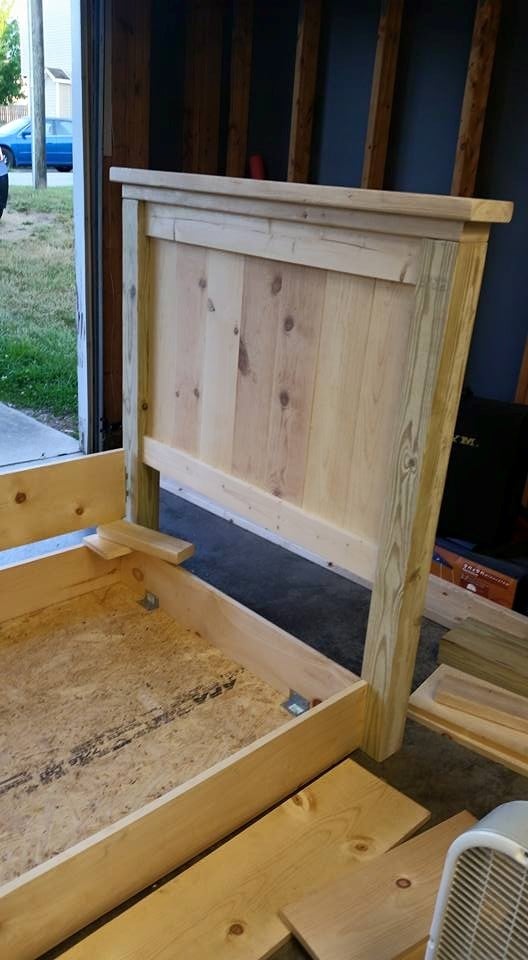
Twin Farmhouse Bed and Trundle
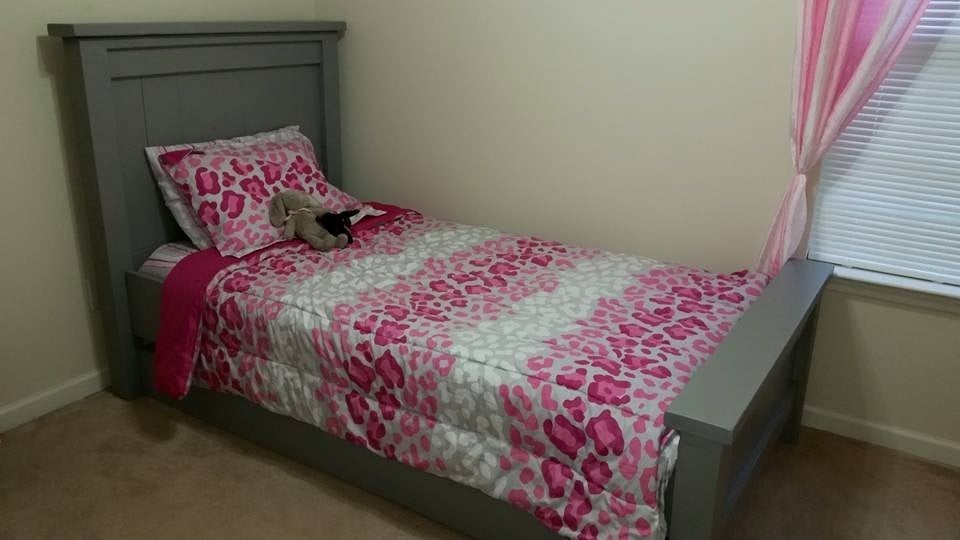
We built this over the course of a couple of weekends. I think the key thing was making sure my 1x6's were the correct width before we began to cut all the other boards. There was a lot of trimming after the fact making the overall width 1/2" shorter than the plans. Some adjustments made to the original plans were...
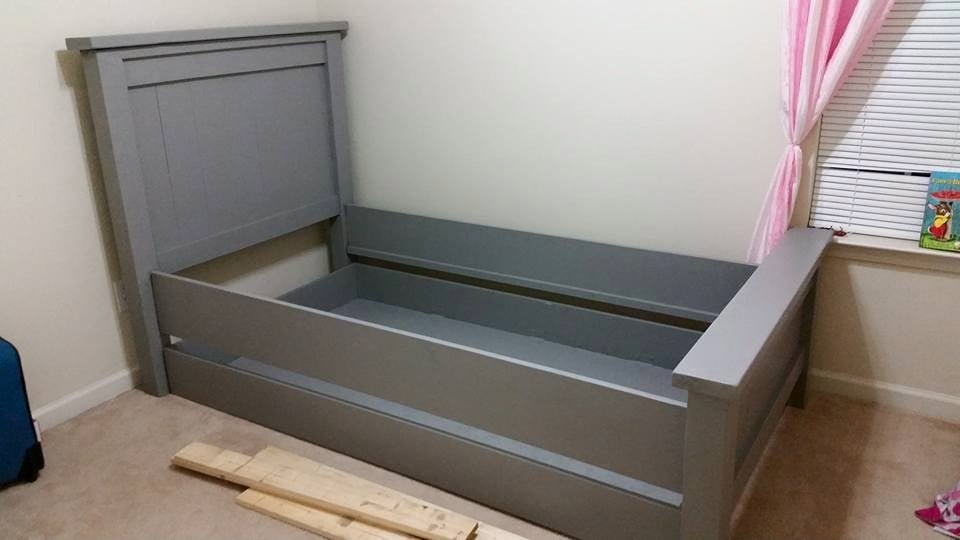
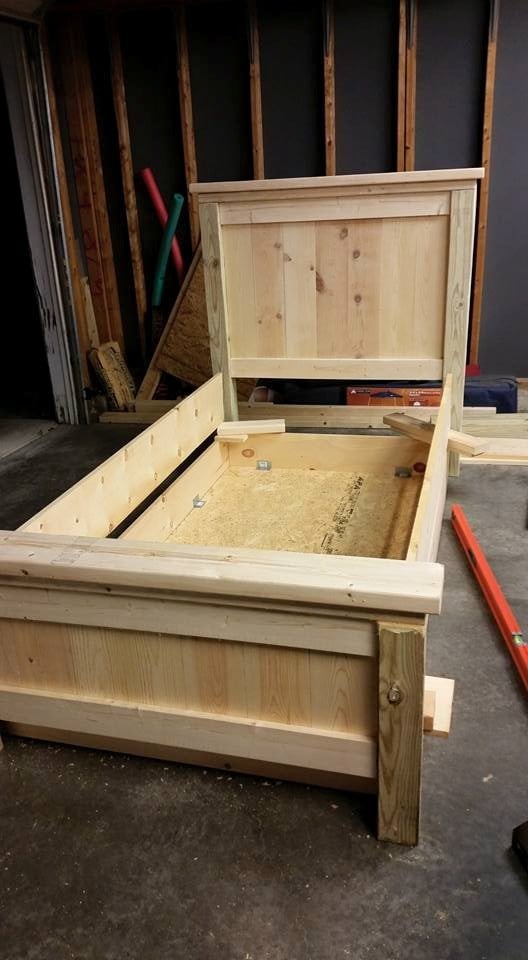
1) Using decking brackets to support the plywood to the 1x8s on the trundle (super easy way to secure it)
2) Purchased side rail brackets exactly like the ones here from my local woodworking shop.
This makes the bed easy to disassemble because although I swear I'll never move again I'm not building the bed into the room.
3) Instead of casters on the bottom we used those plastic furniture sliders. They were way cheaper and so slim. With the weight of the trundle wood and mattress they move flawlessly.
4) Since my daughter has a memory foam bed I was worried about sagging. We used small 1x? ripped in half along the inside of the side rails for a little lip and then 4 1x6's the width of the mattress to make supports and then laid plywood on top of that. 5) Cut down the headboard by 6.5" so that the mattress butted up against it.
Me personally I hate when there is a gap there for pillows to fall down in the middle of the night.
Built from Plan(s)
Estimated Cost
$200
Estimated Time Investment
Week Long Project (20 Hours or More)
Finish Used
Behr paint and primer in one. Color: Annoyamous
http://www.behr.com/consumer/ColorDetailView/780F-5
http://www.behr.com/consumer/ColorDetailView/780F-5
Recommended Skill Level
Intermediate
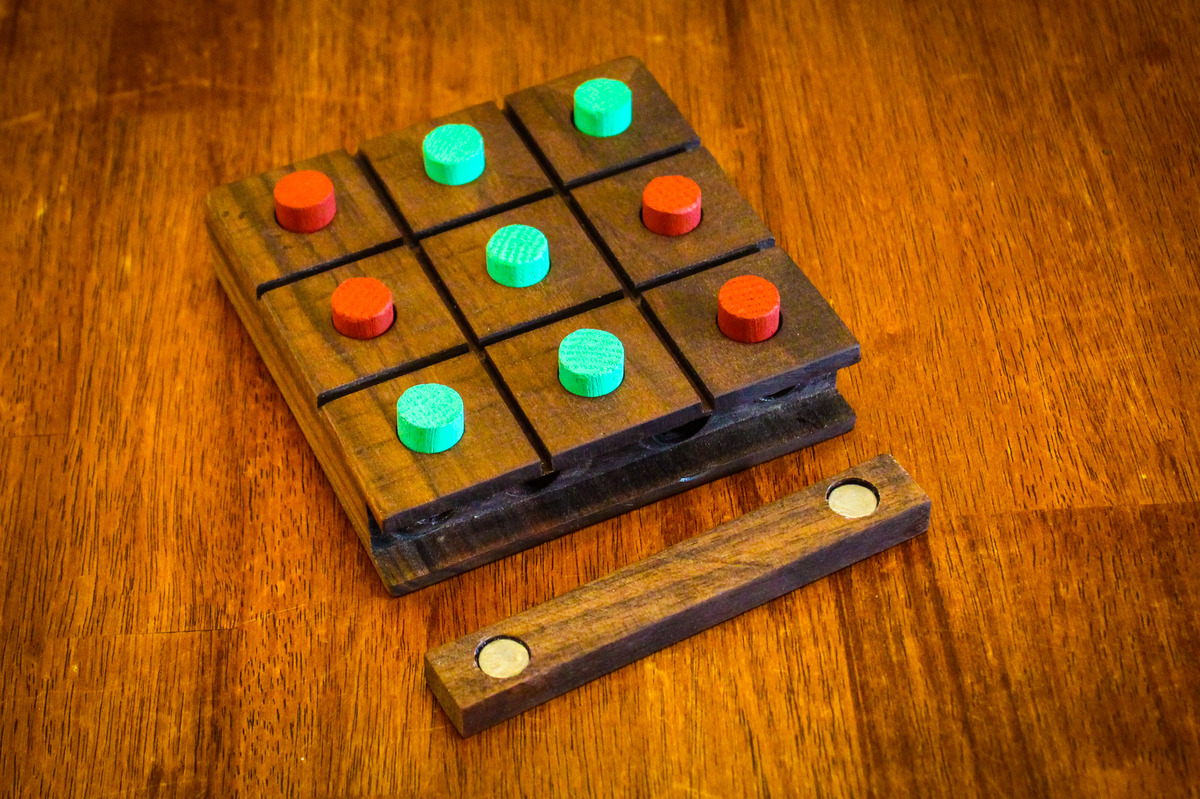
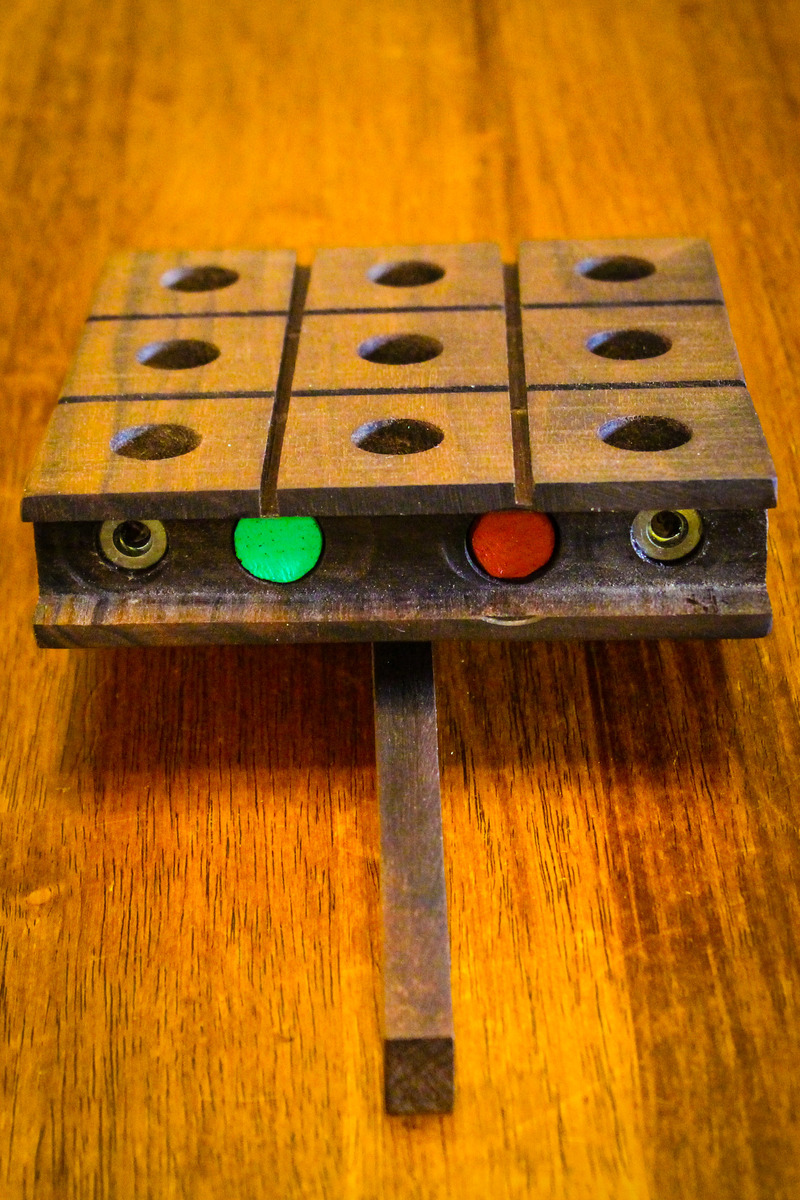
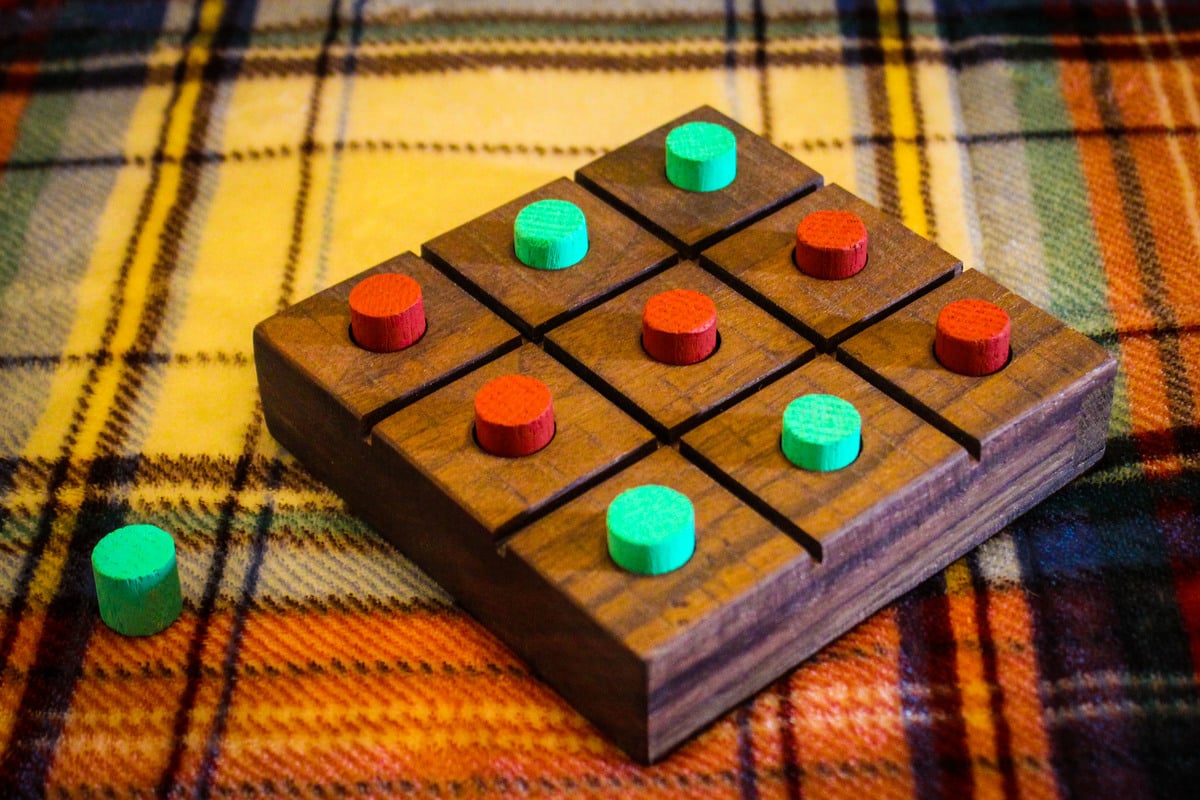
Wood Tic Tac Toe Board
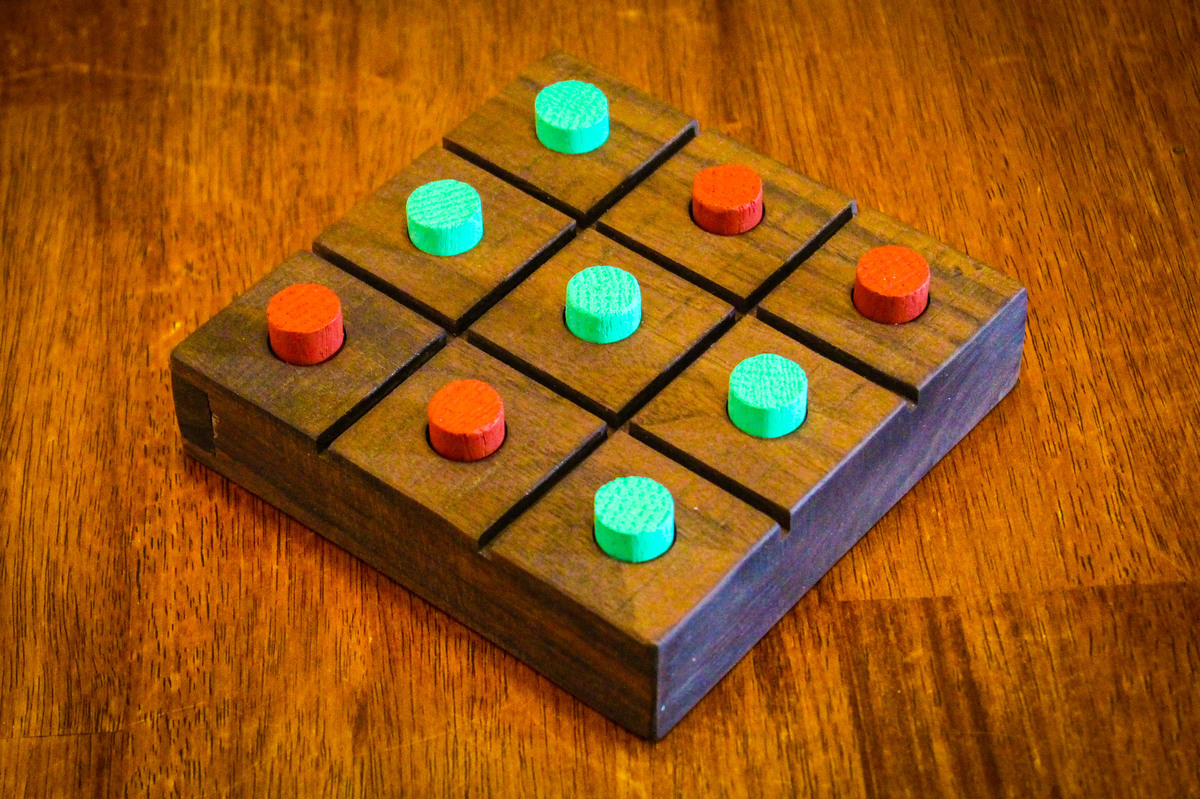
This is a pretty easy project and makes a nice holiday gift. This version was made from a scrap piece of hardwood and a 5/8" dowel. As an extra touch, I added a compartment inside the board to store the pieces. The compartment panel is held on with magnets for a clean look.
The quick video shows how the compartment works.

Estimated Time Investment
Afternoon Project (3-6 Hours)
Finish Used
Oil
Recommended Skill Level
Beginner
Christmas Tree Shelf
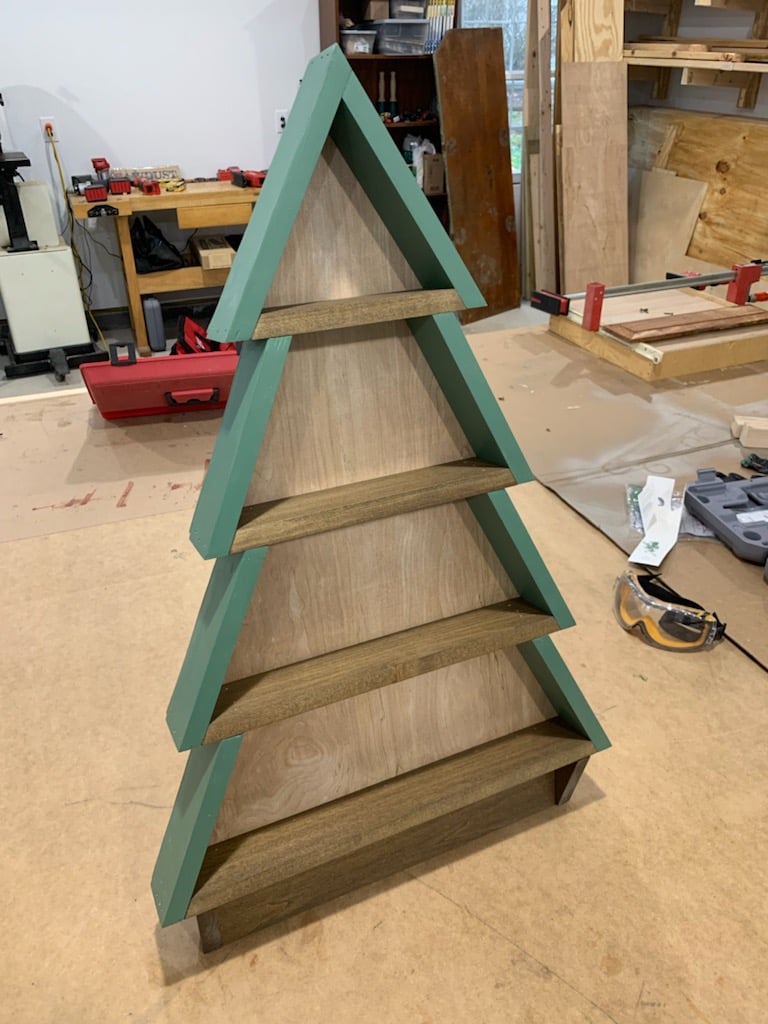
I painted the outside with Benjamin Moore Balsam color paint (as another poster on here did) and stained the interior pine with walnut stain. I tried making it resemble a pine tree. I wanted to make it as sturdy as possible, so I used 1/4 inch plywood backing for the entire back, and secured it with 1 inch brad nails. I painted the edges of the plywood green and left the middle unfinished because I liked the look.
Built from Plan(s)
Comments
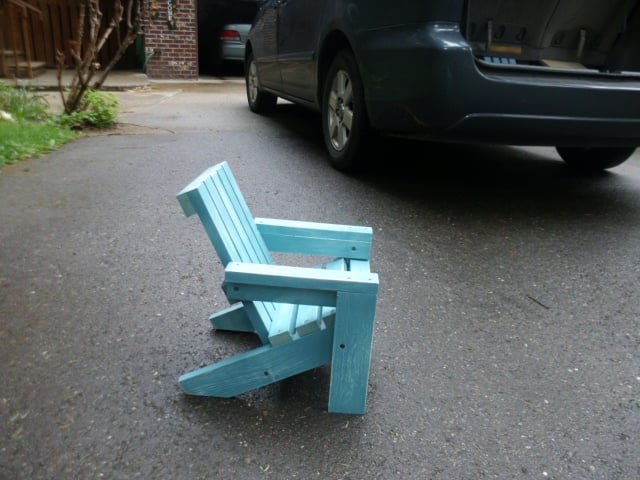
Doll furniture
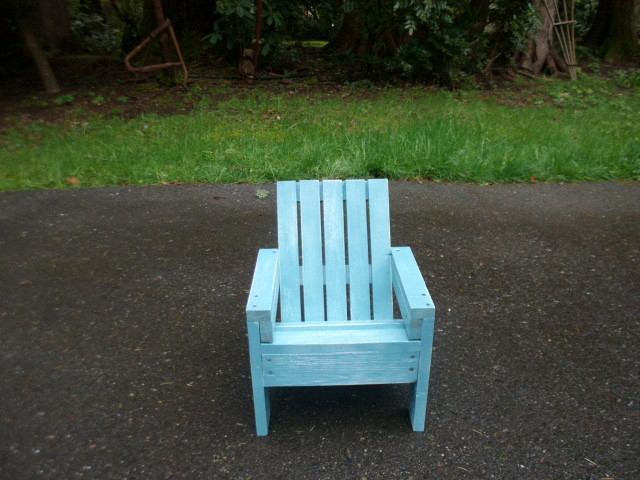
My husband made this chair in about 30 minutes. It was are first project from this sight. So easy and my niece loved it!! I painted he cut! what a team
Built from Plan(s)
Estimated Cost
4.00
Estimated Time Investment
An Hour or Two (0-2 Hours)
Finish Used
spray primer and teal spray paint then distressed with sand paper
Recommended Skill Level
Beginner
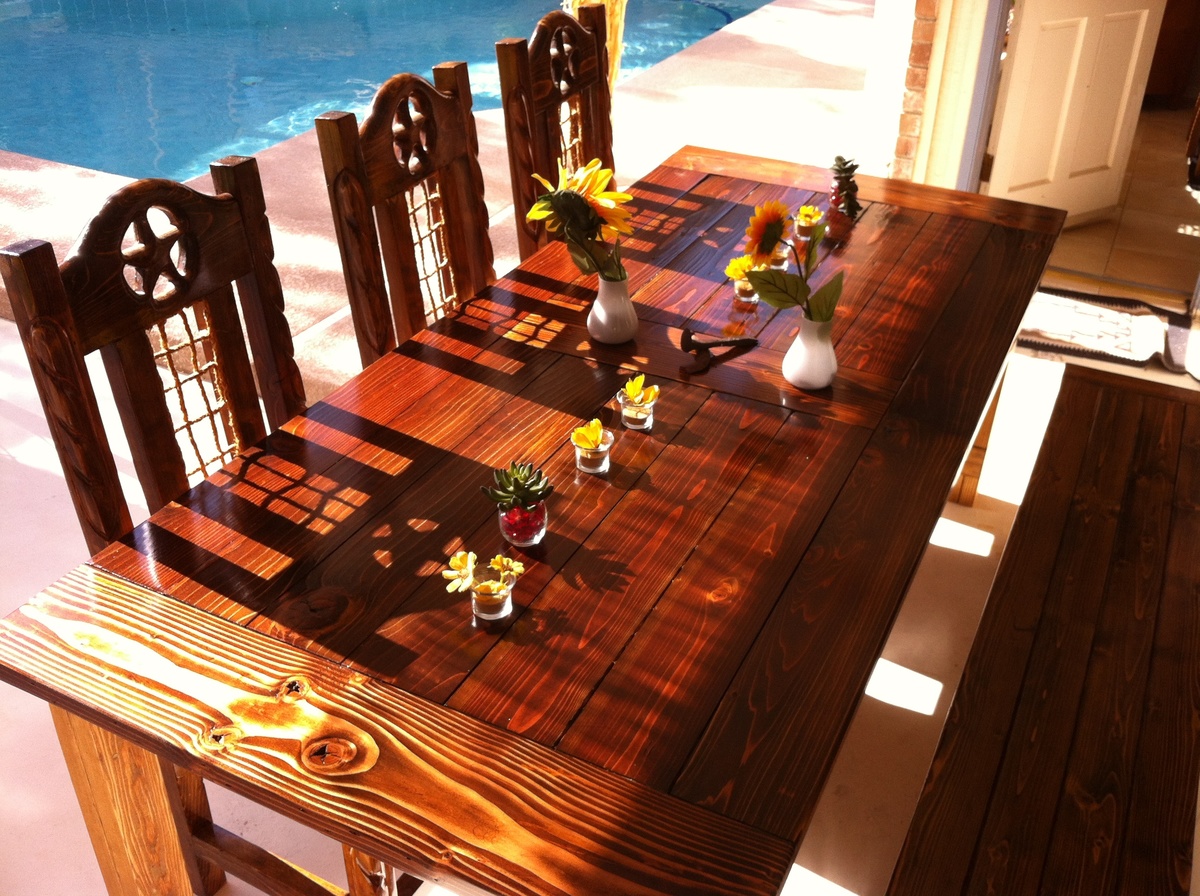
Farmhouse Table

This was my first Wood Project - EVER.
Working with this plan was quite easy. I just changed the design of the table top to my wife´s wish. I used "Golden Oak Stain" for the Legs and "Provincial Stain" for the Table top and Bench. The Legs are covered with Water seal and the Tops with 3 layers of Polyurethane. Chairs are Stained in Provincial also. Was a lot of fun for all of us. Learned a lot during this build.
Thanks


Built from Plan(s)
Estimated Cost
300 $ for all together
Estimated Time Investment
Week Long Project (20 Hours or More)
Finish Used
Minwax Stains
Polyurethane
Polyurethane
Recommended Skill Level
Starter Project
Comments

Mon, 07/01/2013 - 21:10
The Chairs
Thanks for the nice comments. I bought the Chairs at a local Mexican Furniture Shop, sanded them, Stained them to fit the Table Top and put 3 layers Polyurethane on it... Came Out nice.
Thanks Alain.
Jann