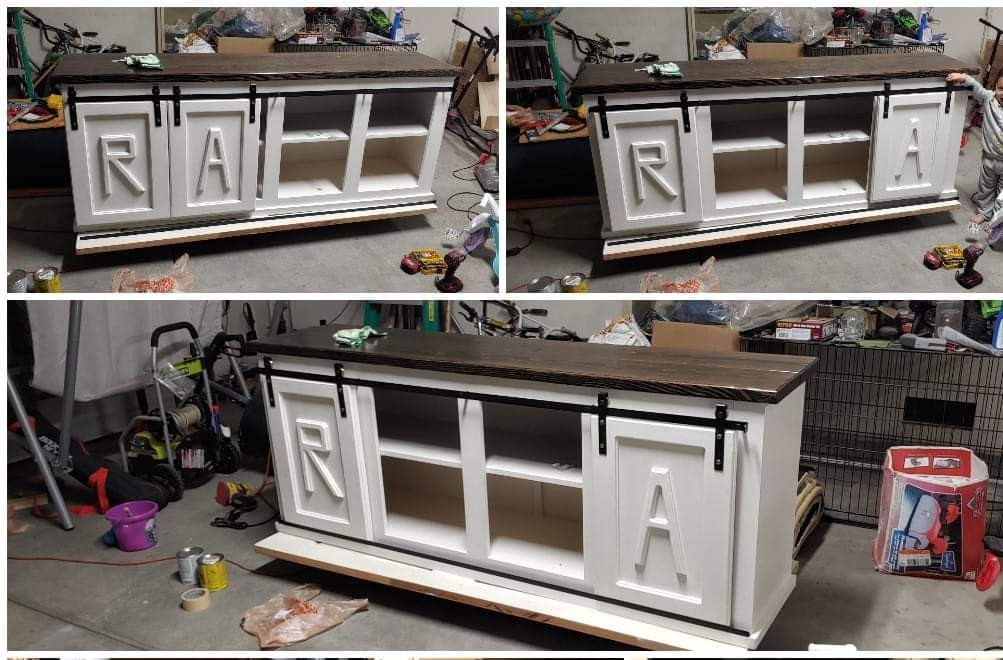
Community Brag Posts

Corner Cabinet

Submitted by Chuck1522 on Mon, 01/13/2014 - 10:32

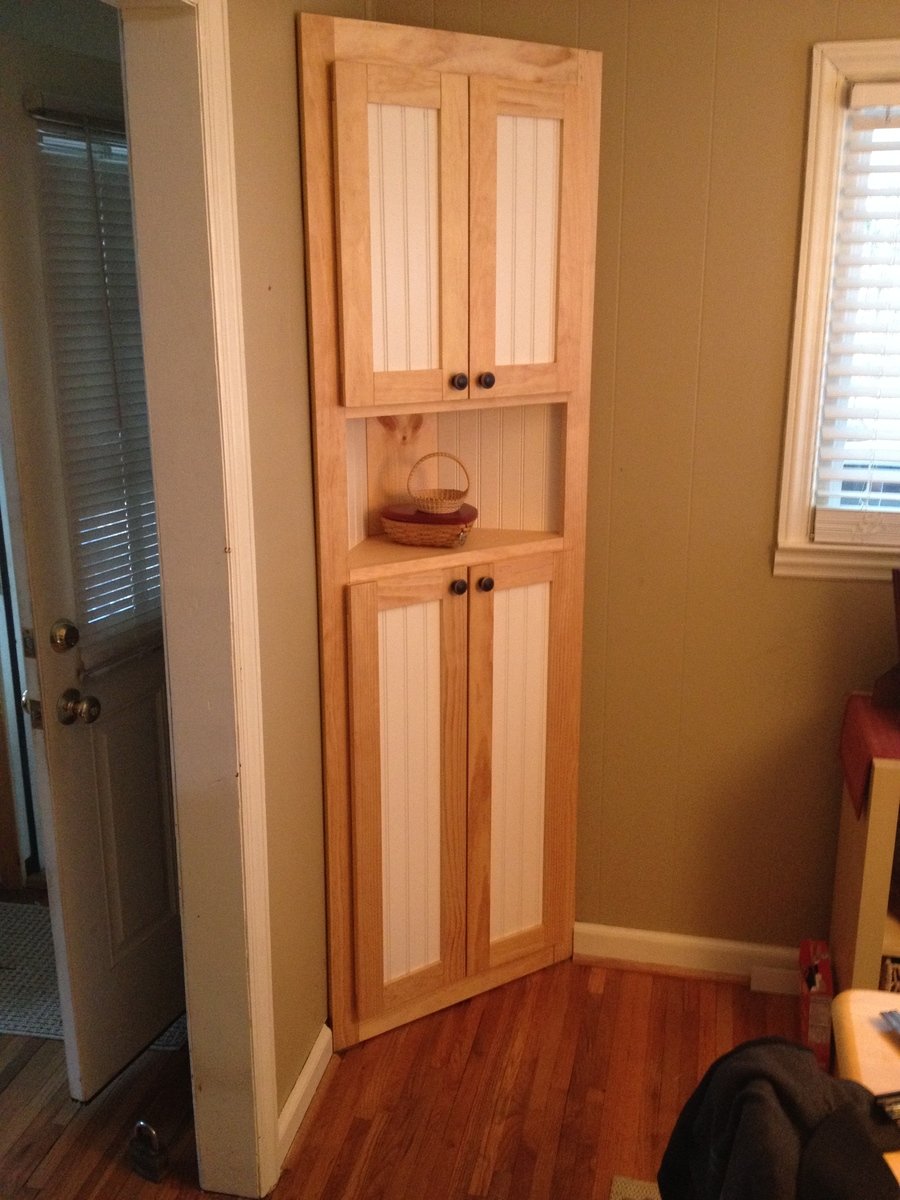
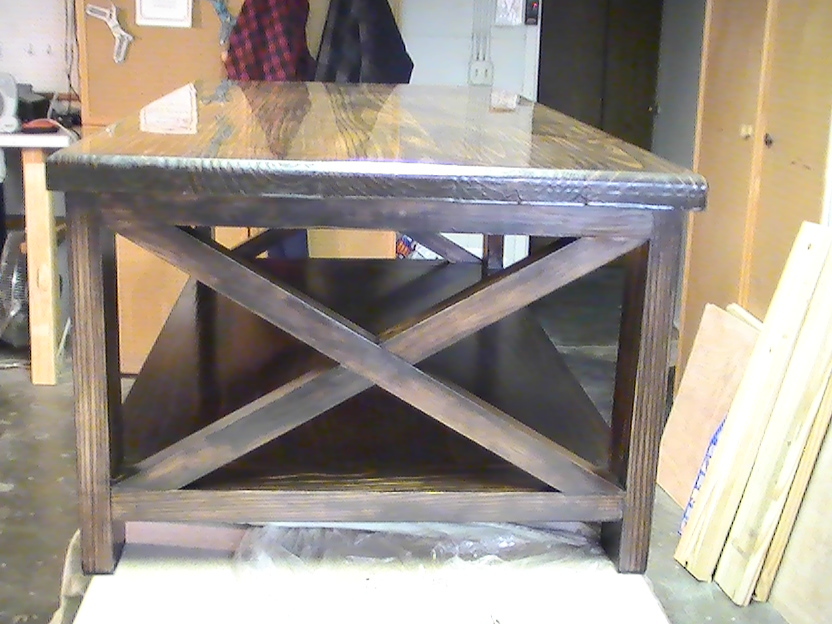
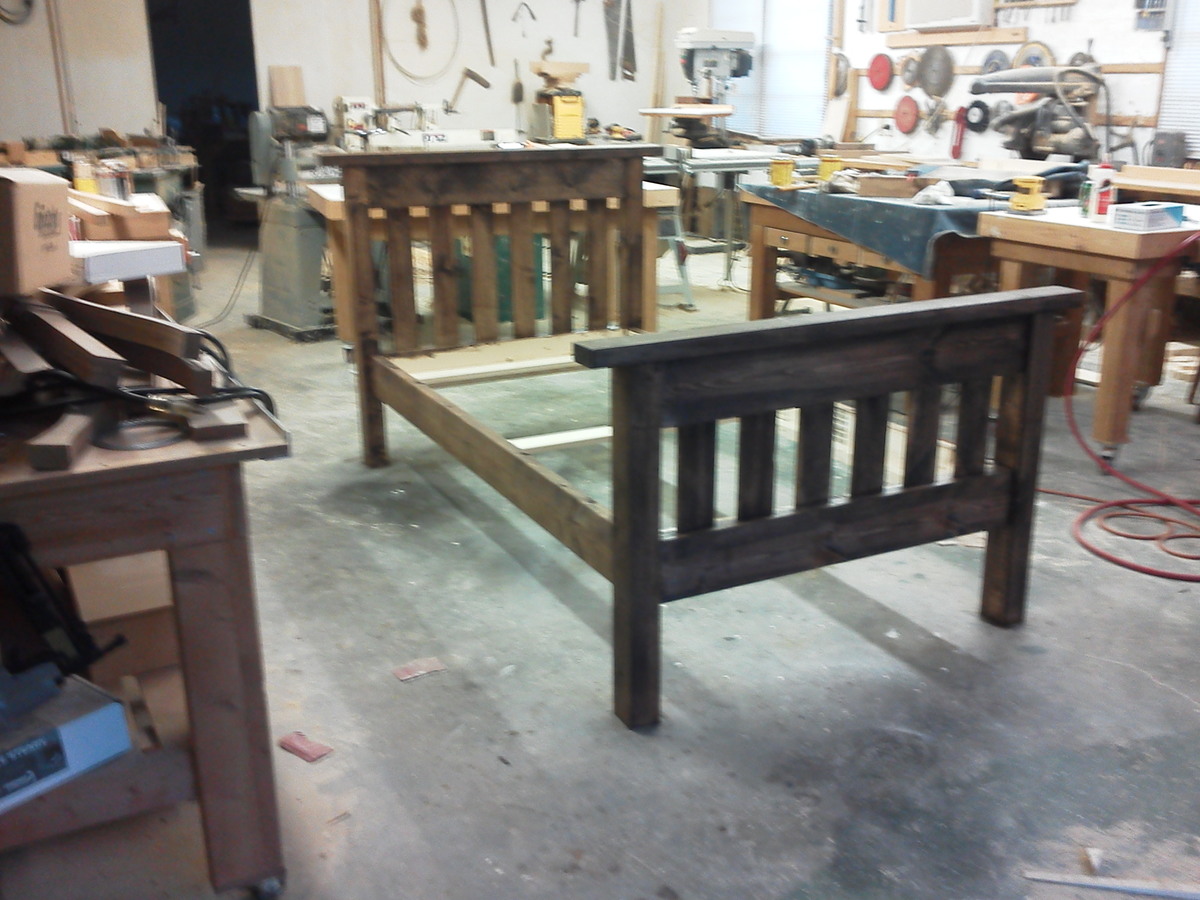
This was a corner cabinet I made. The purpose of this cabinet is to be used as a pantry. My kitchen is quite small, and in turn I was always having to sacrifice cabinet space for pantry items. Total man hours was about 20 give or take the occasional trip to HD or Lowes.

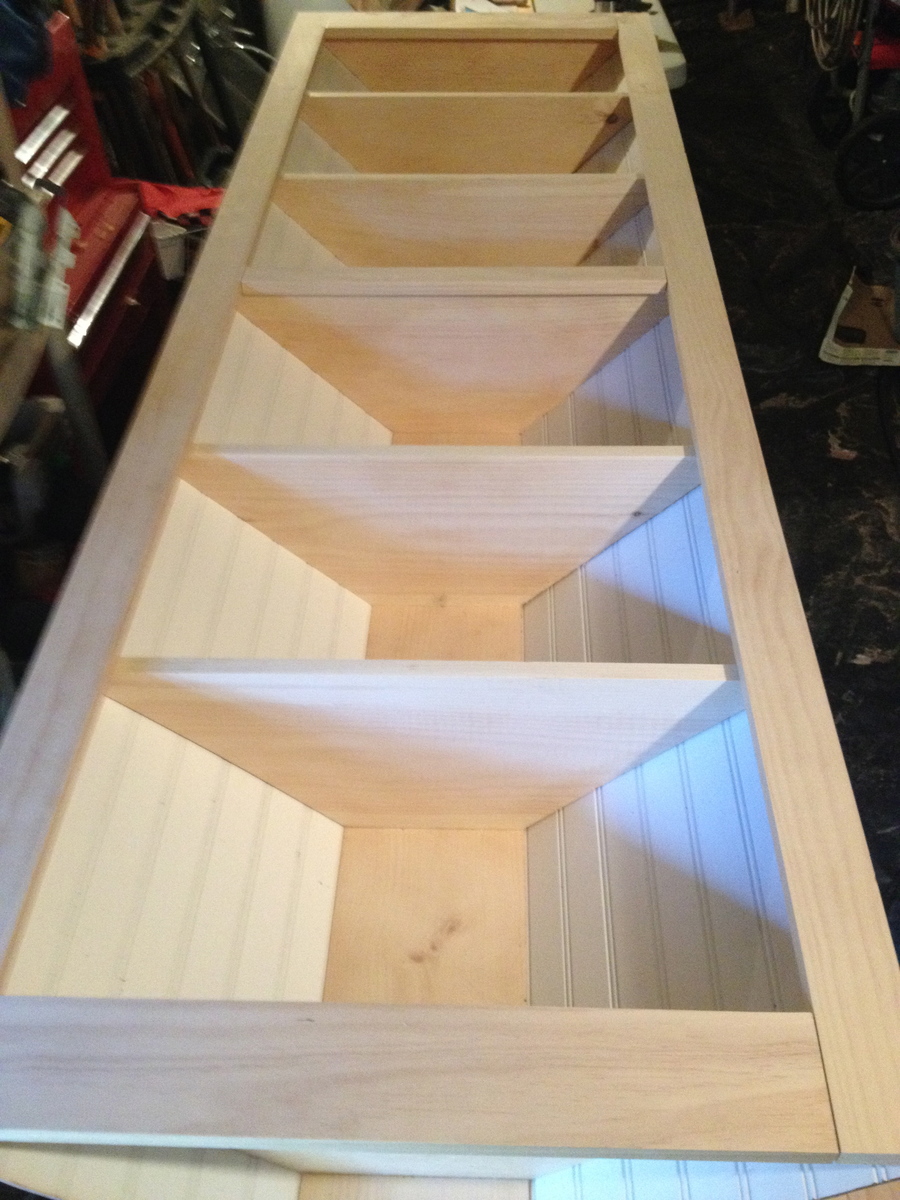
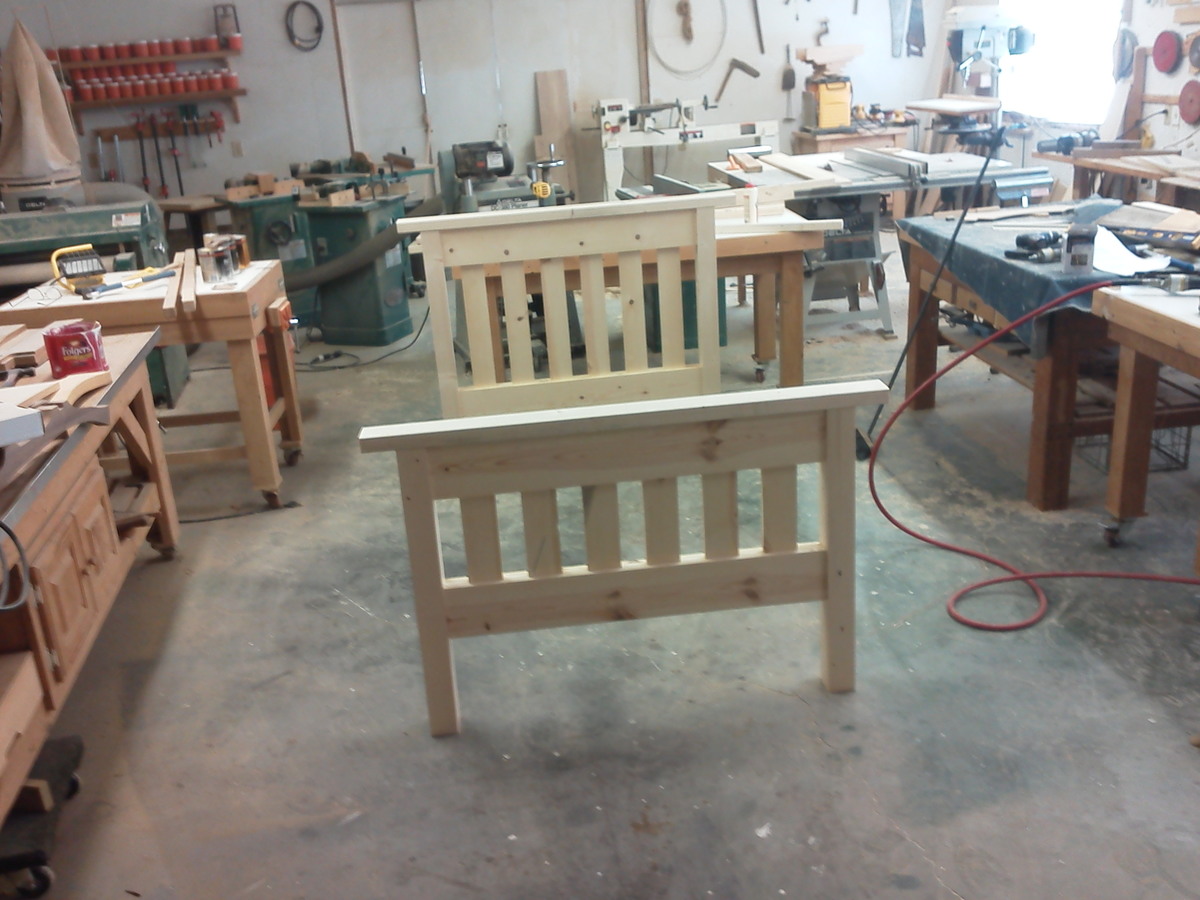
I found this project quite enjoyable. I don't have much of a workshop area so space was tight. I had to constantly move my tools around to make room for the cabinet while I built it.

The plans supplied by this website were simple and straight-forward. I didn't need any specialty tools or have to use any weird joinery. All in all I would give this project an 8 out of 10. There were a couple of areas I feel I can improve on.

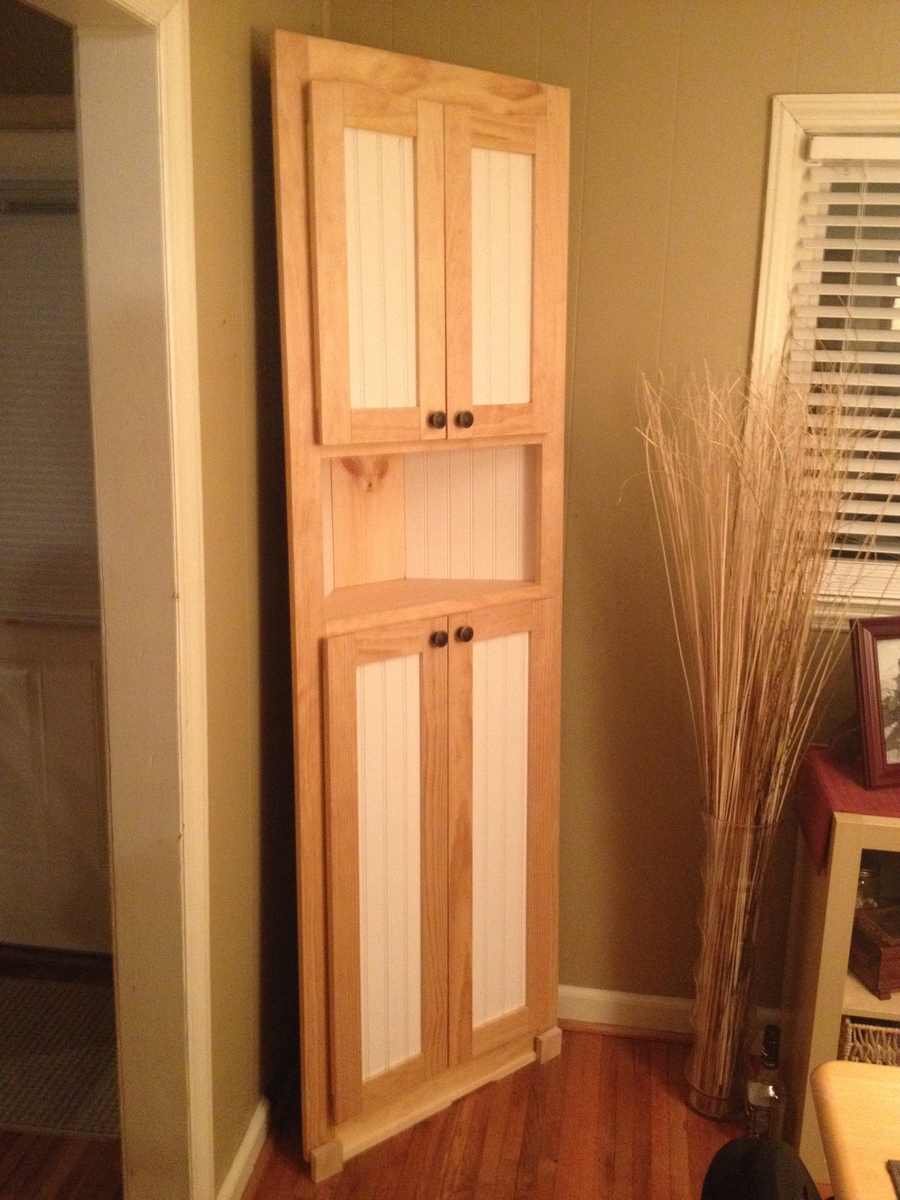
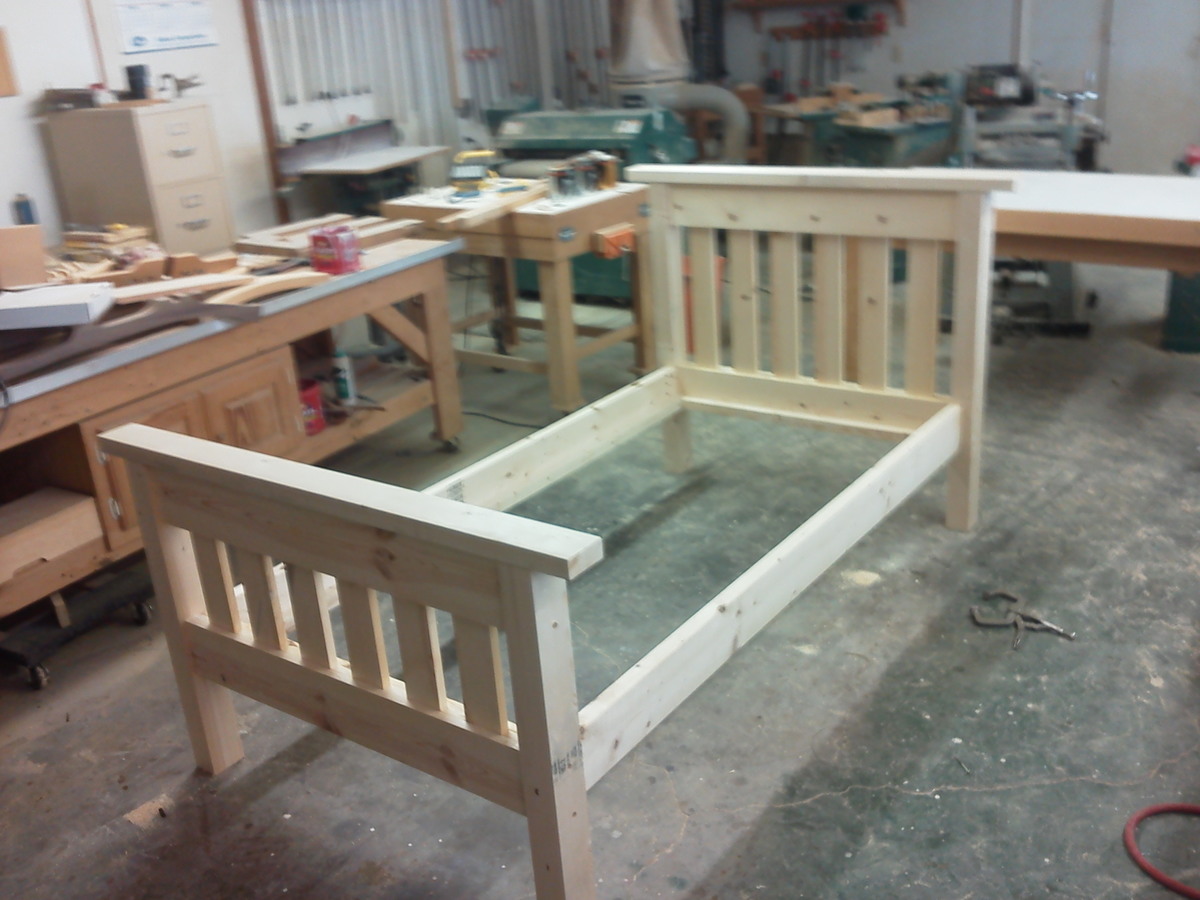
After having posted this picture on several social media sites my friends took notice, Now I'm getting all kinds of requests. Not sure if I will entertain any. It's just nice to see a vision come to life.

Thanks for the taking a gander at my work.

Built from Plan(s)
Estimated Time Investment
Weekend Project (10-20 Hours)
Finish Used
Following the instruction on the bottle. I first applied three coats of wipe-on Teak Oil finish (Found at your local HD or big box retailer). Sanding with 220 between each coat. After all those coats were dry, about 72 hours, I applied two coats of wipe-on Polyurethane (again, found at your local HD). Before applying the last coat of wipe-on Poly I lightly rubbed the surface down with 0000 steel wool. This rubbing was done again after the last coat of wipe-on Poly was applied. I really feel this set the piece off and made it that much better. Be advised...I also used a tack cloth to remove any dust and debris between each coat of finish applied.
Recommended Skill Level
Intermediate

Comments

Jake

Mon, 01/13/2014 - 15:50

I also built a corner cabinet from the same plans and yours is by far the best. You obviously have the patience it takes to get the best out of your project. Looking for more from you.

Ill Just Paint It

Tue, 04/08/2014 - 18:33

Thank you so much for your vision! I've been looking for the perfect corner cabinet for at least a year! All the other plans within these plans are ok and would've worked, but I just felt like I wanted something more. I am in love with your doors! They look great! I may make mine a bit larger, but will most definitely add doors the same way you did. Unfortunately, it's not on the top of my priority list, but it will be this summer!!! Great work!

Rachel
www.illjustpaintit.com

balloongal247

Wed, 04/09/2014 - 06:30

This cabinet is beautiful! I love the natural wood look, and I too think the doors looks great.

Kitchen Island from reclaimed wood!

Submitted by Anonymous (not verified) on Tue, 04/05/2016 - 12:18

I found these plans and modified the dimensions to work in my space. The top is solid birch, and the legs are cedar 4x4s I found in a shed on my property. The side skirts rear skirt, shelf supports, and drawer fronts are solid walnut I have had laying around for years. The face frame was a door jam in my house made from solid mahogany. It came out nice, especially since it's my first time building anything like this! Thanks for the plans! 

Built from Plan(s)
Estimated Cost
$200
Estimated Time Investment
Weekend Project (10-20 Hours)
Finish Used
Mineral oil and beeswax
Recommended Skill Level
Intermediate

Barn Door Console

Submitted by Robdre05 on Thu, 12/12/2019 - 17:43

Needed a entertainment console to fit under my tv. Built this Barn Door Console project. Measured approximately 84" W and approximately 36" H. 

Sanded, painted and stained the top piece.

Hardware I made from 1/8" thick flat uluminum bar and pulleys. Did a little research and helped a lot.

Built from Plan(s)
Estimated Cost
$200-230
Estimated Time Investment
Weekend Project (10-20 Hours)
Recommended Skill Level
Intermediate

Nursery Book Ledges

Submitted by Anonymous (not verified) on Tue, 08/15/2023 - 14:59

Nursery photo ledges. Shortened the shelf depth using a 1 x 2 instead of a 1 x 3.

Built from Plan(s)

Comments

nifof17547

Mon, 04/08/2024 - 01:07

I love the idea of book cornices for the nursery! Reducing the depth of the shelves is a smart modification that makes them more suitable for children's books. It is very important to customize the furniture so that it perfectly suits your needs. Using 1 x 2 instead of 1 x 3 will give you a more customized solution. Books are a storehouse of knowledge! Speaking of knowledge, for students looking to adapt their learning process, platforms like Edubirdie https://essays.edubirdie.com/assignment-help offer reliable assignment help services. Edubirdie can help you tailor your academic assignments to your specific requirements. It's all about finding the right option for your needs, whether it's organizing children's books or tackling academic assignments. Great job on the customization!

LuckyGirl

Mon, 05/06/2024 - 14:40

A very cool ledges for books, especially useful for those who like to read like me. Moreover, I dream of writing a book myself. For this I must develop strong writing skills, often refined through literature review tasks. Yet, these assignments very complex for me. I prefer turning to professionals https://literaturereviewwritingservice.com/ for help. It provides students with the help needed to succeed in crafting compelling writing papers.

Doll Crib

Submitted by Mandi on Wed, 03/28/2012 - 21:00

Made this for Christmas for our 2-year old last year. The plans were easy to follow, and it turned out great. She loves it!

Built from Plan(s)
Recommended Skill Level
Beginner

My Rustic X Coffee Table

Submitted by jager456 on Thu, 01/16/2014 - 04:41

I chose the Southern Yellow Pine because of its strength for furniture. Also I have used the pour on finish before with good results. The wood was a special order thru Menards and took about a week to get.

Built from Plan(s)
Estimated Cost
$200.00
Estimated Time Investment
Week Long Project (20 Hours or More)
Finish Used
Minwax Pre-Stain
Rust-oleum Varathane Kona Stain
Minwax Semi-Gloss Poly-Urethane on sides and bottom
EnviroTex Pour-On High Gloss Finish on top
Recommended Skill Level
Intermediate

Comments

Roof terrace sofa London

Submitted by Anonymous (not verified) on Fri, 04/08/2016 - 08:07

Cedar frame with iroko seat slats. 3"and 2"screws only

Estimated Cost
£450
300 for wood and 150 for ikea cushions
Estimated Time Investment
Weekend Project (10-20 Hours)
Finish Used
None
Recommended Skill Level
Beginner

Toy Car

Instead of pine and paint, I used Walnut, finished with foodsafe Osmo Top Oil for a durable finish. I also made the truck out of Padauk for an orange color. 

Estimated Cost
$4
Estimated Time Investment
An Hour or Two (0-2 Hours)
Finish Used
Osmo Top Oil
Recommended Skill Level
Beginner

Wood Adirondack Chair

Submitted by Anonymous (not verified) on Mon, 08/21/2023 - 09:41

My young friend Carter used his own twist to your adiraondack chair with this herringbone pattern. He made six chairs from your pattern with three different design. These look so amazing around my firepit.

Susan Morris/Carter Tillman
 

simple bed

This project took me about 10 hours. I enjoyed every minute of it! I built this bed for my son. I looked at other plans but you had to pay for them and they weren't as good as these. It's good to no that there is people like Ana that is still willing to help people. Thanks for the plans

Estimated Cost
88.37
Estimated Time Investment
Weekend Project (10-20 Hours)
Finish Used
I mixed two stains together, jacobbean and English chestnut
Recommended Skill Level
Beginner

Comments

dashoequeen

Tue, 07/05/2016 - 10:59

Hello,

I've been on this website trying to find the plans for the Simple Bed Plan.  I have seen many beds made; however, I don't see the cutting list (supply list) of the materials needed.  Can you please help me with the supply list?  My hubby and I are going to attempt to make this over the winter for a 3rd birthday present for my son.  I would really appreciate the list so that we know what materials to purchase.  Thank you in advance for your help with this issue.

Sincere thanks,

The Maynors

ripvanwinkel12

Sat, 01/19/2019 - 12:38

I am trying to build the Twin over the full bunk beds that stack.  When looking at the site it says to use the Simple Bed Plans.  When I look at the simple bed plans I get 3 pictures and that is it.  I don't get a supply list or any kind of dimensions for the bed.  Could you please point me in the right direction.  I need to build the twin over the full bunk bed for family coming  to my home in early March.

Thanks 

Gary Dalton

Simplest Stool (as a water dispenser stand)

I needed a quick project that could easily be modified for my height needs and would make a good temporary base for my new water dispenser. This was perfect!

Built from Plan(s)
Estimated Time Investment
Afternoon Project (3-6 Hours)
Finish Used
Slightly distressed (quick raw umber acrylic undercoat), finished with Benjamin Moore Natura paint (leftover 'perennial' color from a few years back) and gently sanded on edges/corners to allow the deeper color to show through.
Recommended Skill Level
Beginner

Farmhouse Table

Submitted by talvey50 on Sun, 04/10/2016 - 21:25

We were looking at buying this table at Restoration Hardware but couldn't get over the price. I love the look of the table but didn't want to take out a mortgage on it. Once I came across this plan, it was game over. Went out, got the supplies, and had it built before my wife knew what I was doing. It is built like a tank and even my kids can't hurt this! We get so many compliments on it , thanks!

Built from Plan(s)
Estimated Cost
$200
Estimated Time Investment
Weekend Project (10-20 Hours)
Finish Used
Steel wool and vinegar.
Recommended Skill Level
Beginner

Comments

tgrott

Mon, 04/11/2016 - 07:56

Beautiful!! The chairs go perfectly with the style!

And BTW, what about that wine rack on wheels?!? Did you make it, too? Love that! :) Would love to see a plan for that!

talvey50

Mon, 04/11/2016 - 12:48

Thanks! We found that wine rack at a store here in Phoenix. I thought about making one from scratch but I definitely was in over my head. We love it though

DIY Slim Truss Console Table

Submitted by Lefty0971 on Sun, 12/22/2019 - 07:38

Just completed my version of the “DIY Slim Truss Console Table”.  The base is made from 2” Rough Pine and the top from a nice Piece of Live Edge Maple.

Had a great time building this and just in time for Christmas.

Built from Plan(s)
Estimated Cost
$350
Estimated Time Investment
Week Long Project (20 Hours or More)
Finish Used
Minwax Classic Black -Satin

Varathane English Chestnut

Varathane 3X Clear Finish
Recommended Skill Level
Intermediate

Platform bed

Submitted by joja on Thu, 04/05/2012 - 07:02

Inspired by Ana!

Estimated Time Investment
Day Project (6-9 Hours)
Finish Used
Paint.
Recommended Skill Level
Beginner

Comments

Ally (not verified)

Tue, 04/17/2012 - 11:21

Now this is my kind of project! Looks easy but polished. Do you have plans for this?

joja

Tue, 04/17/2012 - 12:03

Platform bed measures:

- Deck: 18x120 mm, width = matress width + 10 cm, length = matress length + 5 cm.
- Headboard: Height 80 cm, width = matress width + 10 cm.
- Beams bed: 36x150 mm, length = matress length - 5 cm.
- Beams headboard: 36x150 mm, height = headboard height - 5 cm.

joja

Wed, 04/18/2012 - 14:00

Sorry, forgot to write that the headboard "deck" is made from 18x120 mm.

PS) We used fir, but pine or cedar or the like is fine.

Sdash

Thu, 04/11/2013 - 23:04

I would love to make this but I would require plans in order to build it. So if there is any way I could get plans you would make me quite happy.

Dog Bed Window Seat

Submitted by shellyward on Mon, 01/20/2014 - 16:53

I wanted a place for our dog beds, without just having them all over the floor (we have 2 big dogs and 2 little ones. I decided to build a window seat in front of the large window in our dining room which could double as dog beds/kennels. While the base plan was off the large wood pet kennel end table, it had to be modified significantly to be wider, shorter, and sturdy enough to sit on. I am also still trying to decide if/how i want doors on here. This is actually 2 kennels next to each other (not 4) Next will be to build 2 actual kennels for the big dogs to place on either side of this.

Estimated Cost
$150-$200 (high because of the foam and fabric for the seat cushion)
Estimated Time Investment
Weekend Project (10-20 Hours)
Finish Used
black paint/ poly
Recommended Skill Level
Beginner

Comments

Sliding X Door Console

Submitted by Anonymous (not verified) on Wed, 04/13/2016 - 13:49

I created this based off the Grandy Style Console. However I used an actual cabinet style with adjustable shelves. Loved making it!

Follow me on Facebook or instagram!
www.facebook.com/four8zero
www.instagram.com/four_8_zero

Built from Plan(s)
Estimated Cost
$225
Estimated Time Investment
Weekend Project (10-20 Hours)
Finish Used
Sherwin Williams SnowBound Pre-Cat Lacquer for the base and Minwax Ebony for the top.
Recommended Skill Level
Beginner

Comments

Levi's play kitchen

Submitted by Ash Matson on Thu, 12/26/2019 - 11:17

We modified the plans a little we made the 2 pieces together instead of separate. We used a 2” hole saw to cut out the oven knobs, then drilled holes a tad bigger than the screw so they would still turn once attached. We also made the back splash taller to accommodate our faucet that had to attach on the back splash instead of the counter top. We used all pocket holes to attach everything it makes it look so much nicer but doesn’t need to be done that way. We bought vinyl circles for the burners on the stove. A dog bowl for the sink and a laundry room faucet for the faucet.

Links to products we used

Faucet - https://www.amazon.com/gp/product/B01KRCTHEA/ref=ppx_yo_dt_b_asin_title_o07_s00?ie=UTF8&psc=1

Oven hinges - https://www.amazon.com/gp/product/B004K7V8UU/ref=ppx_yo_dt_b_asin_title_o08_s00?ie=UTF8&psc=1

6 – 4 inch circles matte black Stove vinyl - https://www.etsy.com/listing/713062039/circle-circles-pack-set-vinyl-decal-car?ref=yr_purchases

Sink 56oz dog food bowl - https://www.amazon.com/gp/product/B00H6OXRN0/ref=ppx_yo_dt_b_asin_title_o01_s00?ie=UTF8&psc=1

Oven handle - https://www.lowes.com/pd/Sumner-Street-Home-Hardware-Vail-10-in-Center-to-Center-Matte-Black-Pull/1001368422

Estimated Cost
100.00
Estimated Time Investment
Weekend Project (10-20 Hours)
Recommended Skill Level
Beginner

Comments

Simple Beds

Submitted by sophie on Sun, 04/08/2012 - 09:32

I used the basic design for this bed but altered it quite a lot to make the joins stronger, the edges smoother and the whole thing generally easier to take apart and put back together.
I used beech wood and completed the project at a woodworking club, so it's quite hard to estimate the time taken, as I only did it one evening a week and spent most of the time bringing the wood out, putting it away and clearing up each time I was there!
I am still undecided whether to give it an oil finish or to paint it white with chestnut wood stain on the headboard and footboard tops.

Built from Plan(s)
Finish Used
Possibly oil or maybe white and chestnut wood stain - haven't decided yet!
Recommended Skill Level
Intermediate

Island cart

Submitted by dreamworx on Wed, 01/22/2014 - 10:53

Just copied the plans from ana, we built it for an auction to support a group home. it was easy and quick. the project panel was big enough to also use as a shelf when cut down for the top, we loved how the top and shelf matched. we built a bigger drawer to have a more chunky look.

Estimated Cost
under 70.00
Estimated Time Investment
Day Project (6-9 Hours)
Recommended Skill Level
Beginner