Community Brag Posts

Doll beds

Submitted by Kimberwdld on Tue, 01/02/2018 - 09:14

We had our first American Girl Doll Christmas ... and it was a big hit ... the girls all love their American girl dolls.


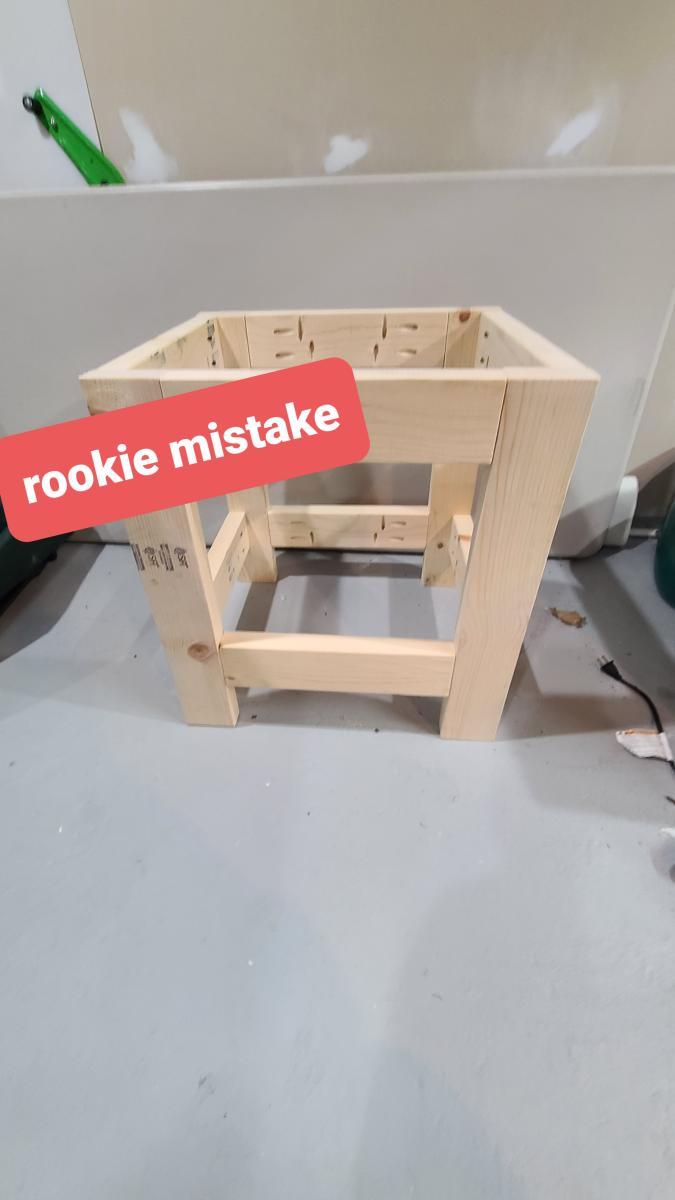
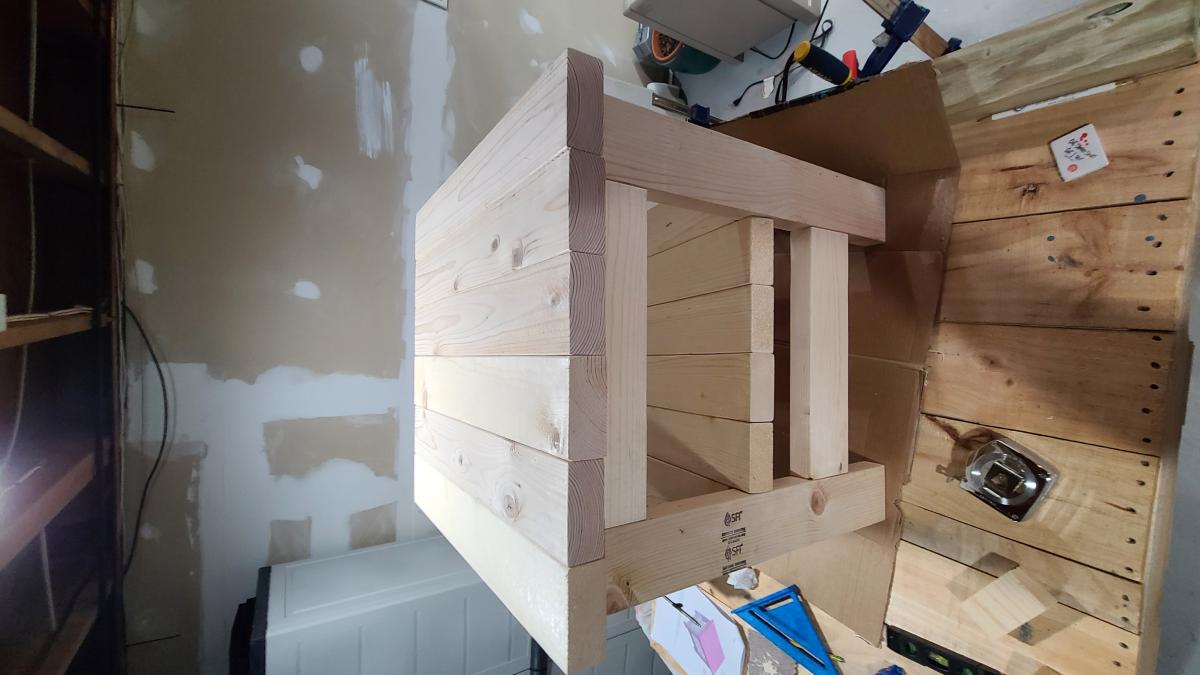
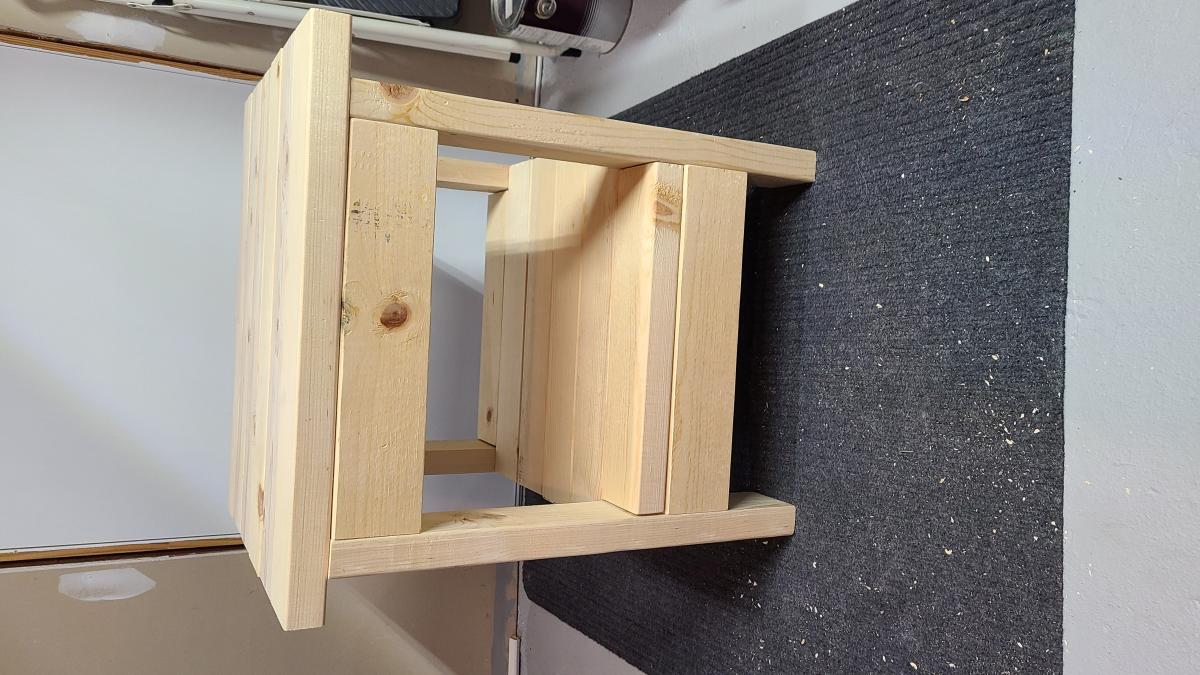
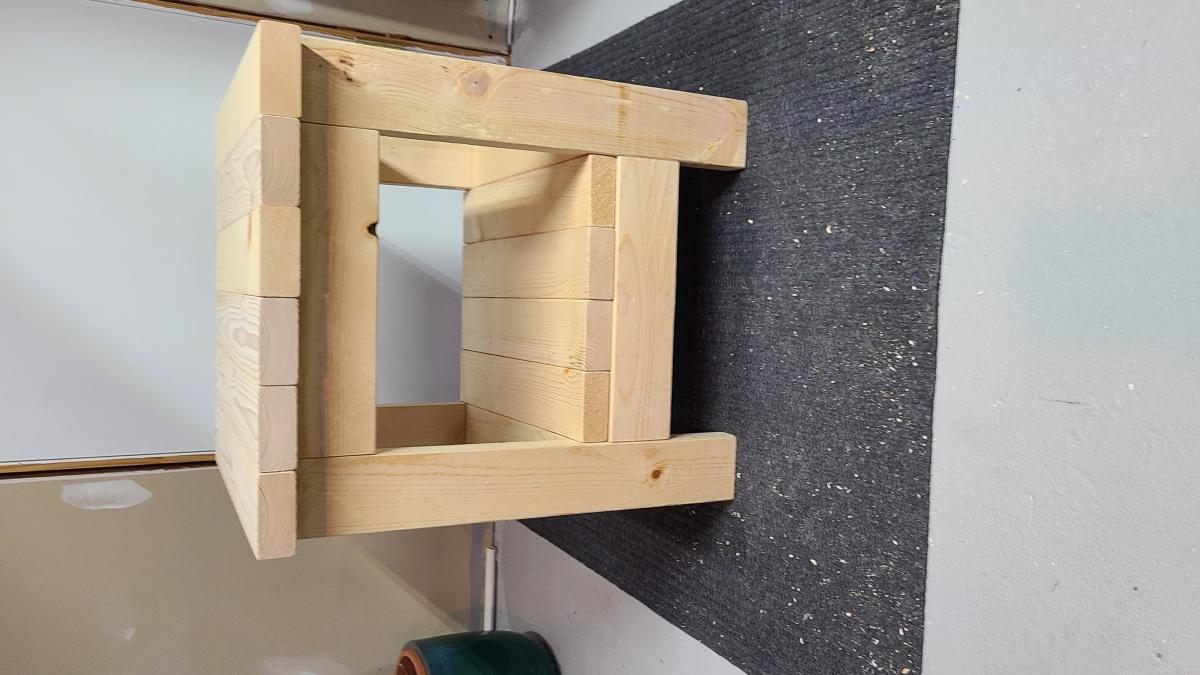
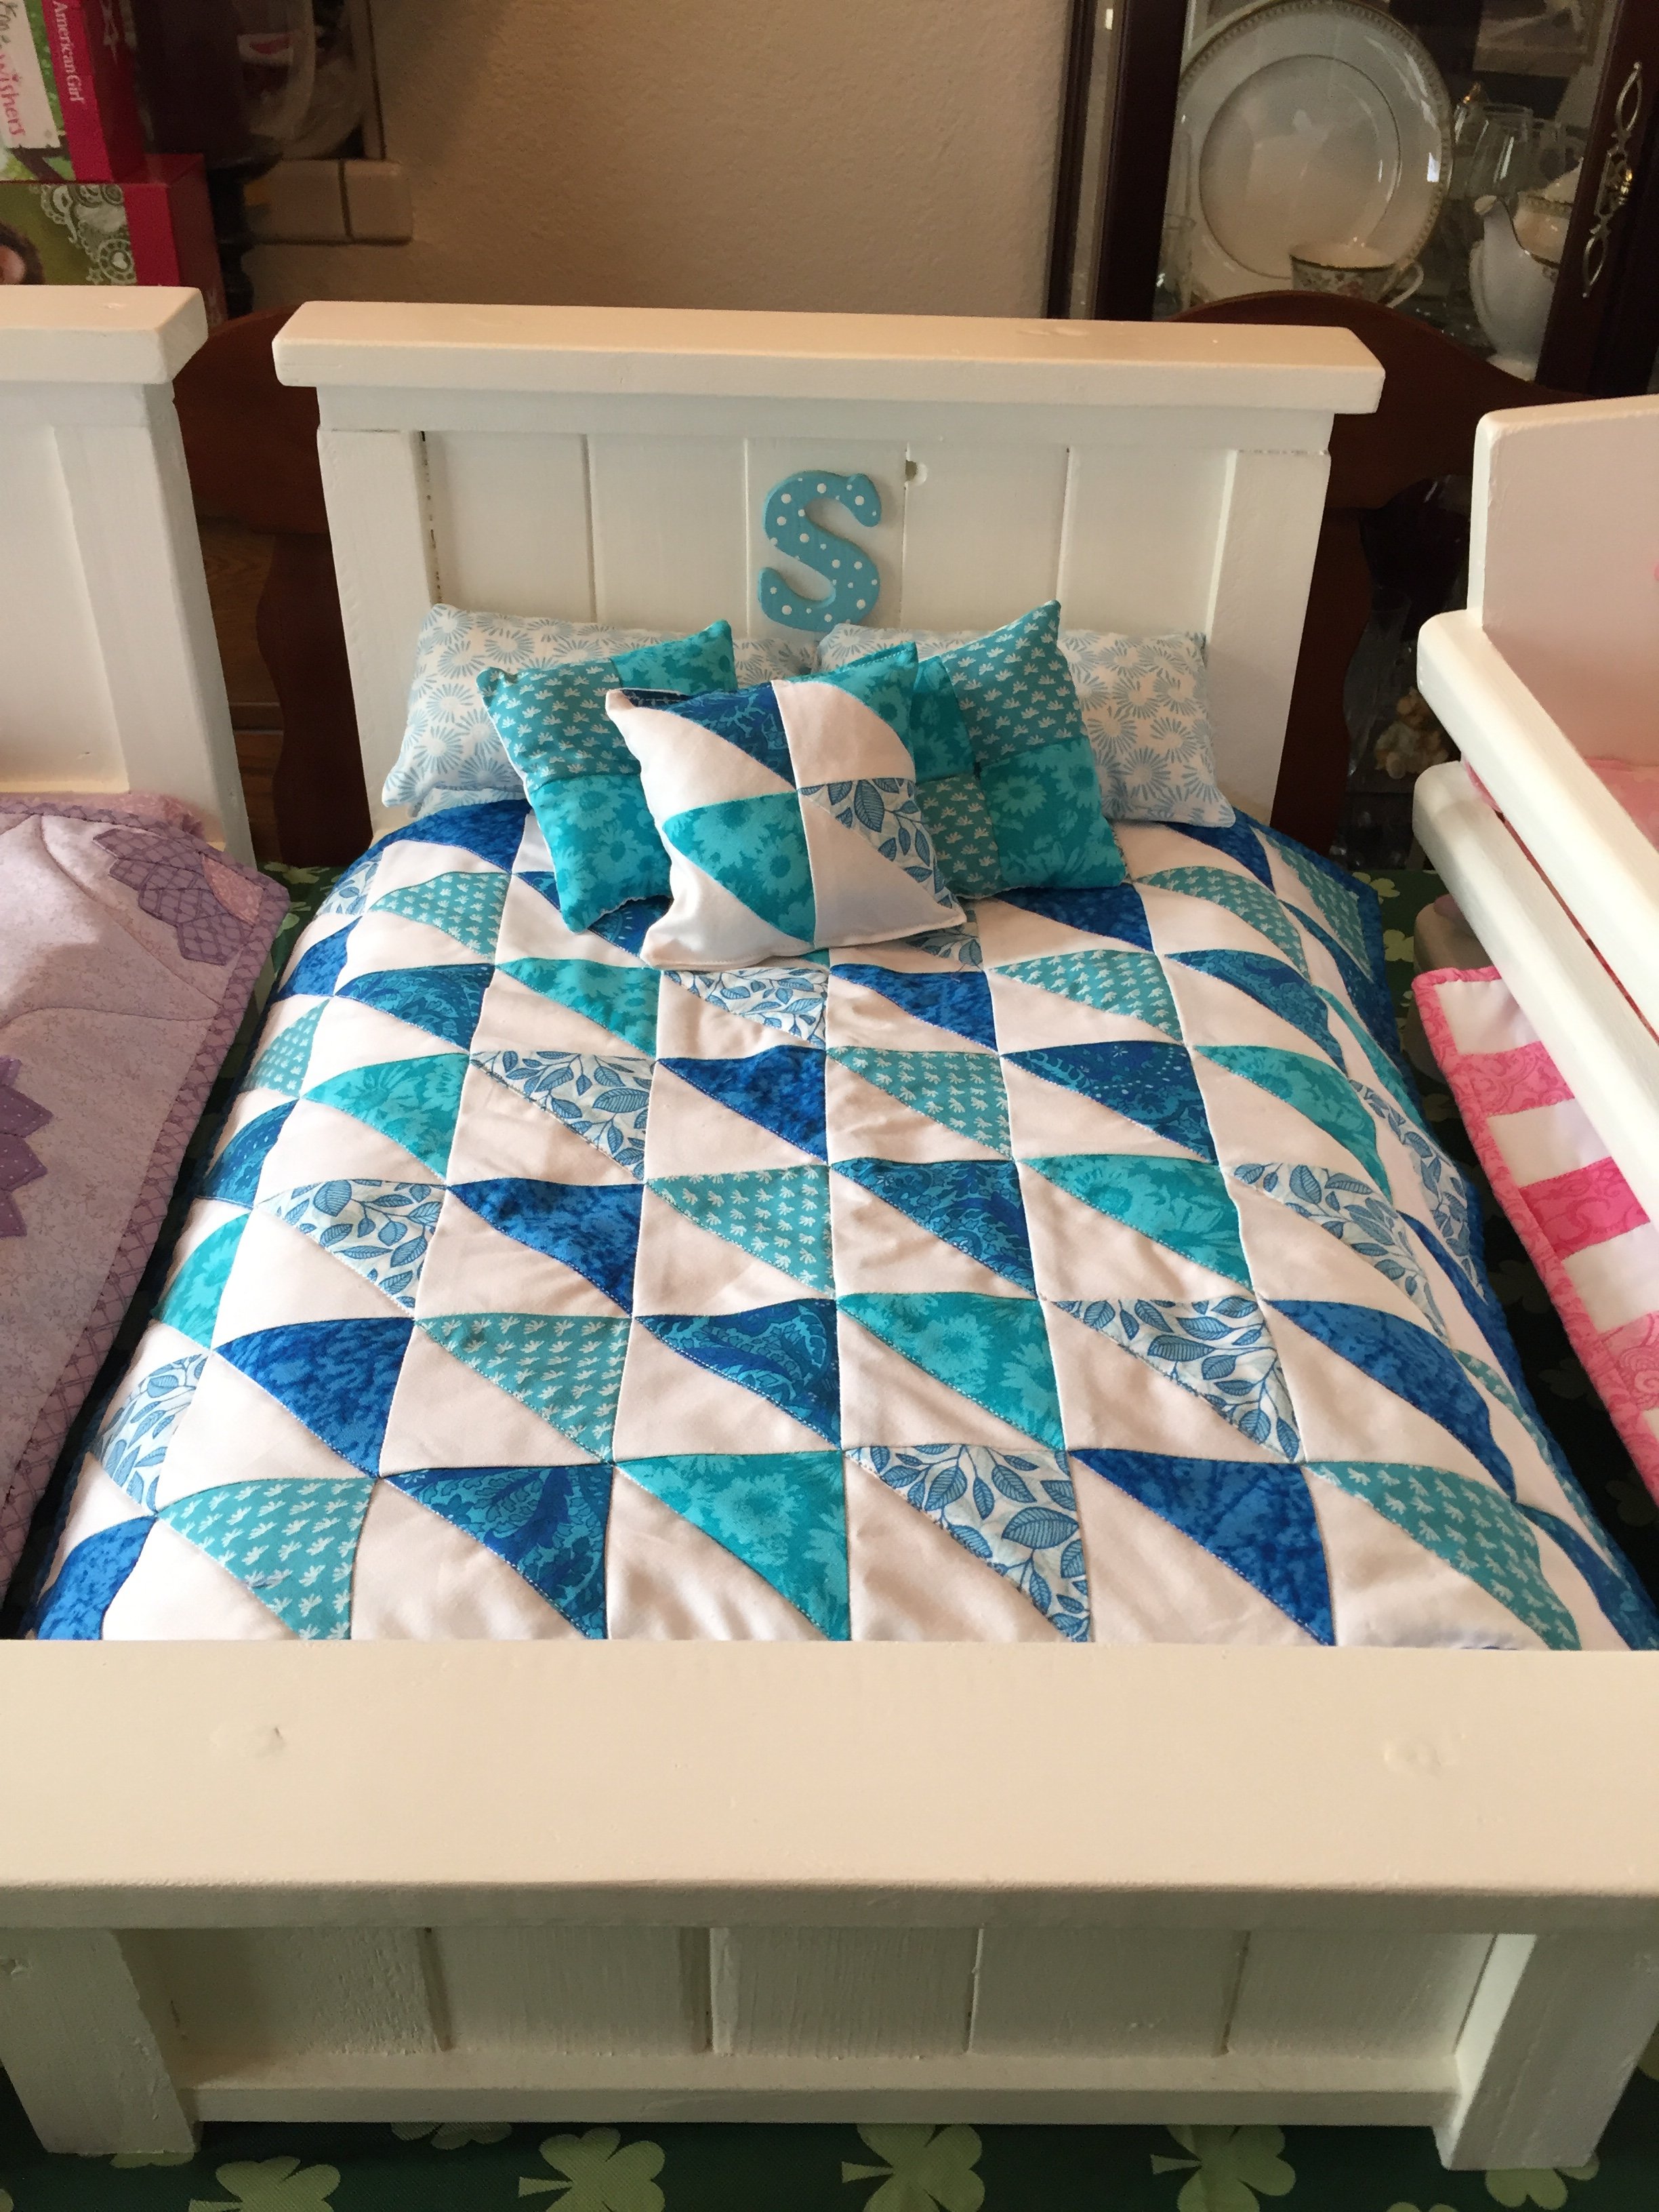
So we decided to make them beds.  Found Ana project on line ... and it was so fast and easy, thank you.


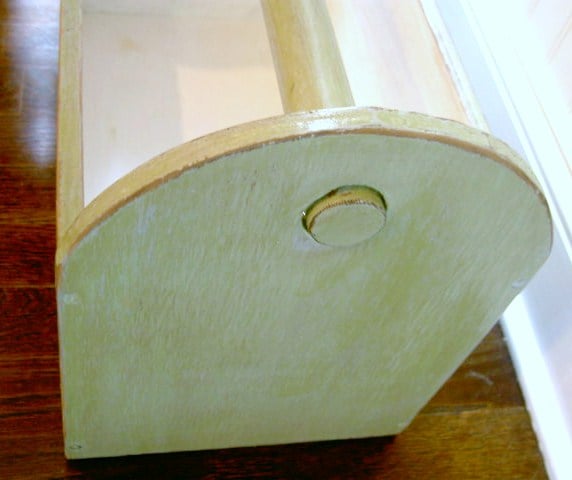
We made 3 beds, from the supply list ....  and 1 cradle, from an old oak magazine rack we found at the thrift store ... turned out so cute.


And we are looking to make the couch and chair set.


Thanks you again,   Kim

Estimated Cost
less than $25.00
Estimated Time Investment
Afternoon Project (3-6 Hours)
Finish Used
sanded, paint and clear coat
Recommended Skill Level
Beginner

1st Porch Bench I made

Submitted by Anonymous (not verified) on Sun, 12/26/2021 - 16:49

This is the first bench I have ever made.

Comments

Narrow Farmhouse Table

Submitted by kylihoot on Sun, 05/01/2011 - 14:32

This is my favorite build so far! When I saw the plan I pretty muh obssesed over it for weeks until I finally gave in and here it is!
I must confess...I have no where to put it haha. I don't care, I saw it and had to have it.

Built from Plan(s)
Estimated Cost
$40 maybe a bit more for others...employee discount ;)
Estimated Time Investment
Weekend Project (10-20 Hours)
Finish Used
I used wood conditioner on the table top and end support aprons, and followed with a stain called Provincial.
I then primed and painted the legs satin high hiding white. I took my sander and distressed the edges, and finally rubbed on stain over the paint and quickly wiped of the excess. IT looks worn, but not too worn as the husband is not to excited about old looking stuff.
Recommended Skill Level
Beginner

Farmhouse Inspired Table

My husband and I used Ana's plans to create this BEAUTIFUL farmhouse inspired table for our dining room. The project was straightforward and we are EXTREMELY happy with the results. We added a touch of modern to the table by purchasing metal chairs from overstock.com. The table is perfect for family get togethers and even more important...family game nights!!

Estimated Cost
$100
Estimated Time Investment
Weekend Project (10-20 Hours)
Finish Used
Minwax Polyshades in Dark Walniut-we also applied a few coats of wipe on poly to the finished project. We wanted our table to look rustic so we did "bang it up" a bit before staining and finishing.
Recommended Skill Level
Beginner

Comments

wjc129

Fri, 06/28/2013 - 08:26

Looks great! Did you just use the cheap pine at Lowes/HD? Any tricks to getting the table top flat and level?

In reply to by wjc129

amandaherlache

Mon, 07/01/2013 - 06:15

We used the "select" pine boards from Home Depot..which are a bit nicer than just the ordinary ones. To make the table top level we used a level to be sure that there weren't any major bumps...then once we had the top secured we sanded it to make the boards flush to each other. Hope that helps! Thanks for you comments!

Entry Bench and Shelf

Submitted by MatthewC on Tue, 06/16/2015 - 08:51

This was my second build, very easy with the plans. I wanted it flush with the wall so used a jig saw to cut notches in the bottom to fit around the baseboard. I was also covering an air vent, so I built a simple air diverter out of 1x's and bought a decorative vent cover of Amazon for $10...worked out much better than I thought it would. Painted with a flat black then a few coats of poly.

Estimated Cost
$100
Estimated Time Investment
Weekend Project (10-20 Hours)
Finish Used
Paint and polyurethane
Recommended Skill Level
Starter Project

Dartboard Cabinet

Submitted by Knathu121 on Fri, 01/05/2018 - 20:38

I made this dartboard Cabinet from pallets to give it a really rustic and weathered look. I stained it with rustoleum weathered wood accelerator. 

Estimated Cost
$20
Estimated Time Investment
Afternoon Project (3-6 Hours)
Recommended Skill Level
Beginner

Cottage end table w/ rustic x

Submitted by Anonymous (not verified) on Sun, 12/26/2021 - 21:51

Made the cottage end table, but through in the rustic x style. I really needed a narrow end table. Oh and I threw a shelf on the bottom. First time making a drawer! Loved it!

Built from Plan(s)

Comments

Twin Farmhouse bed

Submitted by mamato4 on Wed, 05/04/2011 - 22:45

Our first project! Love this website Ana, Thanks soo much!!

Built from Plan(s)
Estimated Cost
$180.
Estimated Time Investment
Week Long Project (20 Hours or More)
Finish Used
I used almost the darkest blue paint out there, paint slats or stain before you put together...we learned that the hard way.
Recommended Skill Level
Beginner

L-shape Modern plywood desk

I constructed this desk all from birch plywood. It features a pull out keyboard tray, modern drawer finger pulls, and full extension drawer slides. The plywood was finished with a hand-rubbed danish oil for a natural wood appearance.

Estimated Cost
$150.00
Estimated Time Investment
Afternoon Project (3-6 Hours)
Finish Used
danish oil
Recommended Skill Level
Starter Project

Nightstand

Submitted by fiddlepics on Mon, 01/08/2018 - 07:24

Built this nightstand for my boy's bedroom- built the farmhouse headboards to match. Was a straightforward project. I actually bought a circular saw instead of having the store make the cuts- best decision ever. Much better to cut as I go along. 

Built from Plan(s)
Estimated Cost
$75
Estimated Time Investment
Day Project (6-9 Hours)
Finish Used
Minwax penetrating stain- 2 coats dark walnut, 1 coat red mahogany. Spray Minwax Lacquer in Satin
Recommended Skill Level
Beginner

Your kitchen island

Submitted by Anonymous (not verified) on Mon, 12/27/2021 - 11:27

My first real project, which you gave me the courage to try!!! The kitchen island!
Made one error that I had to spend a bit of money to correct but in the long run the finished product is beautiful, I even used the same color you used.
After that success my daughter-in-law asked me to build the changing table for my expected granddaughter, I went into that with a little more confidence. Thank you for the inspiration that you give so many!

Built from Plan(s)

Comments

Ottoman (Inspired by Upholstered Bench plan)

This is my second woodworking project (first was a toy chest with a LOT of help from my Dad). I made the wooden frame at my parent's house with the use of my Dad's power tools and brought it home to finish and cover. I used Ana's Upholstered Bench plan but modified the dimensions to what I wanted.

Built from Plan(s)
Estimated Cost
$40
Estimated Time Investment
Day Project (6-9 Hours)
Finish Used
I used leftover stain and finish my Mom had from an old project. Not sure what it was or where she got it except it was OLD - still worked though!
Recommended Skill Level
Beginner

Farm House Table

Submitted by rsawyer05 on Thu, 07/04/2013 - 06:43

This was from the farm house table plans and the finish I used was bar and table top resin that you pour on to get a mirror finish. It doesn't take very long at all to cut all the boards and put everything together with pocket hole screws. It just takes time for the paint, stain and top coat to dry.

Estimated Time Investment
Weekend Project (10-20 Hours)
Finish Used
Chocolate Swirl paint for the bottom and MinWax stain for the top which I bought at Orange. The Bar and table Resin I bought online.
Recommended Skill Level
Beginner

Play House For Ece & Zeynep

Hi, My name is Ibrahim I am a Project management Unit Manager in an Information technologies. I have two daughters, 3 and 8 years old. We have garden around 150m2. I want to do play house in our garden to play. First of all I searched how can do it in internet. Than I did preliminary work. I provided equipment and materials. And I take a holiday my company as a week. I started my first project which is wooden house.

My daughter and all around me was liked wooden house. I hope you like it:)

Sorry my English :)
.

Estimated Cost
all inclusive around 1.500 TL (Turkish Lira) around 564$
Estimated Time Investment
Week Long Project (20 Hours or More)
Finish Used
I painted white and pink the project.
Recommended Skill Level
Starter Project

Comments

Adirondack chairs

Submitted by Anonymous (not verified) on Tue, 12/28/2021 - 22:31

I made a pair of these
and my friends arrive early so they can have one to sit in. The other is mine!

Comments

Recycled Storage Table

Submitted by DanielleH on Tue, 05/10/2011 - 20:37

We used a $35 craigslist table top with a leaf some 50 cent cull MDF pieces and about 80 in screws, paint and wood and got a beautiful counter height dining table! Loved getting to know my Kreg Jr.

Built from Plan(s)
Estimated Time Investment
Weekend Project (10-20 Hours)
Finish Used
We adapted the plans to make this a counter height table. We ended up with a larger shelf at the bottom so I can fit a nice big basket. The shorter top shelf is perfect for glass jars, platters and napkins. We had bought the chairs on clearance from a local furniture store, we had Sherwin Williams match the stain on the top. Spray painted and rolled the shelves at the bottom black. We ordered the bun feet online as none of the local big box stores had anything that was chunky enough. The 42 inch top is the right size for our room but there's not much leg room and you can't push the chairs all the way under the table because the base is a little too large, but I LOVE the storage space and with the leaf we got, it'll seat 6!
Recommended Skill Level
Beginner

Simple Stackable Outdoor Chairs for DIY Wedding

Submitted by OurWolfDen on Sun, 07/07/2013 - 14:43

For our wedding we wanted to make seating for our guests. We ended up making 16 chairs total over several weekends. We also made the pergola.

Built from Plan(s)
Estimated Cost
about $350
Estimated Time Investment
Week Long Project (20 Hours or More)
Finish Used
White paint
Recommended Skill Level
Intermediate

Comments

JoanneS

Sun, 07/07/2013 - 16:27

These are so lovely! Congrats on your DIY wedding, the setting is beautiful. Popped over to your blog, your new siding and floors look super too. :)

Channing Bookcase

Submitted by FrankJr on Sun, 06/28/2015 - 13:42

We needed a bookcase to fill a void in our living room and this was it. I altered the dimensions to increase the height to 72.5". I also added crown molding to the top which turned out nice. I used the same Bombay mahogany stain suggested by a previous post.

Built from Plan(s)
Estimated Cost
$150
Estimated Time Investment
Weekend Project (10-20 Hours)
Recommended Skill Level
Beginner

Baby Crib for $200

Hey yall!  This is Sara from OnHouseandHome.com with plans for my favorite build ever: my son's baby crib for less than $200. This is a super simple design that is fairly easy to build.  It's built from pine and poplar, both available at Lowe's or Home Depot, and I only used basic tools like a table saw, drill, kreg jig, and router to buil this.  The crib has survived a move to a new house and is currently housing my 2nd son so I can promise it's just as strong as it is stylish!  

Estimated Cost
$200
Estimated Time Investment
Week Long Project (20 Hours or More)
Finish Used
General Finishes Java Gel Stain
Recommended Skill Level
Intermediate

Second project ever

Submitted by NickC on Sat, 01/01/2022 - 13:10

This end table was the second woodworking project I have completed. The first was a doghouse that came out pretty well but was definitely not "furniture grade," so this time I knew I needed to up my game. For the most part, I think I did do that. It was not a completely seamless process, but considering my newness and the number of new skills involved (e.g., pocket holes, staining and polyurethaning) I like how it came out. It also showed me how I can continue to improve my skills so that the next projects will be even better still. The pine 2x4's were very easy to work with and dried out nicely once I got them home to reveal a nice grain. Clearly I have to learn how to cut boards to the same length, but that's part of what gives the project it's character (If you believe it then it's not a lie.). I also need to figure out how to sand polyurethane without scraping it and the stain all off. Thanks to Ana for developing this great page and for all the really nice plans on here. It made the whole process far less intimidating. (sorry for the sideways pics)

Comments