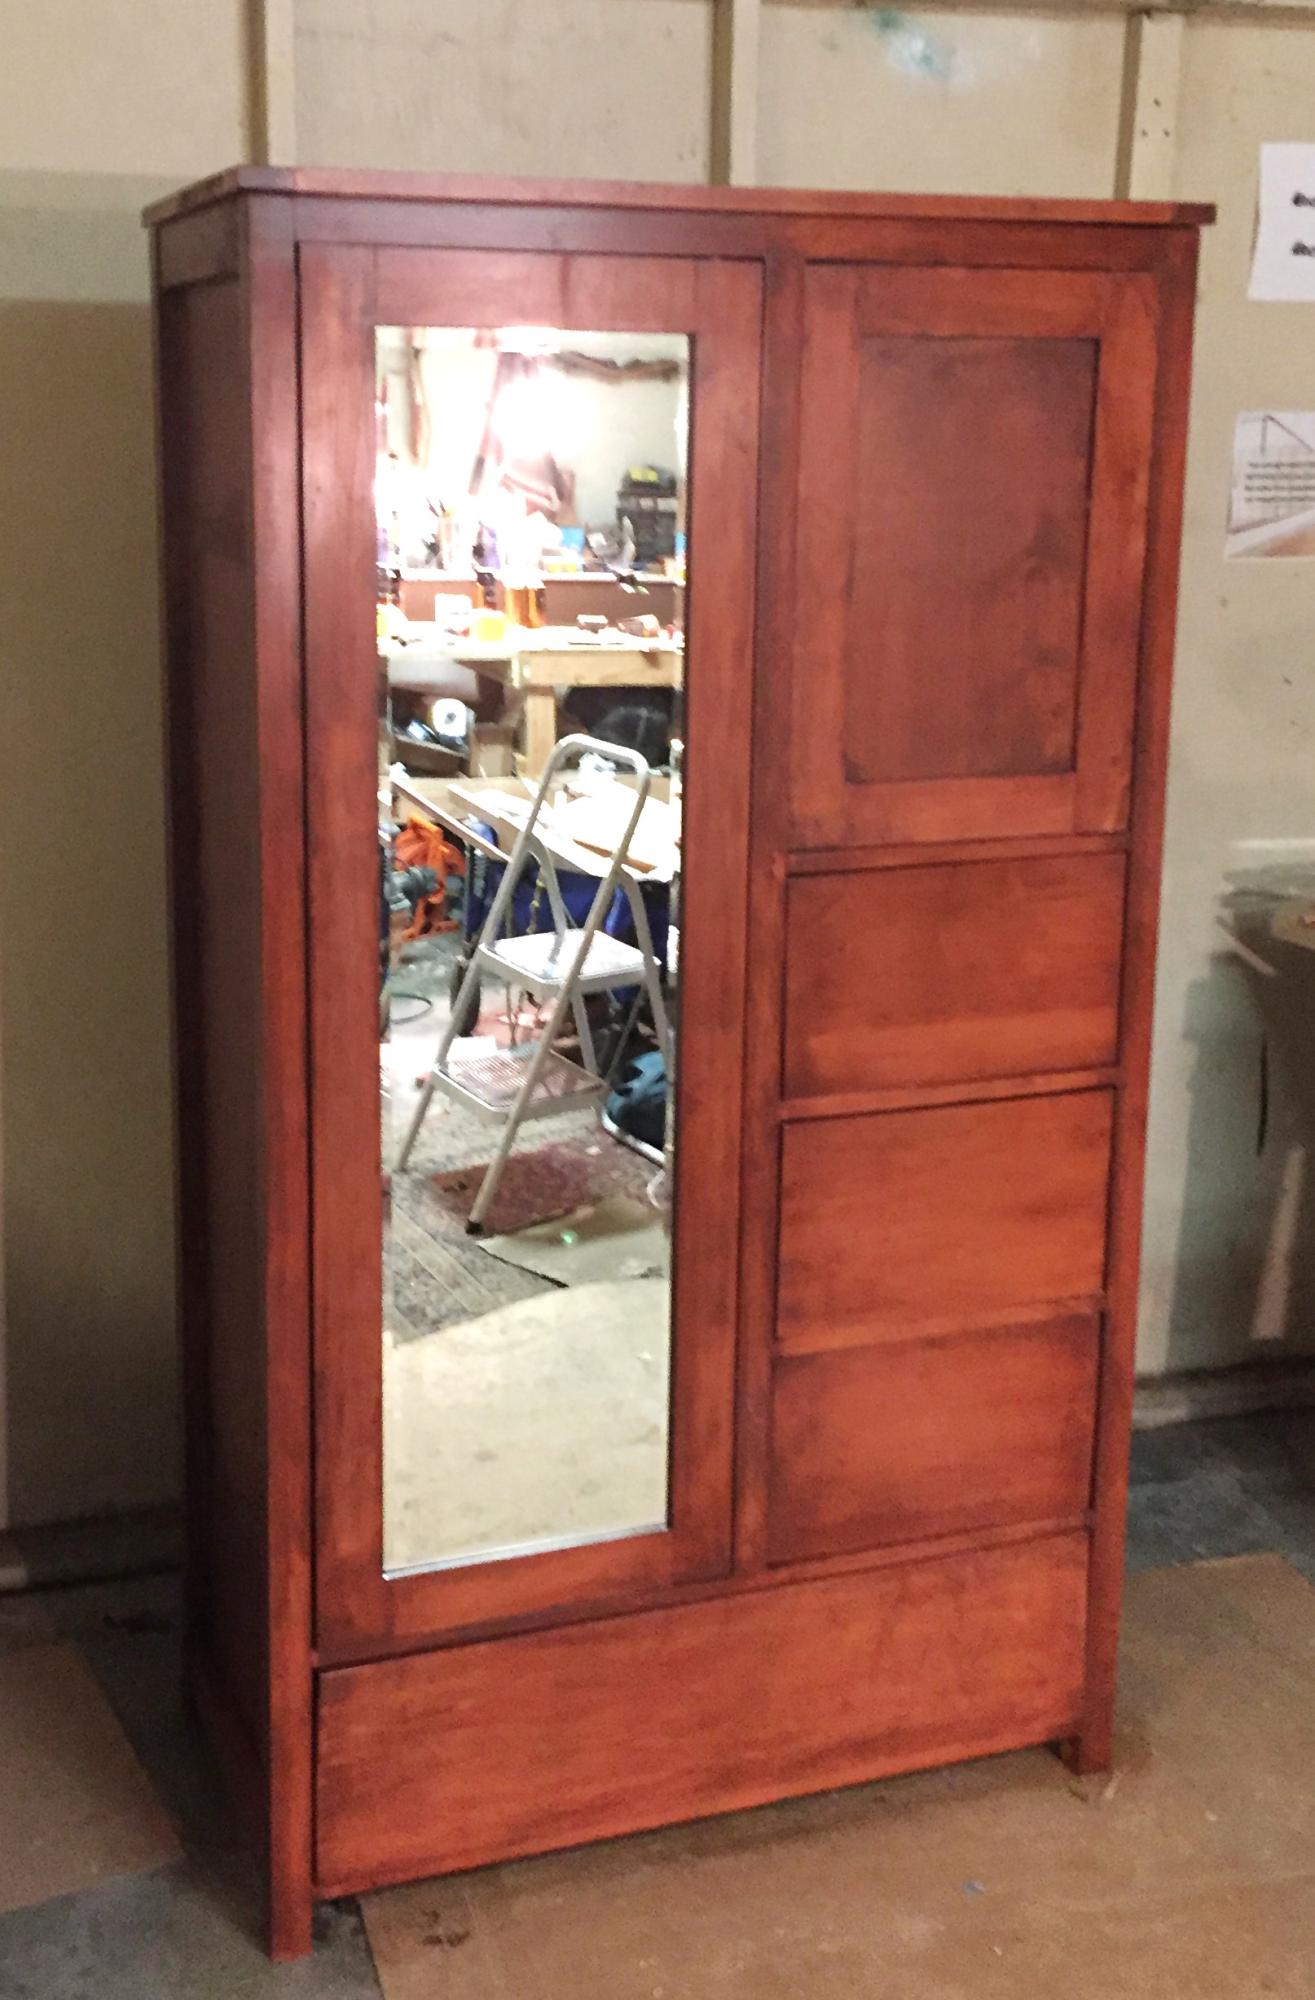
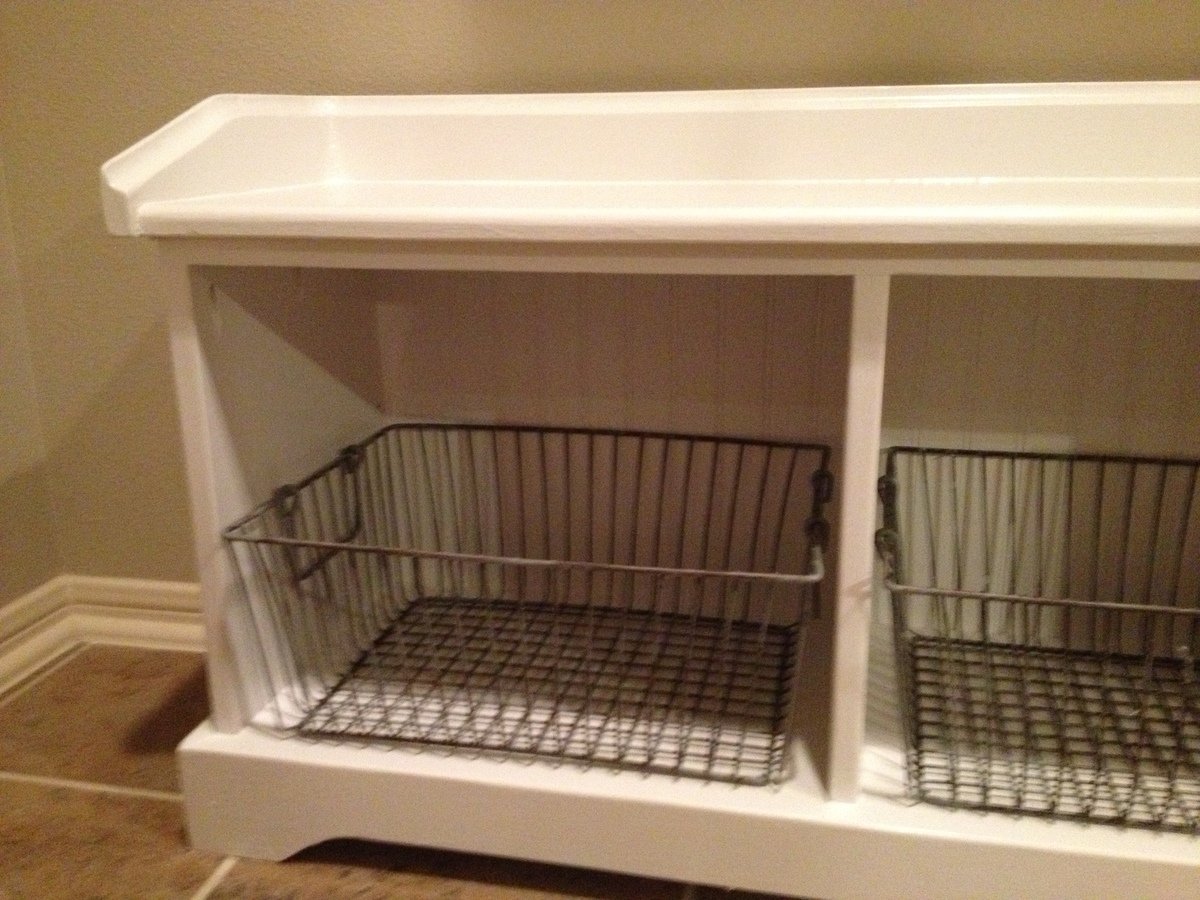
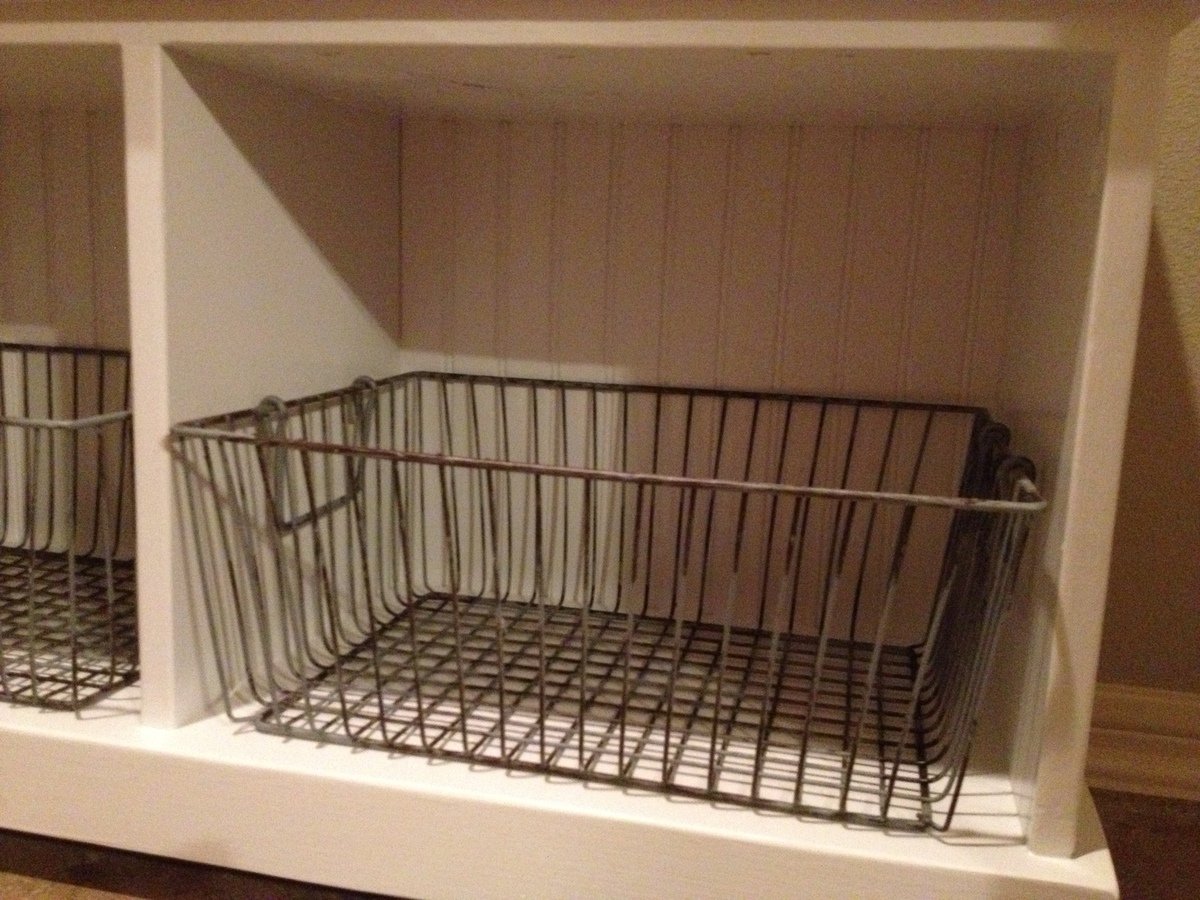
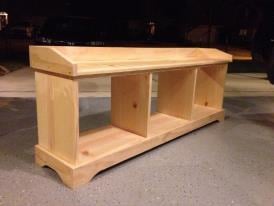
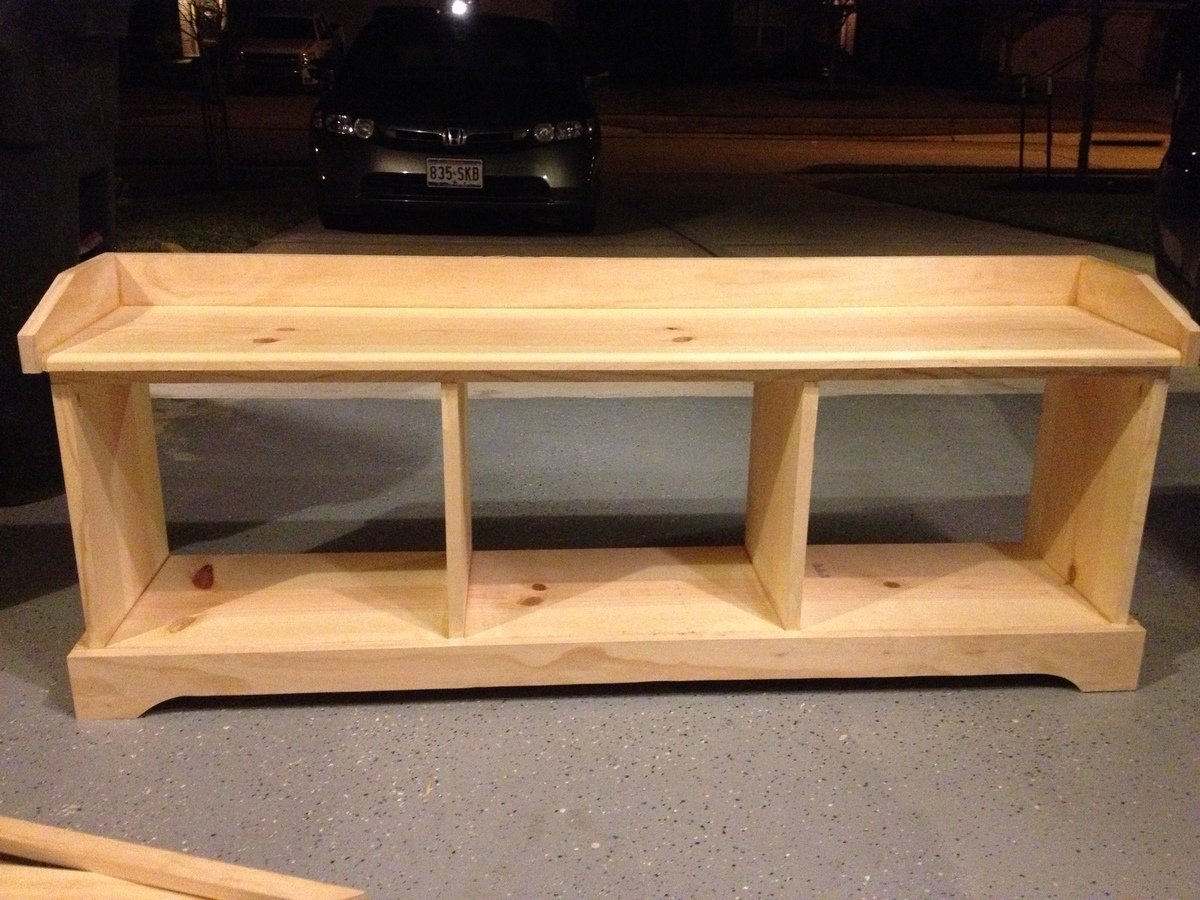
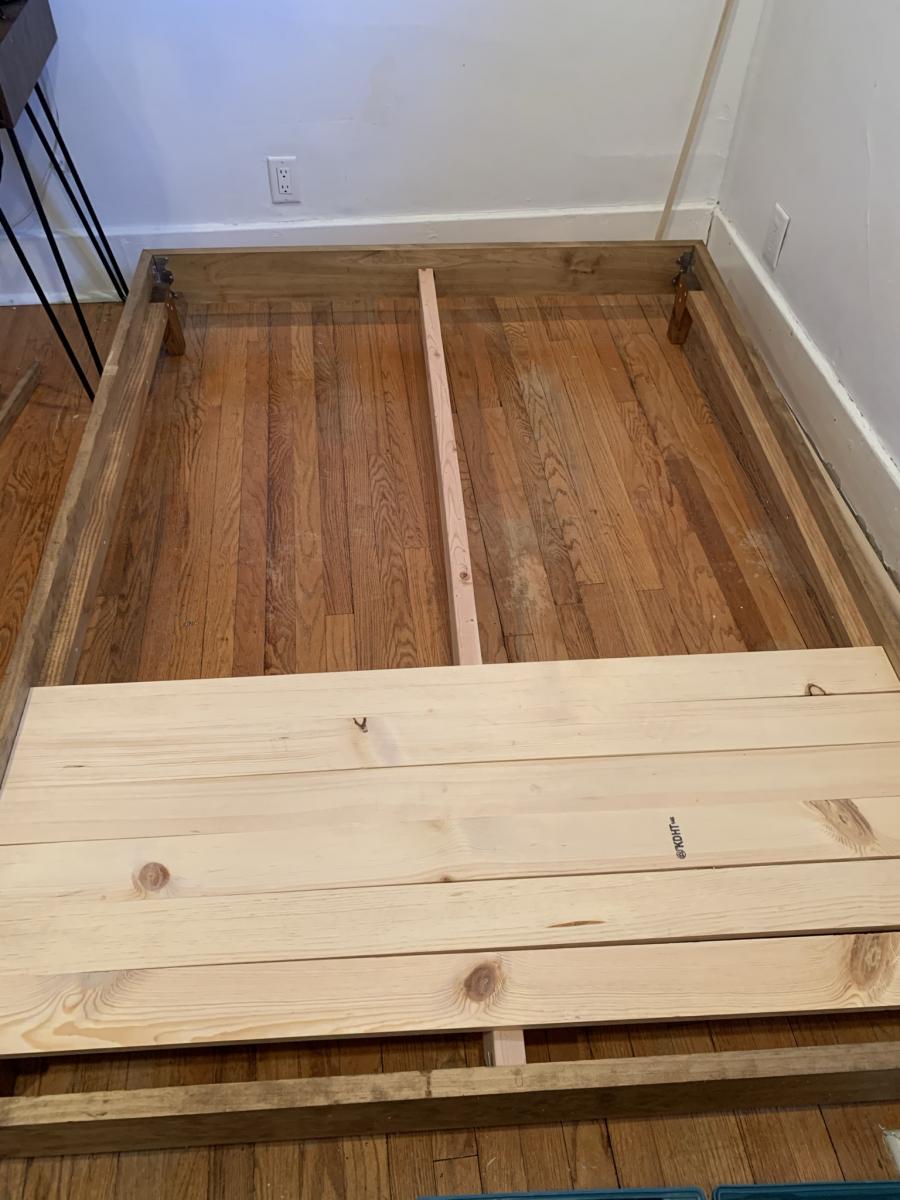
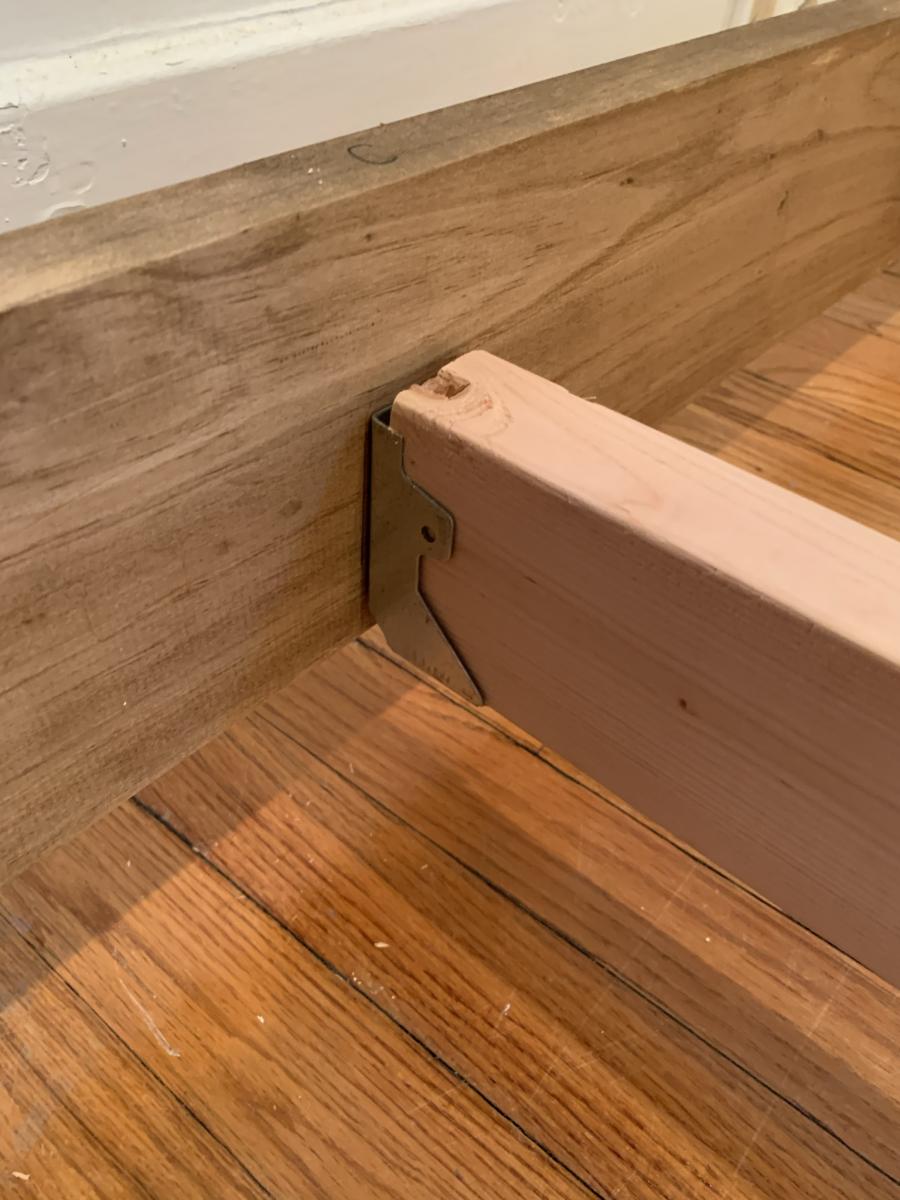
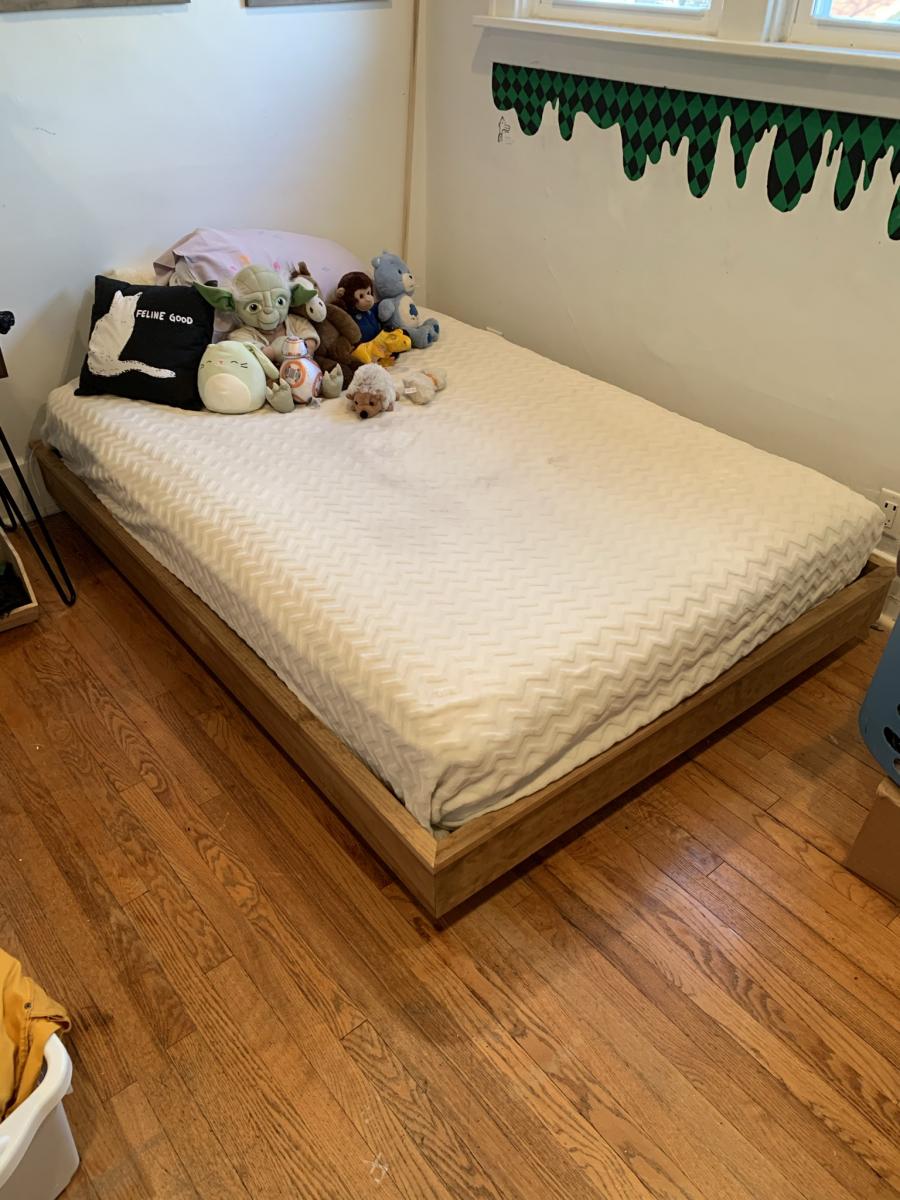
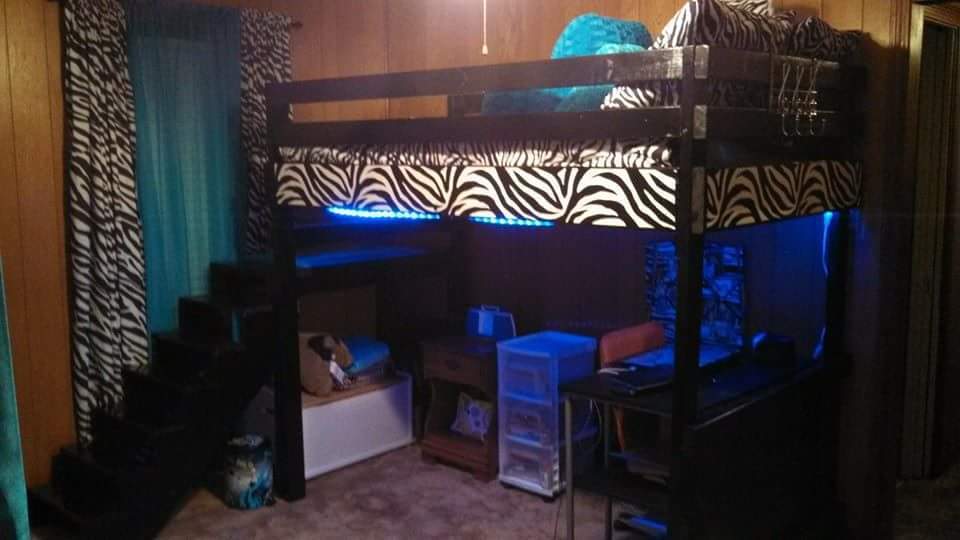
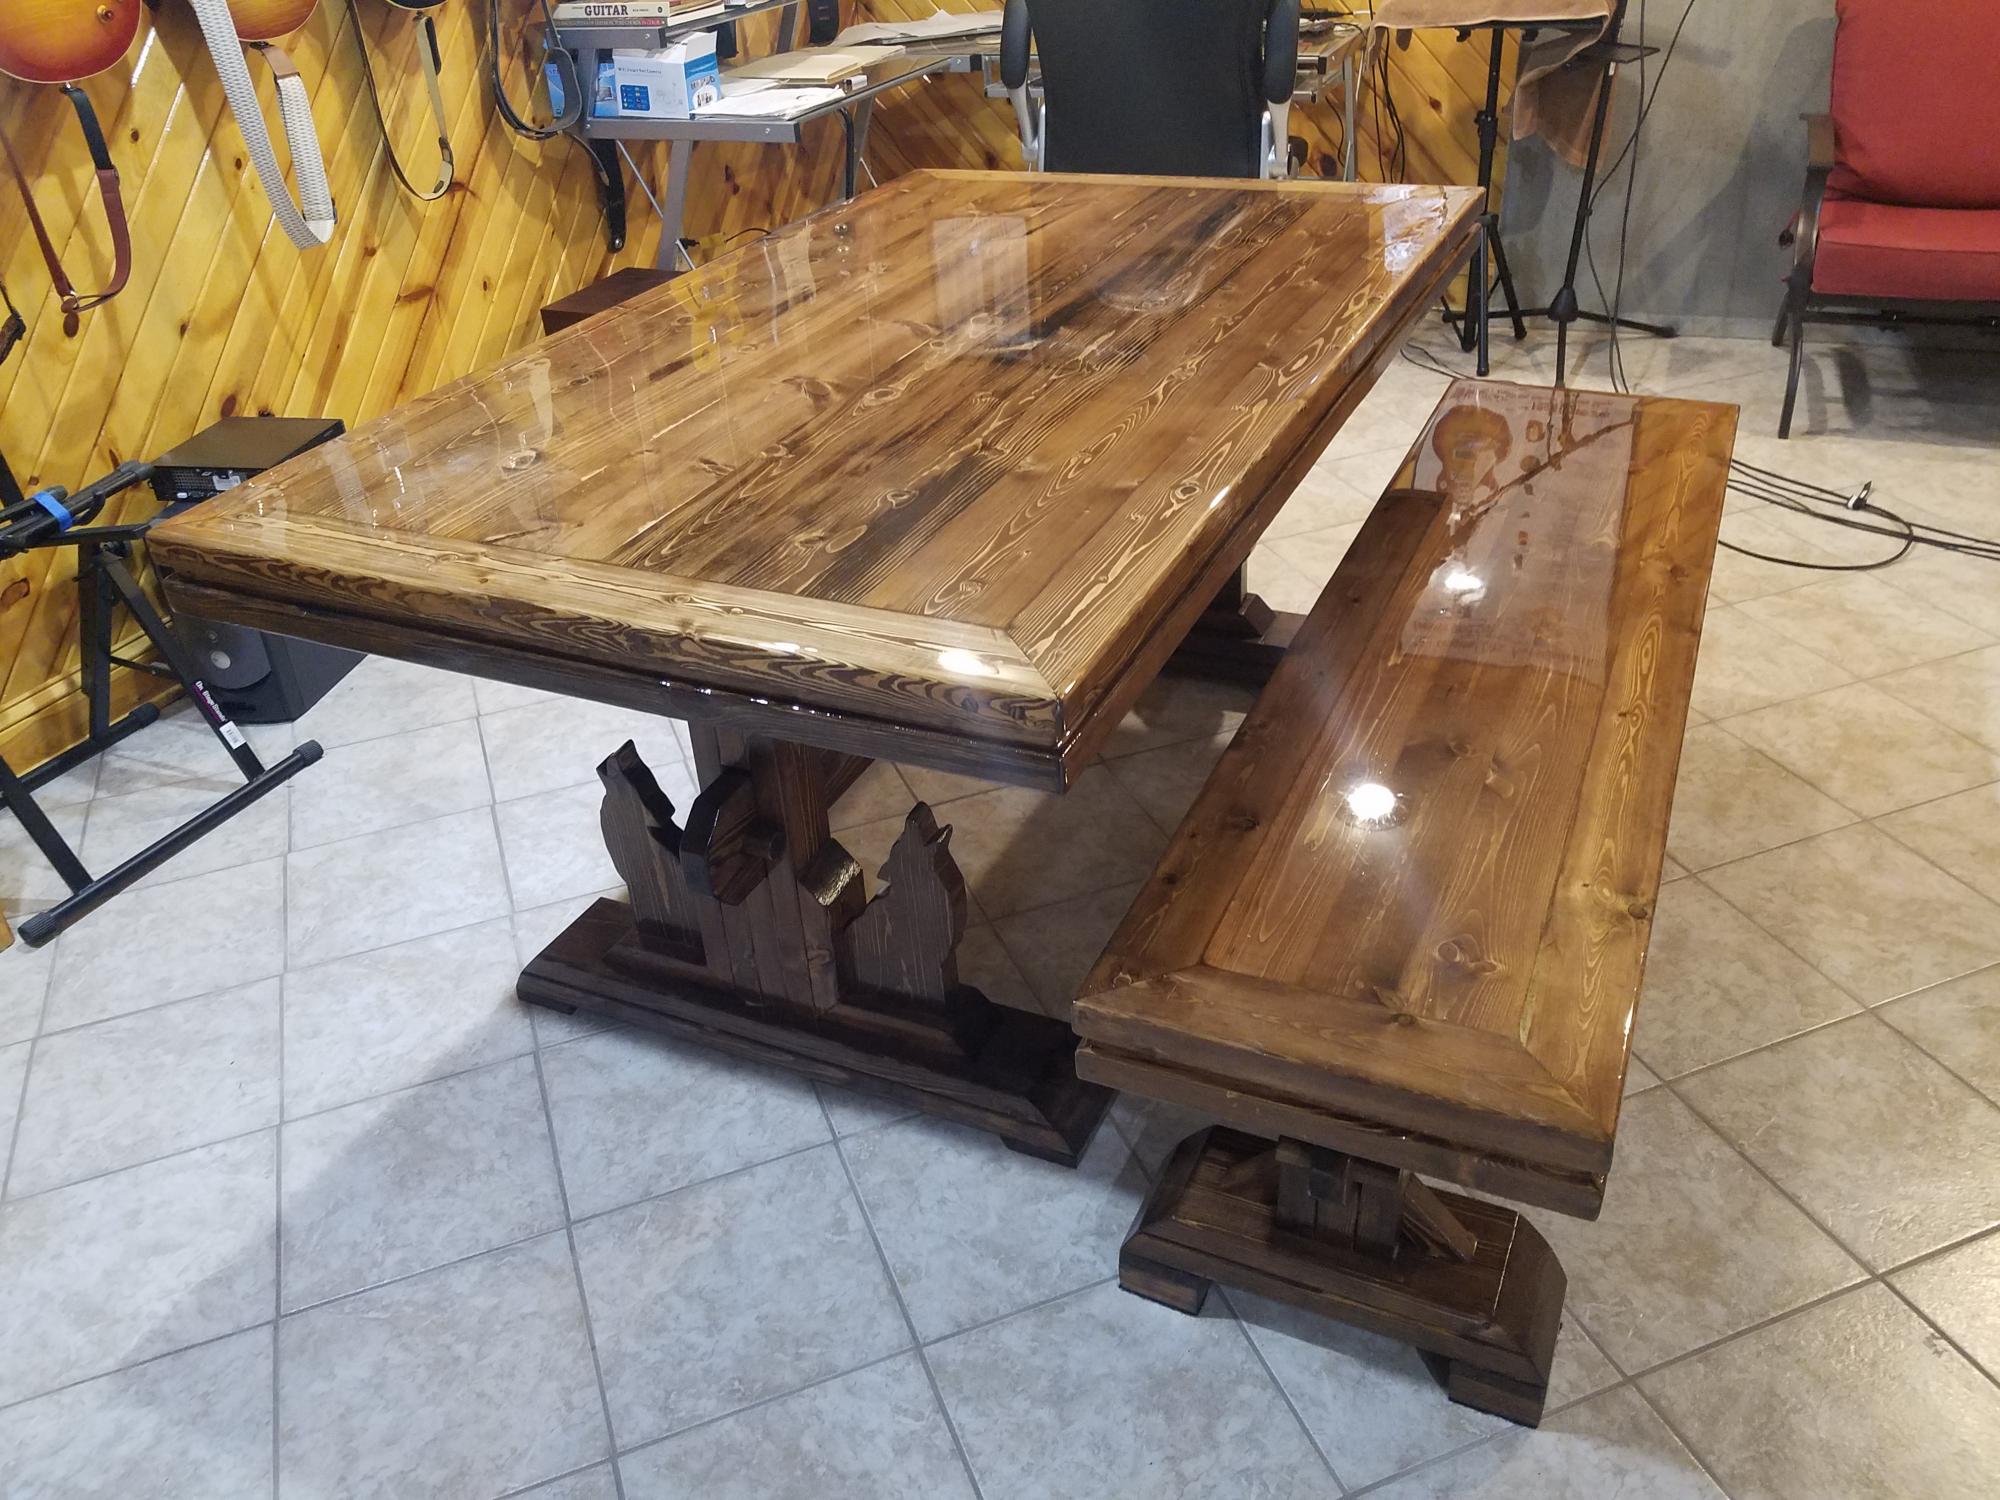
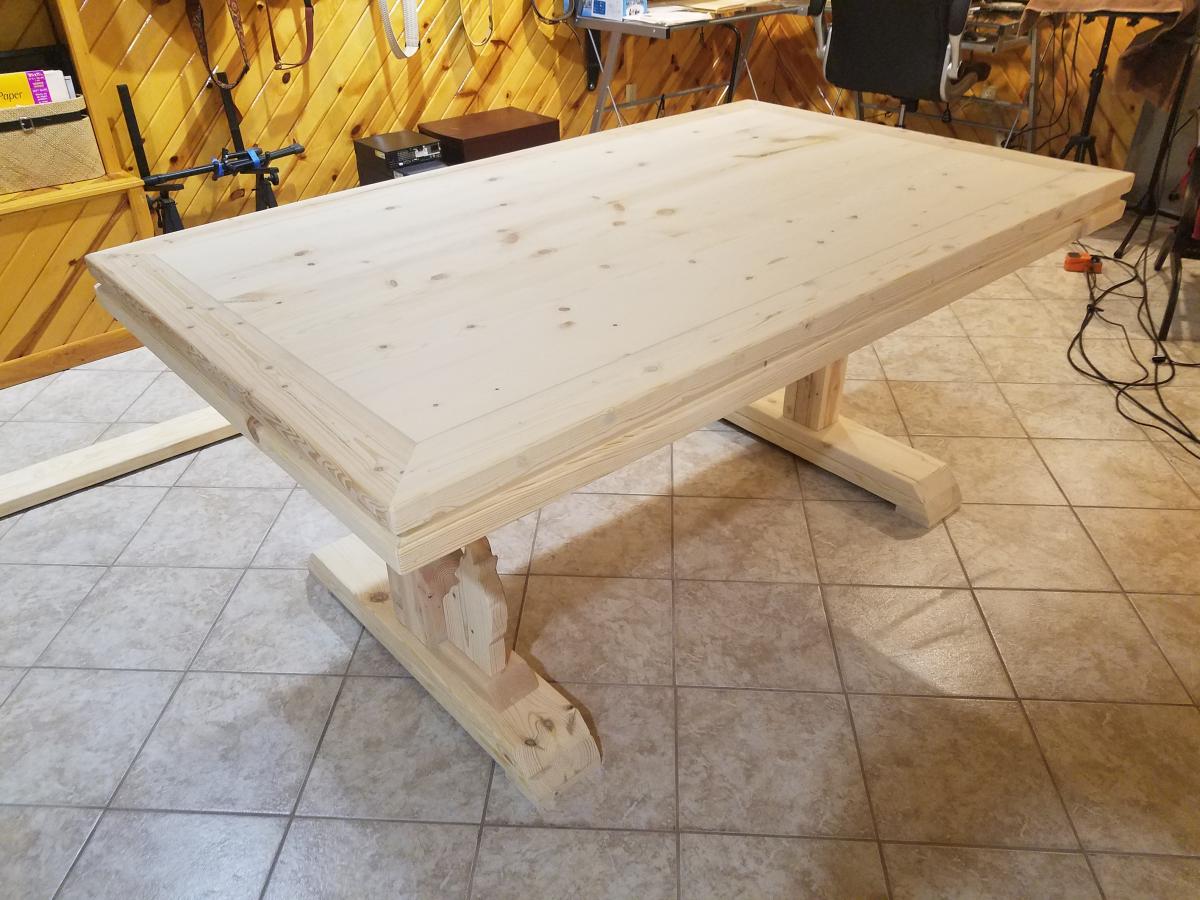
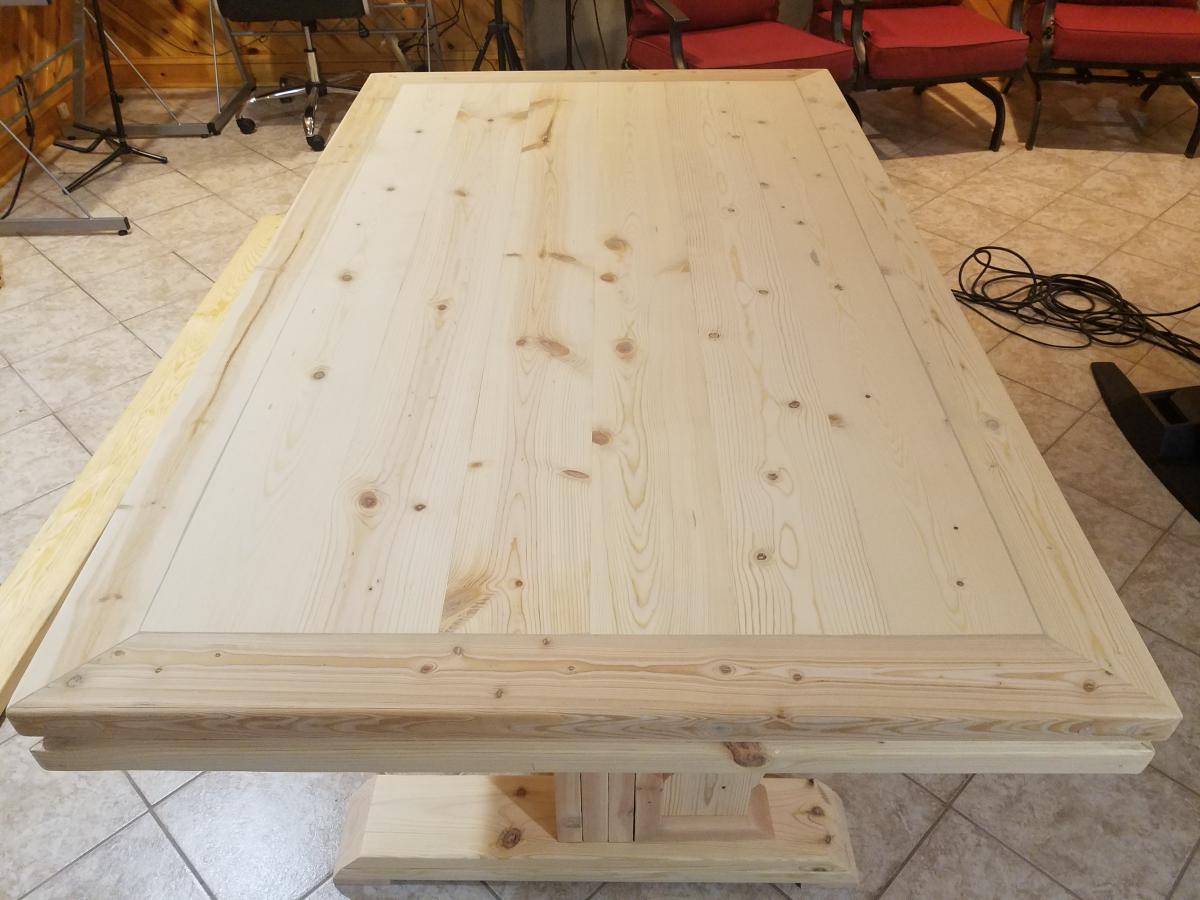
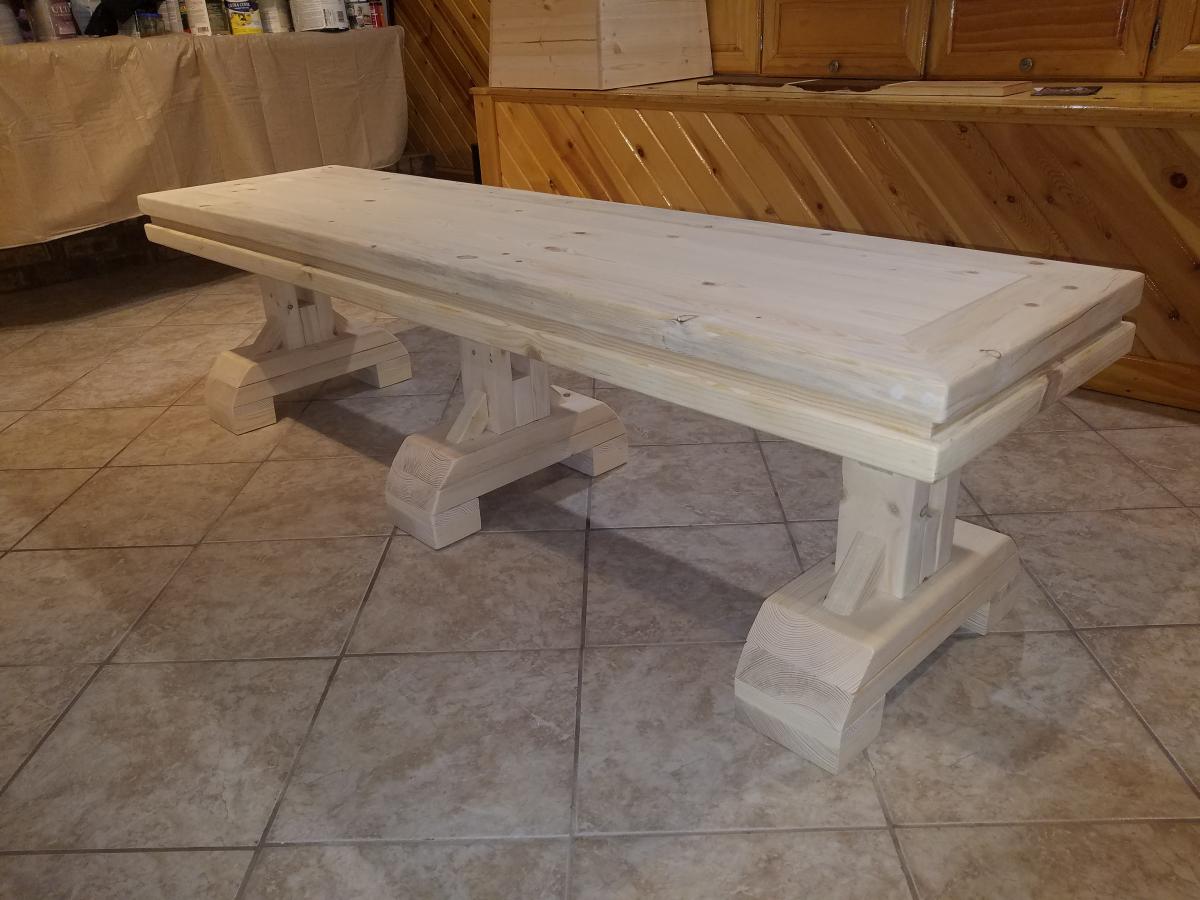
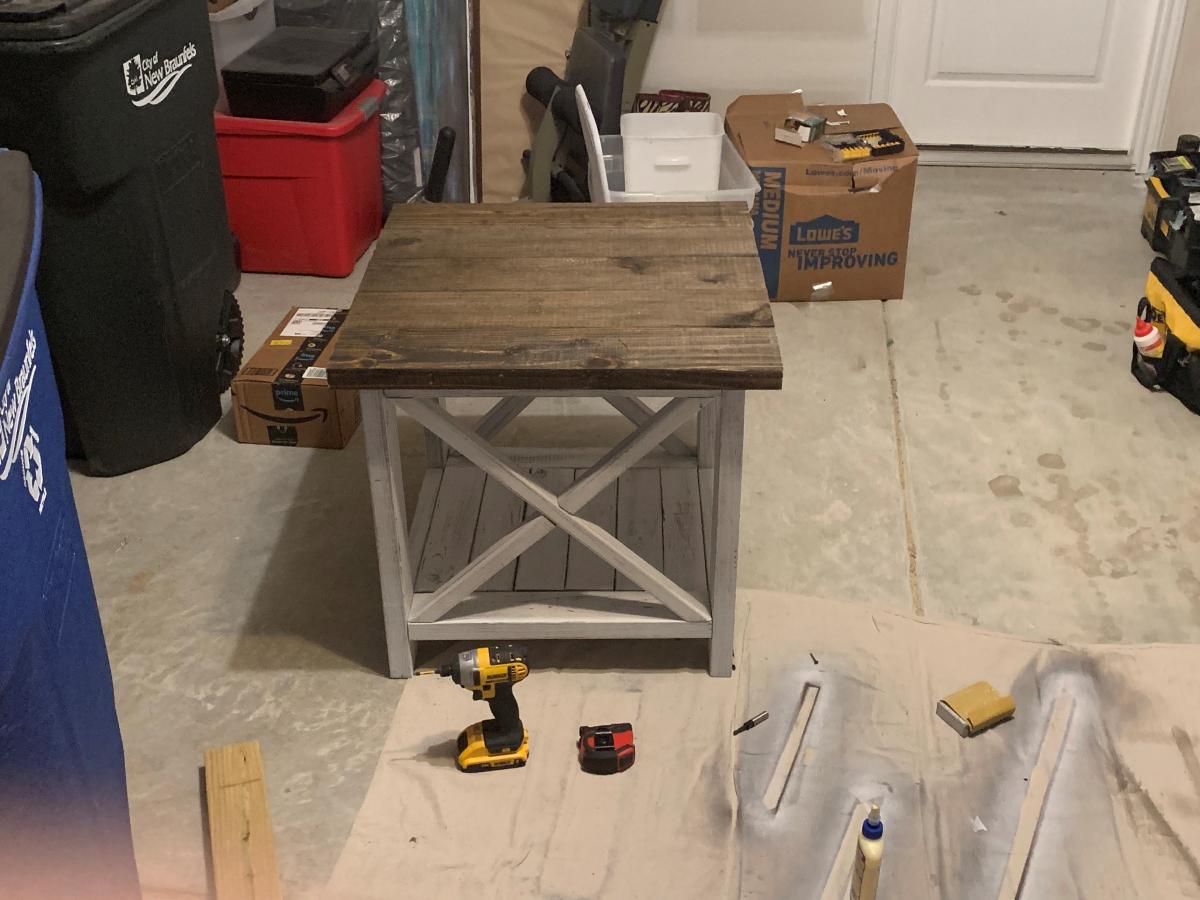
My First Bunkbeds
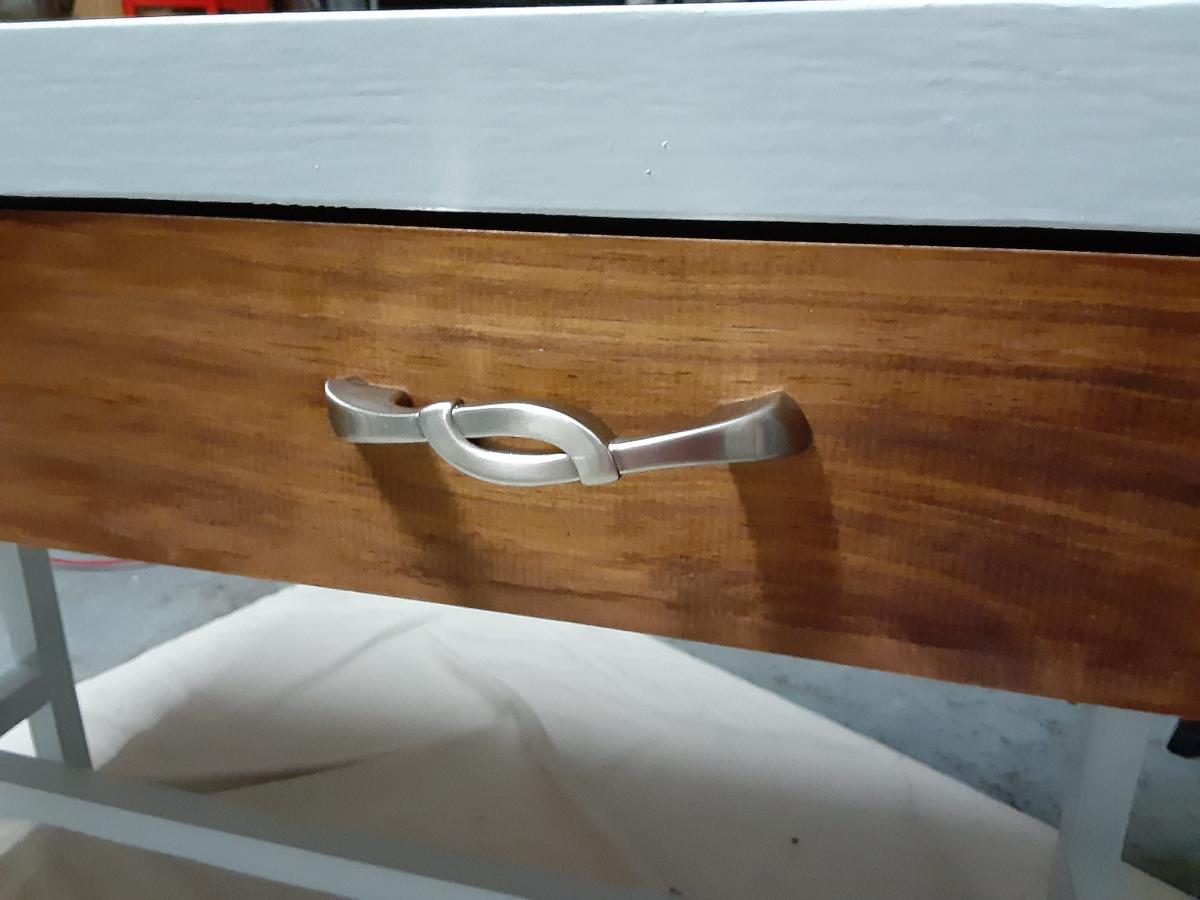
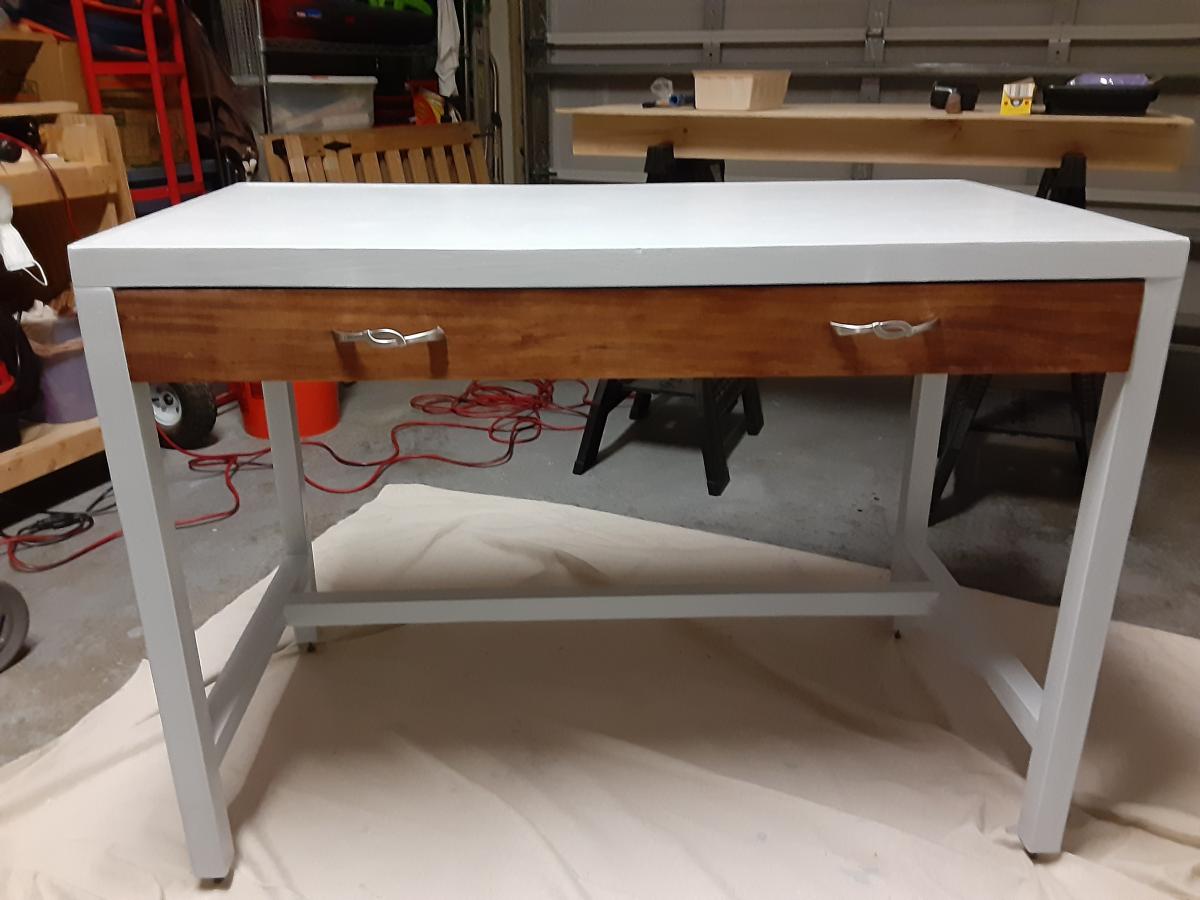
This was the first piece of furniture that I ever built! Plans were very helpful and easy to follow. If I had it to do overagain, I would have painted instead of staining (less sanding required).
Use white maple and maple ply with cedar for the sides and back of the drawers.
I needed an additional desk at work to organize all my paperwork and files. I couldn't find anything that I liked on Office Depot and Amazon in my budget range, then decided to search Ana's site for plans to make my own and at the same time, get to try out my new Kreg Rip-Cut Circular Saw Edge Guide. I purchased lumber from the local big box (note: disappointed to only find 2x2's out of furring strip wood). Anyhow, I followed Ana's plans and couldn't be more happier with the end result! I love the fact that I'll now have a nice big drawer at work!
This was my attempt at the 'Build an Entryway Bench...' project. It was also my first Ana White build.
A few notes:
- I had to modify the length of the bench in order to fit the 12 x 16 inch wire baskets I bought off eBay. Basically, I added 5.25" to all the horizontal pieces.
- I used a jigsaw to the the half-oval cut-outs on the bottom pieces. I got this idea from a similar bench from the Pottery Barn website.
- I routed the front edge of the seat with a round-over bit.
- I also routed the inner edge of the top with a core box bit.
It was amazing how quickly this went with the right tools and a couple mornings. Thanks for checking it out!
-Will
This was my first project from this site...and it will not be my last. thank you so much for all the hard work you put into these great plans.
Built a bunch of benches for Christmas/wedding gifts. It was fun to have them all finished in different colors and line them up for pictures.
We have built this plan twice for our two daughters (Full size mattresses). A similar bed frame at Pottery Barn Teen would have easily set us back about $1500 so these bed plans are truly a blessing! After no luck with a Wayfair wrought iron knockoff bed frame (loud and squeaky!!) we decided to give an Ana White plan a go. So glad we did! We did modify the plans slightly. We mitered all corners and stained all components with a Varathane Golden Oak before final assembly. Although I own and use a Kreg Jig, we wanted the frame to be easily disassembled. We opted for corner braces secured with 6, 1" cap head wood screws per corner (3 per side). Keep in mind miter corners can be a bit tricky but definitely possible with a little patience. PLEASE NOTE: when cutting miters, you will need to account for an additional 4" OD from Ana's written plans. Each 90 degree angle is approximately 2" long. So, if cutting the 75" length( for the mattress length) the miters will be 2" long on each end making the OD length 79". Whether you are going with Miters or butt joints, I would also highly recommend a right angle clamp (Top/Bottom) used during assembly. It is extra expense but so worth the investment!
This is our first project. I mentioned to my mother in law, we were one a mission to try an Ana White project while we were home over Thanksgiving. She surprised us with a kreg jig for Christmas! It is absolutely amazing!! I suggest it to anyone who is considering making this a hobby. Not on screw, is visible. THANKS SO MUCH ANA, WE CAN'T WAIT TO FILL OUR HOME WITH BEAUTIFUL FURNITURE!!
Our kids love this table. Everyone had to put their handprints on it!
I built this bed for my 12 year old daughter. We moved to a smaller house & we needed a way to maximize the use of space in her room. She's also visually impaired, which made the ladder option more dangerous. She could get up a ladder fine, but coming down was an issue. I was thrilled to find a plan with stairs, and I added a handrail for her to help guide her down the stairs. I also put a peel & stick zebra print border around it to tie it in with her bedding & curtains. The rope lights underneath added a cool touch & helped make that dark area more functional.
I couldn’t find 4x4s so I planed 2x6s flat and glued them together. Used it for the first time yesterday for our Thanksgiving dinner.
This was my first wood working project. I am really starting to enjoy it.
Tue, 01/22/2013 - 13:18
Your first project turned out beautiful! Way to go!
Tue, 01/22/2013 - 13:19
Your first project turned out beautiful...way to go!
Someone had asked me to build them a tv stand and this is what I did. Thank you for making the plans so clear.
Thanks for the plans! Modified the scale, really happy with the results.
Using the Michaela Island plans, I modified them for this croquet-inspired island, complete with black iron foot rail, sewing spindle drawer-pulls, and iron-supported cantilevered top. The extra boards making up the overhang are also supported by a trio of 1/2-inch dowels drilled through several of the planks.
The top was stained using several colors, with sanding in-between, and finished with paste wax.
The bottom shelf is supported, albeit not visibly, using a croquet mallet head.
Thu, 12/30/2021 - 16:46
How did you make the countertop since it hangs over the edge?
I needed a nice way to hide our TV electronics and at the same time serve as a bench for seating. I could not find plans for ANYTHING like this anywhere! I decided to take the Rustic X Console table plans and change the dimmensions around and it worked fantastic. I can now hide everything I need to in the baskets with the wiring exiting through the basket handholes and at the same time I do not have a useless media cabinet taking up space, but instead have additional seating in our living room for 3 more people!
This was my first furniture project, and I modified these plans slightly to get 2 drawers, as well as a smaller depth of the desk. I took this photo before I added drawer pulls, but I love how it turned out!
I used Anna's plan as a guide nut put my own spin on it. All mitered corners and added Coyote shilloute's. This for our southwest home.
Tue, 12/08/2020 - 11:31
Love your one of a kind table! Thank you for sharing your work:)
This table filled two needs at once for us: we needed a dumbbell or free-weight rack ($50 and up retail), and we needed some kind of desk-like surface for our home gym area that could withstand us two jump-roping fiends (um, maybe that's just my husband). Basically, it needed to be able to hold a lot (a Lot) of heavy metal stuff and take a beating while NOT Falling Over. The trestle desk was my biggest inspiration, and I guess I just stole the metal stretcher idea from that Pottery Barn dining table. It doesn't even really seem to need the metal stretcher, though...this table is beyond-my-wildest-dreams sturdy, even though it is standard counter height. The metal bar was about $17, so that's a big savings, if you leave it out. You MUST use a compound miter saw for this project. OR...you must be flexible about working with irregular cuts and joints. Also, I'm not sure I'd attempt butt-jointed 2x4's without pocket holes (or biscuit joints, I guess?), but that might just be me. I think this project could have taken only a single day if I hadn't screwed up just about every step of the way. I'm not the only one, right? You can read about a lot of those lovely embarrassments on my blog :) If you'd like the SketchUp model, it is available in the 3D Warehouse as "Dumbbell Table".
I made the top removable by attaching blocks to the inside corners of the apron and using a spade bit to drill a hole. Then attached hanger bolts to the table top and fastened with washers and wingnuts.
First atttempt at distressed farmhouse end table.