Community Brag Posts
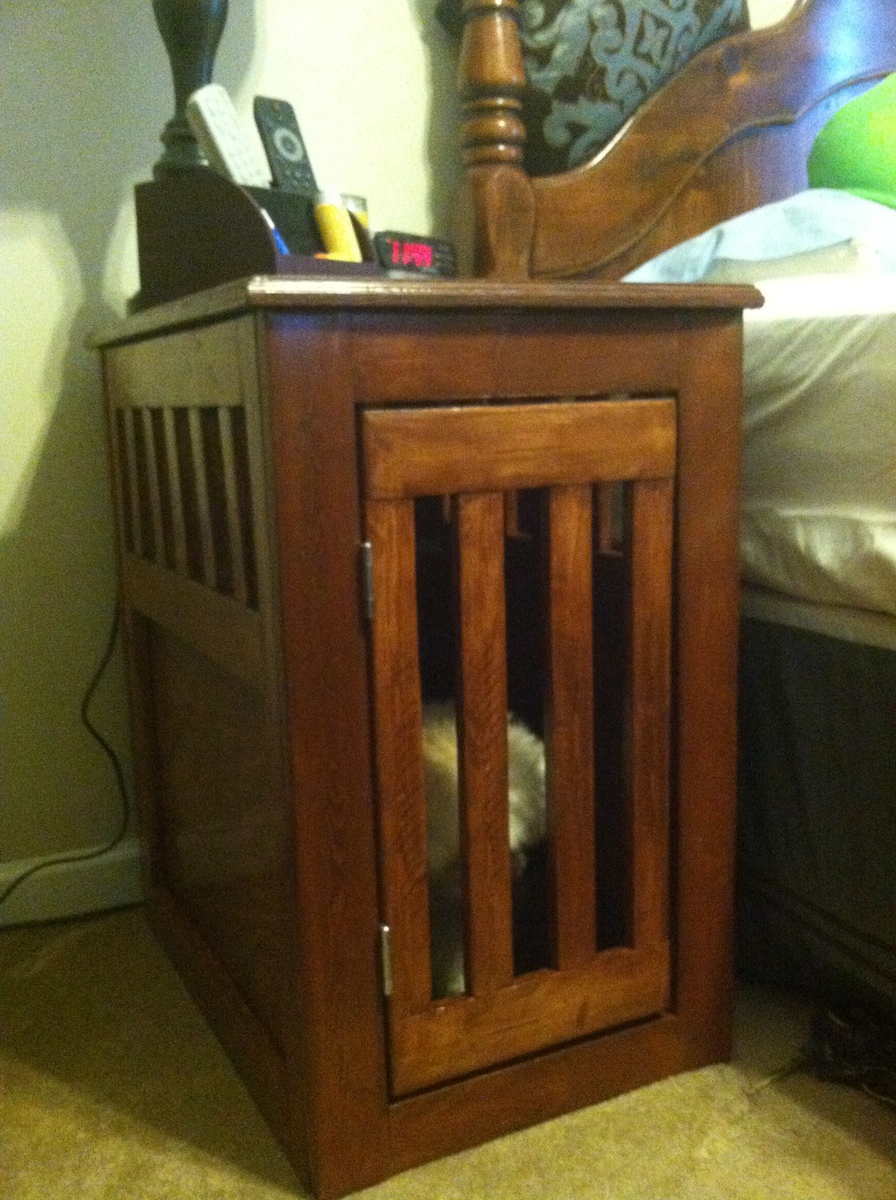
Modified for Maltipoo

I shopped for these types of crates long ago, but resigned not to buy one because the professionally built ones were way too expensive ($400-$600!). So I was so happy when I saw these plans via Pinterest and got to work! I modified the dimensions to make the shortest side of Ana's original plans to be the longest side of my crate. Which ended up to be the exact width and depth of my Maltipoo's wire crate. This was my first building project ever (not counting high school shop class over 10 years ago). It definitely took longer than I expected and if I could do it all over again I learned a few lessons that I will implement when I make a large crate for my Golden Retriever, but overall the directions were easily followed and we had fun experimenting with things that work and things that don't.
1) Pick good wood-- even for the 1x3 and 1x2 pieces we just went to a big box hardware store and thought we could use just anything, but quickly found out that it was warped and cracked easily when we tried to start assembly.
2) Pre-drilling is essential- especially for the thin cuts of wood which were already soft and prone to cracking. When we predrilled we were able to avoid these headaches.
3) Invest in a good wood for the top- Since we were using as a night stand, we decided we would like to use a nice wood for the top of the crate since that is ,mostly what we would see and come in contact with everyday. We found some beautiful Birch wood on sale (plus they gave us an additional discount for a footprint--which was easily sanded off) and it was really worth it. It has some nice texture and grain patterns which really came out when we stained. Worth it!
3) I wish I would have added a drawer- Since I am using this as a night stand, and my dog is so tiny, she does not need all that head room. I could have easily extended the open slats further down the sides and installed a drawer in the upper space for bedside storage. My Golden will need all the headspace in her crate so this is something we still wont try with our next build, but I wish I would have thought of it for this one.
Built from Plan(s)
Estimated Cost
$150-200
Estimated Time Investment
Weekend Project (10-20 Hours)
Finish Used
Wood stain (we just matched it closely to our bedroom furniture) and Polyurethane
Recommended Skill Level
Beginner
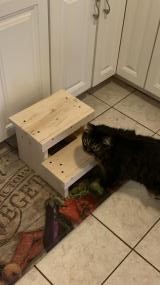
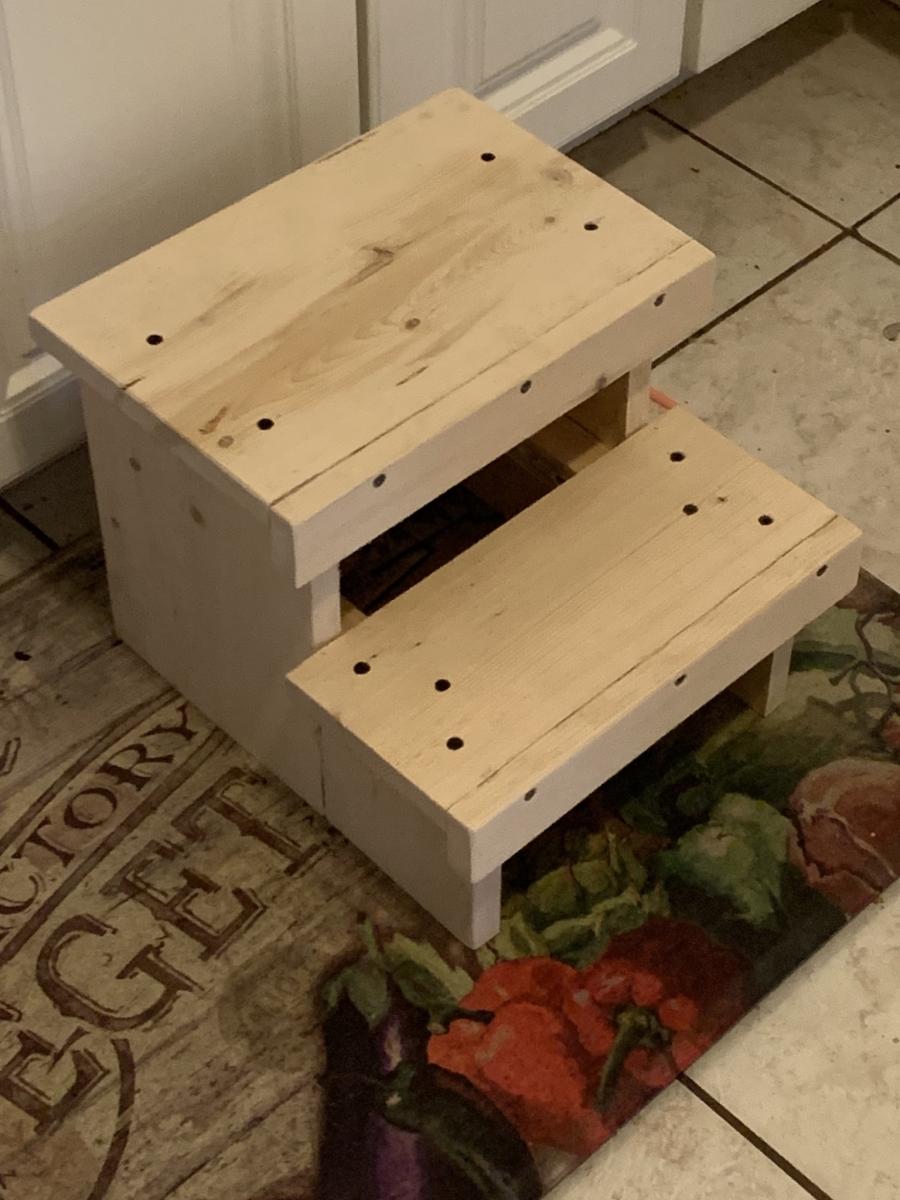
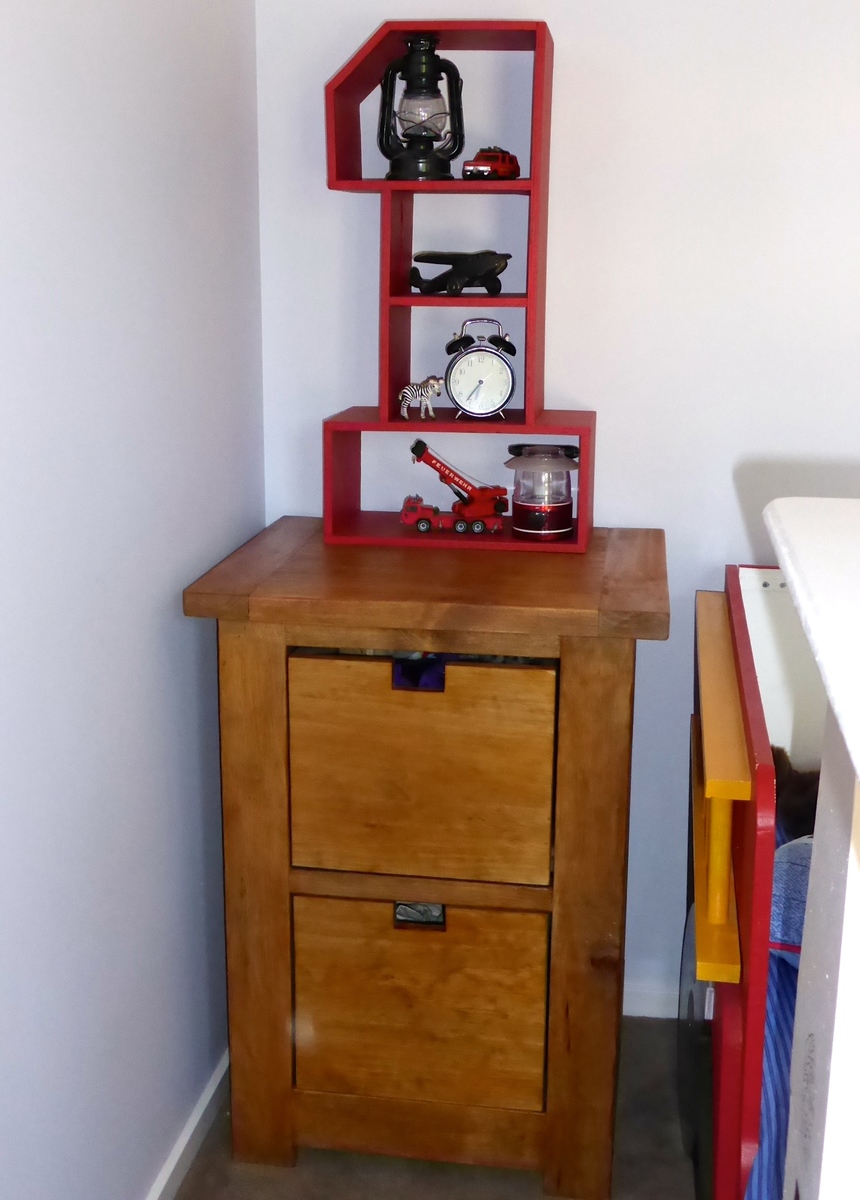
mini dumpster dresser

A modified smaller version of the dumpster dresser.
Built from Plan(s)
Estimated Time Investment
Day Project (6-9 Hours)
Recommended Skill Level
Intermediate
Comments
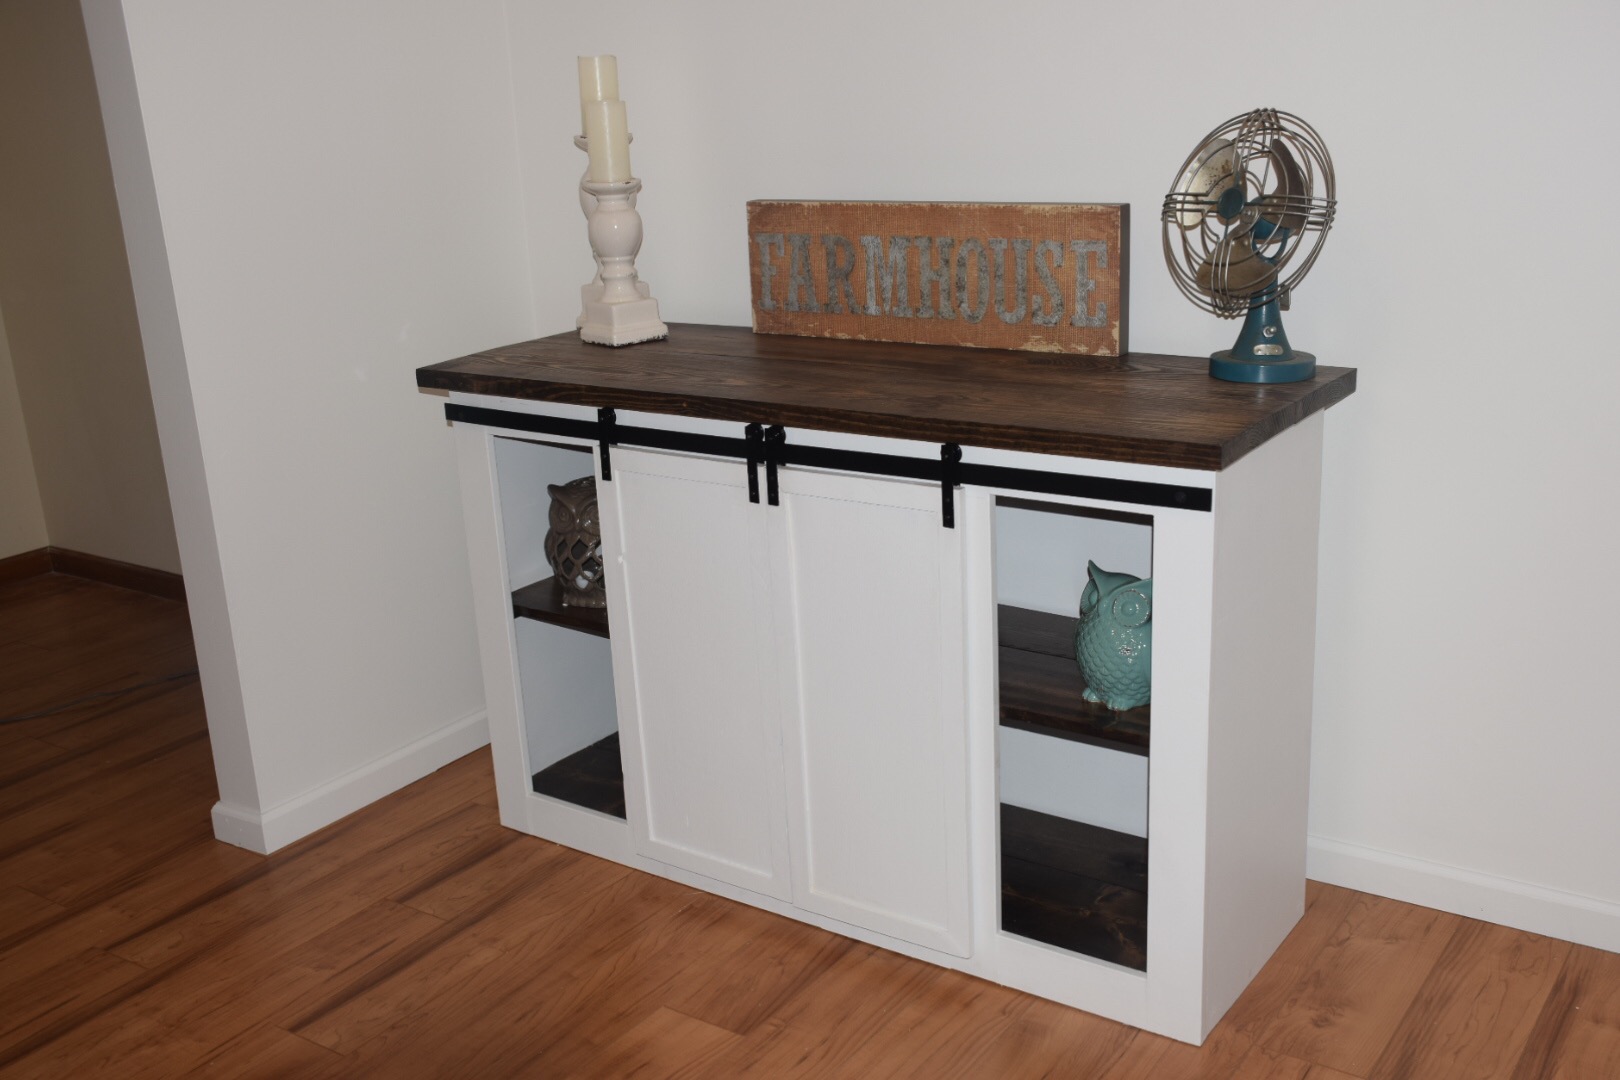
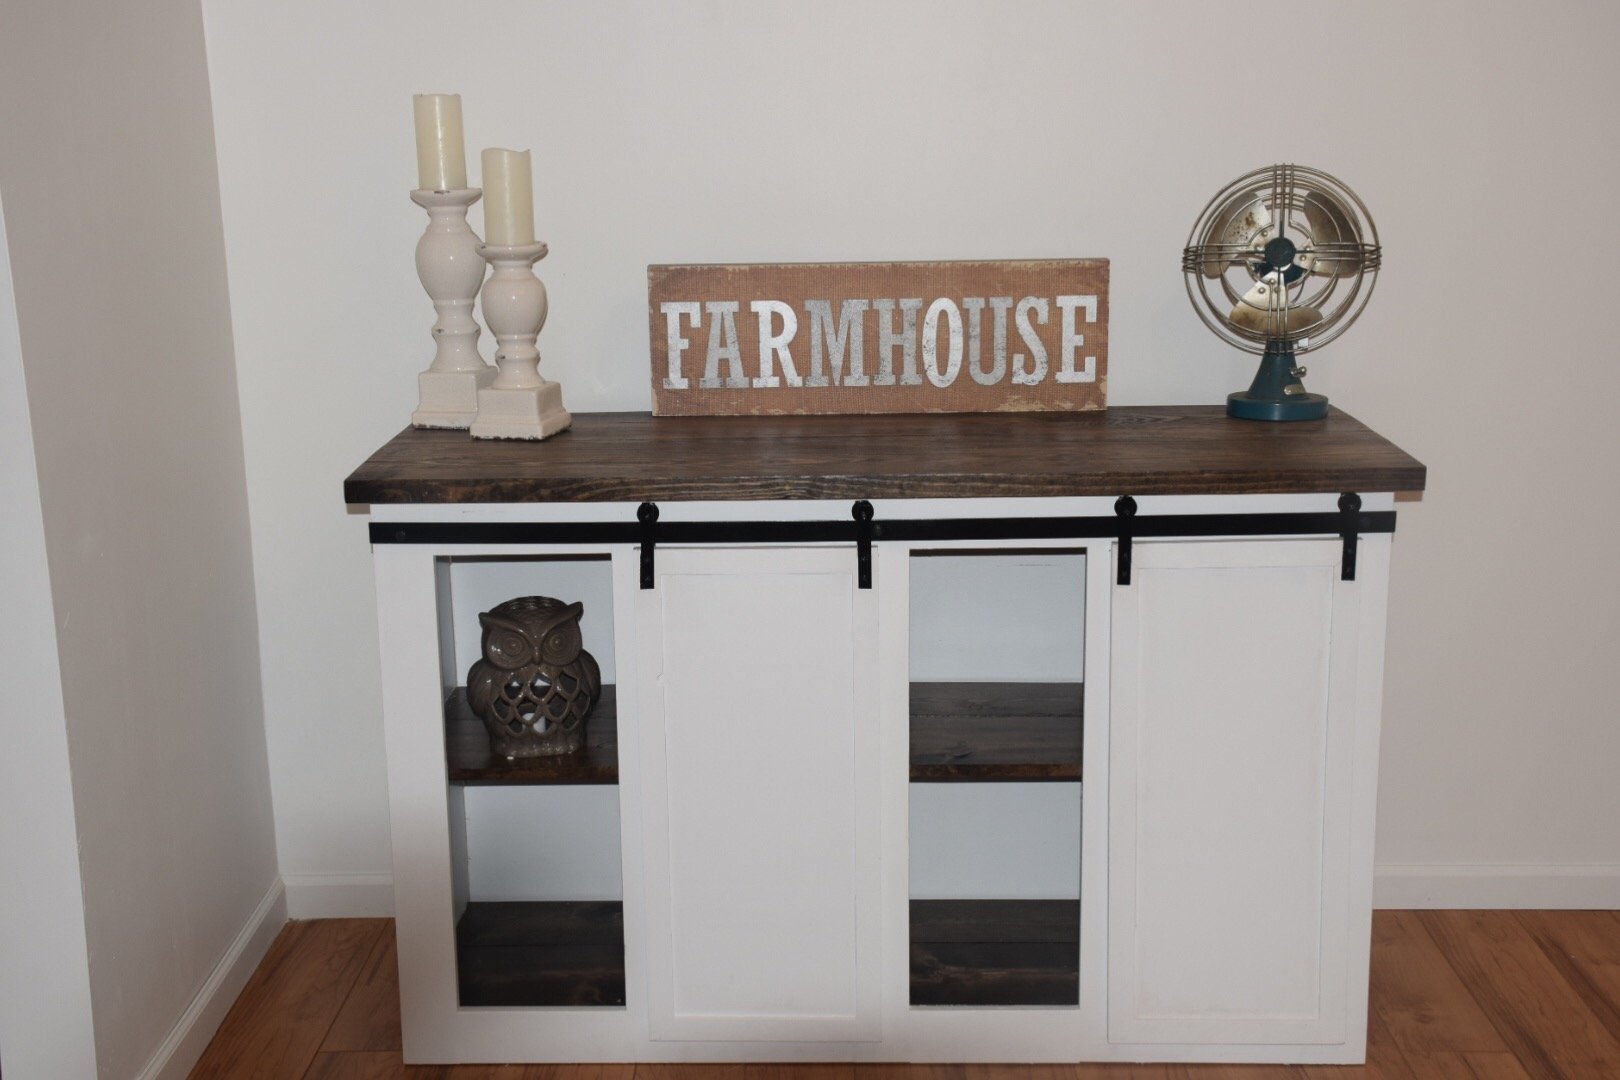
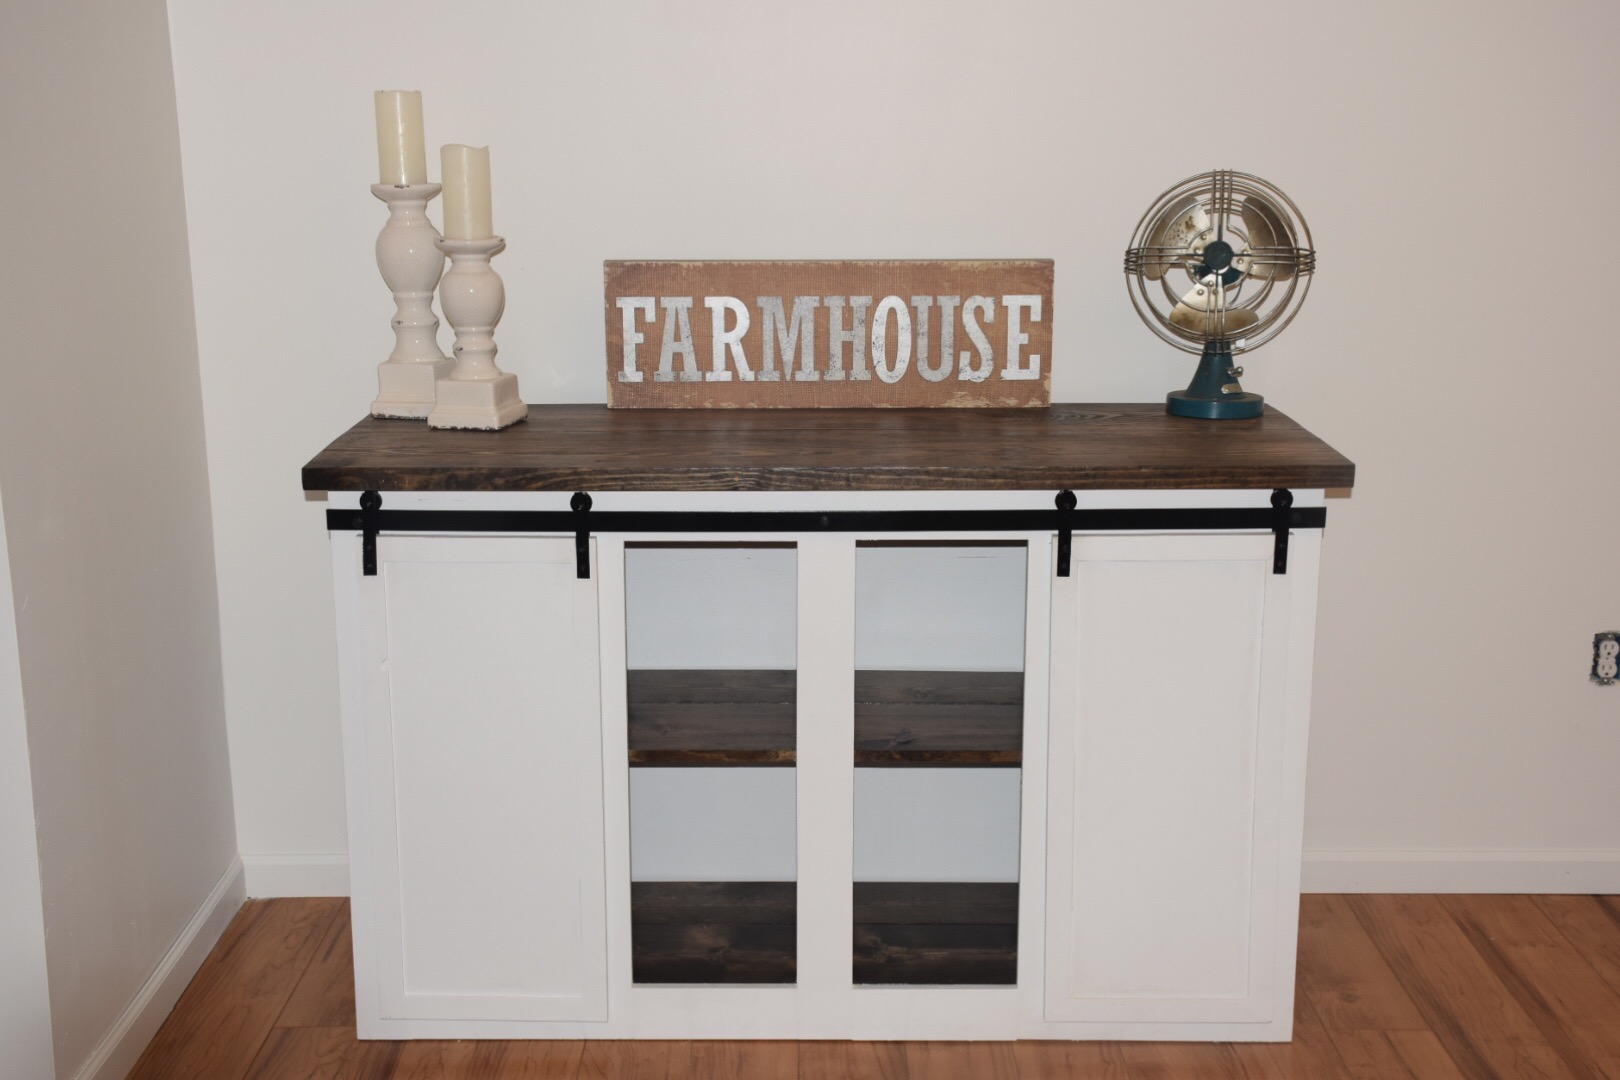
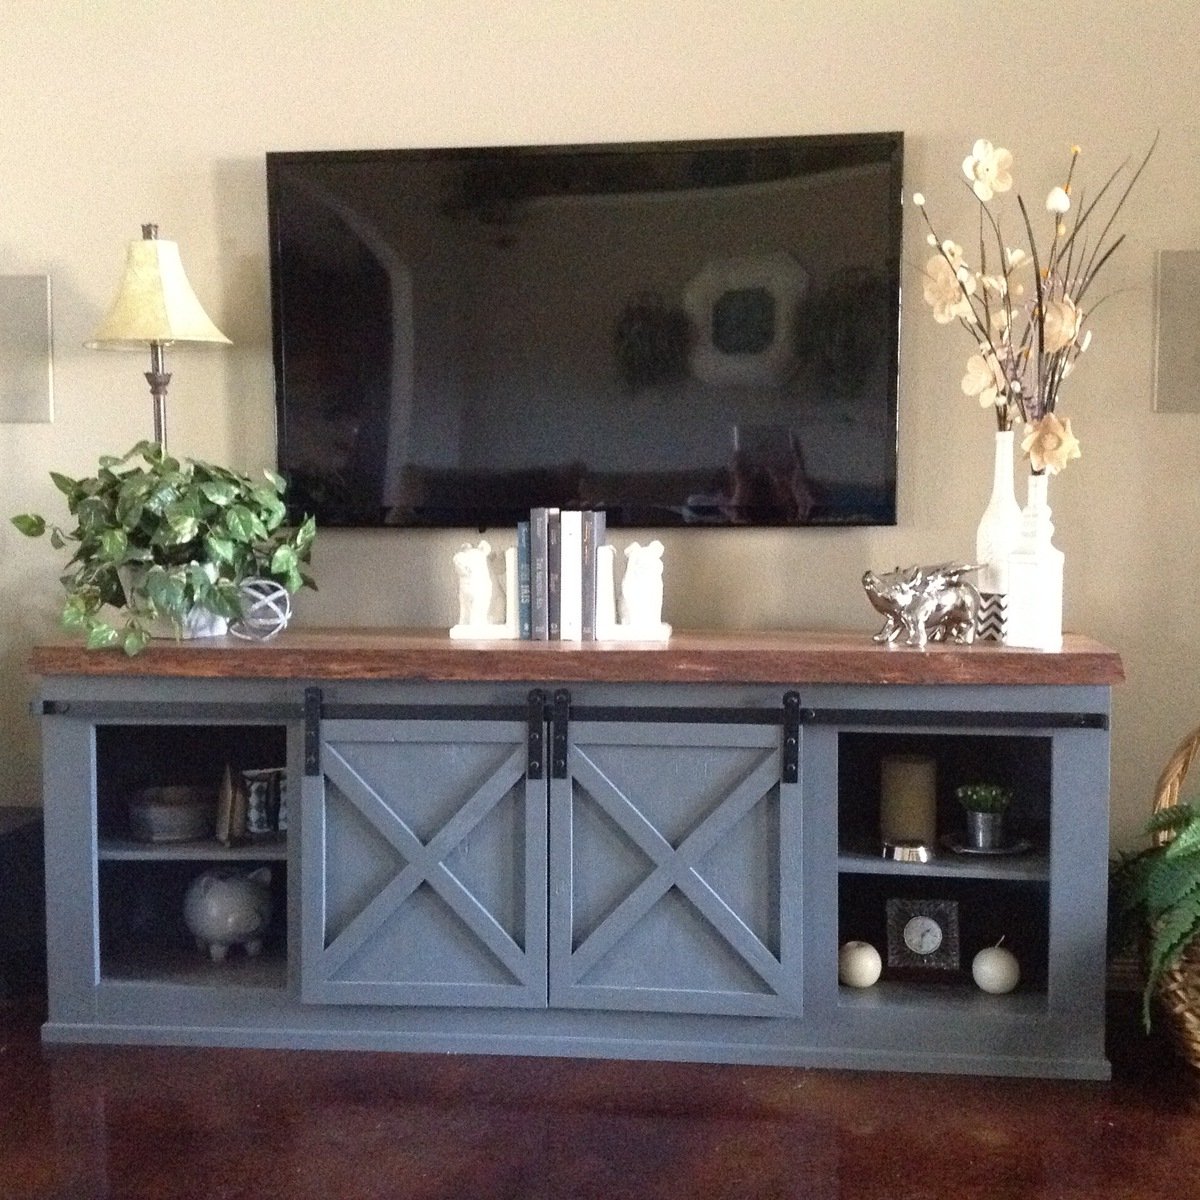
Barn door entertainment center
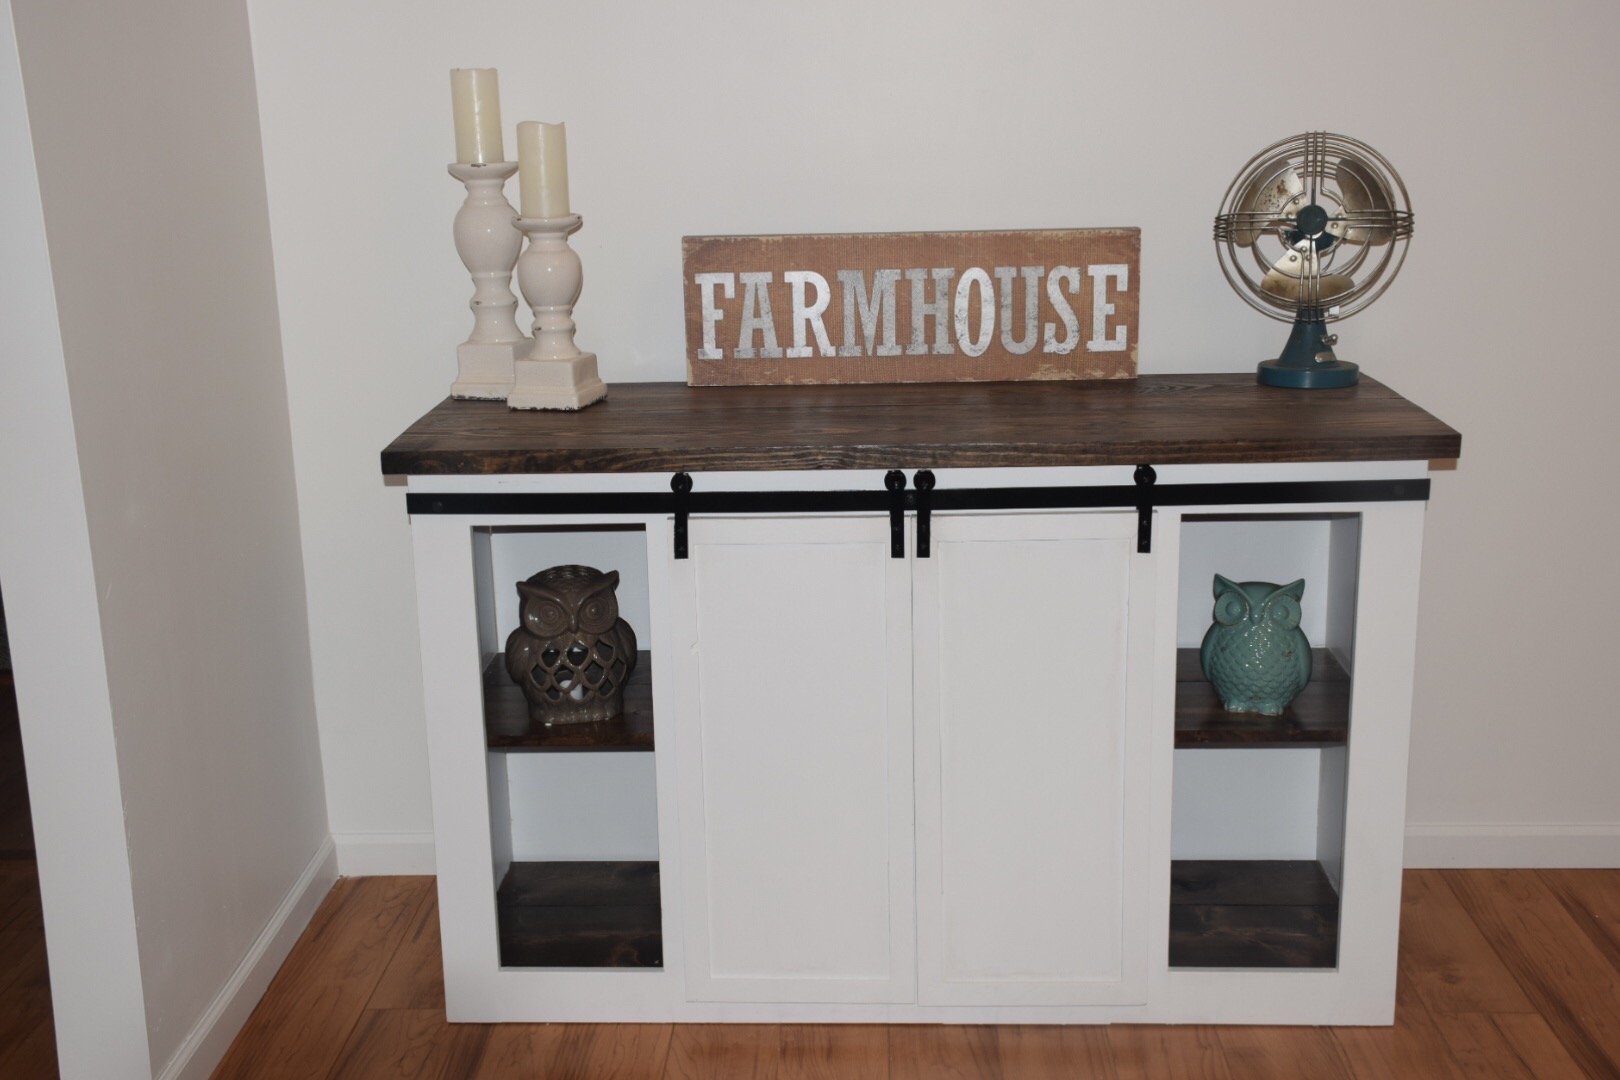
Barn door slider with all 3 shelfs stained dark walnut with a white cabinet
Built from Plan(s)
Estimated Time Investment
Weekend Project (10-20 Hours)
Finish Used
Dark walnut and white paint with several coats of poly
Recommended Skill Level
Intermediate
Comments
Mon, 02/20/2017 - 15:12
Where do I find the plans
Where do I find the plans I have looked everywhere for the sliding barn door console plans
Planter box's
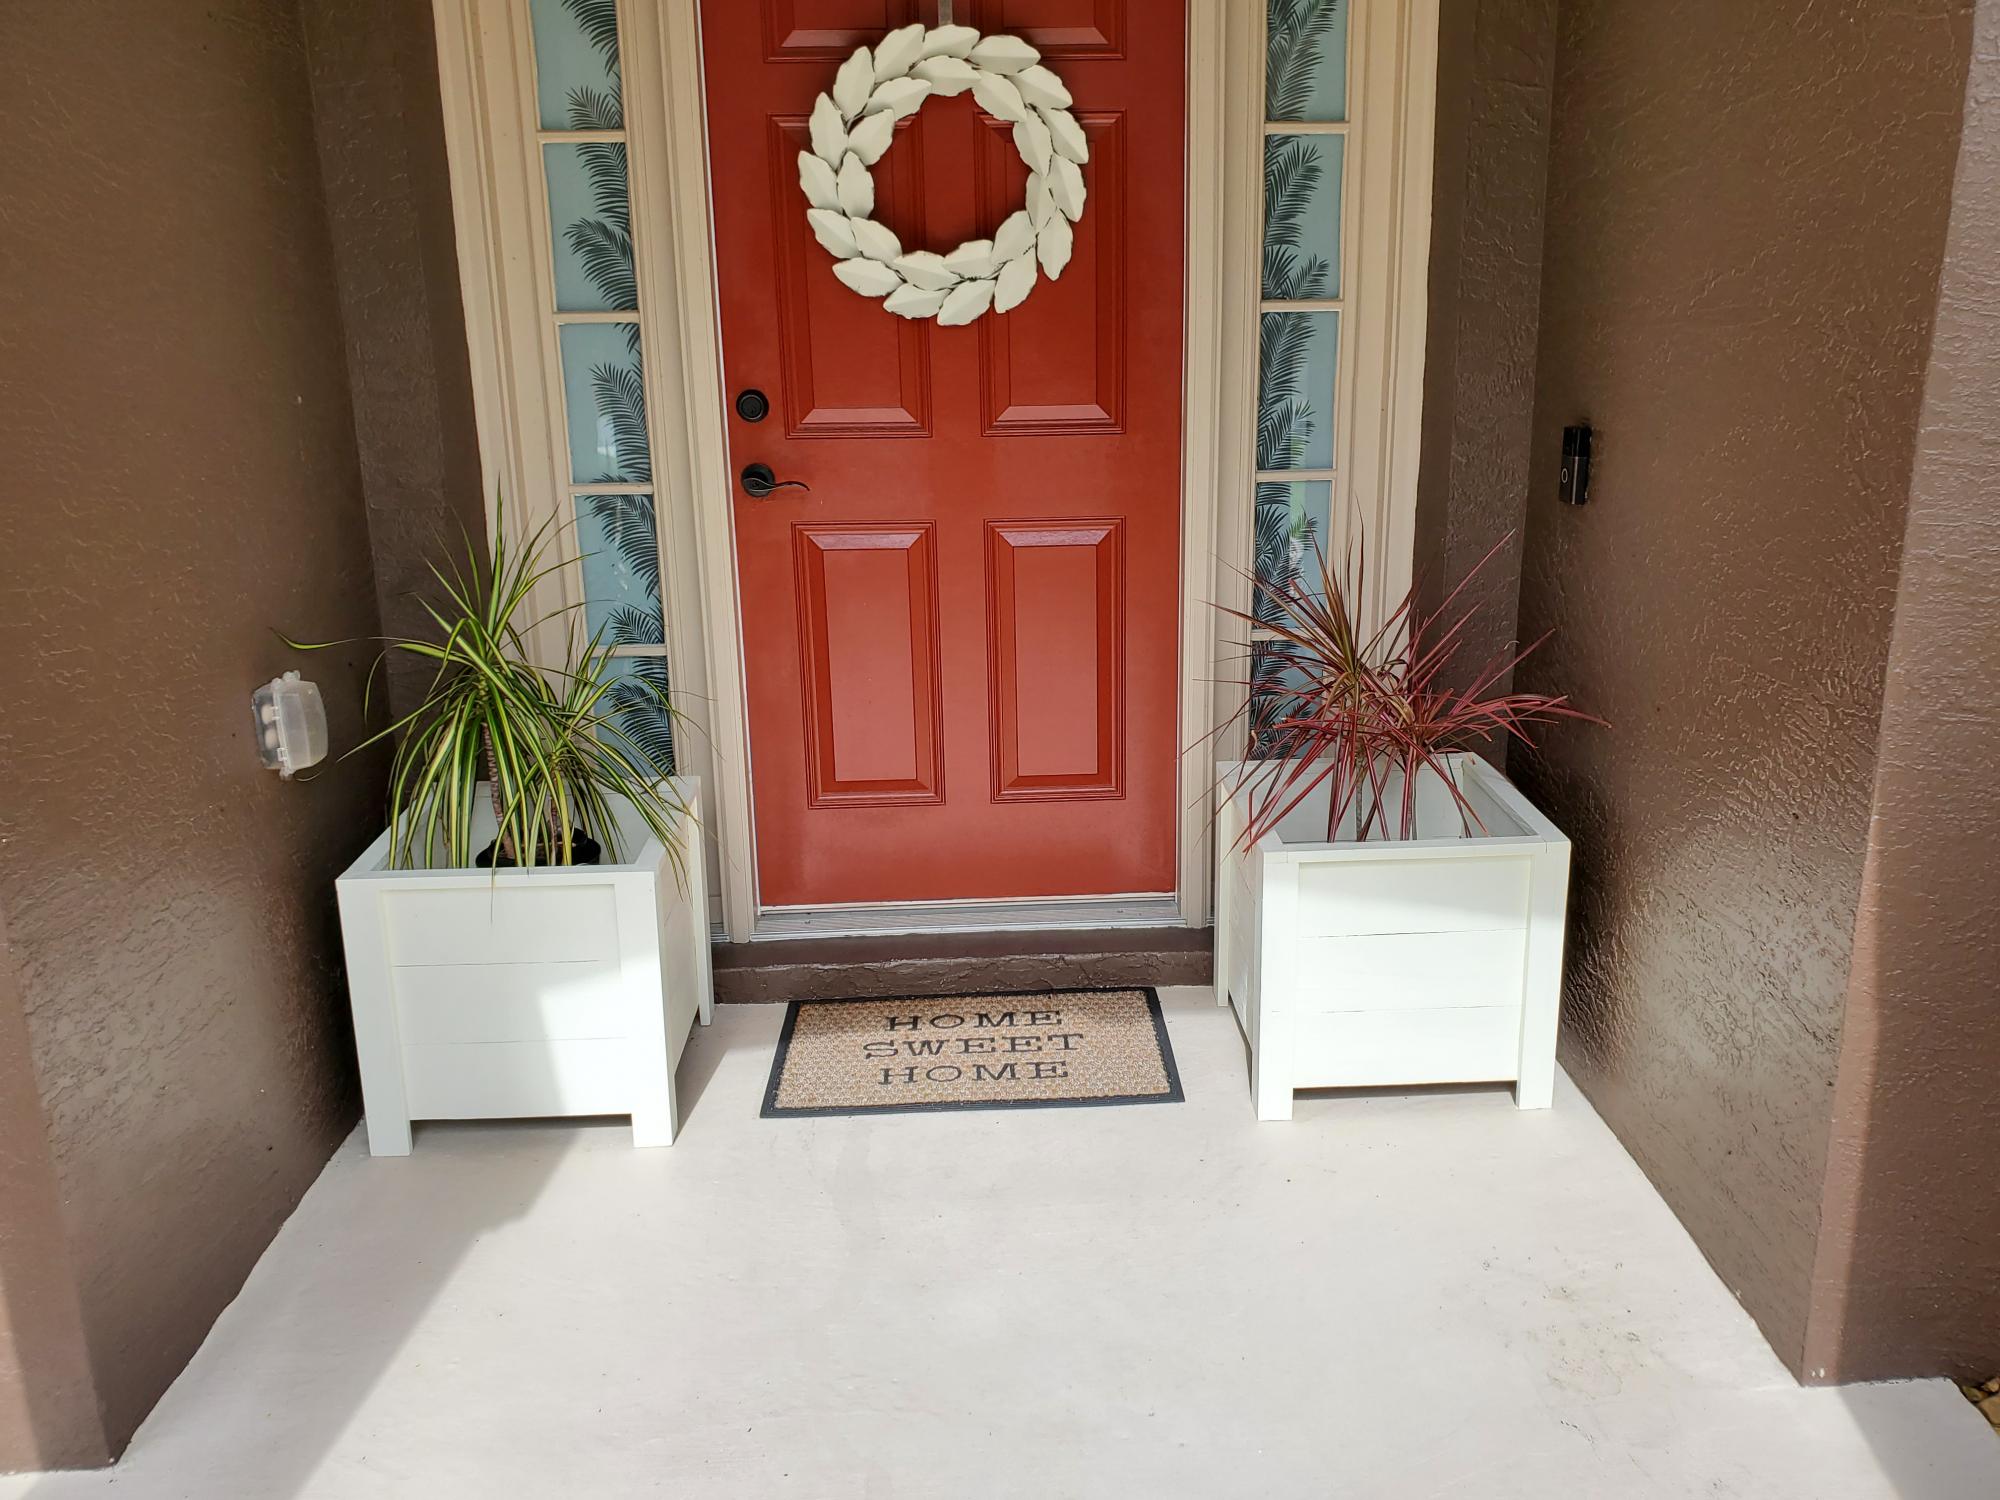
The great plans to follow for this project made it much easier.
Built from Plan(s)
Comments
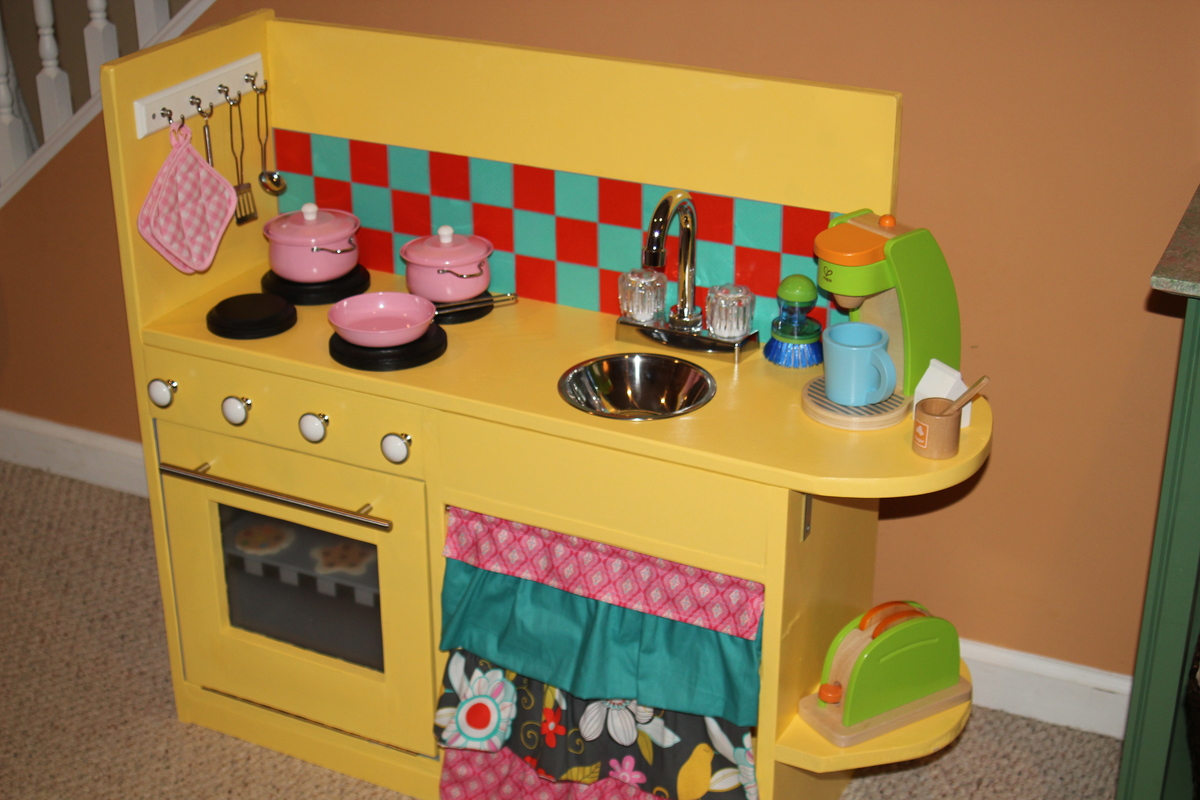
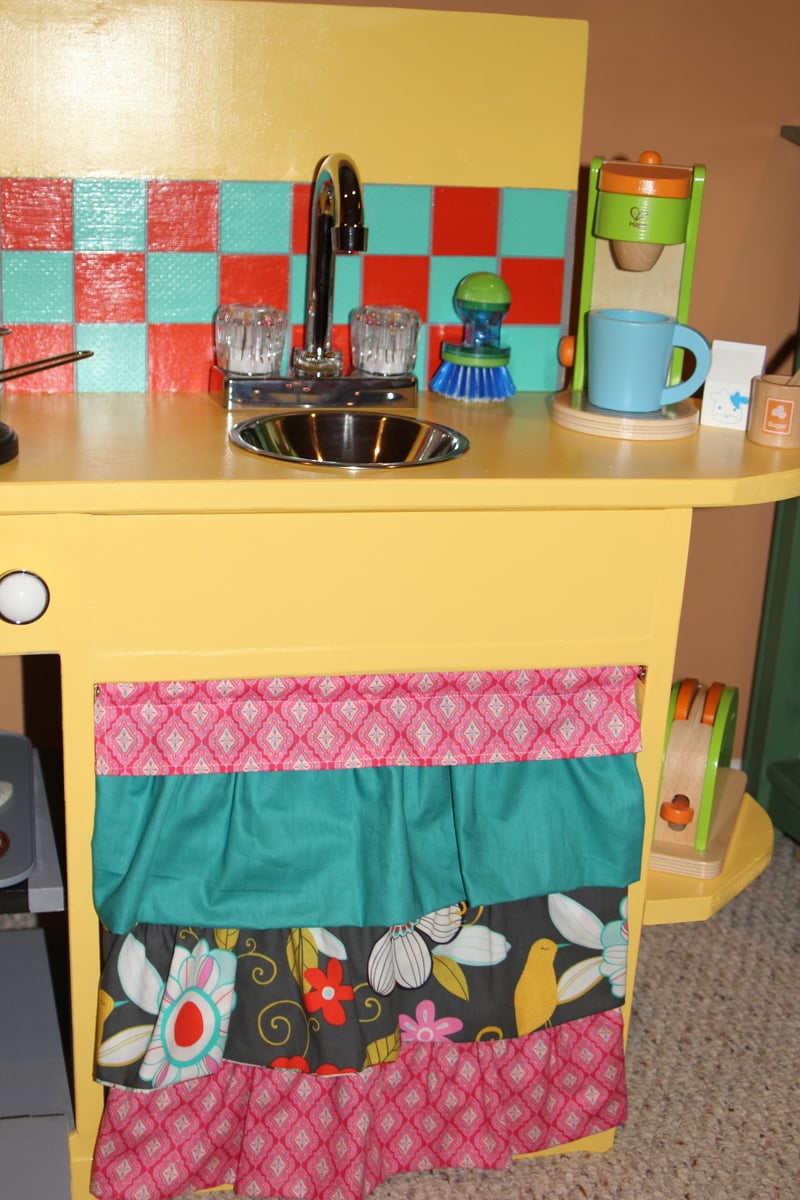
One Piece Play Kitchen
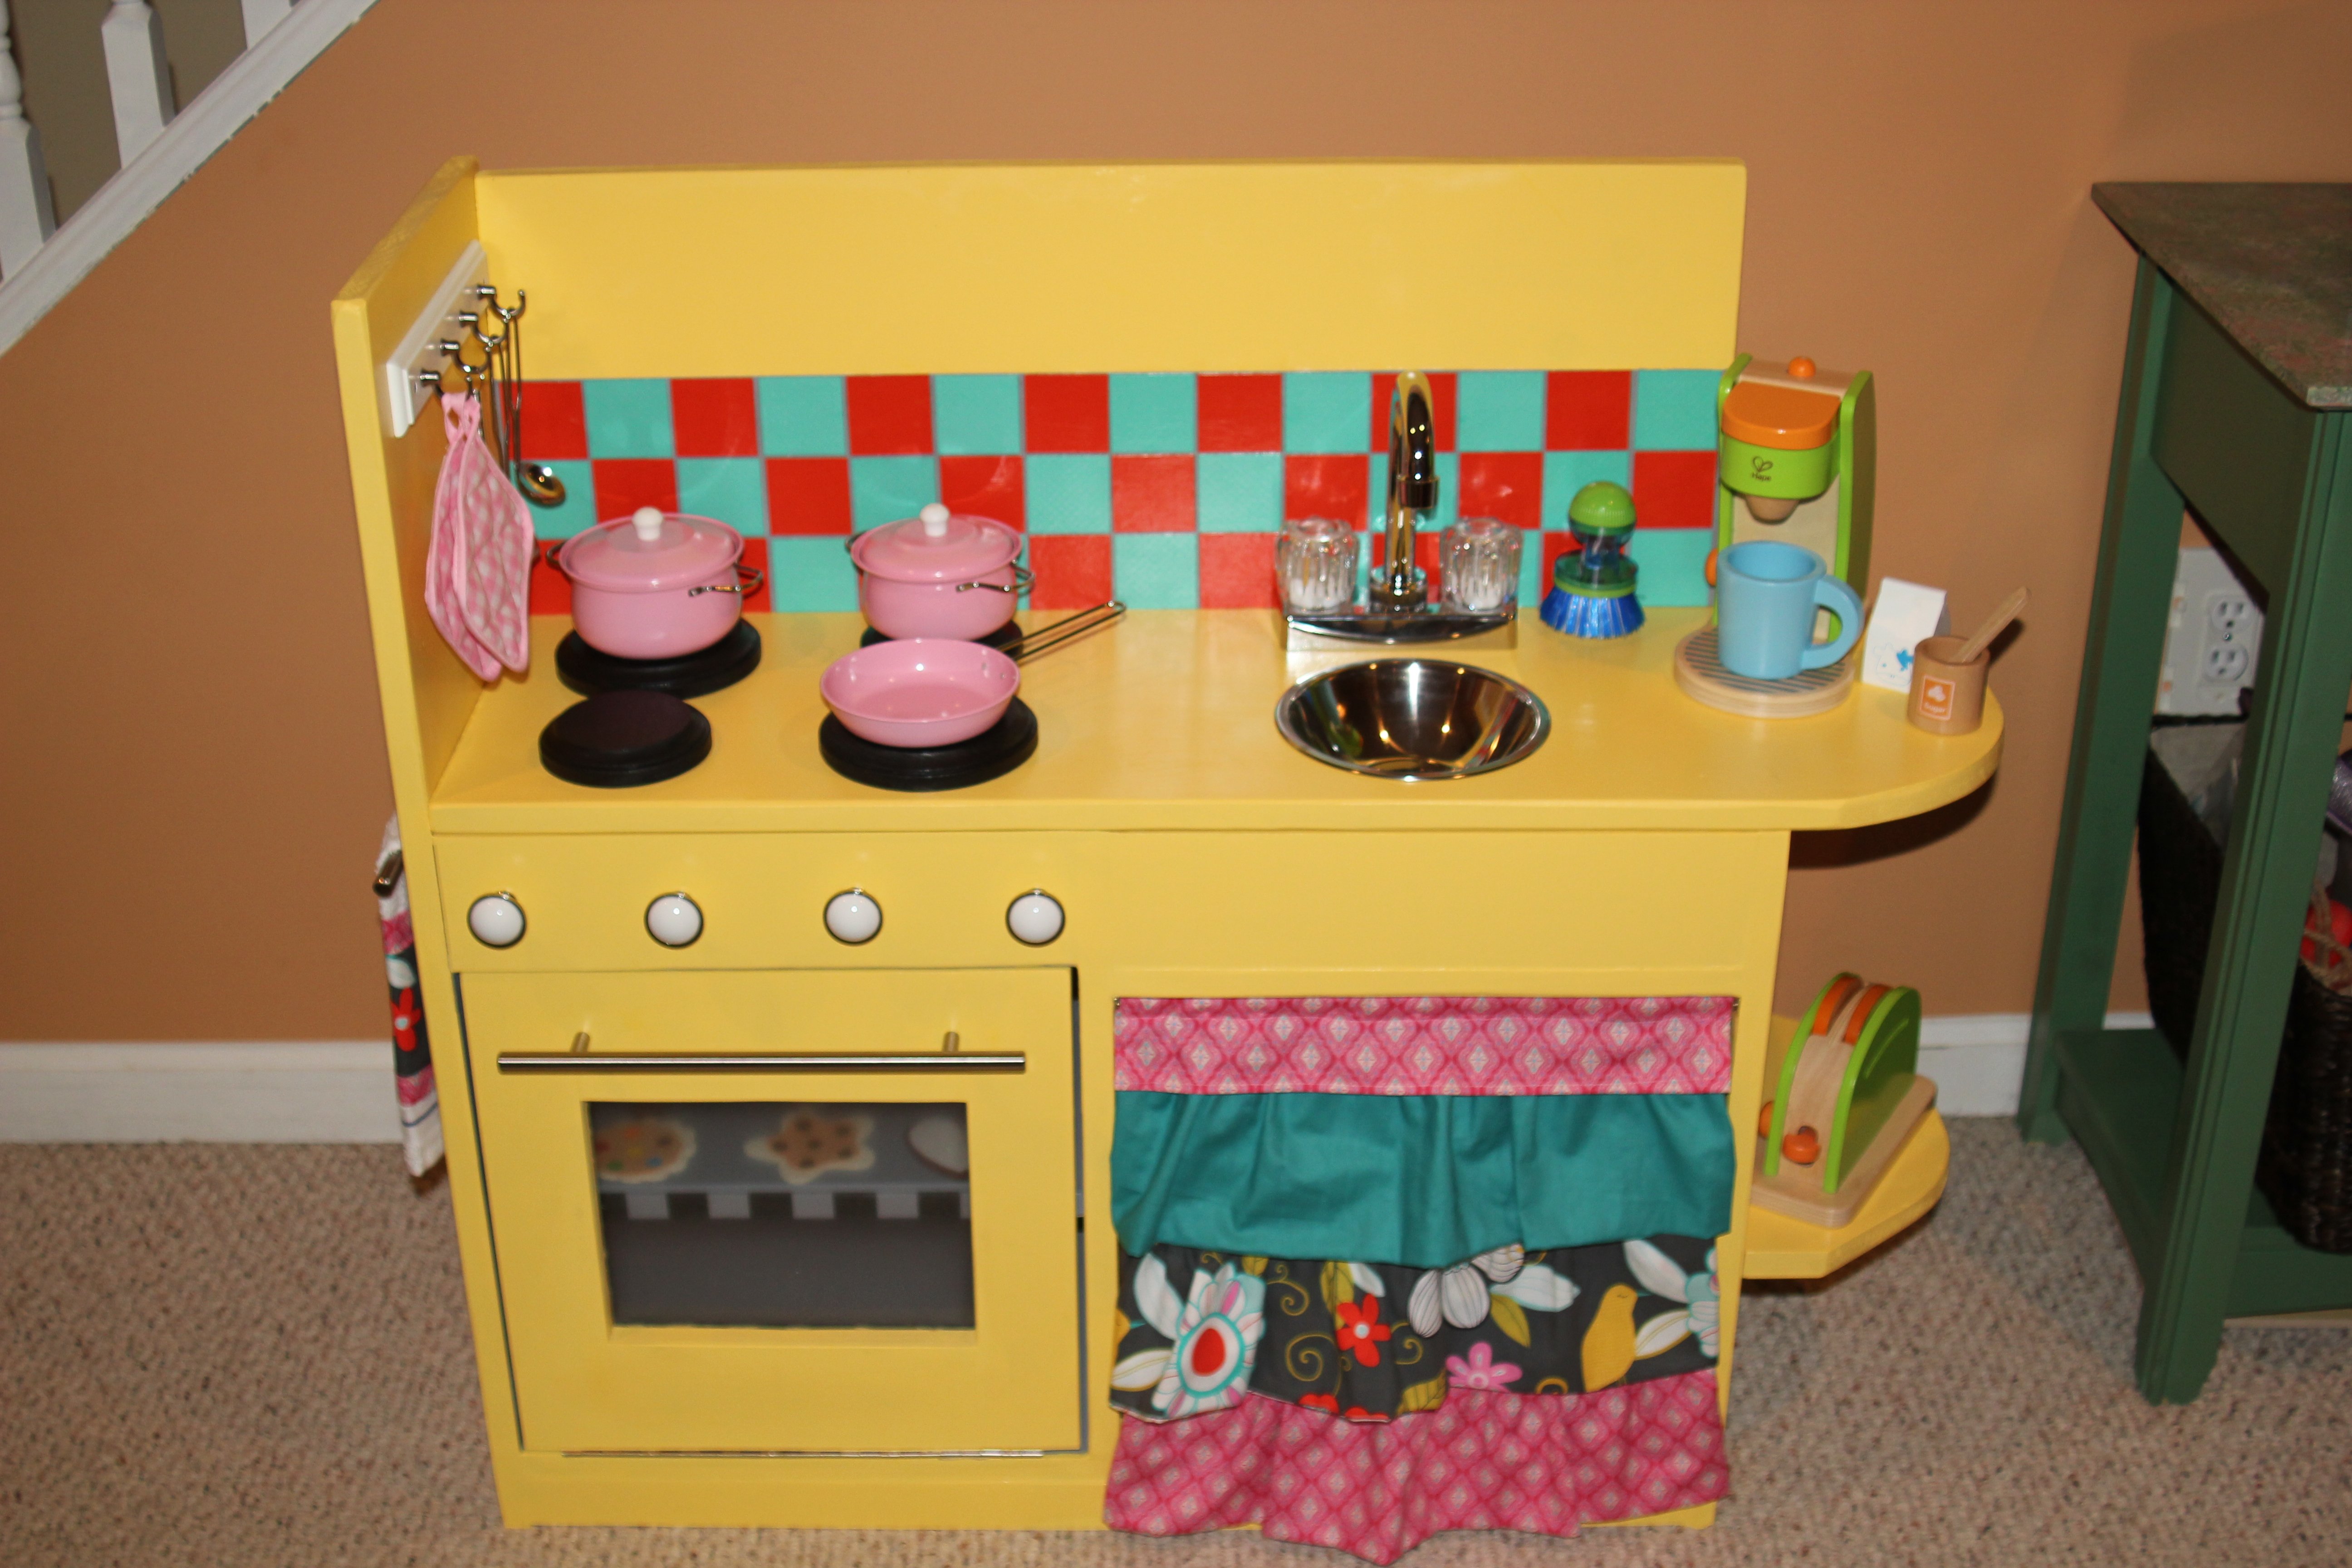
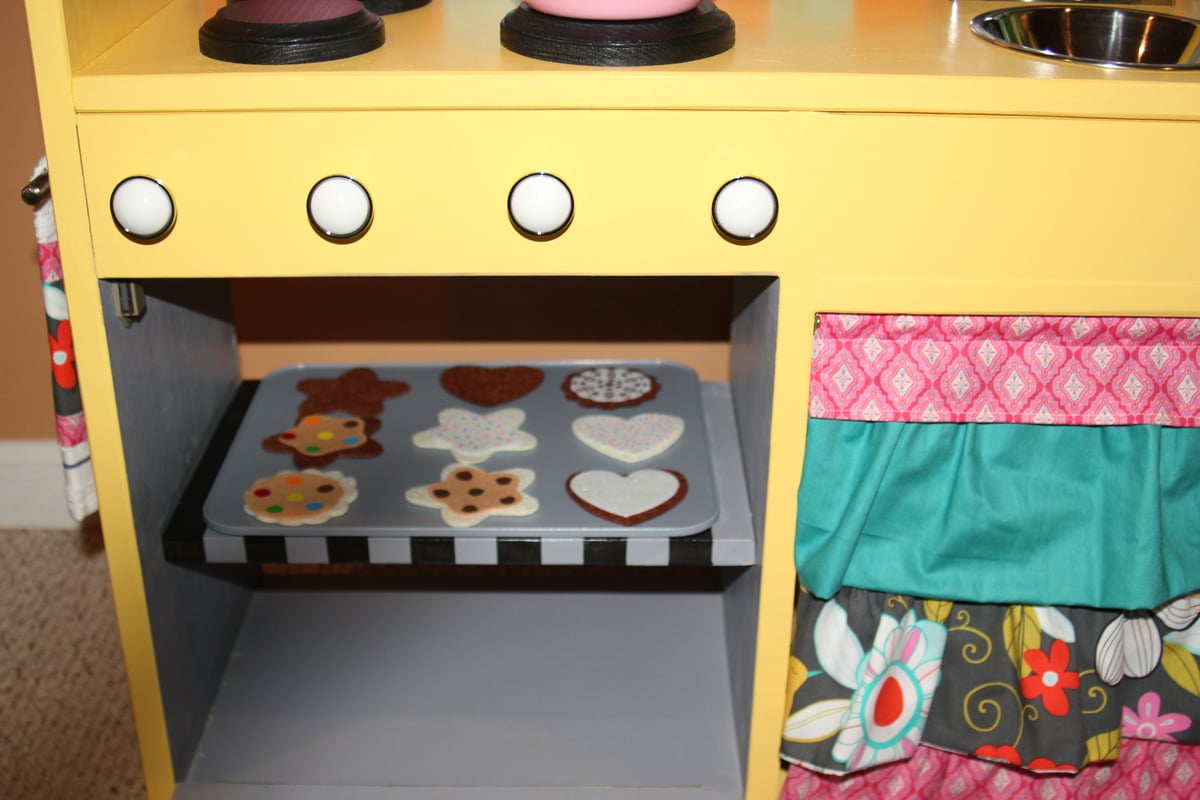
I decided to modify the one piece kitchen plans for just a stove and sink as I wanted something a bit smaller. I added a shelf (or rack!) to the oven and "tiled" the backsplash with scrapbook paper and Mod Podge. The burners are wooden plaques from Hobby Lobby that I painted with chalkboard paint and on the side outside of the kitchen (not pictured) is a chalkboard and towel rack. The Kreg Jig was incredibly nice to have for this project but I did add L-brackets to the outside shelves in case a lot of weight (i.e.. a 30 lb toddler) was placed on them.
Estimated Cost
$100
Estimated Time Investment
Day Project (6-9 Hours)
Finish Used
2 coats Olympic Plus in Egg Yolk
Recommended Skill Level
Beginner
Comments

Thu, 01/10/2013 - 14:09
I wish we had room in our
I wish we had room in our house for this! It is so cute & i know my lil miss would love it!!
Wine Rack
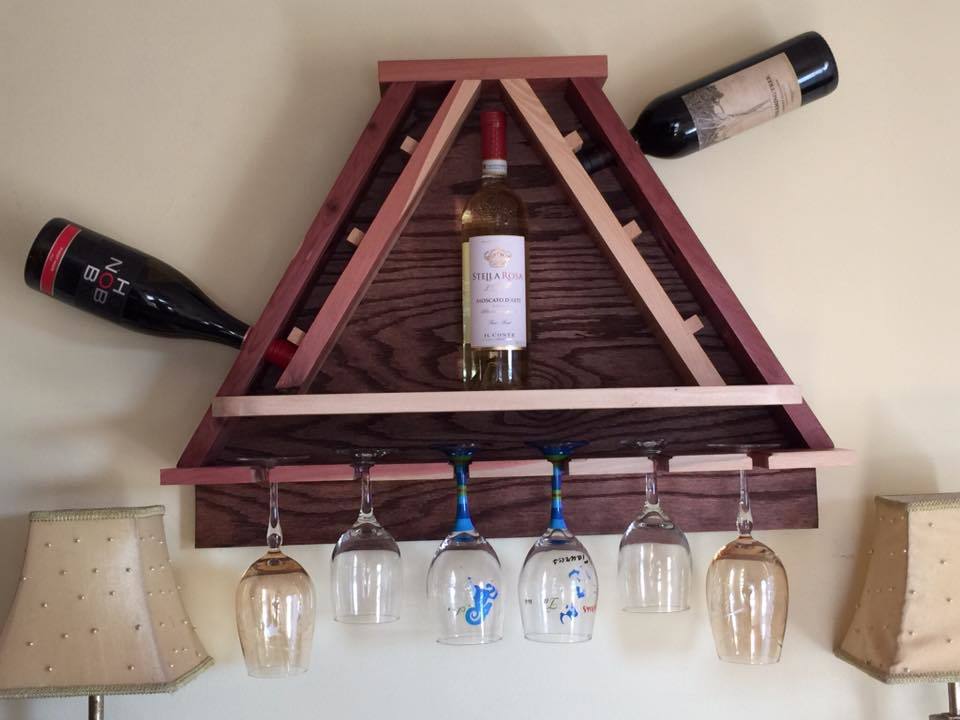
For our 5th (Wood) Anniversary I built this A-Frame Wine Rack out of Eastern Red Cedar and Birch. I found the plans on an Australian Websiite so had to convert metric to sae (hardest part of the entire project). It was easy to do and took two days with drying time. If you would like the plans let me know.
Thanks for looking!
Estimated Cost
Less than 100.00.
Estimated Time Investment
Weekend Project (10-20 Hours)
Finish Used
Water based Polyurethane.
Recommended Skill Level
Beginner
Comments
Sun, 02/20/2022 - 03:26
Planes for wine rack
I just discovered your web site and I love it.
How do I order plans. I would like the plans for the A framed wine rack .
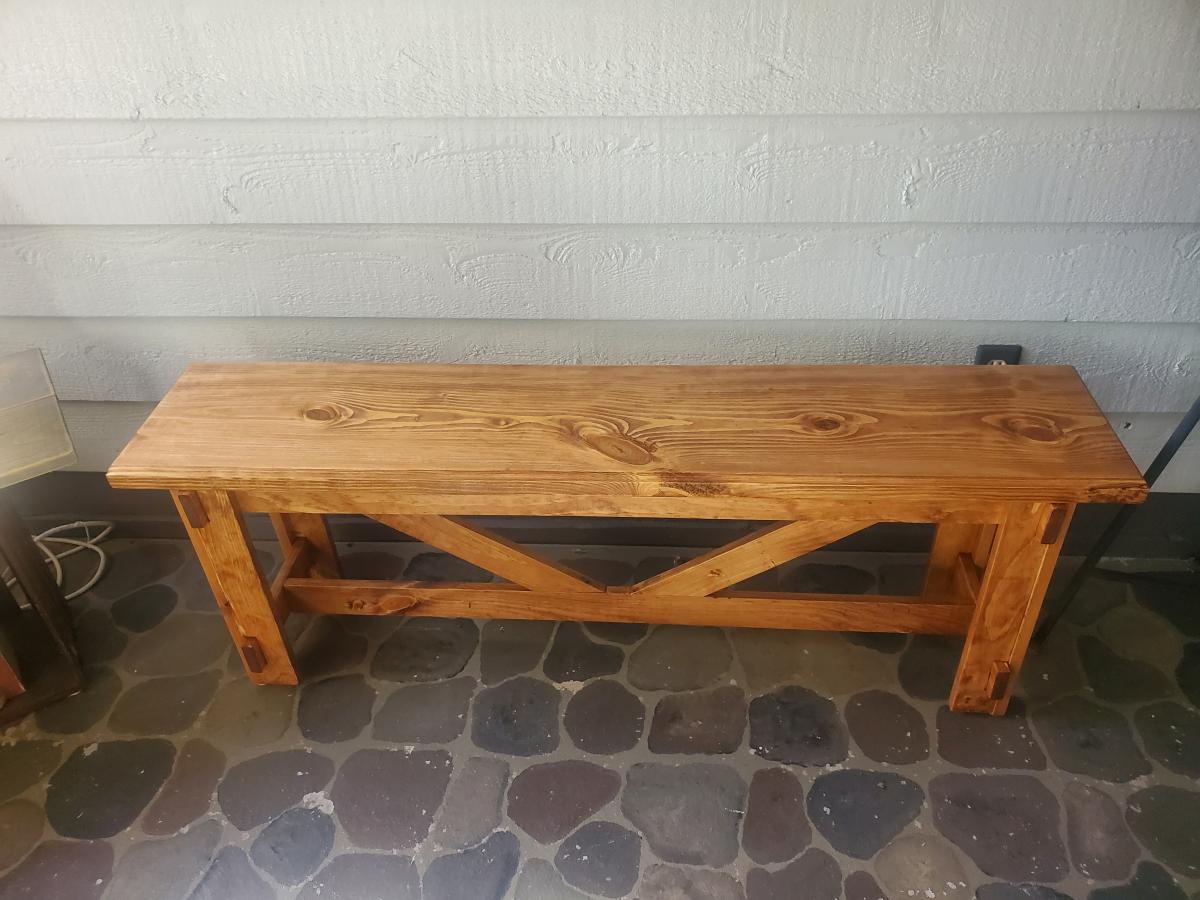
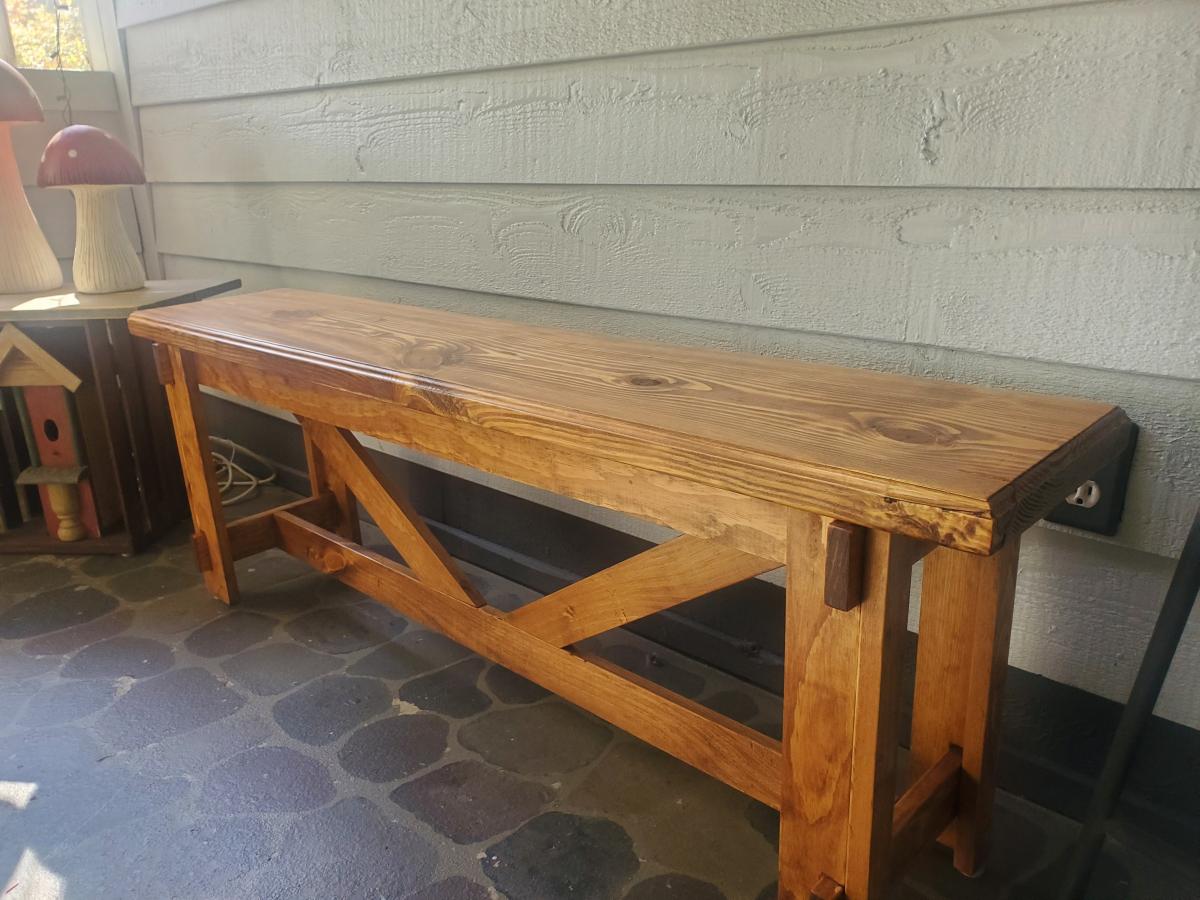
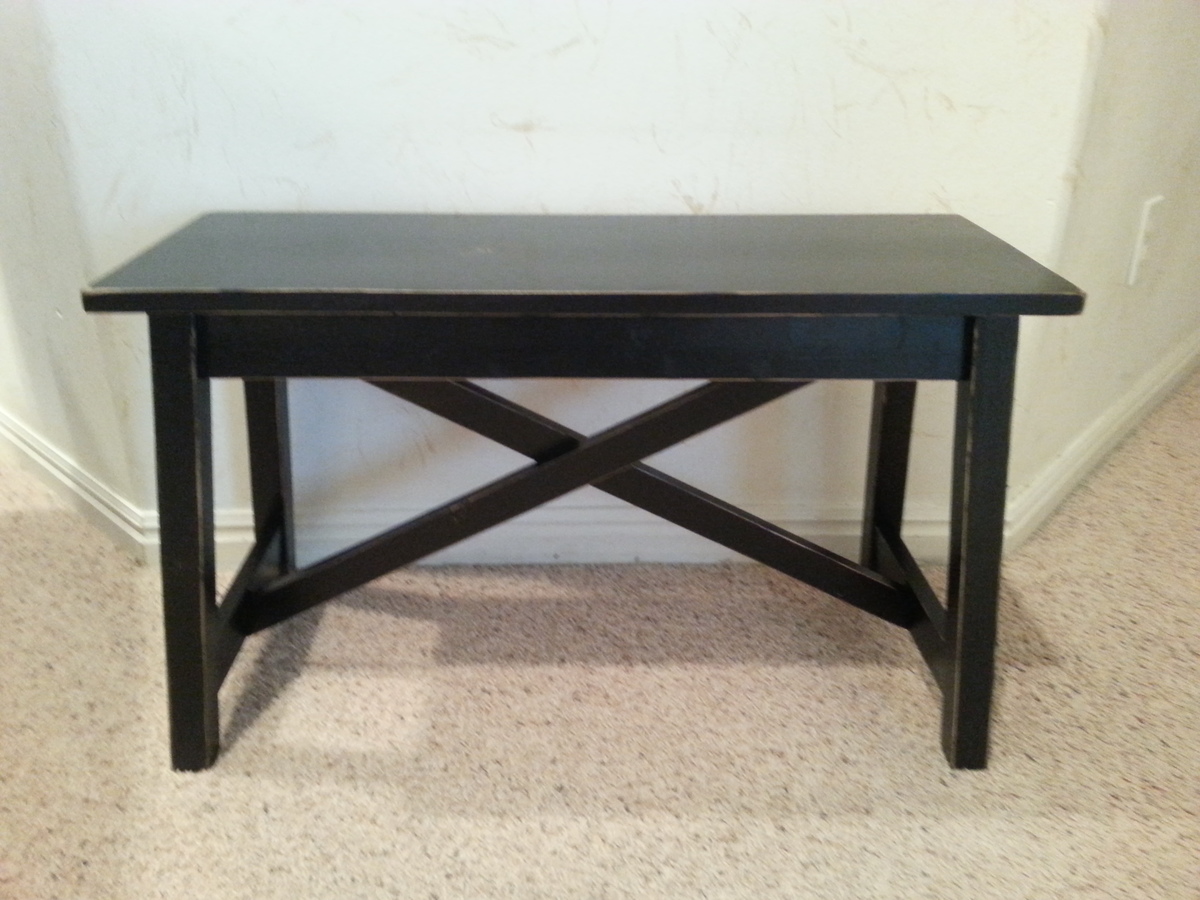
54" Bench with Cross Bracing
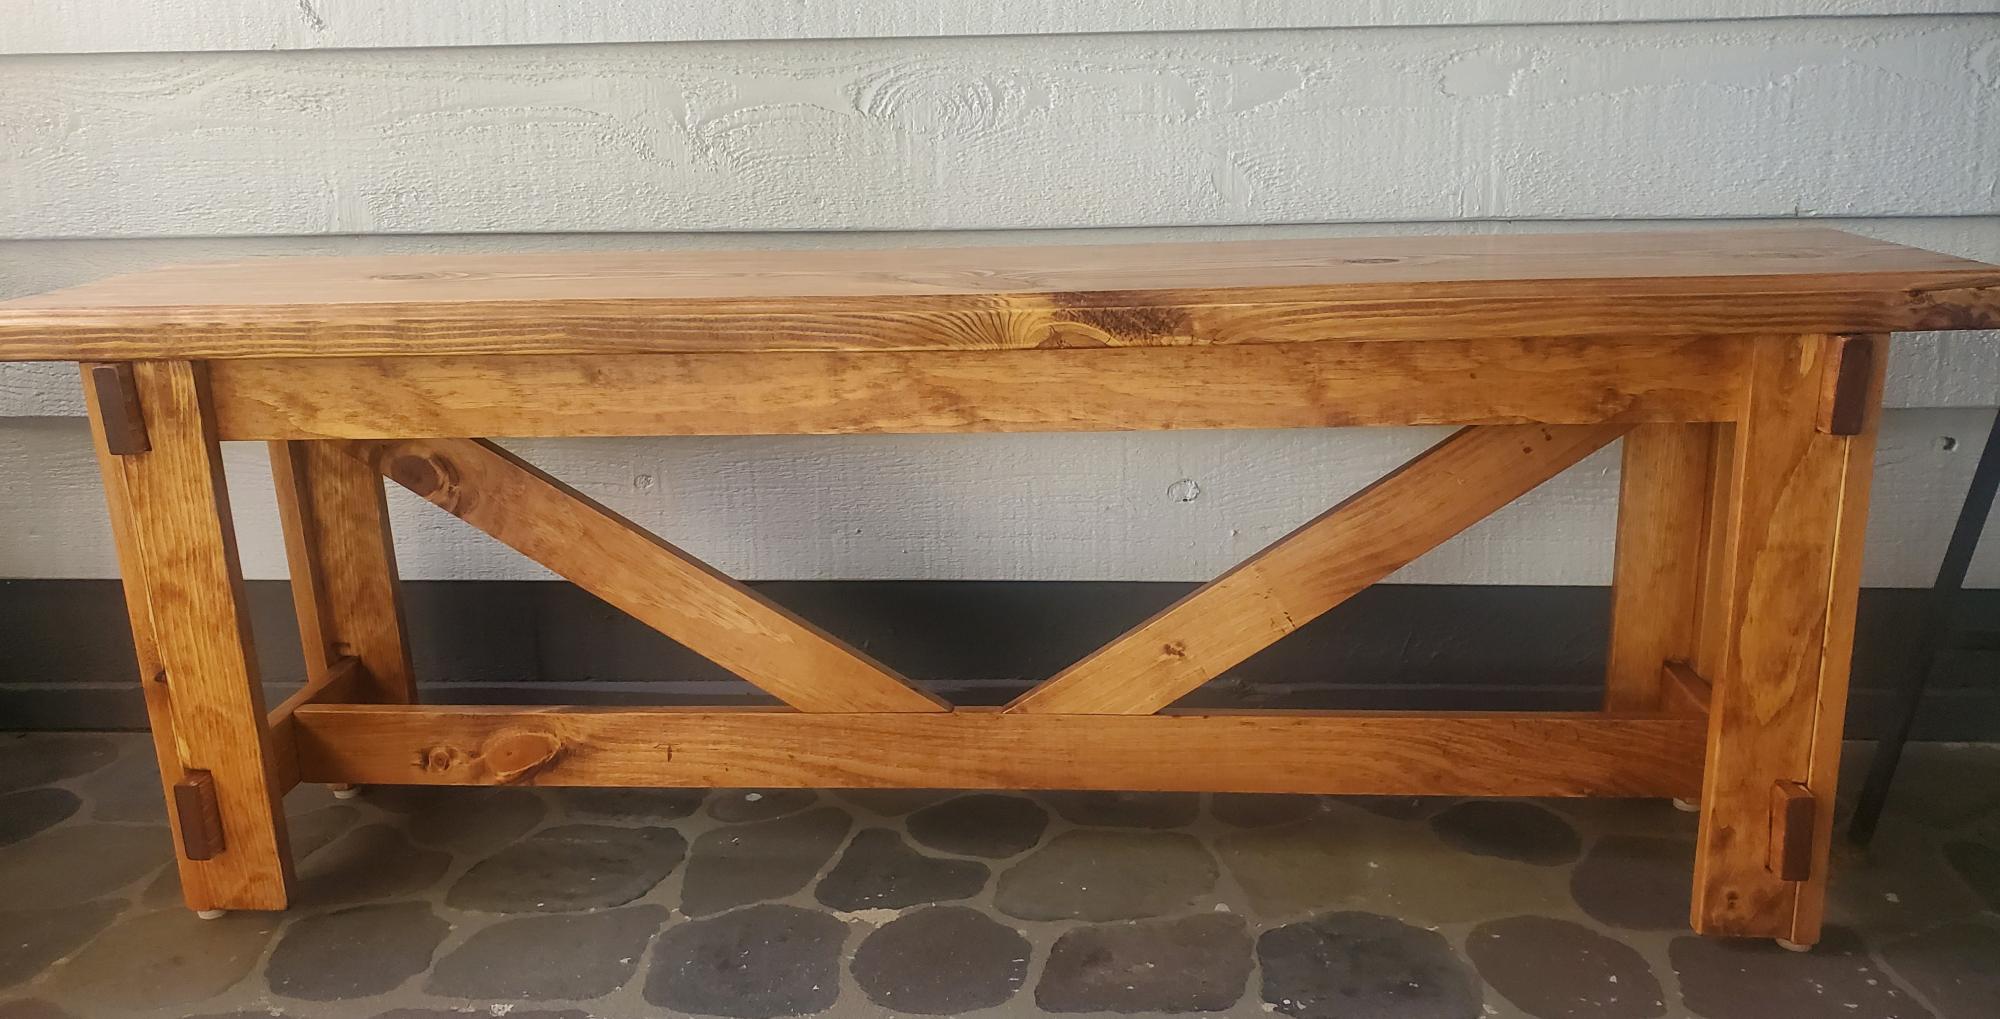
54" Bench with Cross Bracing, used the plans on this site, plans were great, easy to follow. I used a 2 x 12 for the bench top to give it more heft. I think it looks better than a 1 x 12.
On to the next plan.
Built from Plan(s)
Estimated Cost
$50
Finish Used
3 to 1 mixture of Early American & Espresso stain with a touch of Barn Red stain.
Put 3 coats of General Finishes Arm-R-Seal Satin
Put 3 coats of General Finishes Arm-R-Seal Satin
Recommended Skill Level
Intermediate
Comments
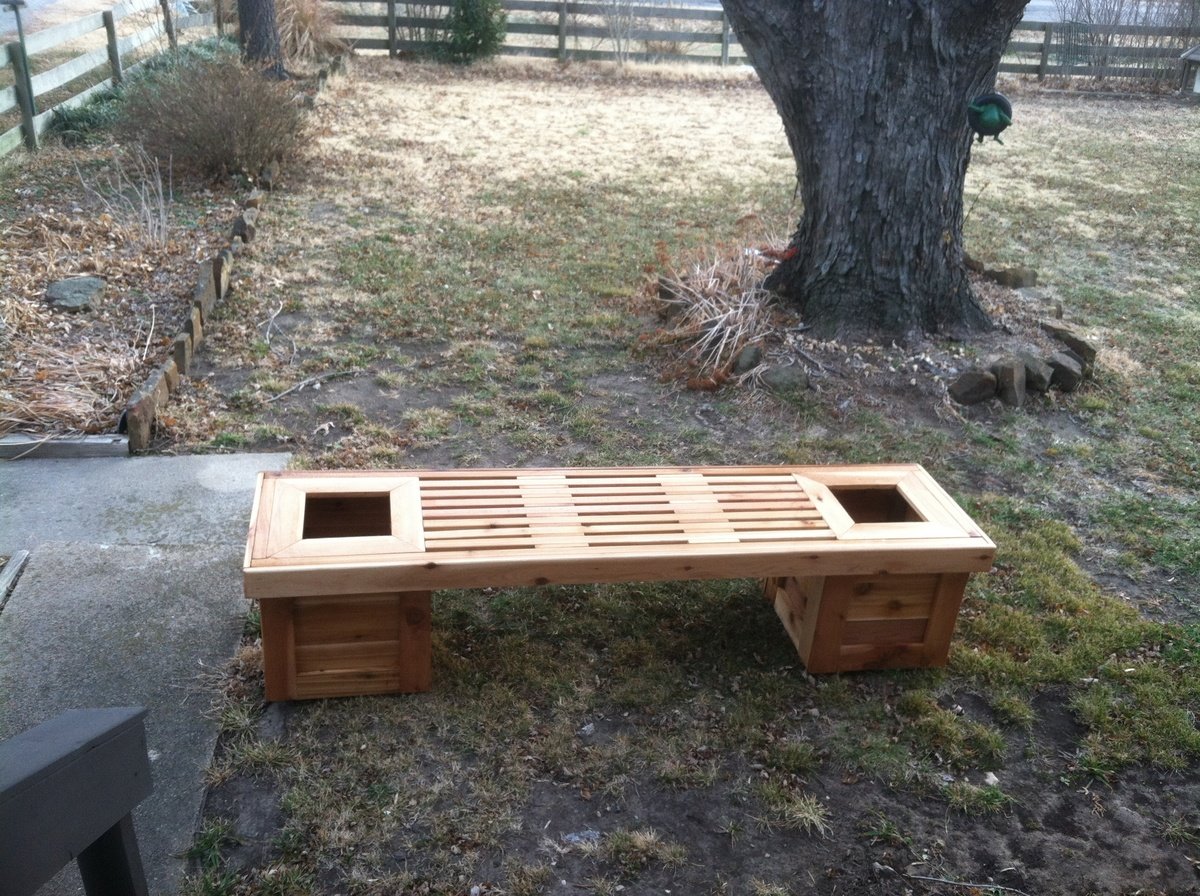
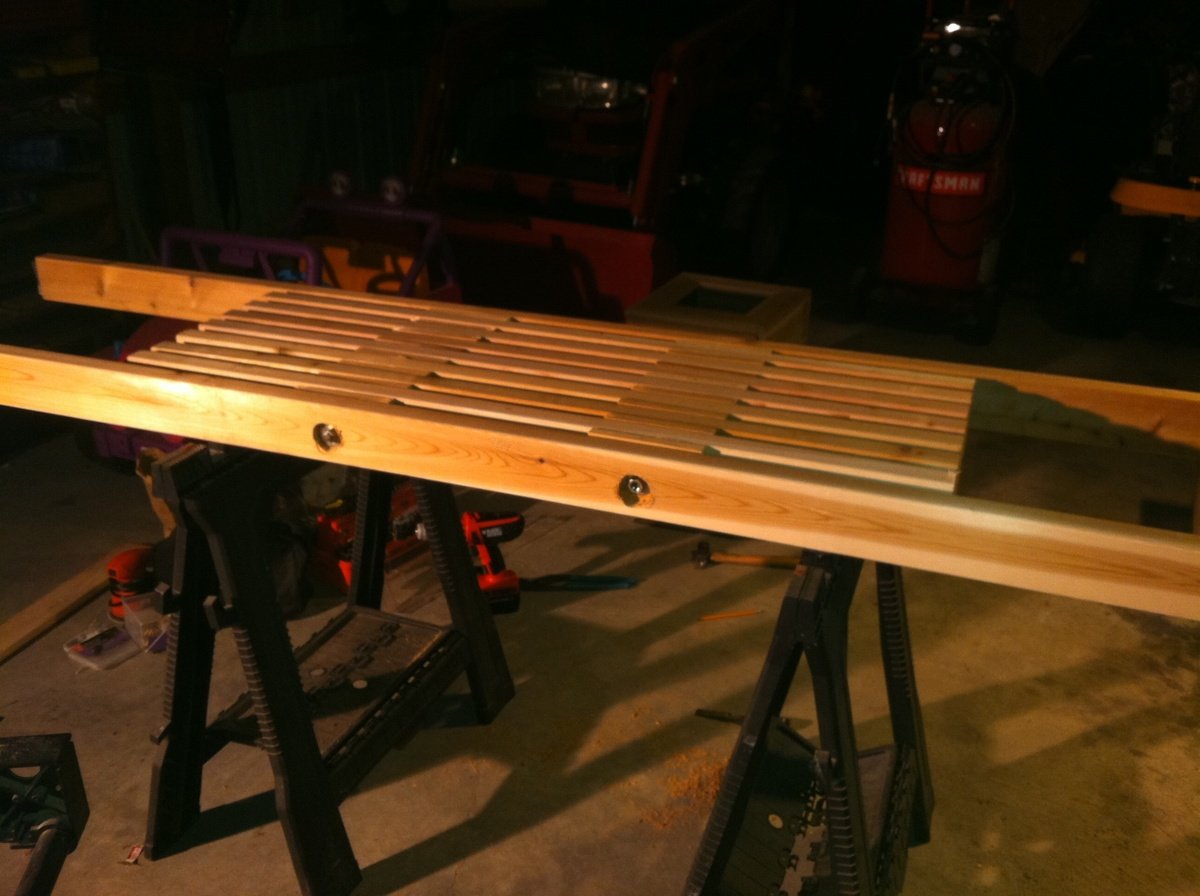
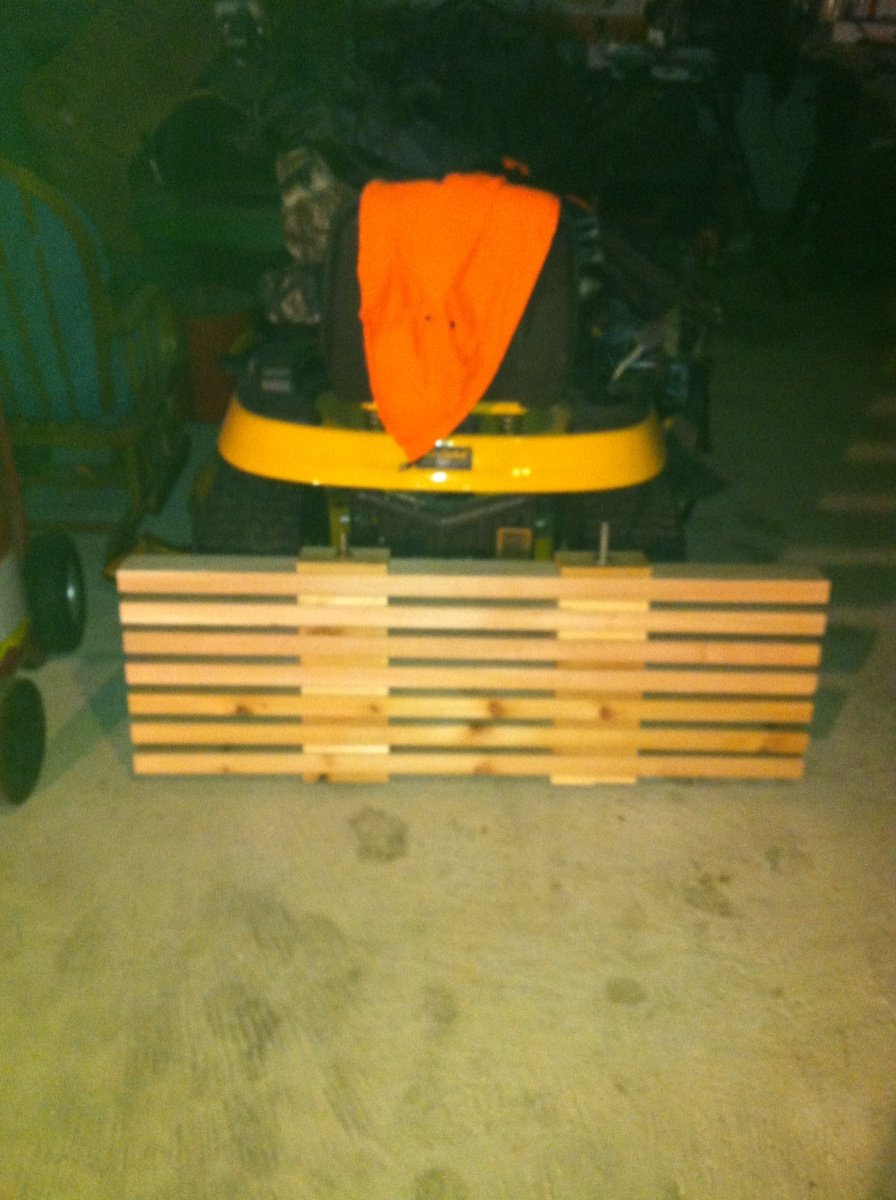
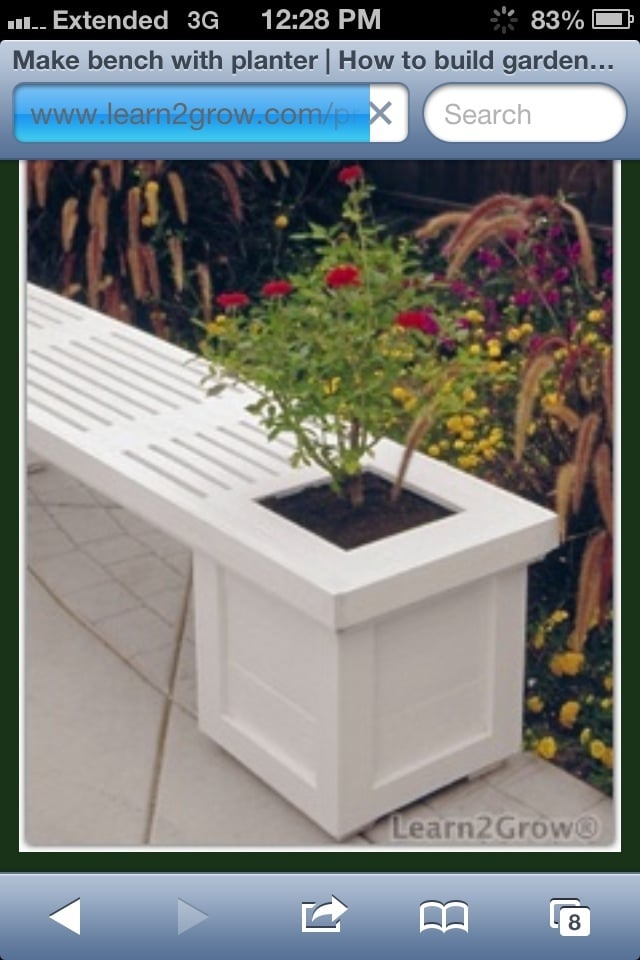
Planter bench
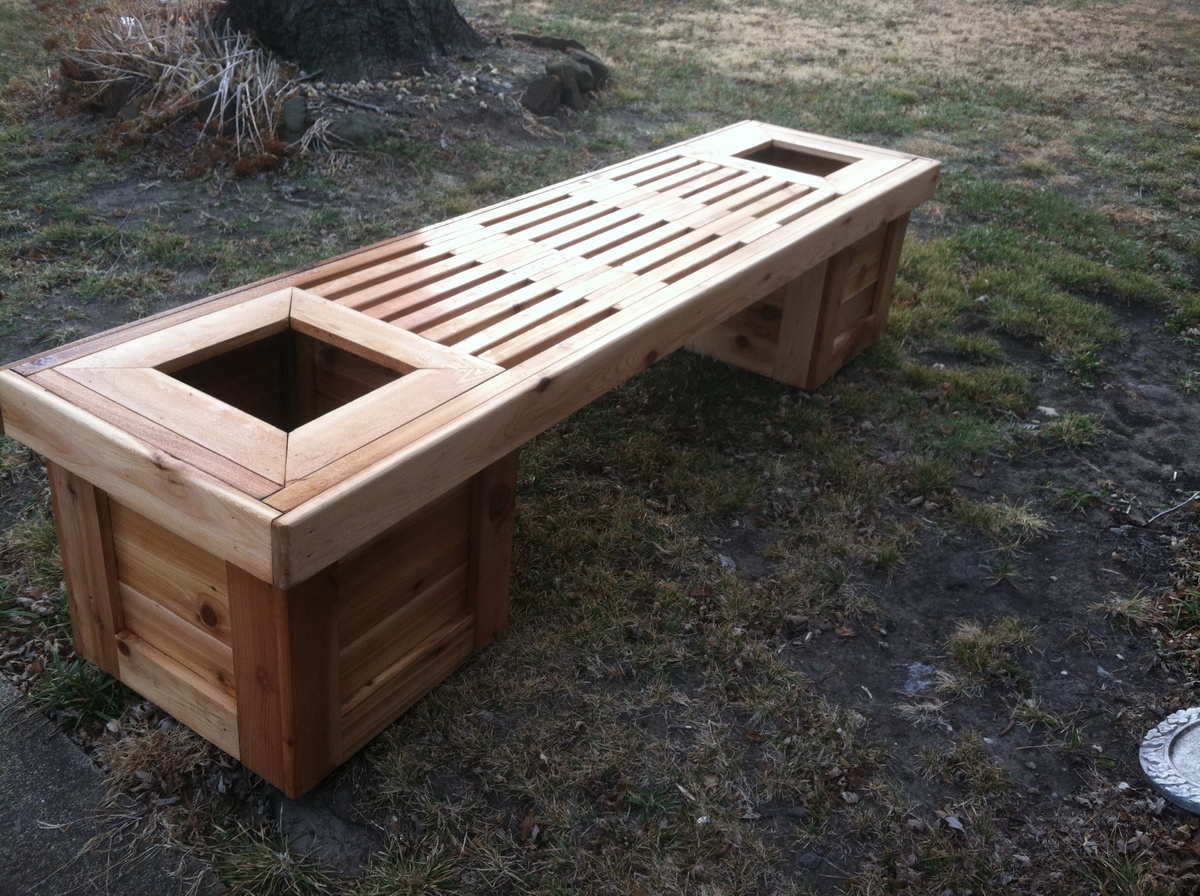
I built this bench for a Christmas present. She loves to work in her garden and I thought this would be the perfect touch. The plans were easy to follow. I made a few minor adjustments to fit the lumber I had on hand. The center bench is only 4 foot wide so I could conserve on the amount of 2x4 I had to buy. I thought the bench turned out great!
Estimated Cost
$130
Estimated Time Investment
Weekend Project (10-20 Hours)
Finish Used
Golden oak stain
Recommended Skill Level
Beginner
Comments
Mini farmhouse bedside table
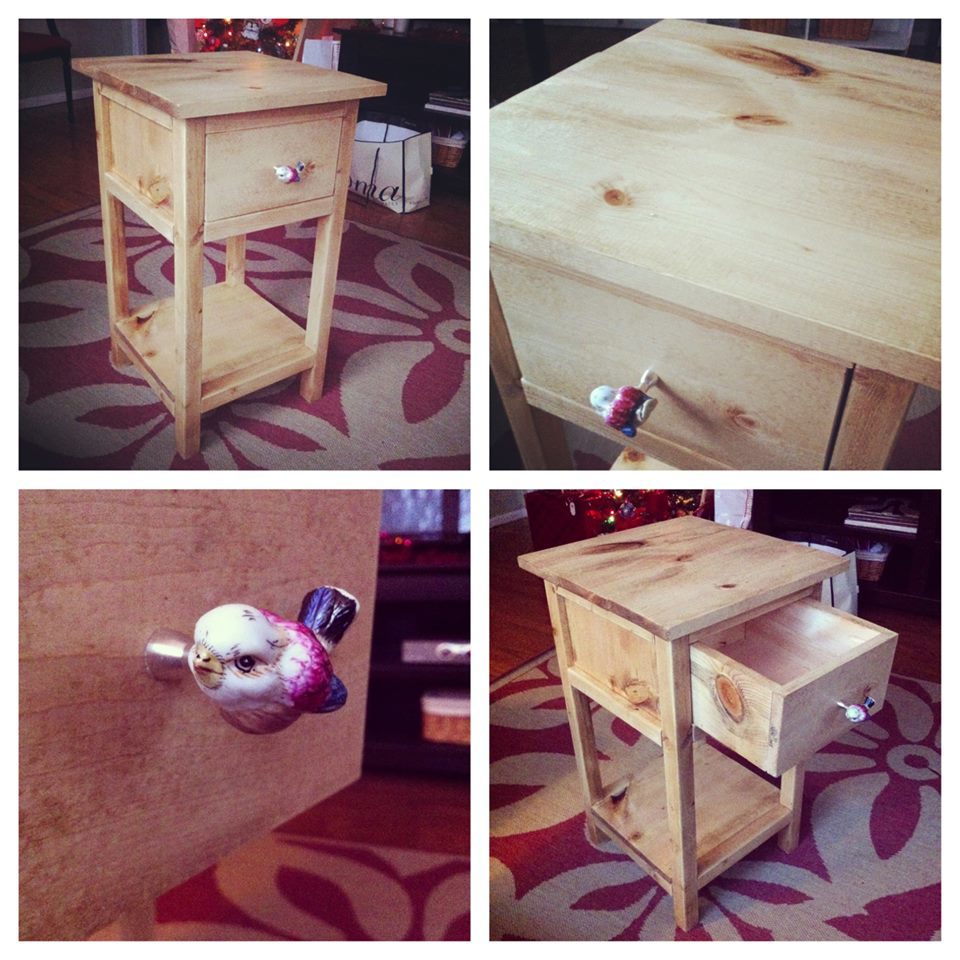
This is a fun project and made a great gift for my mom for Christmas last year. Inexpensive and didn't take long to complete. The pull is from Anthropologie (they have some of the cutest pulls!). Thanks Ana!
Built from Plan(s)
Estimated Cost
$30
Estimated Time Investment
Afternoon Project (3-6 Hours)
Finish Used
Minwax Golden Oak and Poly
Recommended Skill Level
Beginner
Comments

Wed, 11/05/2014 - 12:51
That is genious! I love the
That is genious! I love the wood finish and the handle! Thanks for sharing.
Console table

Loved this table! Didn't want to spend a ton so I asked my husband to make it for me.....I love it. He did an awesome job. We traveled about 3 and a half hours to pick up the live edge top.
Estimated Cost
250.00
Estimated Time Investment
Weekend Project (10-20 Hours)
Finish Used
Paint on the base and satin poly on the top
Recommended Skill Level
Intermediate
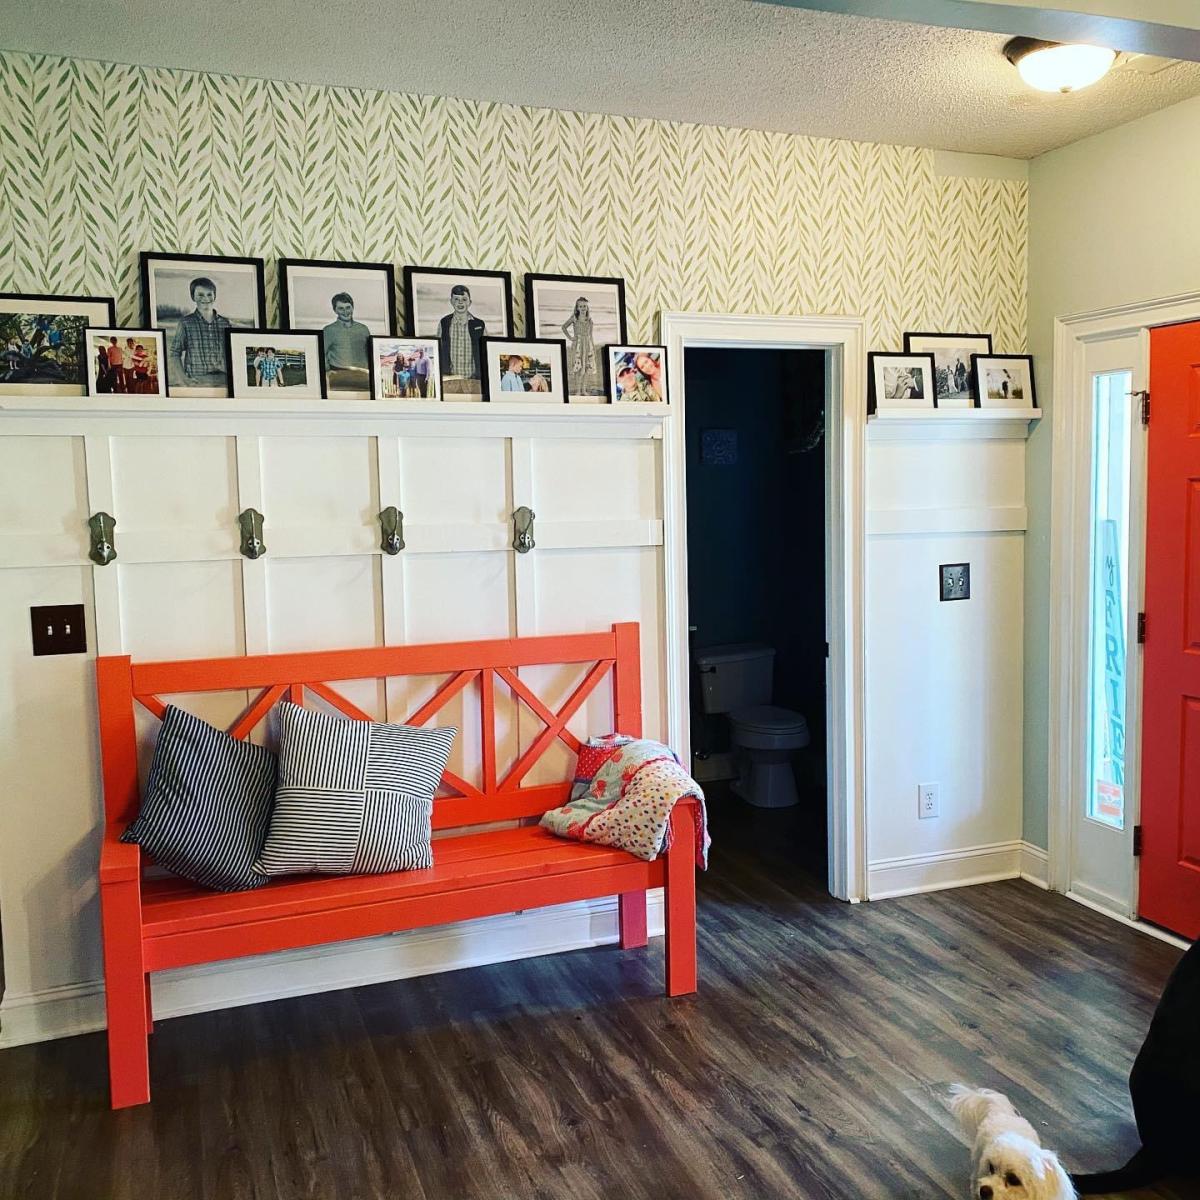
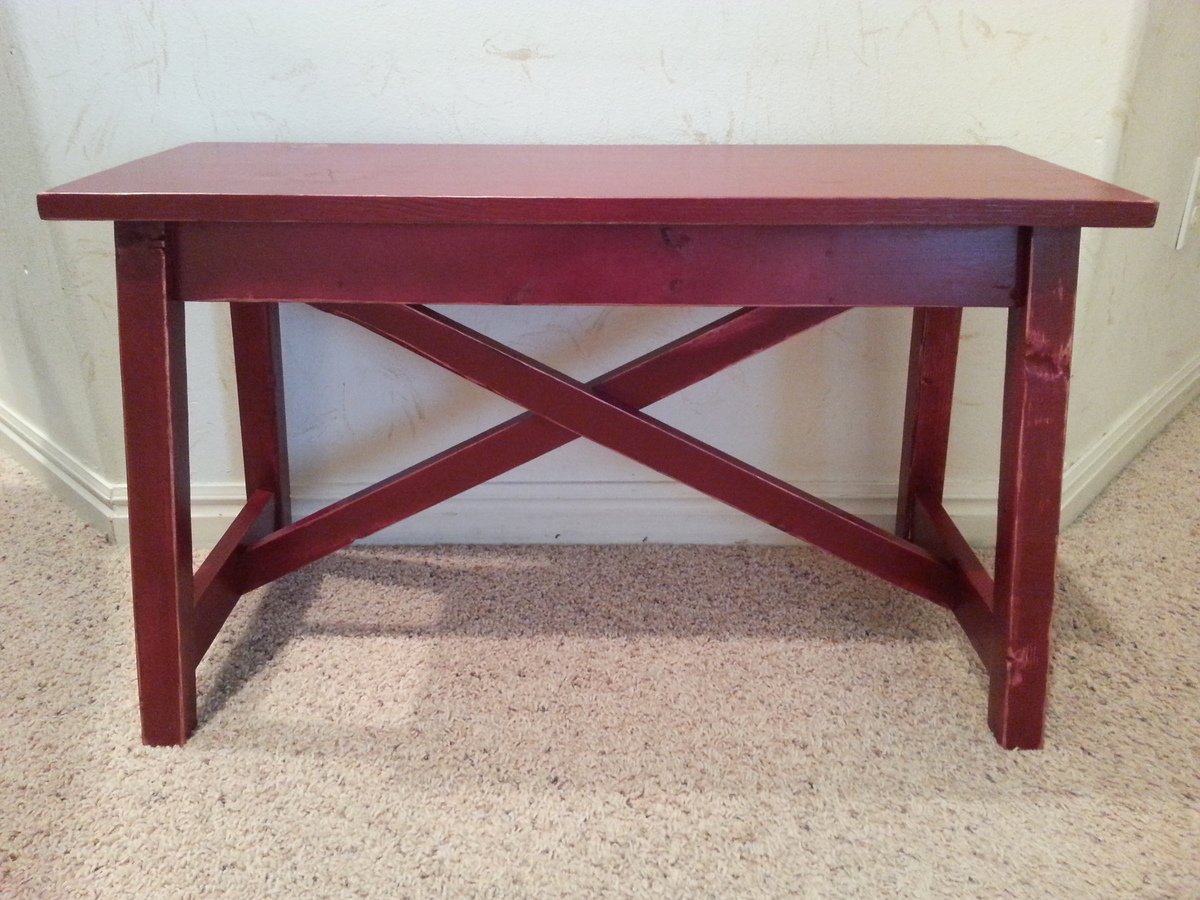
Large Porch Bench with X Backs to highlight feature wall
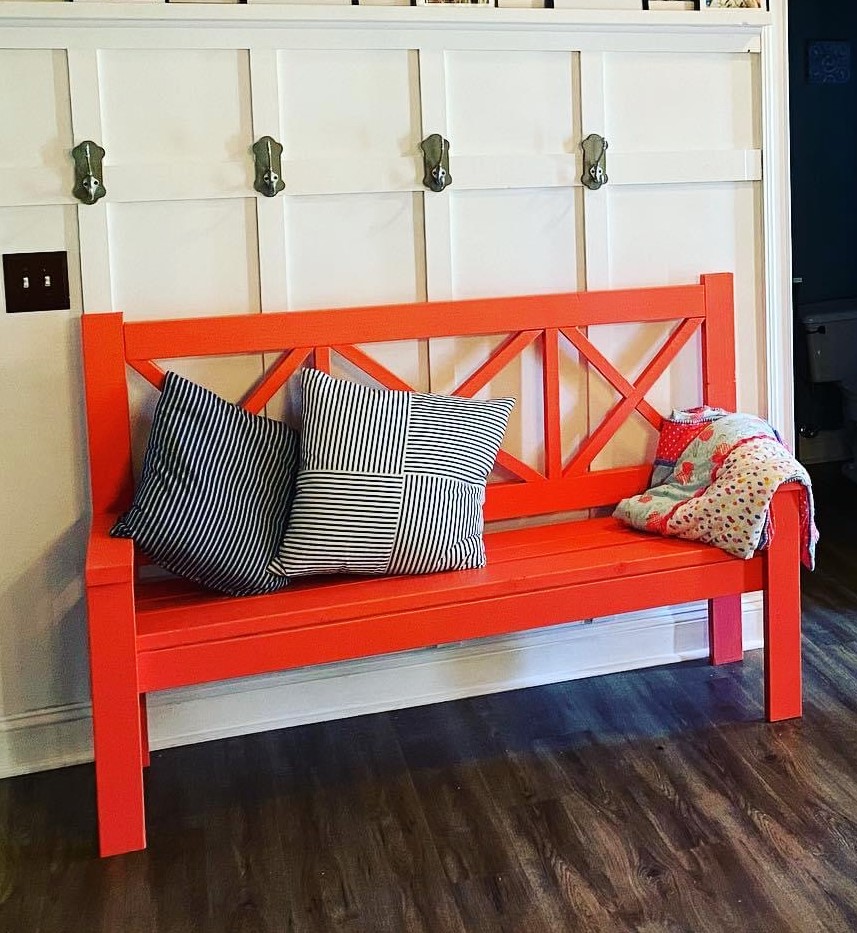
Using the Ana White plans of Large porch Bench with X backs I was able to create this amazing area in the entrance way of our home. The bench was part of a larger project where I added the modeling and shelves to the wall. The plans were great, I just made the bench a bit smaller, as the original size was a bit overwhelming inside the home.


Built from Plan(s)
Estimated Time Investment
Weekend Project (10-20 Hours)
Recommended Skill Level
Intermediate
Comments
Tue, 11/10/2020 - 09:06
Love the smaller size for indoors
And the red pop, love it! It looks great against that wall:)
Clubhouse bed build

This is the first wood project I have made in years. Just got my wood shop built and this was the first project - thank you Ana. It ended up taking me way longer than expected. It was the first time I have ever used the Minwax custom color stain and quickly discovered after trying to stain one side why many say it is best for smaller projects. I quickly learned for a large project like this, it is best to do the boards before they are assembled.
It is pretty much the stock build, tho I did deviate some and added a couple of things. First, as i was doing this project by myself, I discovered that just flipping a wall over to add the trim is not as easy as it sounds. At that point in the build, the only thing holding the walls together is the bottom trim piece so it is very flimsy. To make it easier to flip over myself, plus maybe add some extra stability, I ran a 1x4 along the entire back wall about half way up. I believe it really helped with the stability and still can't be seen.
I also added 1x4's on the inside of the front walls from the edge by the 2x4 leg to the doorway - one above the windows and one below the windows, on each side. I just wanted to make it as stable as possible as I built it for my 3 year old grandson and I knew his 5 year old sister would be jumping around in there with him. It didn;t take any room away from the inside and really helped make it sturdy.
One other thing i sort of changed was the ladder. I do not know why as the trim piece was right at spec according to the plans, but the 38" ladder came up about 3 1/2" too short, so I ended up having to cut another one at 41 1/2". Also, especially as it was for a 3 year old, I thought it was a really big drop to the first rung when they were getting out of bed, so I added a 4th step. With 3, my grandson would have had to climb into the bed and when he was getting out, would have had to hang over and find the rung, this way he just walks right up. Keeping it at the 8" apart, the 4th step fit perfectly.
You can't really see the legs in the picture, but on the front legs, instead of using bolts going thru both legs, I put in threaded inserts on the front wall legs, that way you do not see any bolts on those legs. I also used the threaded inserts to mount the ladder.
It ended up costing a small fortune as I used #1 grade wood. I was originally going to stain it something along the lines of early american, but after spending hours trying to find decent wood at both of the big box lumber yards, even buying #1 grade I could not find enough good wood where the grain patterns were similar. I tried 4 various stains on some test pieces, was not happy with any of them, so then went with the Minwax Custom color charcoal gray, and I am glad I did. It has a bluish tint to it and looks just about right for a little boy.
Also, instead of adding the top trim piece to the back of the back wall, I put it on the front where it could be seen, plus it made it easier to hide the boards not lining up perfectly.
After it was all complete, I then applied 3 coats of brush on poly, sanding between each coat. I really wanted to finish it off by then wet sanding it and rubbing it out, but I did not think my grandson really wanted to wait any longer while I waited for the poly to cure, so instead I sanded it down one more time with 220 grit and then applied the wipe on poly.
In my opinion, it was Jaime from That's My Letter idea of the window frames that really sets it off. It looked kind of plain until I added the windows. For framing the windows, I just went ahead and sort of did it like a real window. The only difference was I was a little worried about my grandson maybe hitting his head on the window sill, so I turned them around and the window sill is on the outside. I didn't think it thru as i was thinking he could set some stuff on them, like his thomas train or something, but that obviously wouldn't work as everything would fall off when he opened the window.
For the red, I just used latex paint, apple red, then stained over it with the charcoal gray.
And then to finish it all off, the last thing I added was a 16' LED rope light. I just ran it along both sides and the entire front. I do need to put a switch on it so he can turn it on and off and not have to have his dad plug it in. I will just add it to the back of the wall where you can't see it, that way he can just flip the switch.
Biggest thing is I can't thank Ana (and jaime) enough. The grandkids love it. It isn't as nice as many would have done, but I am very happy with it and I forgot how much I like doing projects like this, tho this particular one took me a looooooooong time.
I still need to make him a sign and we are thinking about putting up a bell in the space in the top of the wall.

Built from Plan(s)
Estimated Cost
$500 + - but I used #1 wood. Mucgh cheaper if you can find decent #2
Estimated Time Investment
Week Long Project (20 Hours or More)
Finish Used
Minwax custom color, minwax brush on poly, minwax wipe on poly, apple red latex paint
Recommended Skill Level
Intermediate
Comments

Sat, 01/12/2013 - 06:54
Looks great Don
Thank you for posting and sharing your tips with others, first hand experience is the best advice.
My First Bunkbeds

This was the first piece of furniture that I ever built! Plans were very helpful and easy to follow. If I had it to do overagain, I would have painted instead of staining (less sanding required).

Built from Plan(s)
Finish Used
Stain, polyeurethane
Recommended Skill Level
Beginner
Armoire
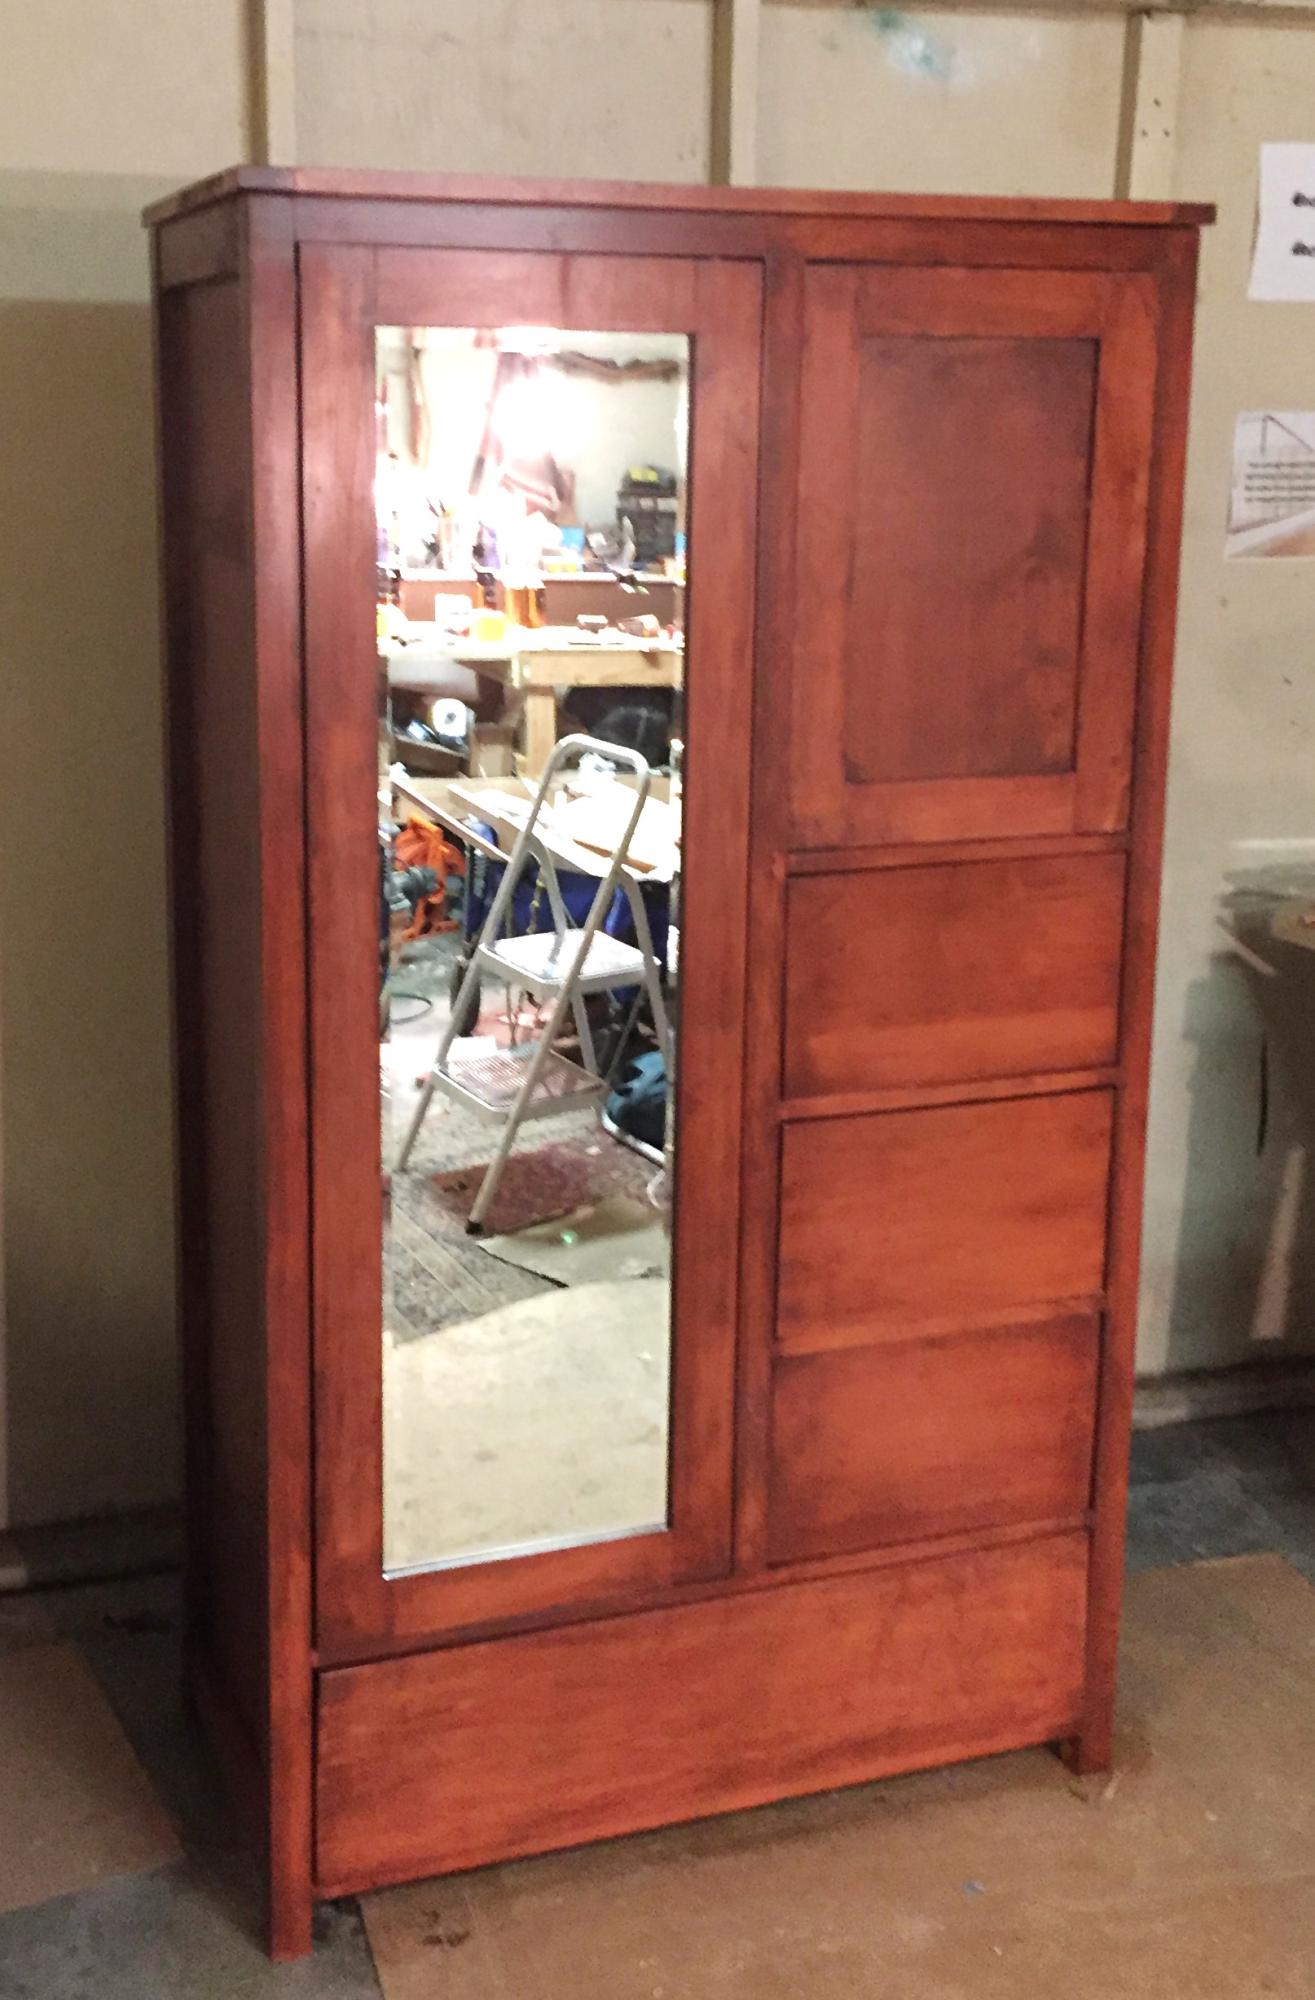
Use white maple and maple ply with cedar for the sides and back of the drawers.
Built from Plan(s)
Estimated Cost
Wood = $500; mirror $125. Time investment 40+ hours over 8 weeks.
Estimated Time Investment
Week Long Project (20 Hours or More)
Recommended Skill Level
Intermediate
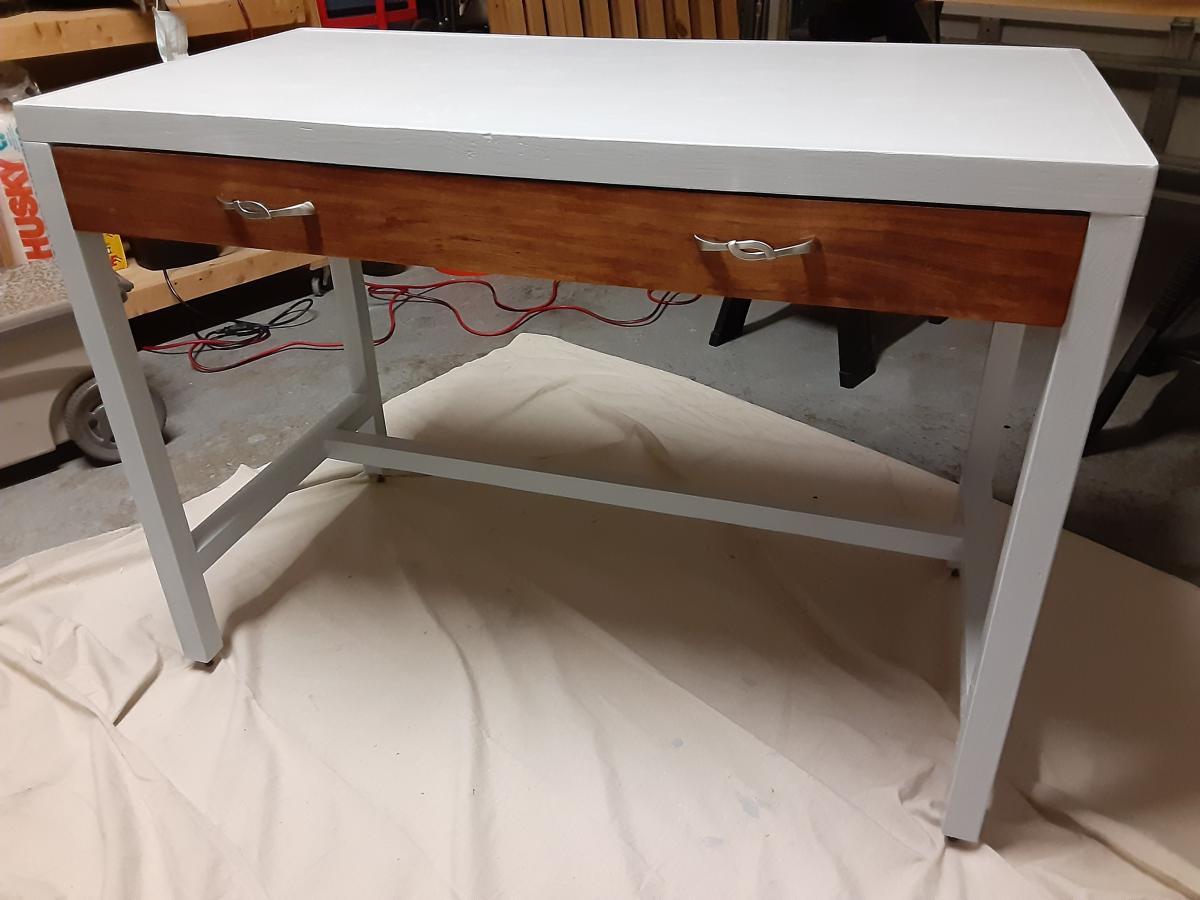
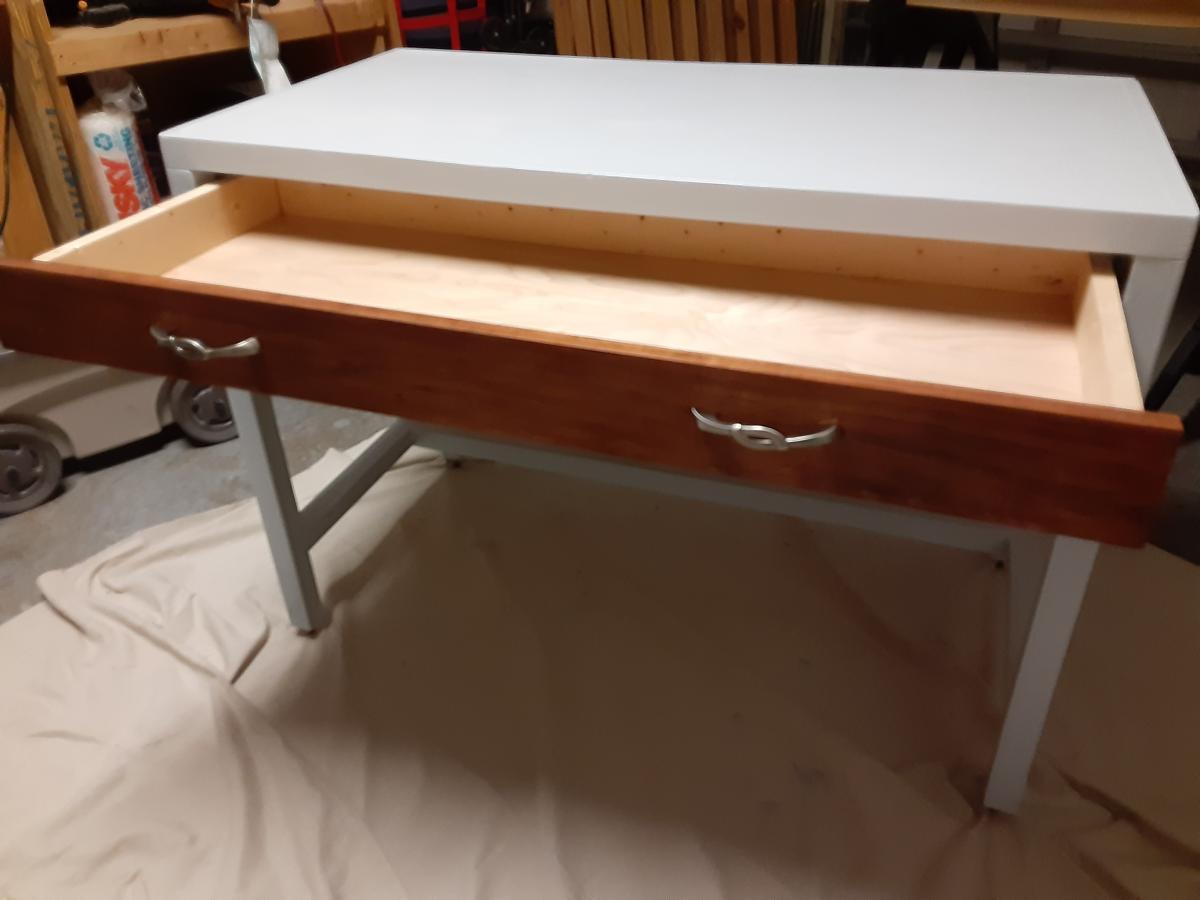
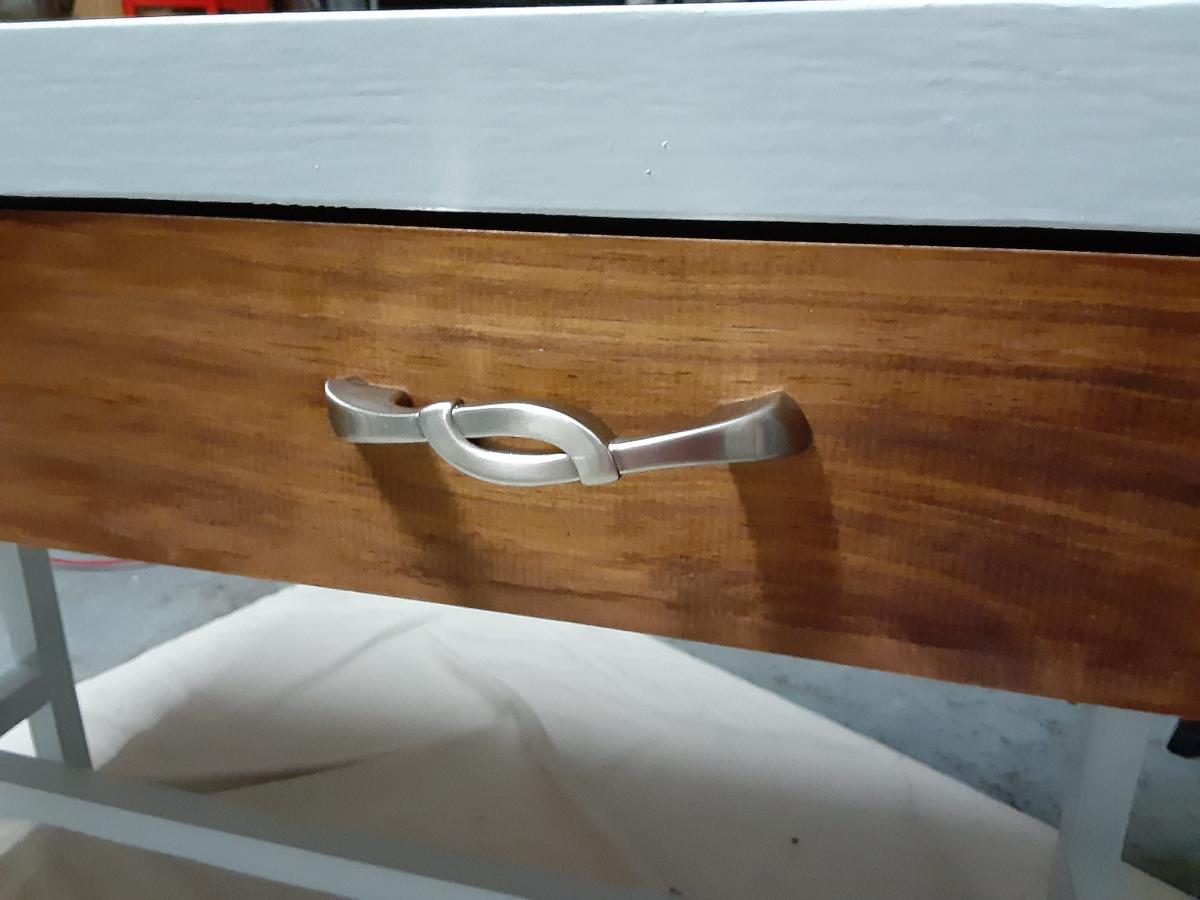
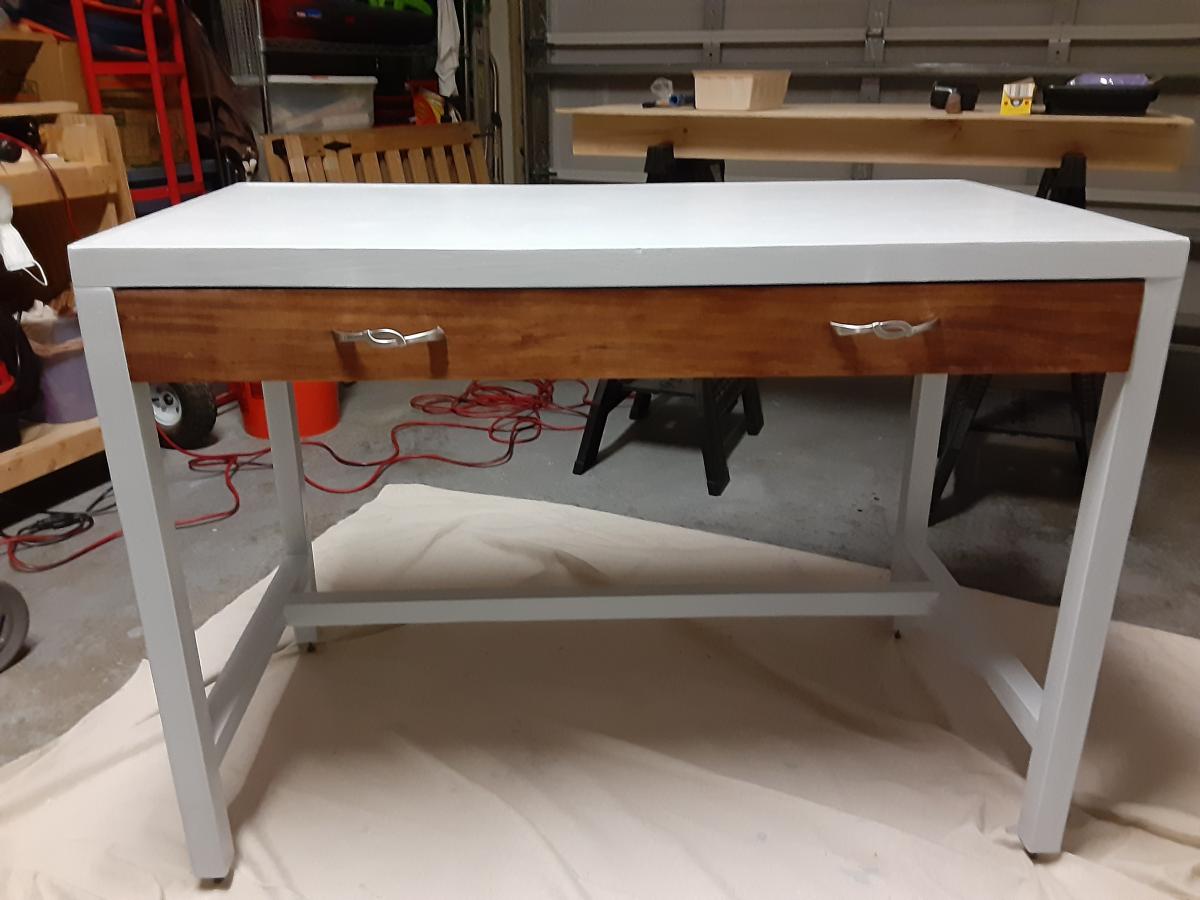
Simple Writing Desk with Drawer for my Office
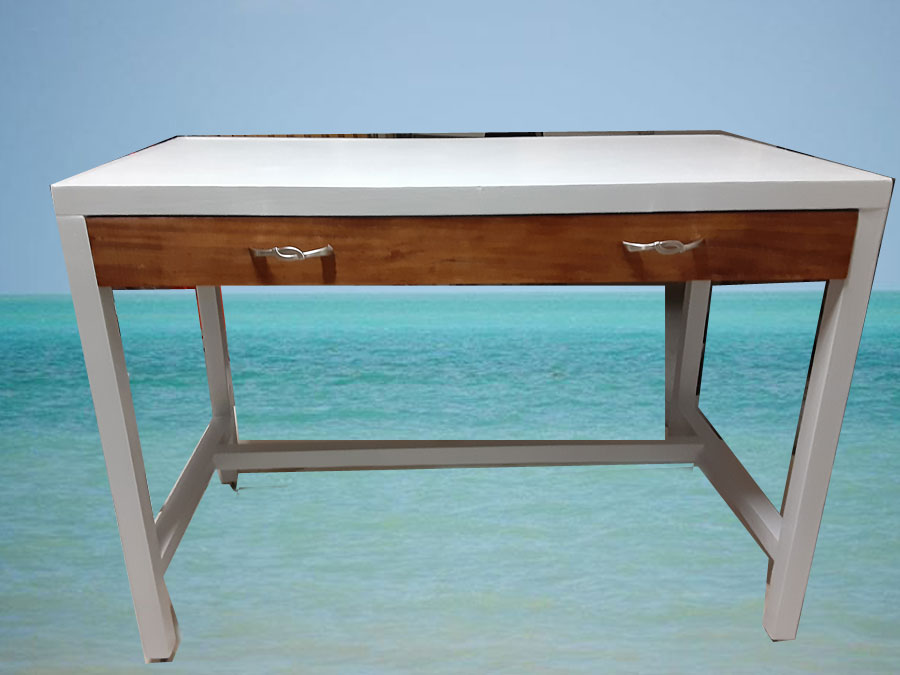
I needed an additional desk at work to organize all my paperwork and files. I couldn't find anything that I liked on Office Depot and Amazon in my budget range, then decided to search Ana's site for plans to make my own and at the same time, get to try out my new Kreg Rip-Cut Circular Saw Edge Guide. I purchased lumber from the local big box (note: disappointed to only find 2x2's out of furring strip wood). Anyhow, I followed Ana's plans and couldn't be more happier with the end result! I love the fact that I'll now have a nice big drawer at work!
Built from Plan(s)
Estimated Cost
$107
Estimated Time Investment
Week Long Project (20 Hours or More)
Finish Used
Drawer front - Dark Walnut (Rustoleum Stain + Polyurethane); Frame - Icicles (blue-grey) by Behr Ultra Stain-blocking Paint & Primer in One
Recommended Skill Level
Intermediate
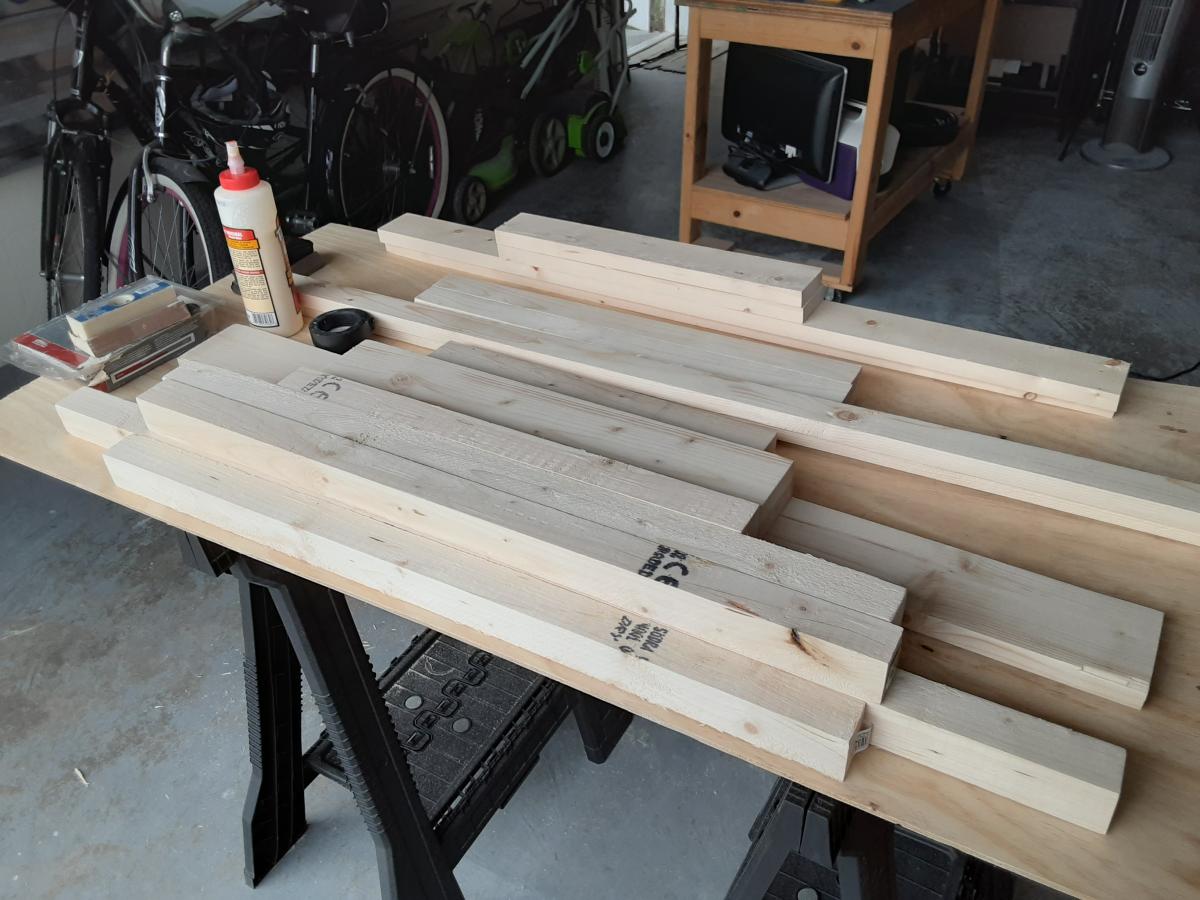
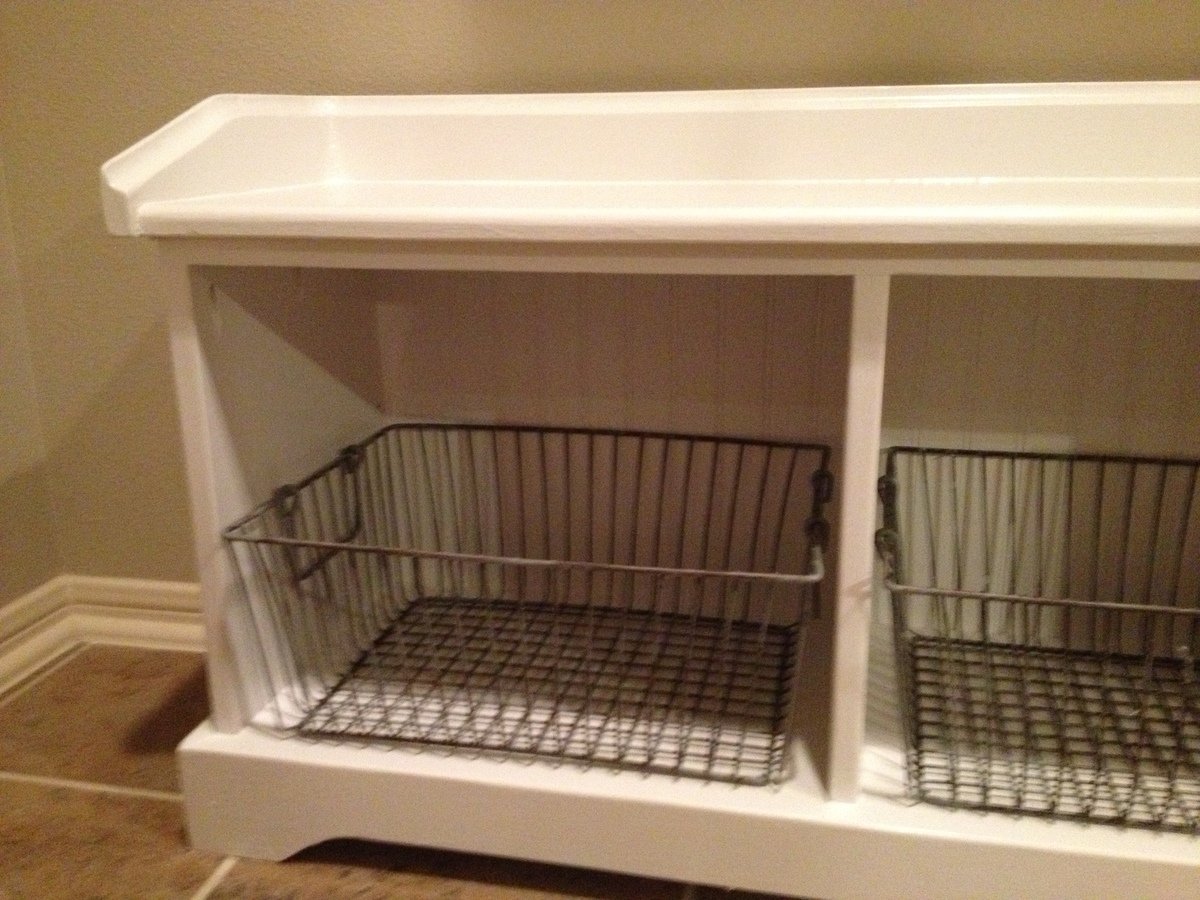
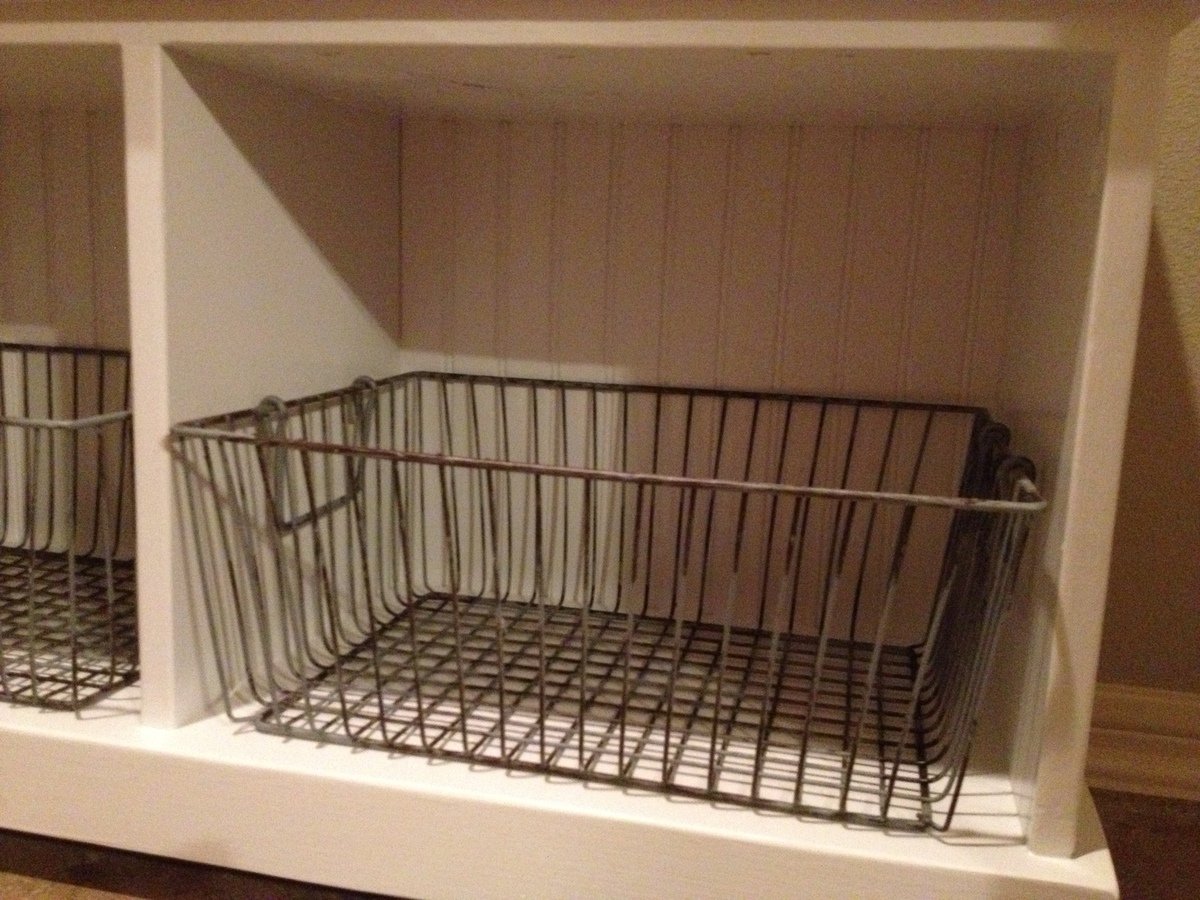
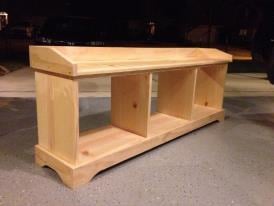
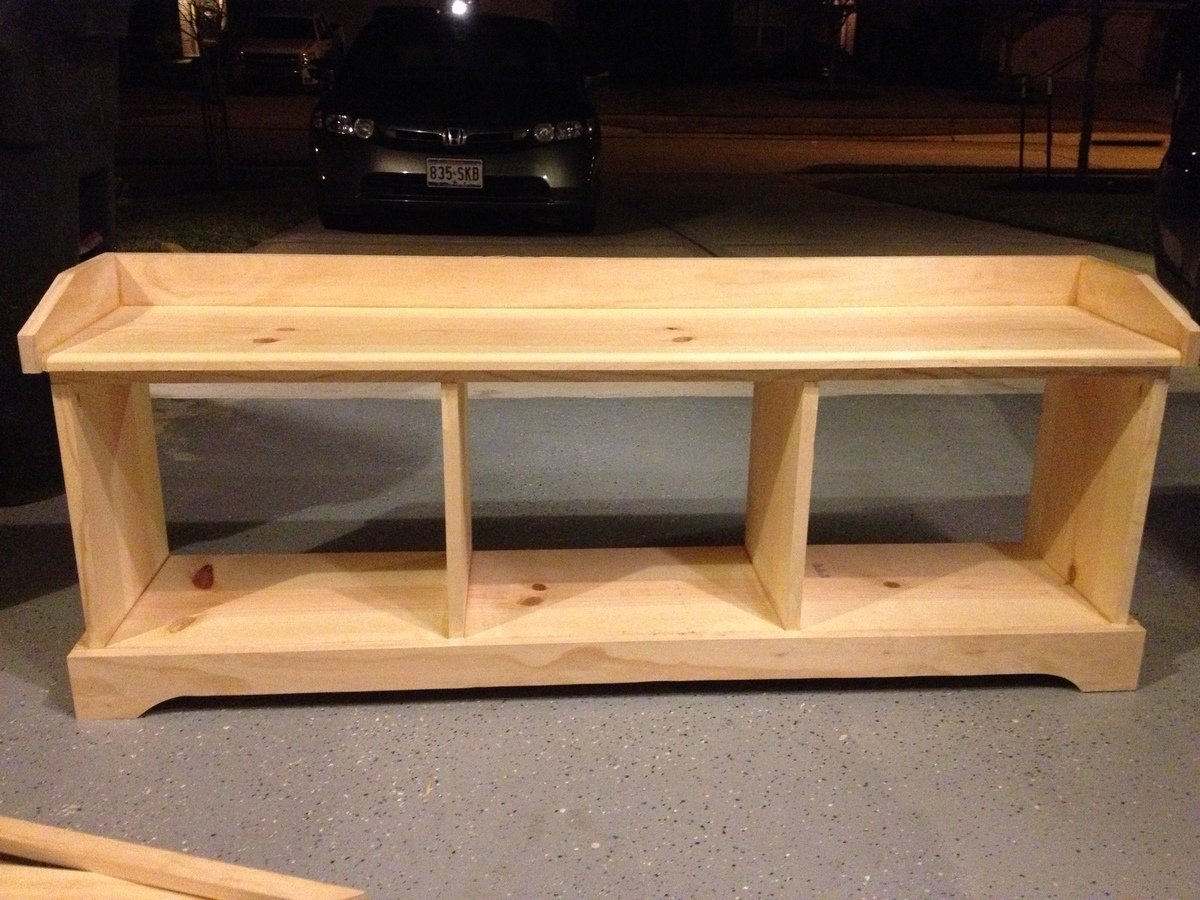
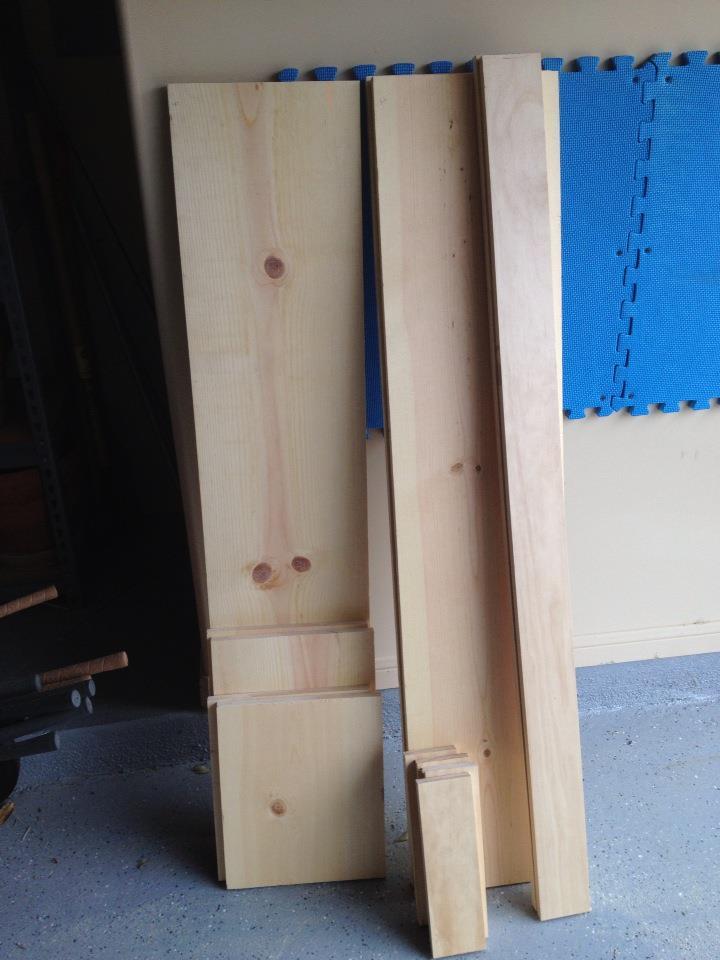
My White Mudroom Bench
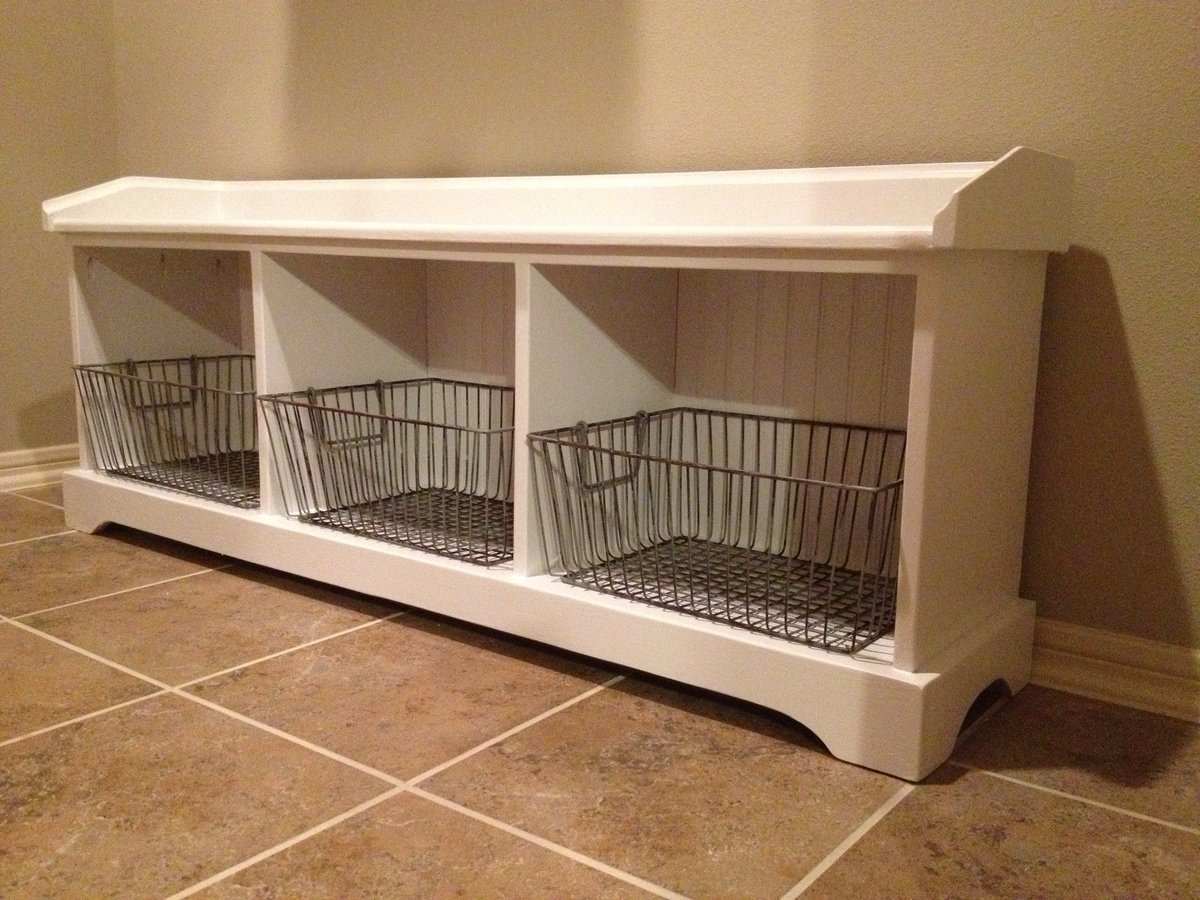
This was my attempt at the 'Build an Entryway Bench...' project. It was also my first Ana White build.
A few notes:
- I had to modify the length of the bench in order to fit the 12 x 16 inch wire baskets I bought off eBay. Basically, I added 5.25" to all the horizontal pieces.
- I used a jigsaw to the the half-oval cut-outs on the bottom pieces. I got this idea from a similar bench from the Pottery Barn website.
- I routed the front edge of the seat with a round-over bit.
- I also routed the inner edge of the top with a core box bit.
It was amazing how quickly this went with the right tools and a couple mornings. Thanks for checking it out!
-Will
Built from Plan(s)
Estimated Cost
~$100
Estimated Time Investment
Weekend Project (10-20 Hours)
Finish Used
Oil-based enamel, satin finish, "Snowfall" color.
Recommended Skill Level
Beginner
My DIY Factory Cart Coffee Table
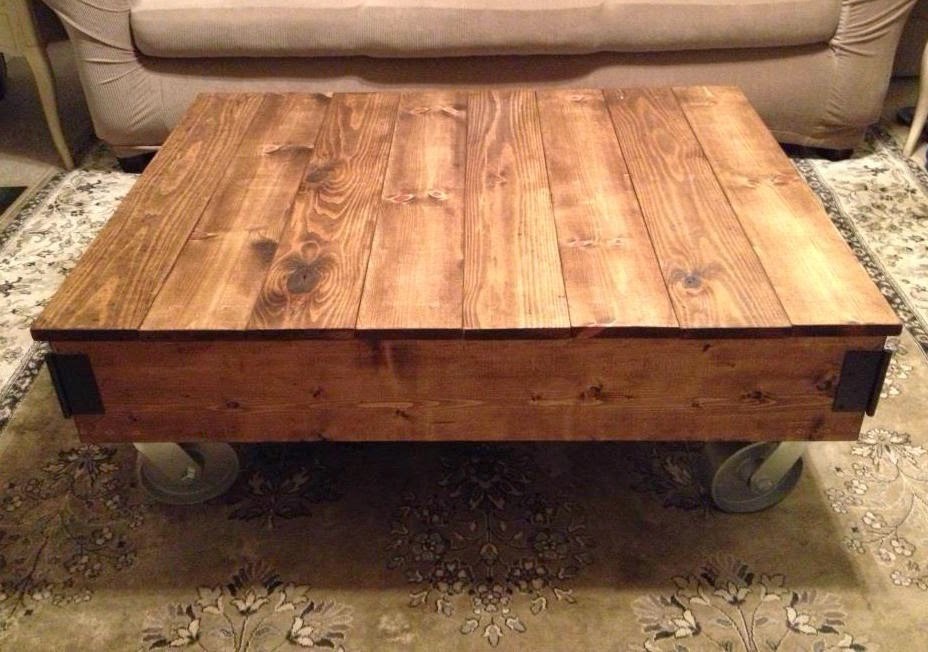
This was my first project from this site...and it will not be my last. thank you so much for all the hard work you put into these great plans.
Built from Plan(s)
Estimated Cost
$120.00
Estimated Time Investment
Day Project (6-9 Hours)
Finish Used
Annie Sloan Dark Wax
Recommended Skill Level
Beginner
Comments
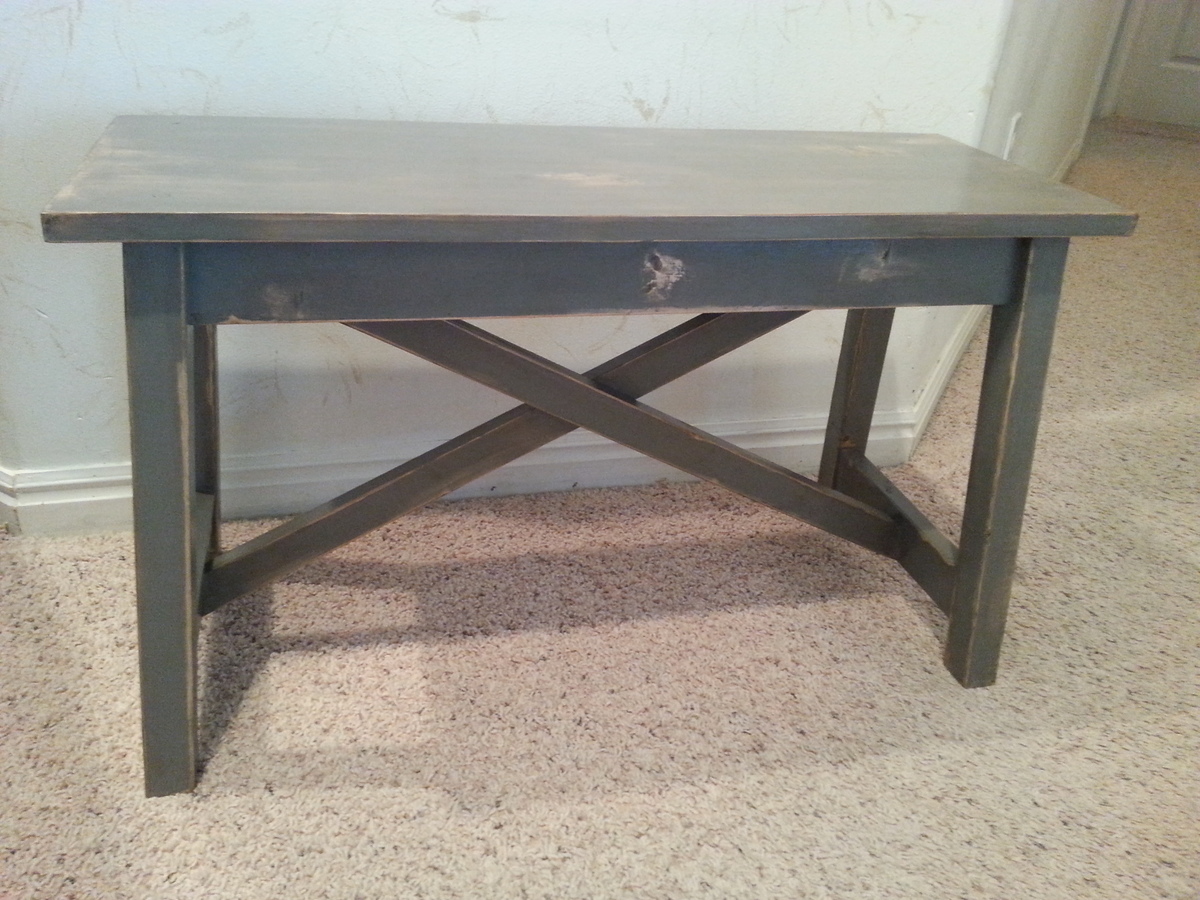
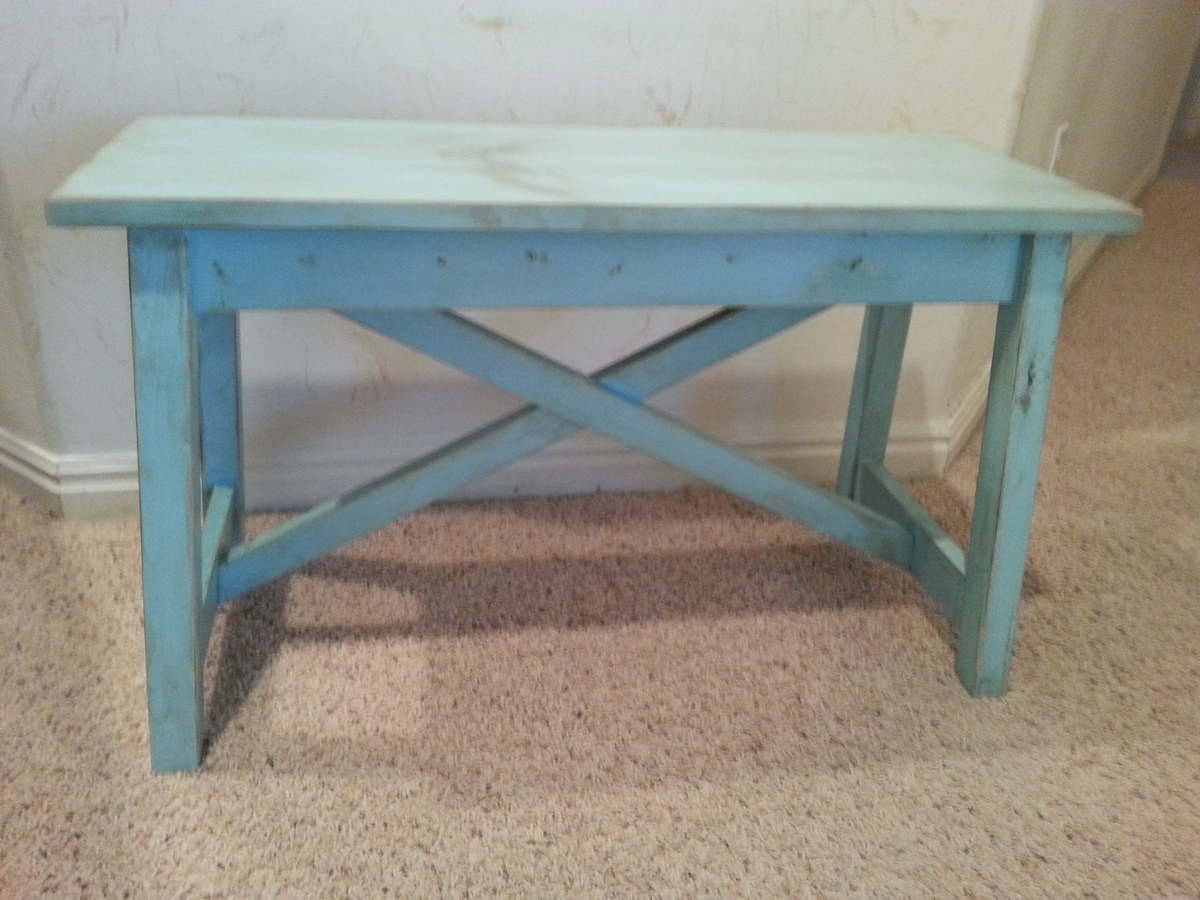
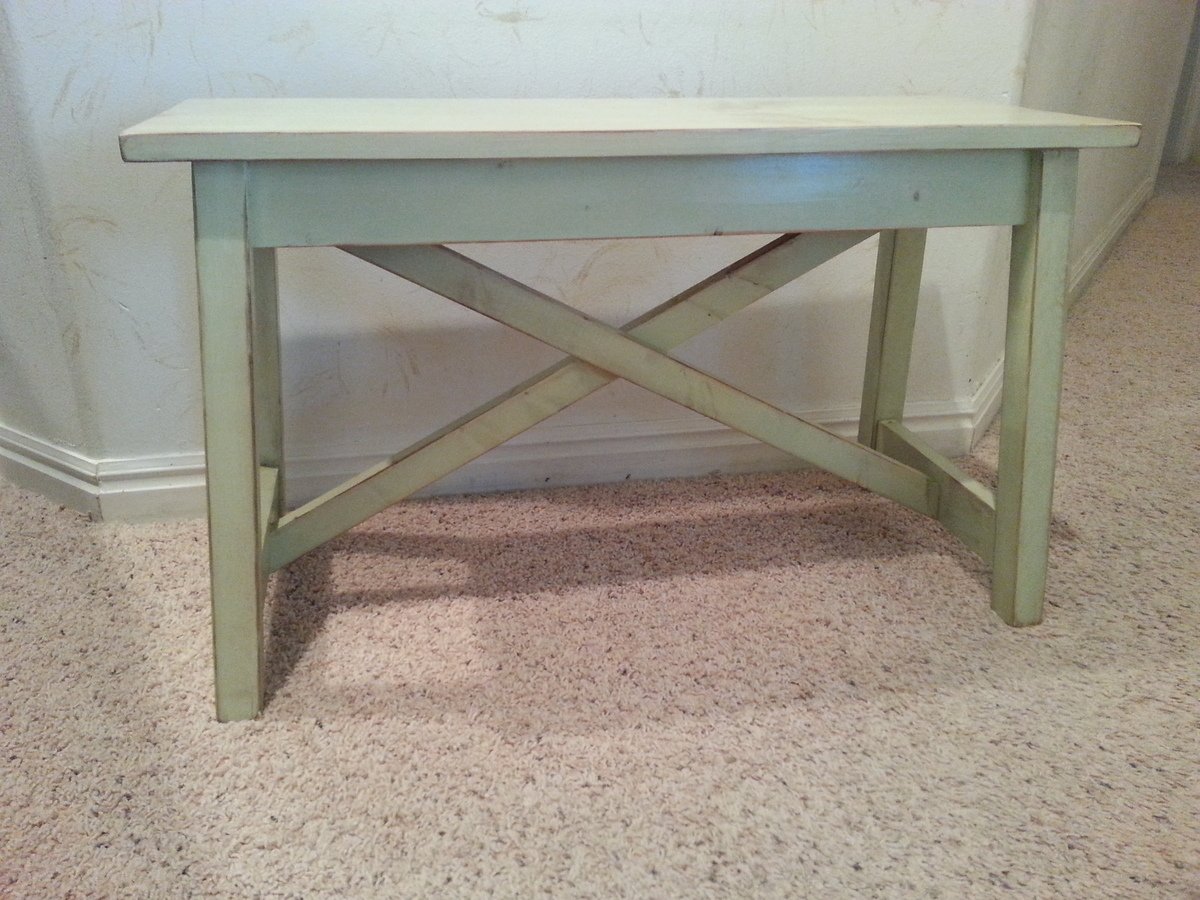
Small rustic x benches
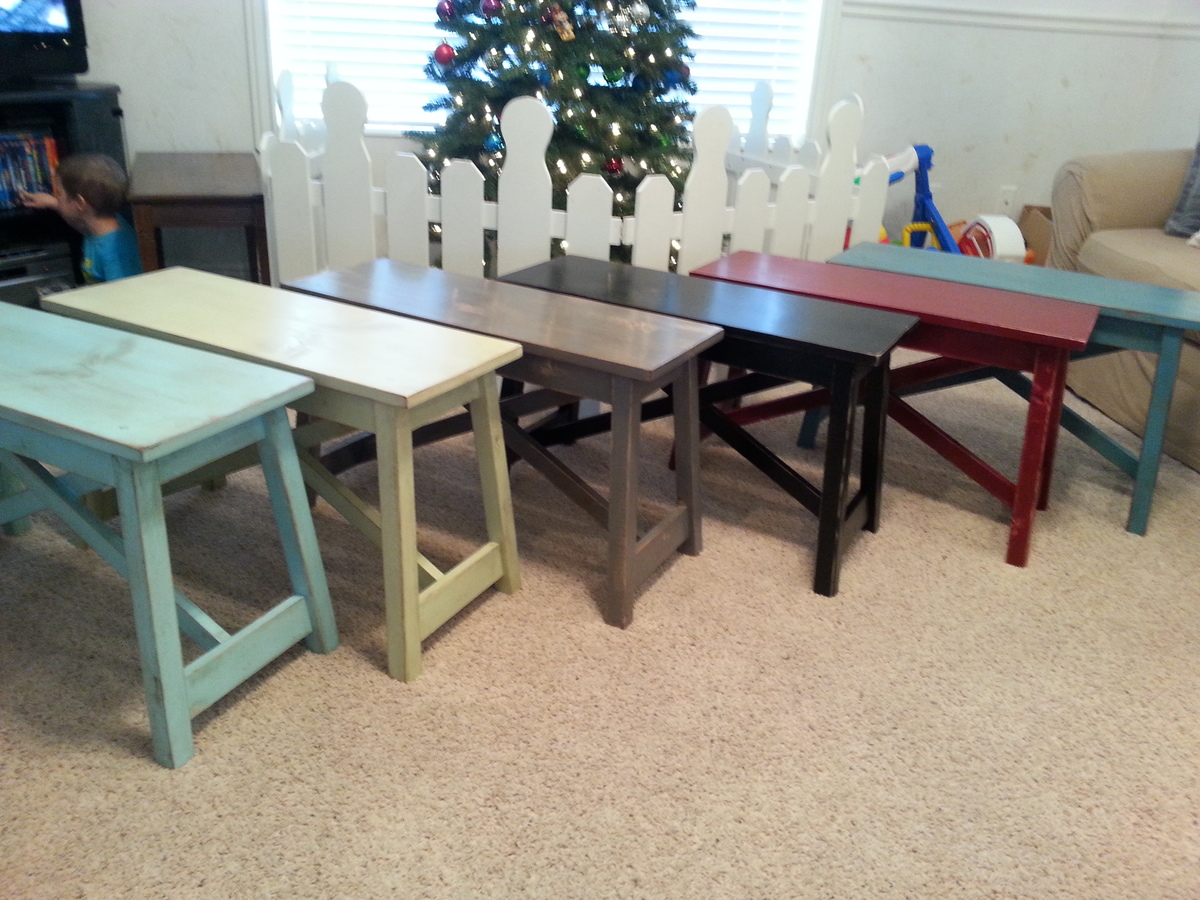
Built a bunch of benches for Christmas/wedding gifts. It was fun to have them all finished in different colors and line them up for pictures.
Built from Plan(s)
Finish Used
Spray paint, distressed and then stained over the top with minwax special walnut and a clear top coat.
Recommended Skill Level
Beginner
Comments

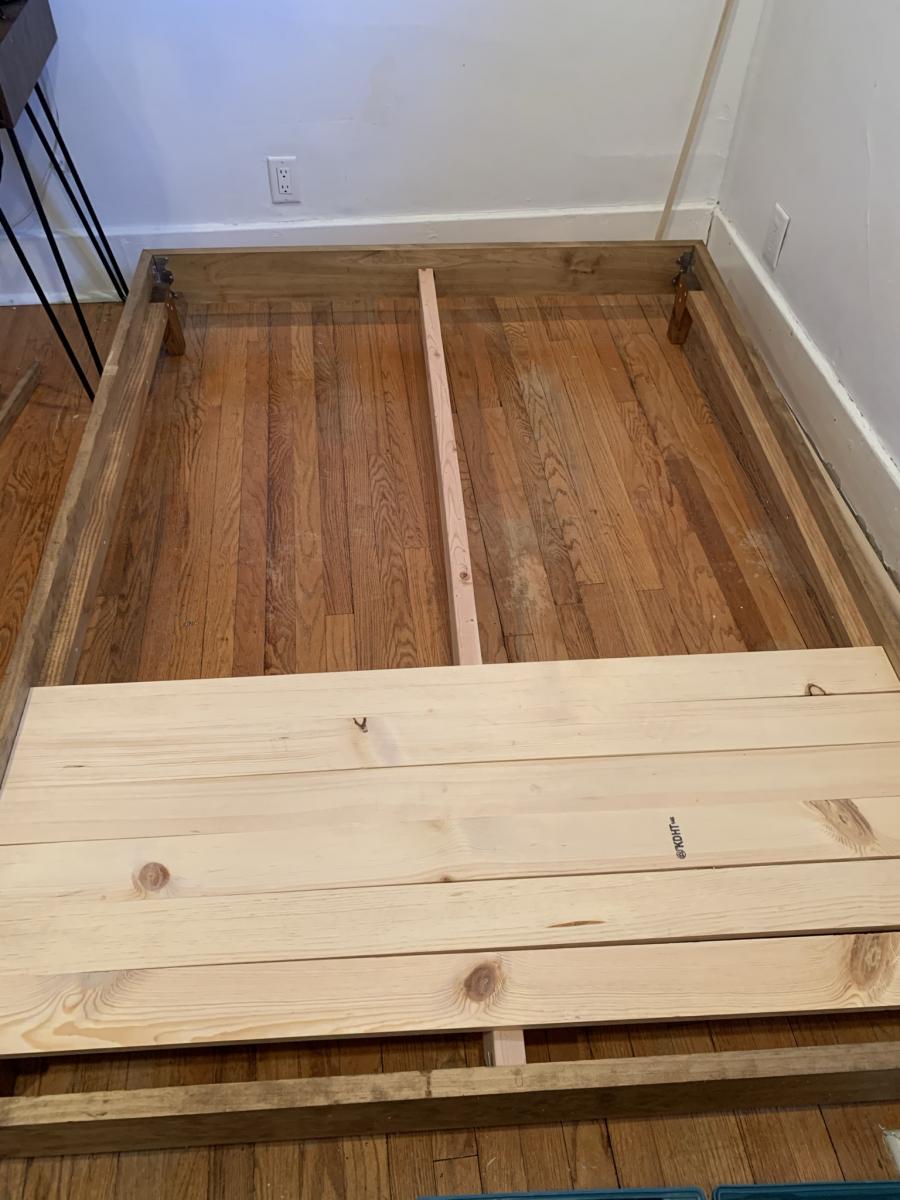
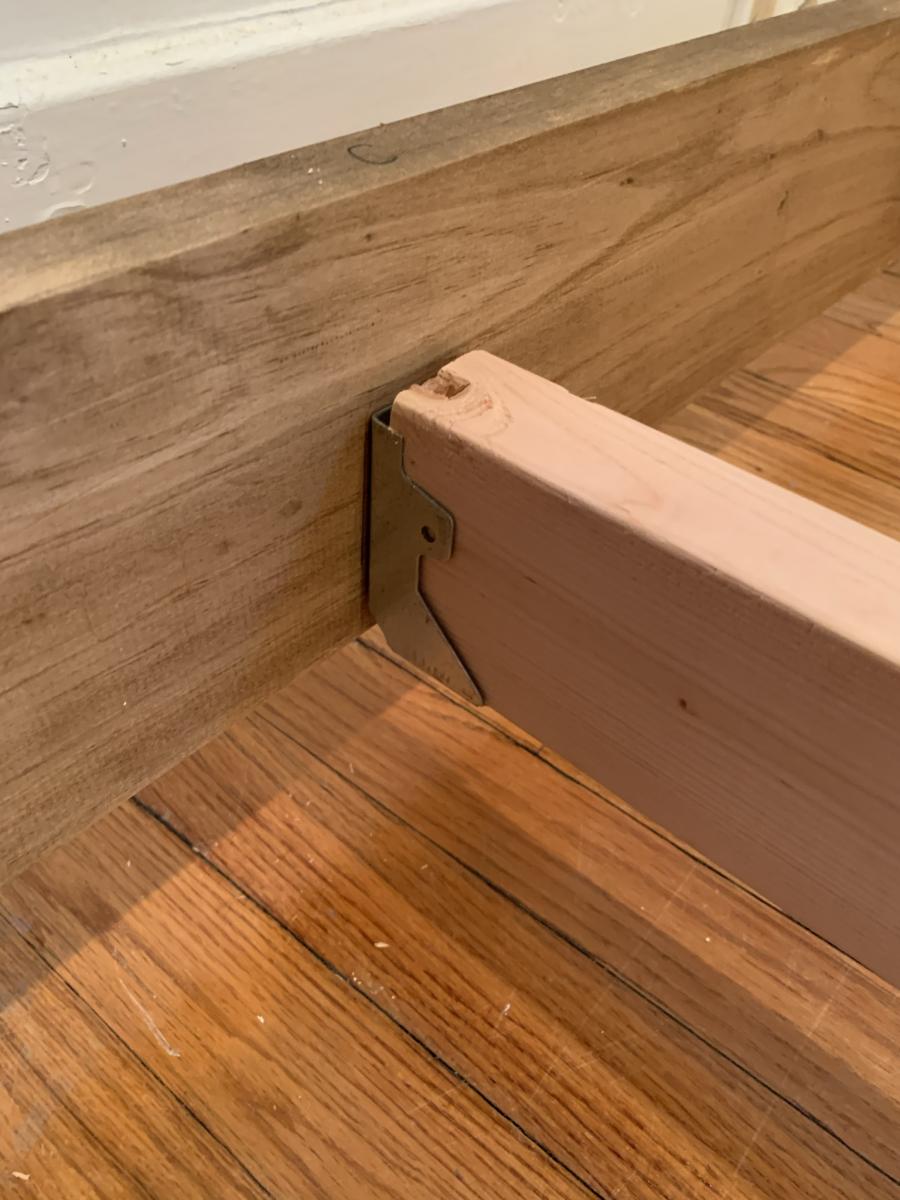
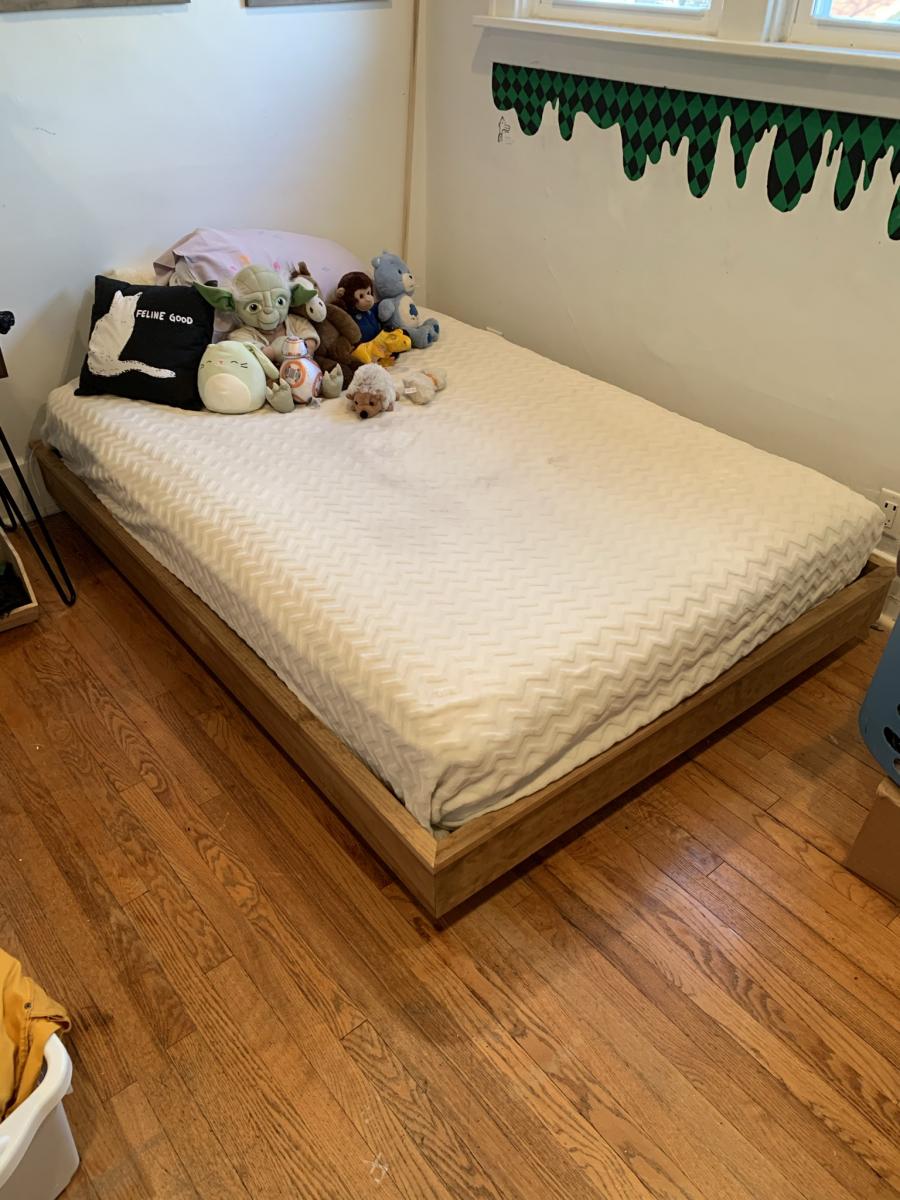
Hailey Platform Bed Frame with aMiter

We have built this plan twice for our two daughters (Full size mattresses). A similar bed frame at Pottery Barn Teen would have easily set us back about $1500 so these bed plans are truly a blessing! After no luck with a Wayfair wrought iron knockoff bed frame (loud and squeaky!!) we decided to give an Ana White plan a go. So glad we did! We did modify the plans slightly. We mitered all corners and stained all components with a Varathane Golden Oak before final assembly. Although I own and use a Kreg Jig, we wanted the frame to be easily disassembled. We opted for corner braces secured with 6, 1" cap head wood screws per corner (3 per side). Keep in mind miter corners can be a bit tricky but definitely possible with a little patience. PLEASE NOTE: when cutting miters, you will need to account for an additional 4" OD from Ana's written plans. Each 90 degree angle is approximately 2" long. So, if cutting the 75" length( for the mattress length) the miters will be 2" long on each end making the OD length 79". Whether you are going with Miters or butt joints, I would also highly recommend a right angle clamp (Top/Bottom) used during assembly. It is extra expense but so worth the investment!


Built from Plan(s)
Estimated Cost
$150
Estimated Time Investment
Day Project (6-9 Hours)
Finish Used
Varathane Golden Oak #227. Applied 2 rubbed coats for a deeper grain finish.
Recommended Skill Level
Intermediate
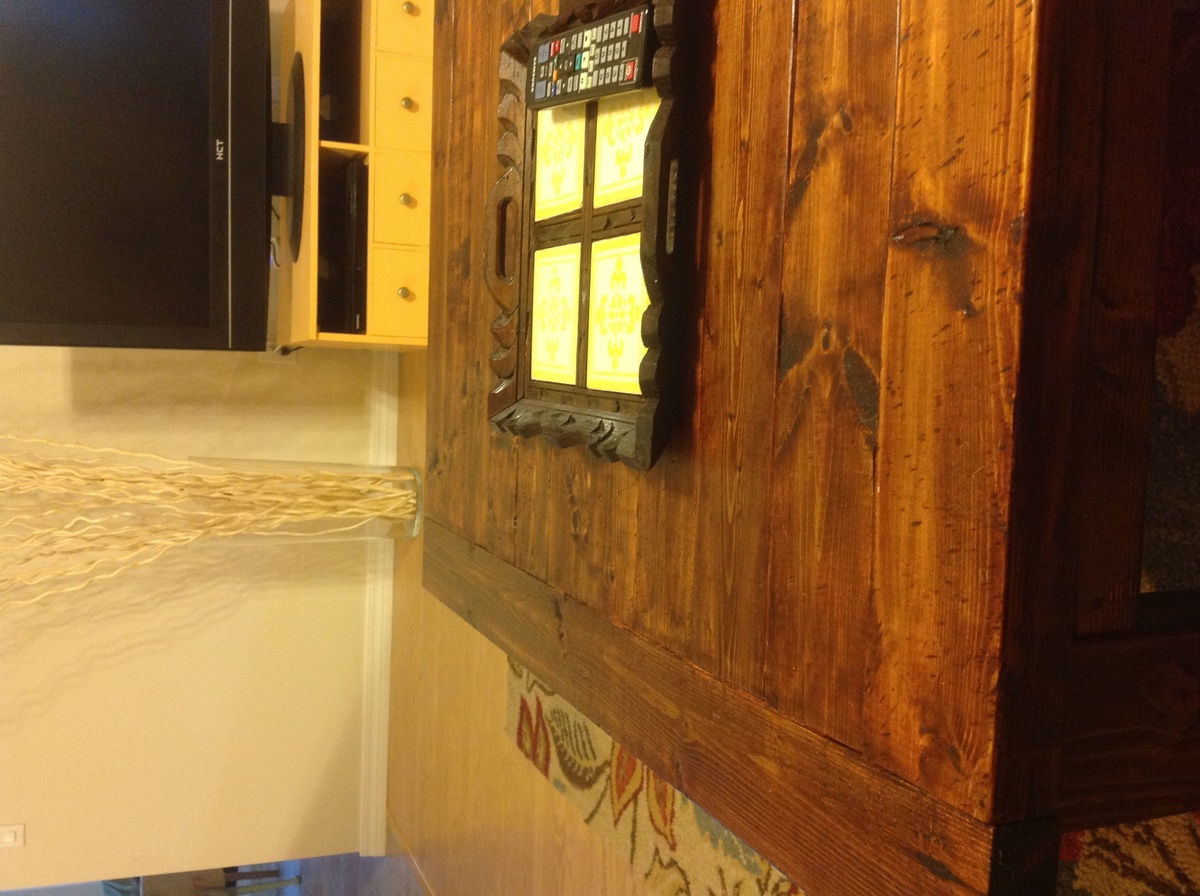
Tyde coffee table (modified size)
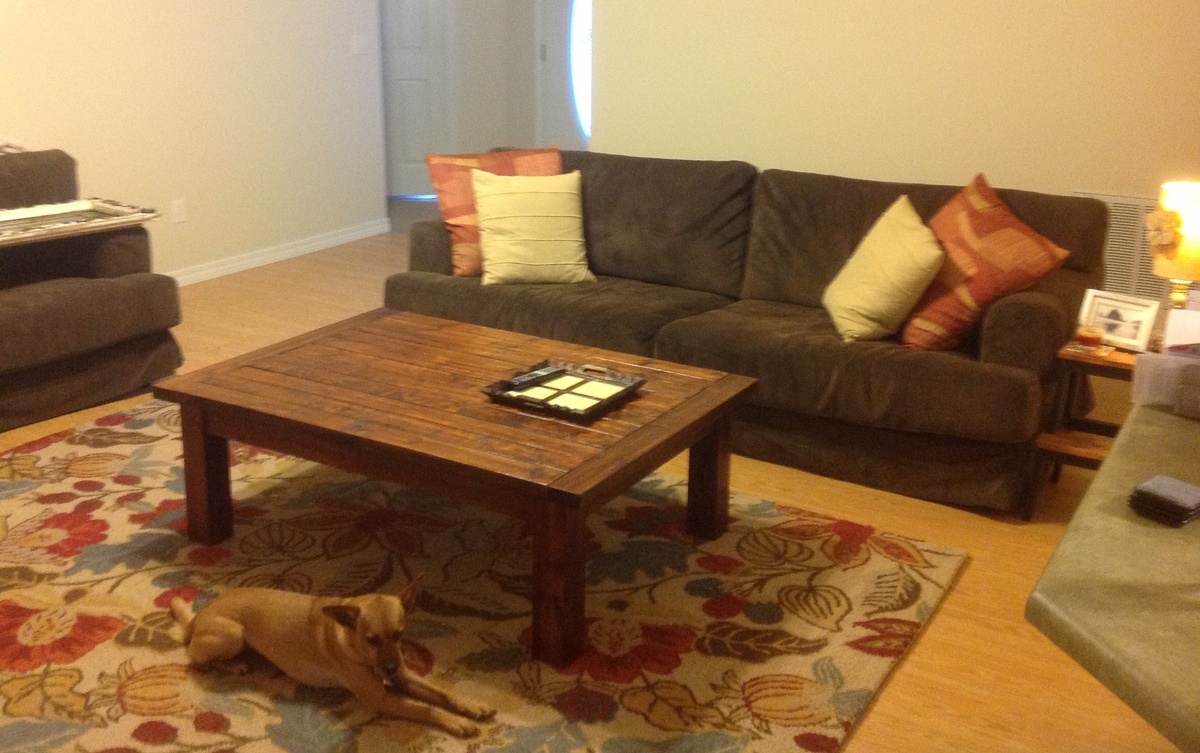
This is our first project. I mentioned to my mother in law, we were one a mission to try an Ana White project while we were home over Thanksgiving. She surprised us with a kreg jig for Christmas! It is absolutely amazing!! I suggest it to anyone who is considering making this a hobby. Not on screw, is visible. THANKS SO MUCH ANA, WE CAN'T WAIT TO FILL OUR HOME WITH BEAUTIFUL FURNITURE!!
Estimated Time Investment
Weekend Project (10-20 Hours)
Finish Used
We used two stains,. Under layer golden mahogany, layer was dark walnut. Finished with satin poly.
Recommended Skill Level
Beginner