Office Desk
This was my first project. I followed the plans exactly! I LOVE it! It is a perfect desk that I will be using to work through this remote teaching I'm having to do. Thank you for the plans. Next up-Rustic X Console!
Built from Ana's Dog Crate End Table plans. Used steel rods instead of wood slats.
I did it! My hubby cut all the wood for me because the saw still scares me, but I assembled it!
Sat, 09/08/2012 - 11:52
hi i love this table do you mine sharing with me the wood sizes and assembly intructions THANKS!
I built one bench originally, but quickly decided that I had to build the complete set. I painted the base of the table and the benches with Valspar Duramax Barnwood and the table top Valspar Duramax custom matched to my garage shutters. The only part of the project that I really needed help was carrying the table to the patio.
Thanks again Ana (and Brook) for a wonderful plan!
I saw the plan and thought I would give it a shot. My wife loved the plan, but wanted something with a higher back. I used the bases of the plan as is, but I adjusted by adding some higher pieces at the back. They are attached at the seat flat and the back rail. It worked out pretty well. I still need to sand and stain.
Fireplace Bumpus. I decided to add a hearth. I am so pleased with project.
Arne de Jong from Calgary Alberta Canada
This is my second build and i really like it. I used pine and Waverly Cross Section Green to cover the foam. The plan is realy easy to follow and i used killer B method for the upholstery part. http://ana-white.com/2011/03/upholstered-bench. With two kiddos, it took me a couple of weeks to finish it but its a day project if your have more time than me! The only problem i had was to find high density foam. I finally find it at an upholstery shop but it cost me more for the foam then for the rest of the project. I used varathan oil base stain in light wallnut. I will finish it with a coat of vanish soon. Sorry for my bad english, my first language is french! Genevieve alias MadameG
Wed, 06/06/2012 - 09:32
Genevieve, I always enjoy your posts. Your English is good - better than some people who grew up speaking it here in the US!
I have a daughter named Genevieve. Her father thought Genevieve Bujold was beautiful and wanted to name his little girl for her.
I needed 3 stools for my kids to eat breakfast at the counter. These were perfect.
I already owned the fabric so I only needed to purchase the wood and the foam. I made it entirely out of furring strips so it was really inexpensive.
I took me a couple of hours to build and sand all 3.
Modified version of the Ana White Triple Pedestal Farmhouse Table. Table top is made of 1in alder while the base is made of construction grade 2x4 and 2x6 lumber.
Simple Step stool. My husband suggested we needed one of these for our pantry, so I whipped one up for us! The plan was so easy to follow, it took me about 20 mins to make this stool.
We moved into our new home. The hallway looked dark and gloomy. I decided wainscot the hallway. I brought 2x6 and 2x8 for hallway. Started installing on the wall and framed out the wall after completing the wainscot still didn’t look to my satisfaction. I then changed the carpet and installed laminate flooring. Everyone who comes to our home loves the look.
This was not built using one of Ana's plans. I have a book of 2X4 projects that my daughter gave me and actually got me started woodworking. This beauty was one of the projects. It was easy to build and easy to put together but not easy to paint. The lattice was the cheapest she could buy and was "furry". I tried sanding which took forever but it was still a mess to paint. I am including the link to the plans: http://woodtools.nov.ru/projects2/WoodPlan/lattice-bower.pdf
If you build this be sure and sand and paint before putting together-it's so much easier.
It looks amazing in her backyard and she is loving it.
Took a couple of weeks to complete but, hubby only worked on it in the evenings after he got off work. He had trouble finding untreated 4x4s so he glued untreated 2x4s together (which took extra time waiting for the glue to set up and dry). He used paint grade pine wood so our cost was a little higher than what was estimated. We ended up having around $350 in it after buying paint and everything. Overall, he said it was a fairly easy project.
Made this over a weekend. It did take a week to apply the final finish to protect it.
My first cedar planter with trellis. Fun and easy project. Using it in front of my propane tank to hide it.
Chose the small firewood shed project as a "template" if you will .. built this to house our garbage cans and eventually put a gate on it to "help deter" the Florida black bears (we do multiple things to keep them at bay) but this will also just be a nicer looking way to keep the cans outside.
I modified the floor since the firewood shed had a floor that was suitable for, well, firewood but not so much for rolling garbage cans. Had to leave the one slat off the back for the depth of the can which I didn't completely account for in the beginning. Overall, still need to paint it and water seal it but happy with how it turned out.
Saw this plan and knew I had to make it. This is her first BIG GIRL bed. Her reaction made it all worth it, "Daddy I am going to sleep in this bed FOREVER!" We stuck with the hinged storage under the first two steps but turned the space under the top step into a little closet for her dress up stuff. We also strung rope lights in the playhouse section for added fun lighting.
Fri, 11/23/2012 - 22:19
I'm going to build this for my granddaughter. She will absolutely love it. I'm having trouble figuring out the exact steps - which I need before I venture on this project. Trying to find accurate step by step plans for the stairs on the right side -- and all the walls too.
THANKS
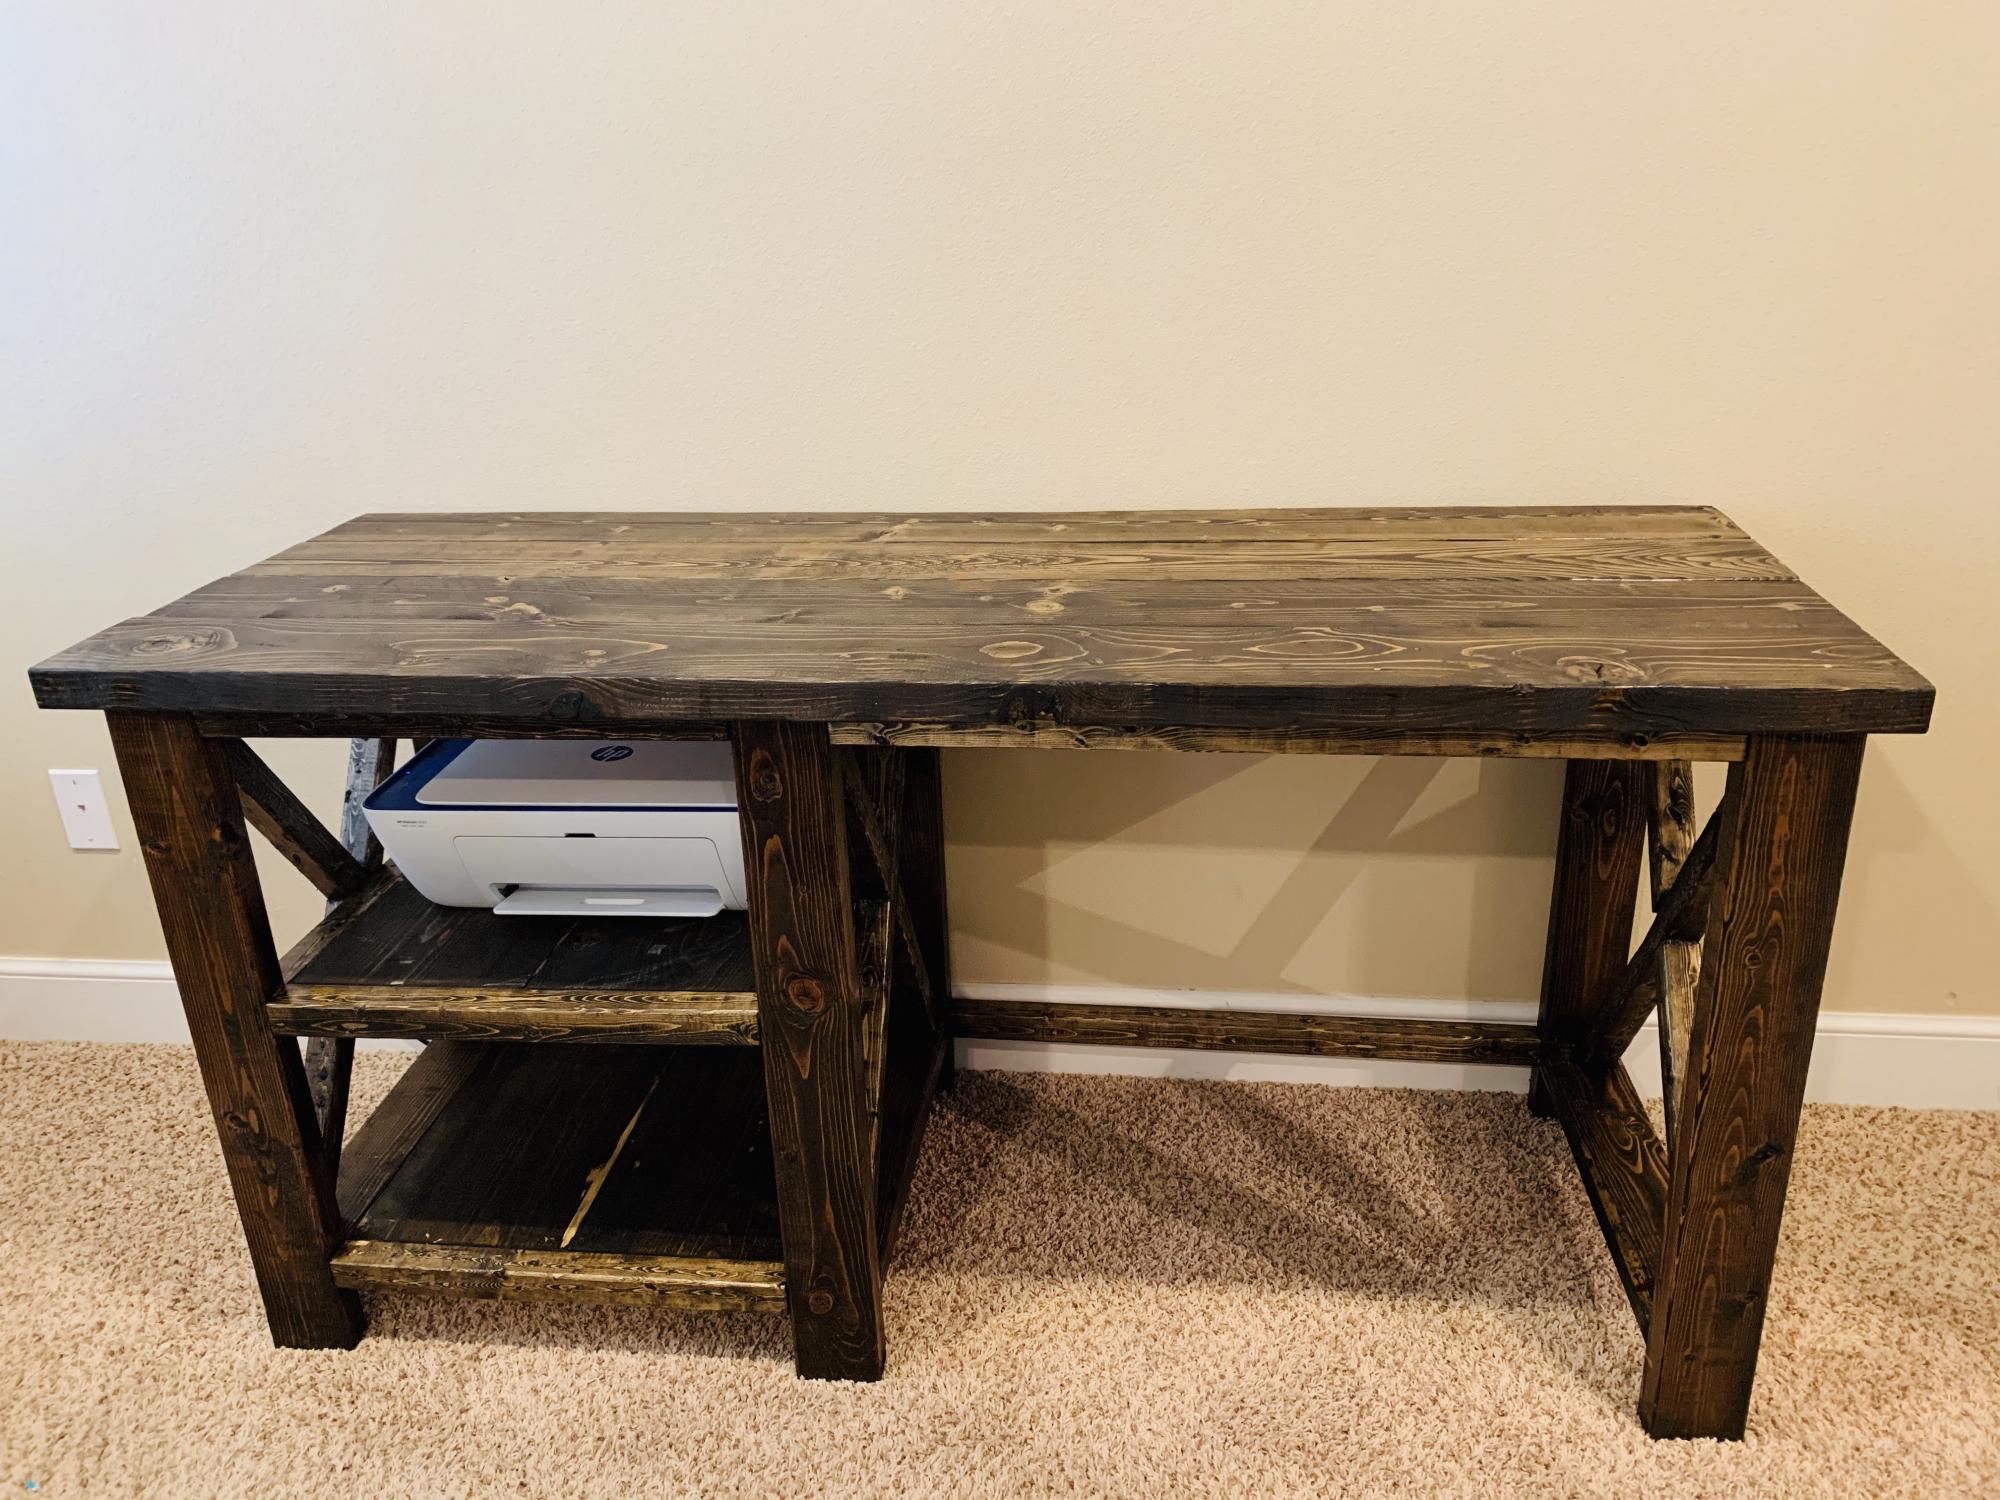
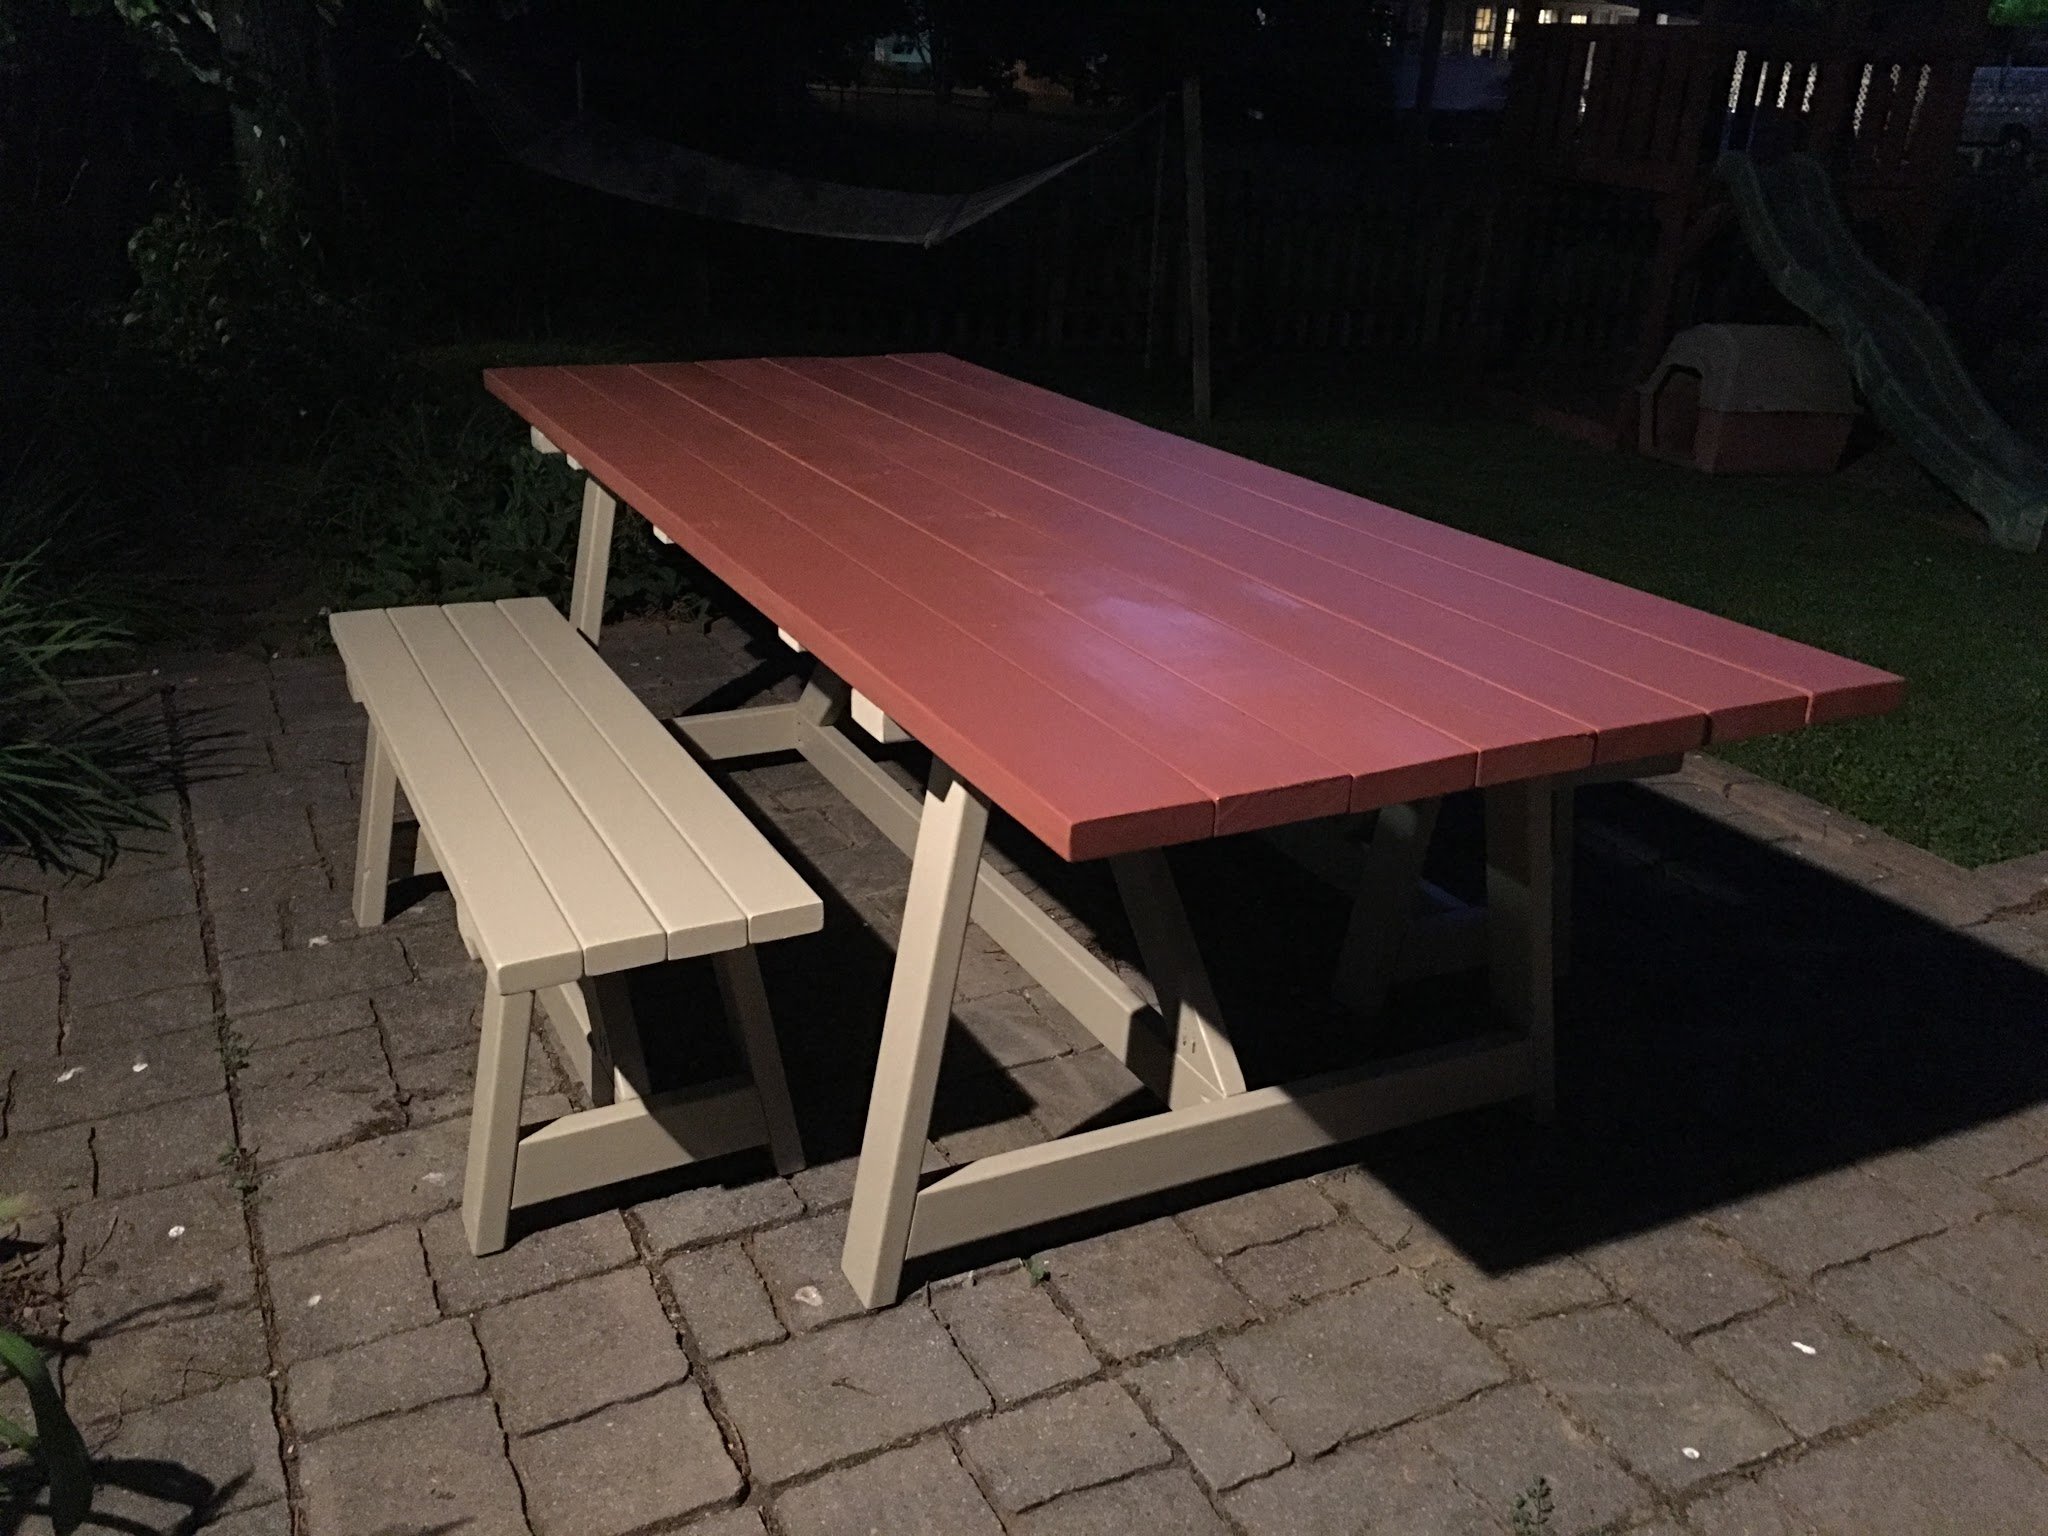
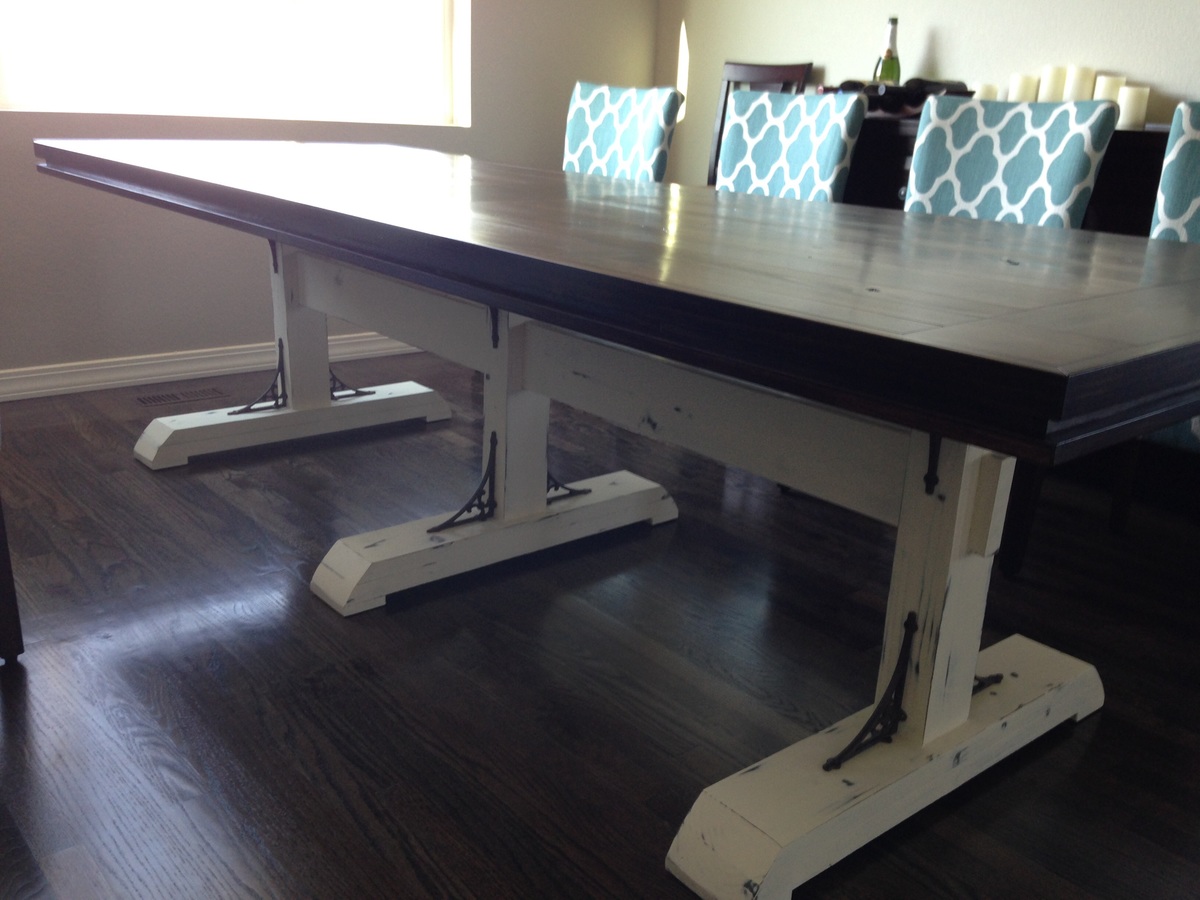
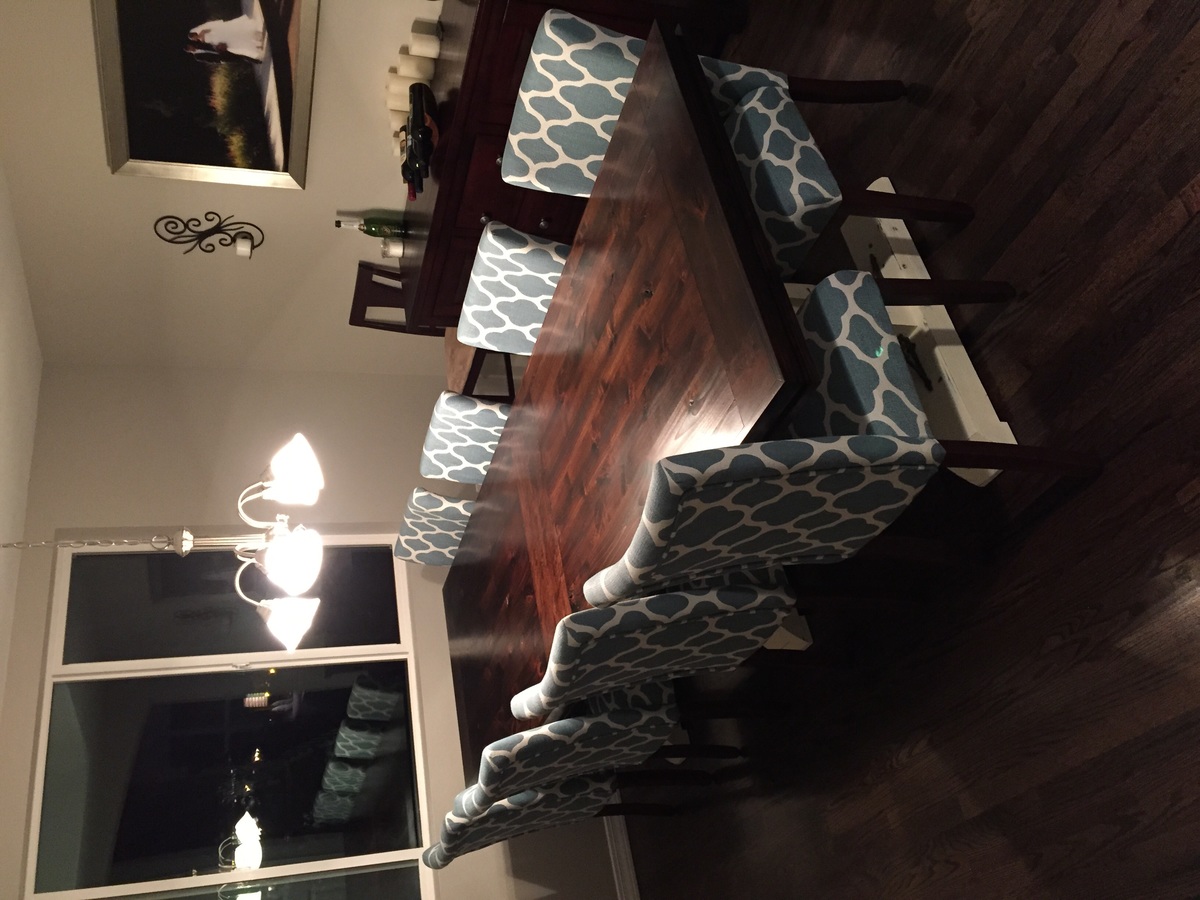
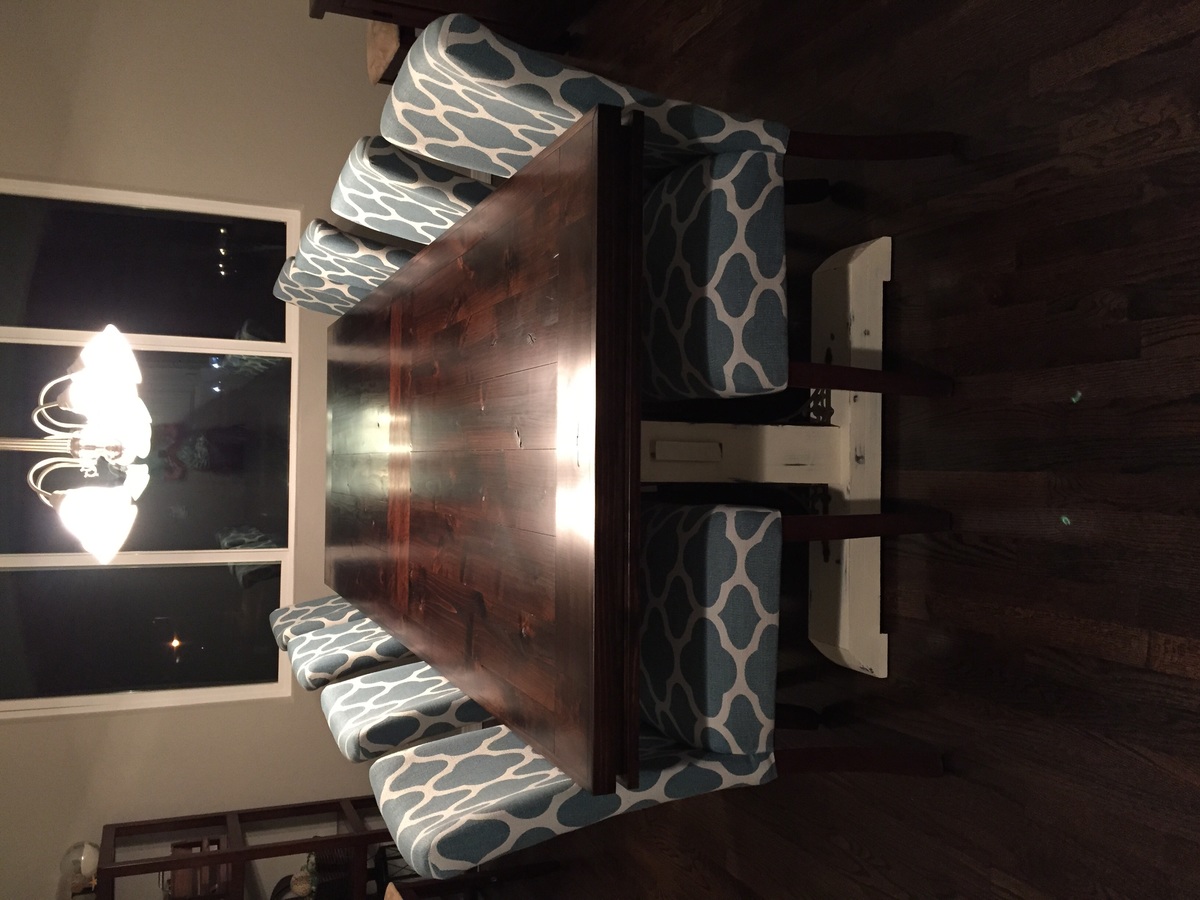
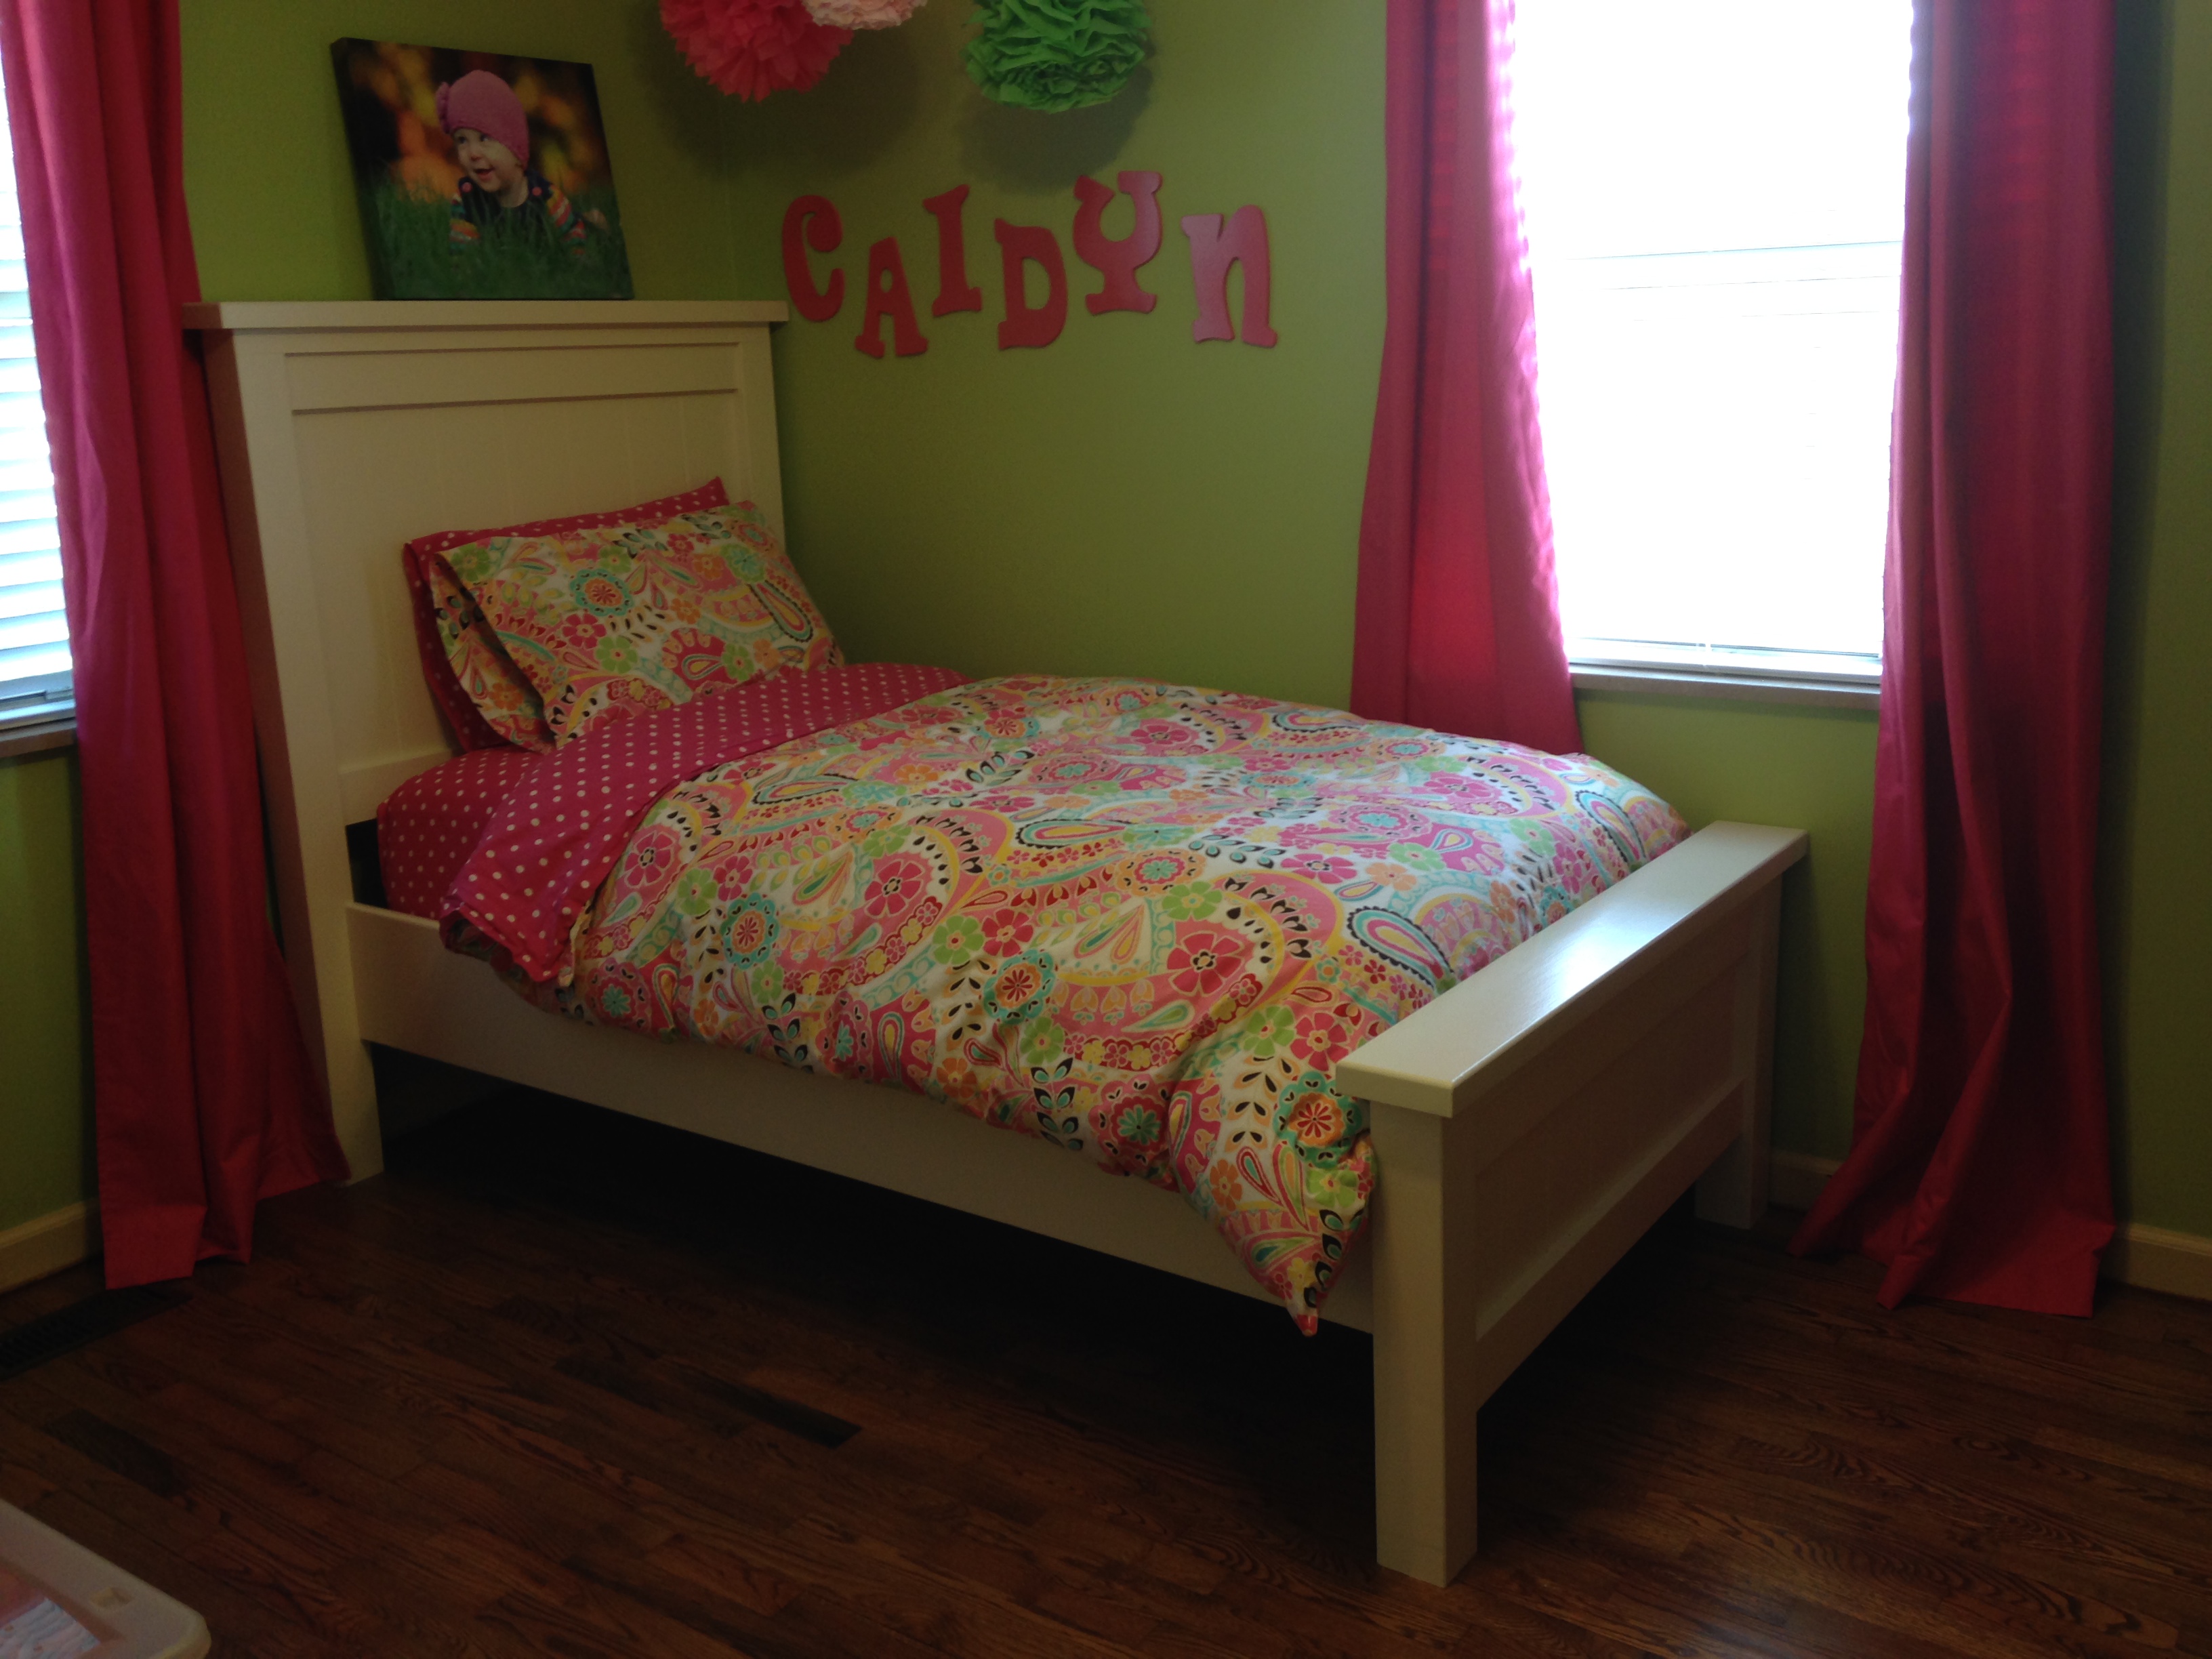
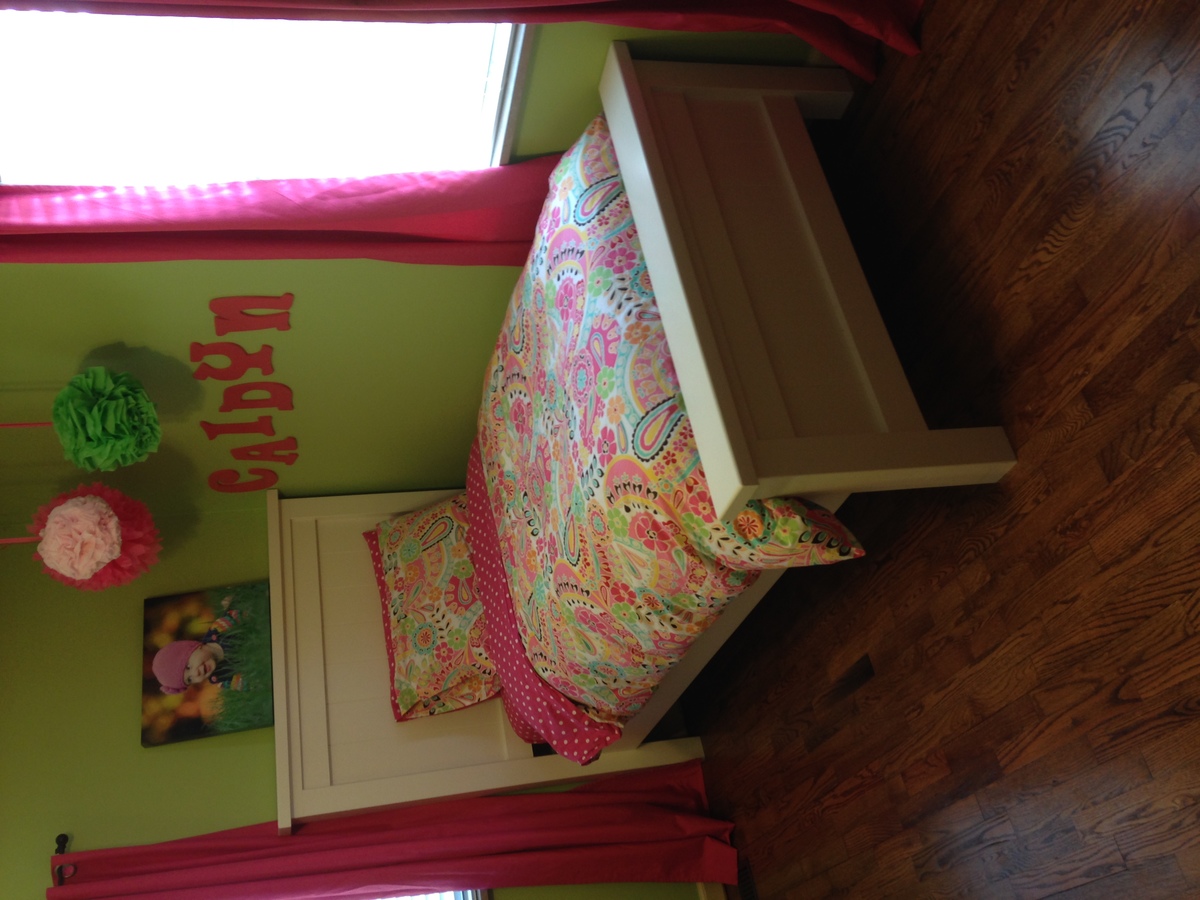
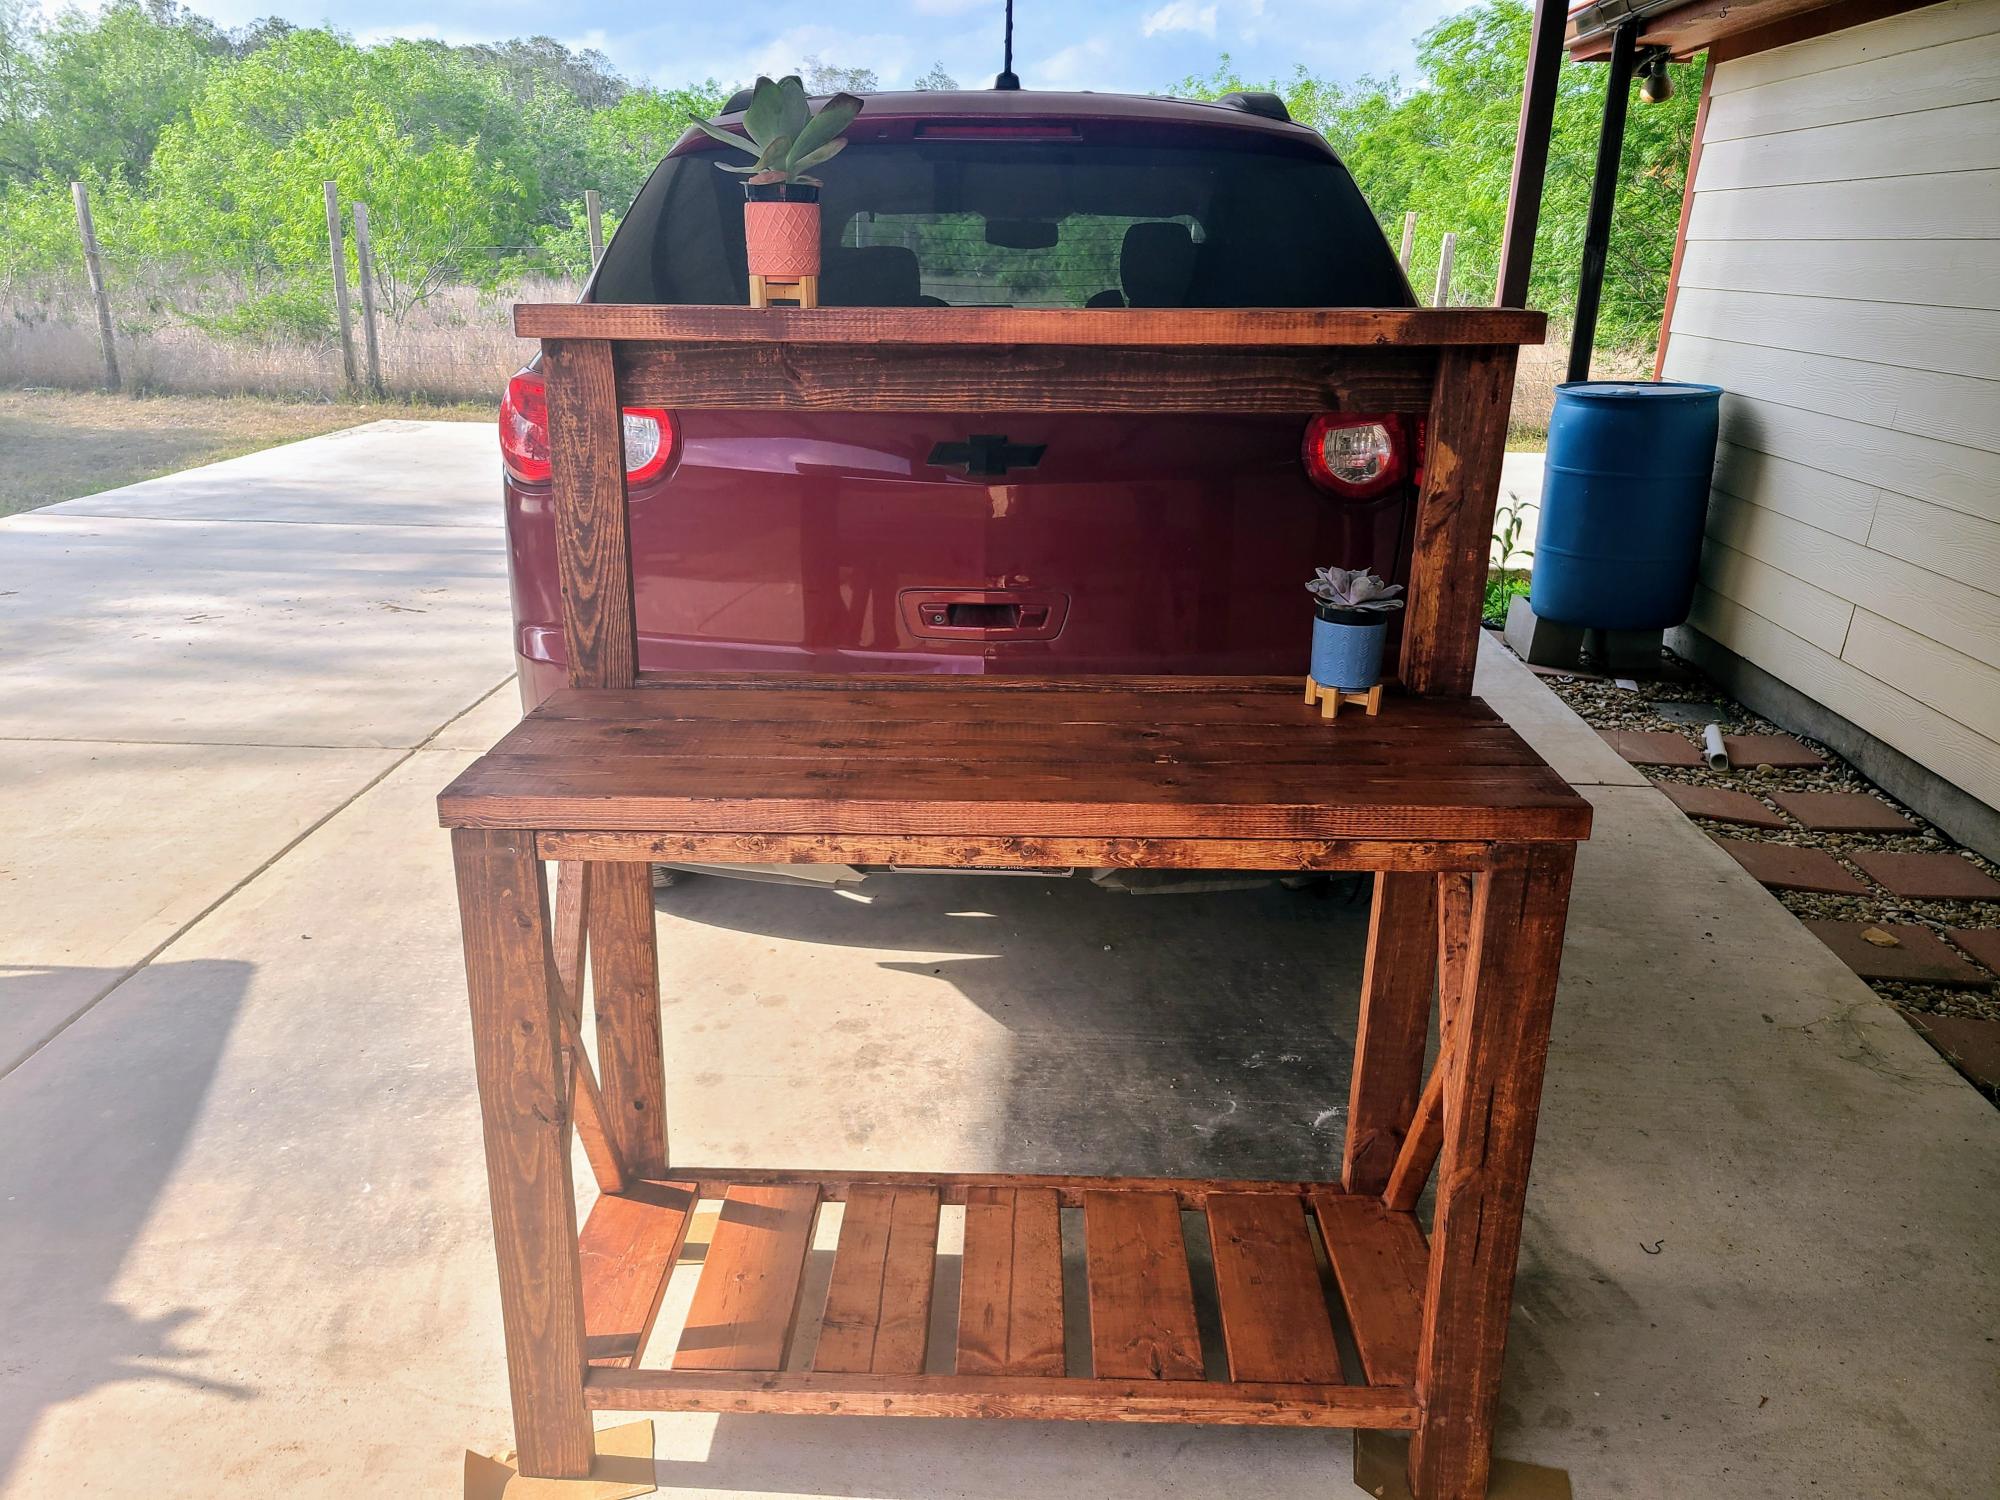
This Rustic Table was built by my just-turned-15-year-old, Joey. He is amazing!
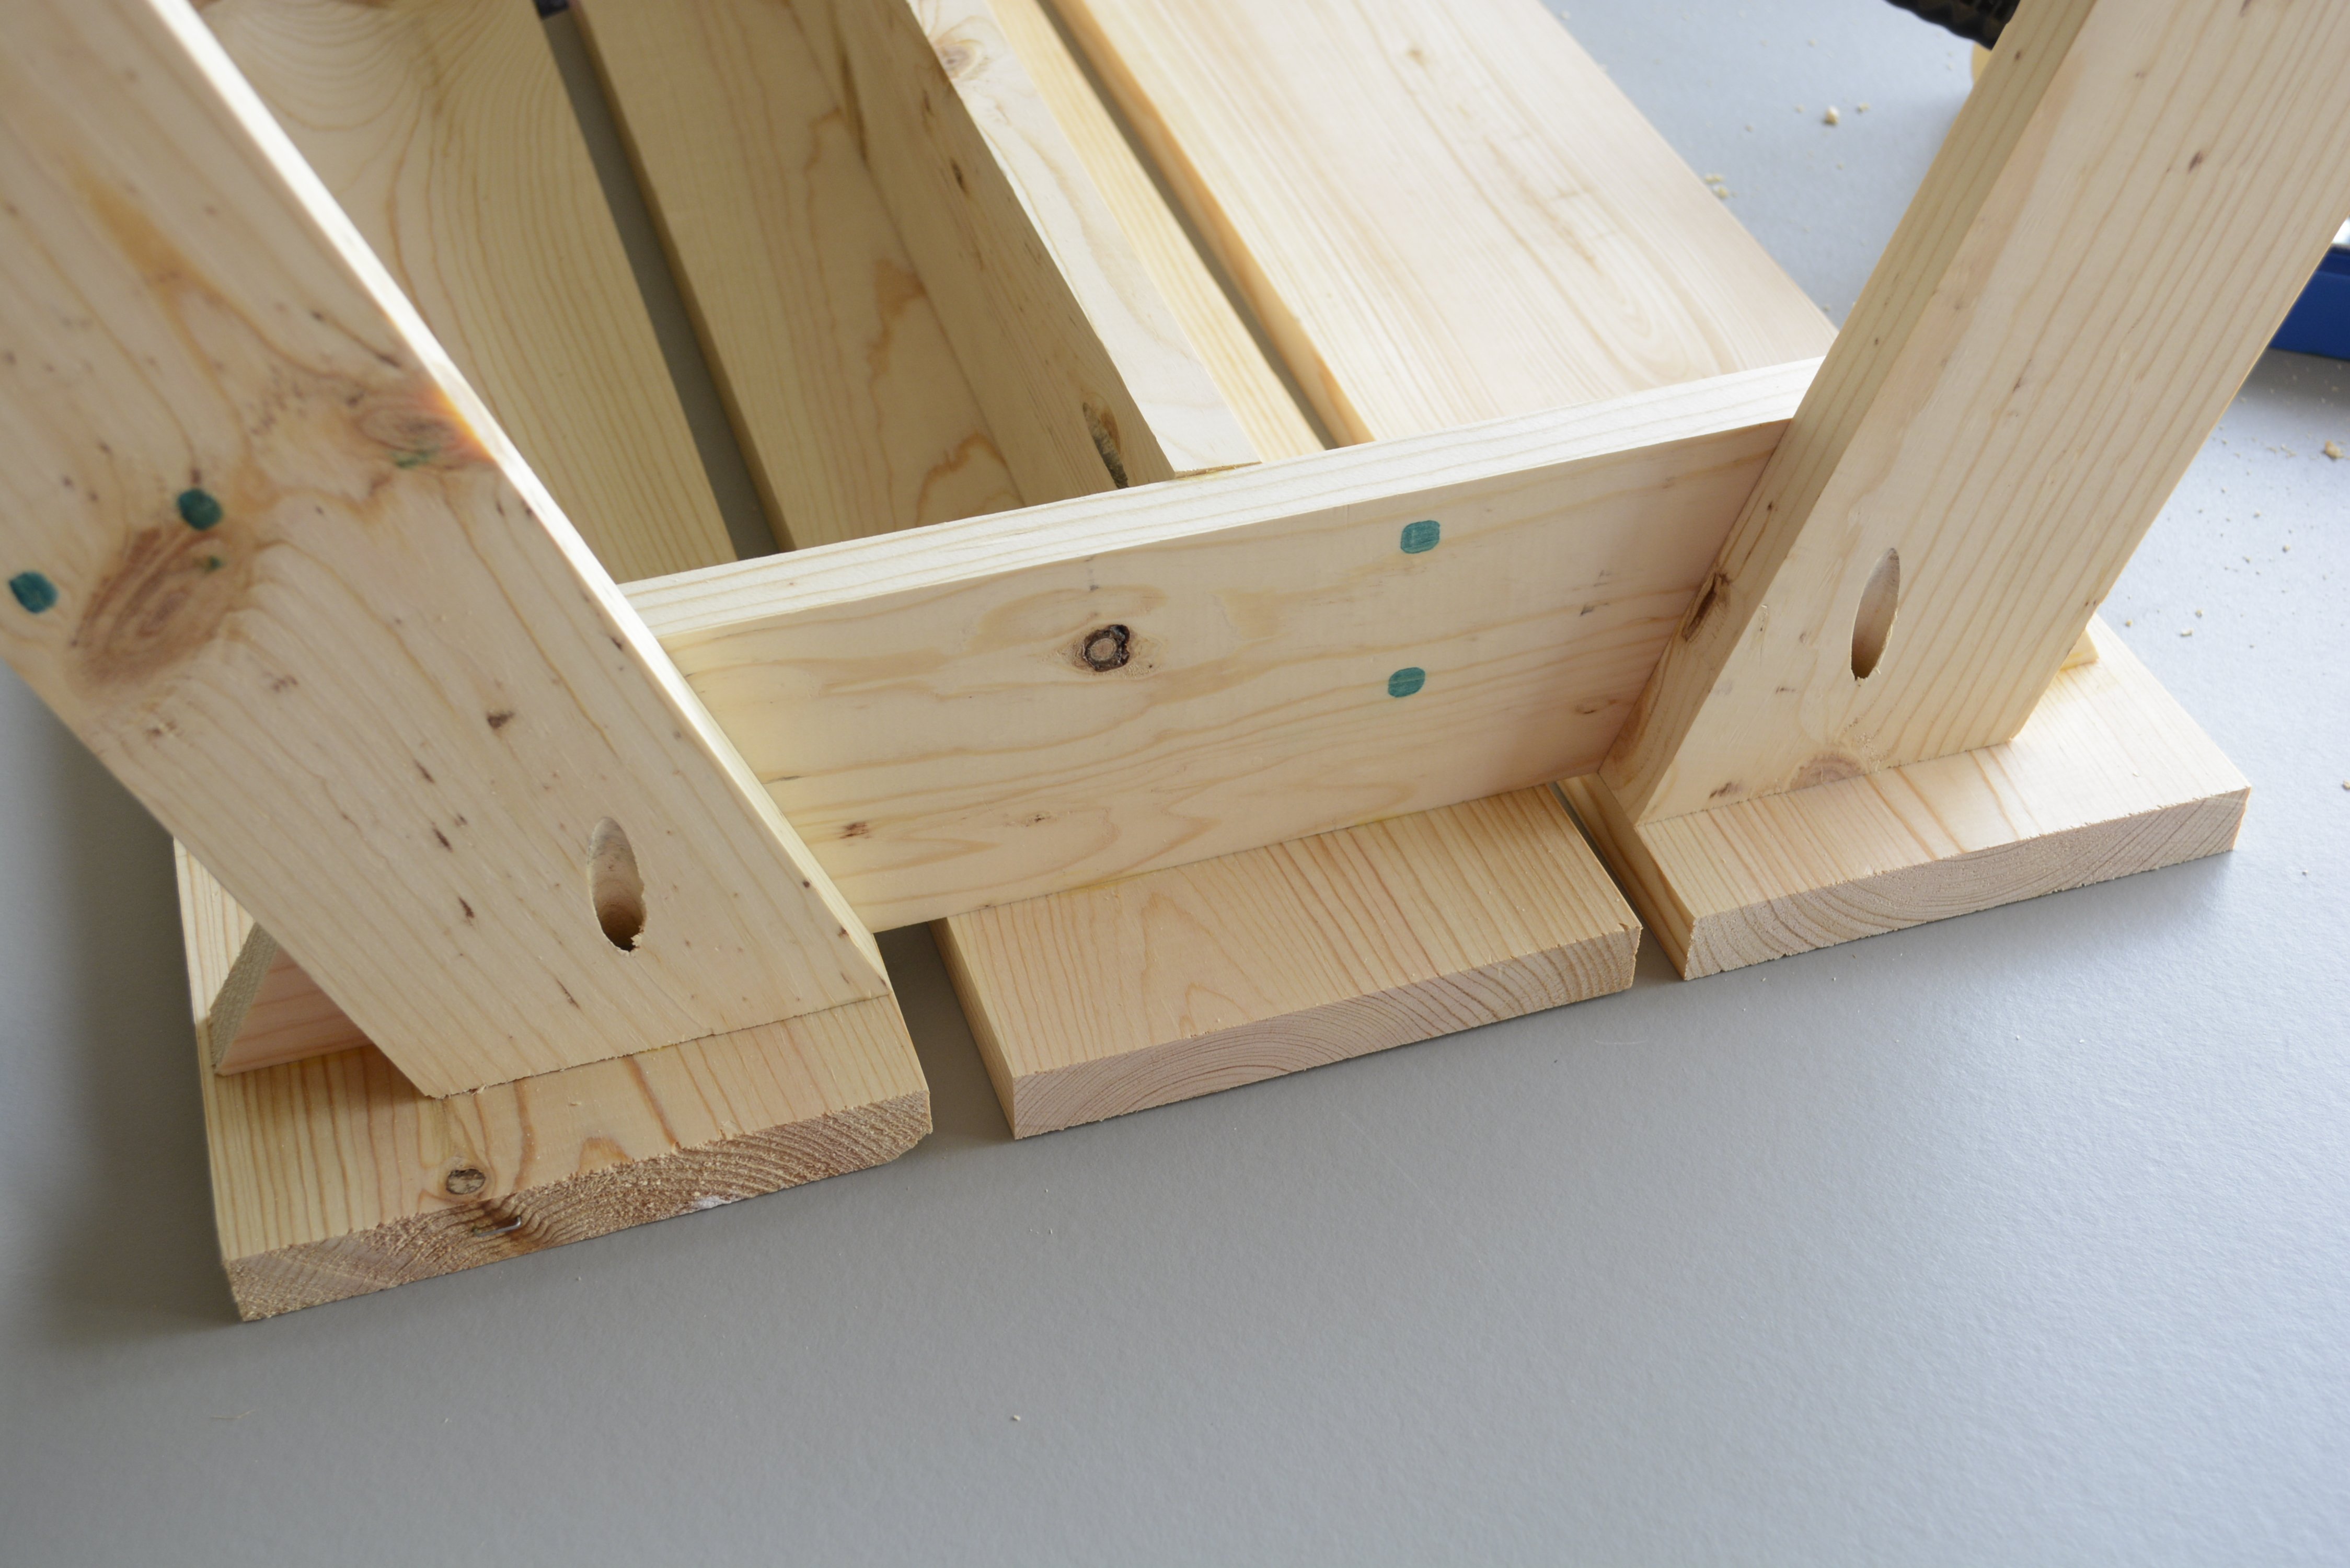
Joey is a Kreg Jig pro (and an engineering marvel) and this table is rock solid. The only change he made was the direction of the table legs (per my request) and he tapered the legs as well.
I finished the table using Ana's directions: http://ana-white.com/2013/05/staining-and-finishing-tabletops As a stain and poly novice, these directions were a life saver!!
Learning lesson: When I applied the stain (in several coats to match my cabinetry), I was nervous and patient. Then, I built up my confidence and decided to apply a very thick coat of stain. Don't do that; it was a sticky mess! I searched online and lots of people said that I would have to start over. Don't do that, either. One person (thanks to him!) said to be patient and wait it out. Fwew! So, I moved it onto the screened porch (and turned on the overhead fans) each day so that the warm Florida air could help dry it out (alternatively I imagine you could leave it in the house with some fans blowing across it). It took about a week of waiting (ugh), but it dried (yay!) so that I could apply the Spar Urethane.
Must do: Ana suggests using Minwax® Water Based Helmsman® Spar Urethane for a top that will tolerate water condensation, milk spills, etc. I did this and have no worries that my son's project will be ruined. This table is going to last!
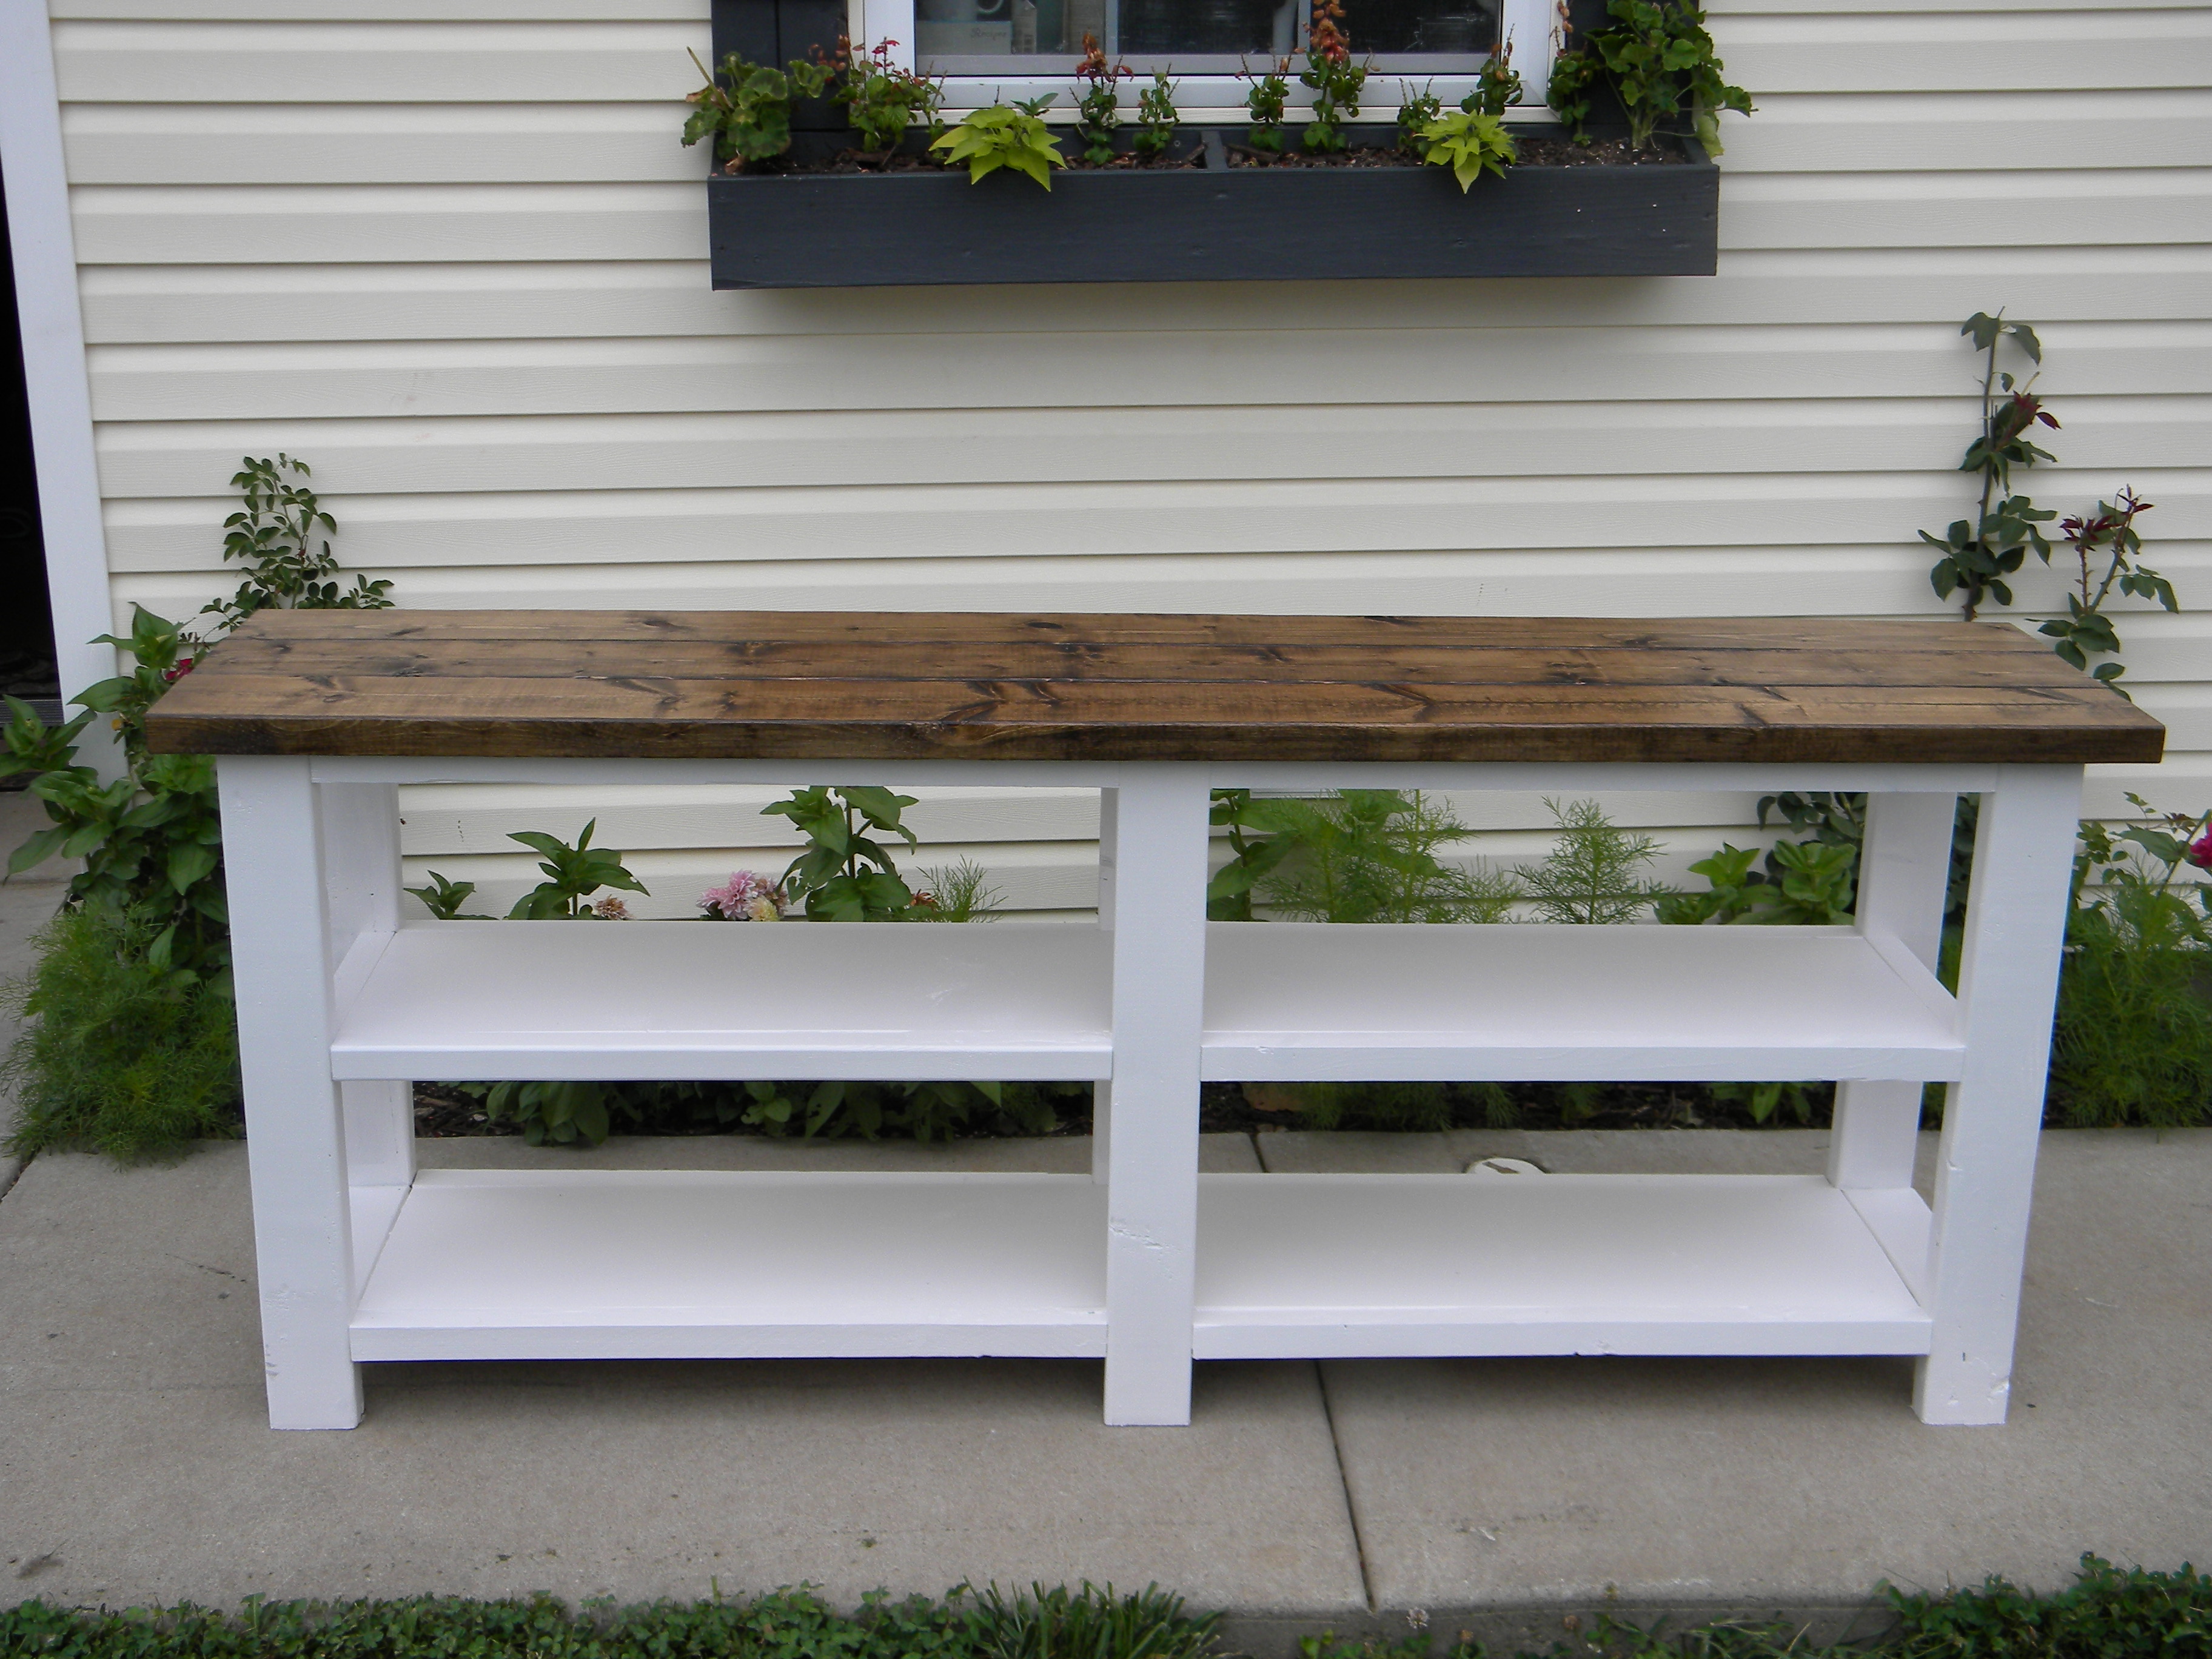
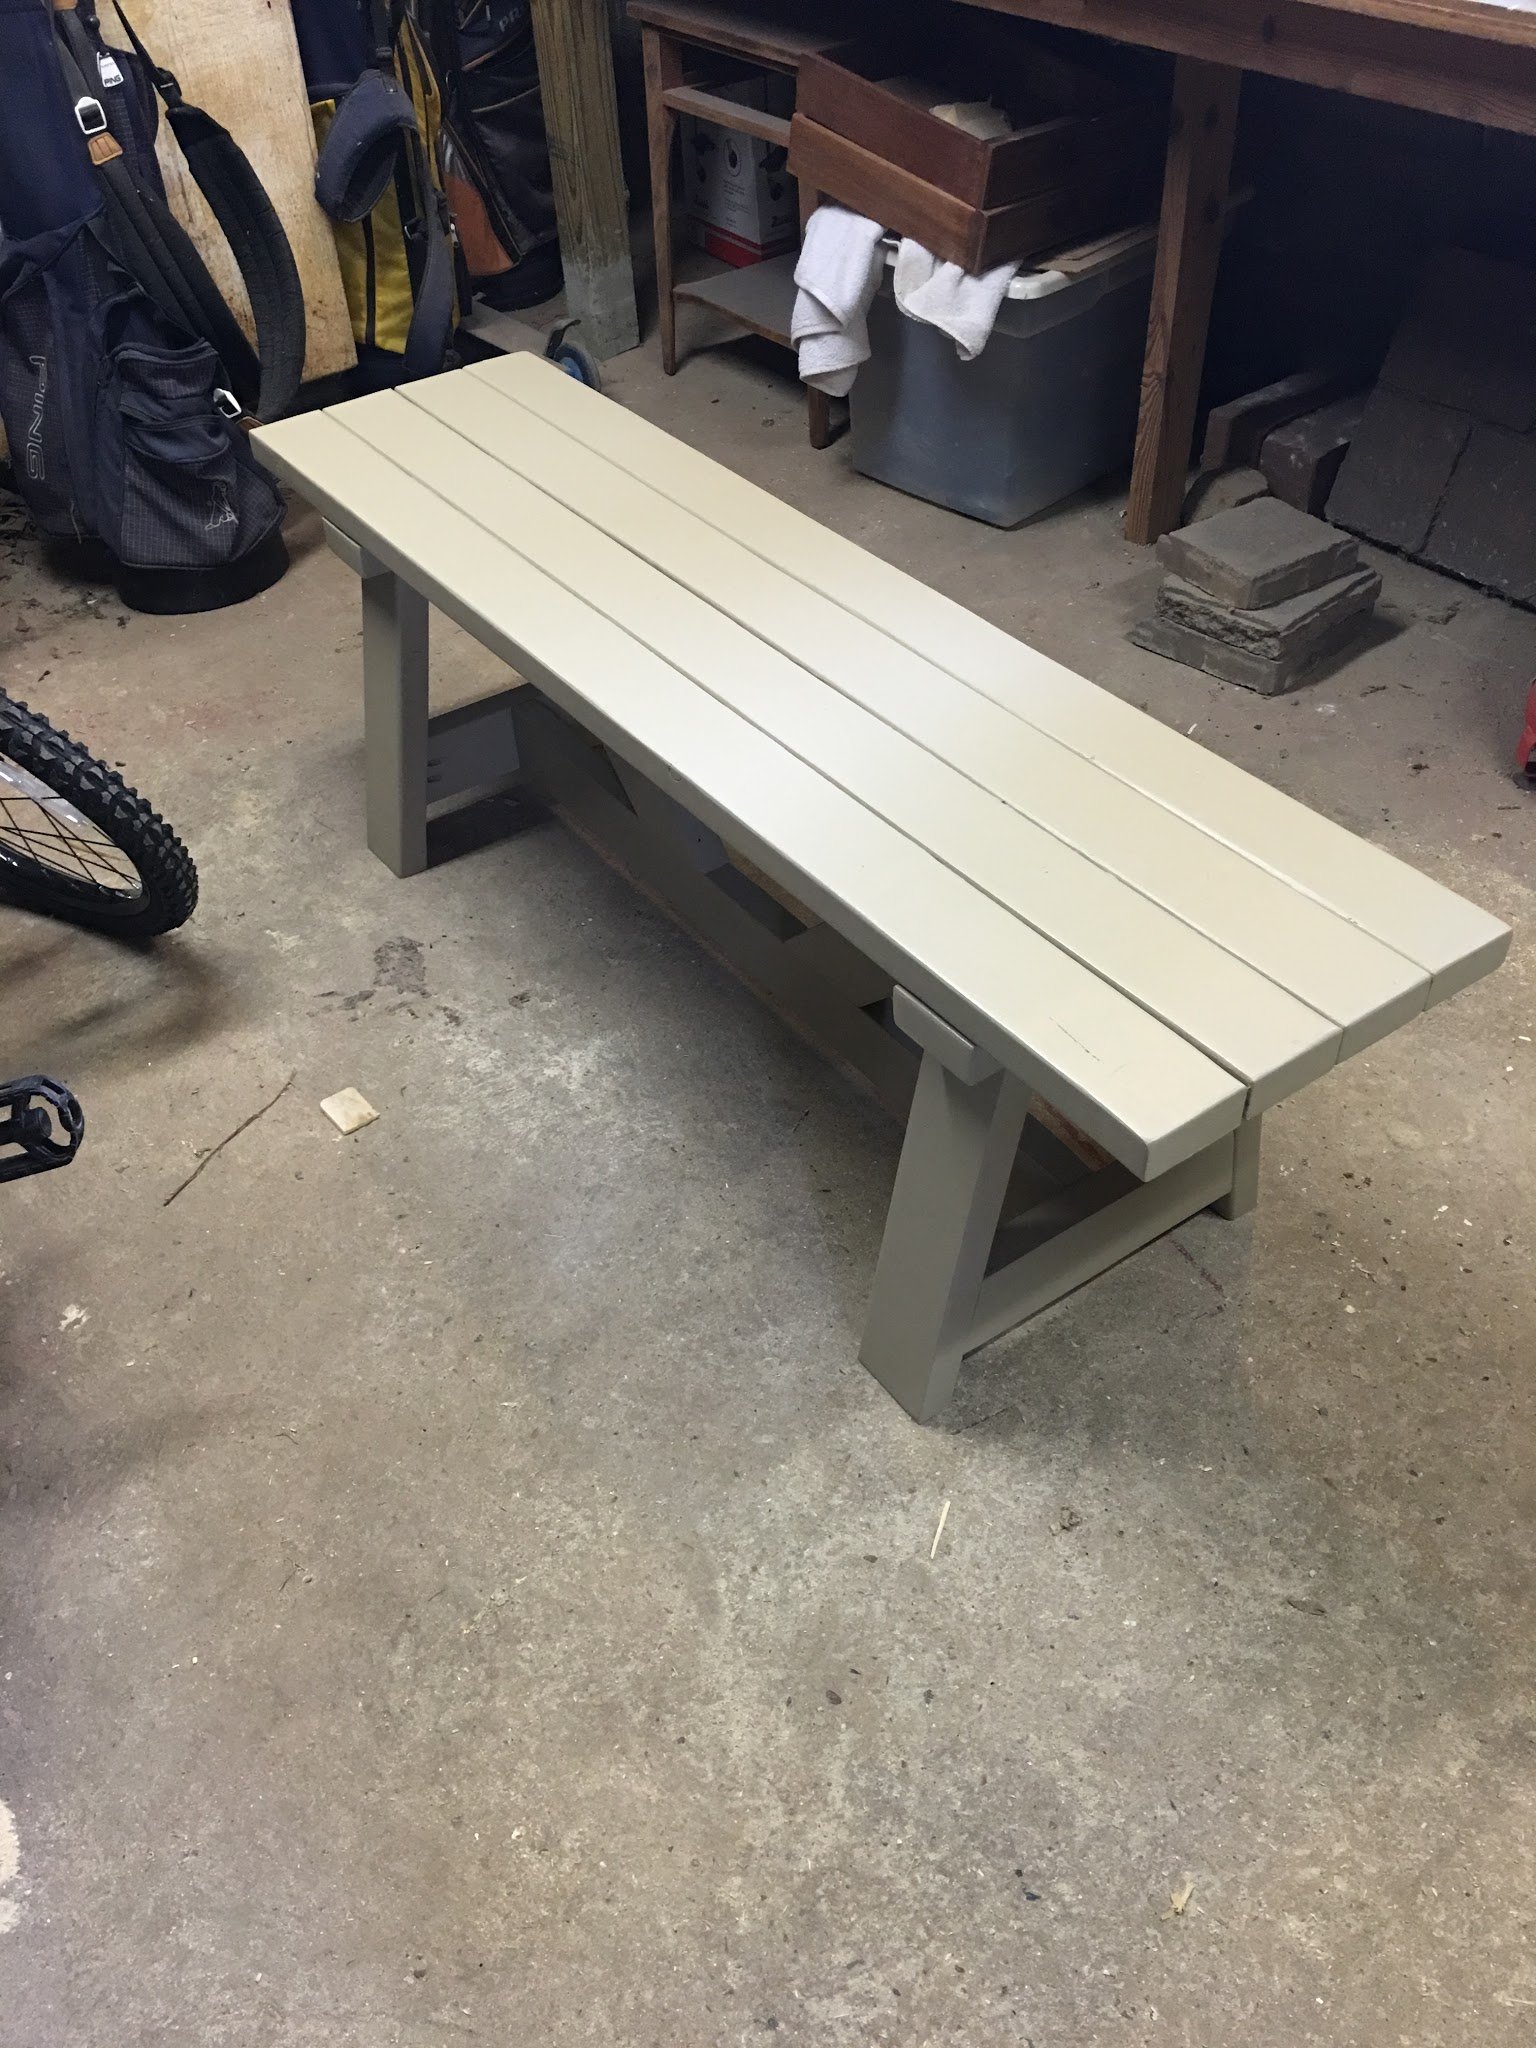
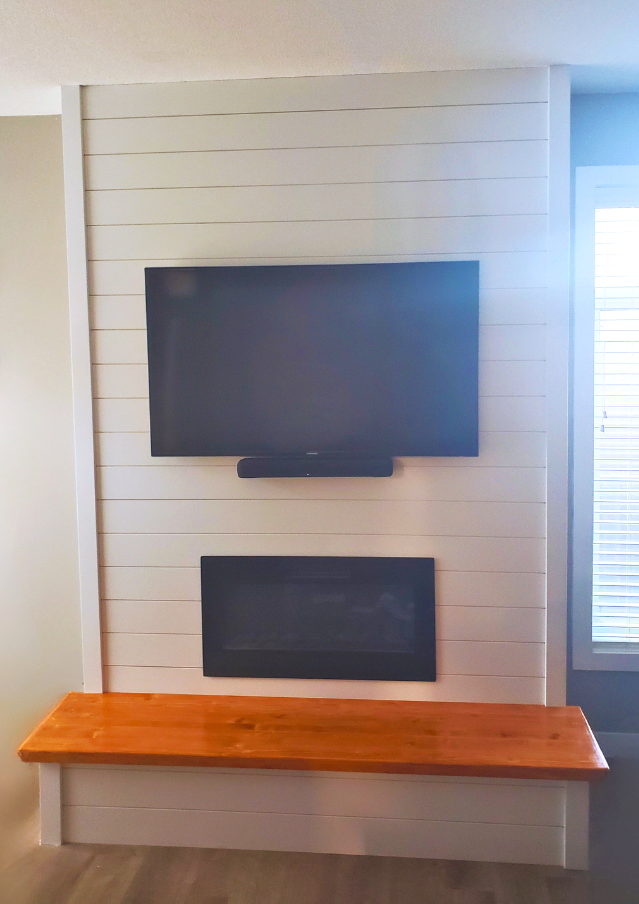
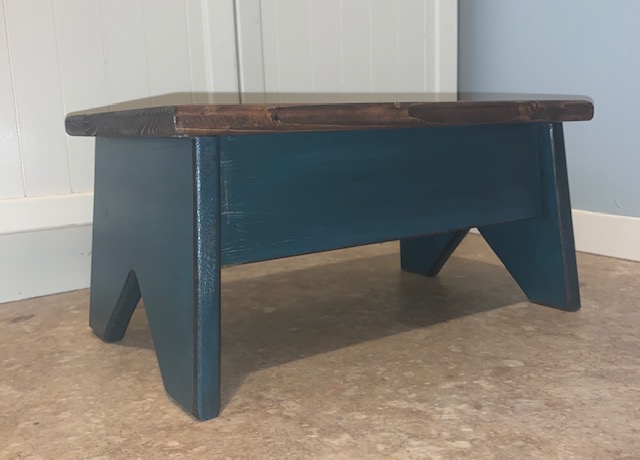
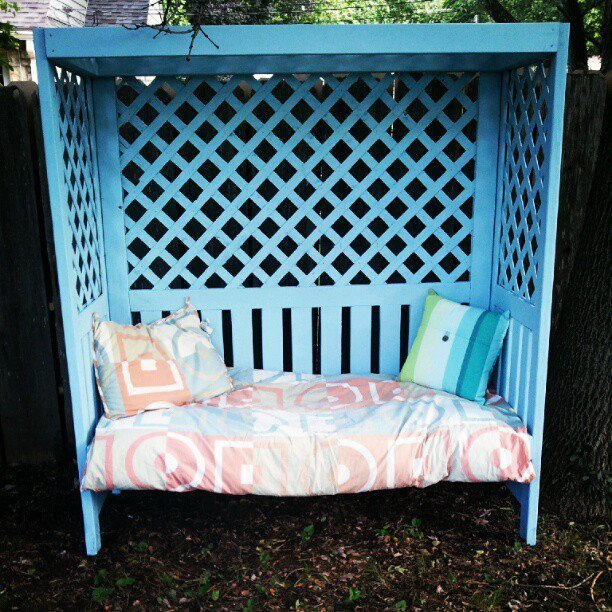
The bench was also an Ana design. It was a really quick project.
Thanks so much to Ana for having these accessible, free plans. I could never have afforded a table of this substance and we are SO proud to tell visitors about Joey's Table when they ask.
My first truly functional build! I love how it turned out, but even more importantly my kids are loving it - we are literally using it for every possible meal and snack right now. Perfect summer project, and bonus - we get to keep all the eating messes outside!
My husband and I decided to turn this potting bench into an indoor coffee bar. Great project for first timers, like myself. 😊