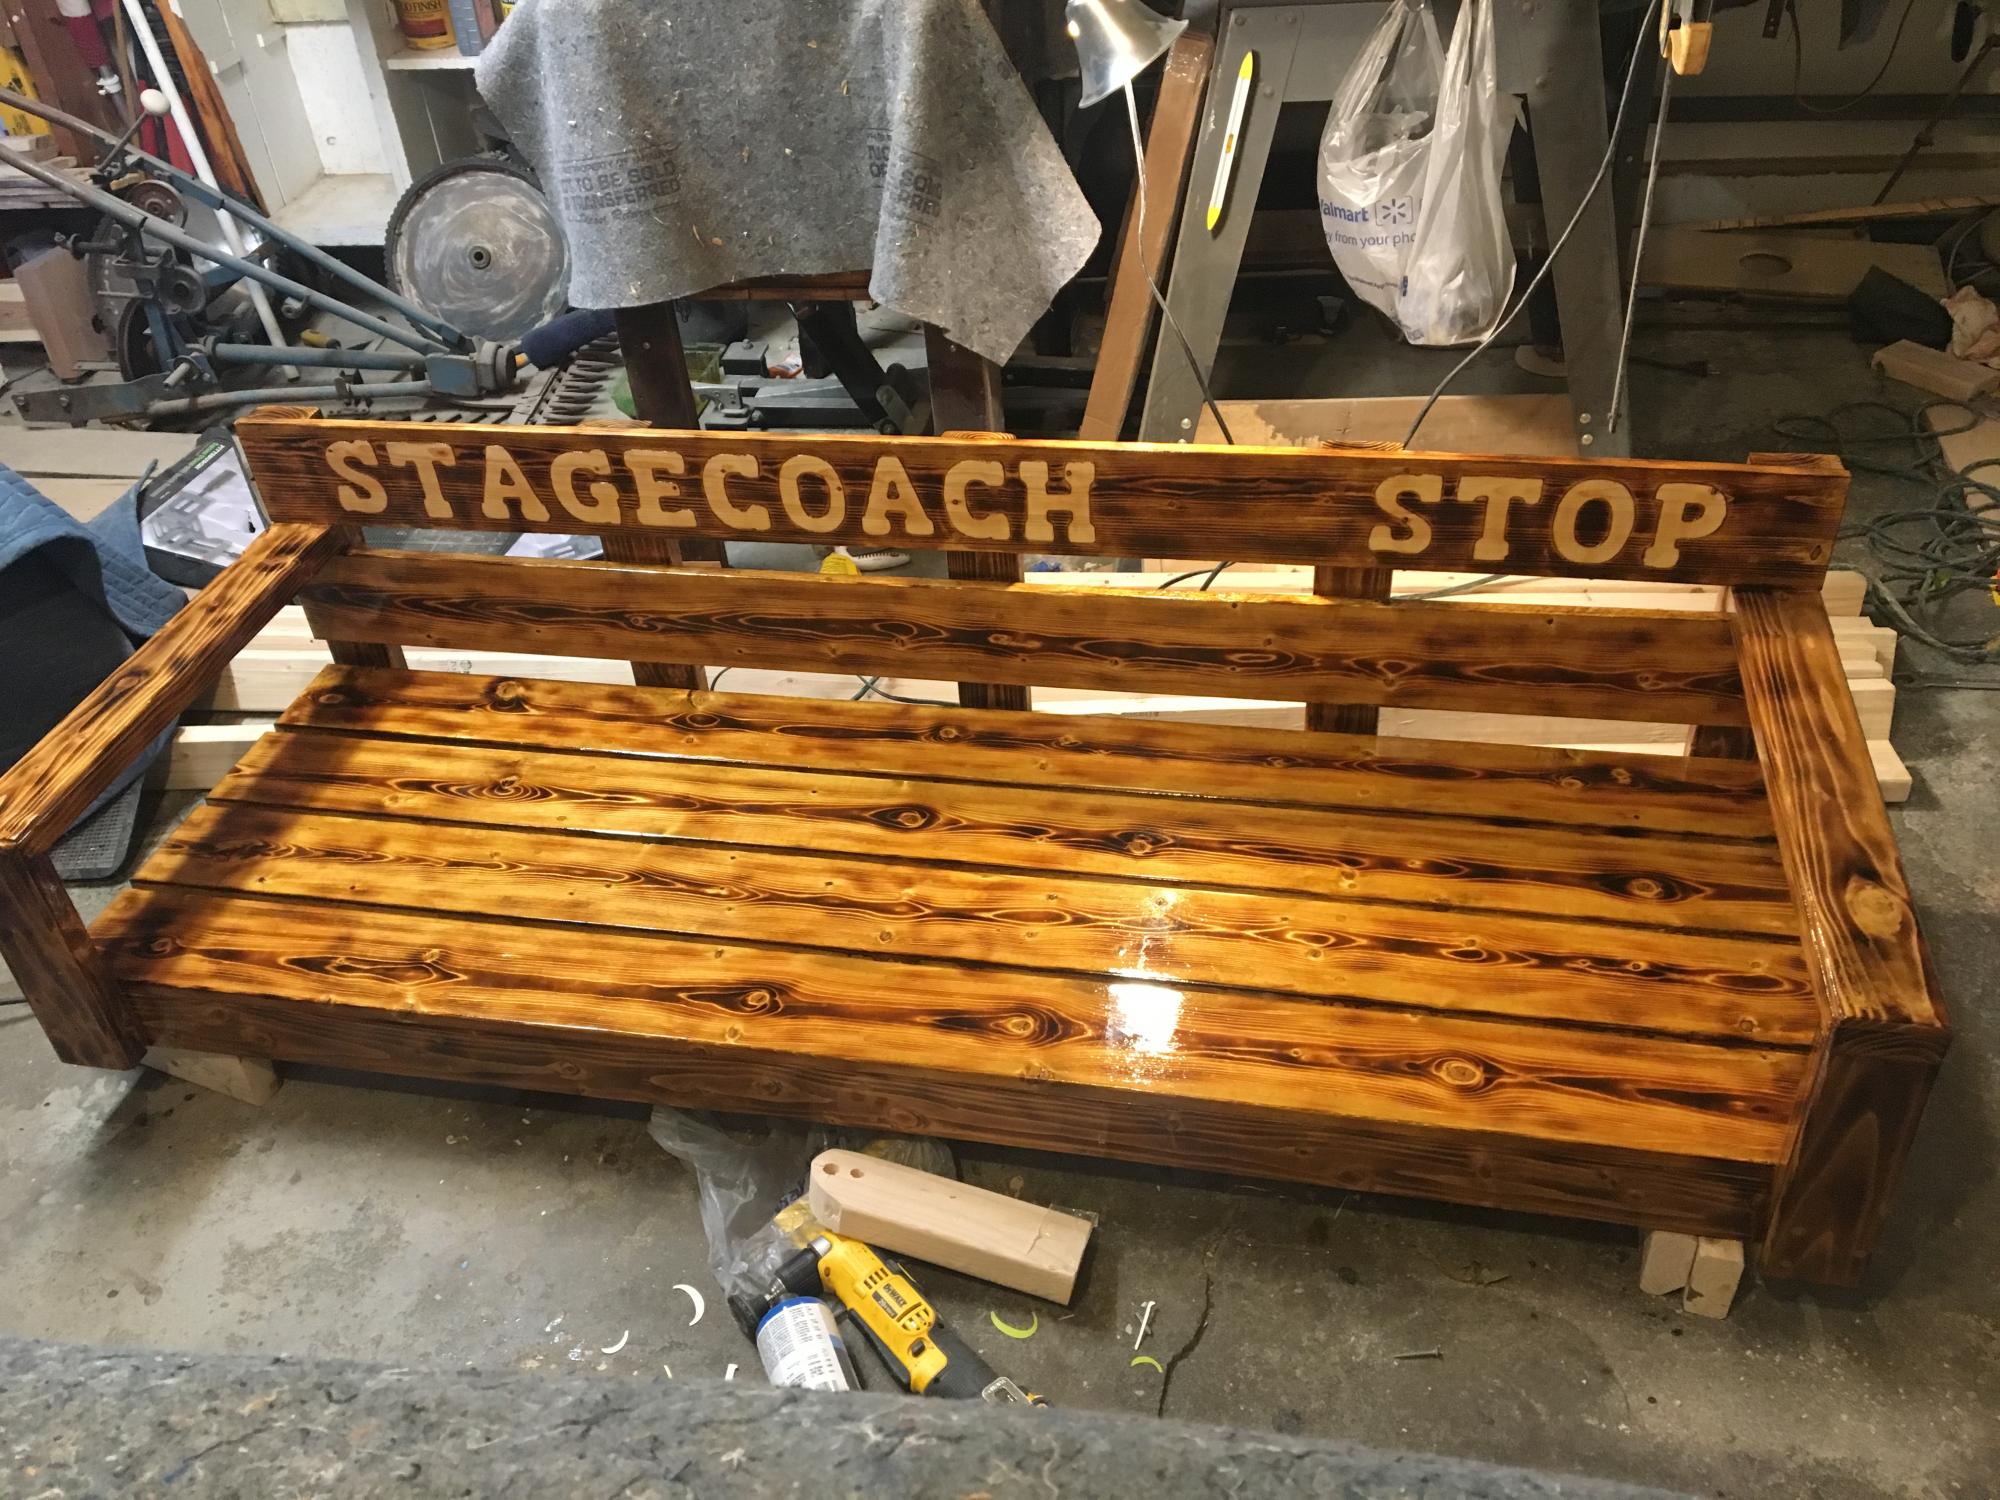
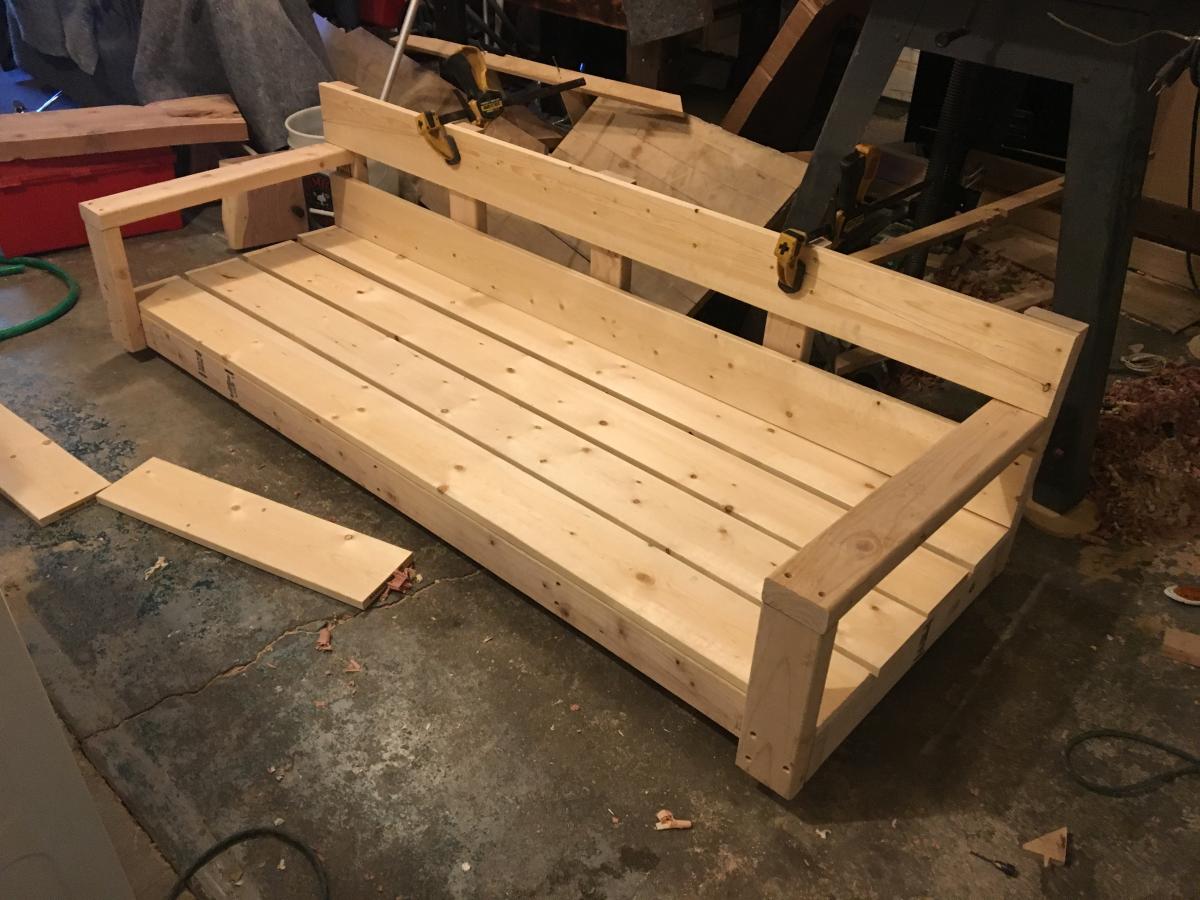
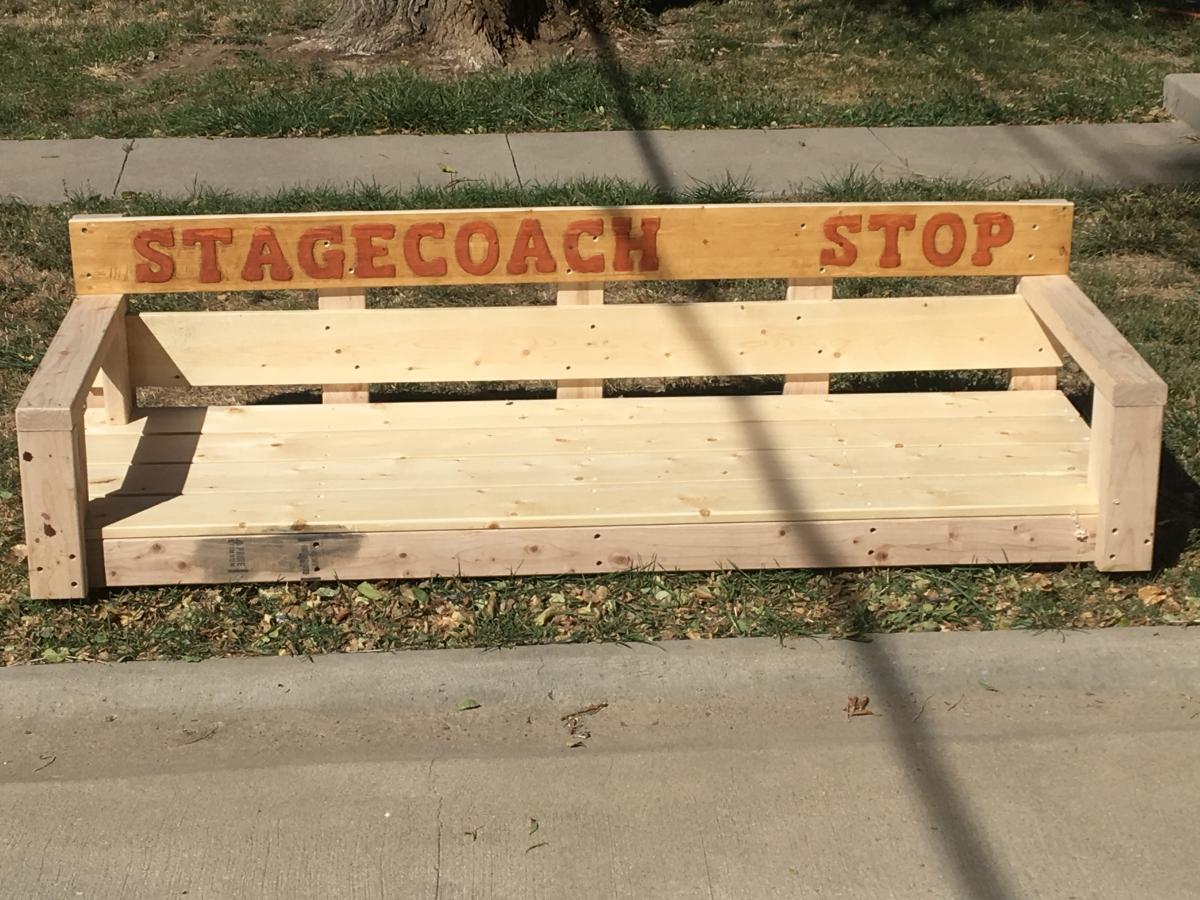
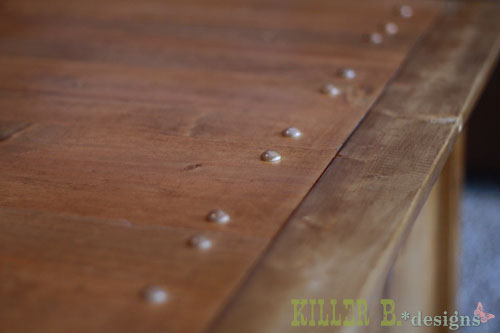
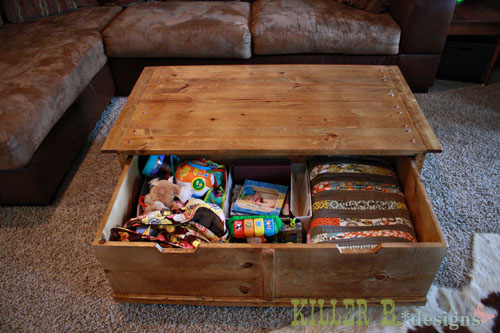
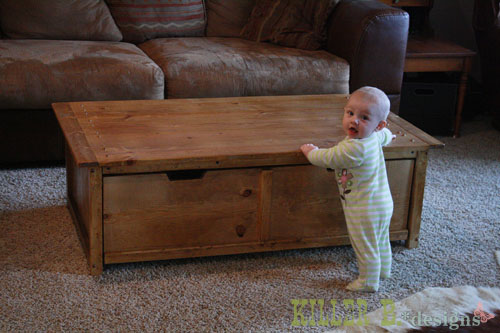
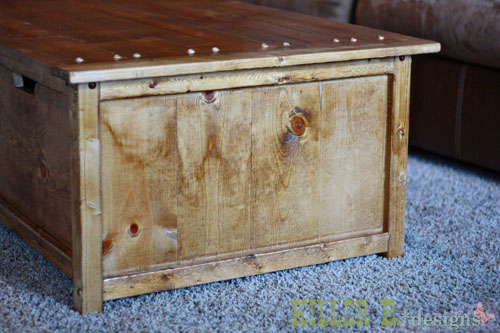
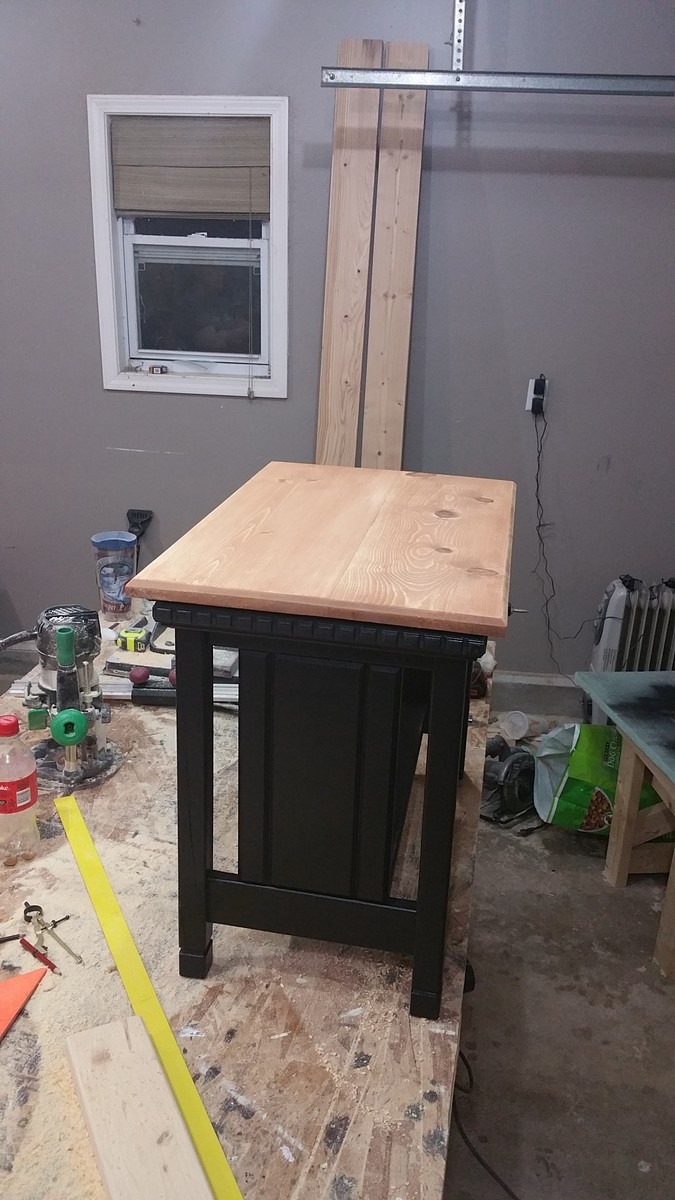
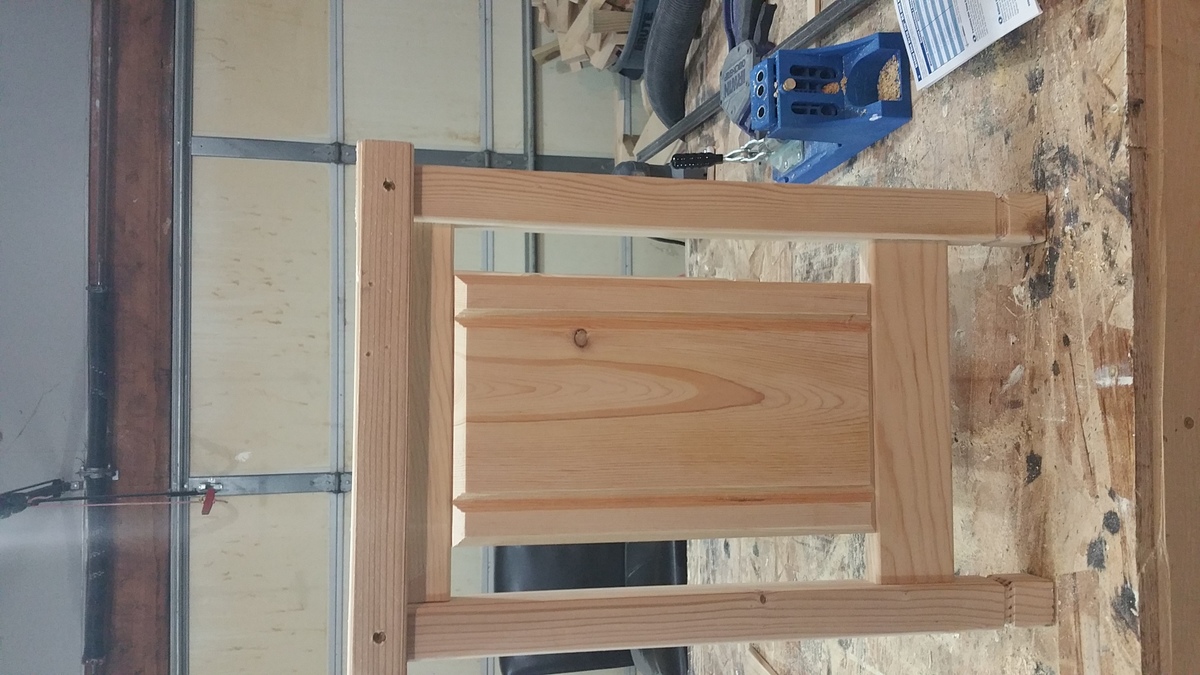
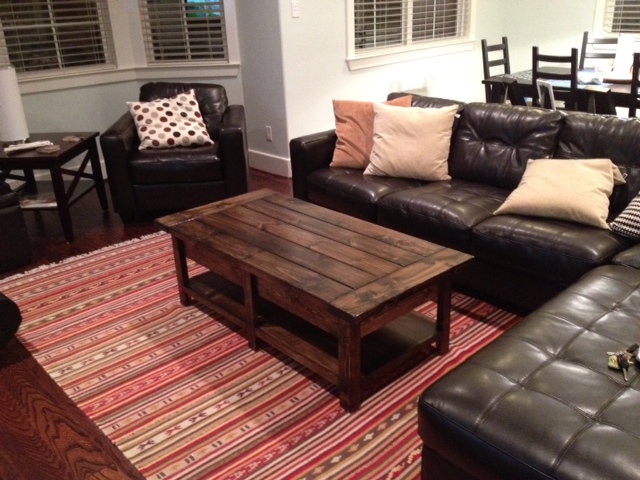
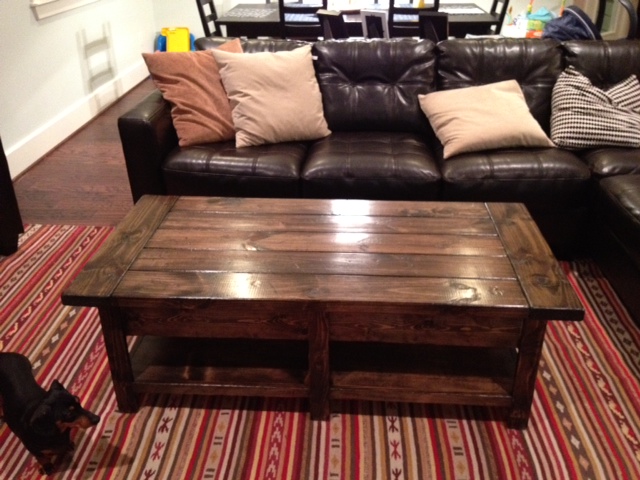
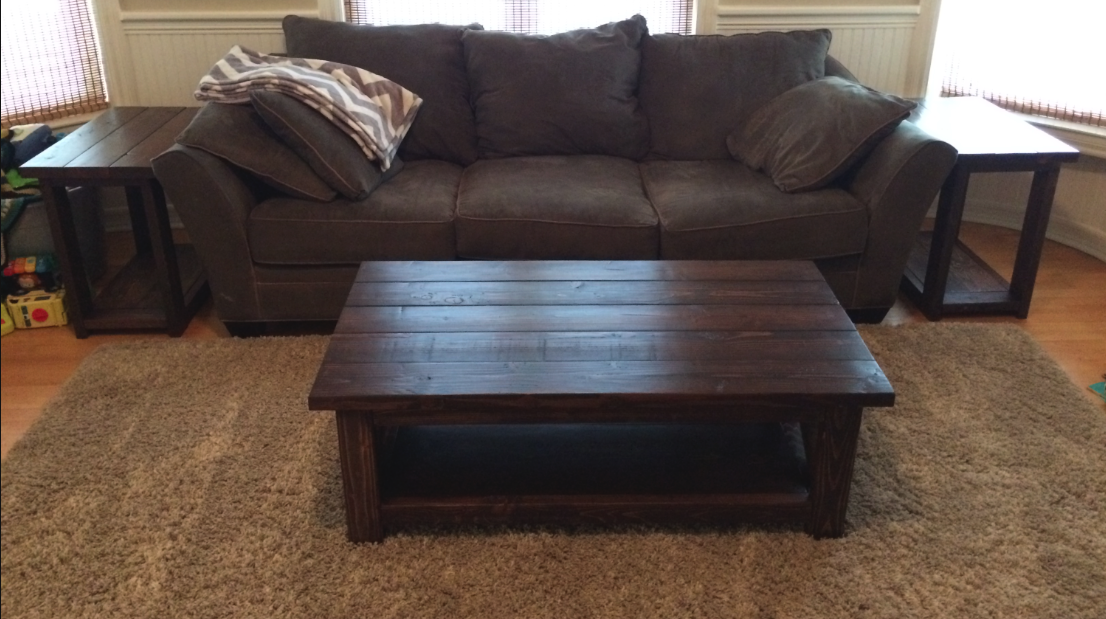
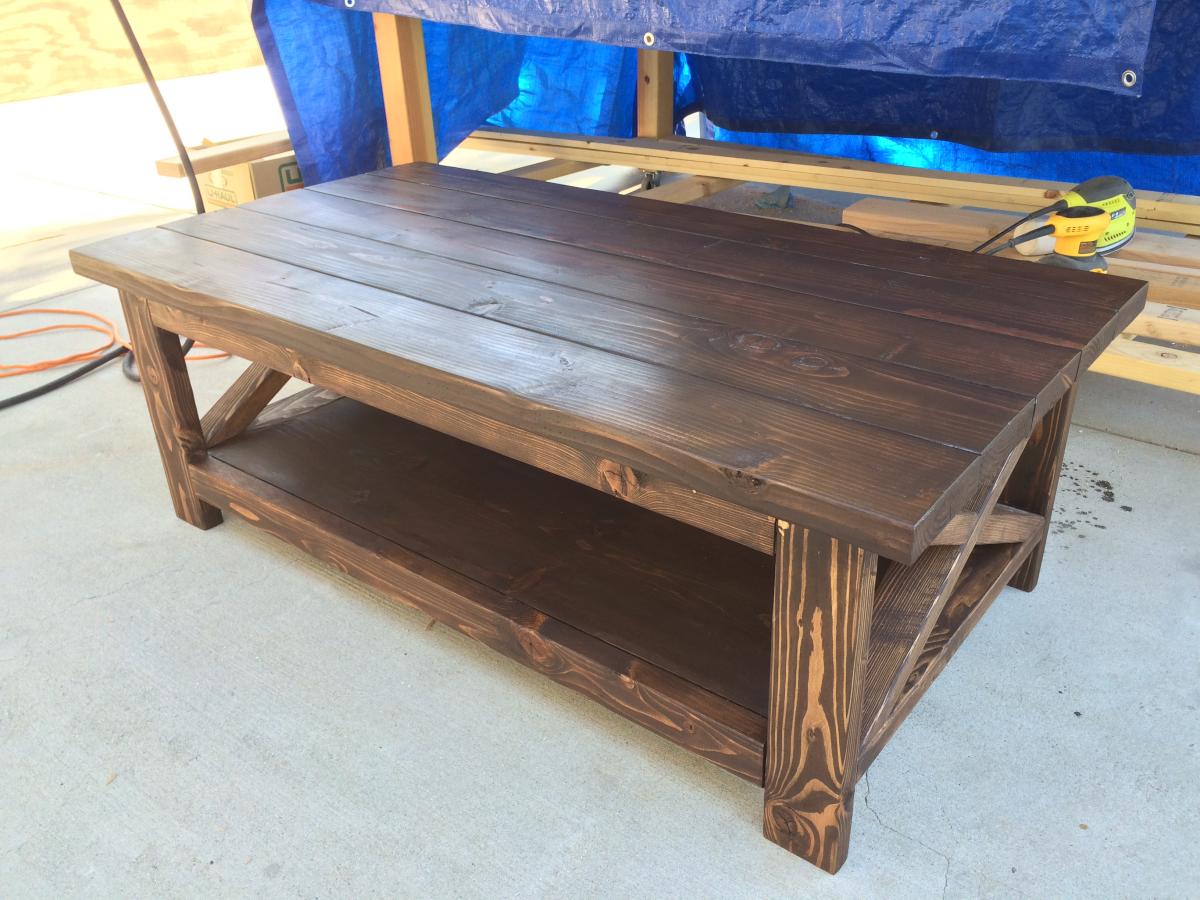
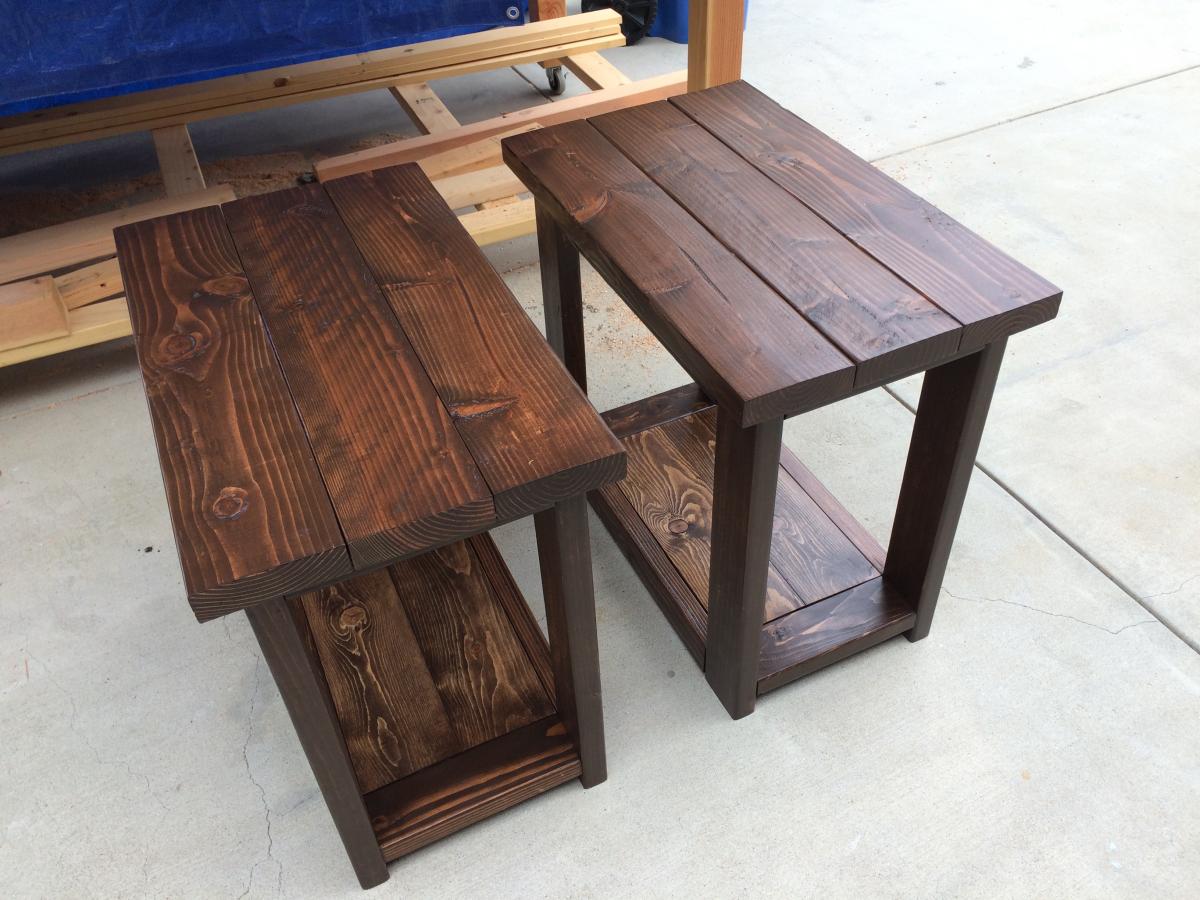
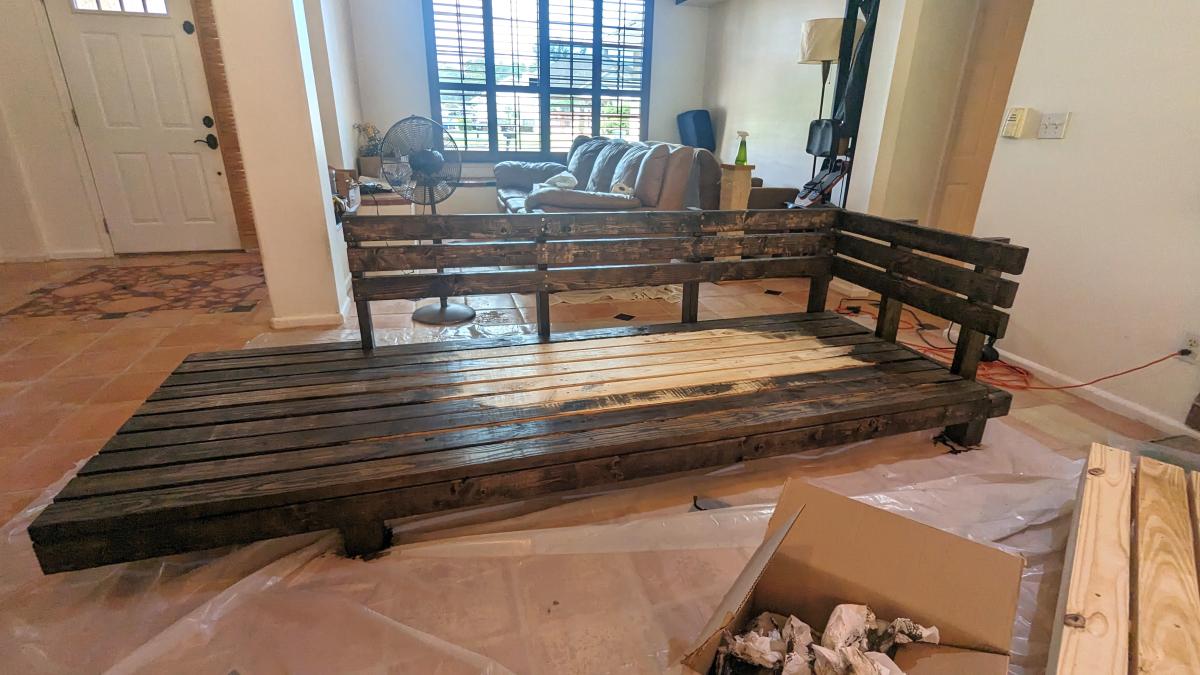
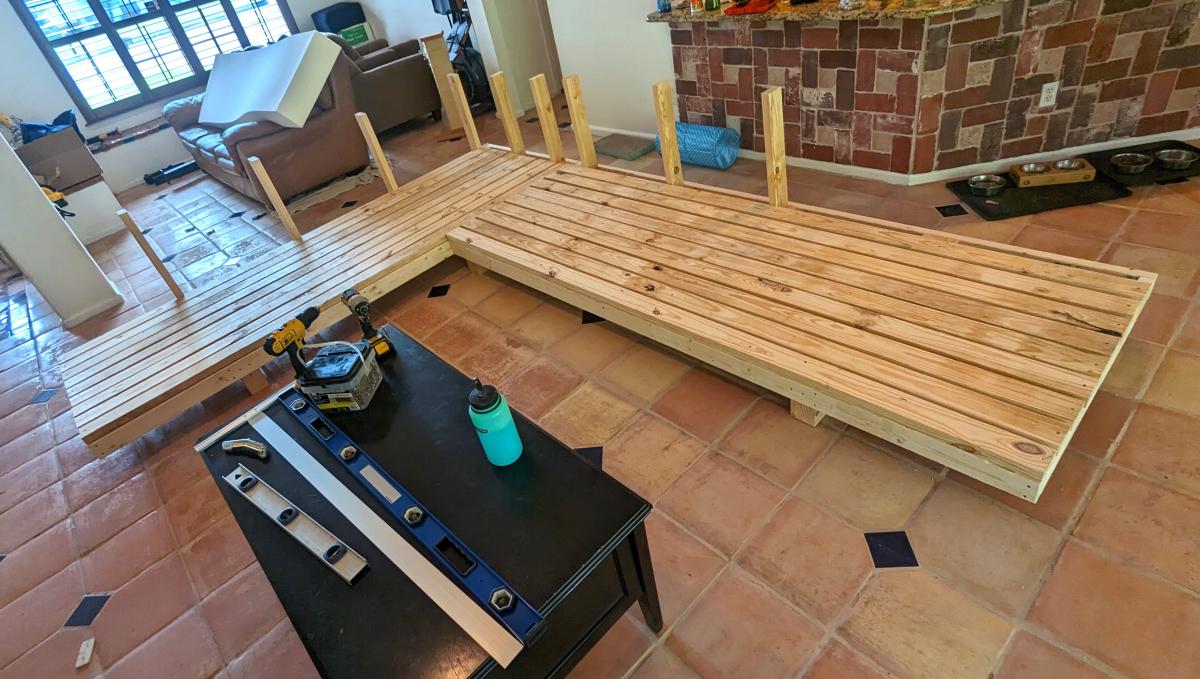
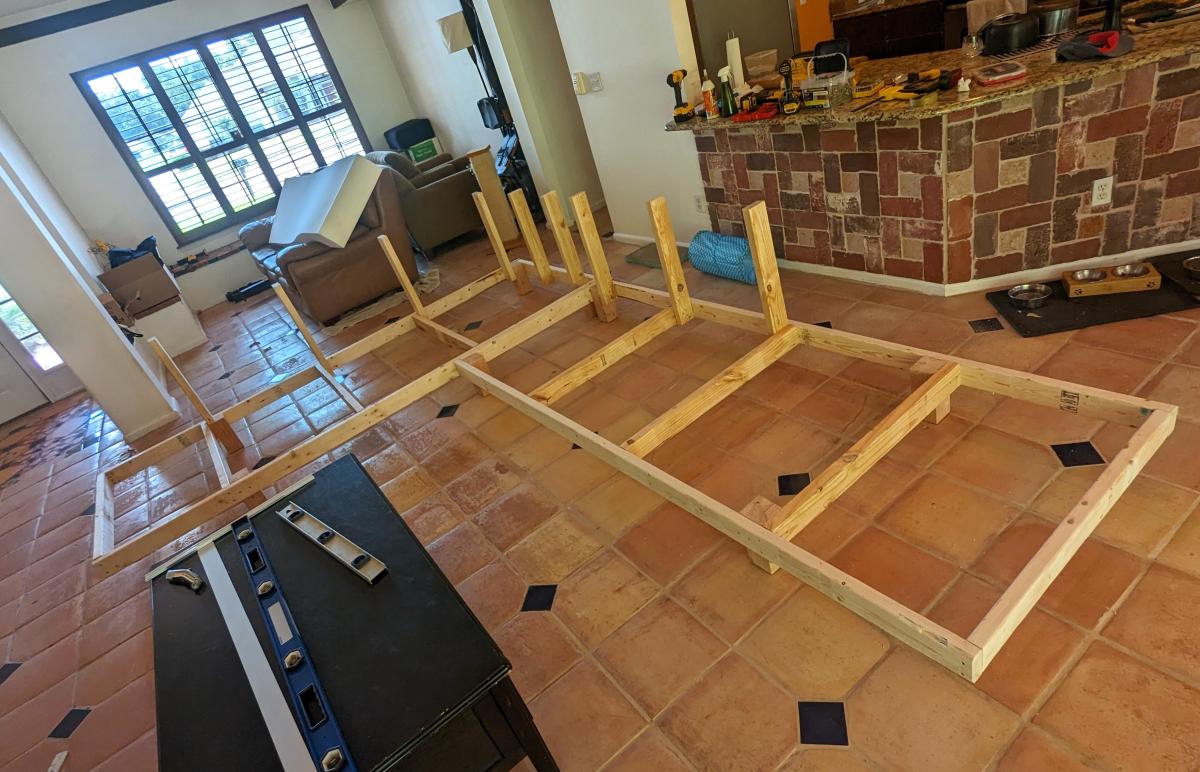
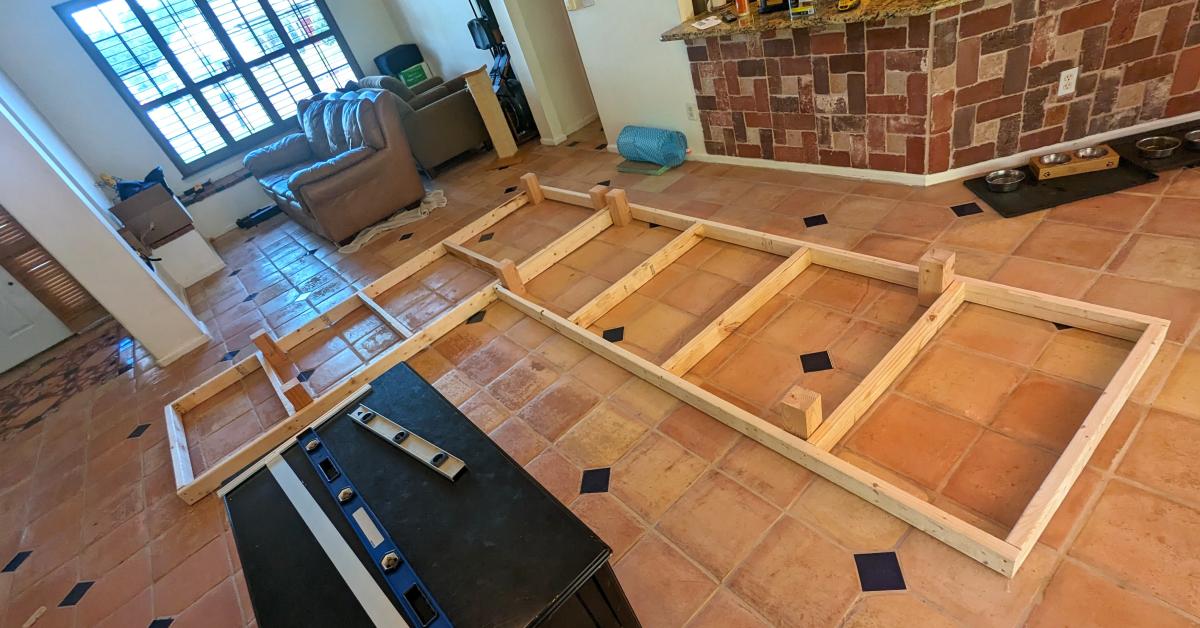
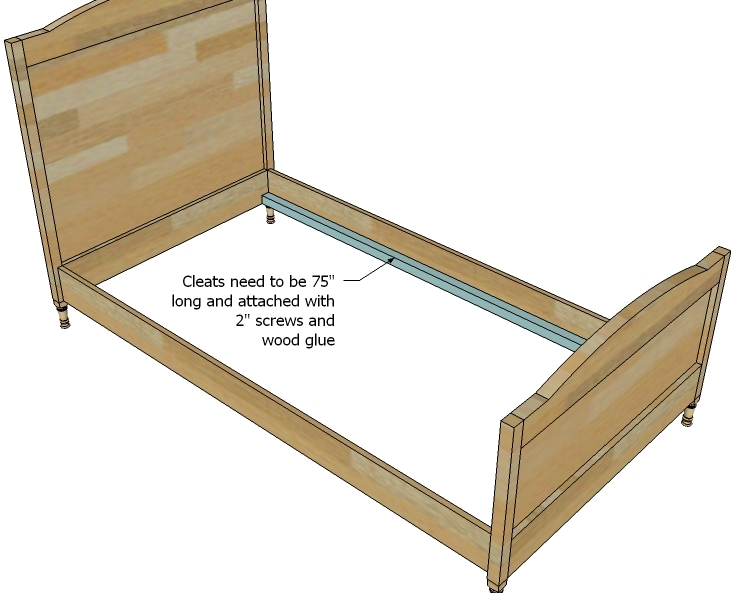
Finished our tidy up table! A couple of tweaks: I didn't want to kreg jig the boards together because I have a tendency to split 1x's when using a lot of joins. I tried drilling from below, but the 2x2 furring strips were so soft that I couldn't get my warped 1x6's to suck down without the screws popping through, even when changing to 1 1/4" ones. So, I countersunk two holes on each end of each board, and used 3/8" buttons to fill them to provide a decorative element. I LOVE THEM! Not only are all my boards flush, but the top is now so pretty. I secured the middle by screwing in from below with 2" screws, but since I didn't need to make them so tight to get my boards flush they no longer popped out. I hope that makes sense.
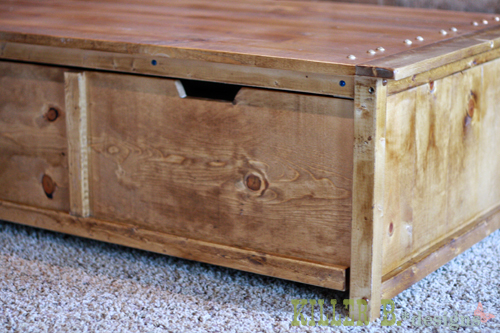
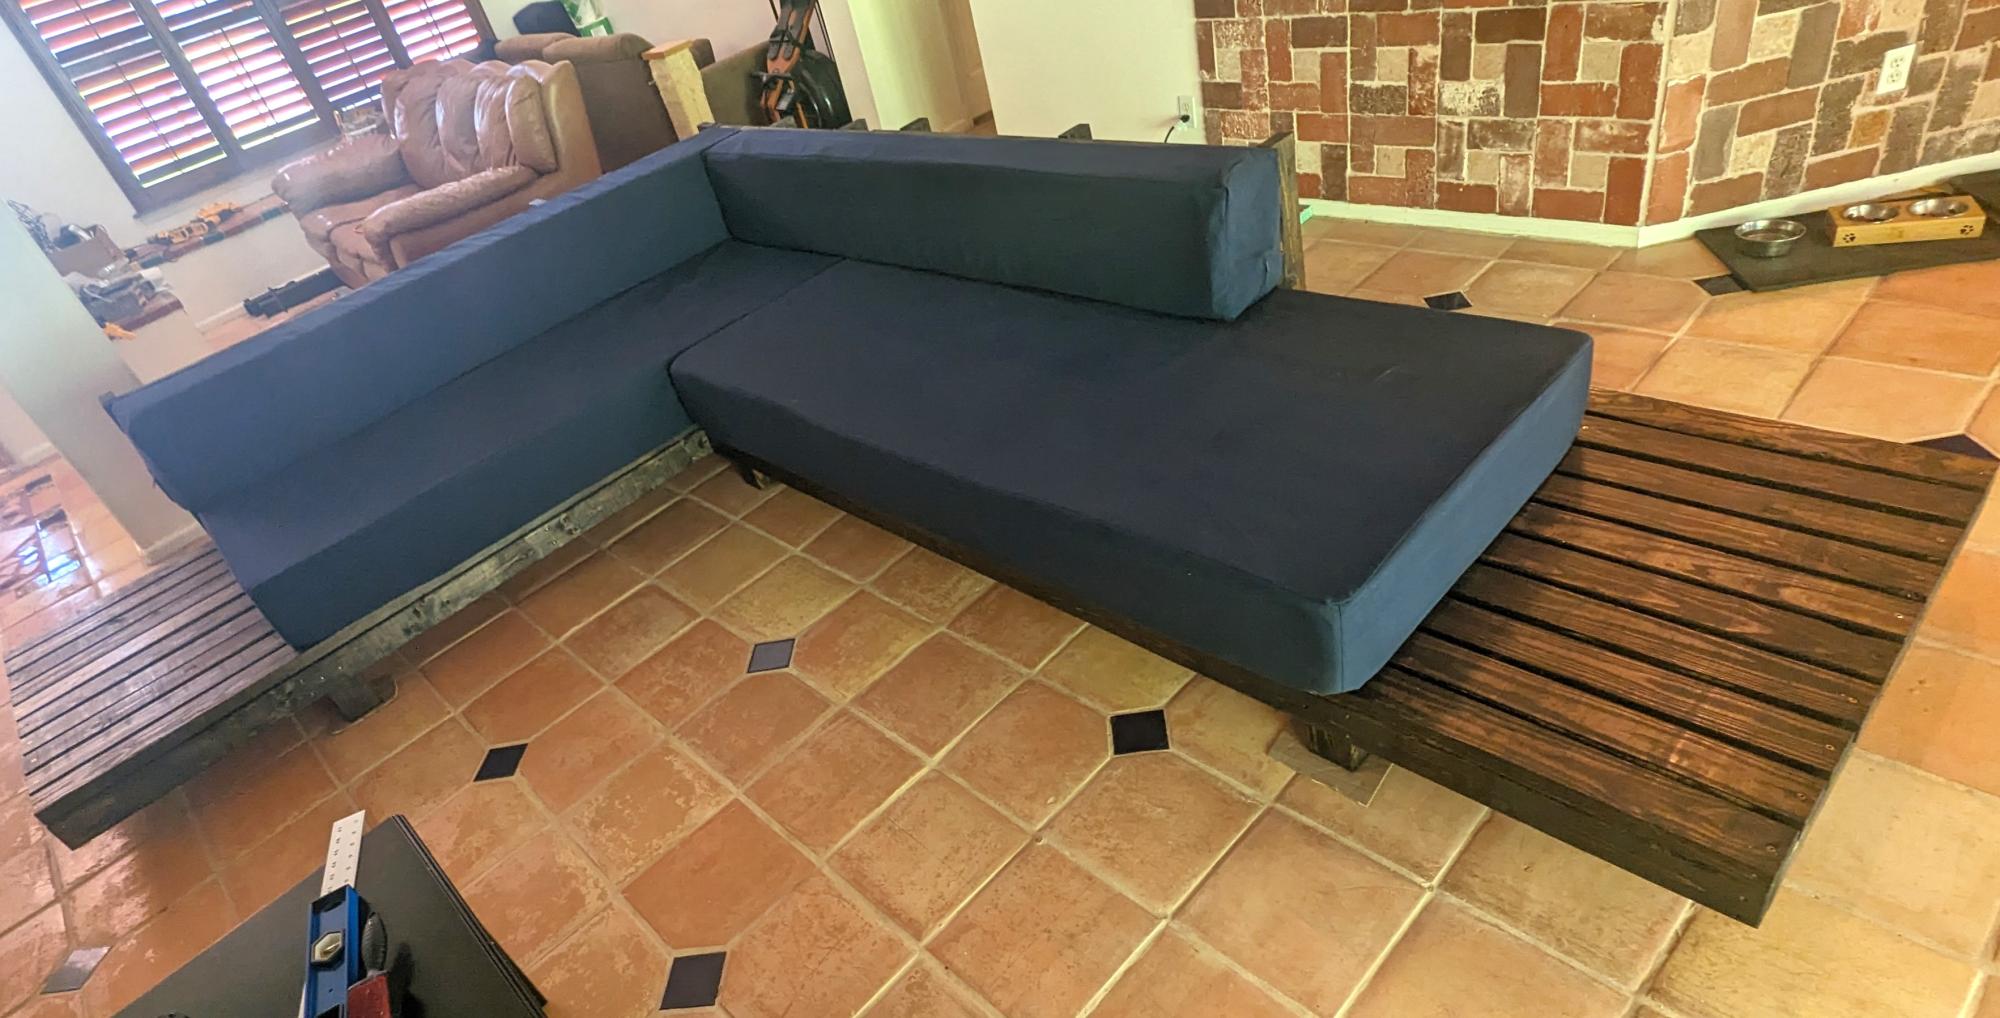
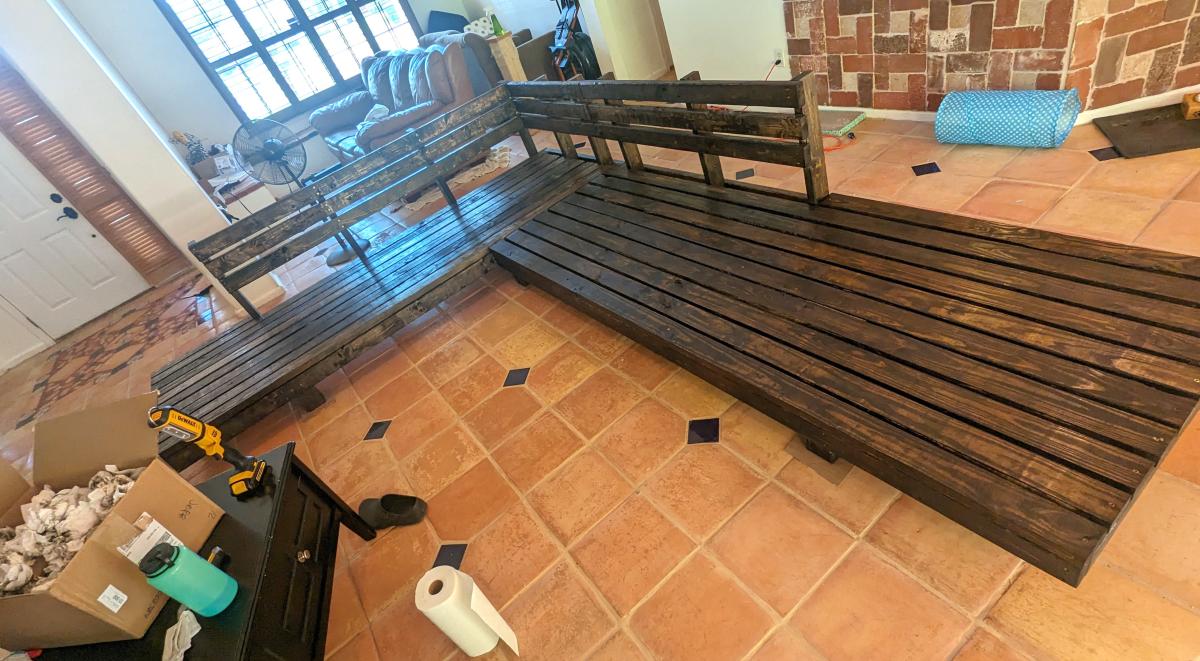
Also, the sides are pretty wobbly without the trundle in there, so my husband suggested adding L brackets to each corner. Success! It's now solid as a rock. We screwed in from the outside and filled with more buttons. For those of you who don't like the raised look, they also have flat button hole plugs. They take stain so much better than wood putty.
Lastly, I chose 1 5/8" casters that move in all directions. Bad idea. It gives the proper 2" height, but makes the trundle difficult to maneuver. Going to try and find some fixed-side one-way casters to replace them. Other than that, it's fantastic!
Estimated Cost
$85 (includes lumber, plugs, brackets and casters)
Estimated Time Investment
Weekend Project (10-20 Hours)
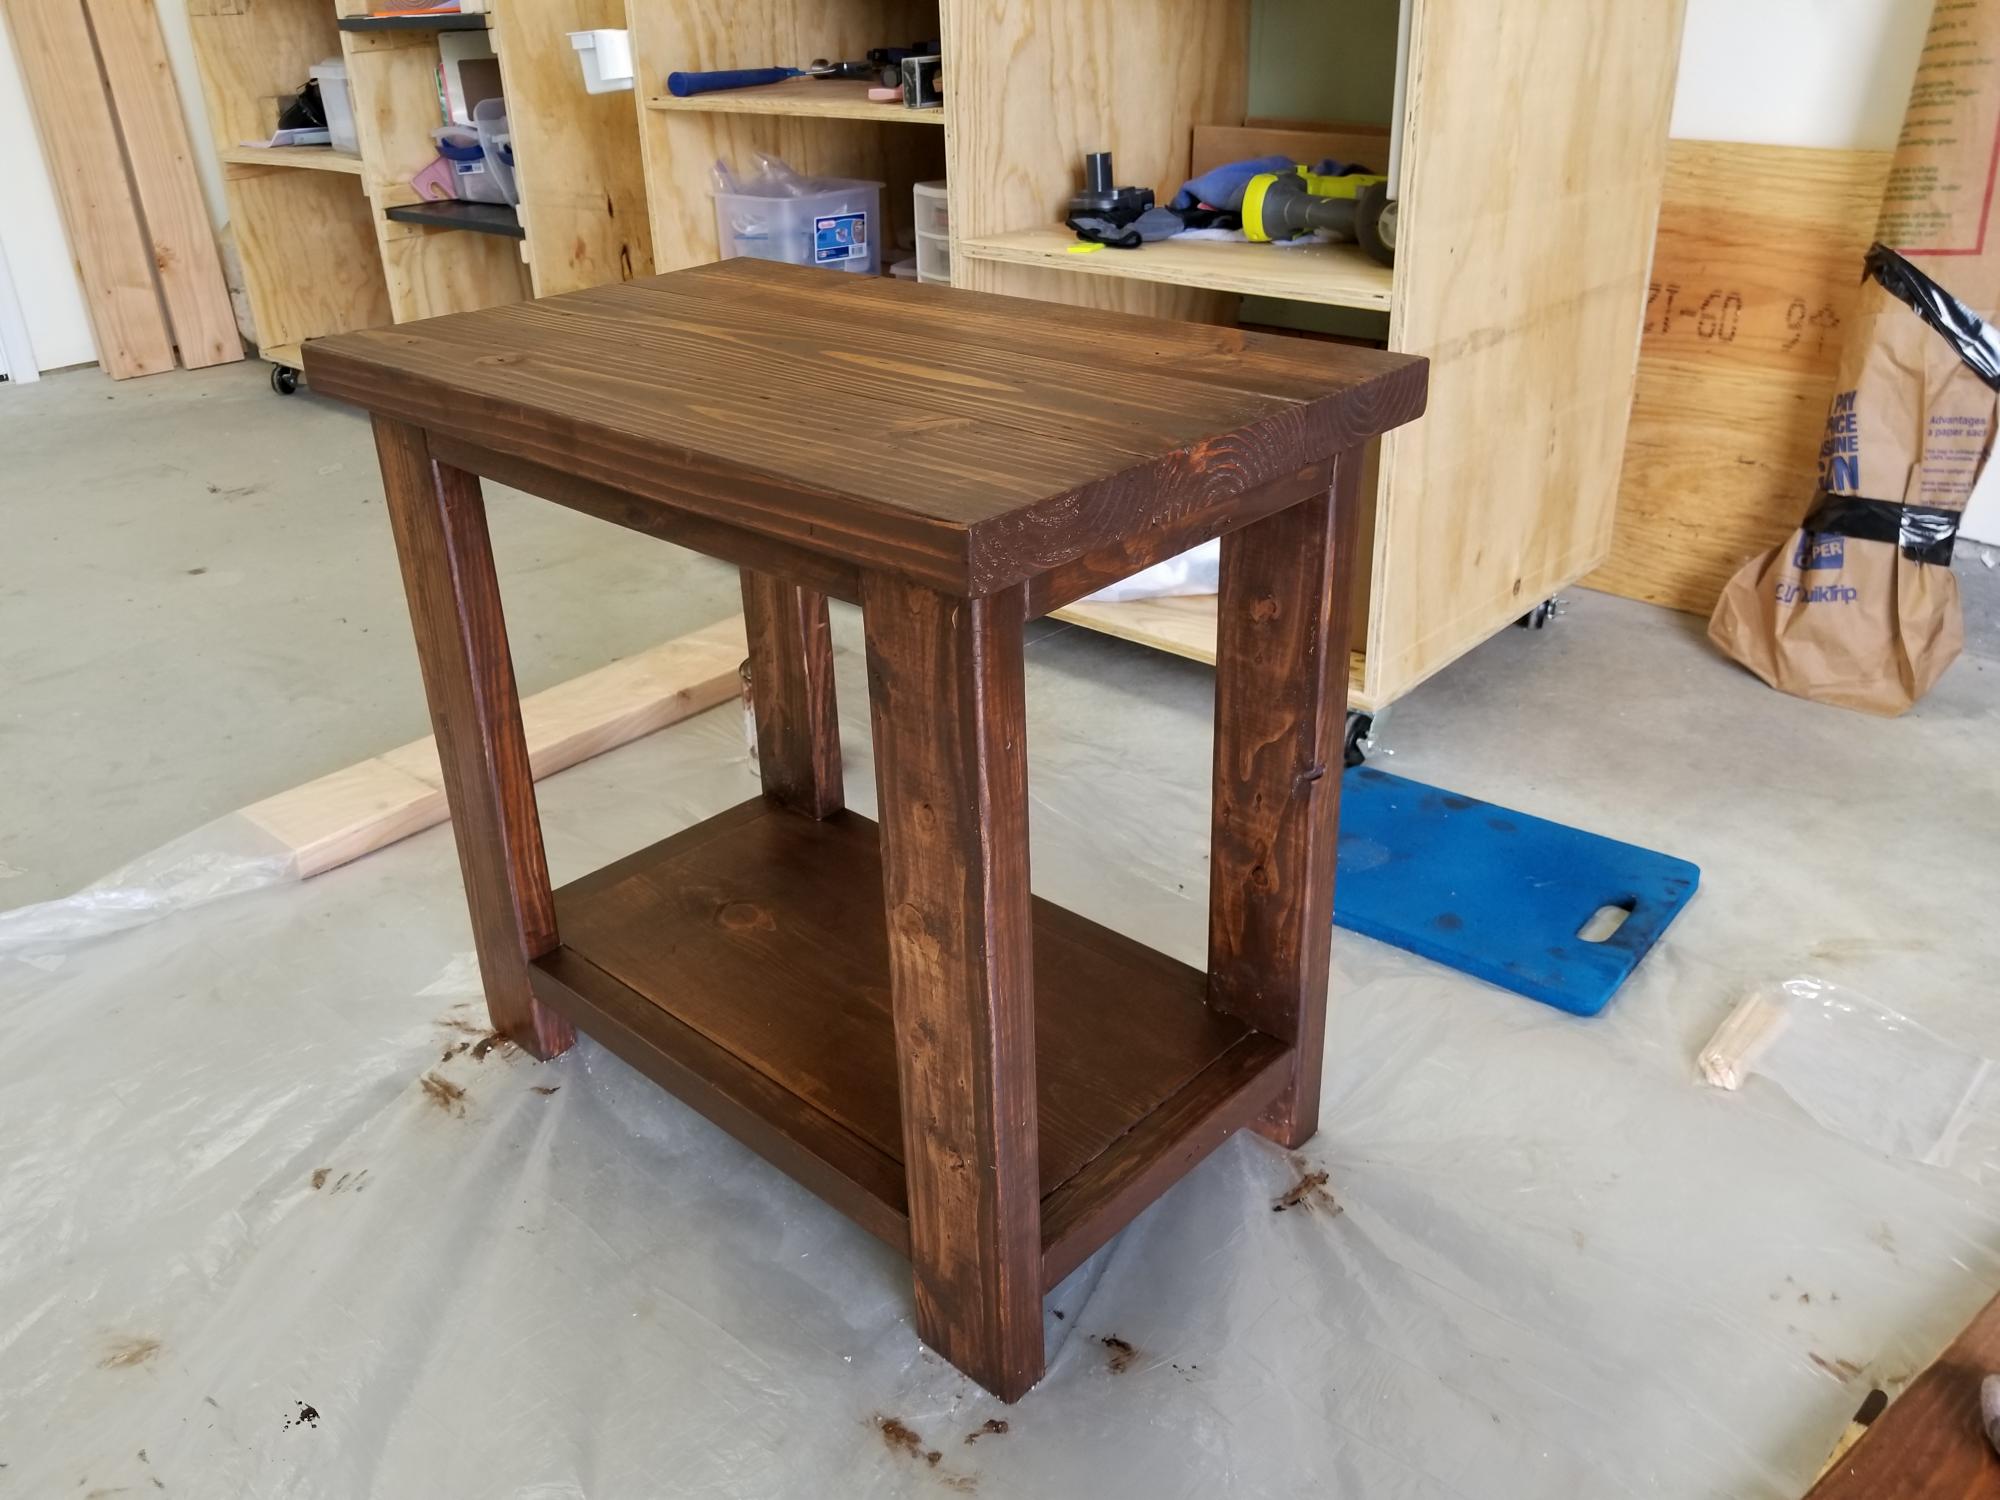
Finish Used
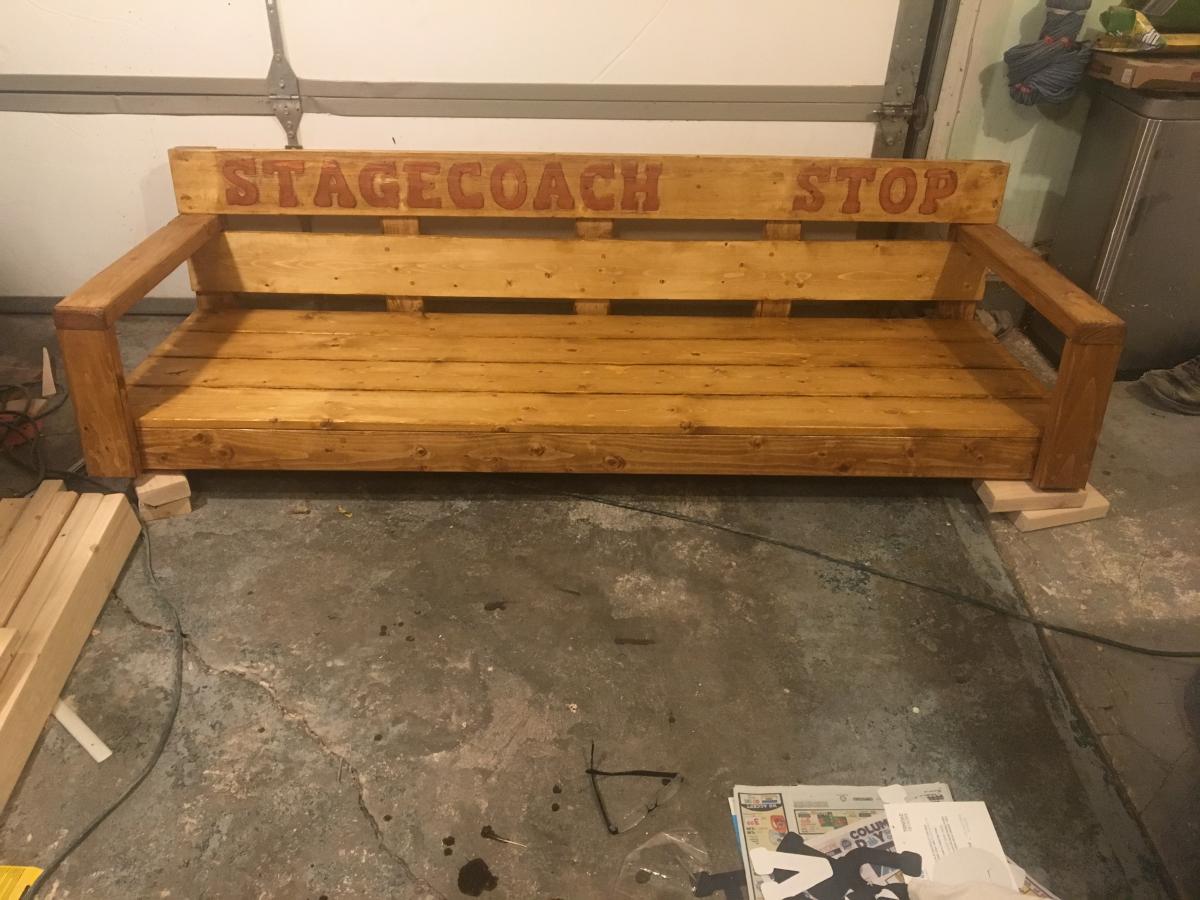
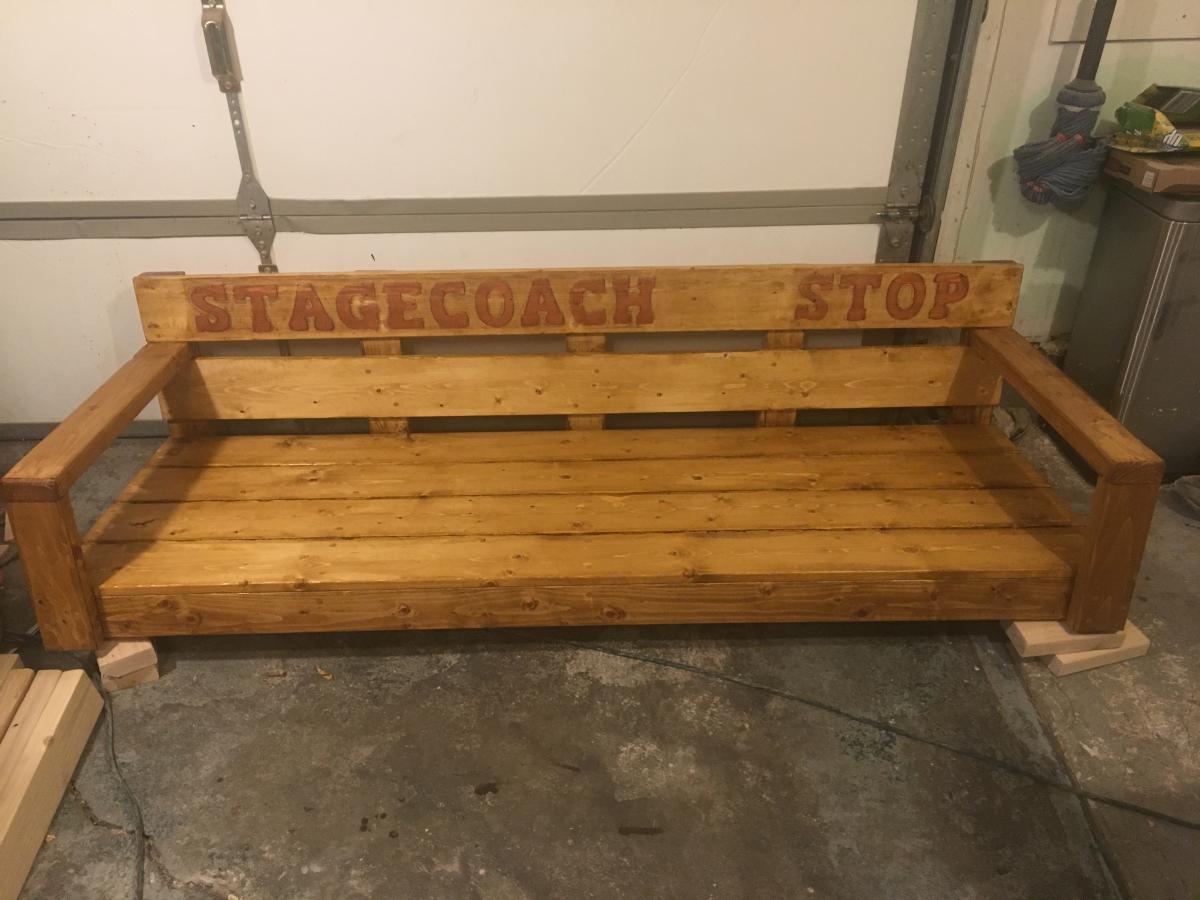
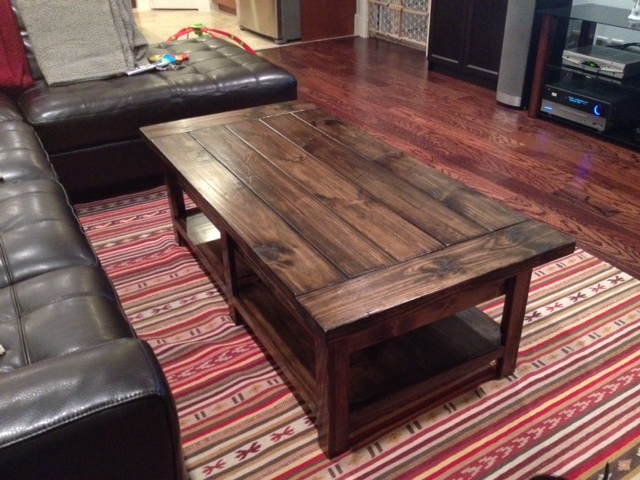
We used my Husky air brushing system for the first time, with Rustoleum Ultimate Stain in Golden Oak. I love this stain because I've never had to wipe it off, and it gives a very even, rich finish. This is the first time I used an air compressor with sprayer for stain, and it was so easy. 10 minutes and I've got an even coat on both the top and trundle. I followed it up with 3 coats of poly on exterior and interior. Will probably add a few more coats on just the top for added protection.
Recommended Skill Level
Beginner


Comments
Ana White Admin
Thu, 03/24/2016 - 13:30
Beautiful job!
Love the look of this cabinet, stunning! Thanks for sharing:)