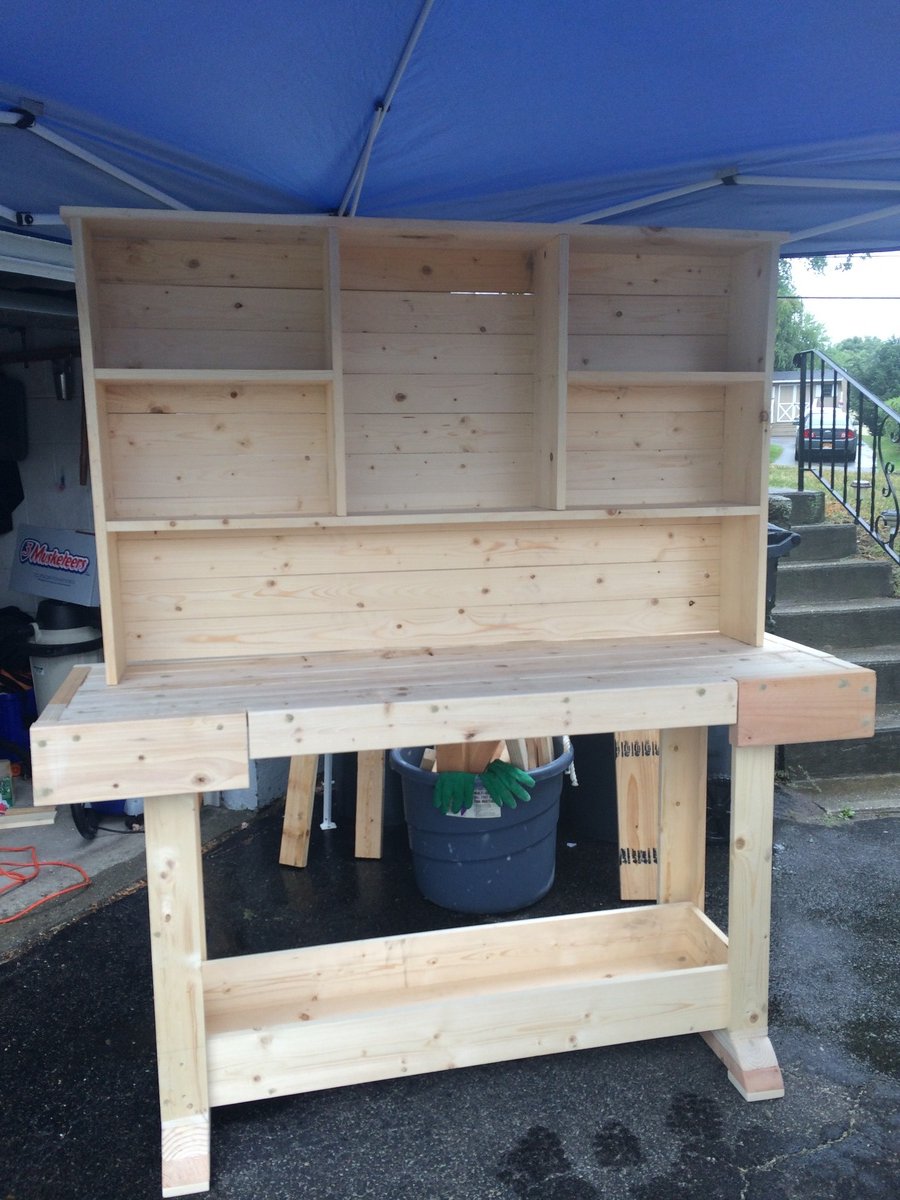
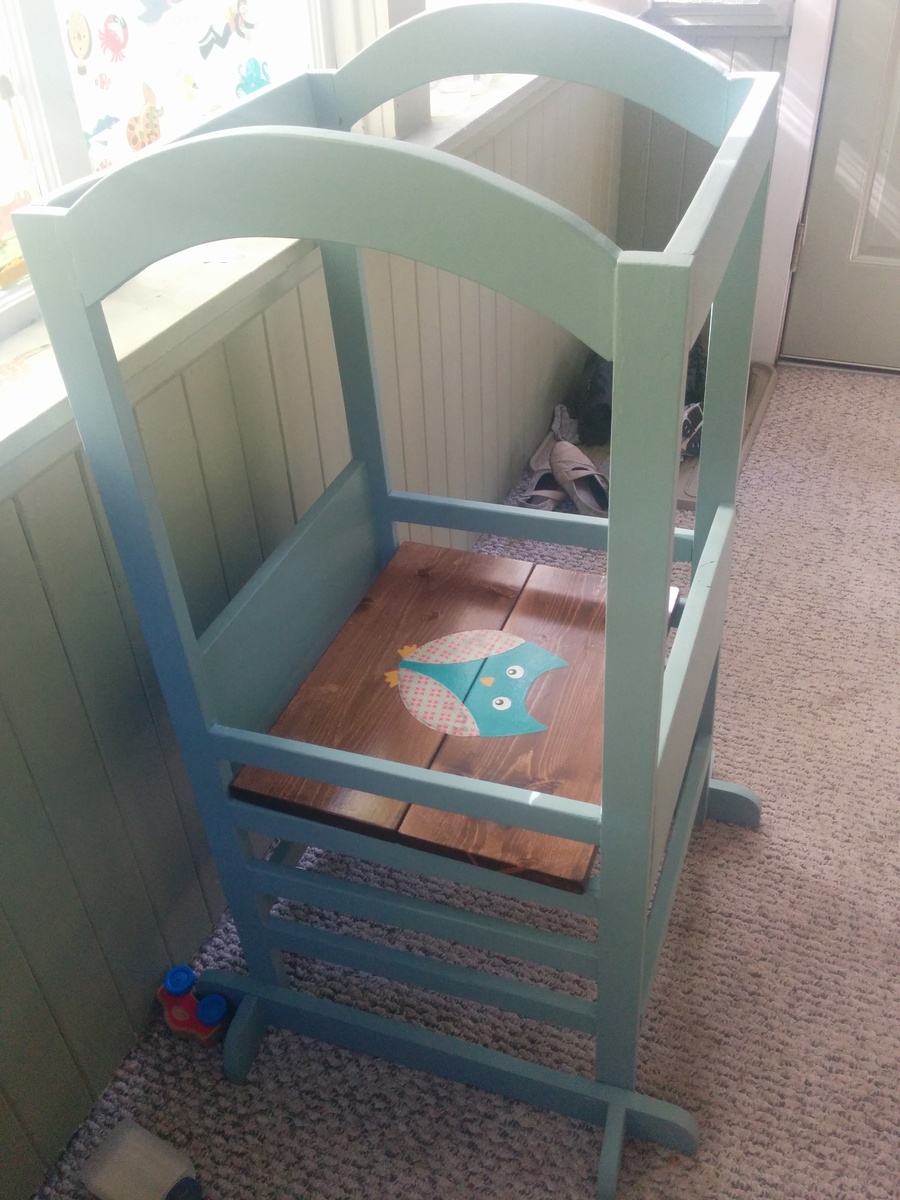
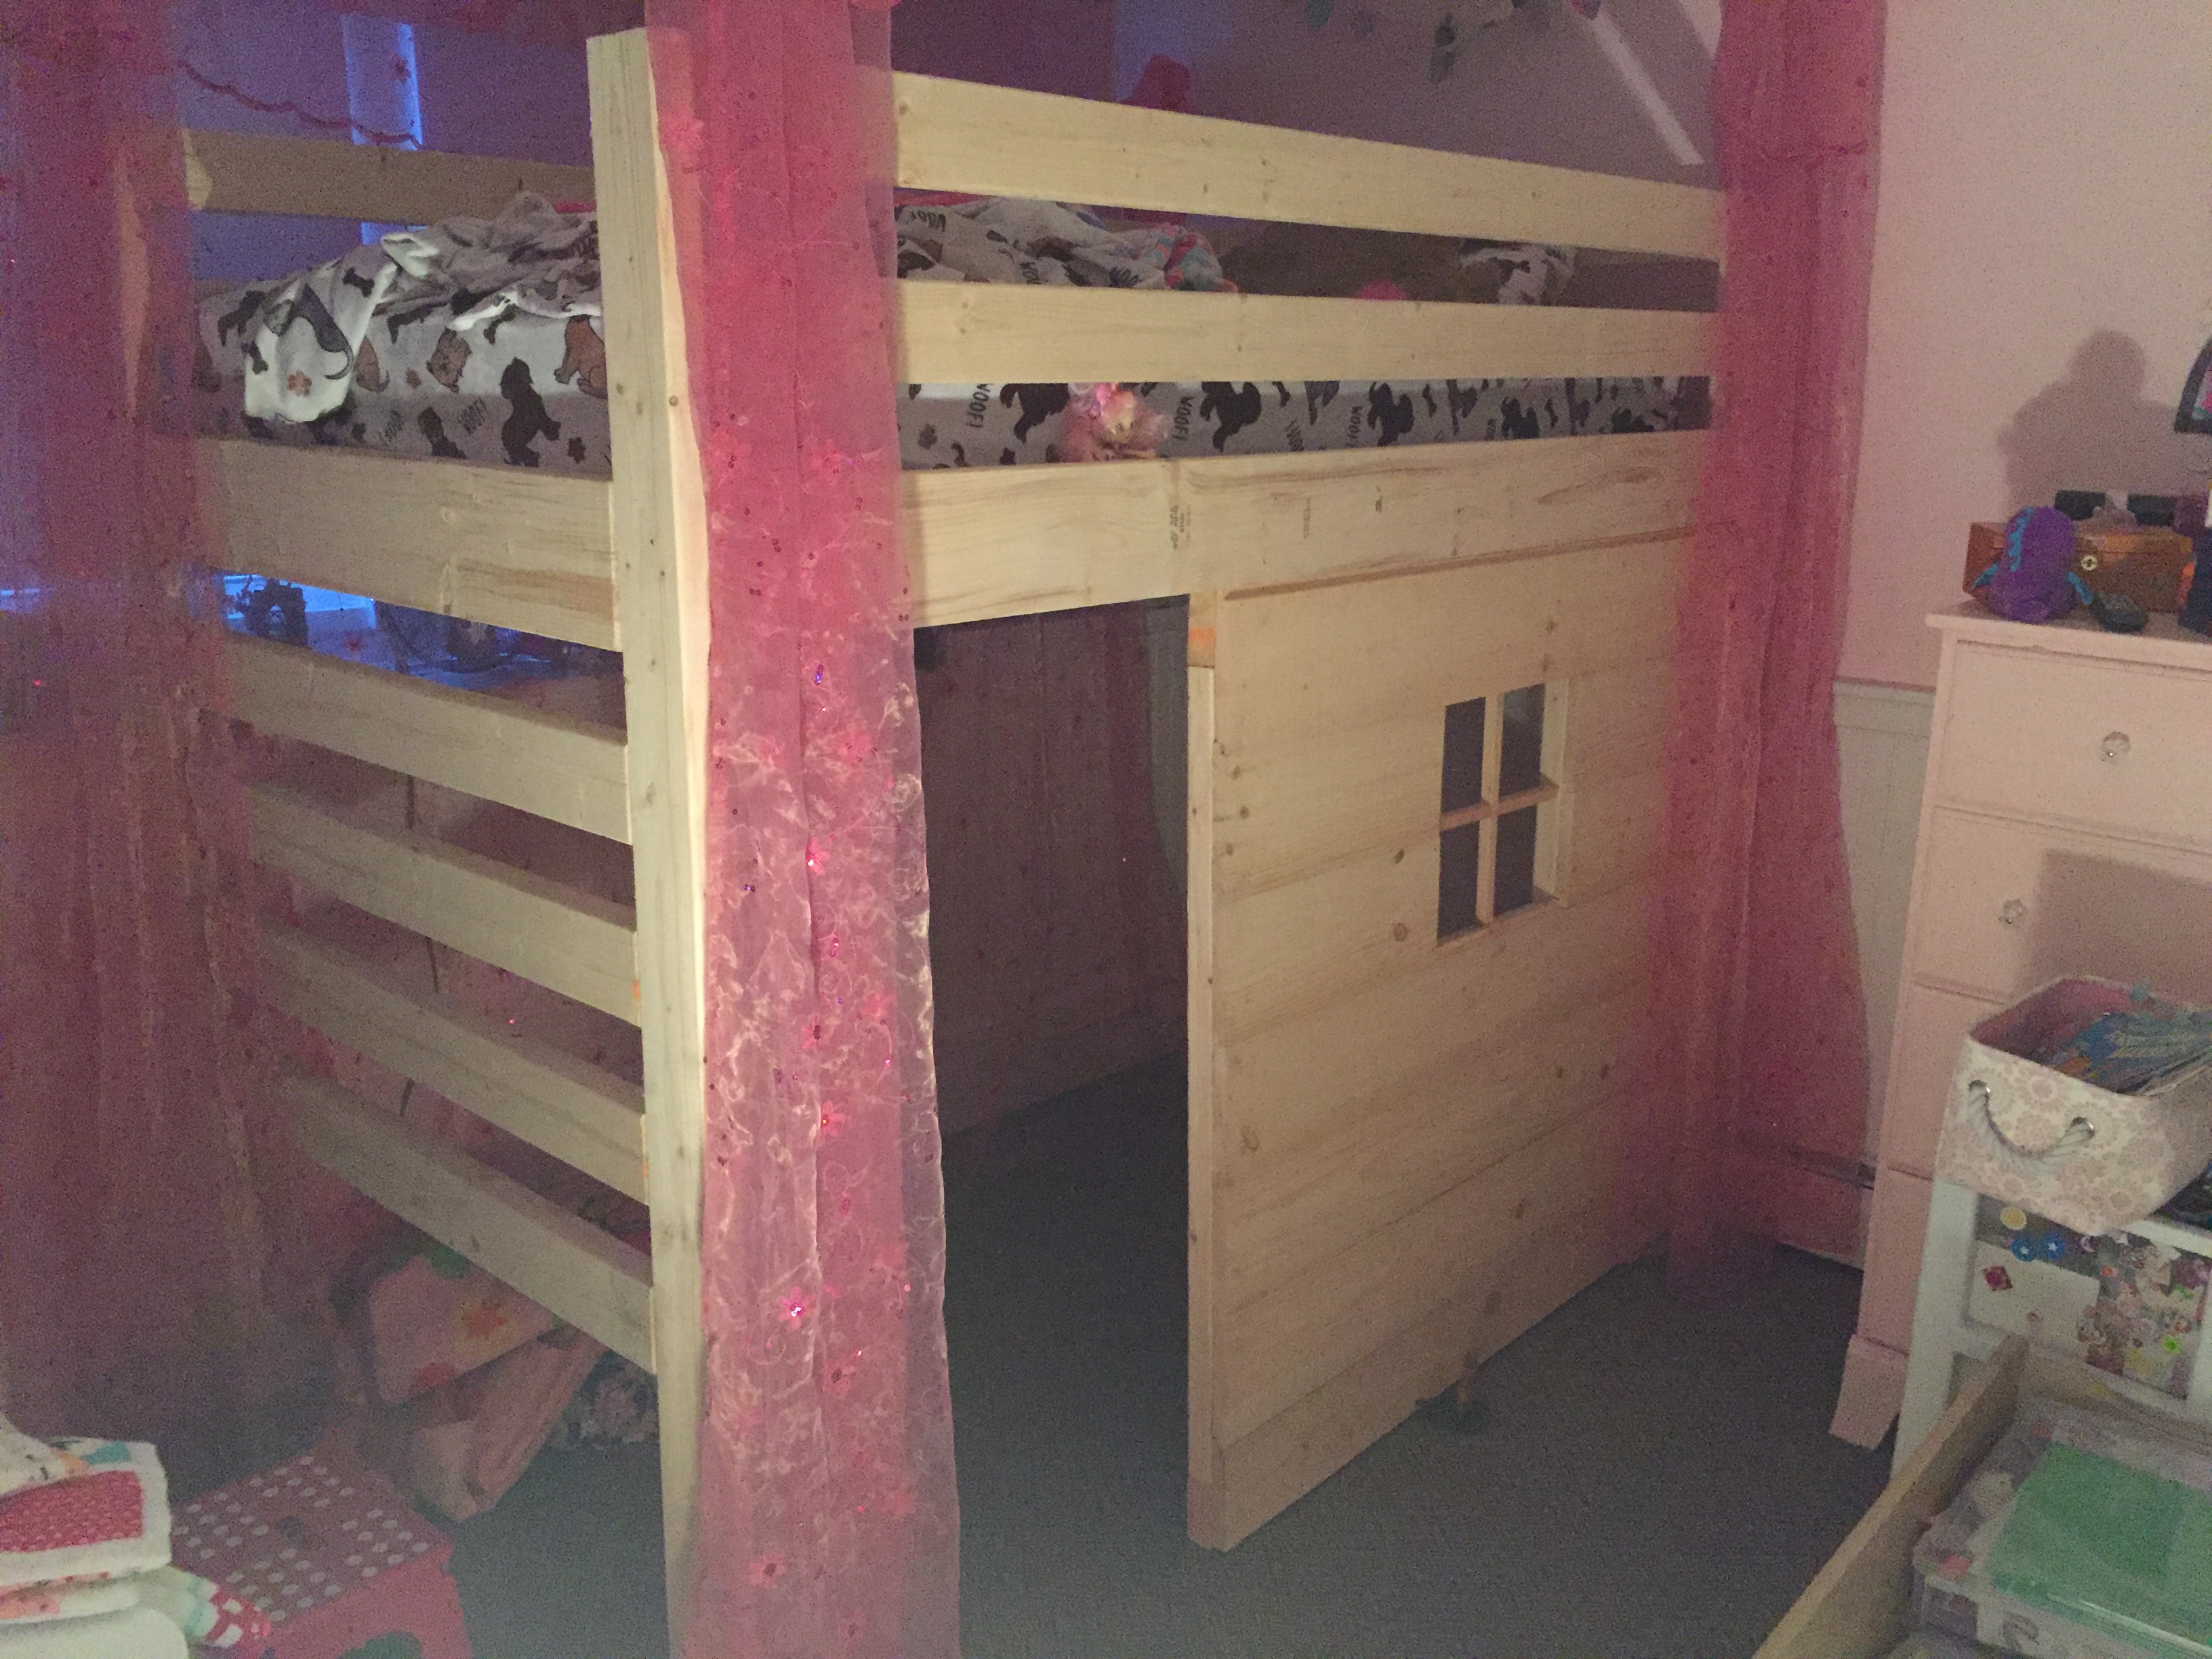
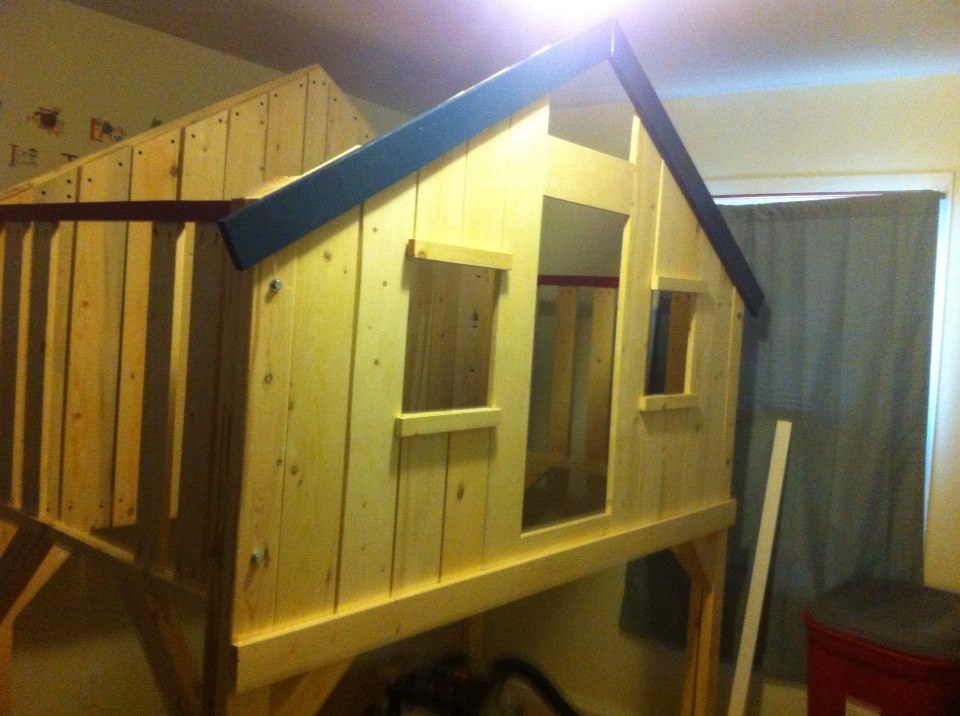
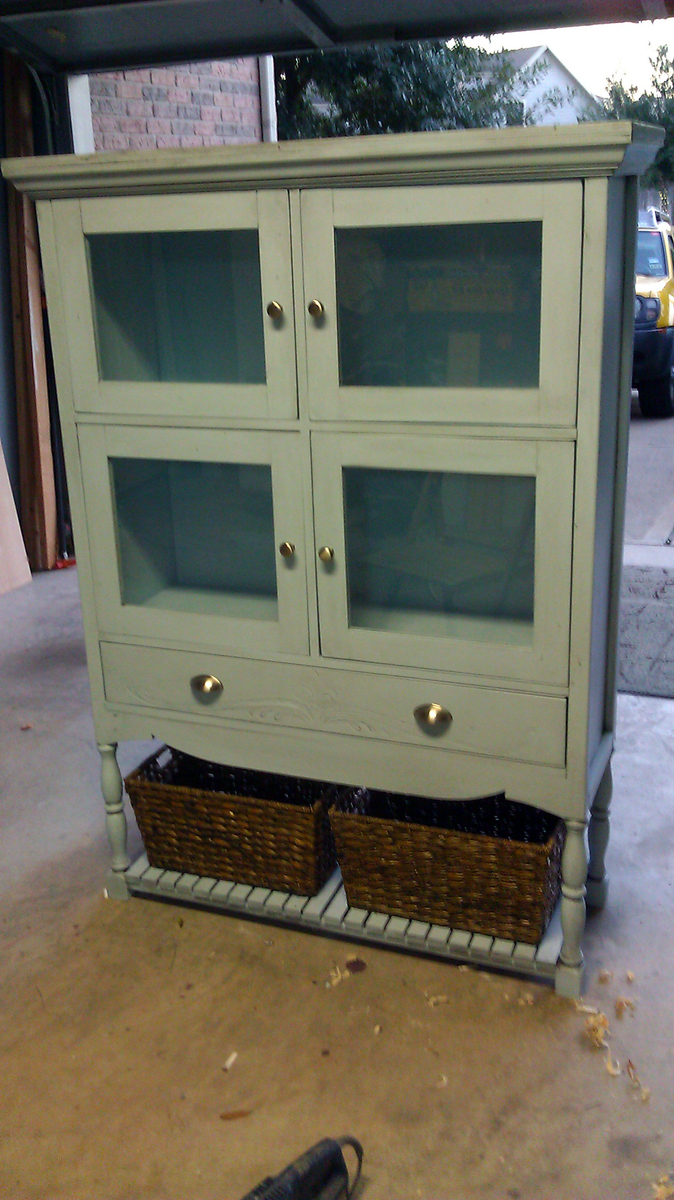
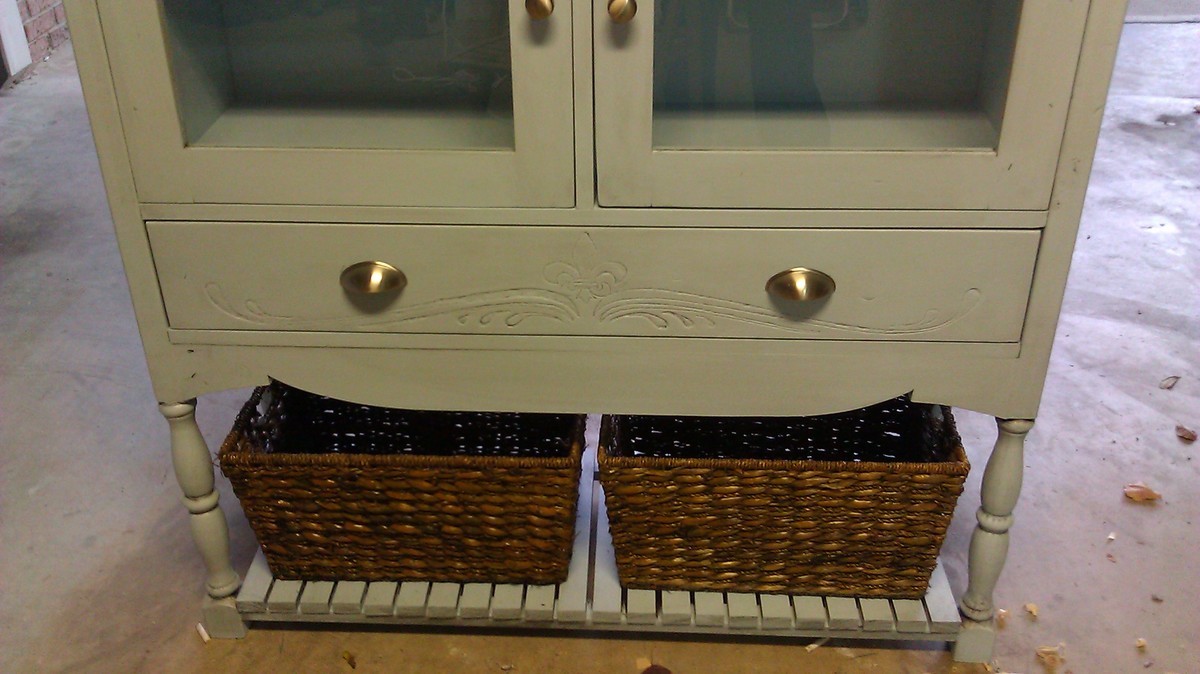
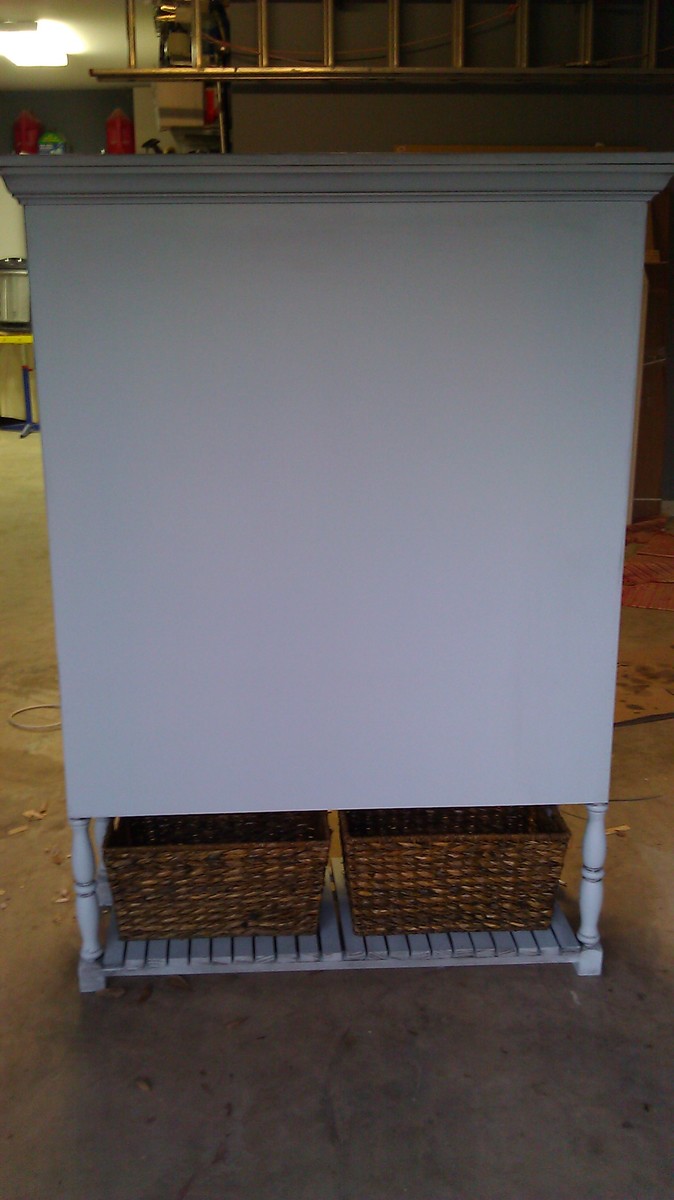
Play Kitchen
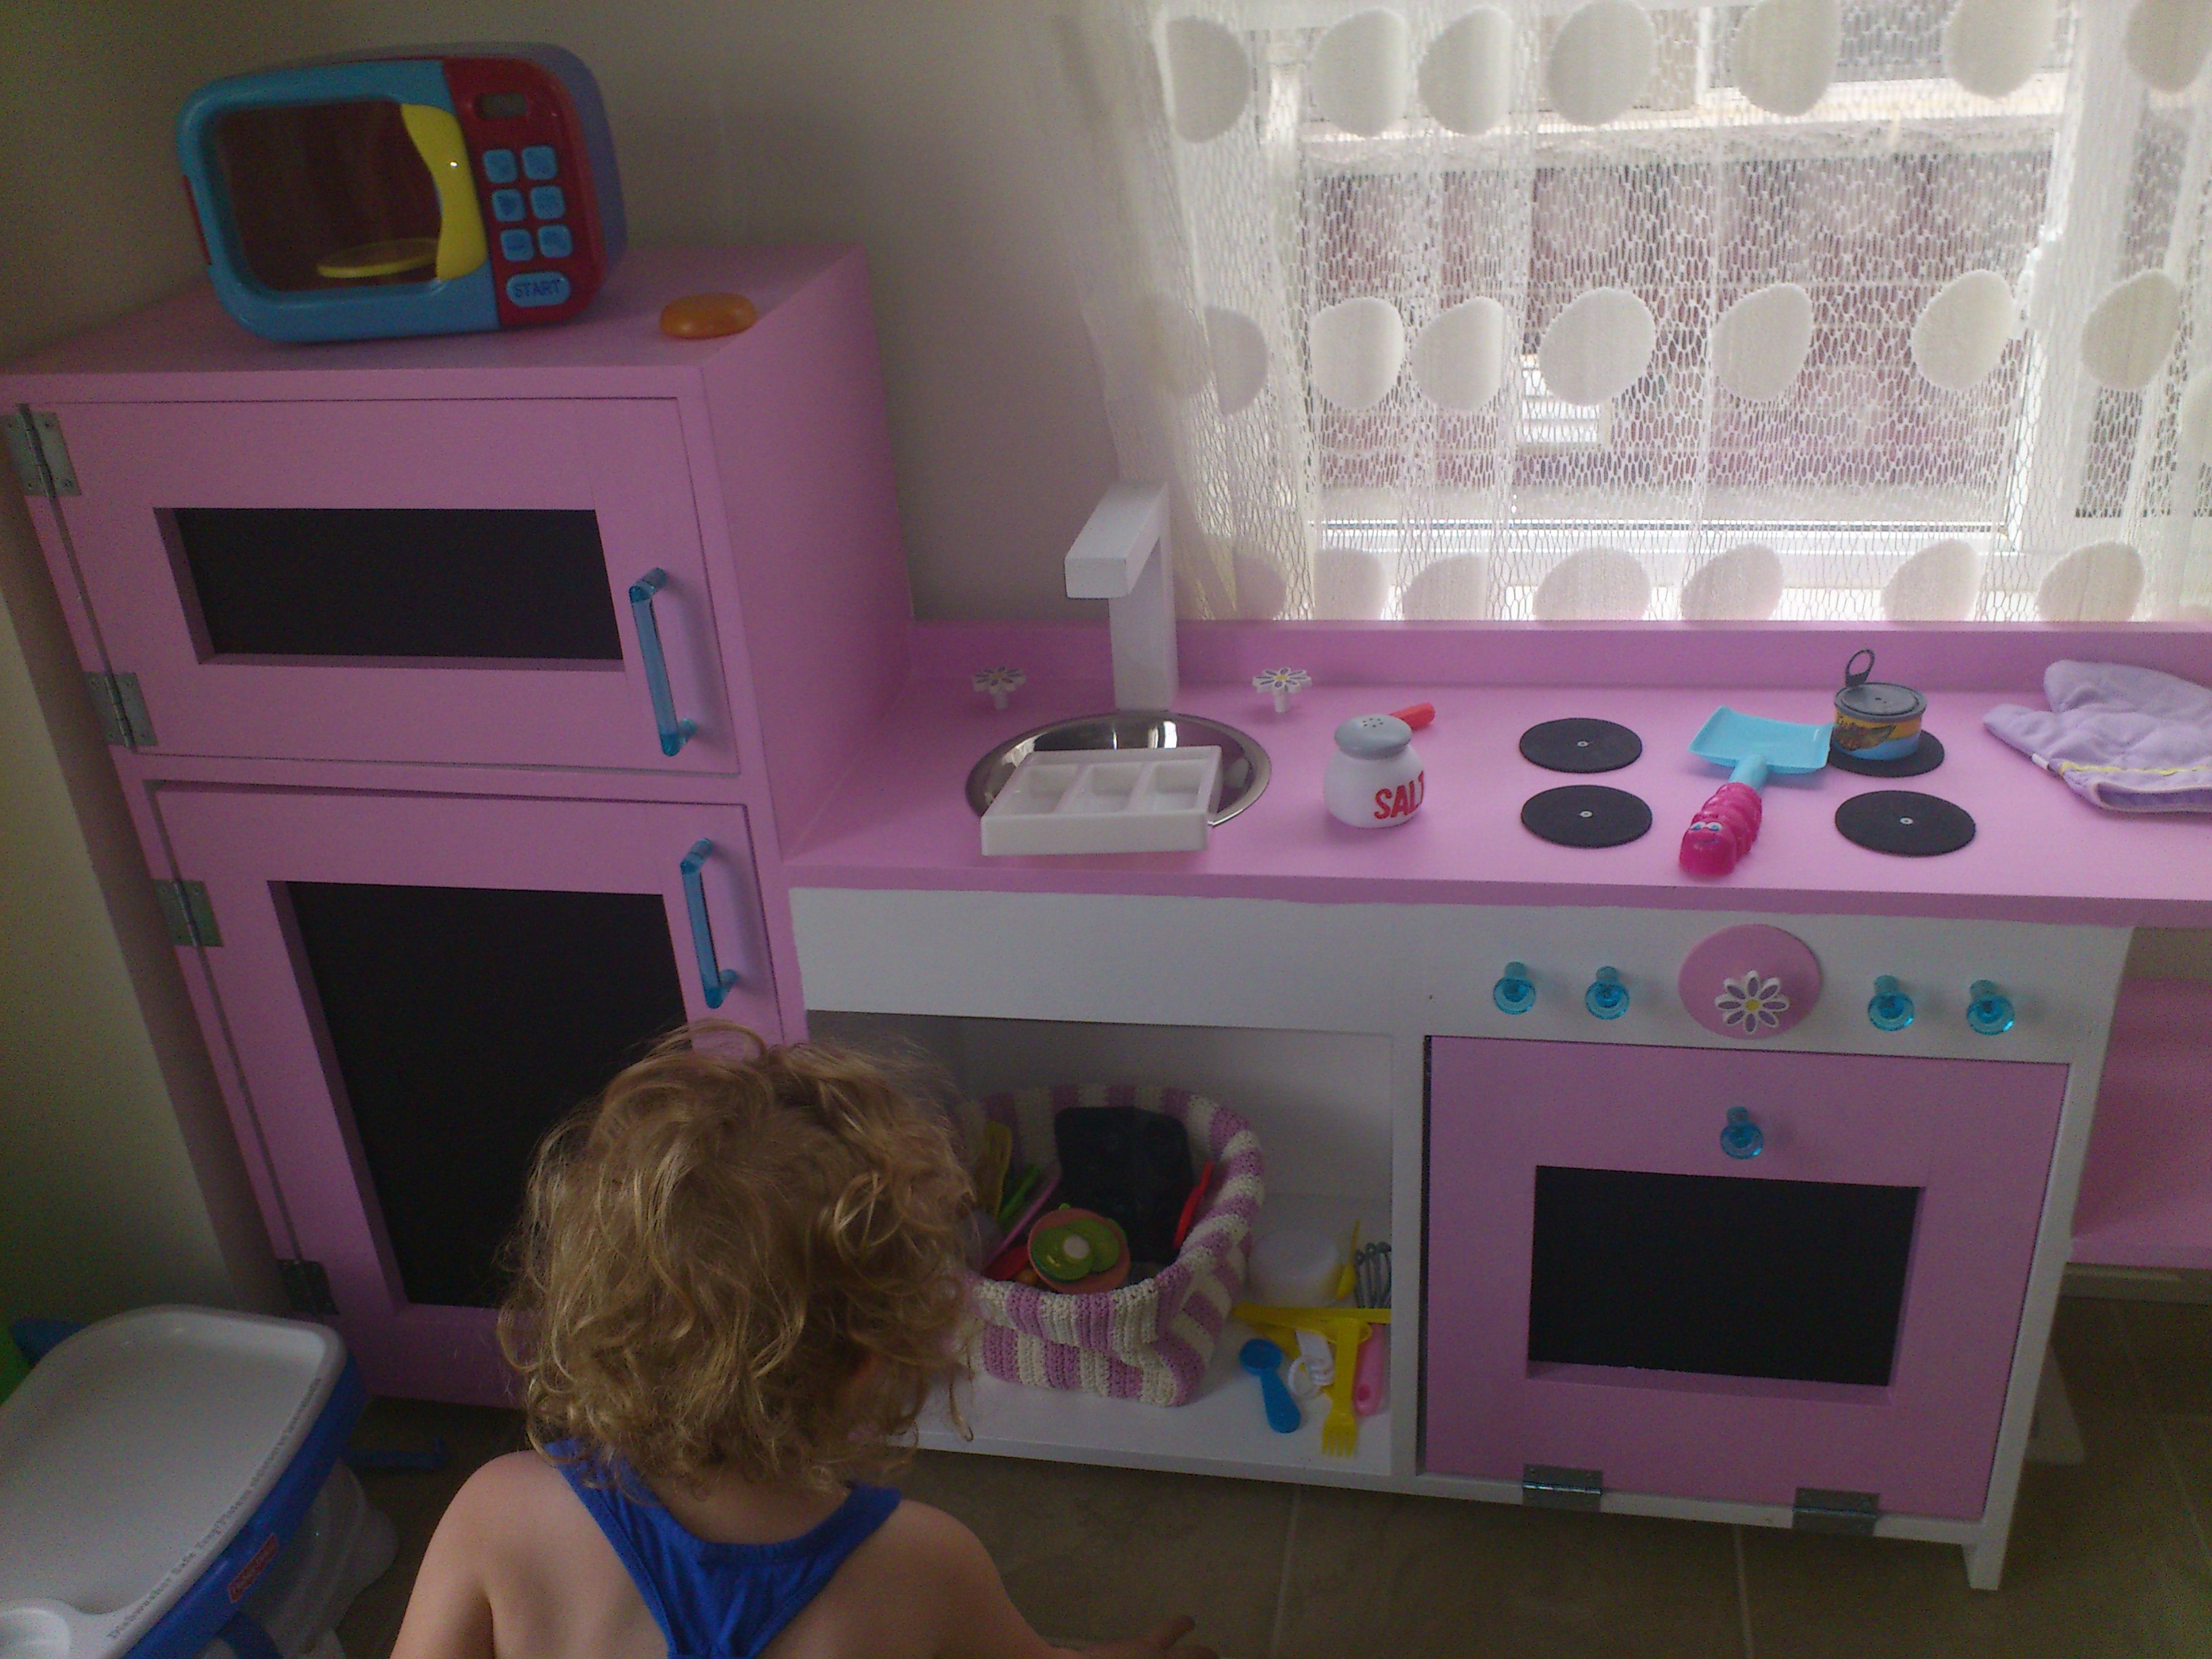
The standard play kitchen. The pine planks used were not a consistent 12 inches. I would recommend using plywood. Finished with hardware from IKEA ( blue handles) and lowes (flowers and hinges).
We've built a headboard, two nightstands a farmhouse table and bench all off of knockoff wood and this workbench console table and hutch was the Easiest build yet !
We didn't use pocket holes so instead of doing the middle center shelf of the hutch we chose to keep it open. I actually love the way this looks better than the original plan!
Waiting on our black bear mount bottle opener that will be attached later this week and then we can't wait to stock up our new bar. It looks great next to our farmhouse table and bench!!! Thanks for the deer antler inspiration - this gave the perfect finishing touch!
4'x4' Coffee Table
Por ser principiante me tomo 2 fines semanas.
This was my second ever project. I think this will become a long time hobby.
2 years ago I mad a TV stand that was nice. I decided to make a new one now that I know more about wood work. First one was made from Lowes top choice oak plywood and took a lot of work. I have discovered real hardwood stores and for plywood I like Baltic Birch.
I didn't make any hard plans for this one, made it by ear. 2 sheets of 5x5 18mm (3/4) 1/2 sheet of 12mm (1/2) and a 1/2 sheet of 6mm (1/4) Baltic. For edging I left the baltic alone and just rounded it over.
60'wx20"dx 28h
Build for niece. Easily converts to left or right handed desk. I'm a lefty and initially built to suit for me....then moved the footboard from back to front and turned that baby around....none the wiser lol
I modified the plans from the storage bed to create two benches according to the sizes I needed. The benches were arranged in an L formation and secured to the walls and to a base that I built from 2x4s. I made overlay (correct terminology?) drawers using accuride drawer slides that were super easy to install. Floor molding around the base and some 1x2s for the trim. Drawer handles from the depot. Custom cushions ordered online (I can't sew and yes this was the most expensive part of the project). Pillows from Kohl's with free ship and a 30% off coupon - whoo hoo!
We used Behr cloud burst for the colour and Minwax special walnut for the stained platform. I hand drew and painted the owl (the wings are scrapbook paper) and coated with three coats of polyurethane.
Sun, 09/21/2014 - 08:51
I love the paint job, but am unsure of what the item is. Can you please explain? Thanks!
Sun, 09/21/2014 - 14:19
The helper tower is a sort of step stool with sides, for your child to stand by you and be your "little helper" in the kitchen, workshop, craft room -- it's a super cute idea. :) Here's the link to the plan that has lots of adorable pictures from Ana and readers who have built them.
In reply to Link to Helper Tower plan by JoanneS
Sun, 09/21/2014 - 16:20
Thanks! That helps explain the little platform :)
I have no children young enough for this. Maybe someday when I have grandchildren.
It was very easy to follow the directions and the costs were minimal. Our granddaughter is in heaven with this bed.
Modified the console table by height (approx 39"), length (approx 40"), and eliminated the middle shelf. I can't put an accurate $ estimate since I bought wood for three projects and this was one of them.
This table and bench combo was a fun project to complete and was not very difficult (hardest part was picking out straight boards at the lumber yard). The table was stained with weathered oak stain and finished with satin polycrylic. The chairs were purchased, I am not skilled enough to build those!
Thanks again to Ana for the instructions. It turned out great!
This was my first ana white project. I didn't take great photos. I also modified the bunk a bit for small children. I added a bunk right on the floor and made the legs slightly longer so that there was some headroom. After the kids grew a little, we switched it back to just the clubhouse with some room underneath for storage/playing. First time using pocket holes too.
I wanted to make a China Cabinet and I couldn't find a plan for one on Ana's so I used the Ayla Cabinet plan and I just made it bigger. This cabinet is 46 inches wide x 17 1/2 inches deep x 64 inches tall. I also added 4 glass doors and one large drawer in the middle. I added the bottom shelf and baskets because I felt the cabinet legs would be more secure with this option. The reason there are 4 cabinet drawers is because I added a middle shelf and a center support. I did not take into consideration the doors being inset when I added the middle support so I had to make 4 doors so that they would be inset. I also added crown molding to the top of the project. I'm not sure you can see but I also carved a Fleur de lis and scrolls onto the drawer.
This took me about 2 weeks to complete....and a lot of tears but it is complete and I am very pleased.
In reply to wow by Patrick Hosey (not verified)
Sun, 12/23/2012 - 04:42
I got them at home depot. they are stair spindles, very cheap 5.00 each. I cut each one at a pleasing location on the spindle and the length I wanted then I used a double ended screw and screwed them into the leg and to the cabinet, I also used glue to make sure they were secure. I decided the legs were not safe without the bottom shelf because this piece is so large and heavy, so this is the reason there is a bottom shelf.
Sun, 01/10/2021 - 21:03
Janettx ... you did a GREAT job!! I've got this project planned for the spring . We're having our annual church auction and I know it will sell high! I was considering buying furniture anchors since it will be for a child and I want to make sure it won't tip over. Did you have any issues with the project being top heavy??
made this farmhouse table 30in tall 4ft long and 26in wide,
I wrote a blog entry about this project that you can find at:
https://1thing1week.com/2017/01/09/airplane-shelf-for-a-nursery/
This shelf is great for beginners, easy to assemble and very inexpensive! I had a blast making it. I made it for my expected son's airplane themed nursery.
I started learning woodworking several weeks ago and came across your video and plans for the Farmhouse Counter Stool. It was easy to follow, and I love how it turned out! I made one first as a test, and I think I'll make three more. Thanks Ana!
Fri, 09/25/2020 - 14:57
Welcome to the woodworking community, it looks fantastic! Thank you for sharing:)
I started with Ana's "Mom's Train Table" design and added a bit of western design to it. I also added two drawers instead of the empty space to store the train set and other toys to be played with on it when the coffee table top is on. The train table top is also loose in the space, so it can be swapped out or flipped over for another design, farm, train, city, racetrack, etc.
I used and existing toddler bed frame and repurposed it as a trundle bed so we could add a 3rd bed into our kids small bedroom. You can easily make the bed frame too.
Check out my blog post with steps on how to turn a toddler bed into a trundle. Great space saver and it's much easier to pull out from under the bed on the carpet (and easier than a full size trundle).
I was eager to start this project and was super stoked with how it turned out. Can't wait for more inspiration to continue building beautiful furniture. Thanks