DIY POTTERY BARN "ADDISON" STYLE HEADBOARD
It took us about 2 days to cut, assemble, and paint.
http://www.whisperingwhims.com/2015/03/diy-pottery-barn-addison-style-headboard/
It took us about 2 days to cut, assemble, and paint.
http://www.whisperingwhims.com/2015/03/diy-pottery-barn-addison-style-headboard/
I really enjoyed making this.. I used Anas plan for this. I changed a lil bit.. but it was easier than i thought... My 1st time using kreg jig so it took me a little longer to build.. I did mess up a few times which is why i changed things lol. My Daughter loves it! Wife wanted it white.. i also made a chalk board and put it at te head of bed
I had previously posted a work in process version, this is the completed project. Very happy with the results of combining the Easy Three Cube Bench and Small Locker Cabinet plans. If I had to change anything, I might widen the dividers to get a little more width, but this suits what we were trying to accomplish.
Learned something on this project, I hate painting! In the future when I know I am going to paint the completed project, I'm going to paint as much as I can before assembling.
I loved this plan and used some furring strips of wood we already had. Will use finished wood next time. It cost about $5 for the wood and hardware and I already had the fabric. I did use decorator fabric instead of outdoor fabric. Which means if it's left outdoors it will fade faster than outdoor fabric. If anyone doesn't sew but wants to make this chair, please email me at [email protected] because I have a sewing business and can make the chair seats and even monogram them.
This project started with my son having the need for a loft bed. I began building the framing with some 2x4s and my imagination took over. The more I built, the more ideas and details I thought would be cool for whole theme. After finishing the "surf shack" loft, i moved to creating custom made fan blades, switch plates, placards, etc to fit the theme. It was all finished off by installing built-in shelves and painted walls.
Wed, 07/24/2013 - 09:24
That came out really nice. Love all the added touches. Good use of that corner with shelves. We had a bigger niche like in our kitchen where we put shelves as well. The icing is the custom fan blades! Very clever!
Wed, 07/24/2013 - 10:28
Looks like it should be in a Pottery Barn Kids catalog. It looks beautiful. Good work.
Slat closet.
After buying our first home we decided we wanted to build our own kitchen table so we stumbled across Ana's plans and I'm so glad that we did!
All created from her designs. Thanks for all your tips!
We have a room in our basement that has very dark paint on the walls and NO windows, so we were looking for options to add lamps, as well as brighter colors to offset the darkness. I built two modified cabin collection end tables (no doors and the tops overhang by about an inch) for the lamps we already had. Once the tables were done, I saw the plan for the squared headboard and decided it would make an awesome large scale wall decor for cheaper than anything I could buy at the store. I modified the plan but cutting the "legs" down to 34.5 inches, but otherwise followed the plan pretty closely, laying out the pattern completely before I began assembling. It was a tedious process, but well worth it! (I used my kreg jig on both.)
As a side note, our 2x2's are NEVER straight, so I usually glue 2 1x2's together and sand the seam so it appears as one piece of wood.
Fri, 06/10/2011 - 12:09
This my dear is the basement that Ana White wishes she had! Love the wall decor! Adds just the right touch! And cute little end tables! The wall color is perfect too!
I was asked by a friend if I could build a reading bench for his daycare and this is what I created.
Wed, 07/31/2013 - 13:17
I really like this. I know a new teacher that might like something like this for her 1st grade room. Which plan did you use? Thank you.
This was an easy build and after 2 months I am still in LOVE with it:)
Fri, 12/16/2011 - 10:59
We have a HE front-loading washer and because of the power of the spin cycle, it vibrates/moves a lot. Anyone who has these pedestals have problems with that? I don't want a very expensive washer to take a tumble. :)
I really love this table, even though it didn't turn out perfectly. I'm not sure what happened, but the shelf on the bottom ended up not fitting well and is sticking out some on one end at a weird angle. But you really can't tell unless you're looking and I plan on just putting that side on the wall. It was REALLY easy to make and took barely any time. I love how the stain turned out (it looks a little darker in the pictures that it really is). I think this table could be used for a lot of different things too and could be modified in height for different uses. Thanks Ana!
Fun easy project. I built it for my wifes classroom. We used 4 2 x 10 instead of 3 and I used a kreg Pocket Jig instead of biscuit joiner and l brackets. Very easy fun project.
Our cheap wire rack in the closet pulled out from the wall...twice. With input from the wife, I took inspiration from the various tower style closet designs and built this epic masterpiece. I still go in and marvel at what I did...two years later. We doubled up the hanging space, provided shelves and cubbies for all the shoes! And even built the table out of scraps from the project (a neighbor gave us the tabletop material as scrap from a project they finished). I had some stain left over from yet another project that was accidentally tainted, but turned out as a great color on the table. Thanks Ana for all the inspiring work!
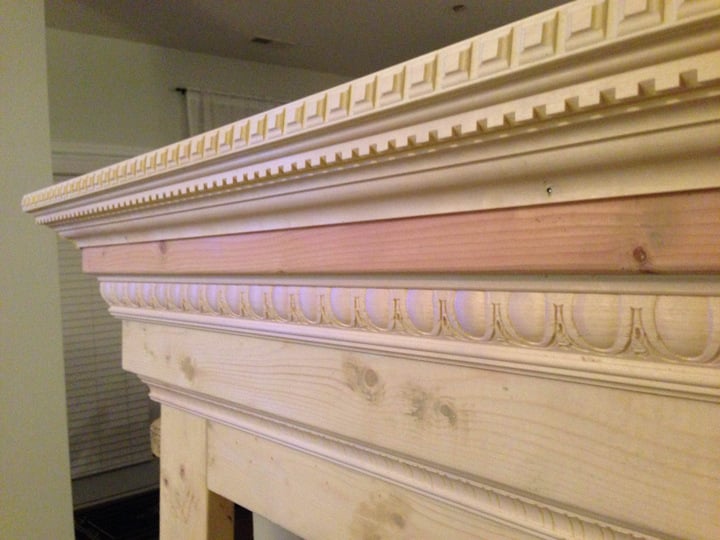
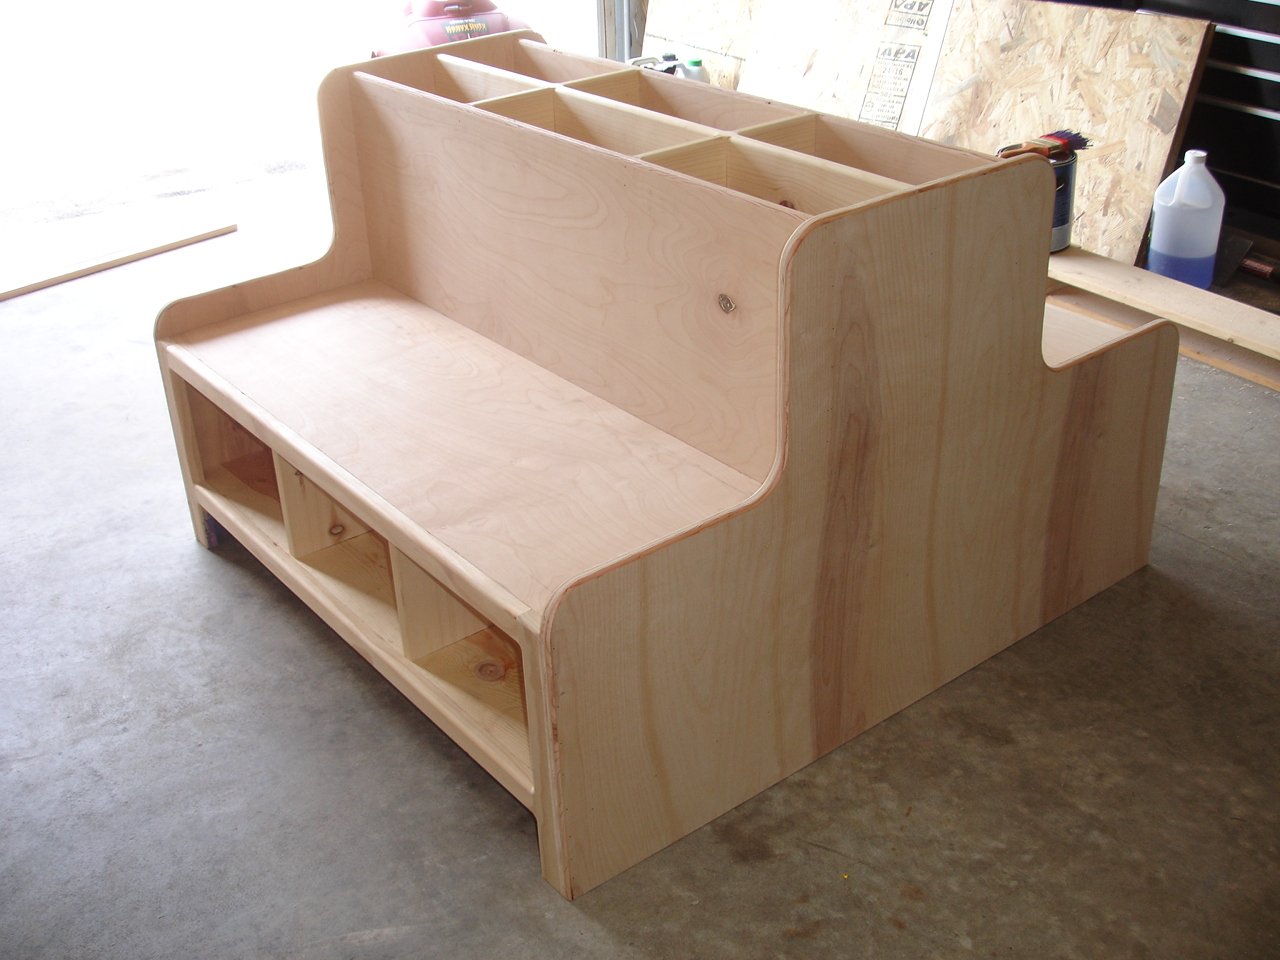
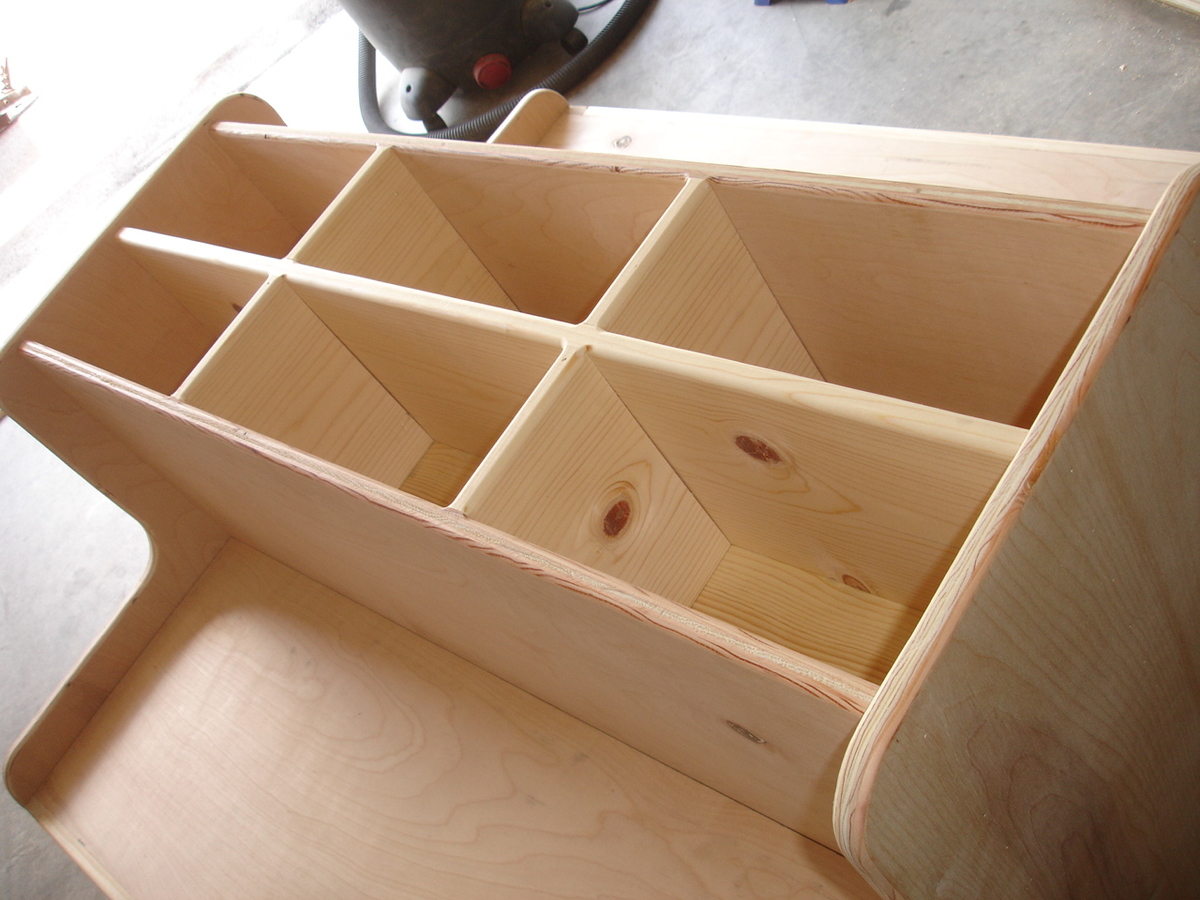
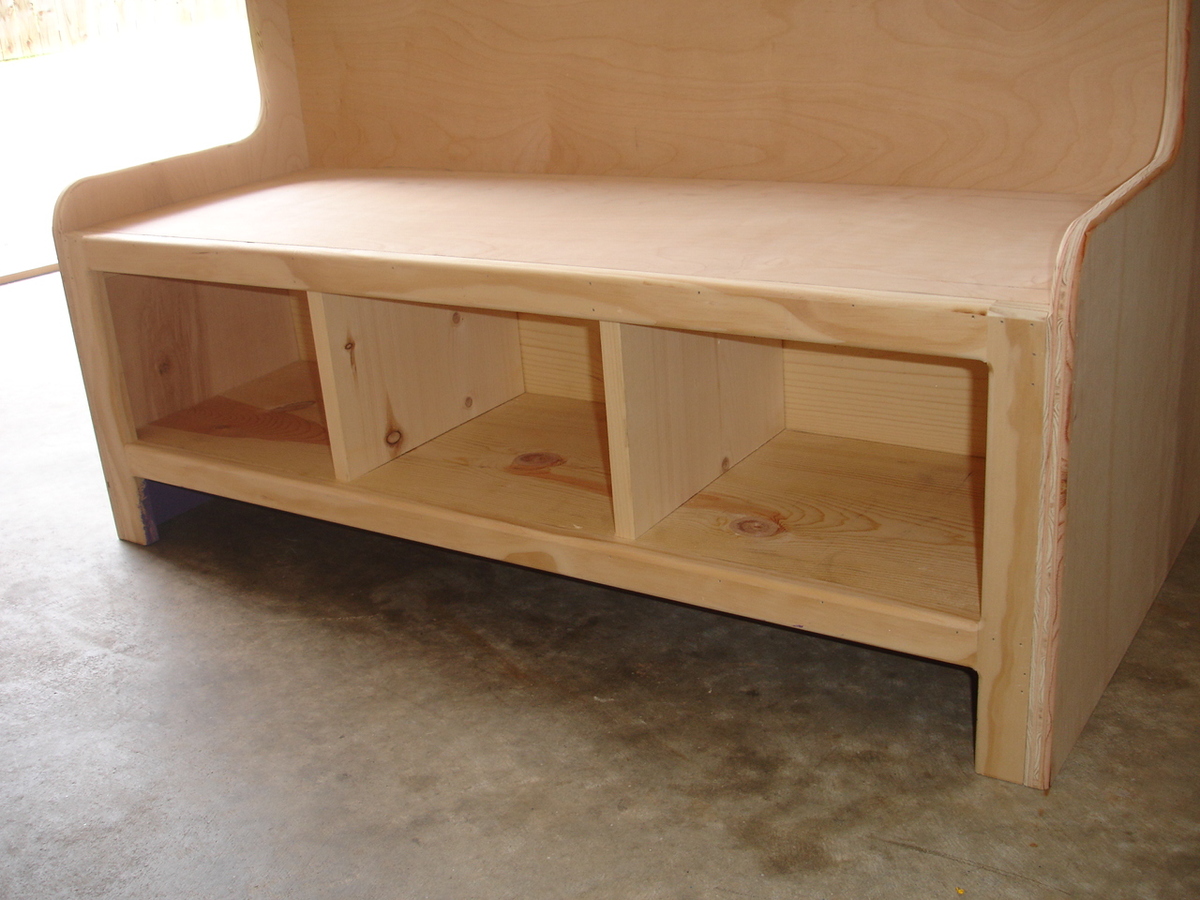
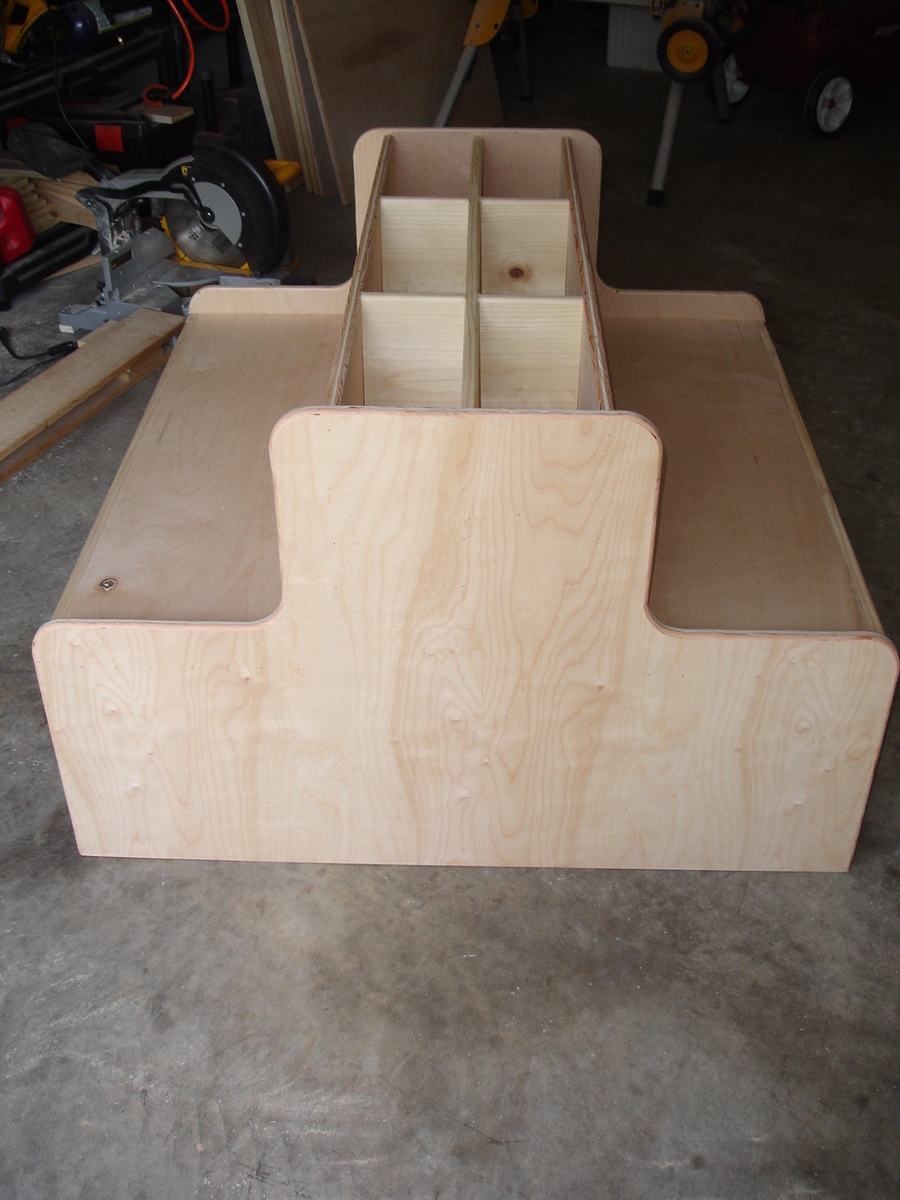
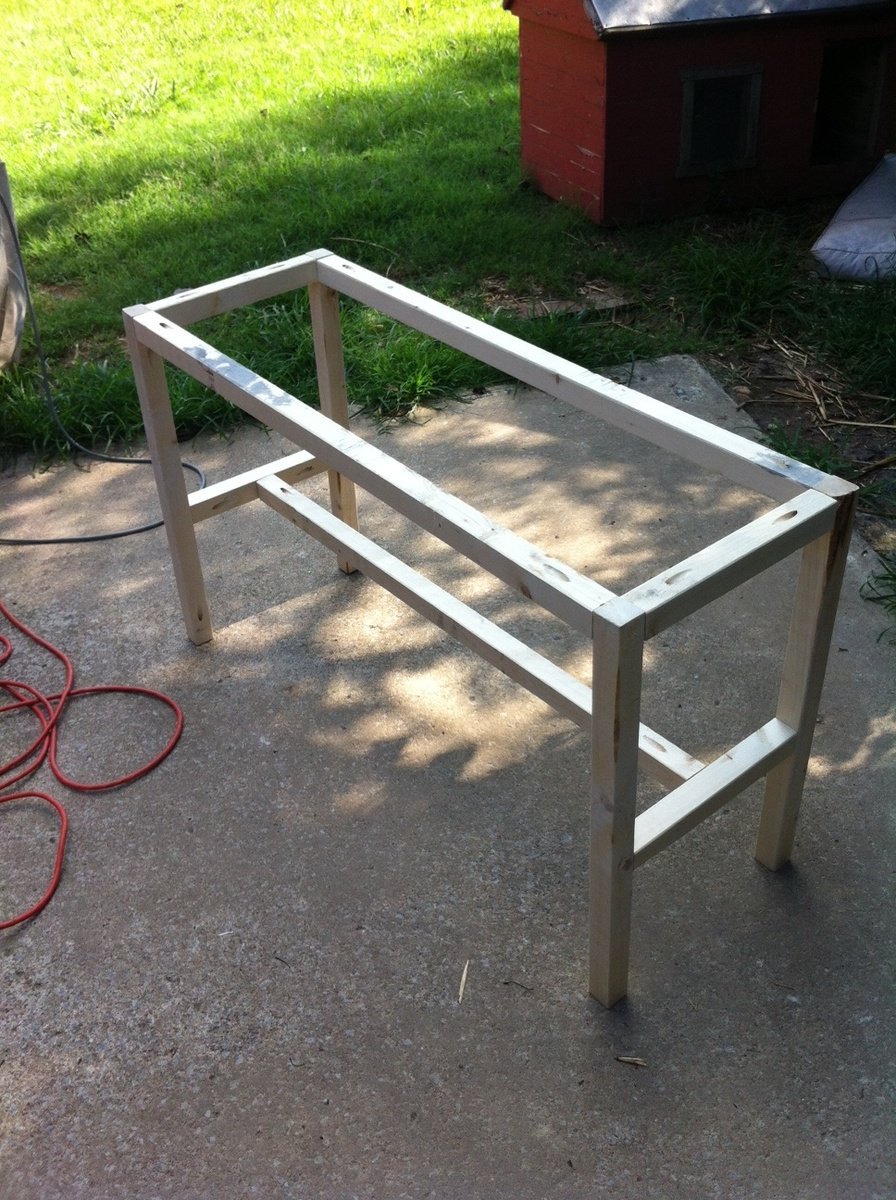
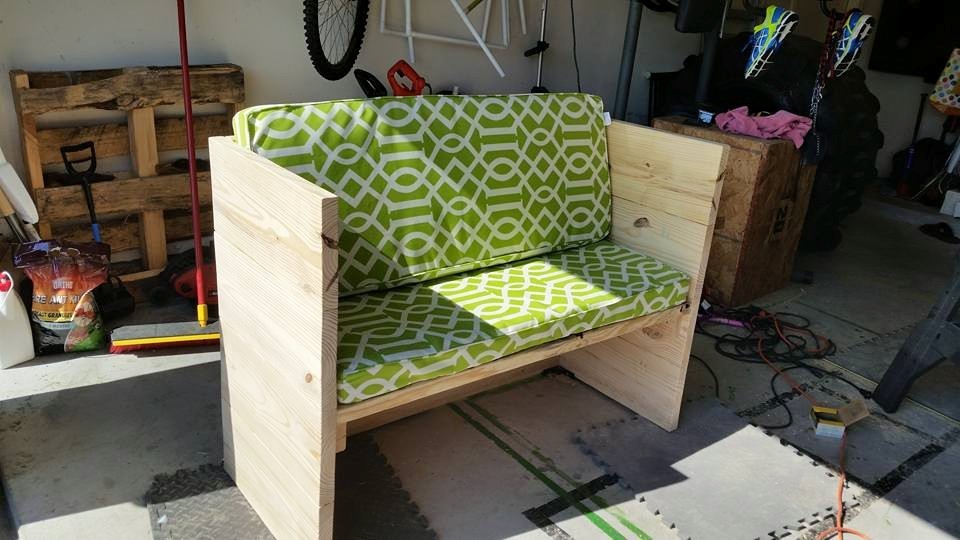
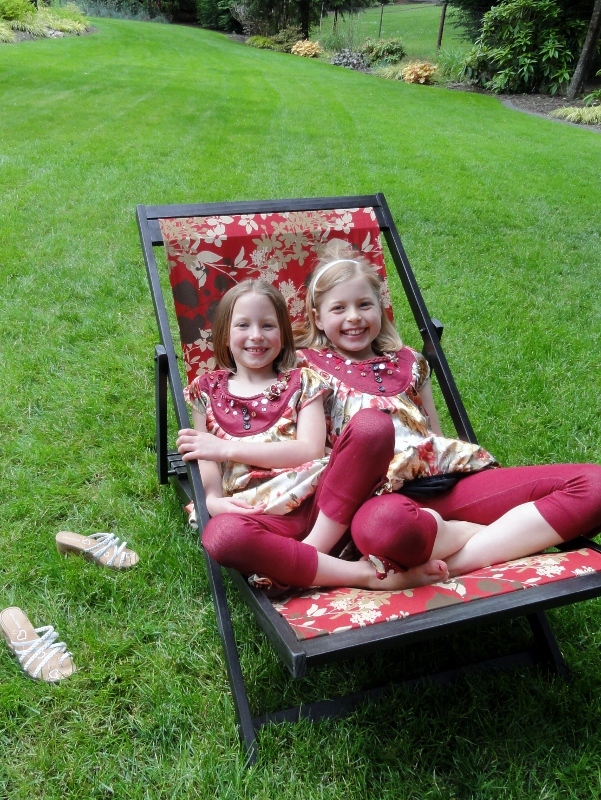
Once I saw these plans on here, I was thrilled to get started on them. I let the girls do most of the miter saw cuts (with lots of supervision) and they were a huge help sanding. Pine has really sharp edges, so they helped me round down every edge by hand. I would have used an electric sander, but *gasp* I couldn't FIND IT!
Aaargh!
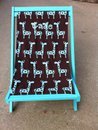
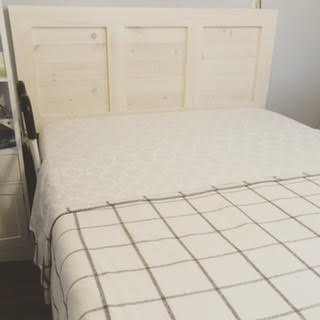
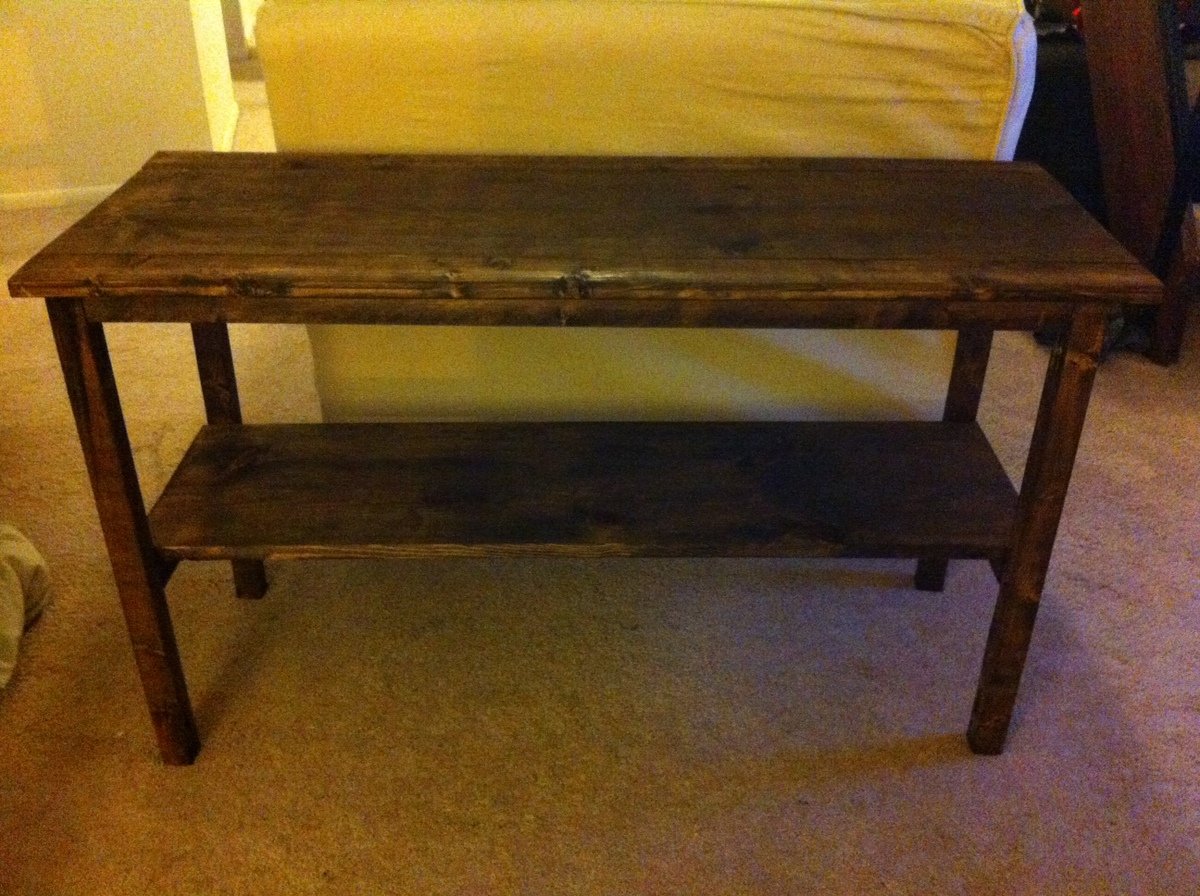
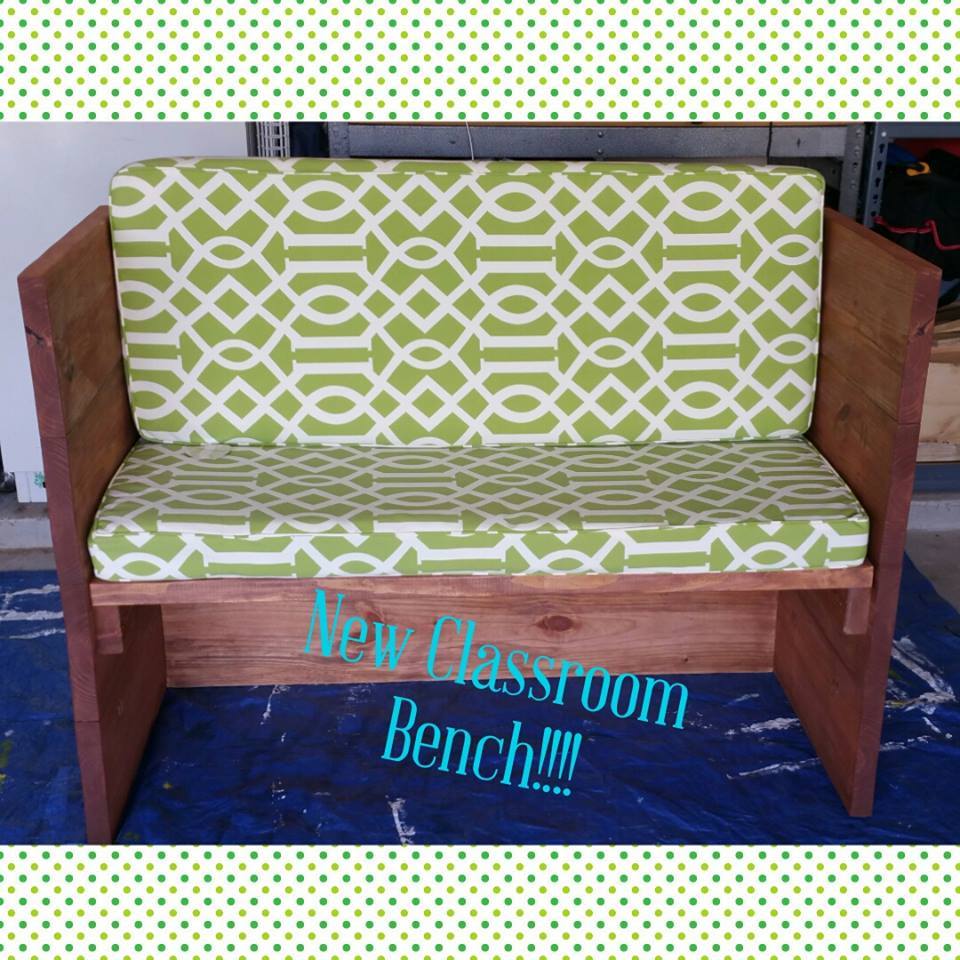
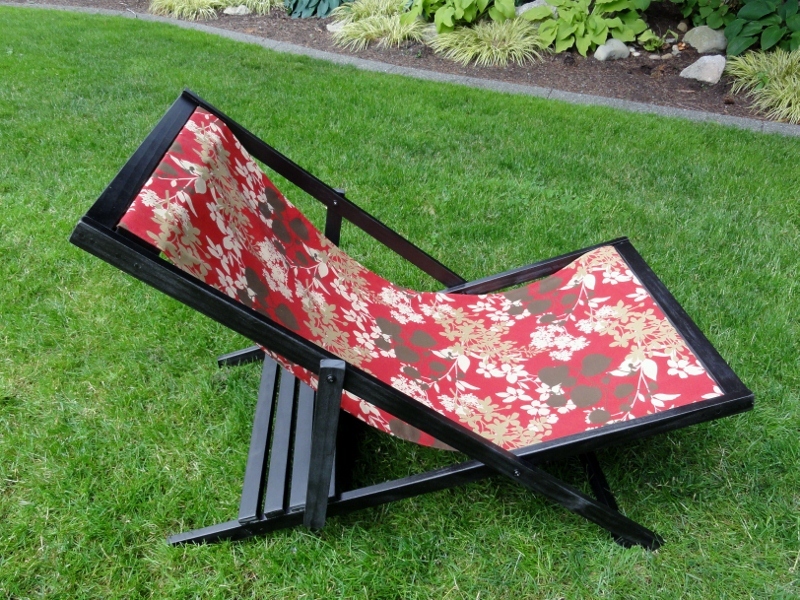
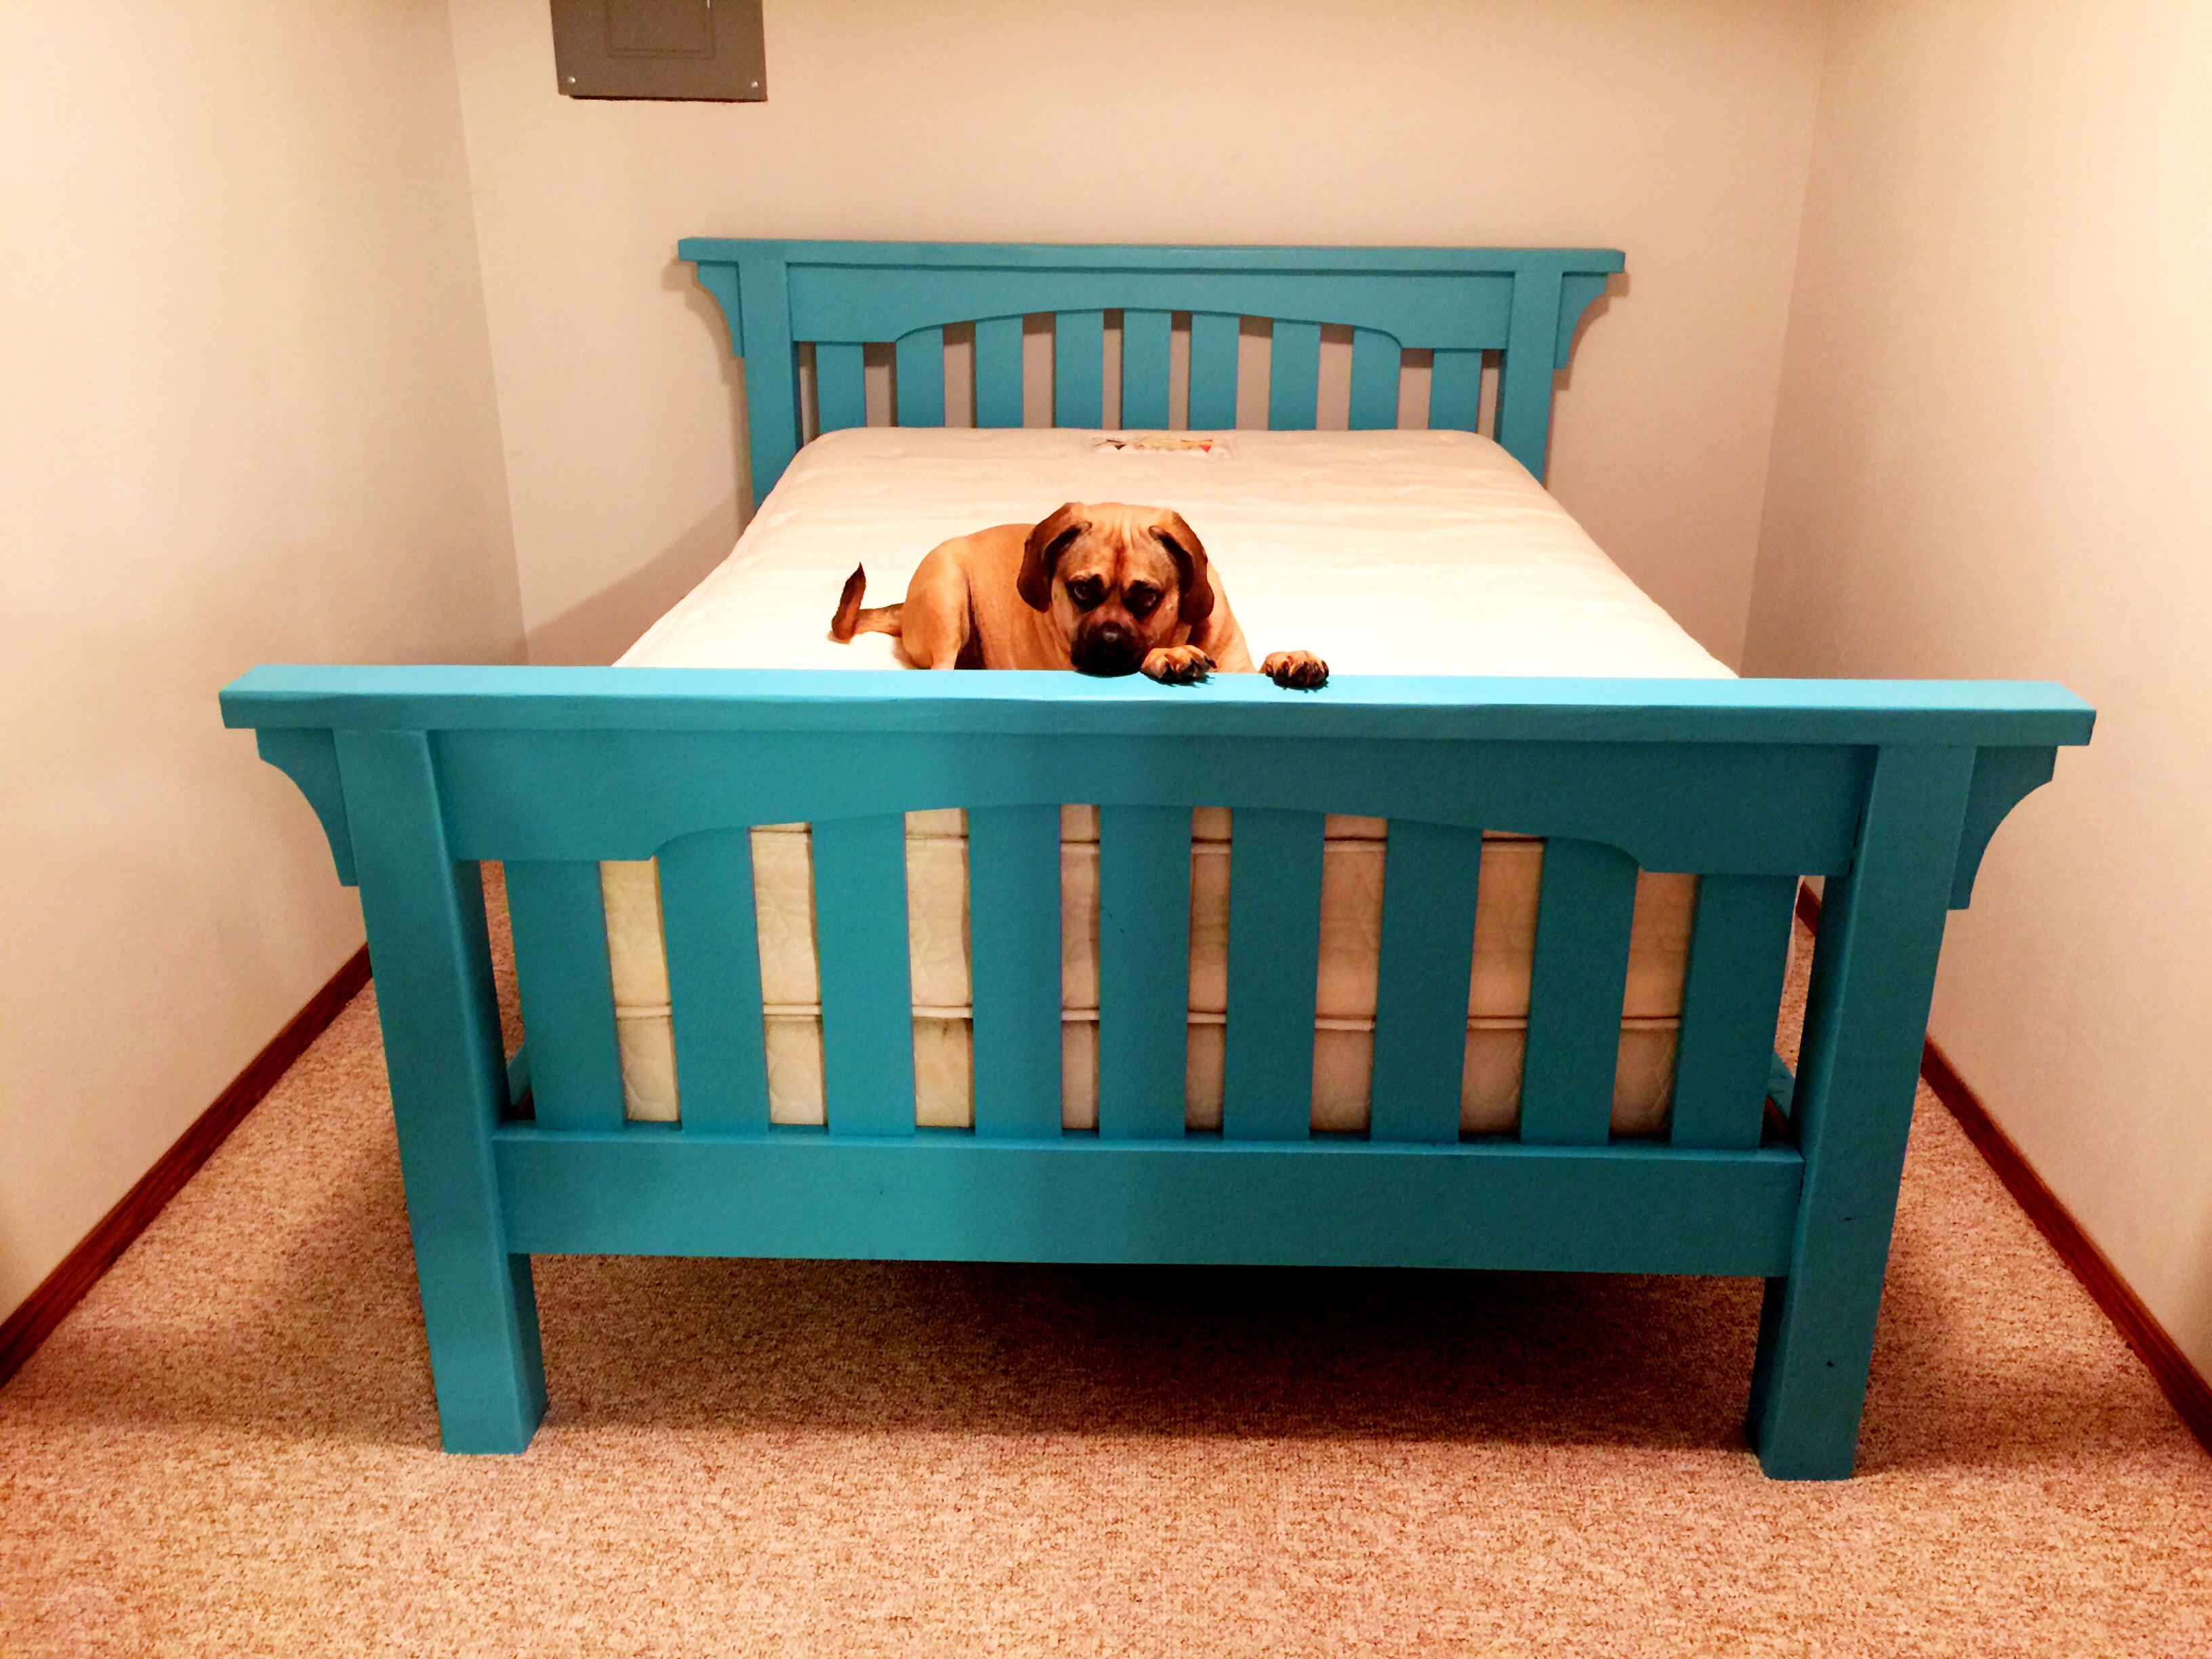
Anyhoo, this is a gift for Daddy for Father's Day! I bought enough wood and fabric for a matching chair for myself. :) The girls are begging for matching kid-sized ones too. :)
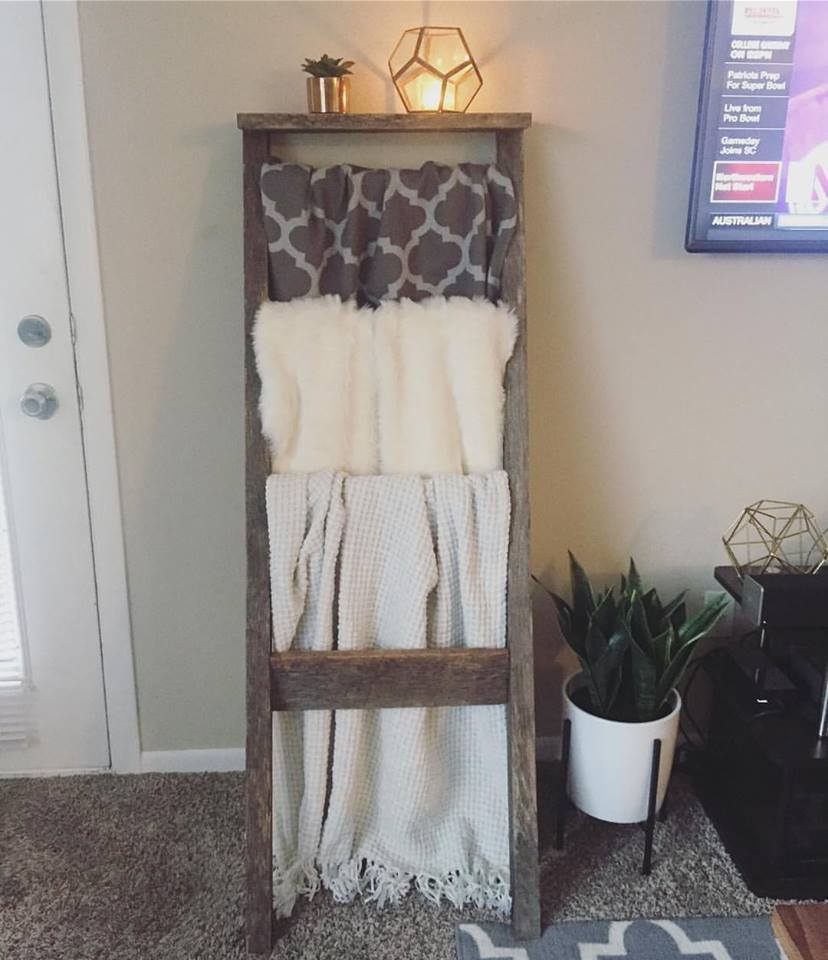
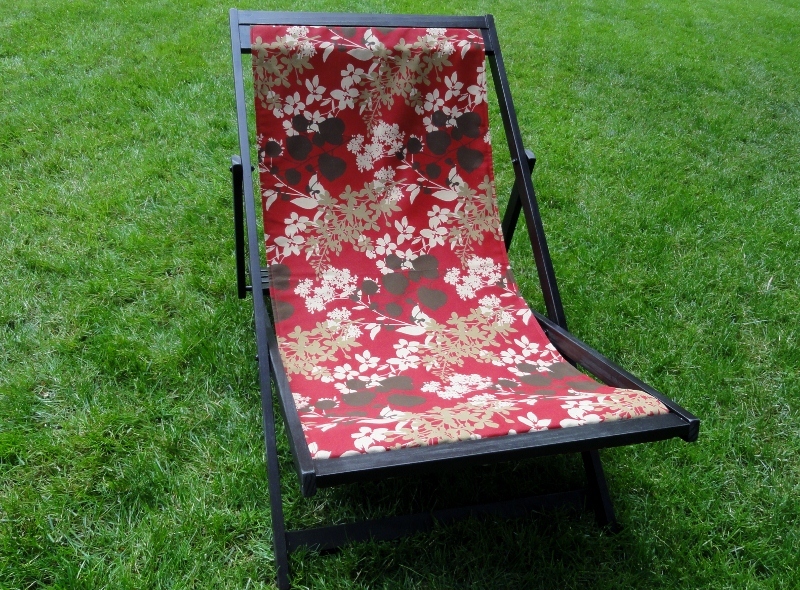
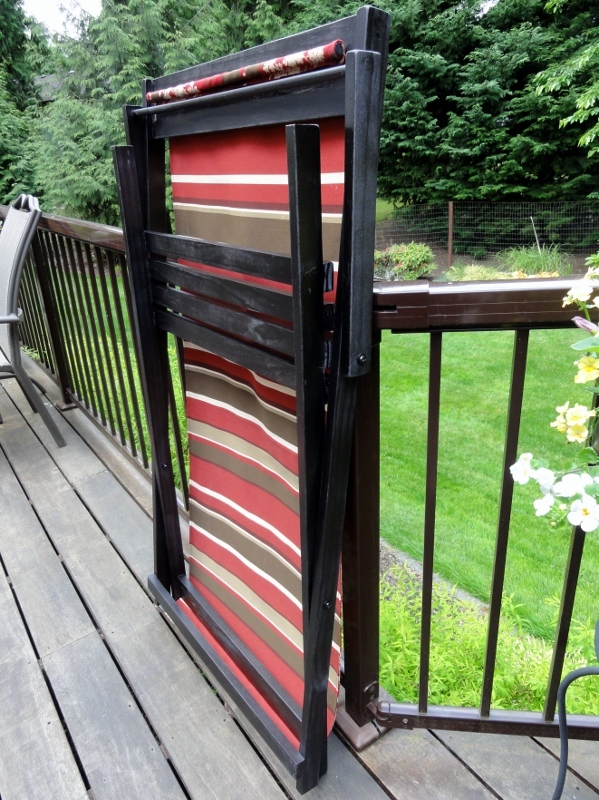
I just LOVE how it folds up so flat (last photo below) to be hung under cover outside. :)
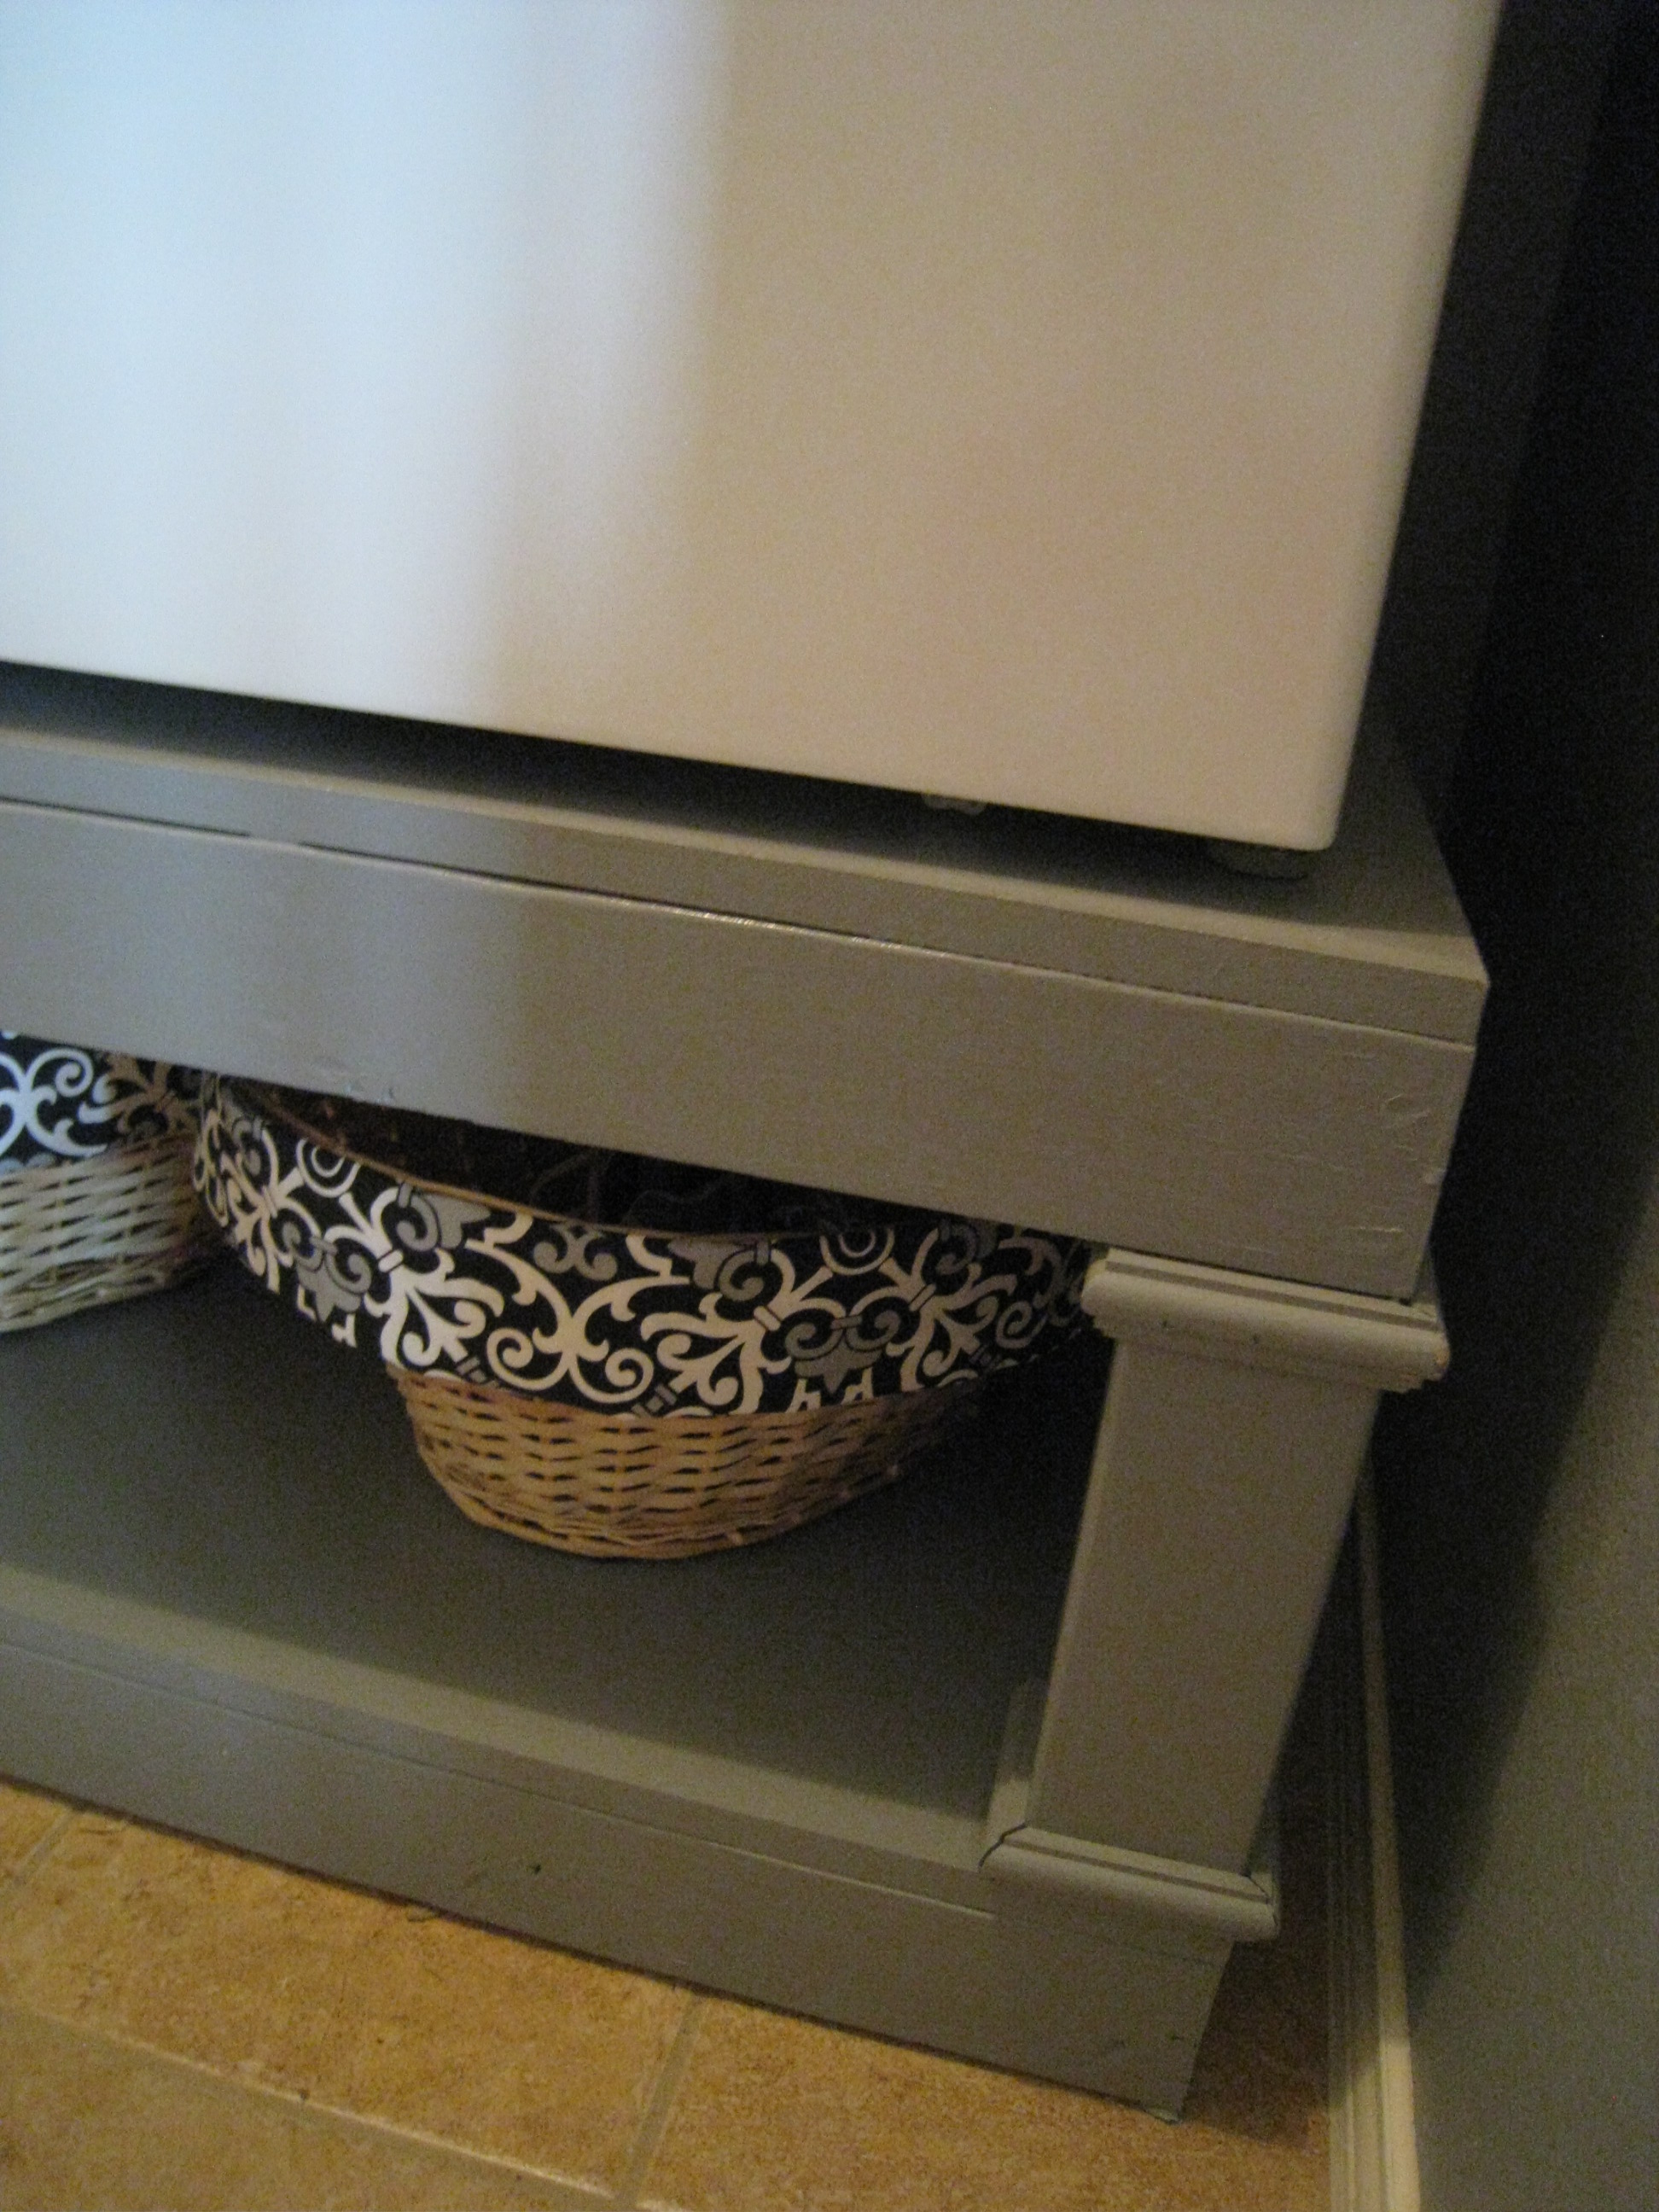
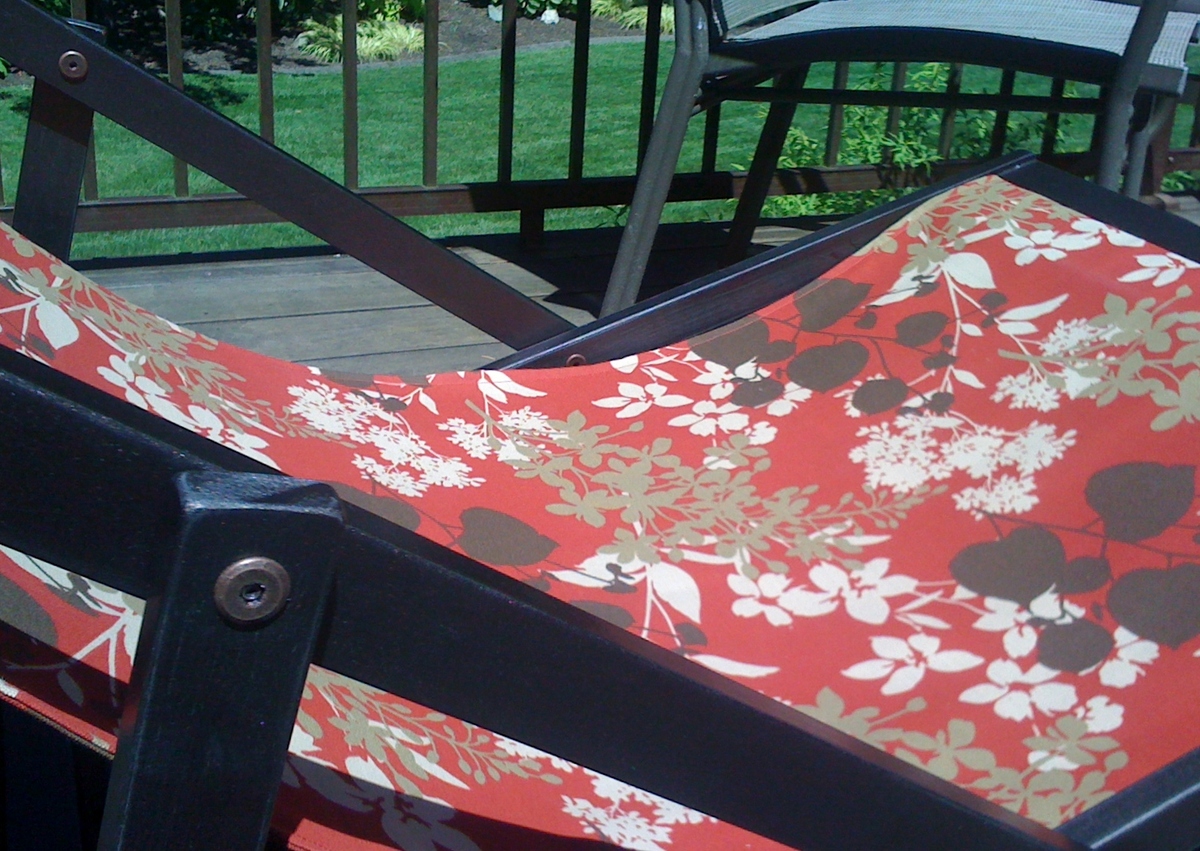
I used Connecting Bolts & Connecting Cap Nuts rather than just bolts and I love them!!! I did keep a washer in between the 1x2's to keep the wood from rubbing. PERFECT fit! Check out my last photo below to see it up close.
The bolts fit through the 1/4" holes Ana's plans instruct you to drill, but the caps need a larger hole. I drilled 3/8" holes into all OUTER 1x2 where the connector caps needed to be and kept the inside 1x2 holes at 1/4" per Ana's instructions. Hope that makes sense!
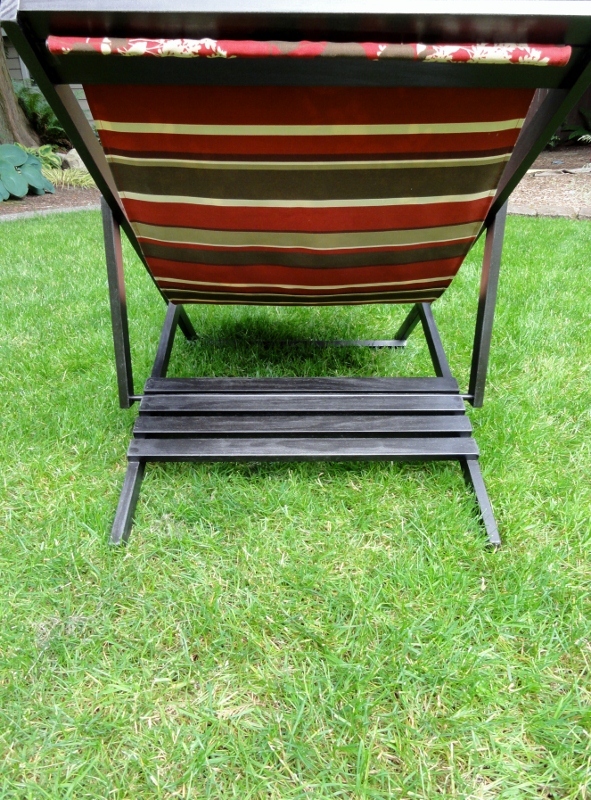
Then I finished them with Rustoleum Oil Rubbed Bronze Spray Paint.
Fri, 06/17/2011 - 15:51
Great job! How fun for the girls to be able to help. Can't wait to begin my own chairs
Fri, 06/17/2011 - 16:31
I think that you should print and frame the first picture to give to him along with the chair. Great job!
Mon, 09/18/2017 - 09:54
hey there...this looks REALLY good! I especially like the bronze bolts you used.
I'd like to do the same, but I'd love your advice on bolt length. If they're connecting two 1"x2" boards, I assume the width of those two pieces together is 1.5" (.75+.75), right?
Therefore, do you recommend a 1.5", 1.75" or 2" connecting bolt?
Thanks!
Decided to build a bedroom set and like the Rhyan end table, but fell in love with tiled version. So we used porcelain tile on top.
We have a small extra bedroom in our basement for out-of-town guests that needed furniture. This plan was perfect. For the time being, Clarence the Dog will keep the bed warm.
Love this bed! My first build from Ana White. Took 3 weekends but could have been finished in one if I was fully prepared. Did most of the build first weekend and stained the next. Third weekend was putting it up in the bedroom. Nice guestroom addition.
Comments
Linda7
Tue, 07/28/2015 - 16:58
Gorgeous!
Wow! Just gorgeous. Very professional.
In reply to Gorgeous! by Linda7
whisperingwhims
Wed, 07/29/2015 - 13:10
Thank you
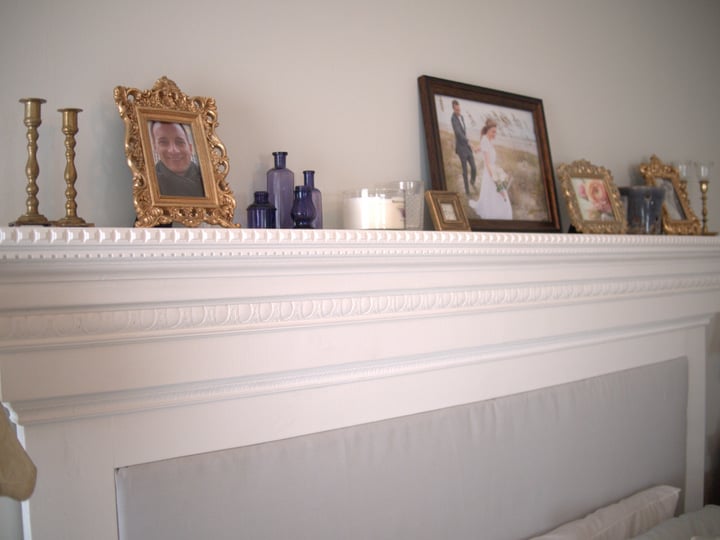
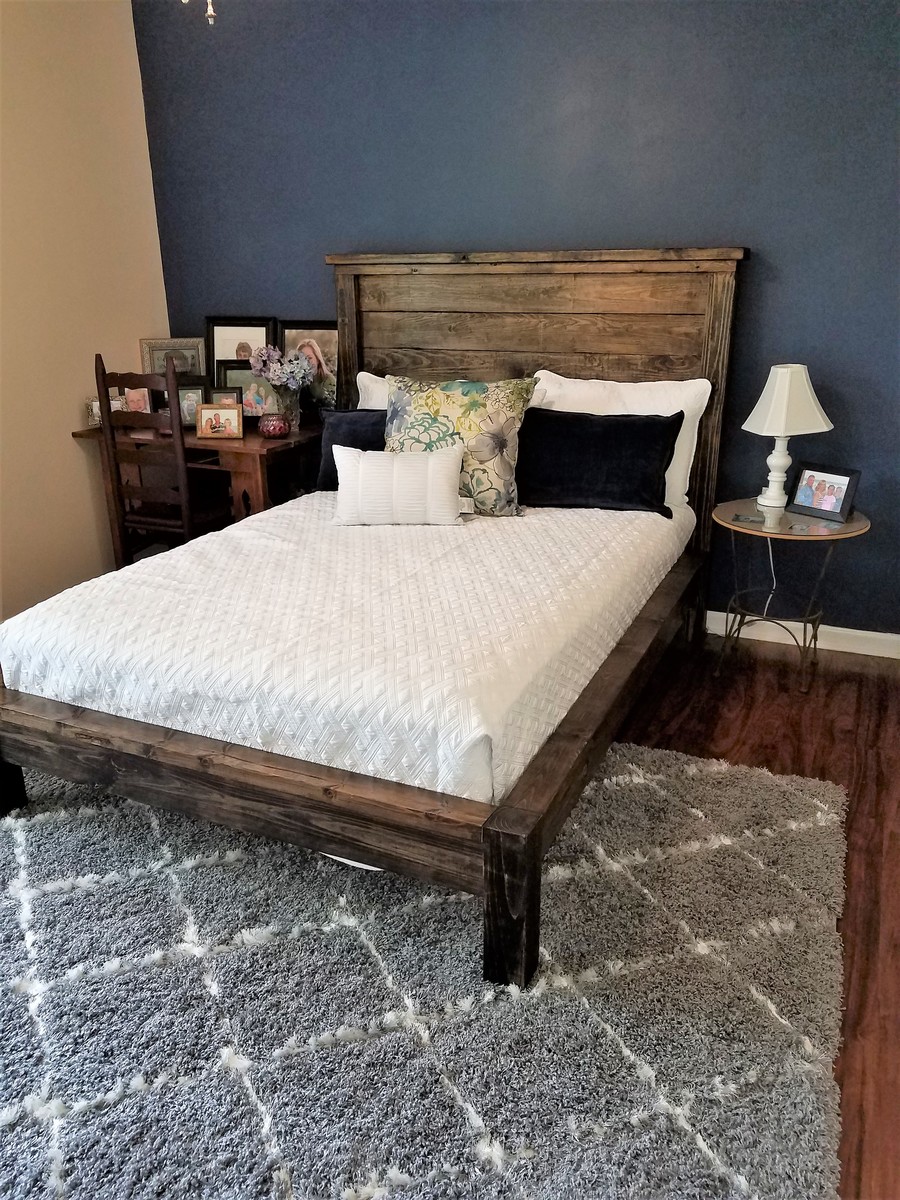
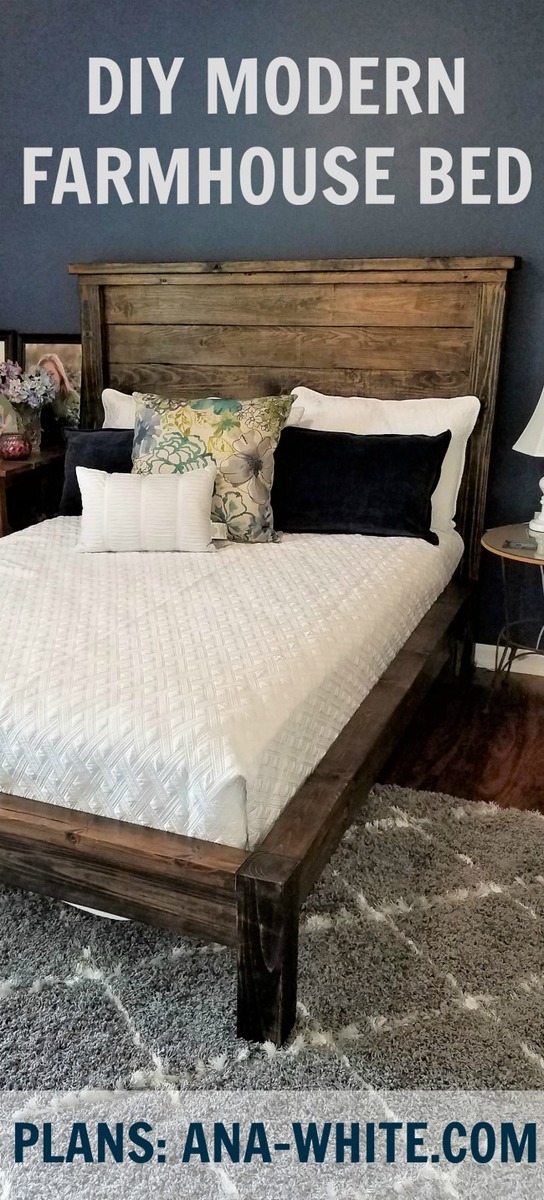
Thanks so much! :) It's one of our favorite completed projects. Big price difference from the Addison Pottery Barn head board!
Ana White Admin
Thu, 07/30/2015 - 09:14
Just Lovely!
I love this, thank you for sharing!