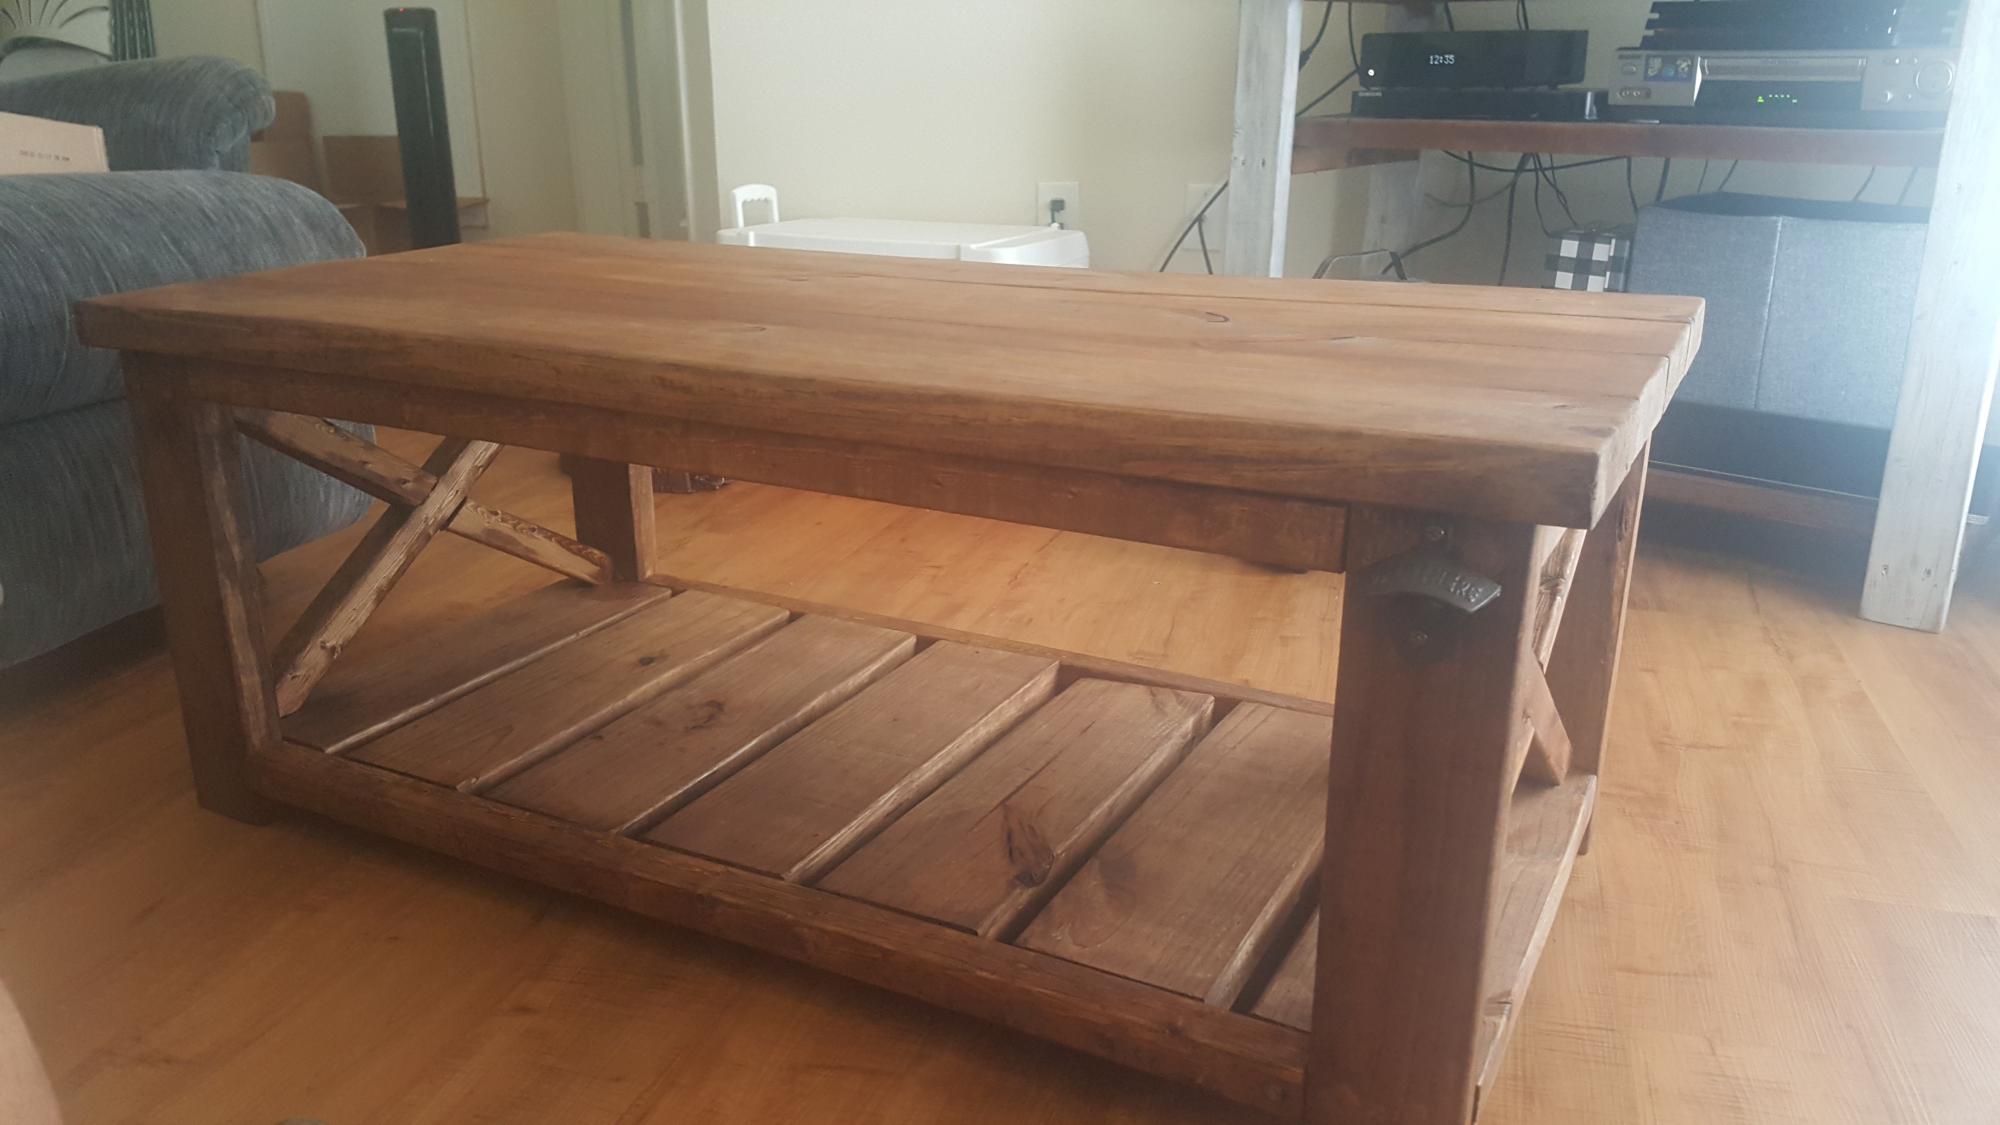
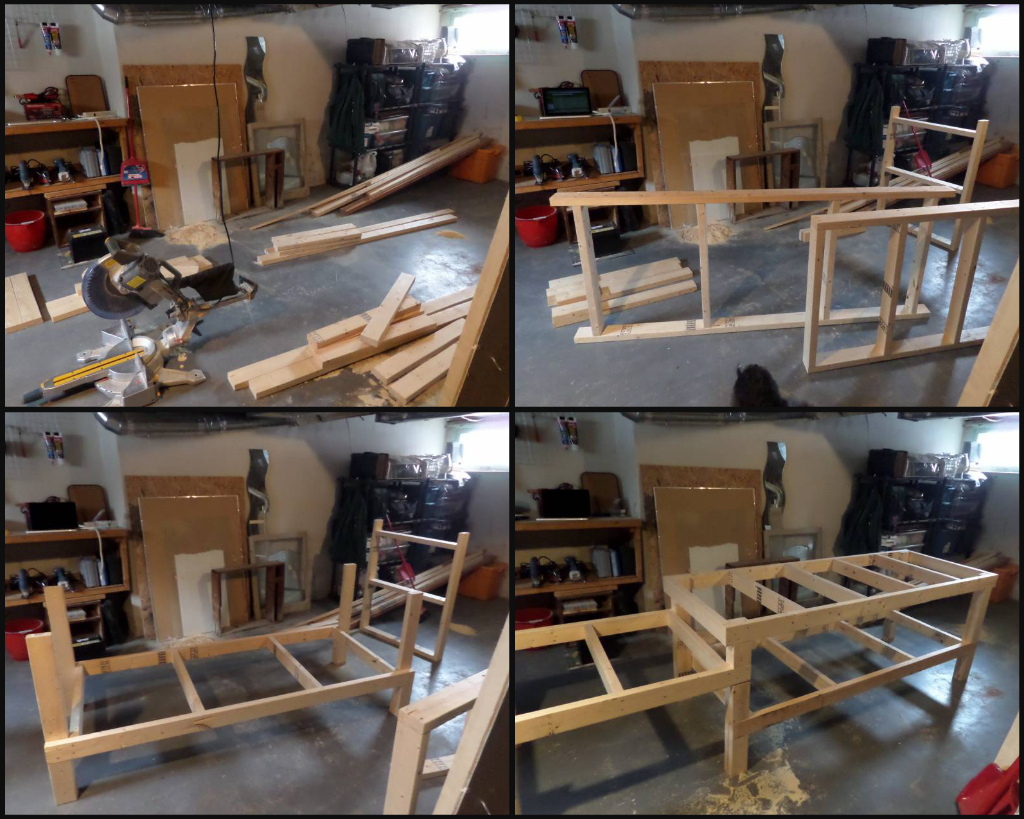
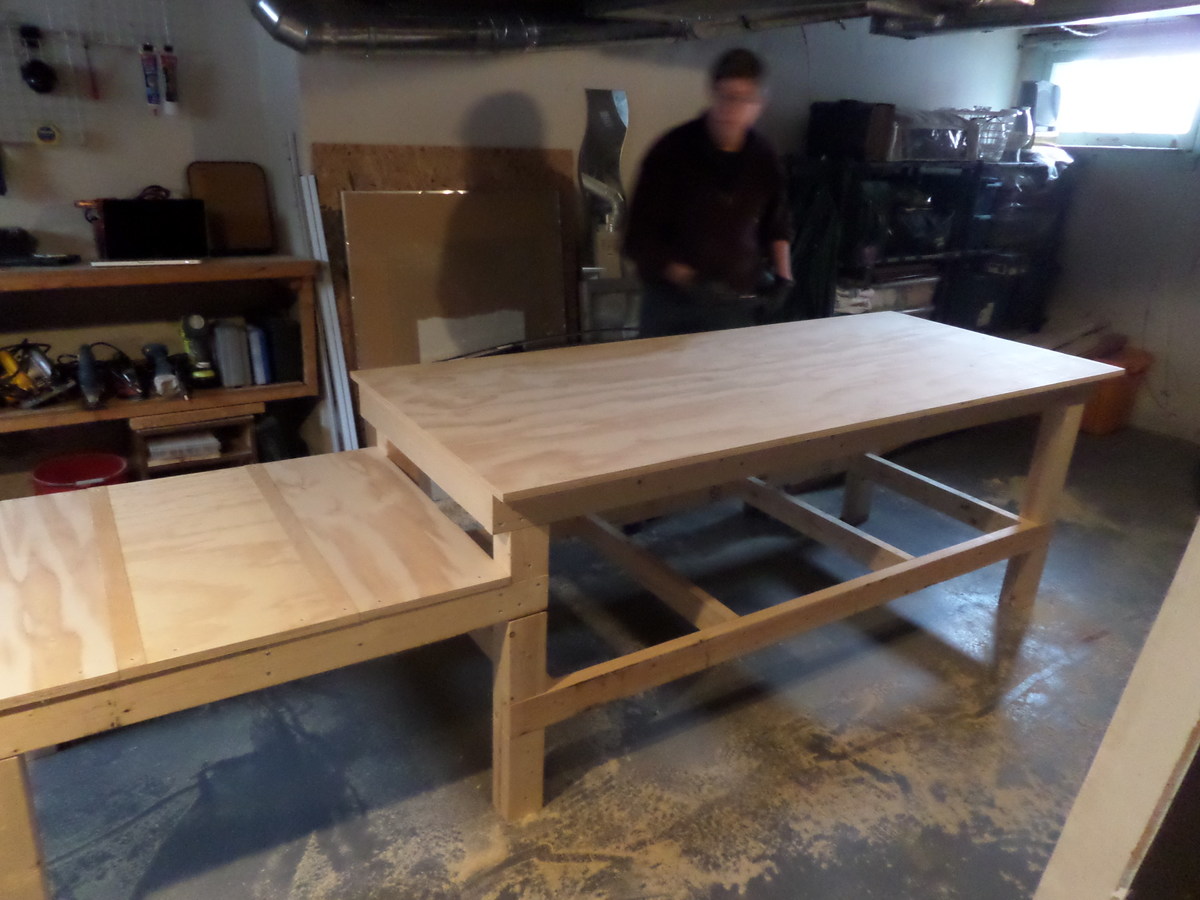
Community Brag Posts

King Farm Bed

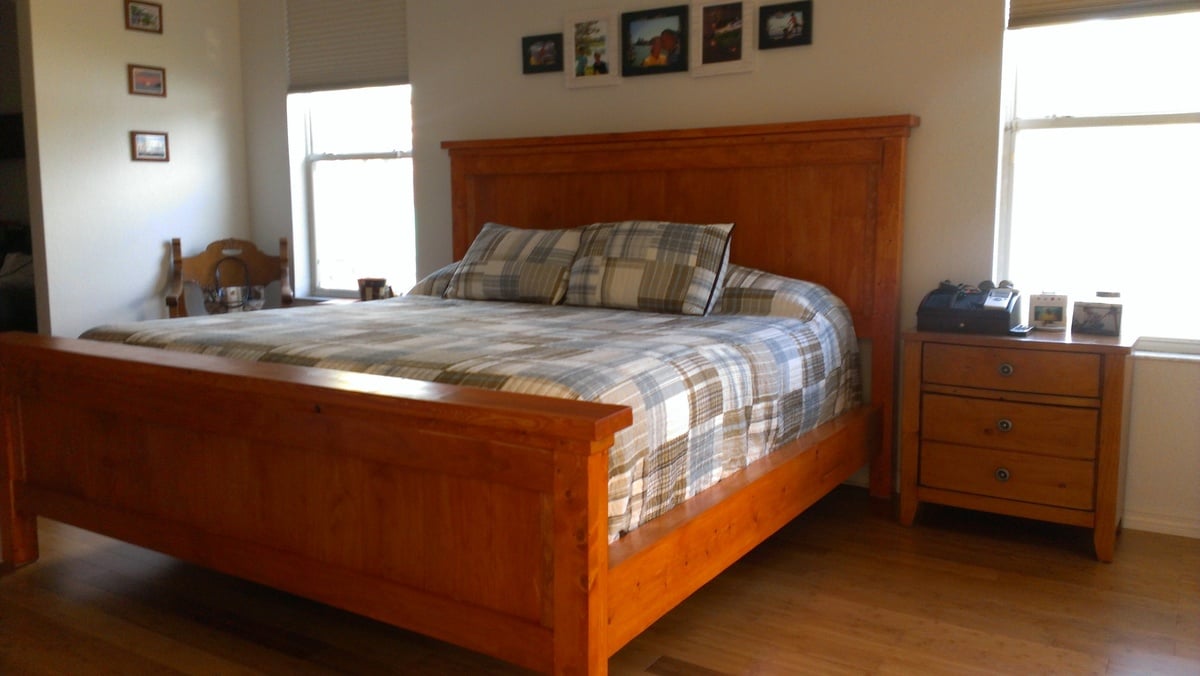
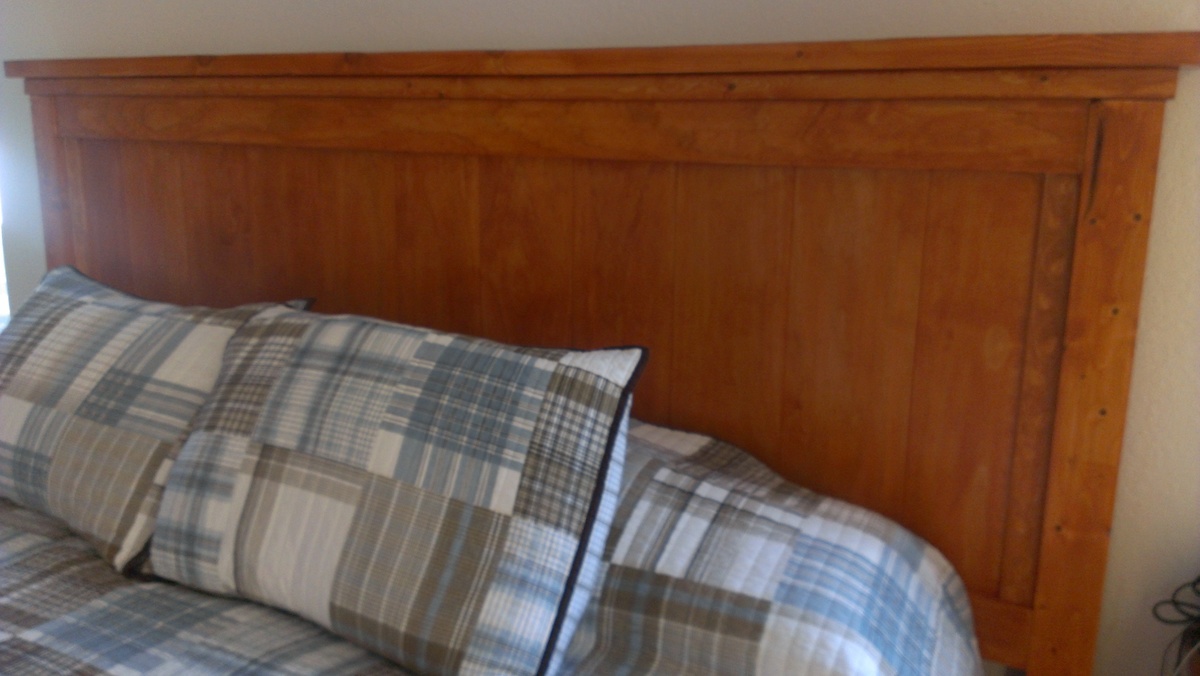
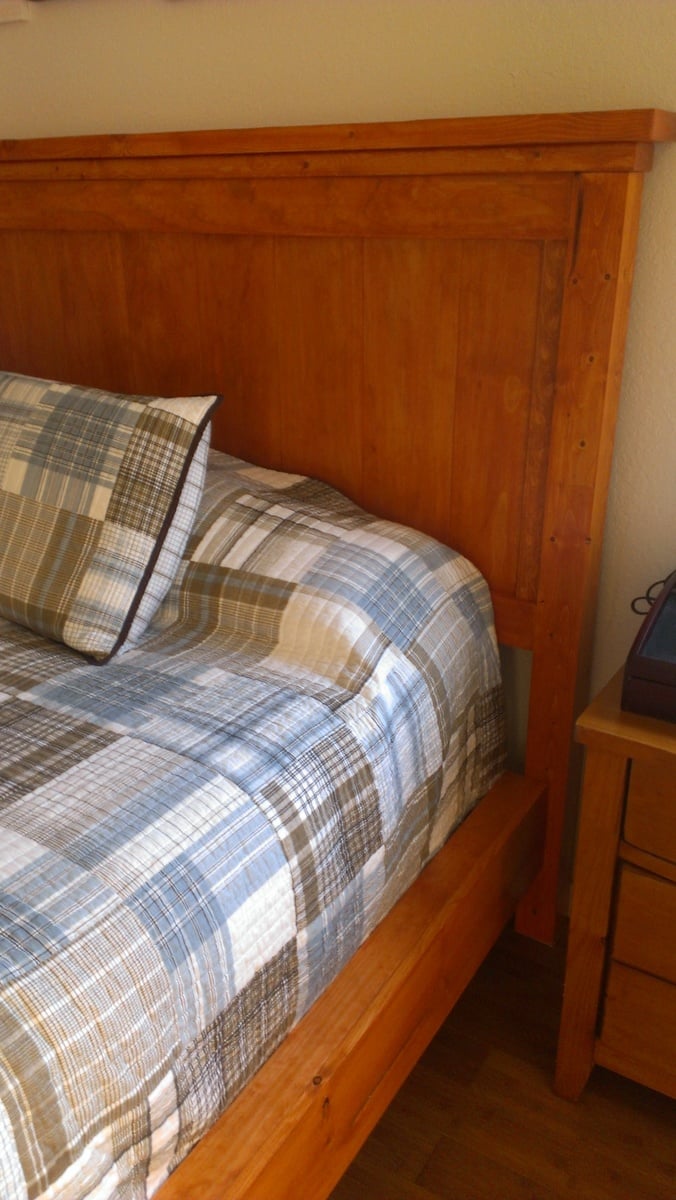
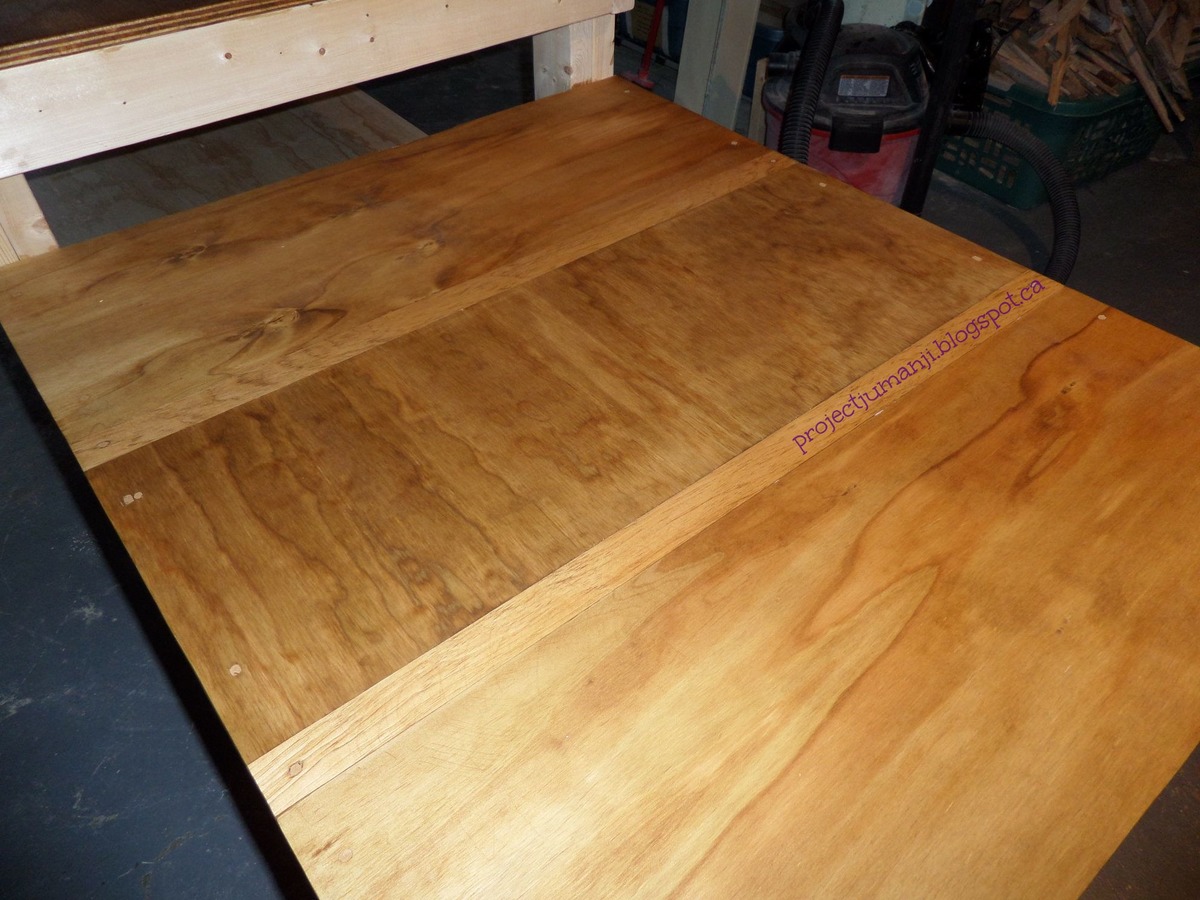
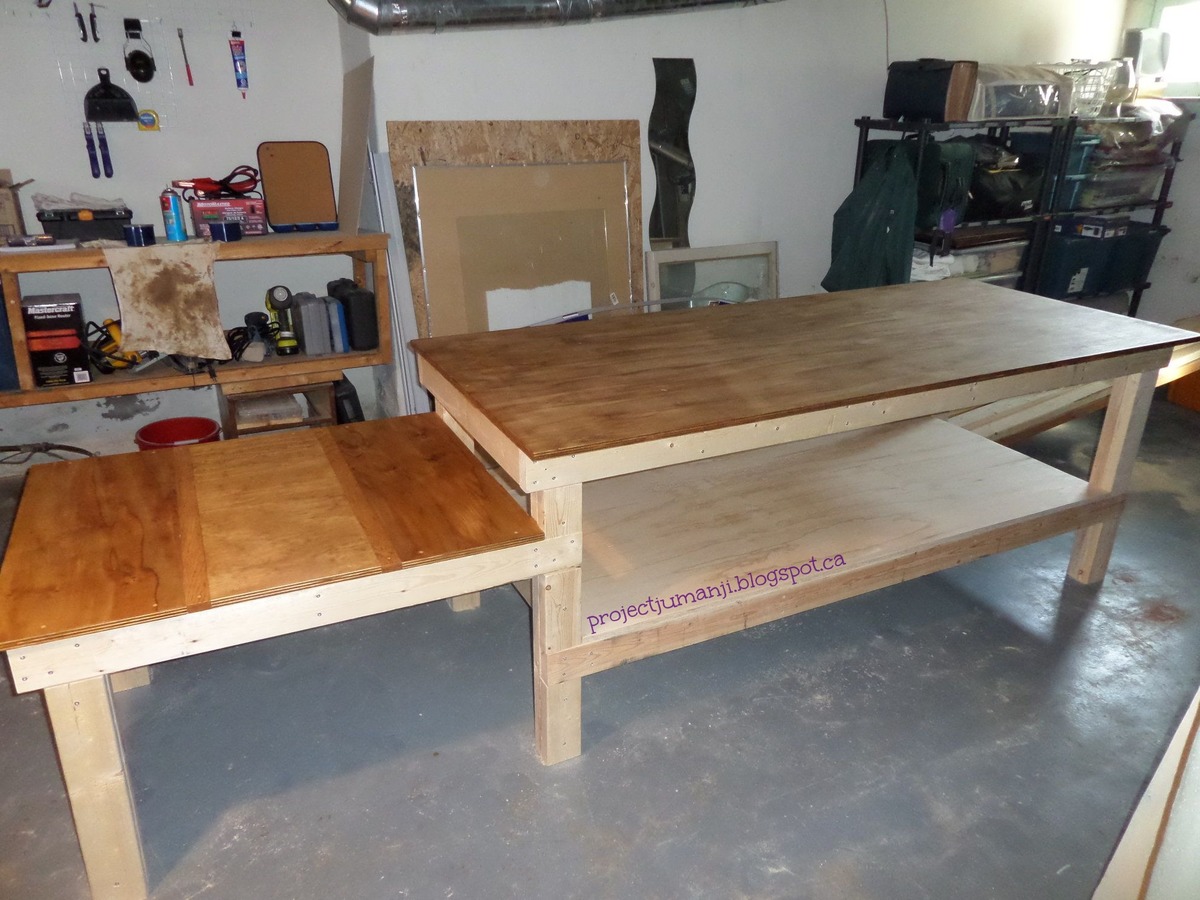
King size Farm House Bed. Project took about 30 hours of work (1-3 hours per night). Built with White Board and Pine woods. Pine was used for the head and foot boards slats. We made the mistake of making our bed head board and foot boards 6 inches too wide (mental brain fart). So our options where to scrap or figure something out. After some thought we decided to place a step on the running boards using a 1X3 (pine). The effect was stunning. Also added "vine" vertically to the end of both foot and head board, it looks better in person (you'll have to zoom into image). We took care in sanding all boards, staining using Wood preconditioner, then Minwax Colonial Maple, and then Semi-Gloss Minwax Polyurethane. We love the sturdiness of the bed! as our friends that have seen it have continuously repeat "It's beautiful, this is how furniture used to be made" couldn't agree more!

Estimated Cost
450.00
Estimated Time Investment
Week Long Project (20 Hours or More)
Finish Used
Minwax Wood Conditioner
Minwax Colonial Maple,
Semi Gloss Polyurethane Minwax
Recommended Skill Level
Beginner

Comments

Storage Bed

Submitted by Anonymous (not verified) on Tue, 07/26/2016 - 06:01

Over the winter we decided to upgrade our daughter's bed from a single to a double.  We wanted her to be involved in the concept and design.  Here is what we came up with!  

More builds/projects/tool info can be found at my YouTube page.  Would love to have you stop by!

http://www.Youtube.com/ericgreaves

Estimated Time Investment
Week Long Project (20 Hours or More)
Finish Used
Semi Gloss White Paint
Recommended Skill Level
Intermediate

Raised Planter / Jardiniere

Submitted by WoodON on Sun, 05/17/2020 - 23:11

Not much to say apart that some internal measures were different (!?) and that I used treated wood and covered everything with recyclable plastic.

Oh yeah, of course.... Thank you Ana!!

Built from Plan(s)
Estimated Cost
31$ CAD
Estimated Time Investment
An Hour or Two (0-2 Hours)
Finish Used
None
Recommended Skill Level
Beginner

TV stand

My husband loves this piece. I built it just for him ;) It had nothing to do with the fact that I had a great dislike for the glass/metal unit that he had when we merged our things together...wink wink!

I modified this plan in order to have shelves for the dish console and the dvd player. I also left the bottom shelf open for display, instead of placing the wine rack there.

Built from Plan(s)
Estimated Time Investment
Day Project (6-9 Hours)
Finish Used
Special Walnut by Minwax
2 coats of semi-gloss poly
Recommended Skill Level
Intermediate

Comments

Farm Table

Submitted by mrcoolcom on Mon, 04/28/2014 - 06:21

Was so easy with ANA instructions and the results were an a amazing accomplishment!

Estimated Cost
175
Estimated Time Investment
Day Project (6-9 Hours)
Finish Used
White wash pickling wood stain
Recommended Skill Level
Intermediate

Comments

First project!

Submitted by ranlim on Thu, 07/28/2016 - 14:33

First wood- building project I have ever attempted. It seemed crooked for most the time i was building it, which stressed me out and somehow it all worked out in the end! Very sturdy and think it would definitely sell for more than i paid for. Proud of it!

Estimated Cost
$20
Estimated Time Investment
Day Project (6-9 Hours)
Finish Used
Haven't finished yet. Not sure if i should stain or paint. Waiting to move into our new place to decide which way to go
Recommended Skill Level
Beginner

Coffee Tablr

Submitted by Anonymous (not verified) on Wed, 05/20/2020 - 10:45

Fun project. Really enjoyed this one

Estimated Cost
$50.
Estimated Time Investment
Afternoon Project (3-6 Hours)
Finish Used
Minwax Pre-Stain and Min-Wax Early American Stain then added a thompsons water seal.
Recommended Skill Level
Starter Project

Outdoor Sectional

Submitted by spiceylg on Fri, 07/13/2012 - 18:41

We chose to use 2x4 construction because we simply needed a sturdier build. Enough said. :) I wanted to use cedar, but when we went to the lumberyard, they didn't carry 2x4s in cedar, just 1x4 and said it was hard to find. Being that I had wanted this built by Labor Day and it was already July, we bought the pressure treated wood. I know, I know, chemicals galore. We worked on it a little at a time. We modified it for a higher back, but now I wonder if that was needed, because although the cushions are deep they do go down some when you sit on them. Ah well, we are still happy with it. Because of the higher back, we opted to just use the armless section on the end, however we might build a modified arm later on. We'll see how it goes.

Estimated Cost
$358 = $148 wood, $210 cushions (Costco)
Estimated Time Investment
Weekend Project (10-20 Hours)
Finish Used
Not sure what brand or color. It's from Menards.
Recommended Skill Level
Beginner

Comments

Debbie Gregory (not verified)

Sat, 07/14/2012 - 08:04

So proud of my talented sister. Love to see more. My cat Keko is still loving his bed

Sweet Pea Garden Bunk Bed

Submitted by Beth Allen on Wed, 04/30/2014 - 12:01

My dad built this for my daughter.

Recommended Skill Level
Intermediate

Comments

Hexagon Picnic Table

Submitted by JohnNH on Tue, 08/02/2016 - 06:20

Thanks for the plans.  My little brother from Big Brothers Big Sisters and I made this table and had lots of fun doing so.  We made a few modifications which might be useful to others:

1.  We modified the center joints (at the lower and table level) so that one 2x4 could continue across the entire diameter of the table for greater strength (see pictures for details).

2.  As recommended we extended the seats out 4".  This made it very comfortable to get in and out.

3.  We started the center with 2 pieces of 2x6 rather than 6 with the thought being that this would help strengthen the center of the table.  (see pictures for details).

4.  We added a stiffener at the center 6-way joint on the lower level to help really strengthen that center joint.  This was made out of 2 pieces of 2x6 as shown in the pictures.


Thanks,

John


Built from Plan(s)
Estimated Cost
$80
Estimated Time Investment
Weekend Project (10-20 Hours)
Finish Used
Semi-transparent Redwood Stain
Recommended Skill Level
Intermediate

Office Corner Desk with Hutch!

Being my first DIY project - it was a pretty big task not using a saw before or doing any building. Following the plans was easy, just took a lot of time to learn how to do things for the first time.

I modified her plans to have 3 drawers on the one side to match the pb design.

After finishing the table, I knew I needed to create the hutch that is sold along with this desk. After some rough paperwork estimates I went ahead and built the hutch.

Looks pretty amazing and similar to the real deal.

Check out my blog for further pics and details of paint, primer and drawer slides I used. Leave a comment if you'd like me to work on getting a hutch plan organized.

With doing the hutch without real plans, this project took me a while to get those cuts organized and completed.

Estimated Time Investment
Week Long Project (20 Hours or More)
Finish Used
Benjamin Moore Antique White Paint
Recommended Skill Level
Intermediate

Comments

onehandymommy

Sat, 07/21/2012 - 09:56

I would love to see the plans you used to make the hutch! Also, I can't seem to find your website. The site on the picture isn't working. Wonderful corner desk, is it very heavy?

webdevandasaw

Sat, 07/21/2012 - 15:08

I will work on getting some hutch plans up.. I did it sort of on the fly from a rough estimate on paper.. I will post up on my website and a link here when I do.. might take a bit of time to get it up and learn how to draw it up all nicely on the computer. Not sure why the website won't load for you? http://www.webdevandasaw.com/ should work. Had a few people test it :S

The desk is pretty heavy and solid. I was able to bring each part up a flight of stairs myself (all three parts of the hutch are seperate) - and the desk top is seperate, as well as each drawer I took out before bringing it up the stairs.

allenml2

Mon, 08/08/2016 - 19:50

It's been a while since you built the corner desk with hutch that is posted on Ana White website, and I had a question. do you have a new blog or website where you have posted details on the paint and drawer slides you used as well as the plan for the drawers and hutch that you create? Thanks.

Maureen

Wooden Rustic Cooler

Submitted by markowycz on Mon, 05/05/2014 - 04:47

I saw this project posted online and thought it would be a nice improvement to our patio since we just added fire pit benches this would be a great addition instead of dragging the old plastic cooler out every time we entertained.

Once I got all the cuts done it was like putting together a big puzzle. For the most part I did this one my own on the floor of the garage. If you have the space I would suggest doing all the screwing together atop a table and off the floor.

I was very happy with the outcome and I look forward to finding more projects here to add to our backyard.

Estimated Time Investment
Weekend Project (10-20 Hours)
Finish Used
I used some sandpaper, then primer and I actually used spray paint because I had alot left over from previous projects.
Recommended Skill Level
Intermediate

Comments

Barn Door Console Table

Submitted by Anonymous (not verified) on Thu, 08/04/2016 - 09:57

I used Ana's plans for this entertainment center. I wanted tour pride my husband so I built it while my he was out of town. When he got back into town and settled in to watch television I heard him say "oh wow.....where did you buy this, it's gorgeous"! He thought I had bought it.


thanks Ana for providing easy to follow plans!

Built from Plan(s)
Estimated Cost
125.00
Estimated Time Investment
Weekend Project (10-20 Hours)
Finish Used
Golden oak stain and rub on urethane
Recommended Skill Level
Beginner

Table for 12!

Submitted by Anonymous (not verified) on Tue, 02/06/2024 - 09:07

My wife wanted a table to seat 12 and she liked the looks of the 4x4 Truss Beam Table from Ana White.

So we modified the plans, our table is 54 inches wide (not 37) and 98 inches long (instead of 87). The legs are 4x6 not 4x4. The lower center beam is 4x6. The plans call for 2x4 aprons ending at the legs, we used 4x4 aprons and extended them beyond the legs to within 3 inches of the end of the table. Finally, we laid the tabletop across the table with a combination of 2x8, 2x10, and 2x12 boards.
We built this all with cedar. The cost is a little over $1,100 for materials.

Dan Clark

Built from Plan(s)

PVR cabinet

Submitted by Doug B on Tue, 08/09/2016 - 19:16

I built this PVR/DVD cabinet by combining my stained glass hobby with my woodworking.

The stained glass door works well as the remotes operate through the glass, I left the rear of the cabinet open for wiring but also to allow any heat to escape.

I used some brushed finish cedar that a neighbor gave to me but used dressed ply on the interior, any wood of choice would work.

Estimated Time Investment
Weekend Project (10-20 Hours)
Finish Used
Washed white paint.
Recommended Skill Level
Beginner

Hall Entry Bench

Submitted by atlayank on Mon, 05/25/2020 - 17:33

My first piece of furniture using the plans as guidance. Needed something to organize the shoes that accumulated at the front door.

Estimated Cost
40
Estimated Time Investment
Day Project (6-9 Hours)
Finish Used
Varathane that was a stain and poly in one. Mahogany was the color with a gloss finish.
Recommended Skill Level
Beginner

Rustic Sideboard

Submitted by Anonymous (not verified) on Tue, 02/13/2024 - 12:29

This was one of your online plans, with a slight change to the front of the doors. Great project, made from pine, stained, and varathane applied.

Wade MacMillan

Built from Plan(s)

Lady-built Workbench

After a winter of working on my concrete basement floor (and up in Canada, that's not any type of awesome), I decided it was high time to build a workbench.

I found a great plan on here (see plan link below) and then made one quick adjustment.

Adding a side table gave me somewhere to put my saw, as I don't have anywhere else for it to go, and buying a stand for it would only take up that much more room in my basement.

It was a relatively easy build, and is a great huge space to refinish wood windows on, build cabinets on, etc.

Leave me a comment, I'd love to hear your thoughts!

Built from Plan(s)
Estimated Cost
$100
Estimated Time Investment
Afternoon Project (3-6 Hours)
Finish Used
minwax stain, and my local hardware store brand of poly finish (4 coats) - only on the worktops, as after all... it is a workbench :)
Recommended Skill Level
Beginner

Kitchen island; Ana-white design

Submitted by Anonymous (not verified) on Sat, 08/13/2016 - 11:42

I am so happy to be able to submit a brag post. Besides shelves and flower beds this is The first piece of furniture I make besides  some mistakes and frustrations in the learning process it went relatively smooth! I am super happy to have made my first piece of furniture on my own :). Thanks for the great plans and for everyone who made helpful suggestions in the comment section. I also recommend  using another 2x2 piece above the drawer railing to

hold it in place so it doesn't tip out. Thanks again! 

Built from Plan(s)
Estimated Cost
200
Estimated Time Investment
Week Long Project (20 Hours or More)
Recommended Skill Level
Intermediate

Comments

Back