Kentwood Bookshelf
Built the Kentwood Bookshelves for our living room. Bookcases are 6ft. Made of Pine and Whitewood. This is my 2nd build and looking forward to more.
I had a wall in our living room that was bare for almost 4 years. SO happy with the results of my "Ten Dollar Ledges"!!
Mon, 02/04/2013 - 10:59
I was wanting to make a small one under my bathroom mirror, but wondered if it would be too bulky. Seeing yours, I can see they look pretty sleek and I am probably going to go for it. (if I don't like it, I am sure it will get use somewhere)
I love how you admit you are a lazy painter, I am getting more patient the more I am building...hehe
Mon, 02/04/2013 - 13:22
The colour you chose is really nice. They shelves look great on that wall, I am making some for a hallway with 1 x 3 instead to make them stick out less.
Hey Ana -
You're plans have been such a great help to me here in the Bahamas. You've saved us thousands of dollars. Really! Here's one of my many adirondack chairs under construction. I added a Bahamian accent.
I built this based on the idea of the mimi storage bench and hutch. We will use this in our garage next to or shoe rack. I built this primarily from 1x6 cedar fence pickets, a few cedar 1x2's and a couple cedar 2x4's.
The lid lifts for off season shoe storage. All bench joinery is with pocket holes and the cedars pickets are attached with pneumatic 1 or 2-1/2" nails.
I used my speedy square's 45 degree angles to trace out the mountain silloutes and then cut them out with my jigsaw. I paced myself on the project and my four year old helped quite a bit with measuring and handing me the next board. We're excited to have a little spot to change shoes and grab the jackets. Feel free to check out my Instagram for other random projects or are family fun instagram.com/fotosnapper
I built this based on the apothecary console plans but with the modifications that VLilly made for the Altered Apothecary Media Console. Very happy with how it turned out! Thank you Ana for sharing the plans!
I have some pallet wood and decided to make some Christmas trees. They were really fast and easy. I cut them at a 45° and just glued and nailed them together.
This dollhouse was super easy to make! Harper (the doll) wanted an open concept living/kitchen, and that is the first floor. Second floor are the bedroom and bathroom. Top floor is the closet. The roof is made from 3.5" slats of luan glued together and painted with black sanded paint. Notice the baseboards and crown molding? My granddaughter helped cut windows out with a jig saw. I still owe my granddaughter a garage and patio with pergola, and kitchen appliances and chairs, but that will wait until summer when she can help craft/build them.
Harper's bed is modeled after the farmhouse bed plans available on this site, but I used smaller scrap lumber. I wanted milk paint but was unwilling to pay the high price, so I bought a sample jar of antique ivory paint and watered it down. It turned out great!
Wanted something sturdy because of my kids. Found the project on here and was fairly simple to build. The step by step instructions really helped.
This was our first major project, so we learned a lot while we were doing it. We painted our bed white, and rather than using metal bed rails (which no one seemed to sell), we improvised and fastened 2x4s to the inside of our side rails. Then we cut slats to rest on the 2x4s and run the width of the bed. The 2x4s lend great stability to the side rails, and are much less costly, not to mention easier to obtain. ($10 vs. $75) This bed is sturdy and solid. I think we will be handing it down to our grandchildren in fifty years!
Cabinet from my own design. I built one for us and a relative saw it and liked it so much asked me to build them one the same.
In reply to Love it! by Ana White Admin
Mon, 12/15/2014 - 12:57
Hi Ana. I'm happy to share the plans for this but all I have is the main sketchup drawing and my cut list in excel. Not sure if there is an easy way to create the exploded diagrams you normally have? Happy to give something back to you and the rest of your fans.
Thu, 12/18/2014 - 07:57
I love everything about this....the design, the different wood grain on the drawers, the color, the finish, and especially the hardware. Can I ask you to share where you got the hinges and how you got that finish? I hope you're able to post the plans because it's awesome.
I have added a few things to make this workbench comprehensive. I added a paper towel holder, go Jo holder, cord hooks, electric bar, and I enclosed the sides and put a door on the front and a hinged pegboard on the back which makes it able for me to store all of my tools and lock them up.
I used redwood lumber, 2x4s and 1x6s only. I wanted the bench to be a little taller so I used 2x4x10s for the legs to make work surface 38” high and total height 66”. To get the most out of the 8’ 1x6s I made the bench 48” wide. I also had to adjust the depth since I did not use 1x4s. And finally, I sanded the 1x6s because they were rough sawn.
Very fun project! Once I figured out the adjusted cut list the whole project came together in a matter of a few hours.
I followed Anna's incredibly easy to follow plans pretty darn closely. I used Cherry for 90% of the bed and the cross-boards on the headboard and footboard are poplar. I used lumber that I had been holding on to for some time and purchased construction-grade lumber for the frame. Anna's plans allowed me to bring to fruition my dream to build my own bed. This was the largest project I'd built to date, and I was incredibly happy with the outcome. For a mattress I ordered foam from http://www.mattressbymail.com/ I ordered 5" of high quality foam and 4" of the 5lb viscomax memory foam and it is the most comfortable bed I've ever slept in for
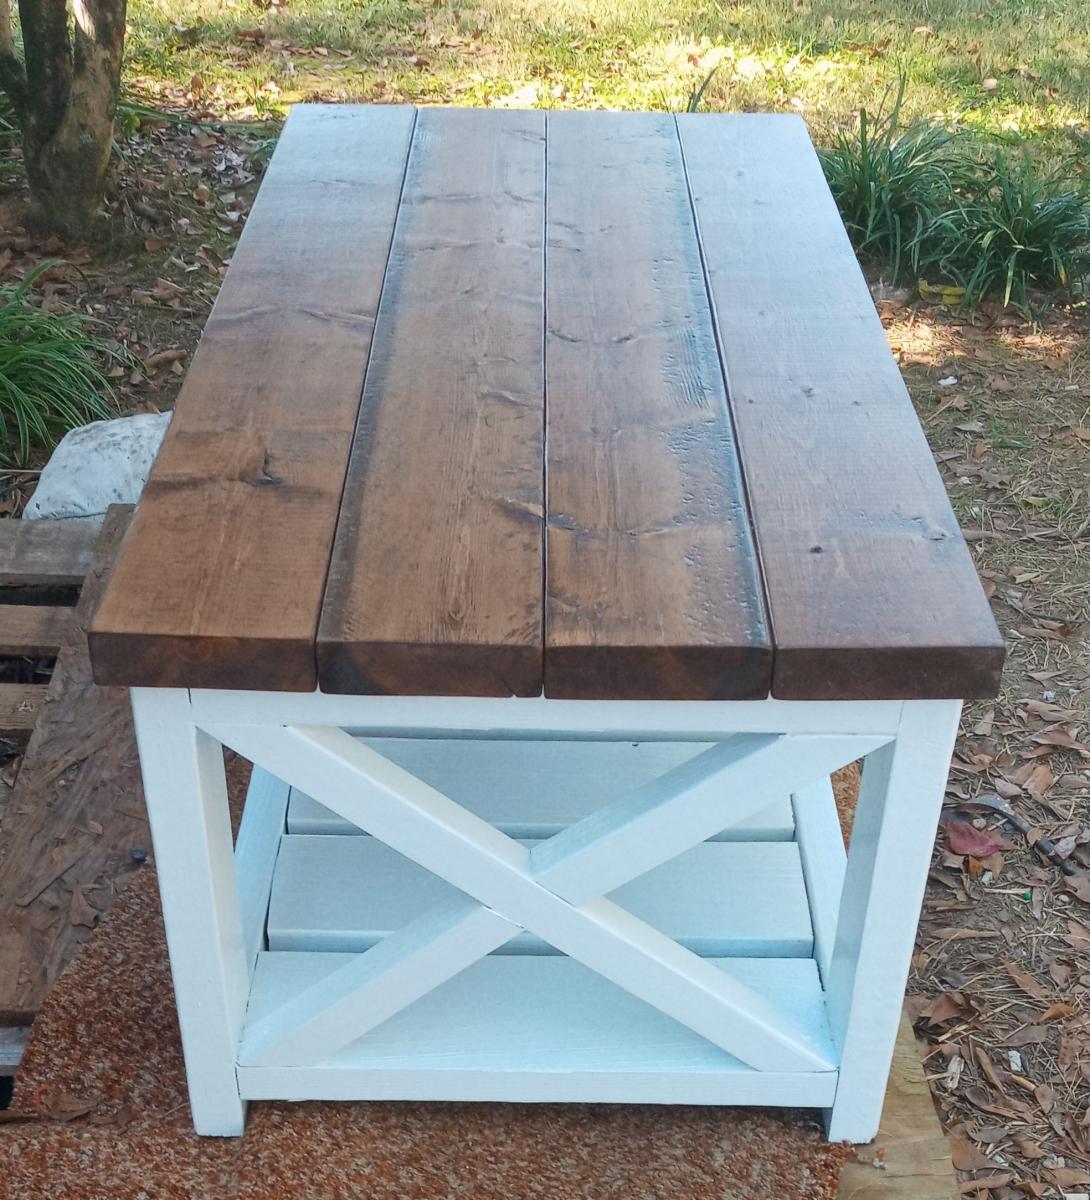
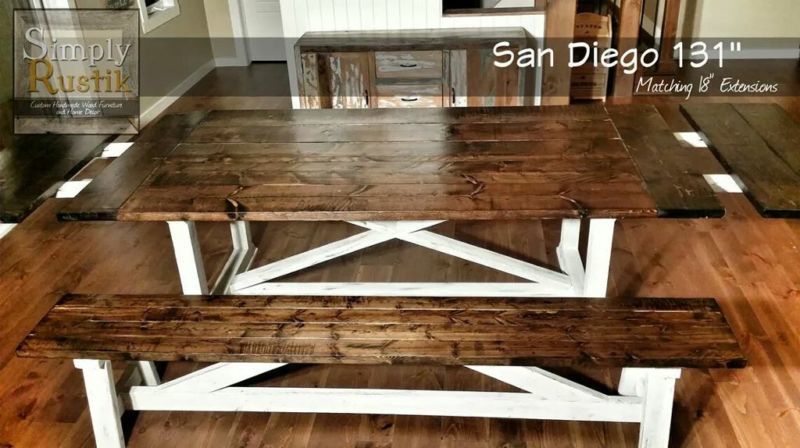
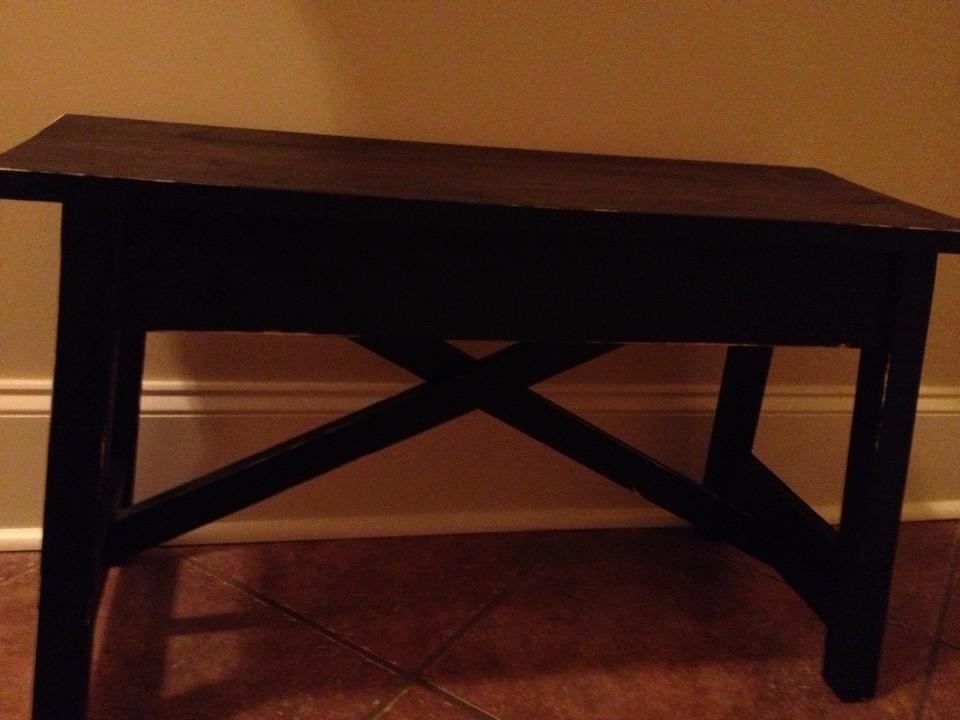
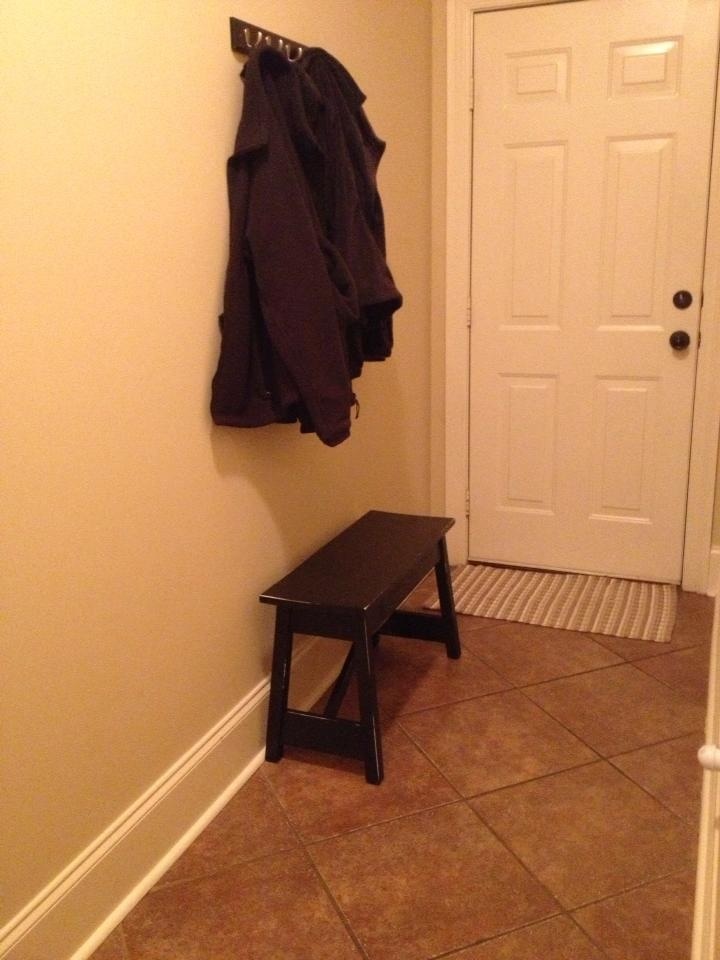
This Rekourt dining table was a slightly more complicated build as it involved planning for removable extensions. I finished the base using a slightly off-white milk paint from Homestead House Paint Company (Canadian) with a distressed finish.
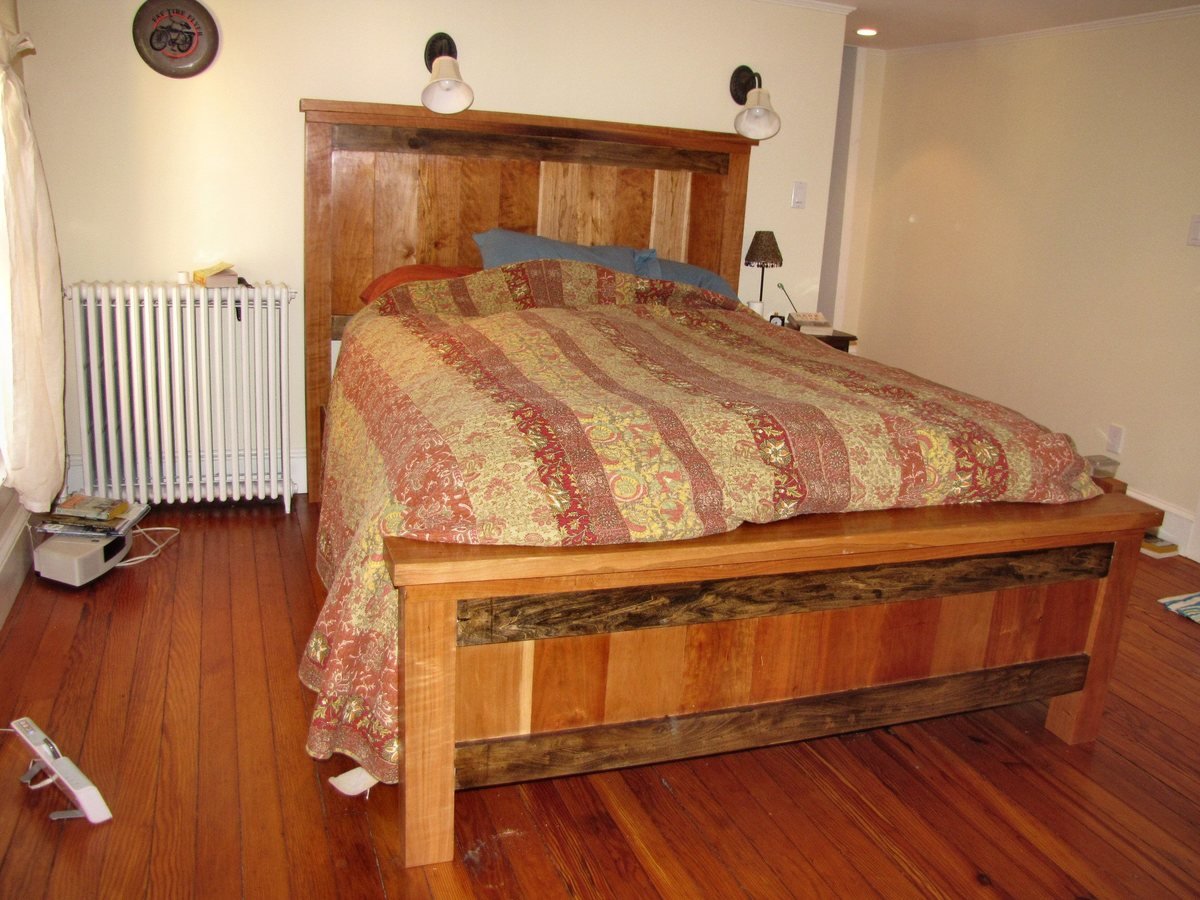
The tabletop was stained using a process of Orange Pekoe Tea solution, followed Steel Wool and White Vinegar solution, stained with Minwax's Dark Walnut stain and finished with an oil-based satin polyurethane from Varathane (Canadian subsidiary of Rust-Oleum).
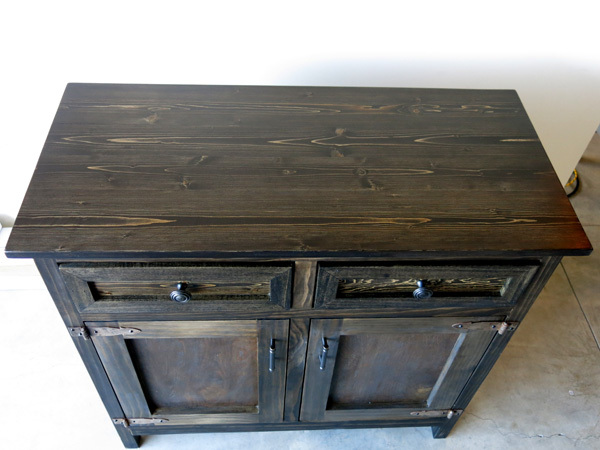
To achieve the distressed and antiqued look on the base, I first applied stain on the edges of the base and on some middle parts where I knew I would sand down. I then applied vaseline on certain spots that I had stained which created a beautiful effect of crackling paint. I then painted the entire base using VOC-free milk paint from the Homestead House Paint Company. I even went over the vaseline spots. As soon as the paint dried, the spots that had vaseline, you could immediately notice that the paint had not adhered to the wood and it started cracking which made these wood pieces appear old and weathered.
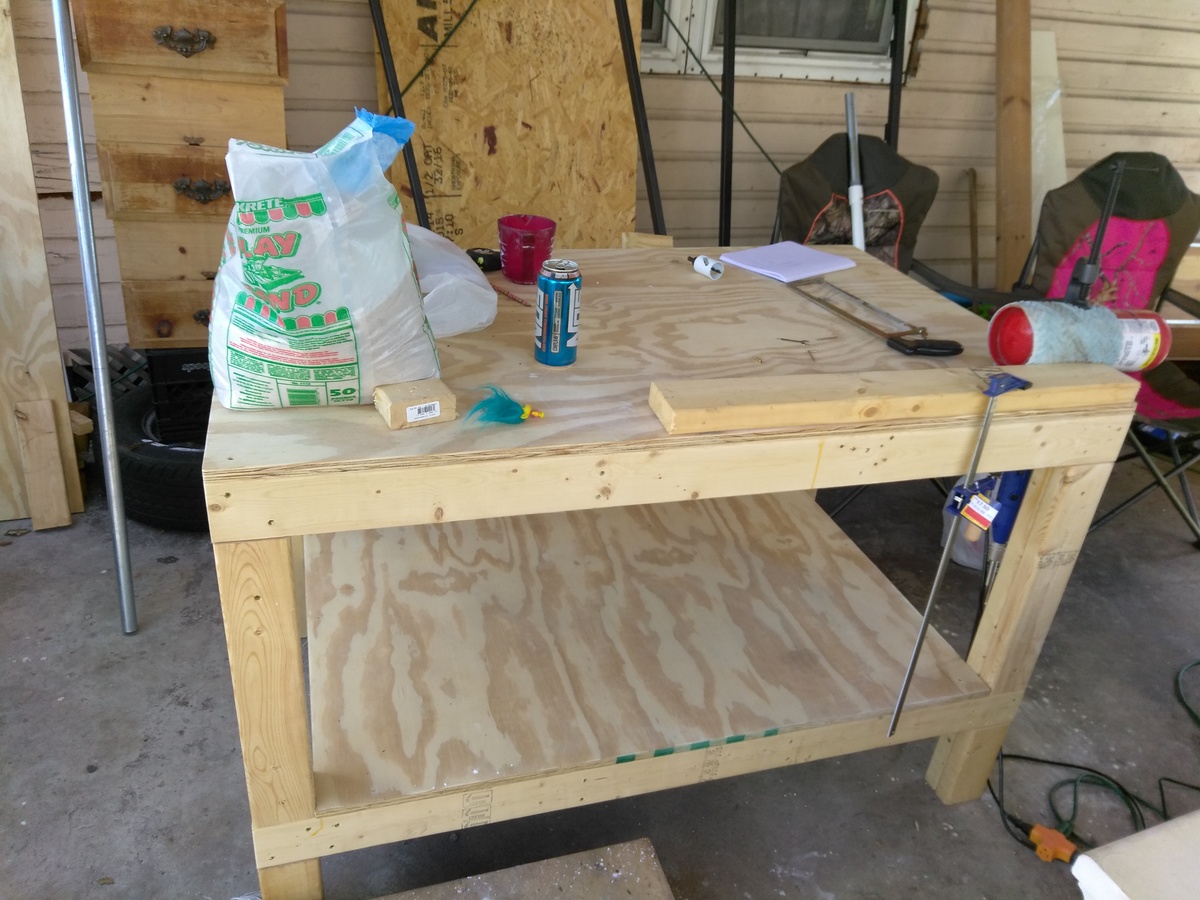
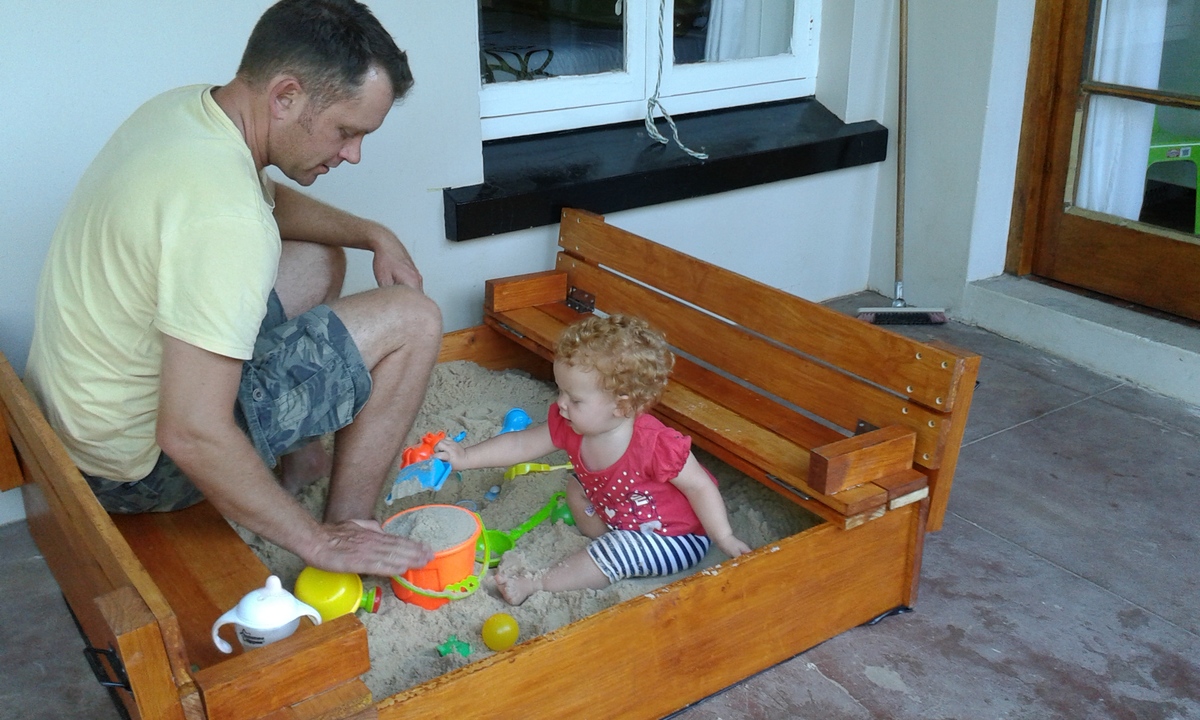
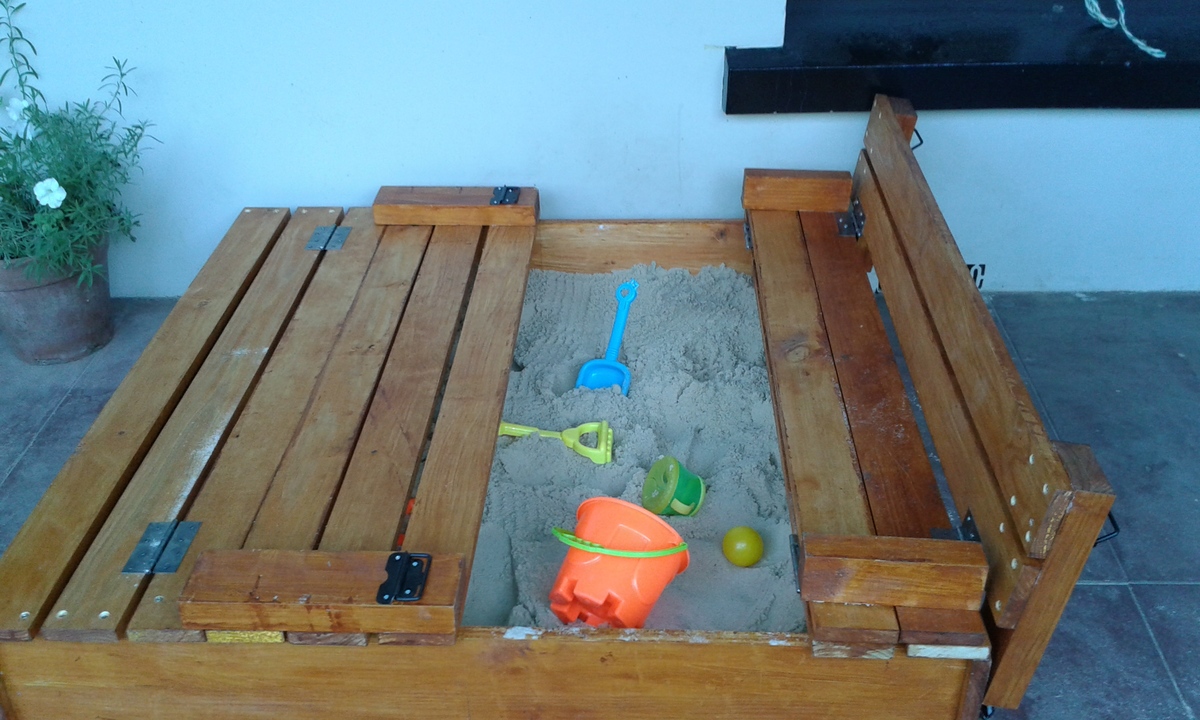
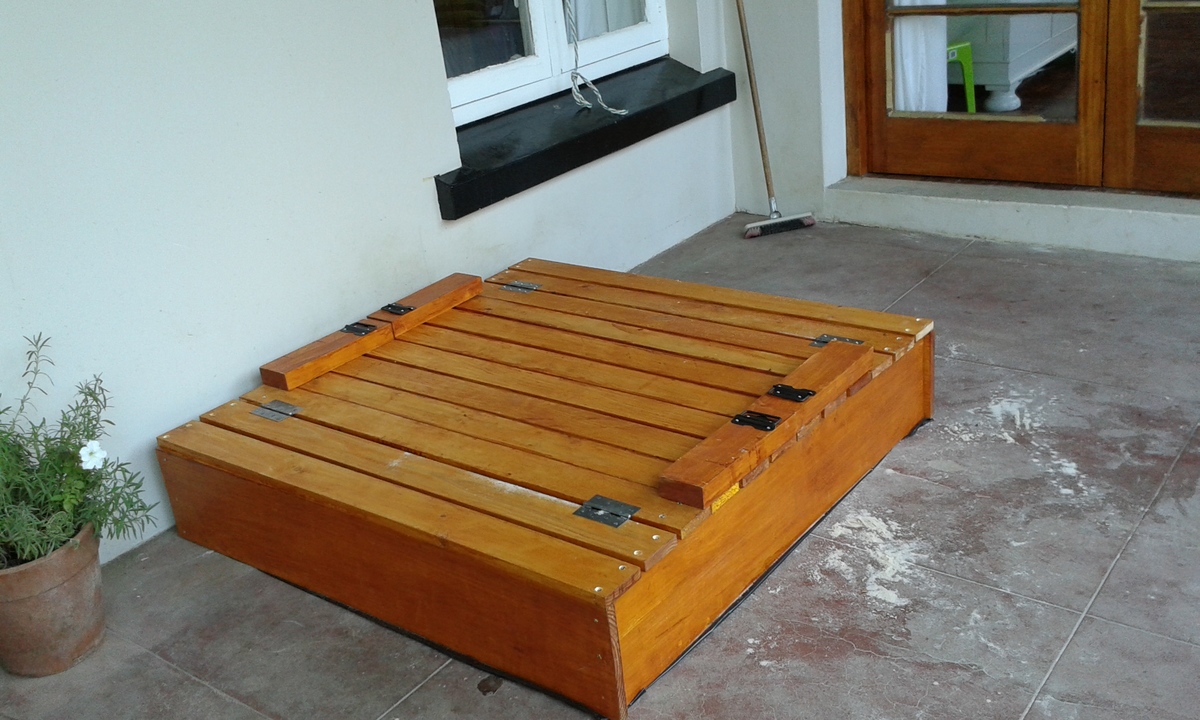
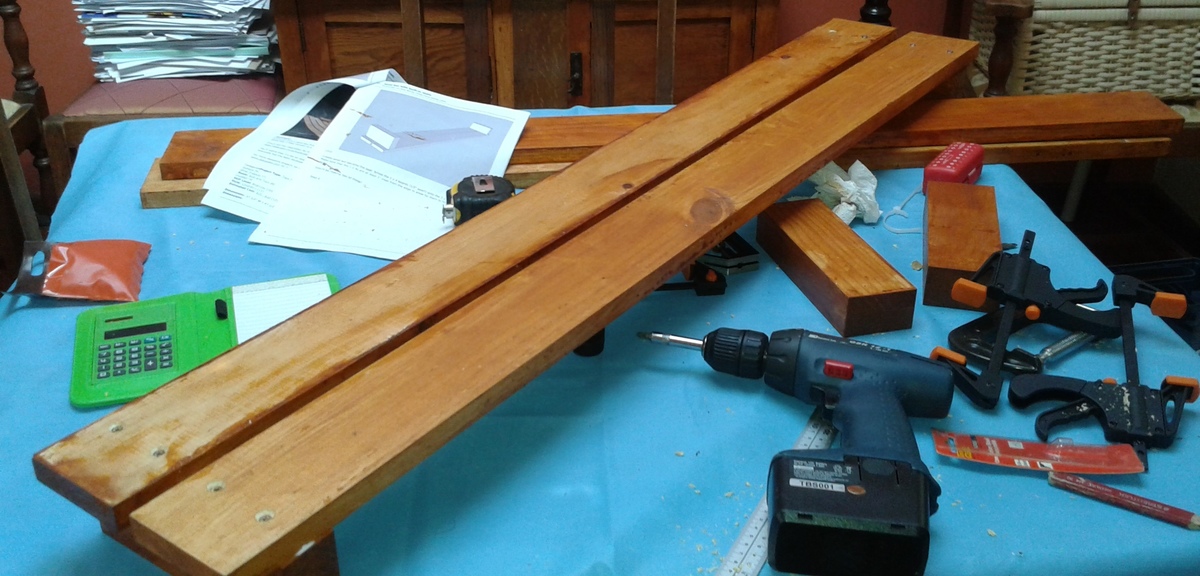
For the extensions, I carefully cut out two openings on the first leg braces that touch the bottom of the tabletop. These were JUST wide enough to allow two 2x4's to slide in and out with a bit of force, but without being too tight. I made sure I left enough space for when the wood would expand. The extensions are basically two 2x4's support pieces with a two 10" board planked together for addition breadboards. I used the same width of boards as the breadboards to maintain a consistent look. I painted the support pieces white to contrast with the tabletop and to match the base.
I really enjoyed this one as it challenged me to modify the plan and come up with my own solutions/designs.
To see my other projects, make sure to visit my facebook page (only after you have spent enough time on Ana's site!)
www.facebook.com/simplyrustik
.
Tue, 12/16/2014 - 15:36
I looooove the finish of your table top. So pretty! Great job!
In reply to I looooove the finish of your by handmadewithash
Wed, 12/17/2014 - 08:09
Thanks for the comment!
Couldn't be happier with how this turned out! I was going for a rustic look so I beat up and scratched up all my boards before staining. I built with pine. I used walnut stain, then rubbed on a thin layer of black paint to achieve the color.
I tried a few combinations of paint and stain with scrap, then let my wife choose which color combo she loved best!
Our baby's turning 3 and is ready for a twin bed, having slept in a toddler version since 18mo... but we just HAD to build this adorable canopy toddler bed for her while she can still use it. We added a small window box that had been above her previous bed to the footboard, she stores her stuffed animals/bedtime books in there. Just need to pick out new sheets and fabric for the canopy :) Both she and the puppy love it, Thanks Ana!!
I built this in my spare time over a couple weeks. I am really happy with the results. It was easier to build than I expected, considering this was my first builf that has a drawer. I am wanting to build the storage bed, and I am trying to get a few practices in with drawer making first. We draw names for Christmas in my husbands family and I drew the name of a wine lover. I hope she likes it!
Fri, 12/19/2014 - 19:24
This project came out really well! Awesome work!
Mon, 09/14/2015 - 07:19
This is beautiful and thanks for sharing. We are currently tackling this as our third Ana White project. And you are a very generous gift giver!
After painting this bench, I customized it by adding the child's name, as well as some other art to it using black acrylic paint. Turned out awesome!
This was my first bed since we can not find any in stock due to the pandemic. I switched up the headboard legs to 2x6s for a slightly wider base. This helped with the mattress in a box we ordered. I built a simple frame using 2x8s, all basic lumber from the big box store, and used 2x6s for the footboard legs. I built the bed frame just about two inches shorter in width to give it some variation in sight lines. I finished it with basic white enamel paint and put 1x4 slats under the mattress. My wife loved it and it turned out well.
My husband and I needed a small bench for our long hallway. This plan was perfect! Somehow though we bought extra wood, I followed the shopping list exactly. Took about an hour to cut and put together. Painted it a matte black and sanded edges to looked distressed, and then 1 coat of polycyrlic. Cost about 15.00 to make.
Made in South Africa. Have a cutting list which takes into account our timber lengths. I made it on my own on my dining room table. I did the tops and then transported it in a flat pack in my car to the farm (4 hour drive) and completed the assembly and placement there. I painted it with wood preservative before I started to ensure that it was all coated. As we were placing it on a covered veranda I stapled 100 micron black plastic to the base. It is perfect for outside as the lid ensures that all animals and other creatures are kept out of the sand. I used washed sand for the box as the kids using it are toddlers and it is a good idea to include bulk coarse salt to keep creepy crawlies out.
It is perfect for mommies to sit with their toddlers as the seats are a comfortable height!