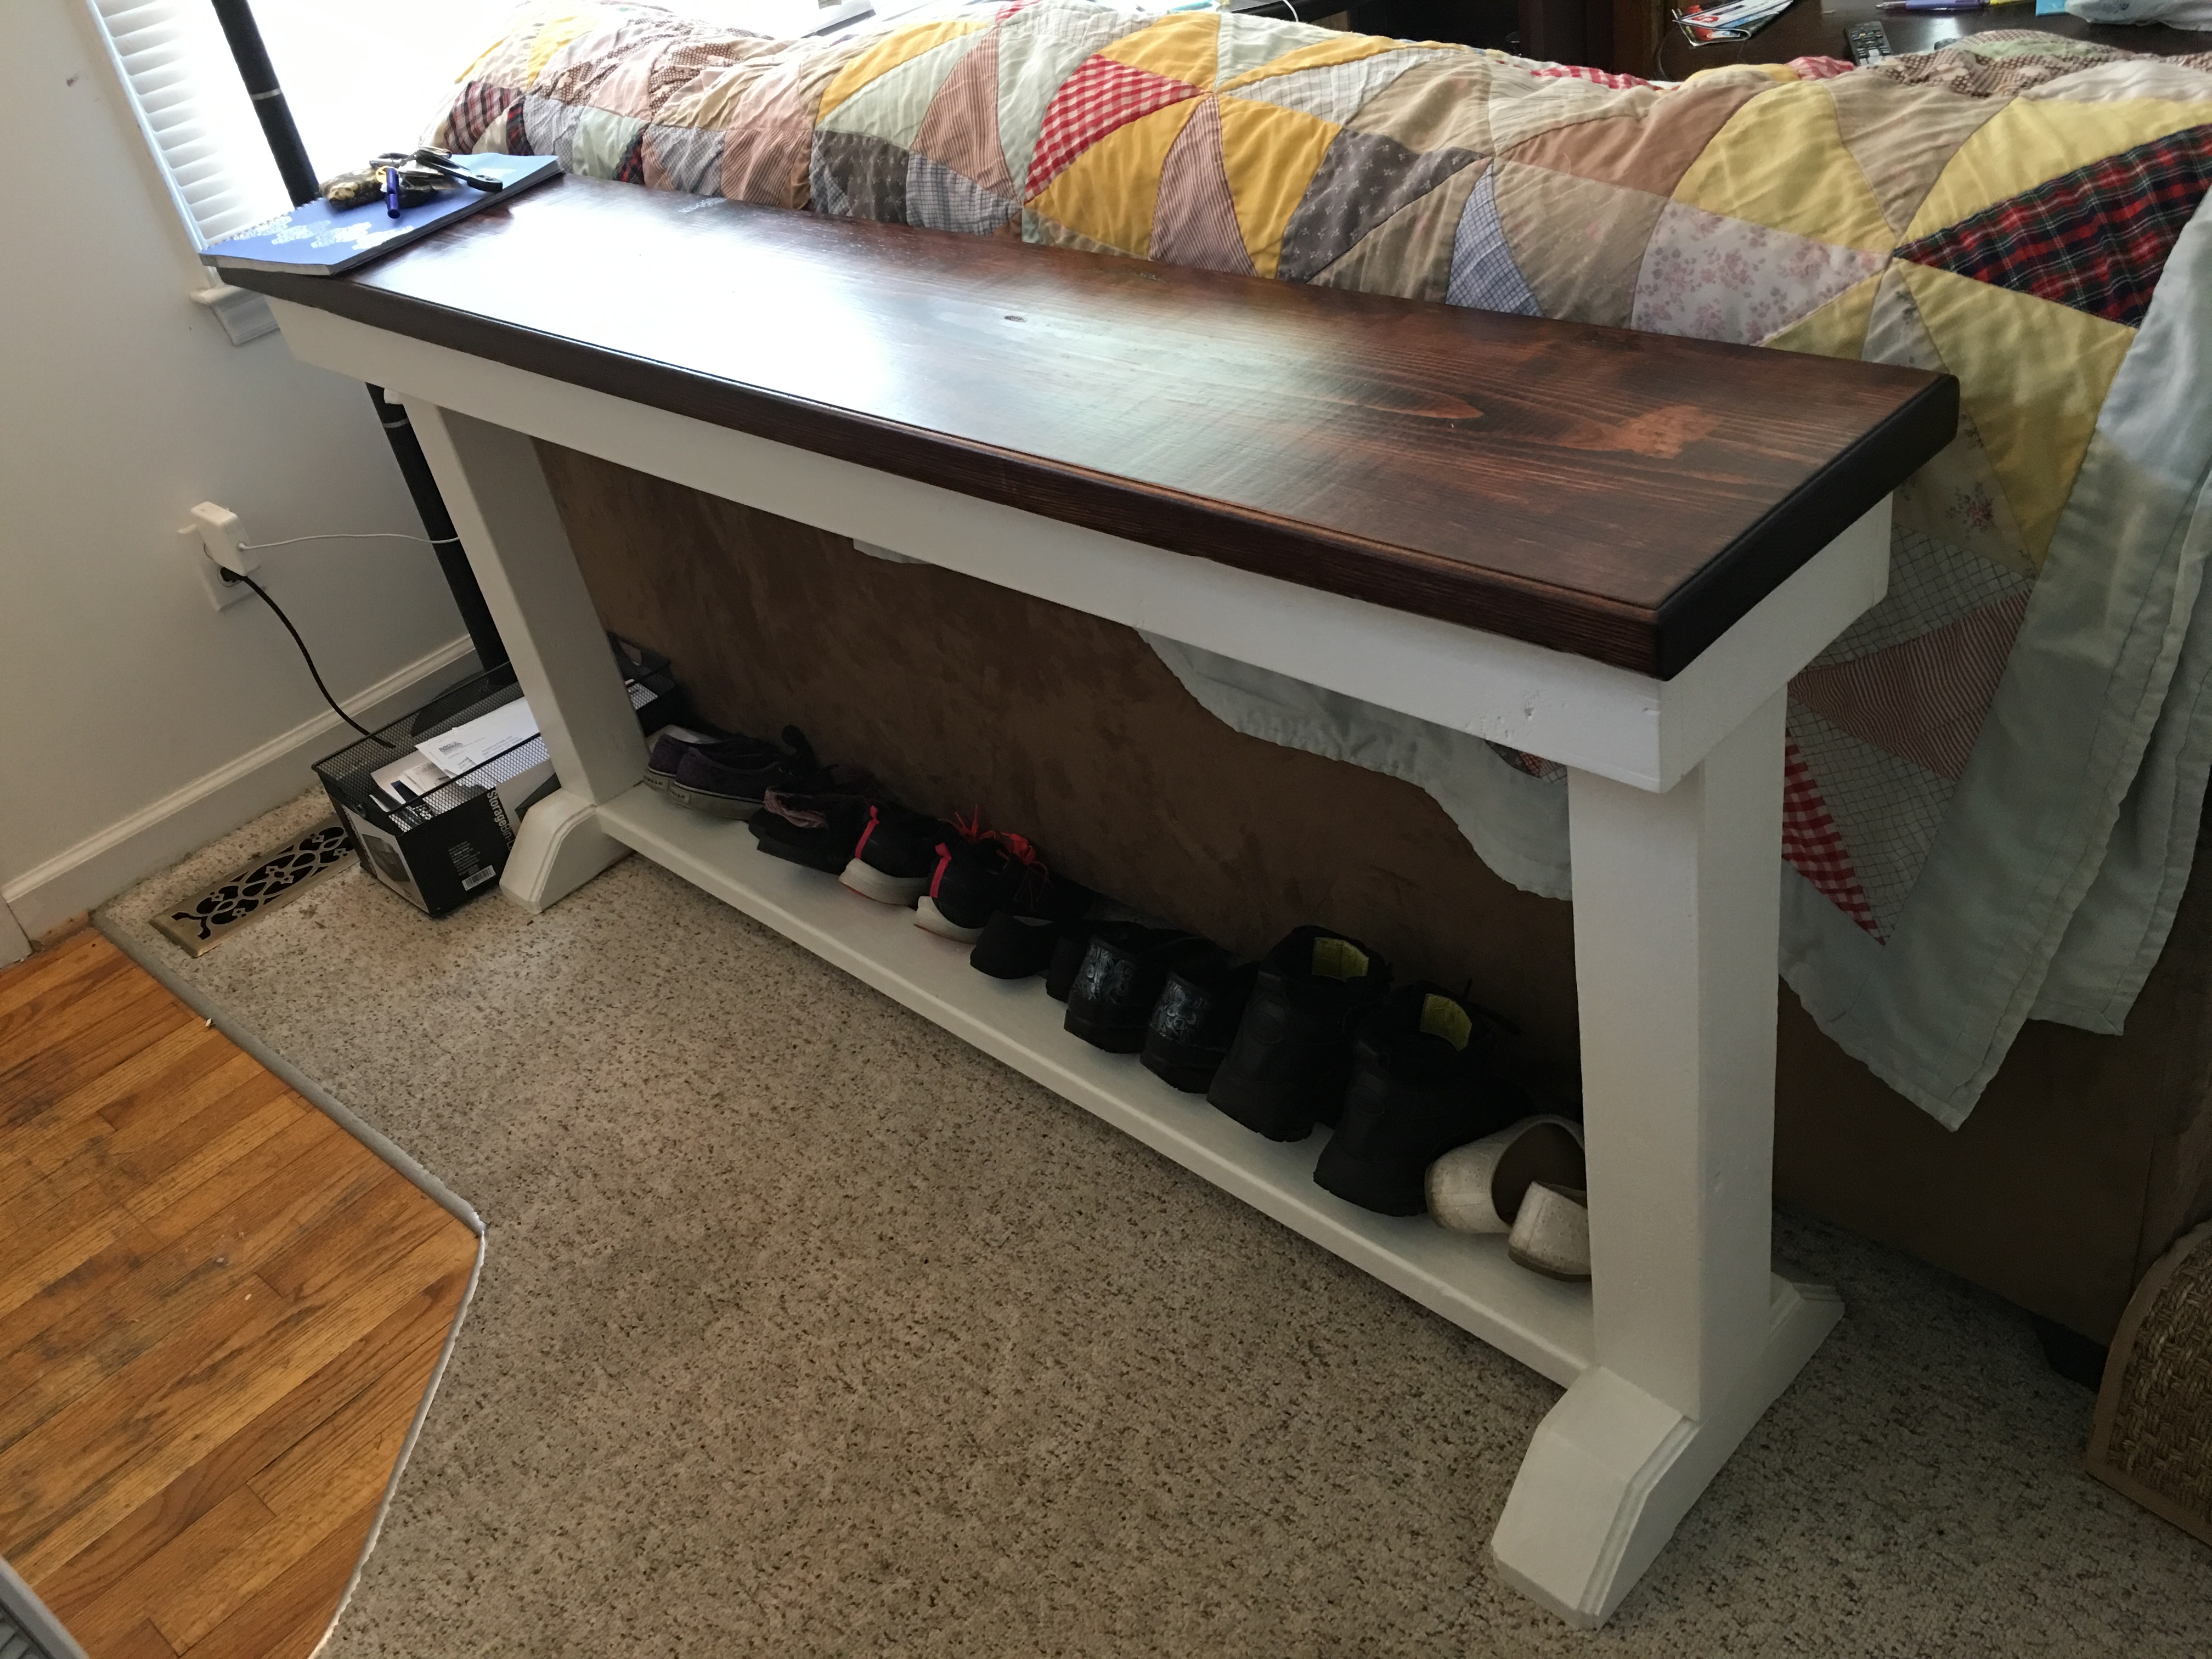
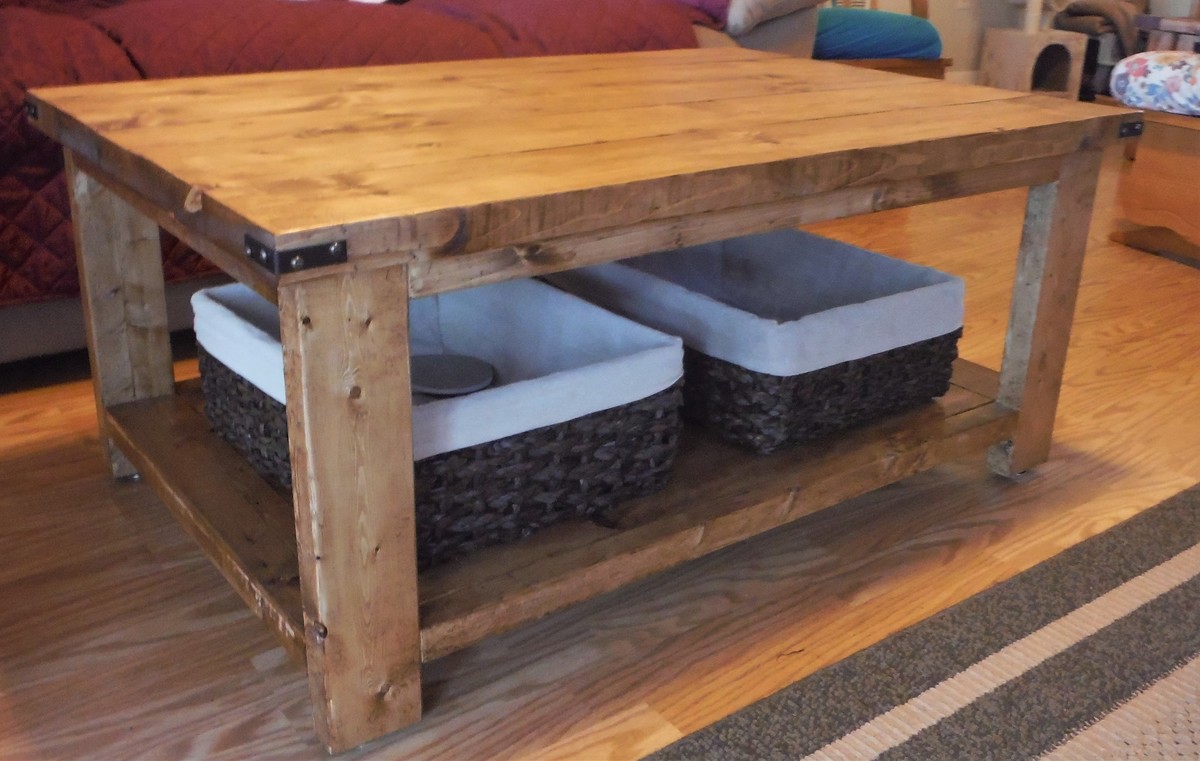
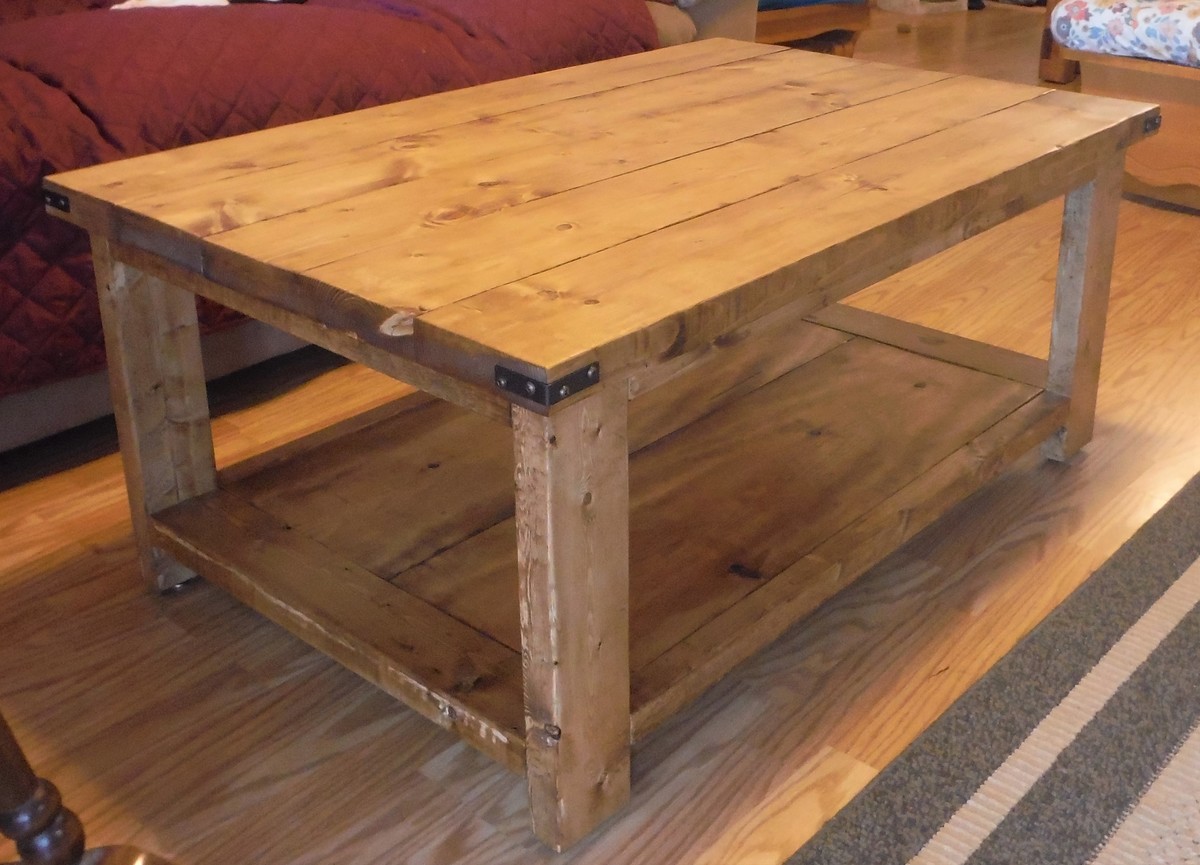
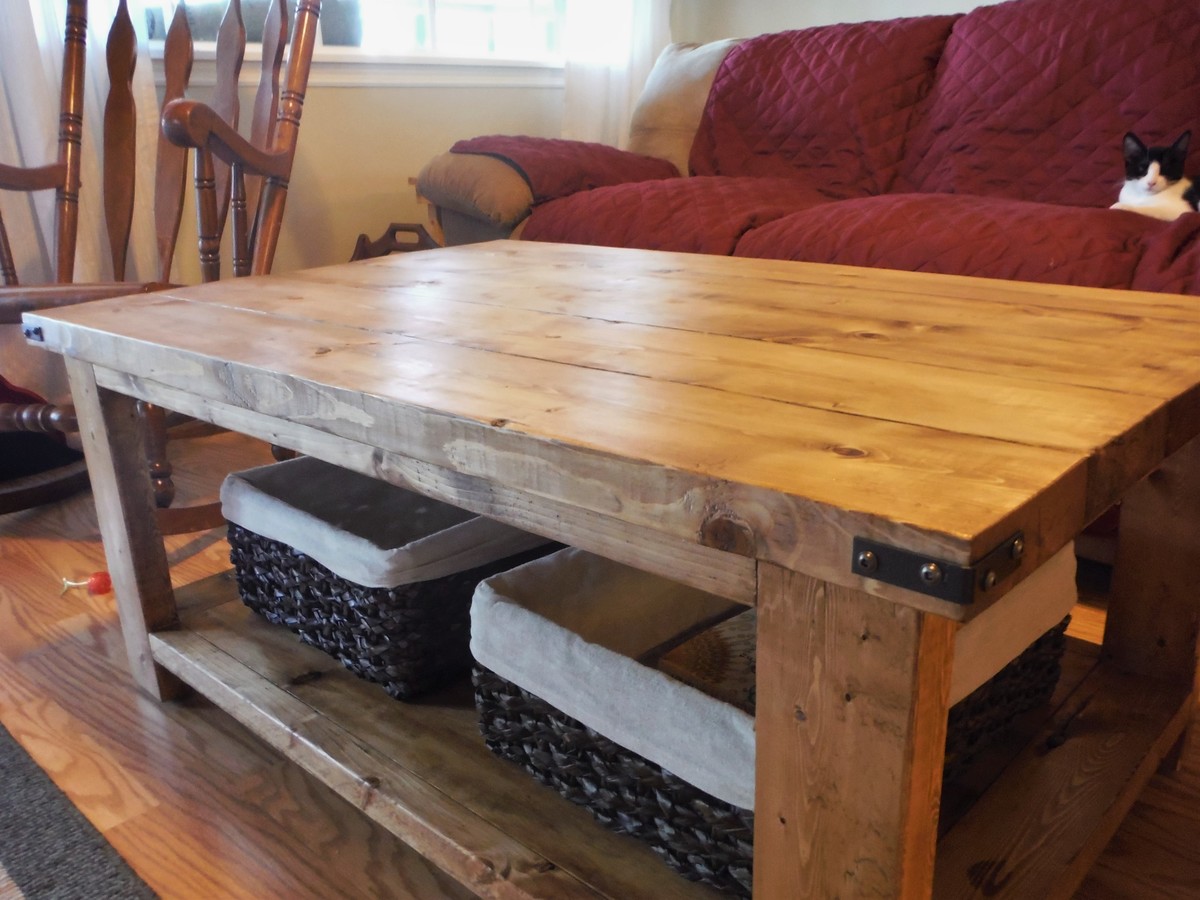
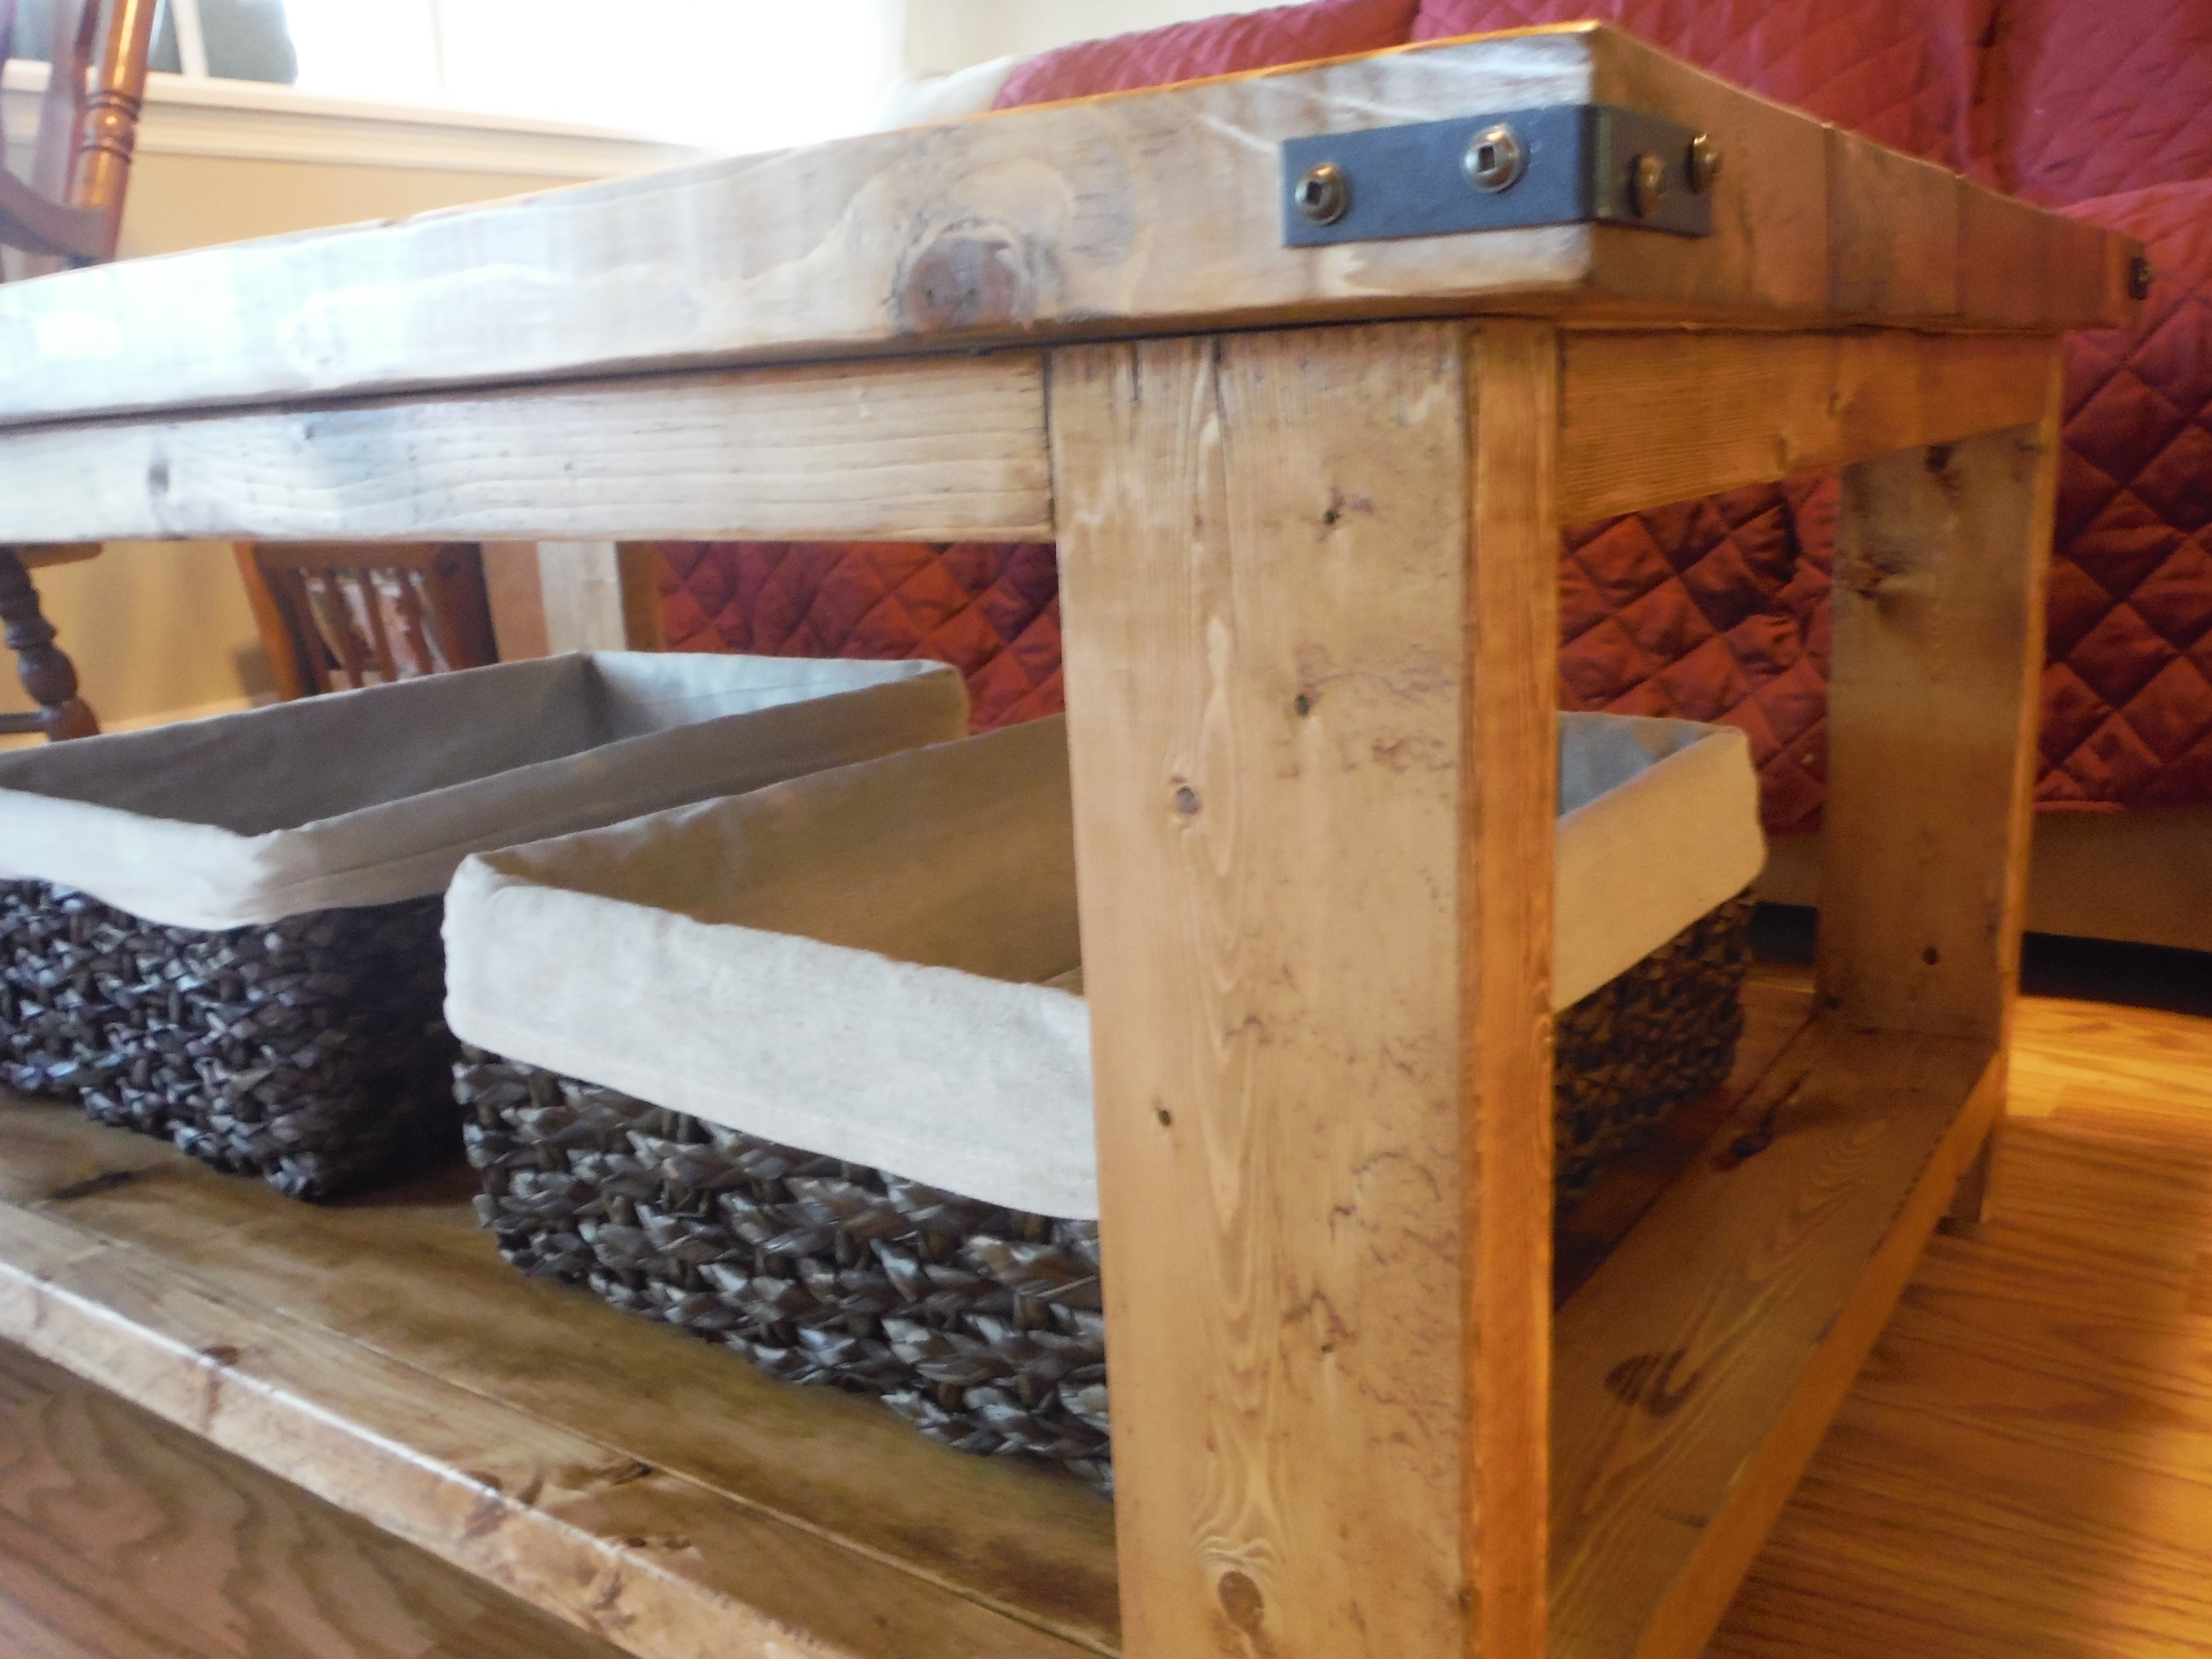
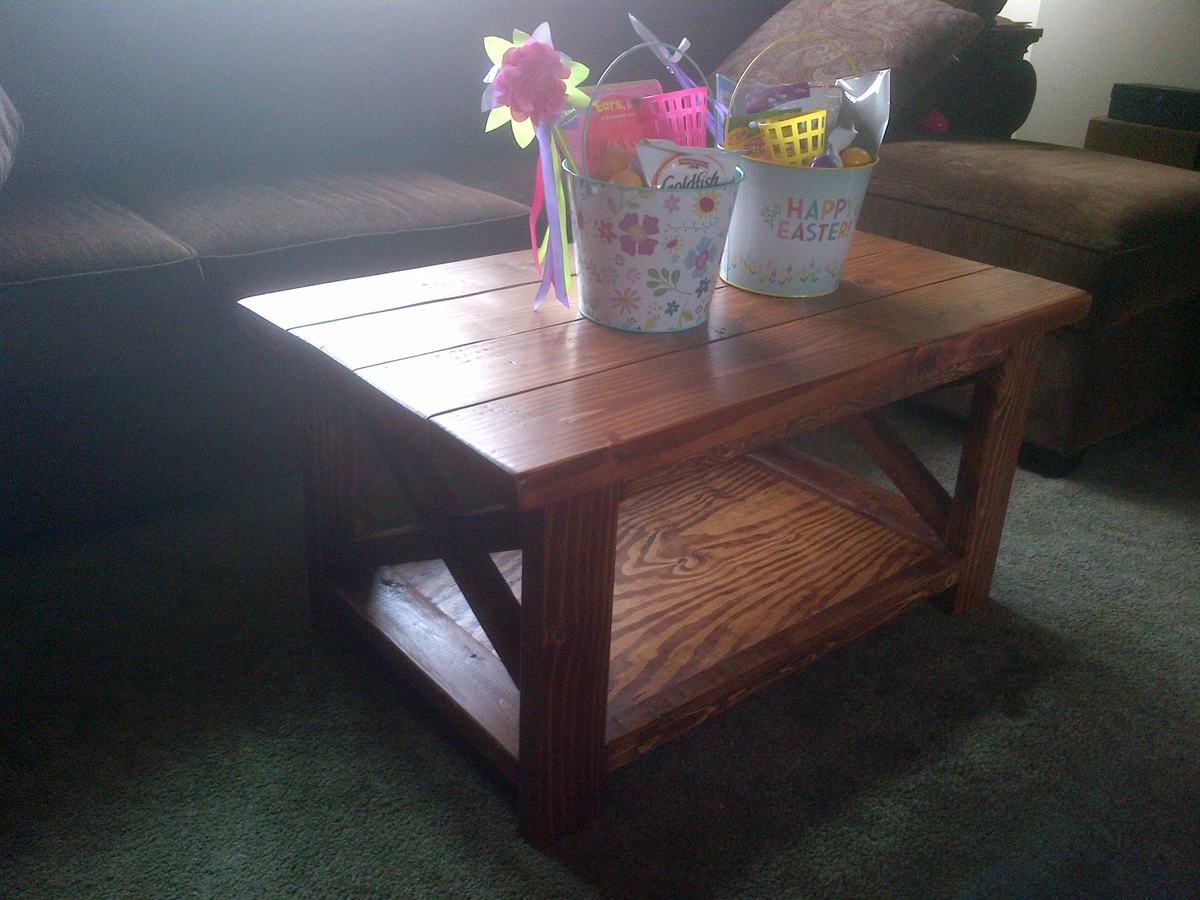
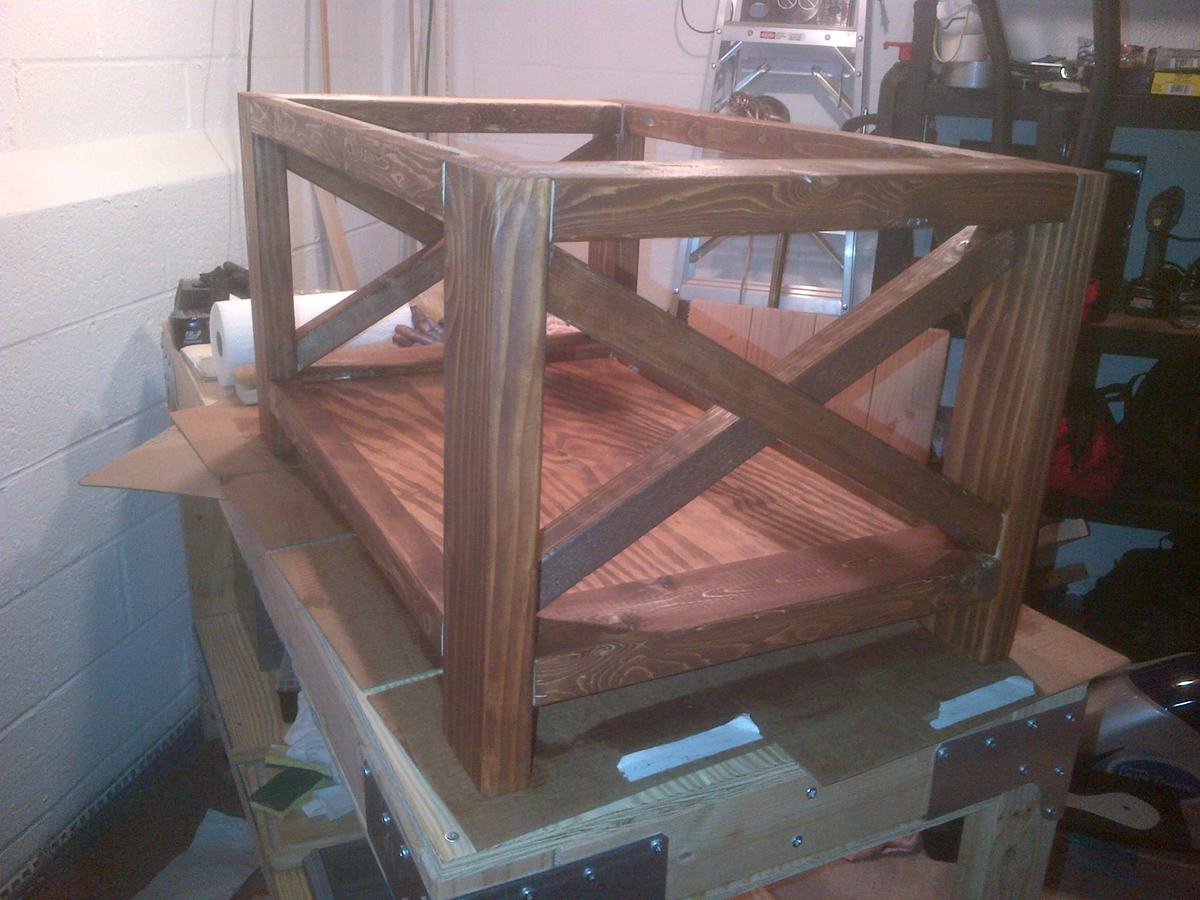
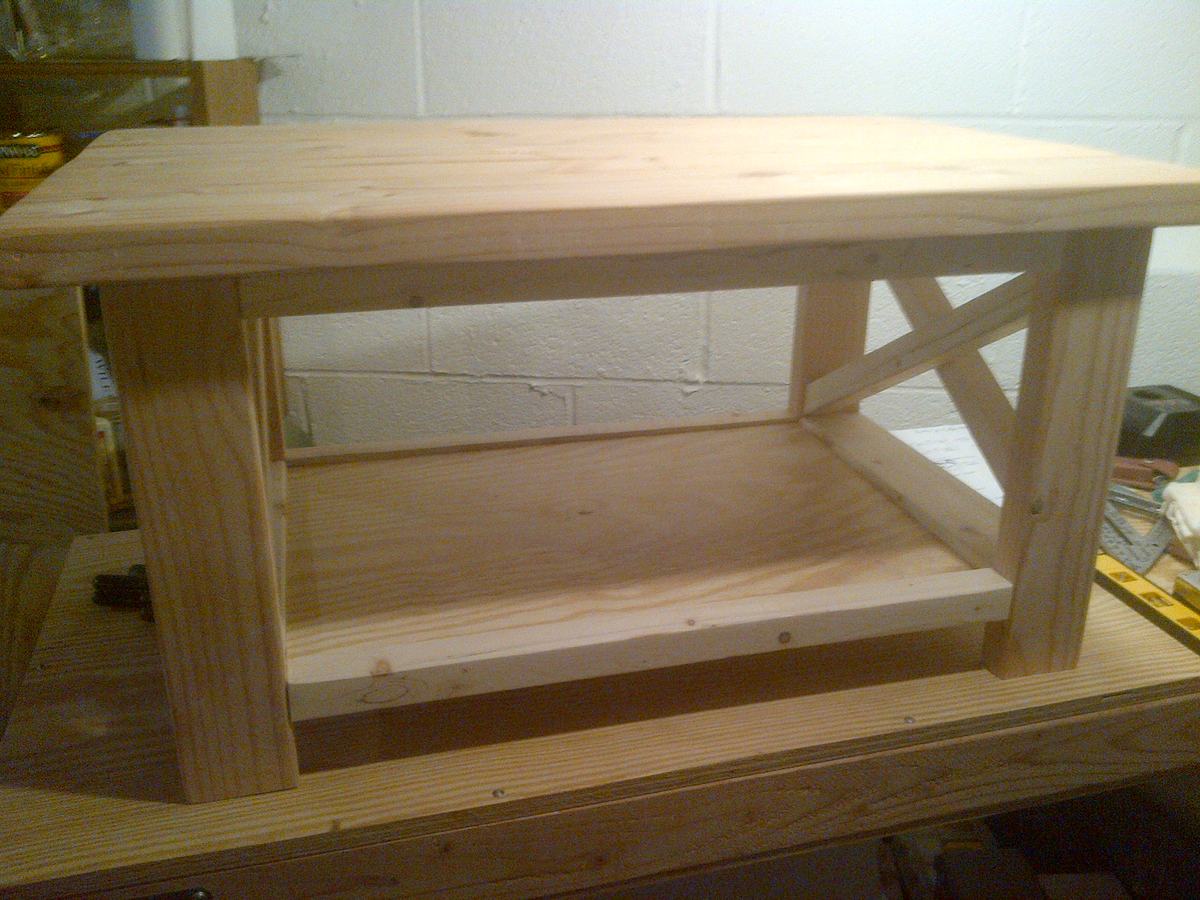
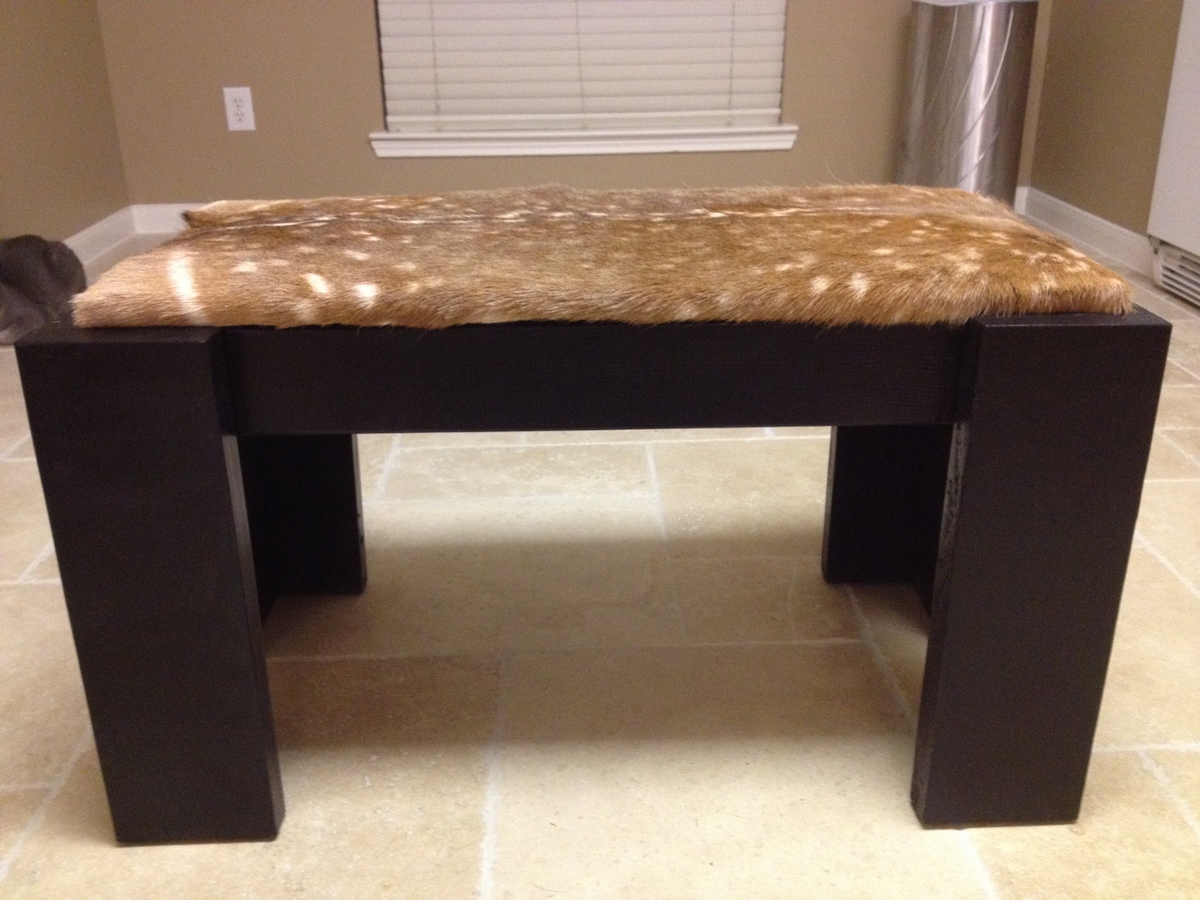
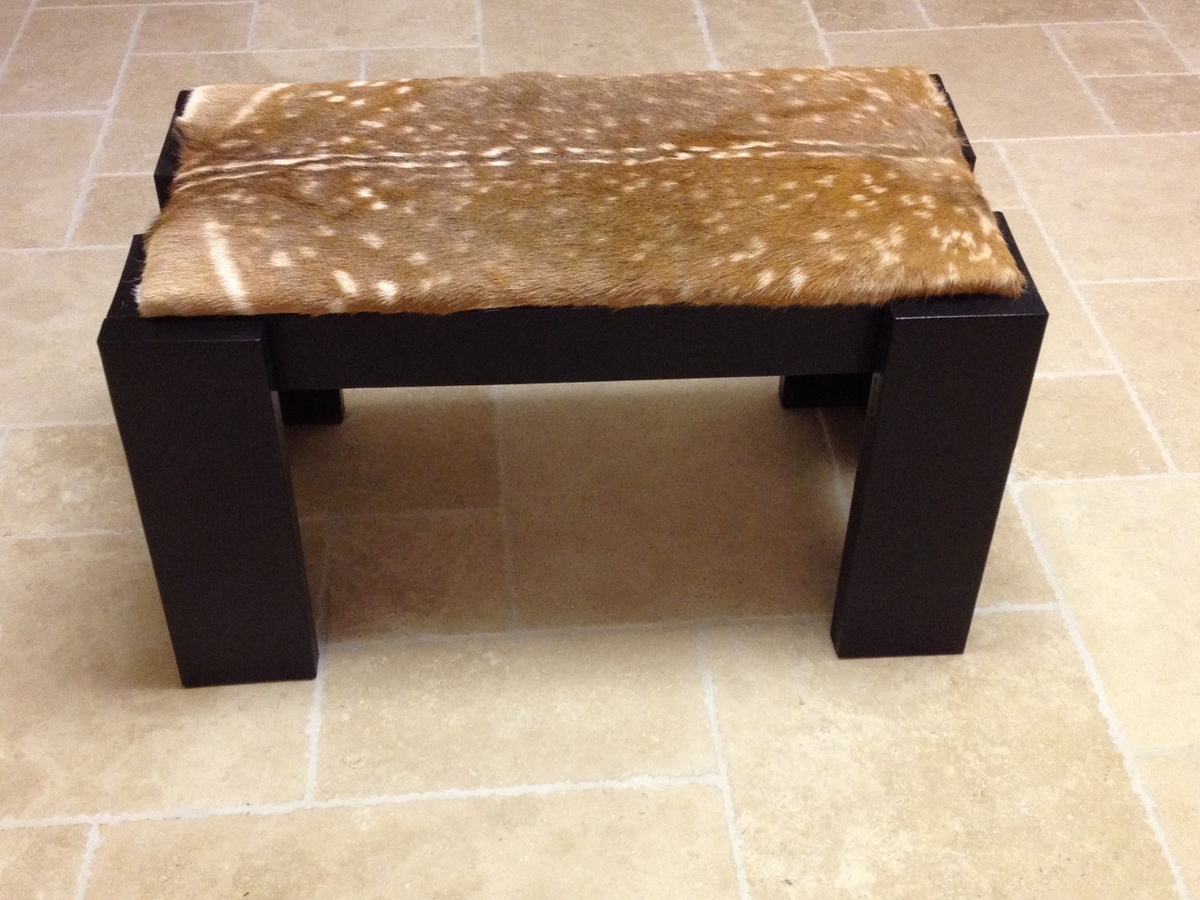
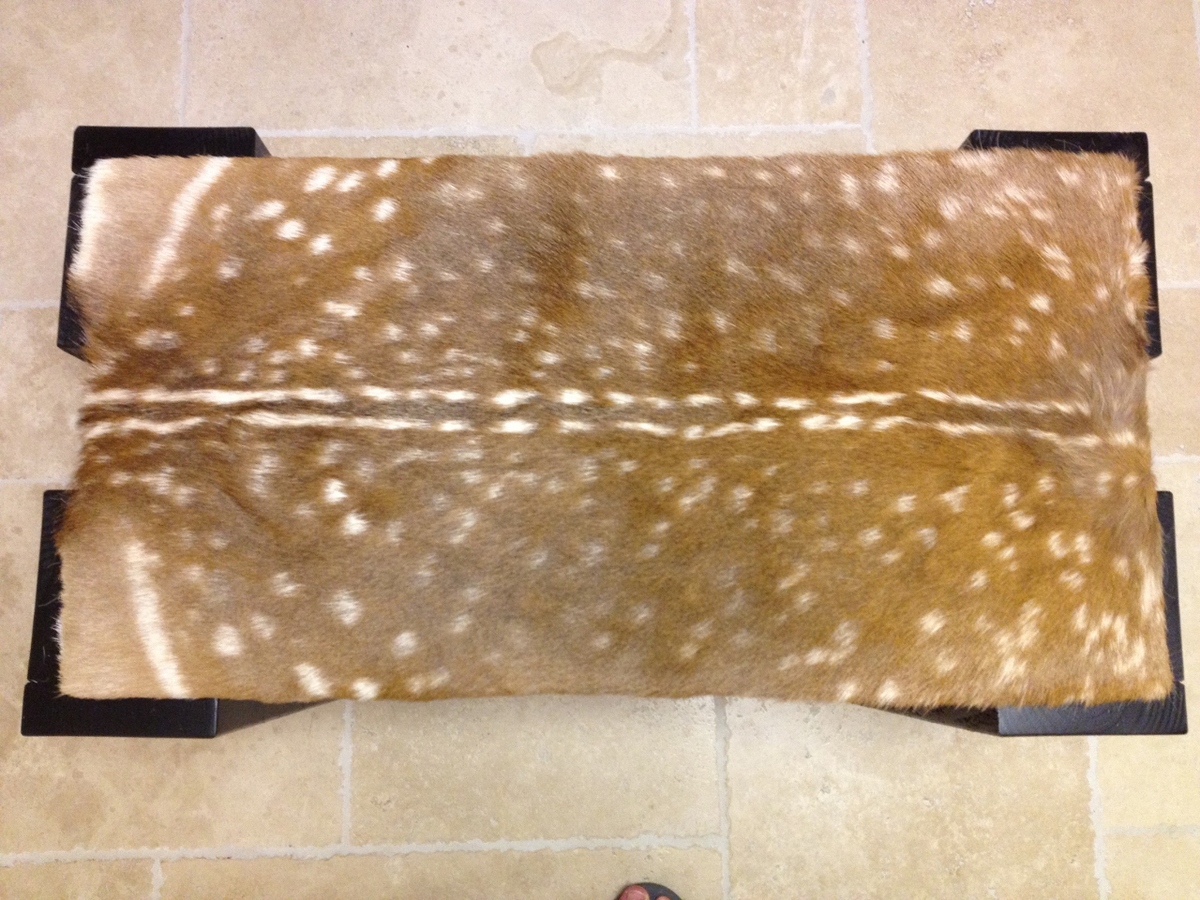
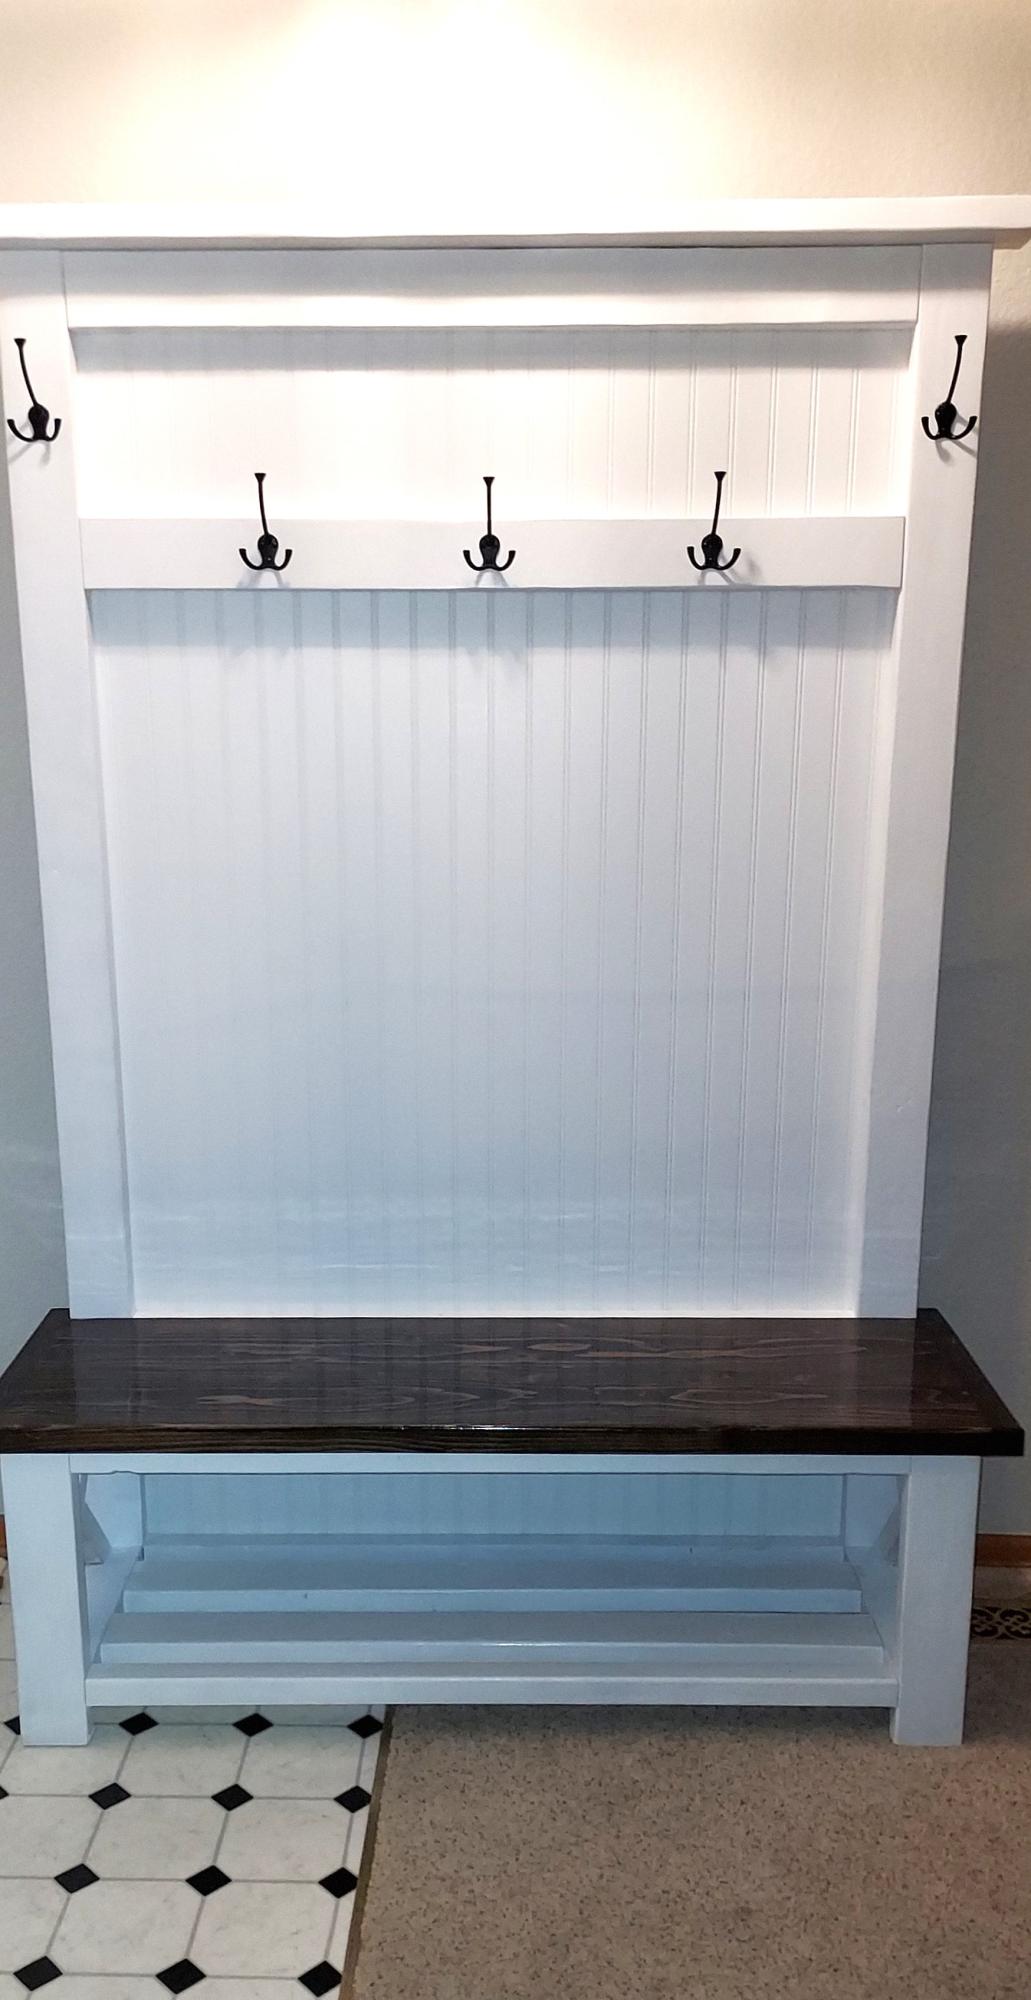
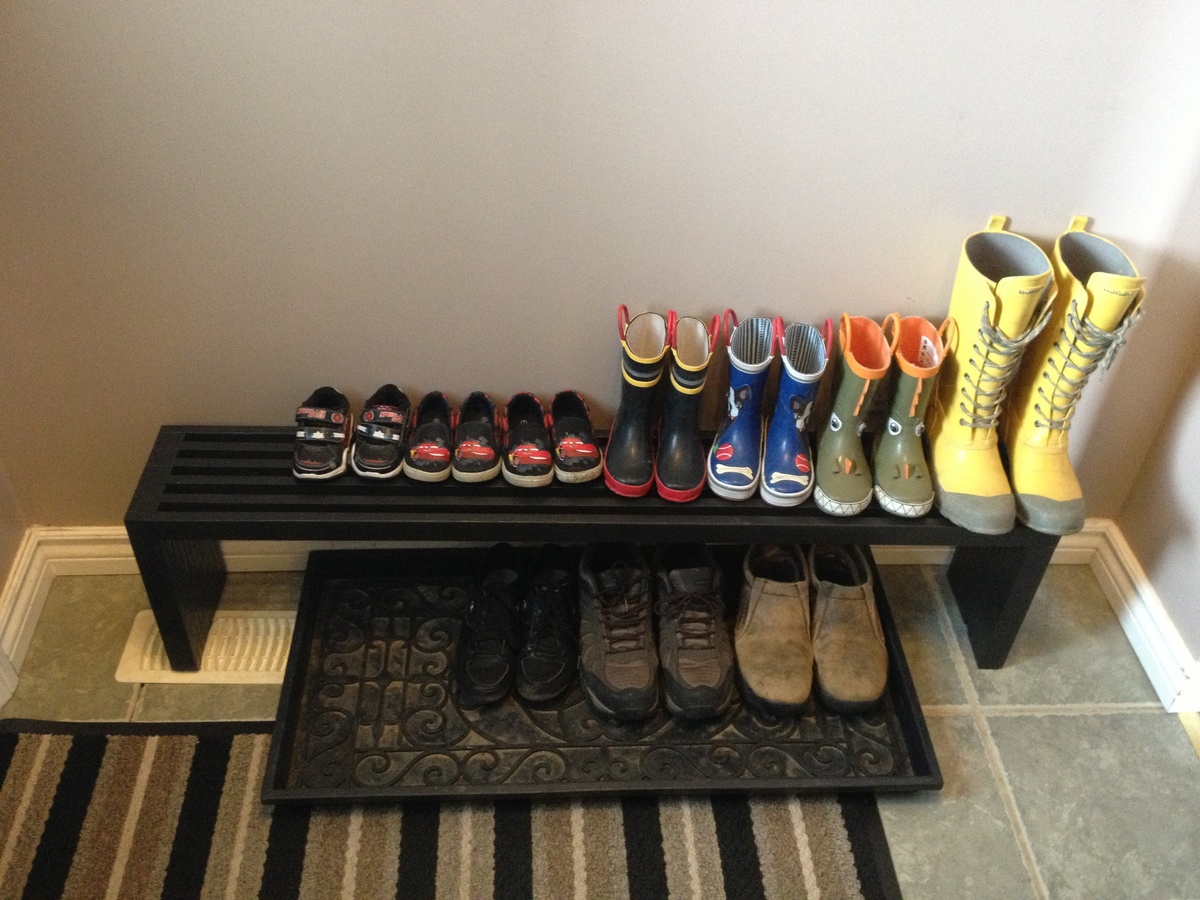
Modern Bench Turns Shoe shelf
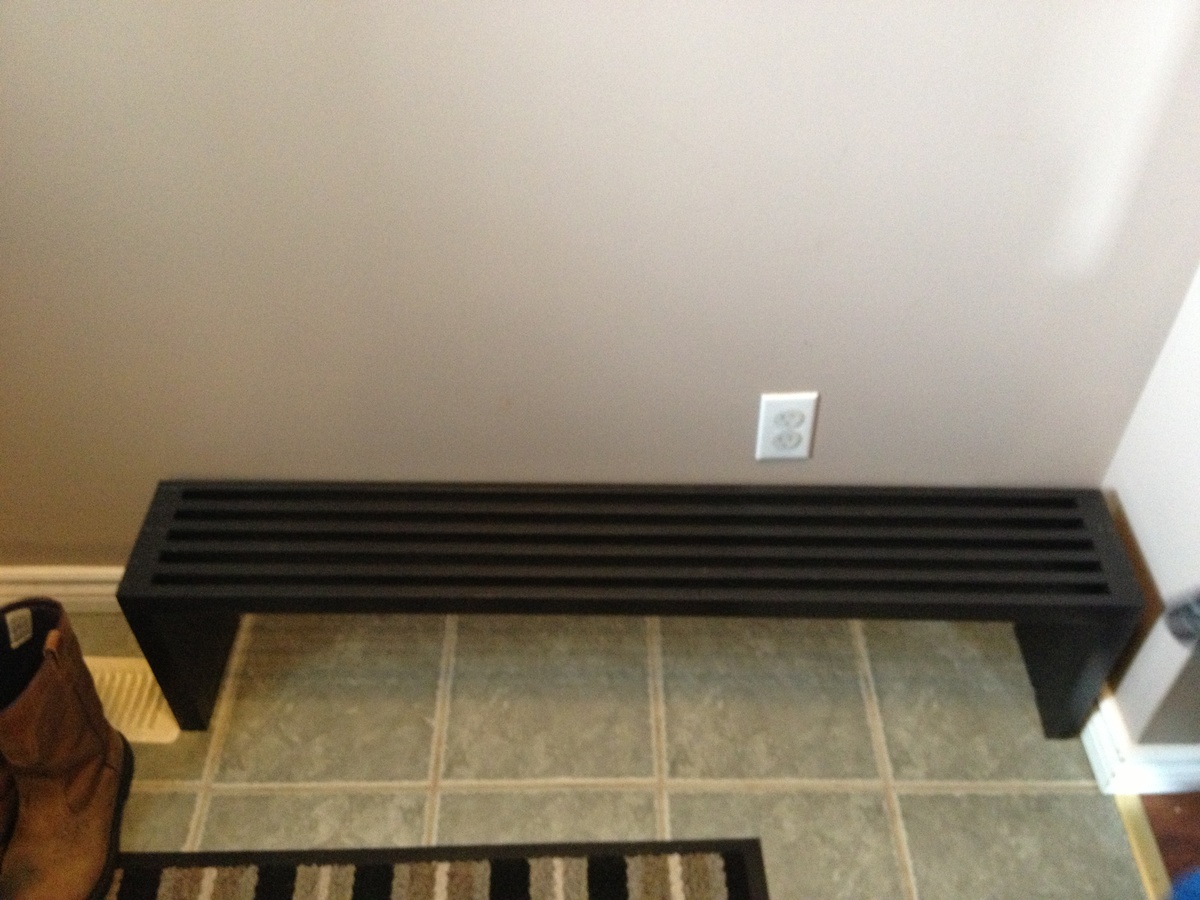
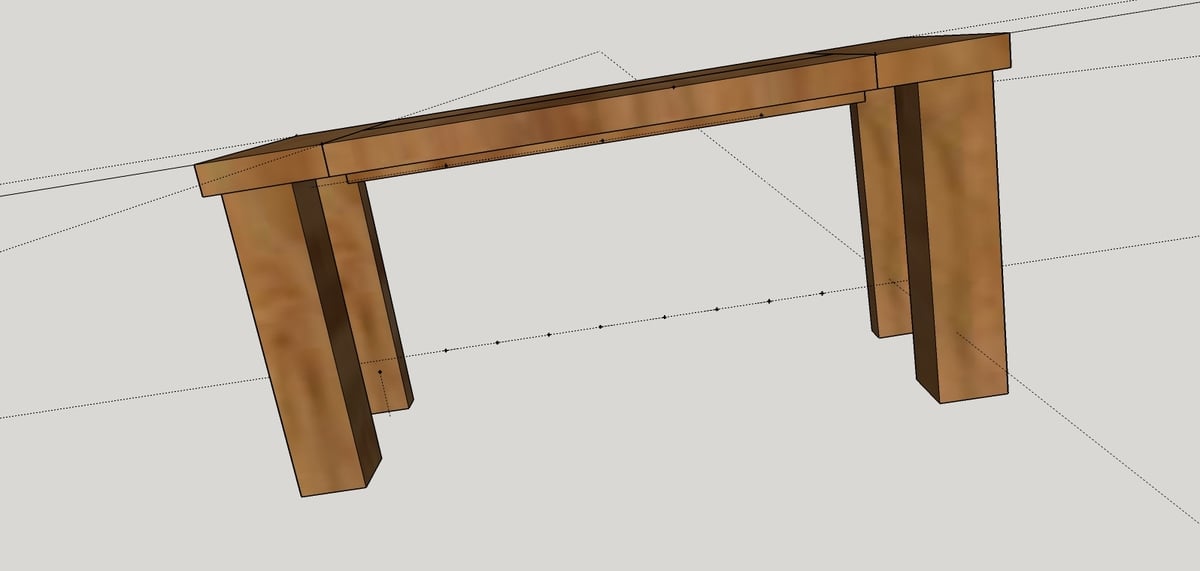
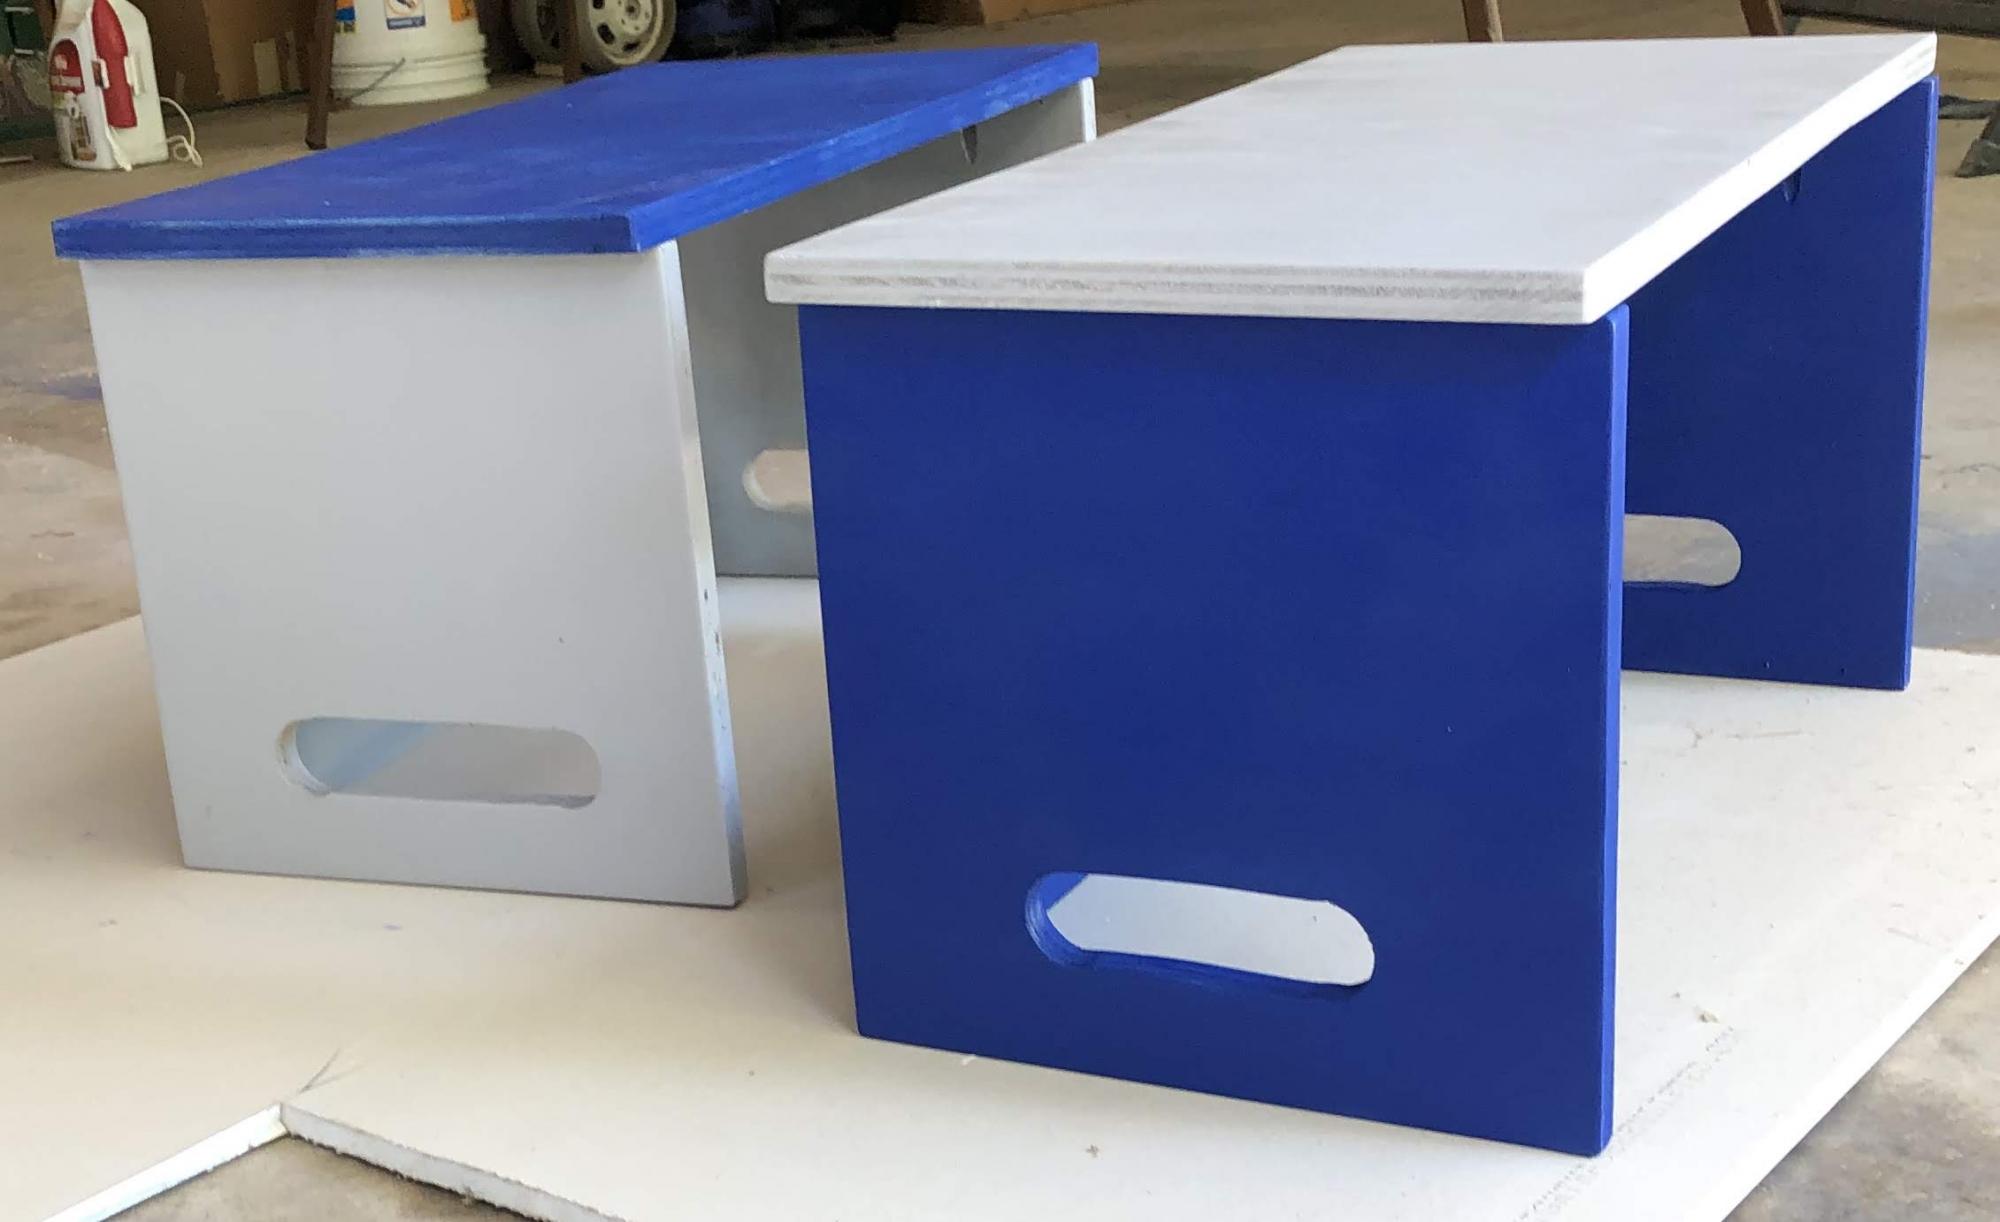
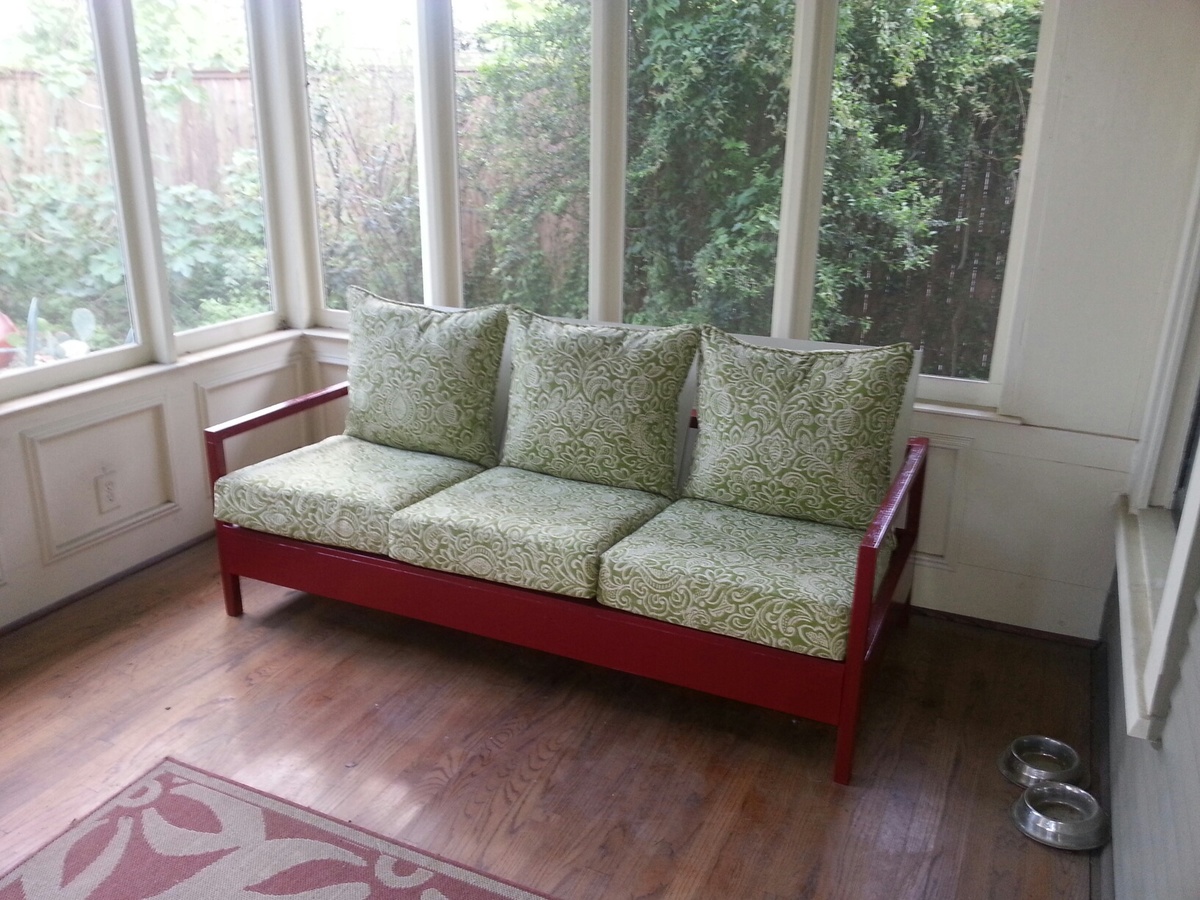
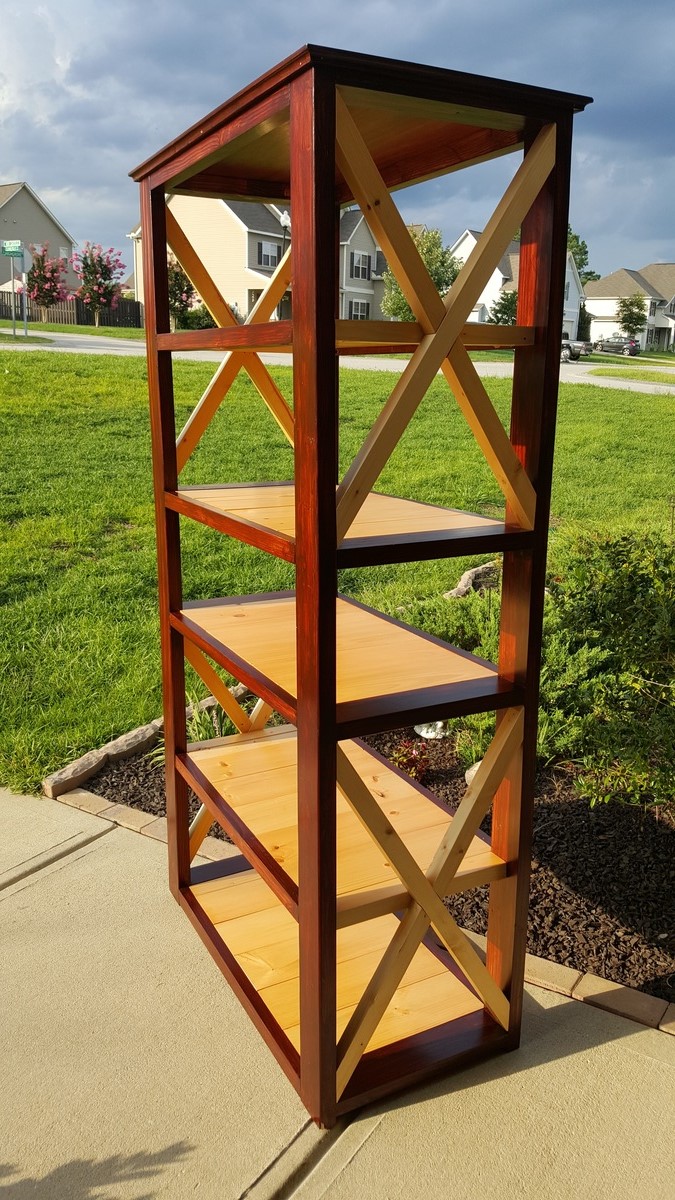
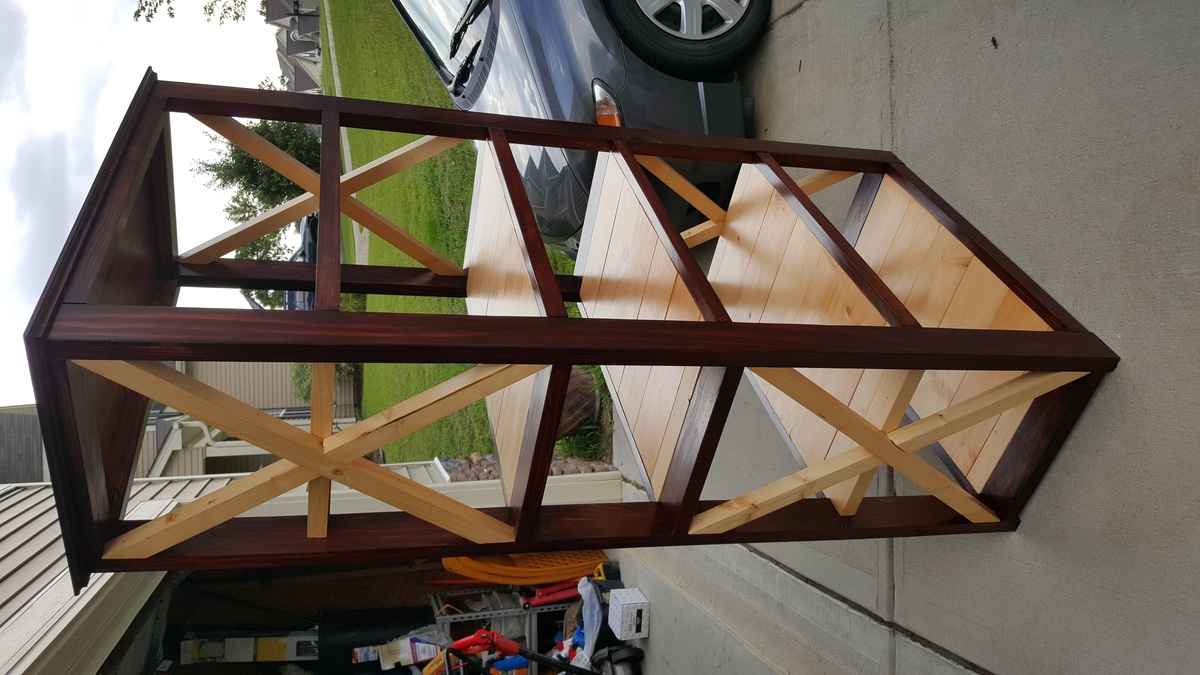
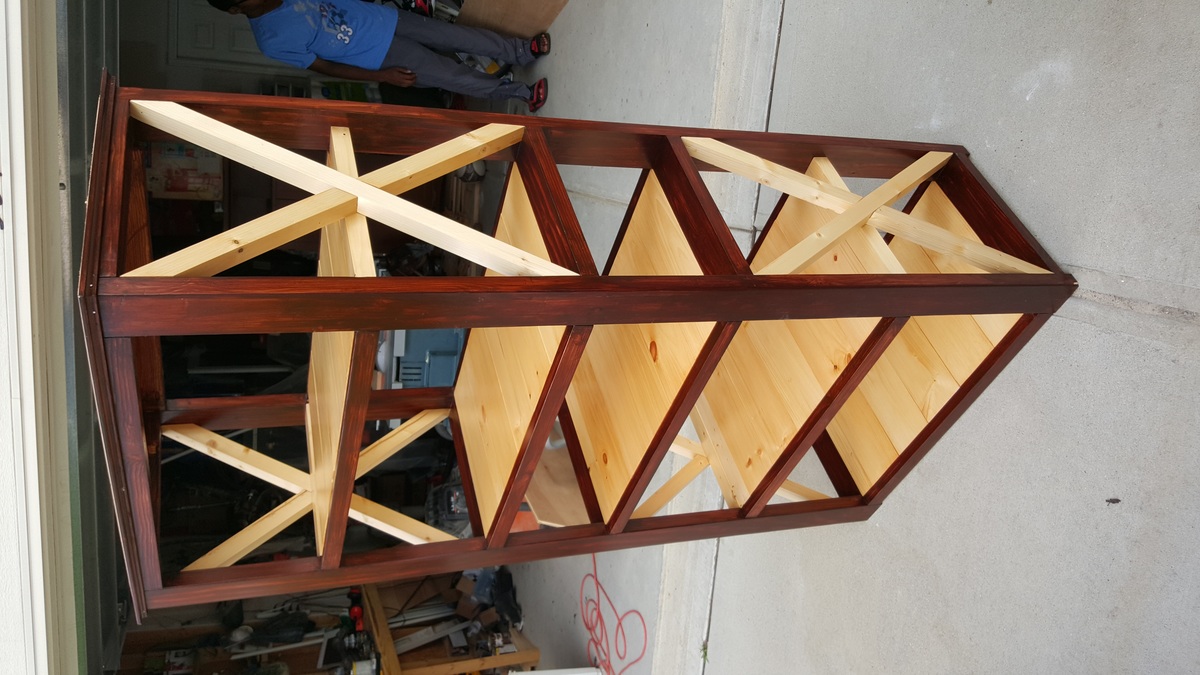
For our first project, my boys and I decided we wanted to build a shoe shelf for our front foyer. We loved the design of the modern slat top bench so adapted it slightly to fit our needs. Here's how it turned out.
So I made this a couple weeks ago. I used 2x12 for the top and 4x4 for the feet and legs. This was my first project and it came out ok. The feet need some work. The plan called for feet to be angled but unless you have a band saw just cut the 45' for the feet.
I built this during quarantine. Dark walnut on the top, and pure white paint ok the base and doors.
Built this loft bed for my girls playroom! They love it.
This project was started on spring break and I finished it at the beginning of summer. Total cost was about $900. I built it pretty much by myself and my wife painted the playhouse. Overall about 70 hours of labor went into it. Great plan and instructions. Thanks Ana! I love this site.
This is a bench that I have built for a friend of mine to fit exactly in her entry way. I made it in the spirit of the Pottery Barn furniture that she already has. I used regular Douglas Fir found at anywhere lumber is sold.
The bench was put together using mostly 2-1/2″ pocket hole screws. I use my Kreg Pocket Hold Jig to drill the holes, but any jig should work.
See the link for detailed instructions.
I loved building my Coffee Table, thank you Ana White! I built mine to be 42" long and kept all the other dimensions the same, (but didn't do the X's). I also installed leveling feet. I stained it Minwax's Early American, and used 3 coats of Polyurethane and applied everything with a rag. I used 2" Corner Brackets, spray painted with Rustoleum Metallic Charcoal. I bought the baskets from Michaels.
Built this using the Ana White plan. Construction was done in less than a day using leftover lumber from other repairs around the house. Painting and varnishing took multiple days for the paint and varnish to dry and cure though.
Used pocket screws - as shown in my diagram - to hold the pieces together.
The family has enjoyed using the desks and if you stack one on top of the other, the bottom one creates a shelf also. Will make a few more to share.
Thanks for sharing the plans.
I made this for my two great granddaughters (6 and 2) I used the plan for One Piece Play Kitchen. I added some depth to the refrigerator. Made the Farmhouse sink from wood left over from a bed I took apart.
purchased from Amazon:
decals: $22
Peel and stick granite $8.50
Polycarbonate Clear plastic : $10
Cabinet Handles: $17
Facit: $19.99
8 hinges $13.50
Cabinet paint: $29
Wood materials were left over from previous projects. So total cost was less than $150
Pamela Grindstaff
It was a fun project and it went well.
It took me longer to make than Ana, but I am still new at this!
The girls love it and my daughter is very pleased.
This was the second coffee table I've built using Ana's plans and I'm so grateful for this website! The plans are easy to follow and adapt for truly "custom" furniture and a fraction of what you would pay for similar pieces in a store or online.
I adapted the plans to make the table a little shorter and I only used four 2 x 6 boards for the table top instead of five so that it would fit in with our couch a little better.
I saved a little bit of money by using furring strips for the 2 x 2s and I opted for 3/4" plywood for the bottom shelf.
The Kreg Jig (i get by with the little R3 but I'm hoping to upgrade someday soon) is invaluable for projects like this.
Tue, 09/09/2014 - 07:36
Hello,
I'm looking to scale back the project to fit into my living room - do you mind sharing your final dimensions?
Thanks!
Plans use was the Bailey Console Table.
This was build for the #igbuilderschallenge hosted by @desertwoodwrks and judged by @anawhitediy and @davidsheinkopf.
I used two old queen sized bed frames for the legs and stretchers, welding them together with a Lincoln Weld Pak HD Flux core wire feed welder. With a little practice, anyone can do this easily!
I used poplar hardwood instead of pine for durability. Stain is Minwax Jacobean, with 4 coats of Deft Clear Satin Spray Lacquer on top.
Added a face frame around the doors, and made then inset flush mount drawers. The left drawer also has a false bottom, with hidden storage beneath the lift off tray.
Recycled bed frames were used for the legs and stretchers (both front and back) and them painted with Rustoleum Black Satin Finish Spray Enamel,with the lacquer on top of that for protection.
This challenge was so much fun to do, and it was a real blast seeing the creativity of everyone else involved! I can't wait for the next one.
Follow me on Instagram : @amanteafinewoodworks
This is the perfect workbench for my garage here in South Florida. I modified the plans using 2x4 actual dimensions so that the outside dimensions were 60" wide x 40" height x 30" deep. I designed it for my husband and he is 6'4" so I wanted it to be taller for him. I used 3 sheets of plywood (3/4" thick each layer) for the top and it is super sturdy. For the bottom shelf, I left one 2x4 off so that it wouldn't hit our shins while standing at the front. I was concerned at first that the wider bench (60") may need an additional bottom shelf support in the middle. It did not need this extra support. The shelf can hold a lot of weight with no concern. See all the tools that are on that shelf in my pic. Thank you Ana White for these great plans - it was my first workbench that I have built. I am looking forward to more woodworking projects.
Cal king headboard
Christmas gift
I am new to furniture making and my neighbor and Friend showed me this website. I wanted a piece a bit more modern looking with a rustic flair so I picked this bench for the ease. I did however change the dimension of the bench to accommodate a Fallow that I shot last year and had tanned. I look forward to building the next piece.
This is my first project using a Kreg Jig. Went together in about half the time of previous projects. I love it. Thanks for sharing the plans!
I made this book case for my daughter to replace an existing book case. I the design is a little different from what I found.
We build this bunk bed from the Rustic Modern Bunk Bed plans. We finished it with one coat of primer and one coat of Dunn Edwards Swiss Coffee. This project was made easier with a Dewalt 12'' sliding compound miter saw, Kreg K4, and a speed square for every aspect of the project.
After too long fiddling around with other things, I finally finished the hall tree for my wife. Used a sheet of bead board for the backing and it didn't turn out too bad. Thank you for the plan and the inspiration Ana, very much appreciated!
Steve
I needed a new island for my craft room, so we used the Michaela's Kitchen Island plan and modified it to be 30 1/2" deep. First time with drawers...they were a booger!!
Wed, 01/16/2013 - 22:10
Hello, I check your blogs regularly. Your
story-telling style is witty, keep up the good work!
King size Farm House Bed. Project took about 30 hours of work (1-3 hours per night). Built with White Board and Pine woods. Pine was used for the head and foot boards slats. We made the mistake of making our bed head board and foot boards 6 inches too wide (mental brain fart). So our options where to scrap or figure something out. After some thought we decided to place a step on the running boards using a 1X3 (pine). The effect was stunning. Also added "vine" vertically to the end of both foot and head board, it looks better in person (you'll have to zoom into image). We took care in sanding all boards, staining using Wood preconditioner, then Minwax Colonial Maple, and then Semi-Gloss Minwax Polyurethane. We love the sturdiness of the bed! as our friends that have seen it have continuously repeat "It's beautiful, this is how furniture used to be made" couldn't agree more!
Fri, 04/25/2014 - 08:45
This is a great bed. I love the idea of a step. It looks professional.