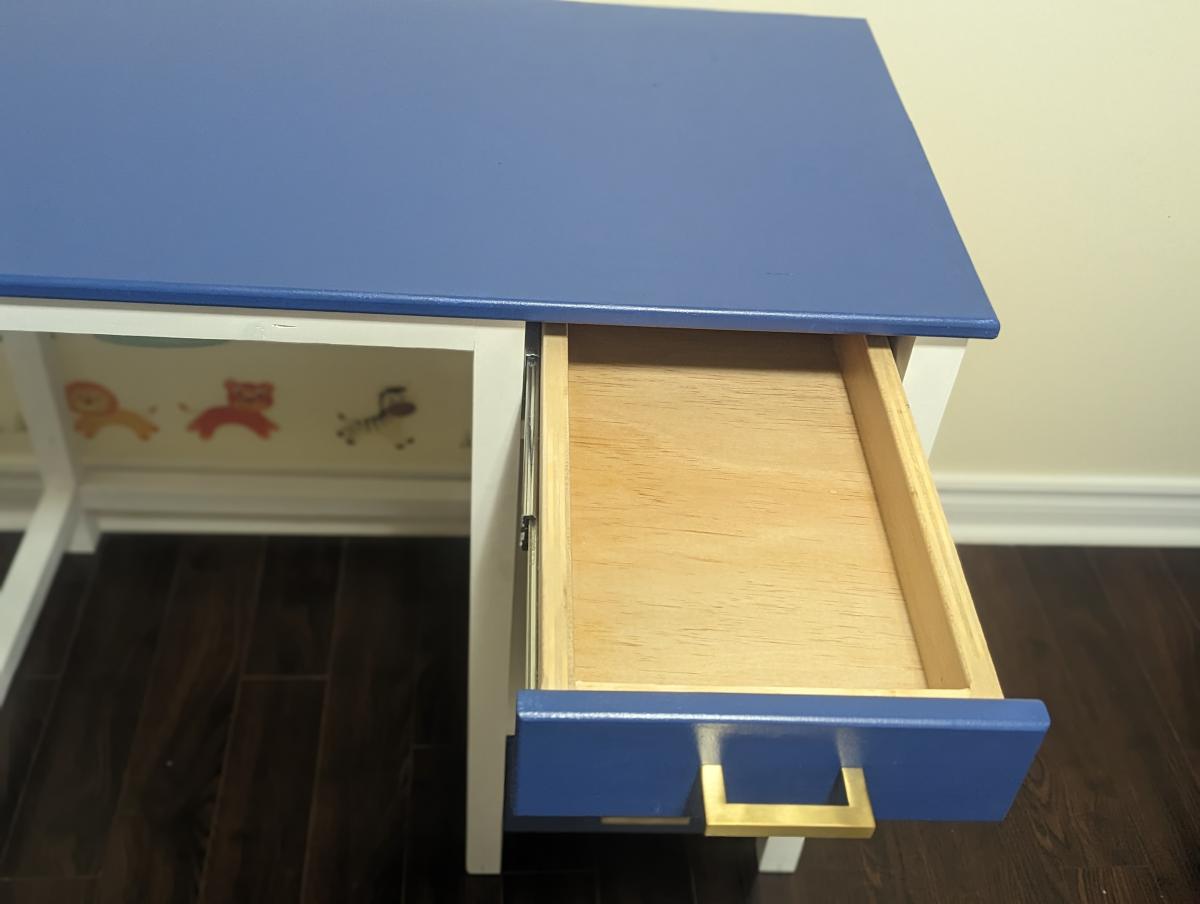
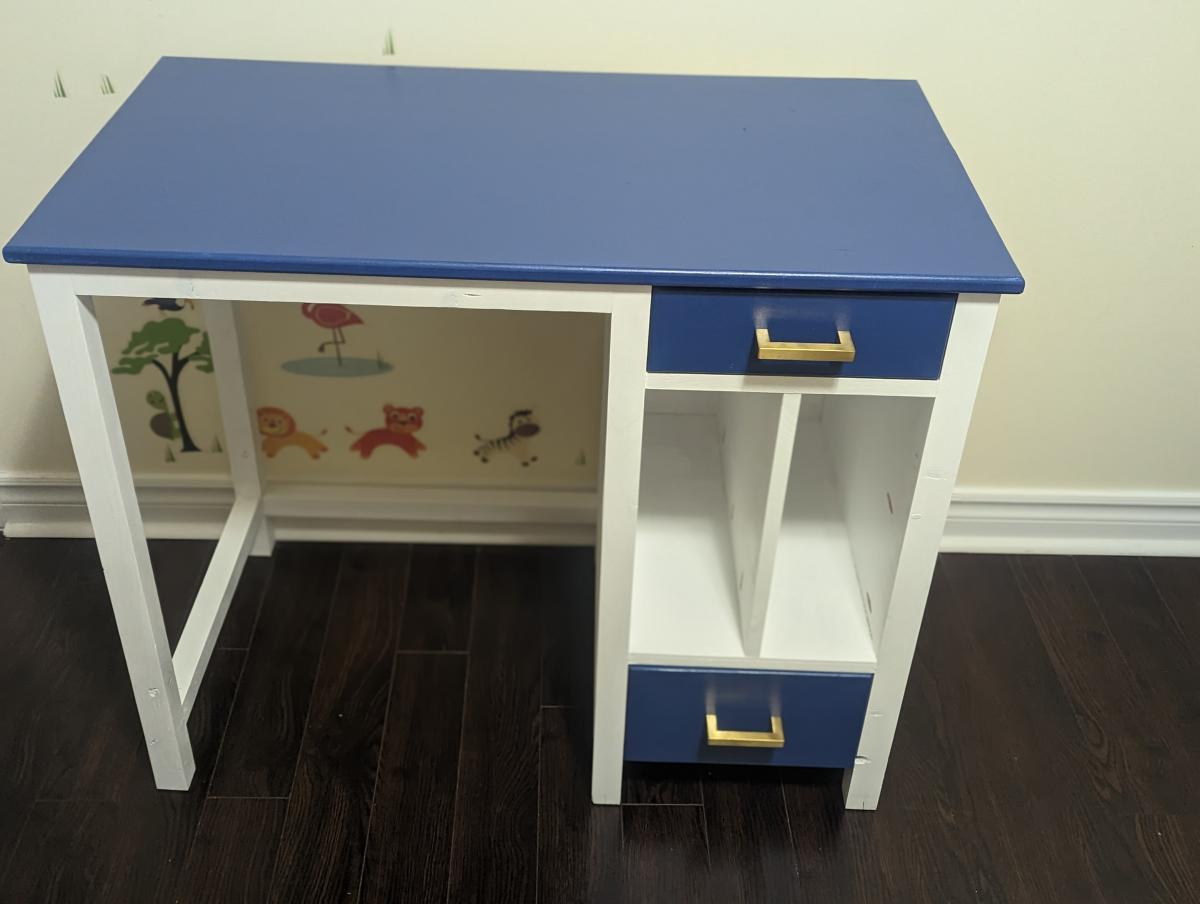
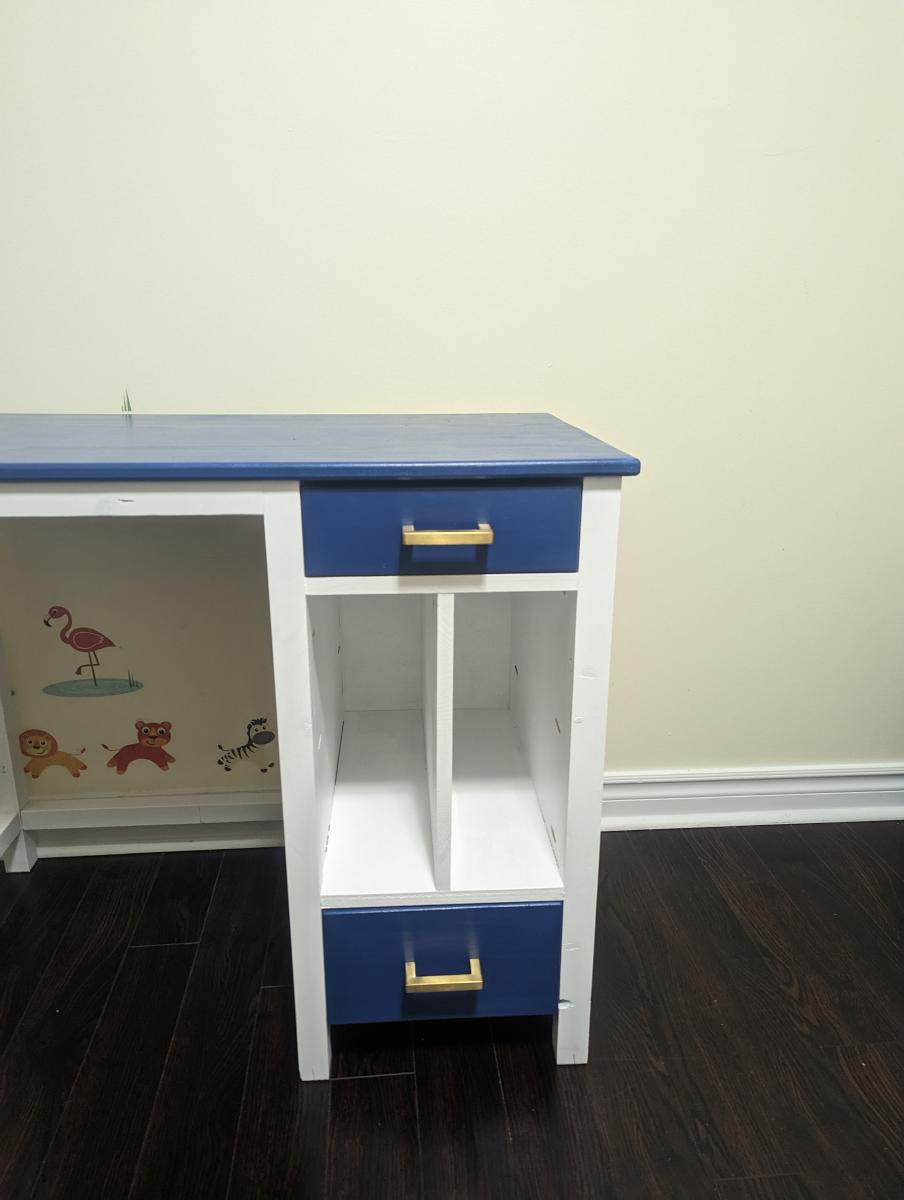
Kids desk
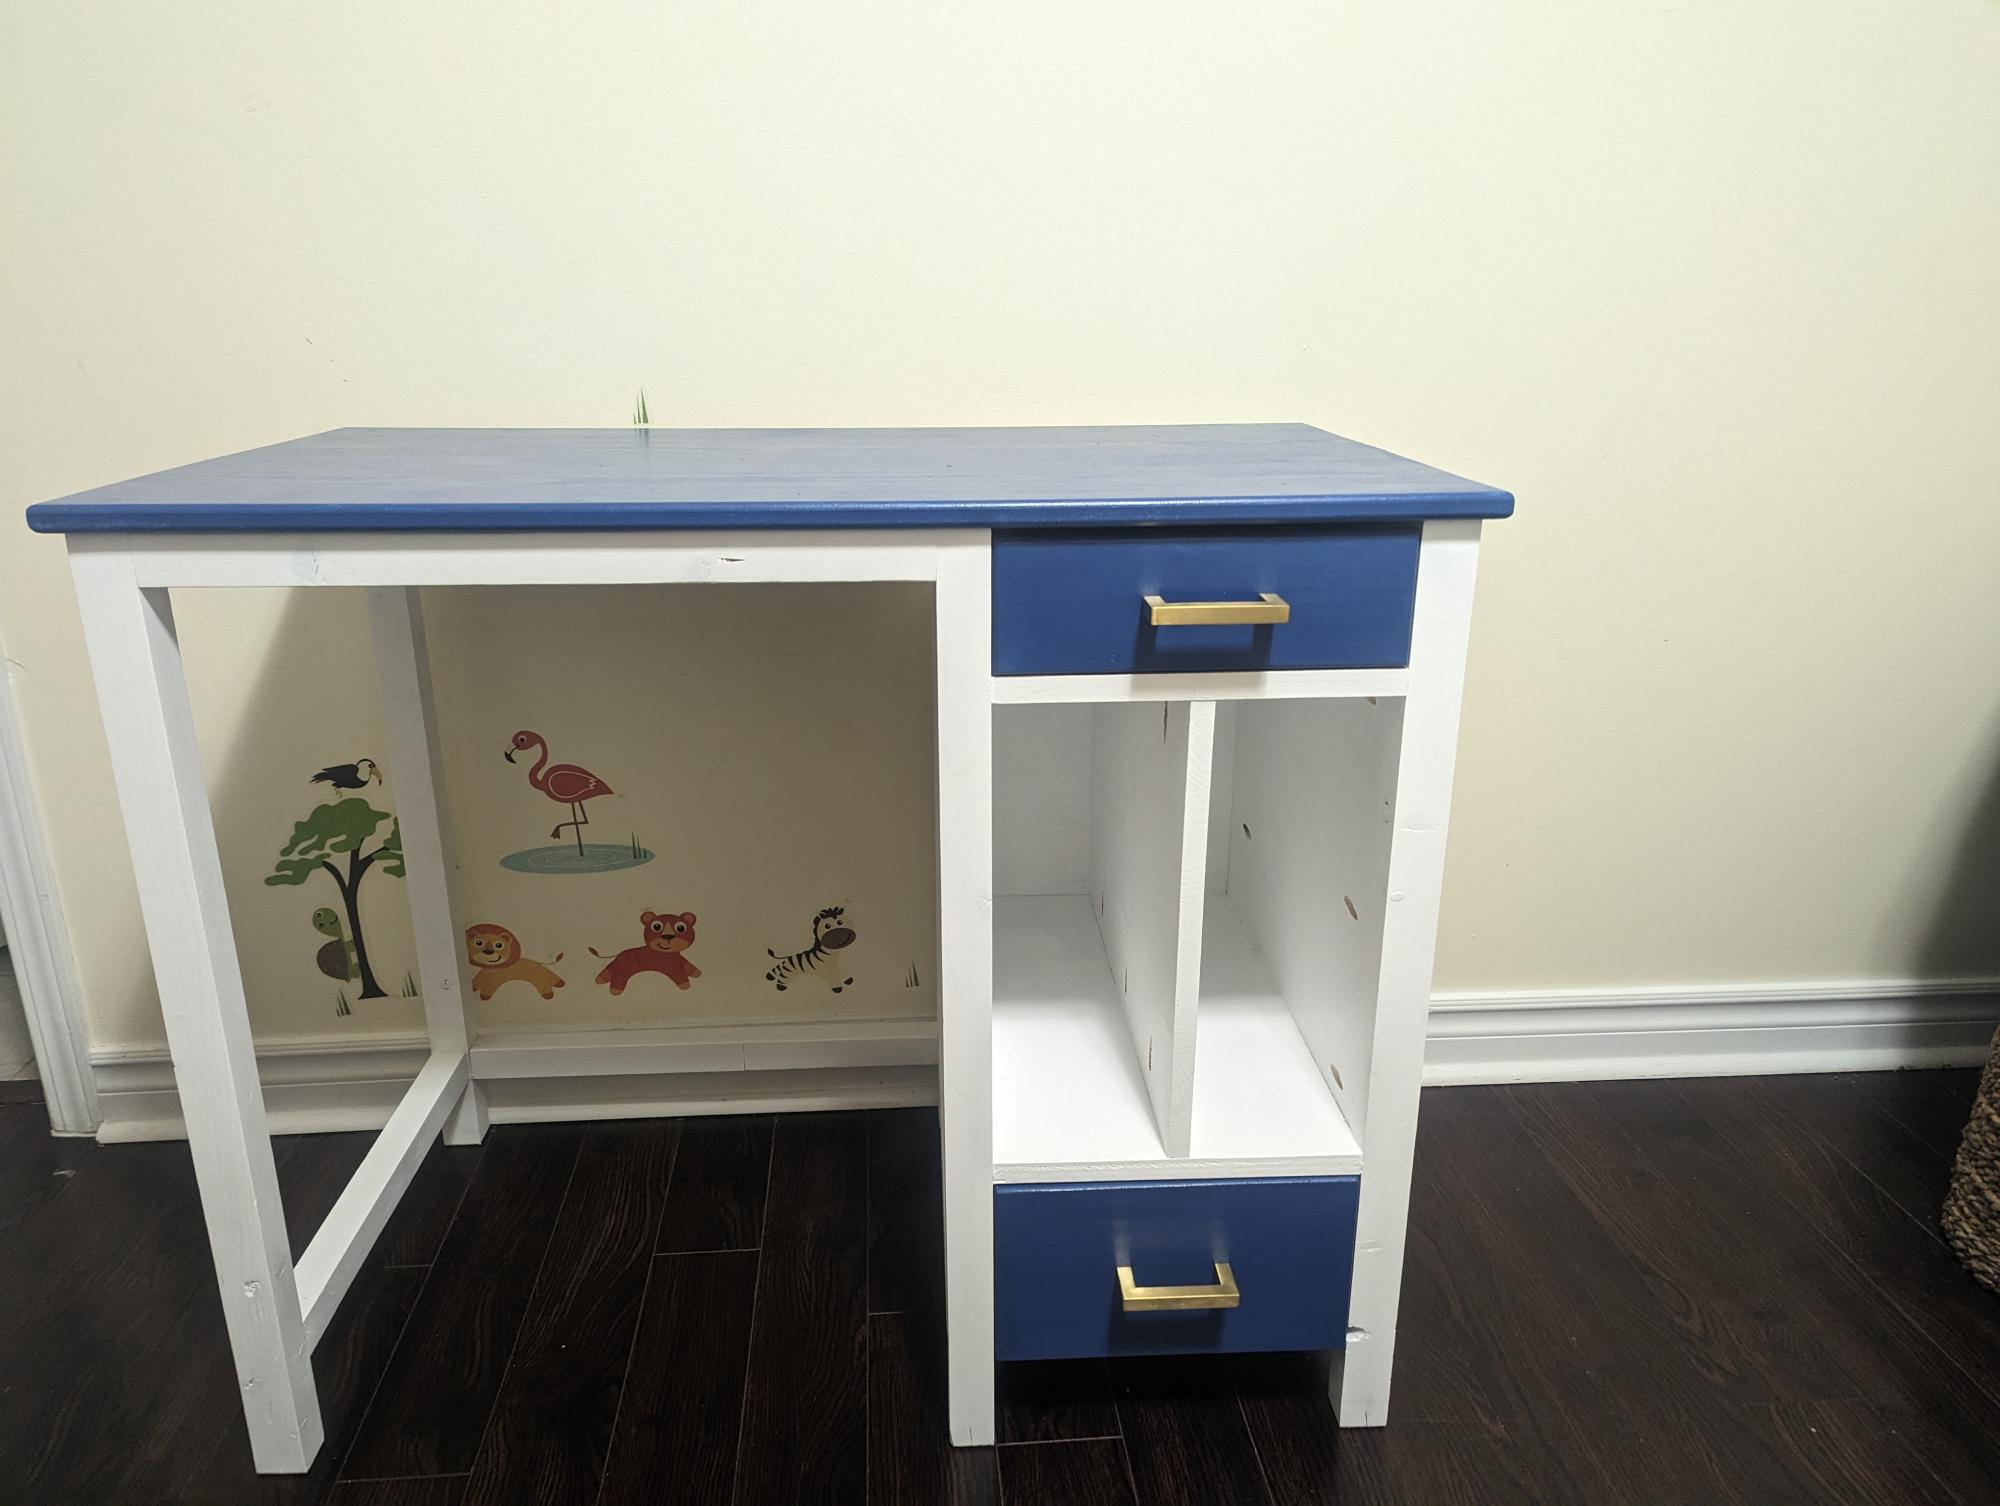
My daughter wanted a desk from a long time and this was a perfect plan!! I tweaked it a little as per our requirement and it came out be awwsome!! My daughter loves it :) Thanks Ana for the plan..
Built from Plan(s)
My daughter wanted a desk from a long time and this was a perfect plan!! I tweaked it a little as per our requirement and it came out be awwsome!! My daughter loves it :) Thanks Ana for the plan..

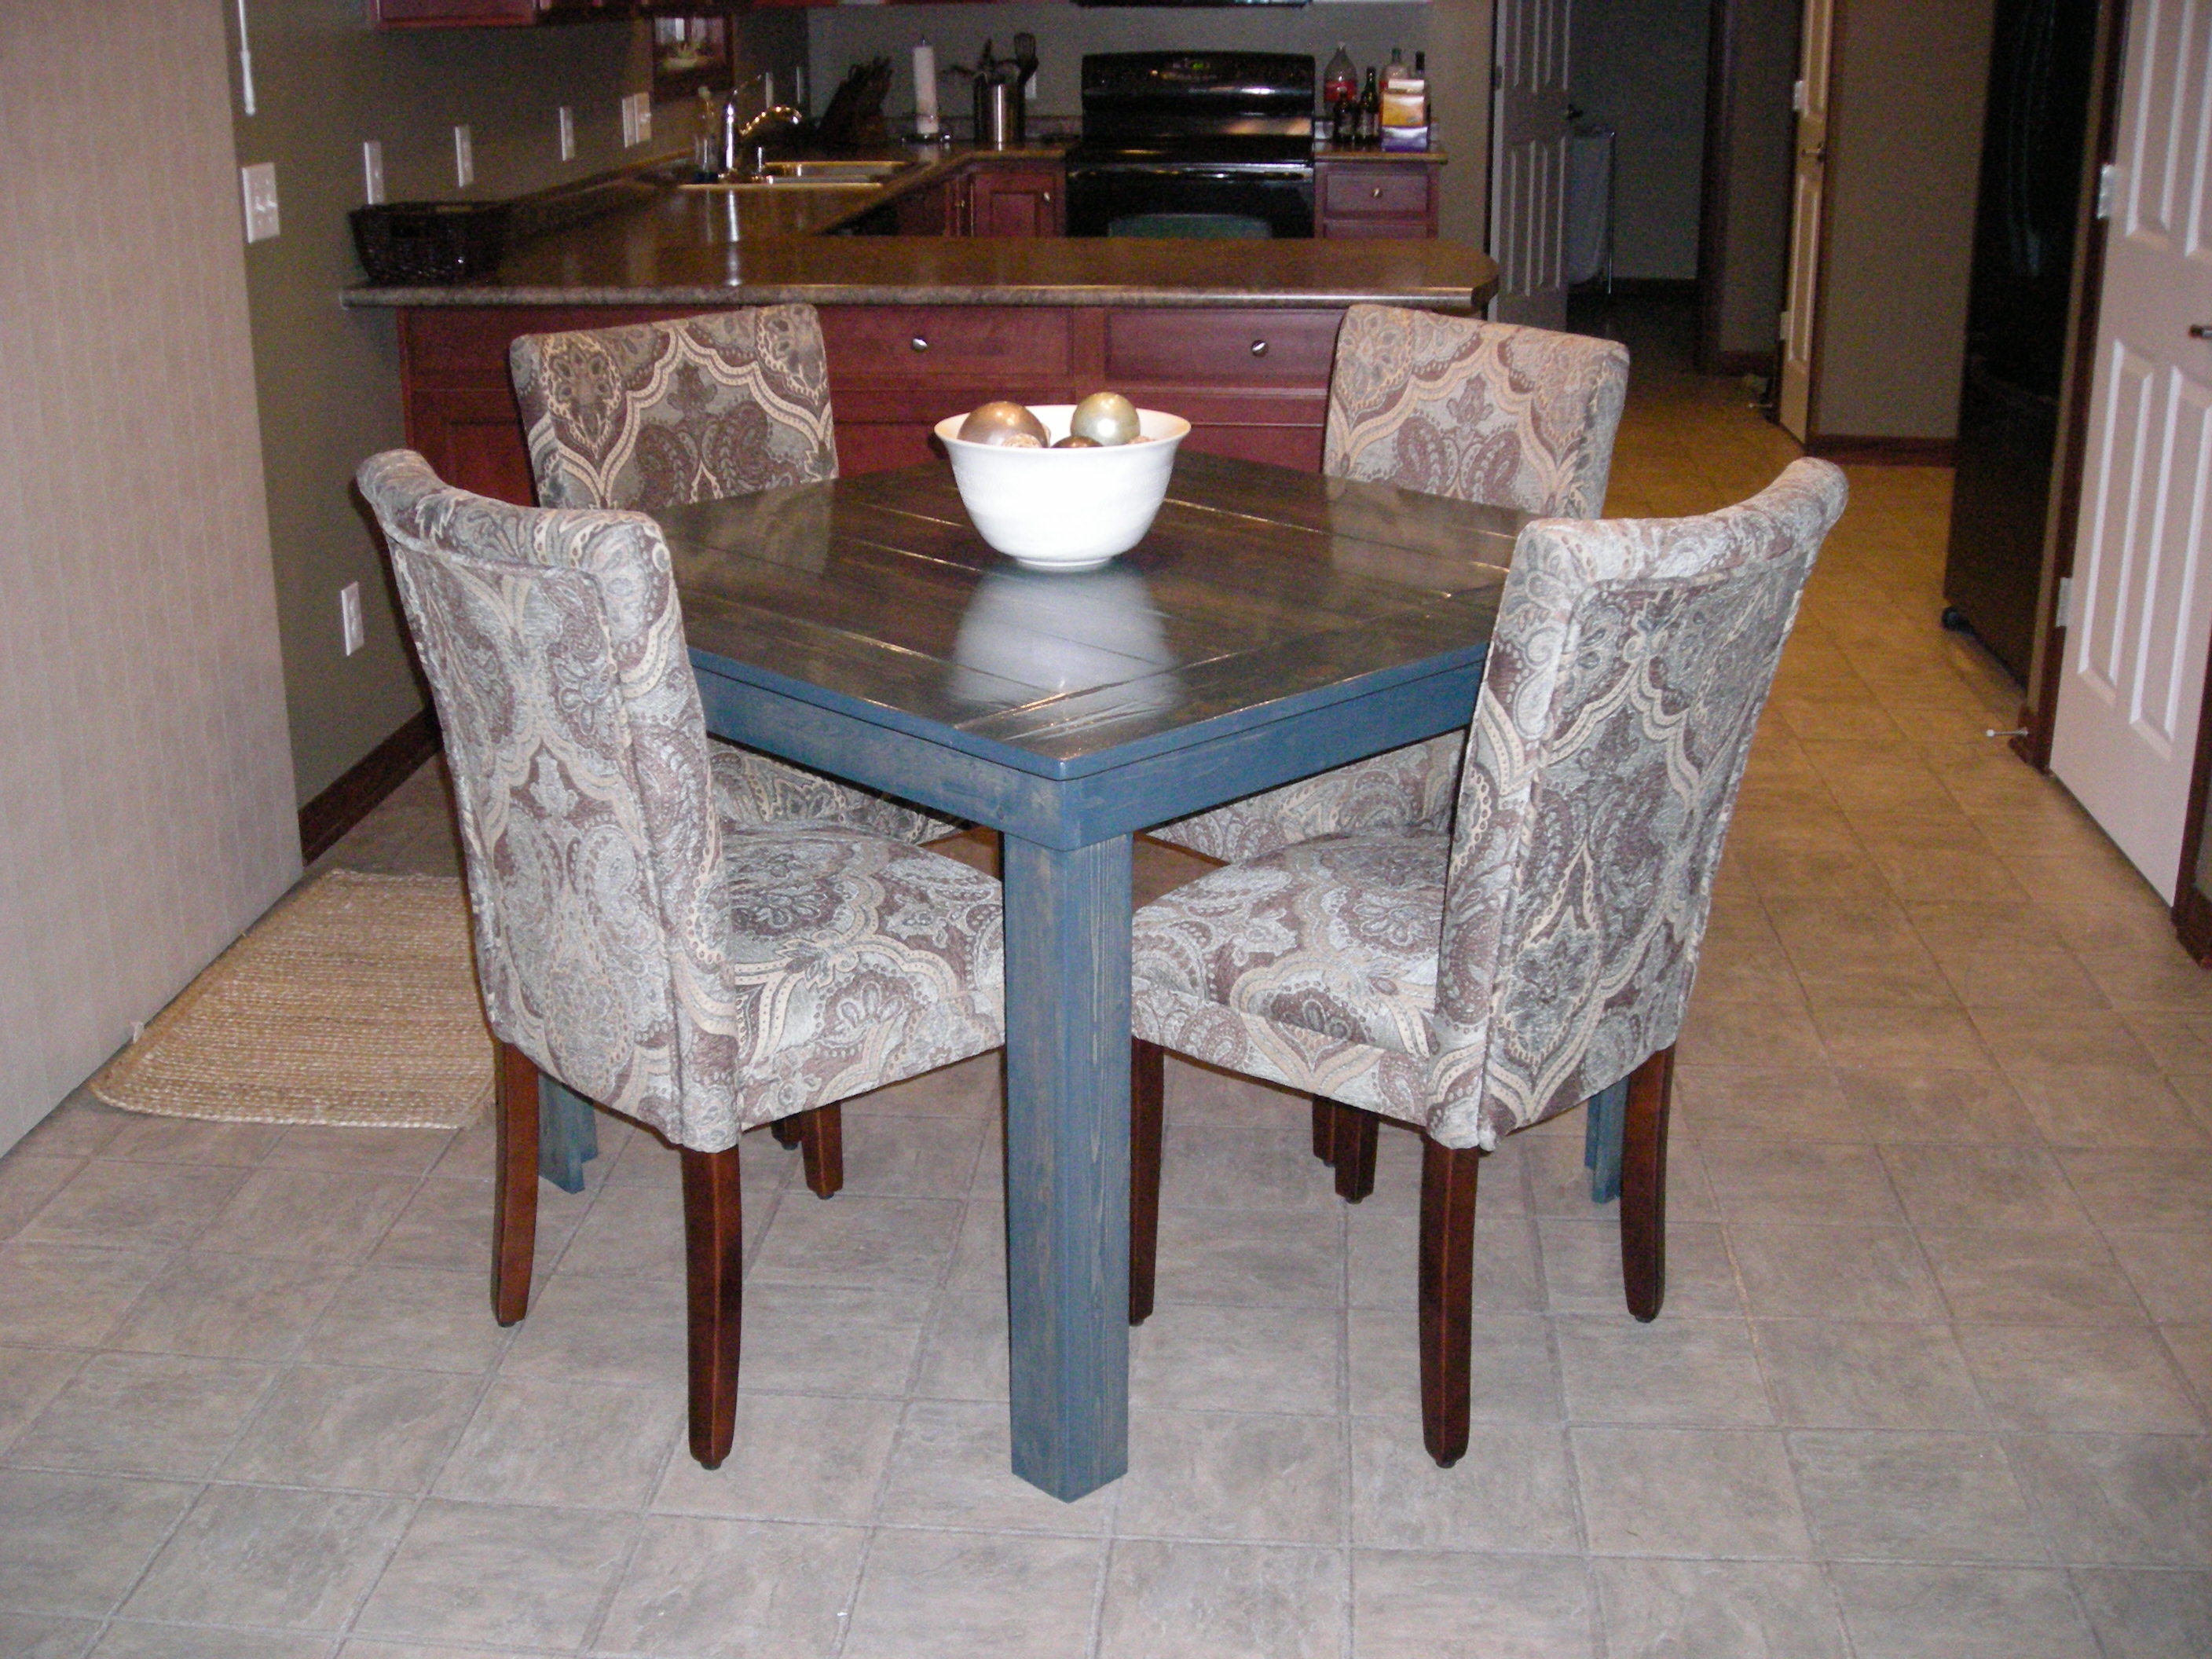
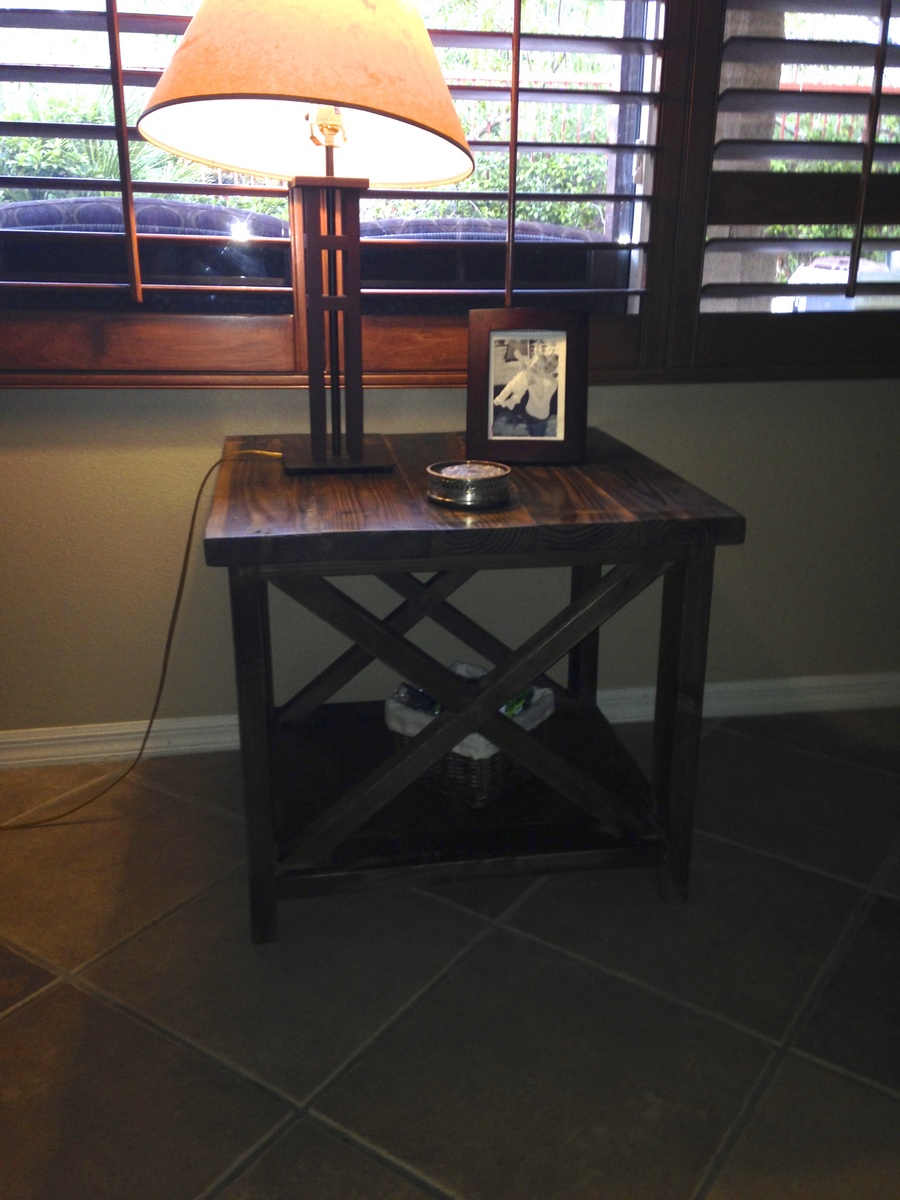
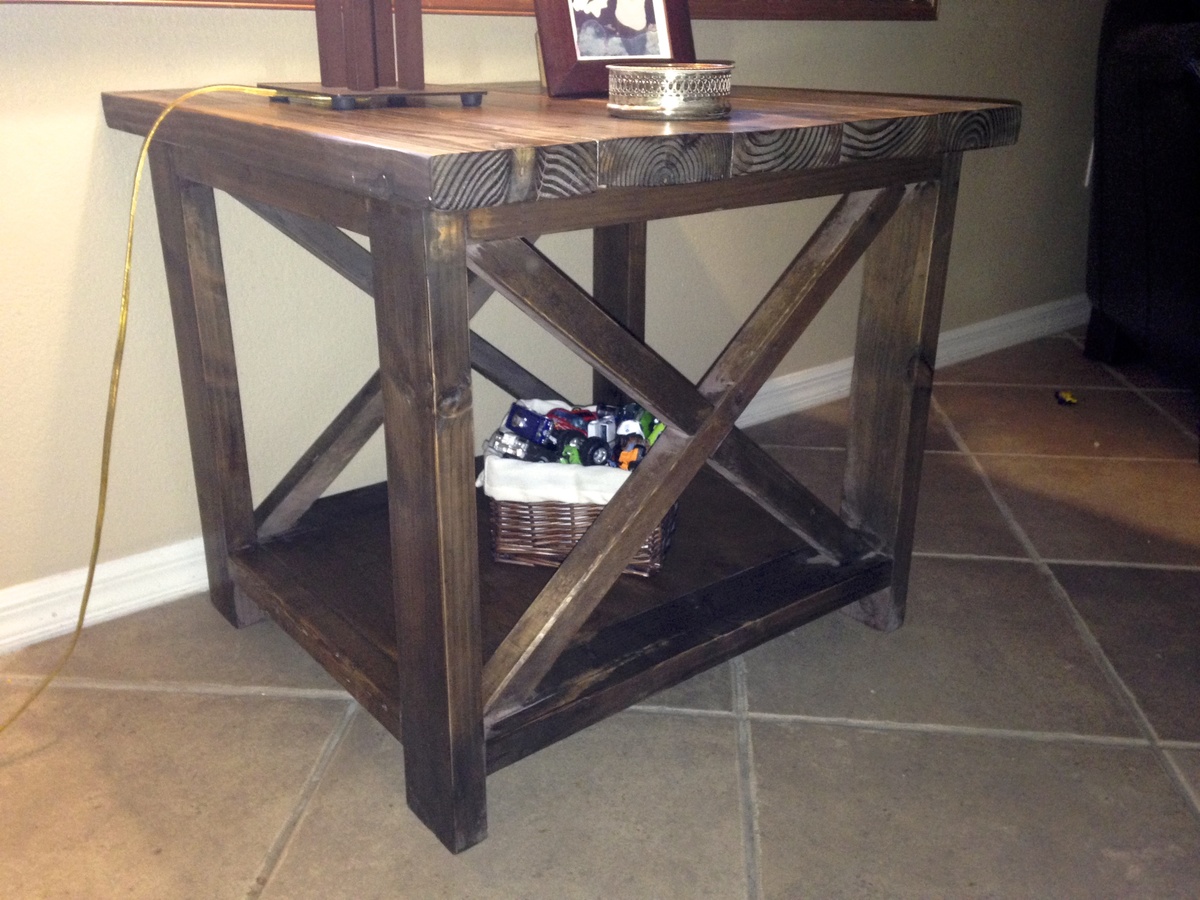
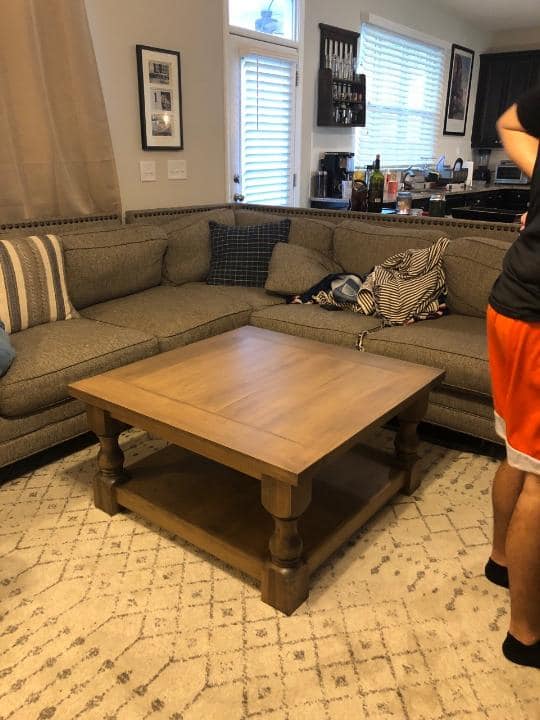
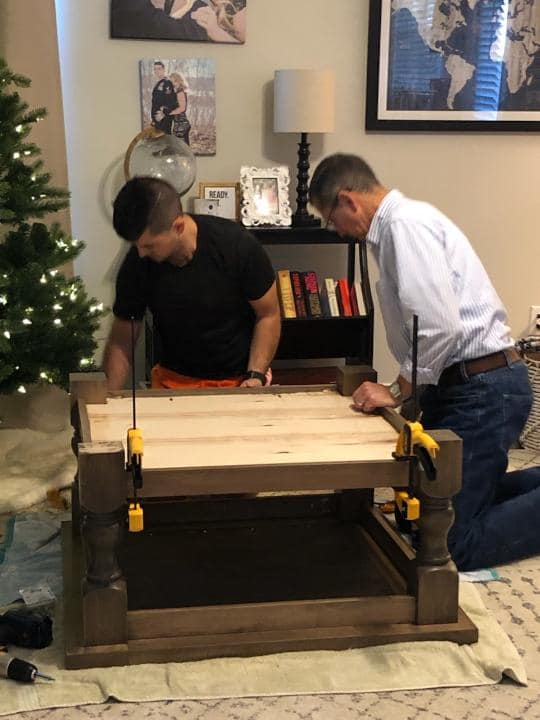
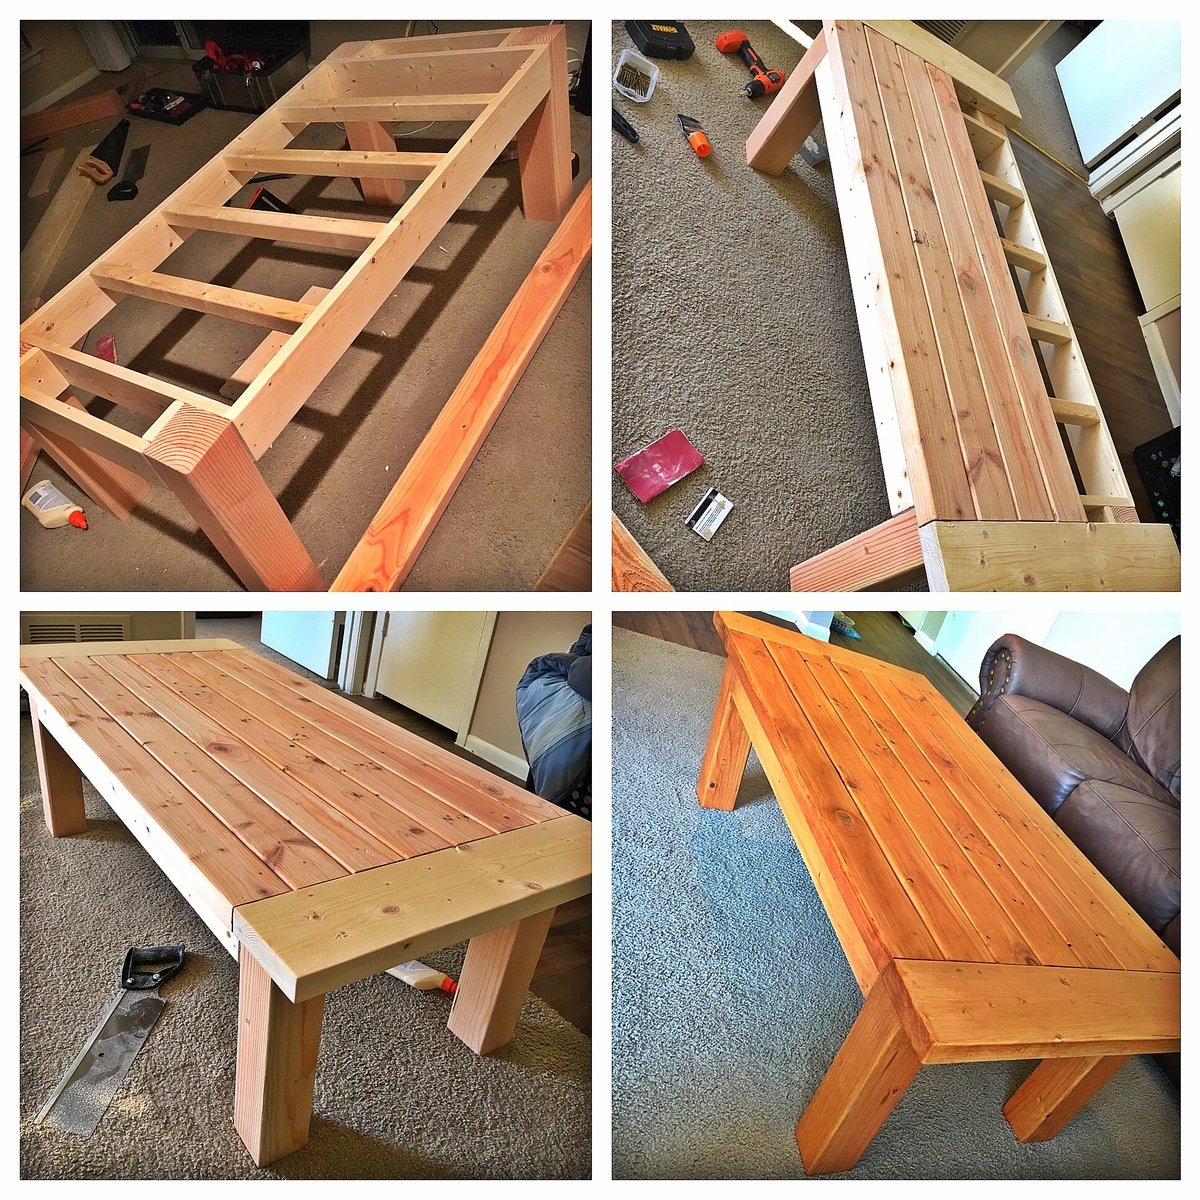
I couldn't find an exact plan for the kitchen table I wanted, so I used a combination of the farmhouse table and pub table to create the perfect table for my space. I liked the look of the 4x4 legs, but my local lumber store did not have a good selection of 4x4 boards. So I used a 1x4 and 1x3 kreg jigged together in an L shape to get the look of the 4x4 legs. The overall table dimensions ended up 44" square by 31" tall.


Mon, 04/16/2012 - 18:48
Great make, will you help with the dimensions and size of boards you used? What did use use for the top and aprons? 2x6? Any info would help. This would be a perfect fit for my place
Sun, 10/27/2013 - 01:02
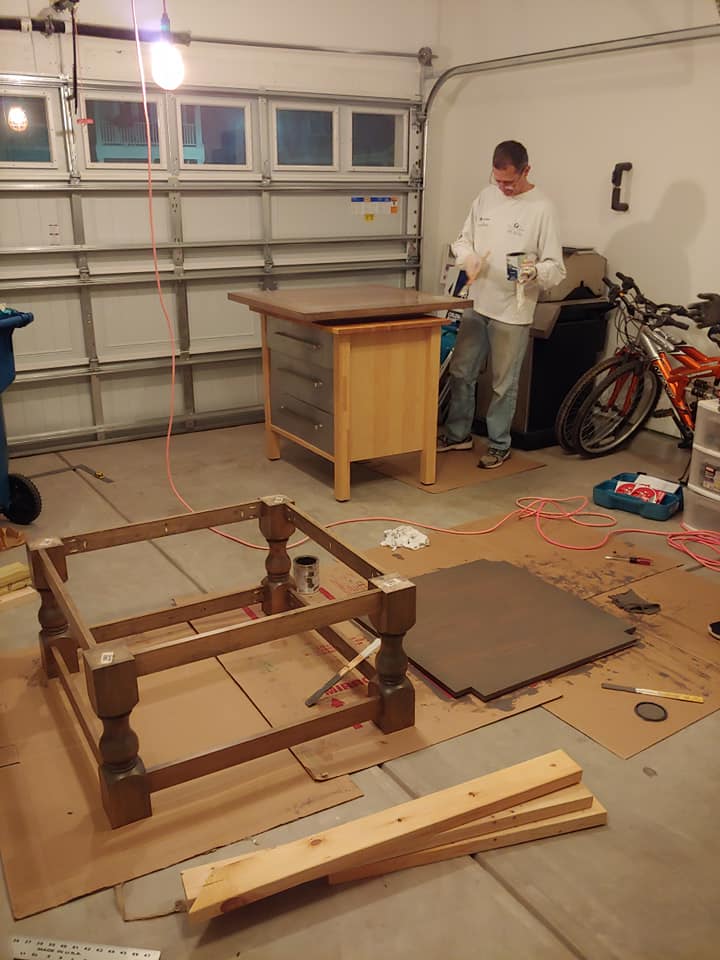
Is it necesery to drill holes on angle and what does it help (picture 3, under the table) ? Thank you
Sun, 07/13/2014 - 05:43
Love the way the color of the table turned out and the size boards you used on top. Where did you find the matching chairs? This is the exact color scheme of my dining room remodel. Thanks!
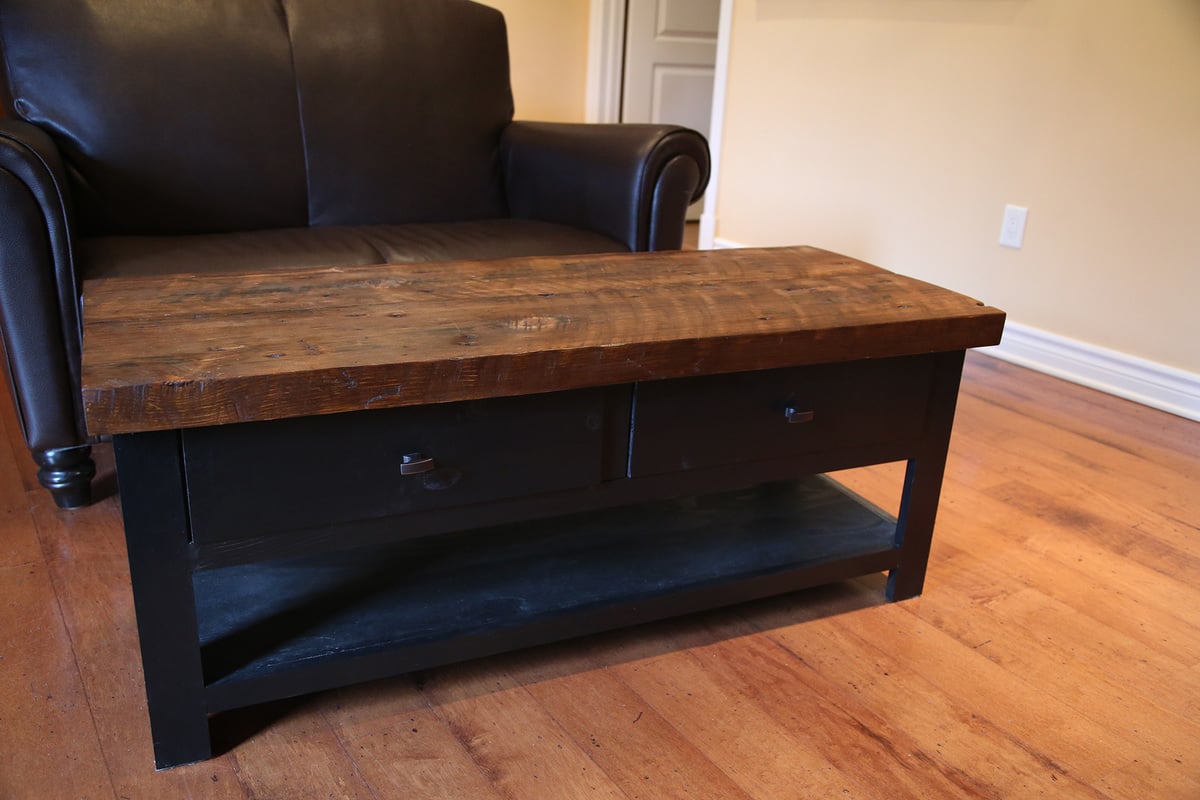
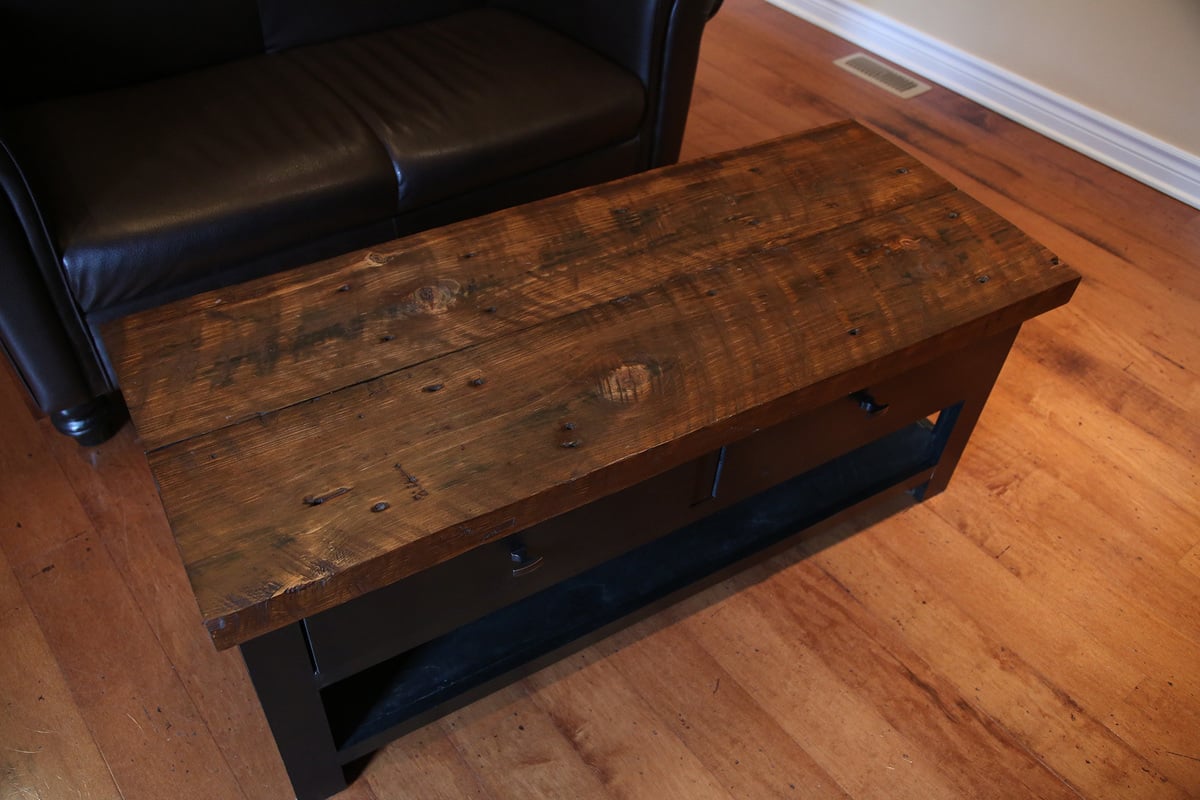
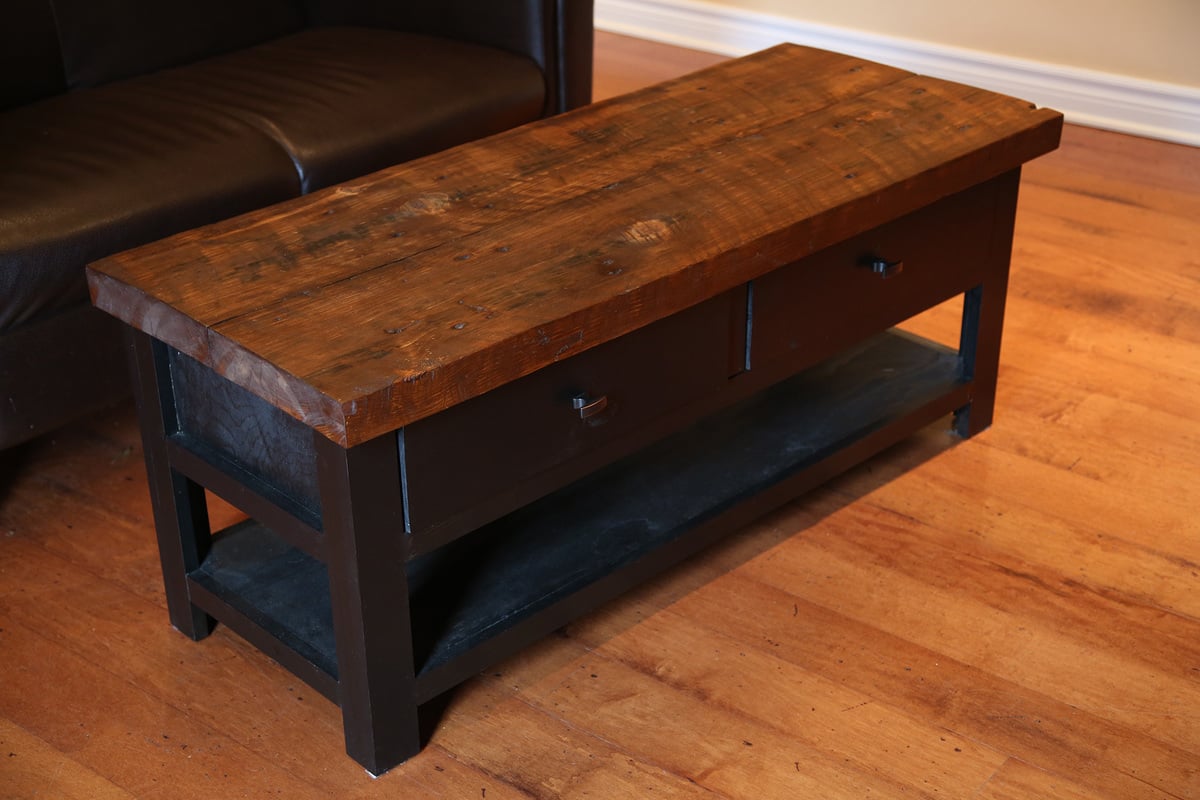
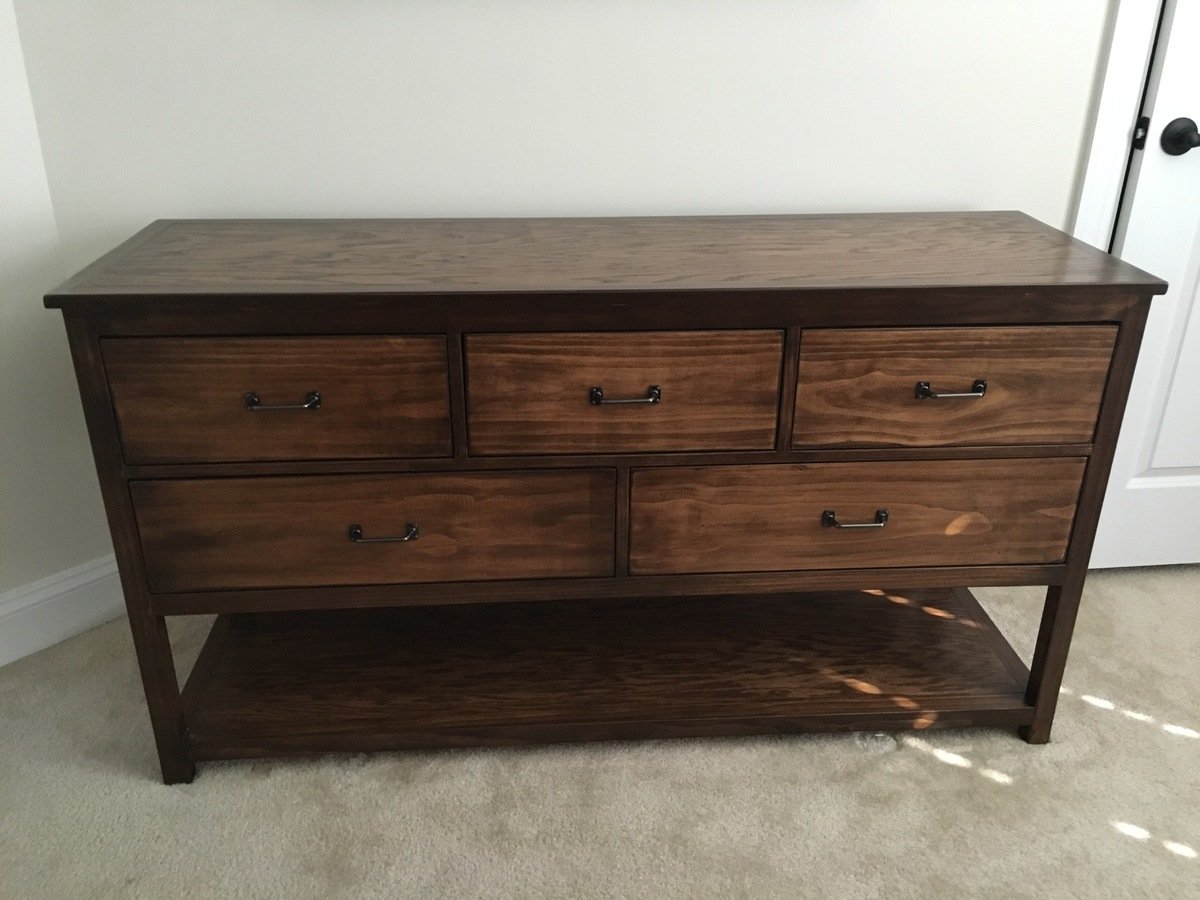
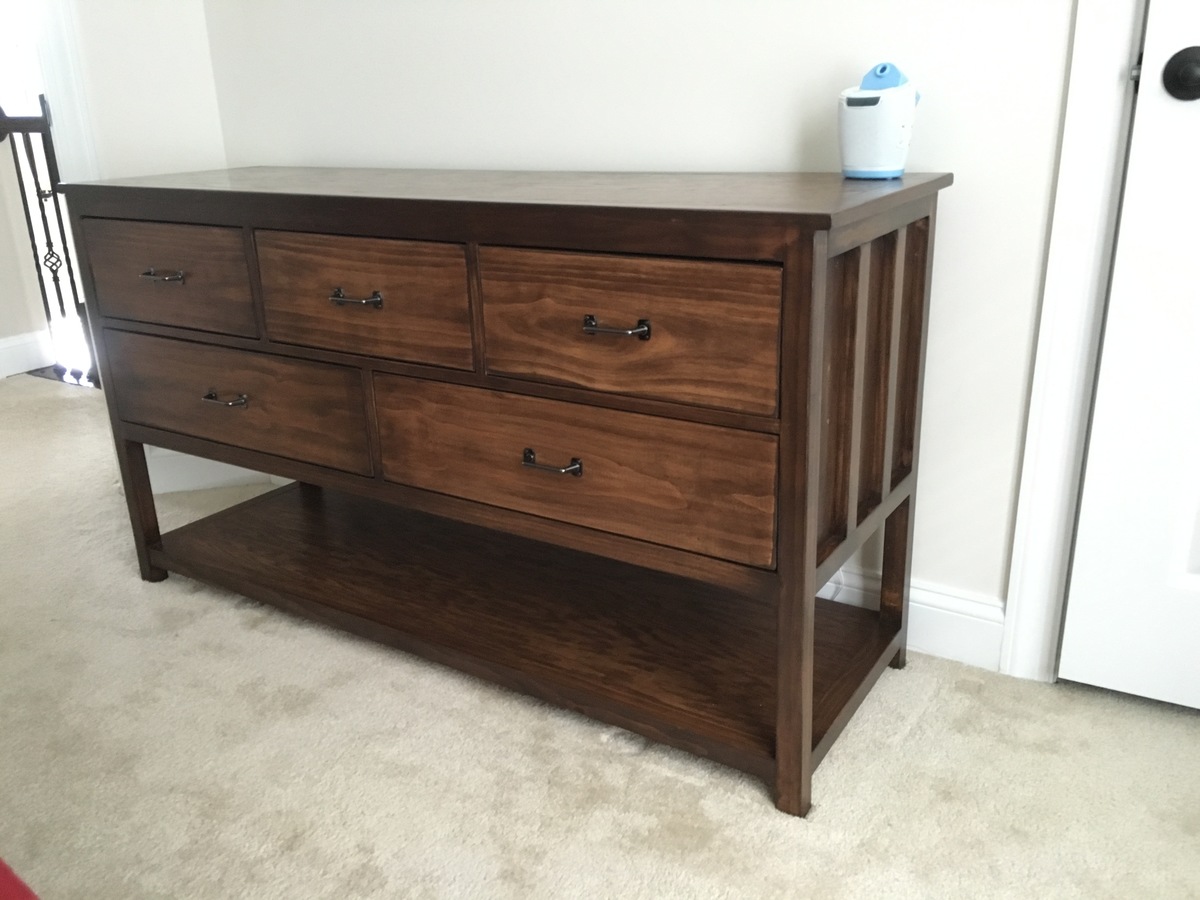
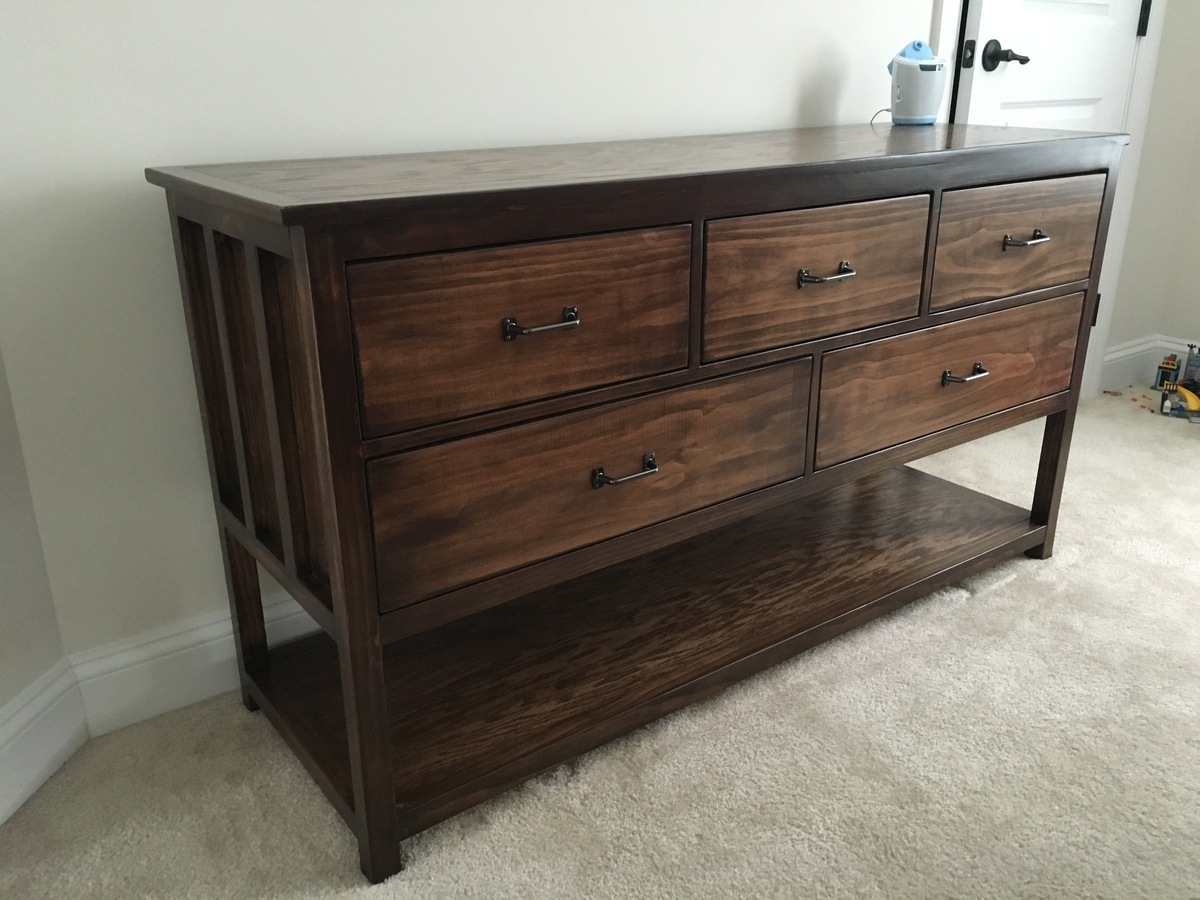
I tweaked the console plans to work best for my space, and to work with the reclaimed barn threshing floor boards that I used for the top.
I love how it turned out and it works wonderfully in my space.
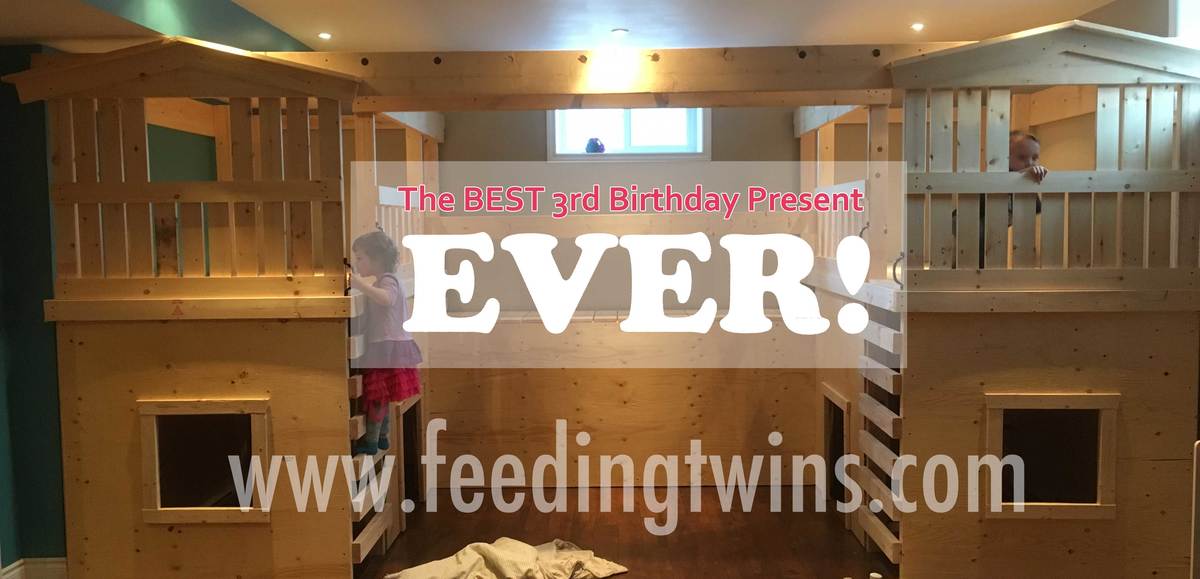
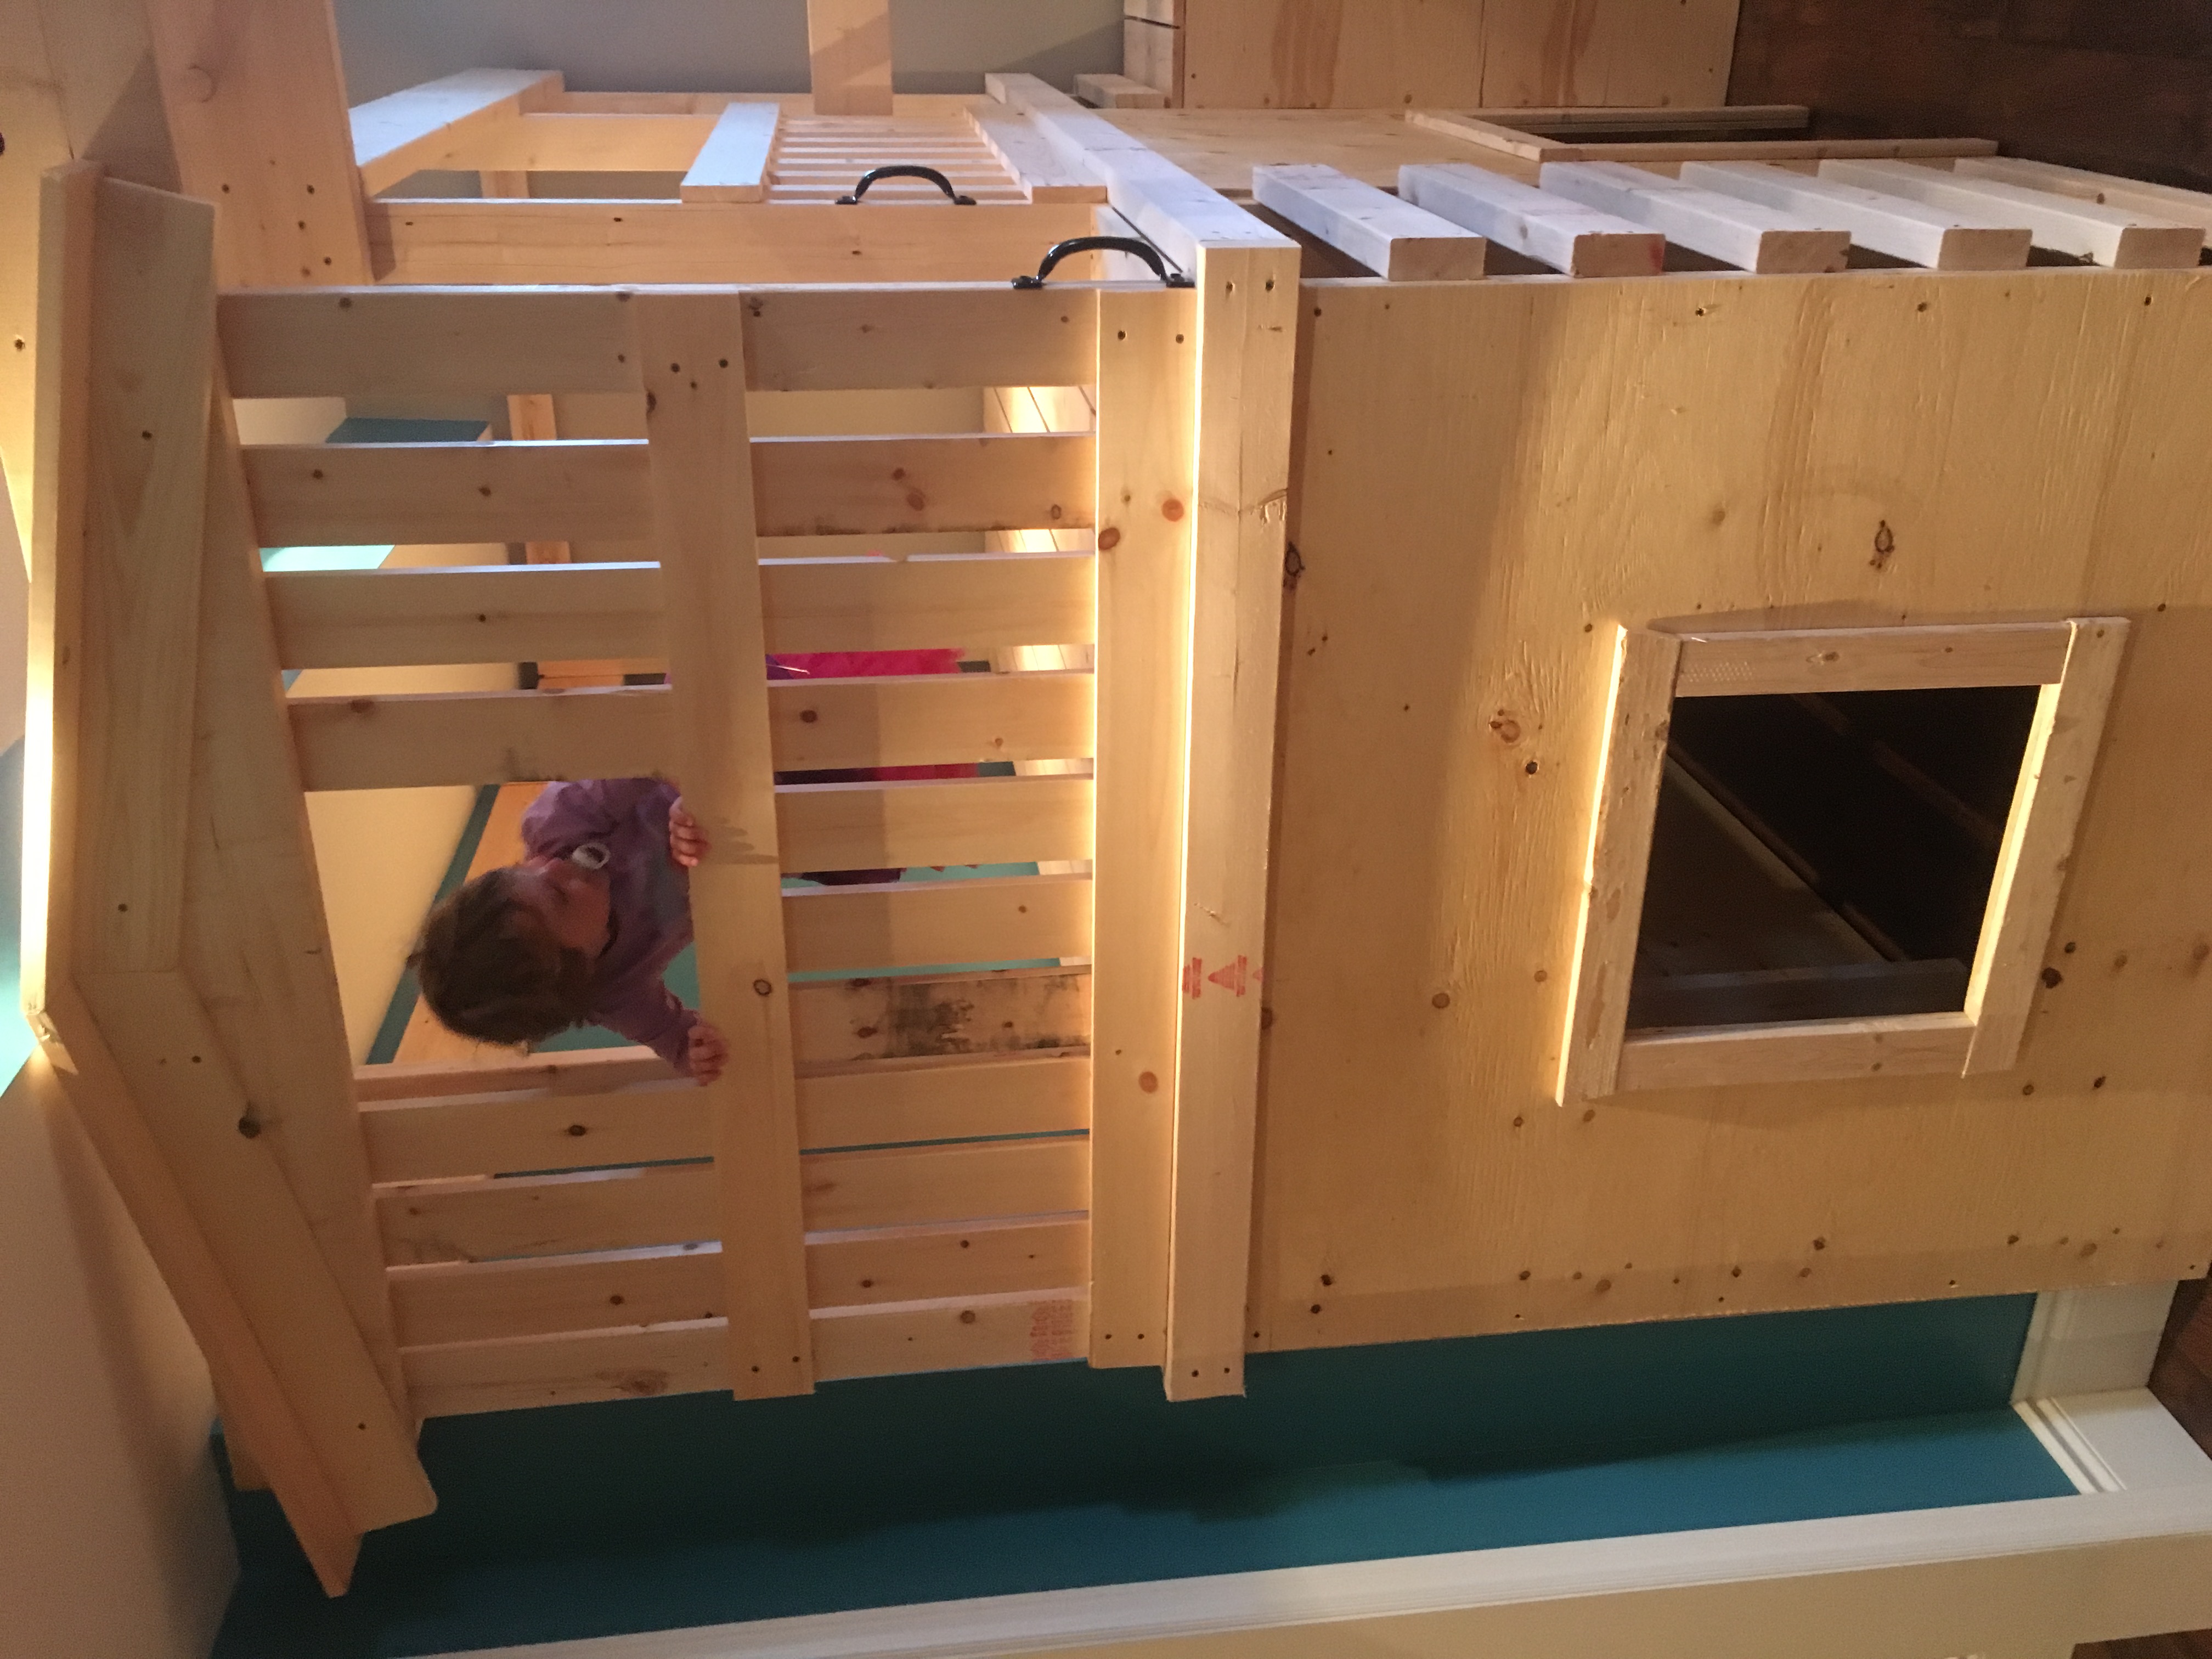
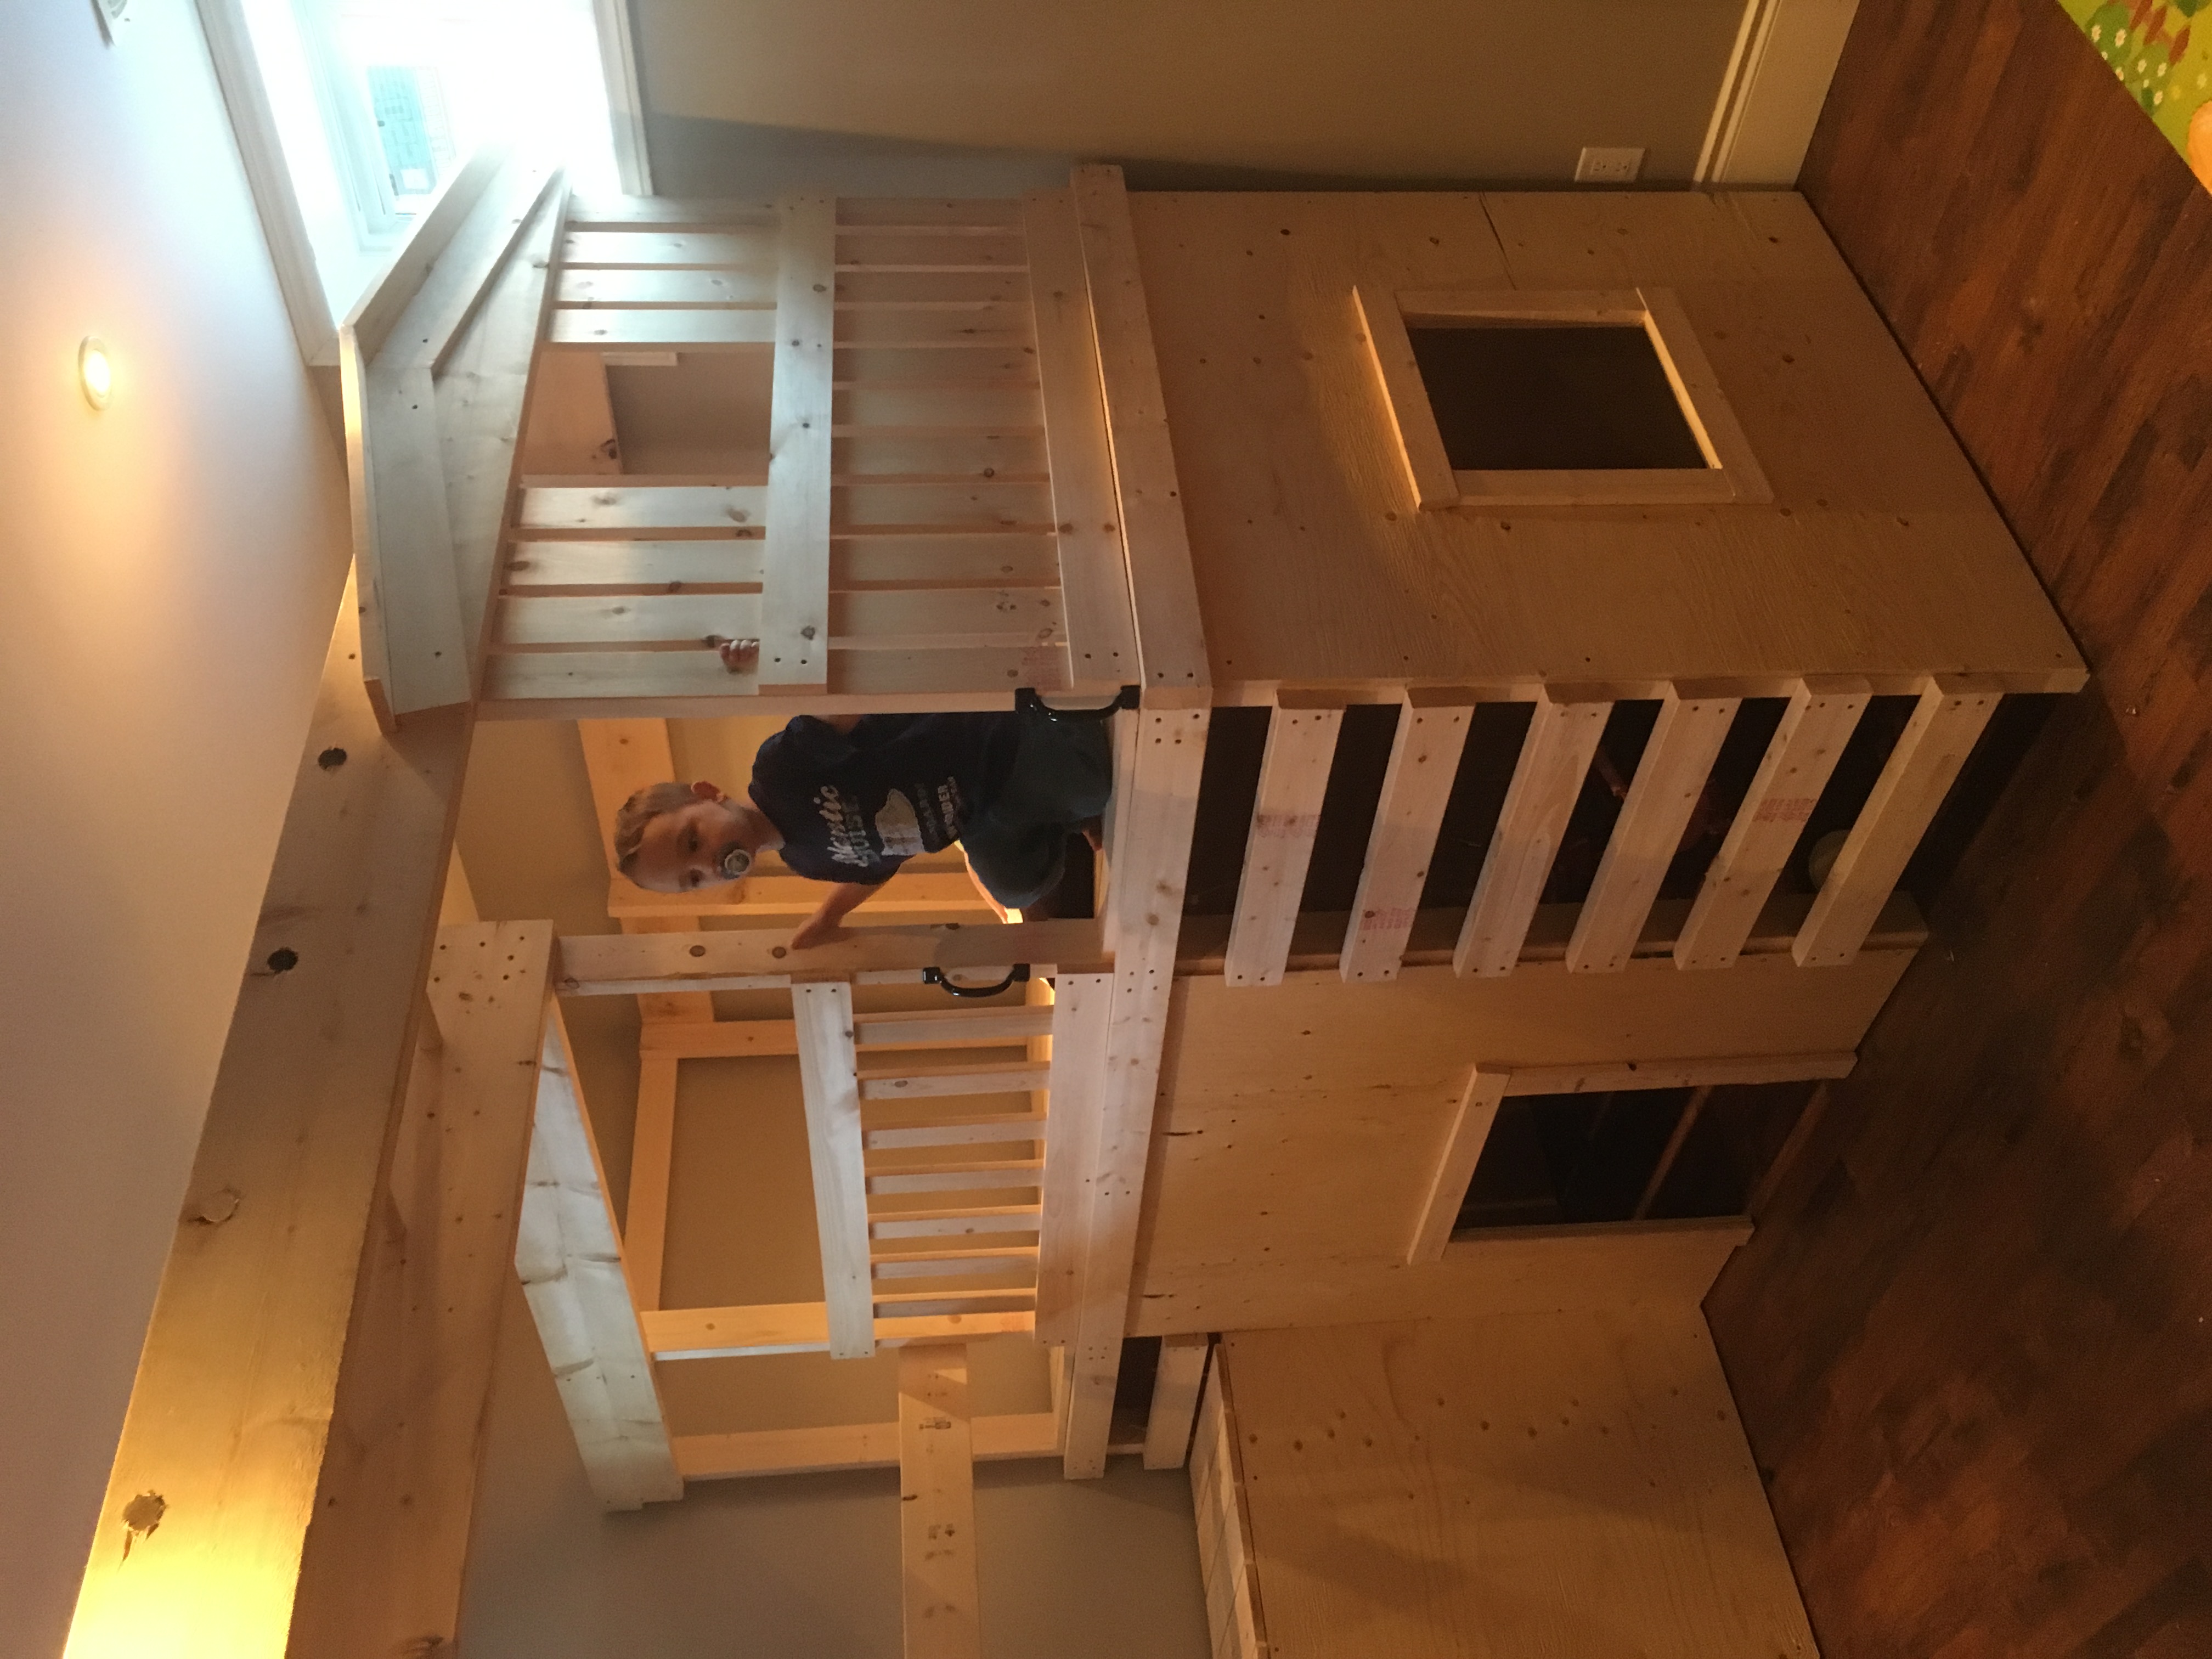
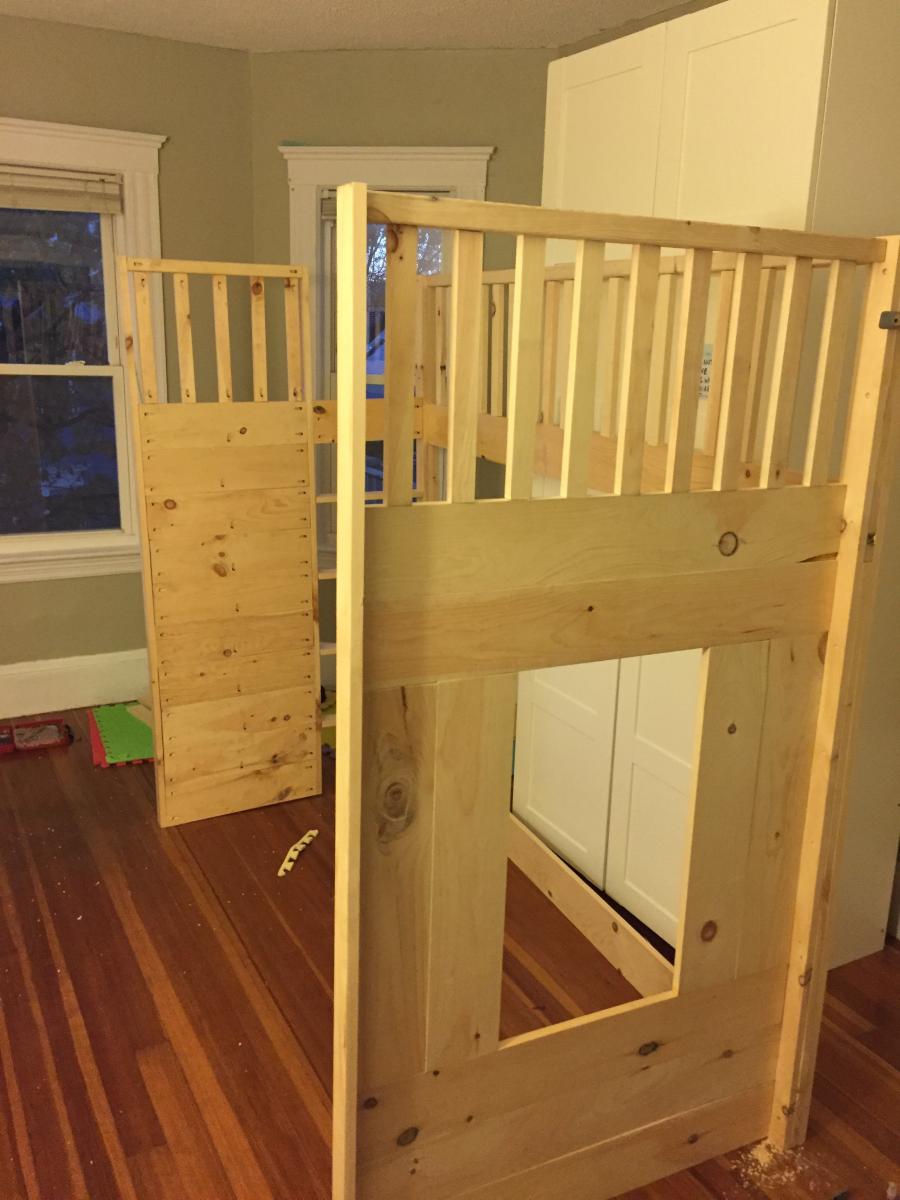
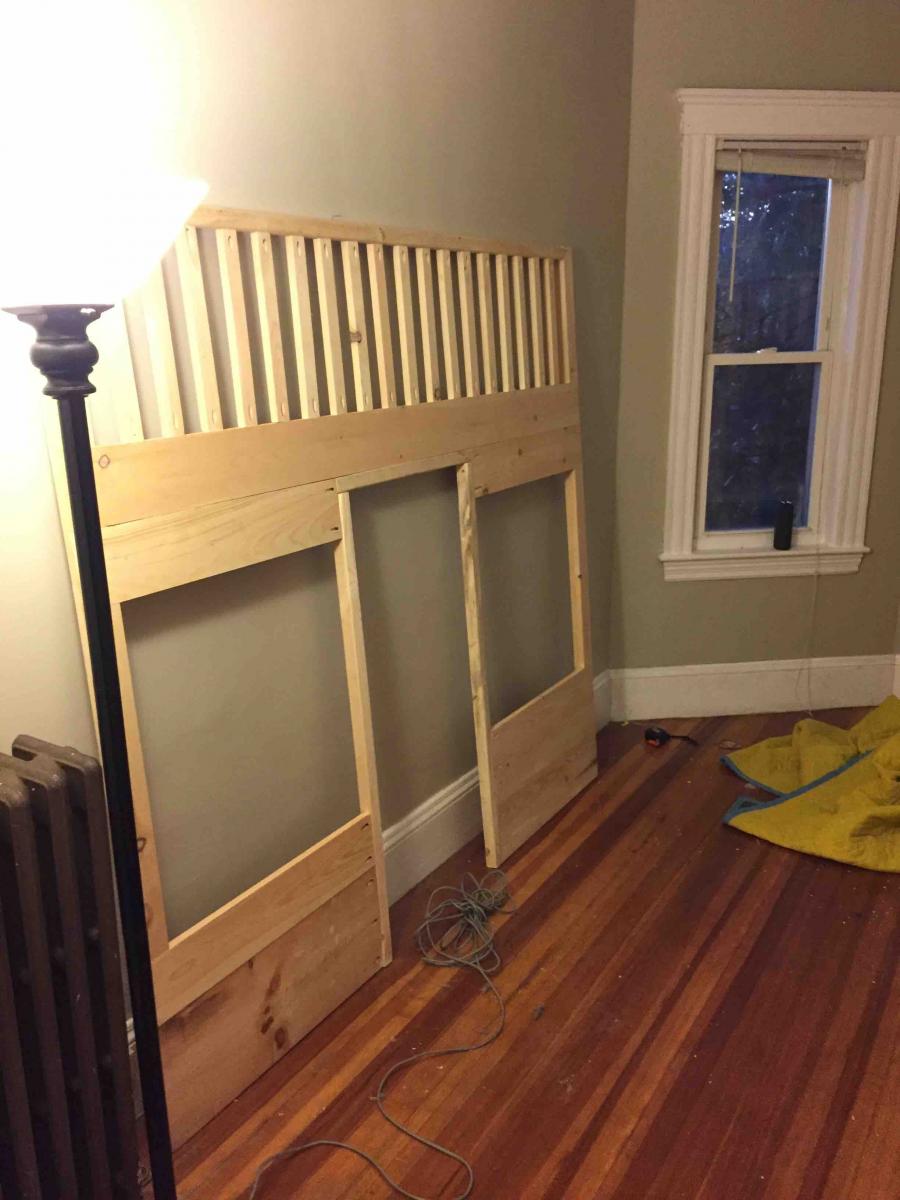
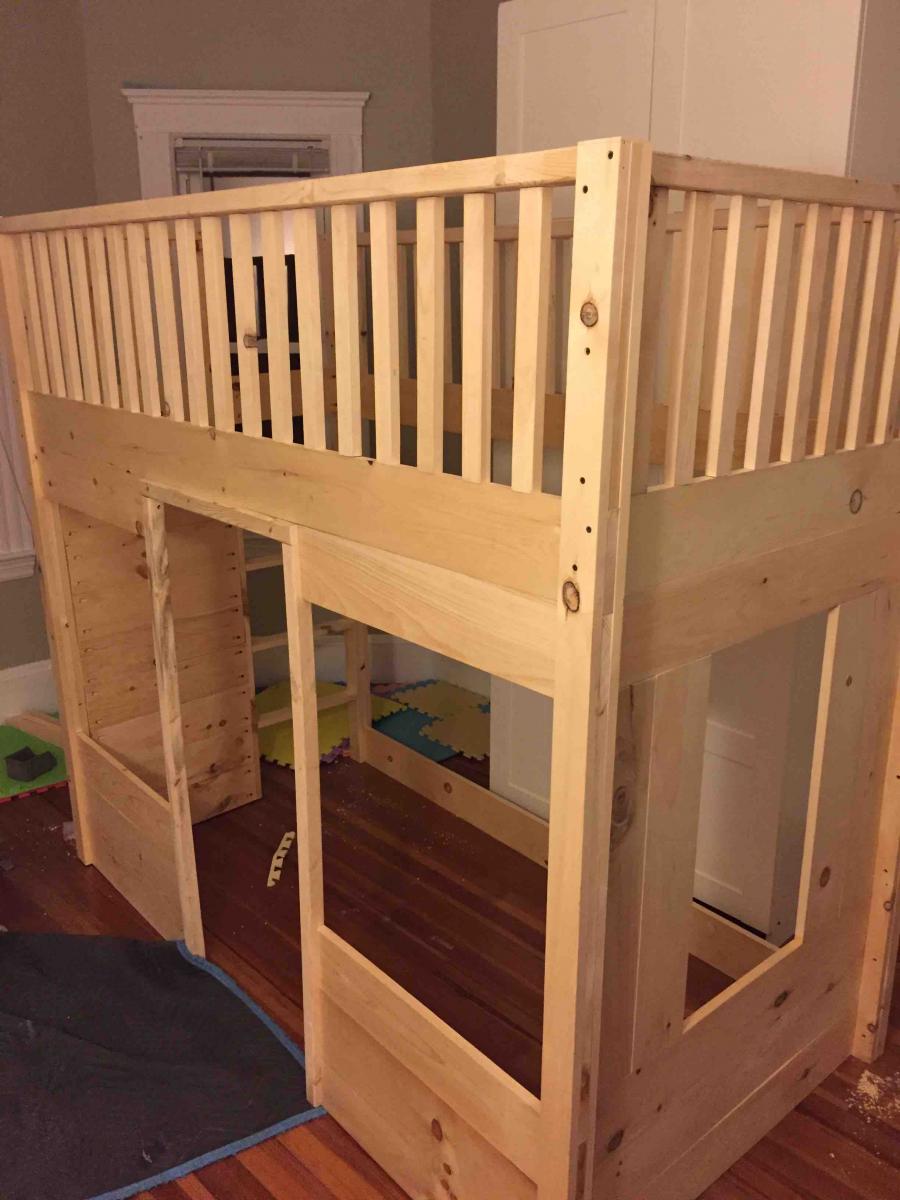
Hi Ana! Thank-you for the detailed instructions on how to build the indoor playground! We had our contractor build this for our twins' 3rd birthday present. The kids absolutely LOVE the playground and use it every day. I'm planning to paint it, reinforce and install a rock climbing wall up to the bridge, and install some easels in the bottoms of the playhouses. You can see more pictures of the kids playing and the construction here: http://feedingtwins.com/body/the-best-3rd-birthday-present/ Thanks again! Julie
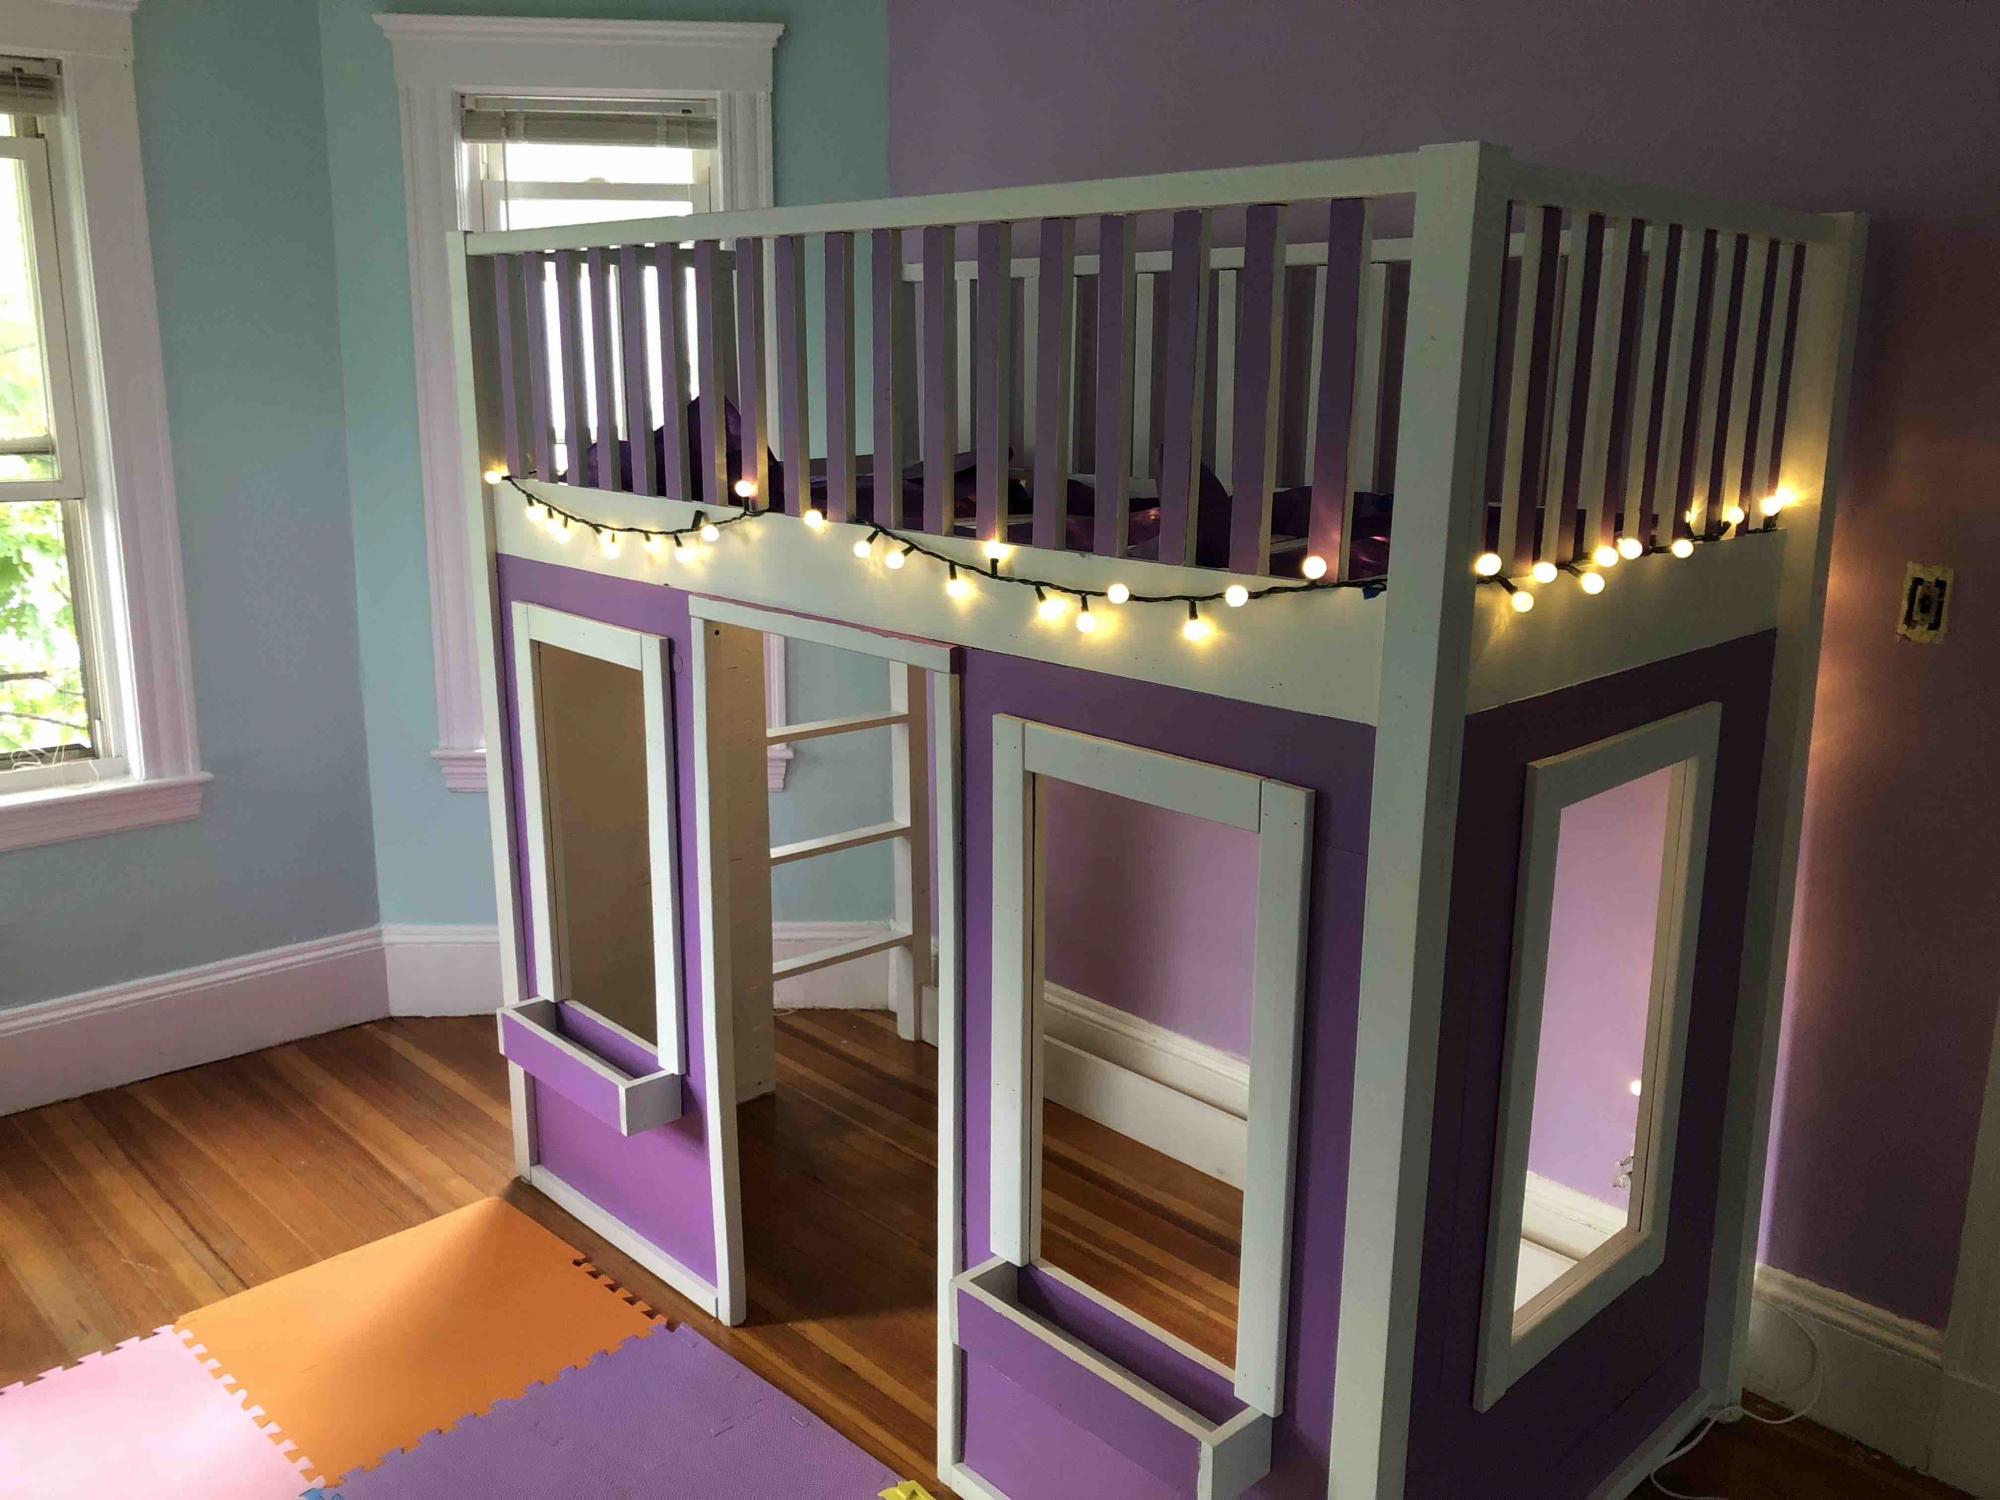
My daughter absolutely loves this bed, and everyone who comes over can't help but to compliment it. I was able to build it in 4 pieces in the basement then carry them up to our apartment and put them all together. It was not an easy build especially since I kept making little mistakes and had to go back and fix them. For example I did not use wood glue at first for the bars so after I screwed them all into place i relaxed they wobbled and twisted so I had to unscrew all of them, add glue and screw them all back in. But overall the instructions were pretty simple to follow and I am very happy with the way it came out.

Wed, 07/17/2019 - 10:15
Love this bed! The color is great! Thank you for submitting your brag posts, we appreciate it!

I decided to make the Clara table and the $4 stackable chairs for my daughters for Christmas. They were not for them though but rather for their American Girl dolls. I had to modify the plans to work for standard 18" dolls.
The Table:
It is a little taller than it should be but it allows the doll to fit under the table/apron while sitting in an appropriately sized chair (5" seat).
I also changed the length from 18" to 15 1/2" so the cuts could be made from a 4ft board.
3 - 1 x 6 @ 15 1/2" (Top) (1 @ 4ft)
4 - 2 x 2 @ 10" (Legs) (1 @ 4ft)
2 - 1 x 3 @ 10 1/2" (End Apron) (1 @ 4ft)
2 - 1 x 3 @ 9" (Side Aprons)
The apron is 1 1/2 inches. a 1x2 would probably work for the aprons too. You could then shorten the table legs by about an inch.
The Chairs:
The over all dimensions are now 12" H (back), 5 1/2" H (seat) X 6" W X 6 1/2" D
Cut List:
2 - 1×2 @ 4 1/4" (Side Aprons)
2 - 1×2 @ 5" (Side Supports)
3 - 1×2 @ 4 1/2" (Front Legs and Front Apron)
7 - 1×2 @ 6" (4 Seat Slats, 2 Back Slats and Back Apron)
2 - 1×2 @ 12" (Back Legs)

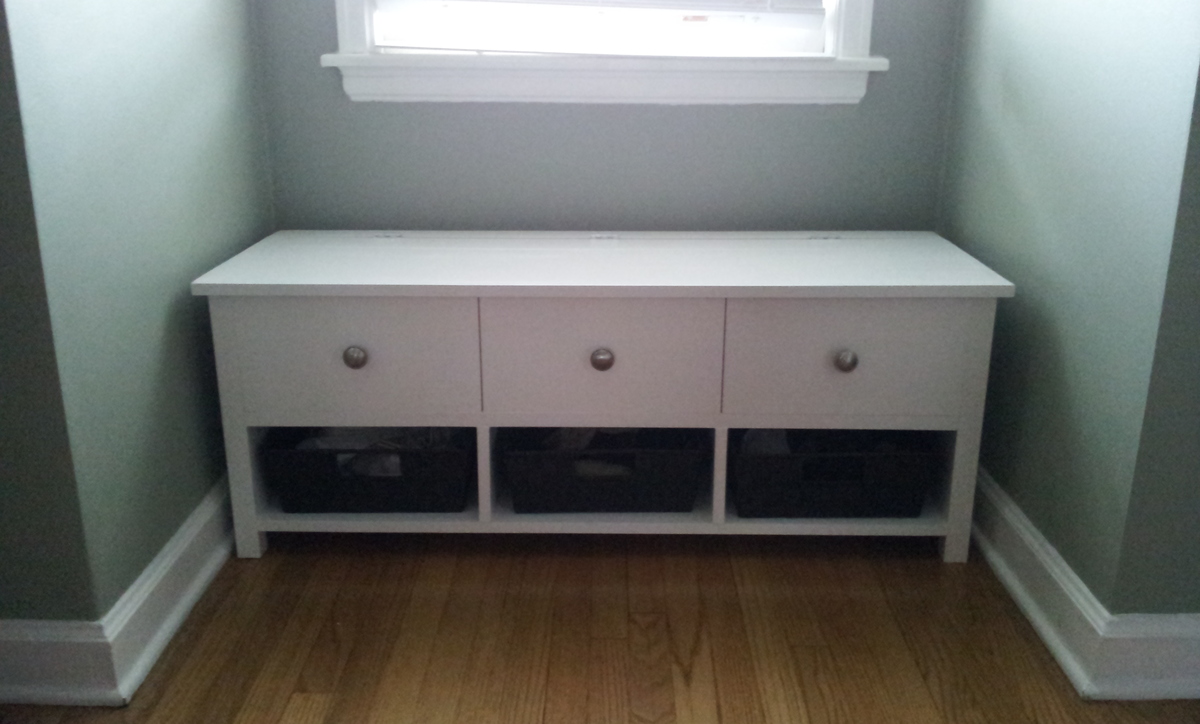
I followed the plans and everything went really well. Th bench was built to match a Farmhouse Bed and nightstand that I built. I added fake drawers and knobs to make it match the nightstand. The top of the bench is made from boards screwed together rather than plywood, to add a little character.
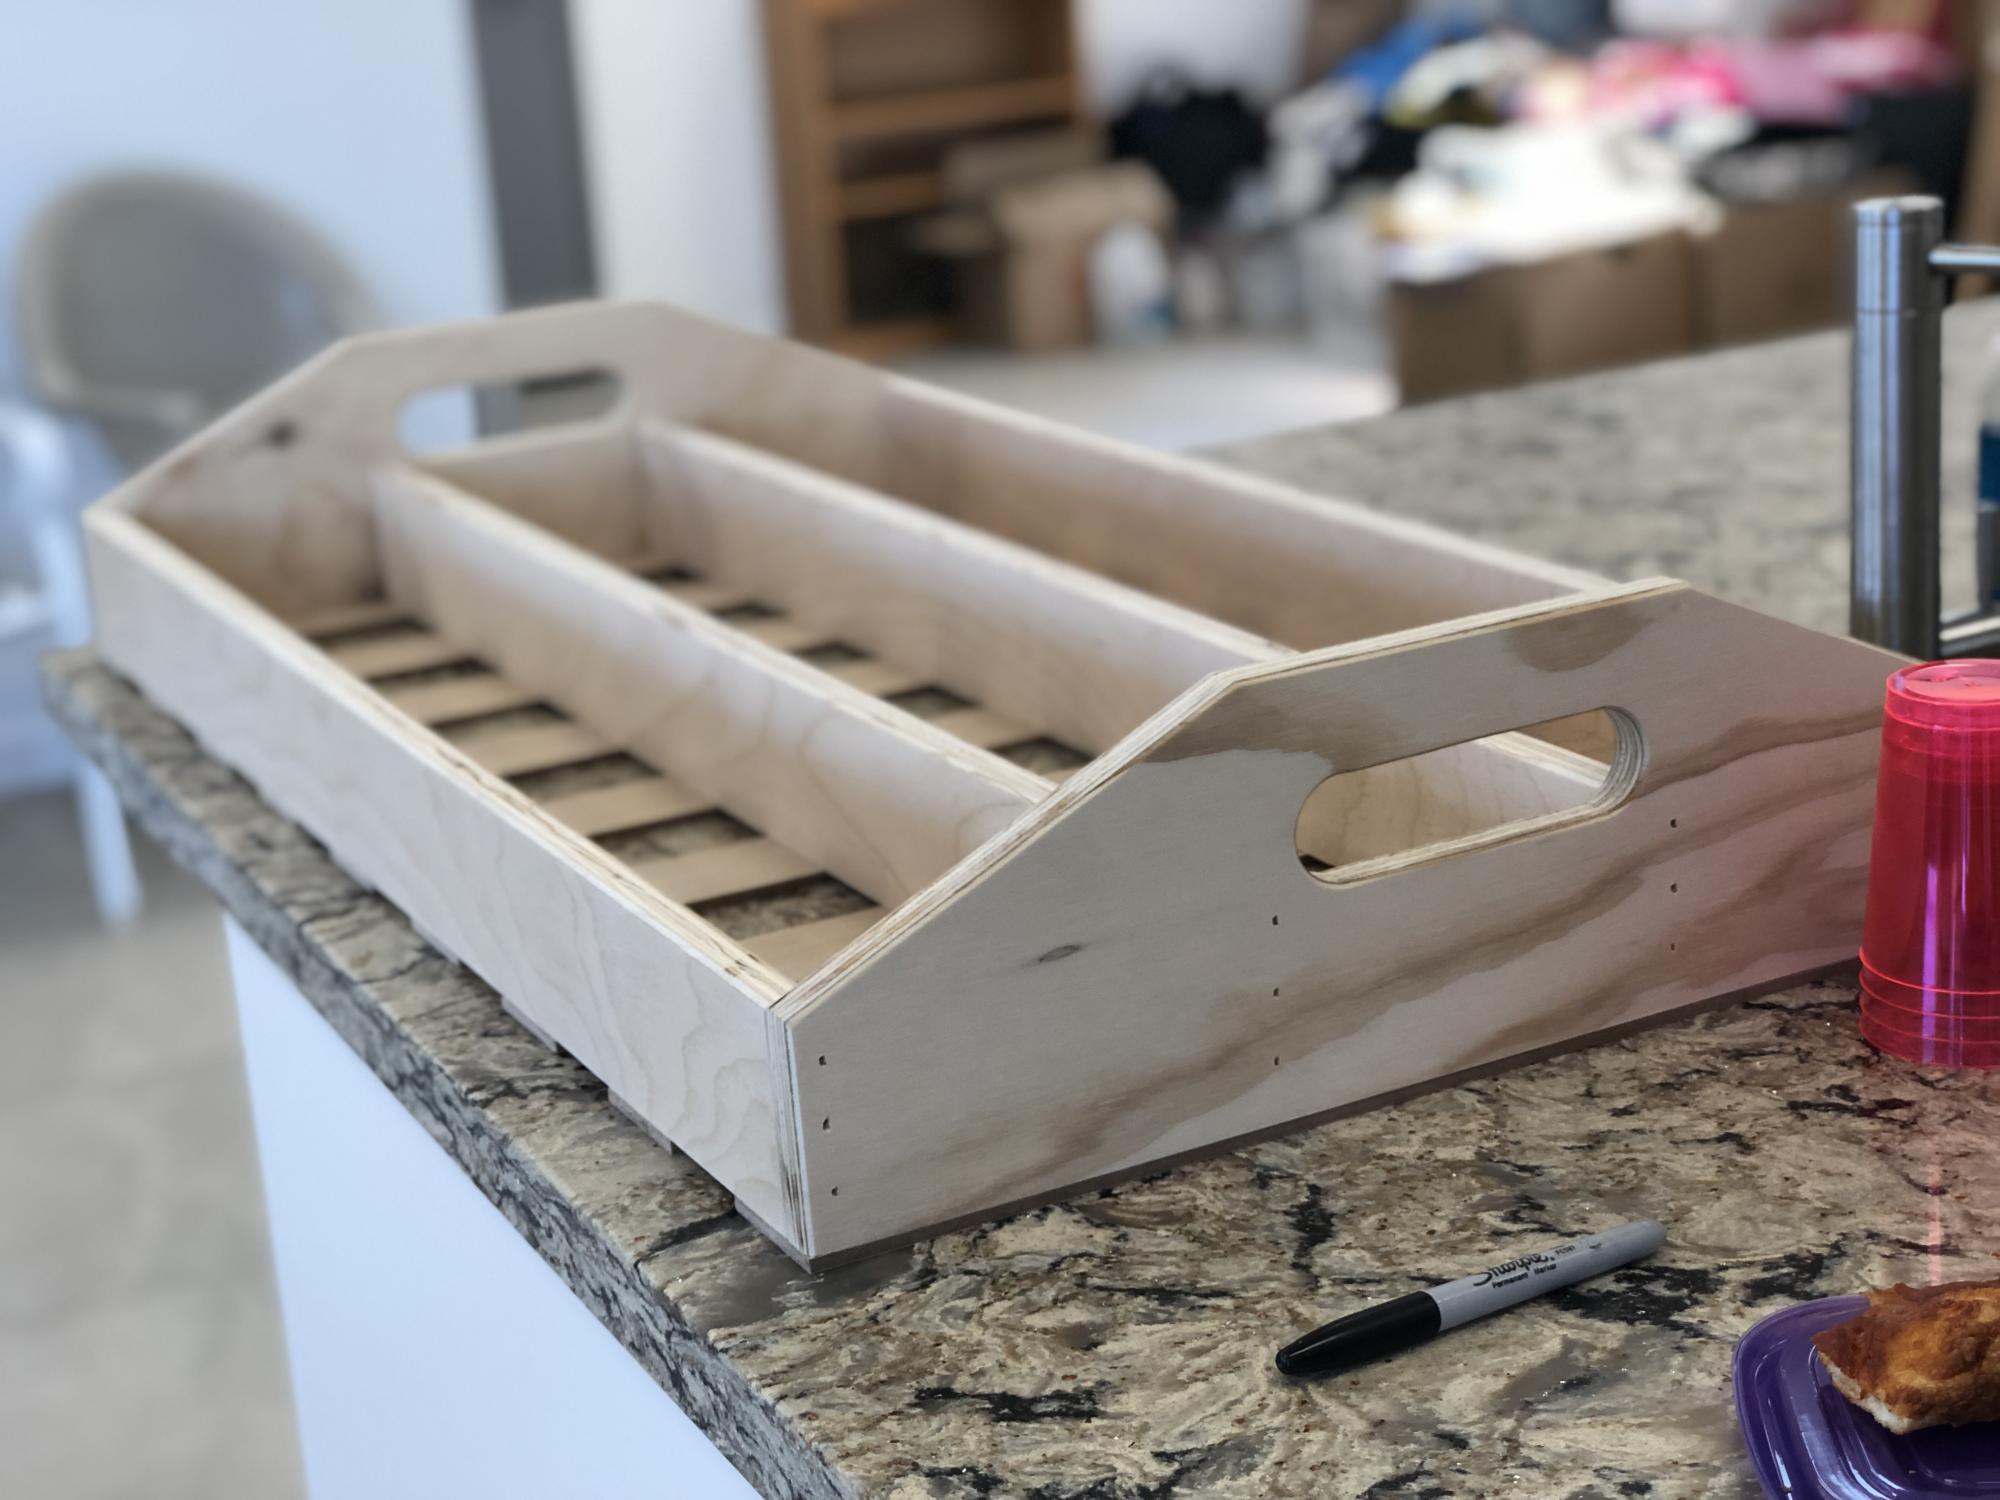
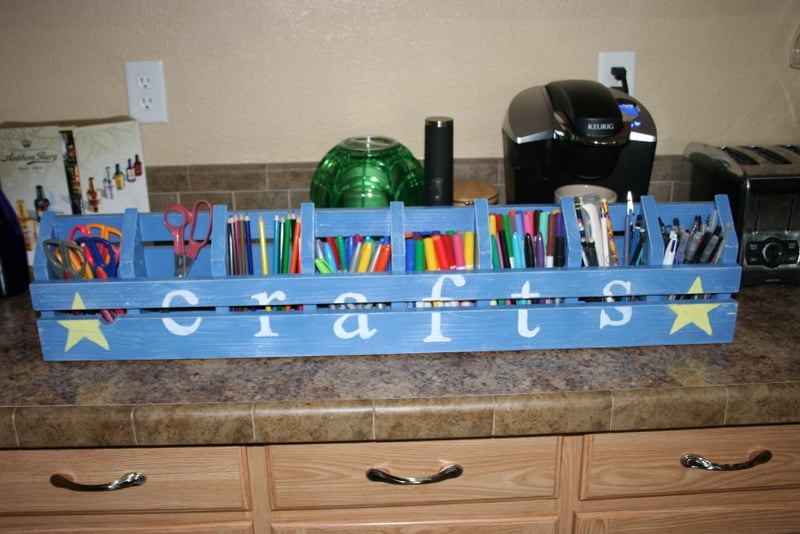
My husband made this with a few tweaks: taller dividers to be even with the sides, smoothing of edges, and handles! It was perfect for our salad bar and pizza party!

Thank you, Ana, for the banquet bench plan! I’ve never done any form of carpentry before, but with your plans, the right tools and some perseverance, this labour-of-love is my new pride and joy and has added some much needed storage to my small kitchen.
Angela (London)


Mon, 04/24/2023 - 10:34
You did an amazing job and it fits your space perfectly! Thanks for sharing.
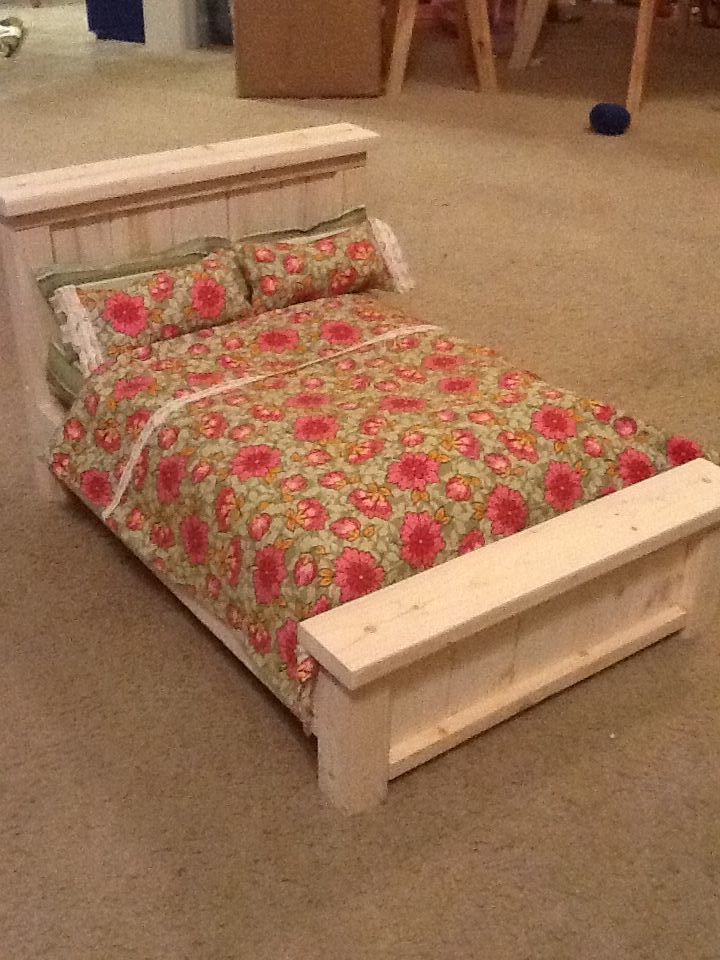
A cooperative project. Hubby made the bed and I did the bedding.
Fun quick project!
My husband built the dresser for our three-year-old son. He built and stained the dresser over the course of a week.
Built this table out of solid Maple, which made it much more expensive to build, but such a beautiful piece of furniture. I bought the legs from Osborne Wood. One thing I did to cut down on cost was to use 1" X 6" wood for the 5 center table-top boards instead of the 2" X 6" called for in the plans. Underneath those, I put a piece of 3/4" plywood to increase the thickness to match the (4) 2" X 6" outer edges. This is not visible unless you climb under the table to look at it from underneath but I think it actually helped to create a flat (almost seamless) table top. Thank you for the plans! I put a lot of work into this piece and I think it will remain in my family for generations!


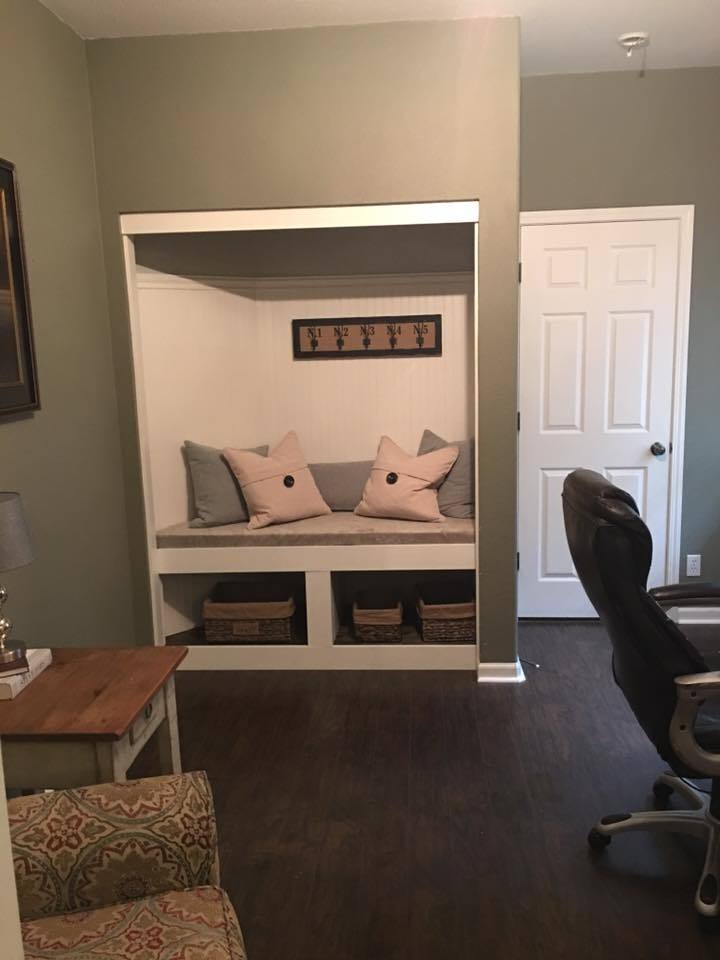
We're still working on these but I wanted to show an in progress picture. Getting organized is fun! I've got lots more details on my blog if you're interested.
Update: We're all done with the drawers and they are the perfect way to organize and create storage in the entryway. It was a lot work getting them to fit into the closet but well worth it.

Tue, 09/04/2012 - 11:21
Do you have a detailed how-to for these closet drawers.
I love the cut out portion at the top - and I have been trying to find an affordable alternative to the Ikea Stolmen drawers ($120 for 2 drawers)
If you could perhaps send me some details on materials, sizes, how you did the cut out at the top - that would be great.
Thank you
Stephanie
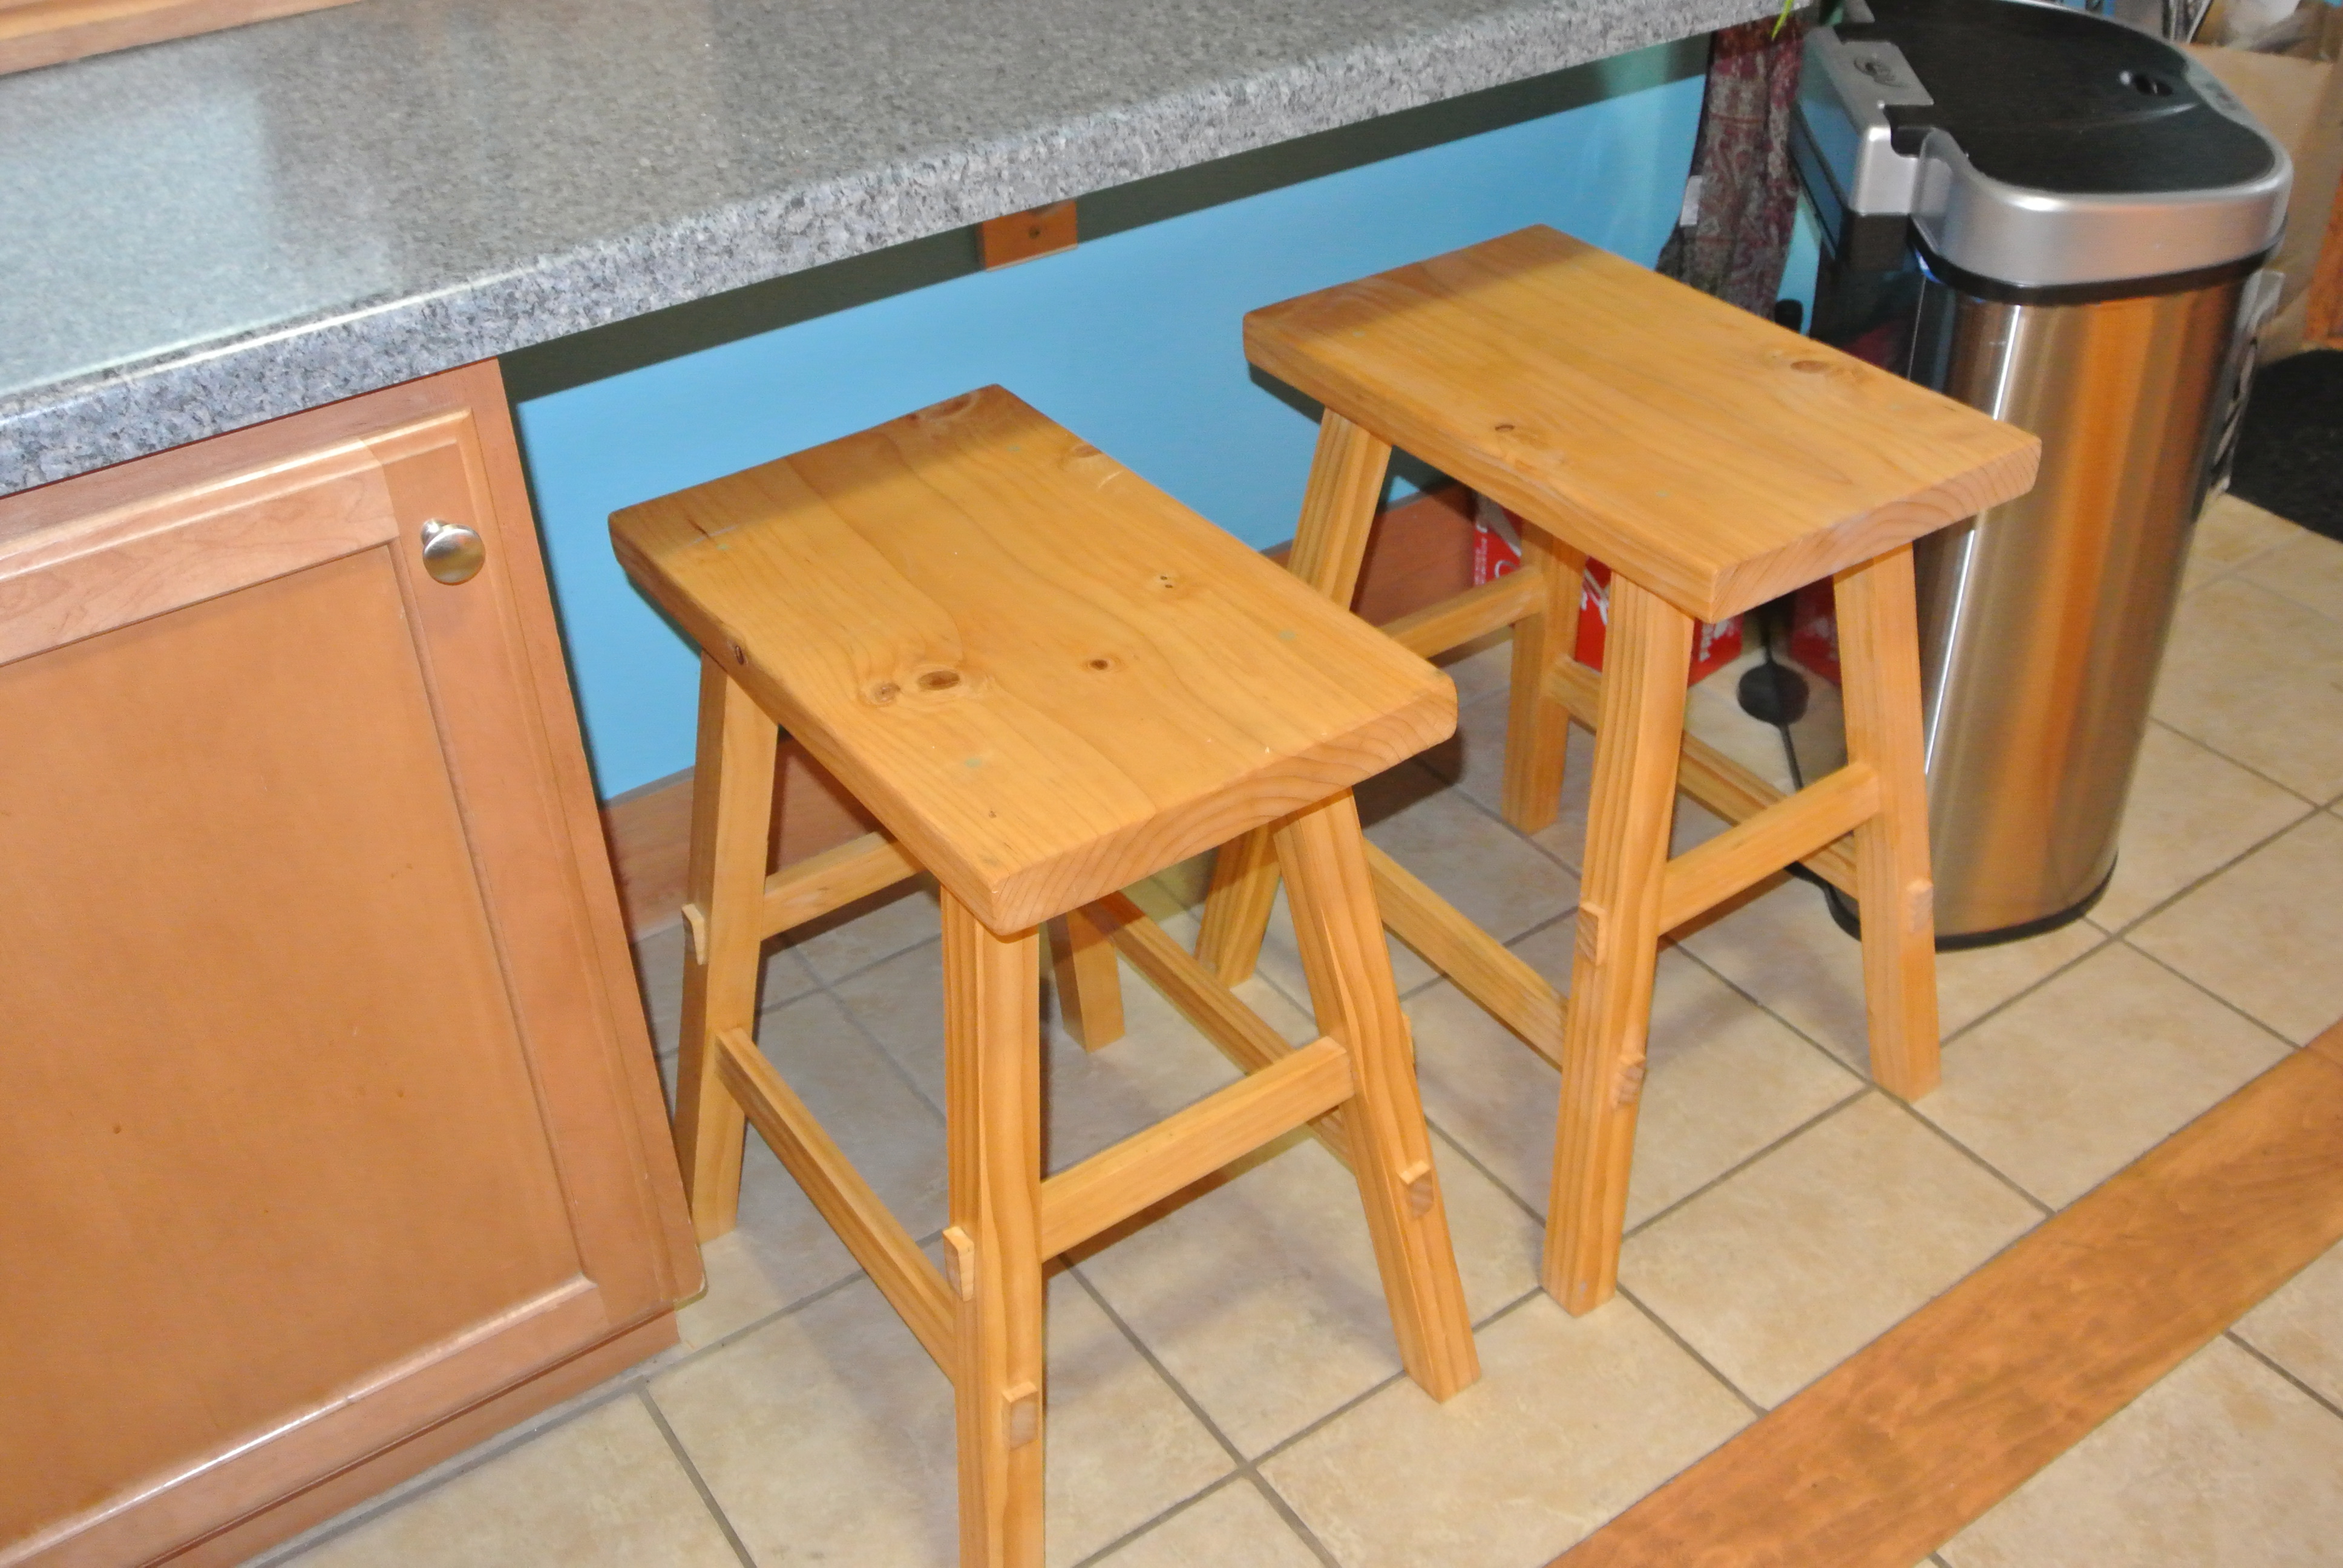
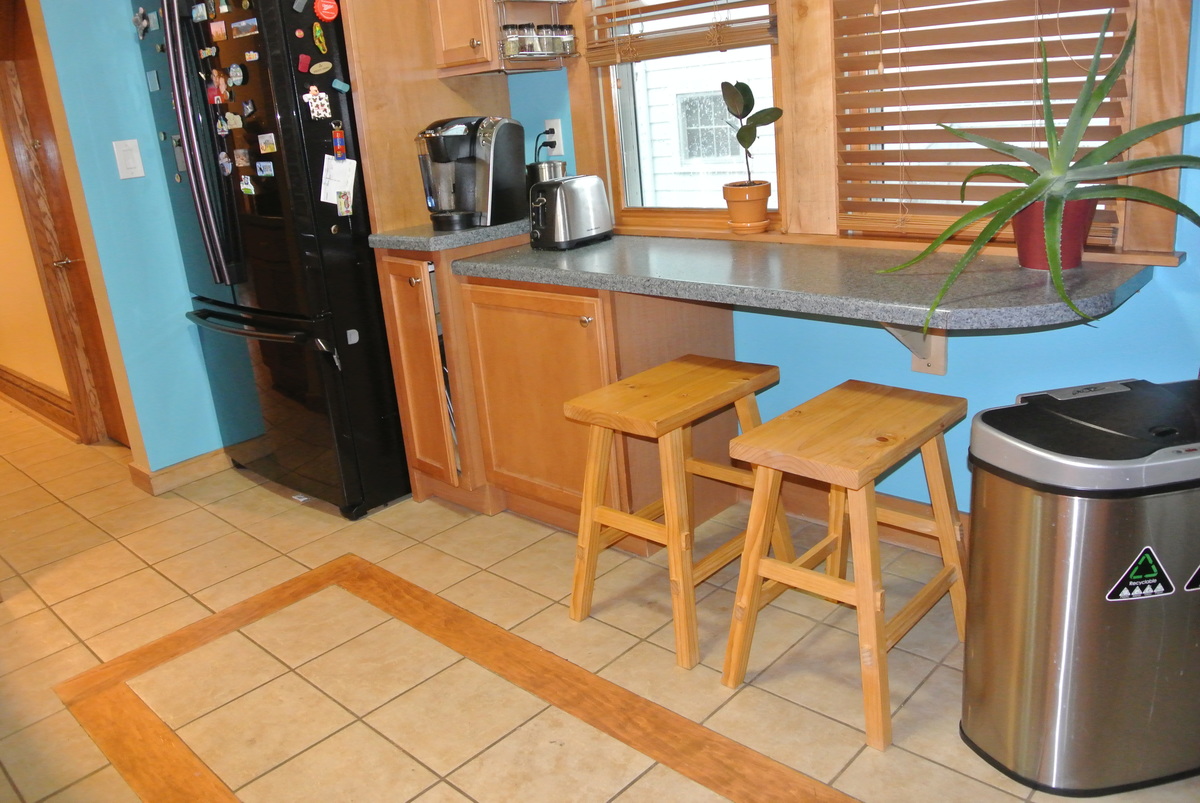
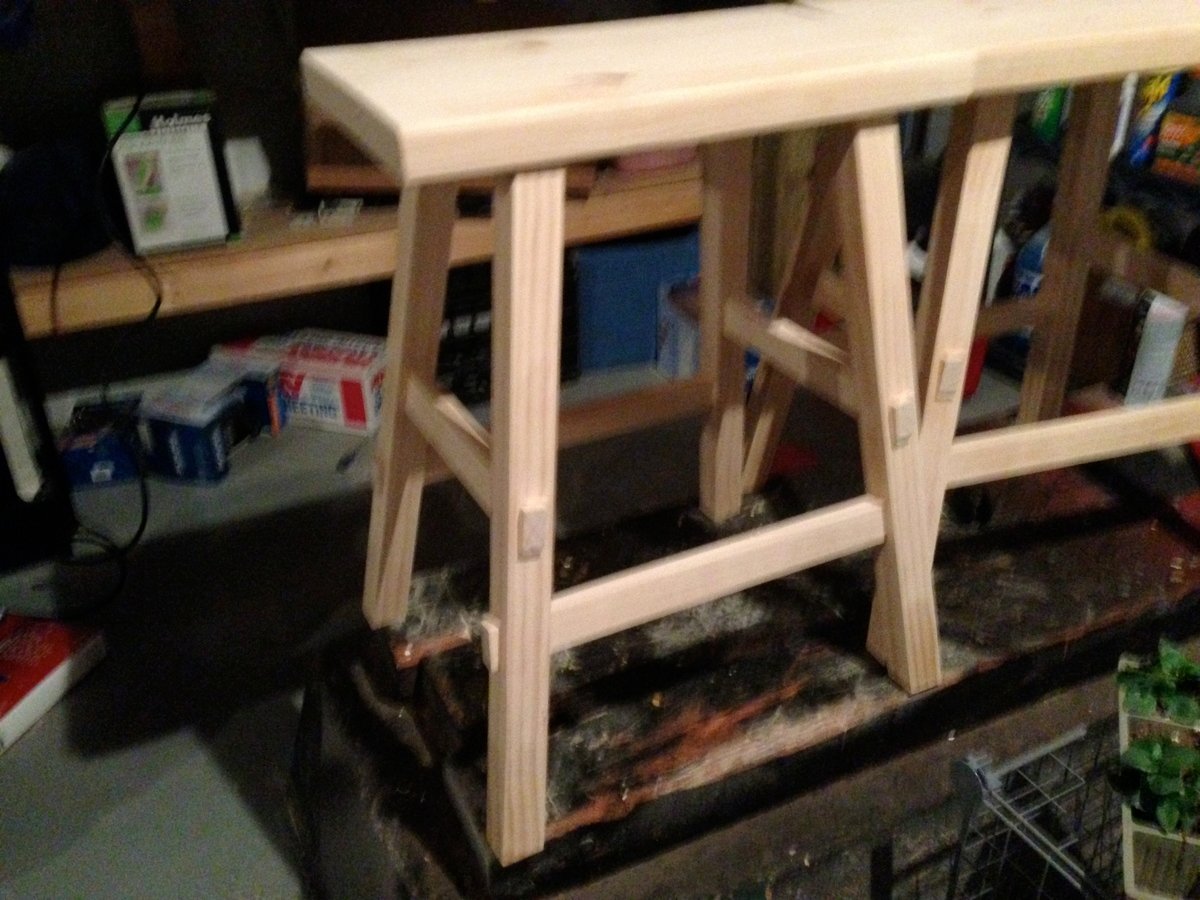
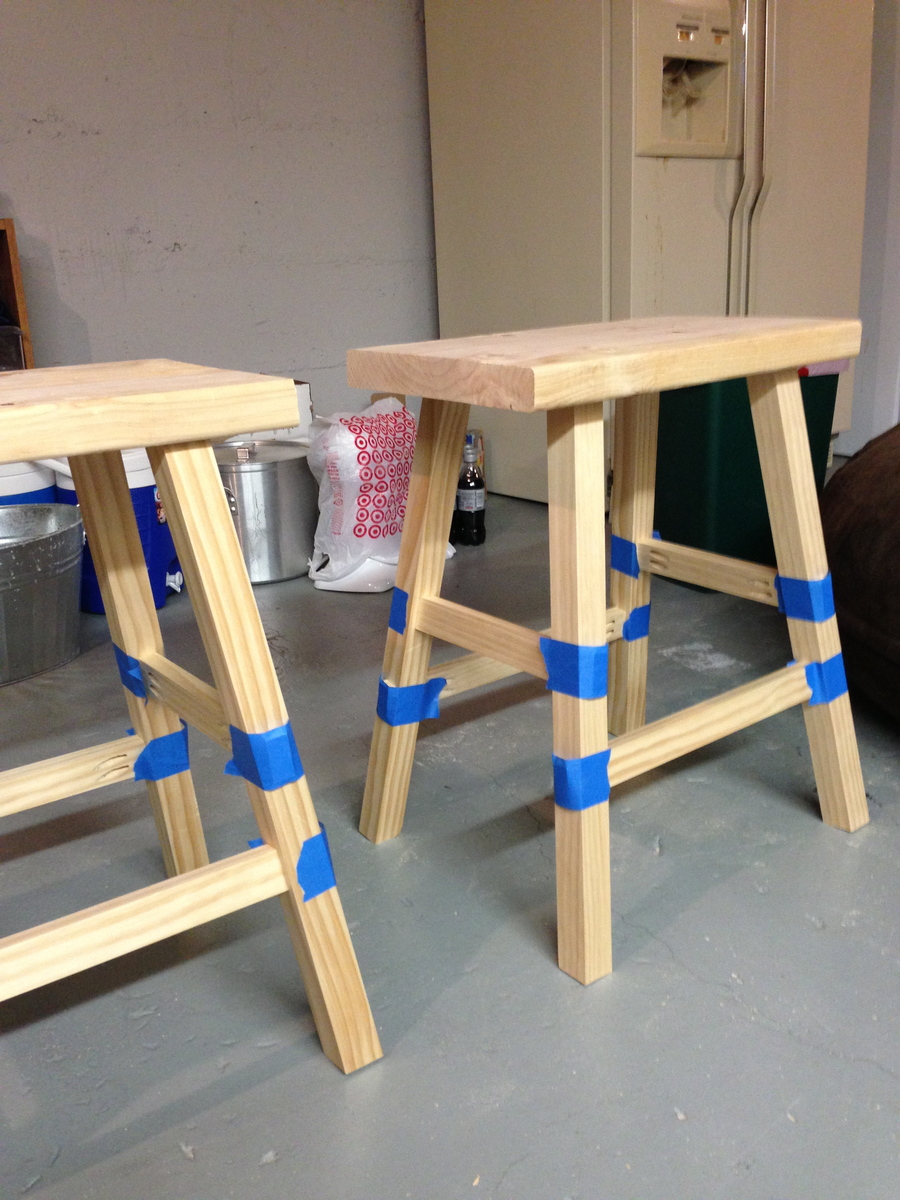
This was my very first project. I wanted to jump right in and start with a Storage Farm House bed but my husband was convinced that I would start a project and just leave it hanging and insisted that I start with something smaller. He was sooo impressed with these stools! I originally had planned to upholster the top as in the plan but we preferred the look with out it! The plans were very easy to follow.
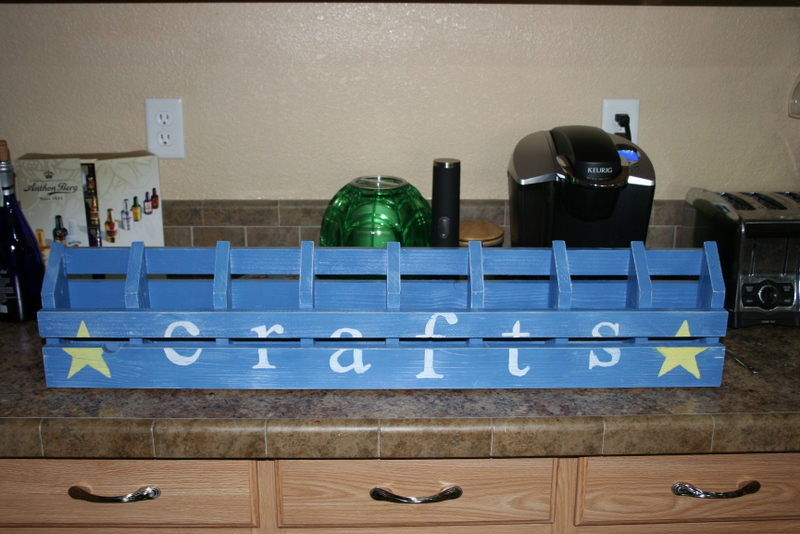
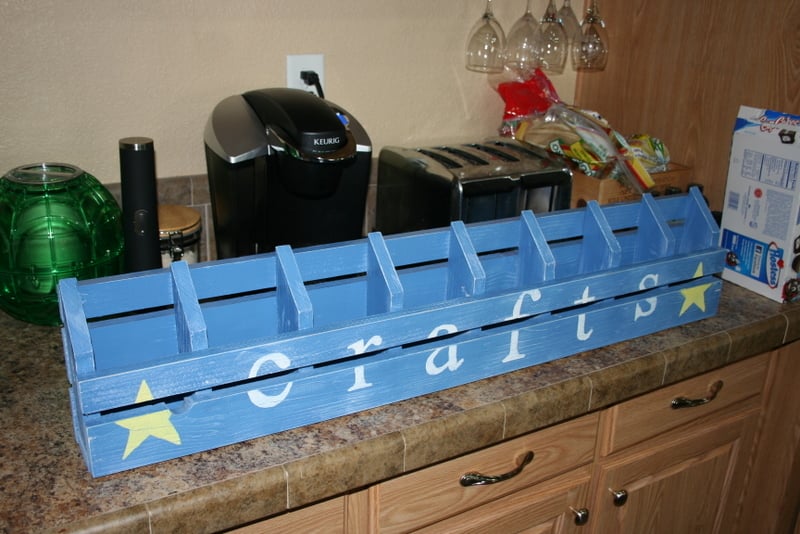
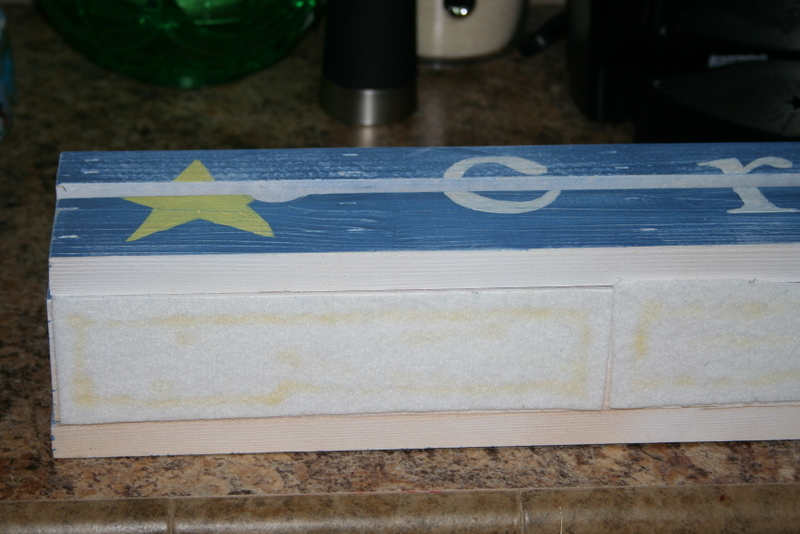
This is my first woodworking project ever. I didn't like the numbers in Ana's plan so I changed it up a little for my taste. I also made this to sit on my desk and added felt to the bottom so that it wouldn't scratch the surface when my kids moved it around. It probably should have only taken me an hour but I was having issues with the brad nailer and not nailing straight.
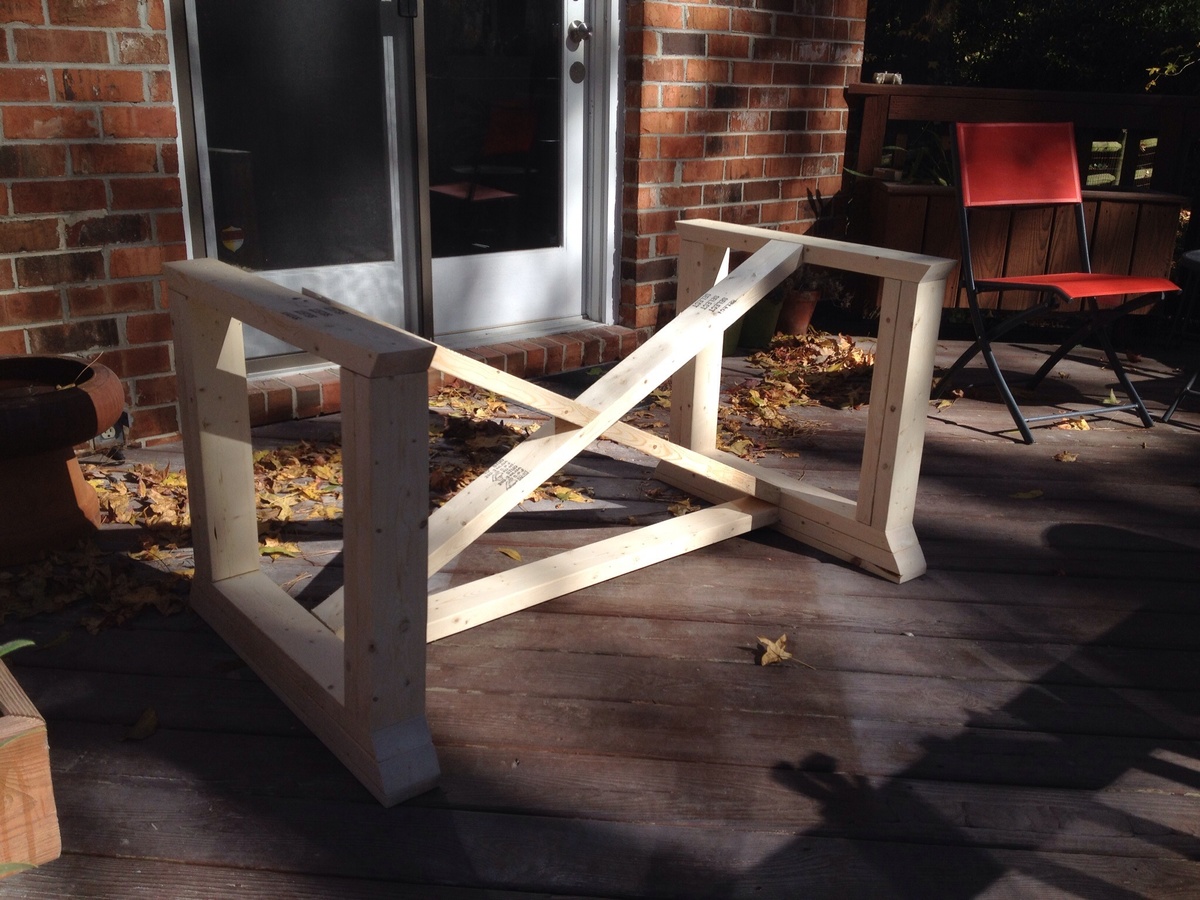
Needed something I could put together between work in a few weeks to serve thanksgiving on. The base of the table is modified from Ana's build and the table top is a frame I built and filled with log slices and clear epoxy resin
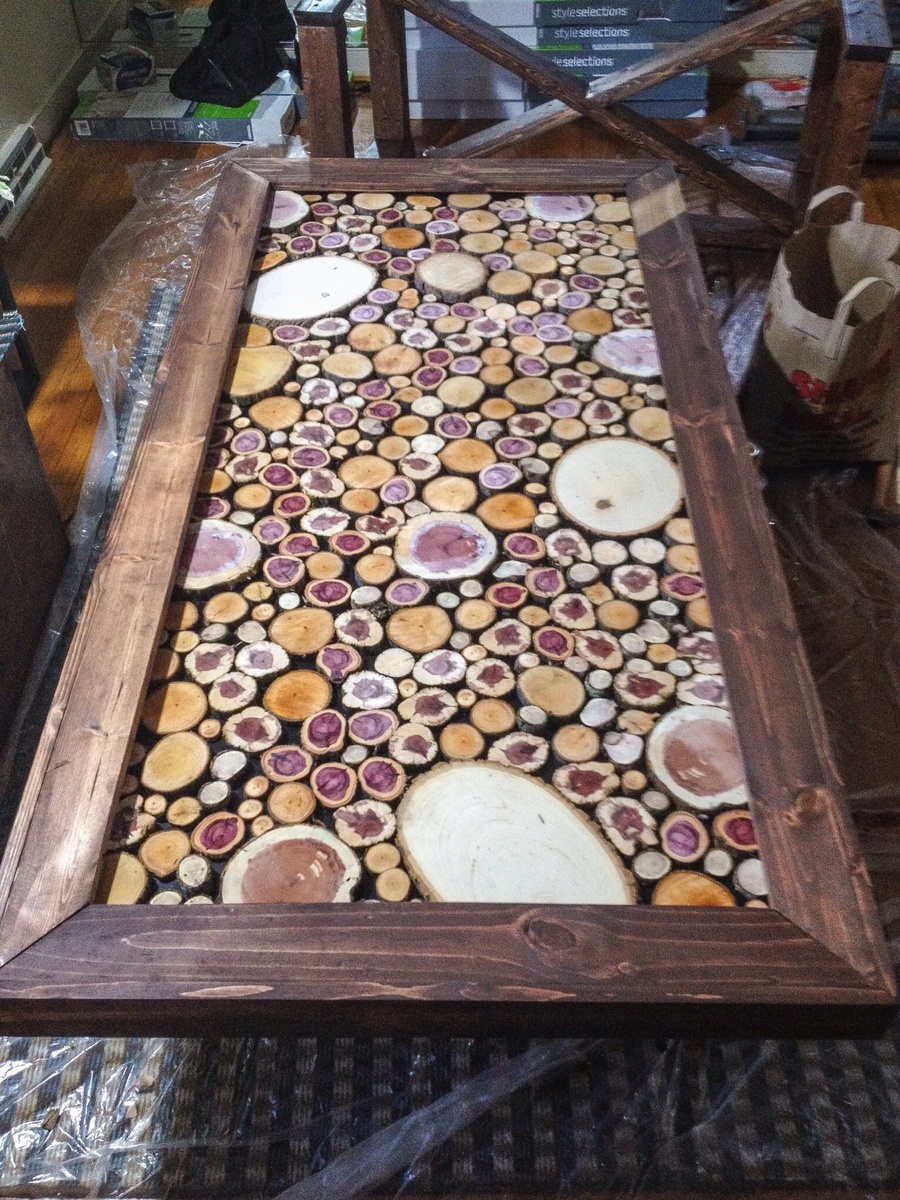

My husband and I bought our first house back in October and wanted to build a table so we could host Thanksgiving dinner at our new place. With the help of my dad and his collection of tools, we were able to use the farmhouse table plans from Ana-White which turned out nicely. We used a dark walnut stain and a couple coats of MInwax Helmsman Spur Urethane.


Comments
shruti
Wed, 04/12/2023 - 13:15
Desk for my daughter!!
Desk for my daughter!!
Ana White Admin
Wed, 04/12/2023 - 16:05
Great desk!
Thanks for uploading a brag post, it looks fantastic!