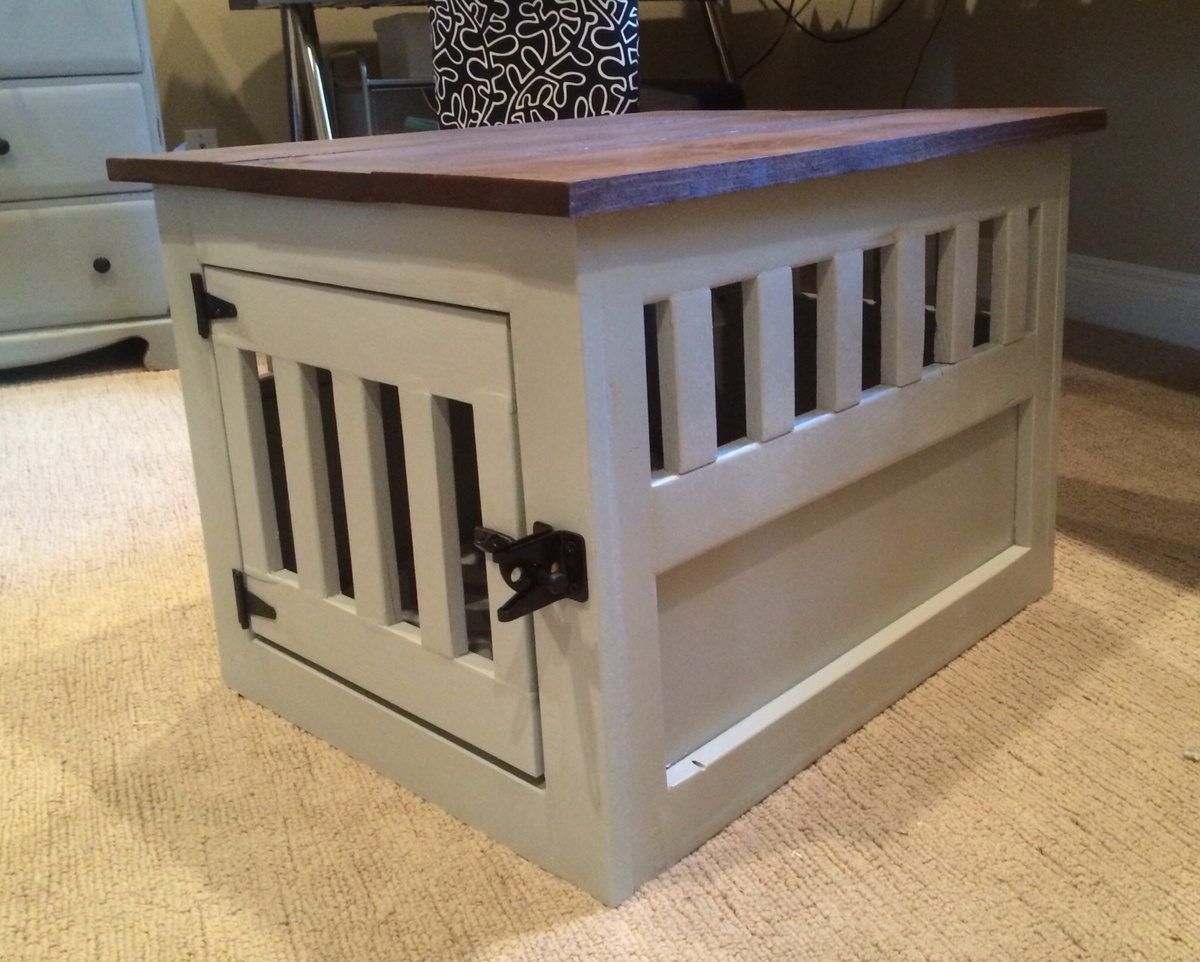
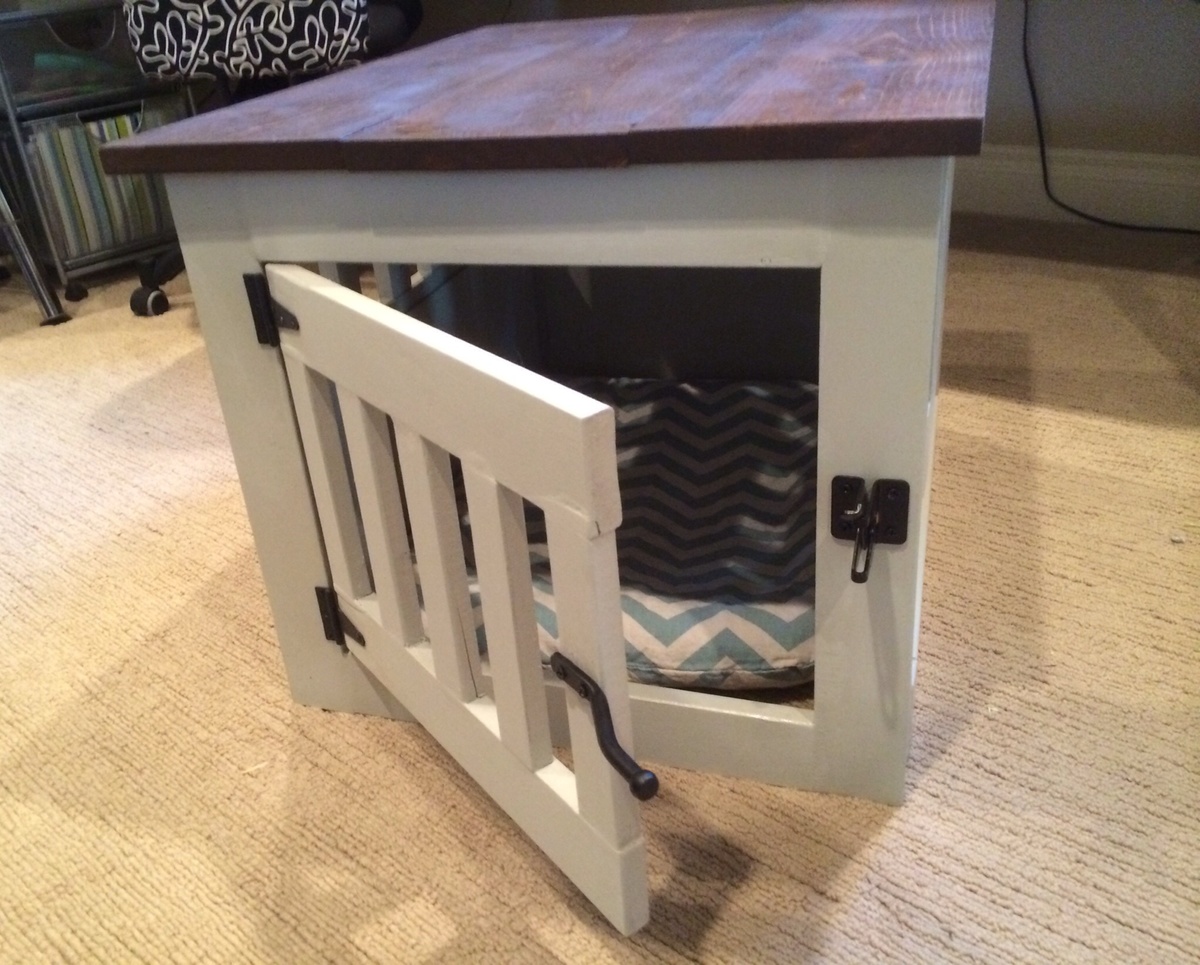
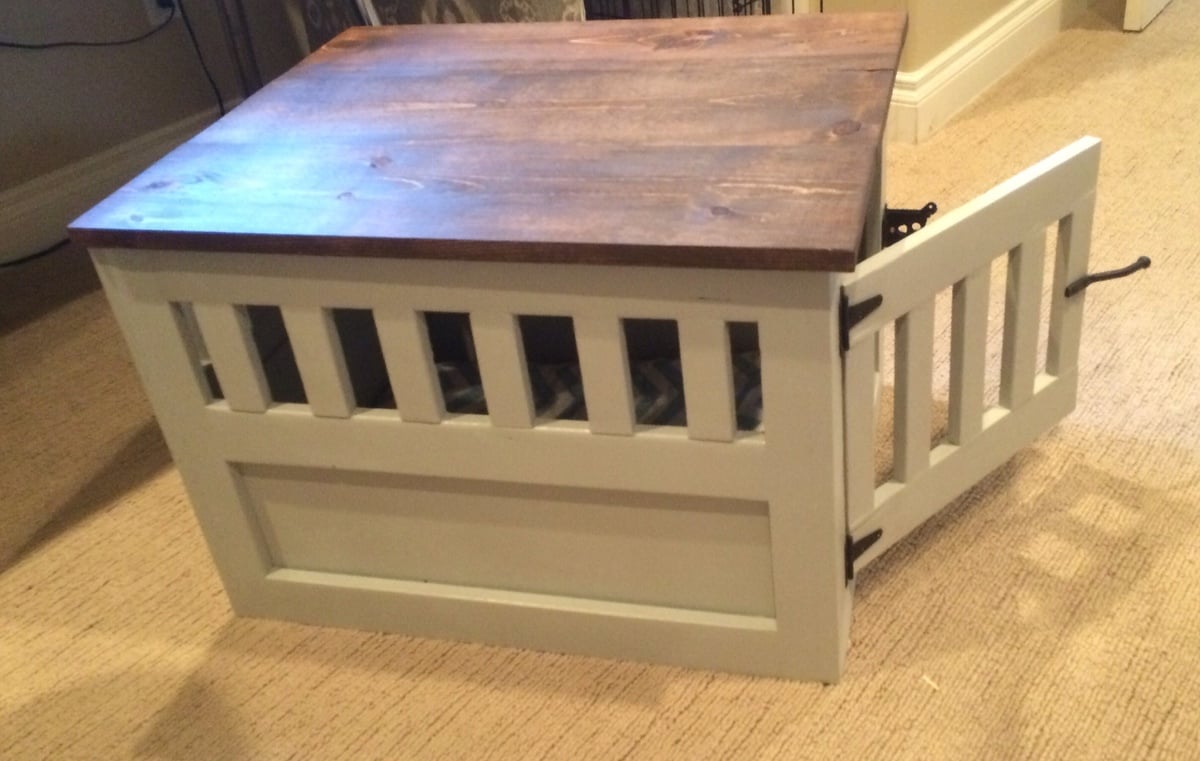
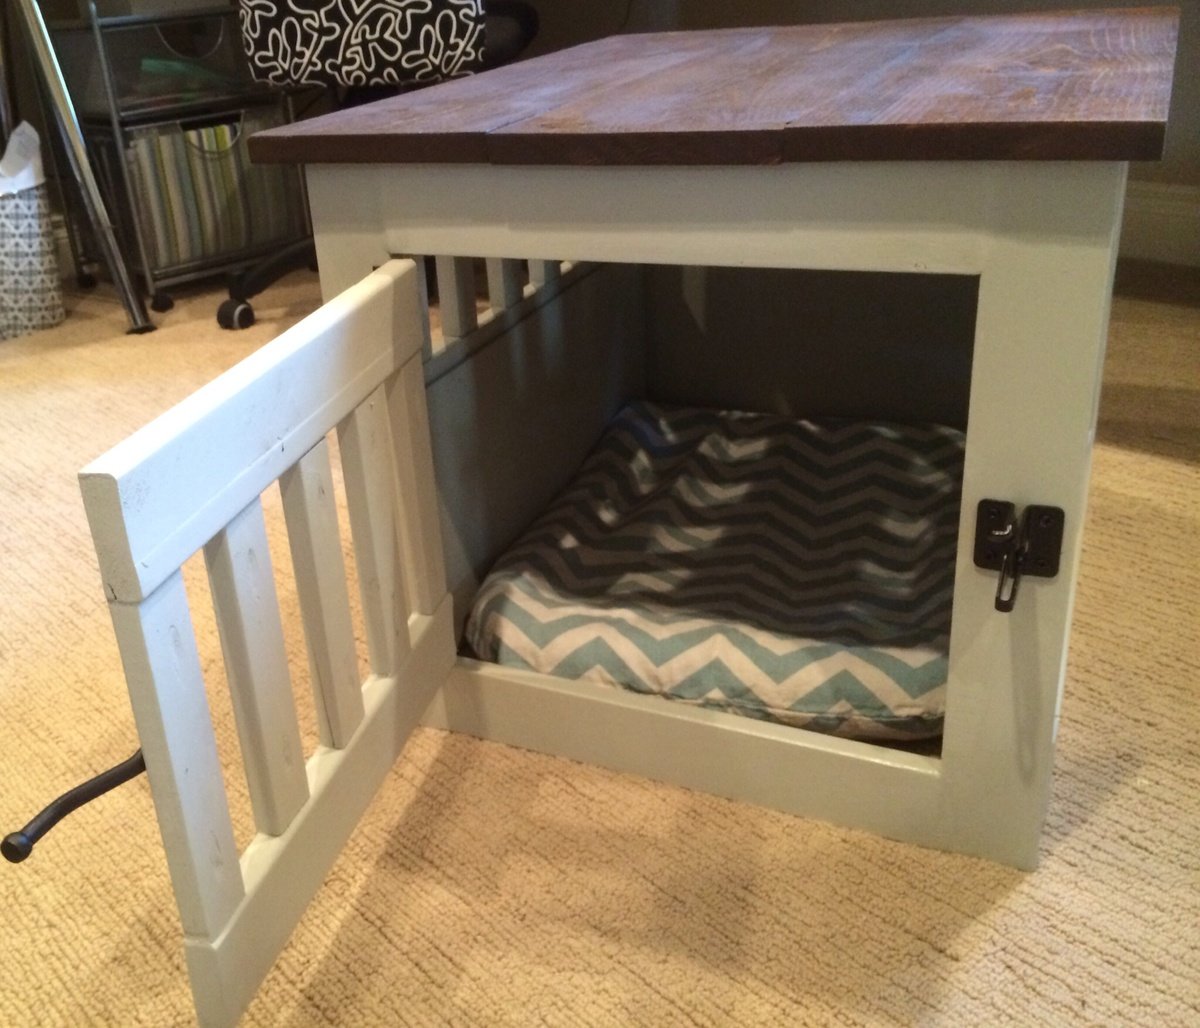
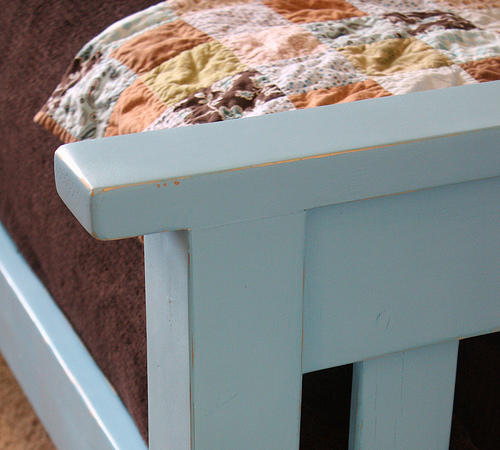
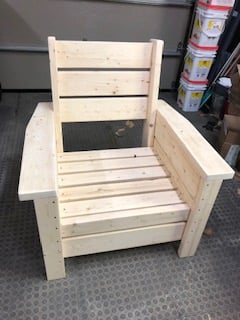
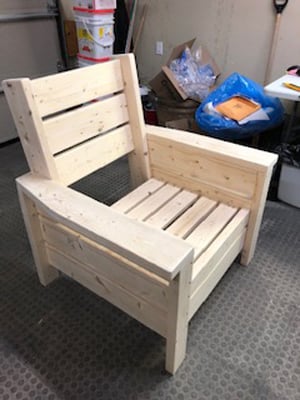
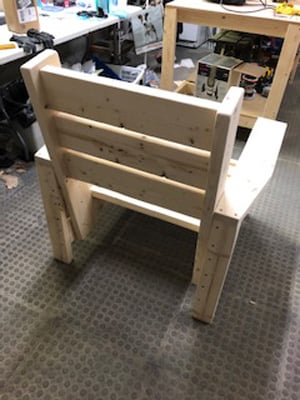
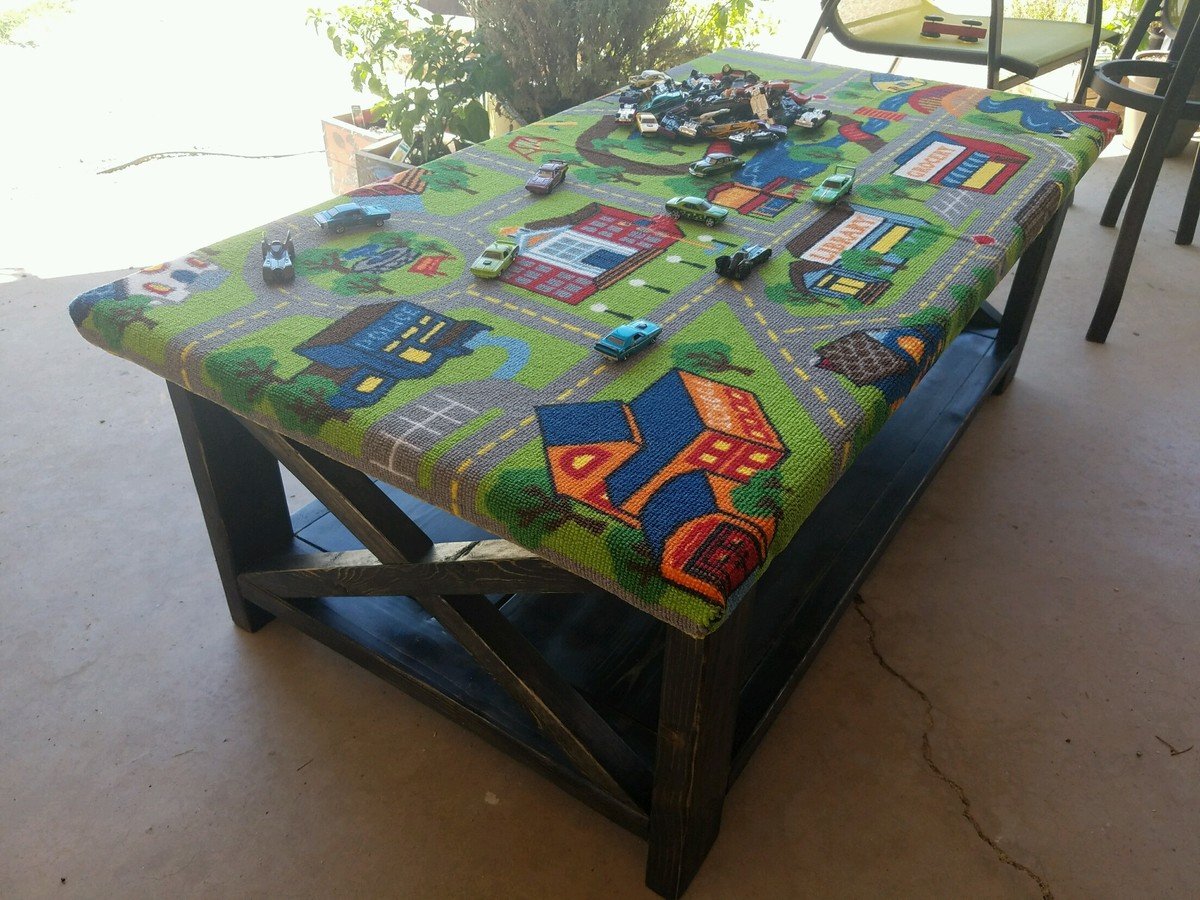
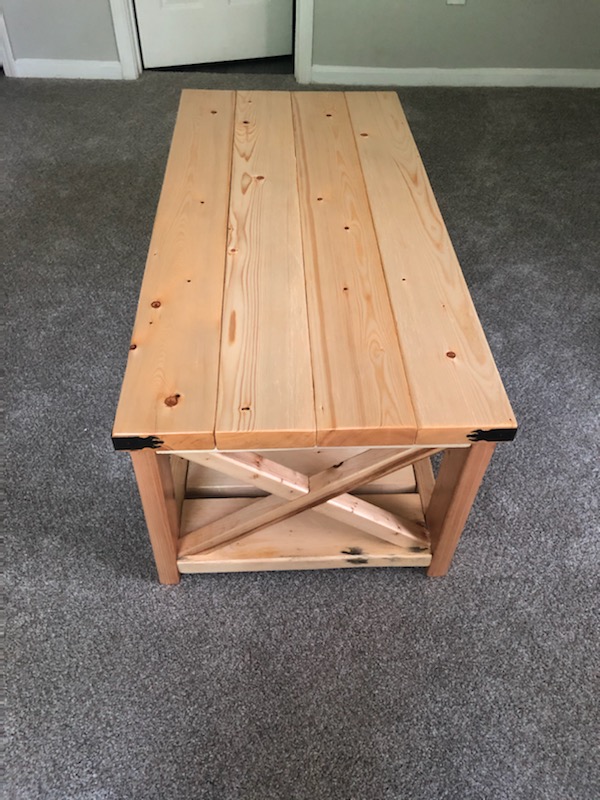
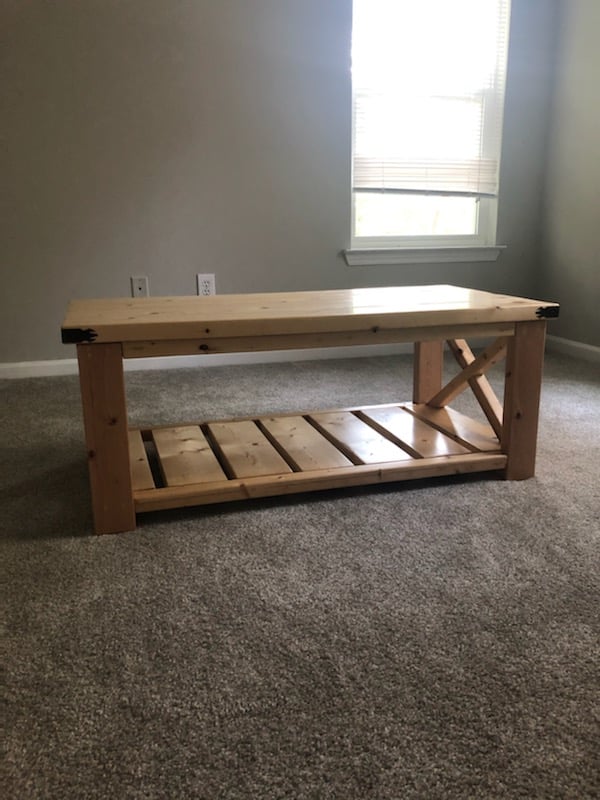
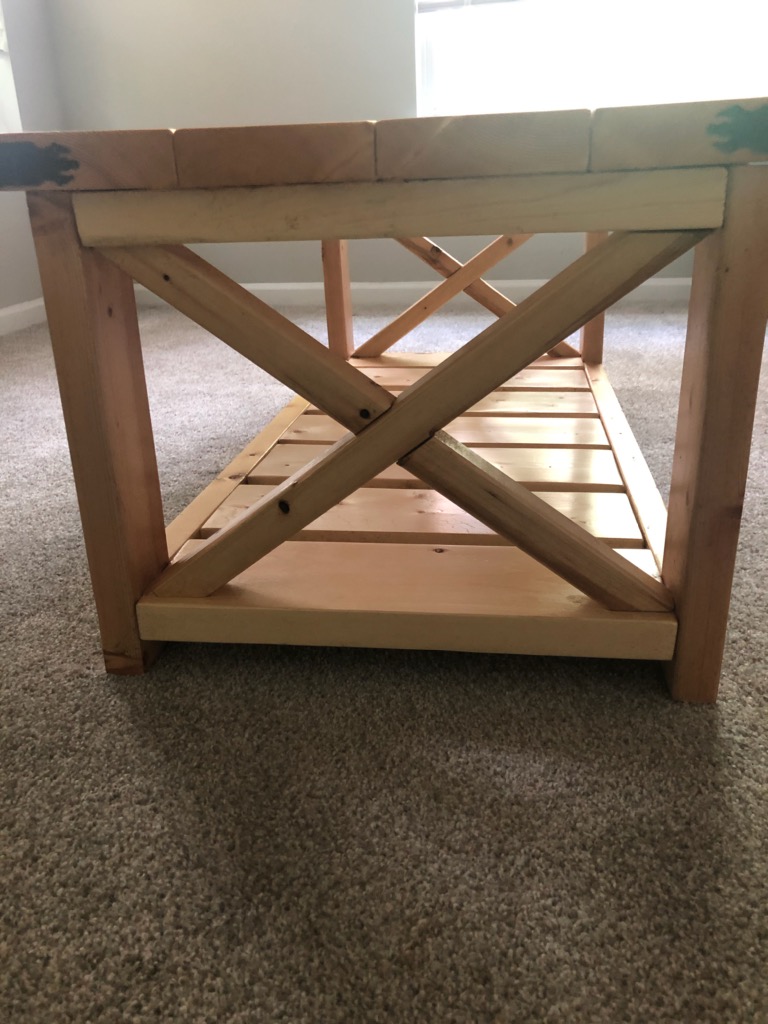
Craft table from Michaela Island

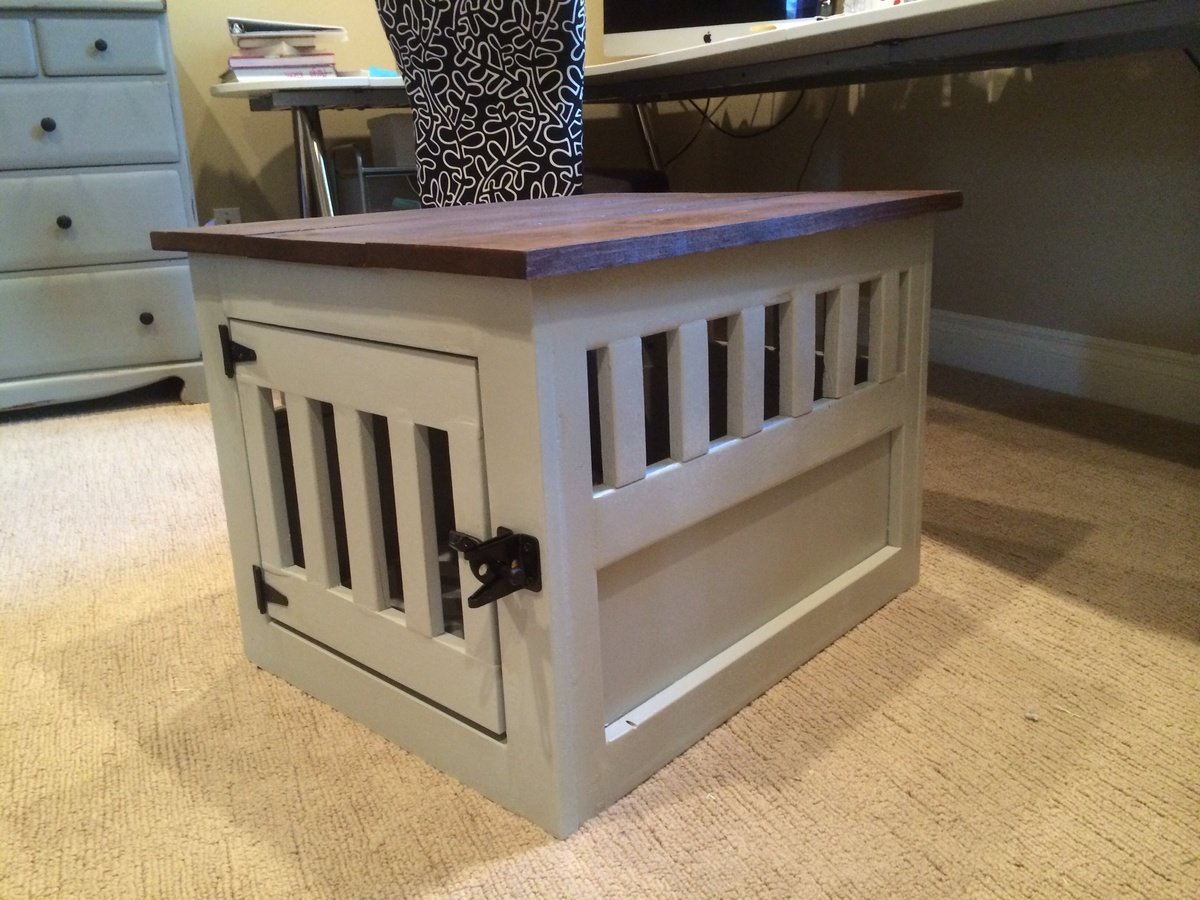
I needed a new island for my craft room, so we used the Michaela's Kitchen Island plan and modified it to be 30 1/2" deep. First time with drawers...they were a booger!!
Built from Plan(s)
Estimated Cost
$125
Estimated Time Investment
Weekend Project (10-20 Hours)
Finish Used
Top stained in Dark Walnut. Painted with Behr Mermaid Treasure and distressed and glazed with stain.
Recommended Skill Level
Beginner


Comments
birdsandsoap
Sat, 07/14/2012 - 01:18
gorgeous!
Great job, I want one too!
www.CLASSICSUN… (not verified)
Wed, 01/16/2013 - 22:10
Craft table from Michaela Island | Ana White
Hello, I check your blogs regularly. Your
story-telling style is witty, keep up the good work!