Benchright Coffee Table
Made the Benchright Coffee table. Costs too much - time to make it myself.
This was really a quick project. It's sized to fit a standard American girl doll. I tag-teamed with my mother to make a Christmas gift for my 4-year old daughter. I built the bed and she sewed the mattresses, reversible blankets, and pillows. My daughter loved them. My only regret was using plywood instead of backboard for the box springs. The plywood was too thick making it a tight squeeze to get the dolls in the bed with the pillows and mattresses.
I used the plans here and the hardware plans that are linked in the comments (with the 1-1/2 inch pulleys). In retrospect, it wasn't that hard, although I built it up to be so since I was doing so many things for the first time, including cutting and drilling metal. With the right blades and drill bits, it was a breeze. This took me a few months to actually finish, but if I were to do it again start to finish, I'd say one person could do it in 3-4 days. I got the reclaimed barnwood from a local salvage place. I used the tea/steel wool/vinegar stain for the top and regular paint for the body. Total cost was somewhere in the low $200's. I absolutely love it and am so grateful that a site like this exists! Thank you!!
Sat, 04/02/2016 - 16:02
You did an amazing job! It looks beautiful! Also love the dog wall!!! :))) Can you email me the instructions on how to make the hardware at [email protected] or post them?
Mon, 04/04/2016 - 07:12
Thank you! I followed the instructions found here:
http://thatsmyletter.blogspot.com/2014/10/s-is-for-sliding-door-console.html
I used a sawzall with a blade for metal to cut those pieces. I also found pulleys that had a removable pin that released the wheel, so I didn't have to cut those apart. Overall, the process was not terribly painful :)
This was our first project like this .. was last minute cost about $64 with lumber and screws , we already had the stain and paint .. only took 2 days ! I’m so happy !!! The only thing different I would do is put pocket holes in which we might add . Perfect project for a beginner !
Modified roof orientation and extended to 16
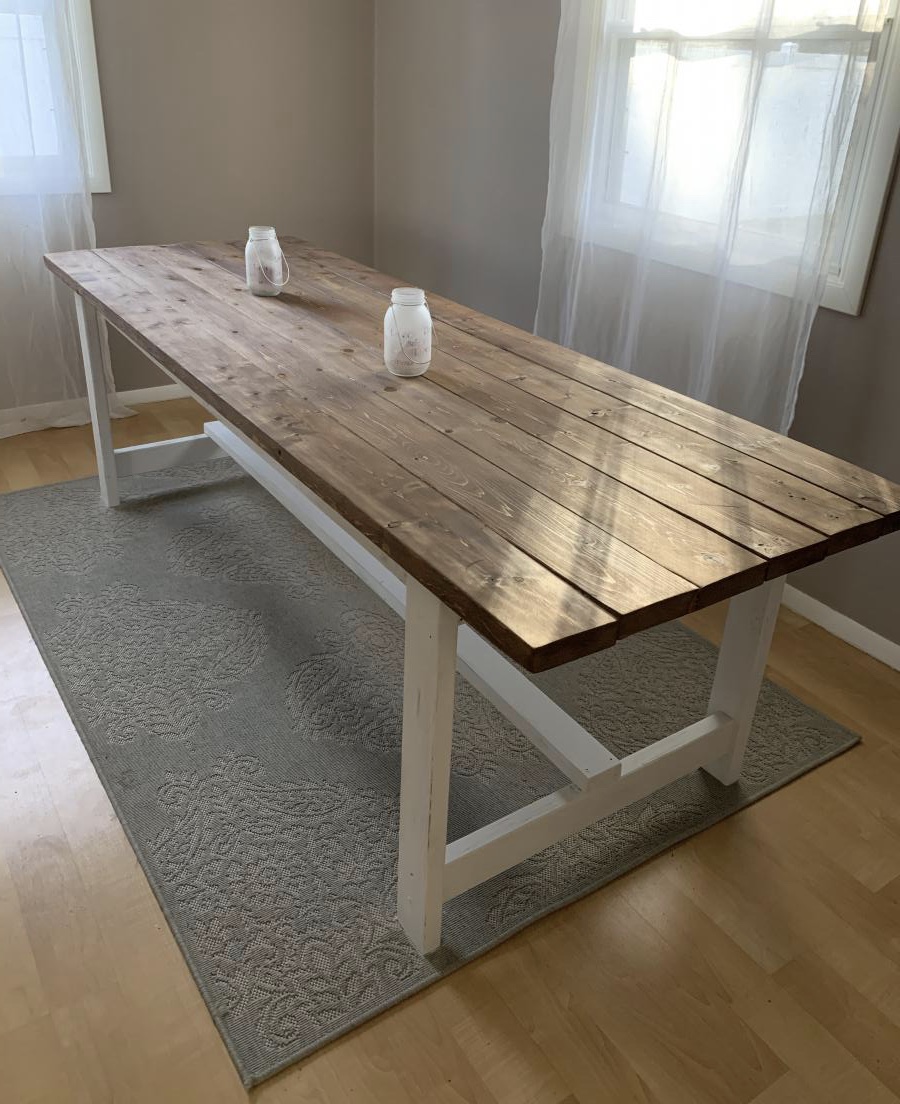
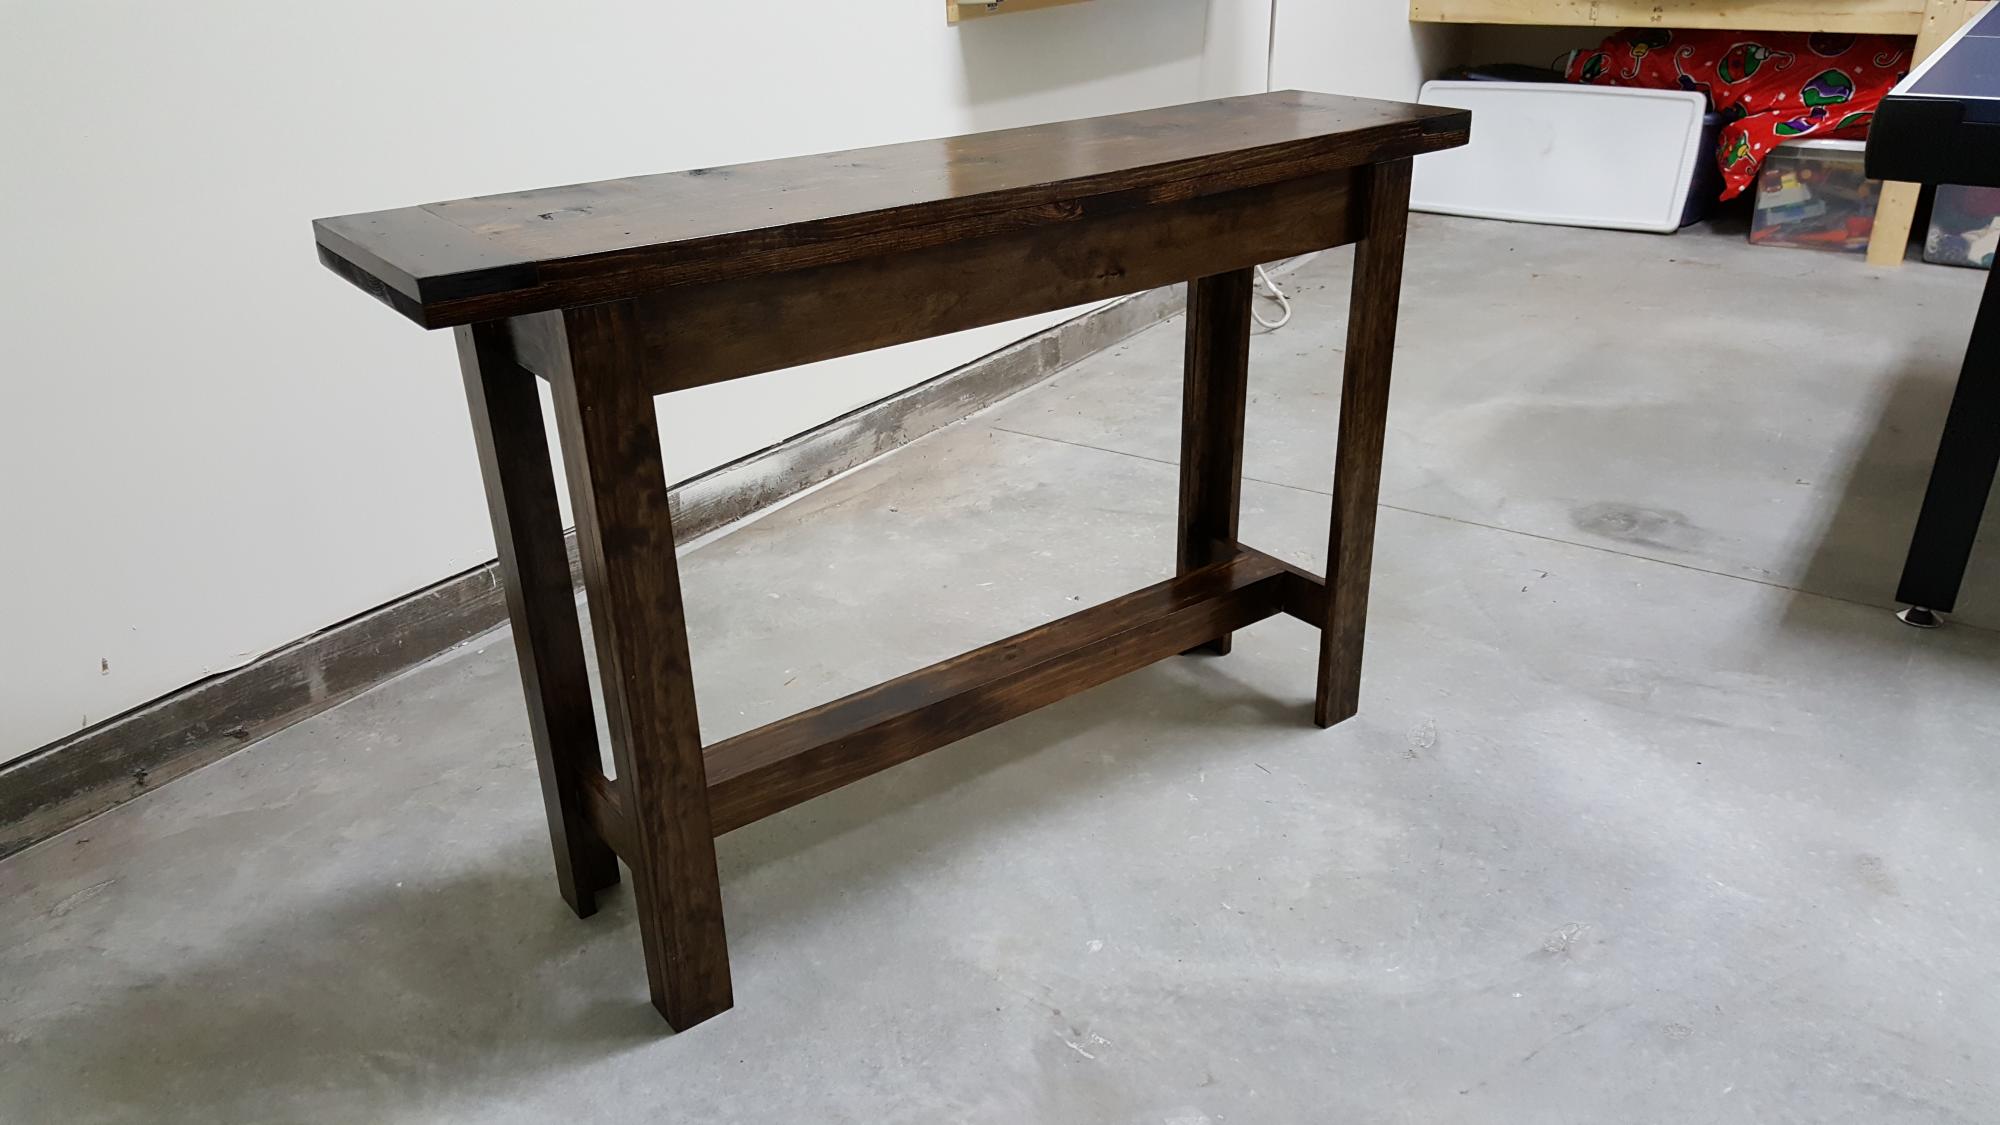
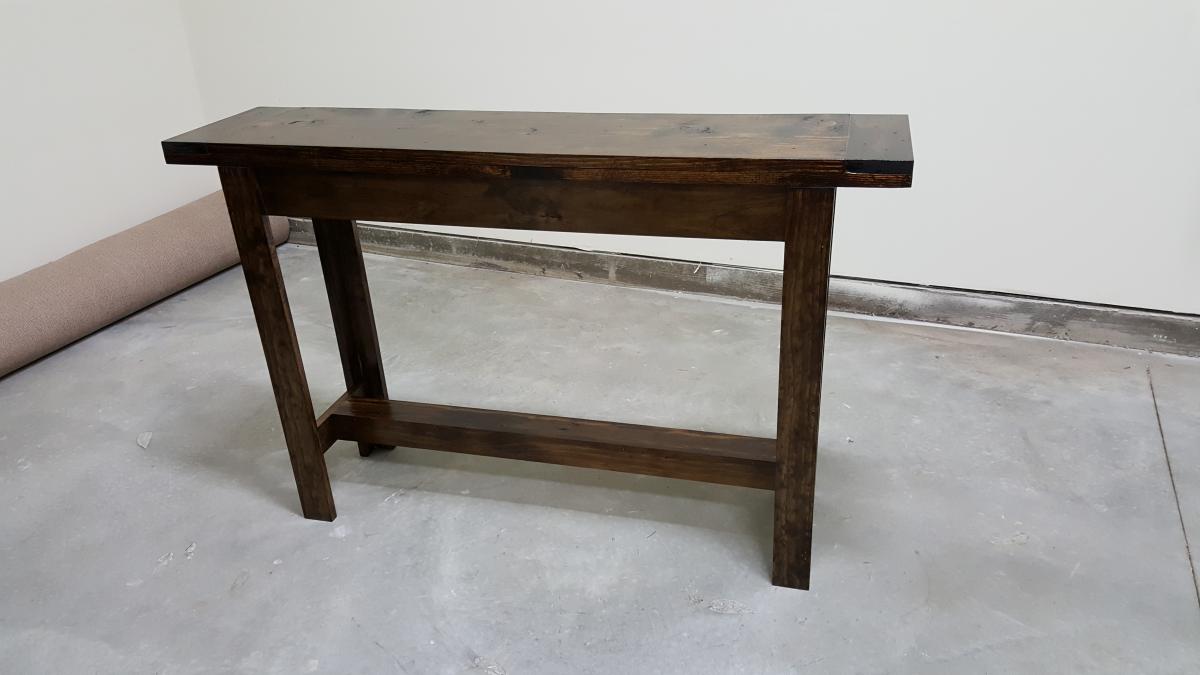
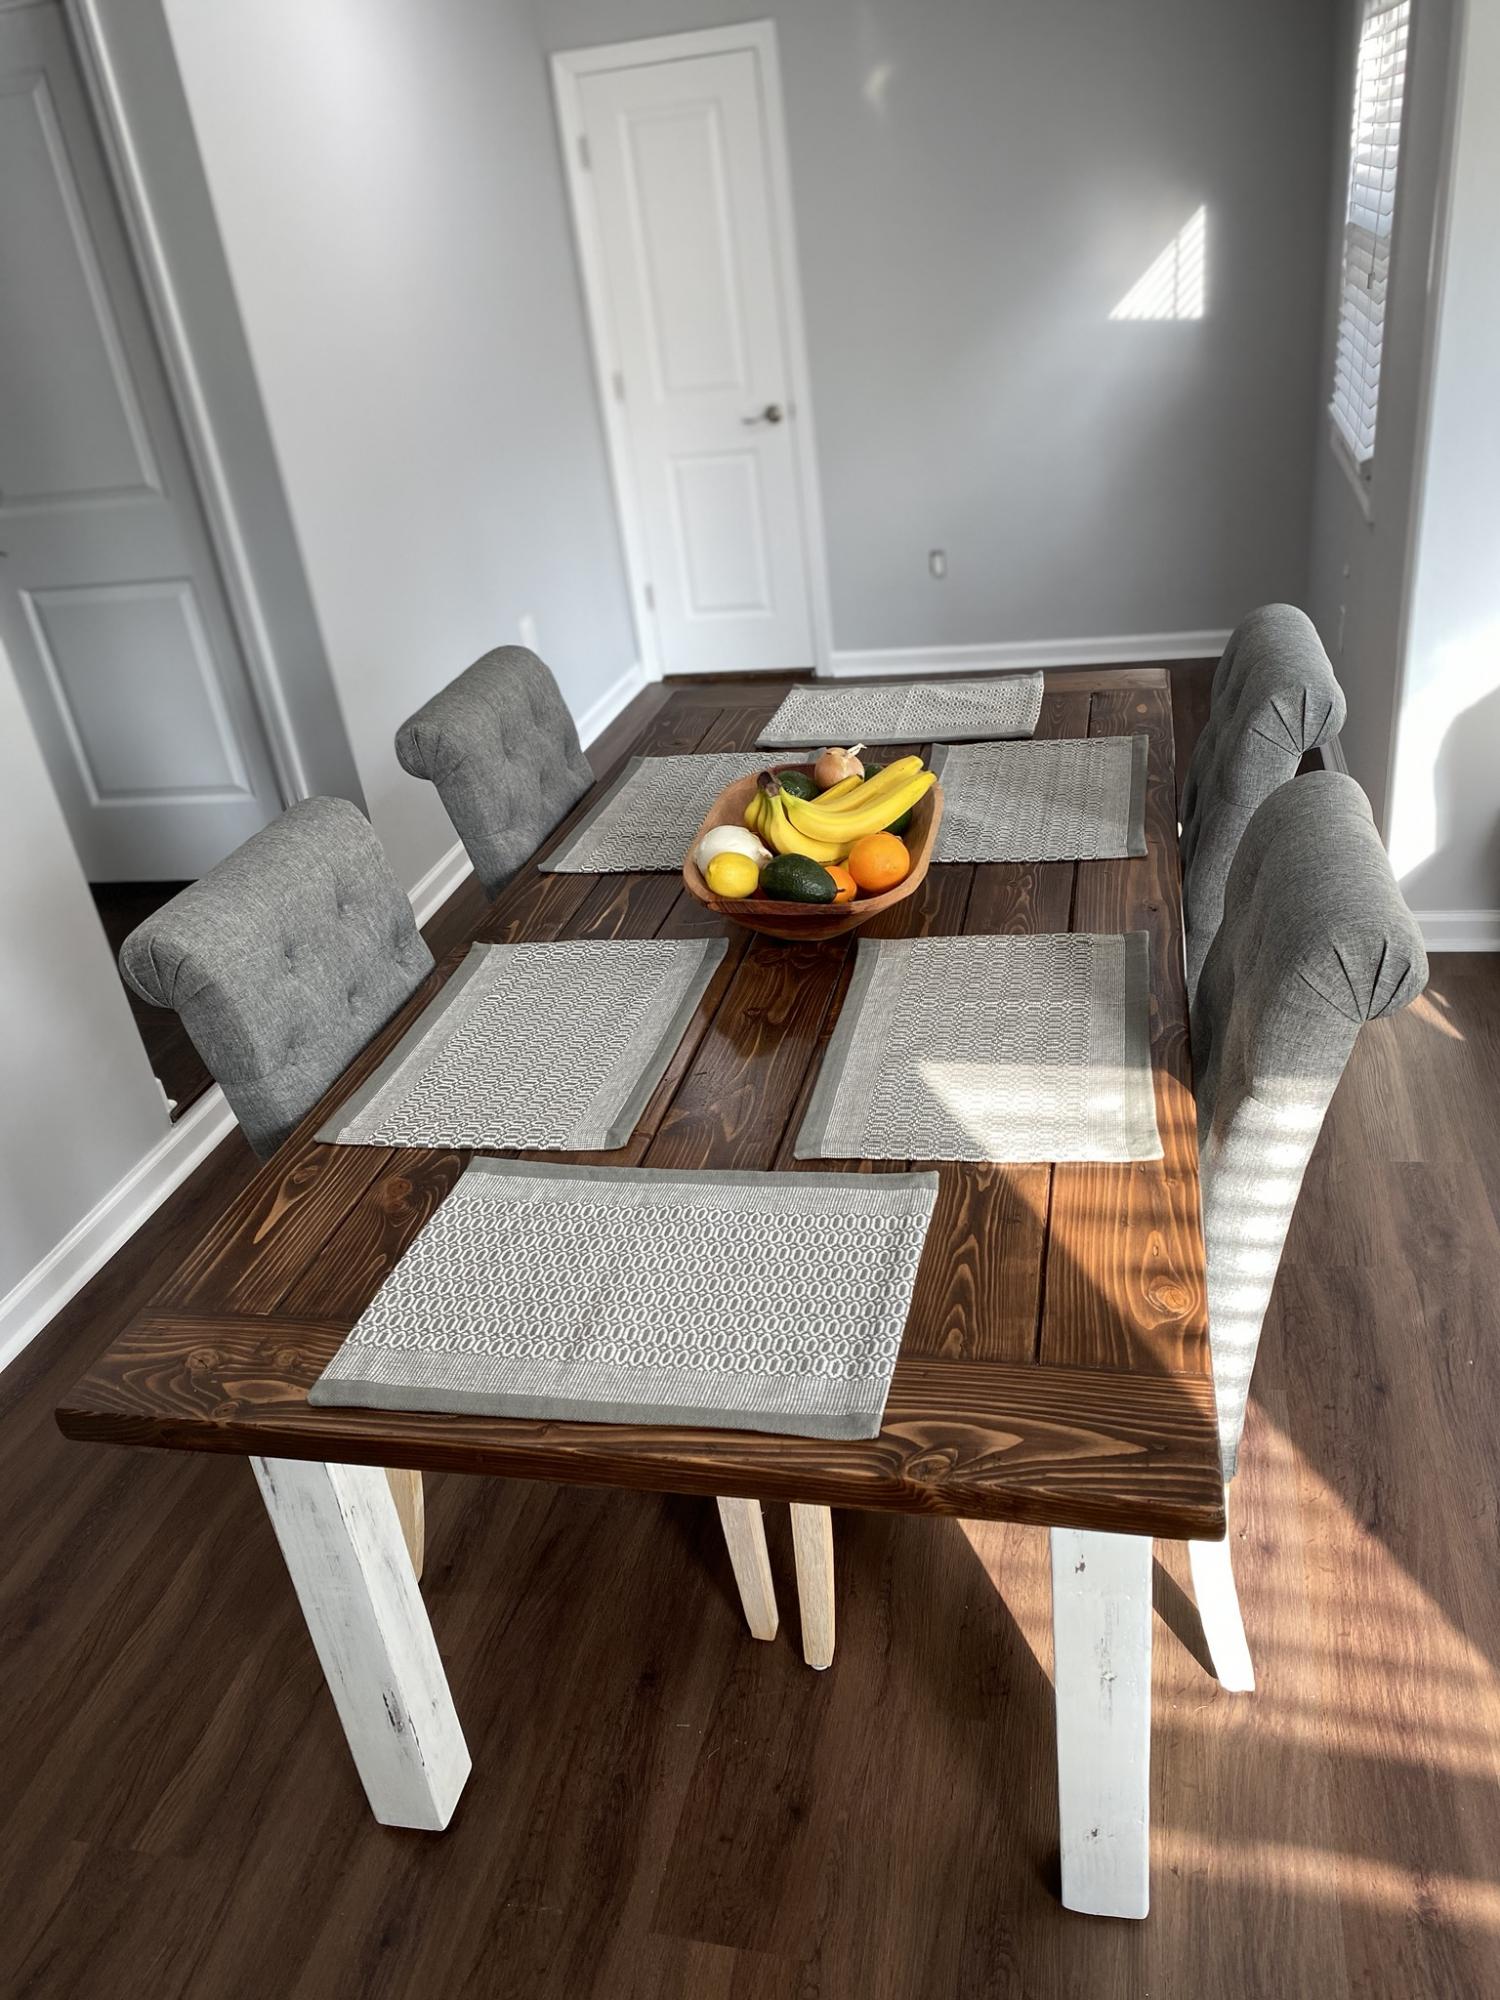
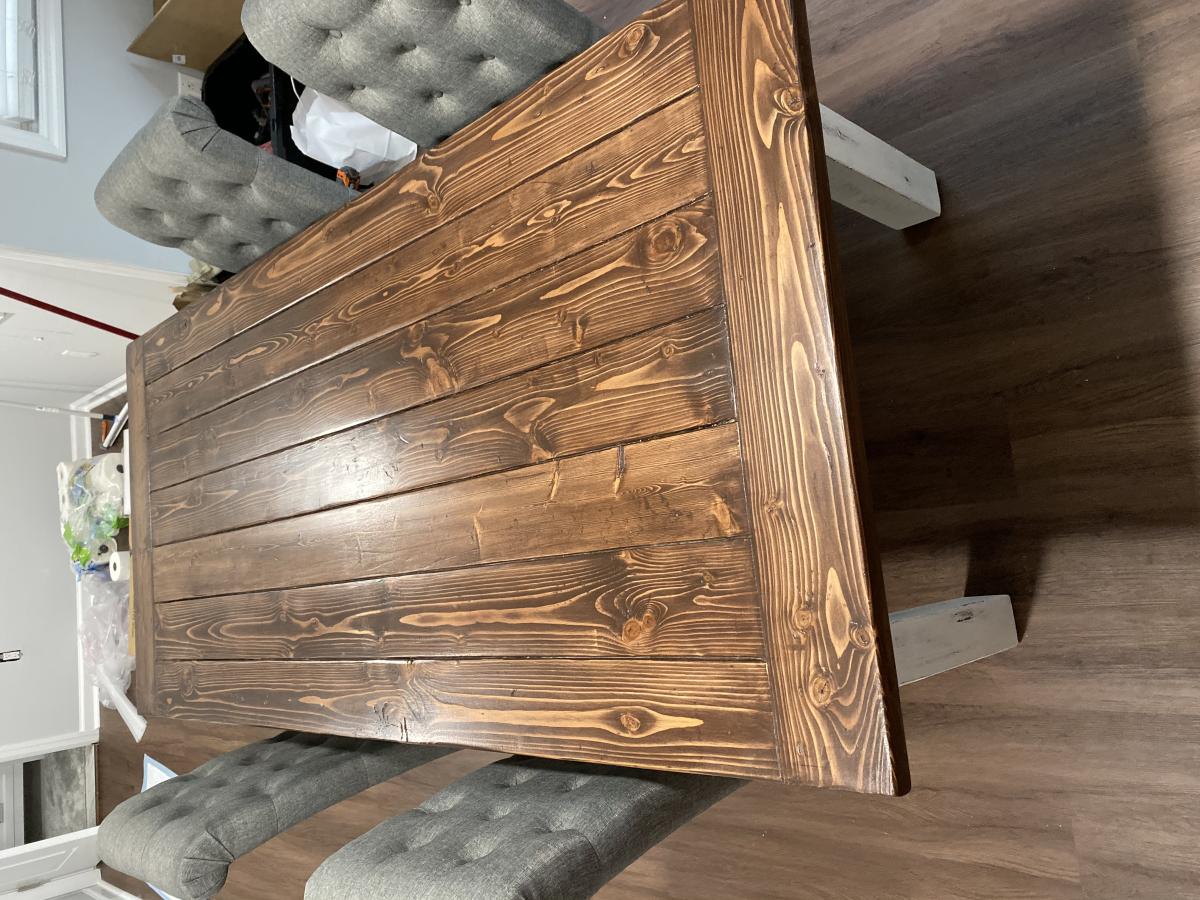
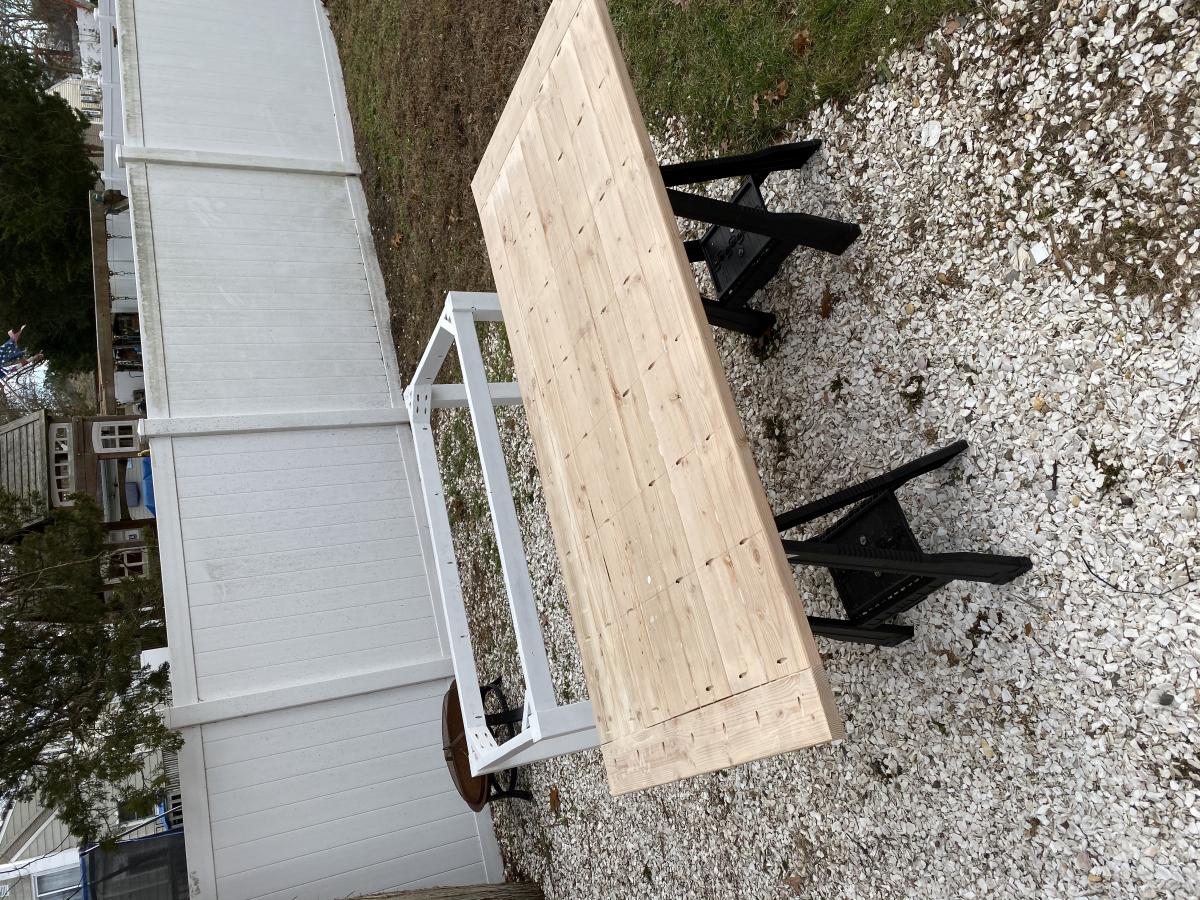
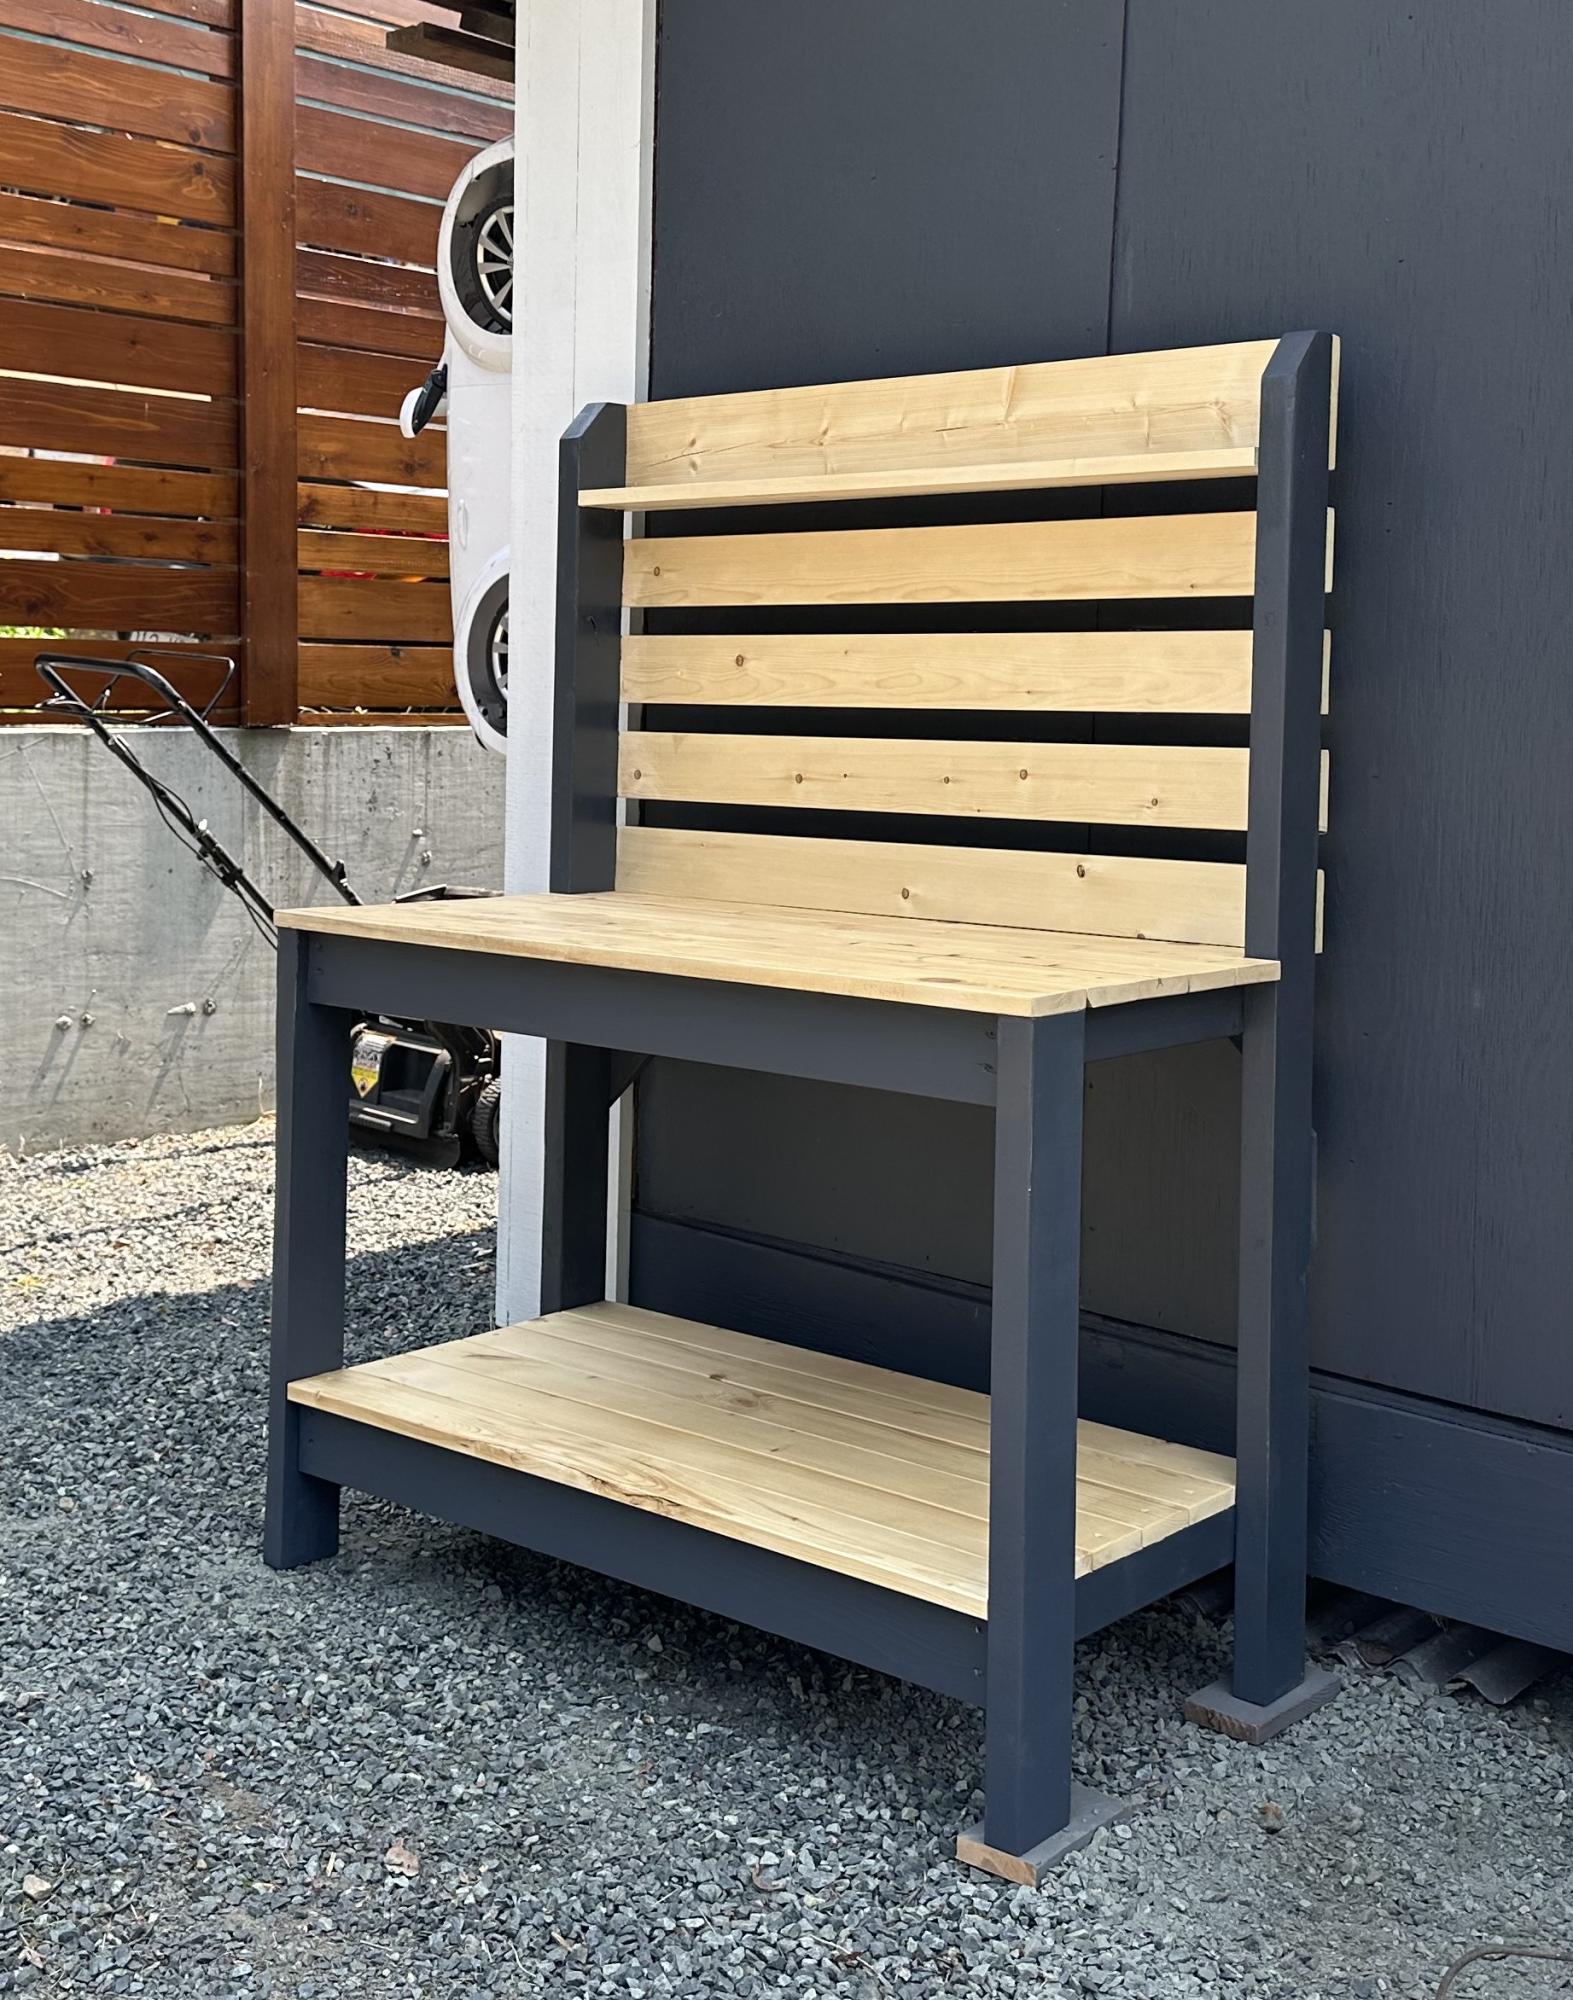
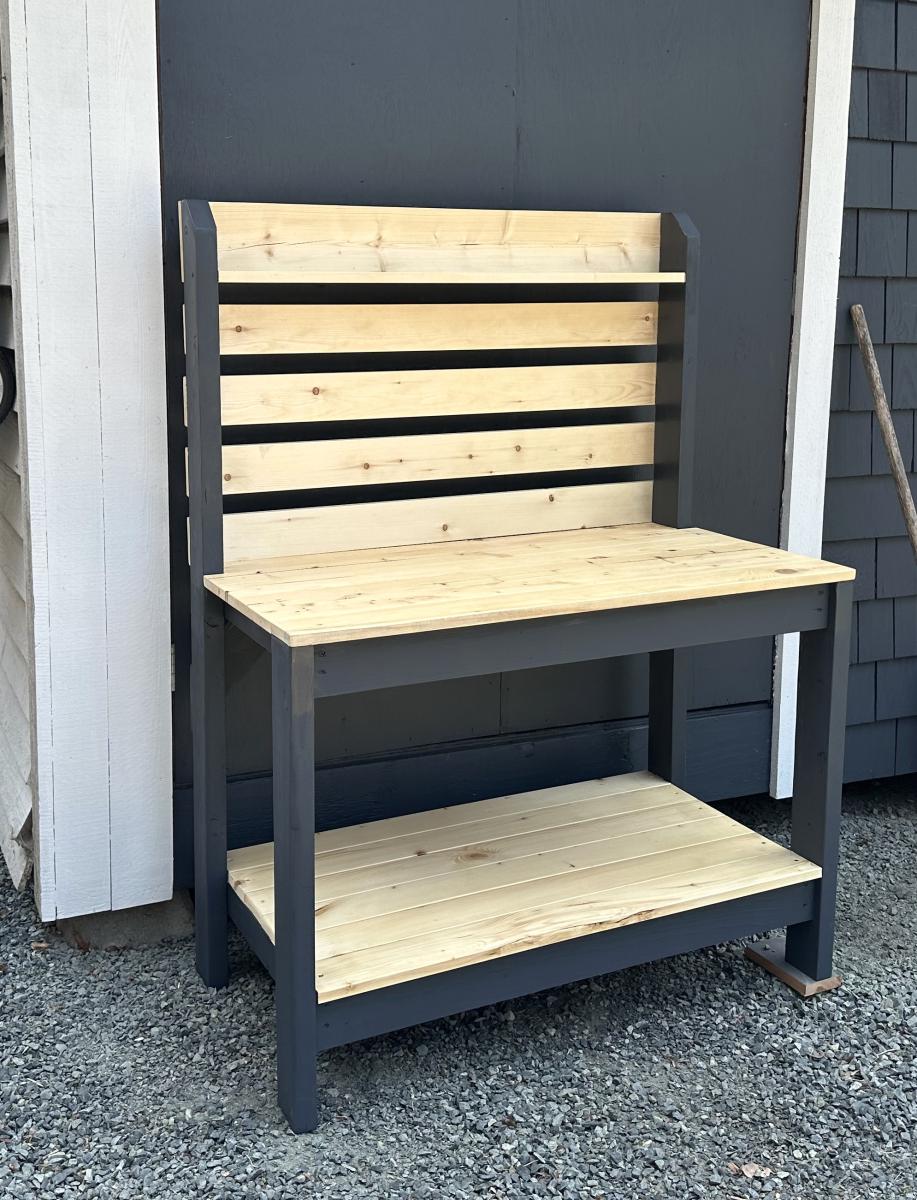
I was looking for a desk/table for a wall in my bedroom, especially after I created the wall art that was now free floating on a huge expanse of wall. I needed something to anchor it. I saw the Narrow Farmhouse Table and loved it. I knew I could modify for the space so I used some extra boards I had around the house and mocked it up so that I could take measurements and ensure the table did not block the traffic flow in my home.
I loved the way http://deuxmaison.blogspot.com/2010/07/knock-offwoodcom-narrow-farmhous… the table was done in this blog, so I used the new measurements and took a few tips from deuxmaison to make this desk/table.
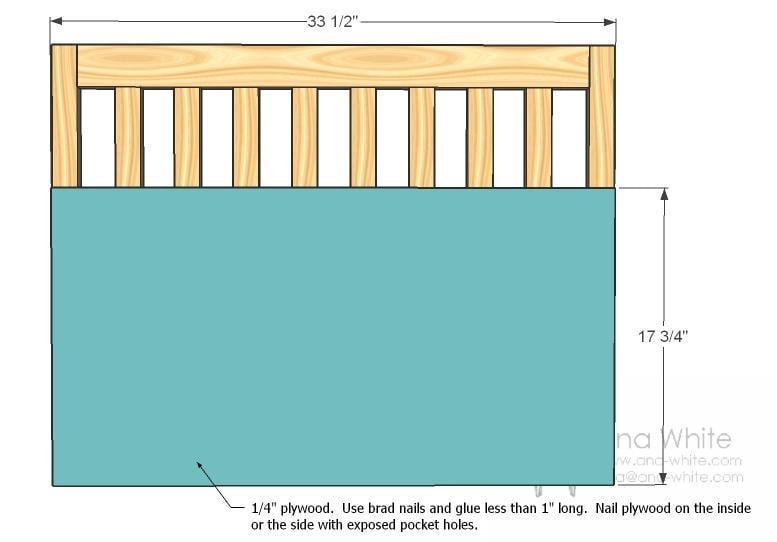
I completed the table top and the base as separate projects. Check out my blog for details and a special link on "How to Make a Tapering Jig"
http://singlemomthriving.wordpress.com/2012/03/13/adventures-in-table-m…
http://singlemomthriving.wordpress.com/2012/03/19/adventures-in-table-m…
http://singlemomthriving.wordpress.com/2012/03/21/adventures-in-table-m…
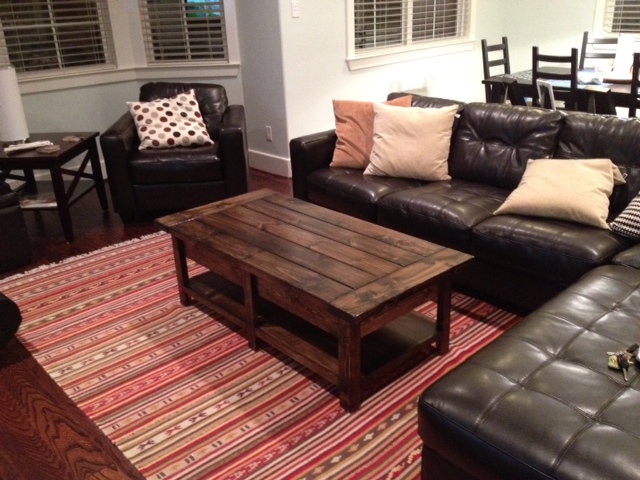
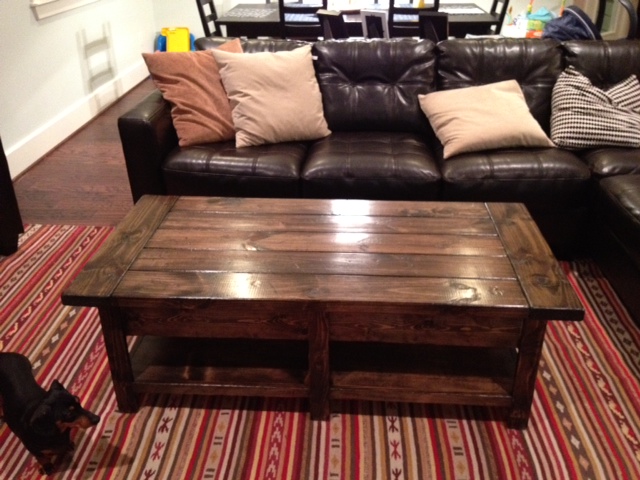
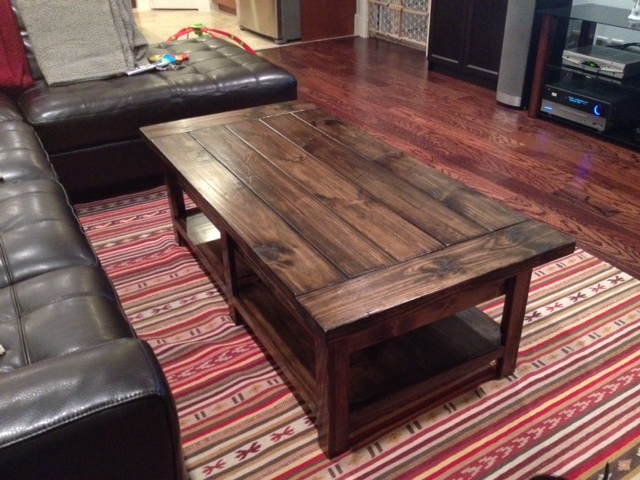
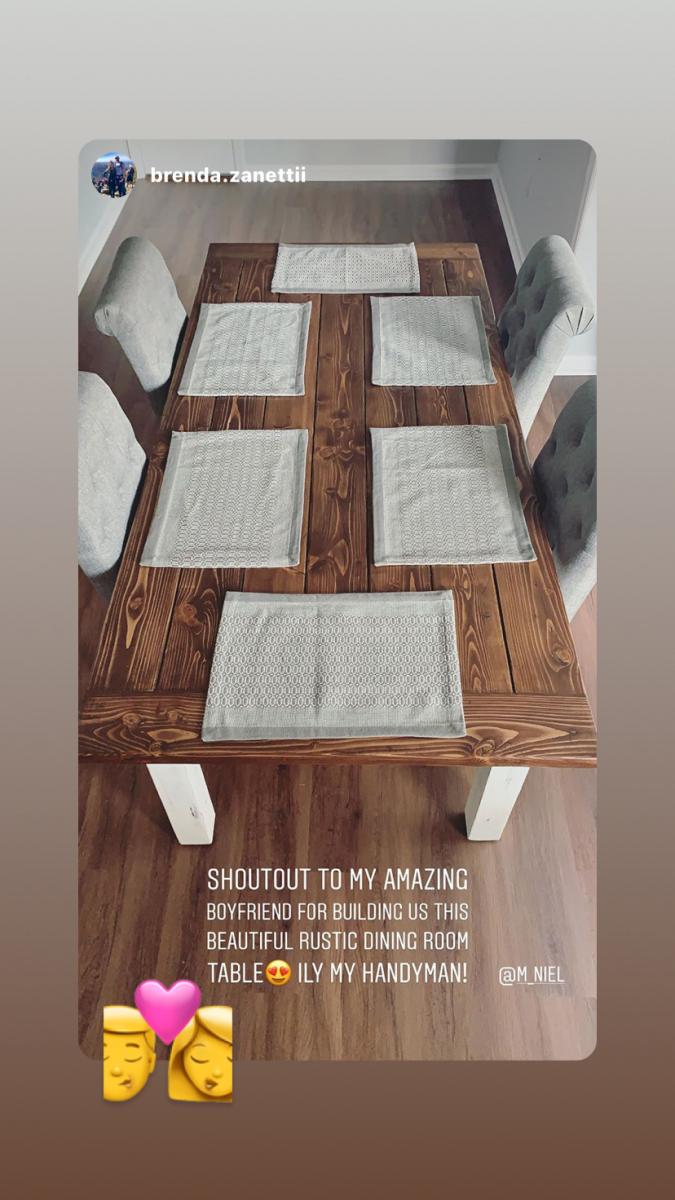
I love how this table turned out. Thanks for great plans, Ana!
Thanks for the plan; I’m proud of how it turned out and my family loves it!
Super easy but first time using any angles in a project so I had to figure my miter saw out before I was succesful at it.
This was my very first build... a few years ago. I built it for my son's first apartment and it has survived several moves since then. It's great for an entry table or for a flat screen tv. Thanks for all the plans, Ana!
Made this for Christmas for our 2-year old last year. The plans were easy to follow, and it turned out great. She loves it!
We turned the back into a puppet show theater for the kids. We added a shelf up top for storage, inclosed the back and added curtains w/ rod. For the puppets we kept it cheap...found some wooden cutouts and large popsicle sticks. The letters on the front were small ones bought from the craft store and used some paint I had around the house.
Modified the laundry basket dresser to hold 3 baskets and have a storage space for laundry/cleaning supplies in our small laundry room. We were going to paint it white, with some leftover paint we had (at the bottom there) but decided we want to change up the room and add some color. We will paint/stain it once we figure out what we want to do with the space but are using it as is until then.
Thanks for the awesome table plans. I ended up mixing a few different plans to fit what I was looking for. Everyone loves it!
Dog Console from Modern Farmhouse Console.
Marivic Ferguson
This project took me about 10 hours. I enjoyed every minute of it! I built this bed for my son. I looked at other plans but you had to pay for them and they weren't as good as these. It's good to no that there is people like Ana that is still willing to help people. Thanks for the plans
Tue, 07/05/2016 - 10:59
Hello,
I've been on this website trying to find the plans for the Simple Bed Plan. I have seen many beds made; however, I don't see the cutting list (supply list) of the materials needed. Can you please help me with the supply list? My hubby and I are going to attempt to make this over the winter for a 3rd birthday present for my son. I would really appreciate the list so that we know what materials to purchase. Thank you in advance for your help with this issue.
Sincere thanks,
The Maynors
Sat, 01/19/2019 - 12:38
I am trying to build the Twin over the full bunk beds that stack. When looking at the site it says to use the Simple Bed Plans. When I look at the simple bed plans I get 3 pictures and that is it. I don't get a supply list or any kind of dimensions for the bed. Could you please point me in the right direction. I need to build the twin over the full bunk bed for family coming to my home in early March.
Thanks
Gary Dalton
I altered the plans to fit the space where it would be going. I extended the length and added another side of shelves. I also reduced the size of the doors a little and made the base a little shorter to reduce overall height. This project required and extra sheet of plywood to complete. I used the Purebond birch from Home Depot and whitewood for the face frame and doors. I liked the finish in the original plan so I tried to make it look similar. I used different shades of brown and also scorched some boards of the door and some areas of the face frame with a torch. For the light areas on the door and frame I just taped off and sanded down. I worked on it when I had some spare time but this project could be completed in a weekend including the finish.
A combination of the Printers Triple Console Cabinet and the Reclaimed Wood Rolling Shelf (x2). We knew we wanted the bookshelves so I made those first. The plans were really easy to follow and I knocked out both in a weekend. Once I got those where we wanted them, it left a void that only the Printers Console could fill. That took a little longer than anticipated and was about at the extent of my woodworking skill (so far!) but it came together perfectly.
Mon, 04/11/2016 - 14:39
Nice... currently working on this bookshelf as well. Yours looks good.
I built this queen size farmhouse bed using Ana's Plan. I wanted hidden under bed storage so I did alter that part of the plans. The box is pretty heavy so i added foot supports to carry the weight. I have access to the storage on both sides of the bed. I have built another version of this bed where i added gas springs to help lift the bed for access but i chose not to do it on this one. As an added feature, i also built a matching doll house bed. I love this bed, and it turned out beautiful.
I was tired of having potting plants and soil stacked up at the end of my driveway taking away from the aesthetic of the gardens so I built myself a potting stand. I love the two tone although I wish I decided on the colours prior to assembling. It would have saved me a lot of masking.
Mary Wikene
Inspired by Ana!
Thu, 04/05/2012 - 14:01
The bed has two matresses, the blocks are there to keep the matresses in place.
Tue, 04/17/2012 - 11:21
Now this is my kind of project! Looks easy but polished. Do you have plans for this?
Tue, 04/17/2012 - 12:03
Platform bed measures:
- Deck: 18x120 mm, width = matress width + 10 cm, length = matress length + 5 cm.
- Headboard: Height 80 cm, width = matress width + 10 cm.
- Beams bed: 36x150 mm, length = matress length - 5 cm.
- Beams headboard: 36x150 mm, height = headboard height - 5 cm.
Thu, 04/11/2013 - 23:04
I would love to make this but I would require plans in order to build it. So if there is any way I could get plans you would make me quite happy.
Fri, 01/15/2016 - 17:11
It looks simple enough, but the headboard looks like it may be tilted. Can you provide instructions on the attachment of that? Thank you
Comments
megan_m
Tue, 03/20/2012 - 19:30
hey nice job! really liking
hey nice job! really liking your finish choices, looks beautiful and fits well with your home.
mactanya
Tue, 03/20/2012 - 20:07
Coffee Table
Thanks Megan.
Couple of my next projects are going to be the matching TV stand and the buffet for which I drew up plans. It'll be probably another month or two before I can find time to do it.